Temperatures at Skylands, my home in Seal Harbor, Maine, are expected to be in the mid-30s today with mostly sunny skies and then dipping to the 20s tonight with a good chance of snow.
Last weekend there was lots of rain and sleet. The carriage roads and terraces were topped with more than four-inches of ice. The bare tree branches were also coated and glistening, but thankfully the winds were low and there was no damage anywhere and no loss of power.
Cheryl DuLong ventured outside, safely, to take a few snapshots around my home, enjoy.
These are the branches of a wild blueberry bush located off my main driveway. It doesn’t bear fruit in summer because it doesn’t get enough light through the wooded area, but it’s pretty, so we’ve kept it. Last weekend, the entire bush was covered in ice after hours of rain and then fast freezing temperatures.
Cheryl turned around to take this photo. She said with all the ice, sounds of it cracking could be heard everywhere.
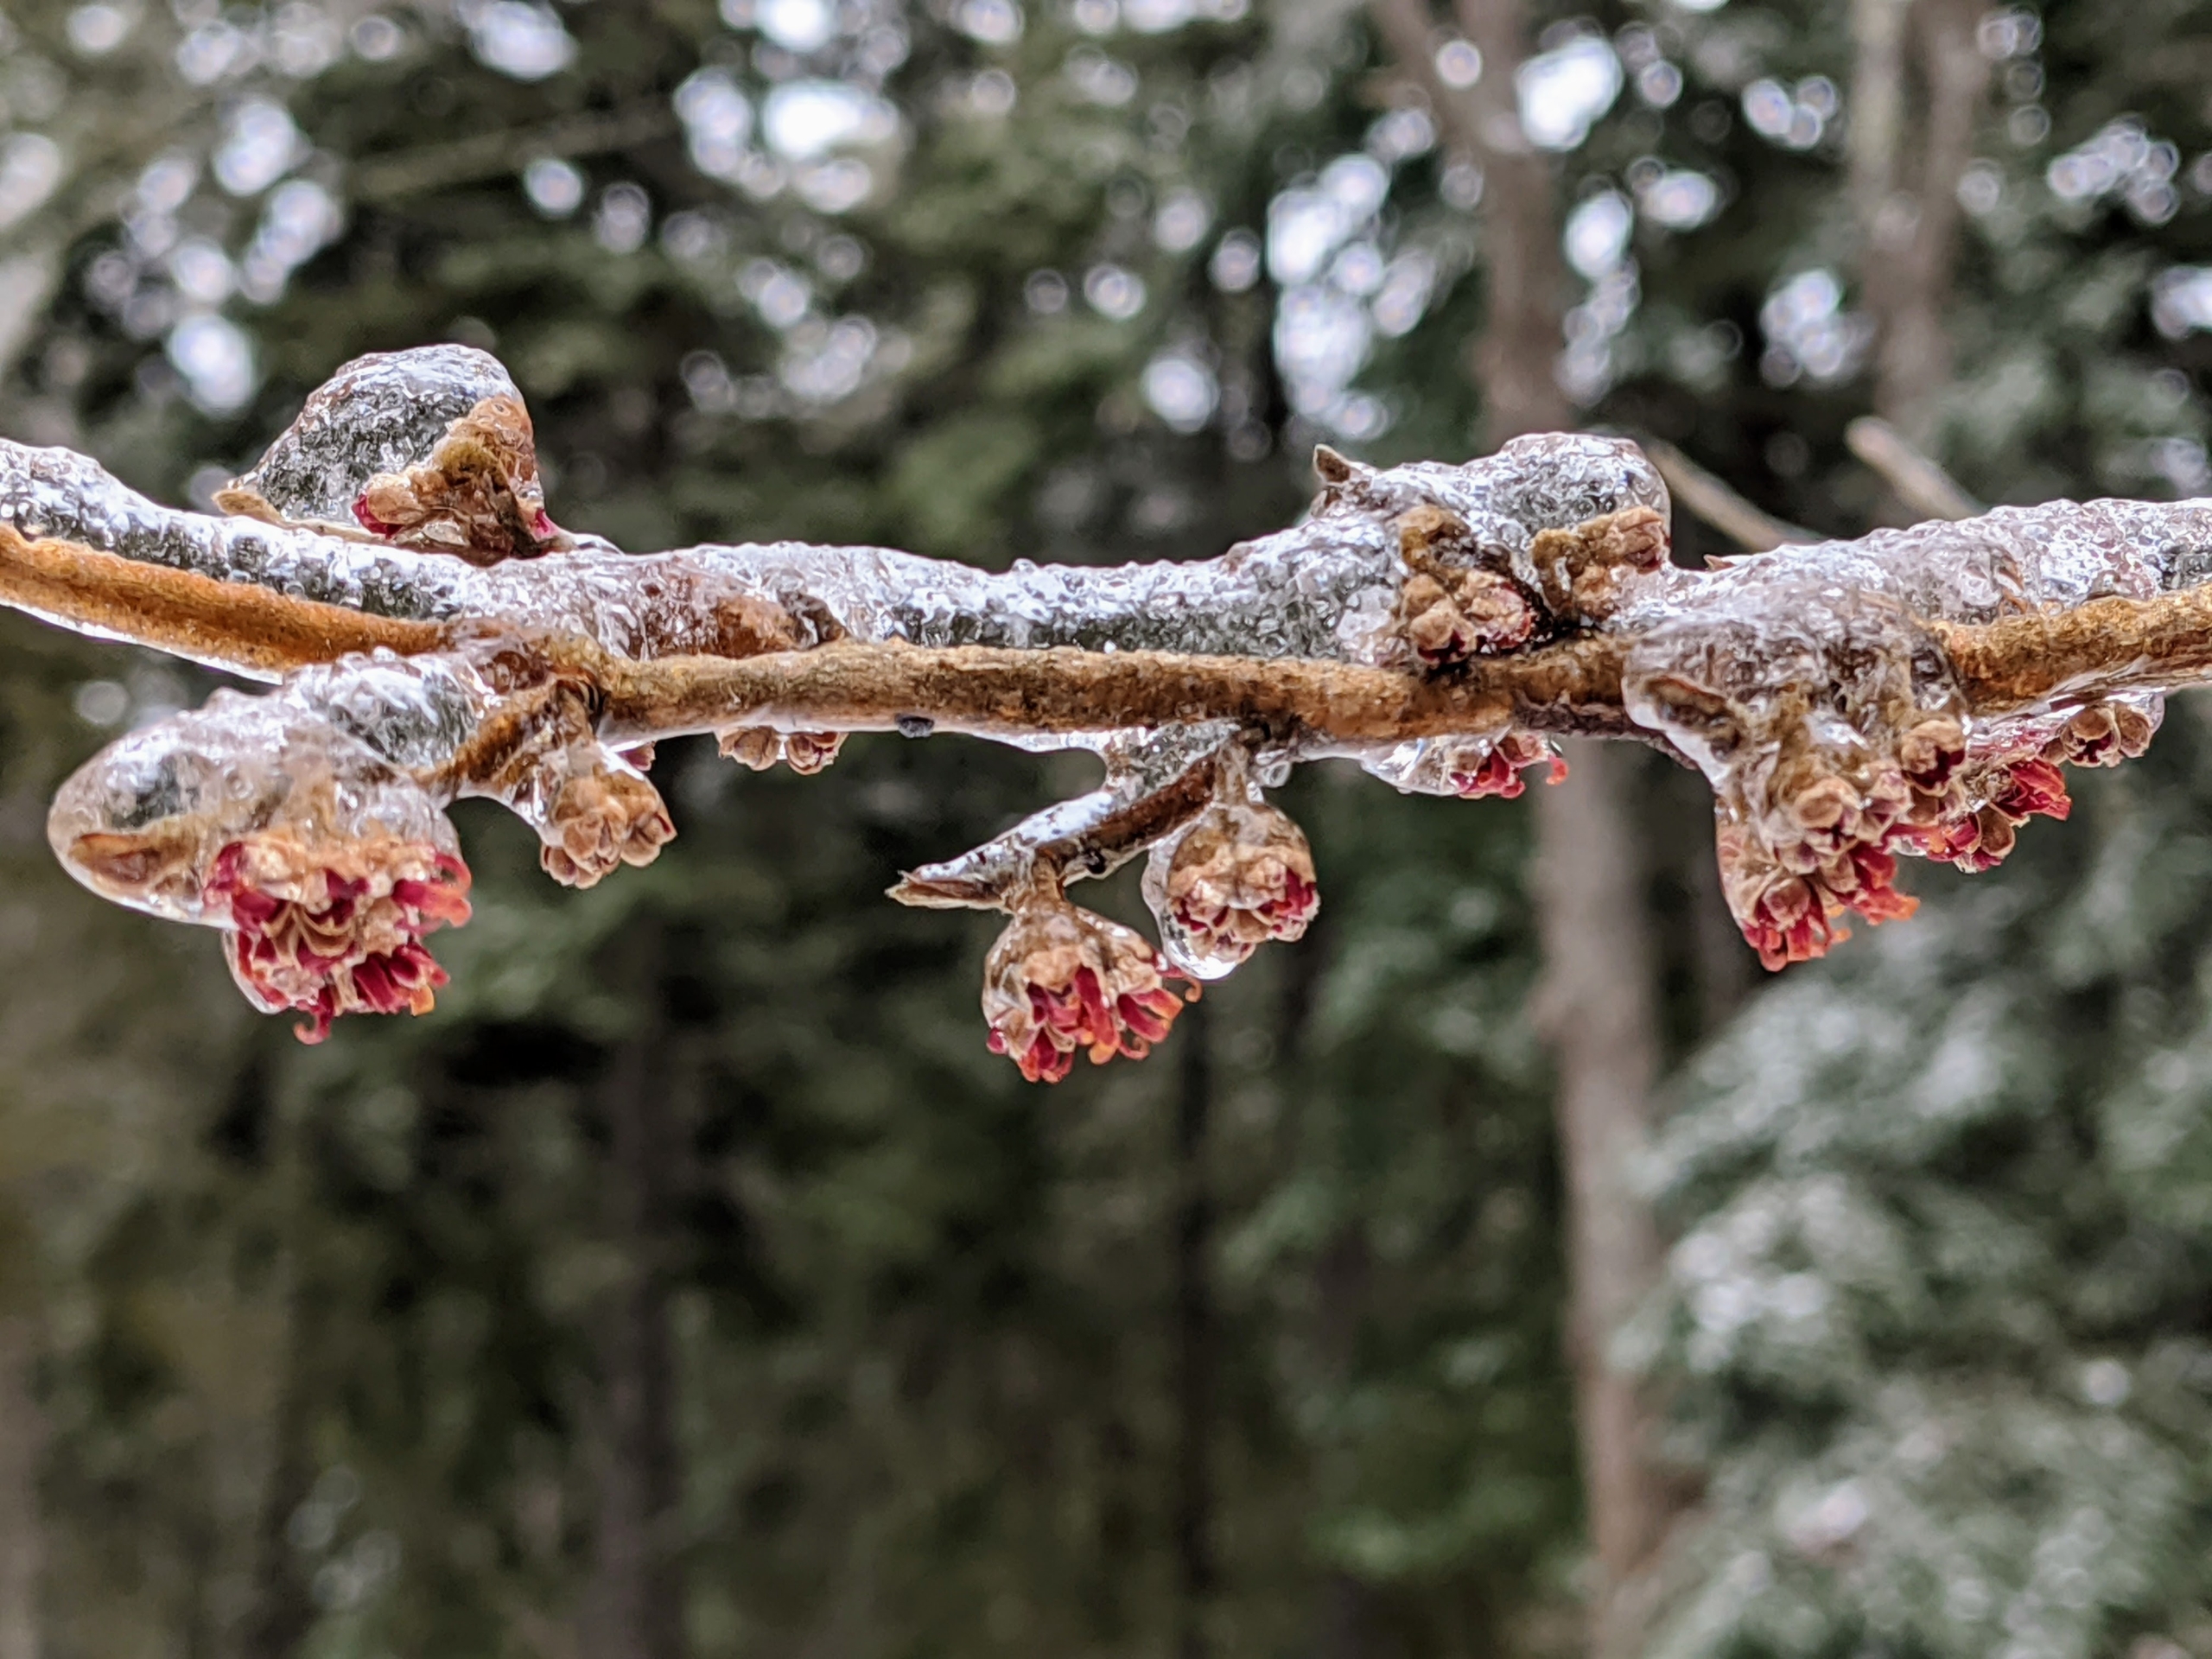
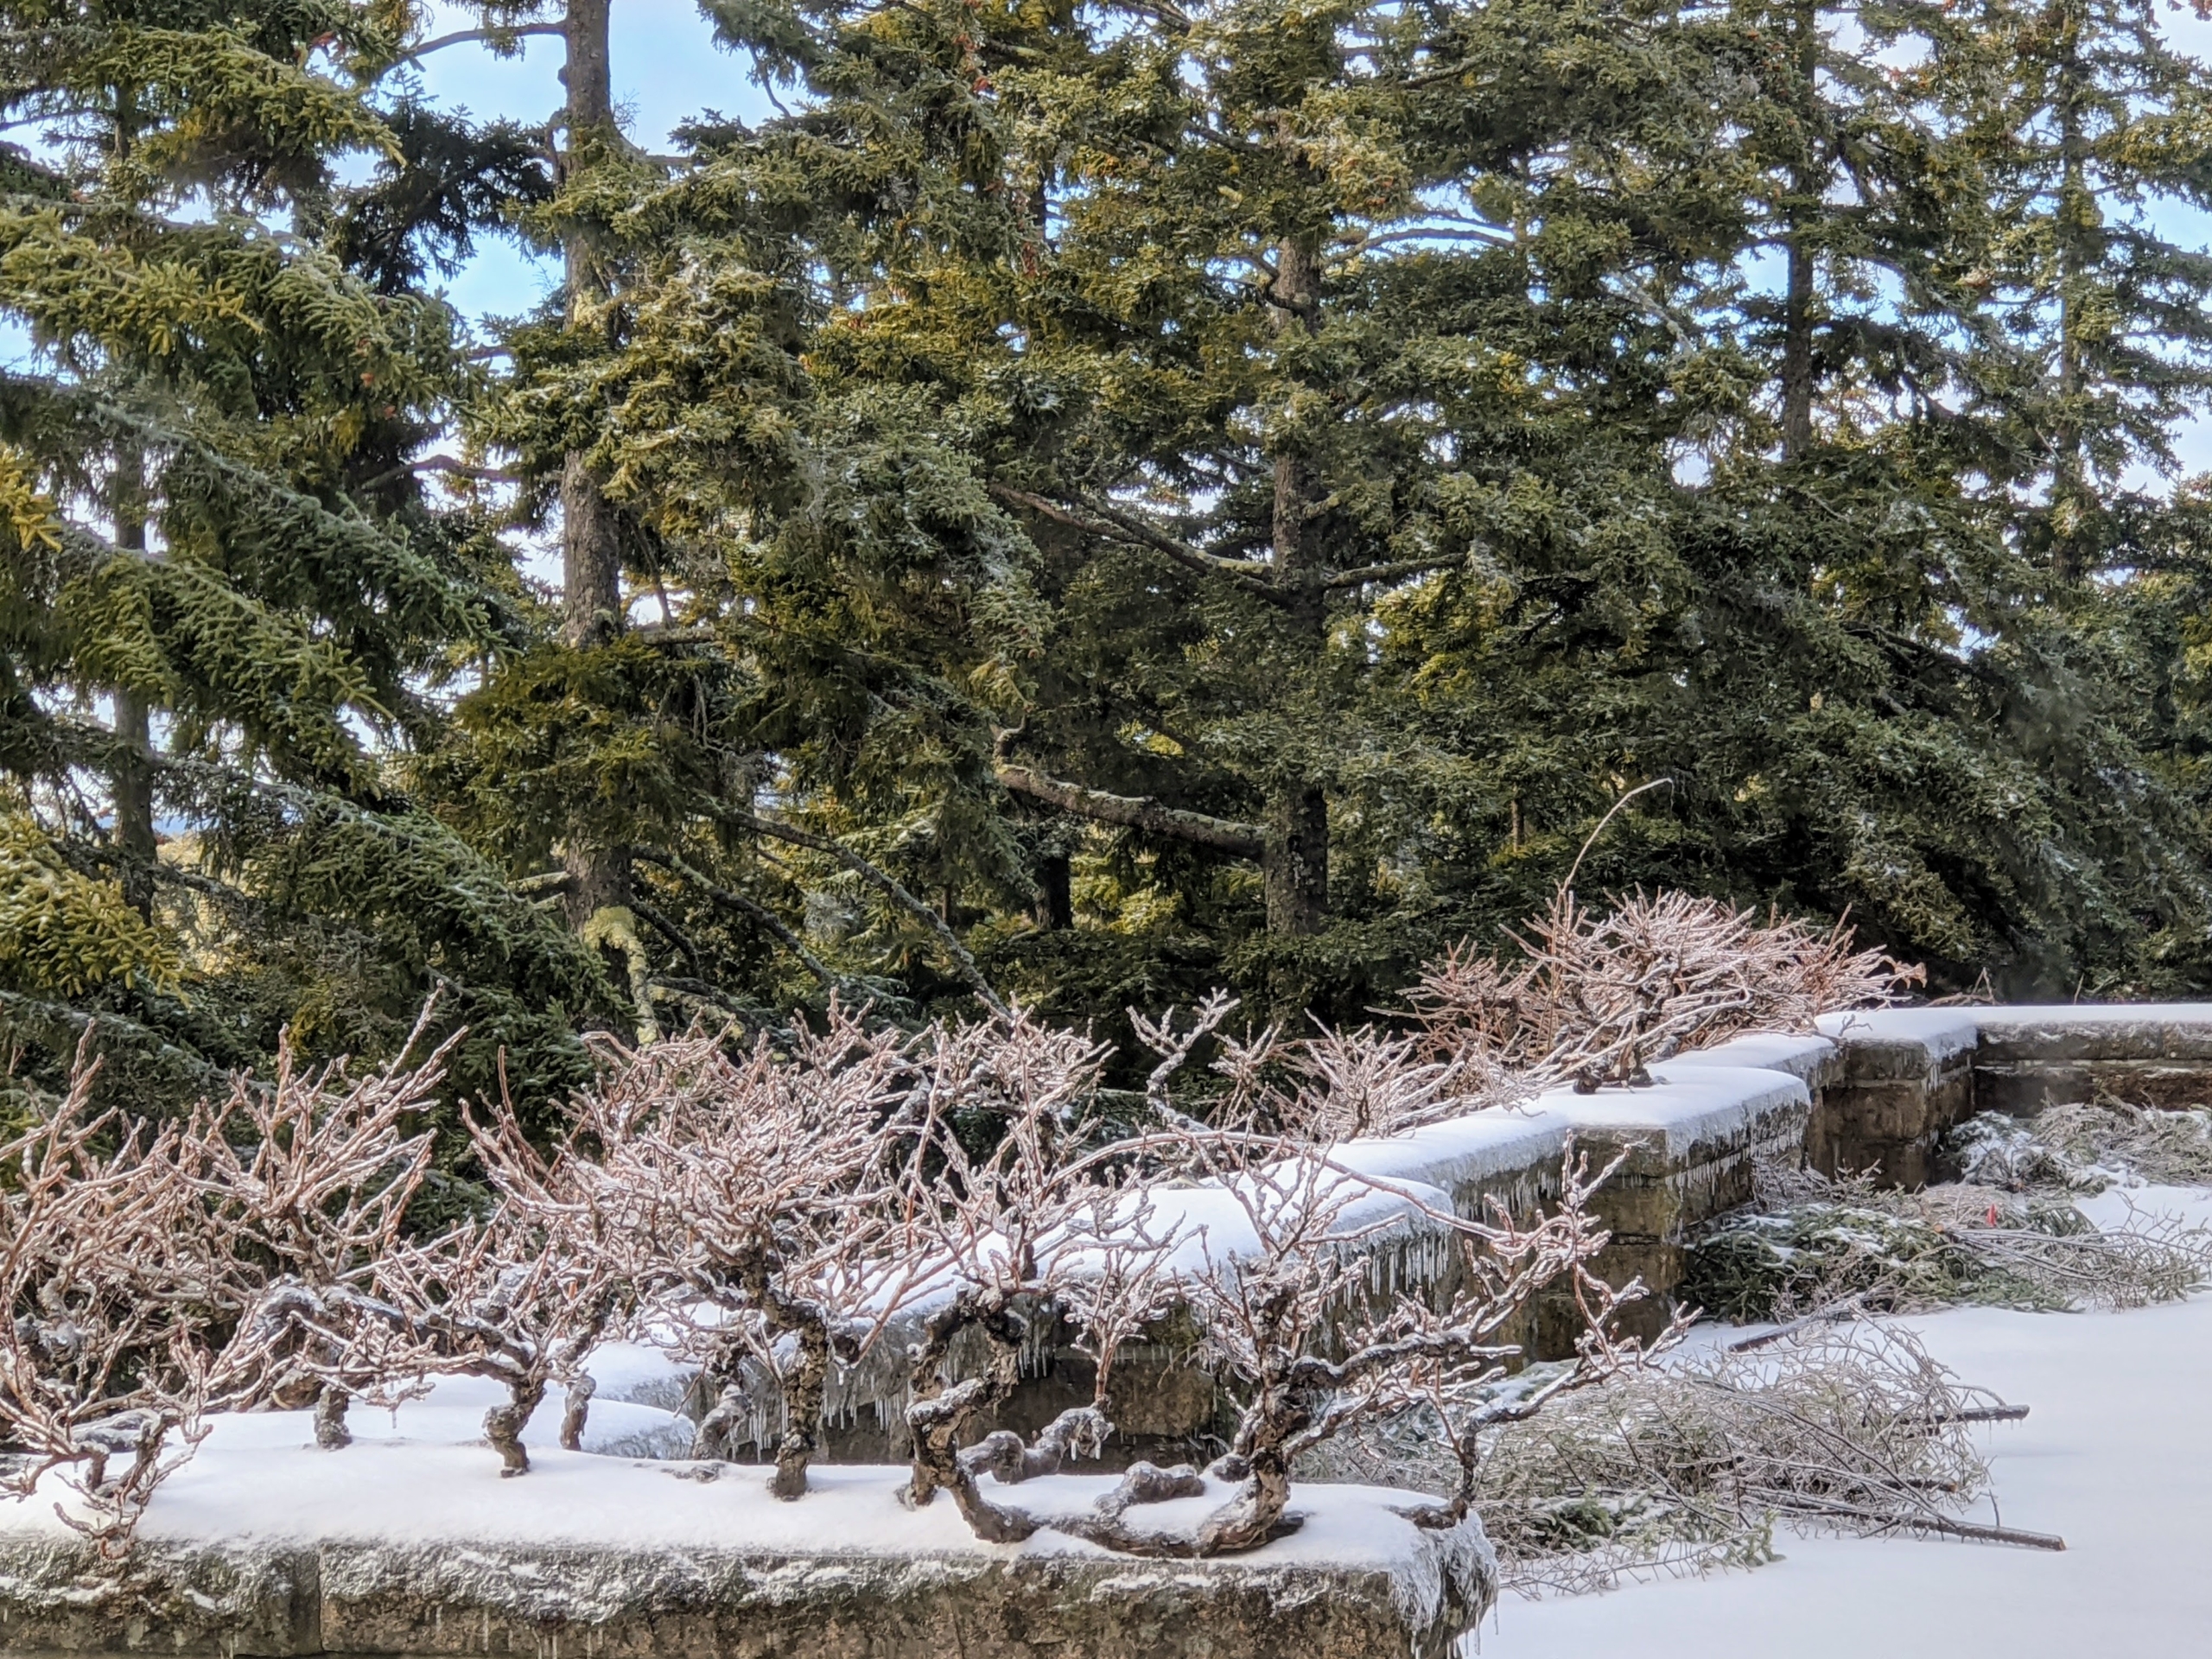
This witch hazel is not far from my Counsel Circle. It, too, was covered in ice.
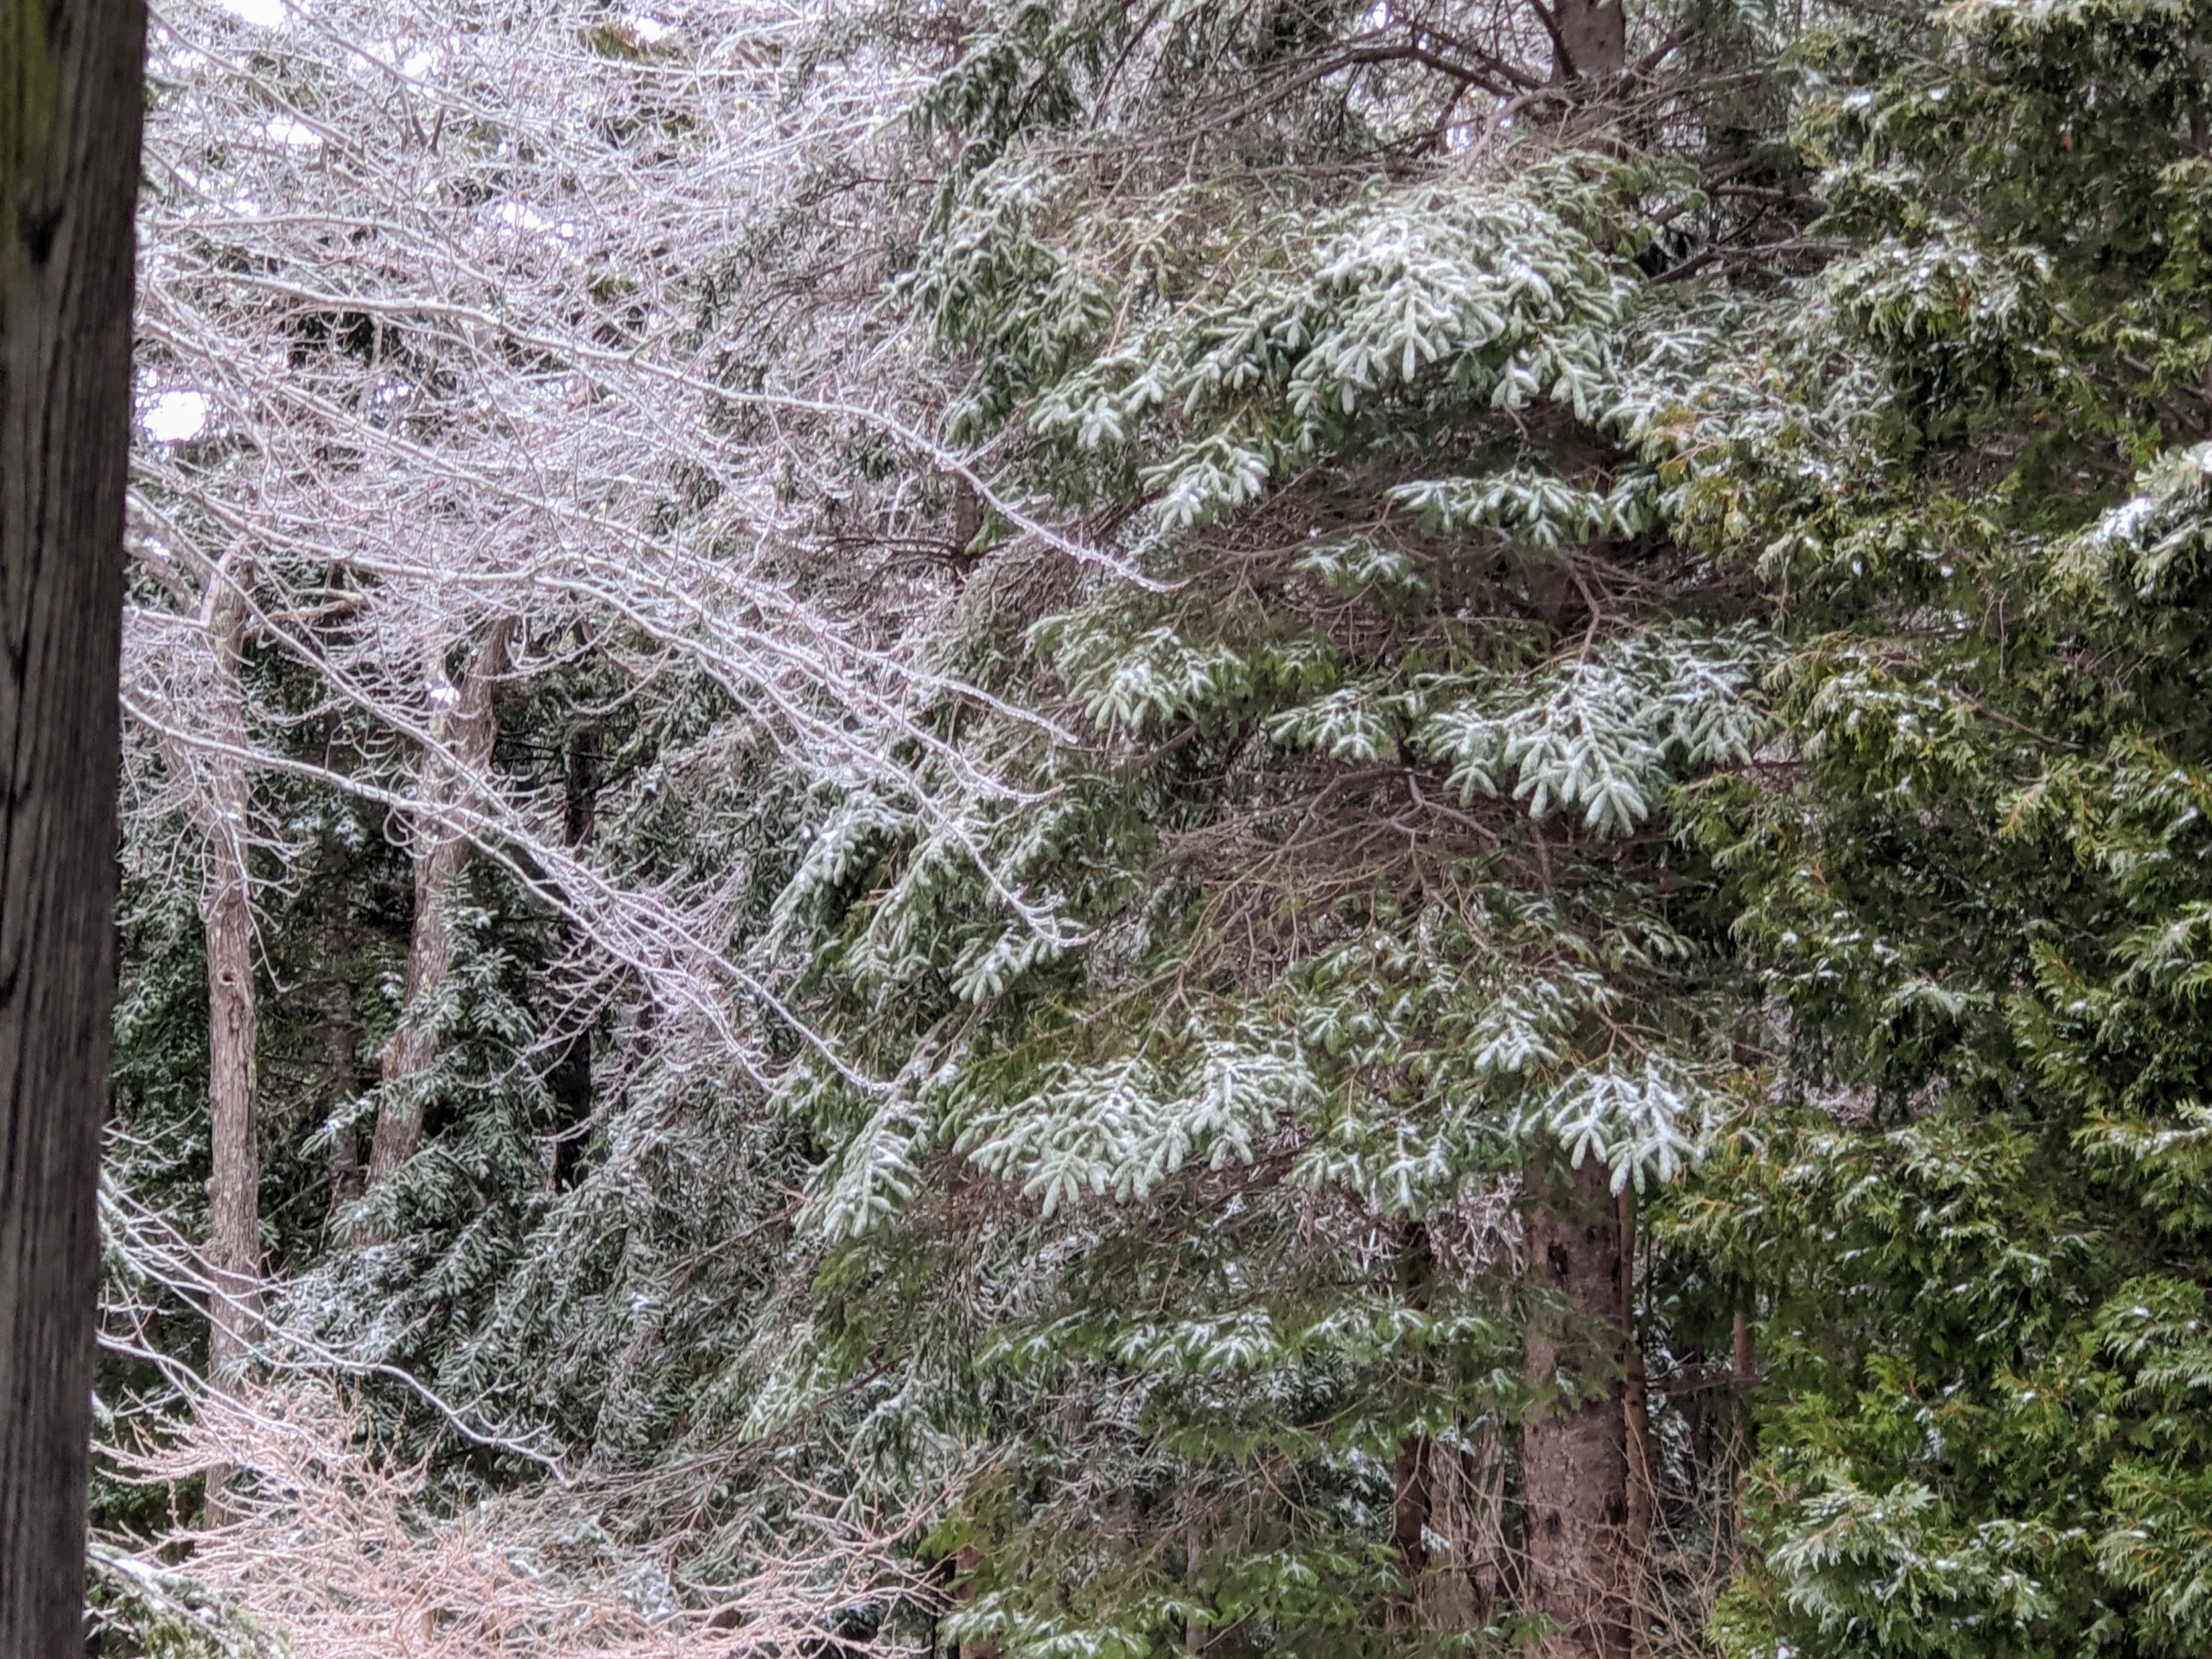
Across the witch hazel on this back driveway, the evergreens were largely coated in white – looks like powdery snow, but it is all sleet and ice.
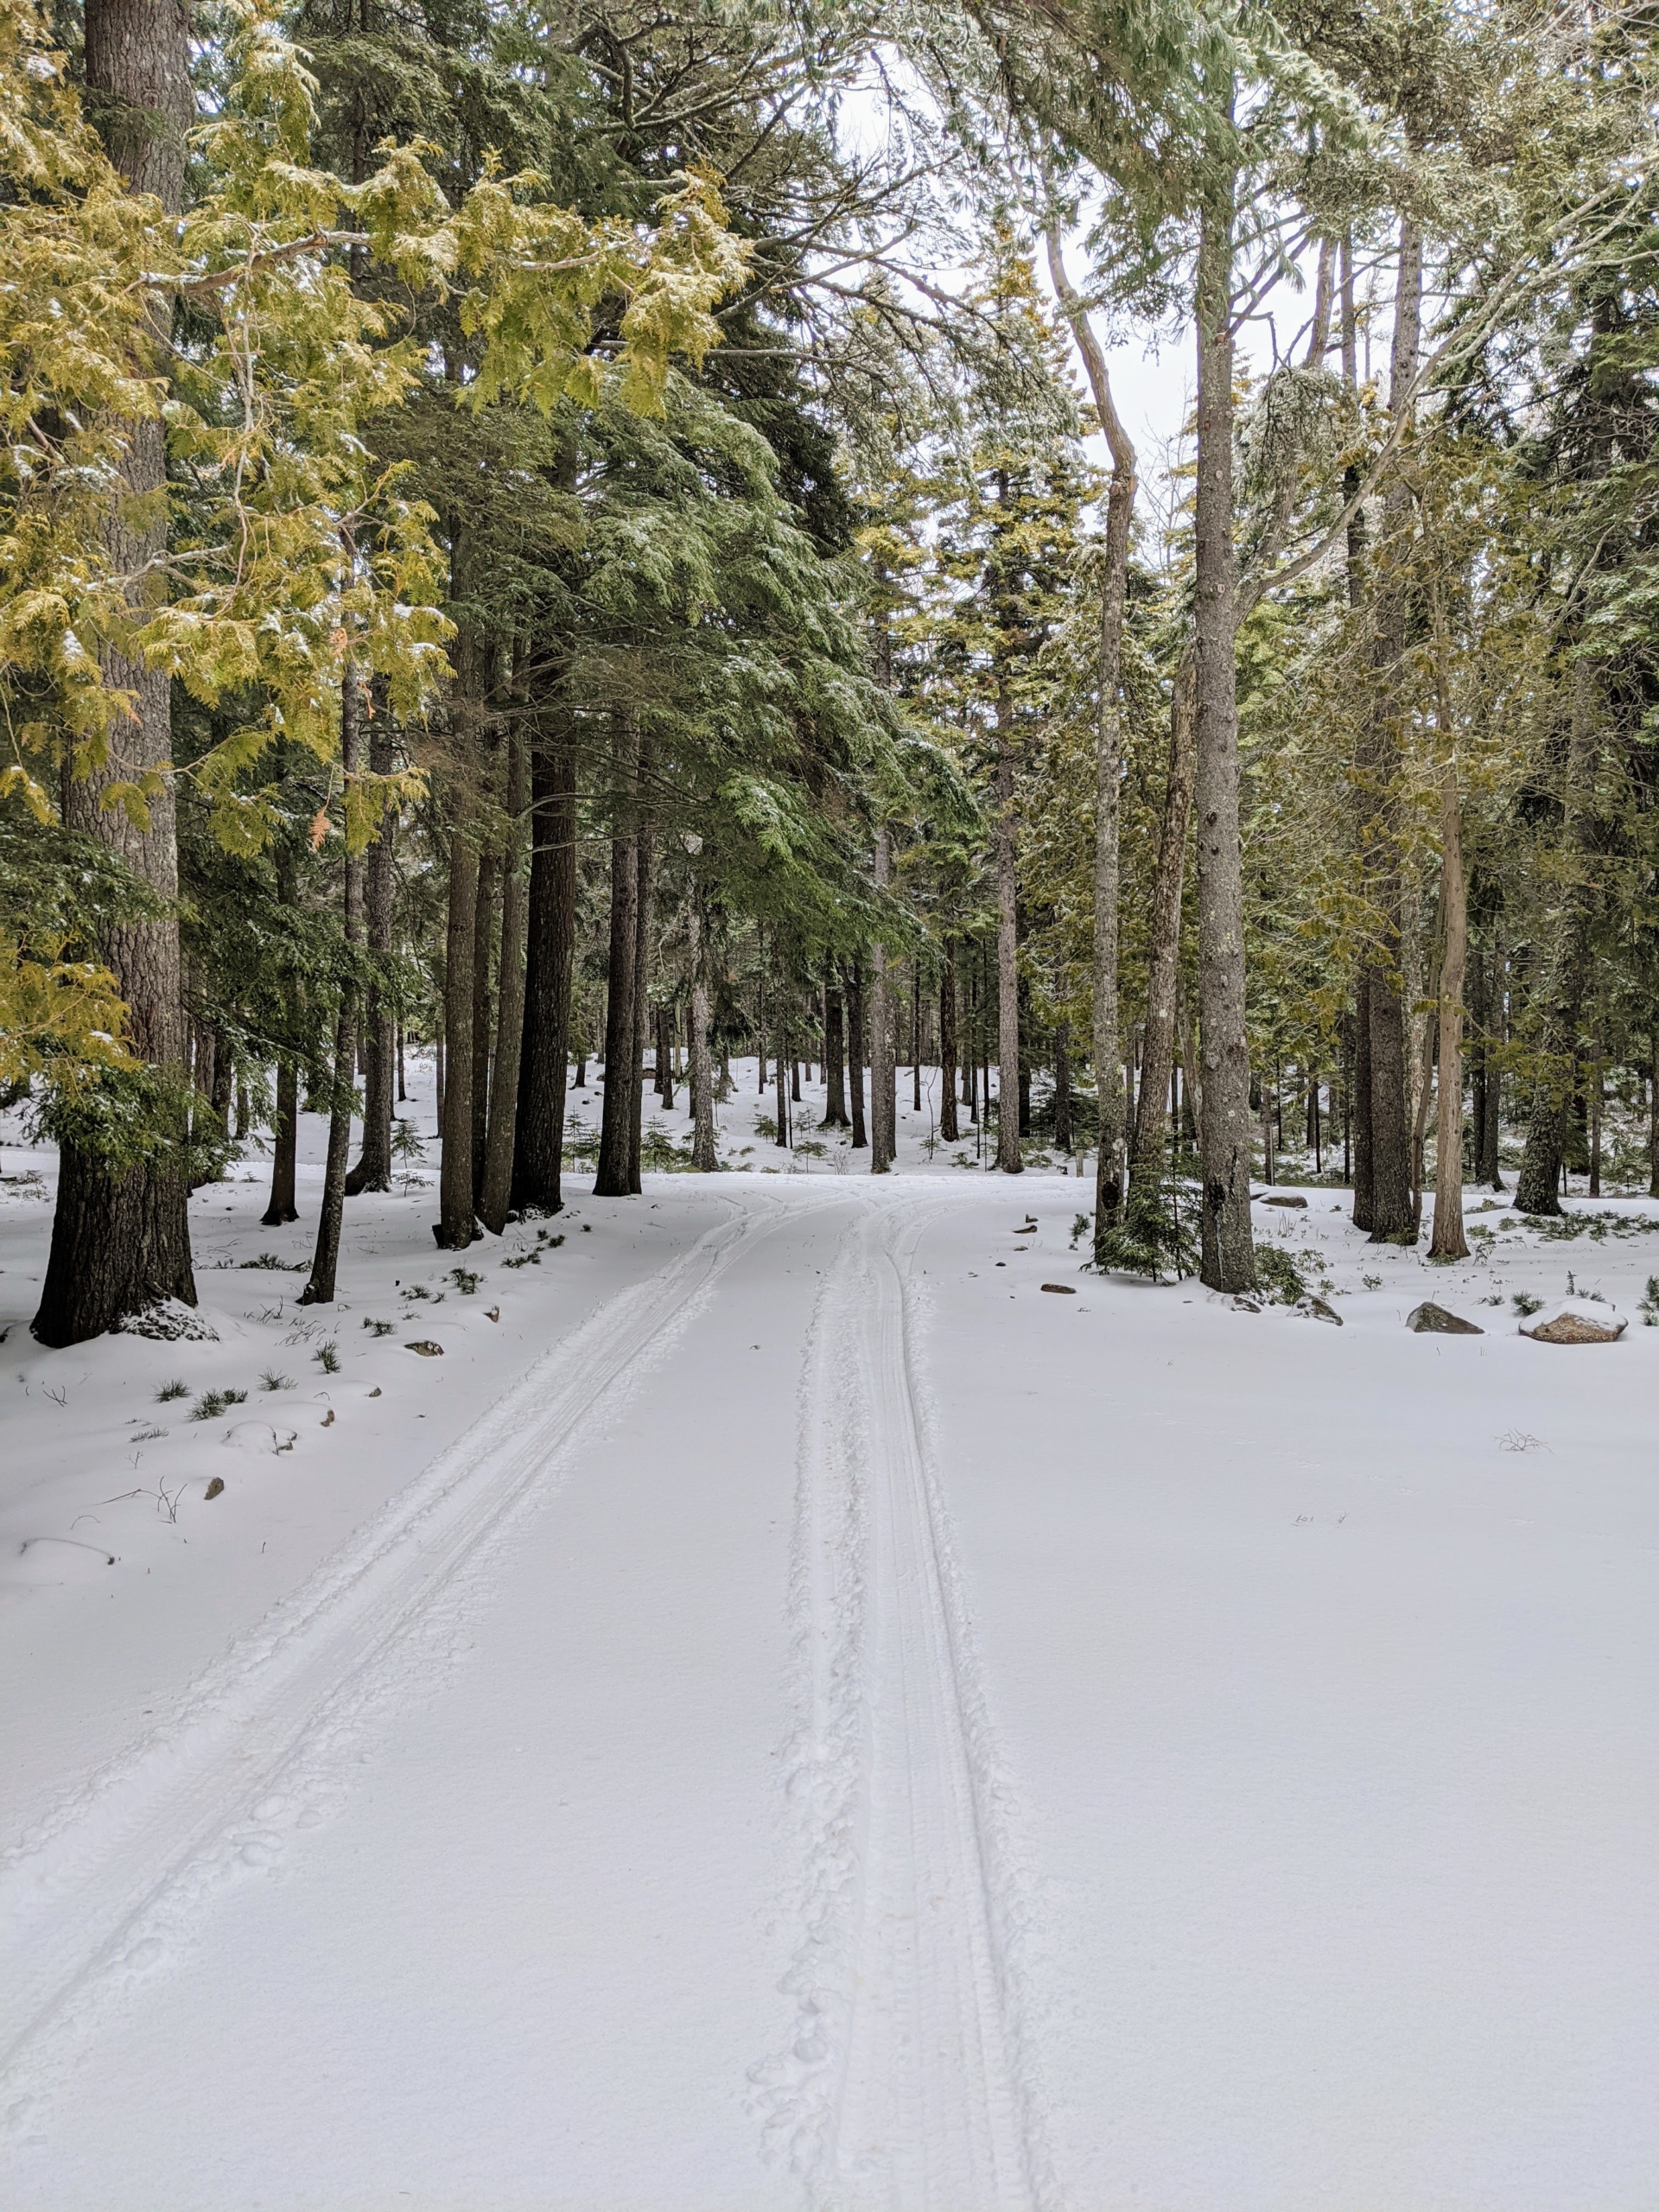
And on this carriage road, more than four inches of actual sleet – nothing powdery here.
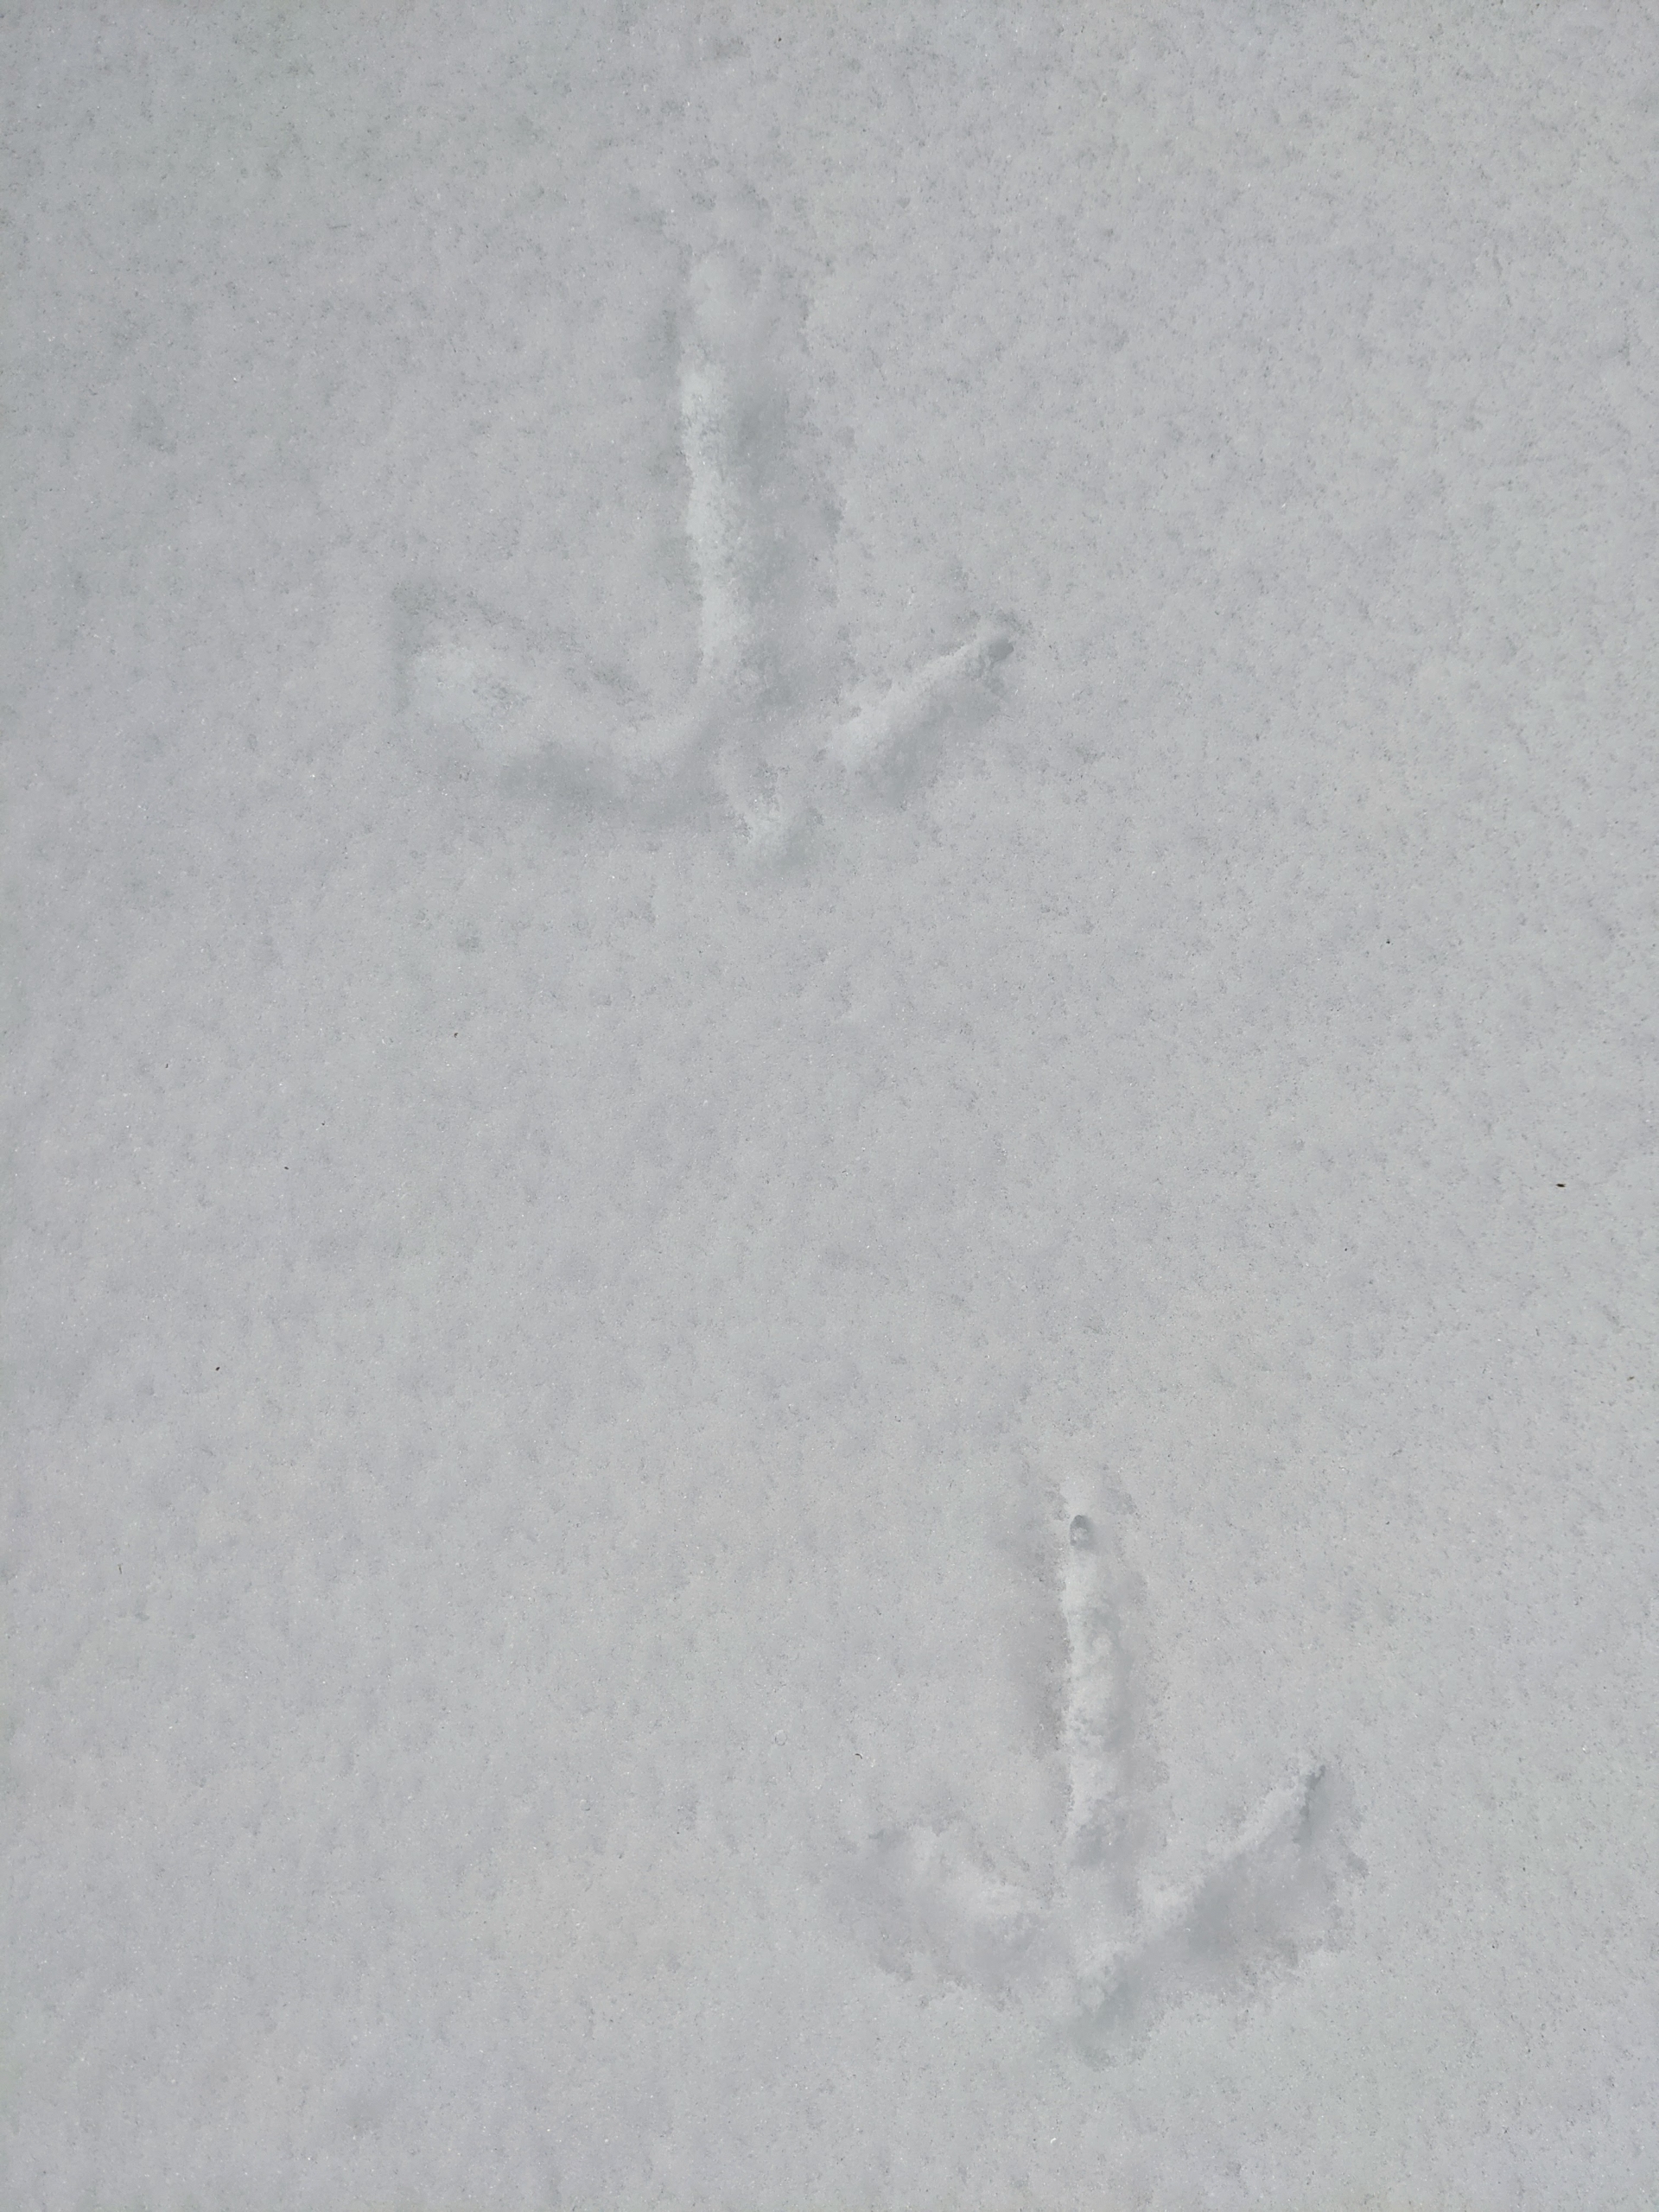
Cheryl also saw these tracks – do you know what kind of animal tracks these are? They’re the prints of wild turkey. A path of them walked across the road and into the woodland.
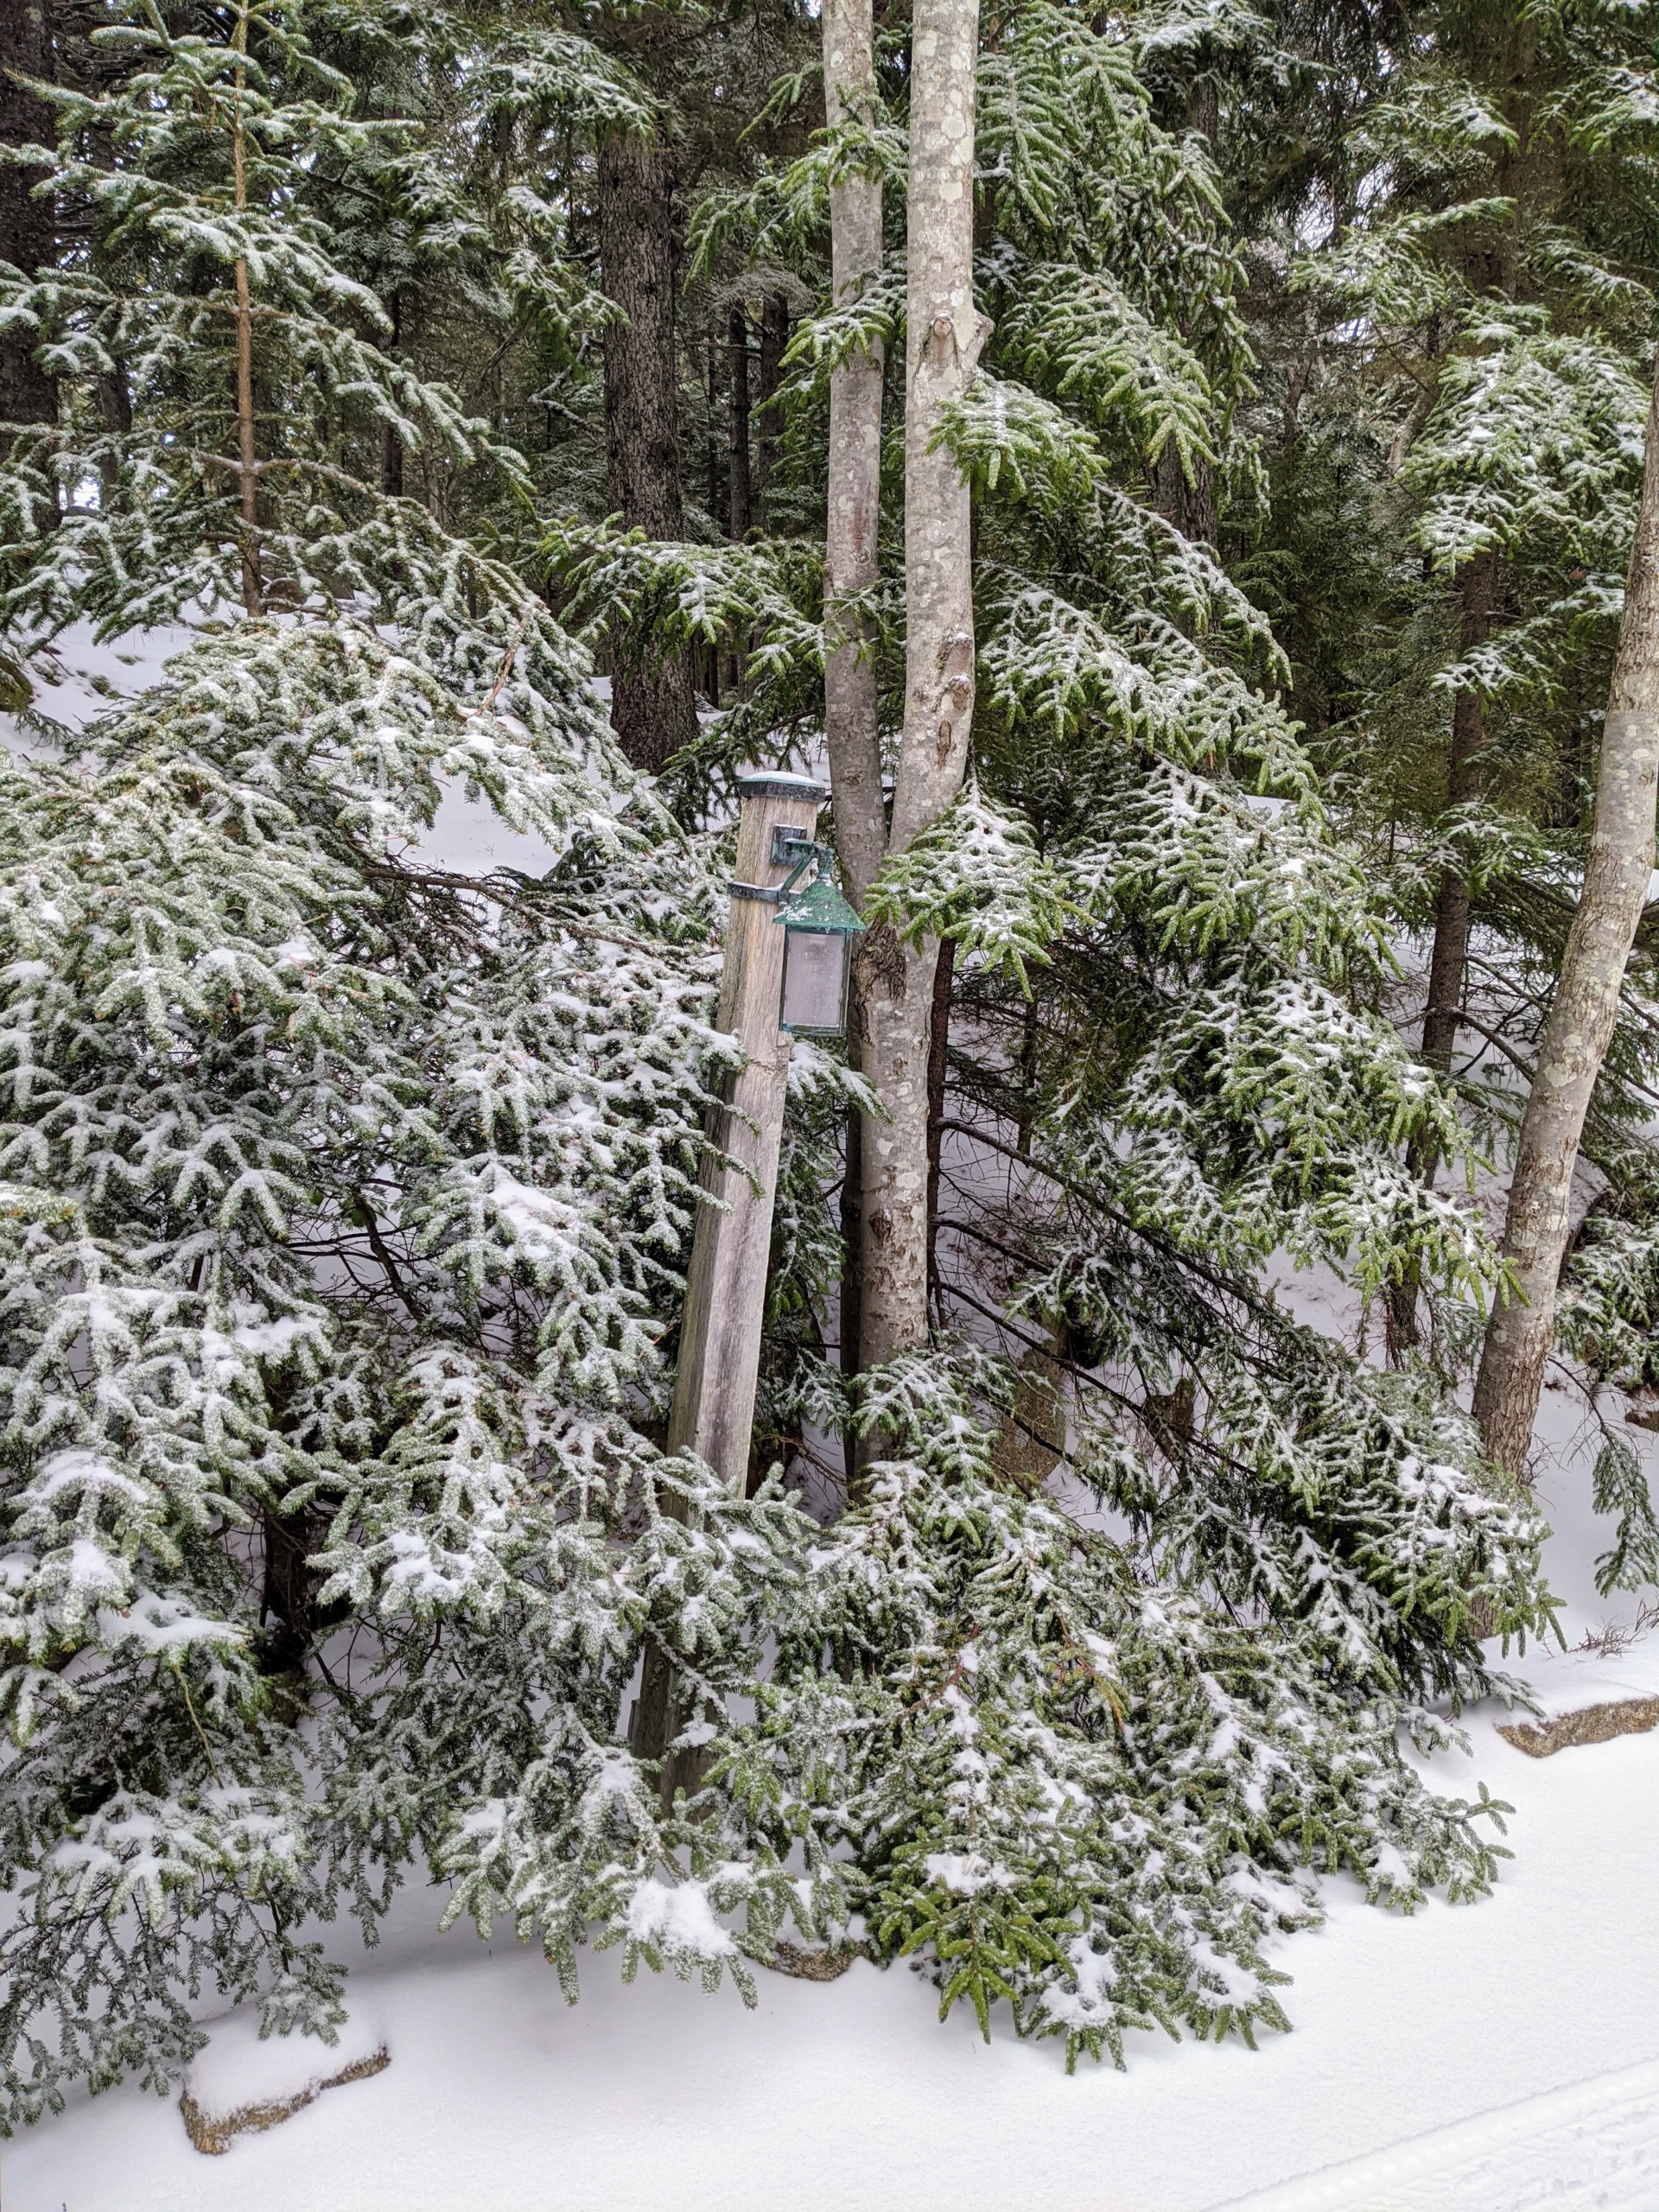
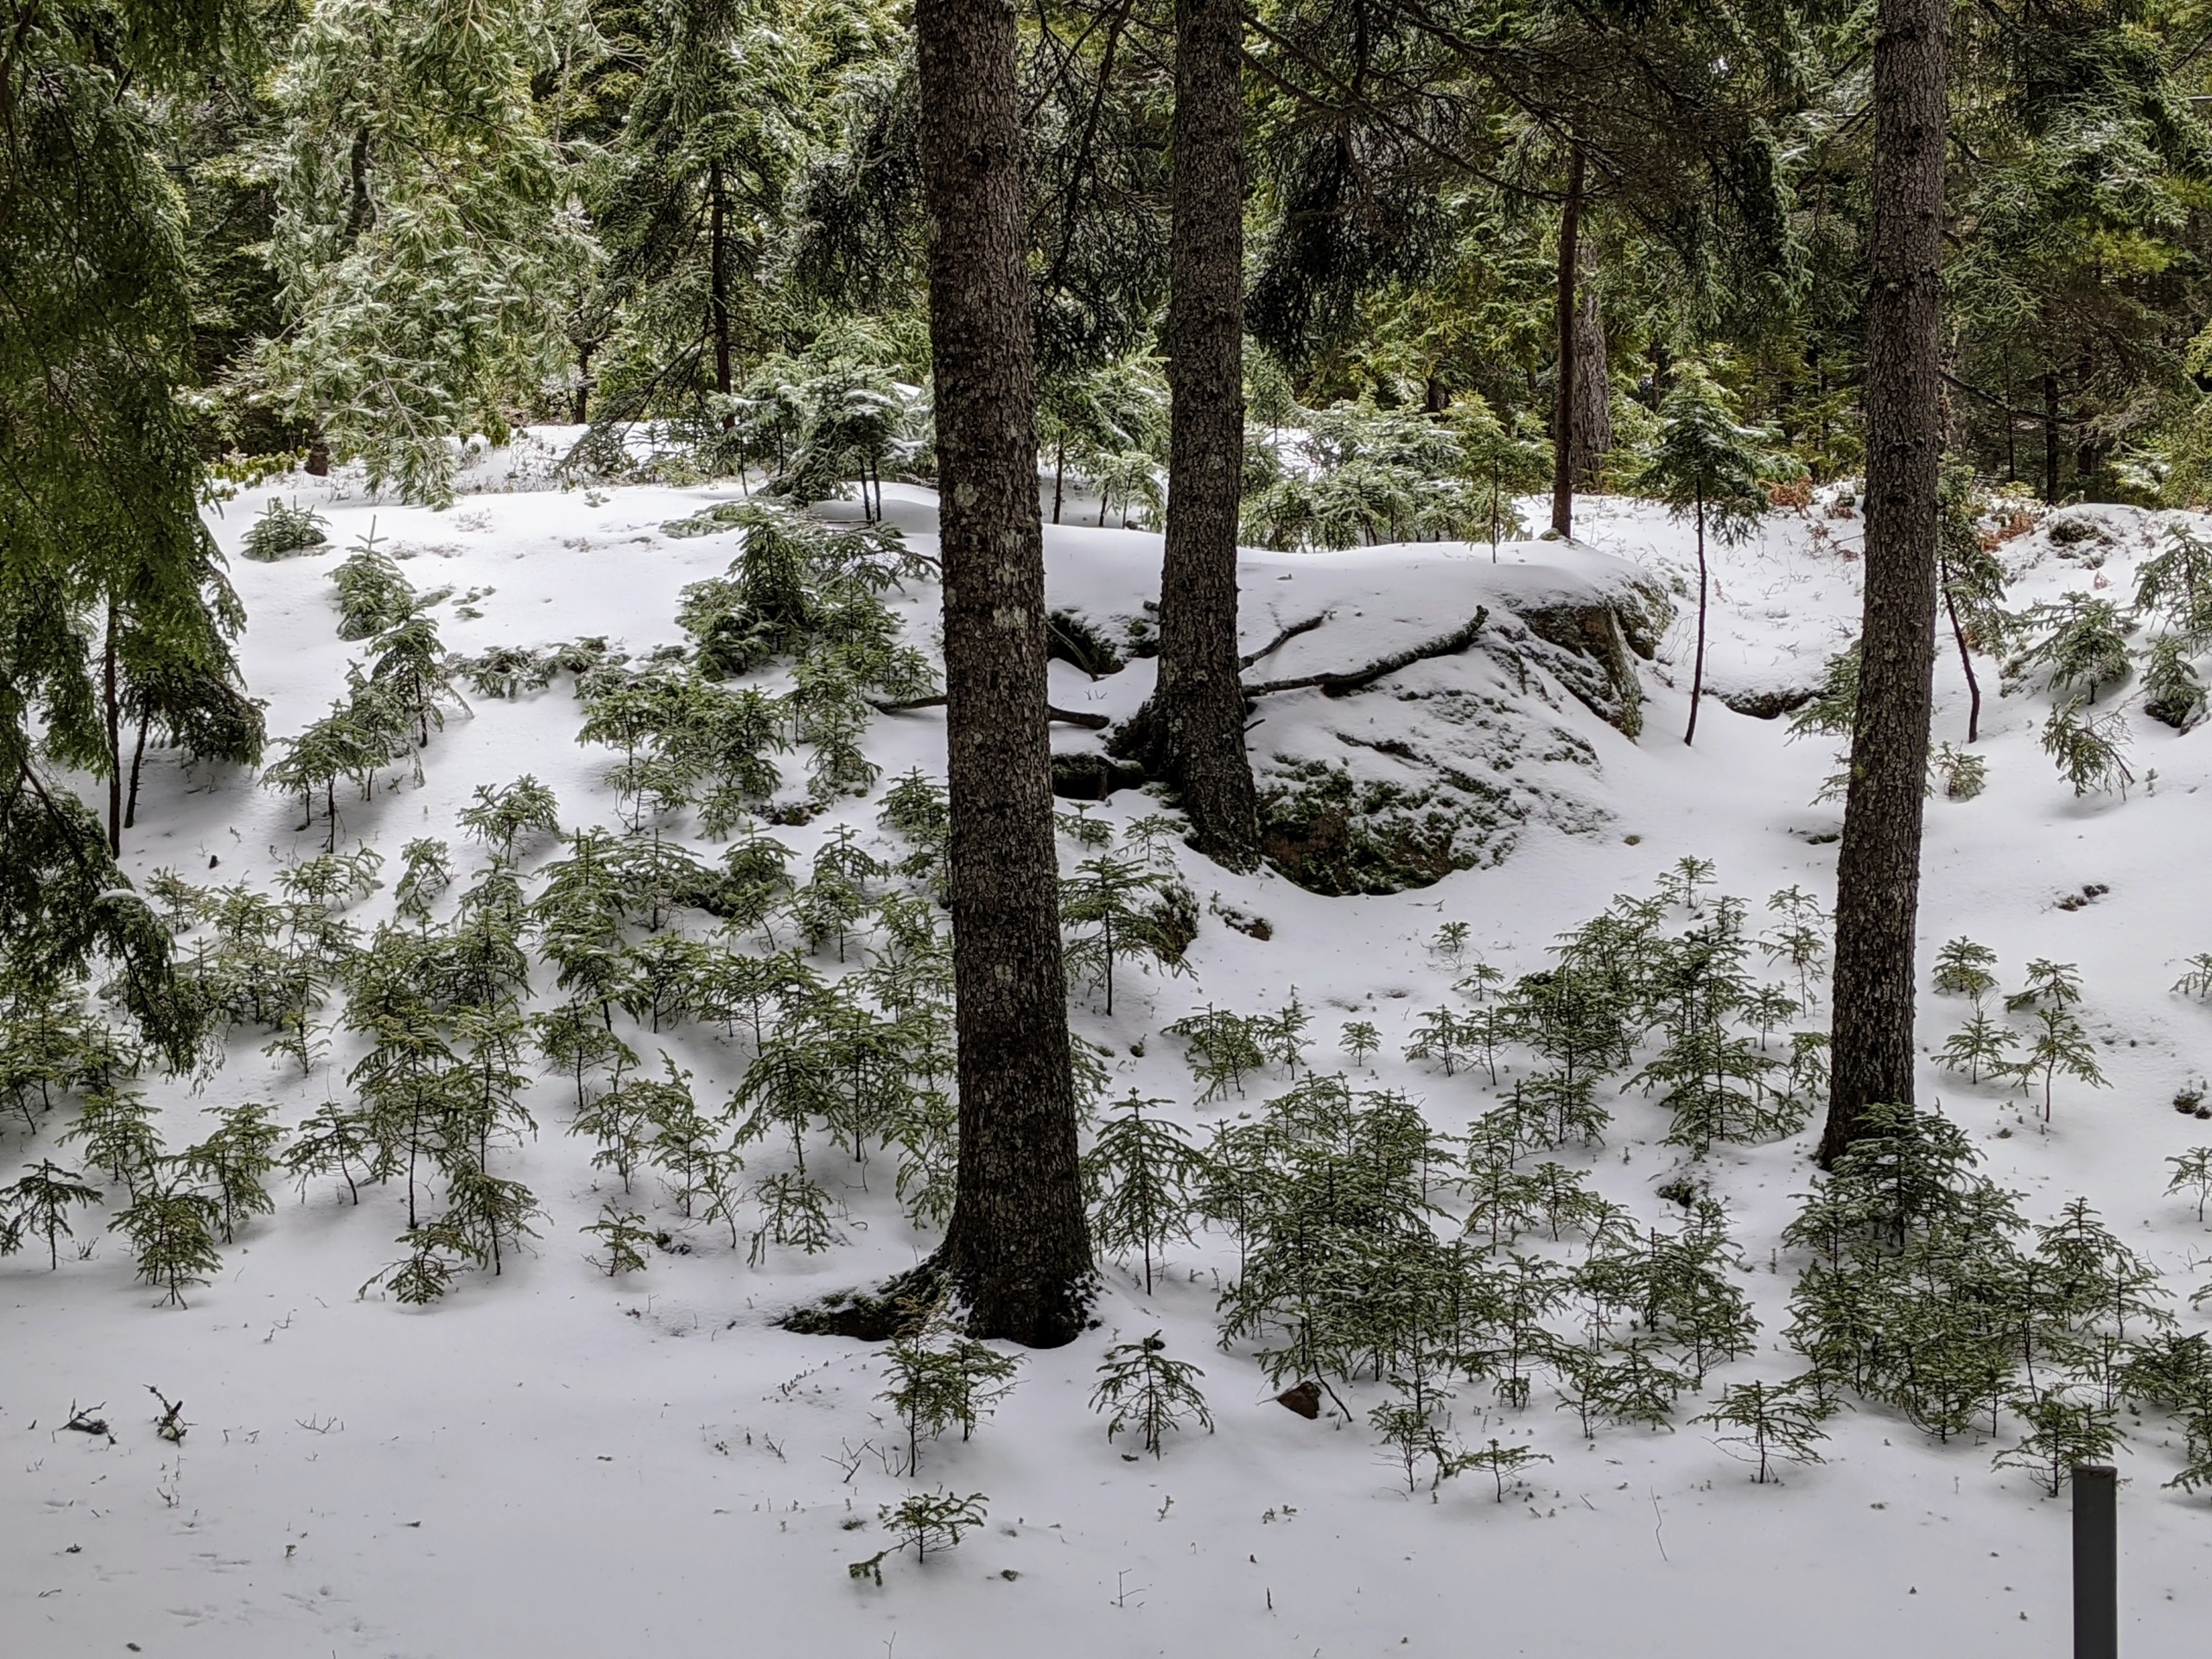
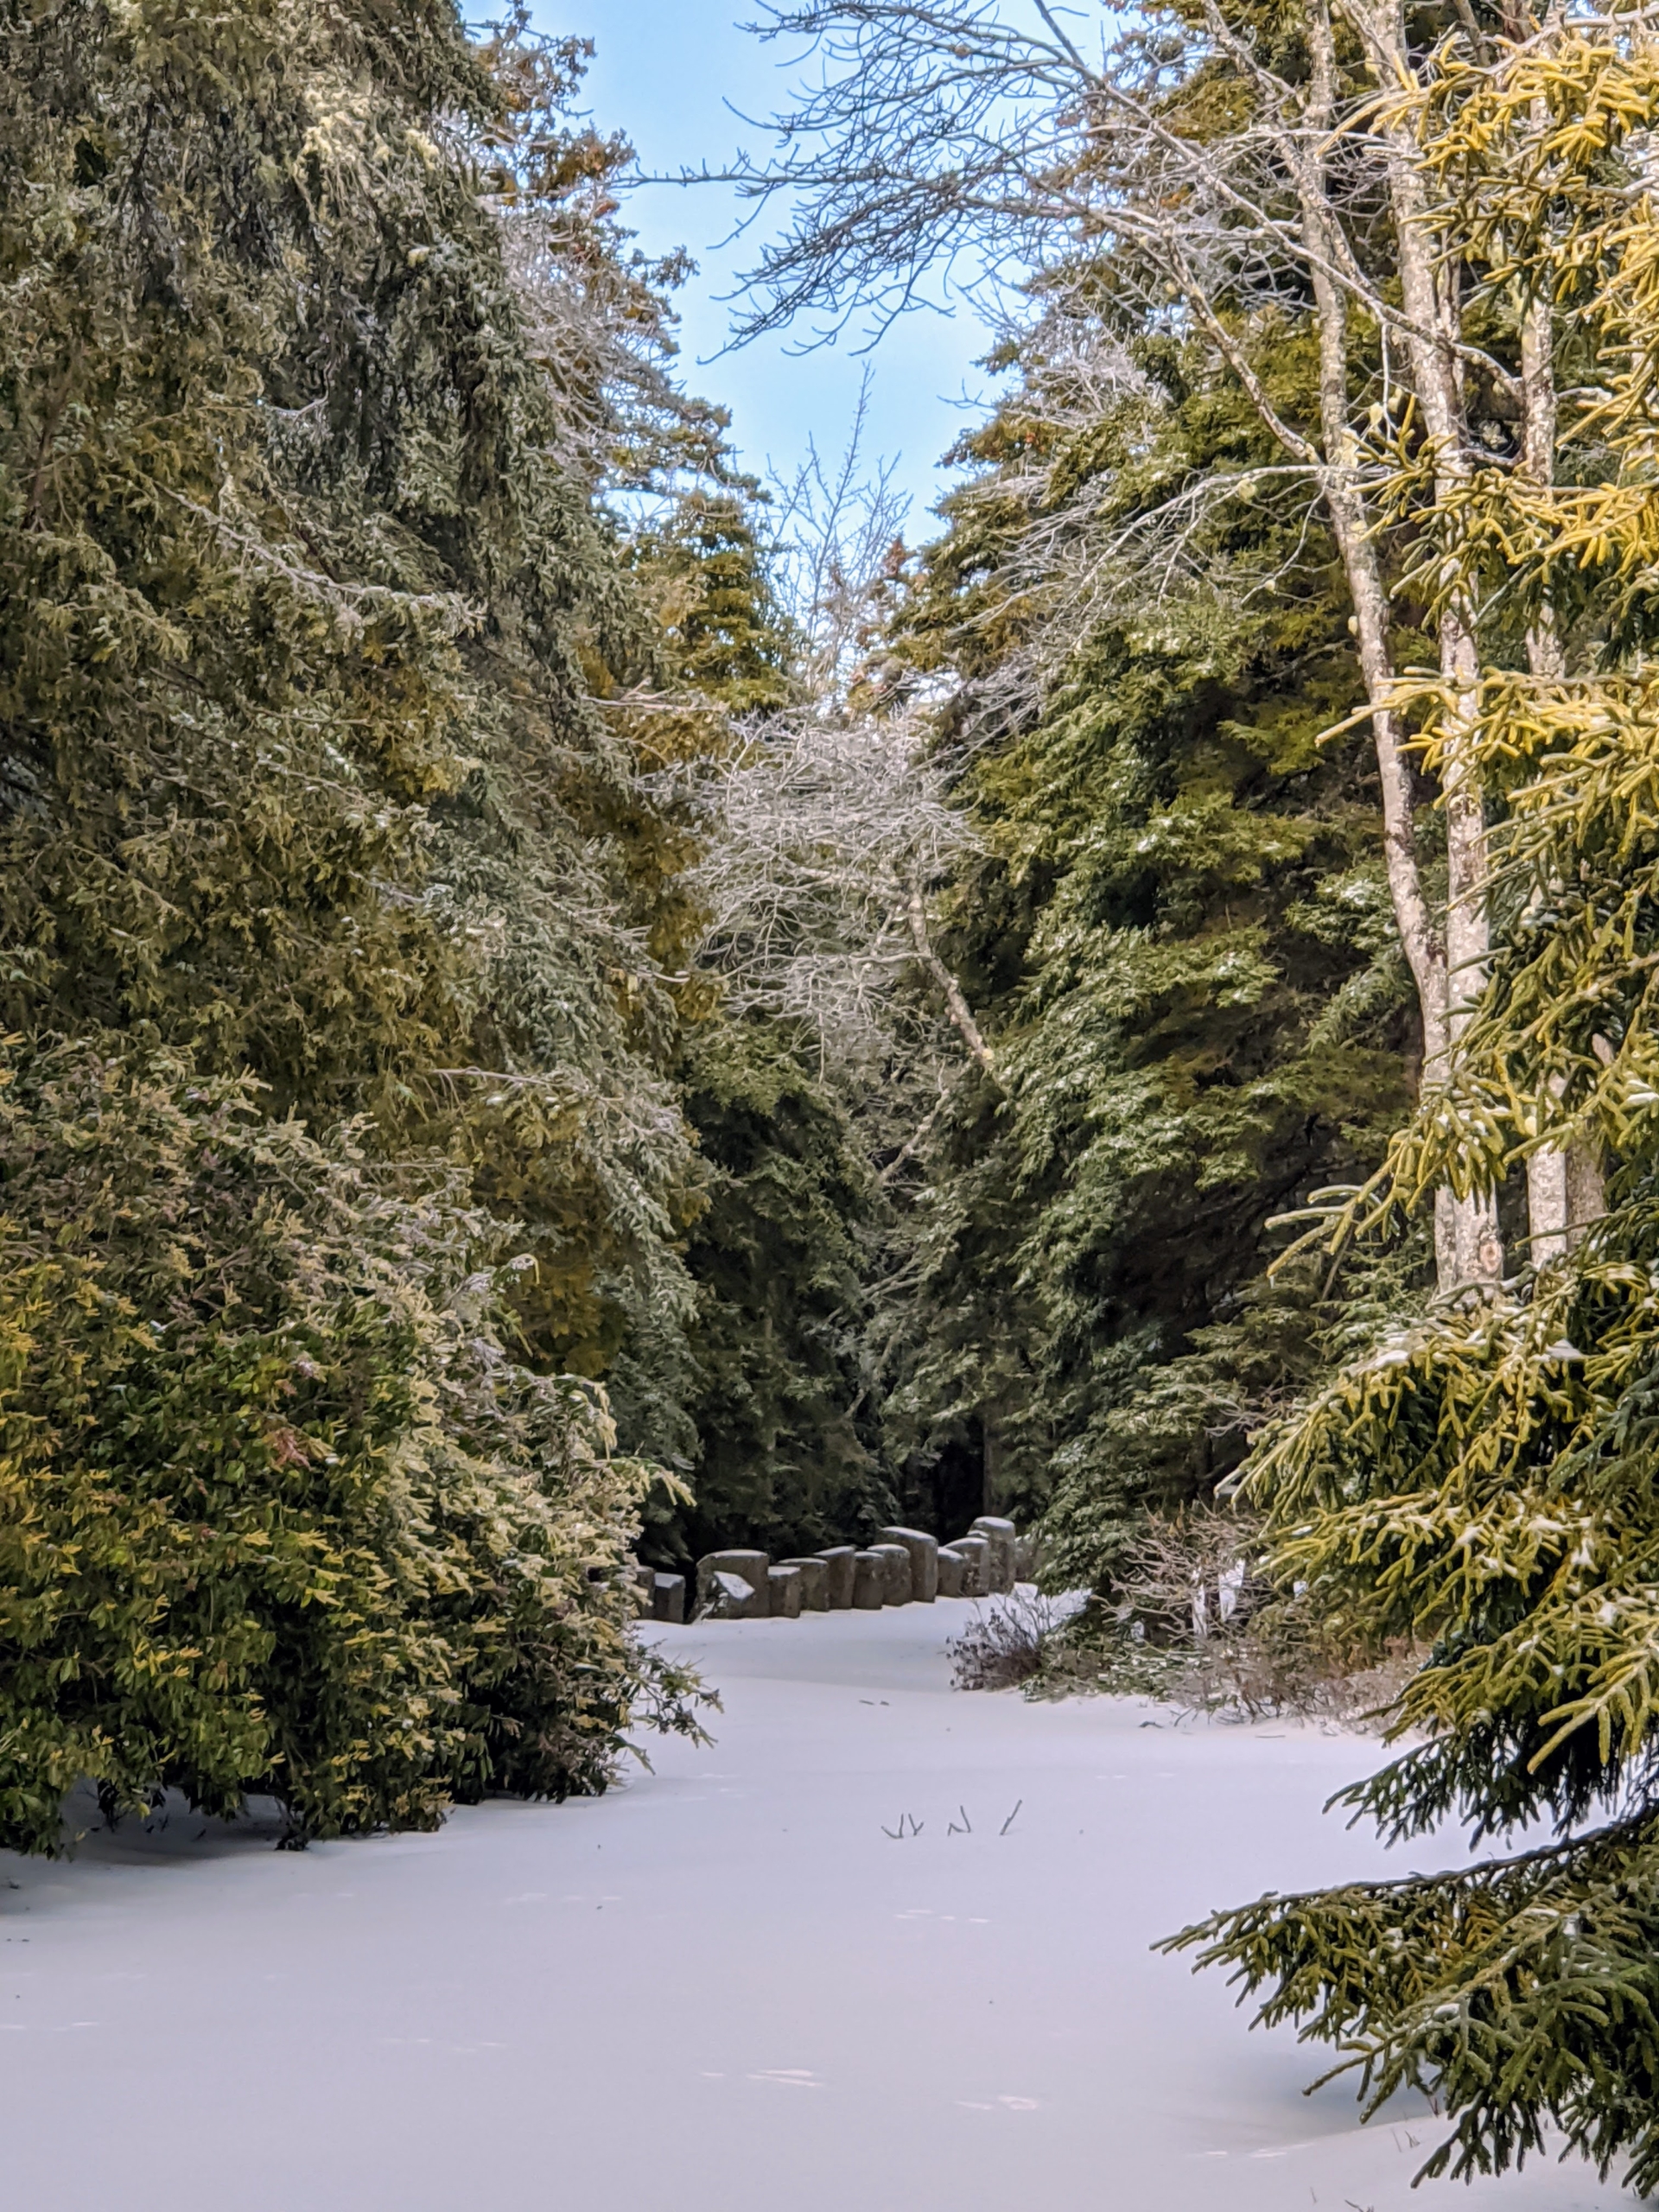
This is one view looking into the woods. It is directly across the main driveway. My daughter, Alexis, likes to help “clean the woods” here in summer, clearing the fallen brush and wild saplings that pop up.
These are the steps from the back porch leading to the front of the house – all of them covered in a layer of ice.
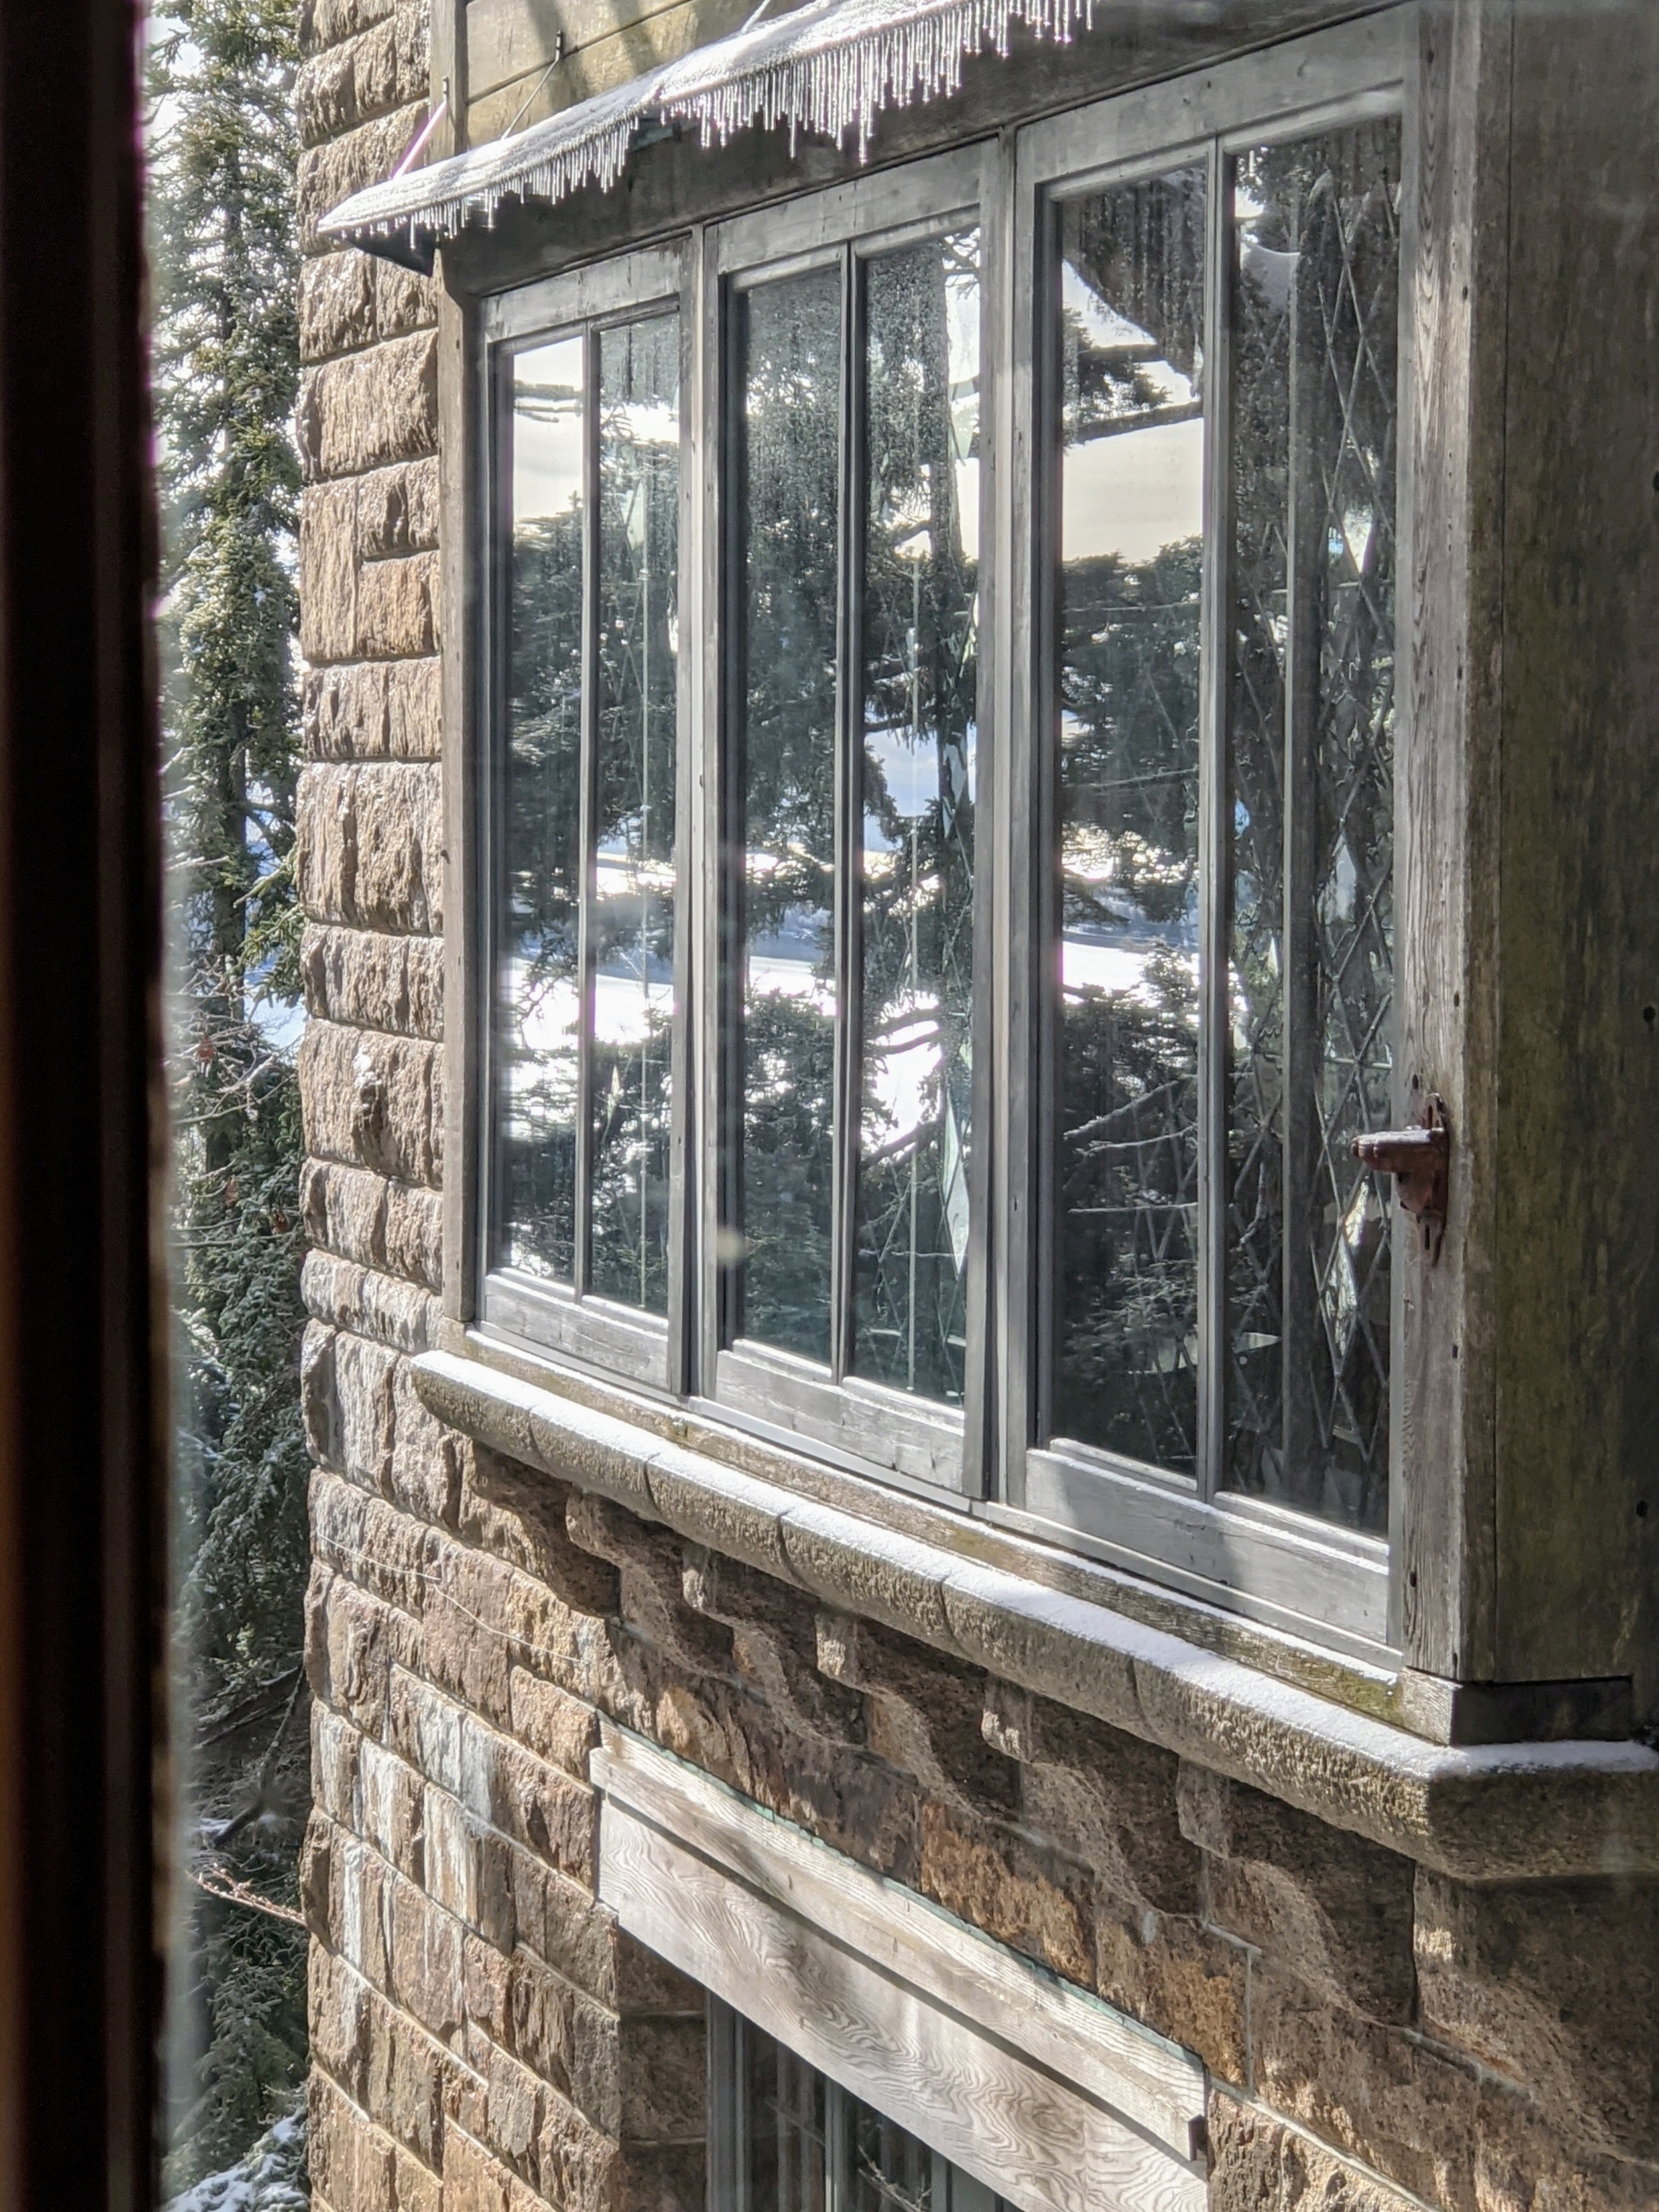
At midday, one could see a reflection in the leaded and storm dining room windows that face east. By this time, the sun was coming out and the skies were turning blue.
Here’s a view looking west from my large terrace. On the ledge is my long granite trough covered for winter. In front of it is another covered planter.
Also on the terrace ledge, the old kiwi vines now bare of any foliage. The branches on the ground are pruned cuttings – we use them to cover the flower beds during this cold season.
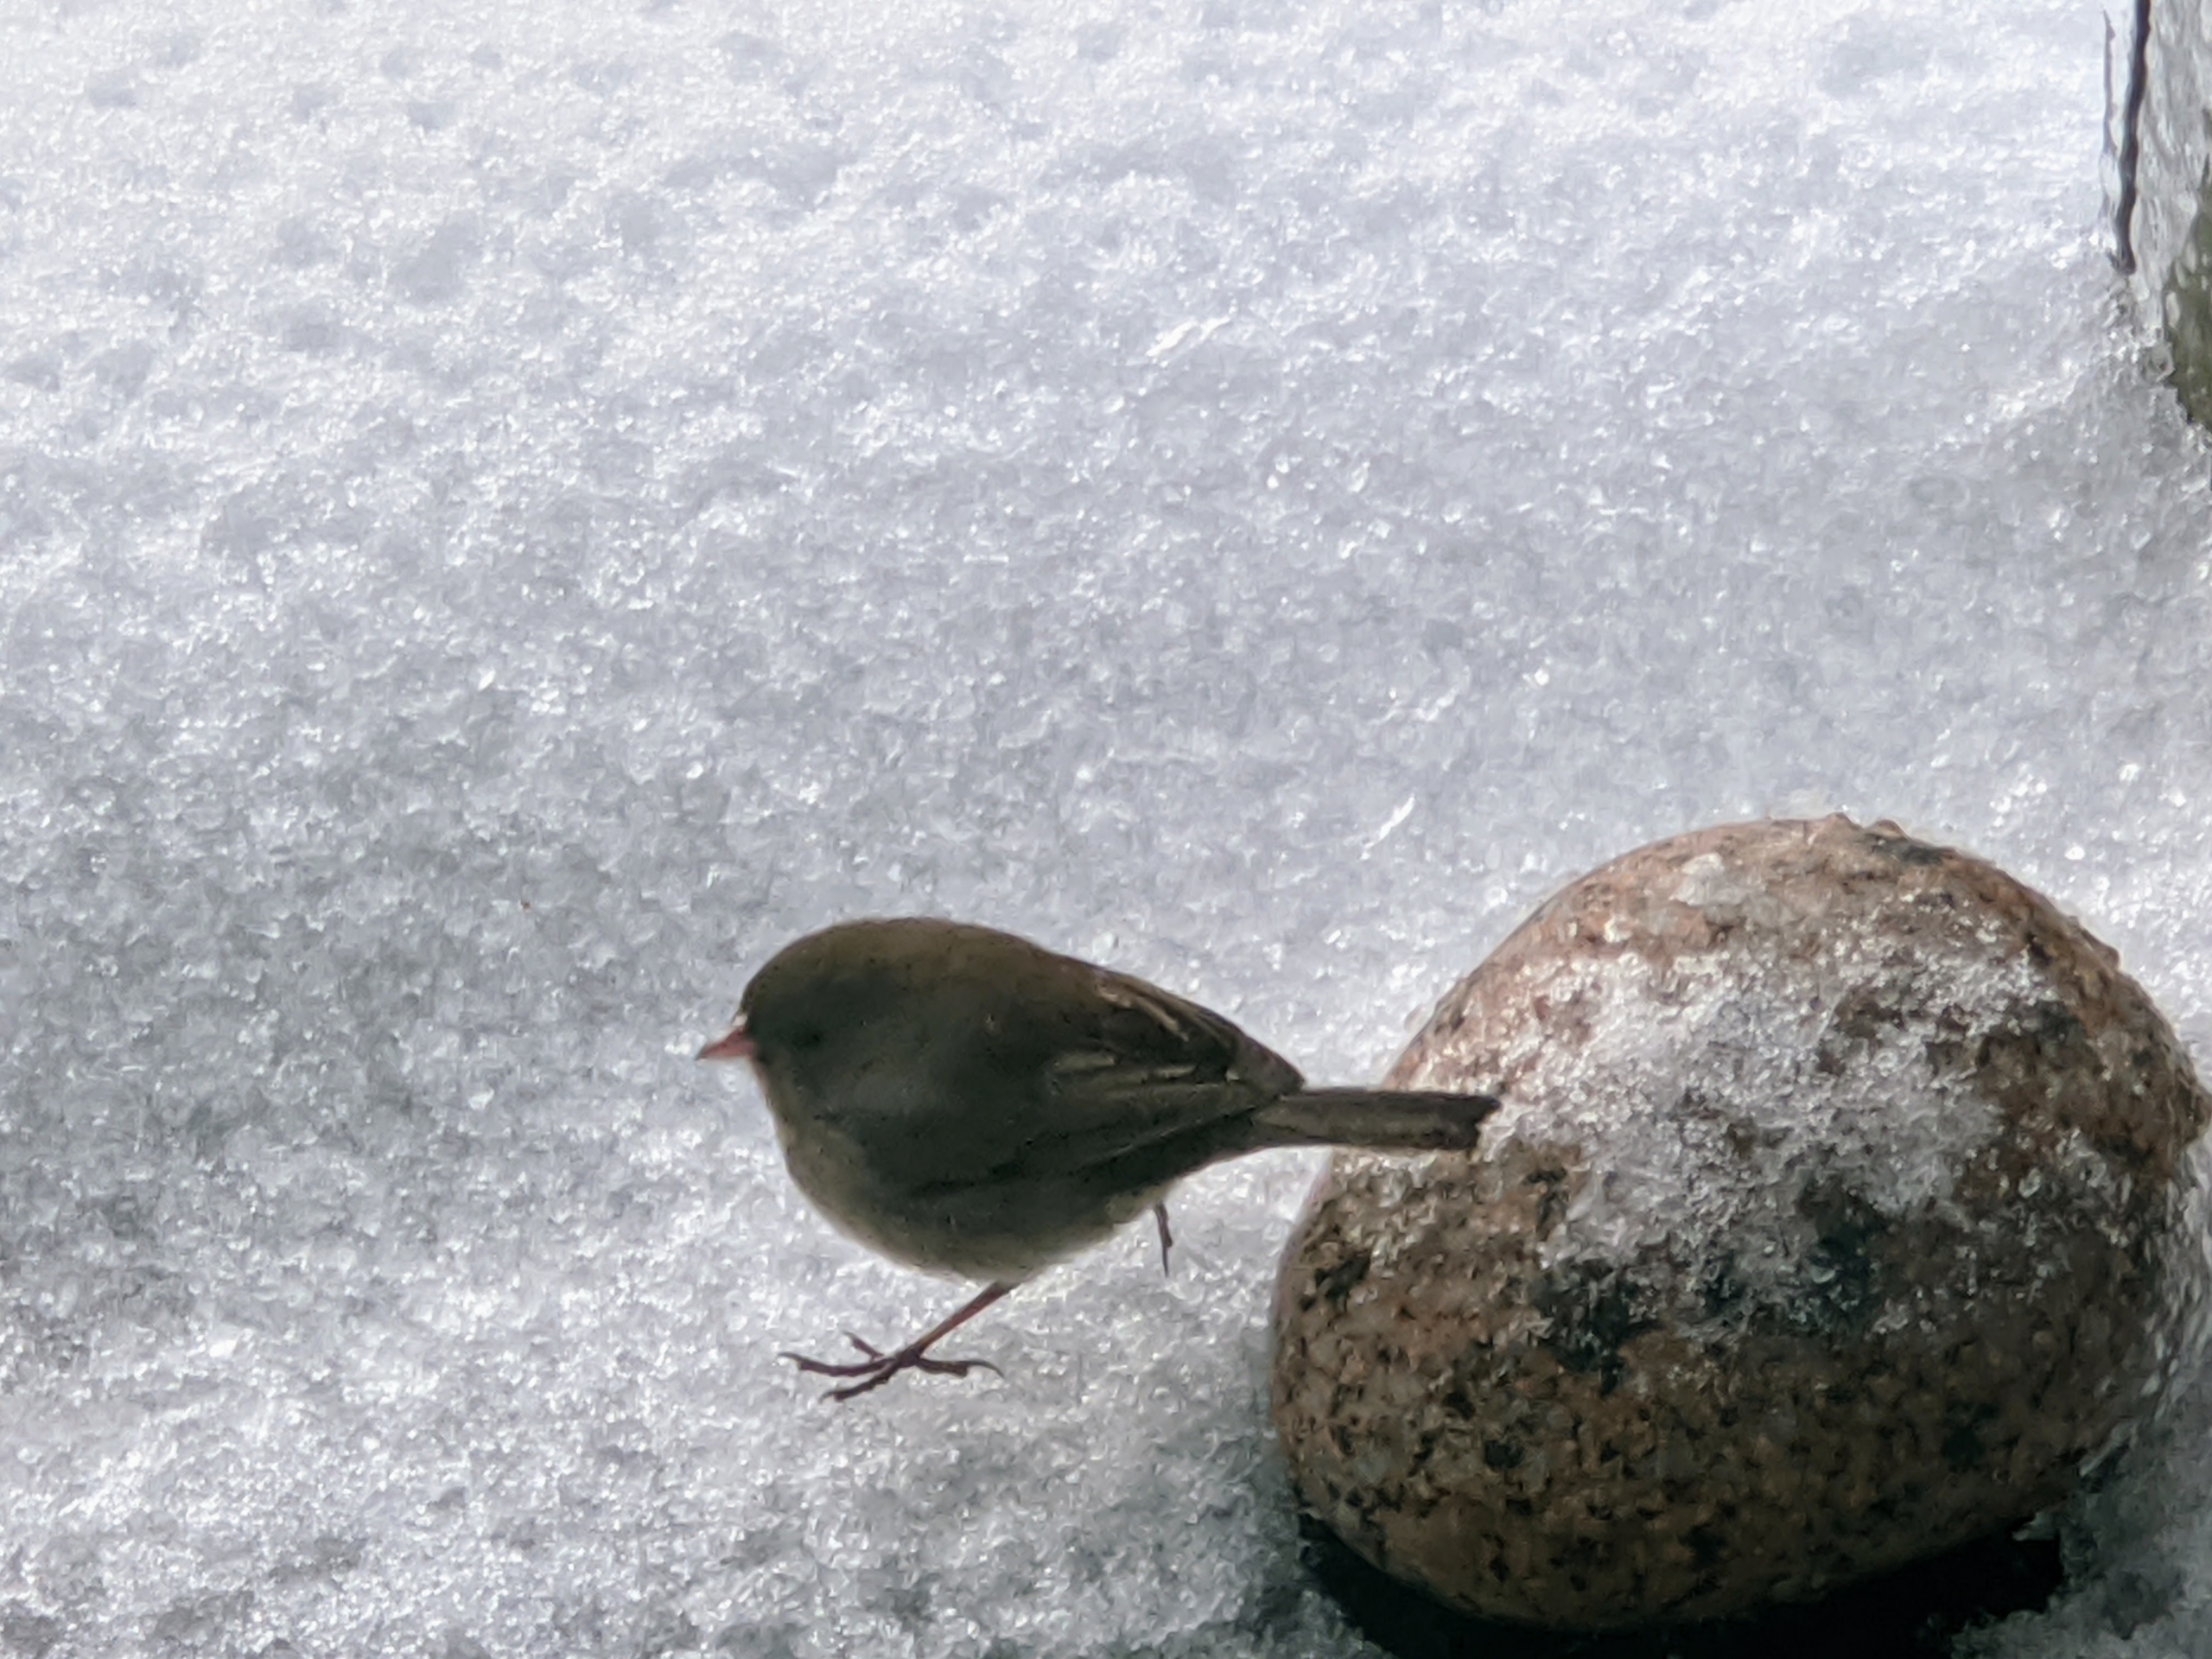
Cheryl also took a quick photo of this junco bird. A junco is a handsome little bird about five inches long. It can be found across the continent, from Alaska to Mexico, California to New York. These birds often travel in flocks and mostly forage for food on the ground.
This is the corner of the ledge looking out to Sutton Island. According to legend, a local native chief sold Sutton Island, one of the five Cranberry Islands, to Ebenezer Sutton in 1755 for two quarts of rum.
Here’s another view of Sutton Island from an upstairs terrace. A wildlife sanctuary, Sutton has no roads or shops and is just served by ferries and water taxies.
This photo was taken while standing at the front door looking at the driveway and the front circle of Skylands.
At the circle, one can see the bare smoke bush, Cotinus, all covered in ice. In a few months it will look markedly different with vibrant new foliage, followed by its floral display and then the well-known large, plumelike panicles that give it its smokey appearance.
Here’s a view of the Southwest Harbor, located just west of the southern entrance to Somes Sound.
This giant sugar maple grows outside my dining room. Over Thanksgiving, we strapped it down just before a storm, so its large branches wouldn’t break and damage the house. It came through just fine and continues to look so beautiful in all seasons.
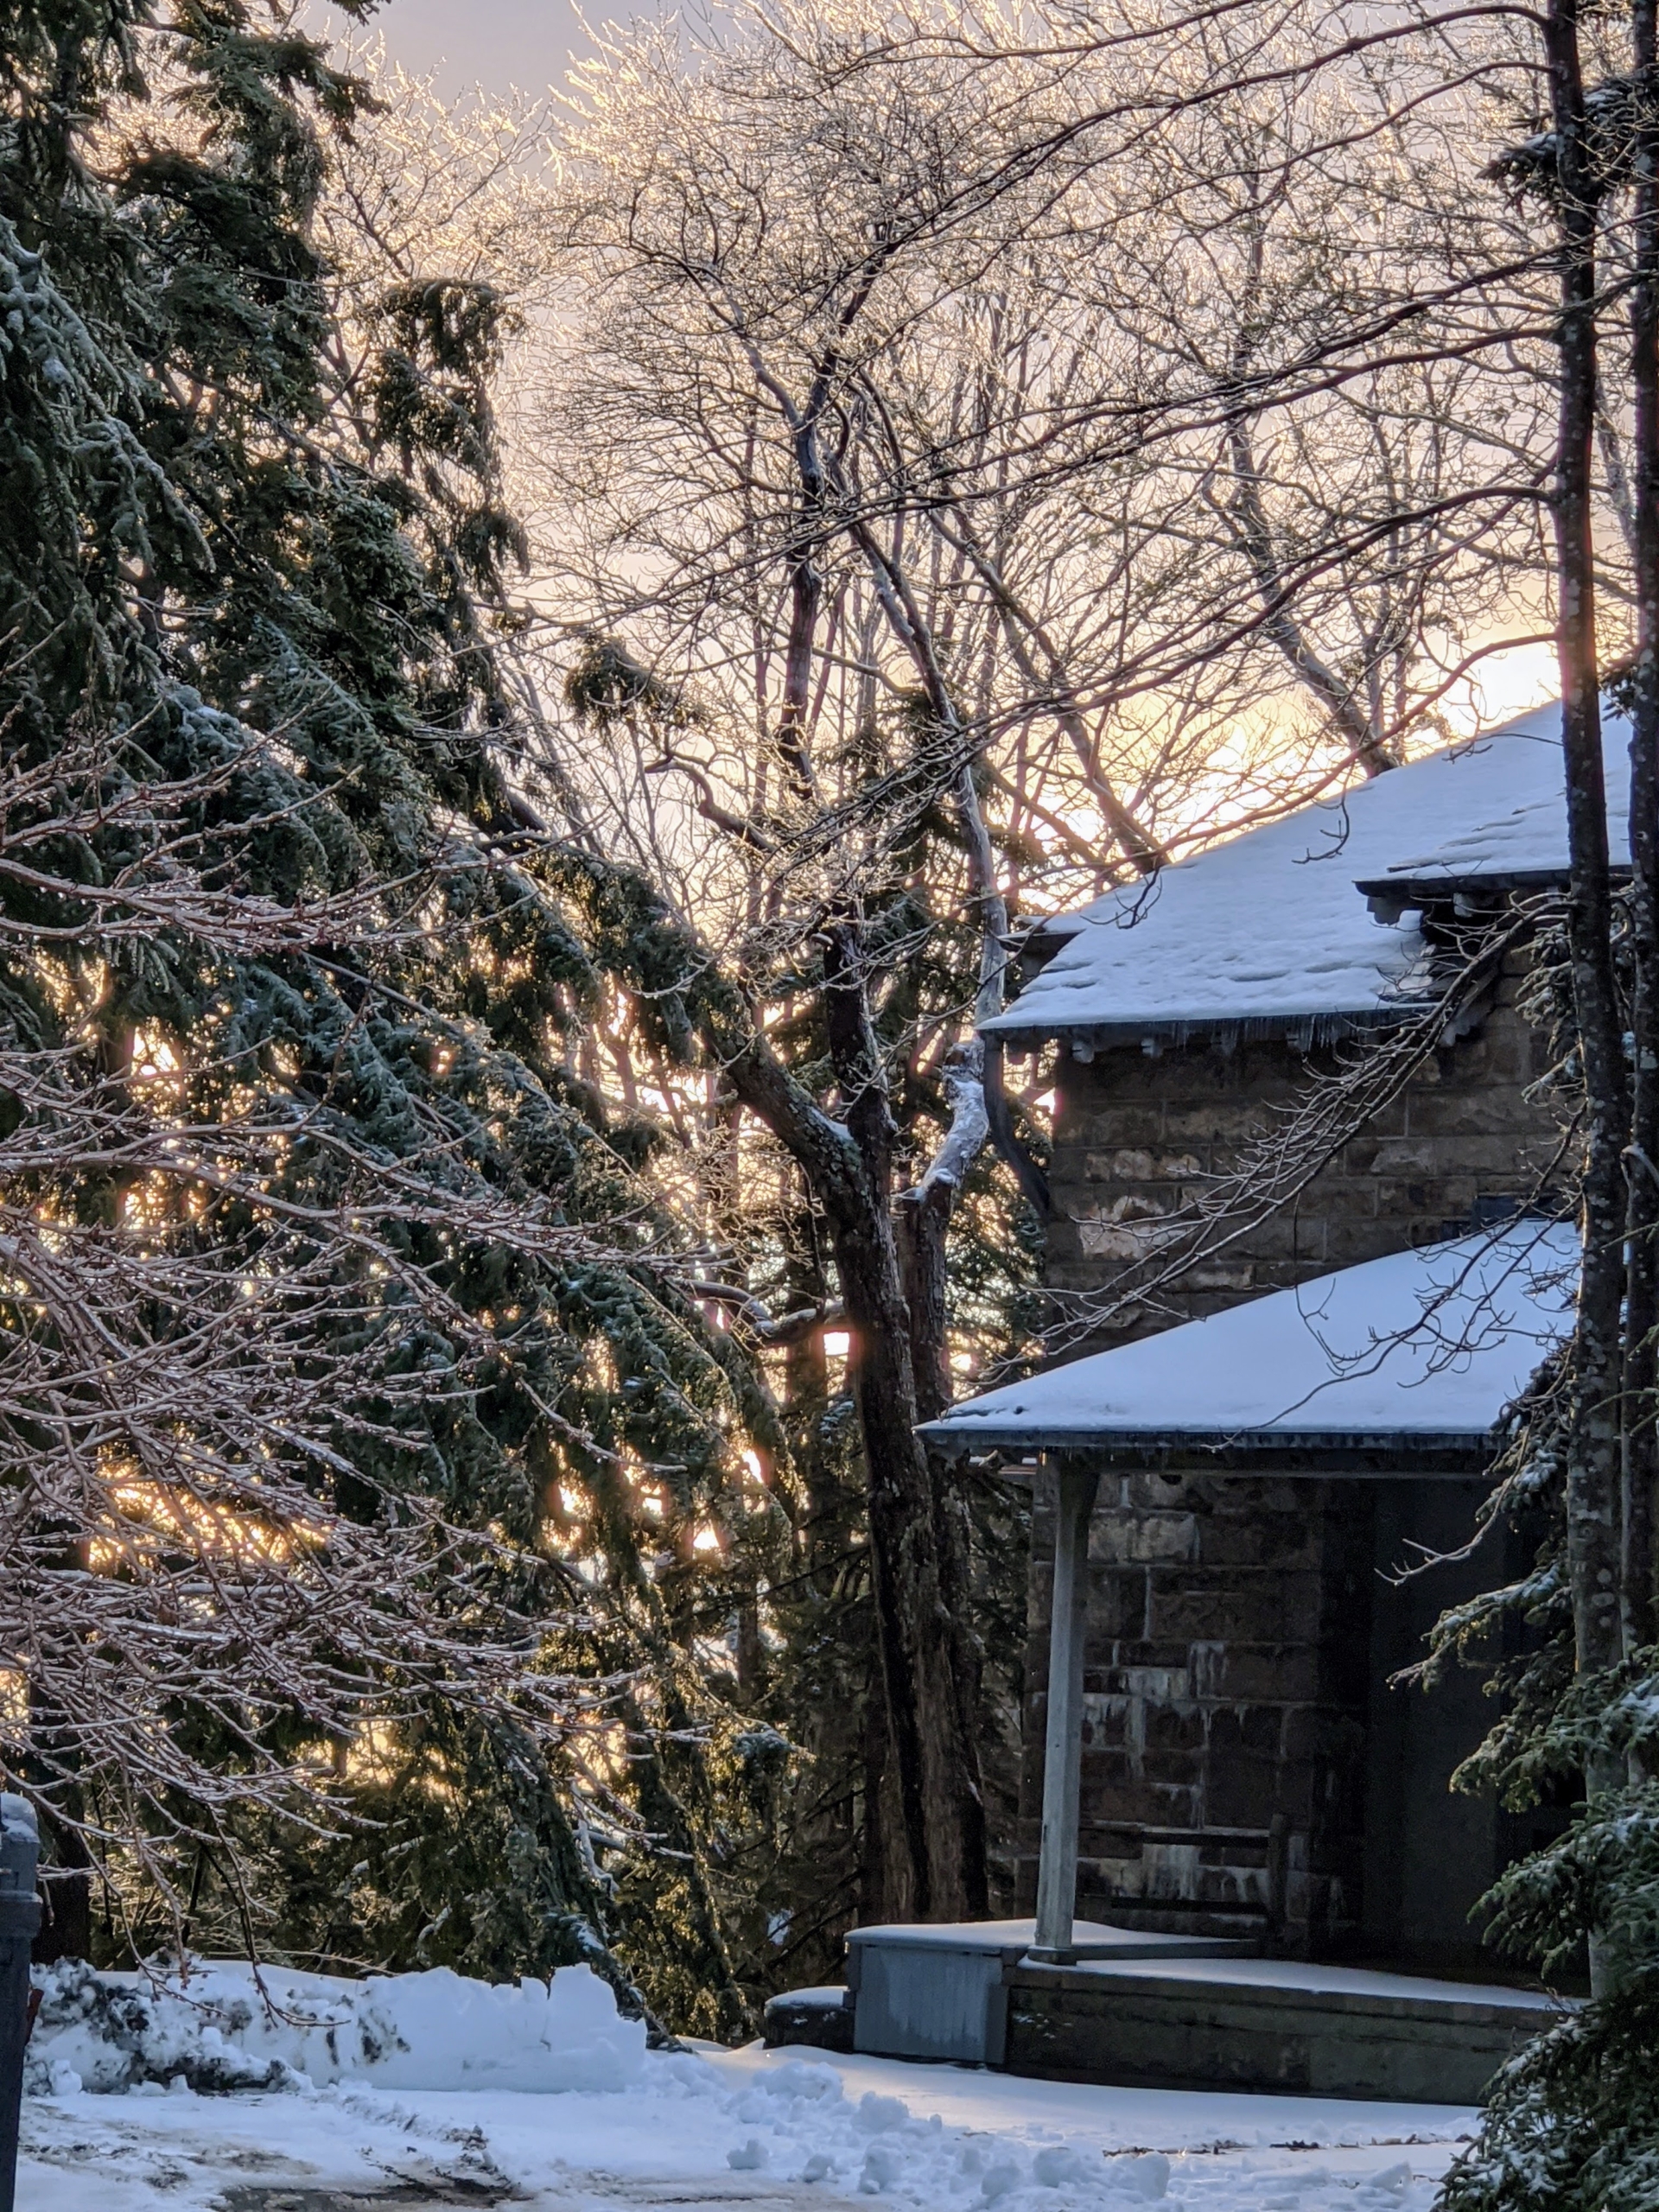
Here’s a look at the back porch just as the afternoon sun began to set. One never tires of the views around Skylands.
It’s been a mild winter in the Northeast so far – with little snow, but tonight, the area may see up to three-inches of white. And who knows what’s ahead… we still have two months of winter to go.
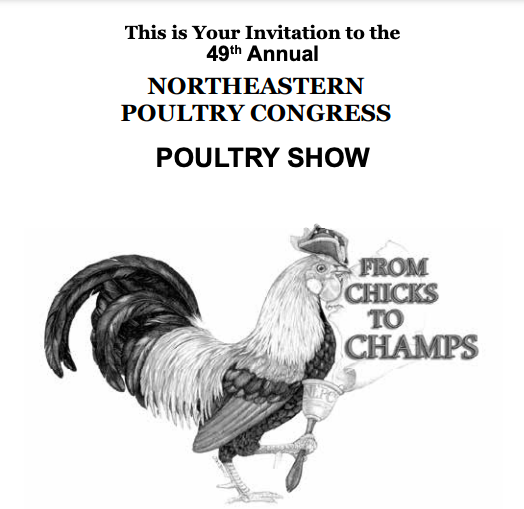
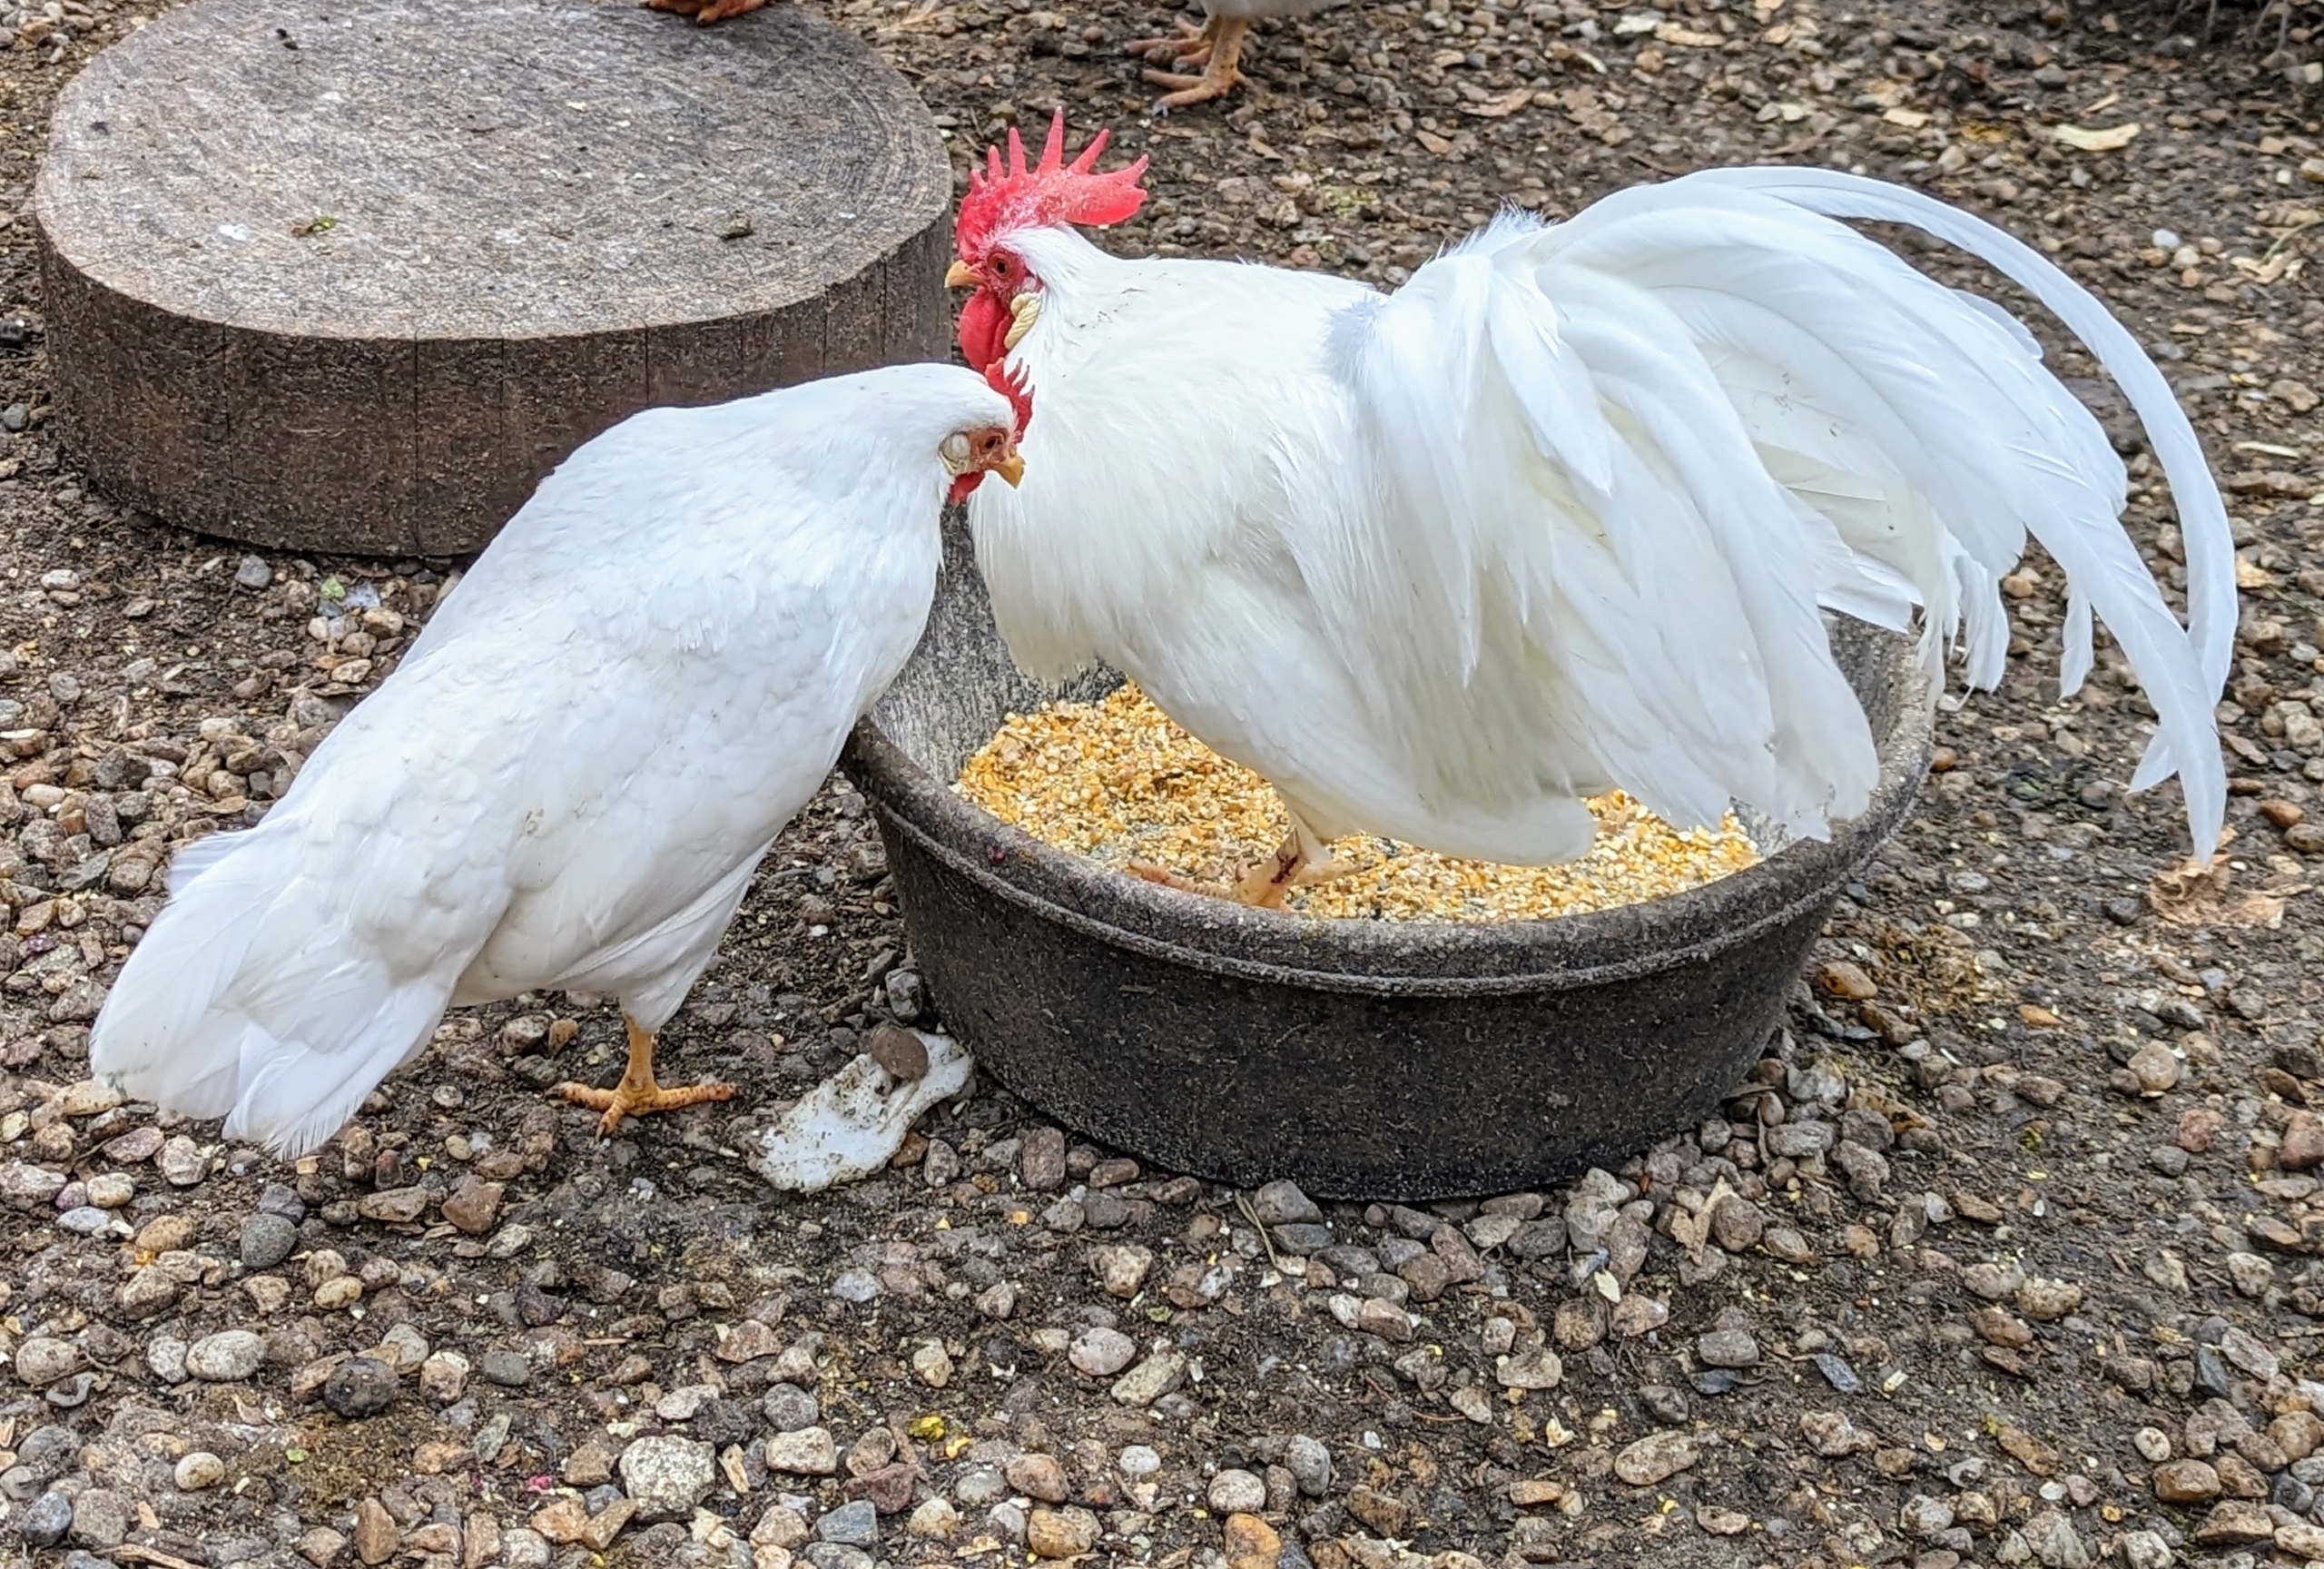
Whenever my schedule allows, I always try to attend the annual Northeastern Poultry Congress in Springfield, Massachusetts.
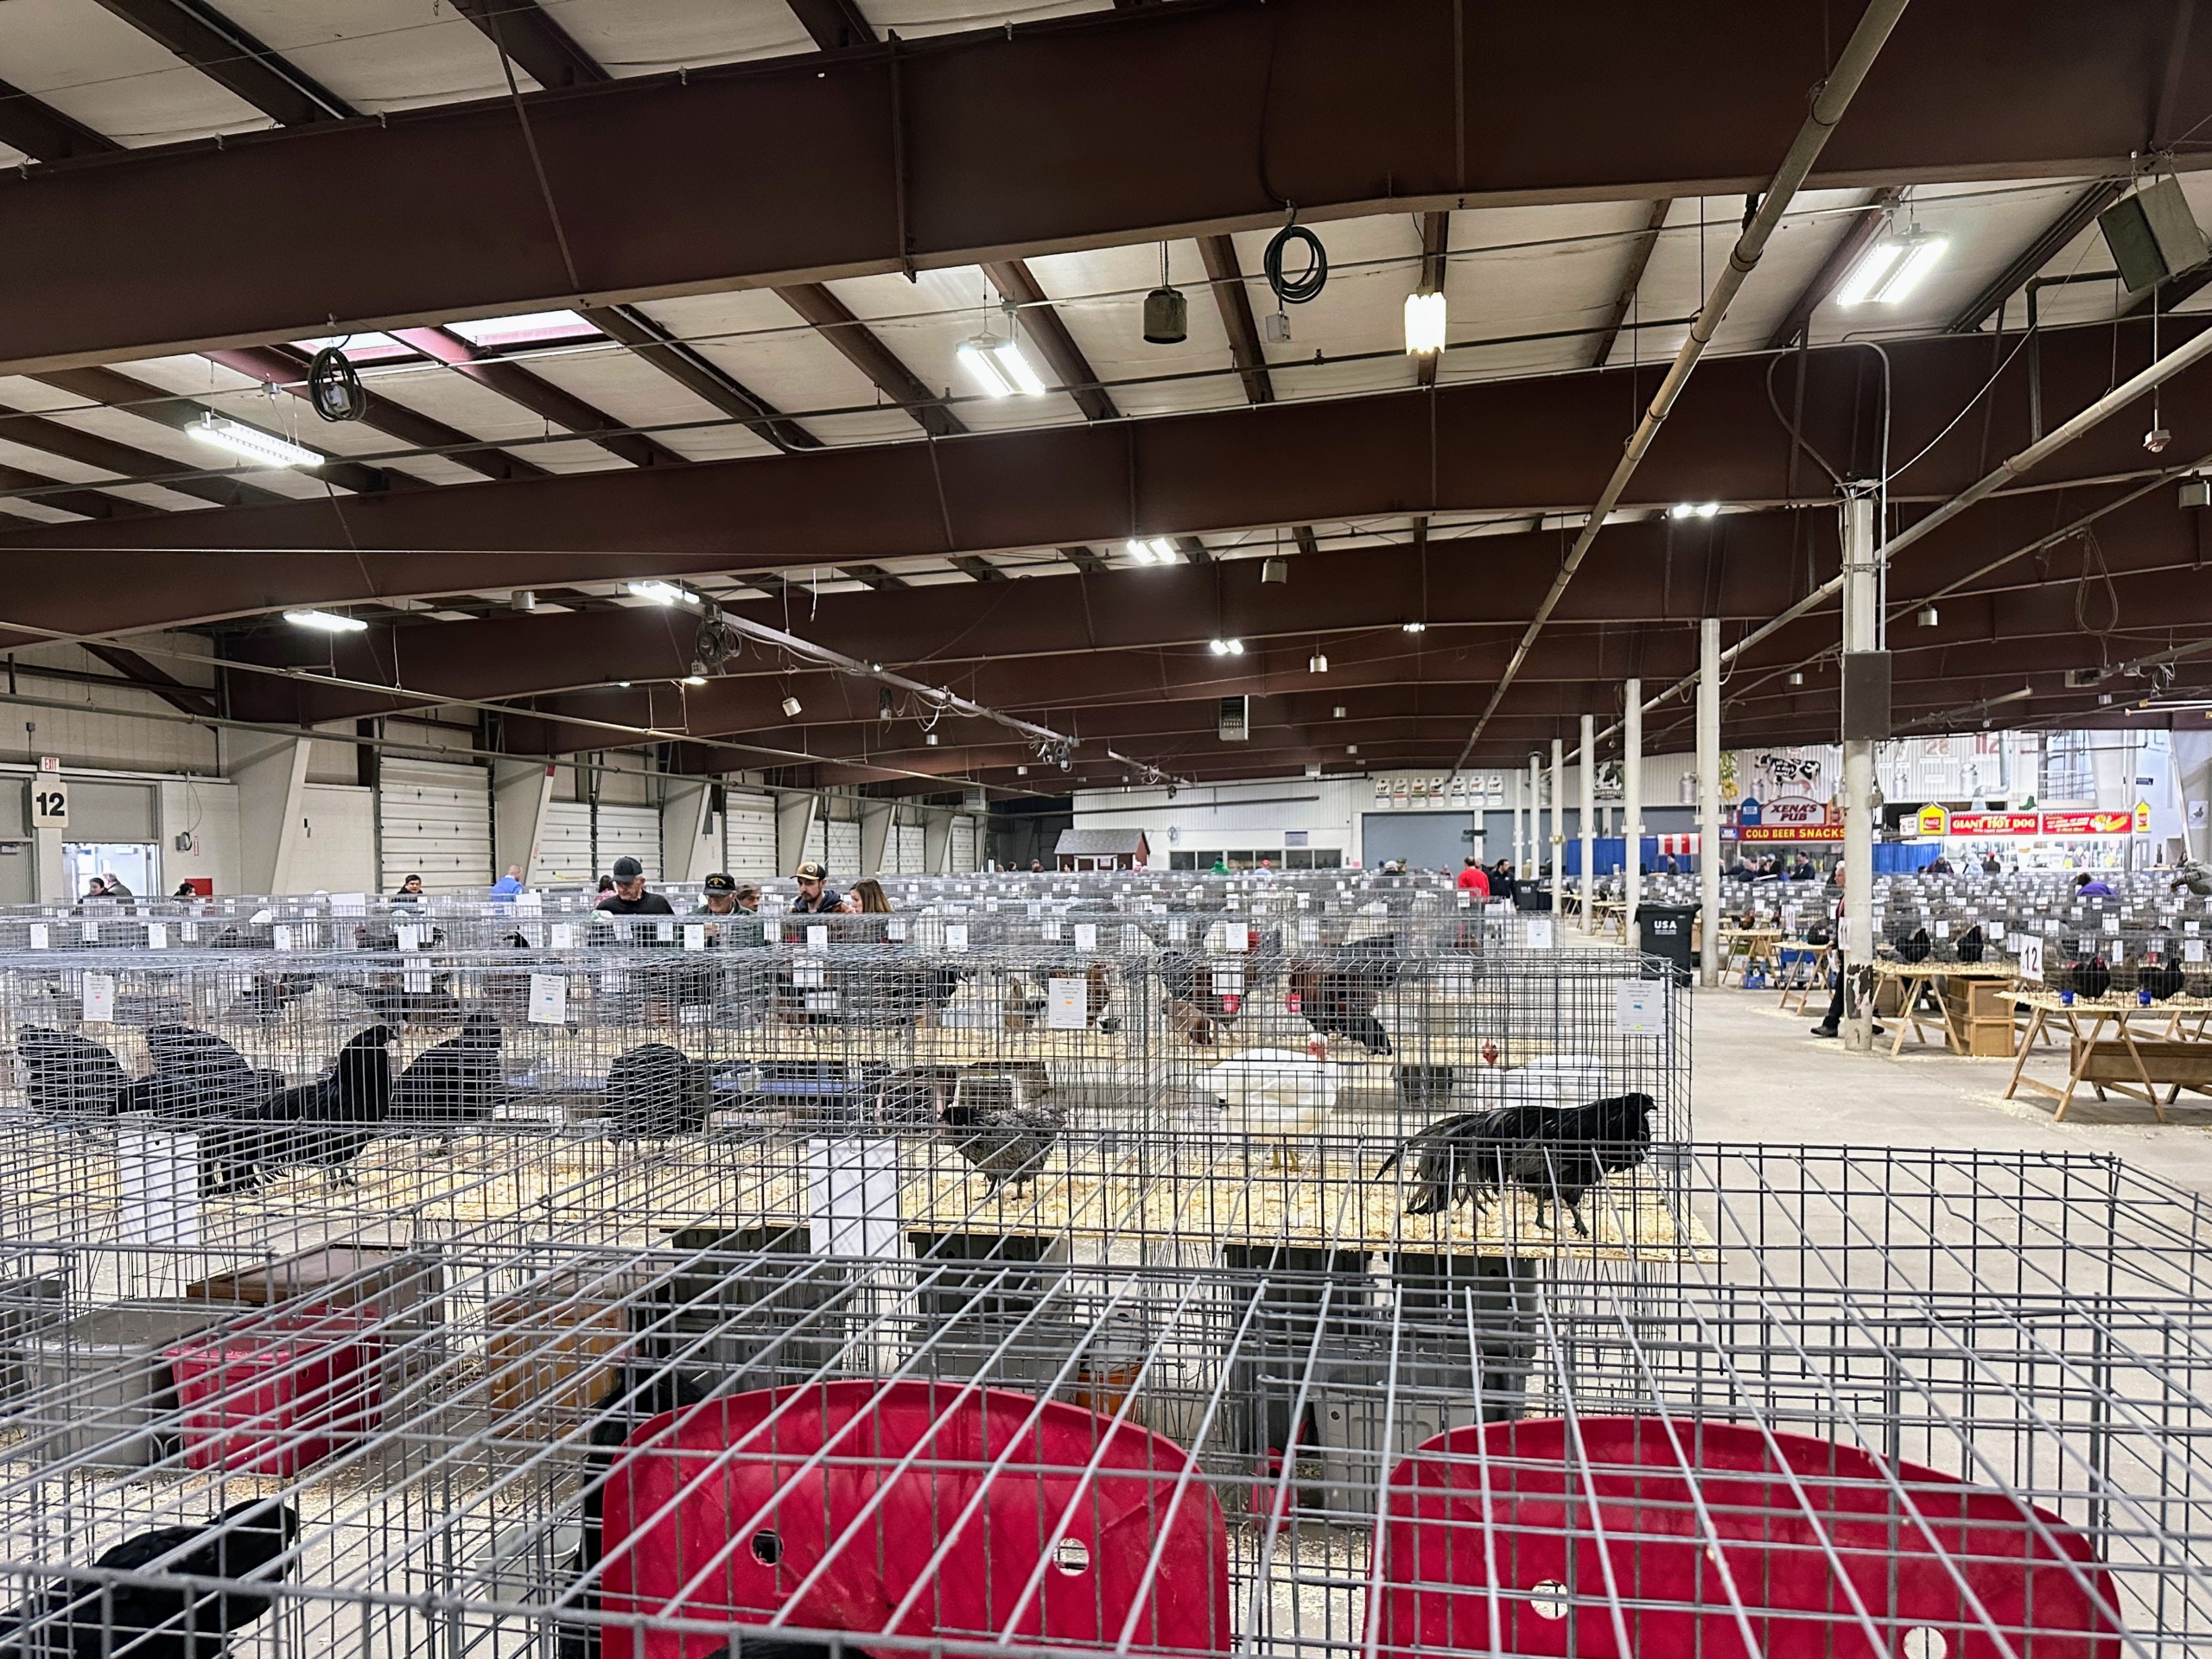
Last weekend was its 49th show. The event is held at the Eastern States Exposition Center and features more than 2500 birds, including large fowl, waterfowl, turkeys, pigeons, Guineas, and of course, a variety of wonderful breed chickens. Various breeds of poultry are exhibited and judged for ribbons and prizes. There are also informative seminars offered on different topics, and an area for vendors of good, nutritious feed, and other supplies. Attending this poultry show, and others like it across the country, is a way to see some of these fascinating birds and to build relationships with knowledgeable, passionate breeders.
Enjoy these photos.
The Northeastern Poultry Congress holds its show every January. I have been making the trip for several years – it is a very popular and well-attended event.
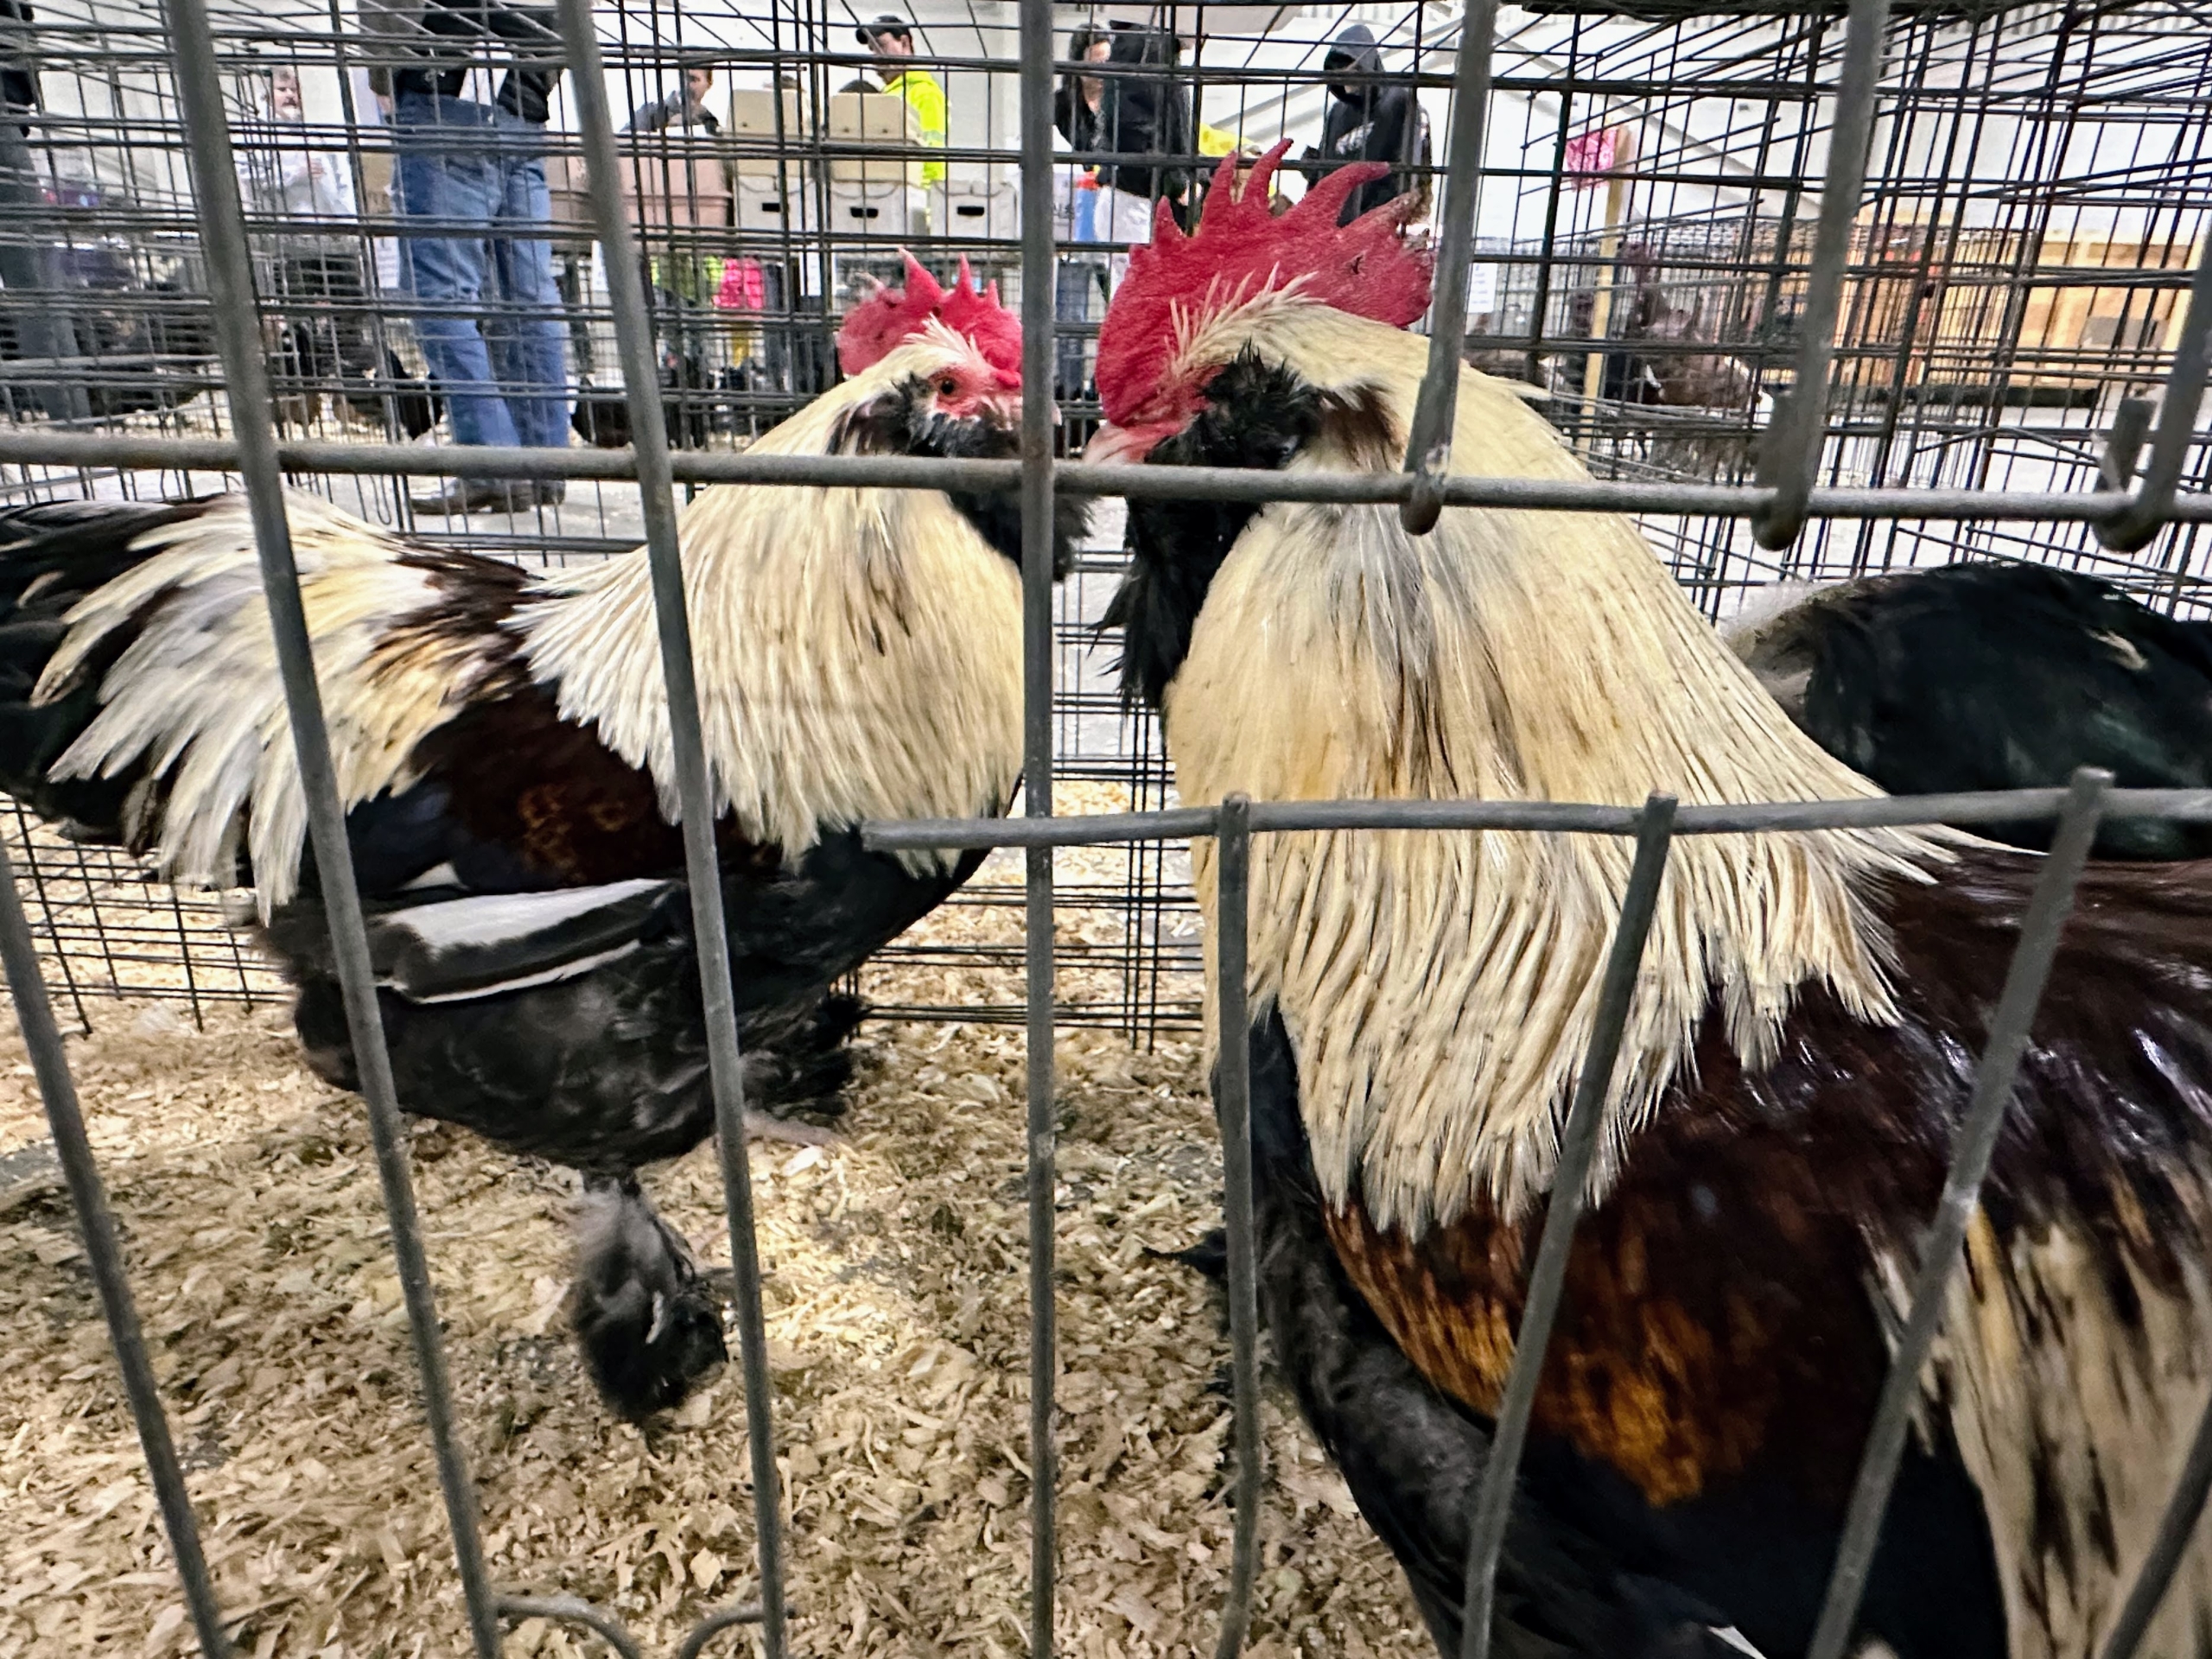
All the show birds are exhibited and judged in the Mallory Complex of the Expo Center. Visitors are able to see the various breeds up close in their crates. Each cage is tagged with the bird’s breed, color or variety, and gender.
Prior to poultry shows and again before judging, these birds are groomed and groomed again – every feather is in place.
There were more than a thousand chicken breeds – some with gorgeous markings and feathers.
These are Blue Birchen Cochins – such beautiful birds. The Blue Cochin is stately, gentle, and quite rare. The Cochin breed was brought from China by clipper ships in the 1800s. They are large Asiatic chickens covered with soft feathers from head to toe. Cochin hens are good layers and have excellent dispositions.
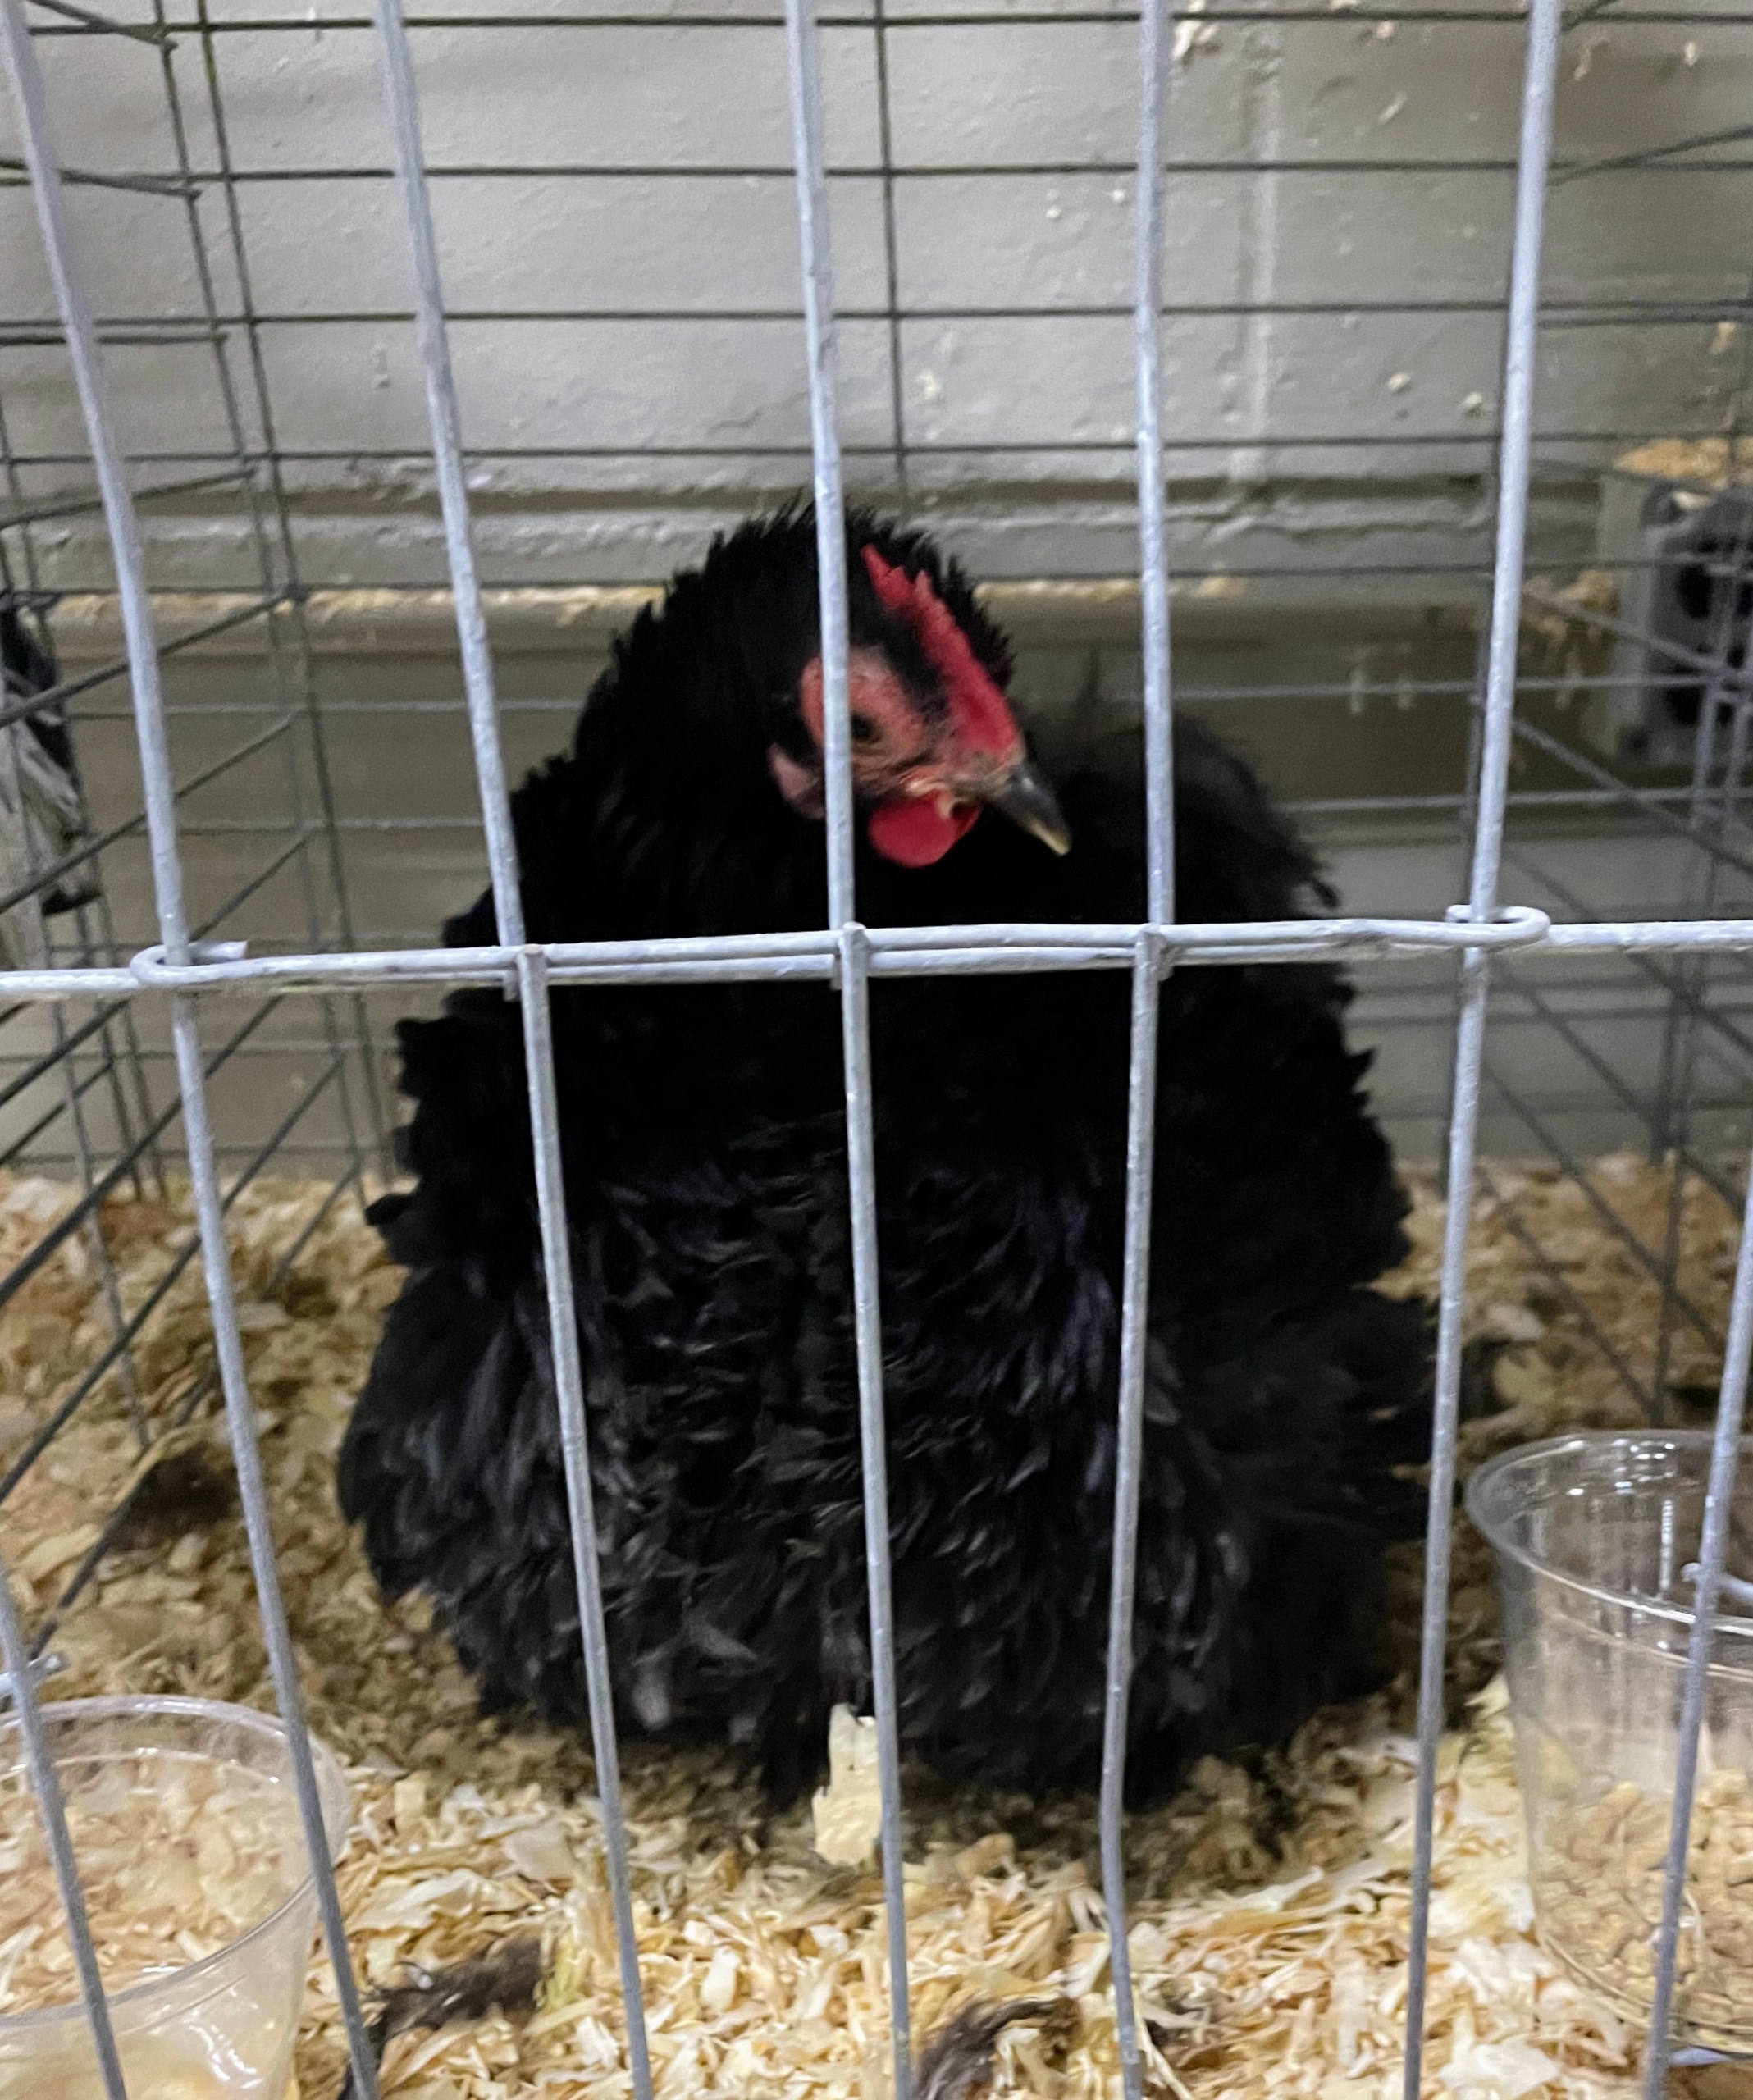
This is a black Frizzle Cochin bantam hen. A bantam chicken is a small hen. In most cases bantam chickens are smaller versions of a larger variety.
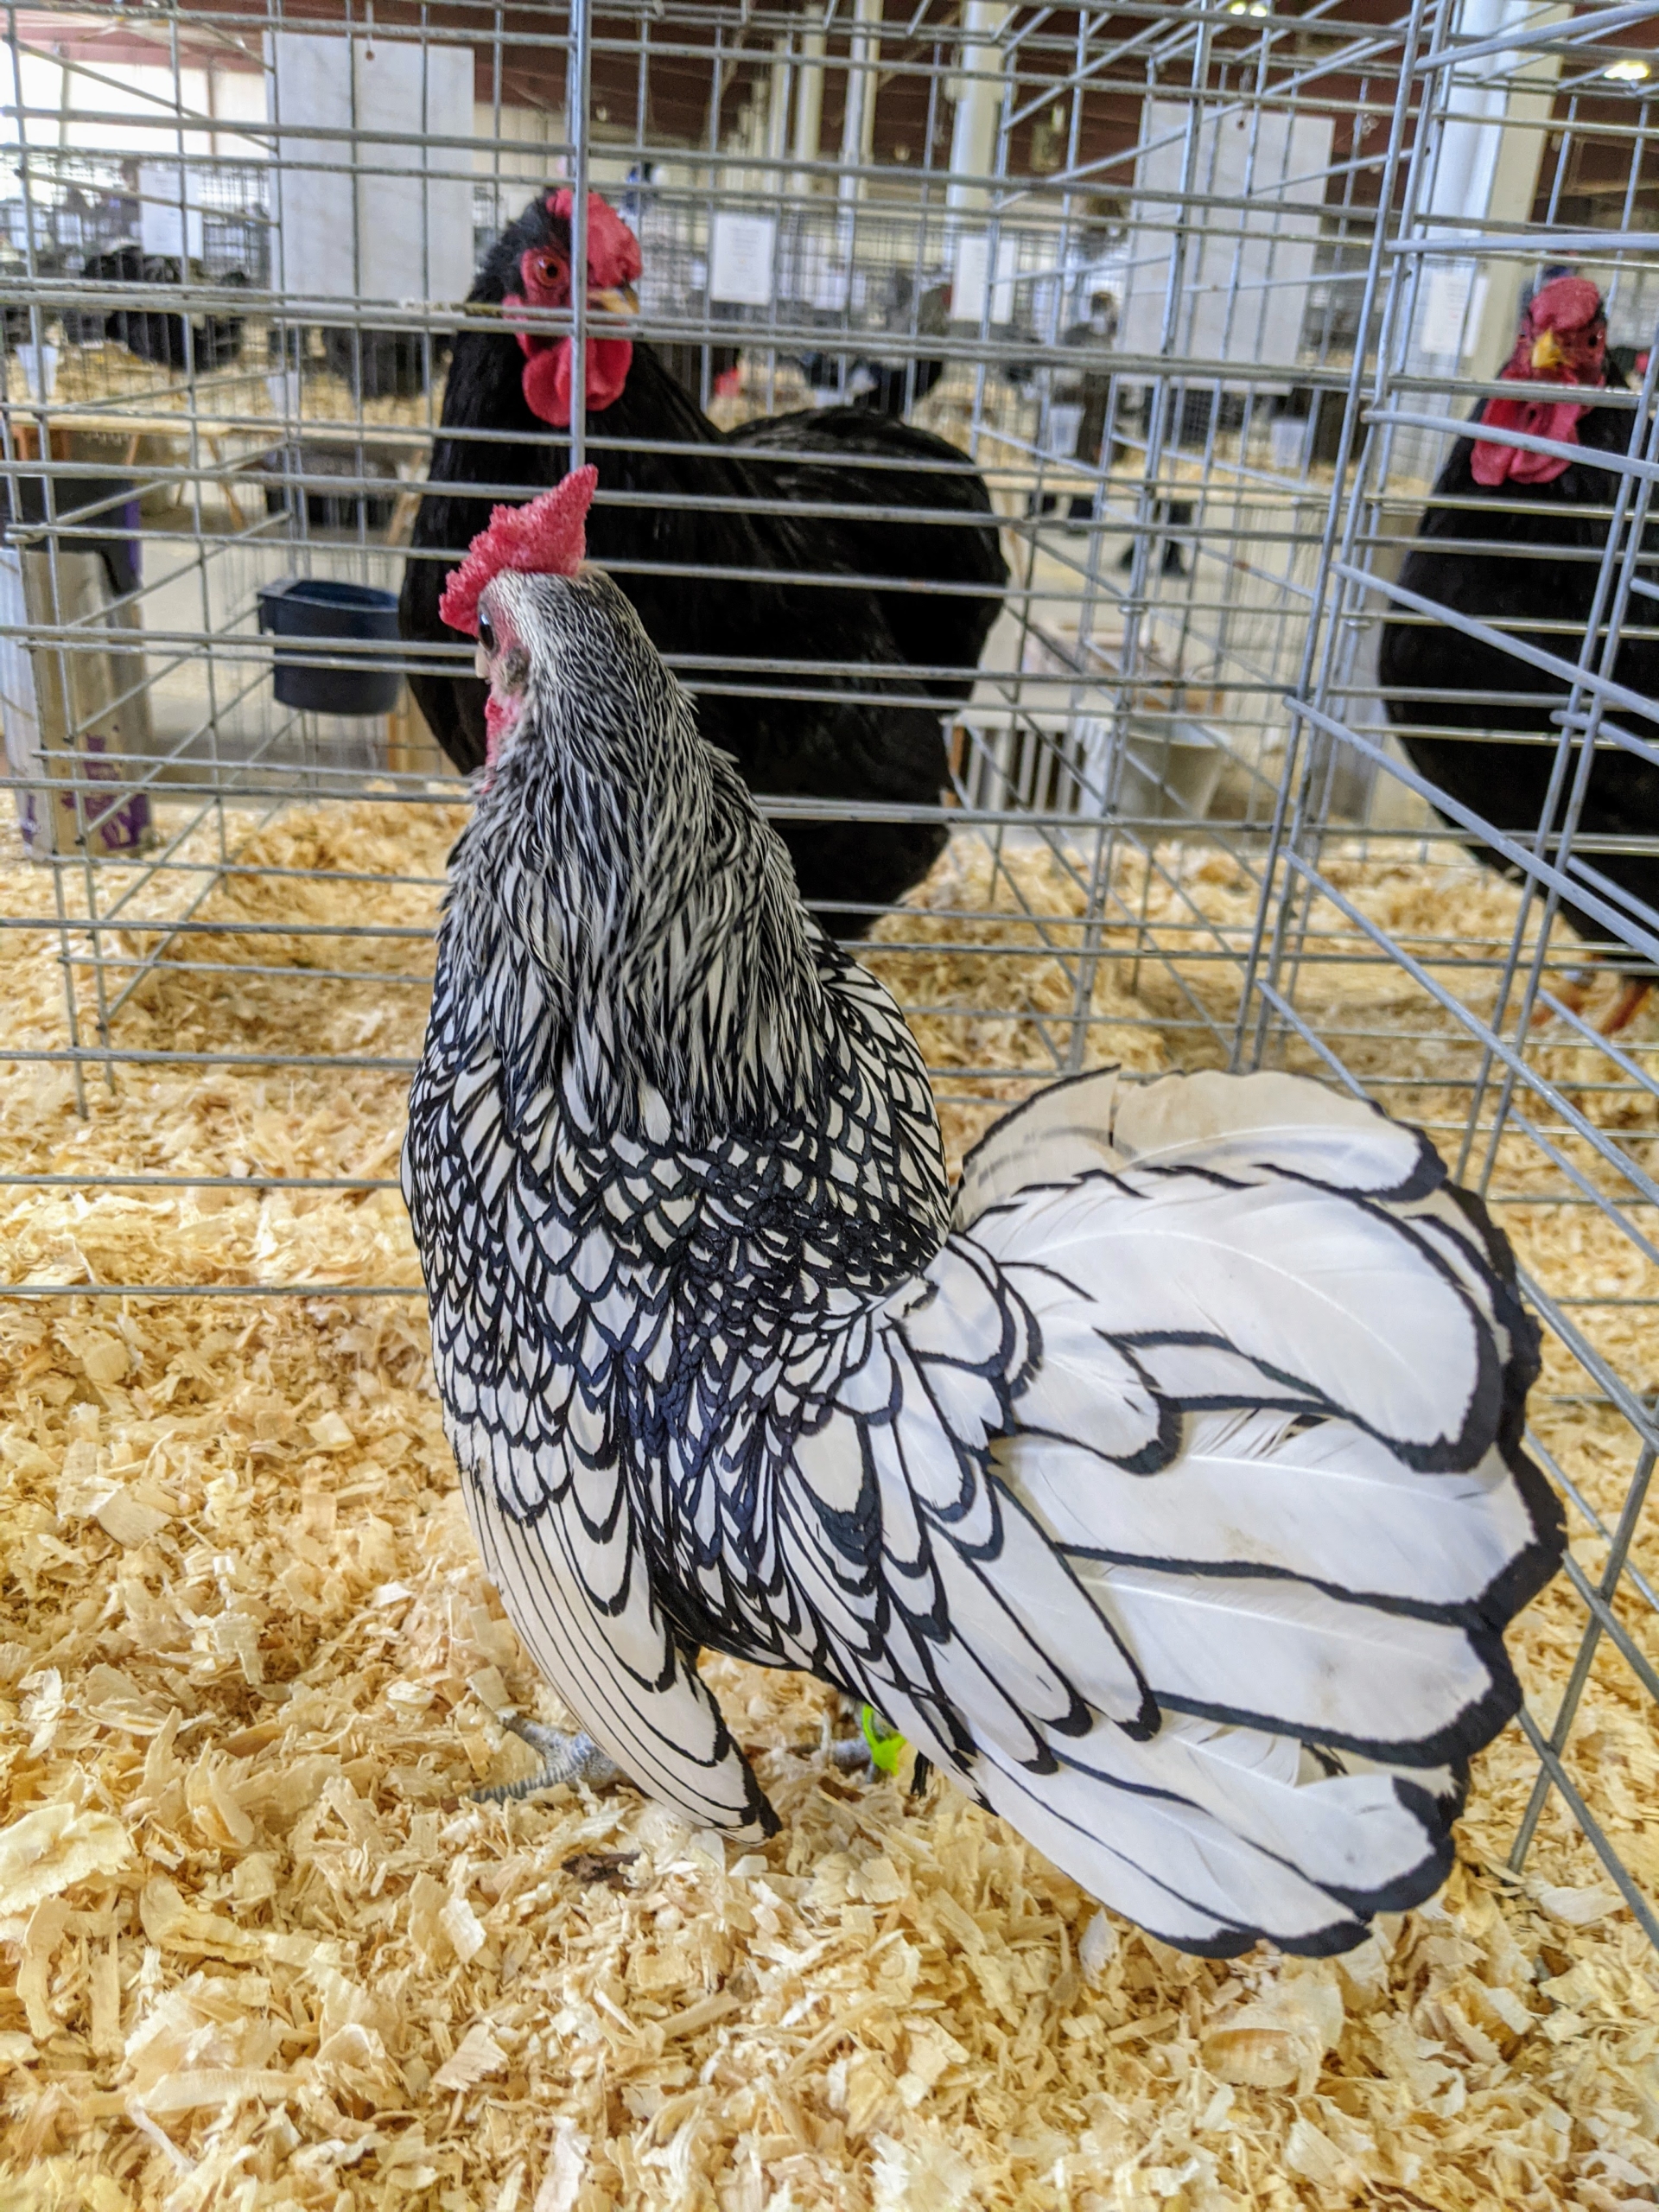
The Sebright is a British breed of bantam chicken. It is a true bantam – a miniature bird with no corresponding large version. Look at its markings. It’s named after Sir John Saunders Sebright, who created it as an ornamental breed in the early 19th century. The Silver Sebright rooster is also hen-feathered, meaning it has rounded feathers rather than the pointed feathers typical of males.
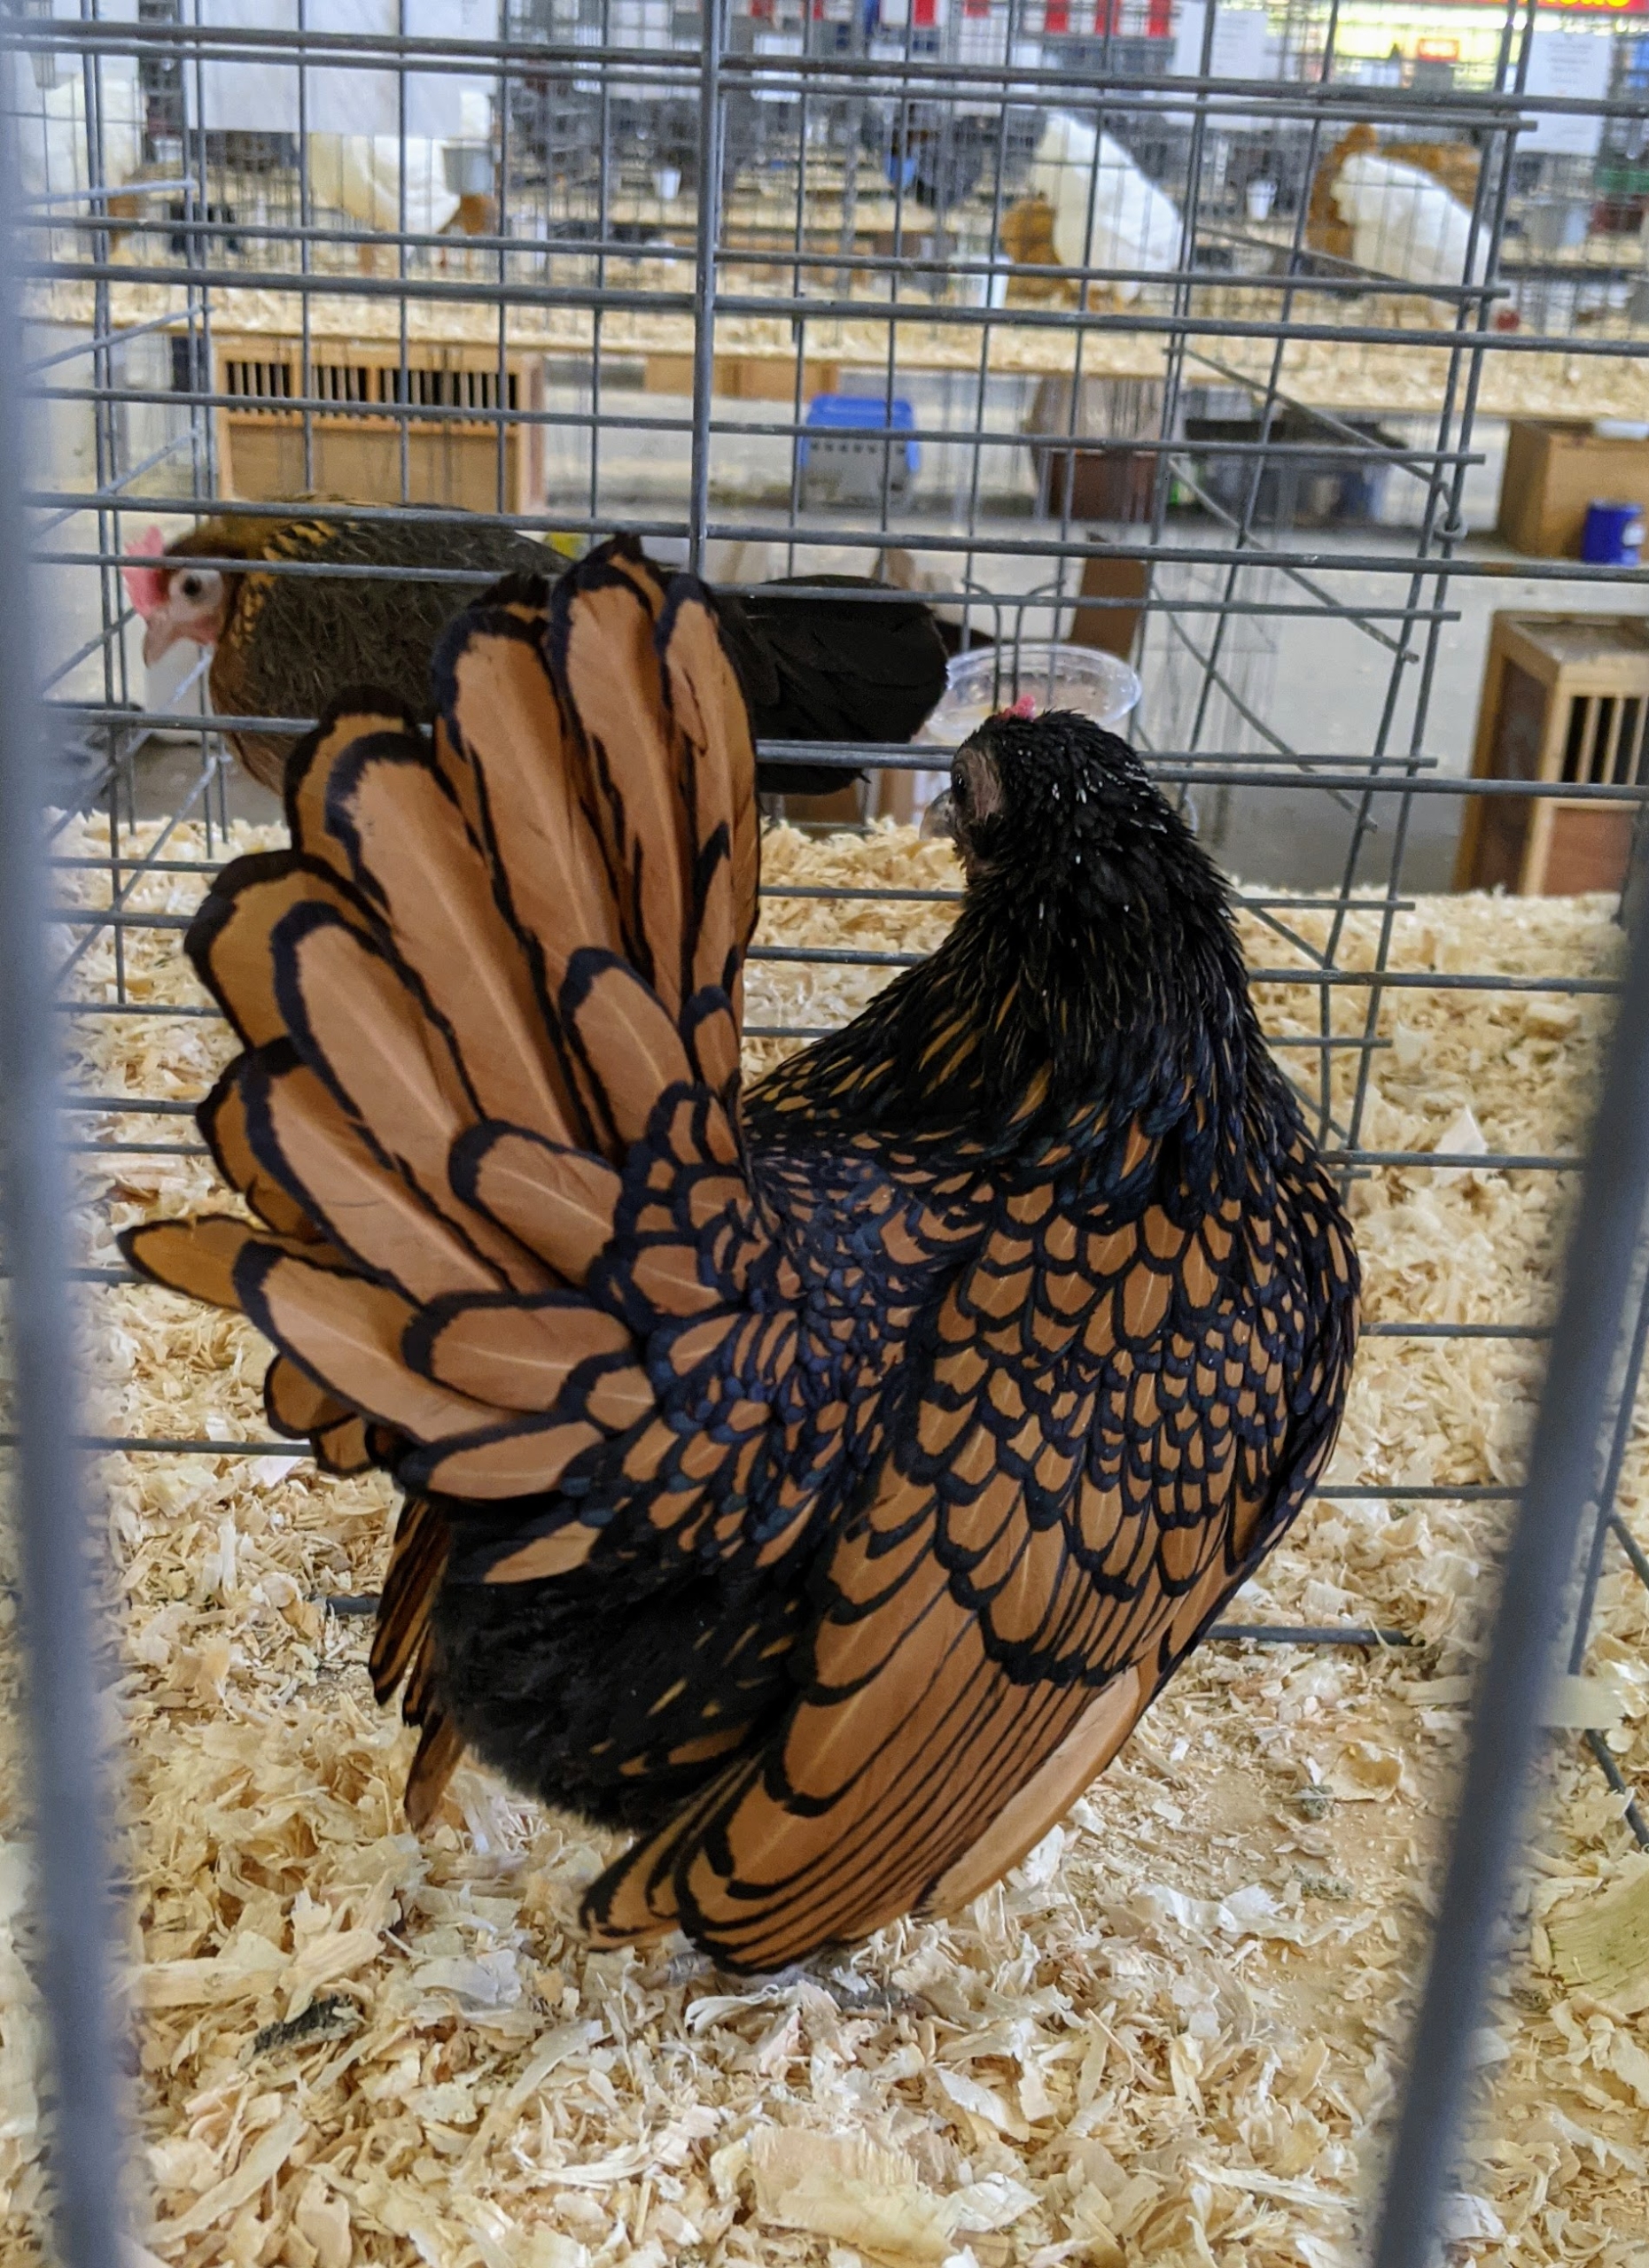
The Golden Sebrights, such as this hen, have stunning golden bay feathers laced in black.
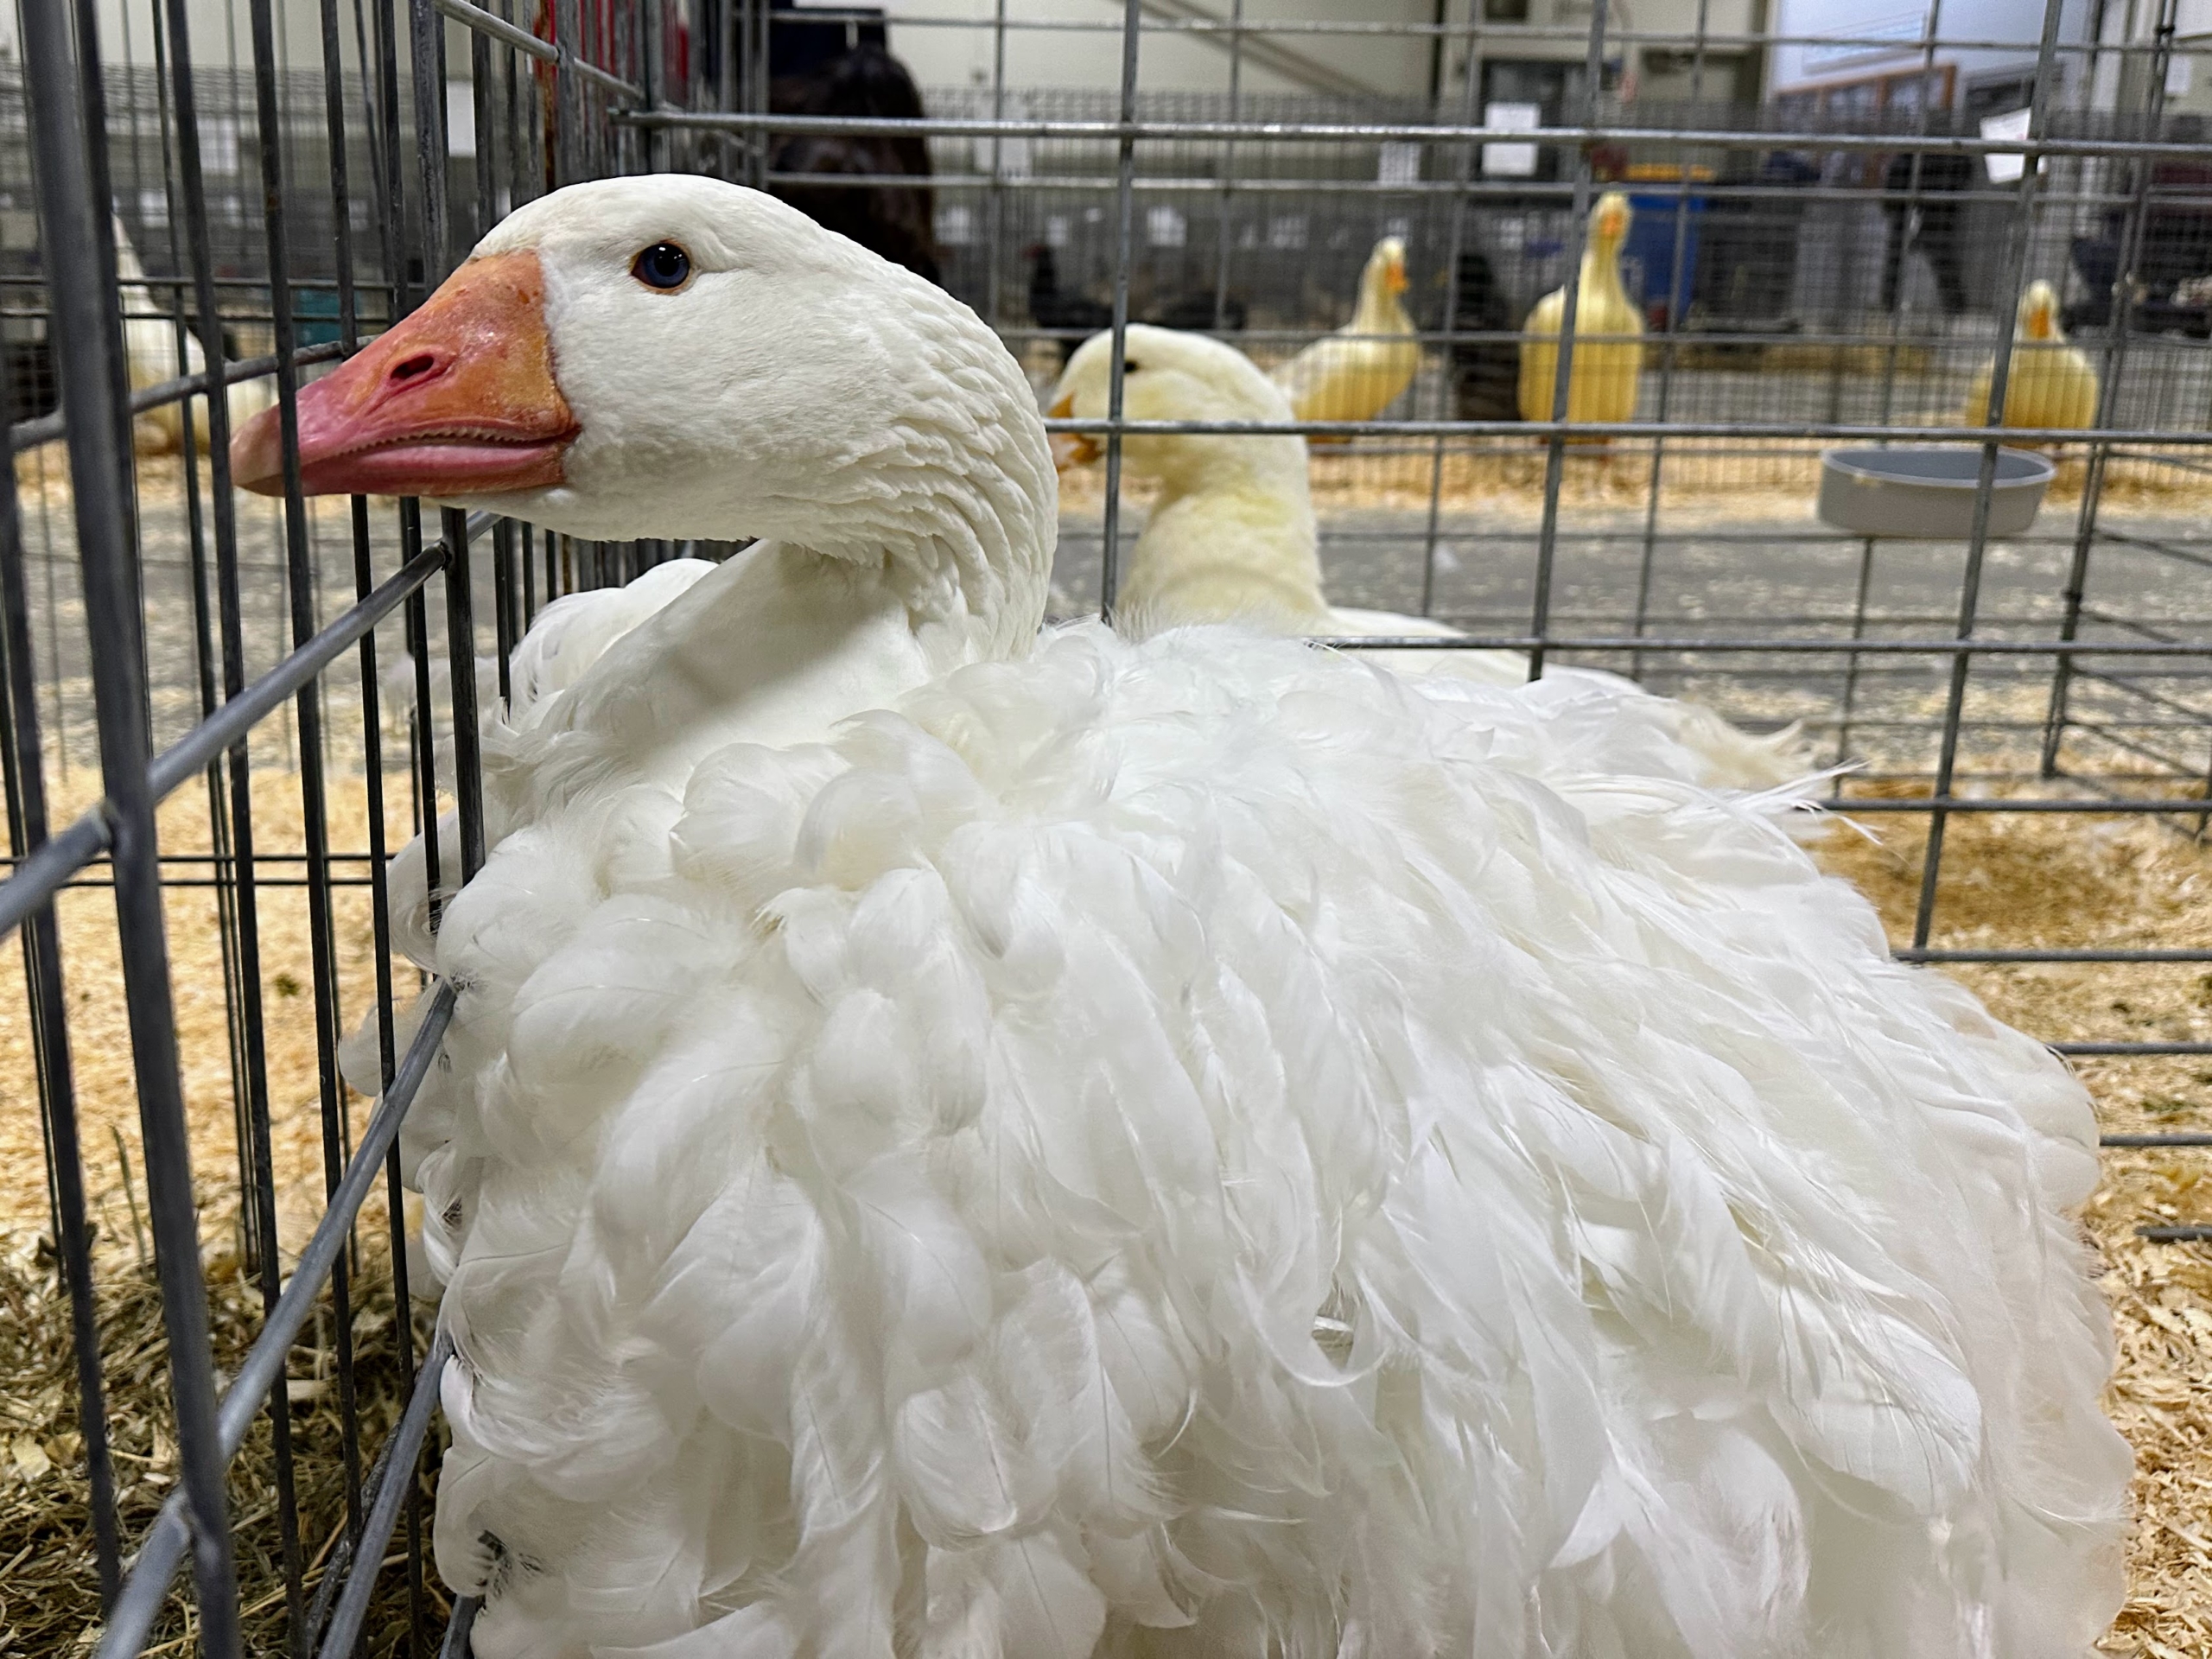
Here is a Sebastopol goose. If you follow me on social media, you may already know I have several of these interesting geese – most have even been bred, incubated and hatched right at my farm.
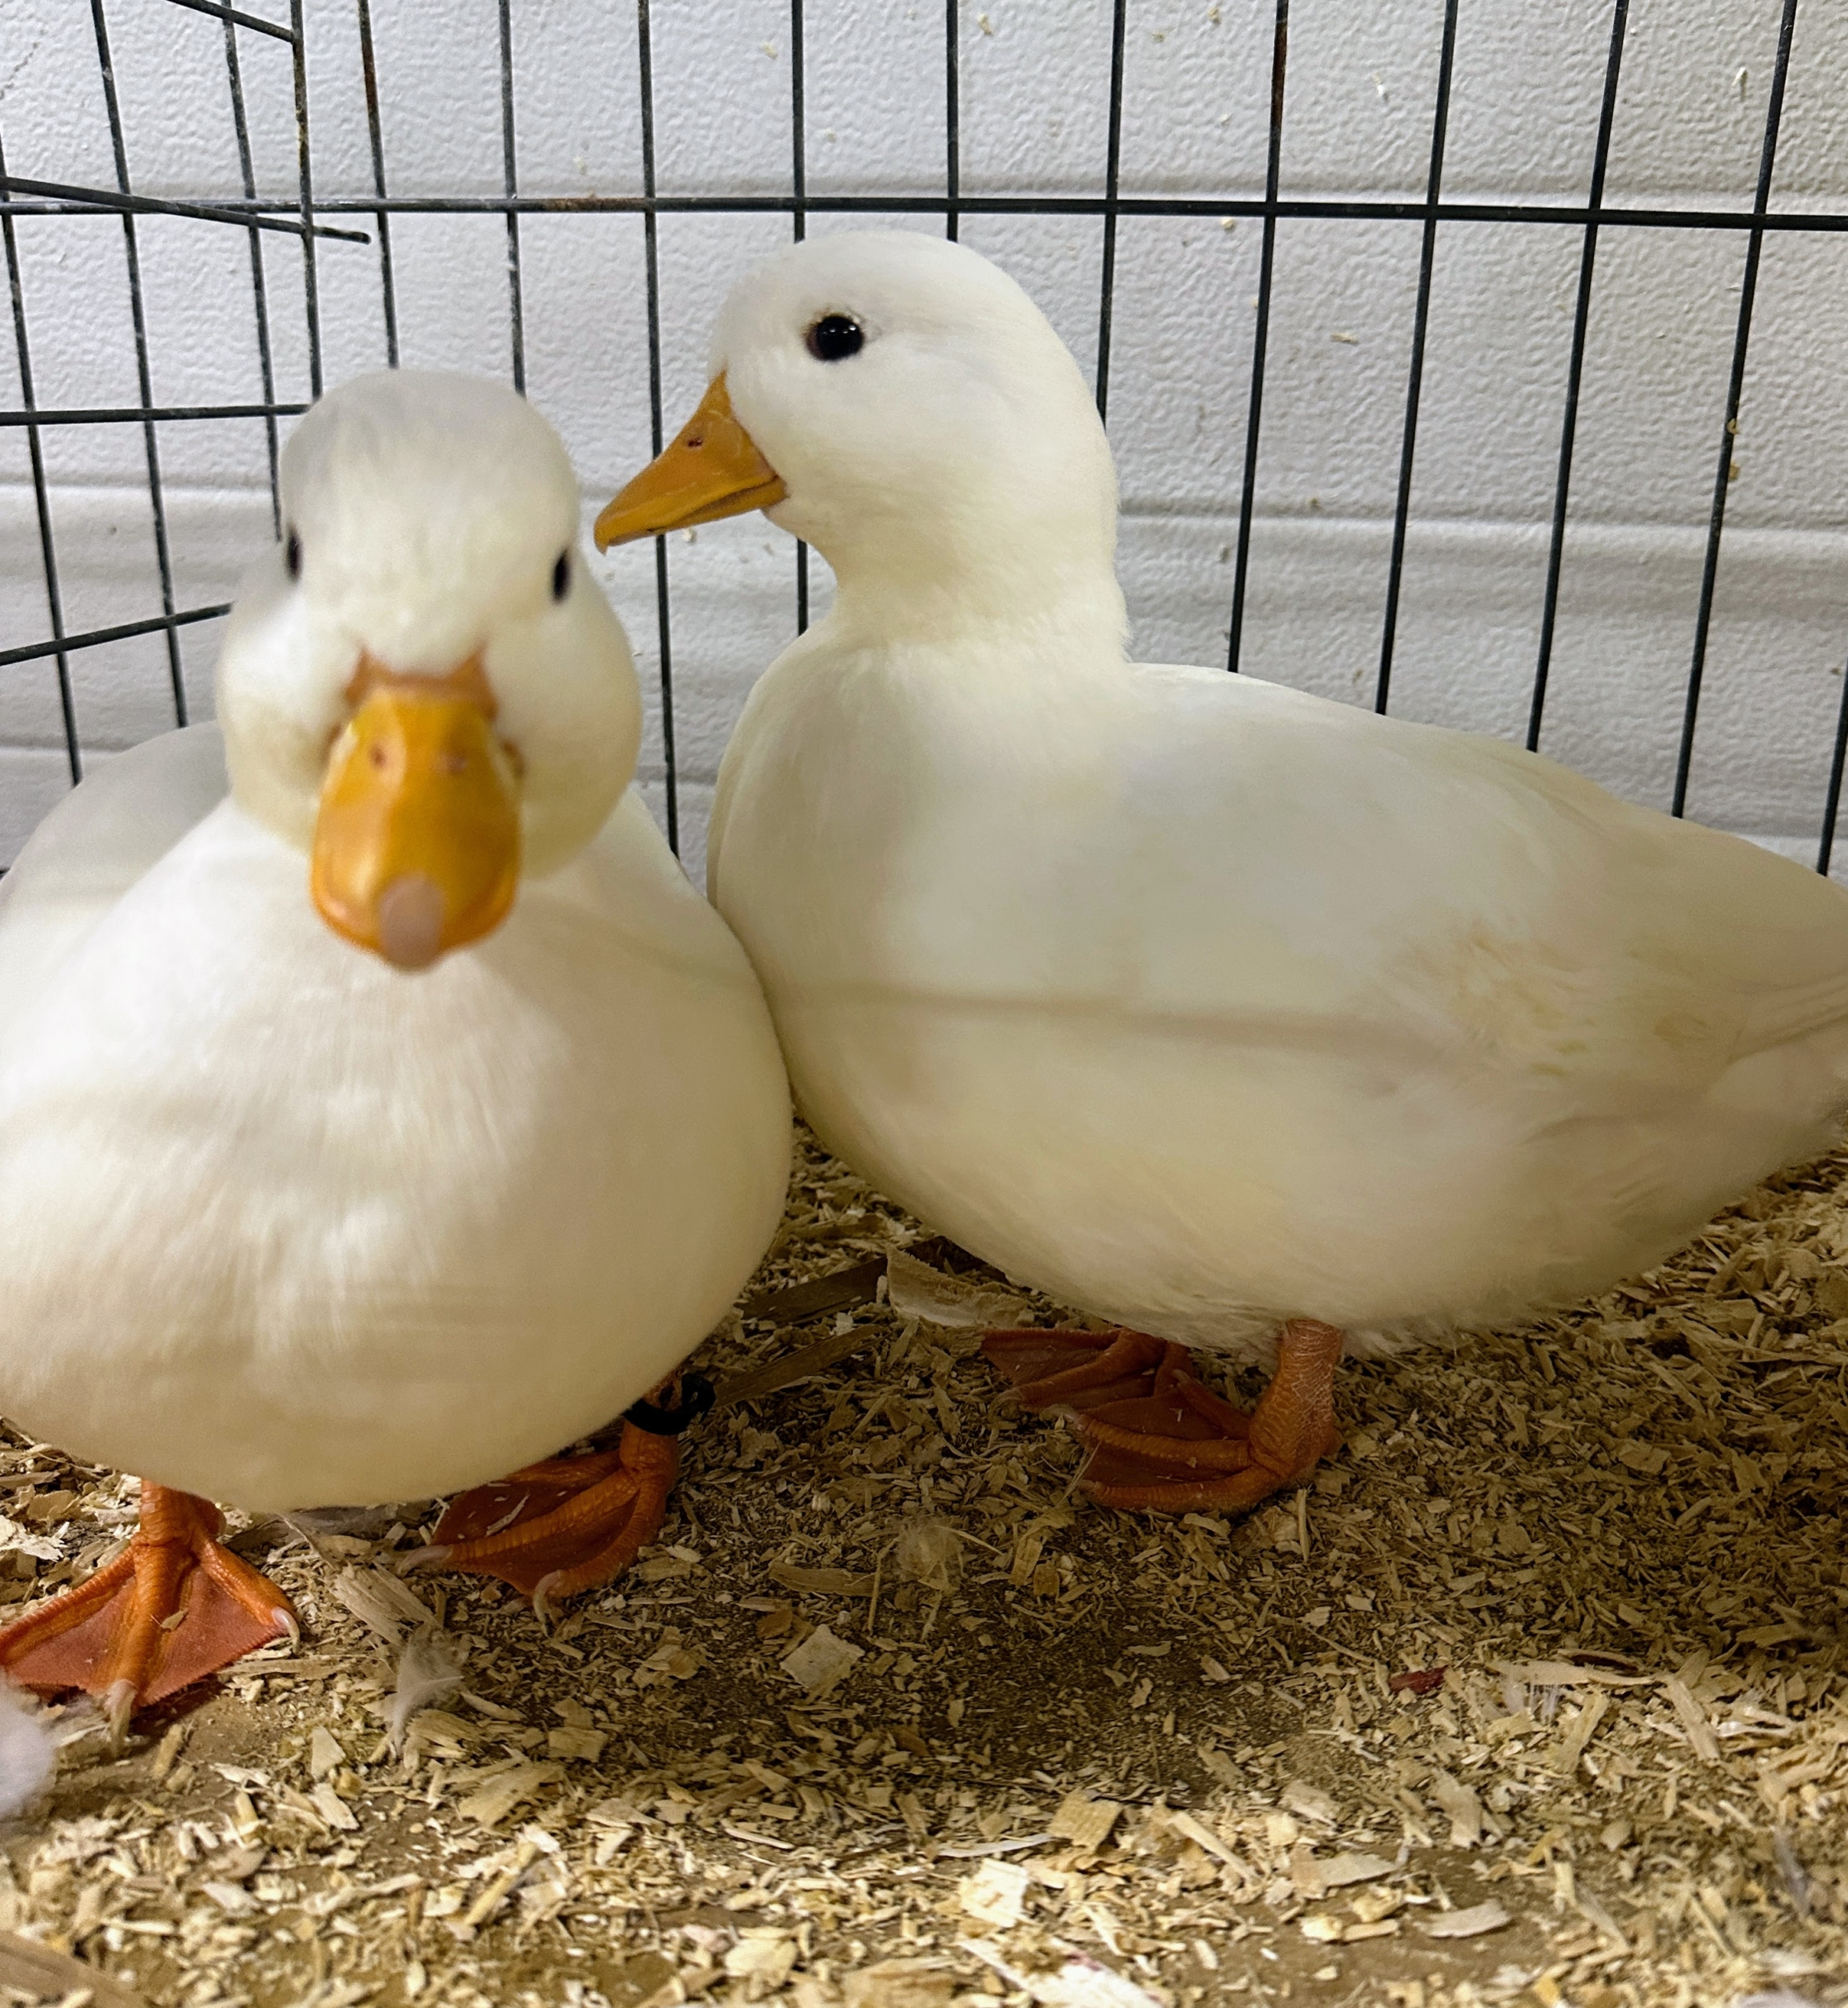
There were also some stunning duck breeds at the show – isn’t this pair lovely?
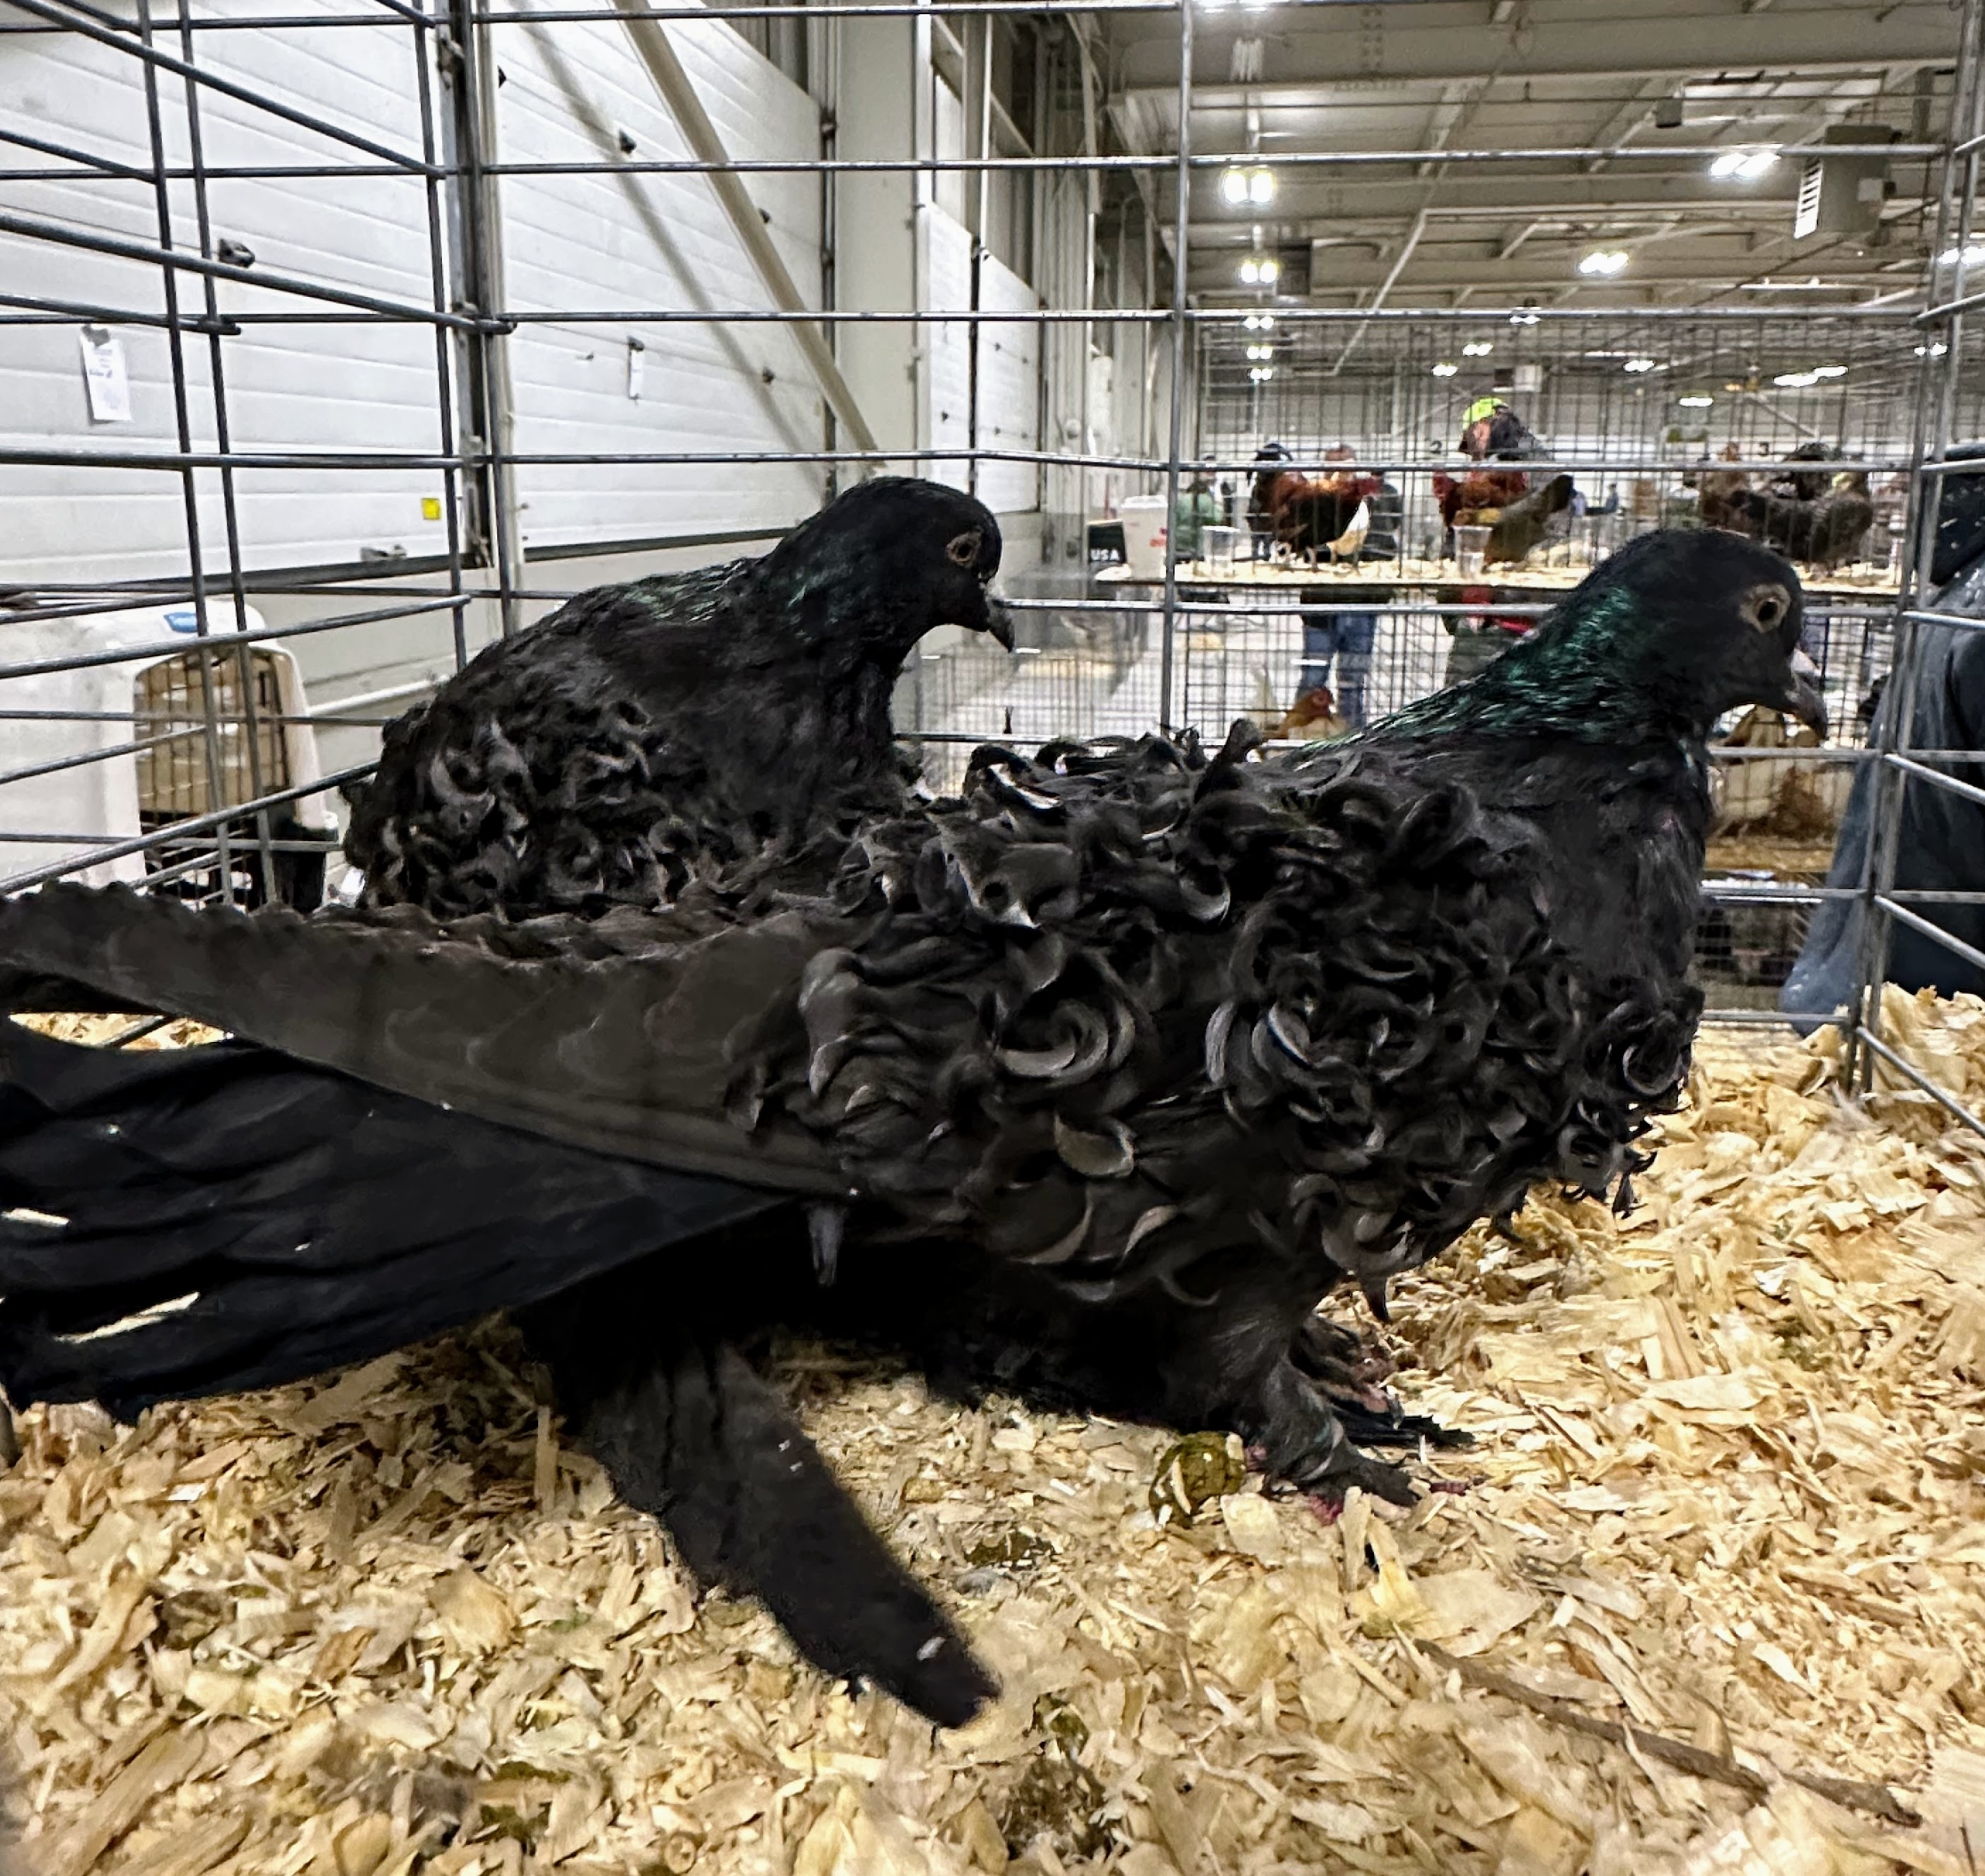
And we saw fancy pigeons. These are black Frillback pigeons. The Frillback is a breed of pigeon developed over many years of selective breeding. Frillbacks are descendants from the rock pigeon. The breed is known for the frill or curls on its wing shield feathers.
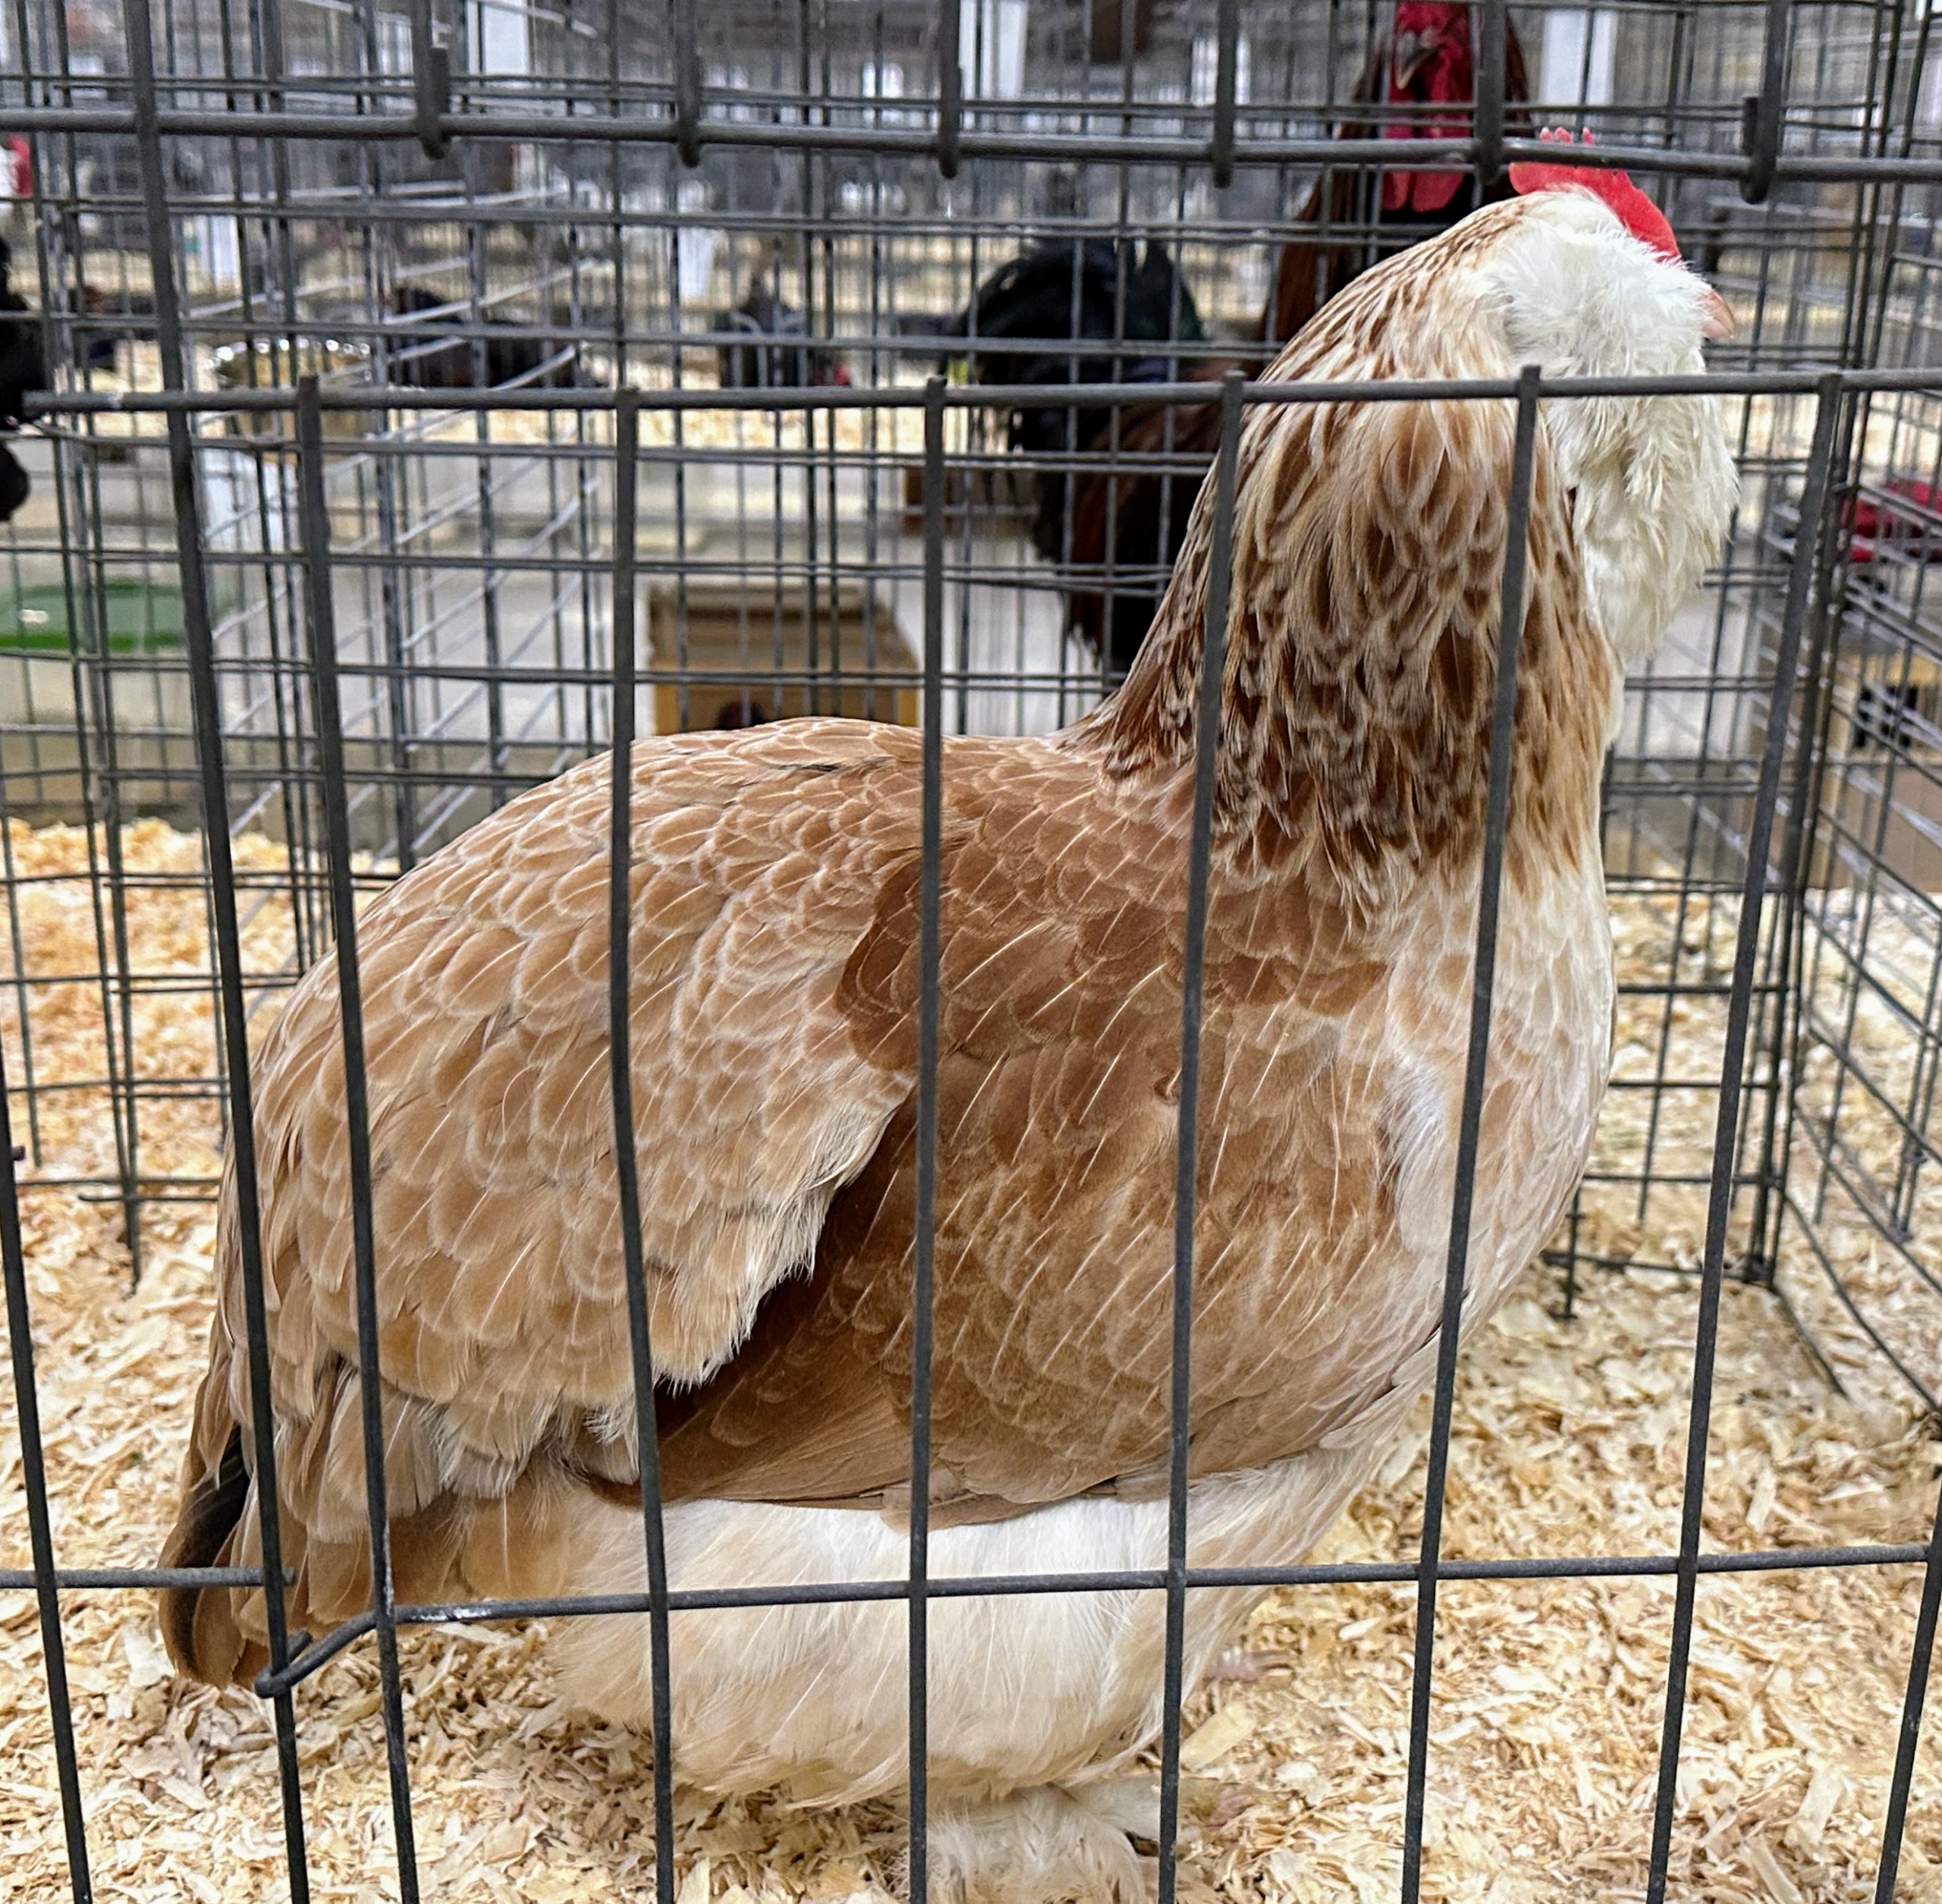
This is a large fowl salmon Faverolle cockerel. Faverolles are good-sized chickens with beards, muffs, feathered legs, and feet, and fifth toes. Males are straw-colored with reddish brown and black markings.
In this crate – a salmon Faverolles hen. The Faverolles is a French breed of chicken. The breed was developed in the 1860s in north-central France, in the vicinity of the villages of Houdan and Faverolles. These birds are energetic, curious, and talkative.
Poultry shows are family-friendly and allow visitors to see both traditional and new breeds. The first poultry show in the United States was in 1854, before there were even standards of showing.
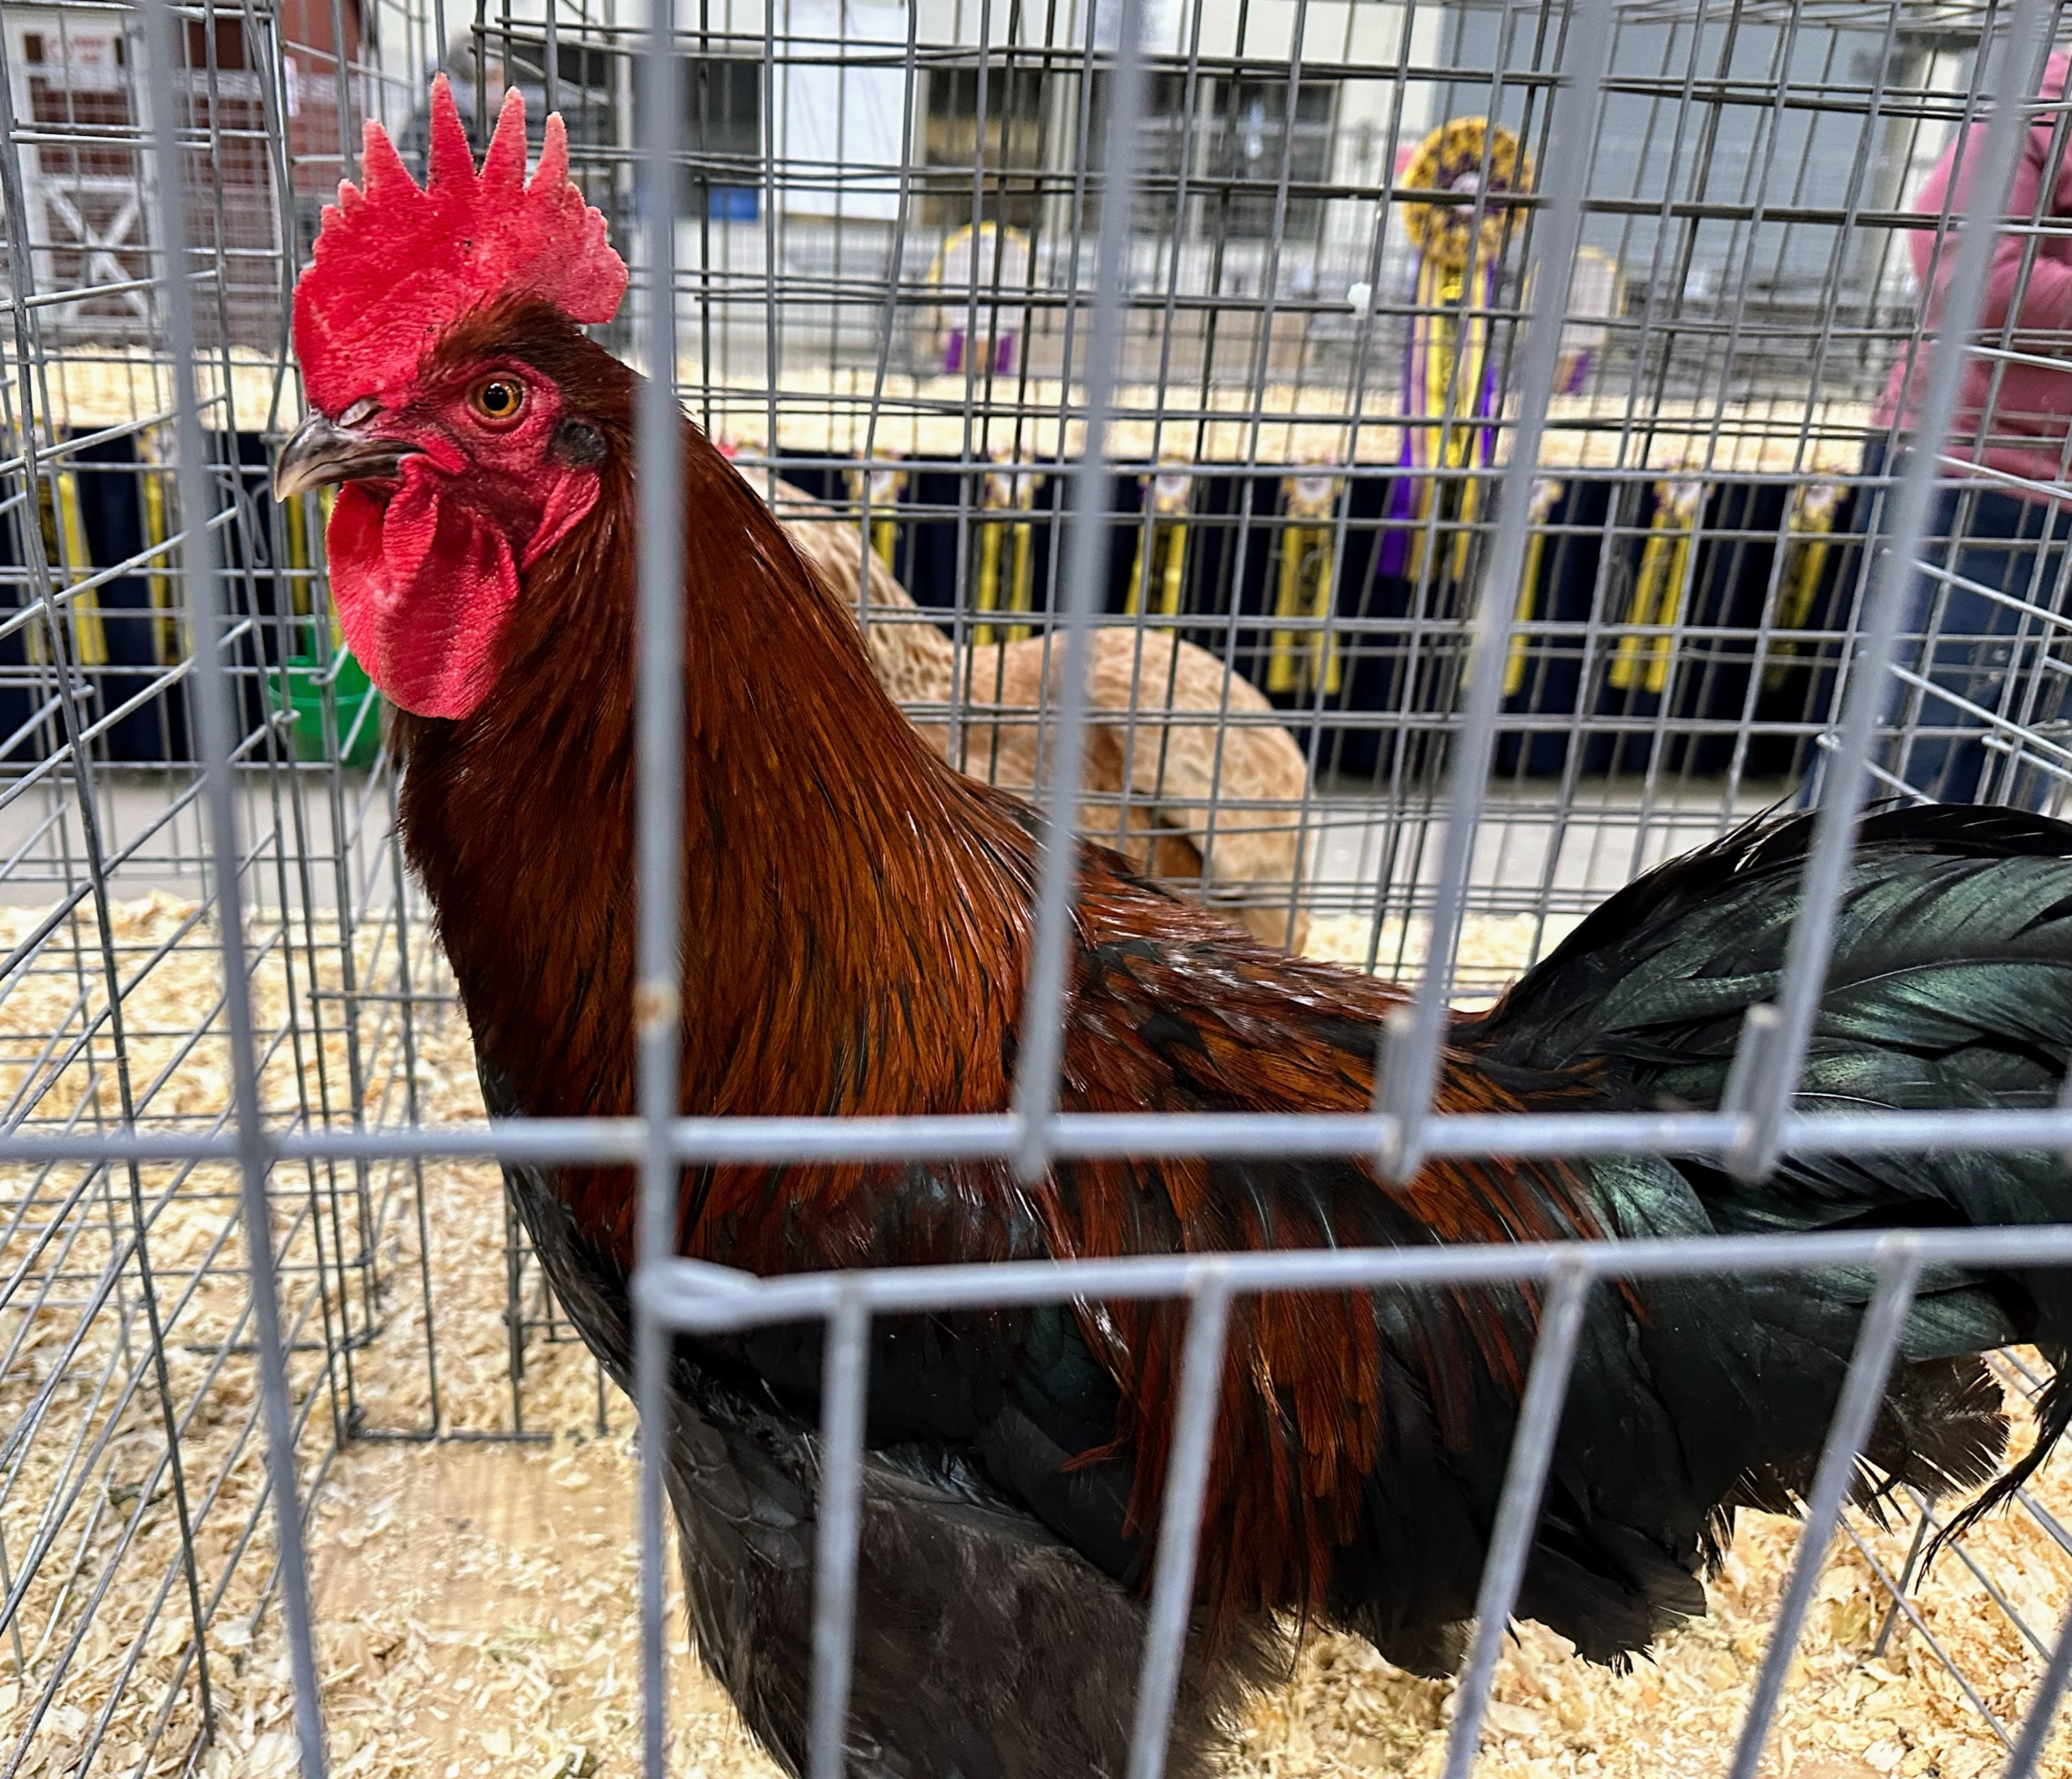
Here are some of the awards ribbons displayed on one side of the large exhibition room. The birds are judged against others of the same color, sex and age. They are also judged based on variety and breed. In the end, chickens compete against large fowl and water fowl.
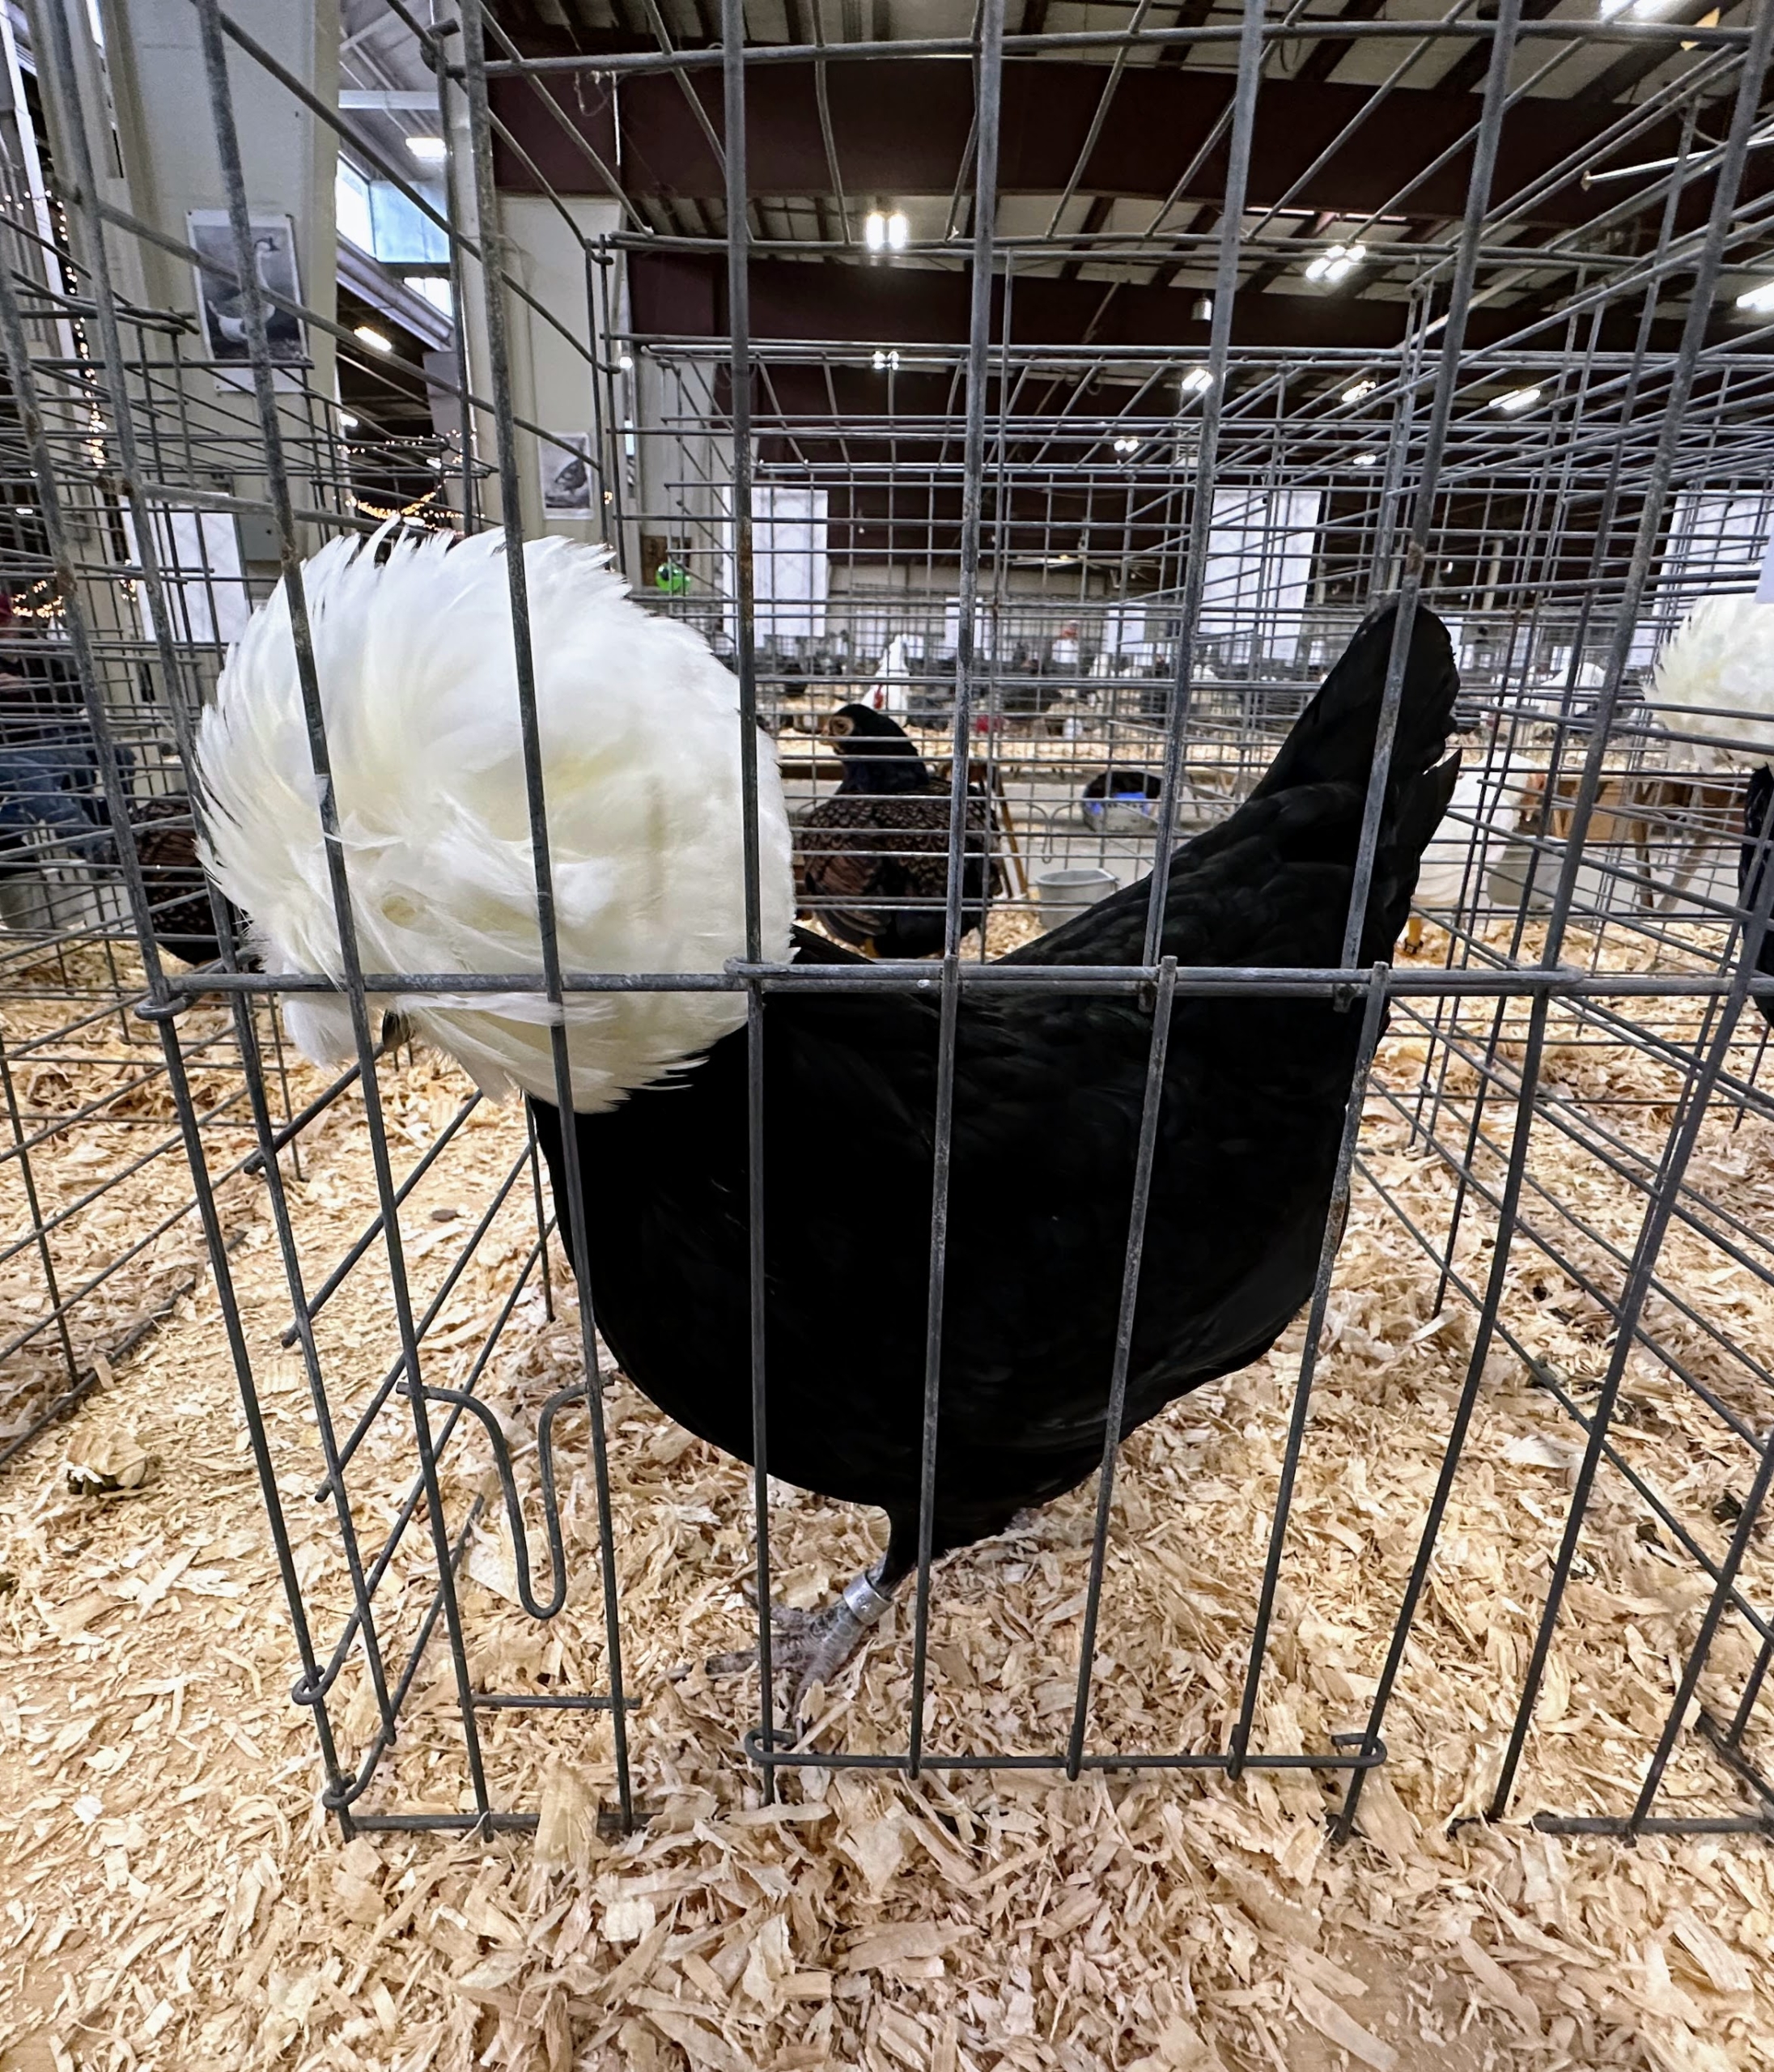
This is a non-bearded White Crested Black Polish chicken – a unique breed with its huge bouffant crest of feathers and v-shaped comb. These birds are sweet, beautiful exhibition birds and can be good layers in the backyard flock.
Here is a black Langshan rooster. Black Langshans are also from the Asiatic Class of poultry and originated in China. These large stunning birds are glossy black with bright red combs, dark eyes, and a more pronounced upright appearance.
The Buff Chantecler is The Buff Chantecler is a gentle, hardy, dual-purpose breed. This one is a hen – the coloring is similar to that of the Buff Orpington.
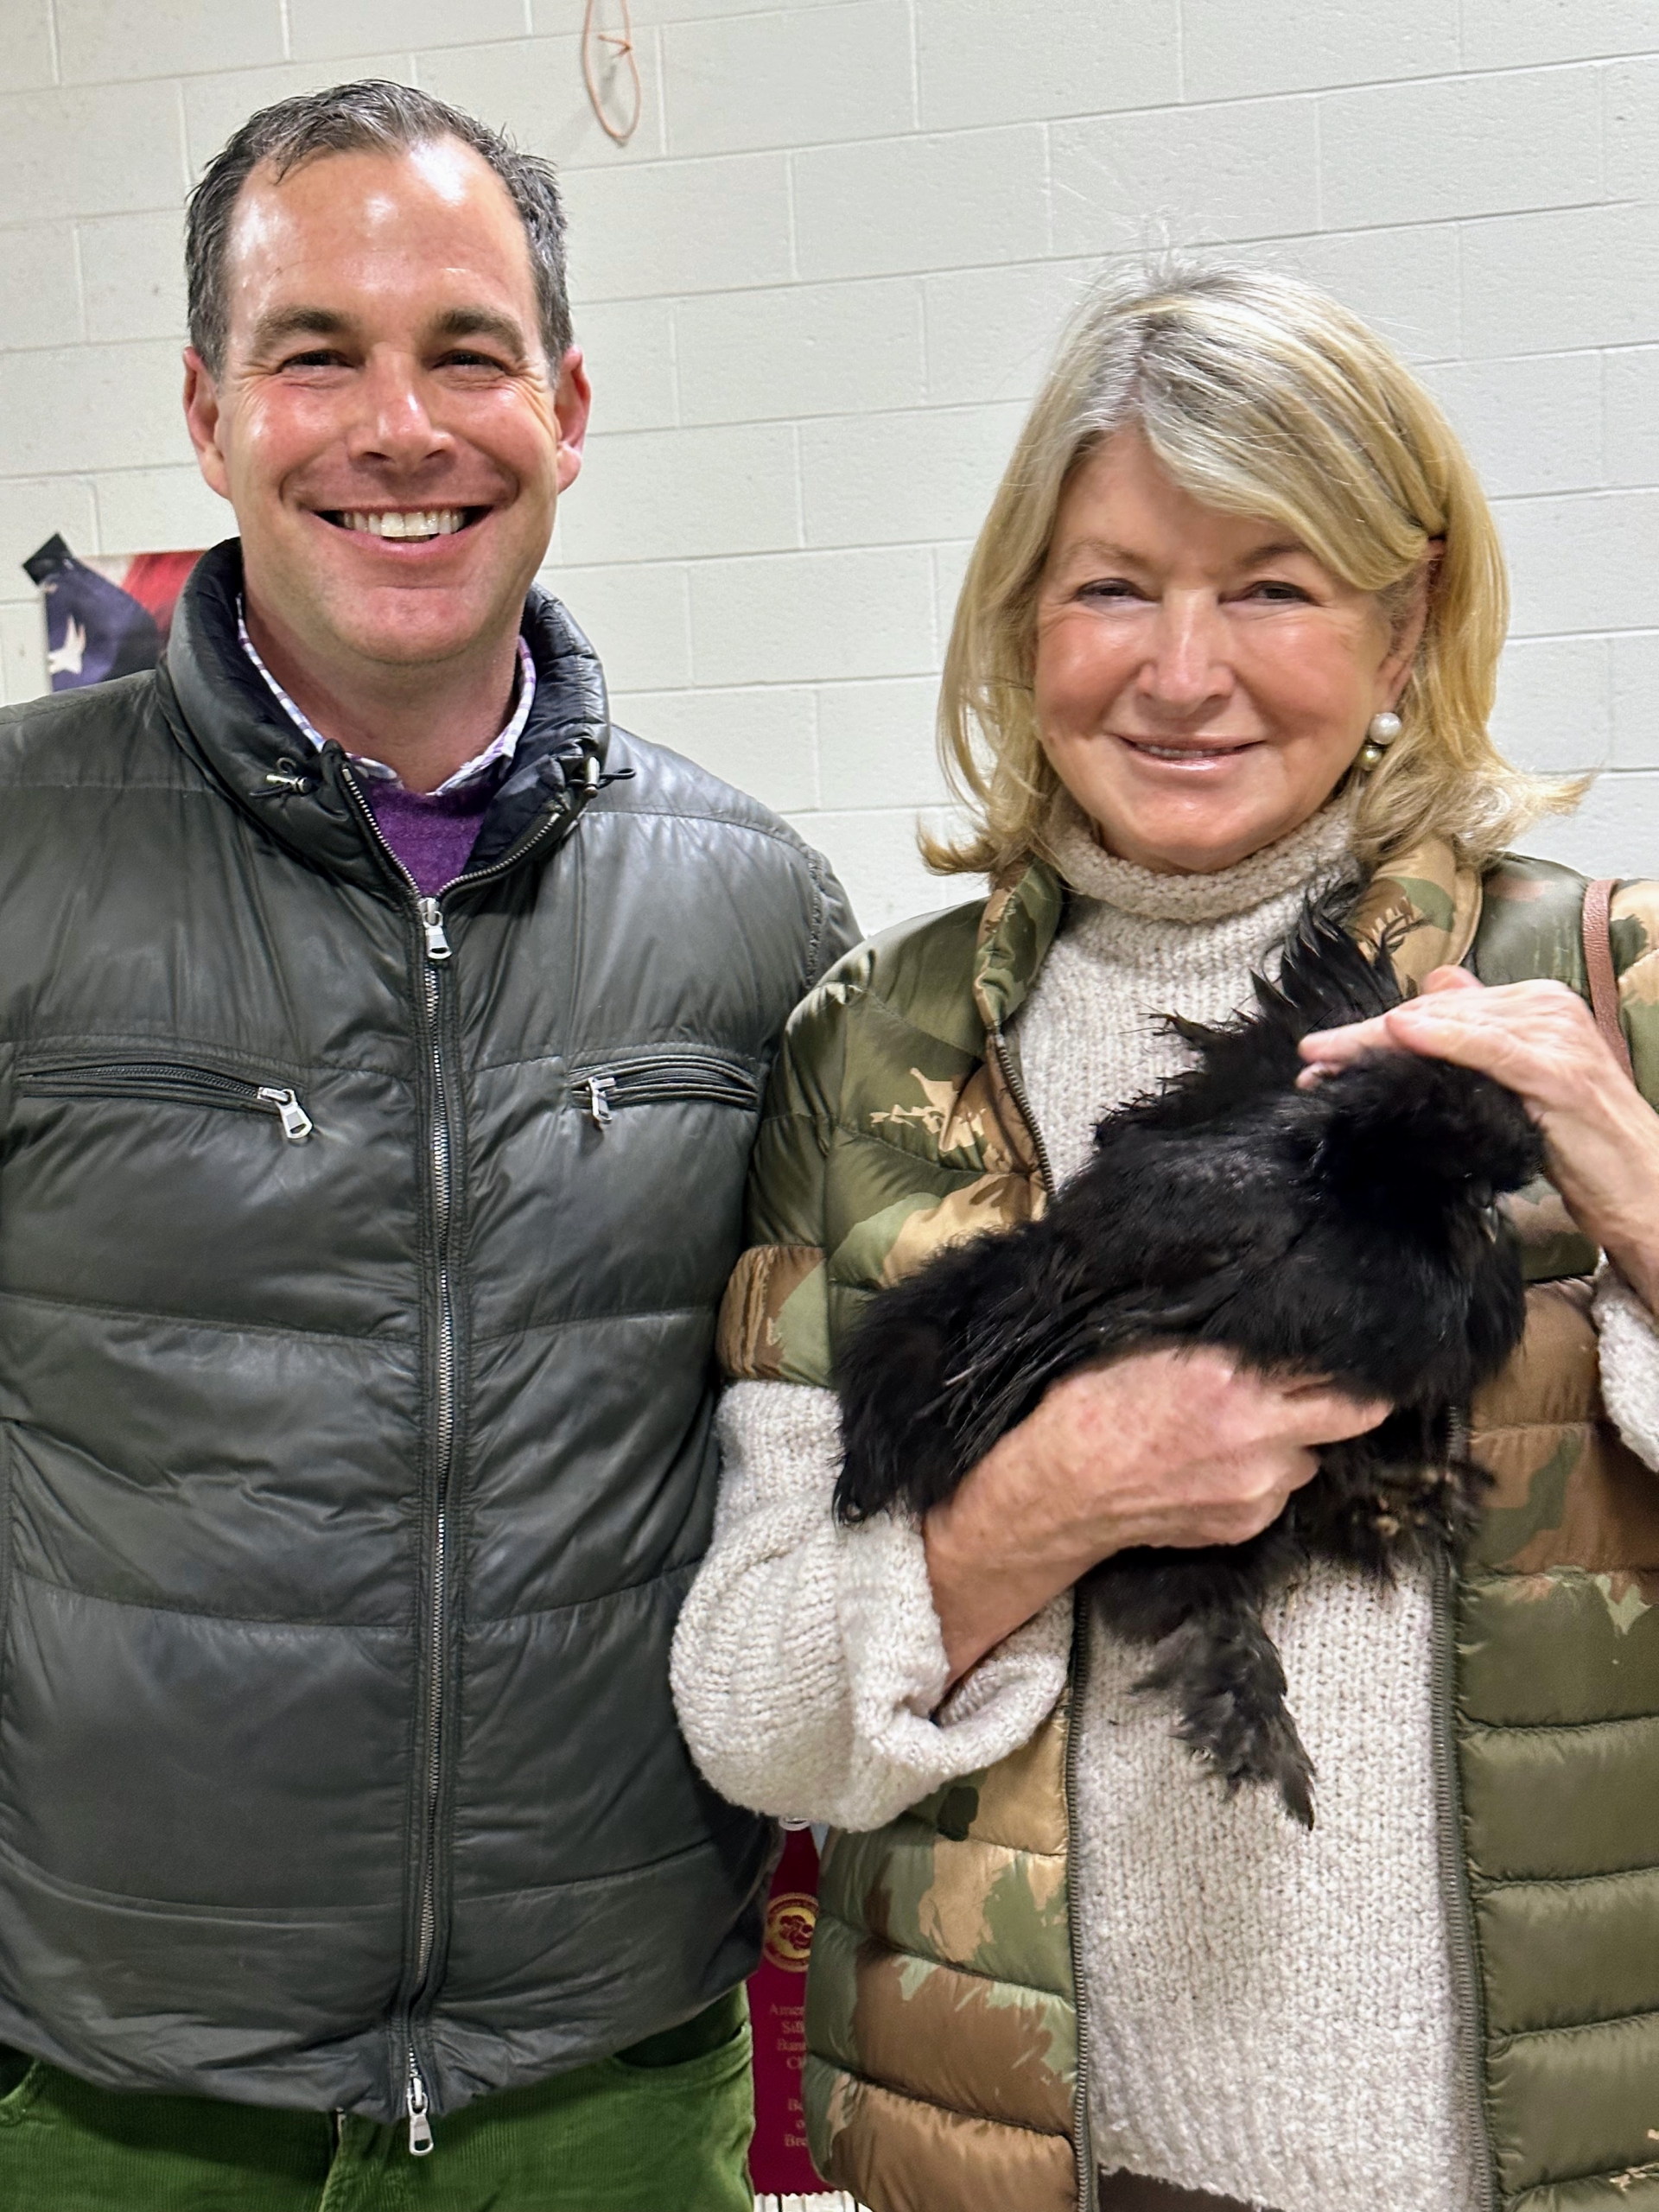
Here I am with my friend, Christopher Spitzmiller, who attends this show with me every year. I am holding a gorgeous black Silkie chicken. The Northeastern Poultry Congress is always very informative and very interesting. I always learn something new when I attend. And, I did bring a few birds home with me too.
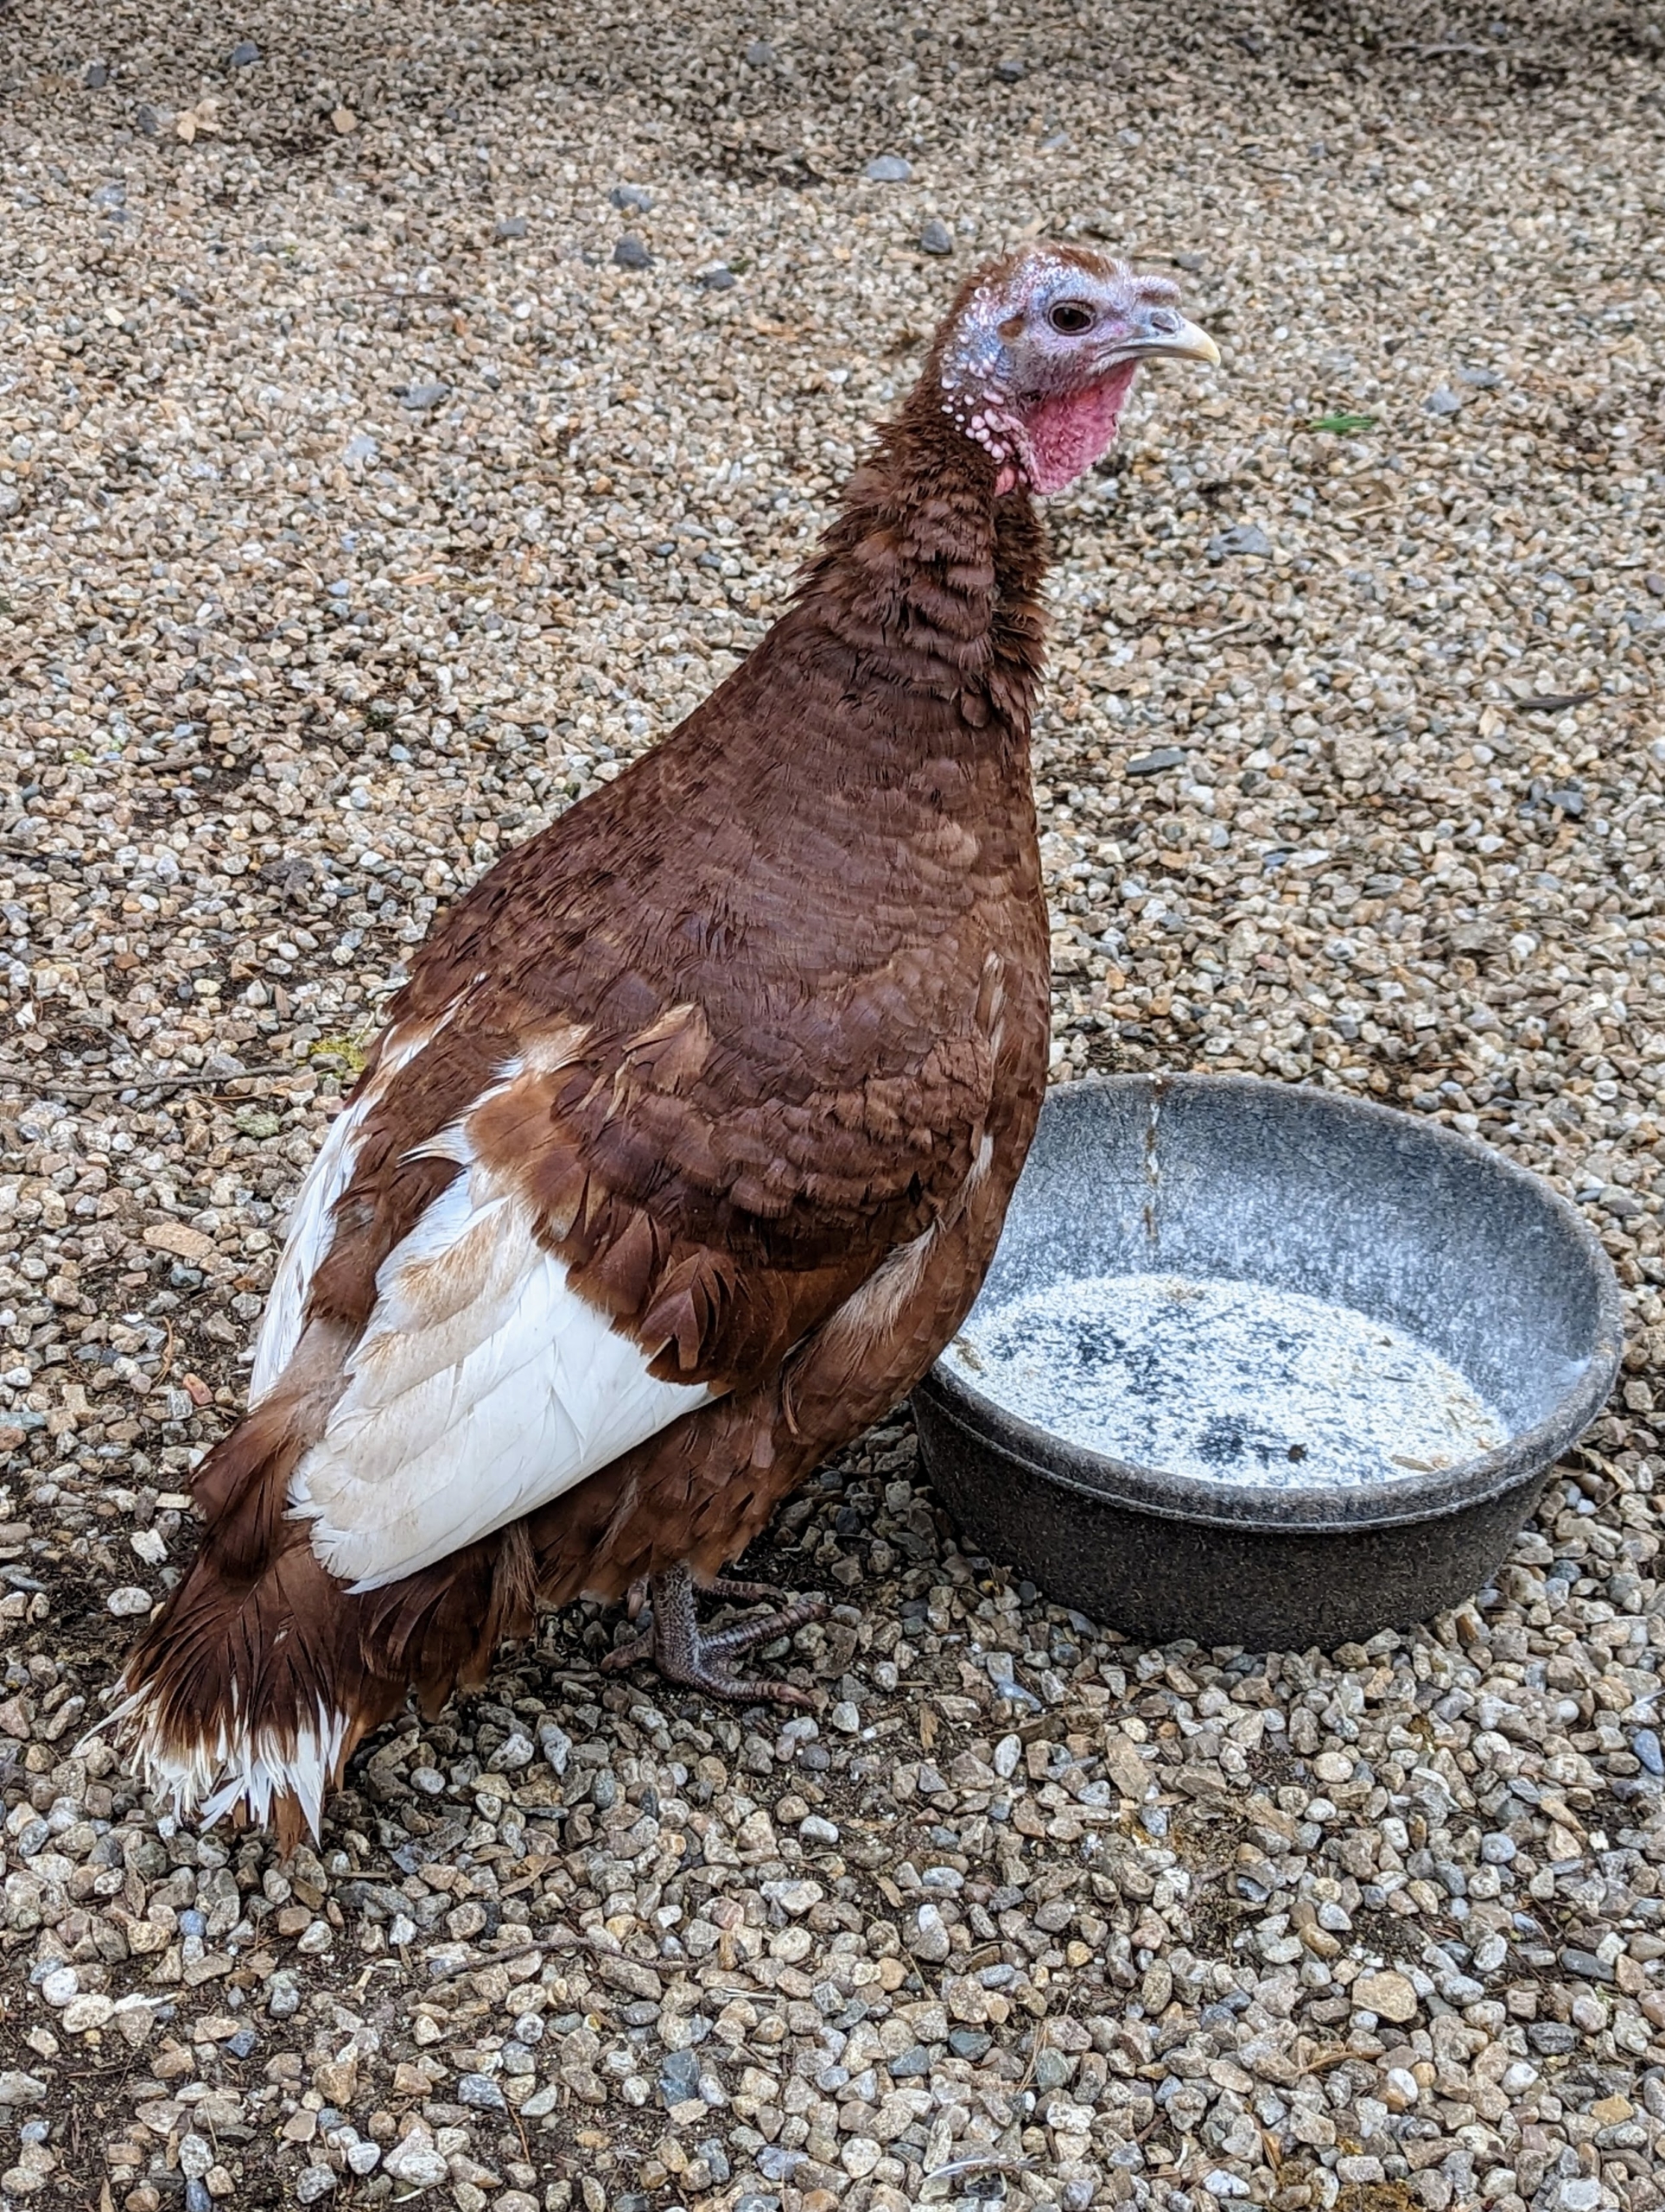
This year, I brought home a pair of Bourbon Red turkeys. This is a six month old Bourbon Red turkey hen.
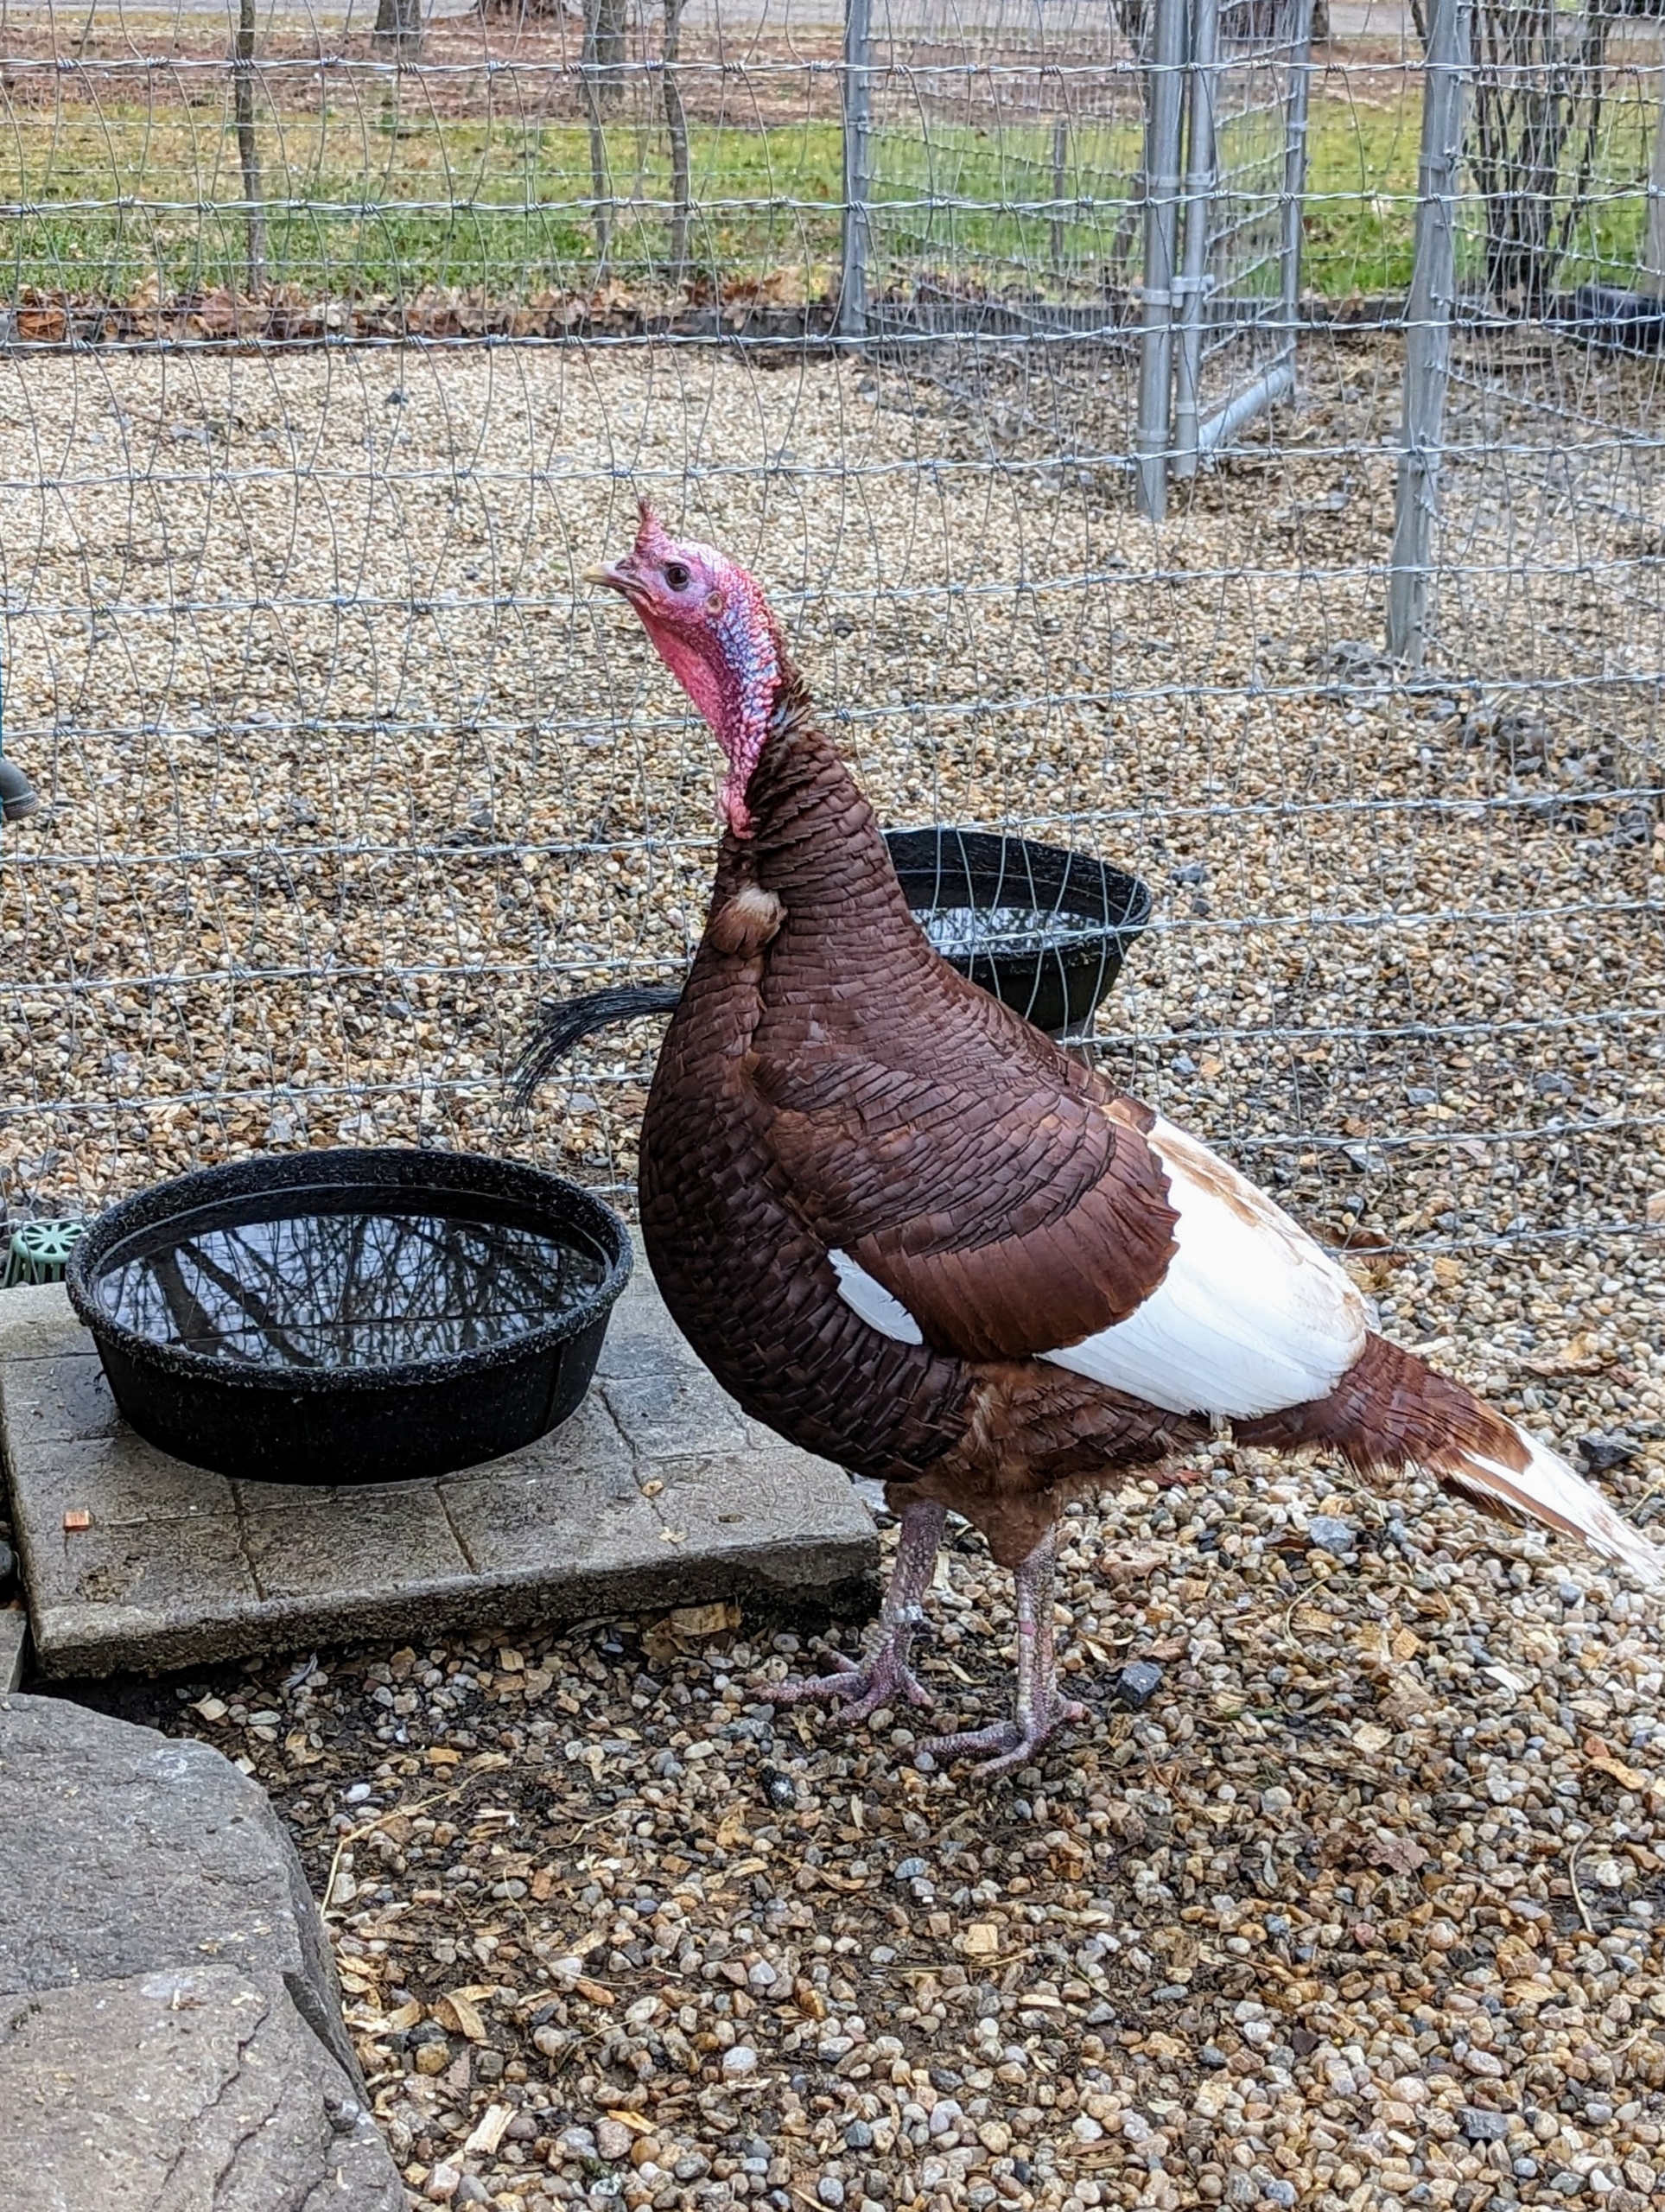
This one is Woodford or “Woody” for short – after the bourbon, of course. He’s about two years old. I am hoping the pair will breed.
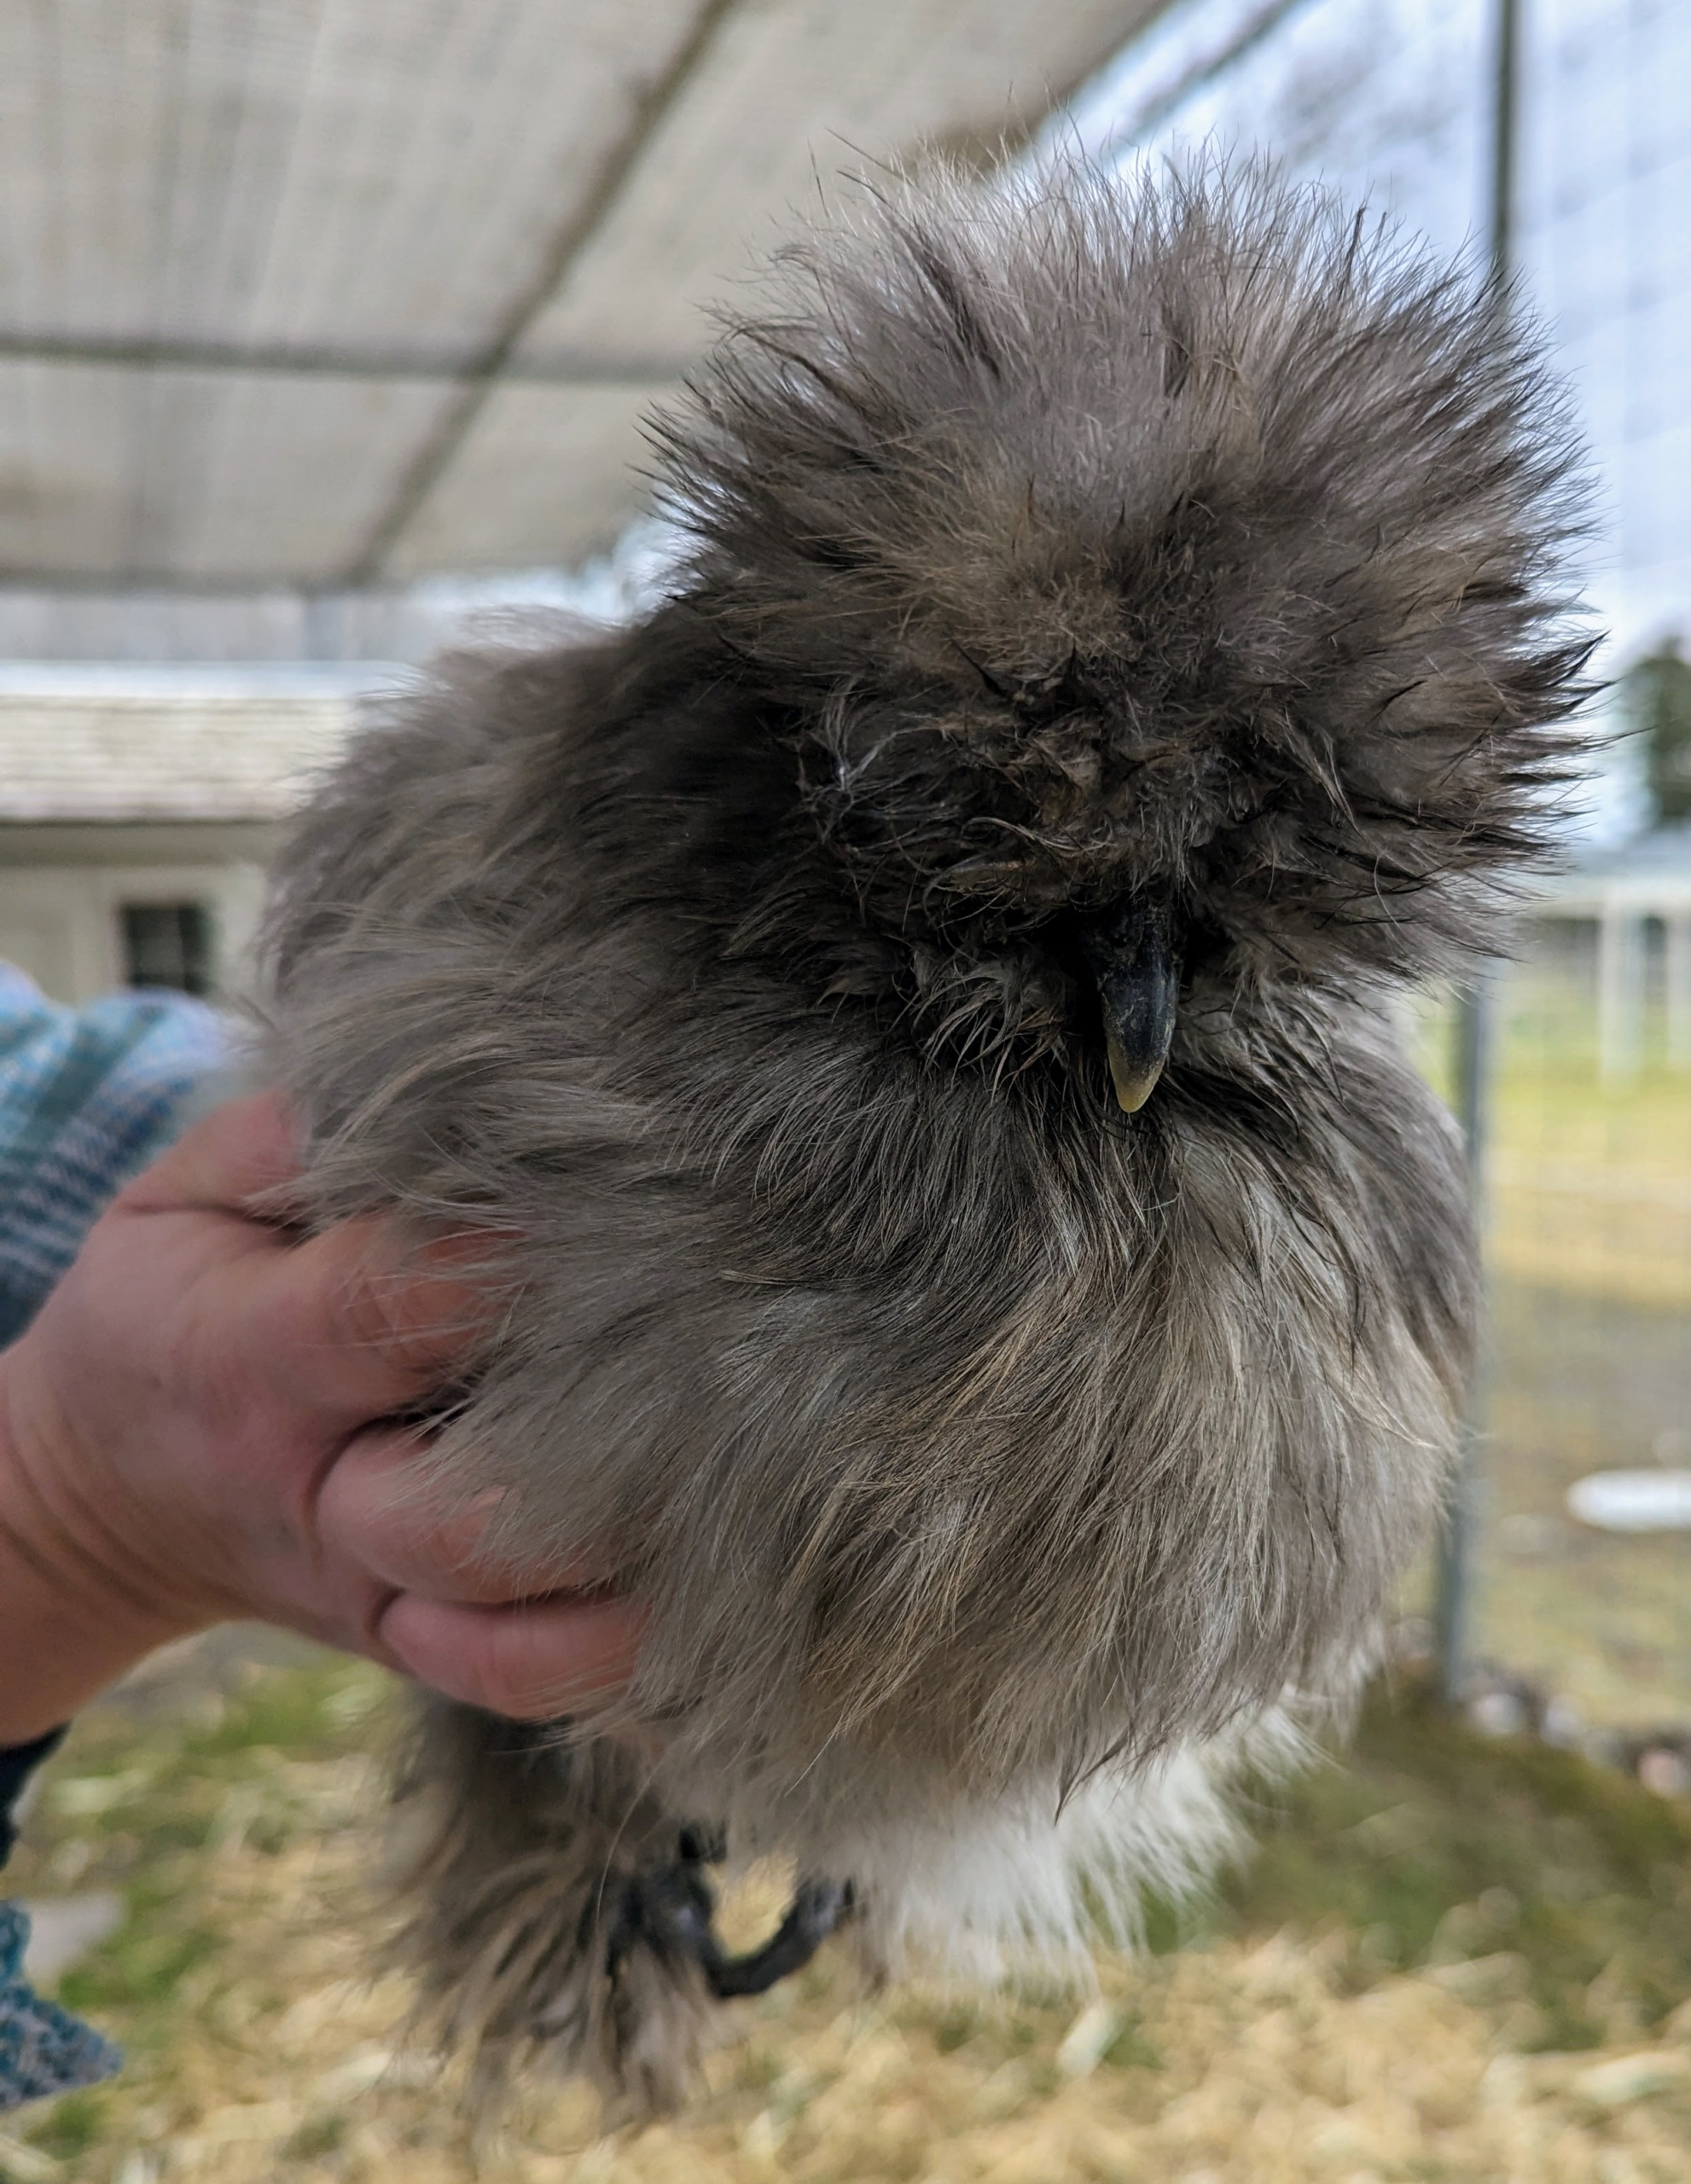
I also brought home a gray Silkie, along with a dozen Silkie eggs, which I am able to incubate here at the farm.
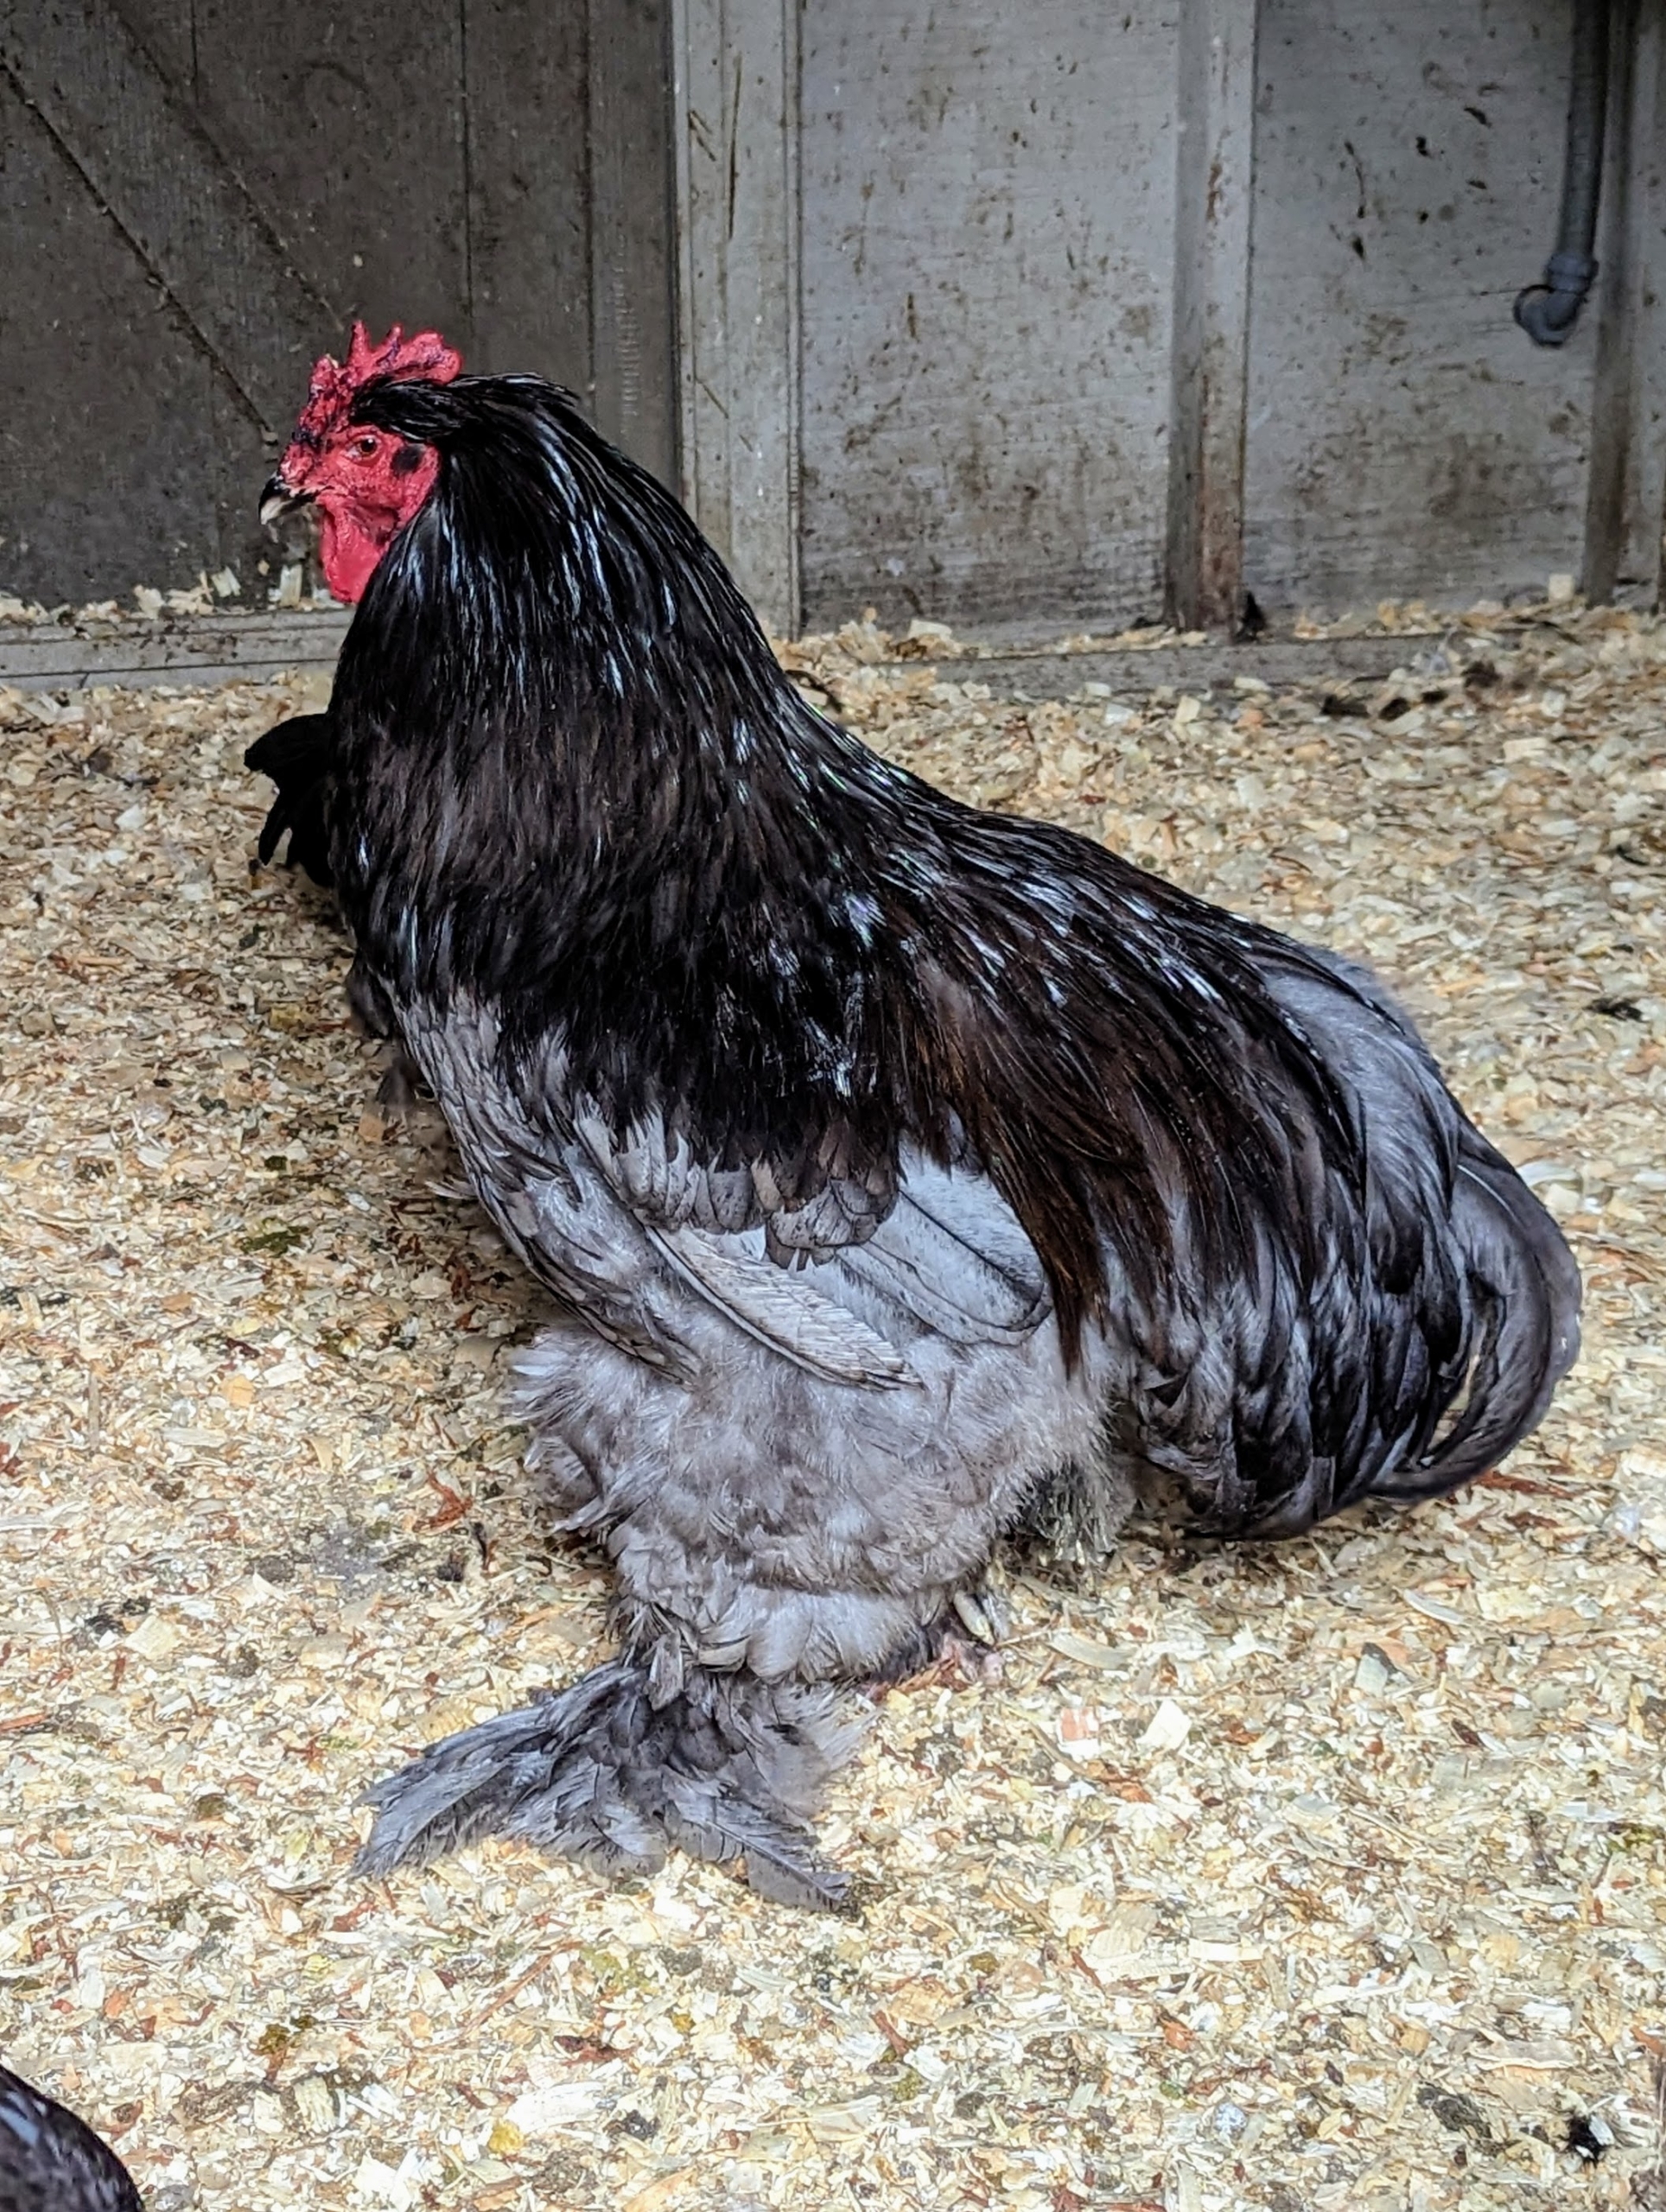
I love these large breed Cochins. I got a breeding pair of blue Cochins and two black Cochin hens.
And four Bantam White Plymouth Rocks – all beautiful to look at and so friendly. If you’re interested in raising chickens or just love learning about all the breeds, find a poultry show near you and go! They’re lots of fun!
So many of you comment on how much you appreciate my blogs giving step-by-step instructions on how I make dog food for my two French Bulldogs, Bête Noire and Crème Brûlée, and my two Chow Chows, Empress Qin and Emperor Han.
Every few weeks, I set aside time to make my dogs a good supply of home-cooked food. Preparing my own dog food has many benefits - fewer preservatives and additives, more varied and better ingredients and, of course, more of what I know my dogs will enjoy. I also know the food is from wholesome, organic, reputable, and local sources - that is very important to me. Last week, we took photos of some of the great shops near my home here in Westchester, New York. And over the weekend, I prepared a giant batch of food filled with excellent quality chicken, beef, fish, quinoa, and a variety of vegetables.
Enjoy these photos.
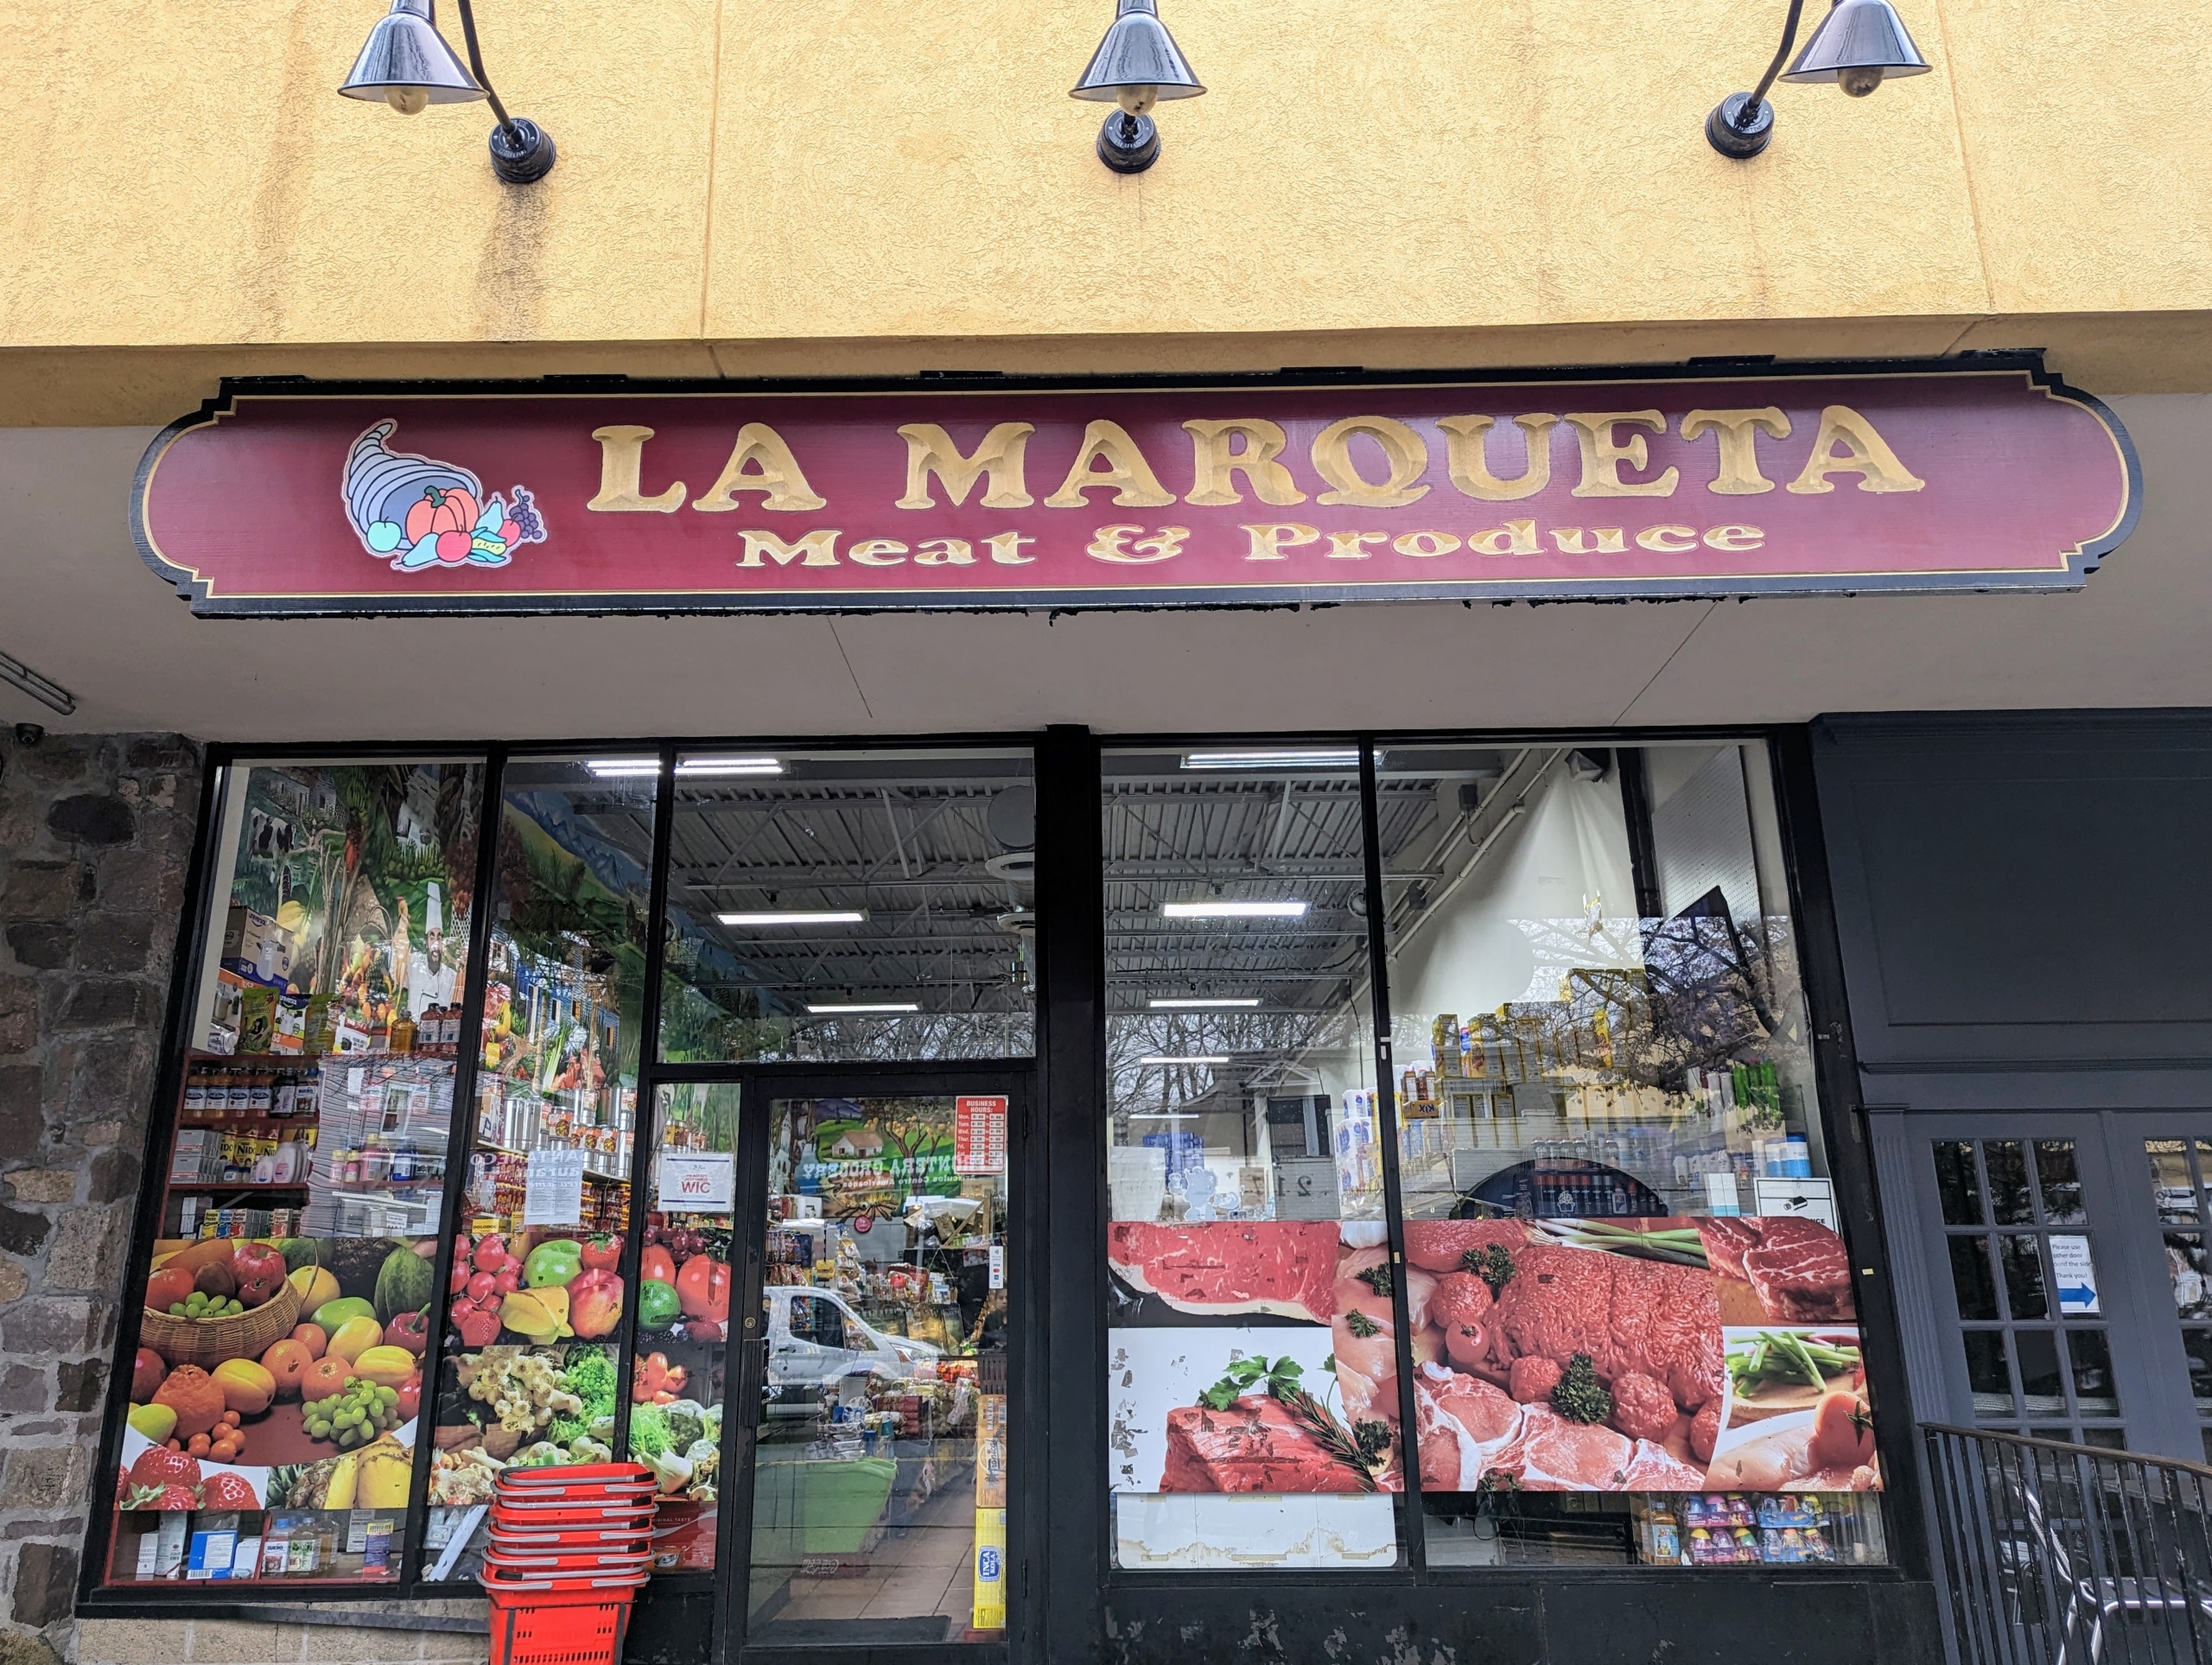
I love to shop locally whenever I can. It is good to support small businesses in one’s neighborhood and the proprietors are often very knowledgeable and helpful. This is La Marqueta, a meat and produce store in Mt. Kisco, New York.
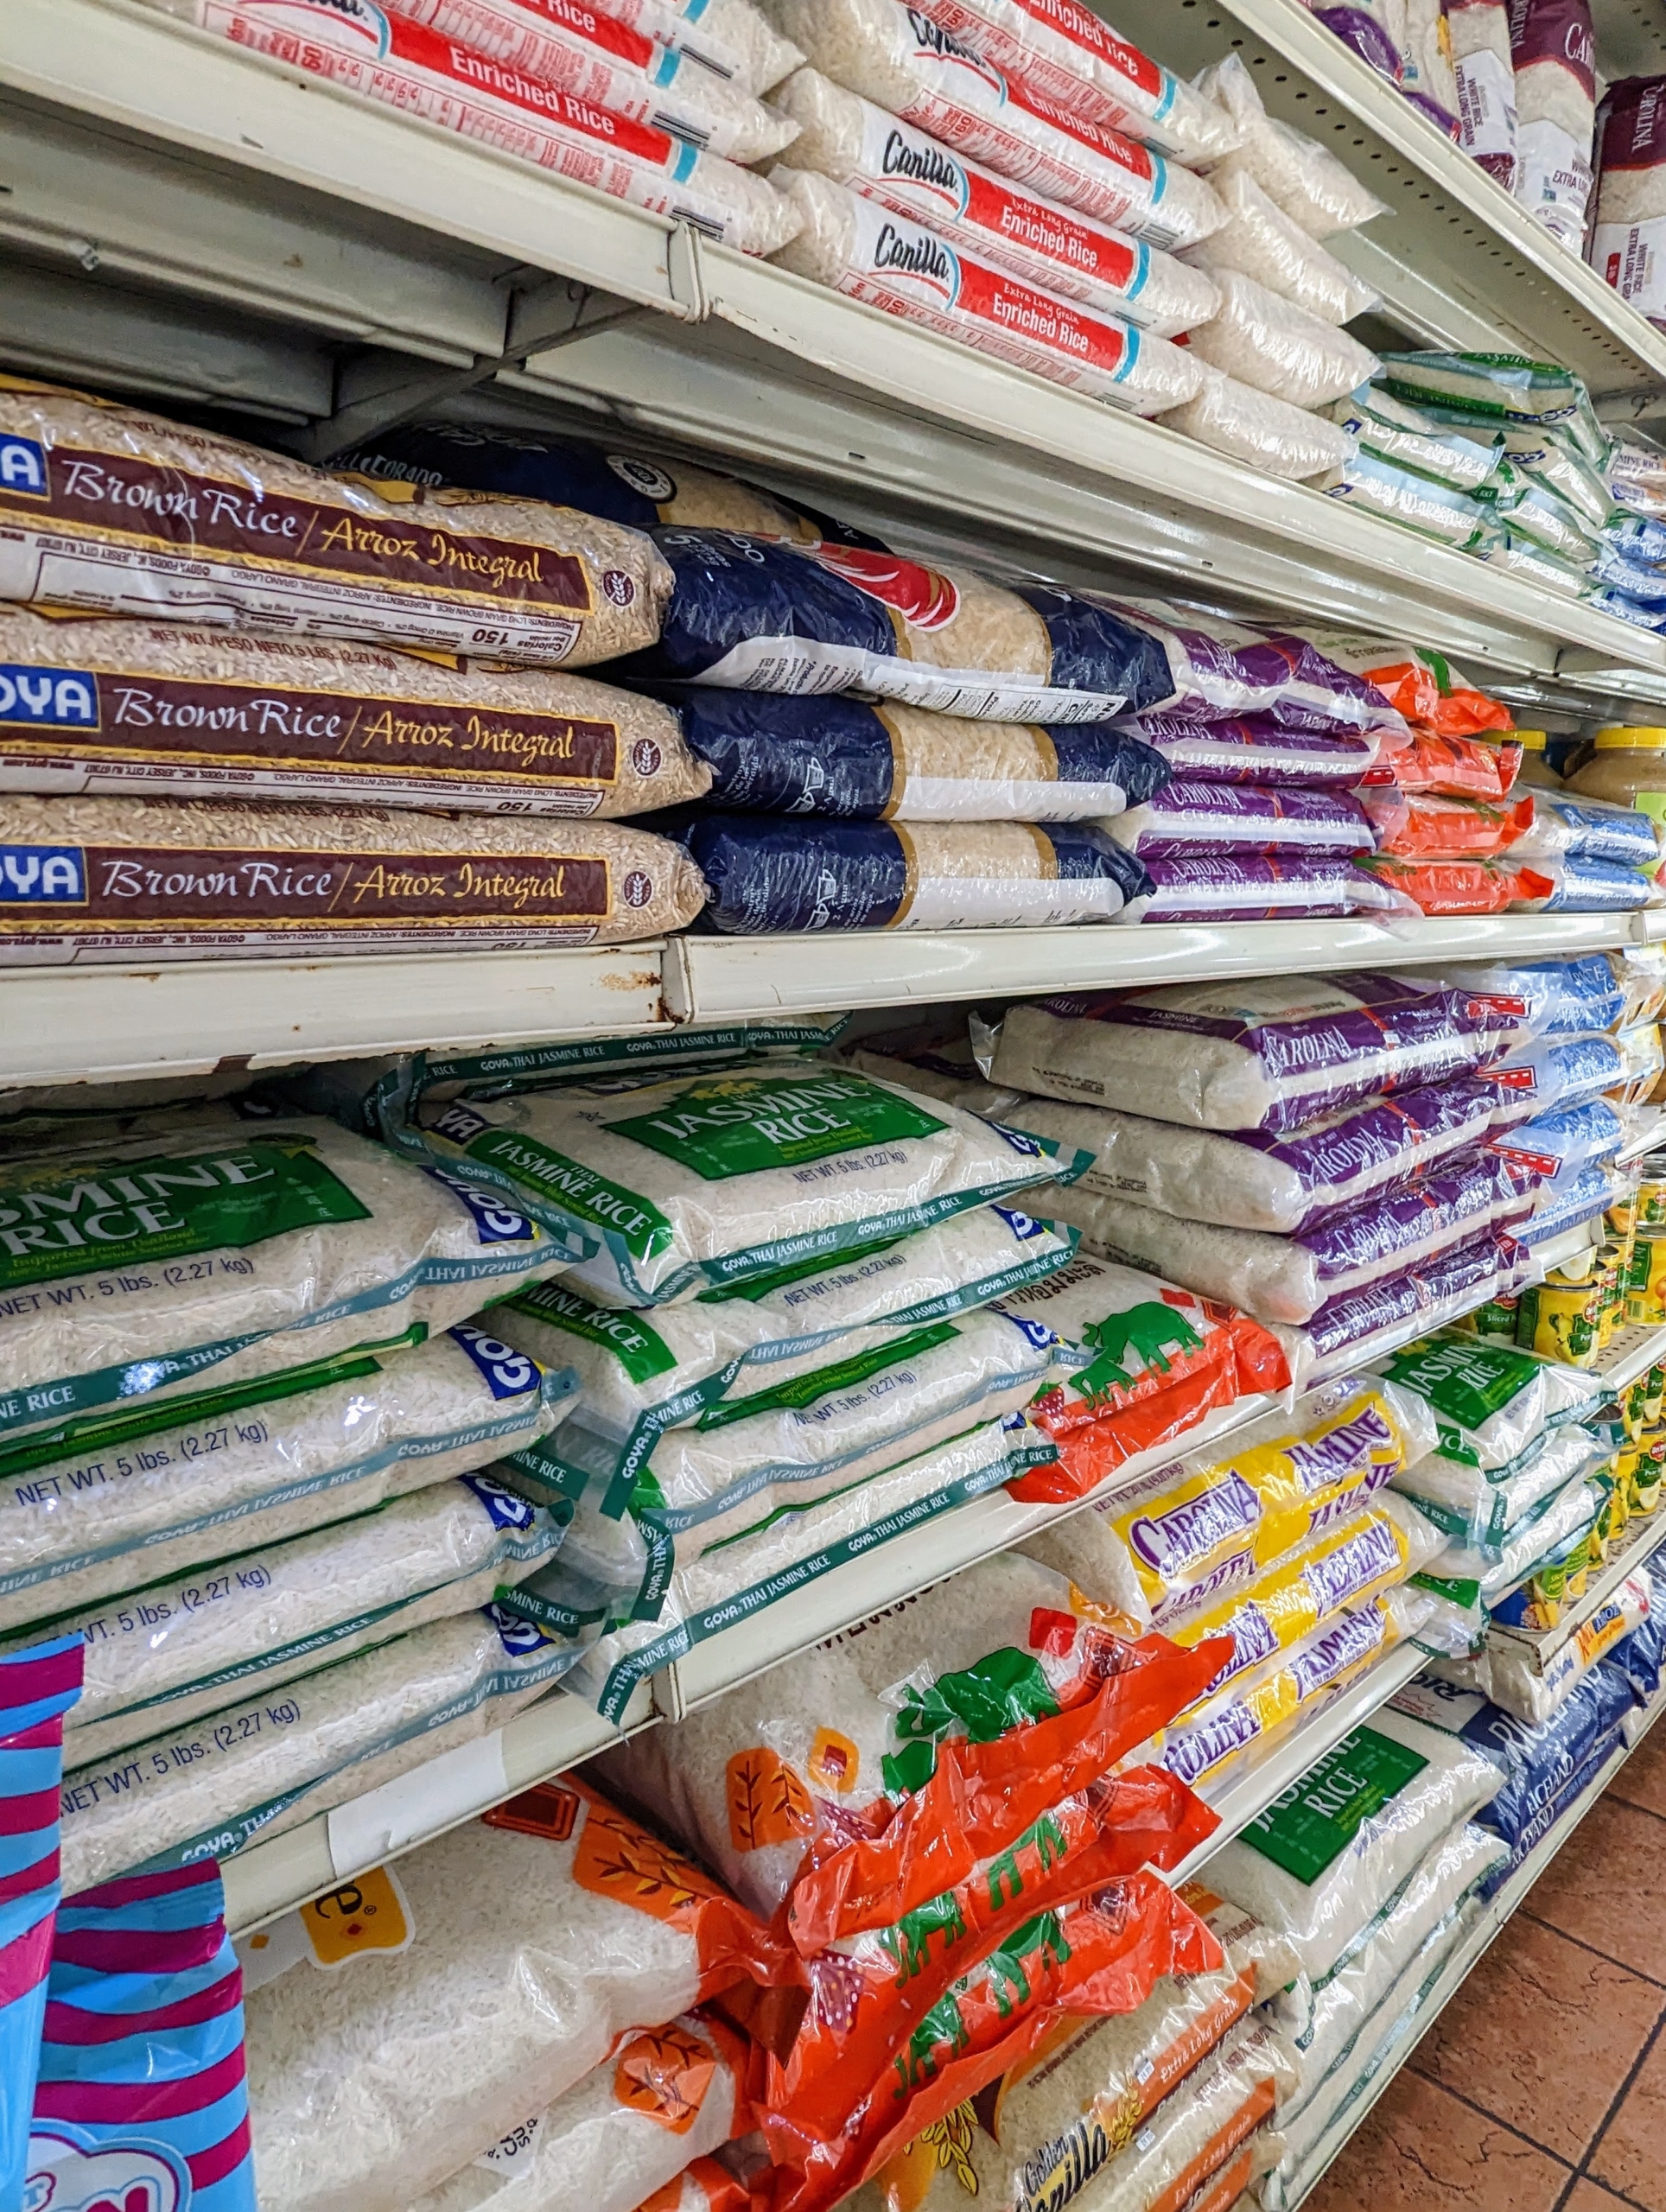
La Marqueta carries a large variety of products popular in Spanish communities. This aisle was filled with many types of rice.
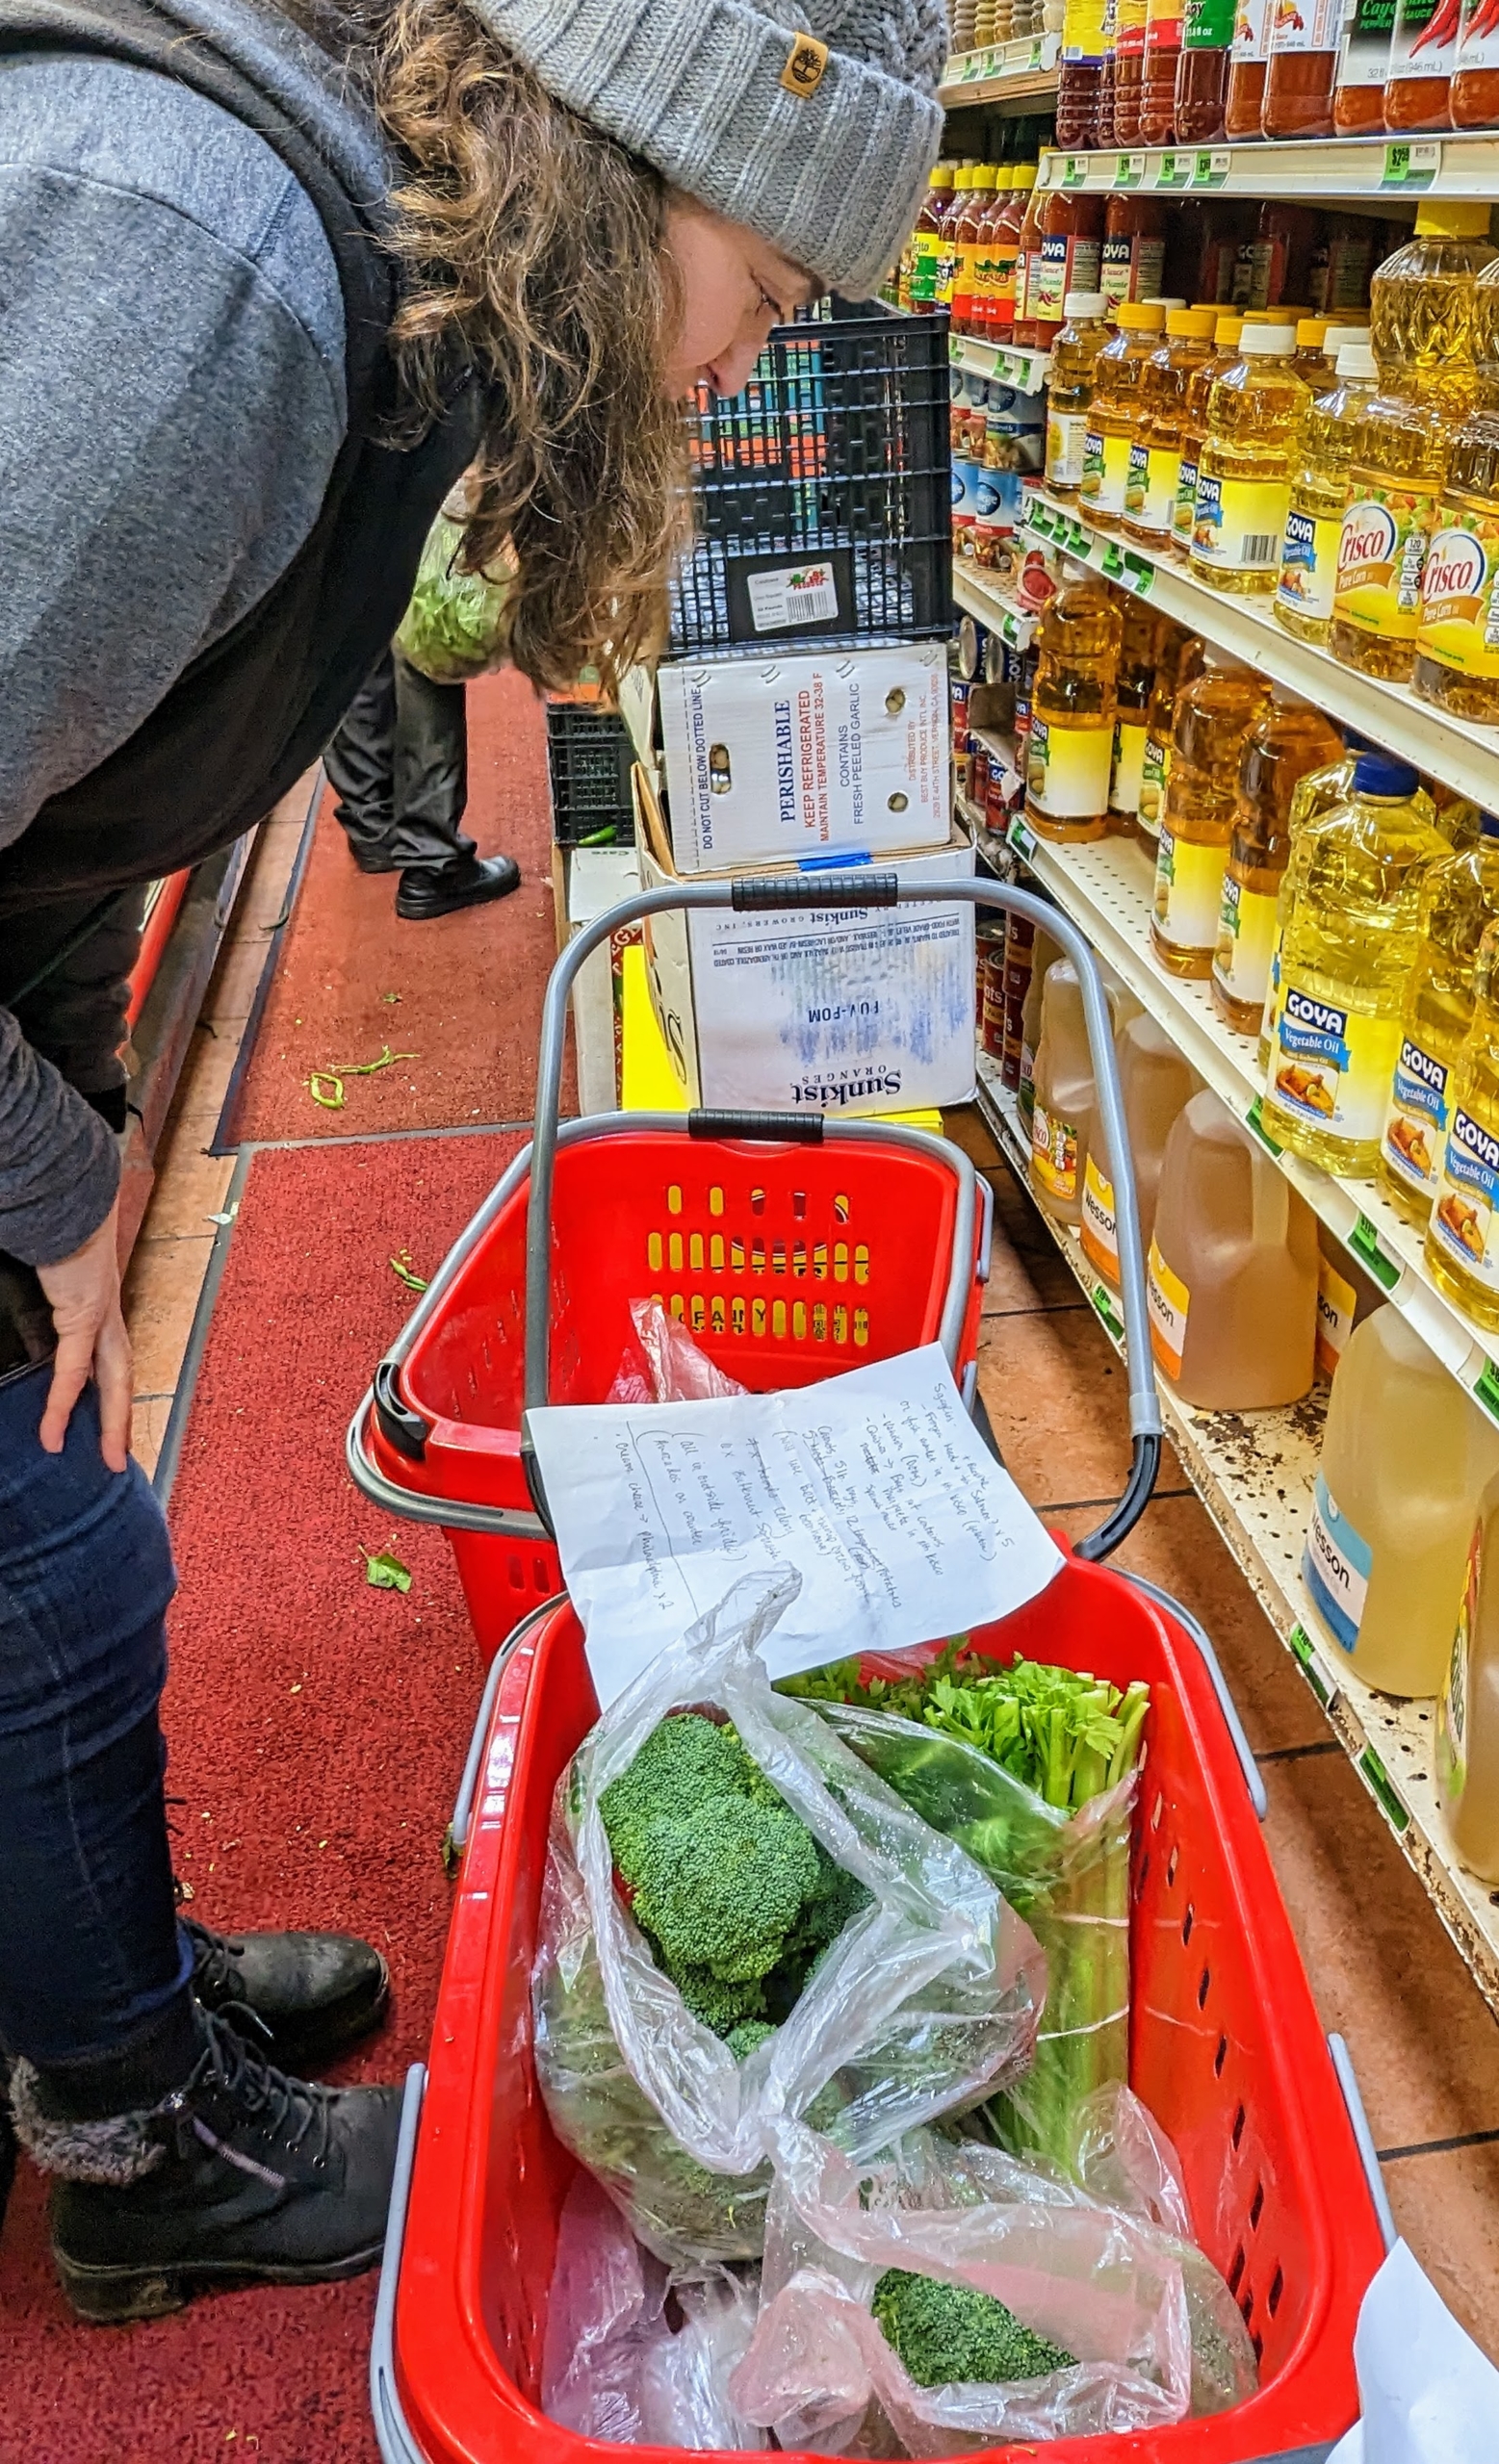
Here is my Operaitons Manager, Stephanie Lofaro, looking over the list of what we need. From here we got broccoli, carrots, and quinoa.
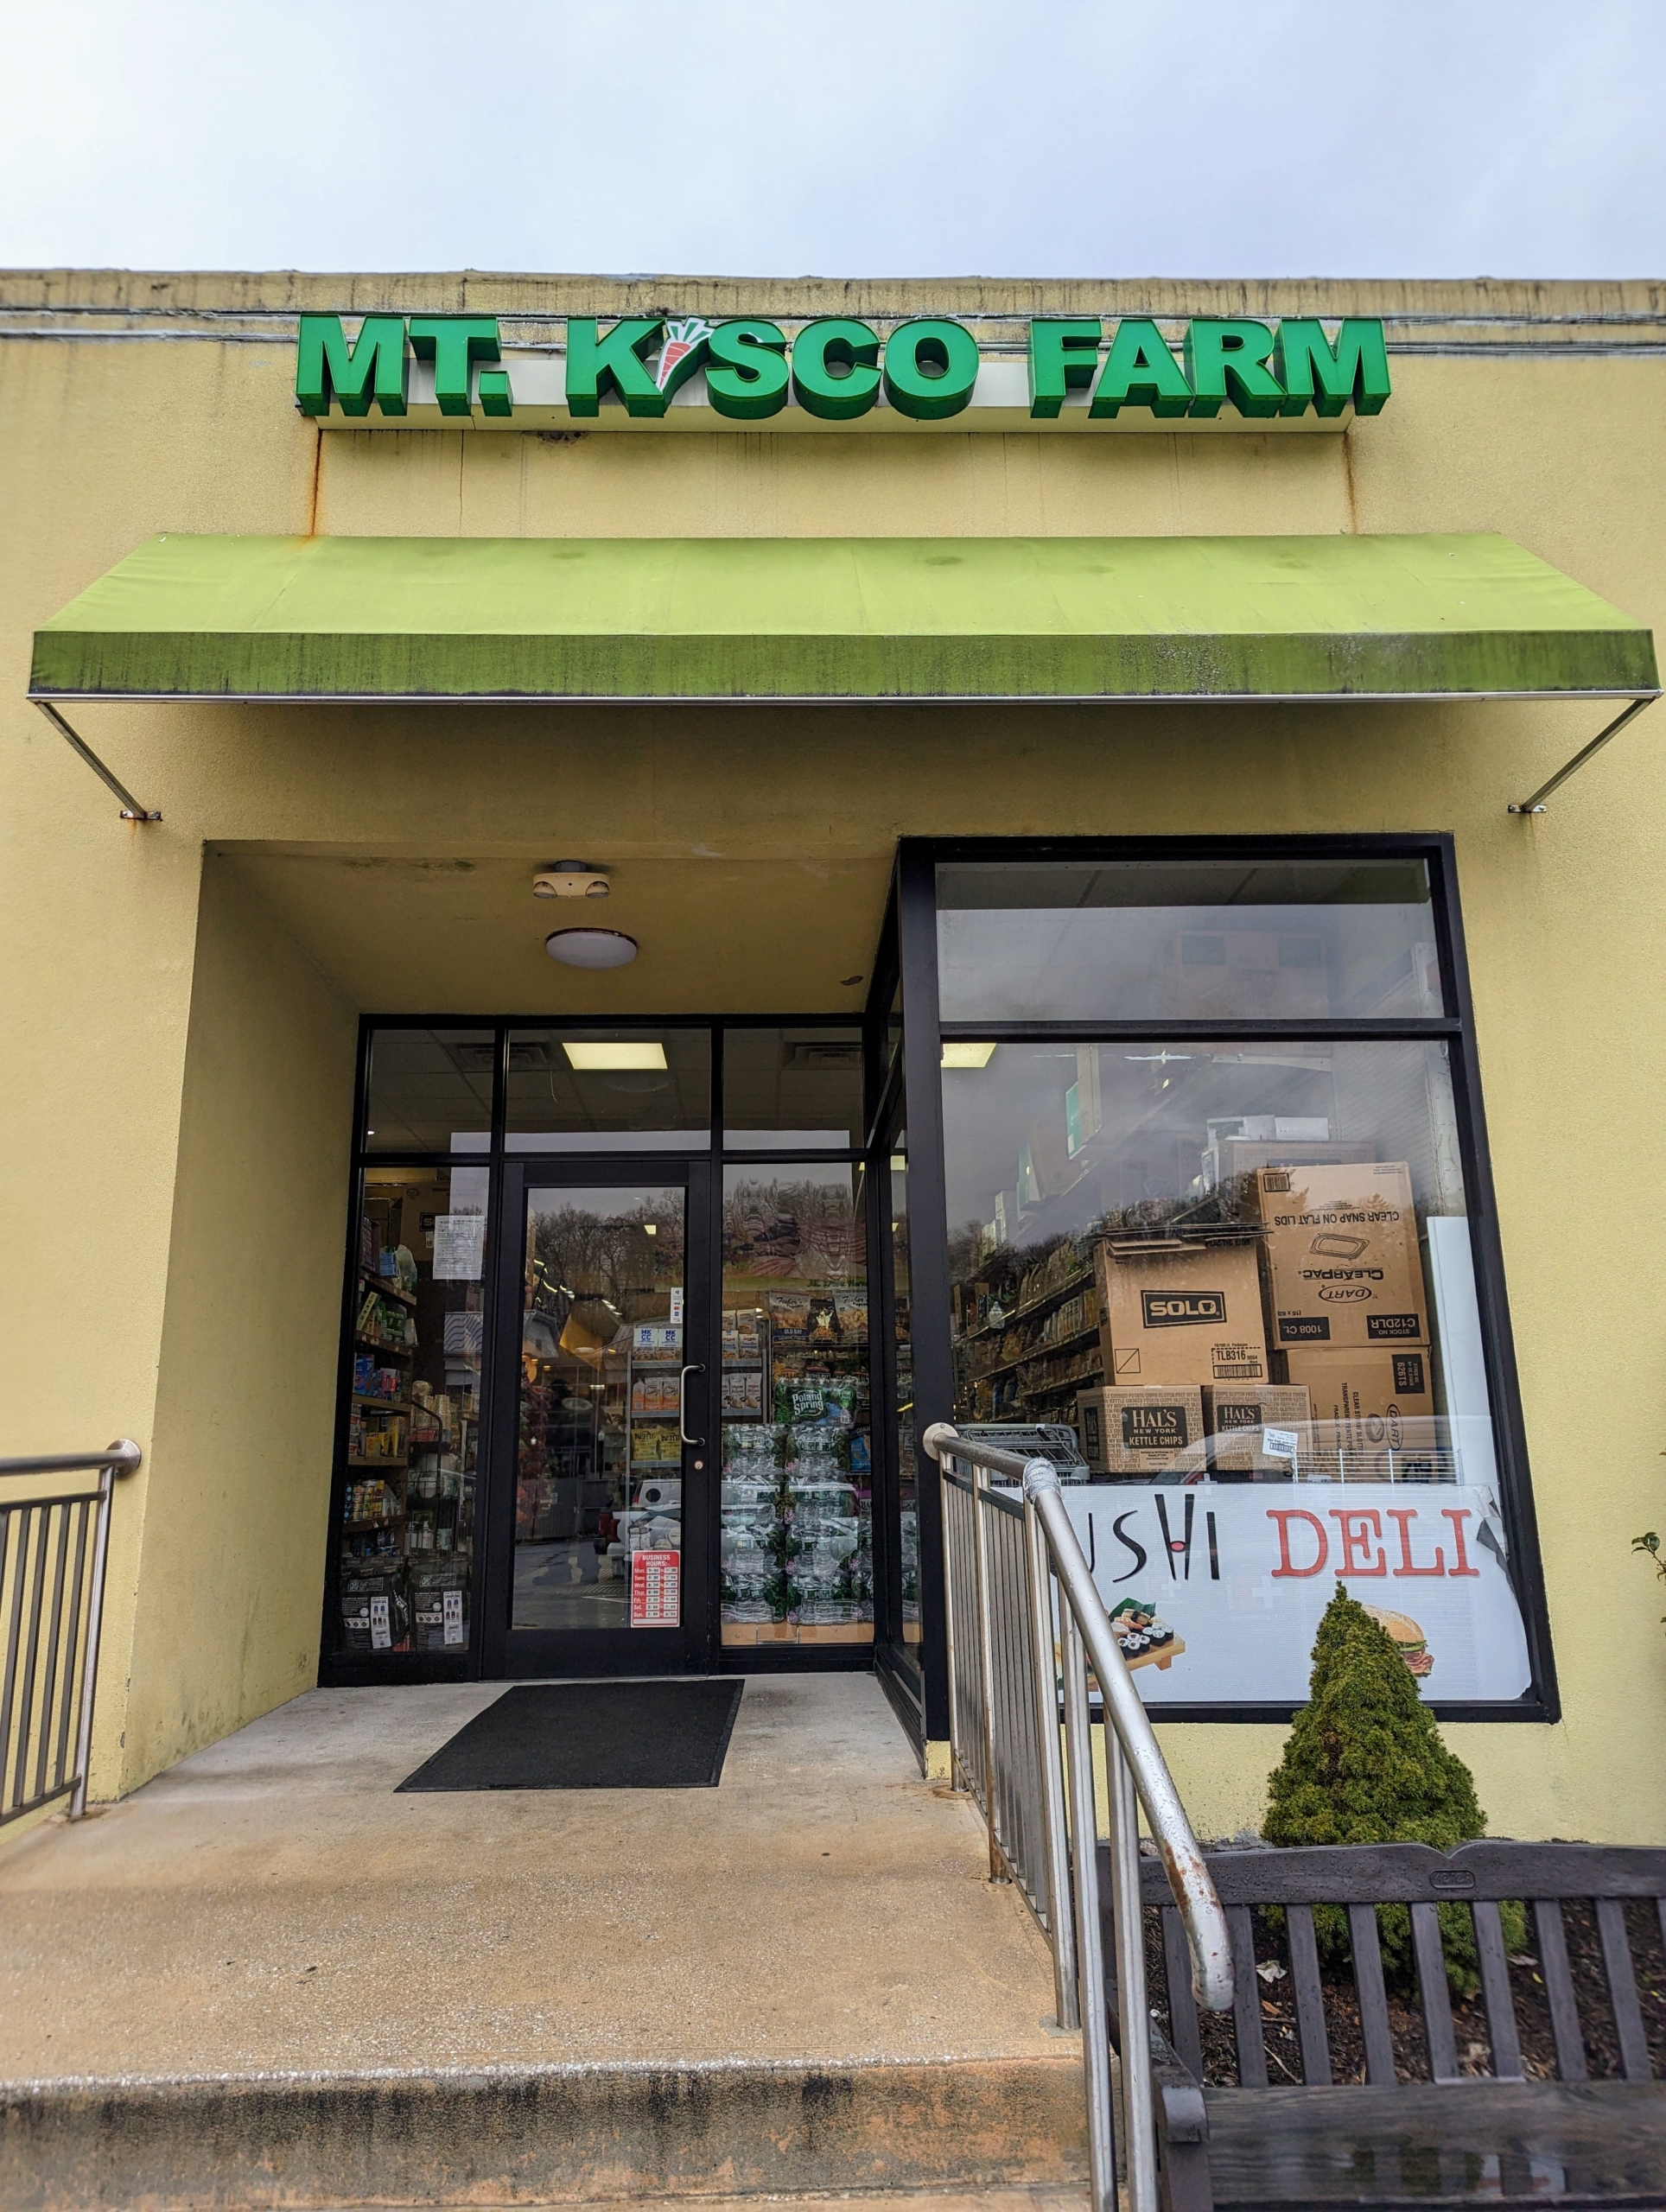
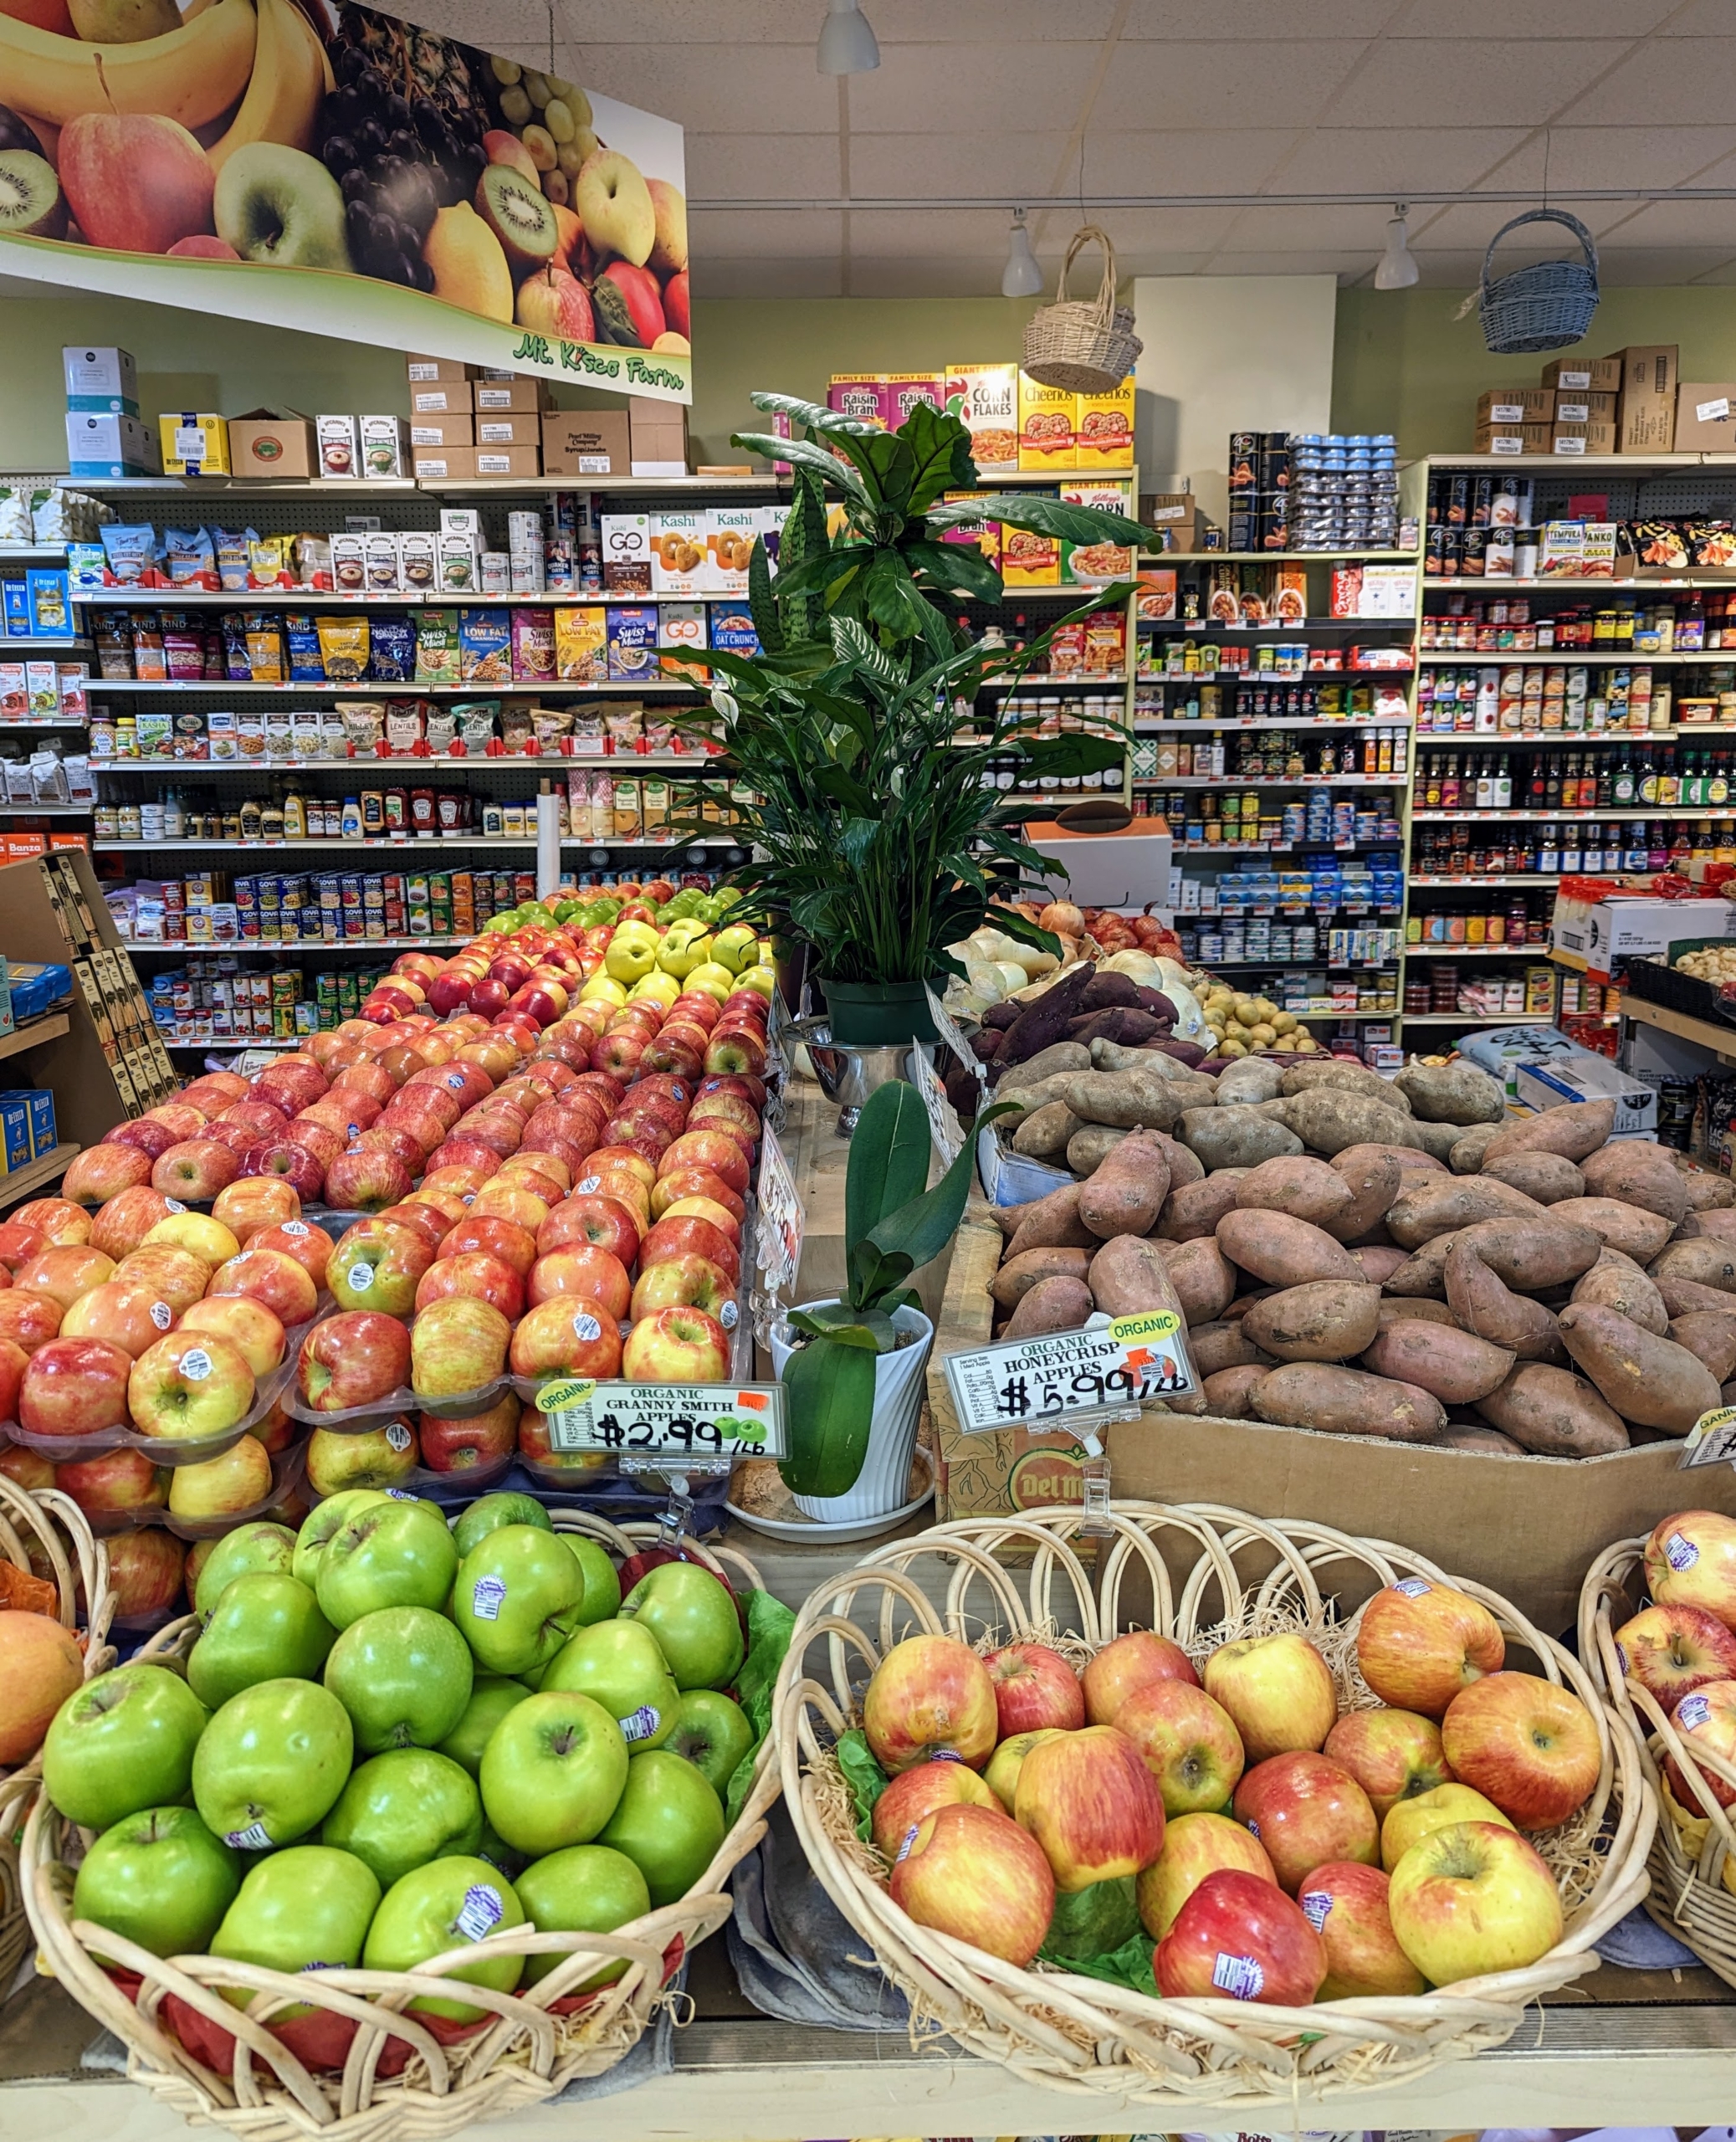
I also go to Mt. Kisco Farm. This shop is a very well-stocked specialty grocery store with lots of produce brought in fresh every day.
Here, they have lots of fresh fruits and vegetables.
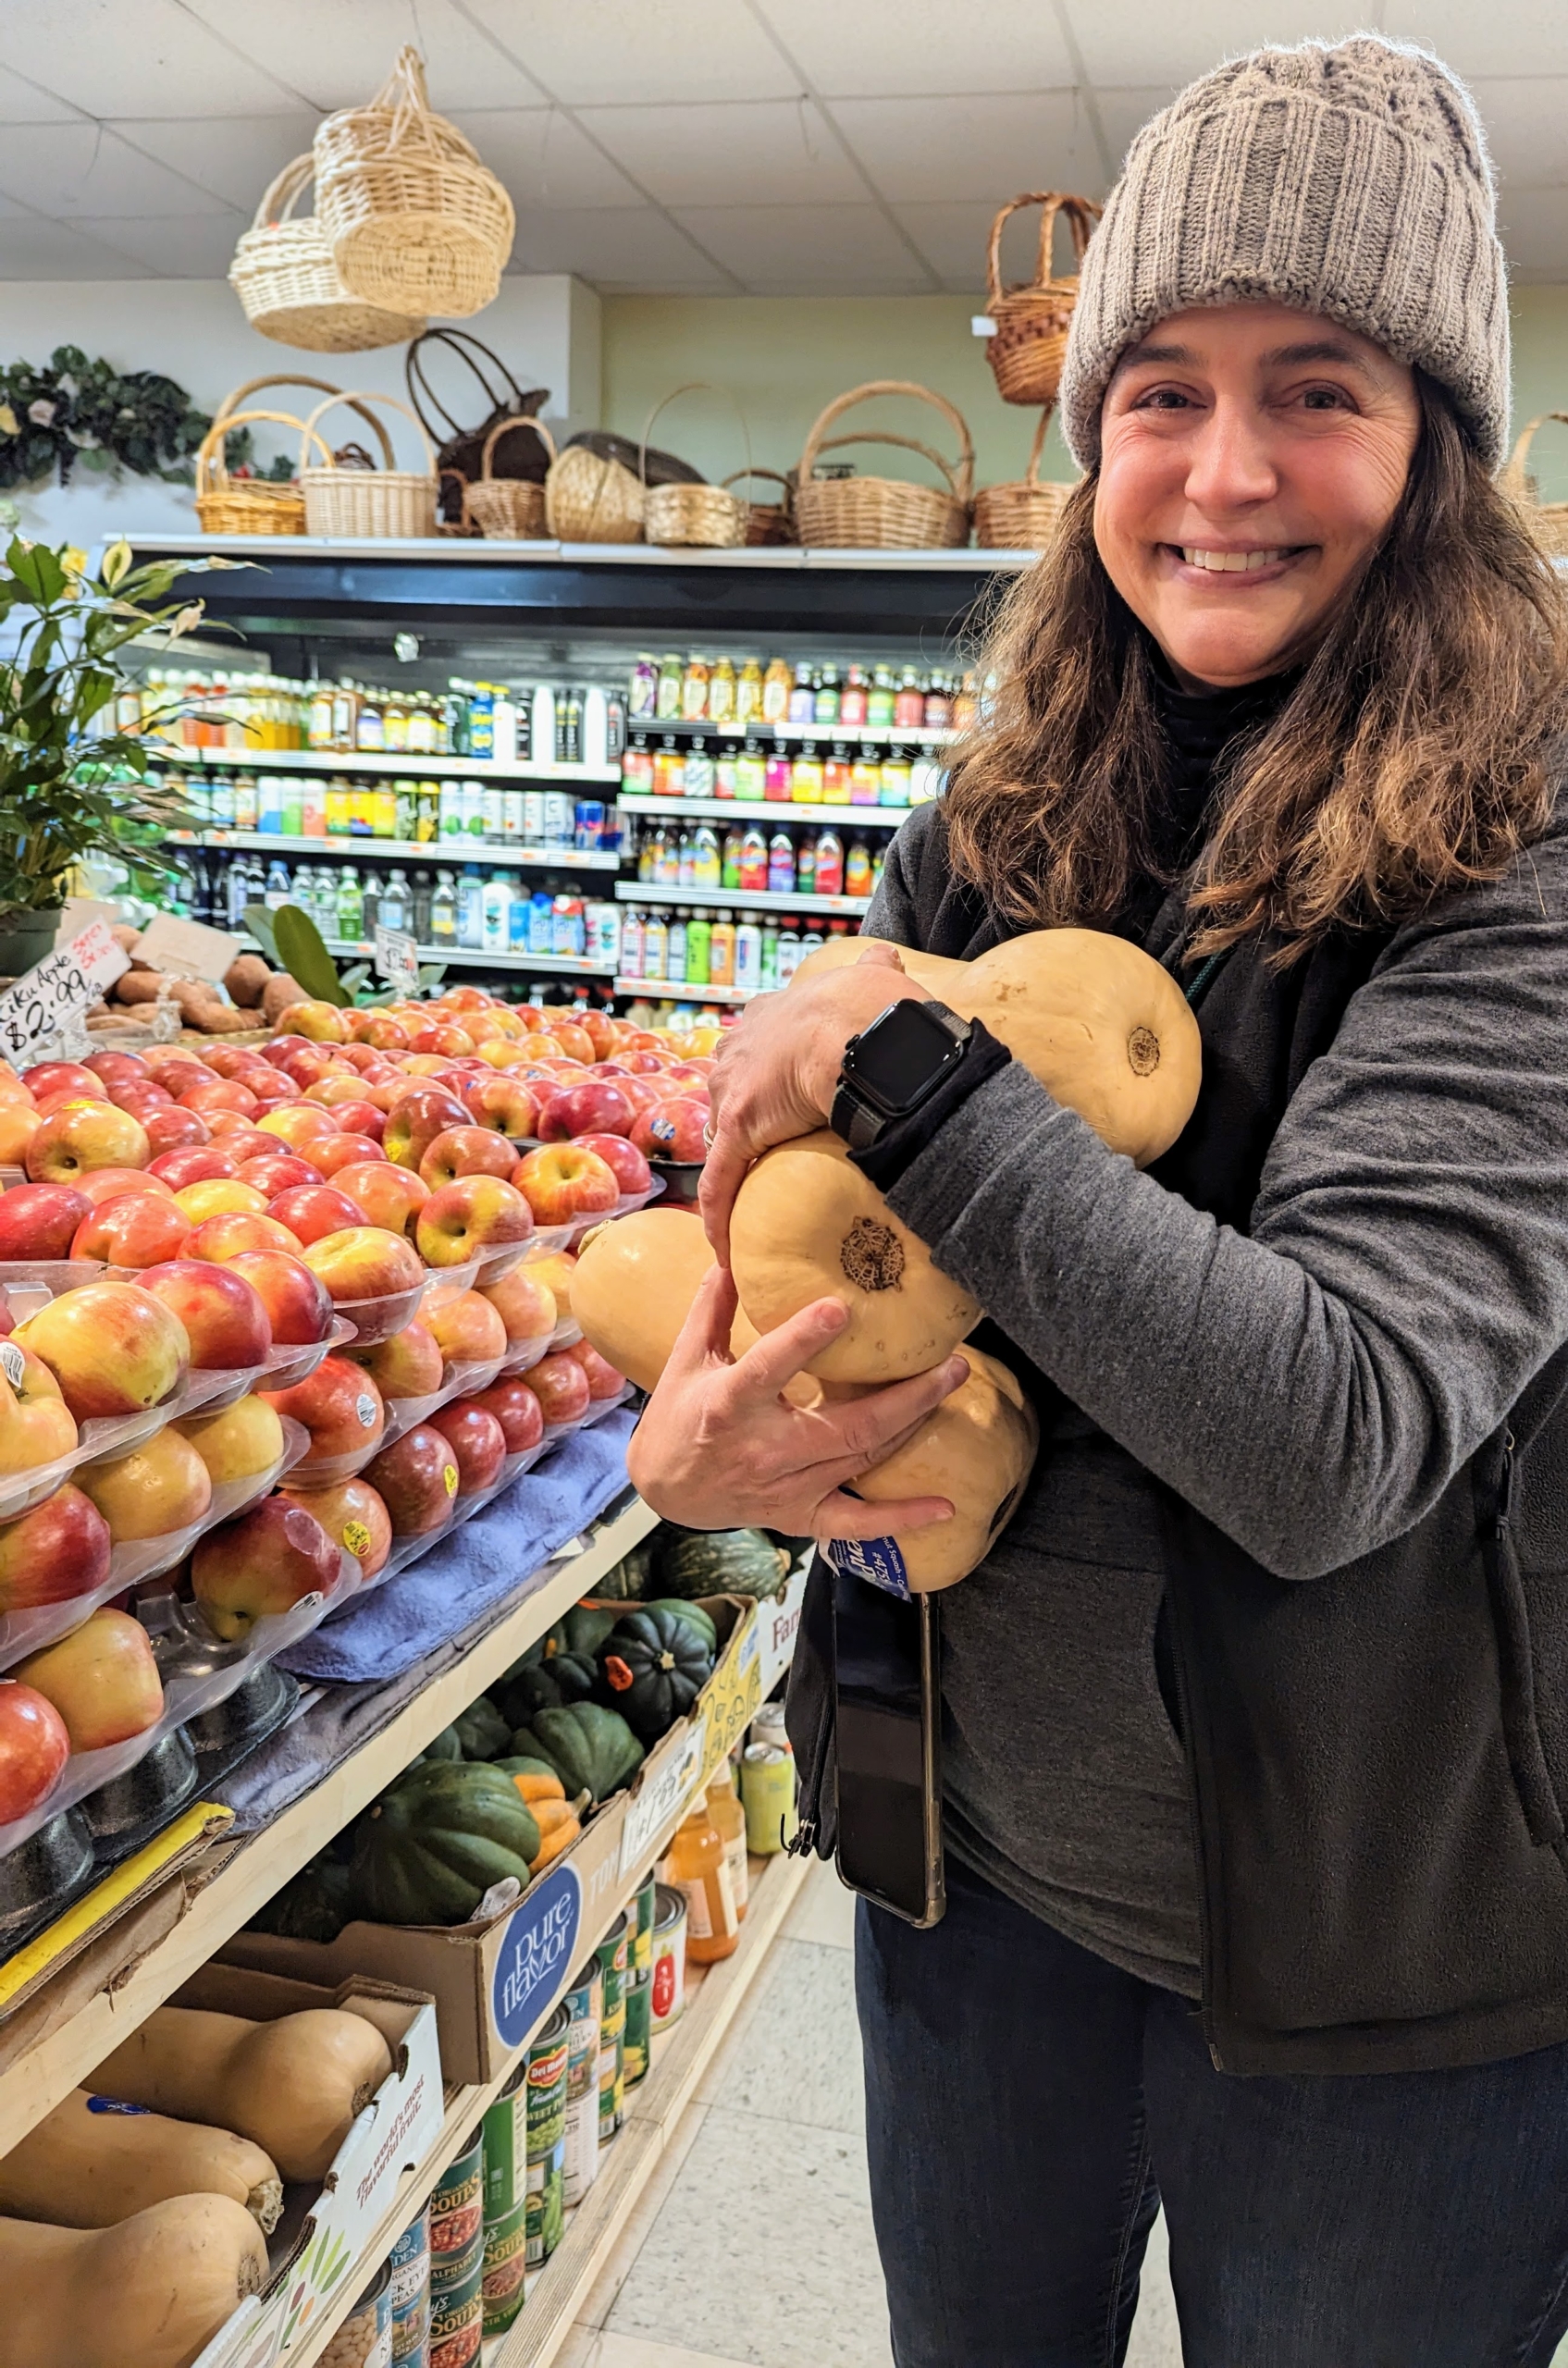
Stephanie picked up a few butternut squashes.
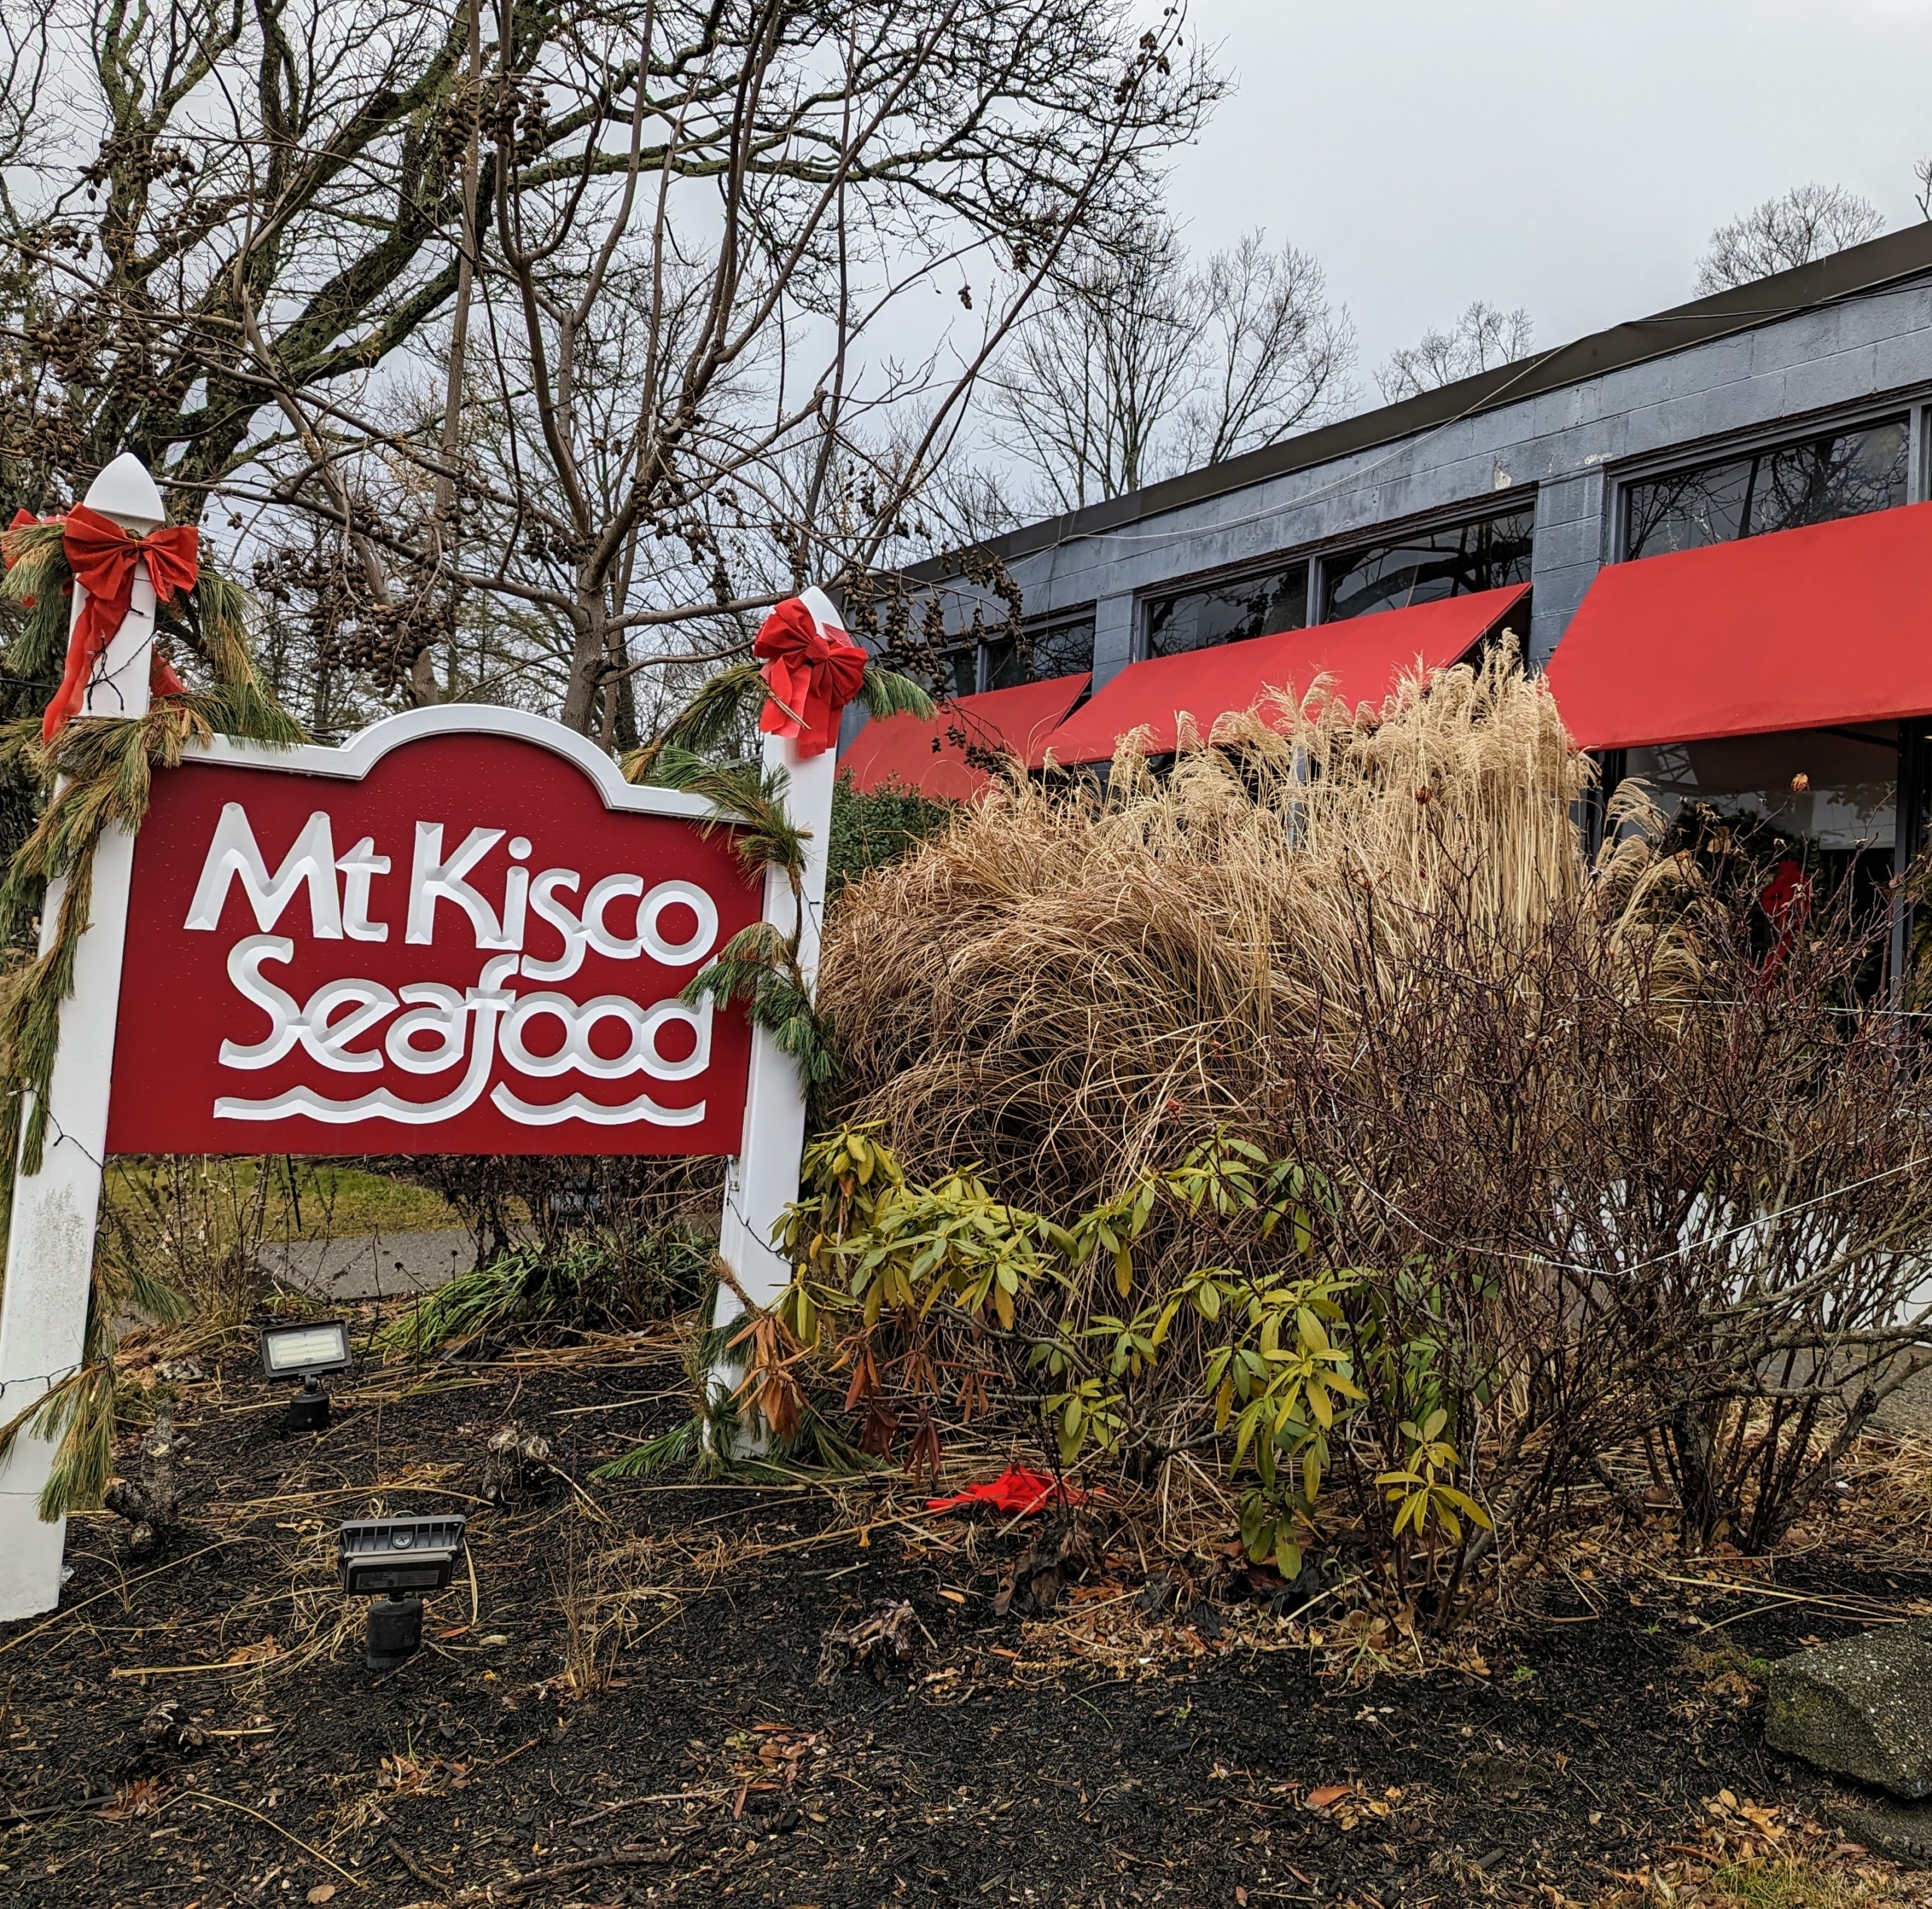
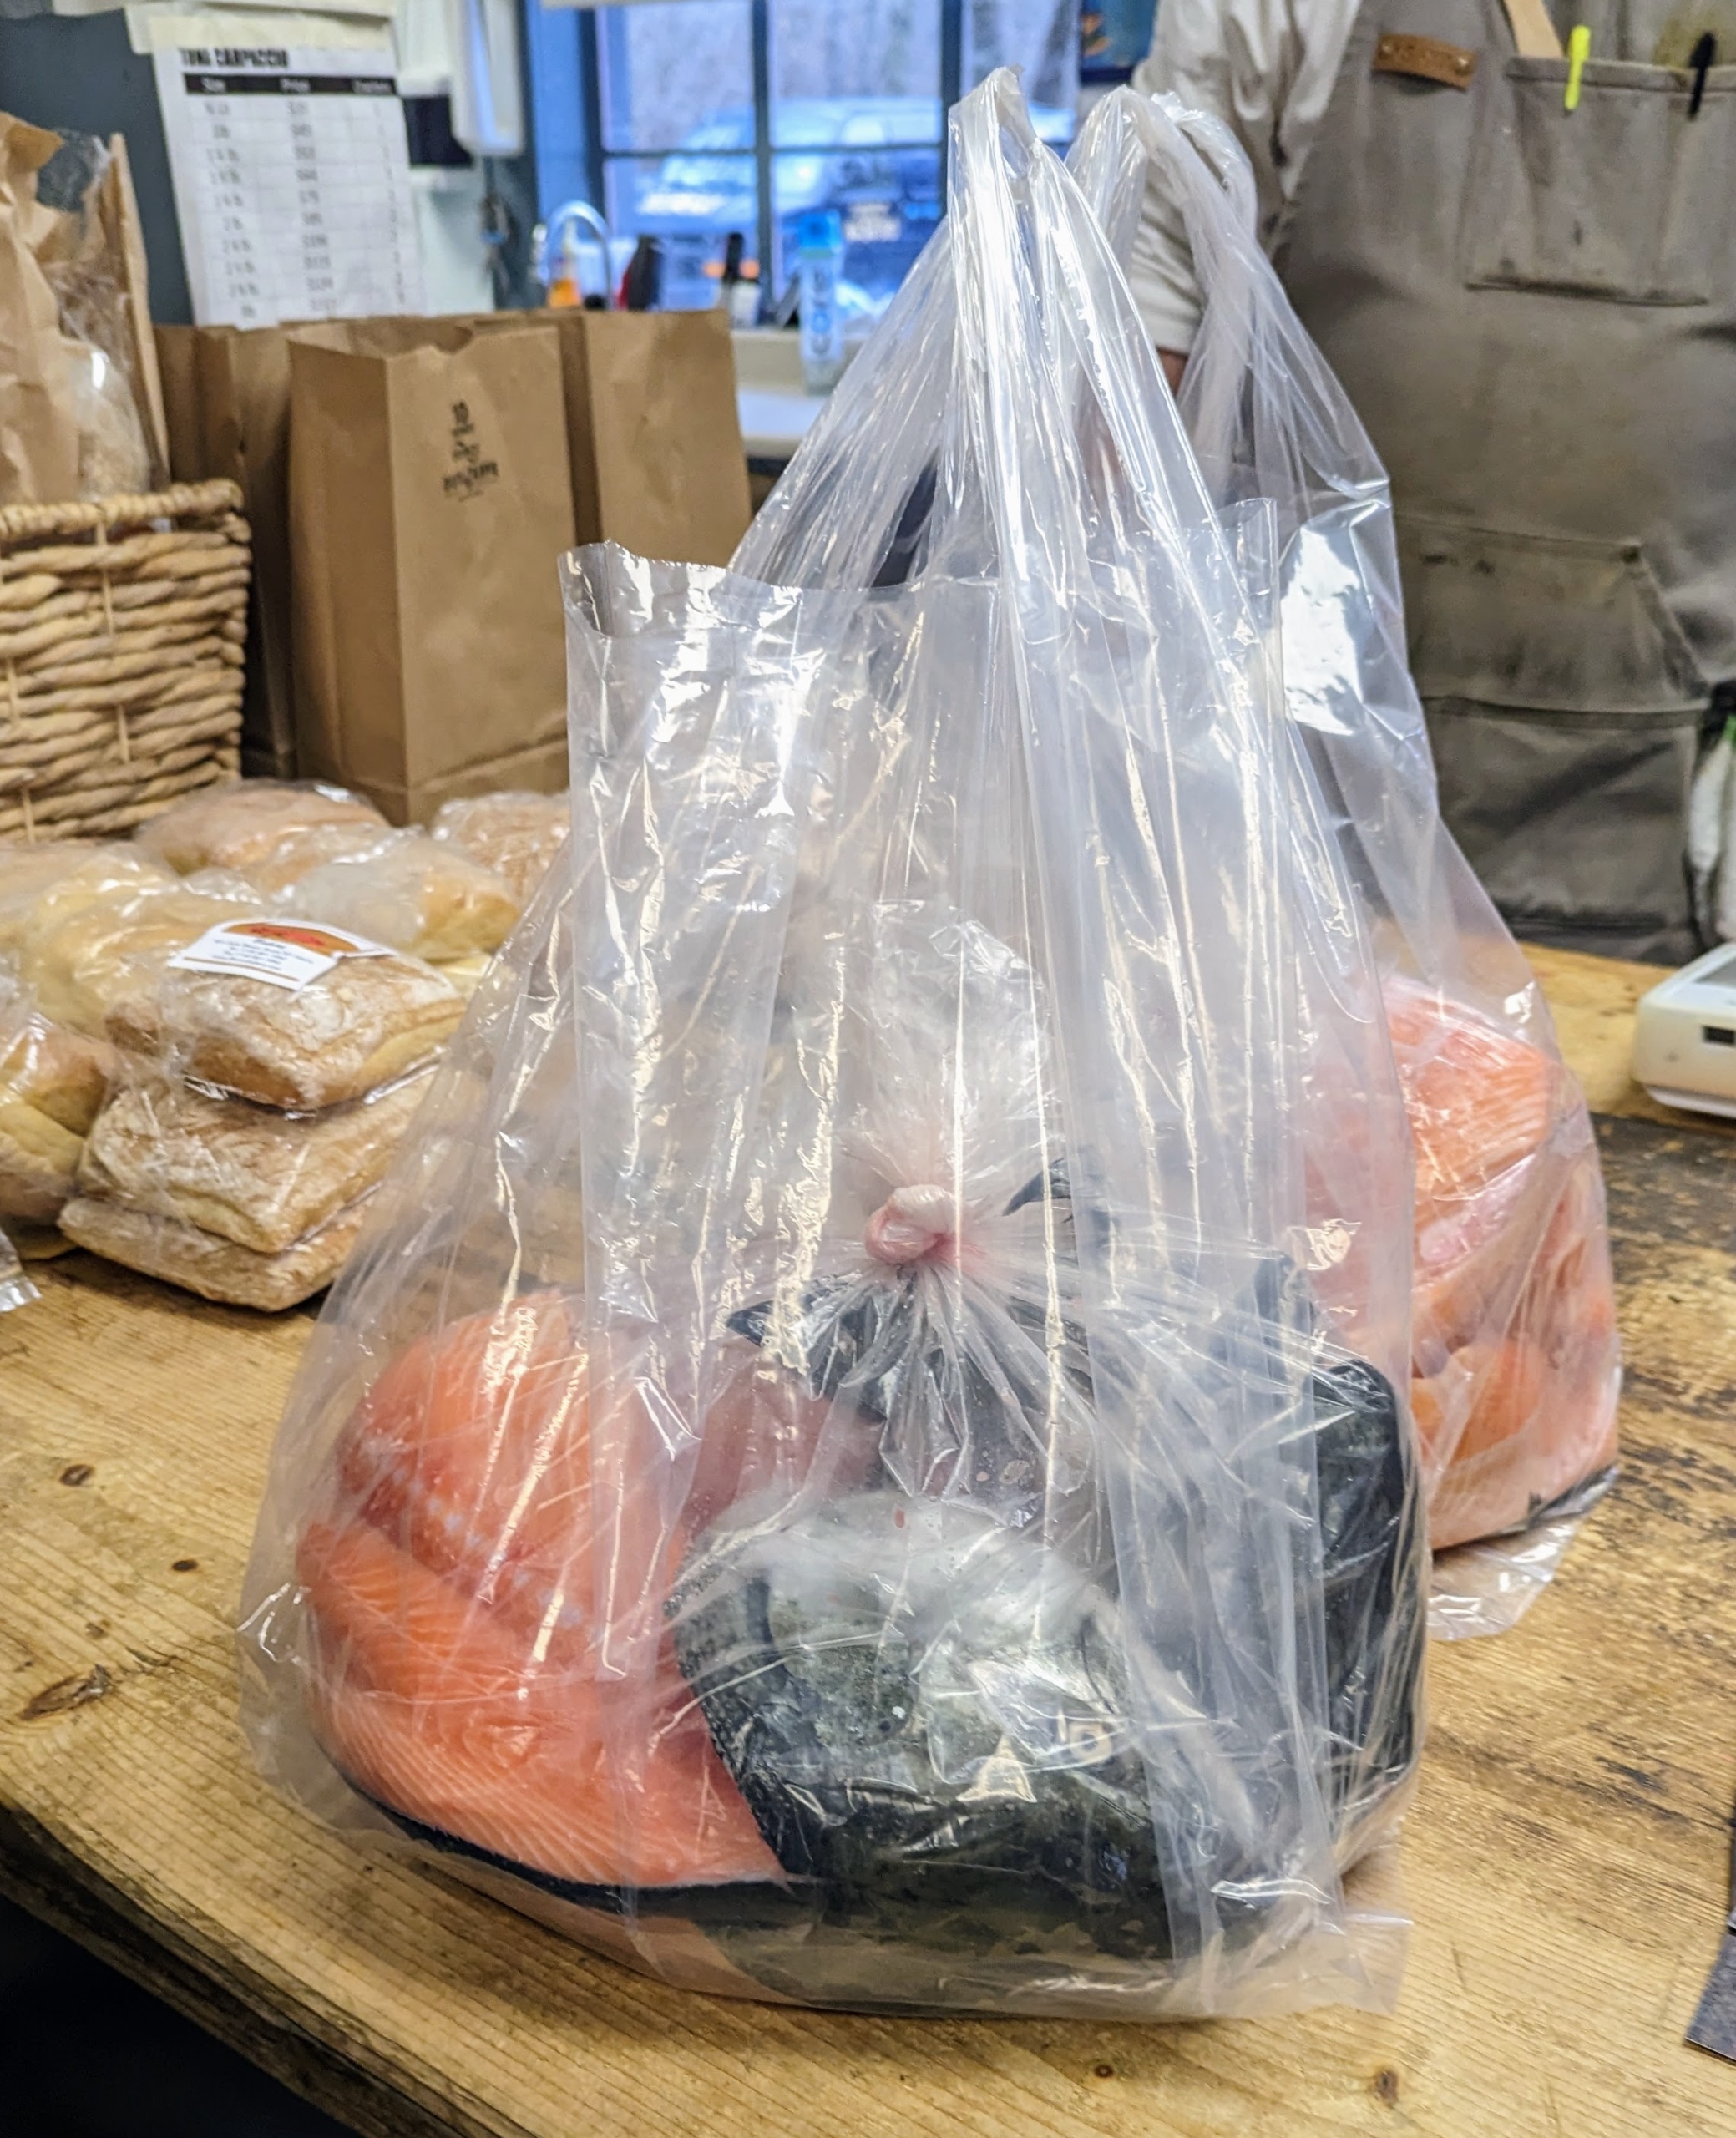
Mt. Kisco Seafood is another great gourmet food shop that focuses on sustainable seafood.
Inside is a wide variety of fish as well as other organic produce from area farms. In one area was a specialty sushi counter.
We were able to get the “racks” or “off-cut” pieces of five large salmon.
Here’s the salmon. I also included chicken and beef. Salmon is very low in saturated fat and a good source of protein. All my dogs love it.
The squash is cut and then roasted. Butternut squash is filled with antioxidants, including vitamin C, vitamin E, and beta-carotene.
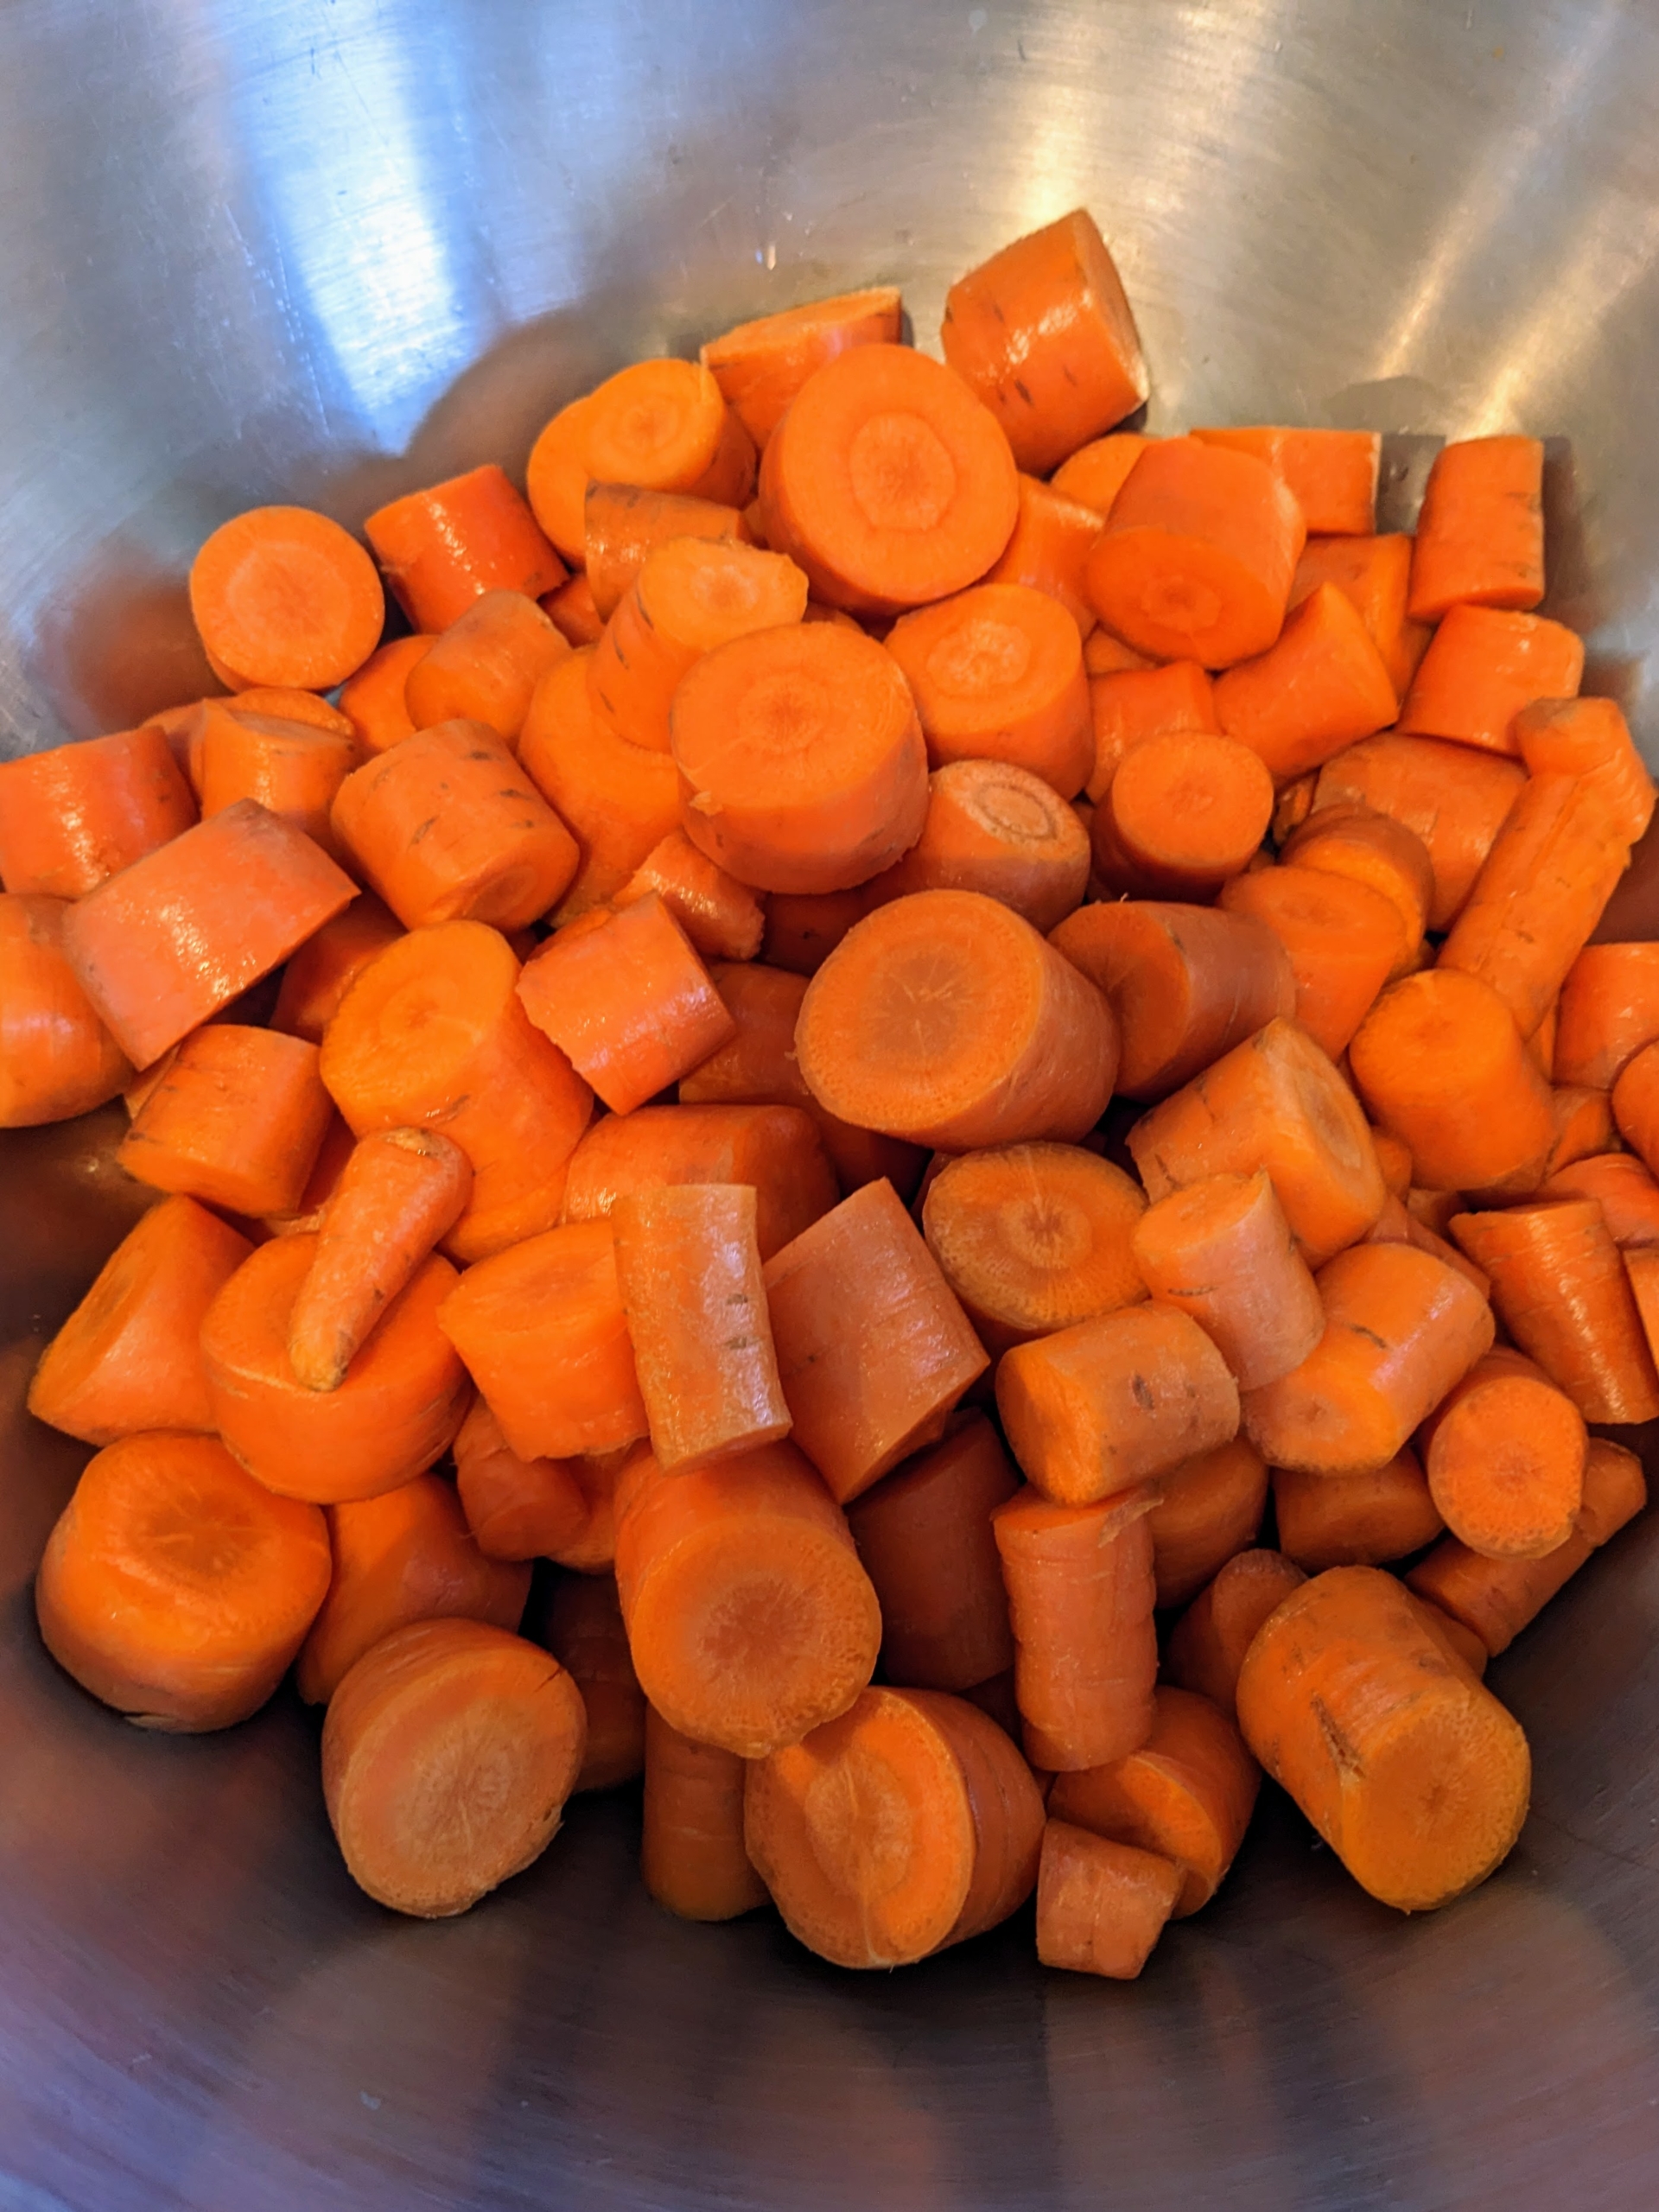
Here are the carrots. Carrots are low in calories and high in fiber and vitamins. Occasionally, crunching on raw carrots can also be good for the dogs’ teeth.
Four large broccoli heads are cooked until fork tender. All my food is completely organic and full of flavor.
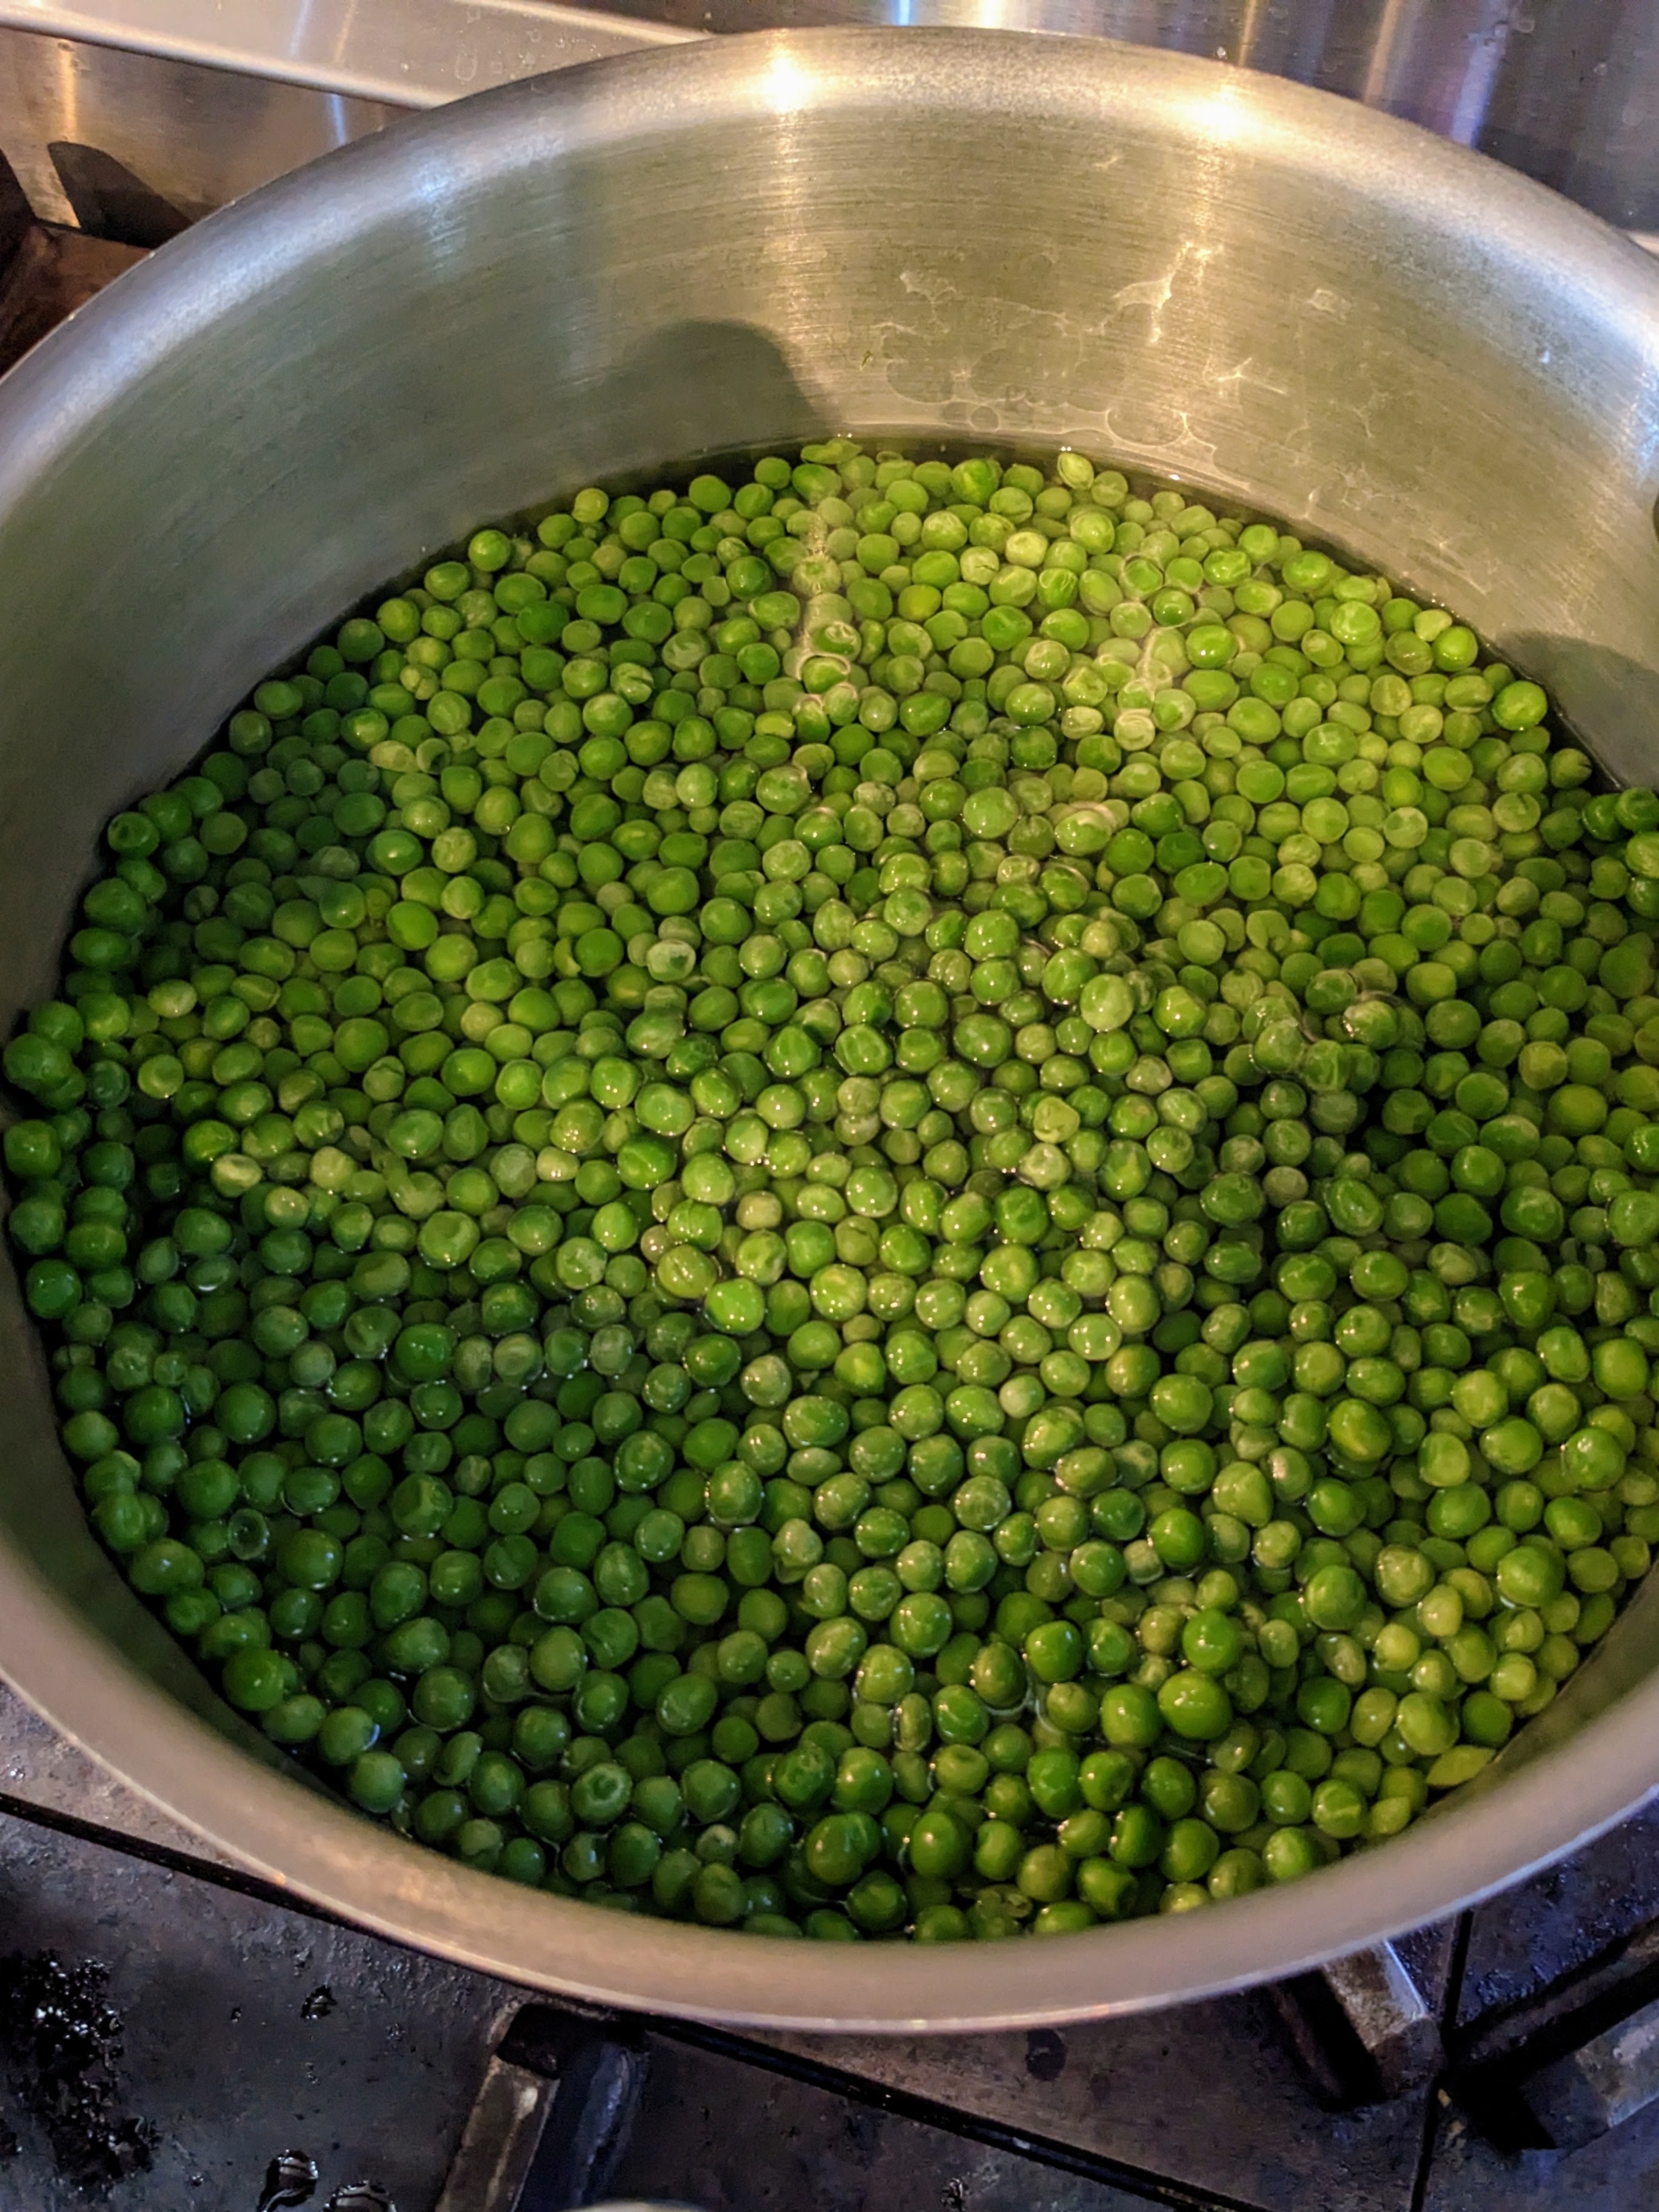
I used six bags of organic frozen peas. Green peas are a good source of the B vitamin Thiamin, phosphorous, and potassium. Don’t overcook them – they only take a couple of minutes.
Sweet potatoes are also great for digestive health because they’re high in dietary fiber. They’re low in fat and contain vitamin B6, vitamin C, and manganese, and they’re rich in the powerful antioxidant beta-carotene.
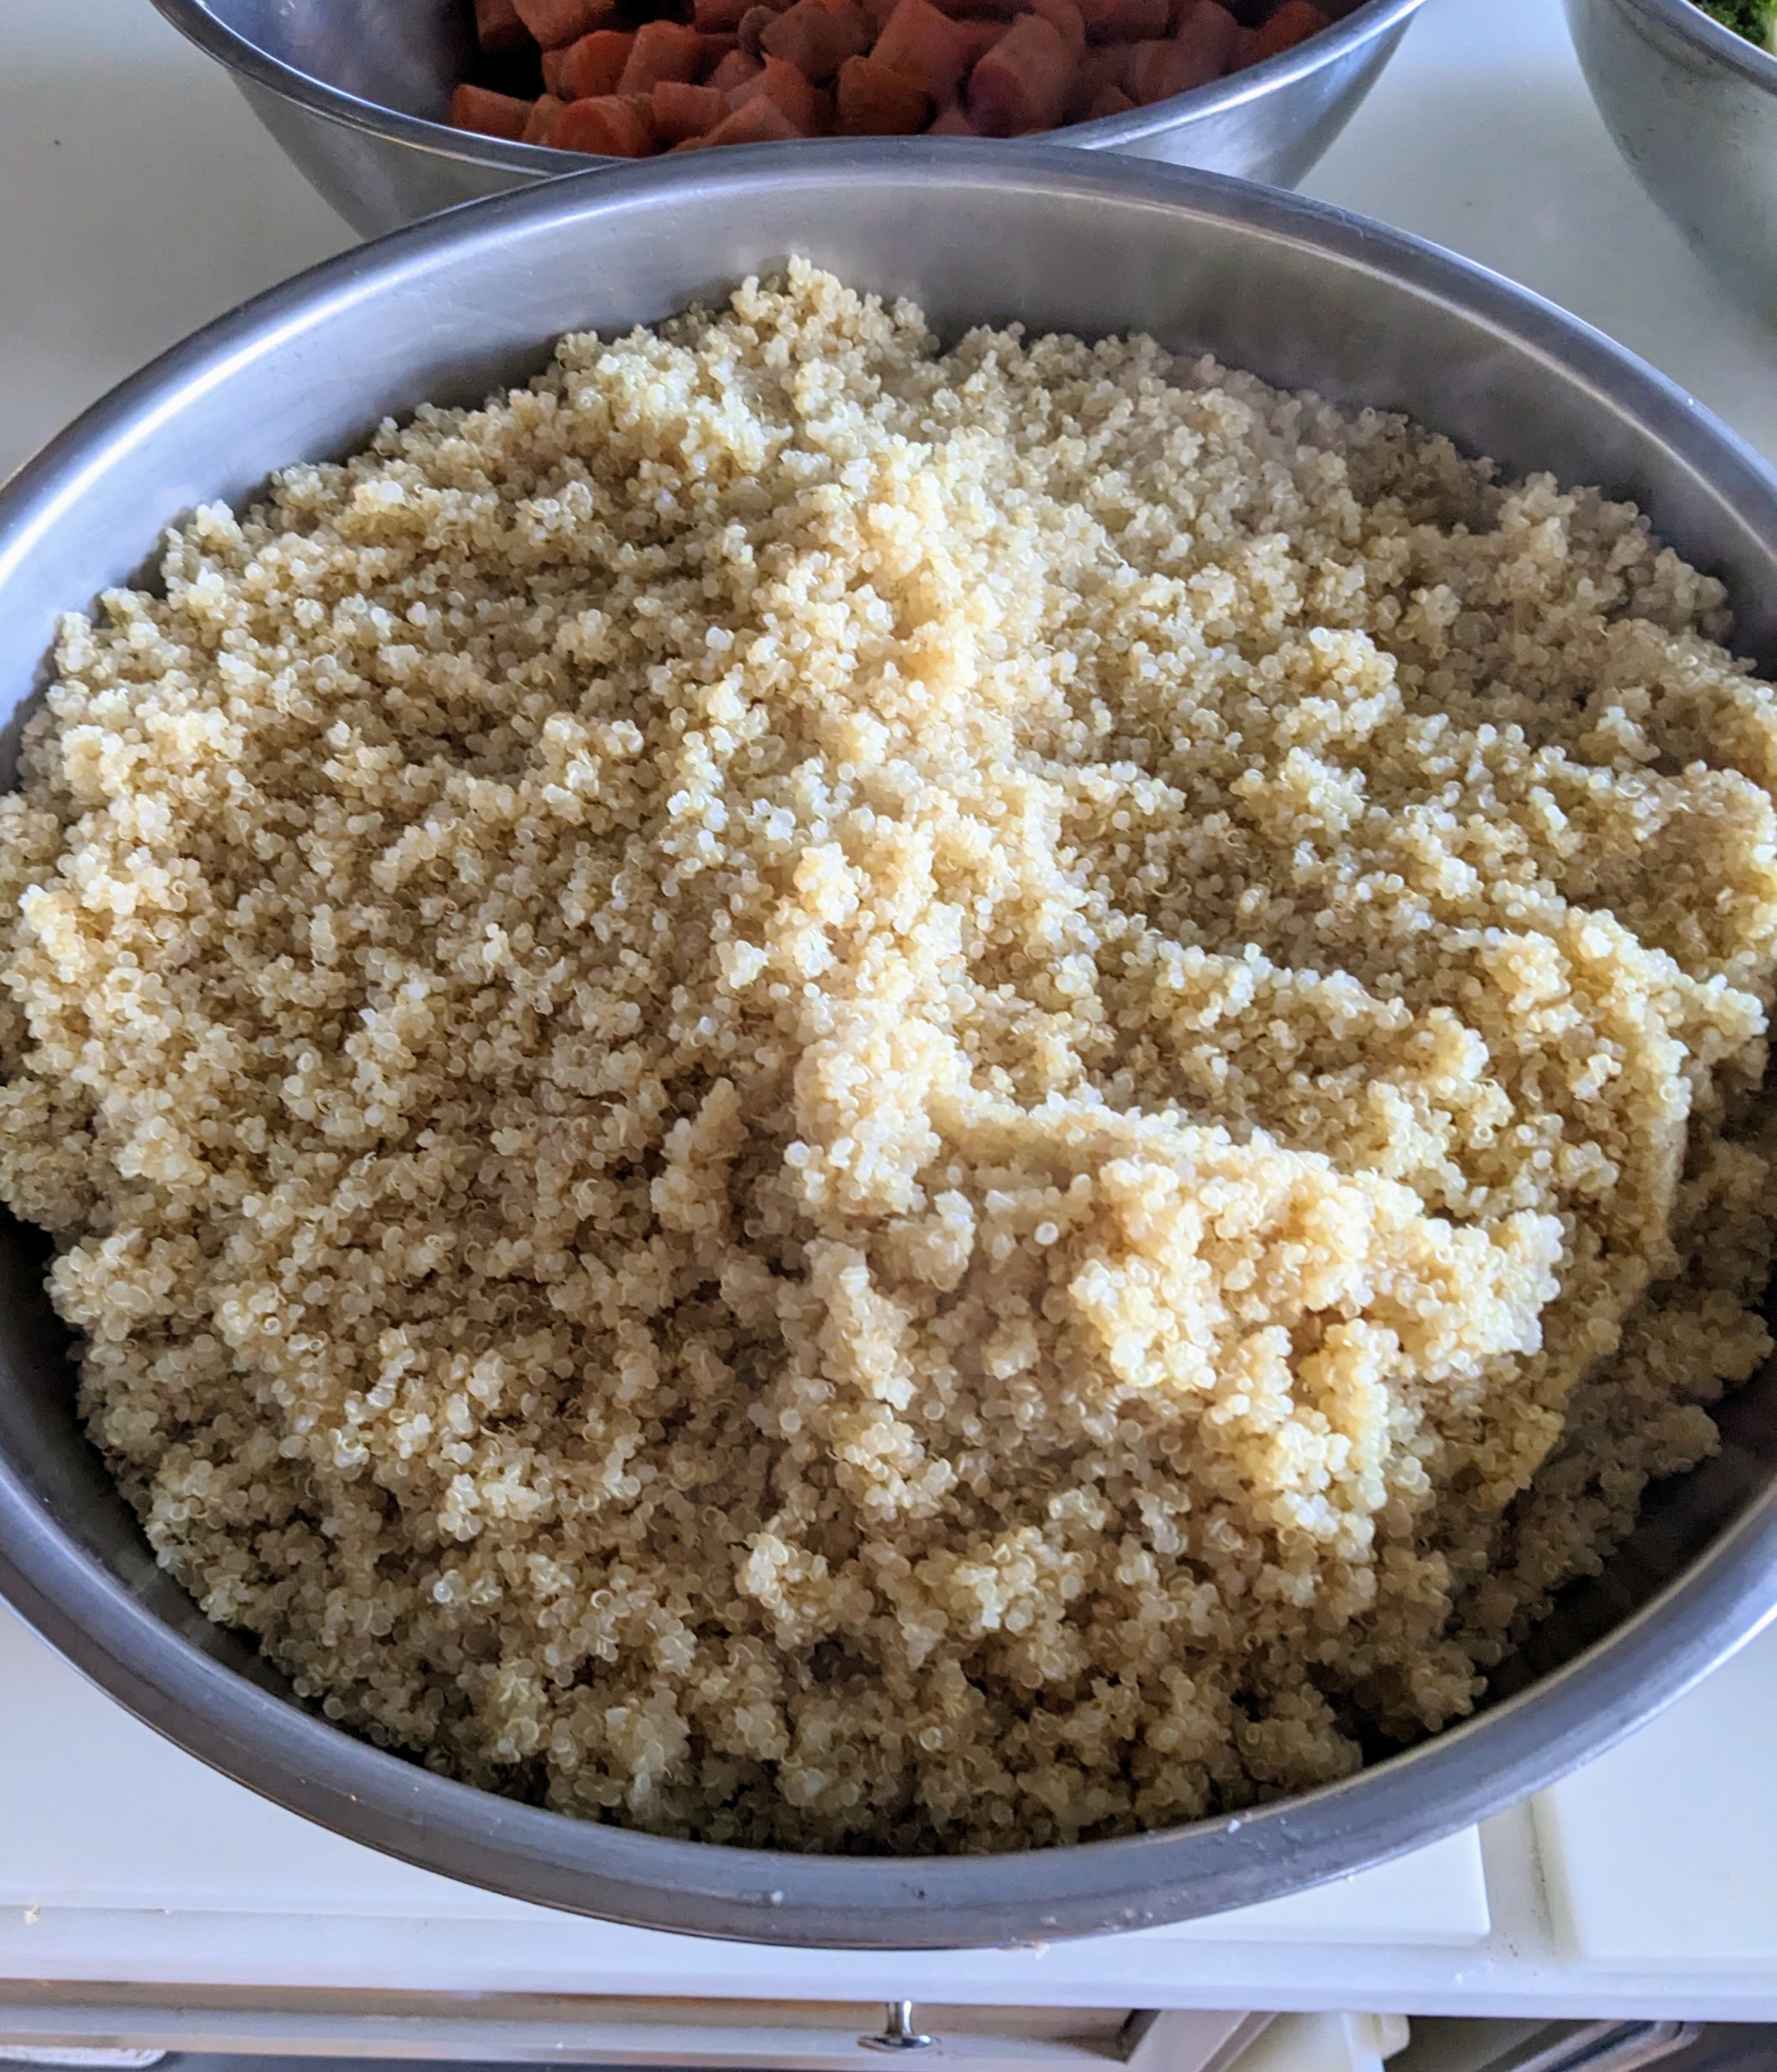
Quinoa is an amazing gluten-free superfood with high levels of essential amino acids. It is a high protein grain type food, so give it in small amounts. When preparing homemade diets, be sure it is well-balanced. Always take time to research and discuss with a veterinarian what your pet needs.
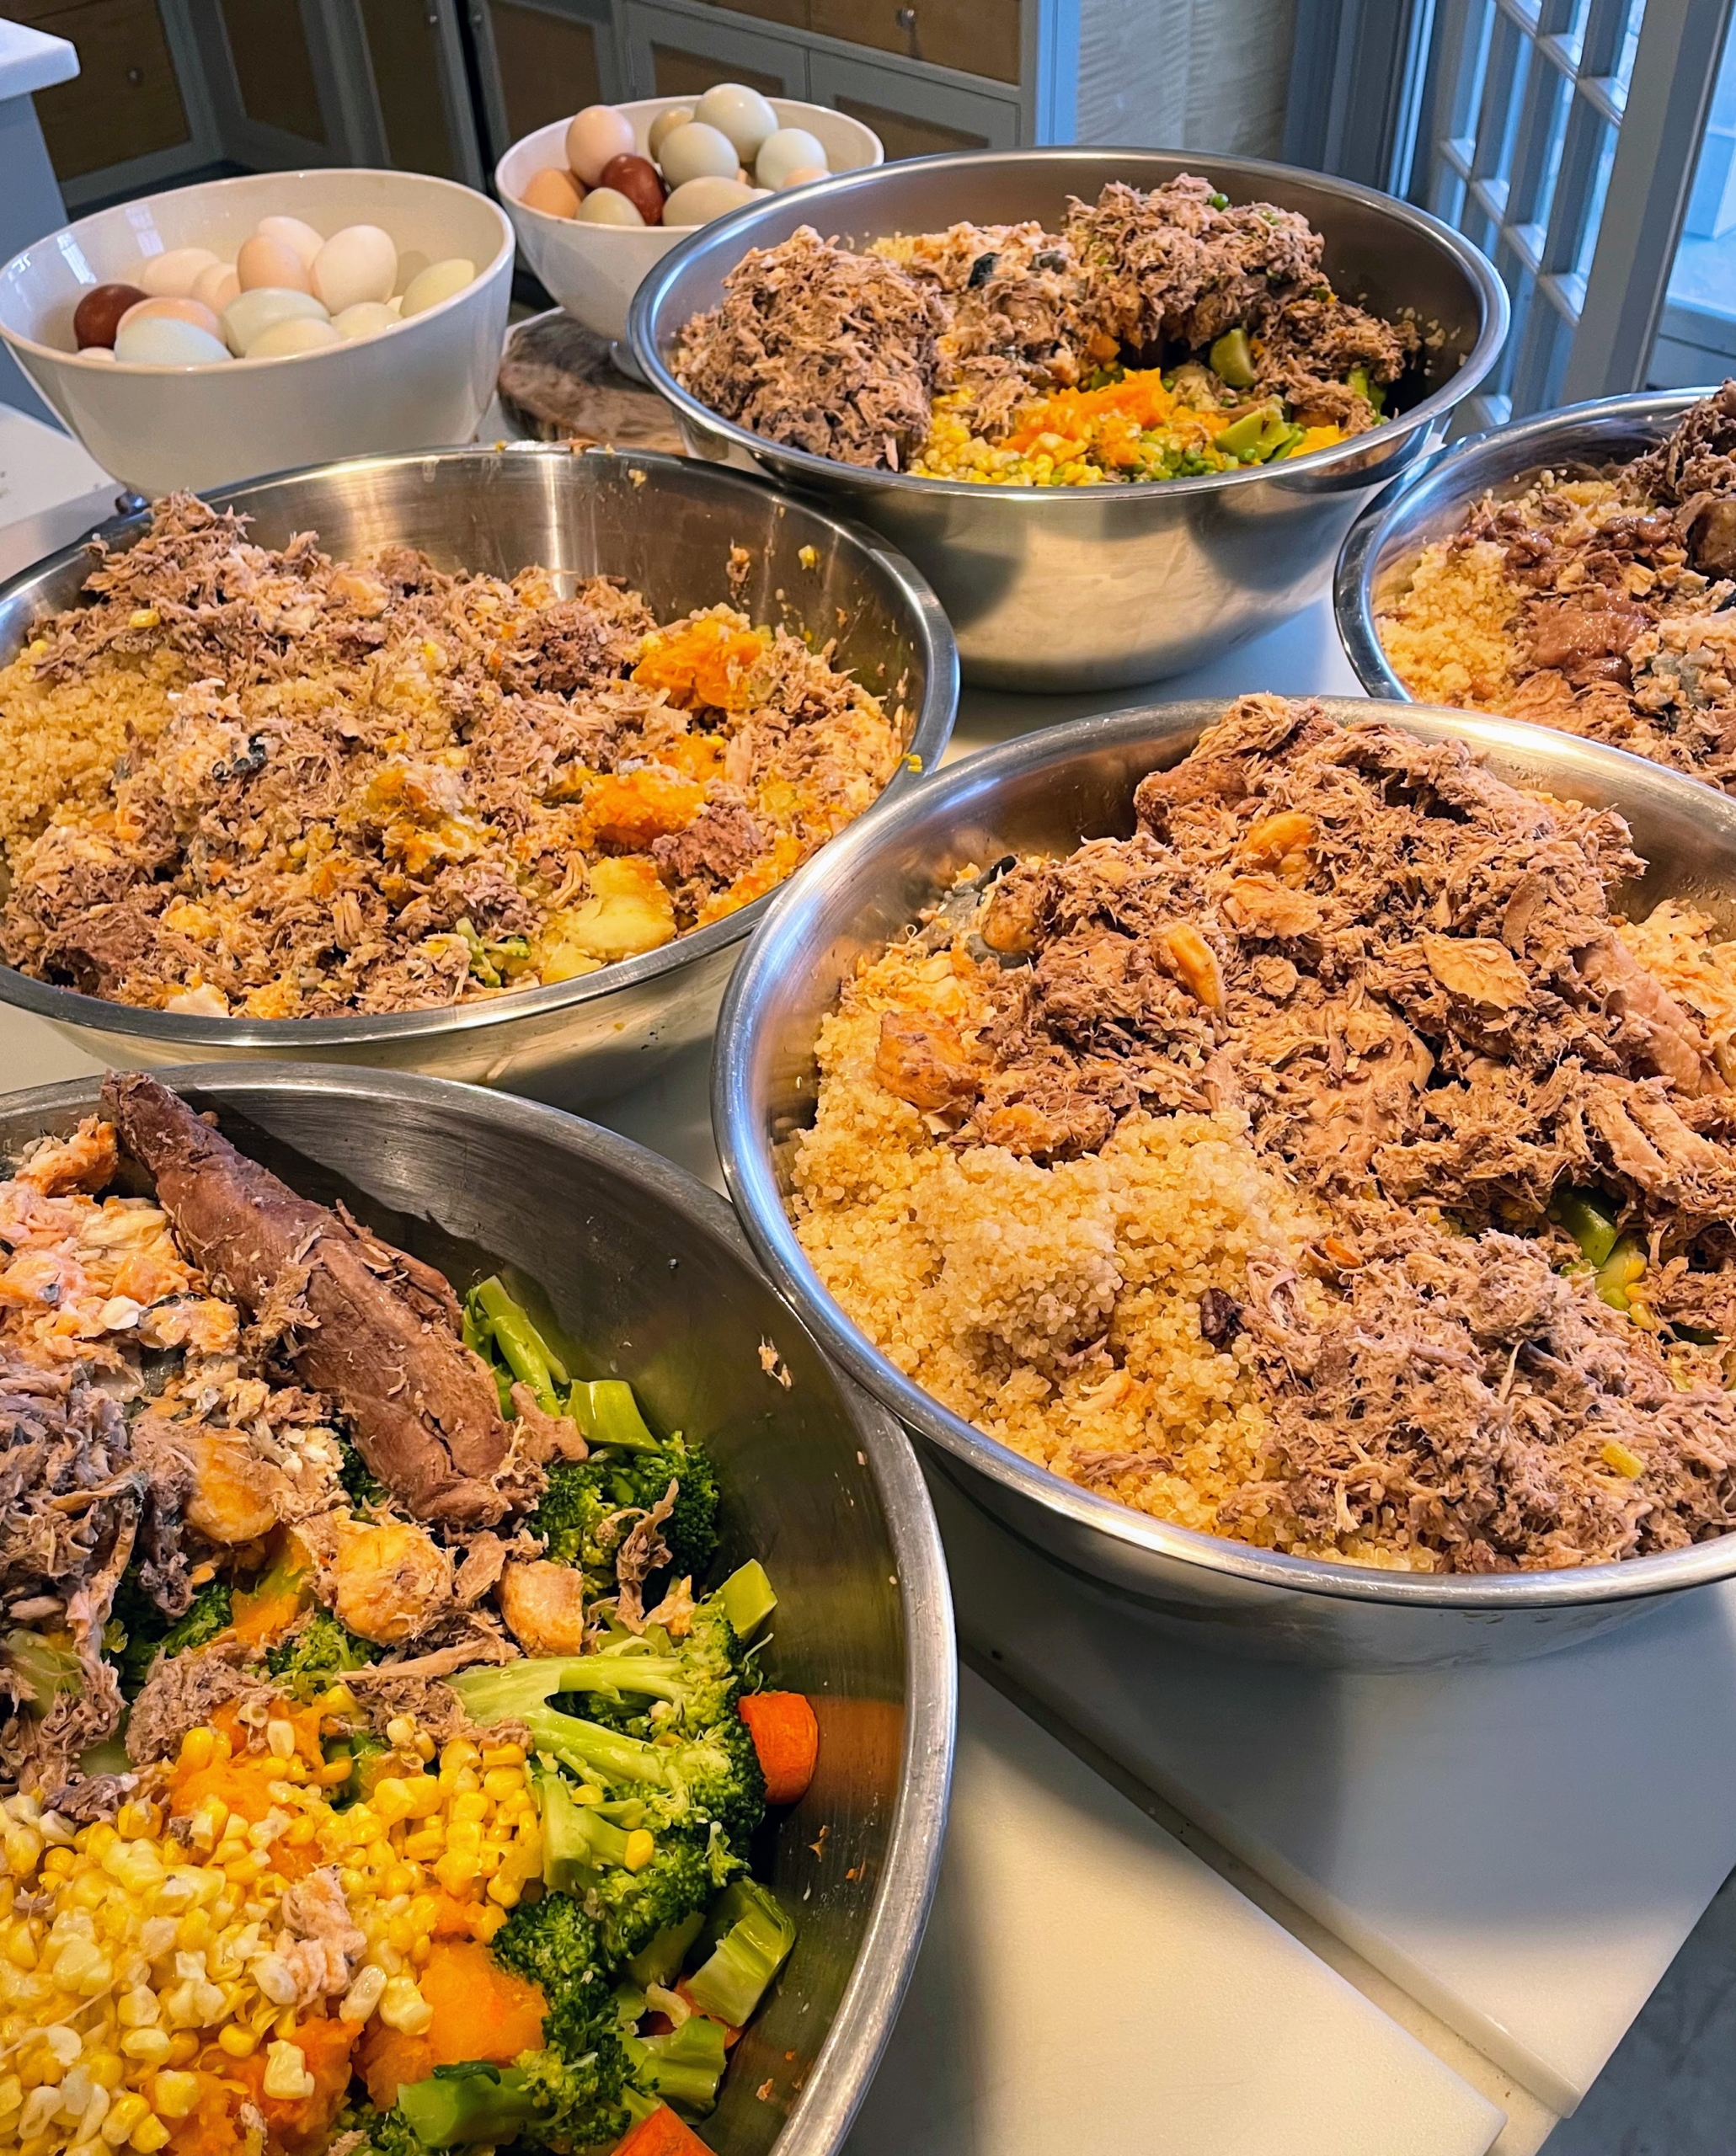
After the foods are cooked thoroughly, they are distributed equally into large stainless steel bowls.
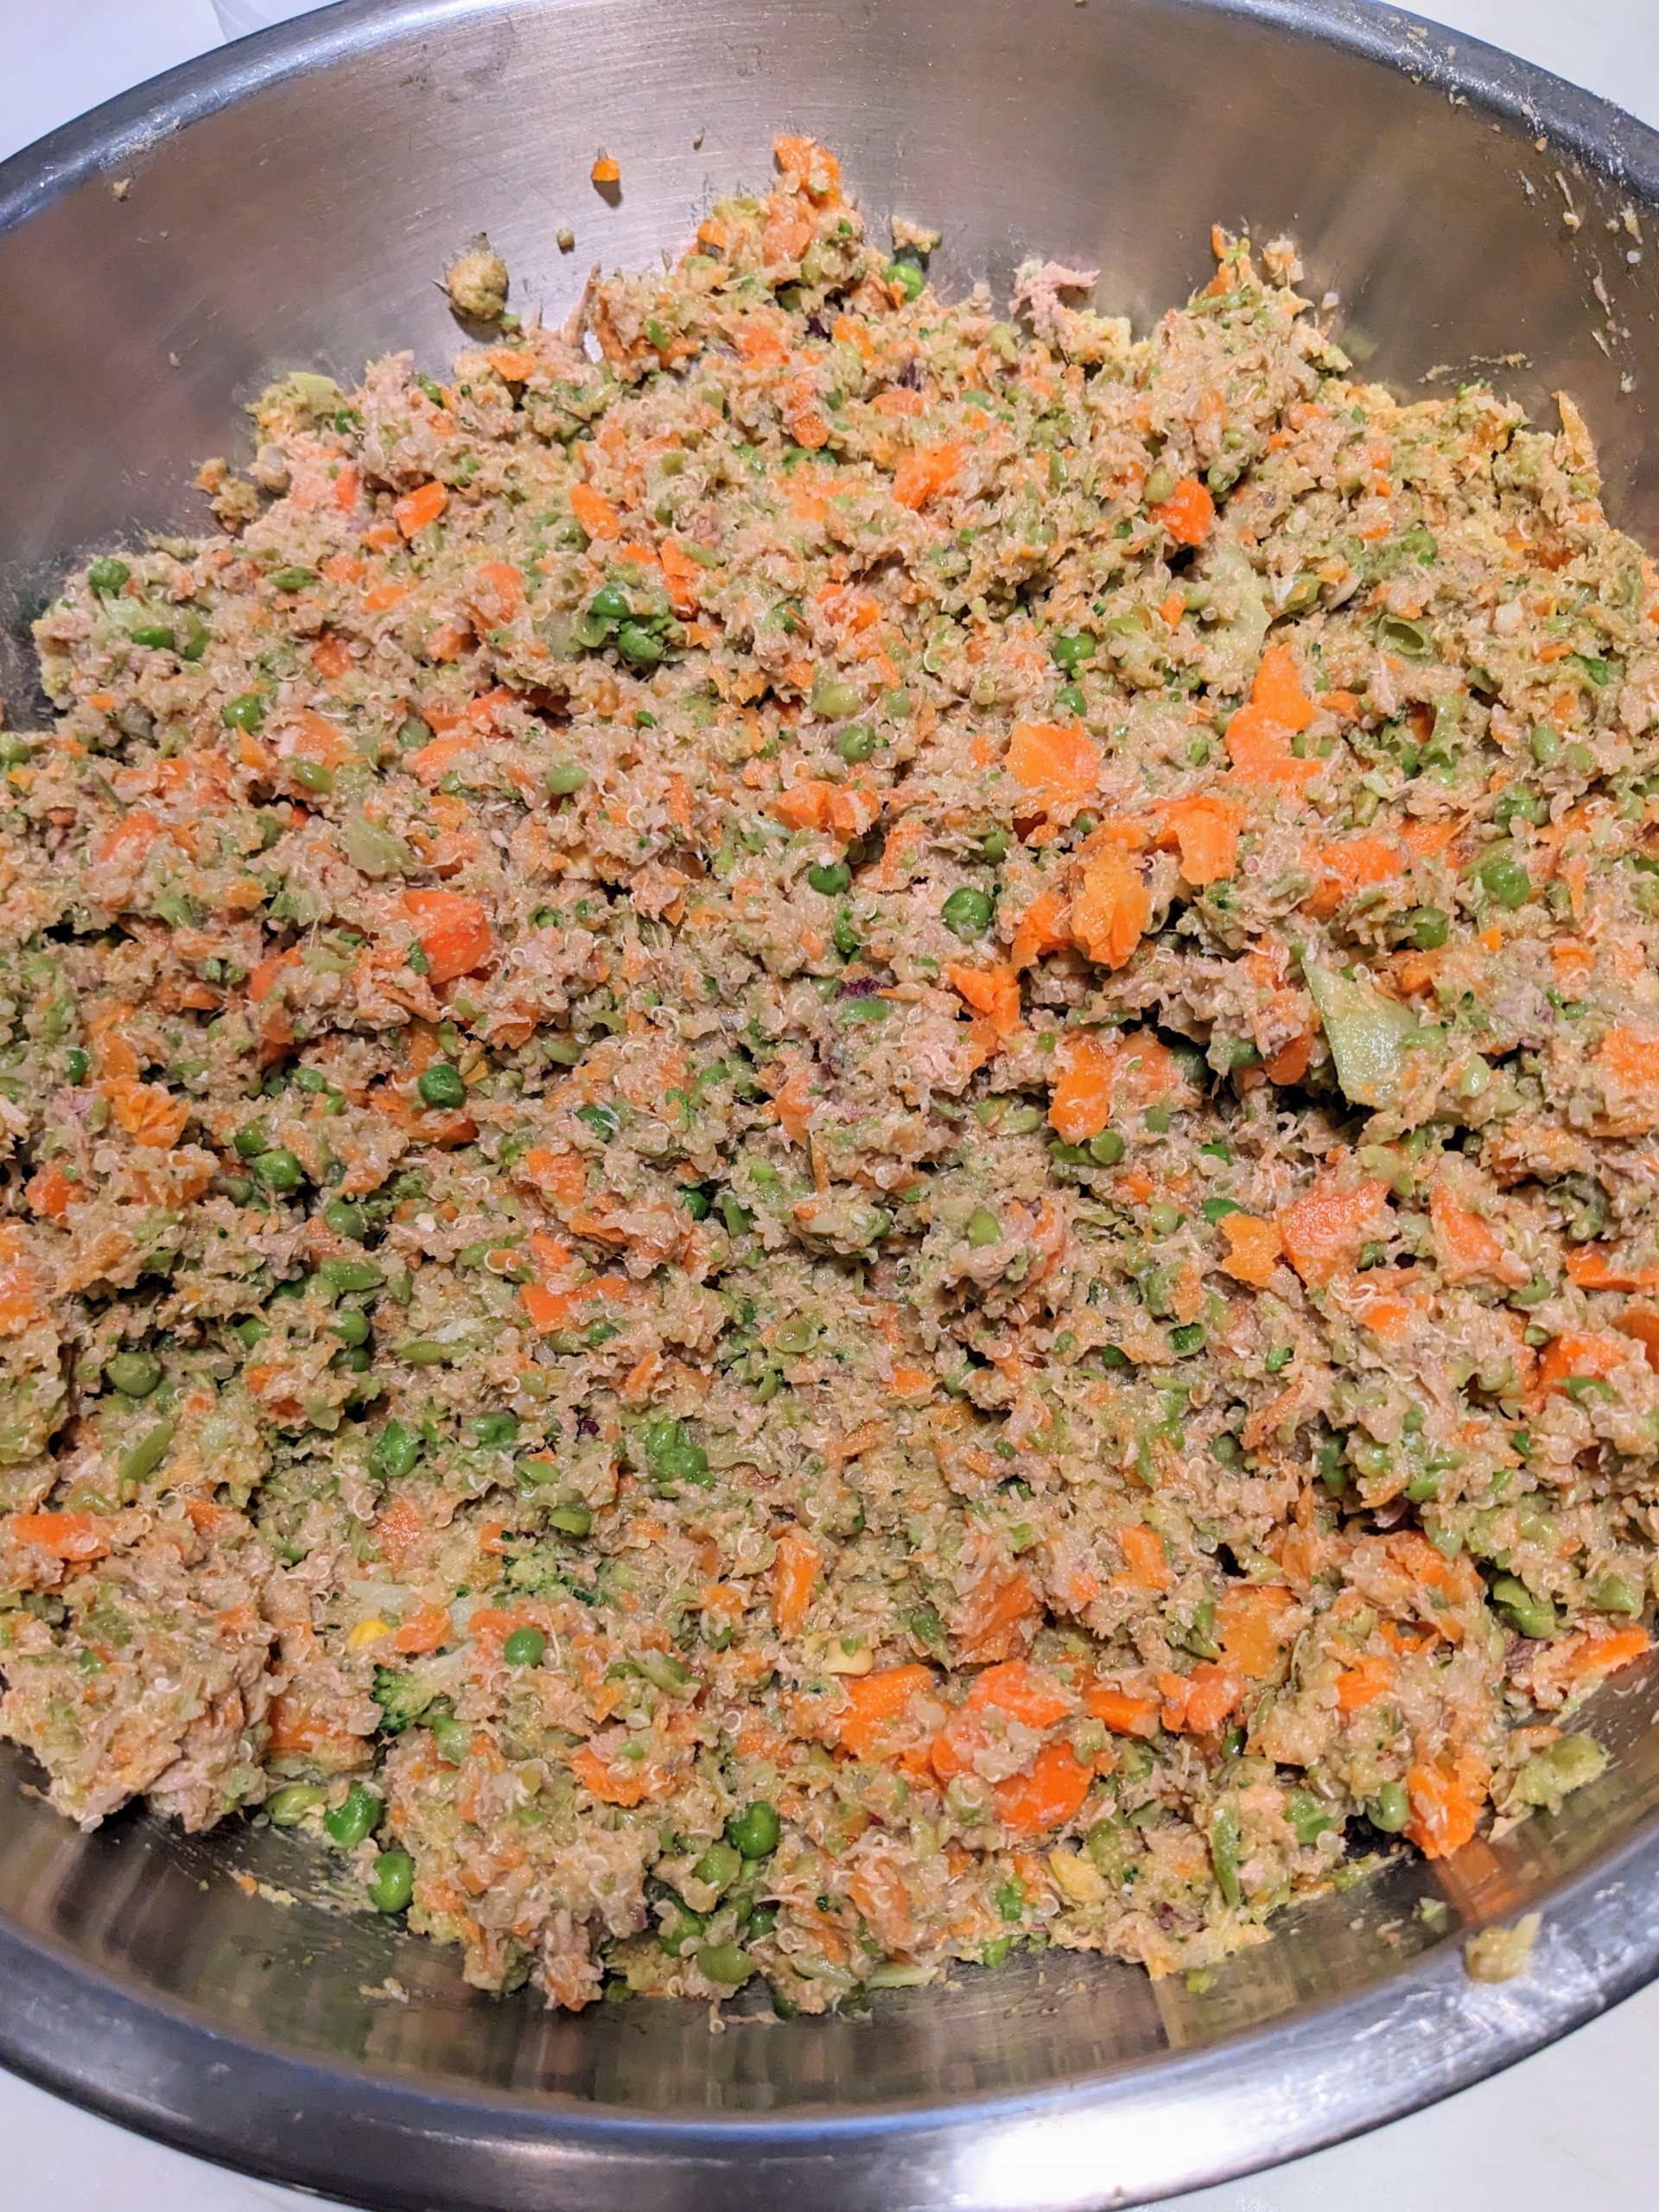
Next, I run everything through the food processor. This step may seem extraneous; however, I have found that my dogs prefer their food ground rather than in big chunks. And watch out for bones. While some of the bones will be ground in the processor, it is a good idea to always carefully check for potentially dangerous bones. Making my own dog food takes a bit of time to complete, but it is well worth the effort to feed my dogs the best food possible.
Here’s one giant bowl filled with nutritious food ready to be put into the quart containers.
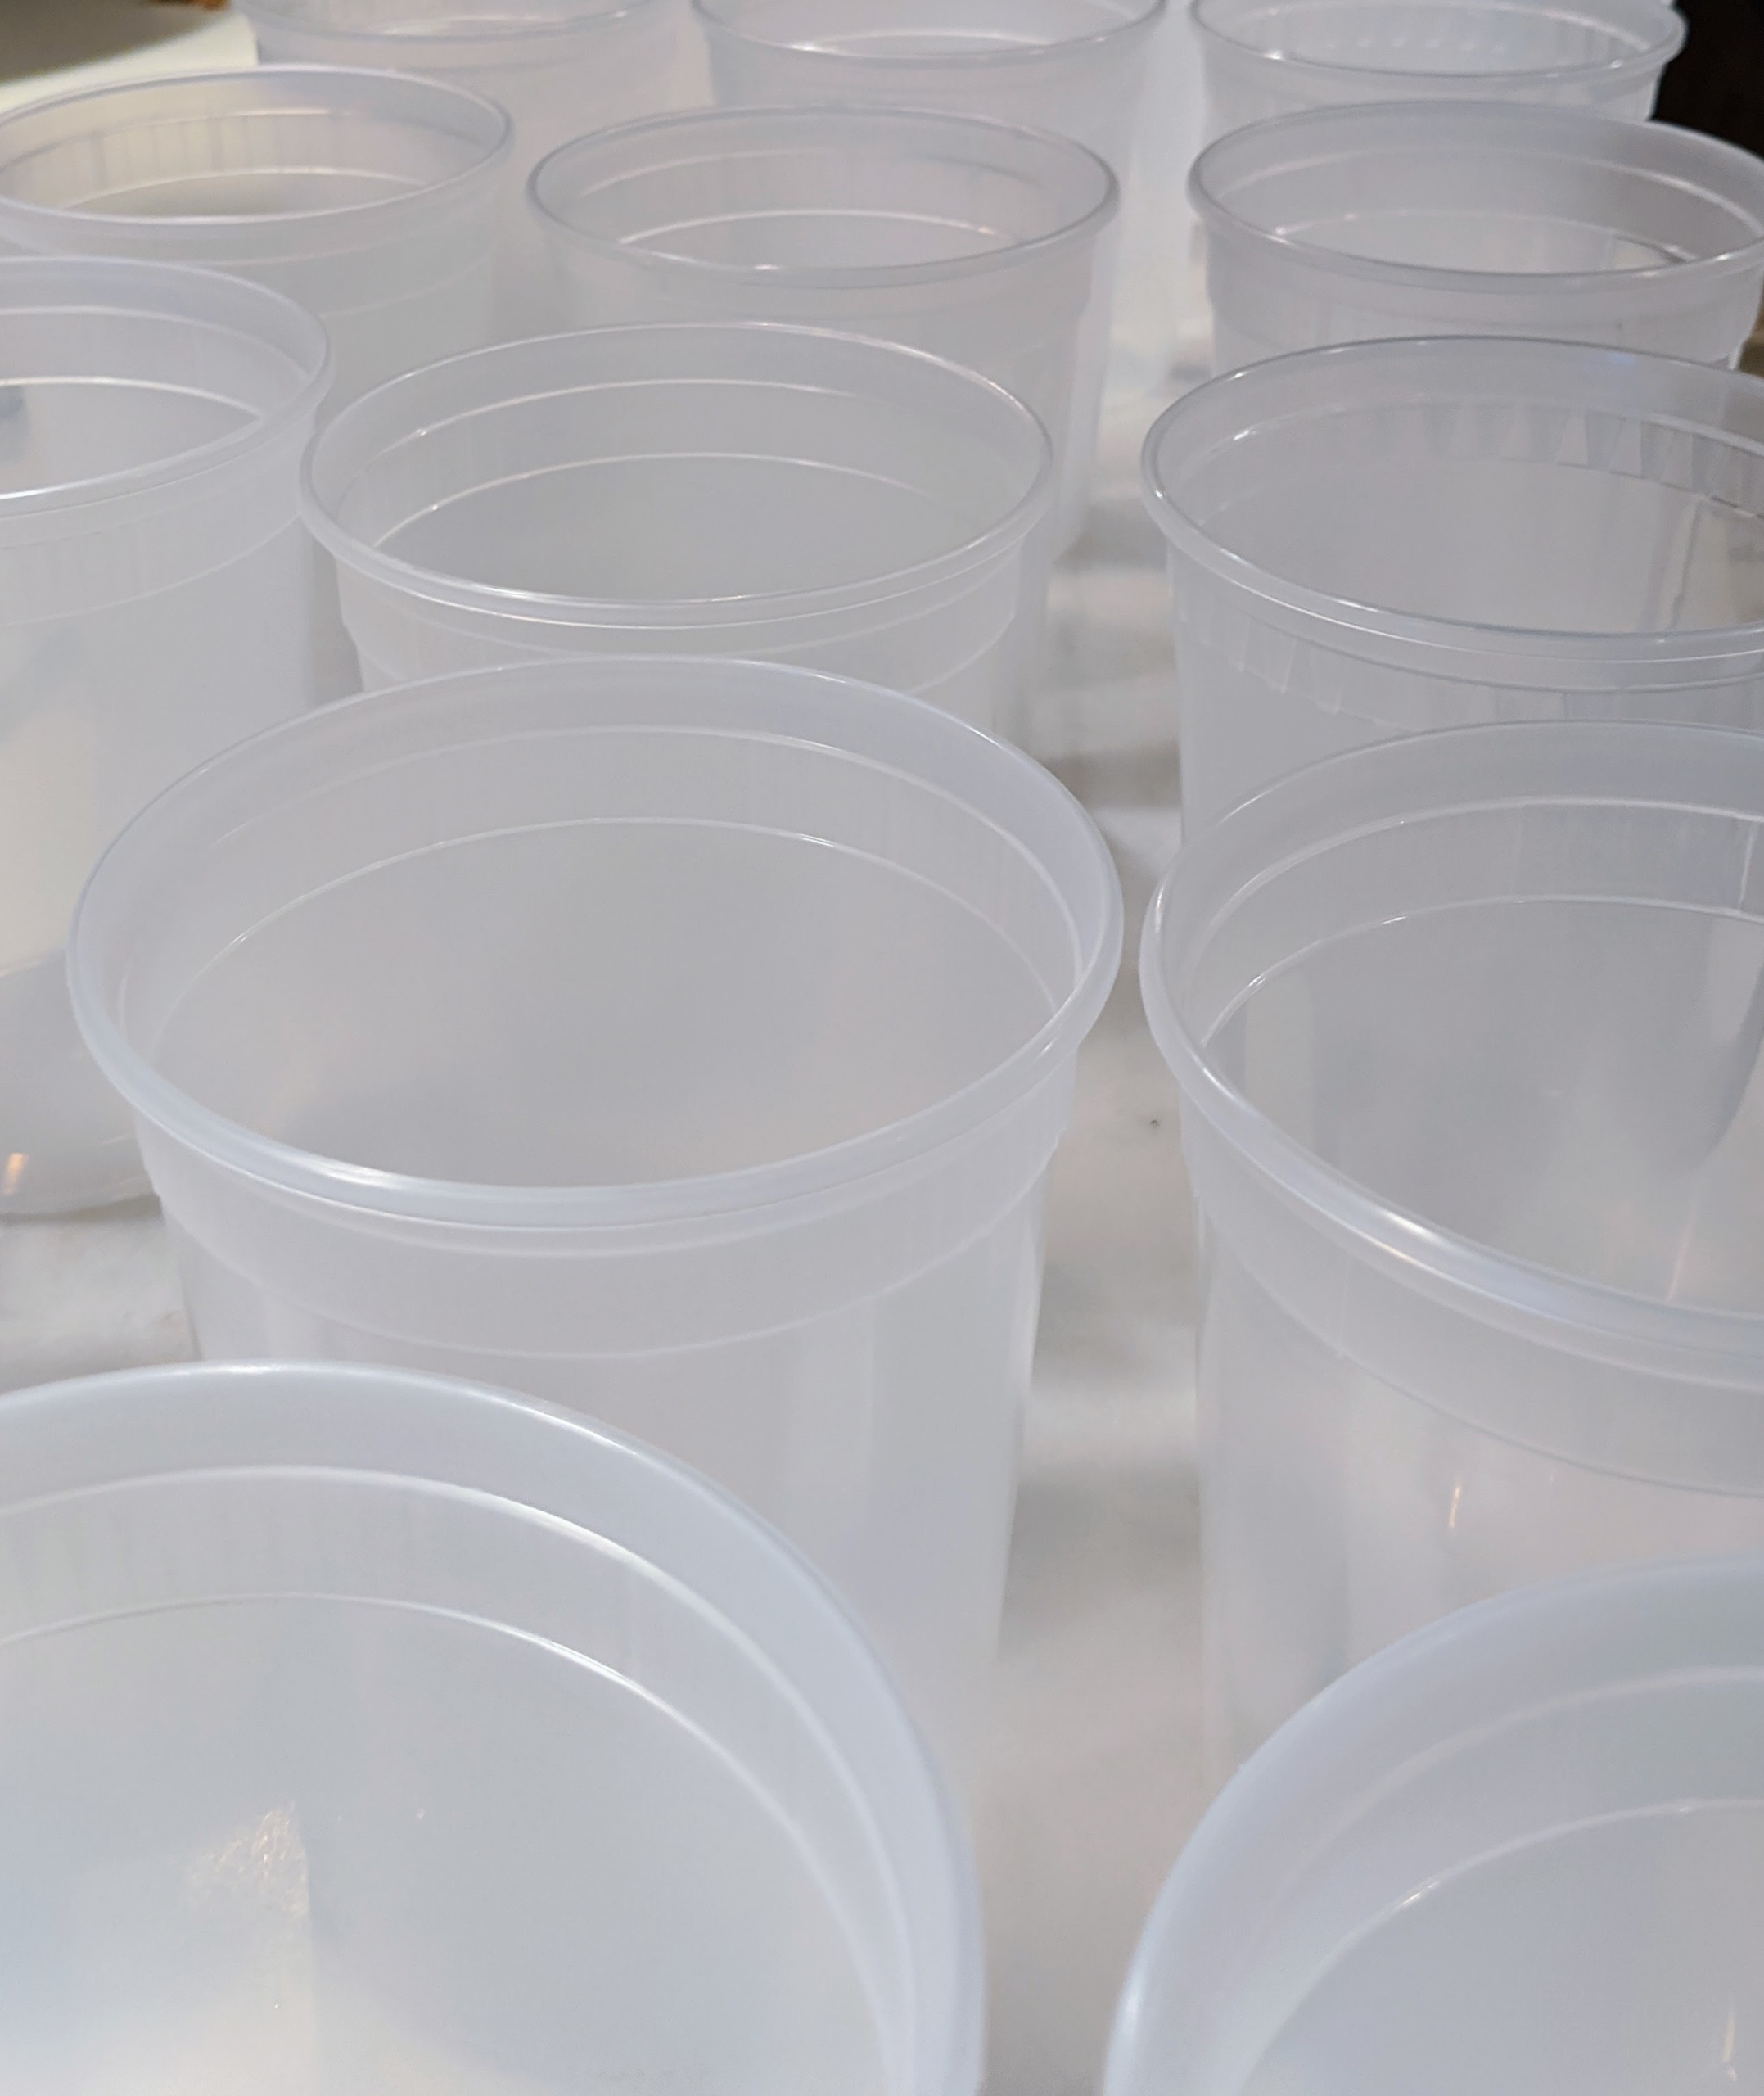
These quart-sized containers are pulled from the rack and laid out. This step of filling the containers is done in a production line process, so it can be completed quickly and efficiently.
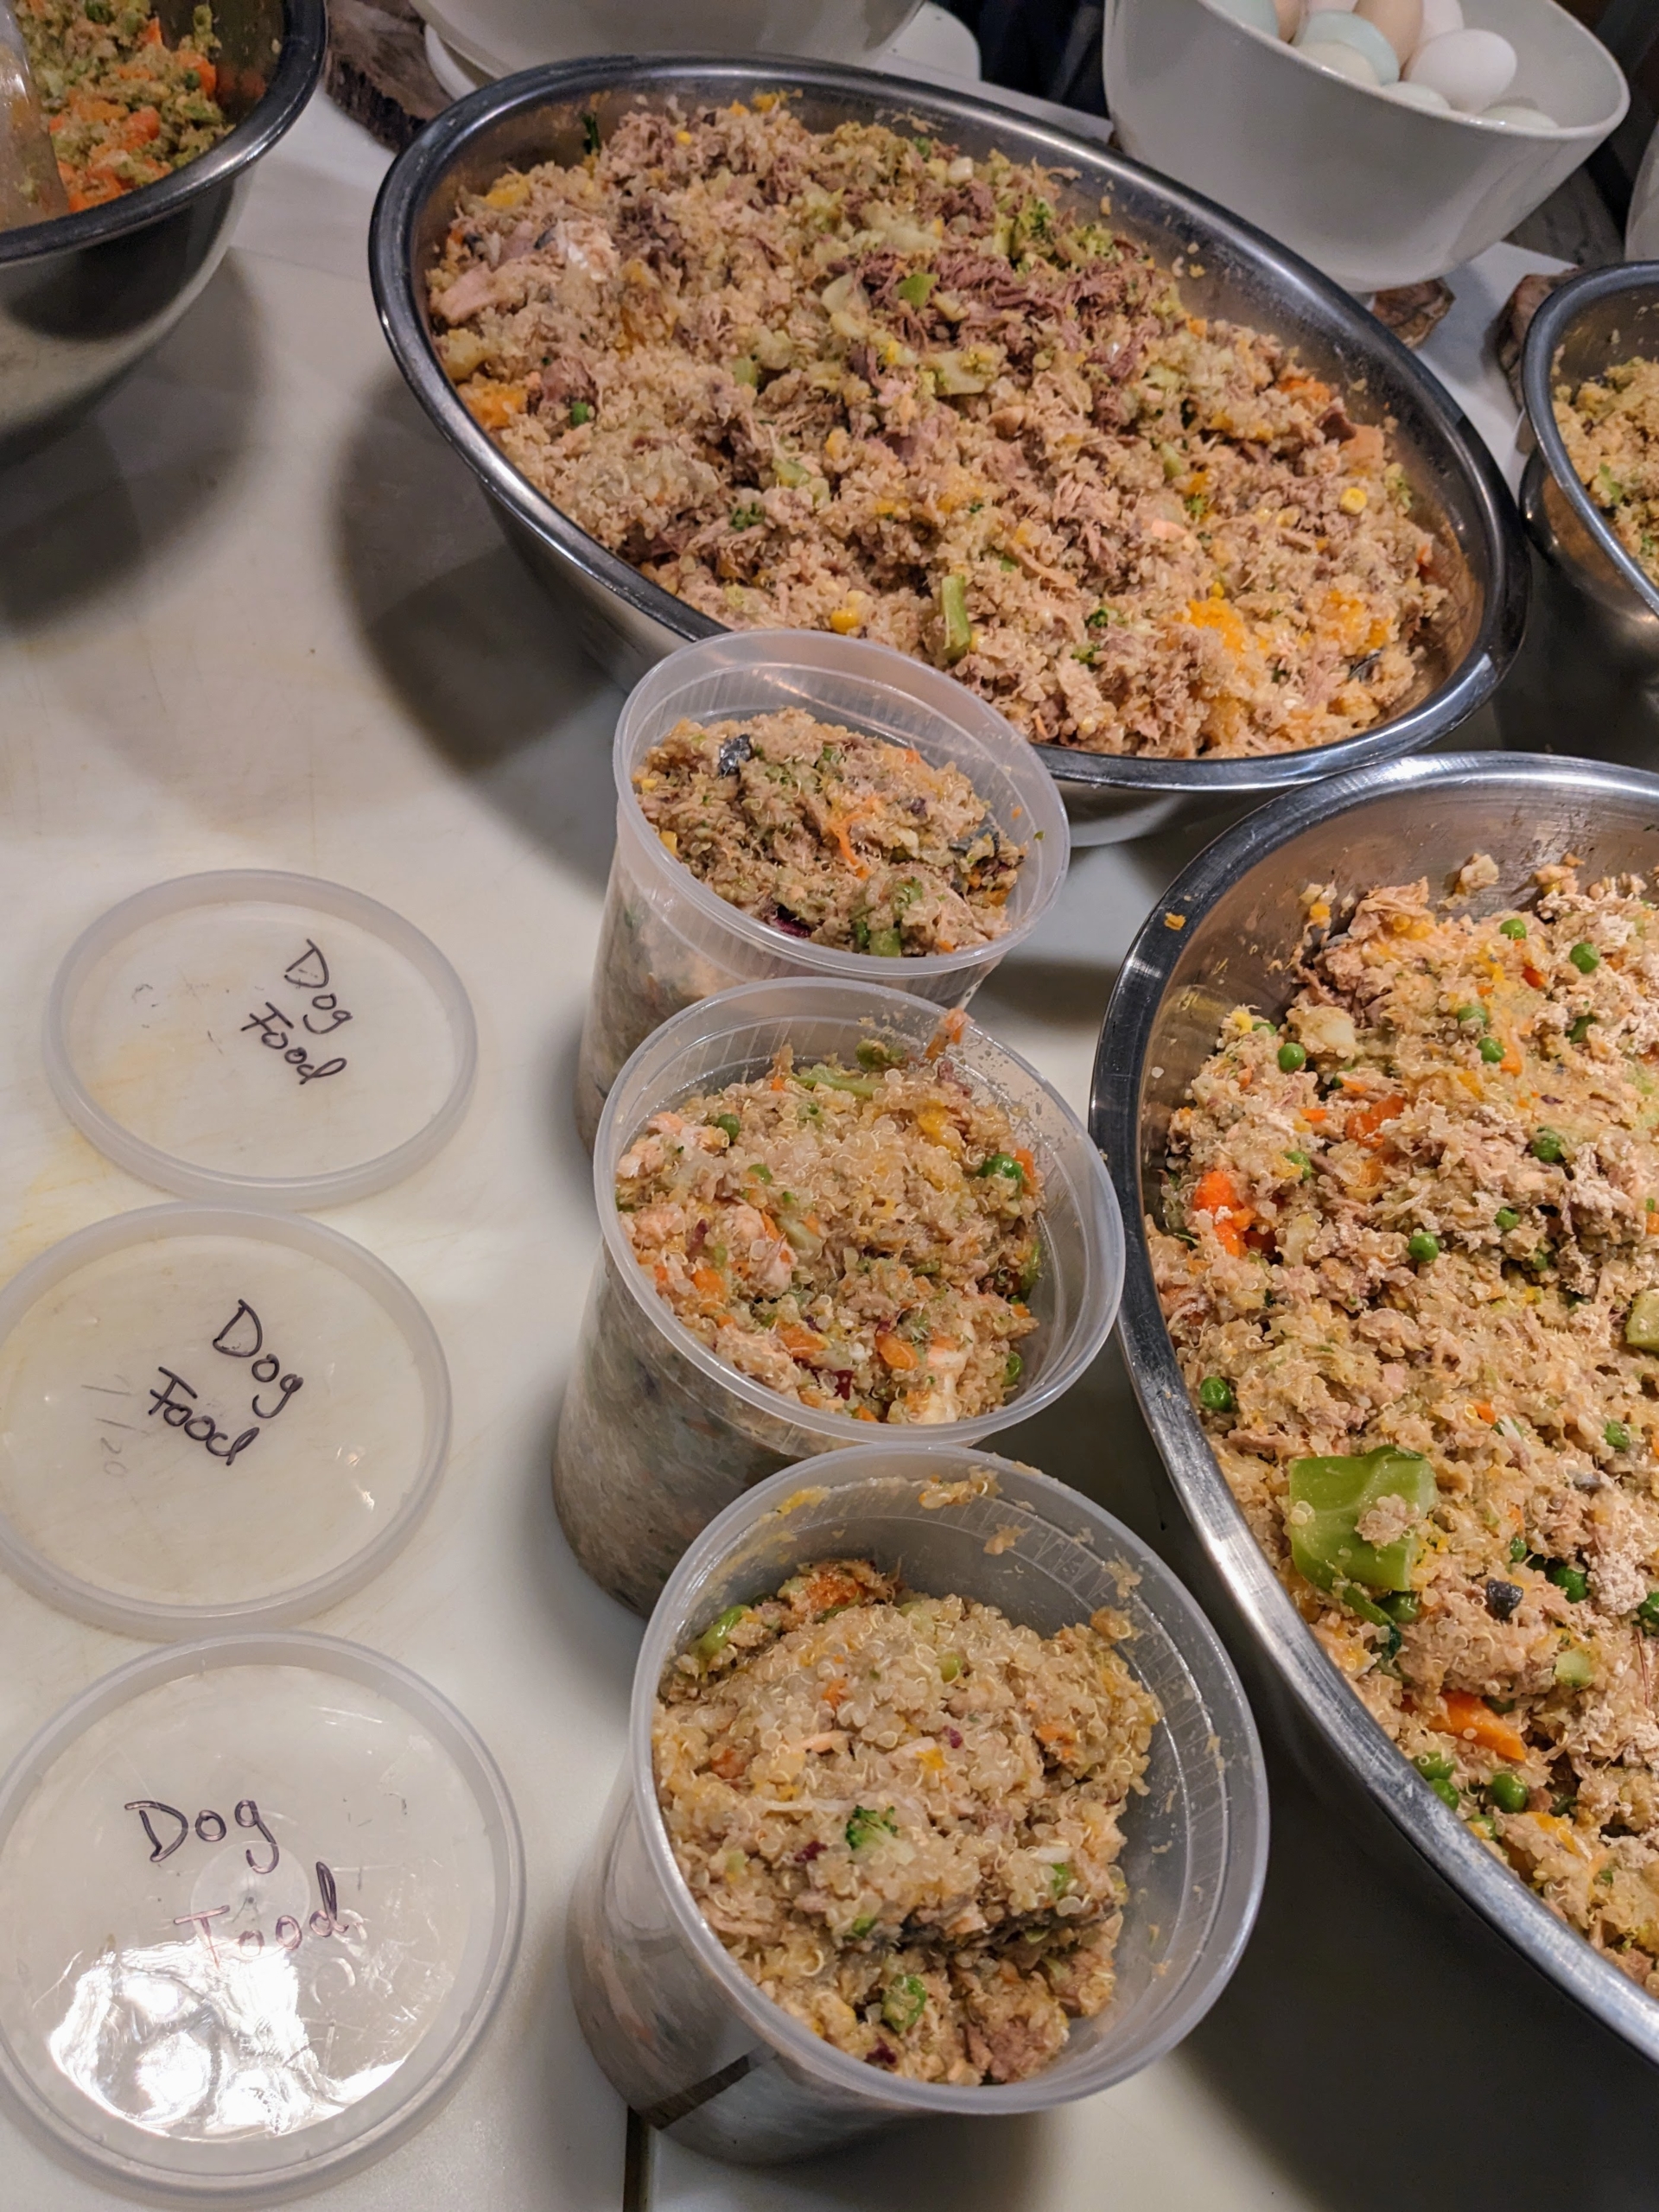
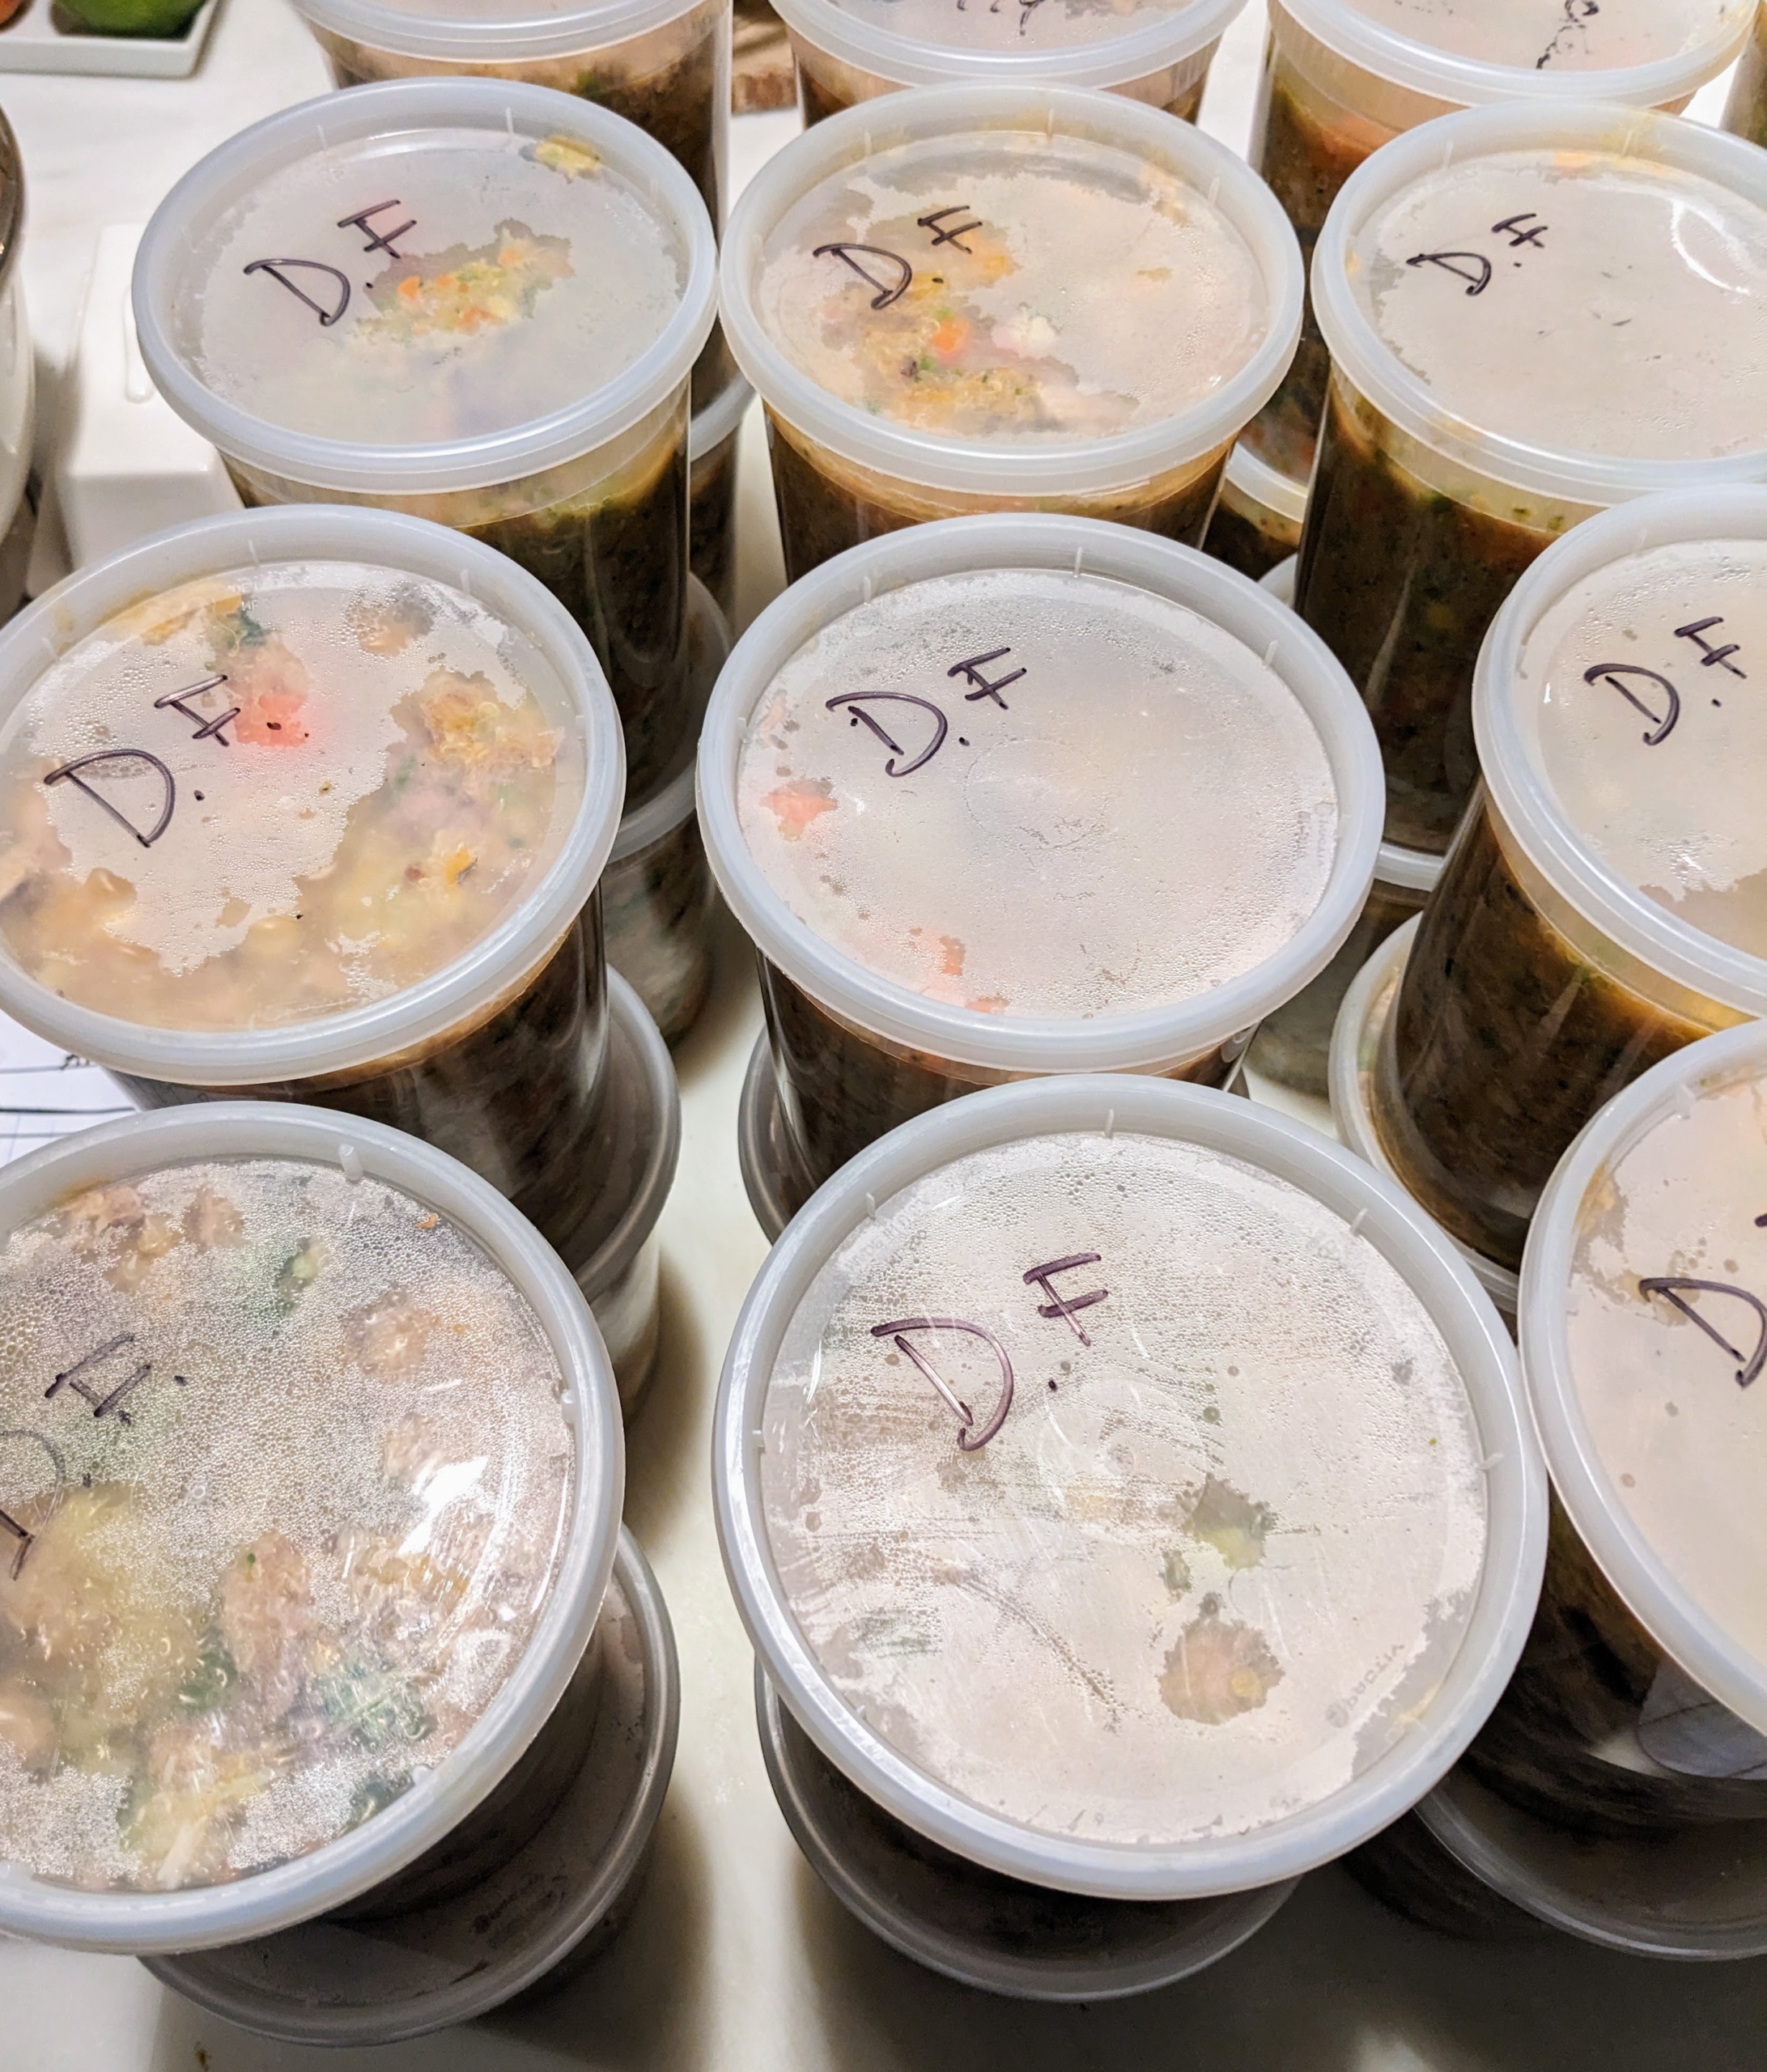
Here, the quarts are filled and left to cool slightly before closing.
If planning to freeze, only fill up to the first line around the container so it has room to expand.
And here they are – 49 quarts of good, delicious food. Some of the food will be stored in my Winter House kitchen refrigerator, so they are easy to access. The rest will be stored in freezers elsewhere until needed. At meal time, which is once in the morning and once in the evening, my dogs get about a half cup each of this food mixed in with a good, well-balanced kibble. They devour it all. Making food for my dogs… it’s a good thing.