Here at my Bedford, New York farm, we're all very busy preparing for the tub grinder.
During the year, my outdoor grounds crew accumulates a lot of organic debris - logs, stumps, bark, and brush. This year, we also took down many ash trees affected by the Emerald ash borer disease. It's all gathered and either repurposed as milled lumber, wood chips, or left to decay and made into garden dressings, such as mulch and compost. To help with the process, I like to call in a tub grinder once a year or once every two years depending on how much material we need to reduce and recycle. The tub grinder is scheduled to arrive early next week, so it's a race to get everything piled up and ready.
Enjoy these photos.
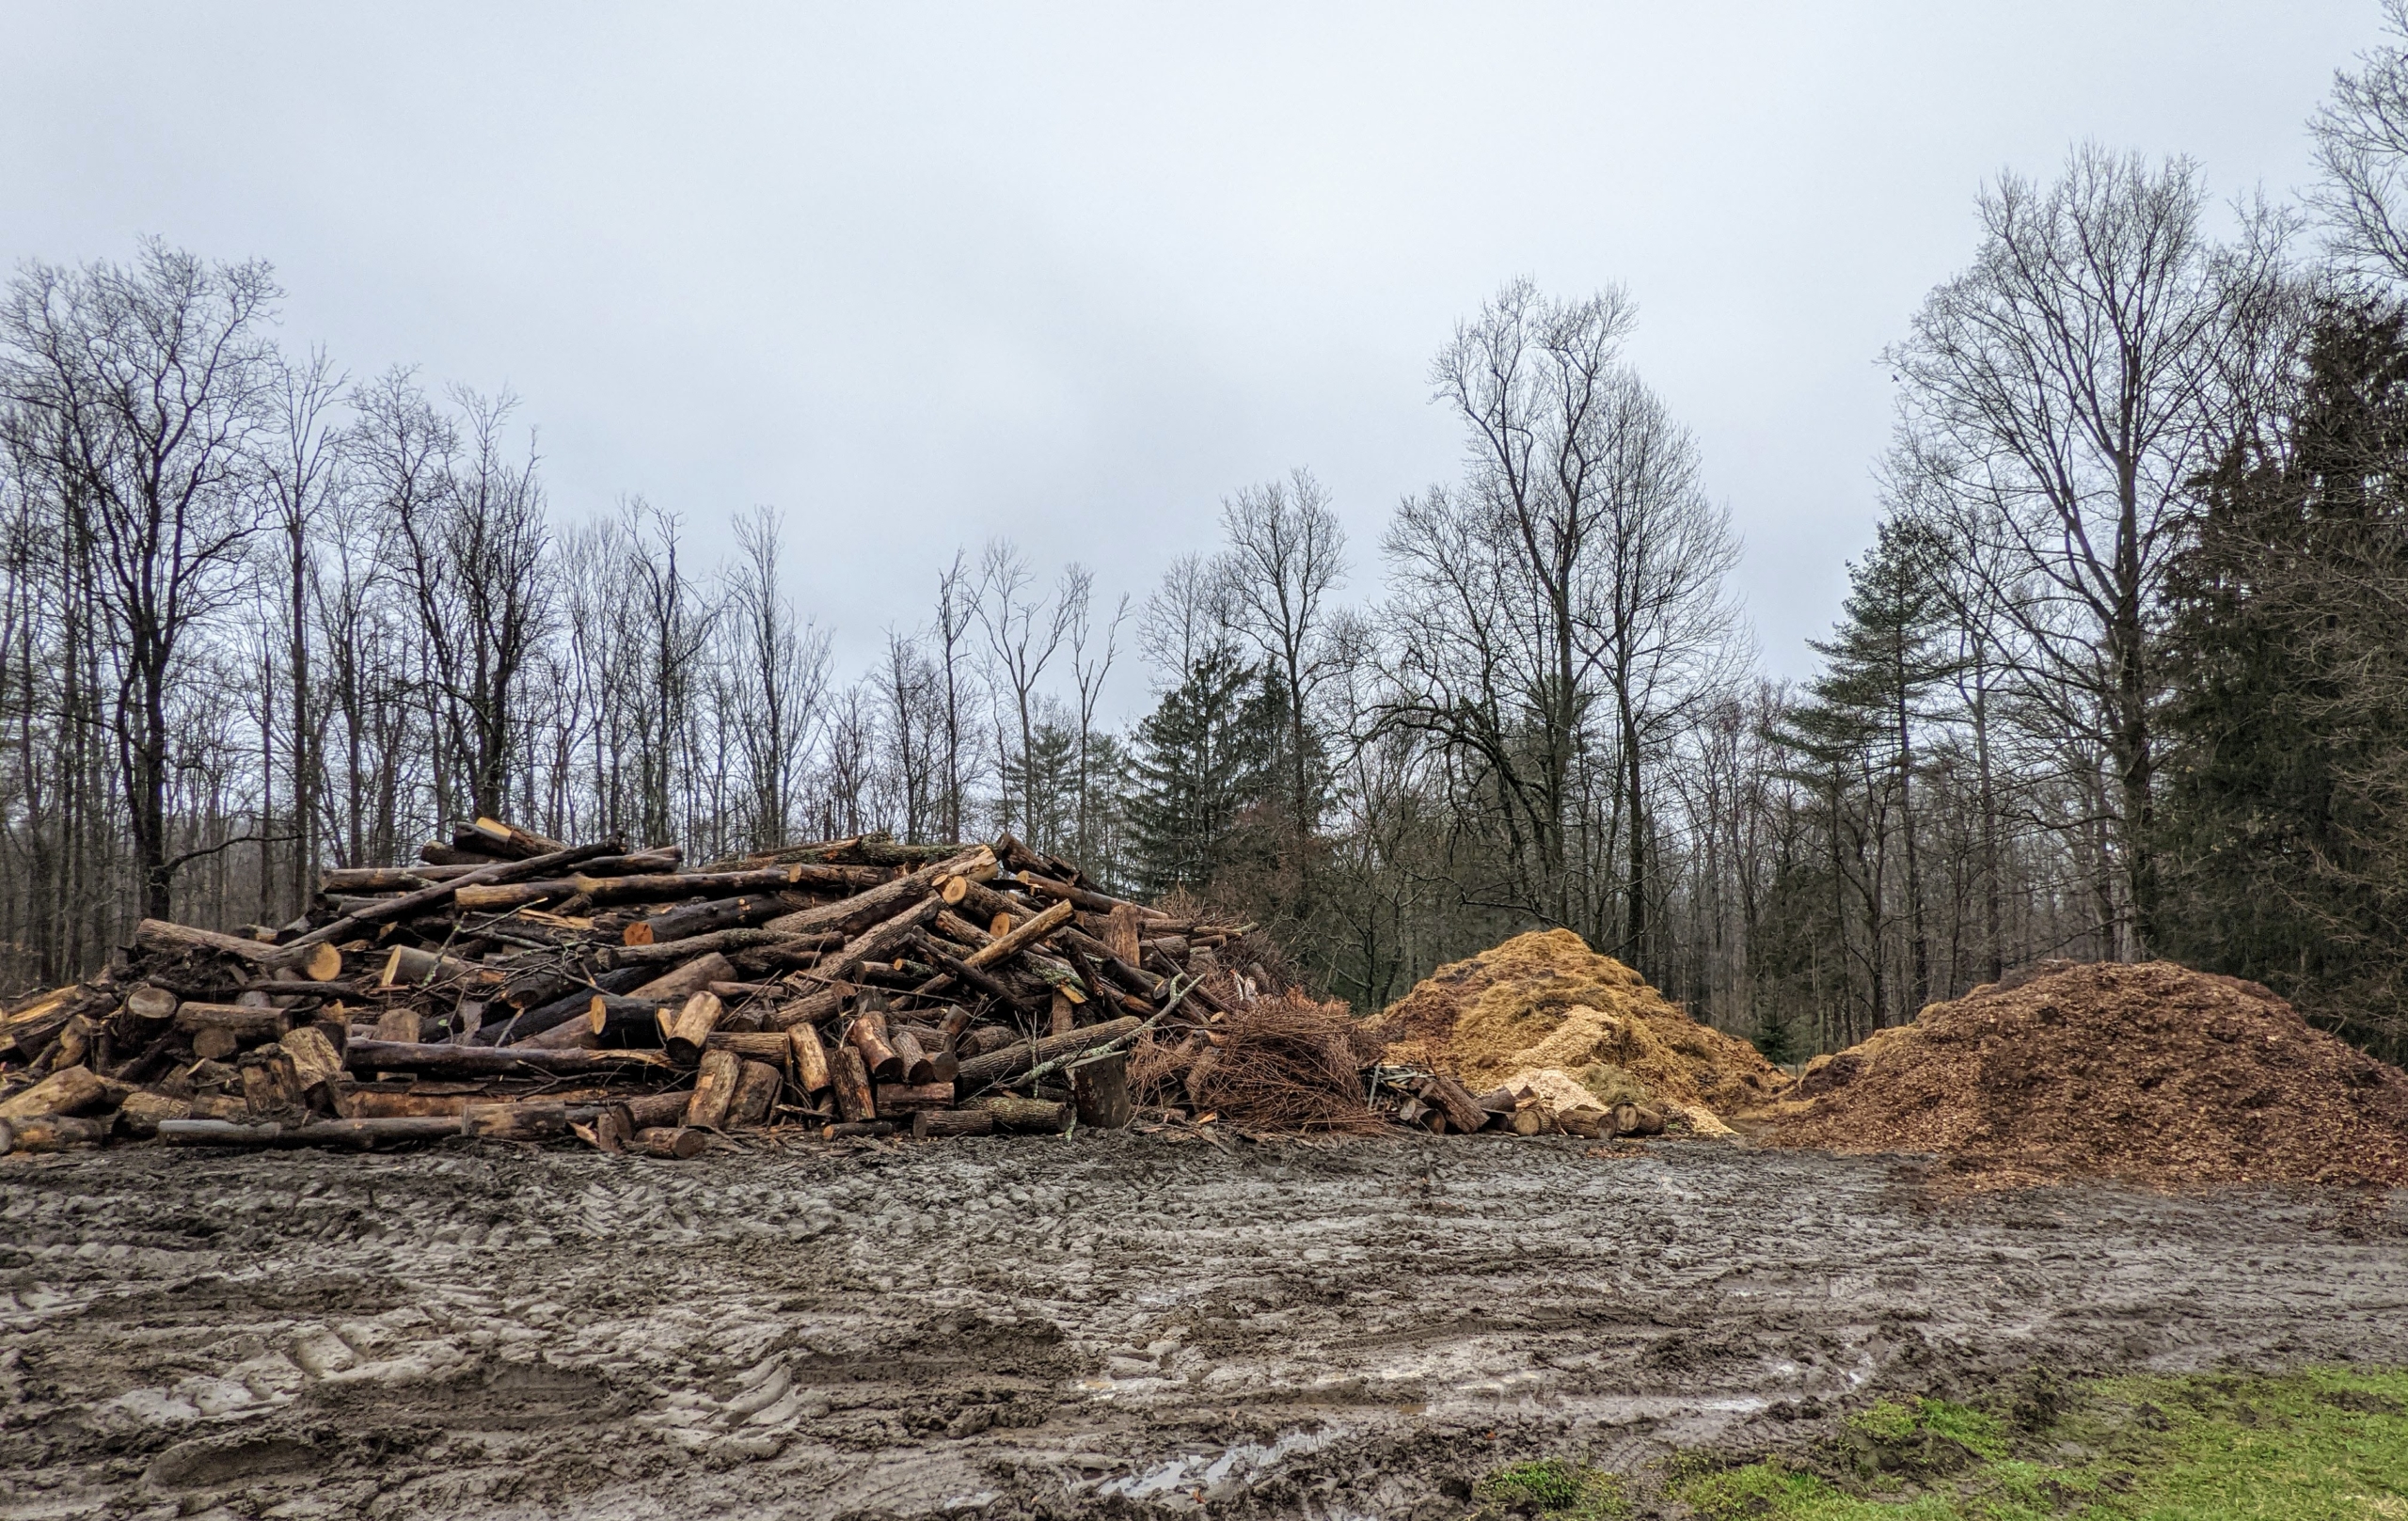
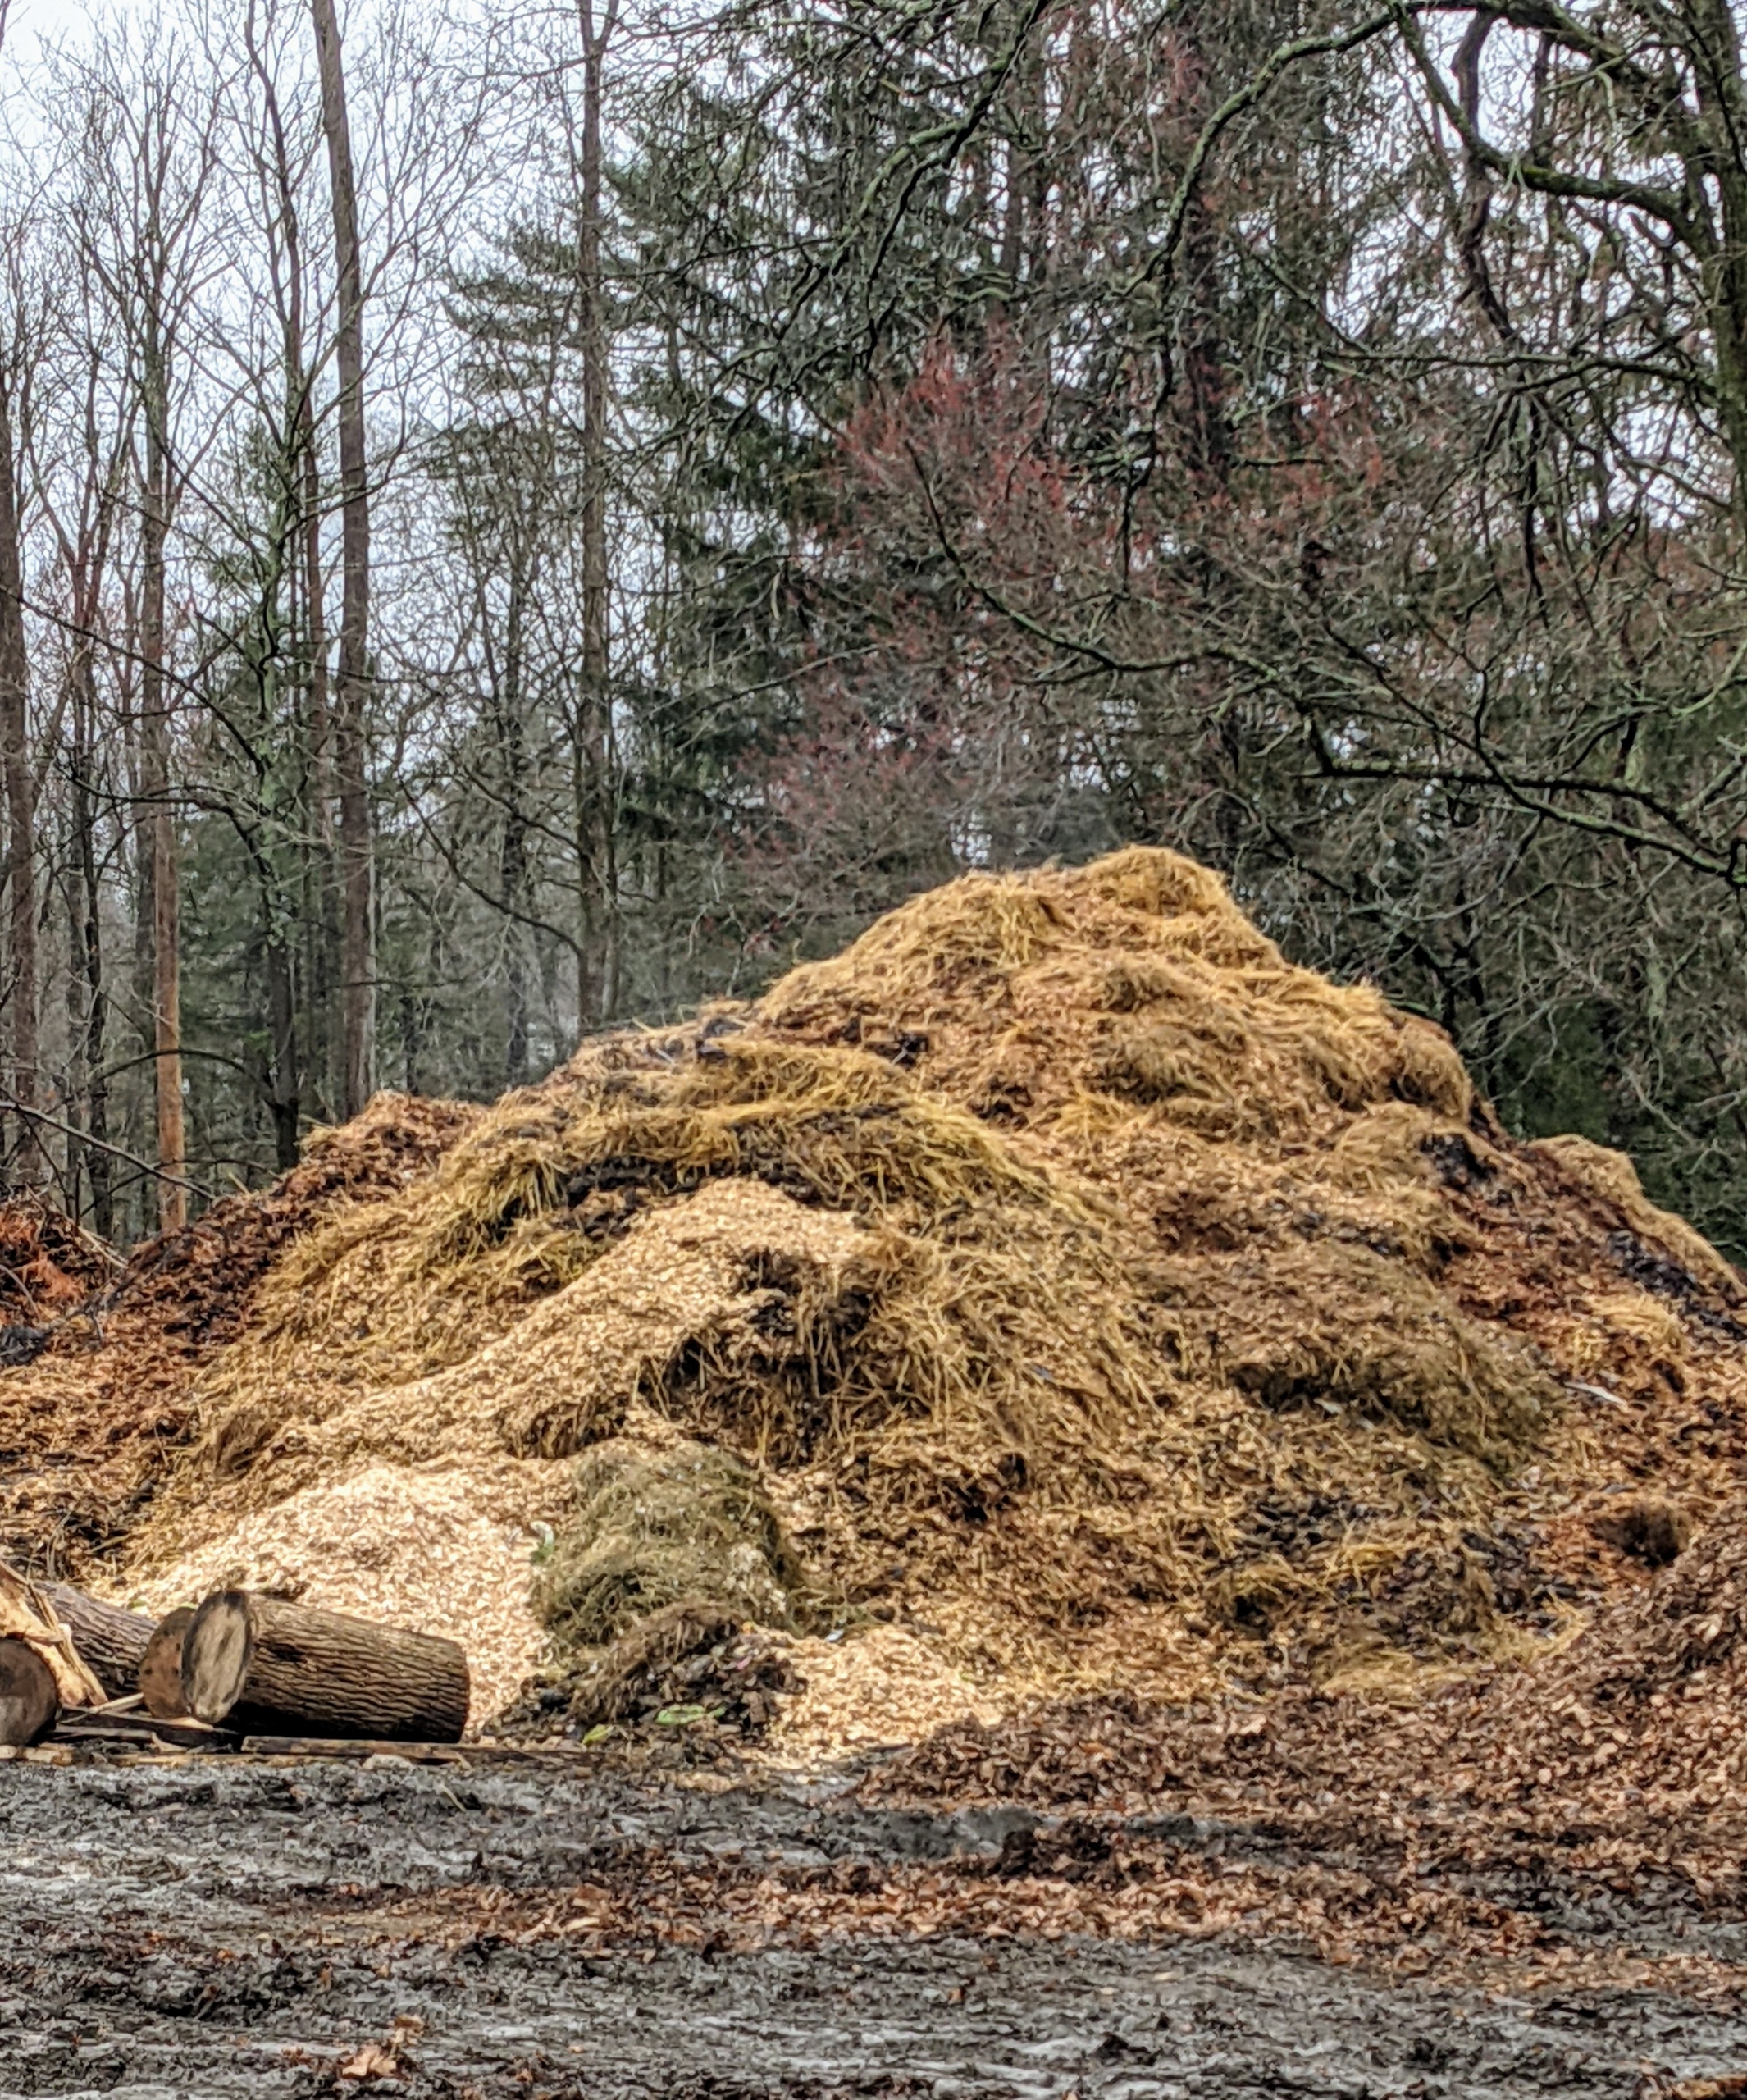
Here is a view of my compost area – a vital part of my working farm. It’s actually very organized. Piles are divided into types of debris – wood, leaf mold, clippings, and organic matter made up of manure and biodegradable materials. Most of these piles are combined and put through the tub grinder.
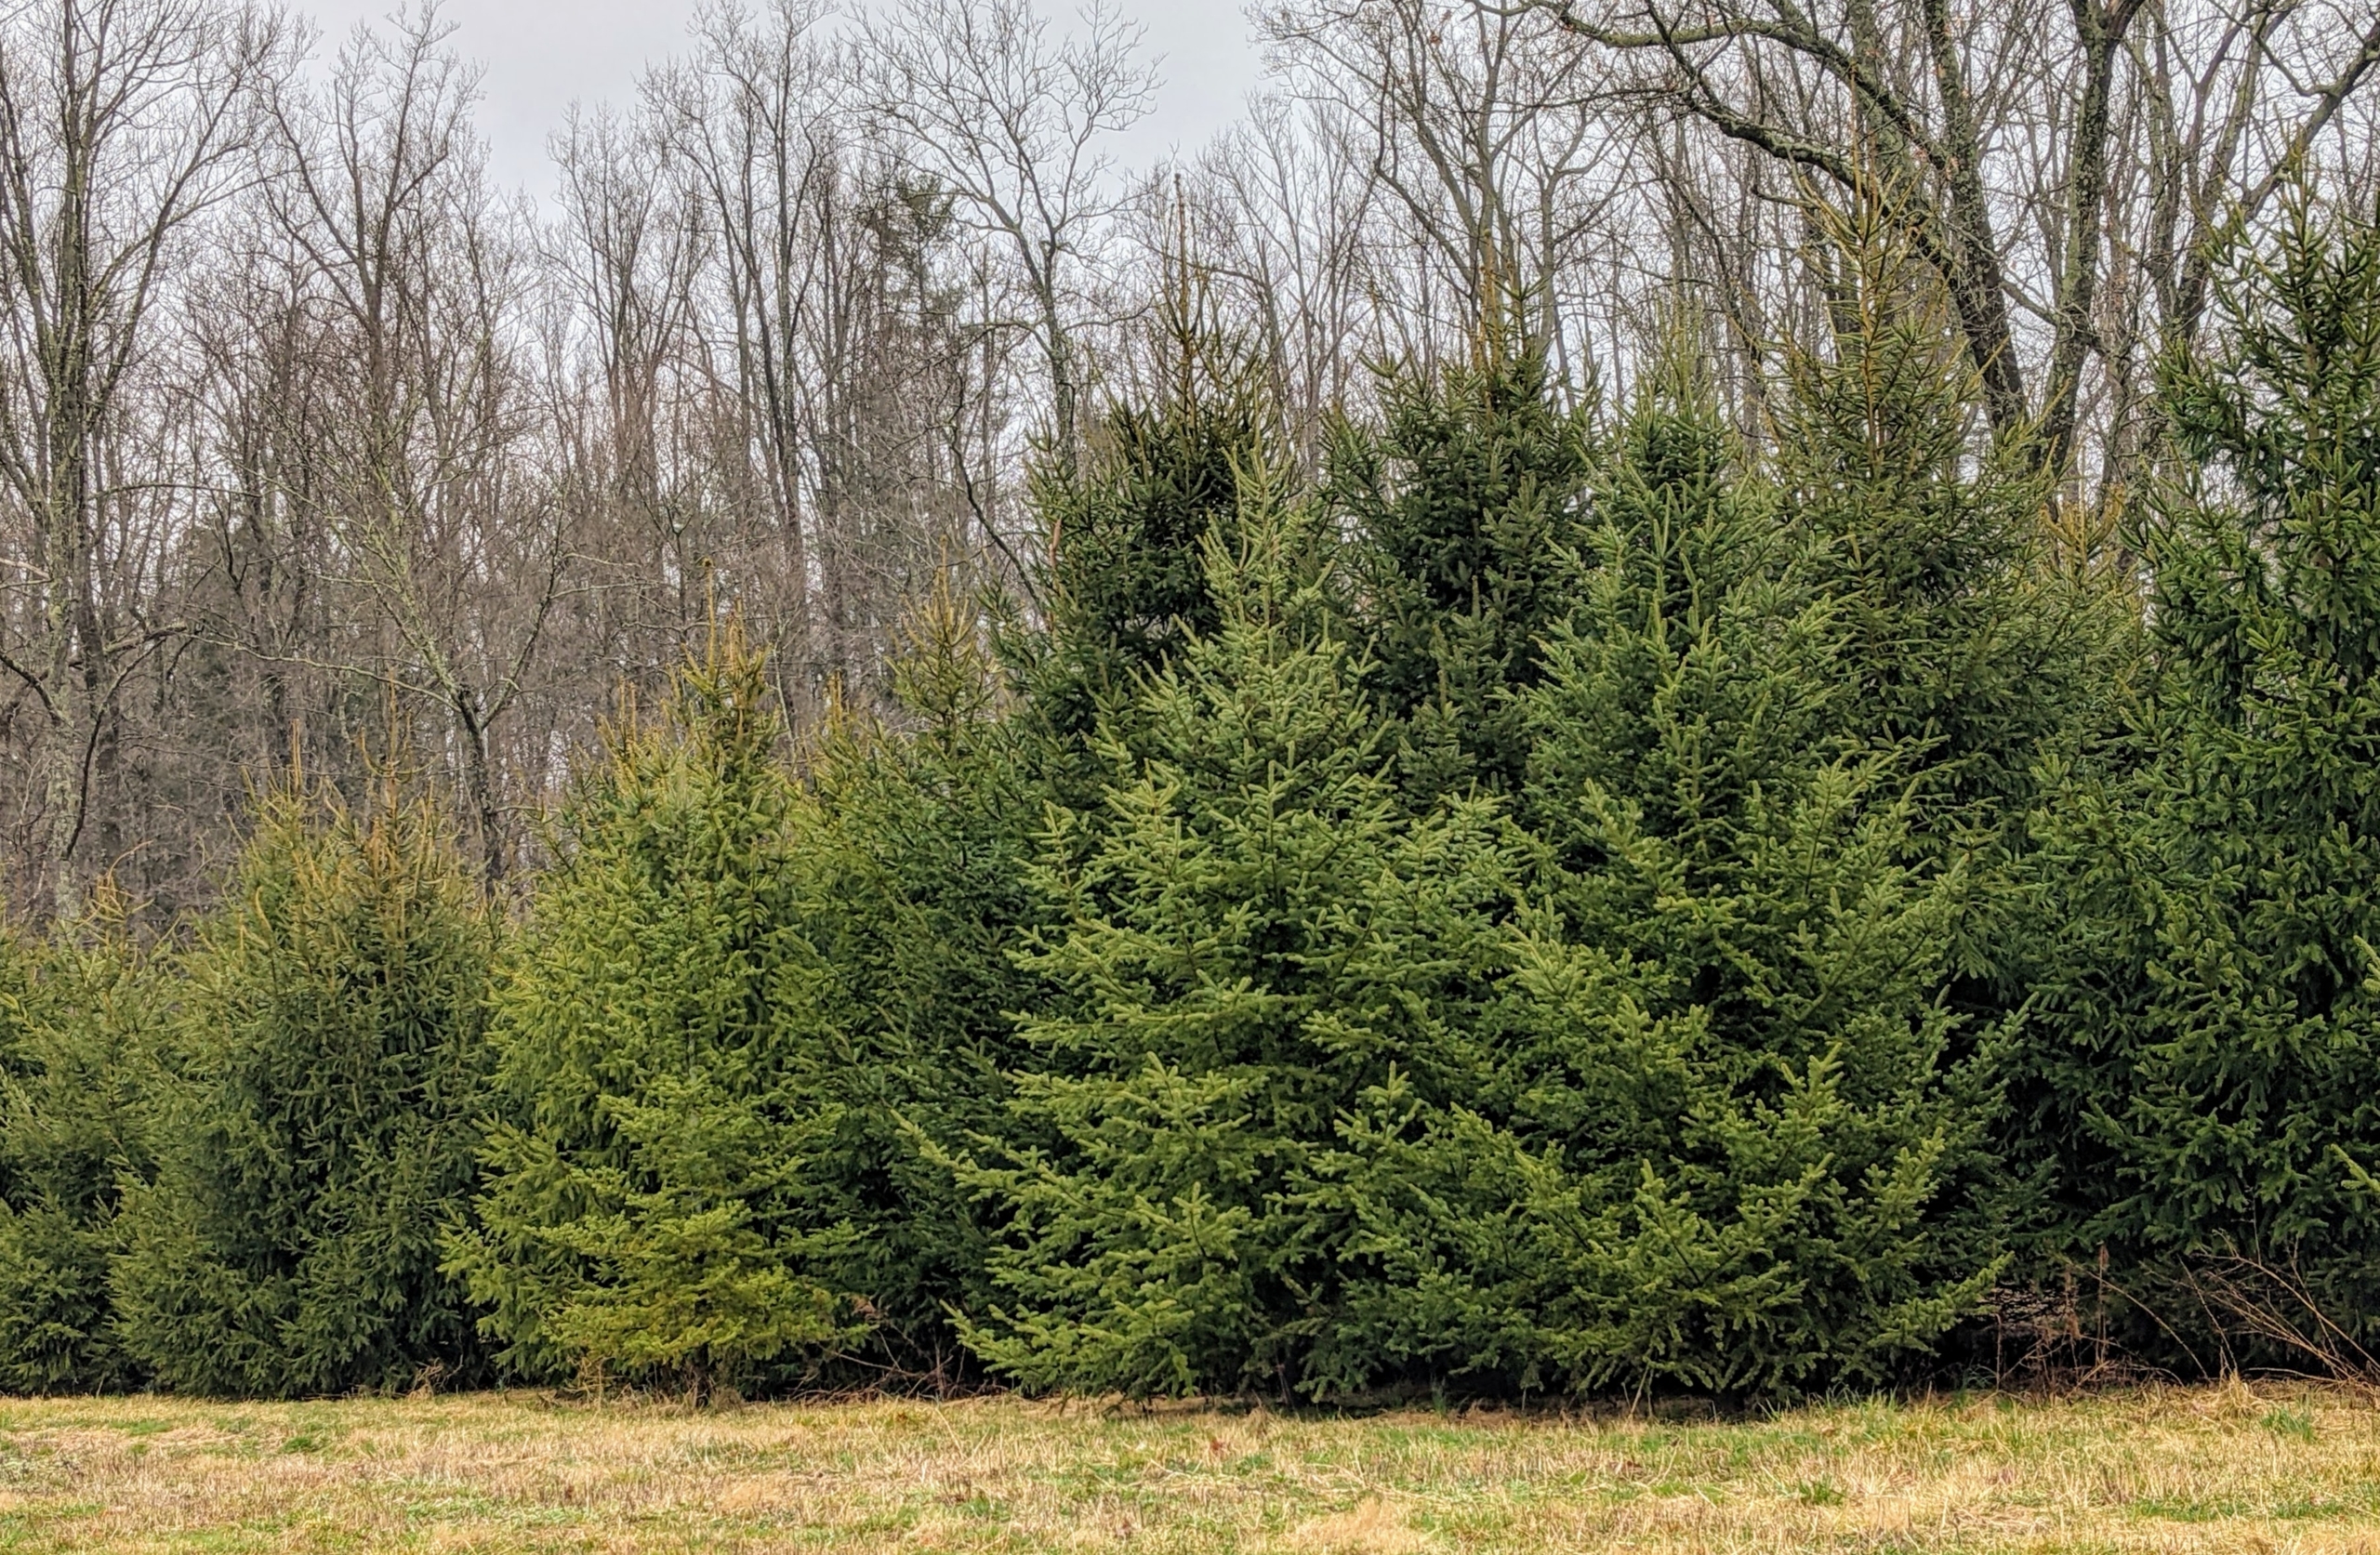
The compost area is located in a field behind my “Christmas tree garden,” where I planted 640 Christmas trees 13-years ago – White Pine, Frasier Fir, Canaan Fir, Norway Spruce, and Blue Spruce. They have all grown so much over the years.
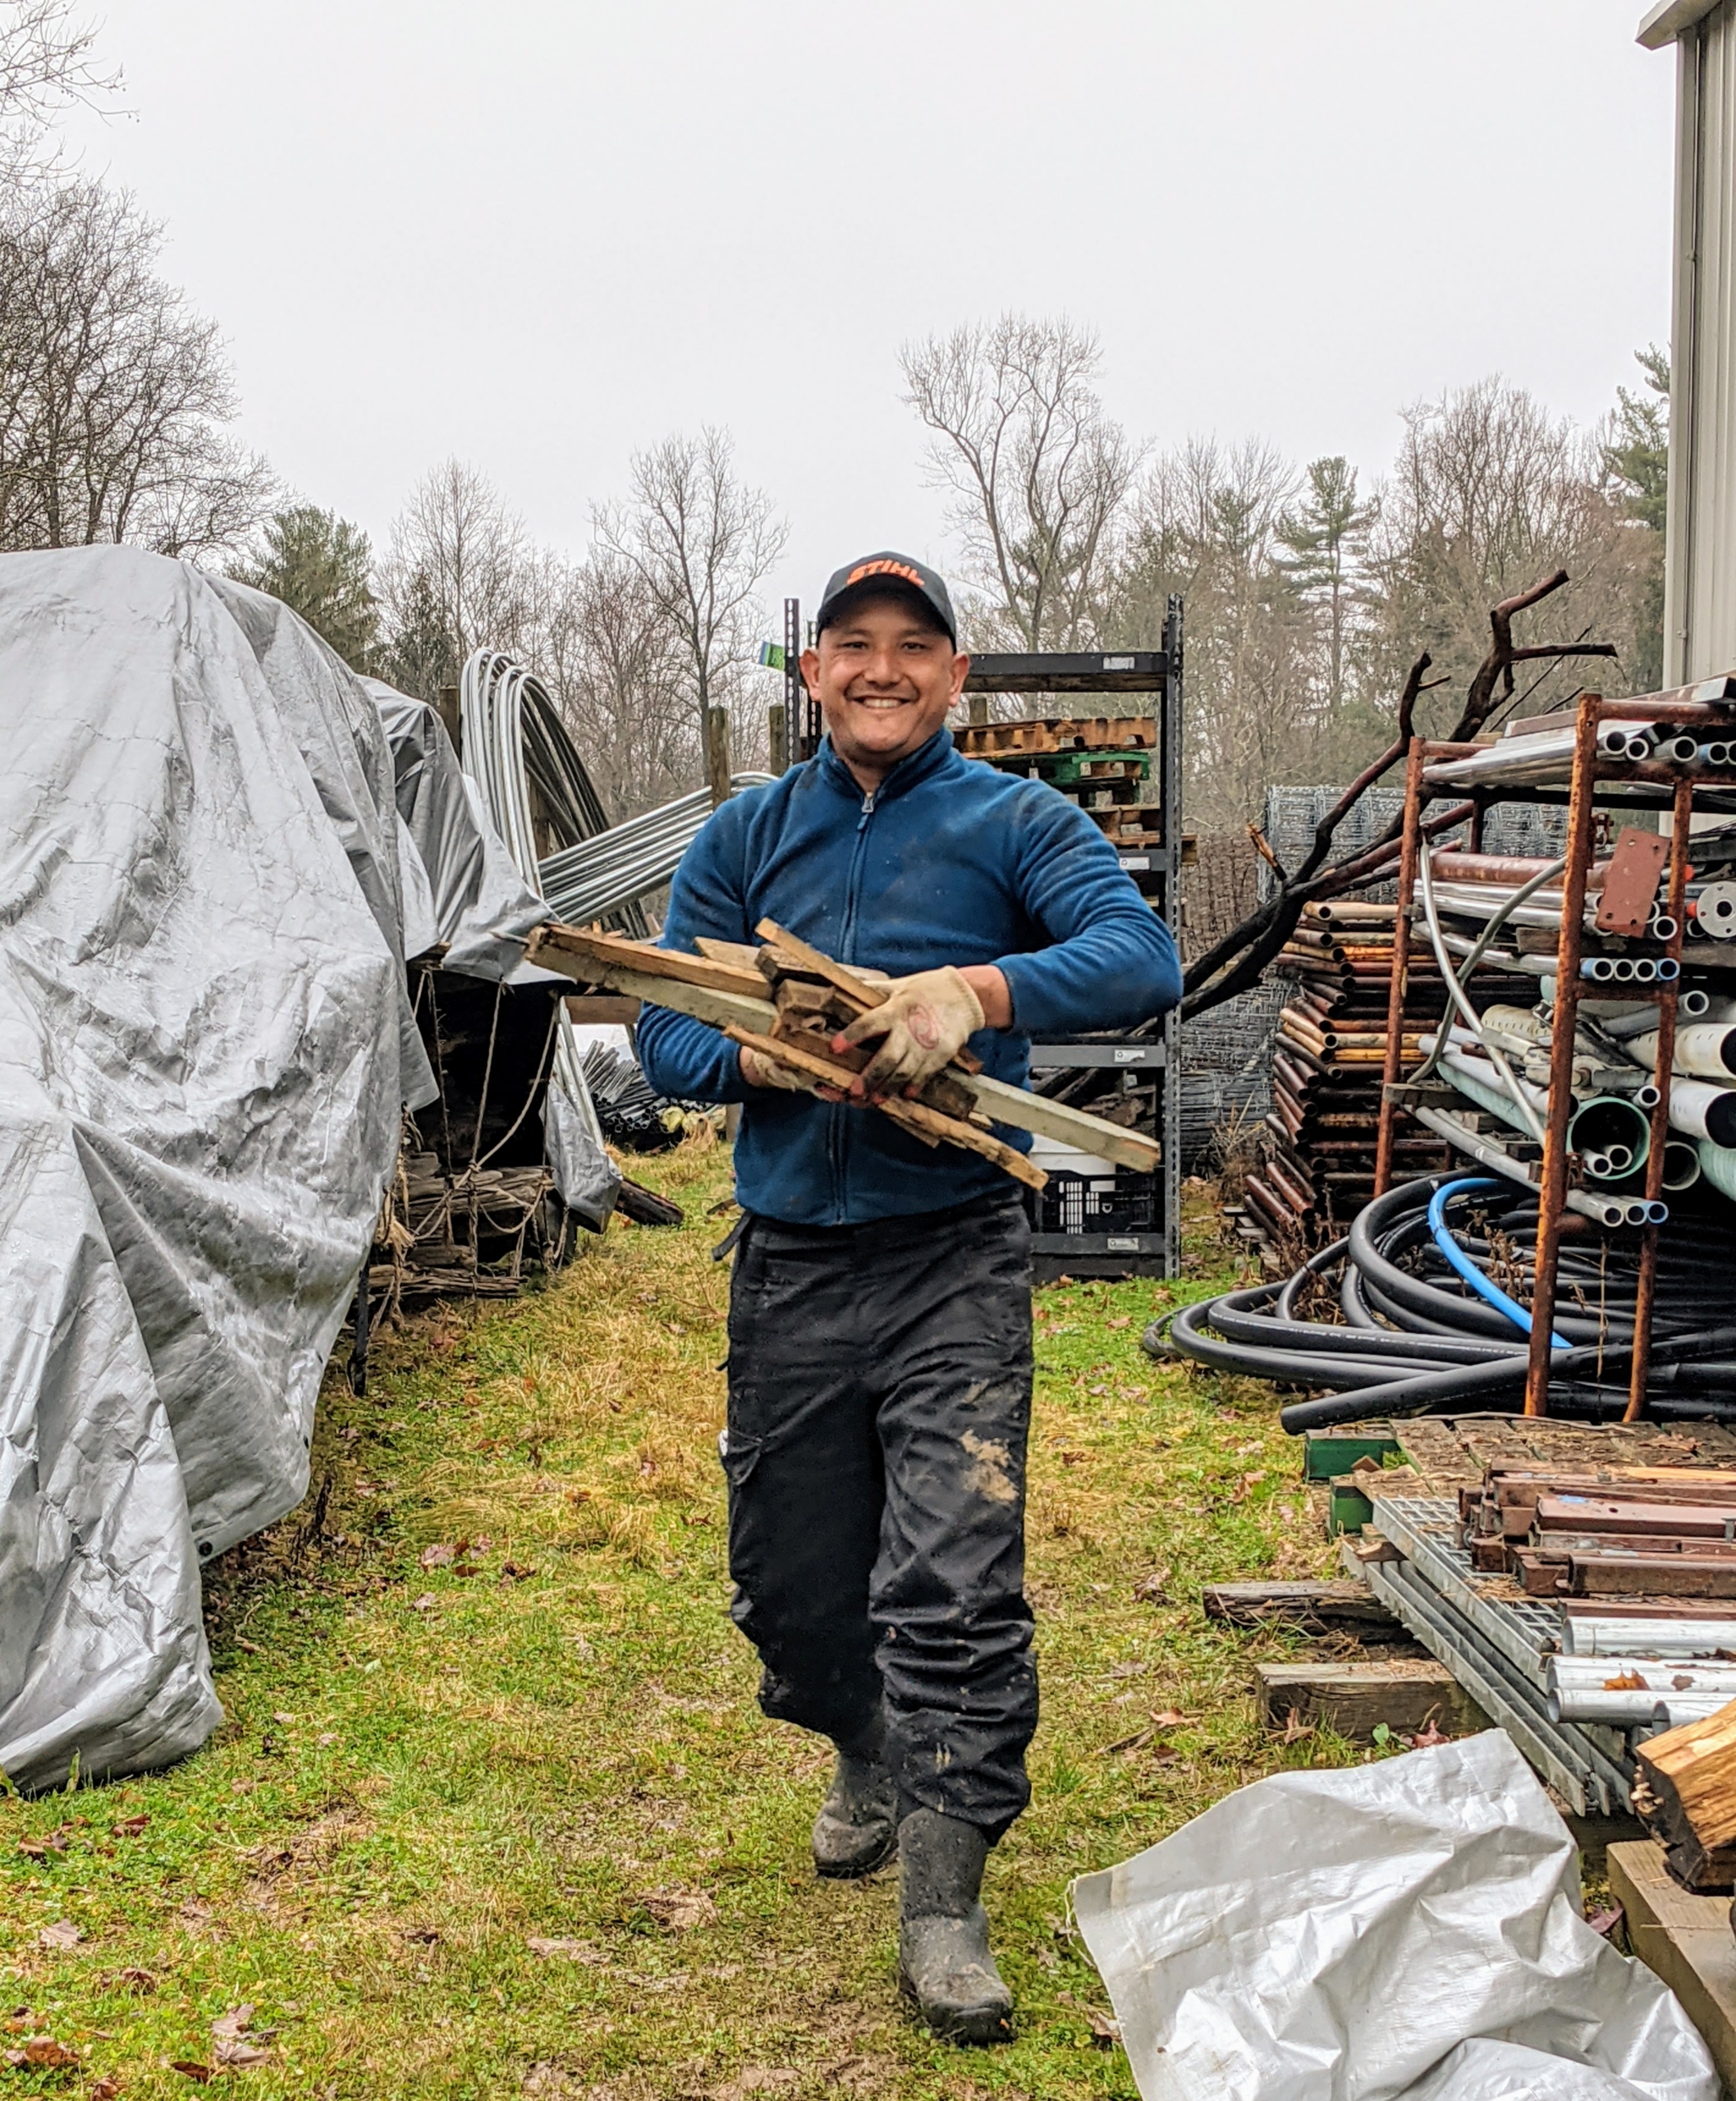
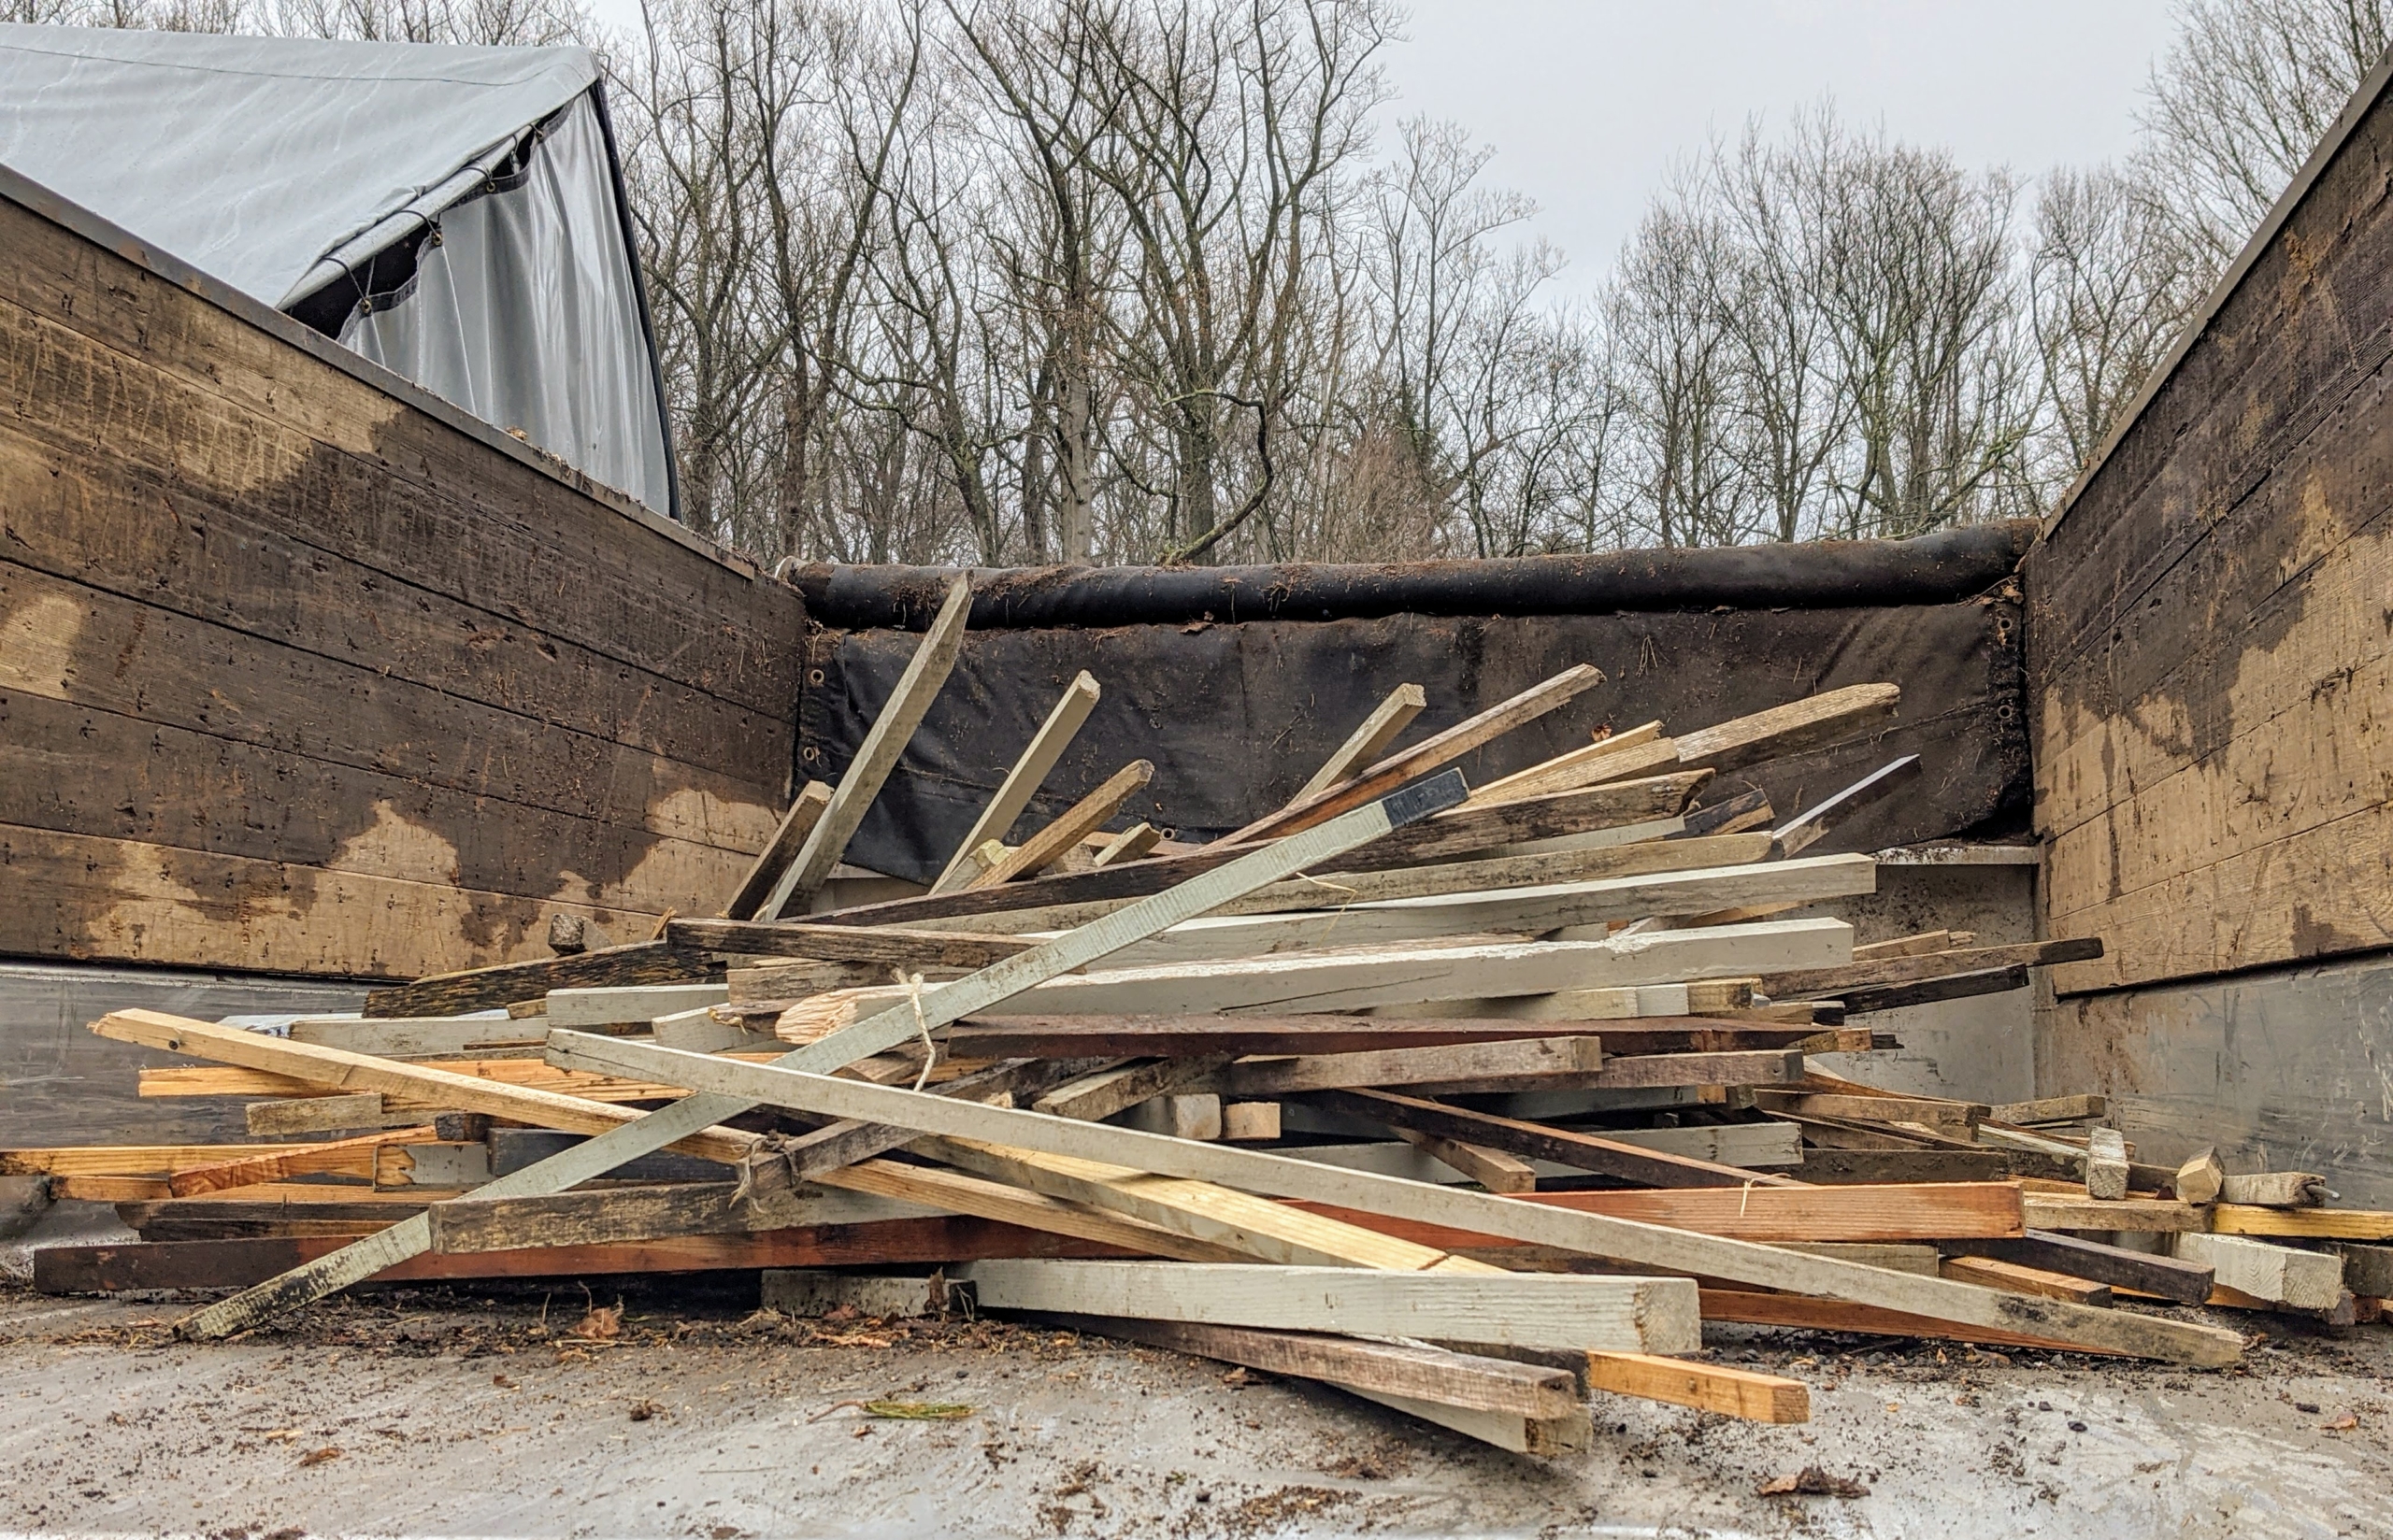
Nearby, behind my storage building is an area used to store our supply of wood, pallets, pots, and other outdoor materials. Domi is cleaning the area and gathering old stakes to the dump truck. Tub grinders are expensive to rent, so it is important to maximize the time it is here.
Whenever trees are taken down, we store them in neat piles, so they are easily accessible for reuse. These old, wet stumps will now be moved to the pile for the tub grinder.
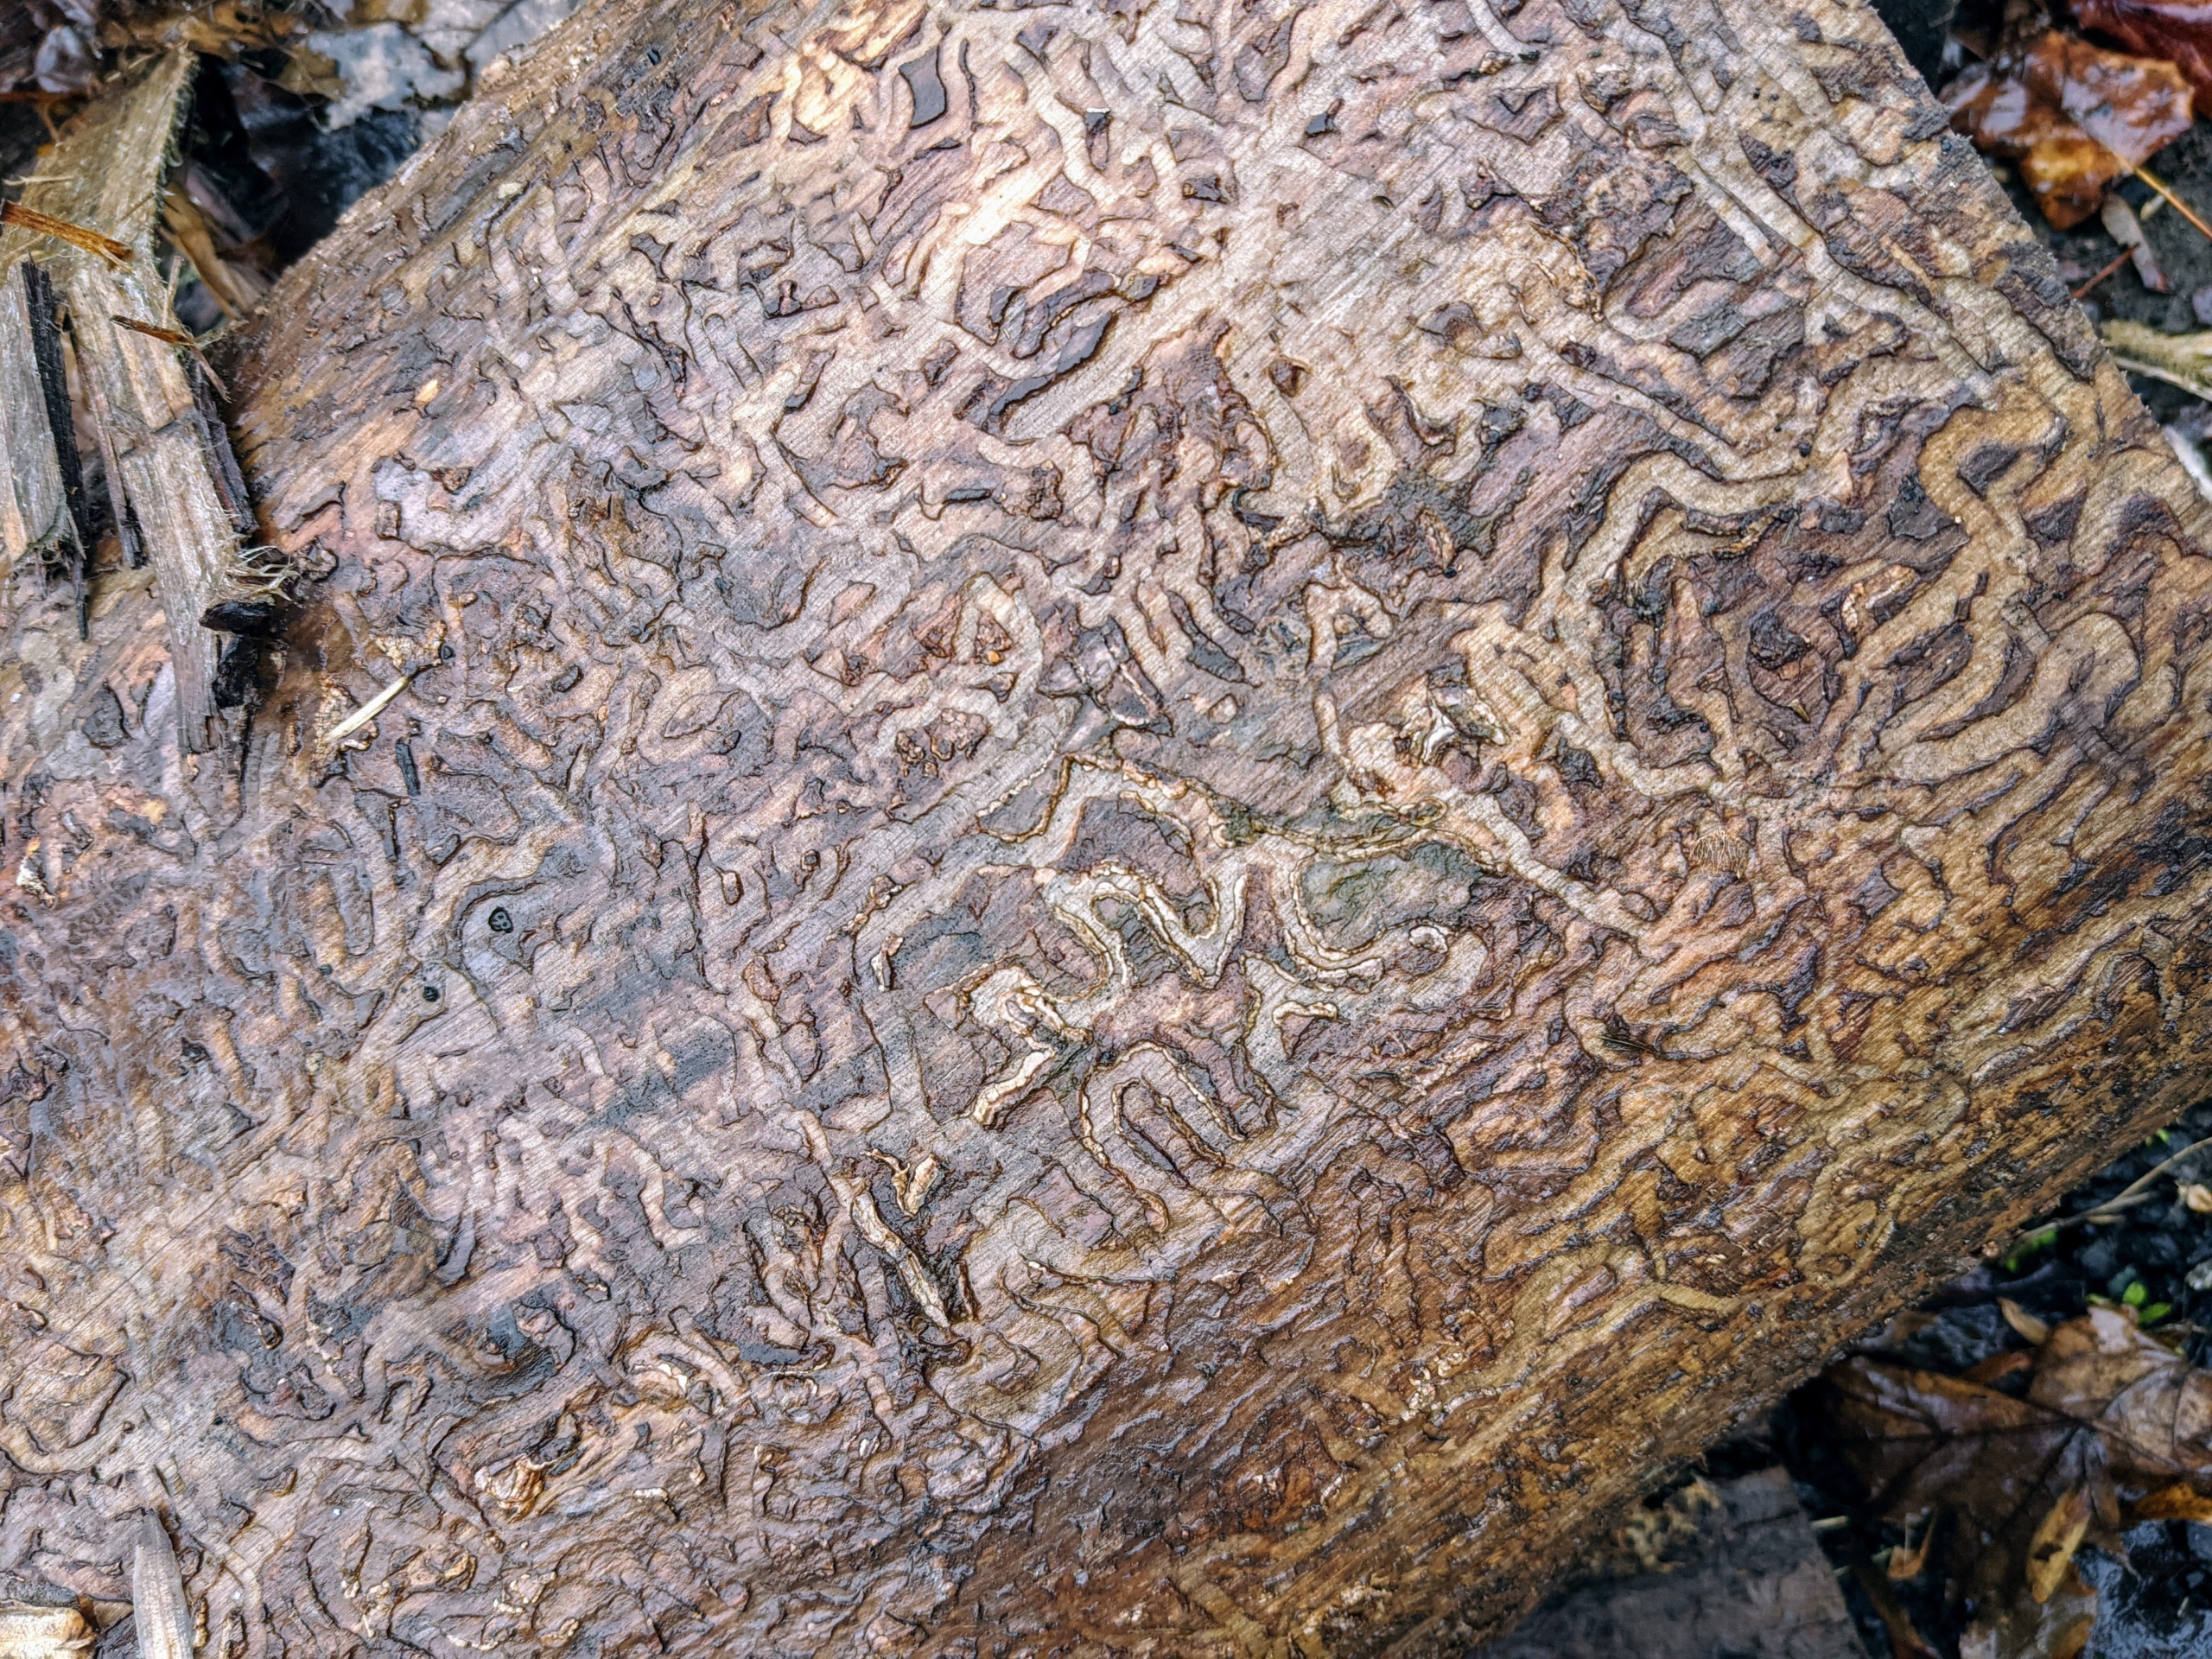
Here is one showing the damage done by the Emerald Ash Borer, also known by the acronym EAB – a green beetle native to north-eastern Asia that feeds under the bark of ash trees eventually girdling and killing them. The ash borer is responsible for the destruction of tens of millions of ash trees in 30 US states since it was first identified in this country in 2002.
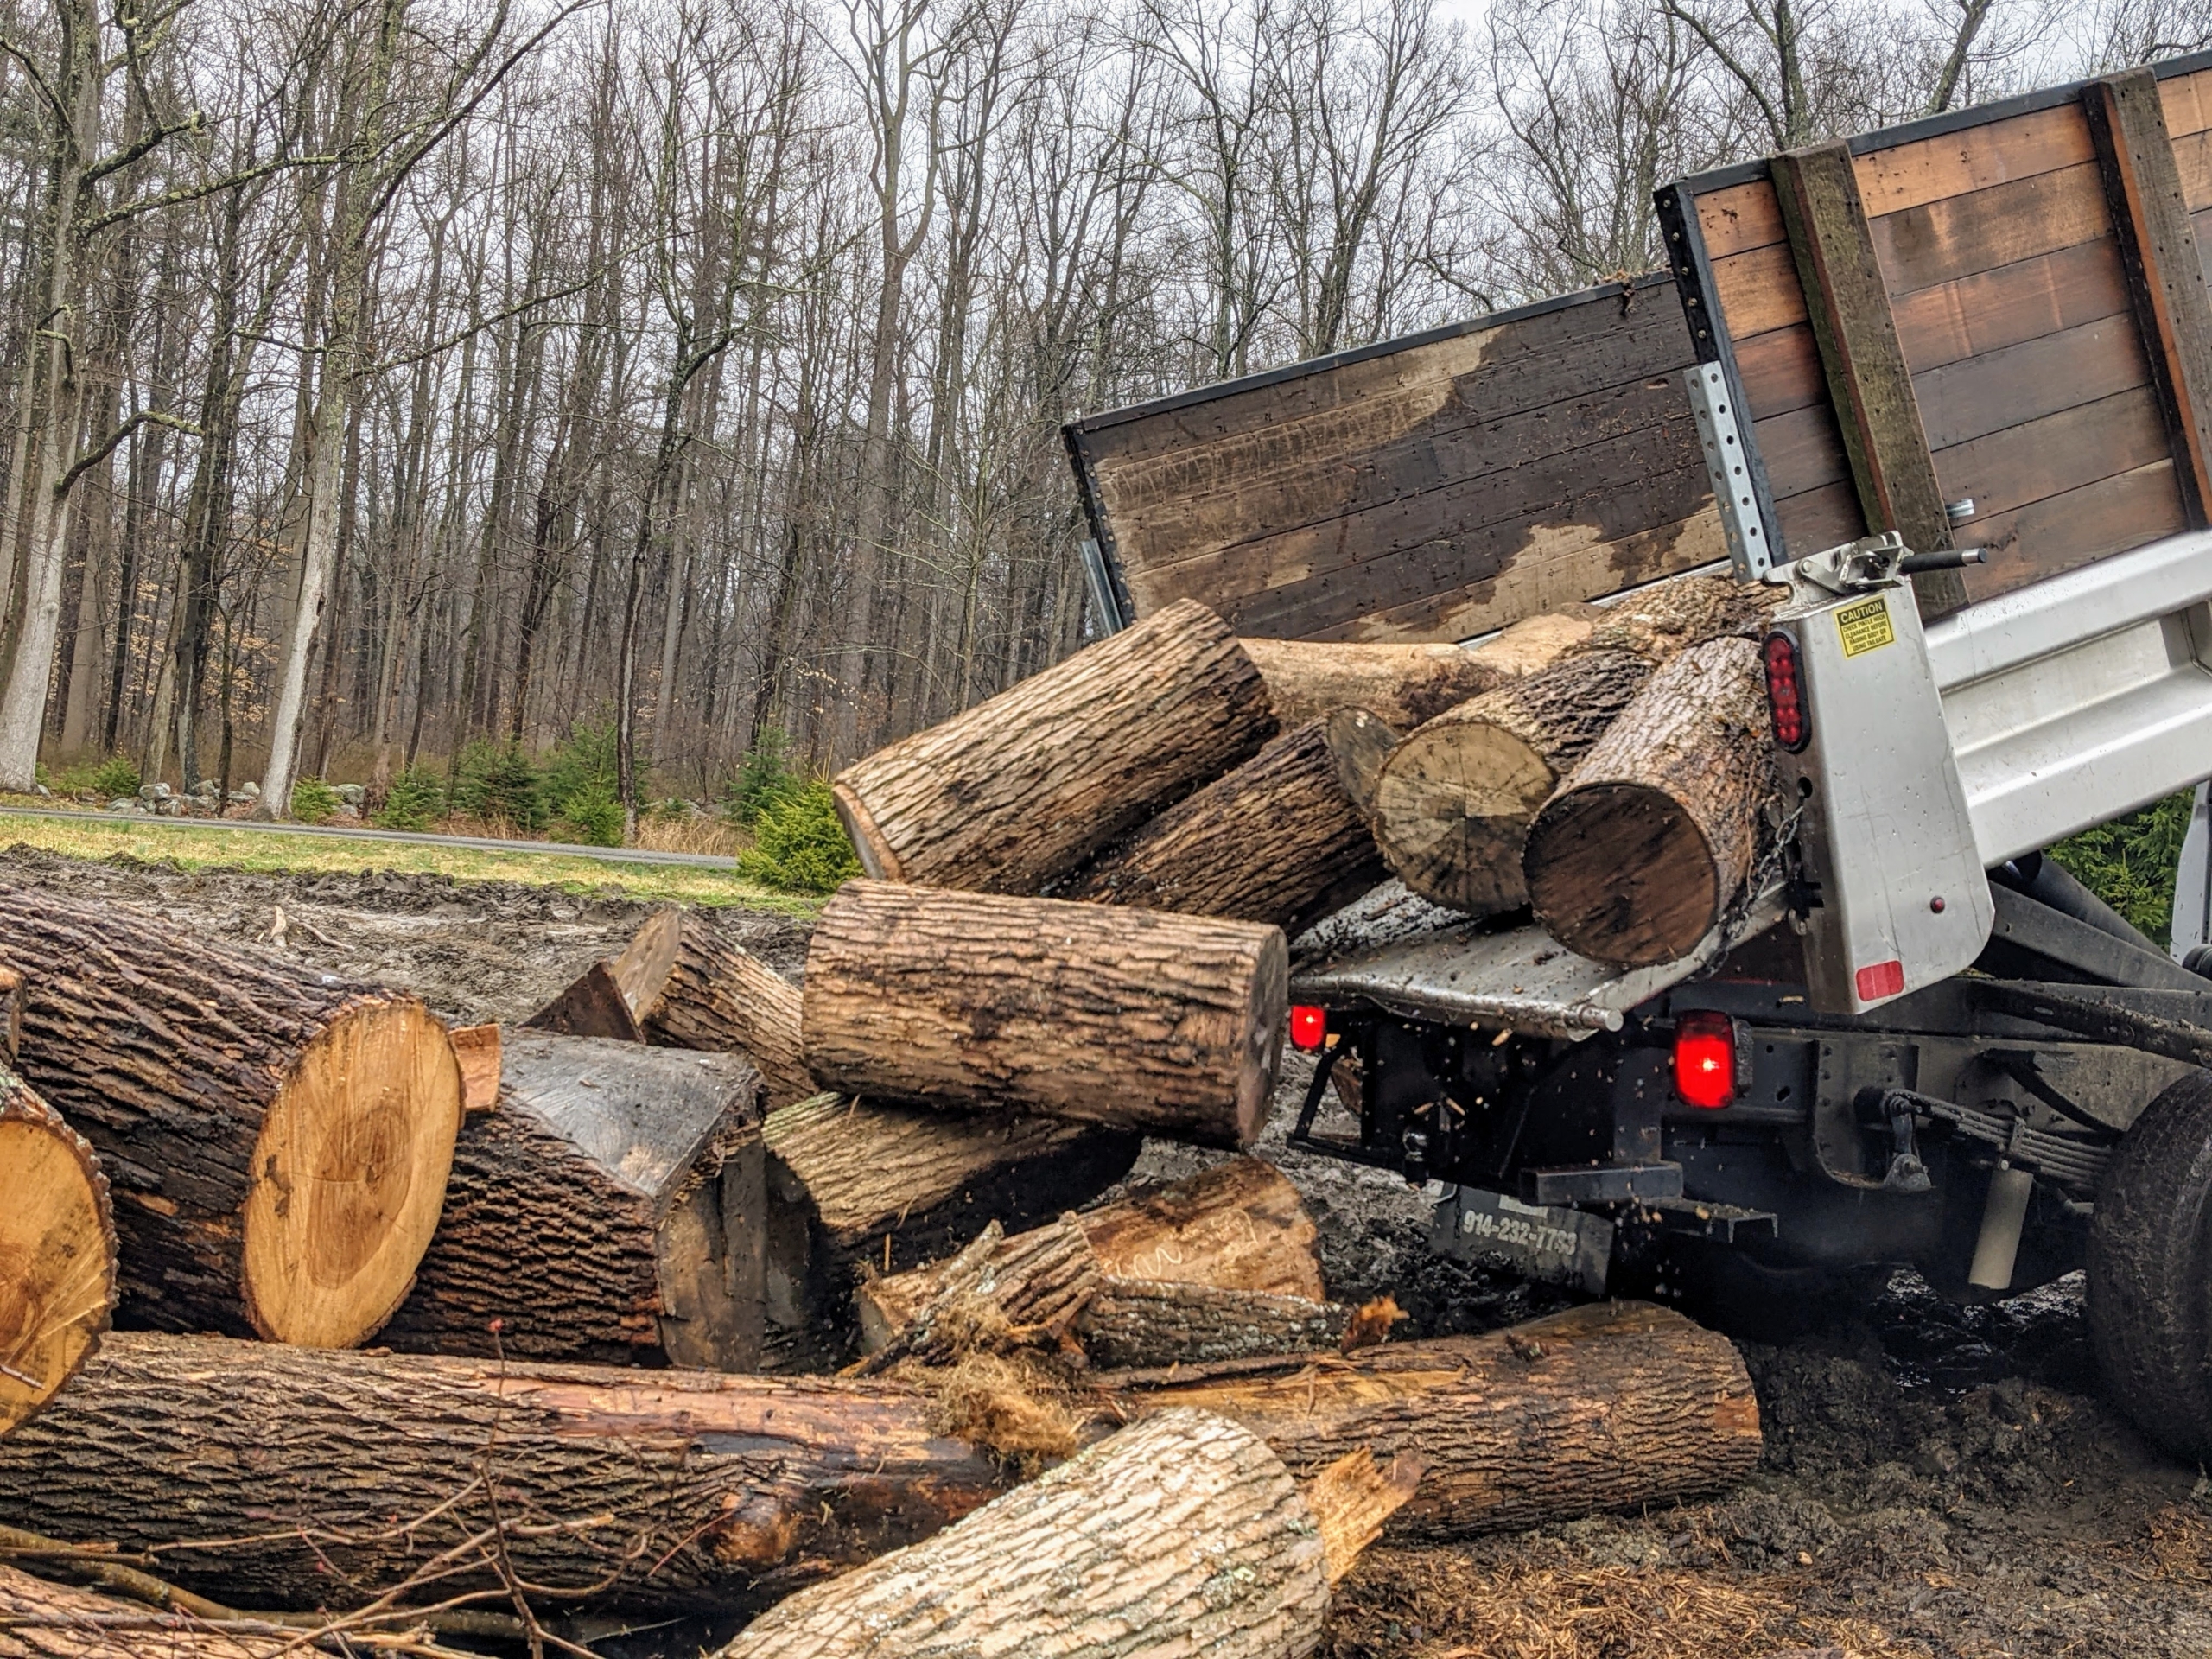
The crew fills the dump truck with stumps and takes them to the tub grinder pile.
Here’s another truck load of unusable wooden stakes on its way.
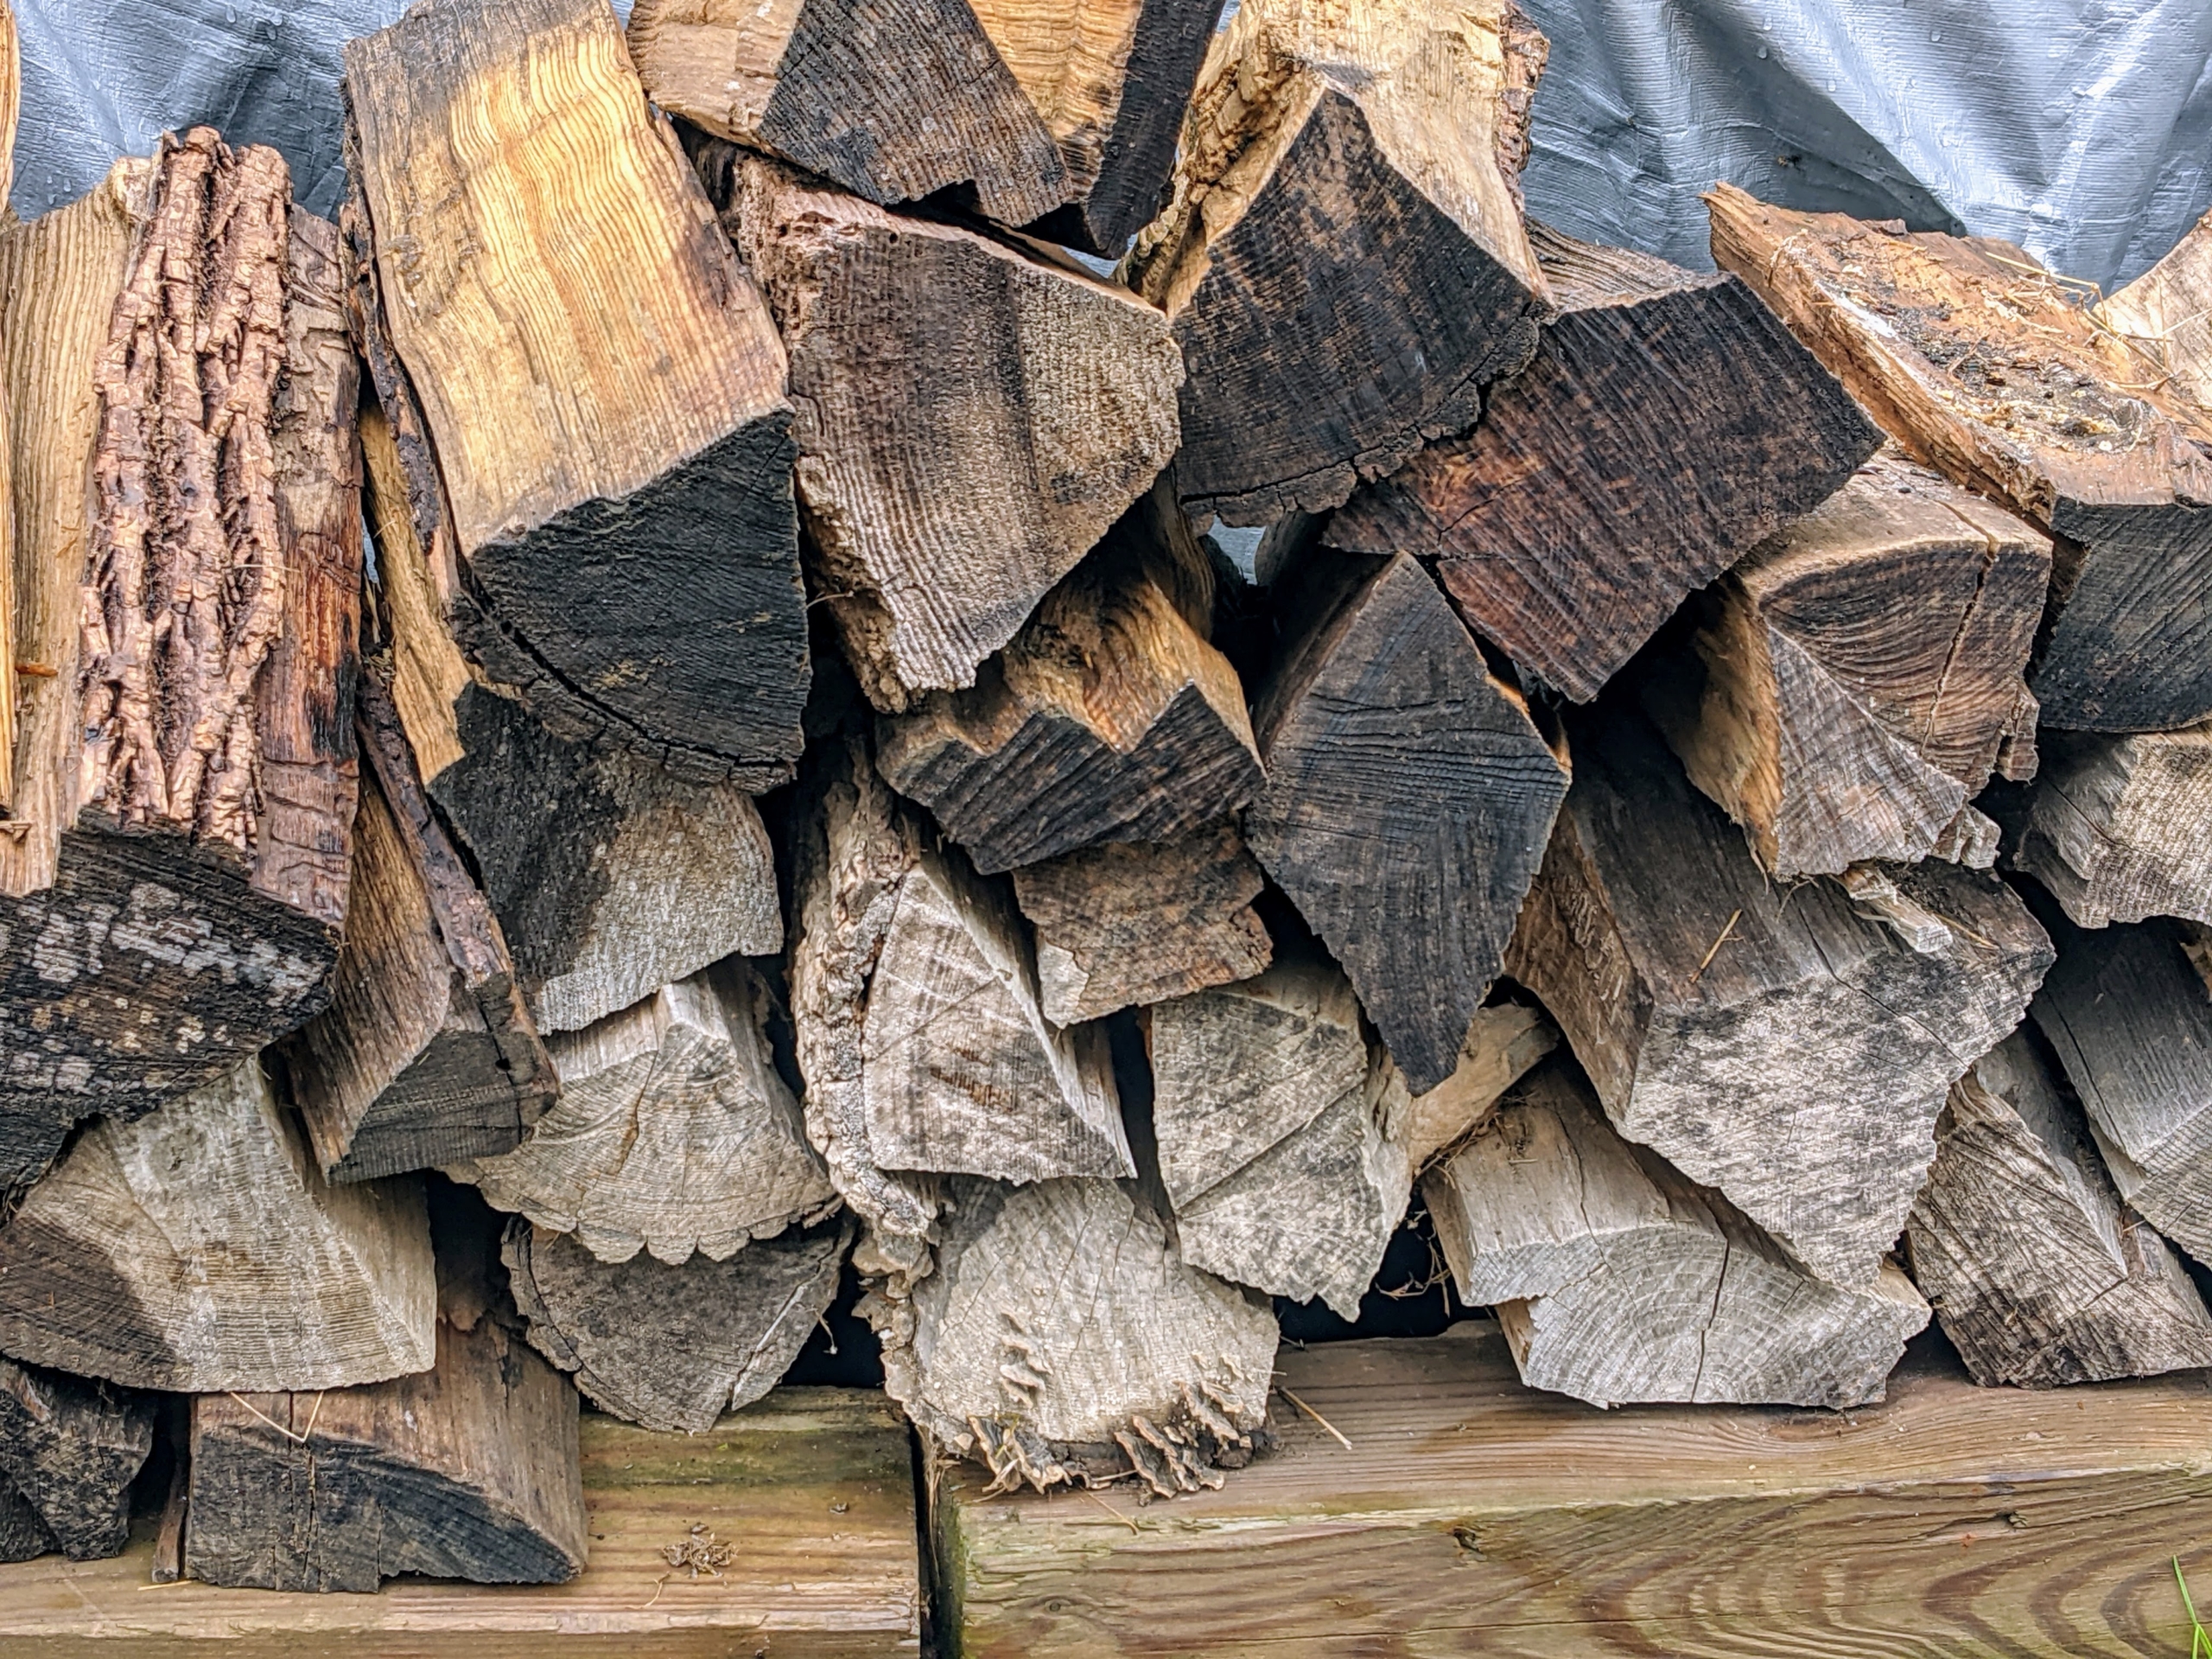
According to the Environmental Protection Agency good firewood should have a moisture content of below 20-percent in order to burn efficiently on a fire. This wood is too wet, so it will also go to the tub grinding pile.
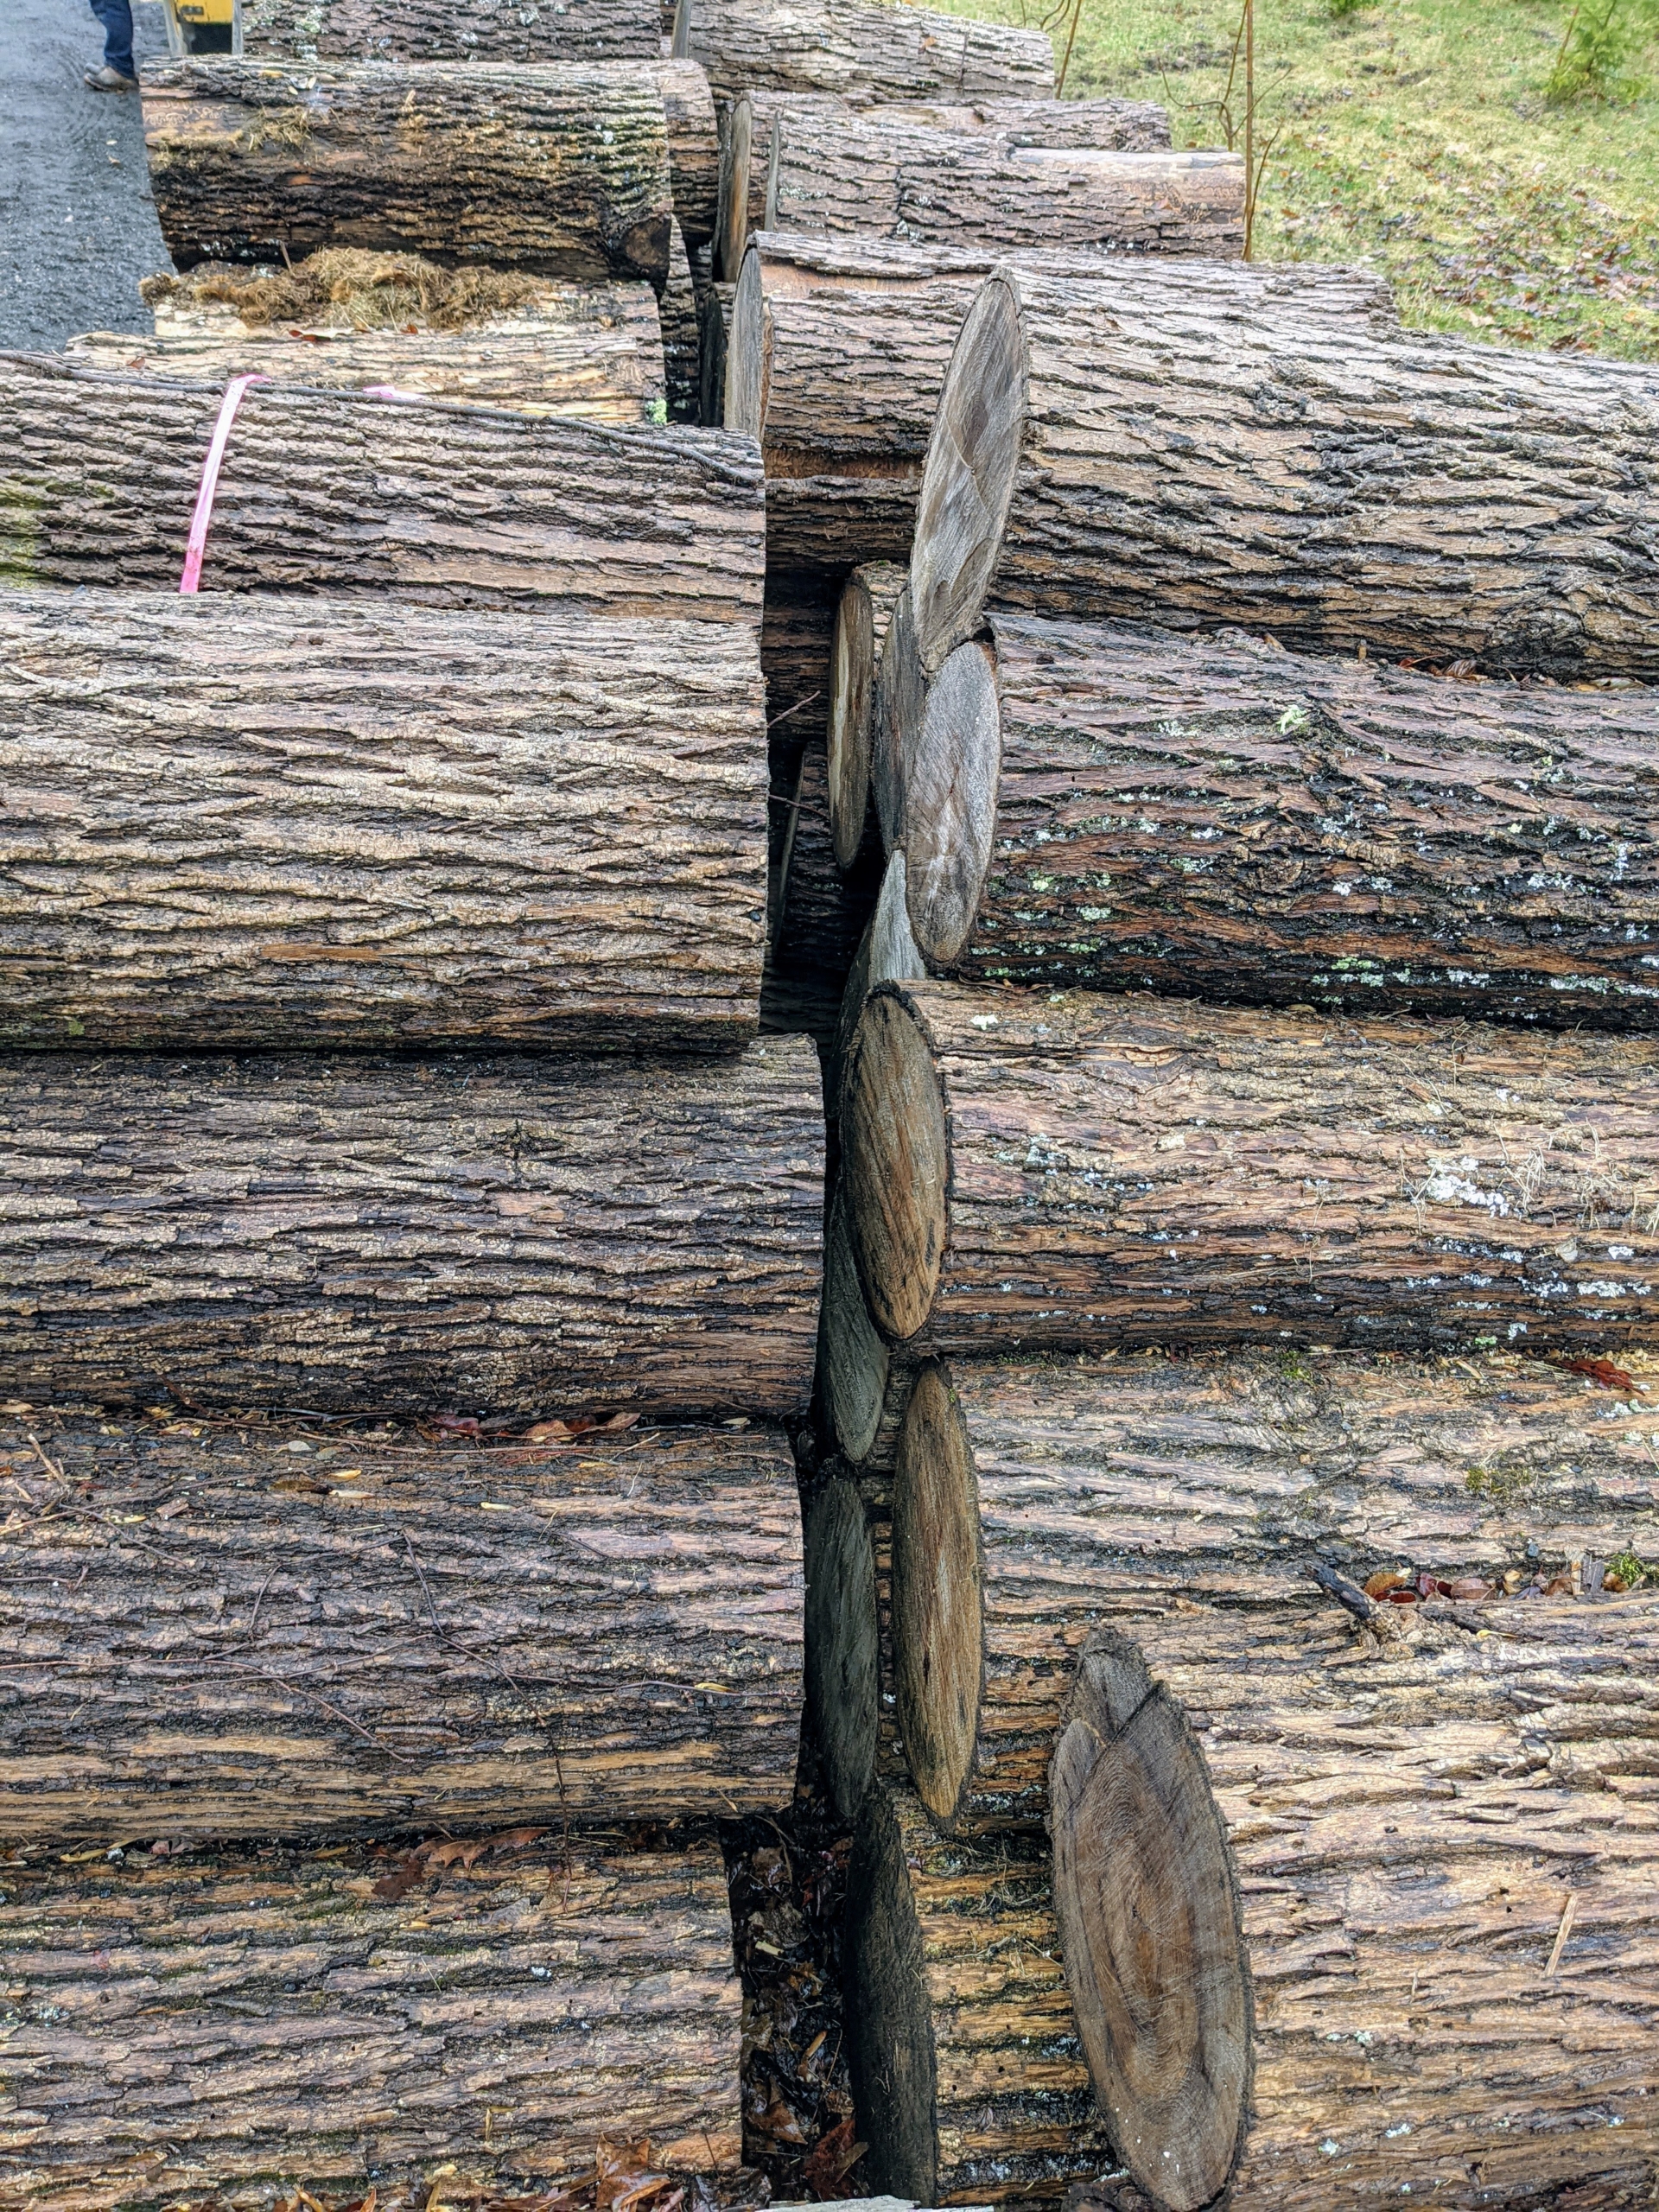
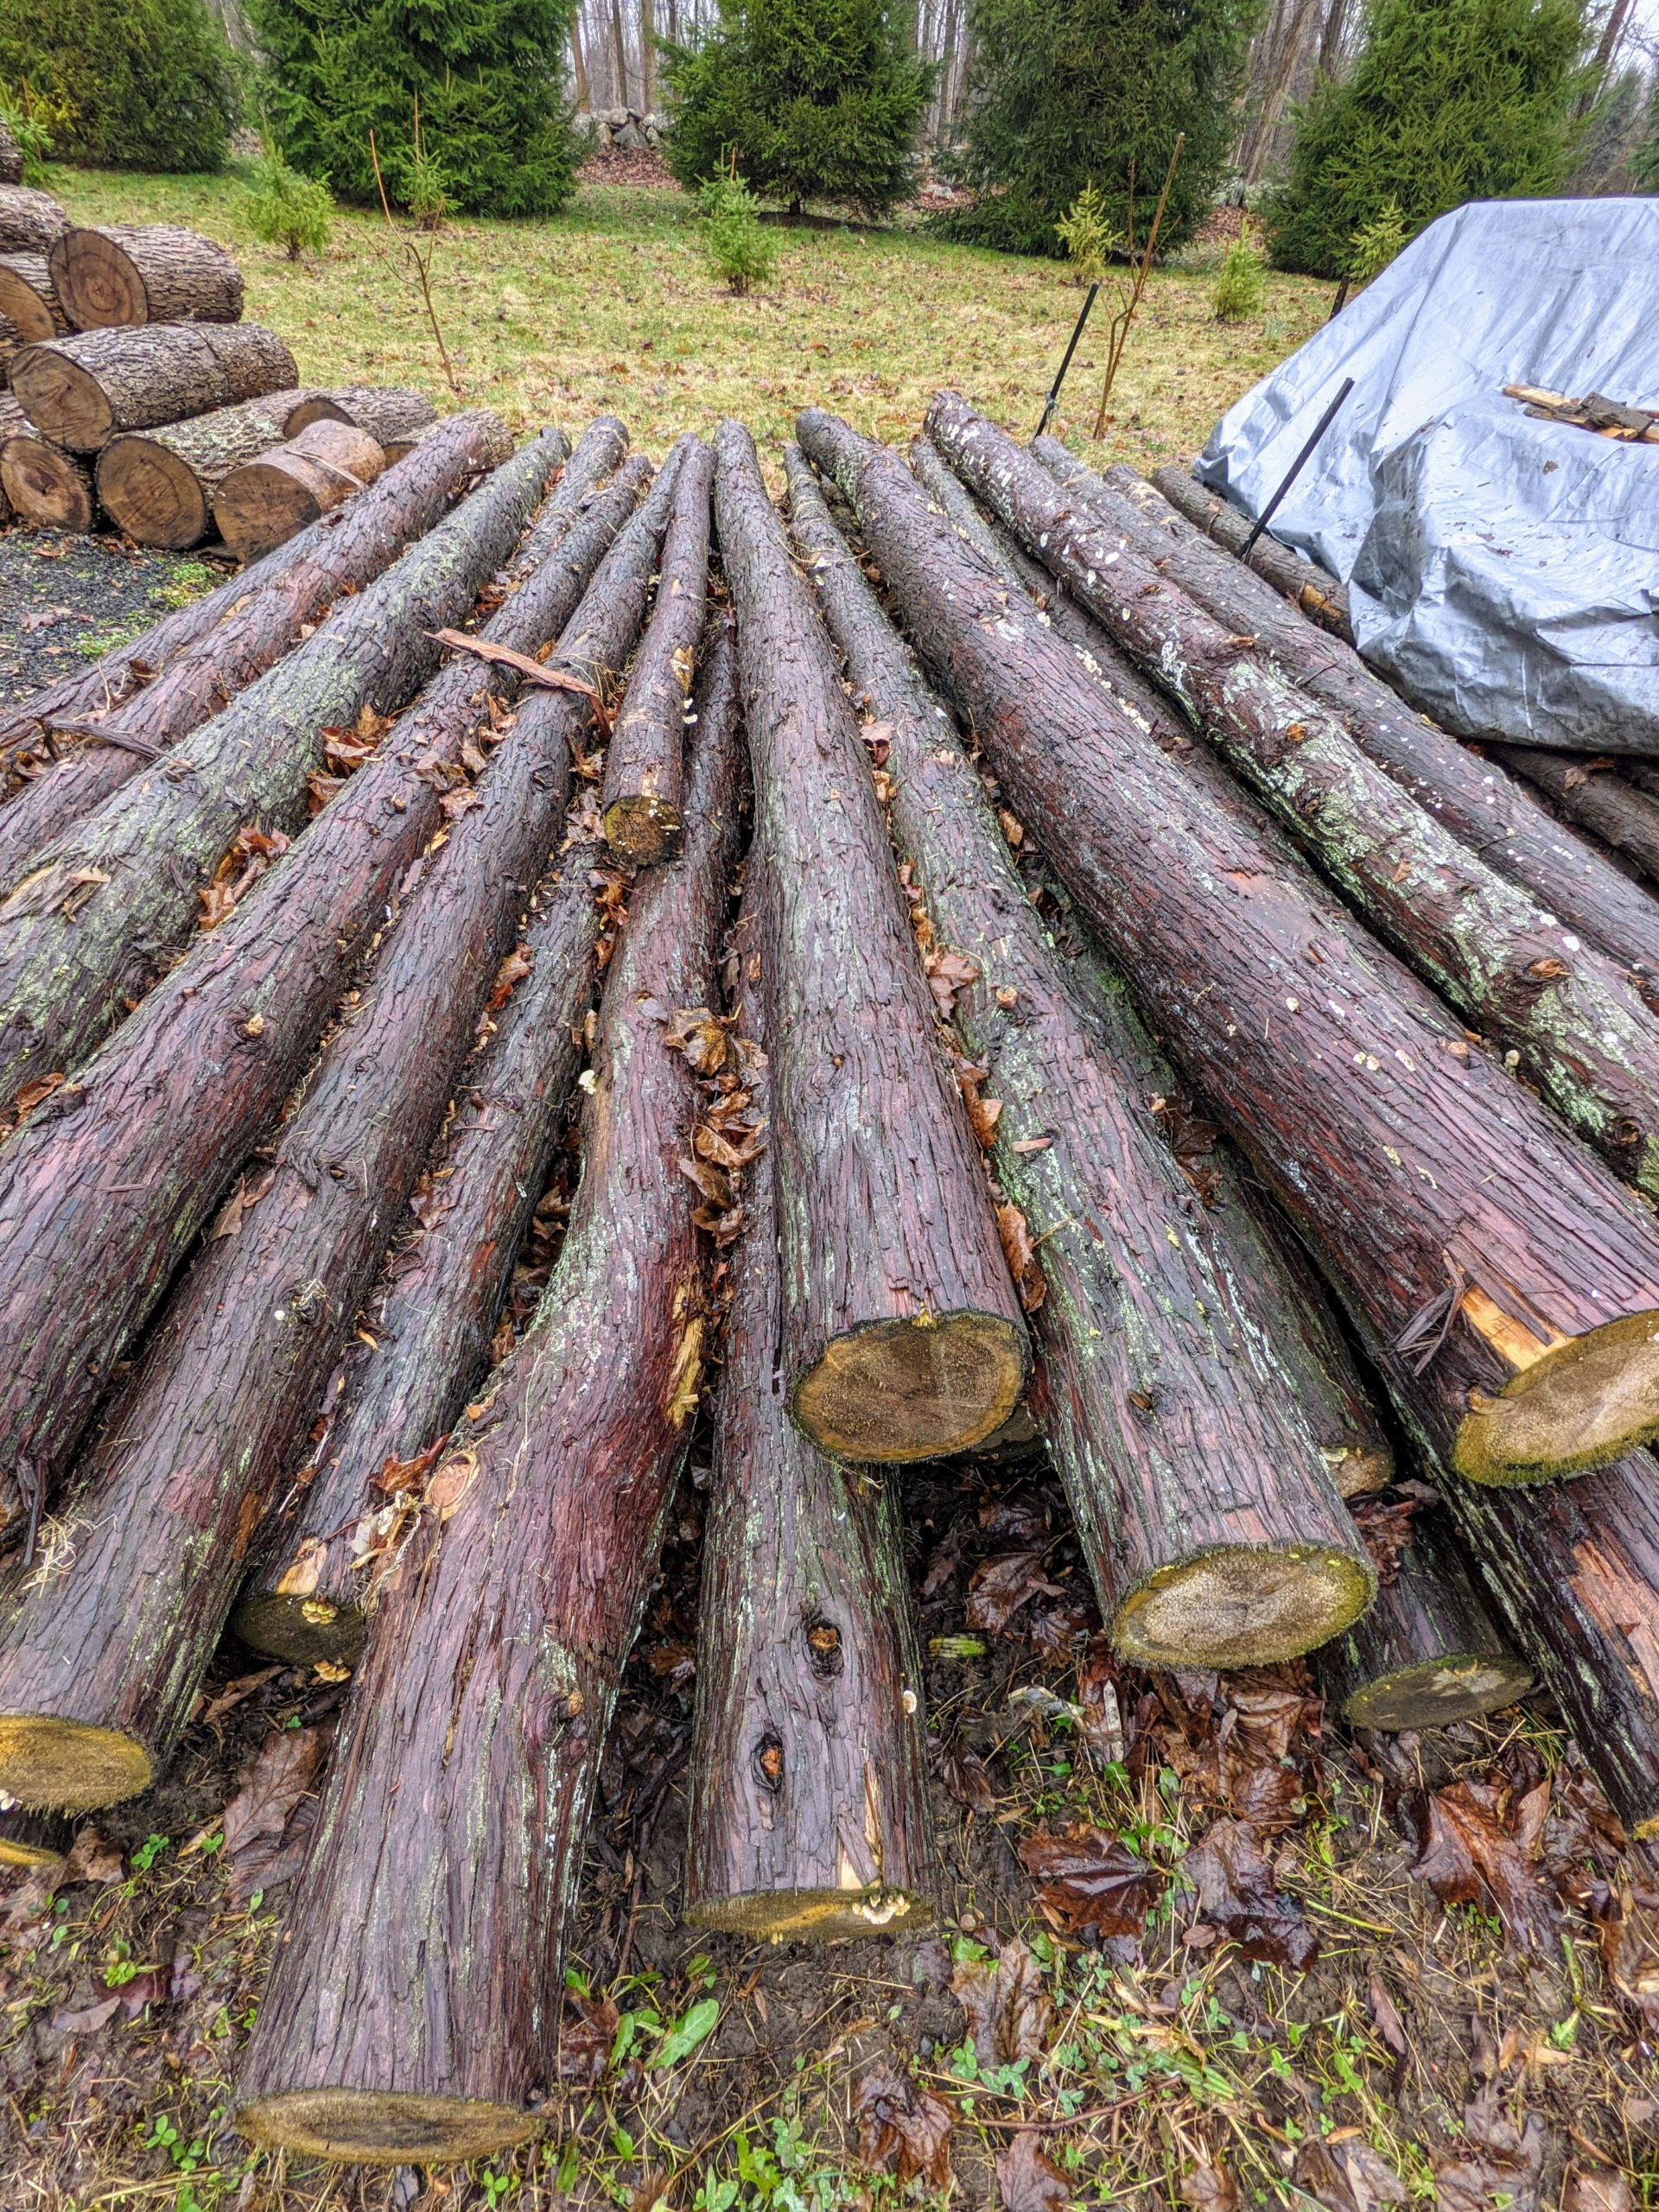
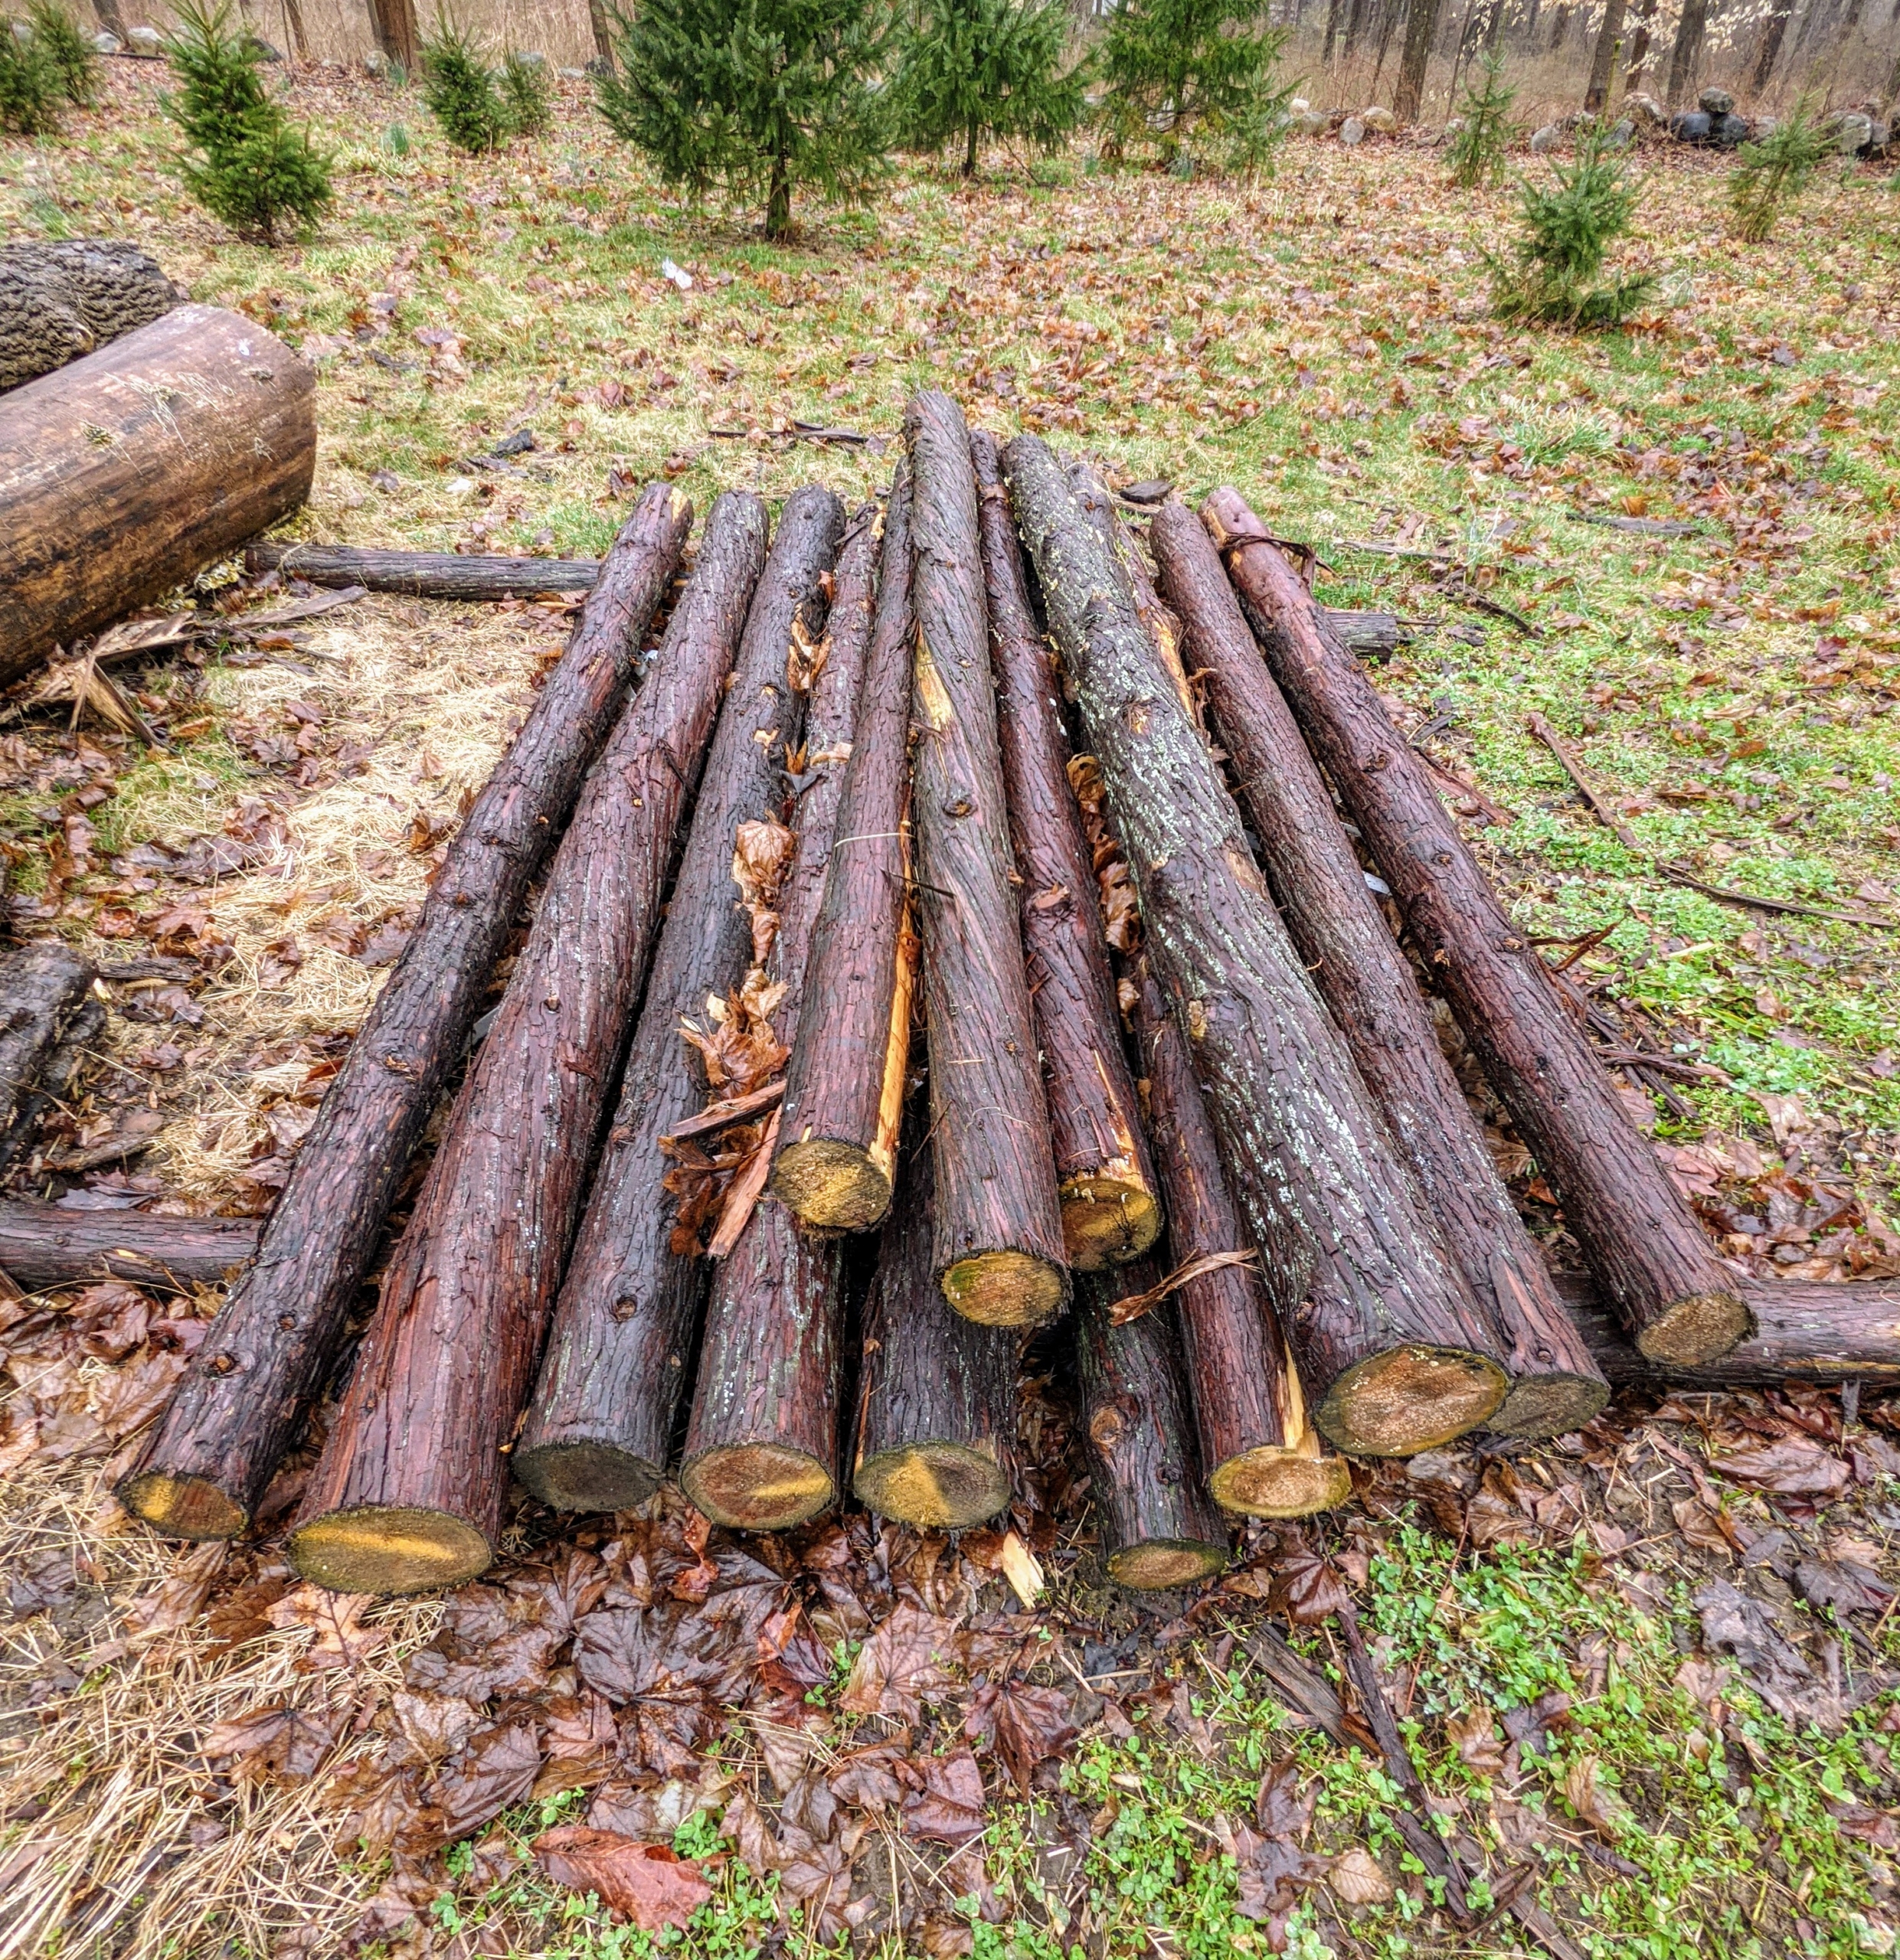
These logs will NOT go into the tub grinder, but instead be saved for use as fence posts.
Here’s a smaller pile also saved for supporting the fences around the farm.
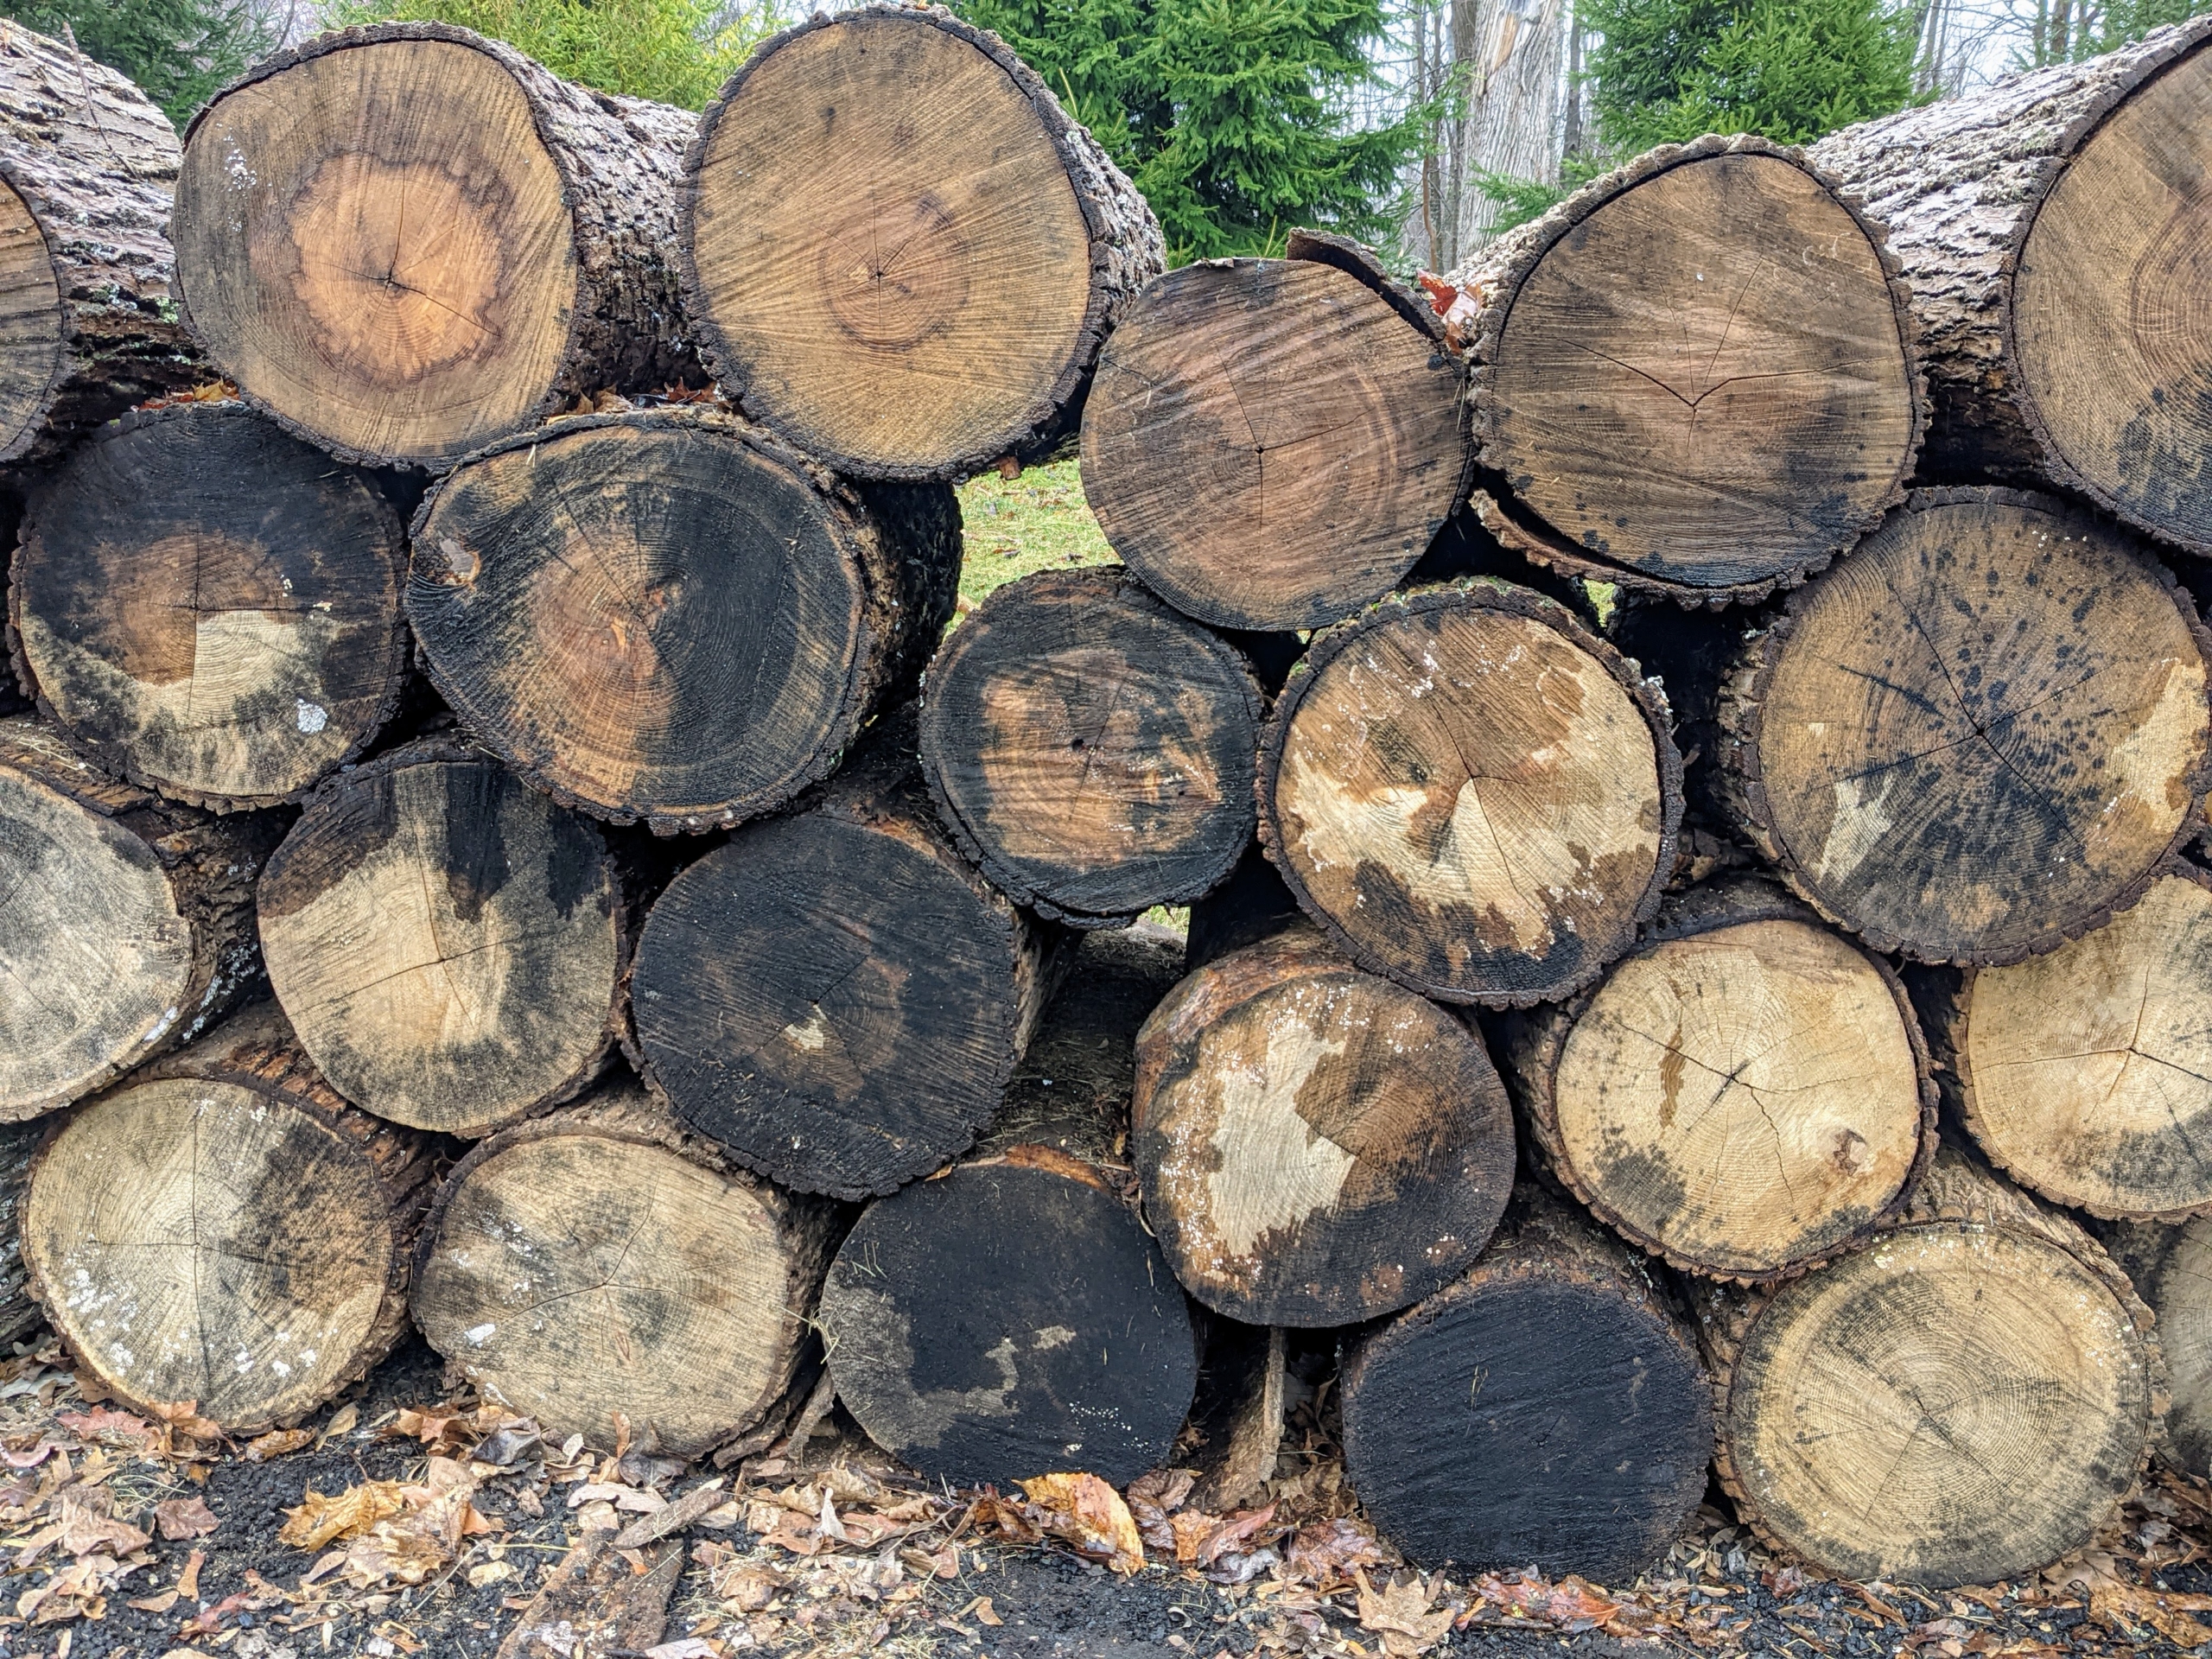
These straight, long, large logs will be put through a portable sawmill and made into usable lumber boards. Modern sawmills use a motorized saw to cut logs lengthwise to various sizes. If I cannot save a tree, it is comforting to know I can reuse the wood left behind.
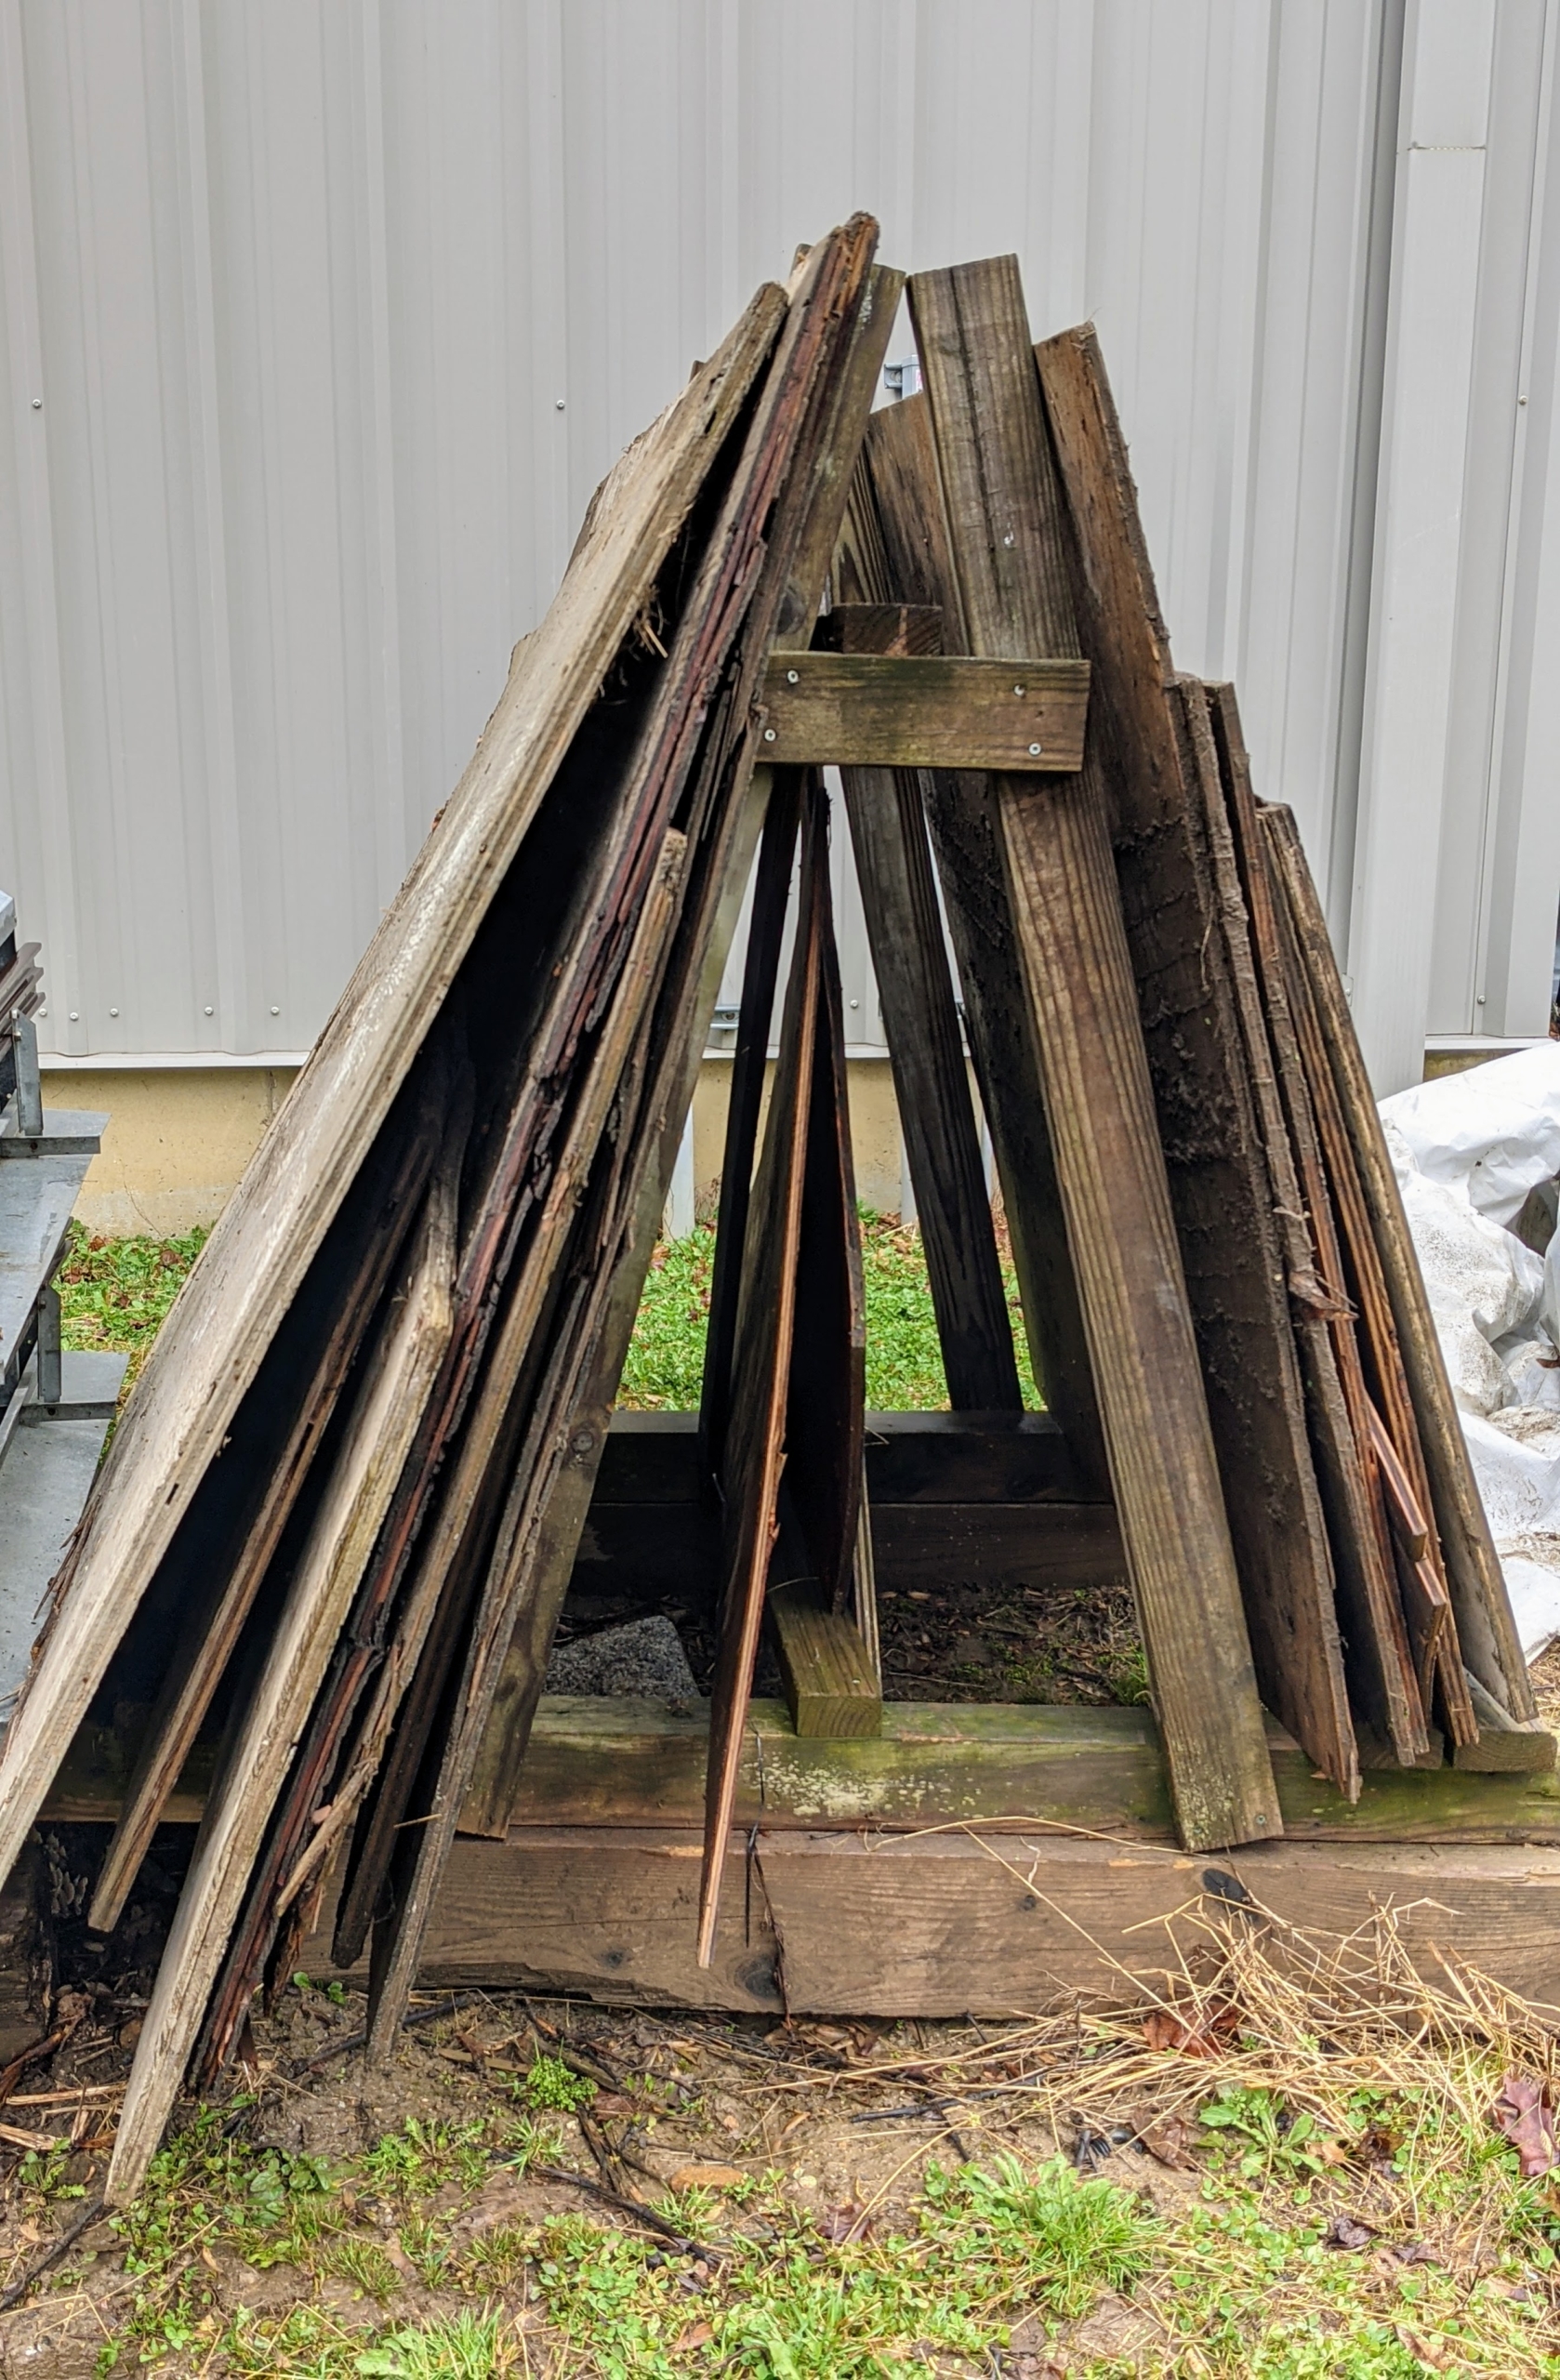
A couple of years ago, I had all different species of wood milled into dimensional lumber. These milled boards are stacked neatly for building projects with small wooden spacers in between each board to help prevent any mildew from developing.
It’s always nice to get everything organized and in its proper place. Plywood boards are saved in another area for future projects.
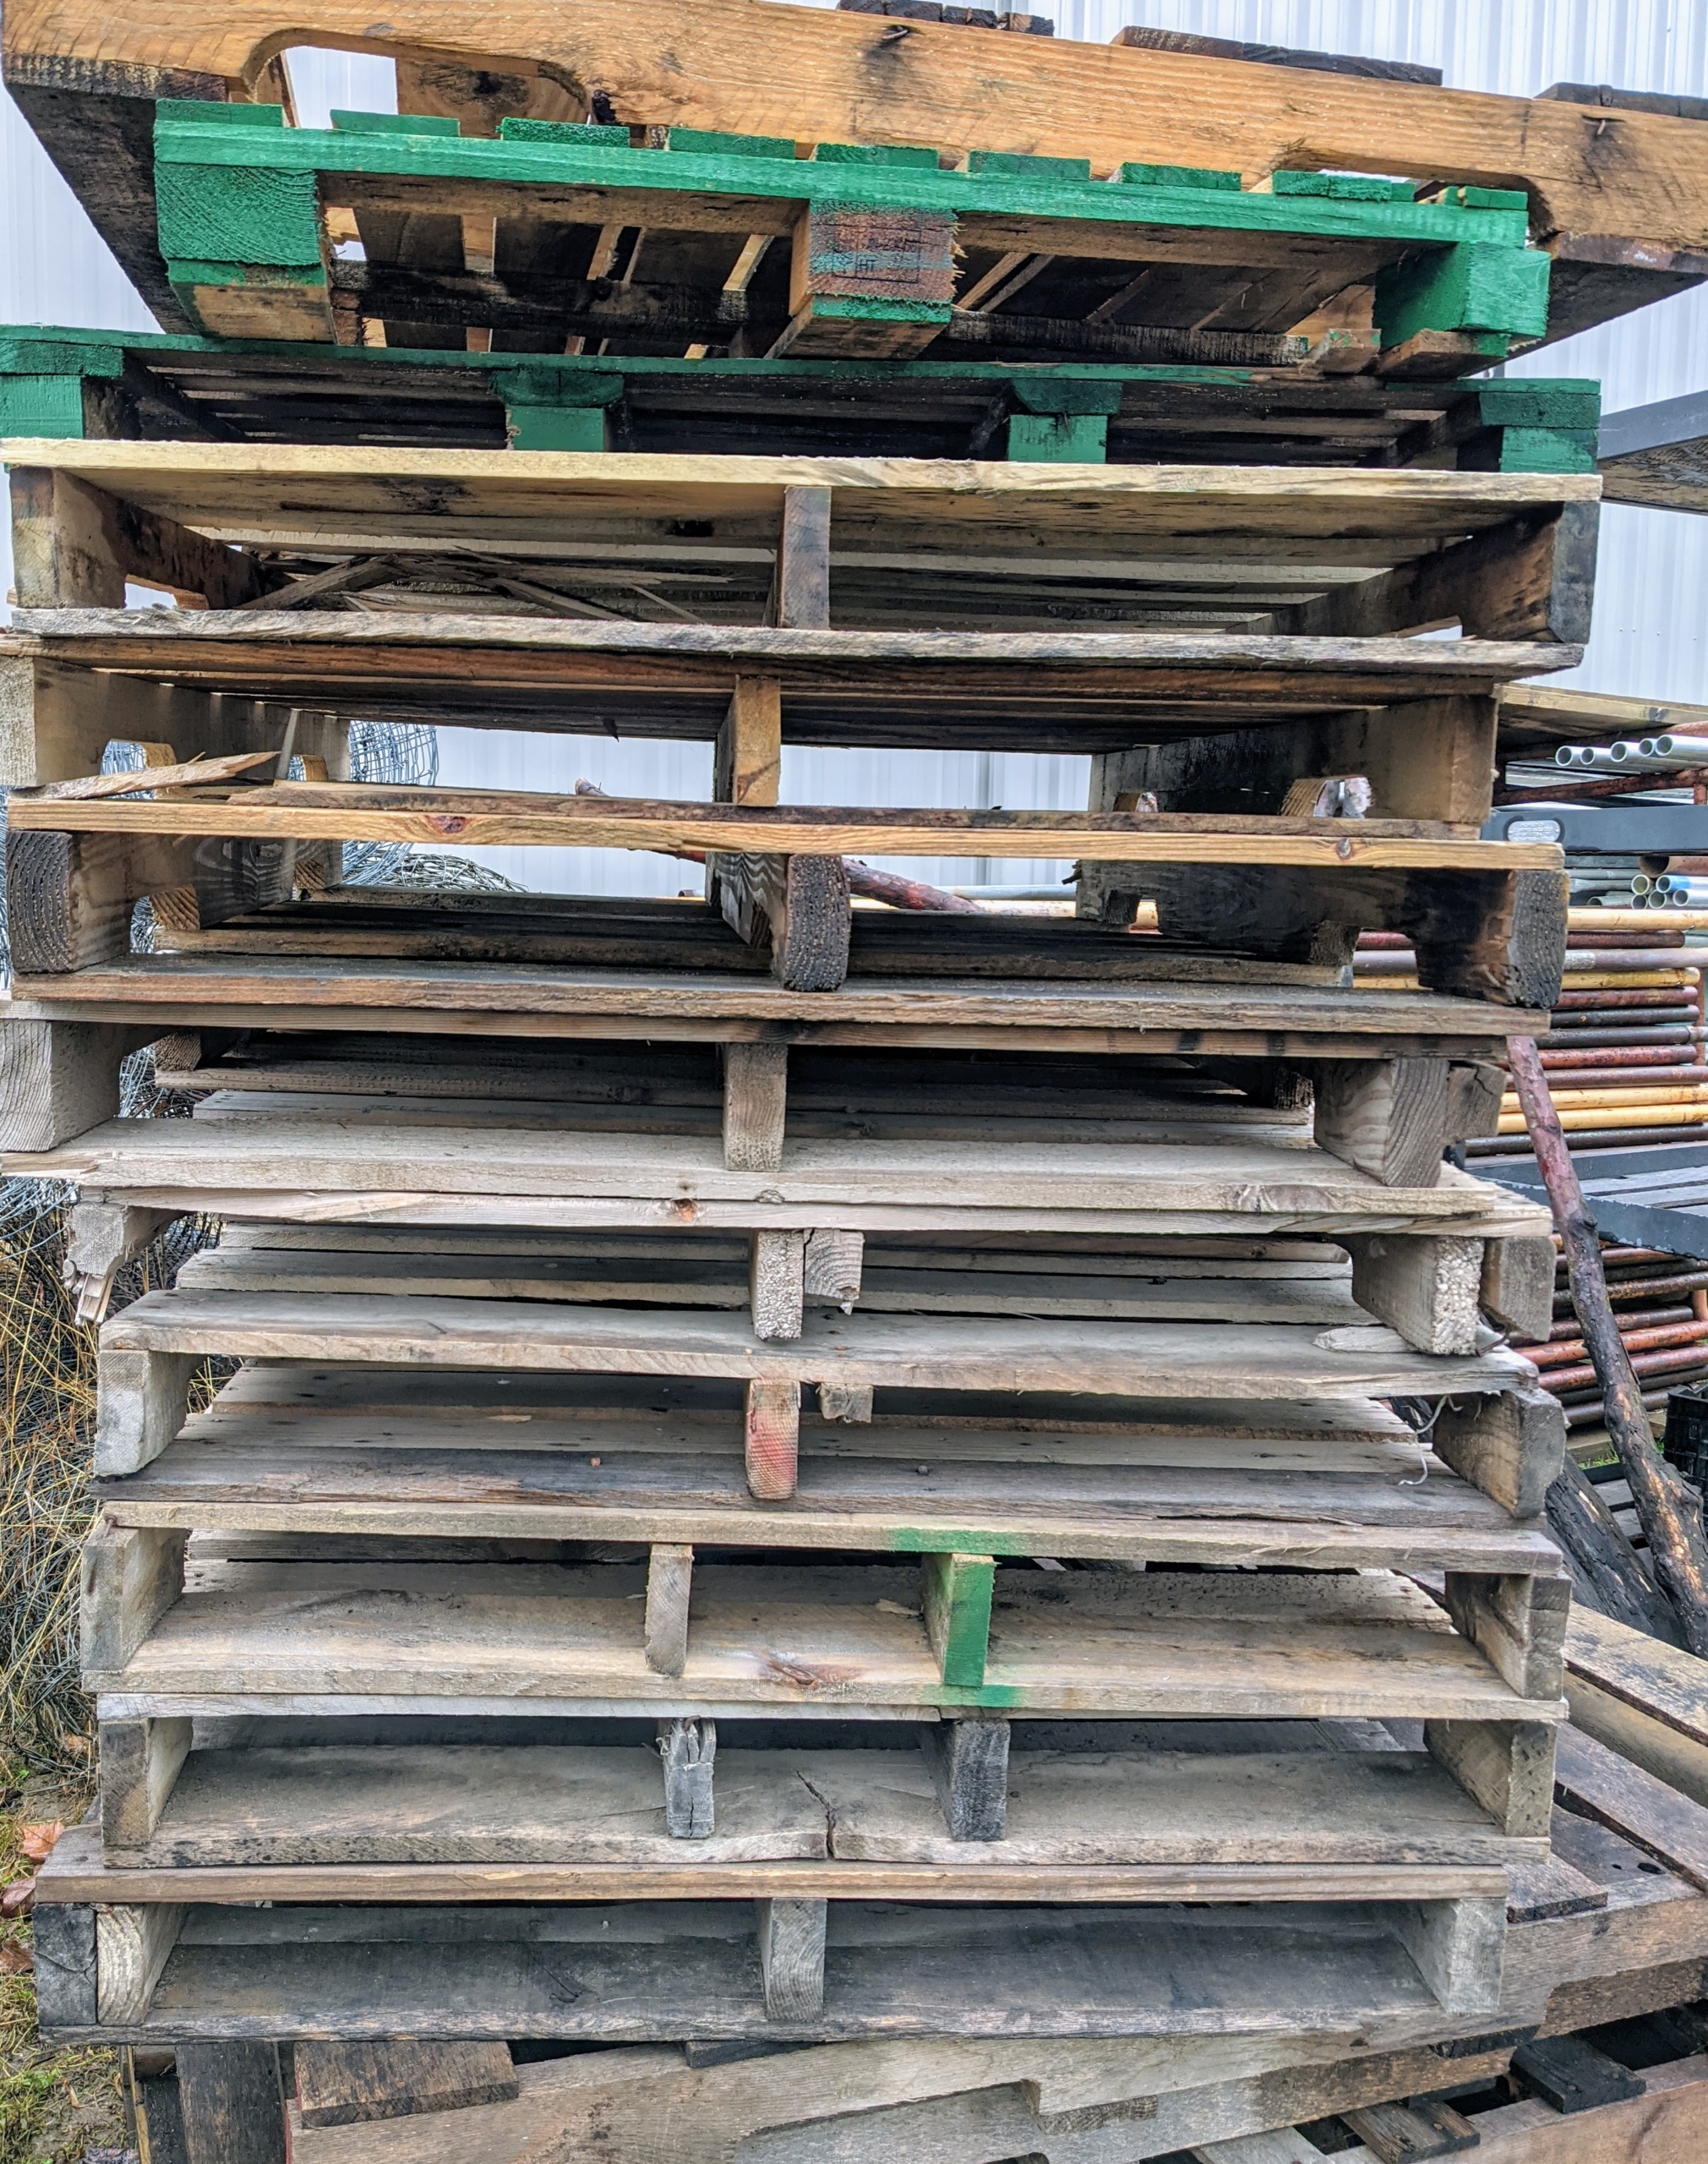
We also save wooden pallets. These are good for keeping things off the ground when storing. They are also good for transporting items and carrying them with our fork lift.
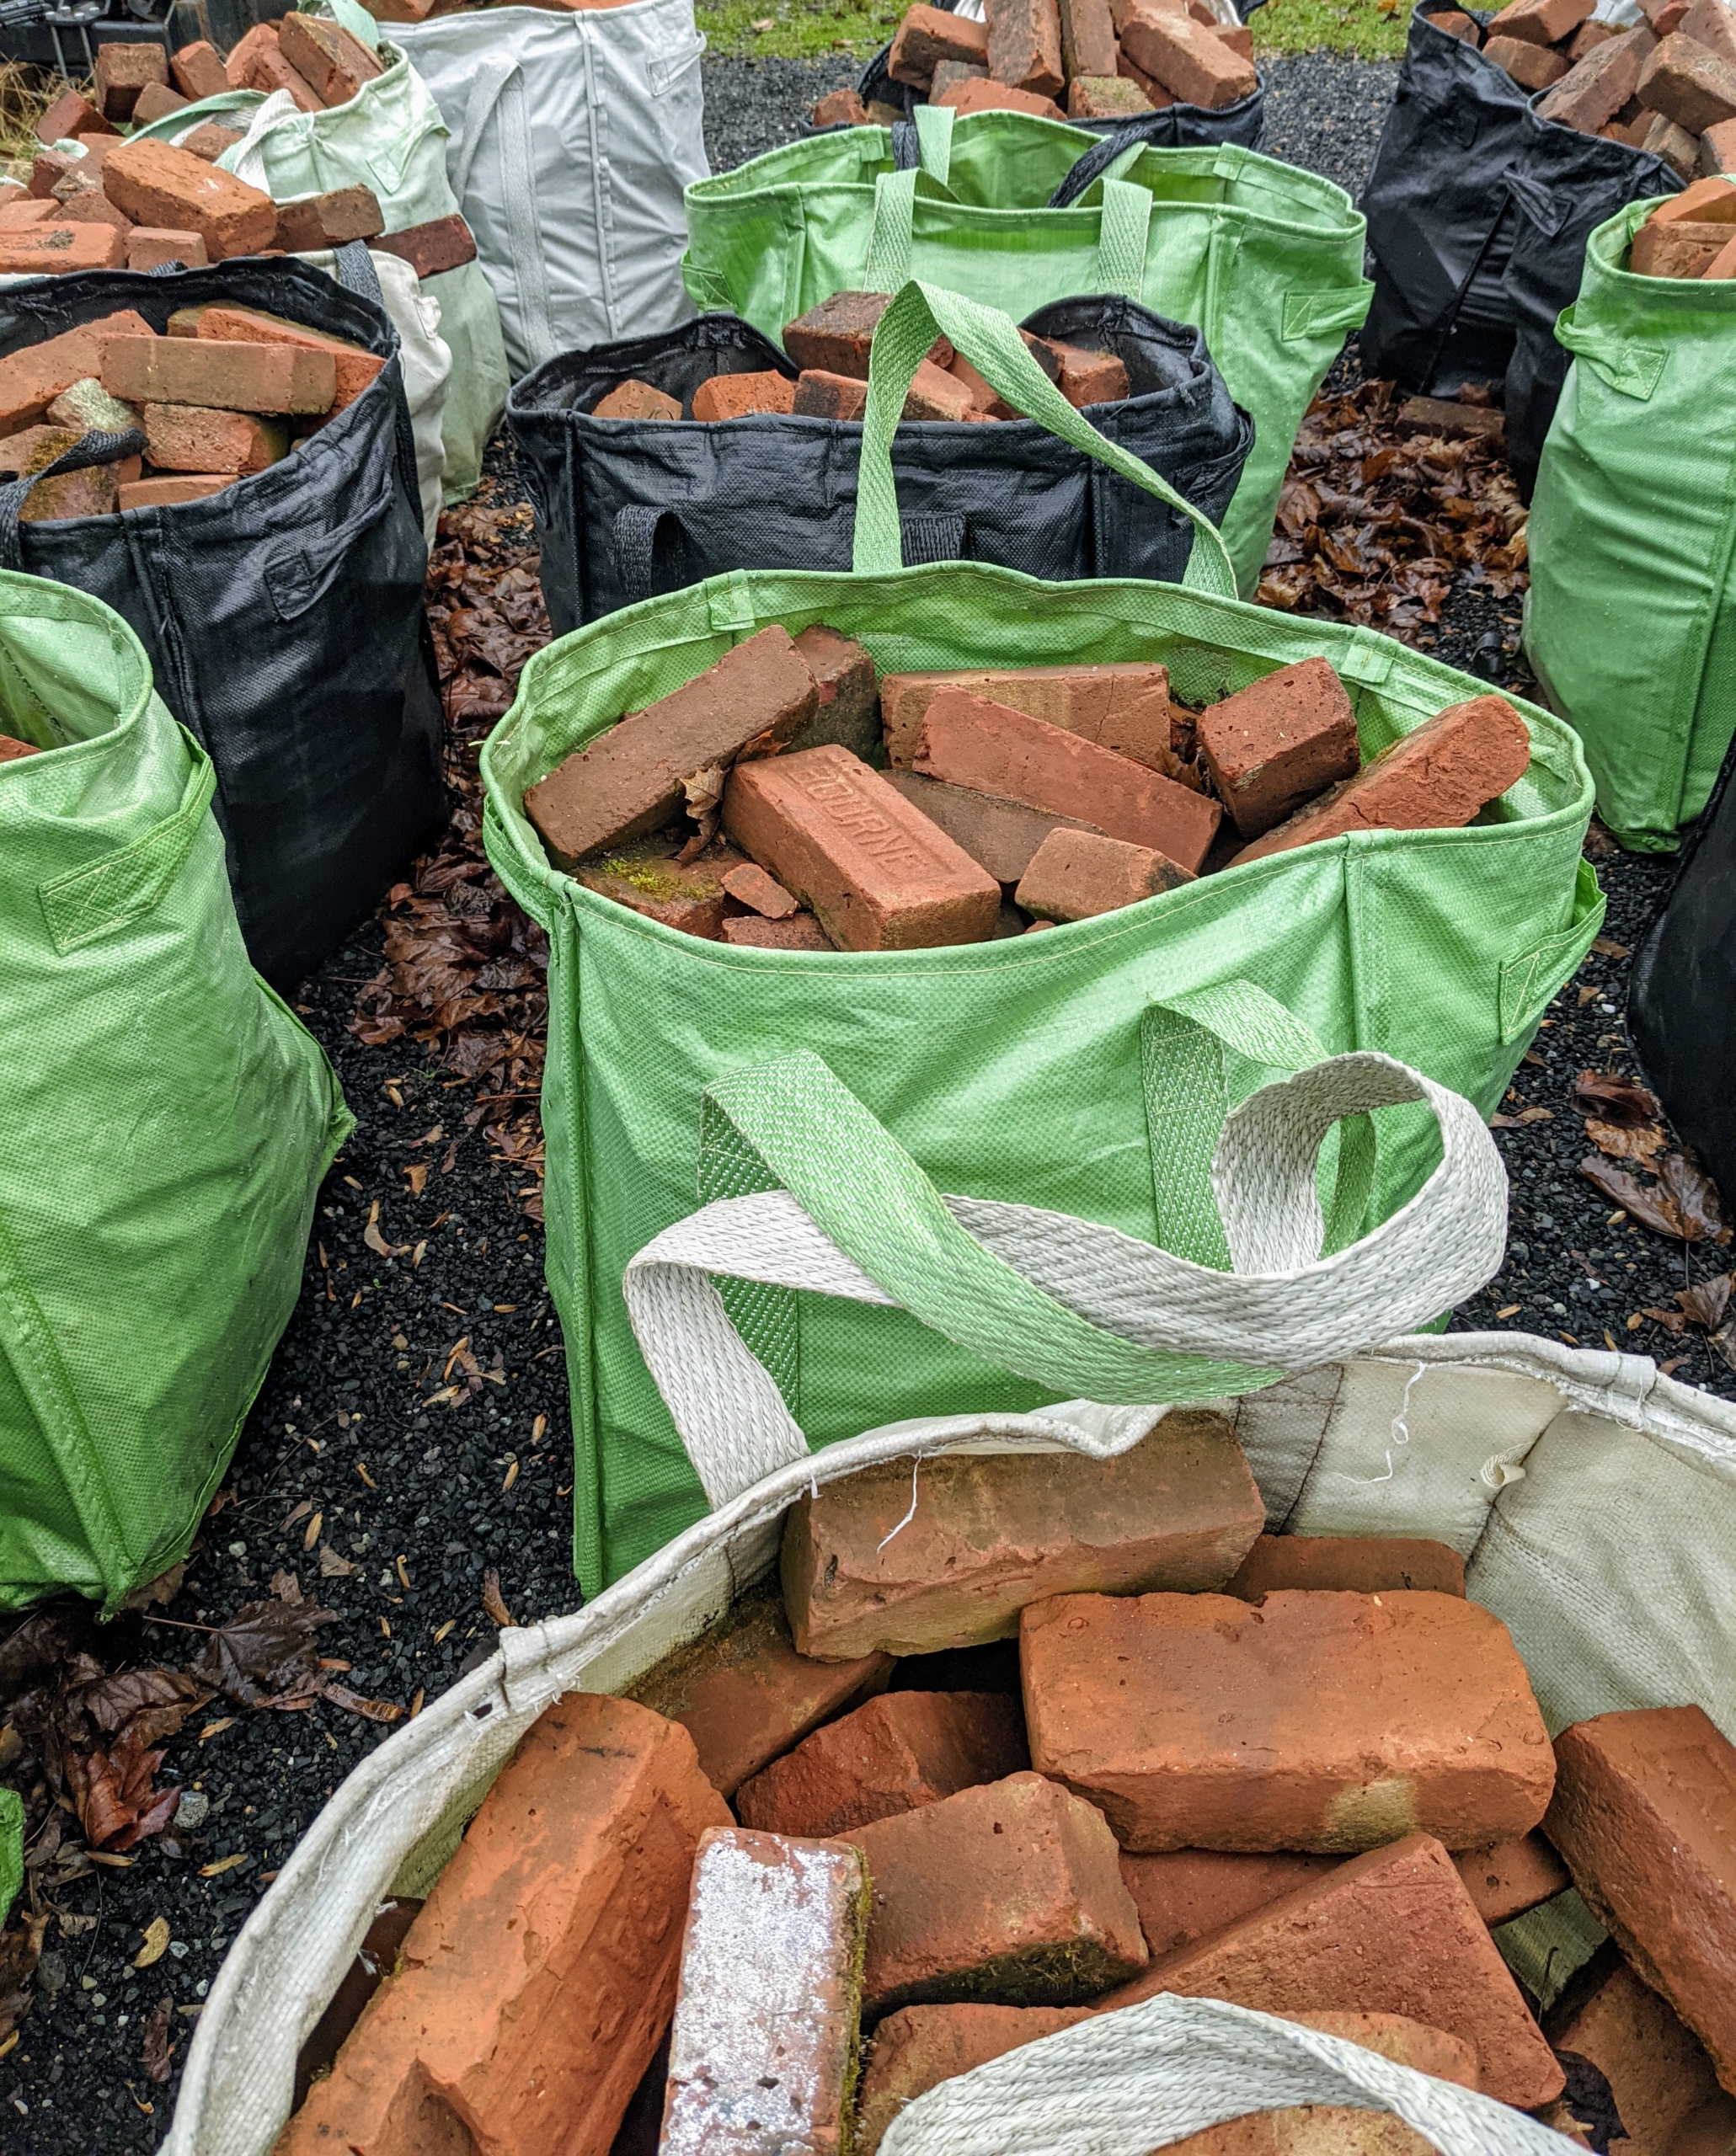
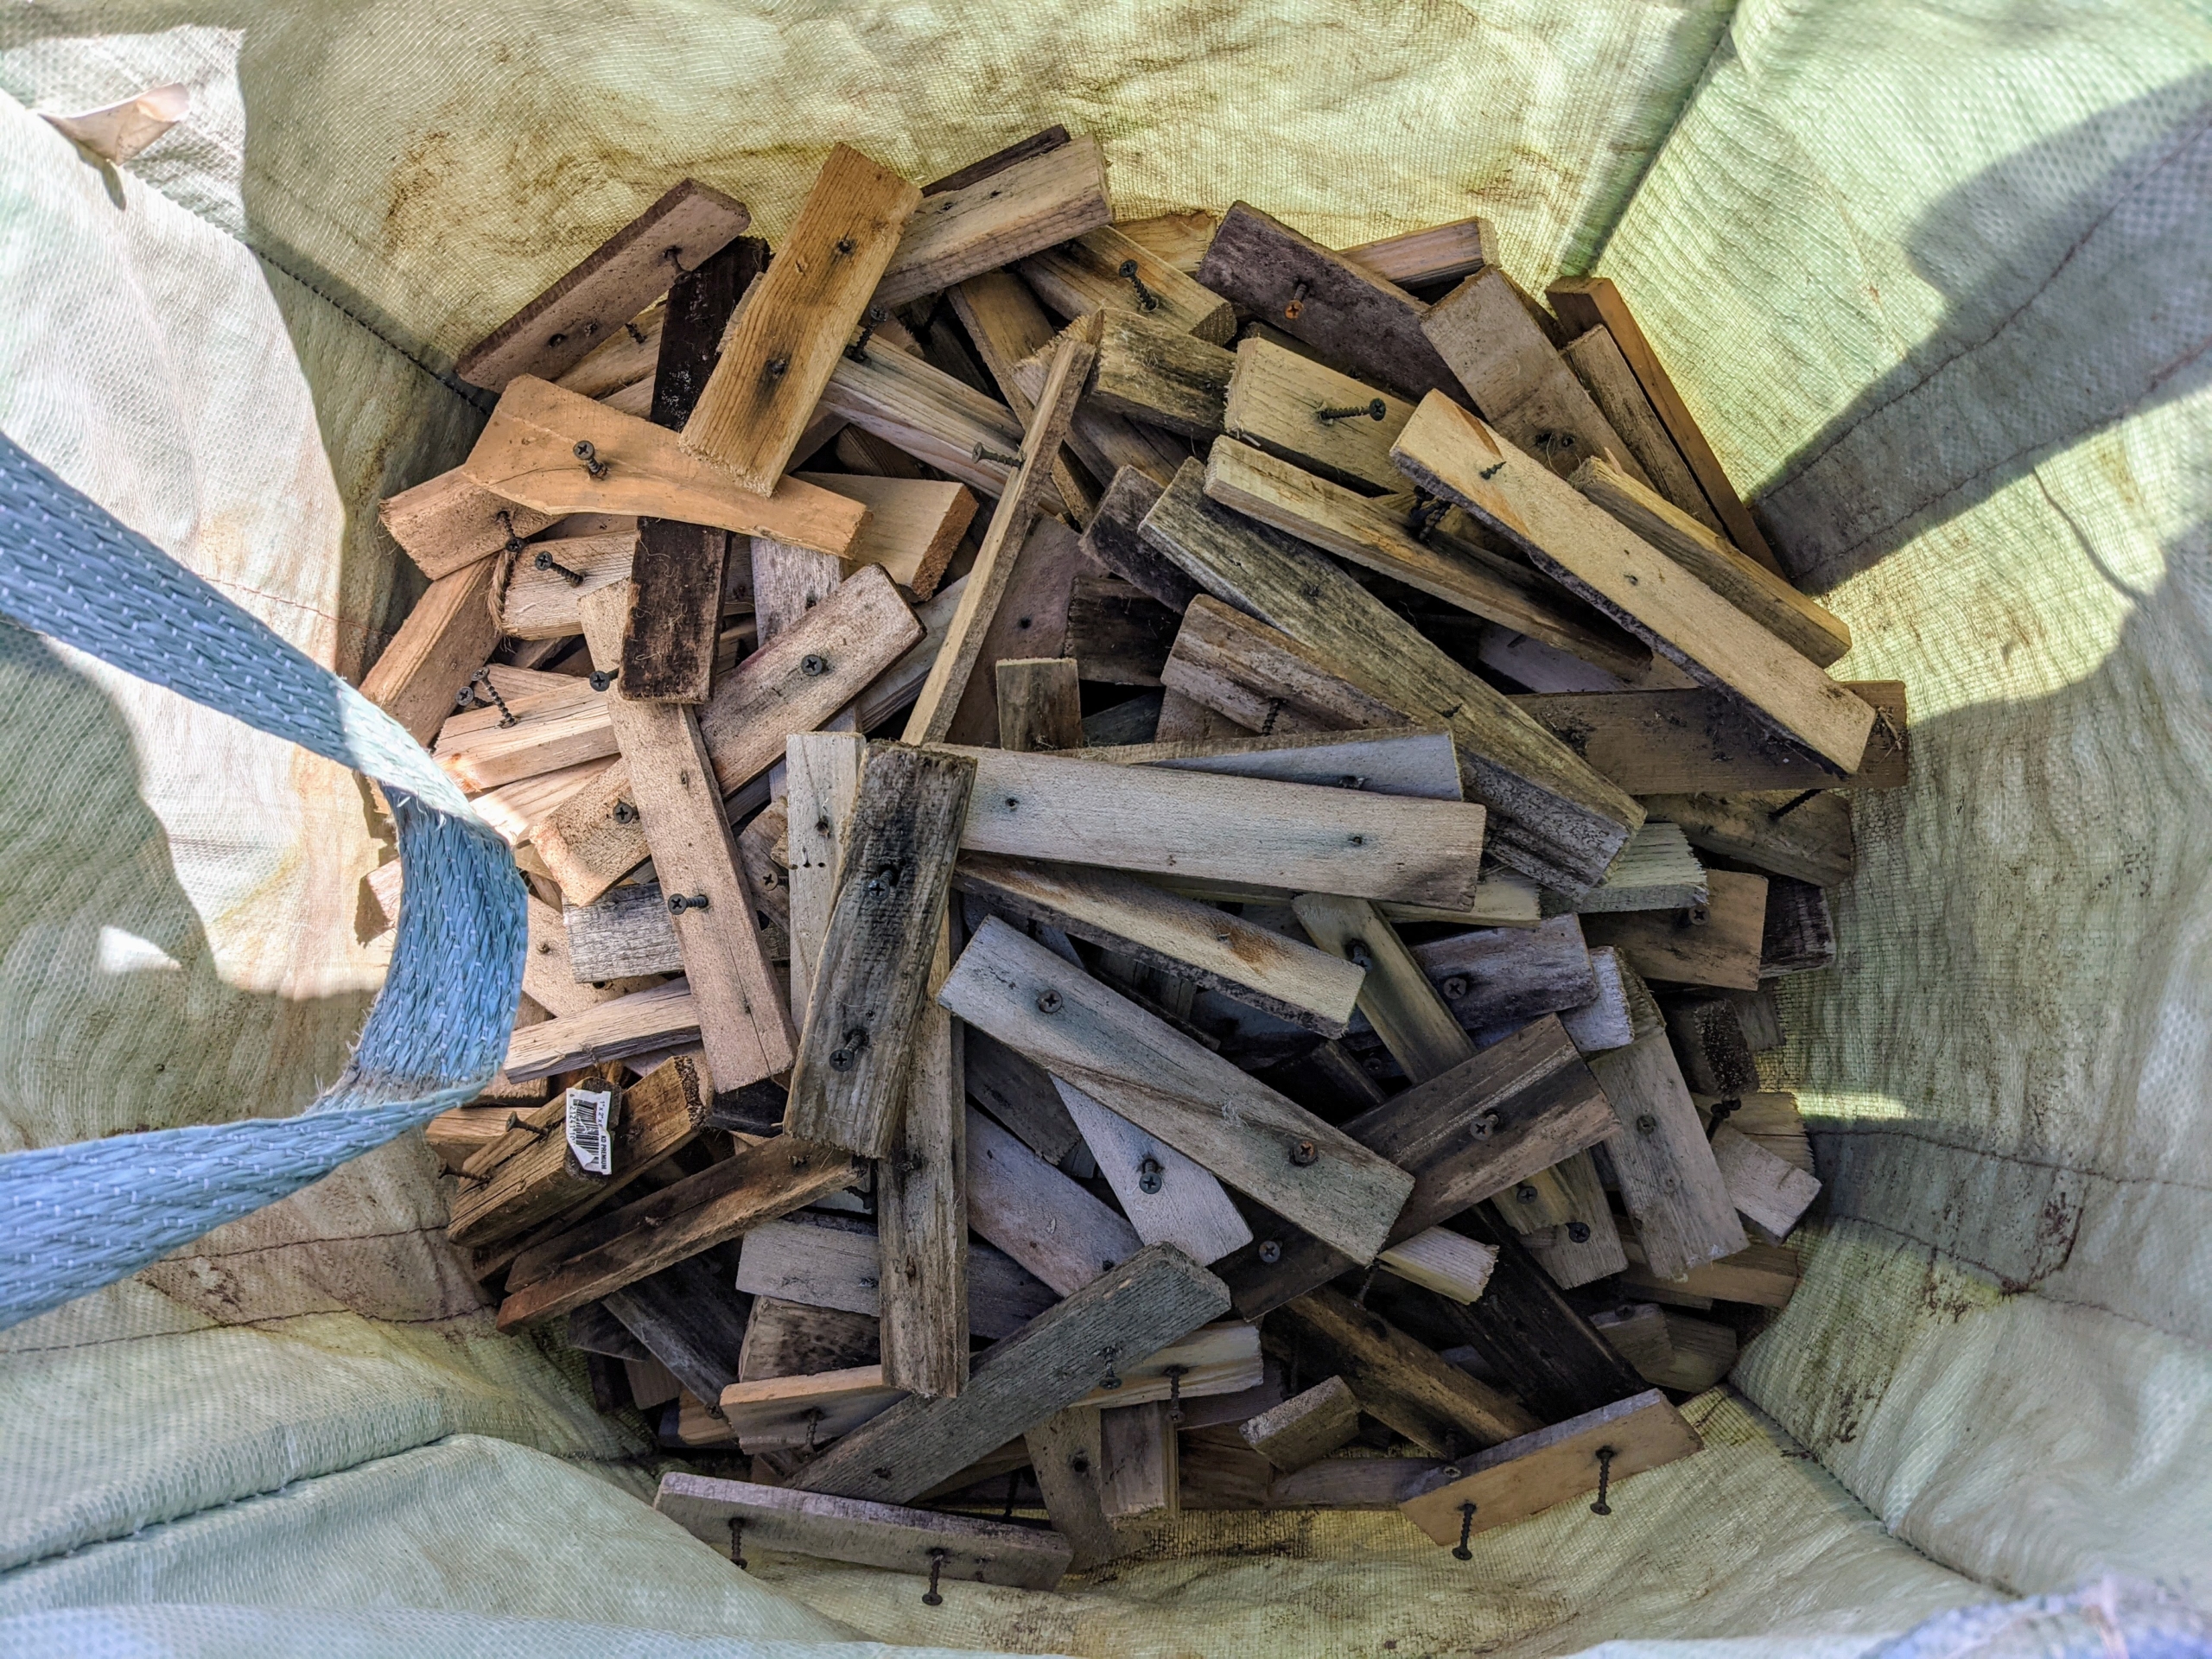
Another item NOT for the tub grinder – these bricks. These are from my former East Hampton property. When we brought them back to the farm, we transported them to this storage area in my Multi-Purpose Reusable Heavy Duty Tote Bags – they really do hold more than 900-pounds each.
Phurba takes another load of tree stumps to the pile.
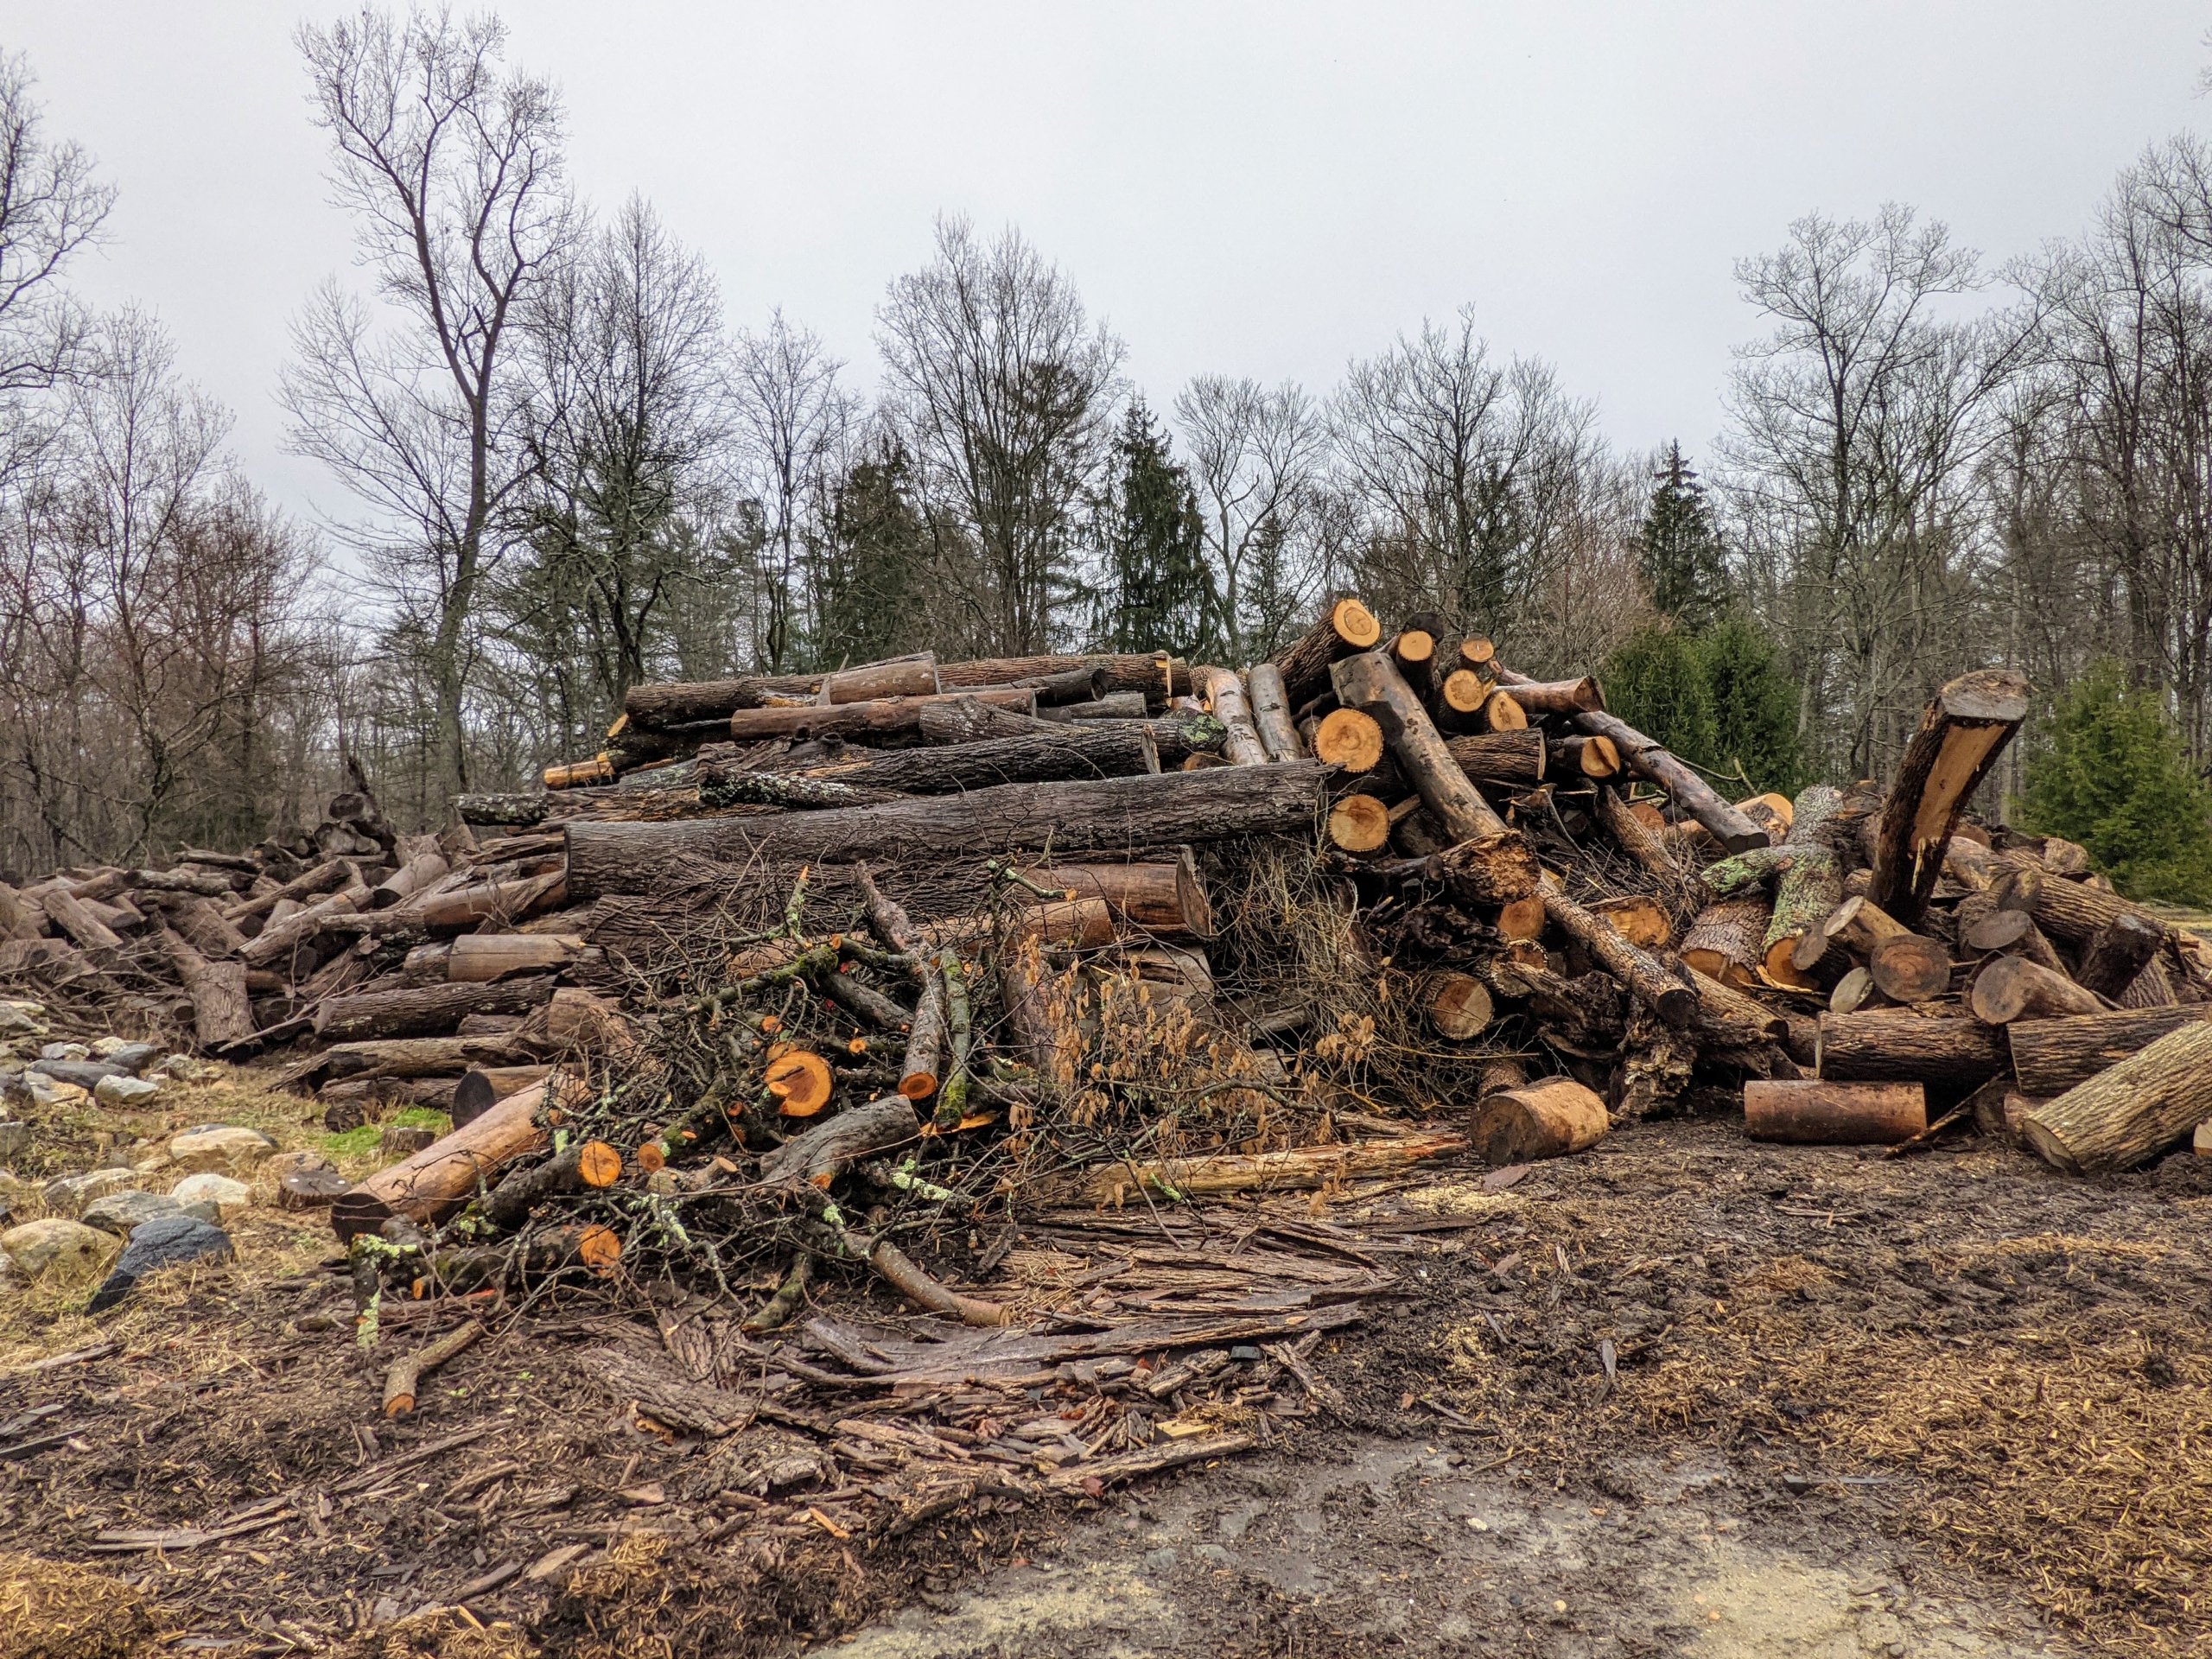
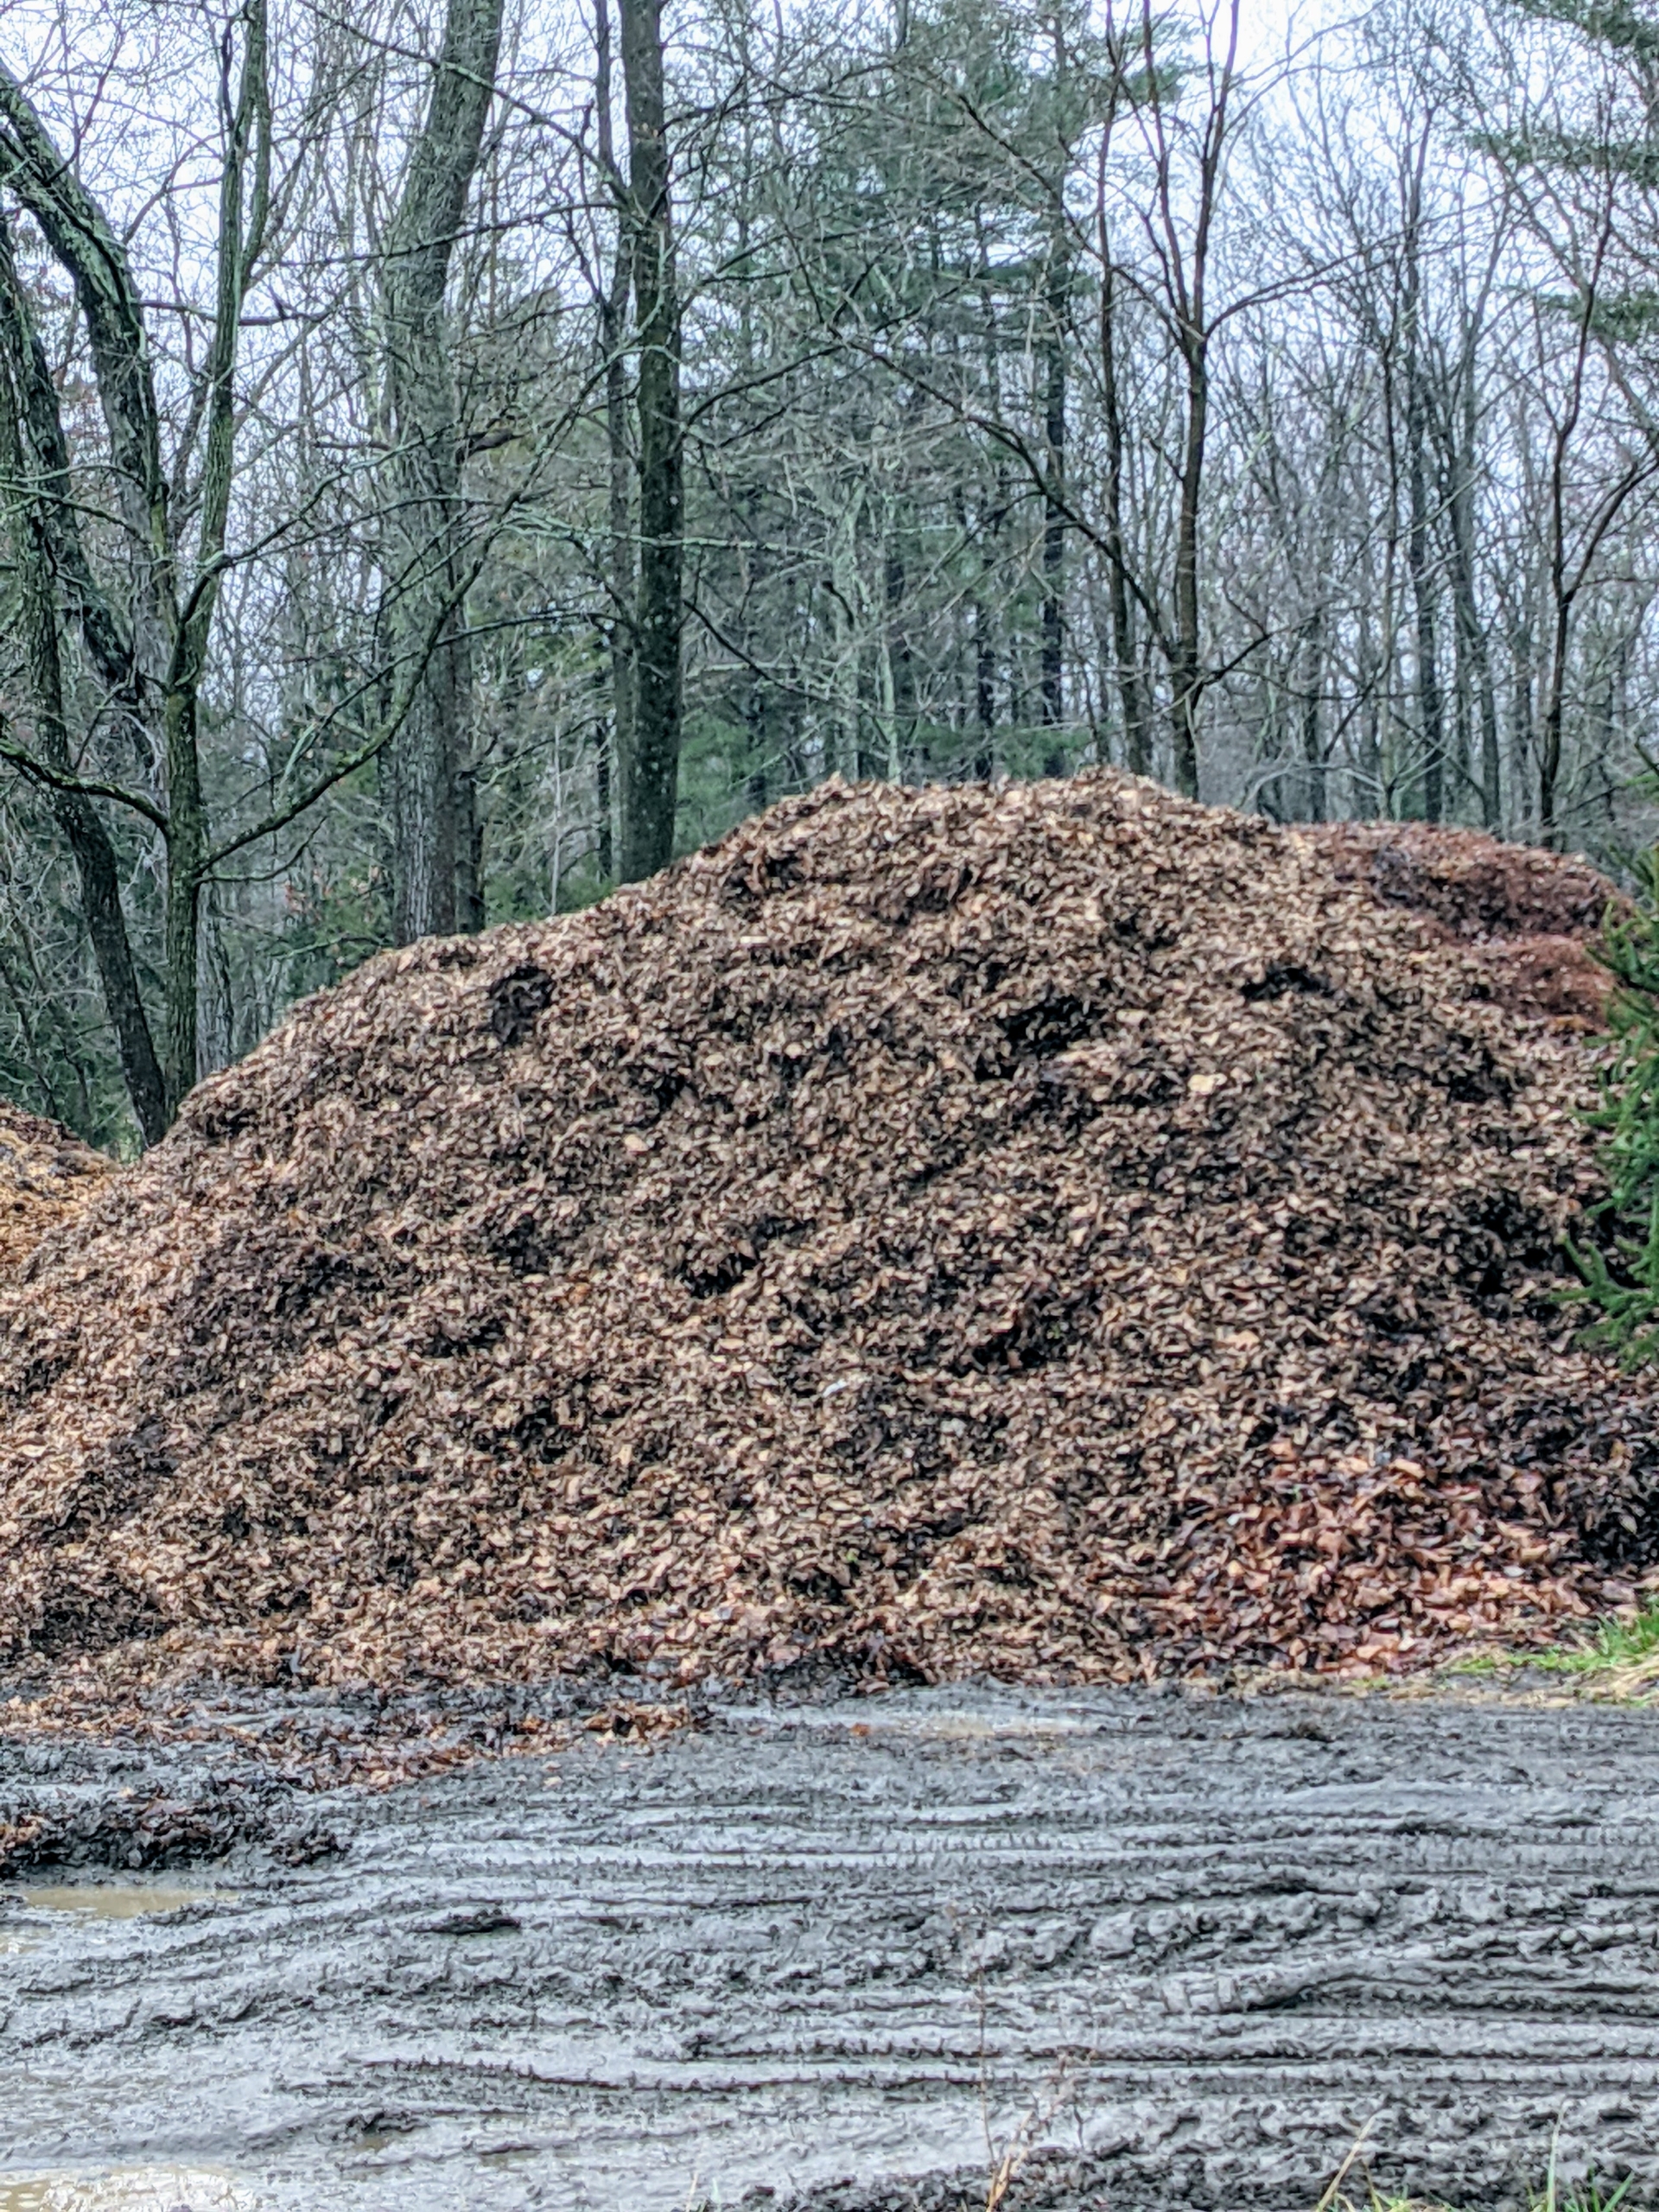
According to my outdoor grounds crew foreman, Chhiring, this is the biggest pile we’ve ever had here at the farm. I think he’s right. And it will grow even bigger before the tub grinder arrives.
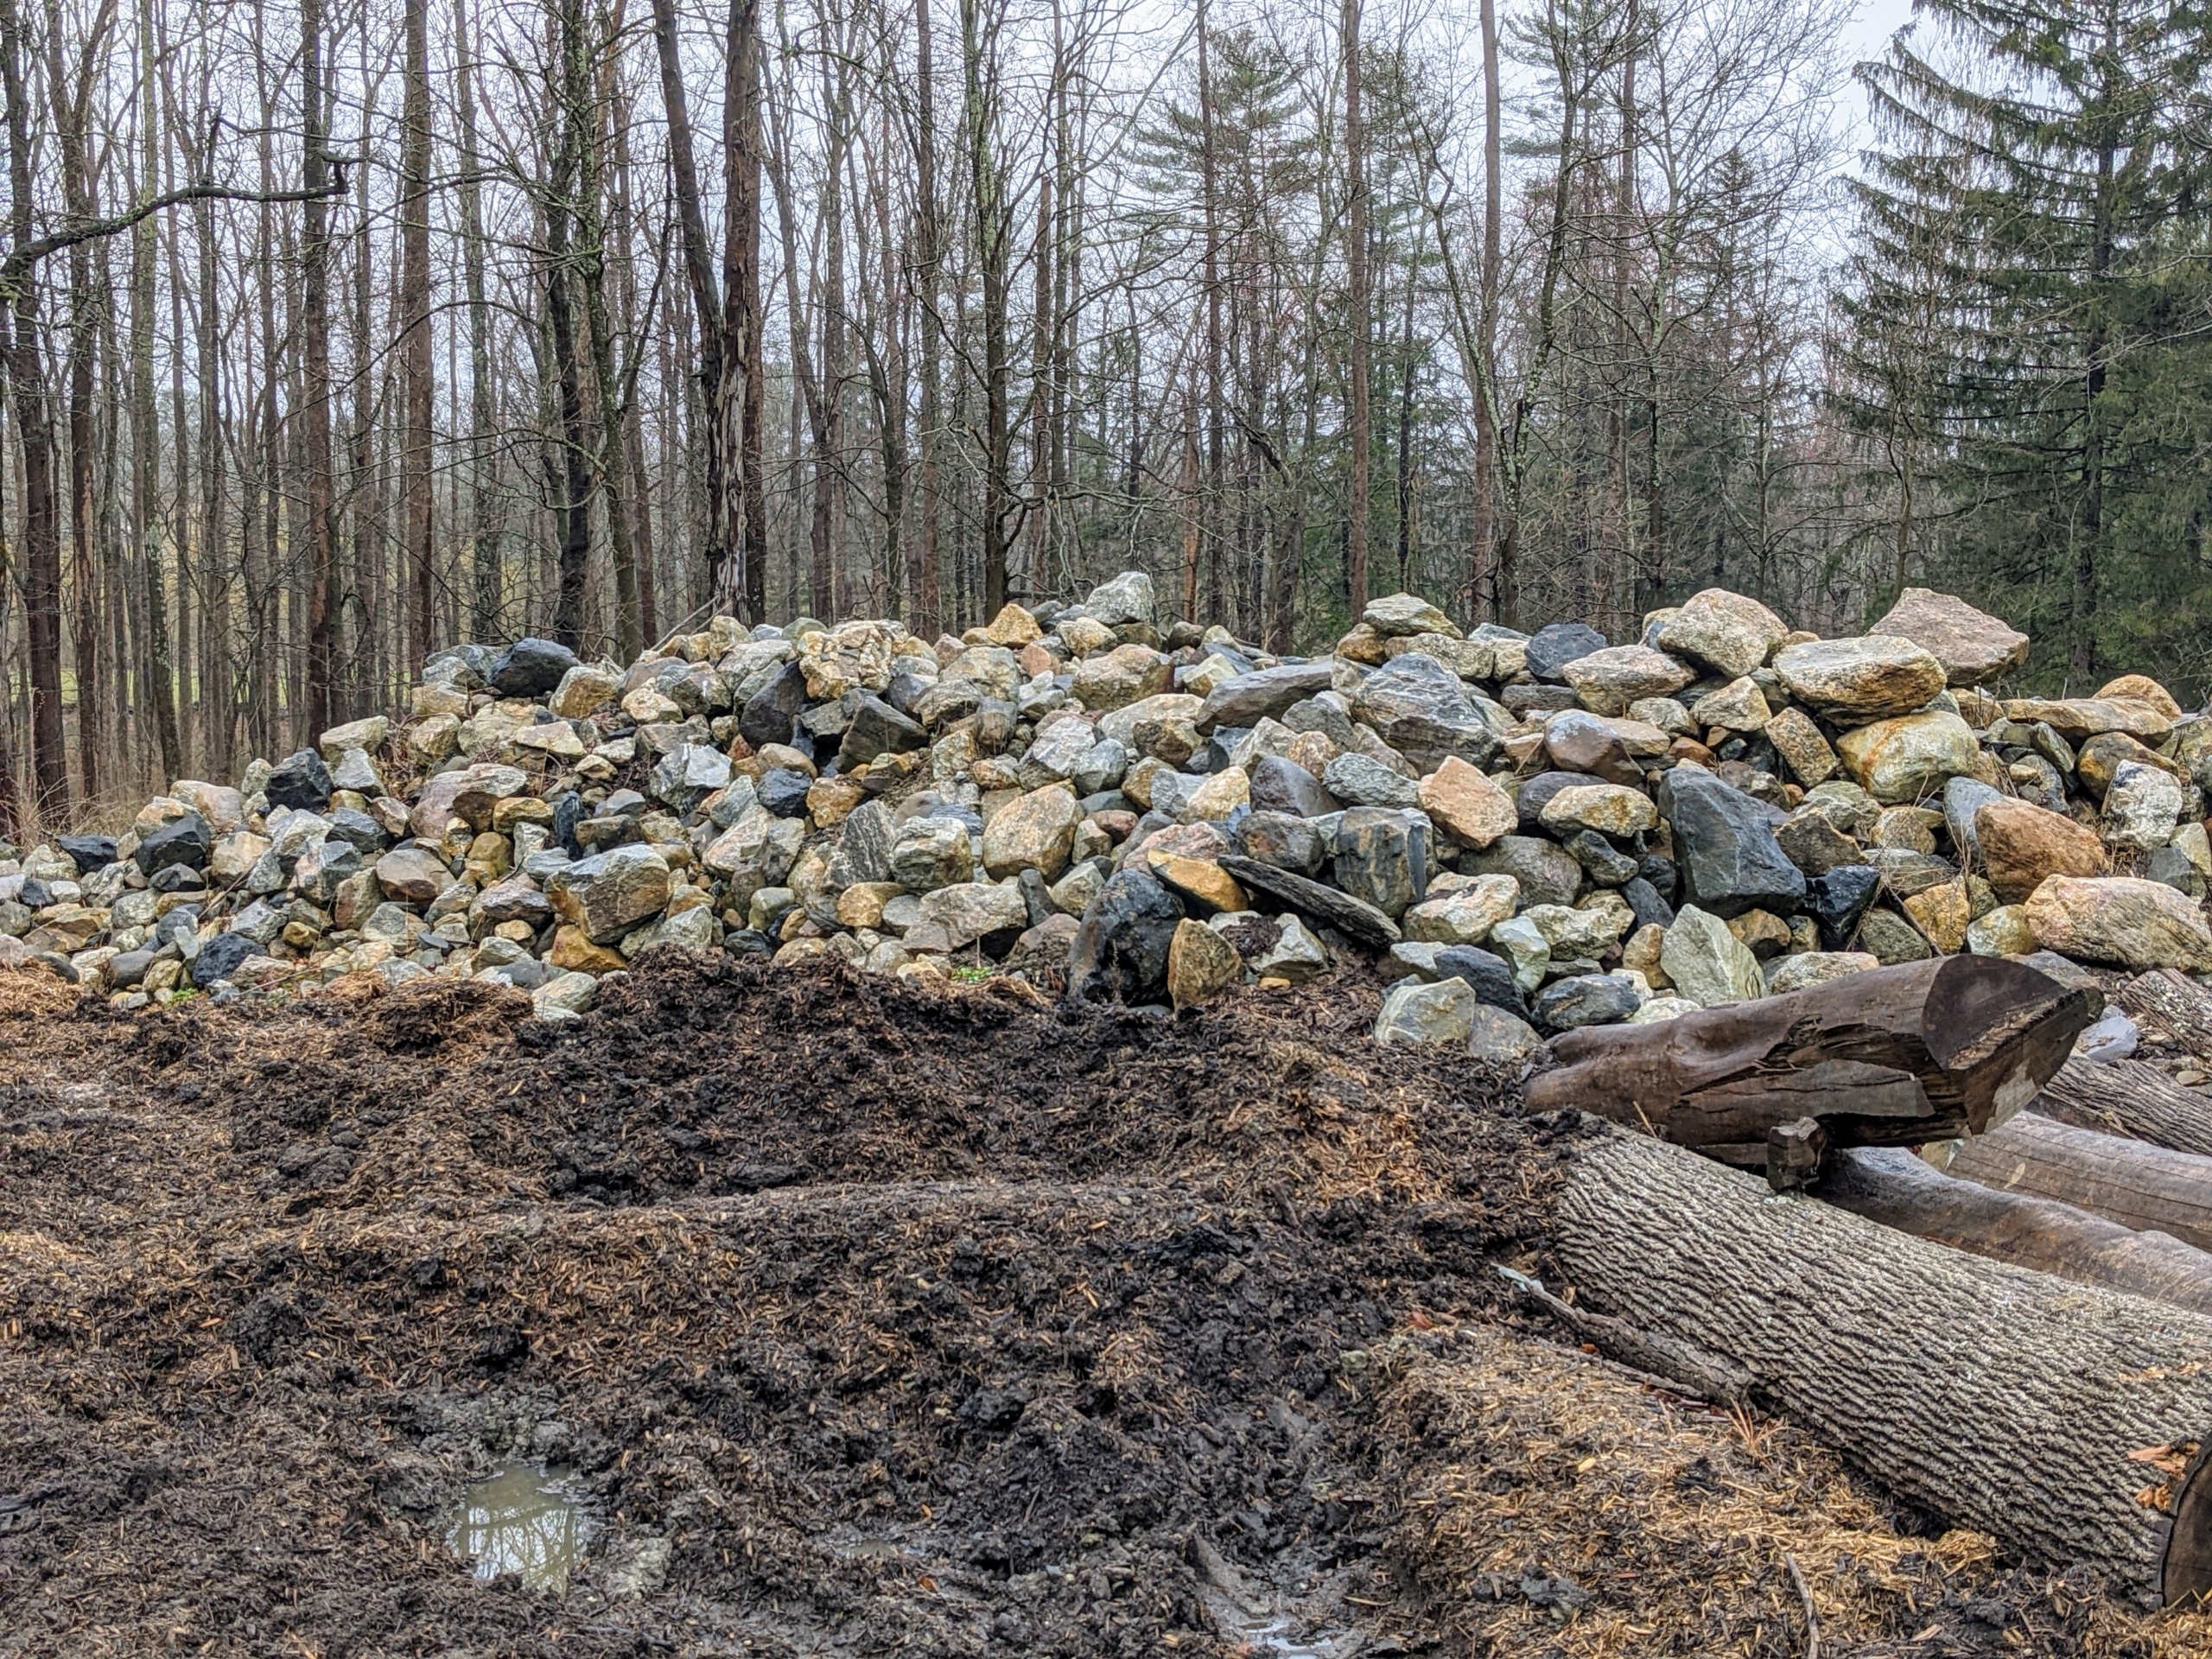
In another area, we pile up unused rocks from around the farm.
The pile of composting chicken and horse manure, which is filled with nutrients, is smoking – look closely. Healthy organisms in the compost will be active and produce steam even on cold, damp days.
This pile is leaf mold, which is compost produced by the decomposition of shaded deciduous shrub and tree leaves, primarily by fungal breakdown in a slower cooler manner.
And, at one end of the composting area, Phurba pulls a Gore-Tex tarp off one of the compost piles now ready to use in the gardens. These tarps keep the rain away, and allow excess moisture to evaporate and breathe.
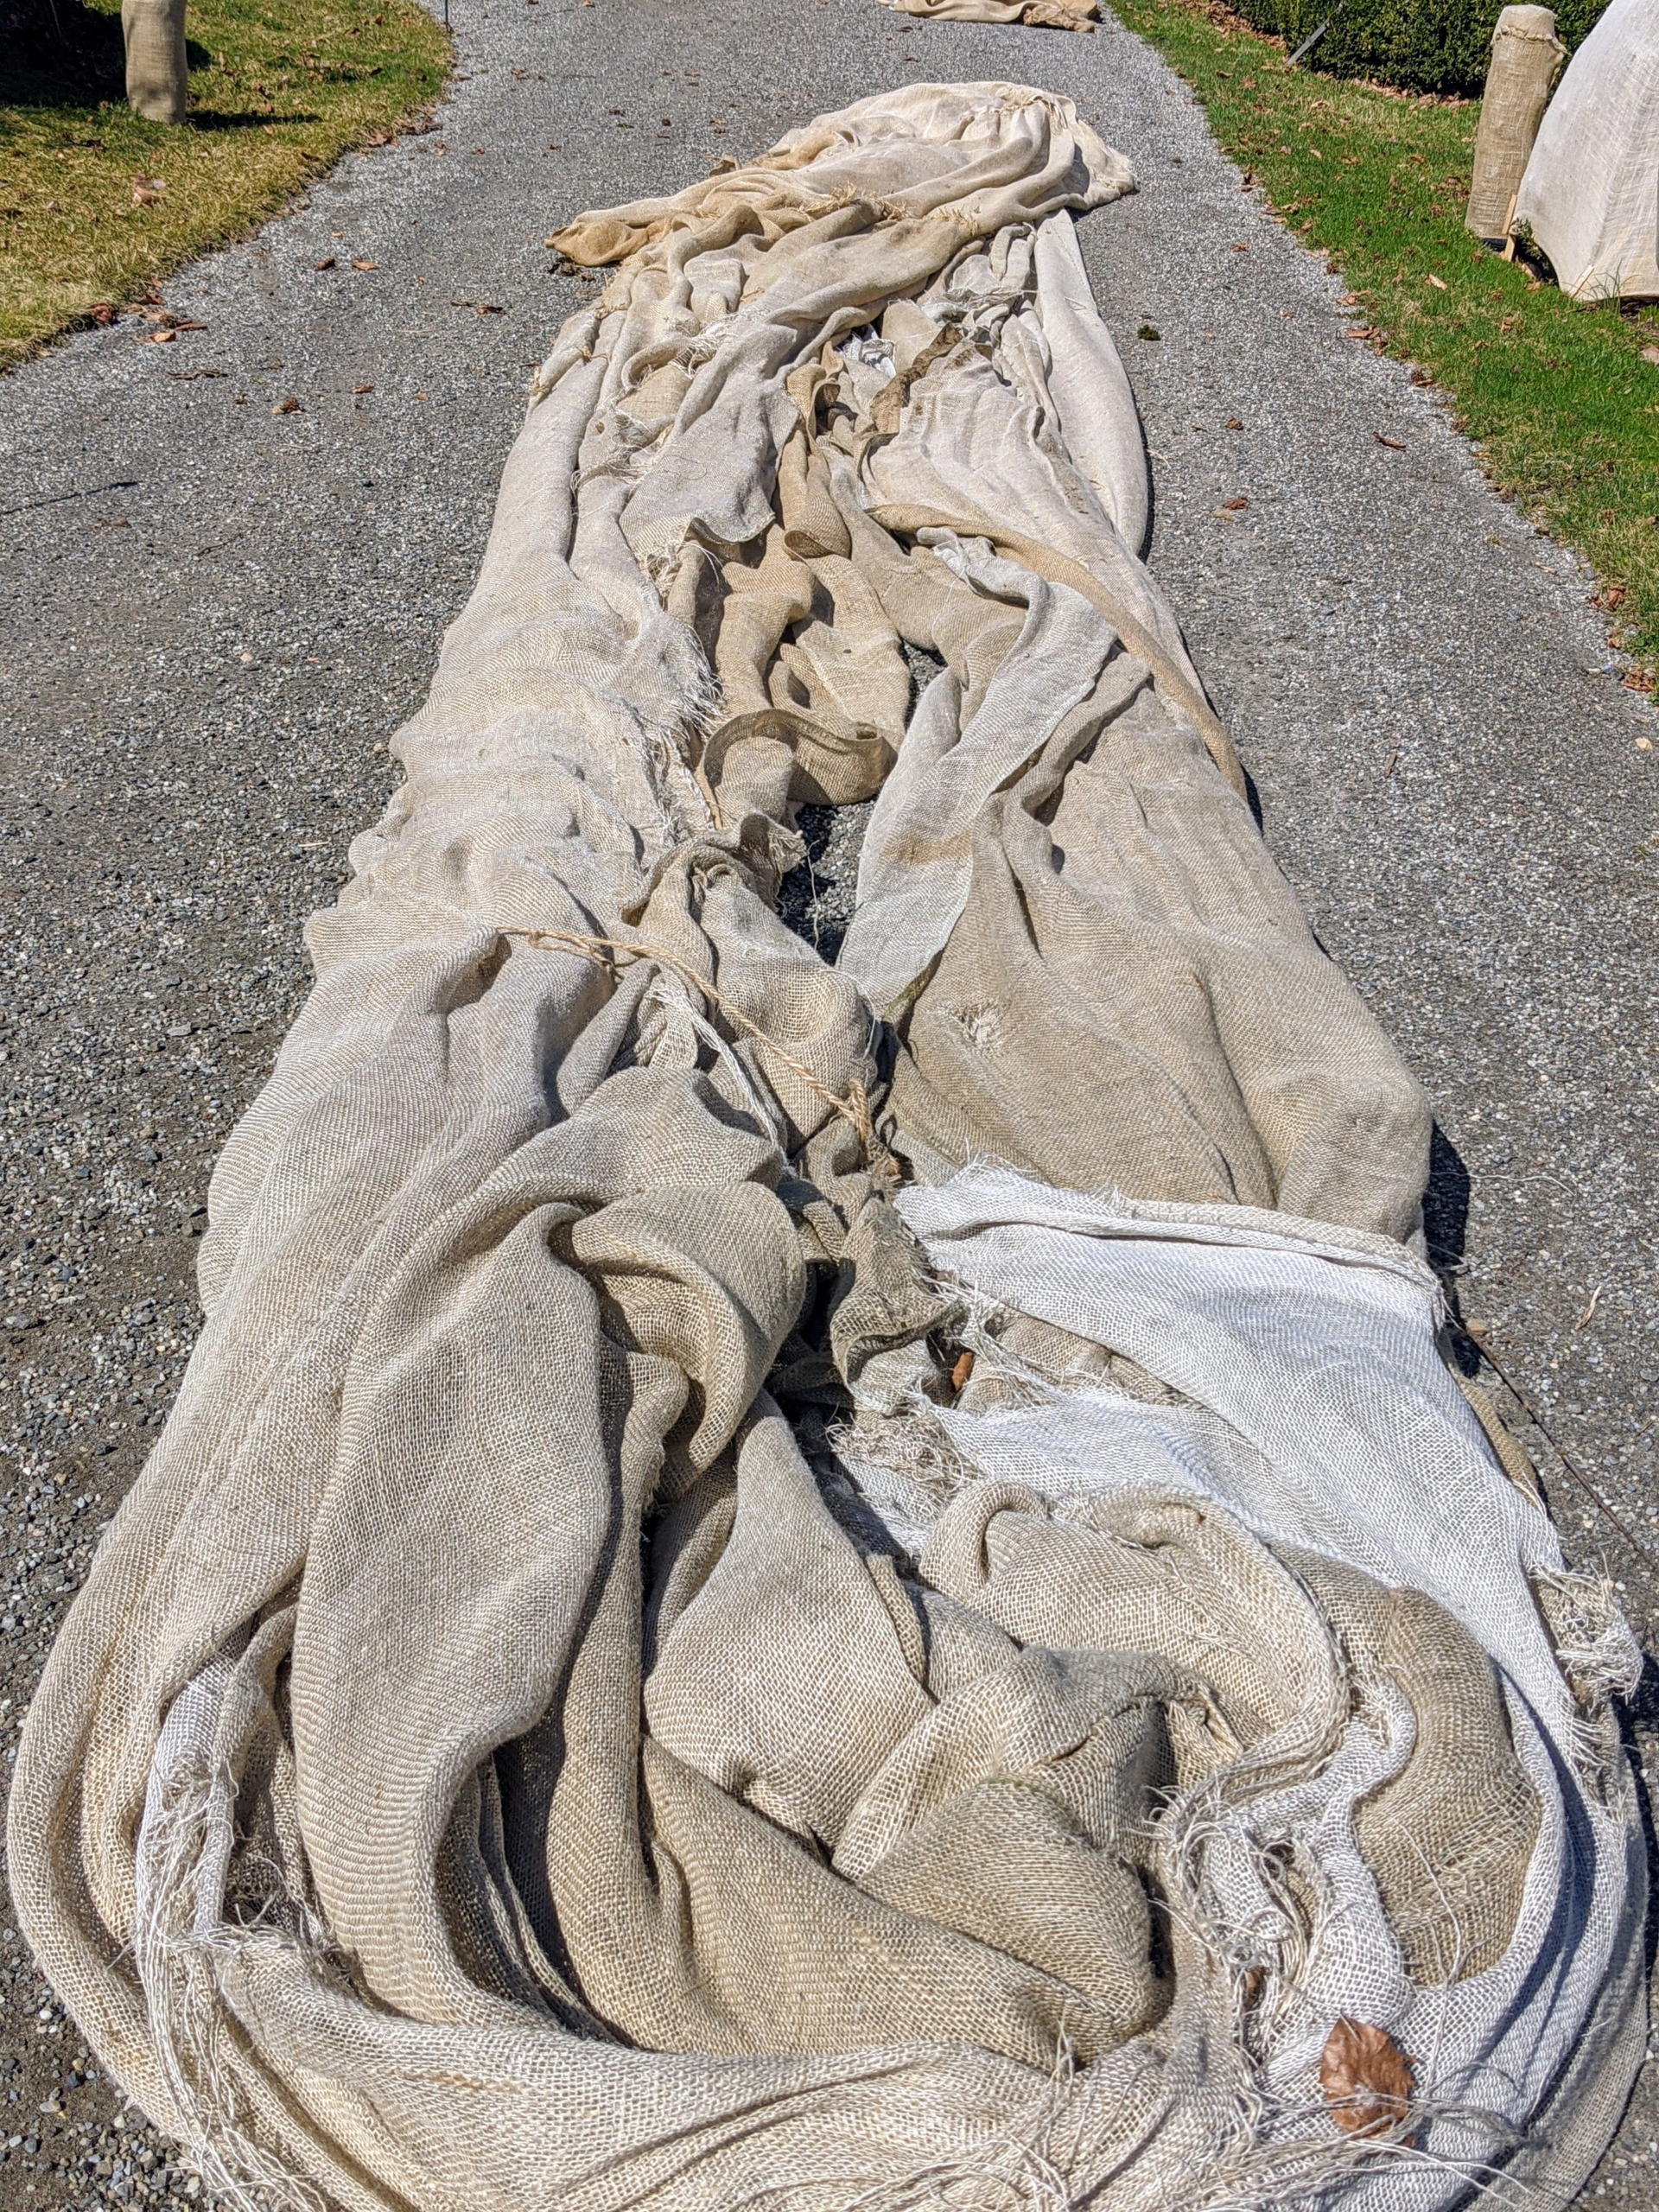
These tarps are laid out to dry before they are folded and stored.
And here is what’s underneath the tarps – compost filled with nutrients. My gardens are so successful, in part, because of the excellent soil, amended with compost made right here. I am so pleased we can use our organic debris in so many different ways. I will share lots of great photos of the tub grinder at work in an upcoming blog – be sure to stay tuned.
If you grow fruit trees, the best time to prune them is now - in very early spring, or winter, before any new growth begins.
Pruning not only helps to develop proper shape and form, but it also encourages new growth, promotes high fruit yield, and maintains good tree health. At the farm, I have hundreds of fruit trees. In fact, five years ago I planted an entire orchard surrounding my pool - one with a variety of apple trees, plum trees, cherry trees, peach, apricot, pear, medlar, and quince trees. This week, my gardeners and outdoor grounds crew pruned and groomed the peach and plum trees. I can't wait until summer, when they are filled with delicious fruits.
Here are some photos, enjoy.
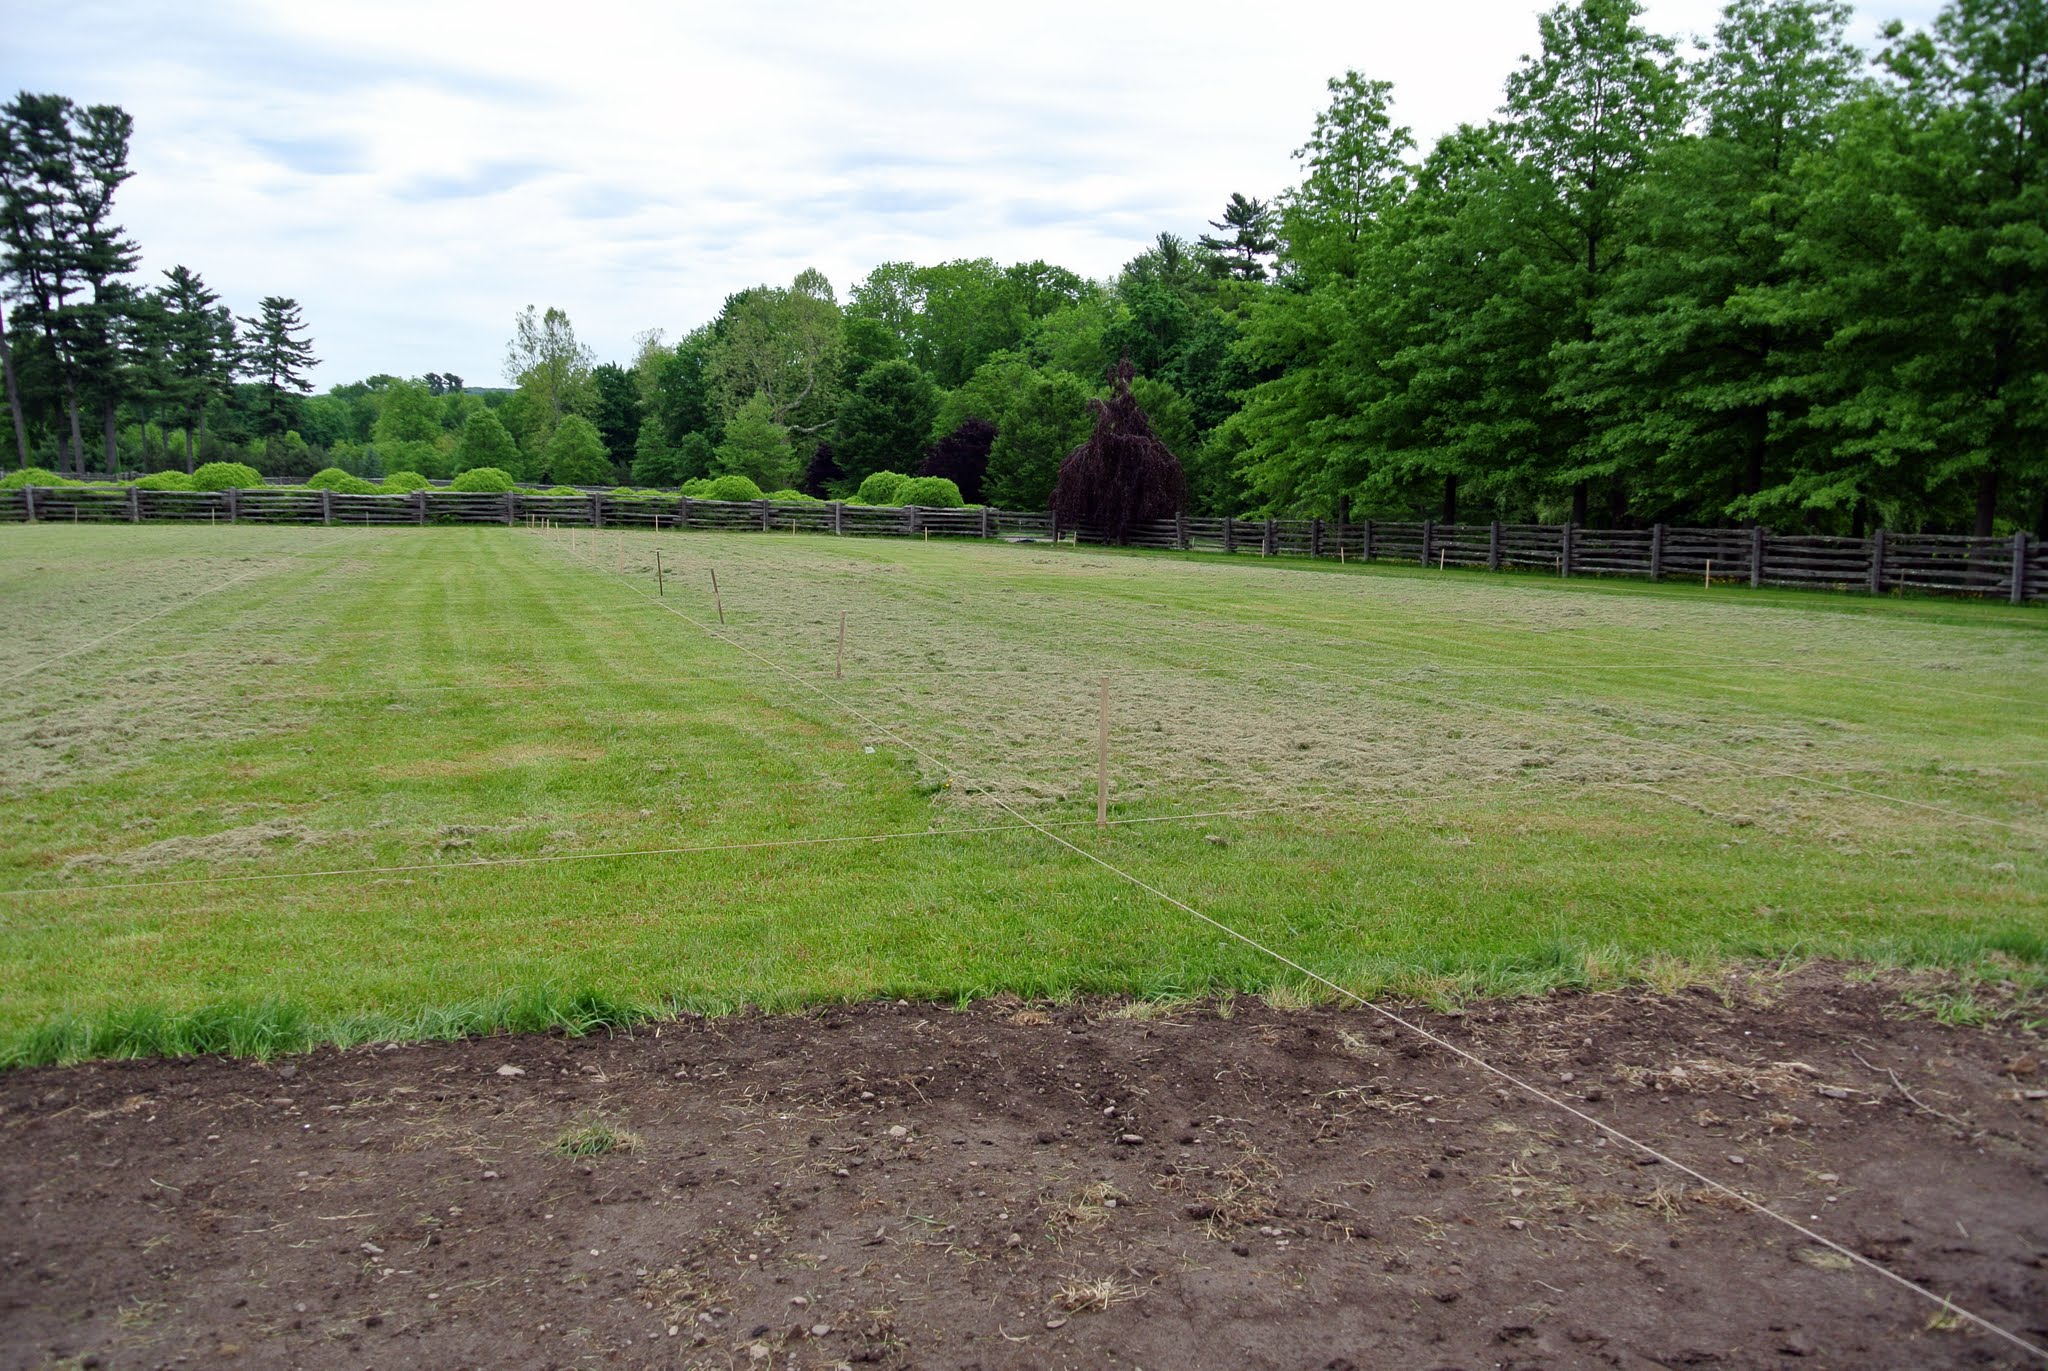
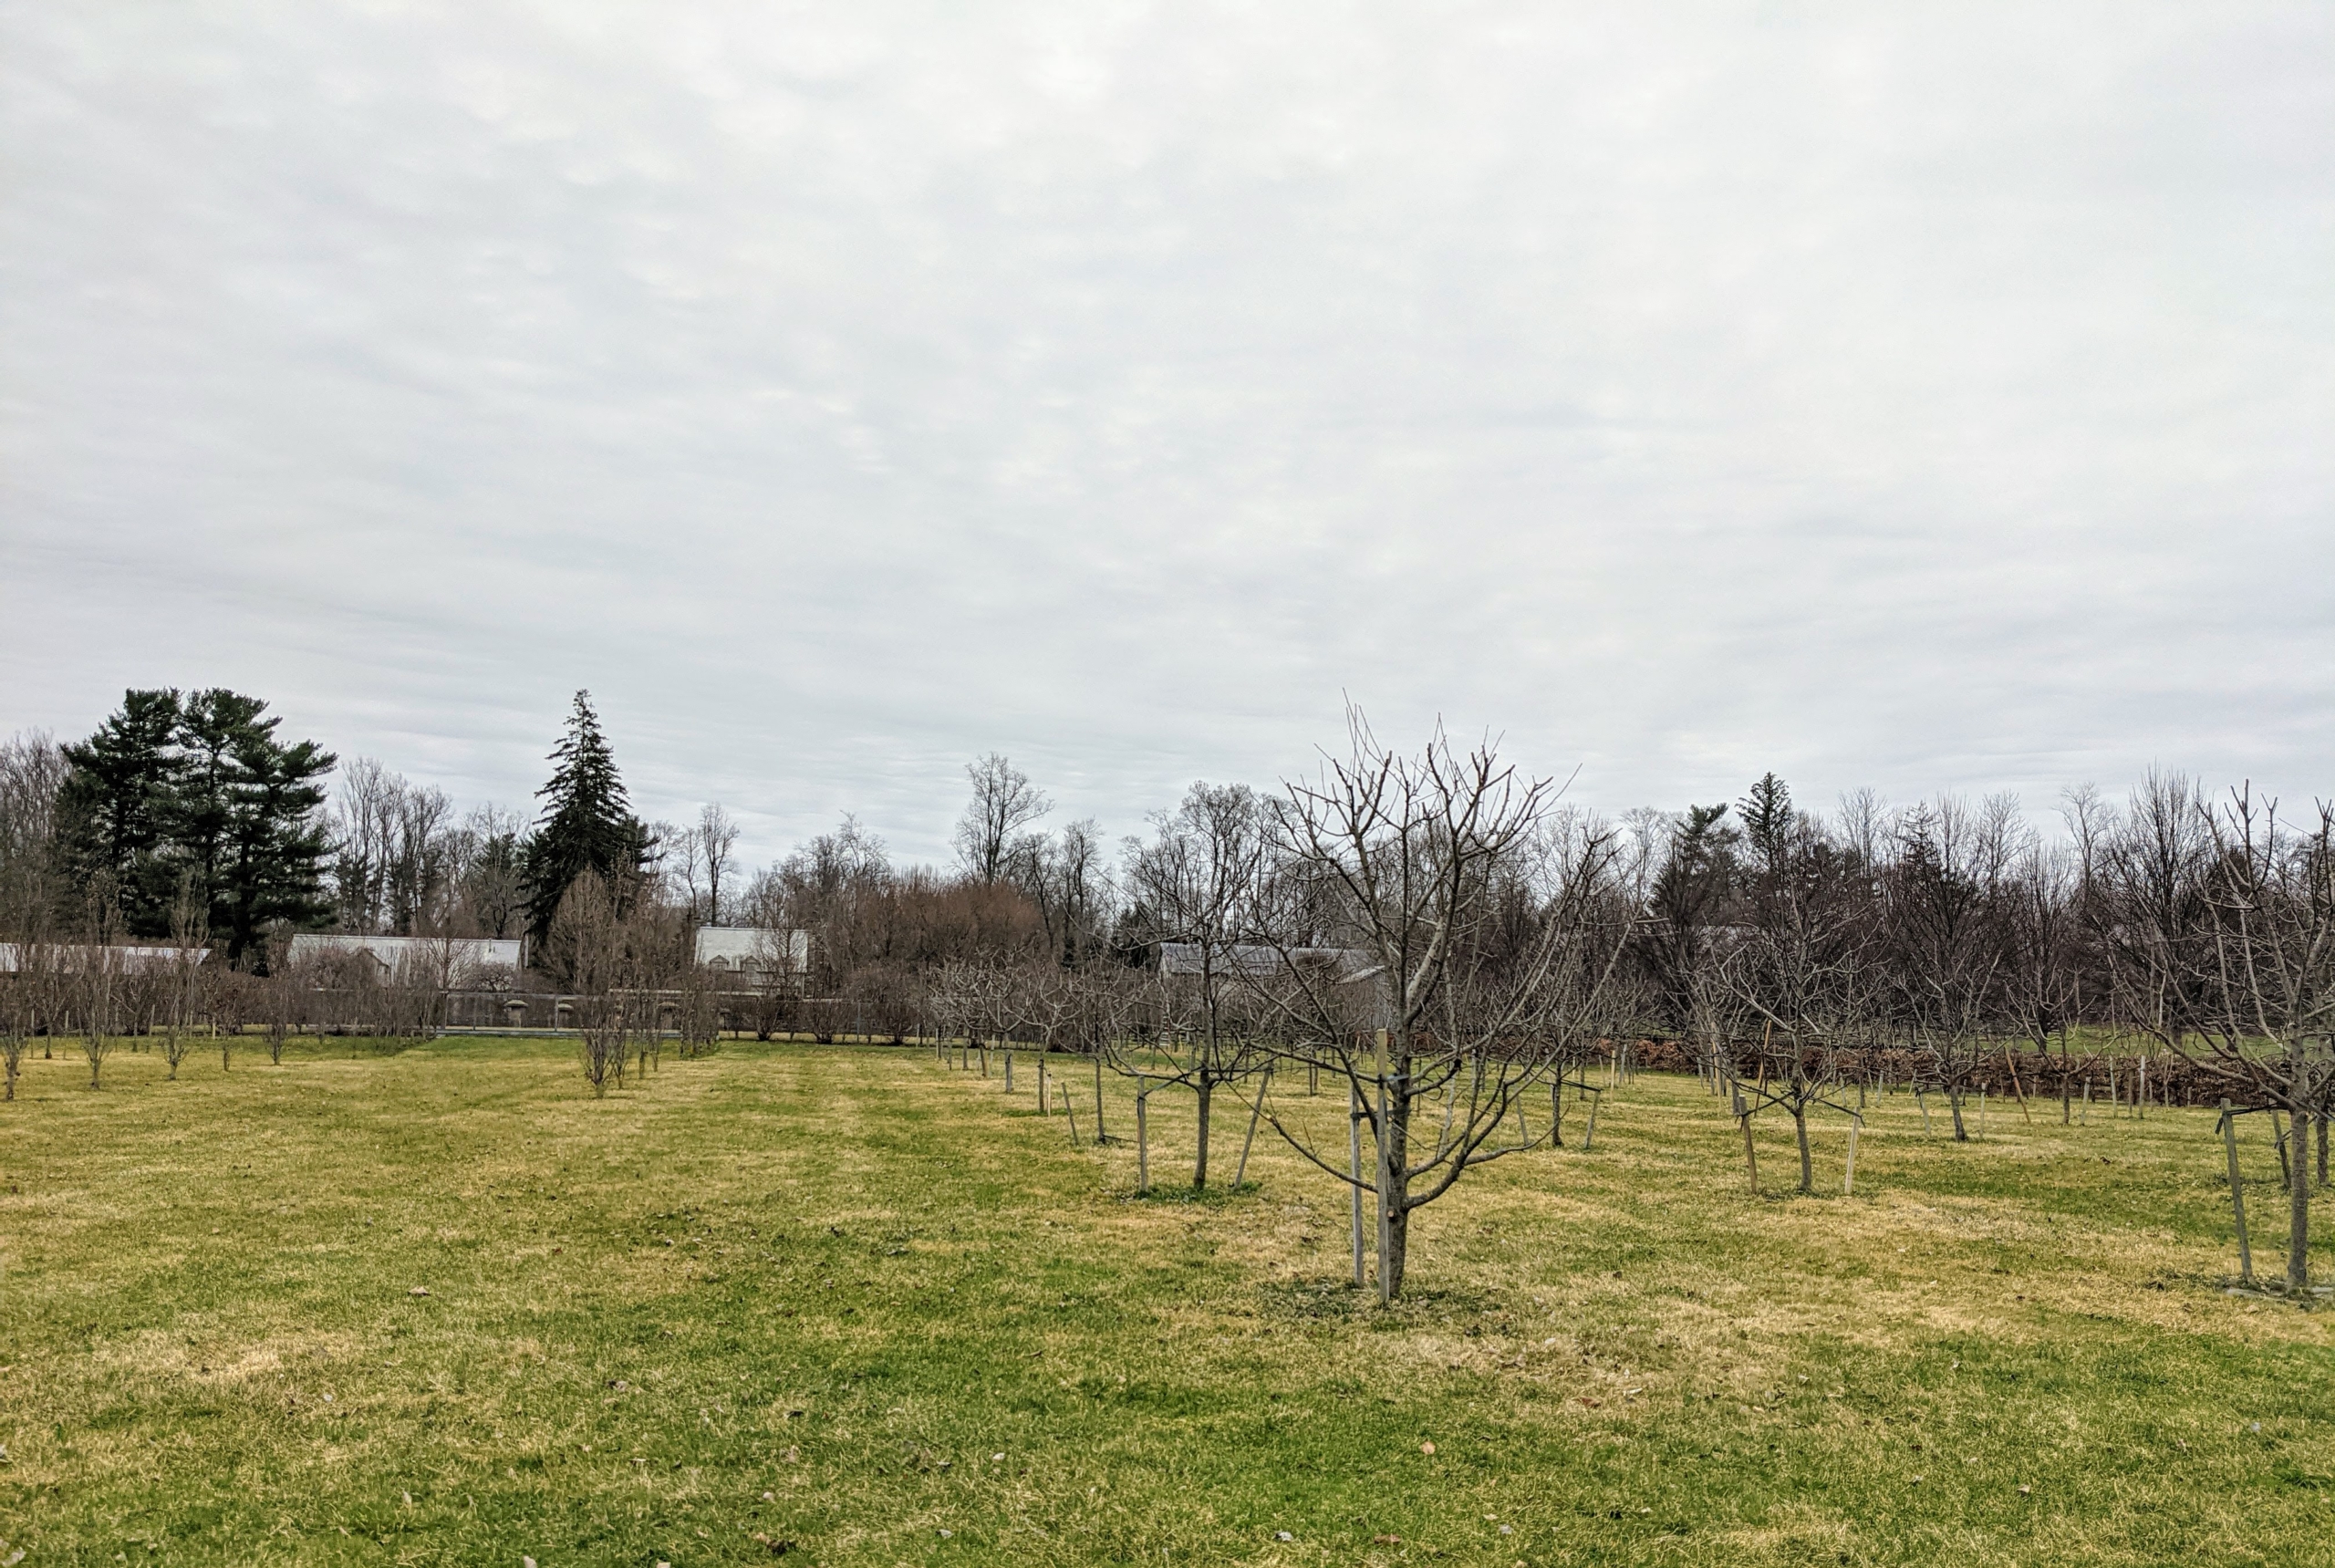
This is the paddock just before I planted my giant orchard of 220-fruit trees in 2017. We planned exactly where all the trees would be planted using twine.
This orchard surrounds three sides of my pool and a purple columnar beech tree hedge. I wanted the trees to be at least 15-feet apart. I am very fortunate to have such an expansive paddock space to grow all these trees.
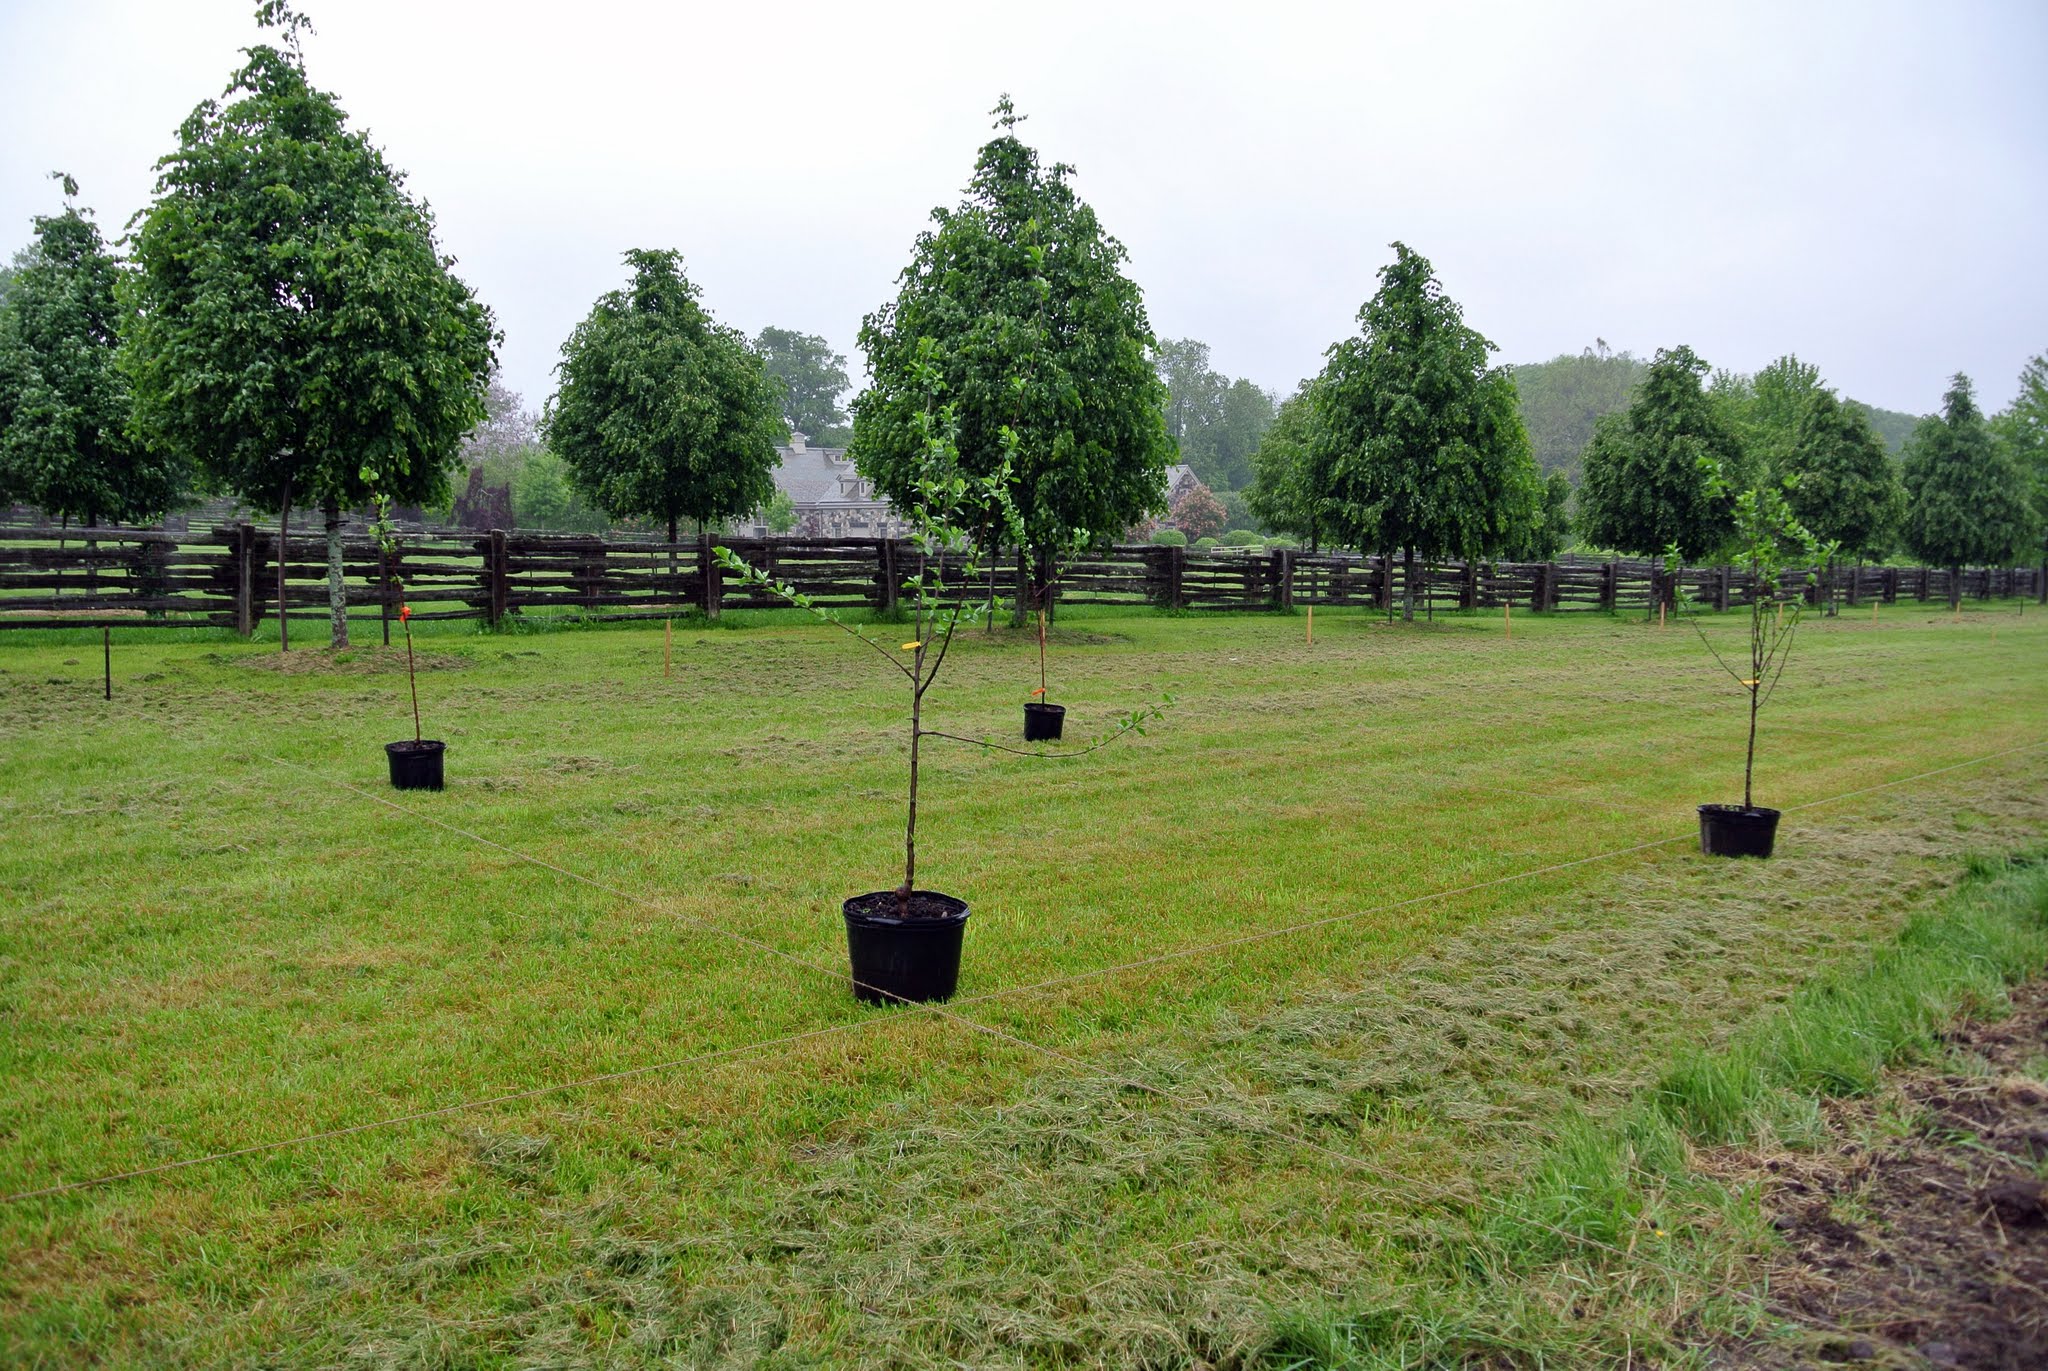
This photo was taken the following summer. Look at how much they grew. A lot of the success of all my trees here at the farm is due to the nutrient-rich soil.
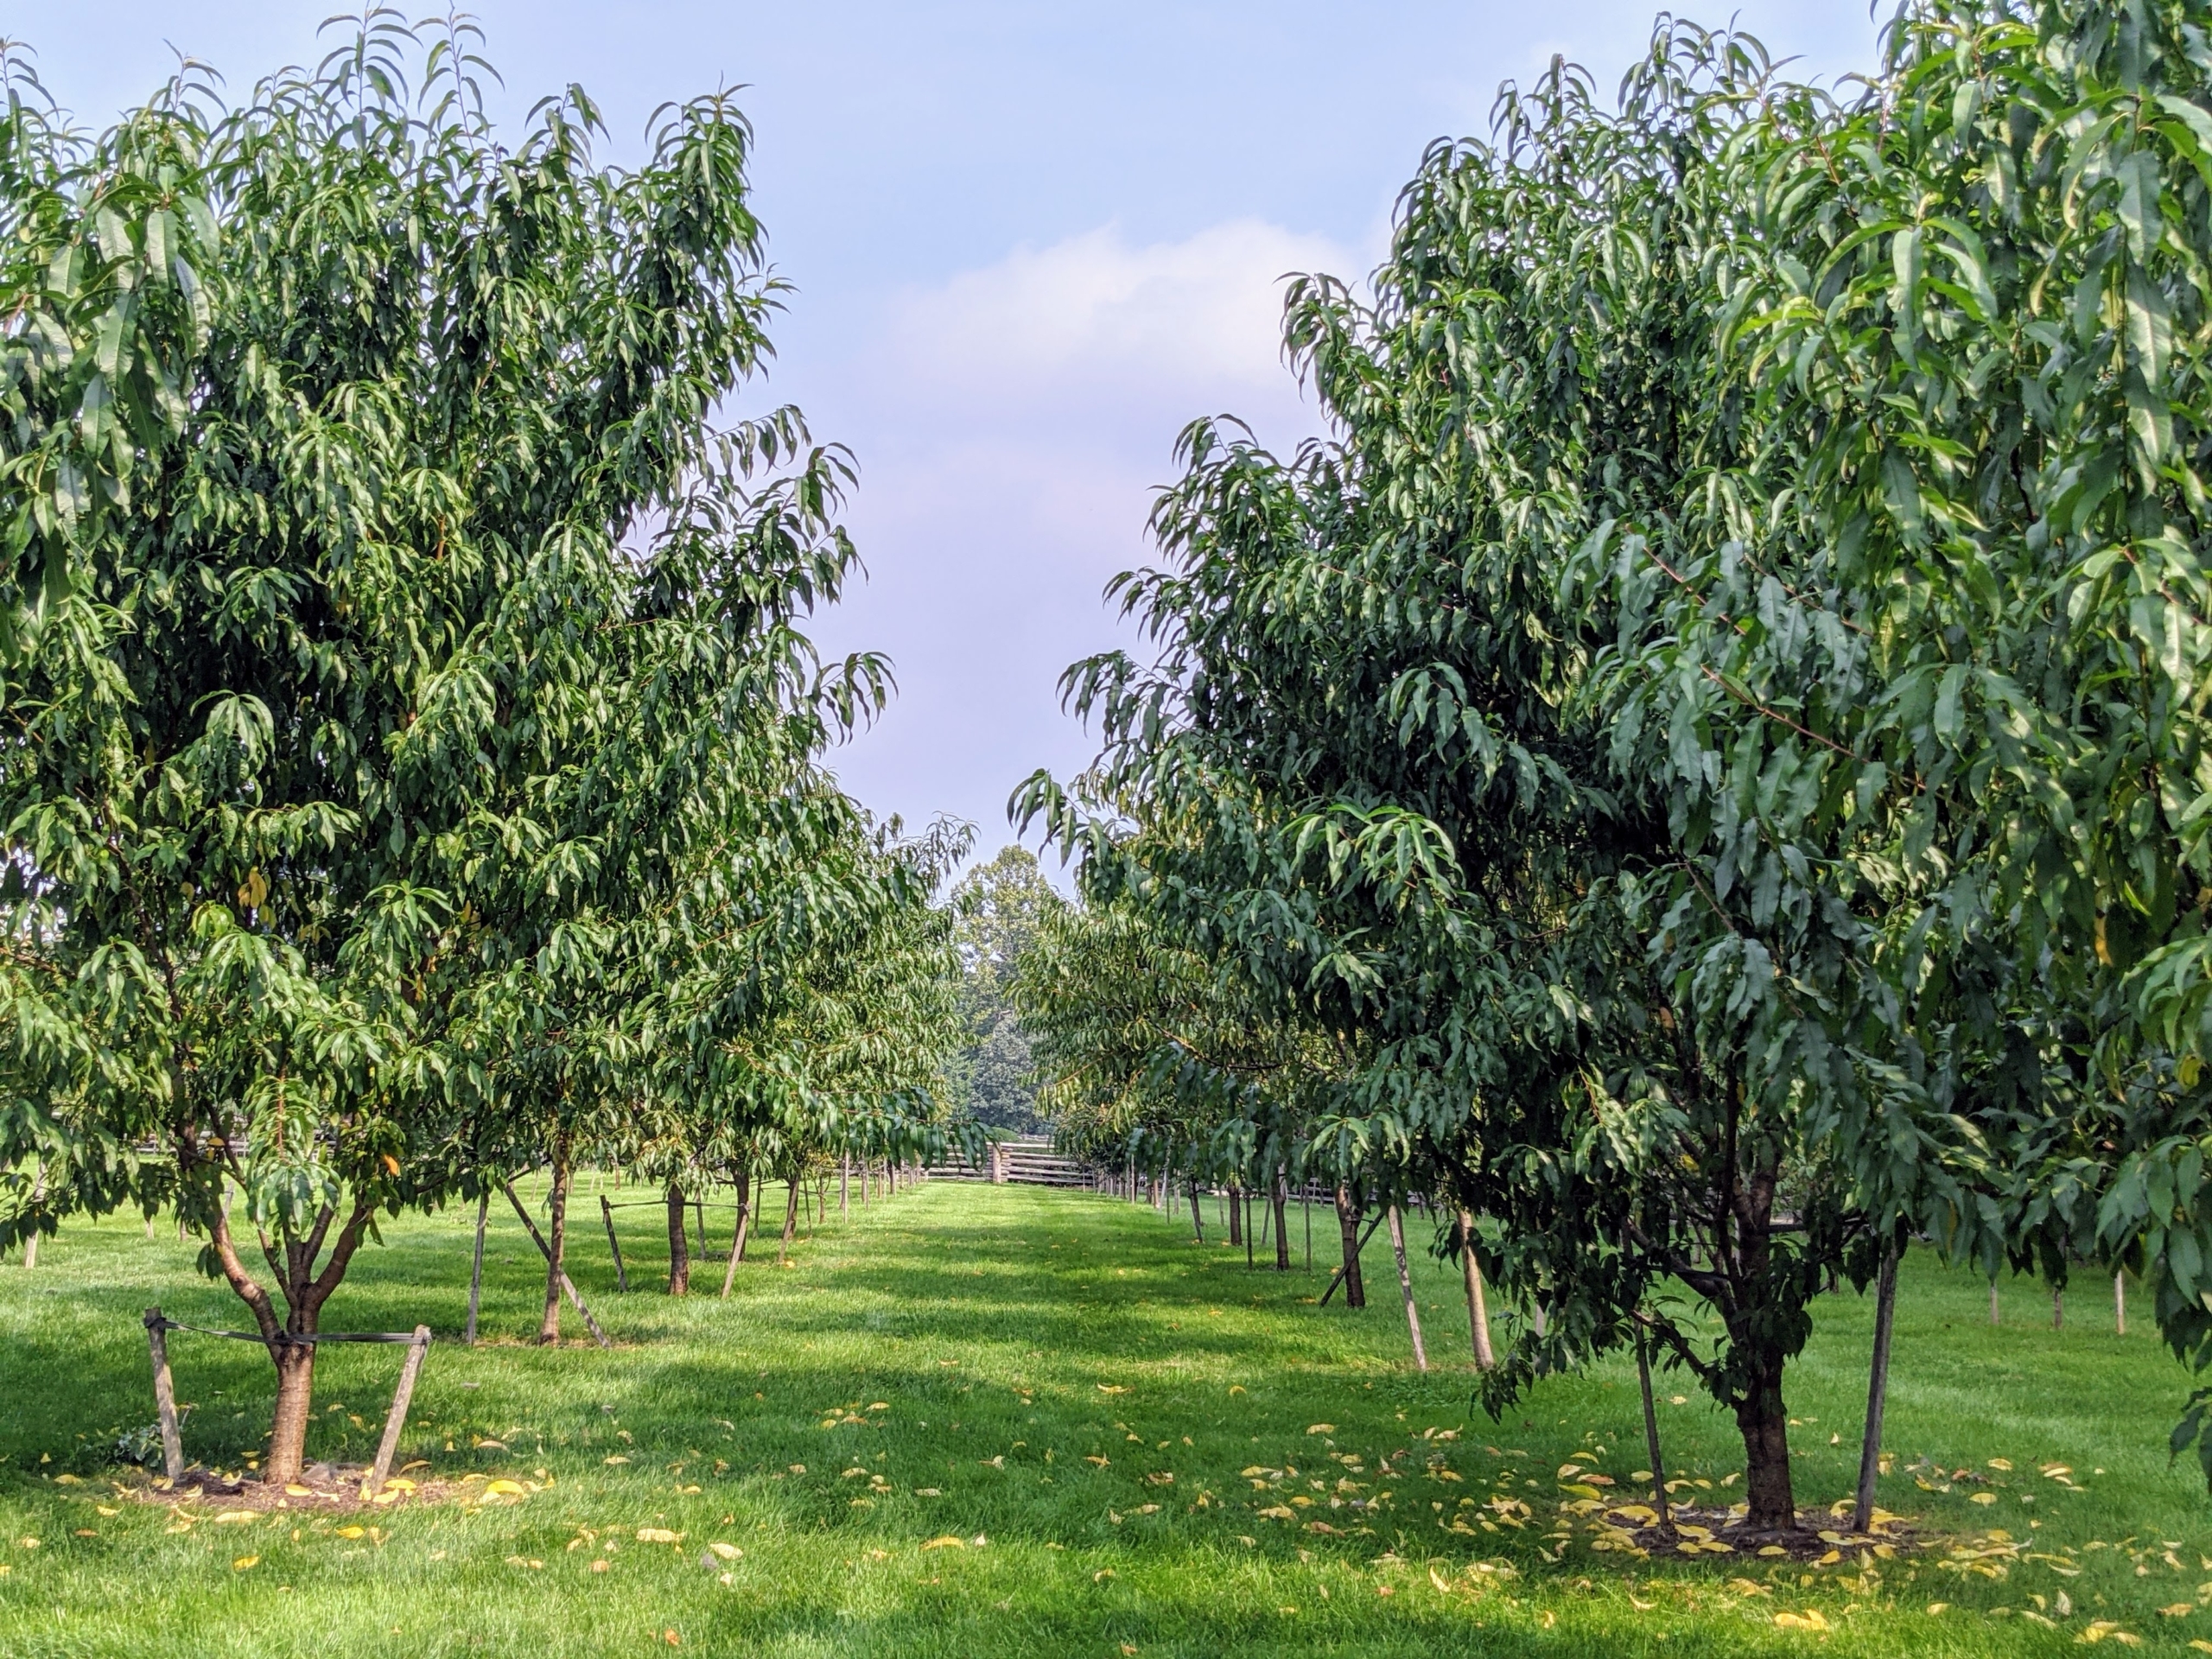
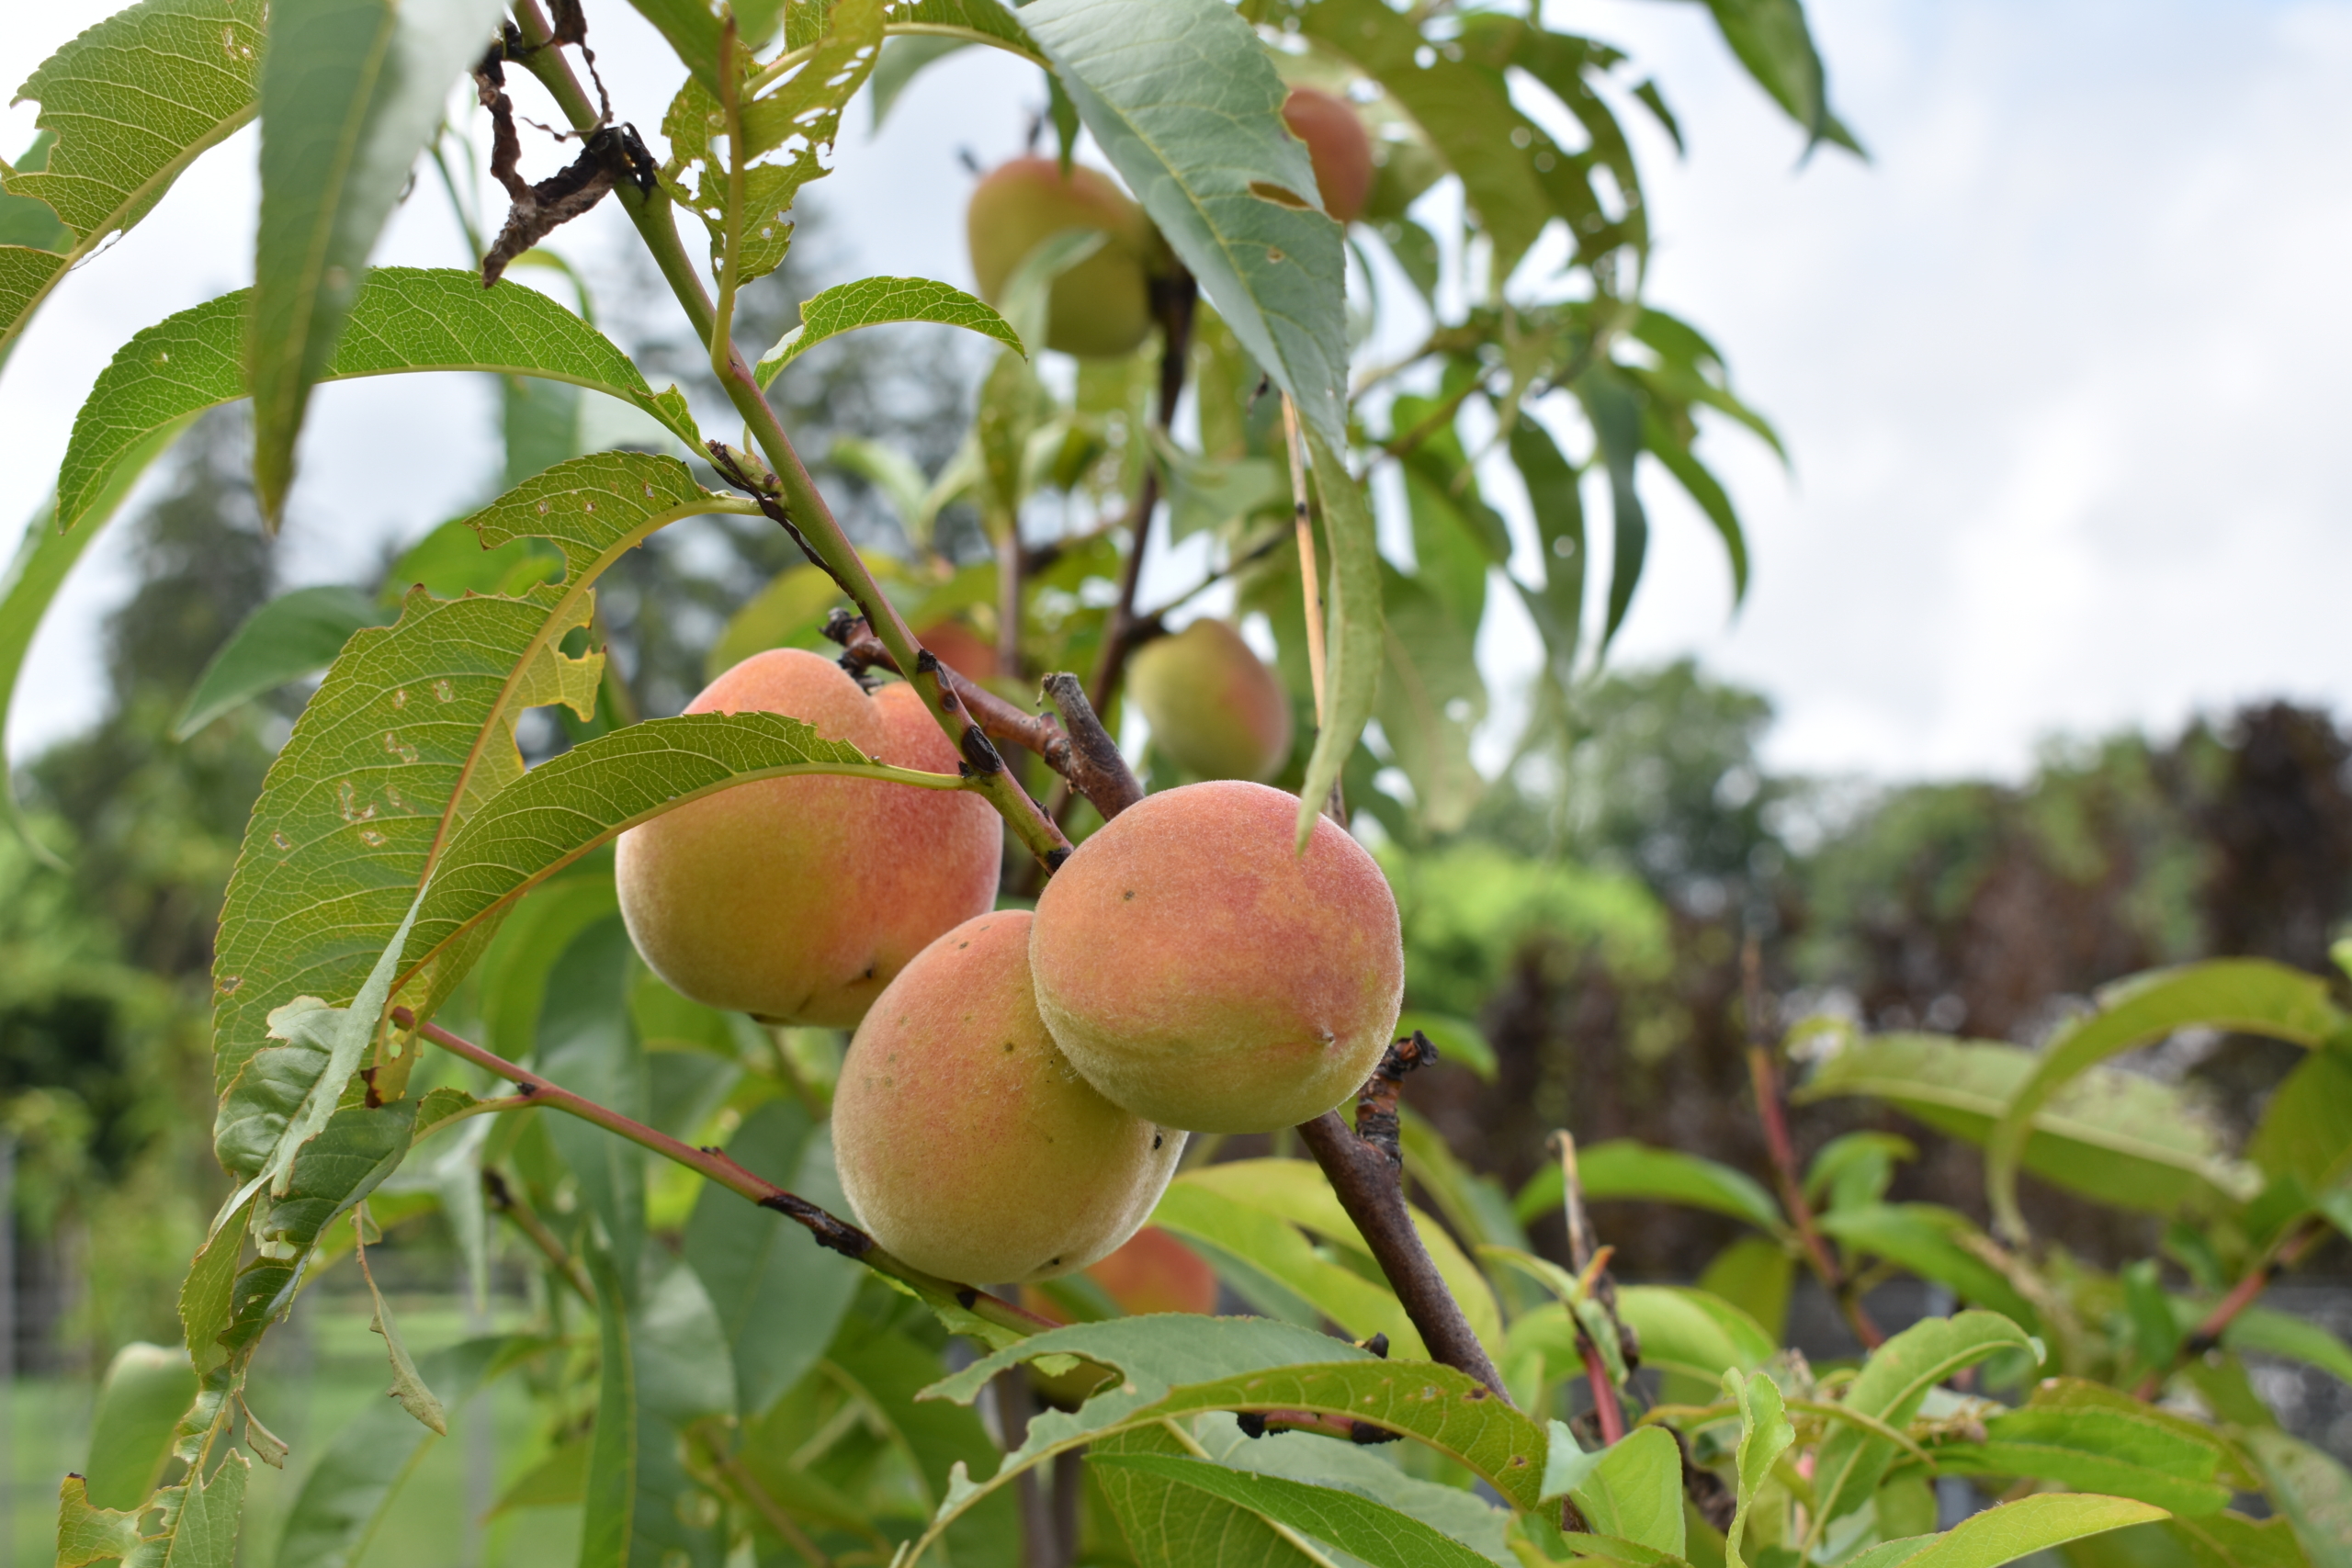
And here are some of the peach trees last year. These trees have performed wonderfully and are so prolific – we had so many delicious peaches to enjoy last summer.
Some of the peach varieties in this orchard include ‘Garnet Beauty’, ‘Lars Anderson’, ‘Polly’, ‘Red Haven’, and ‘Reliance’. Peach trees thrive in an area where they can soak up the sunshine throughout the day. Peach trees prefer deep sandy well-drained soil that ranges from loam to clay loam.
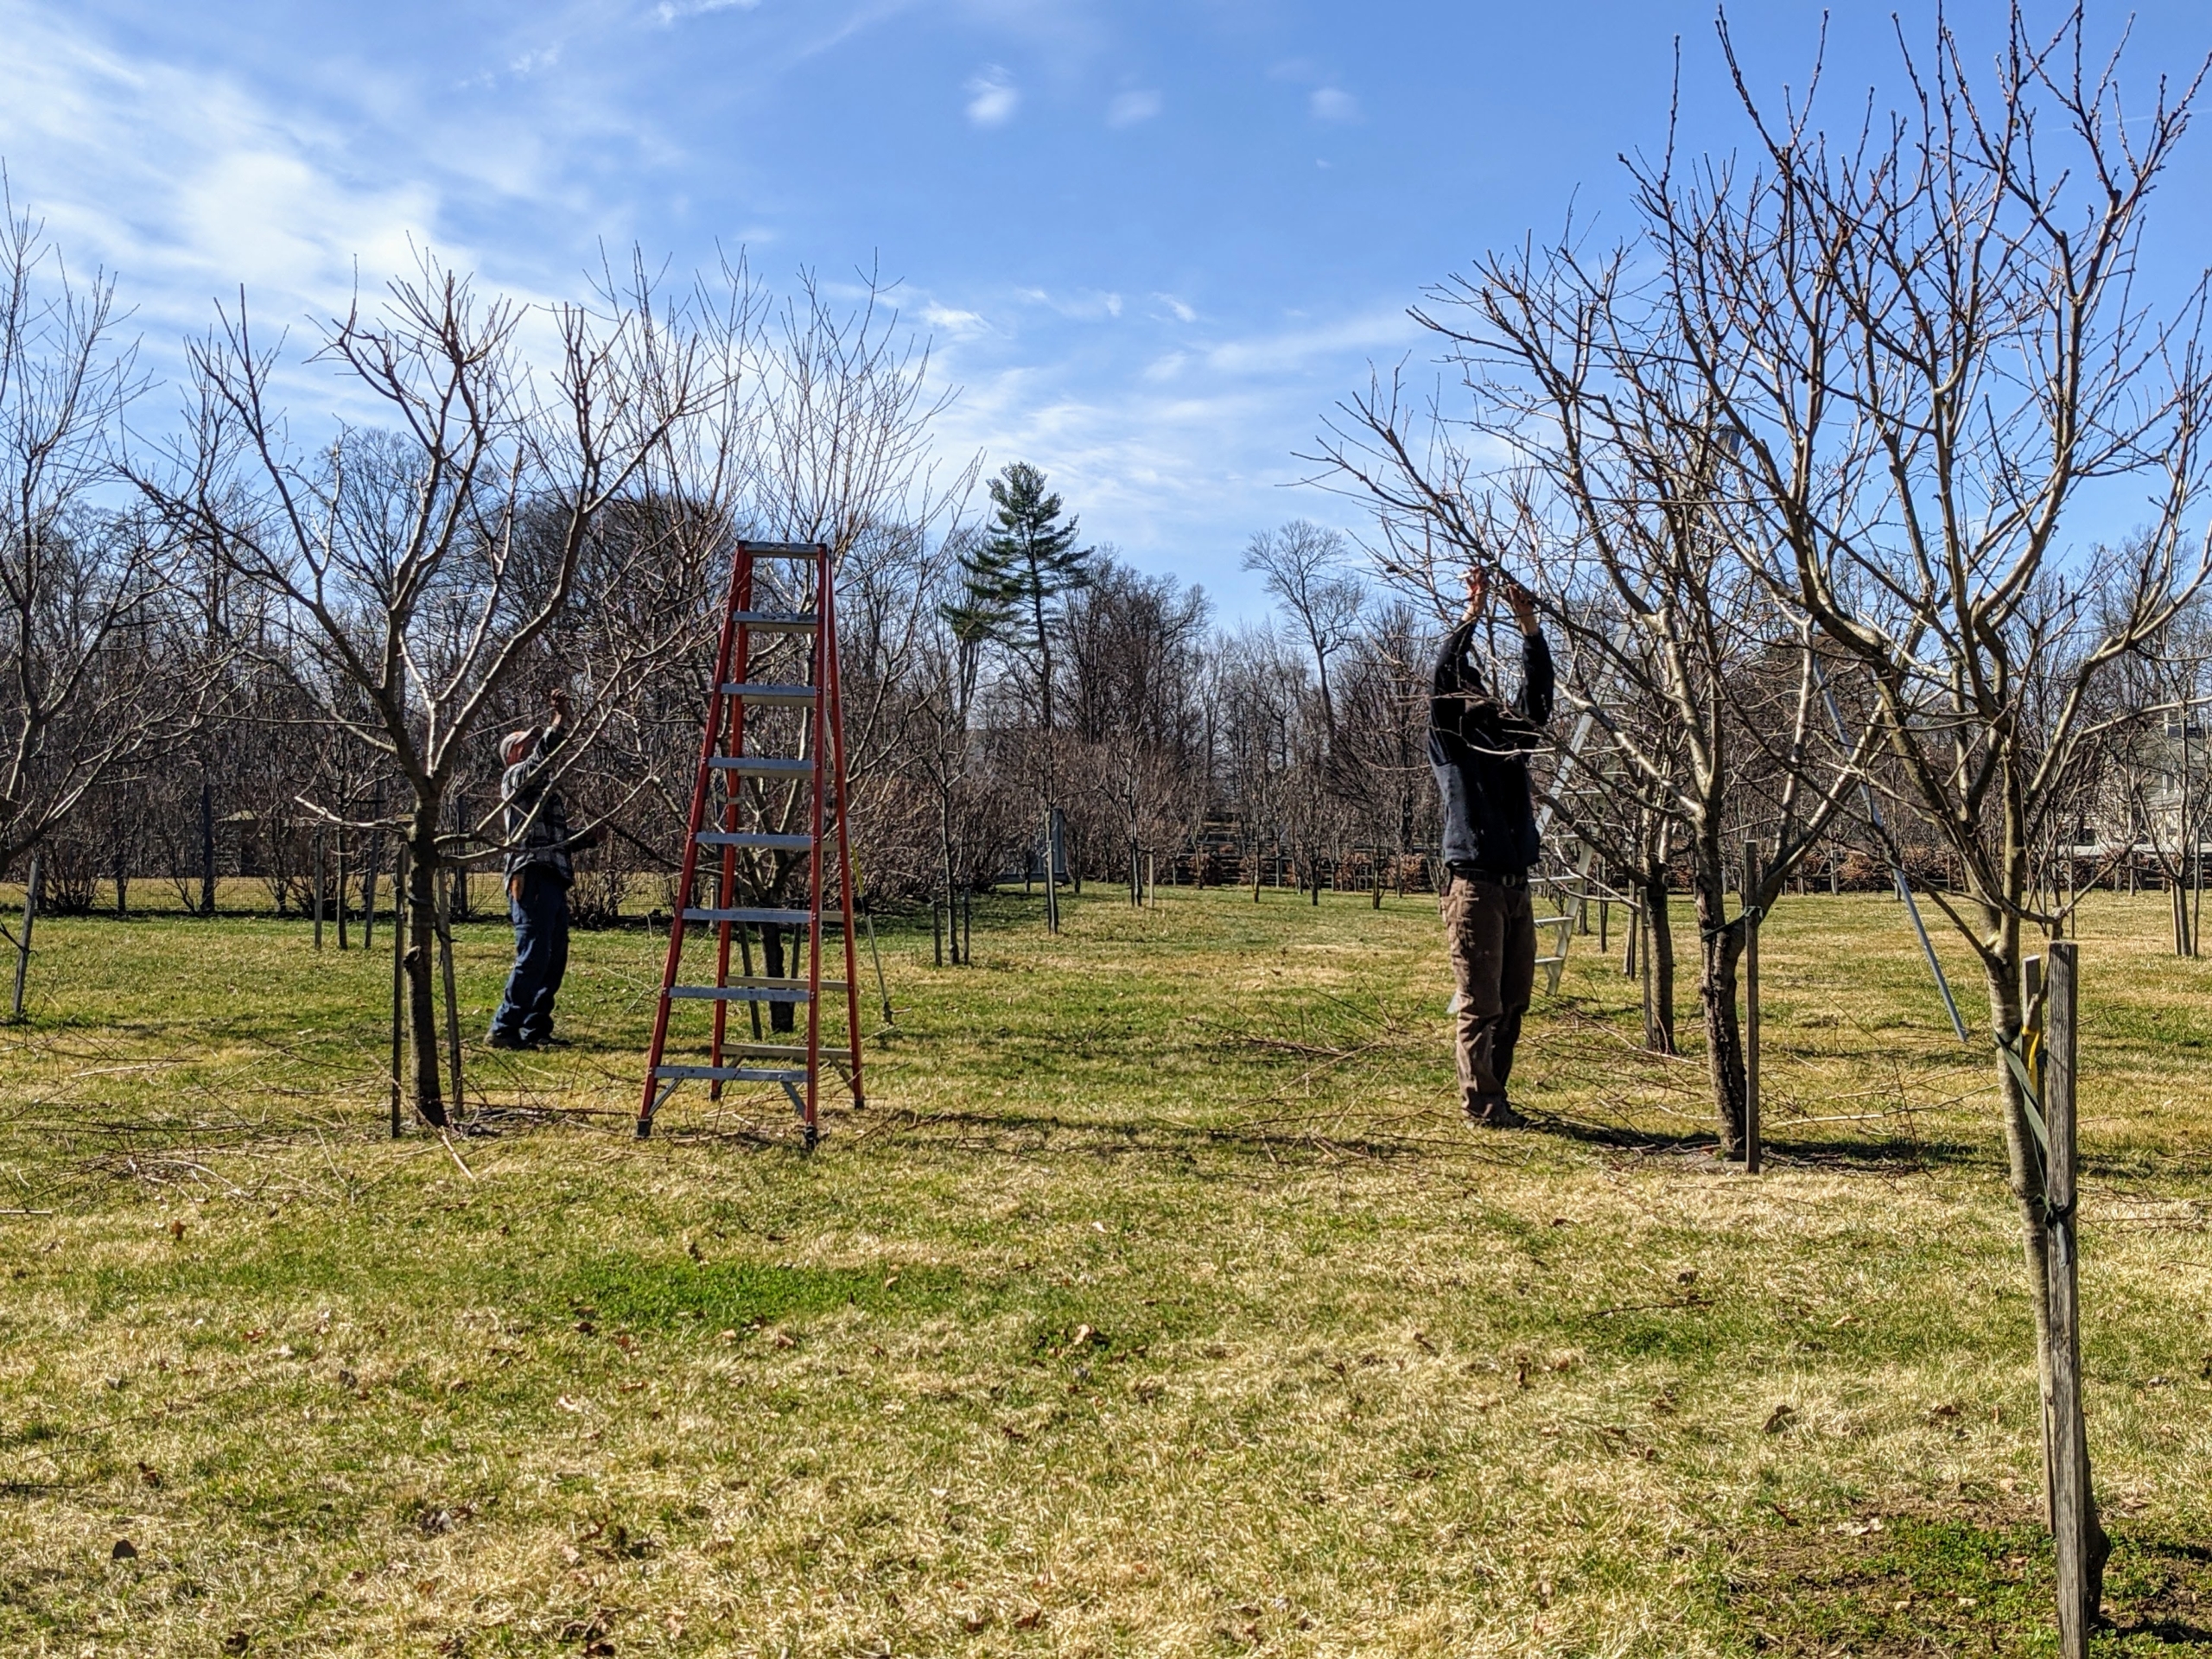
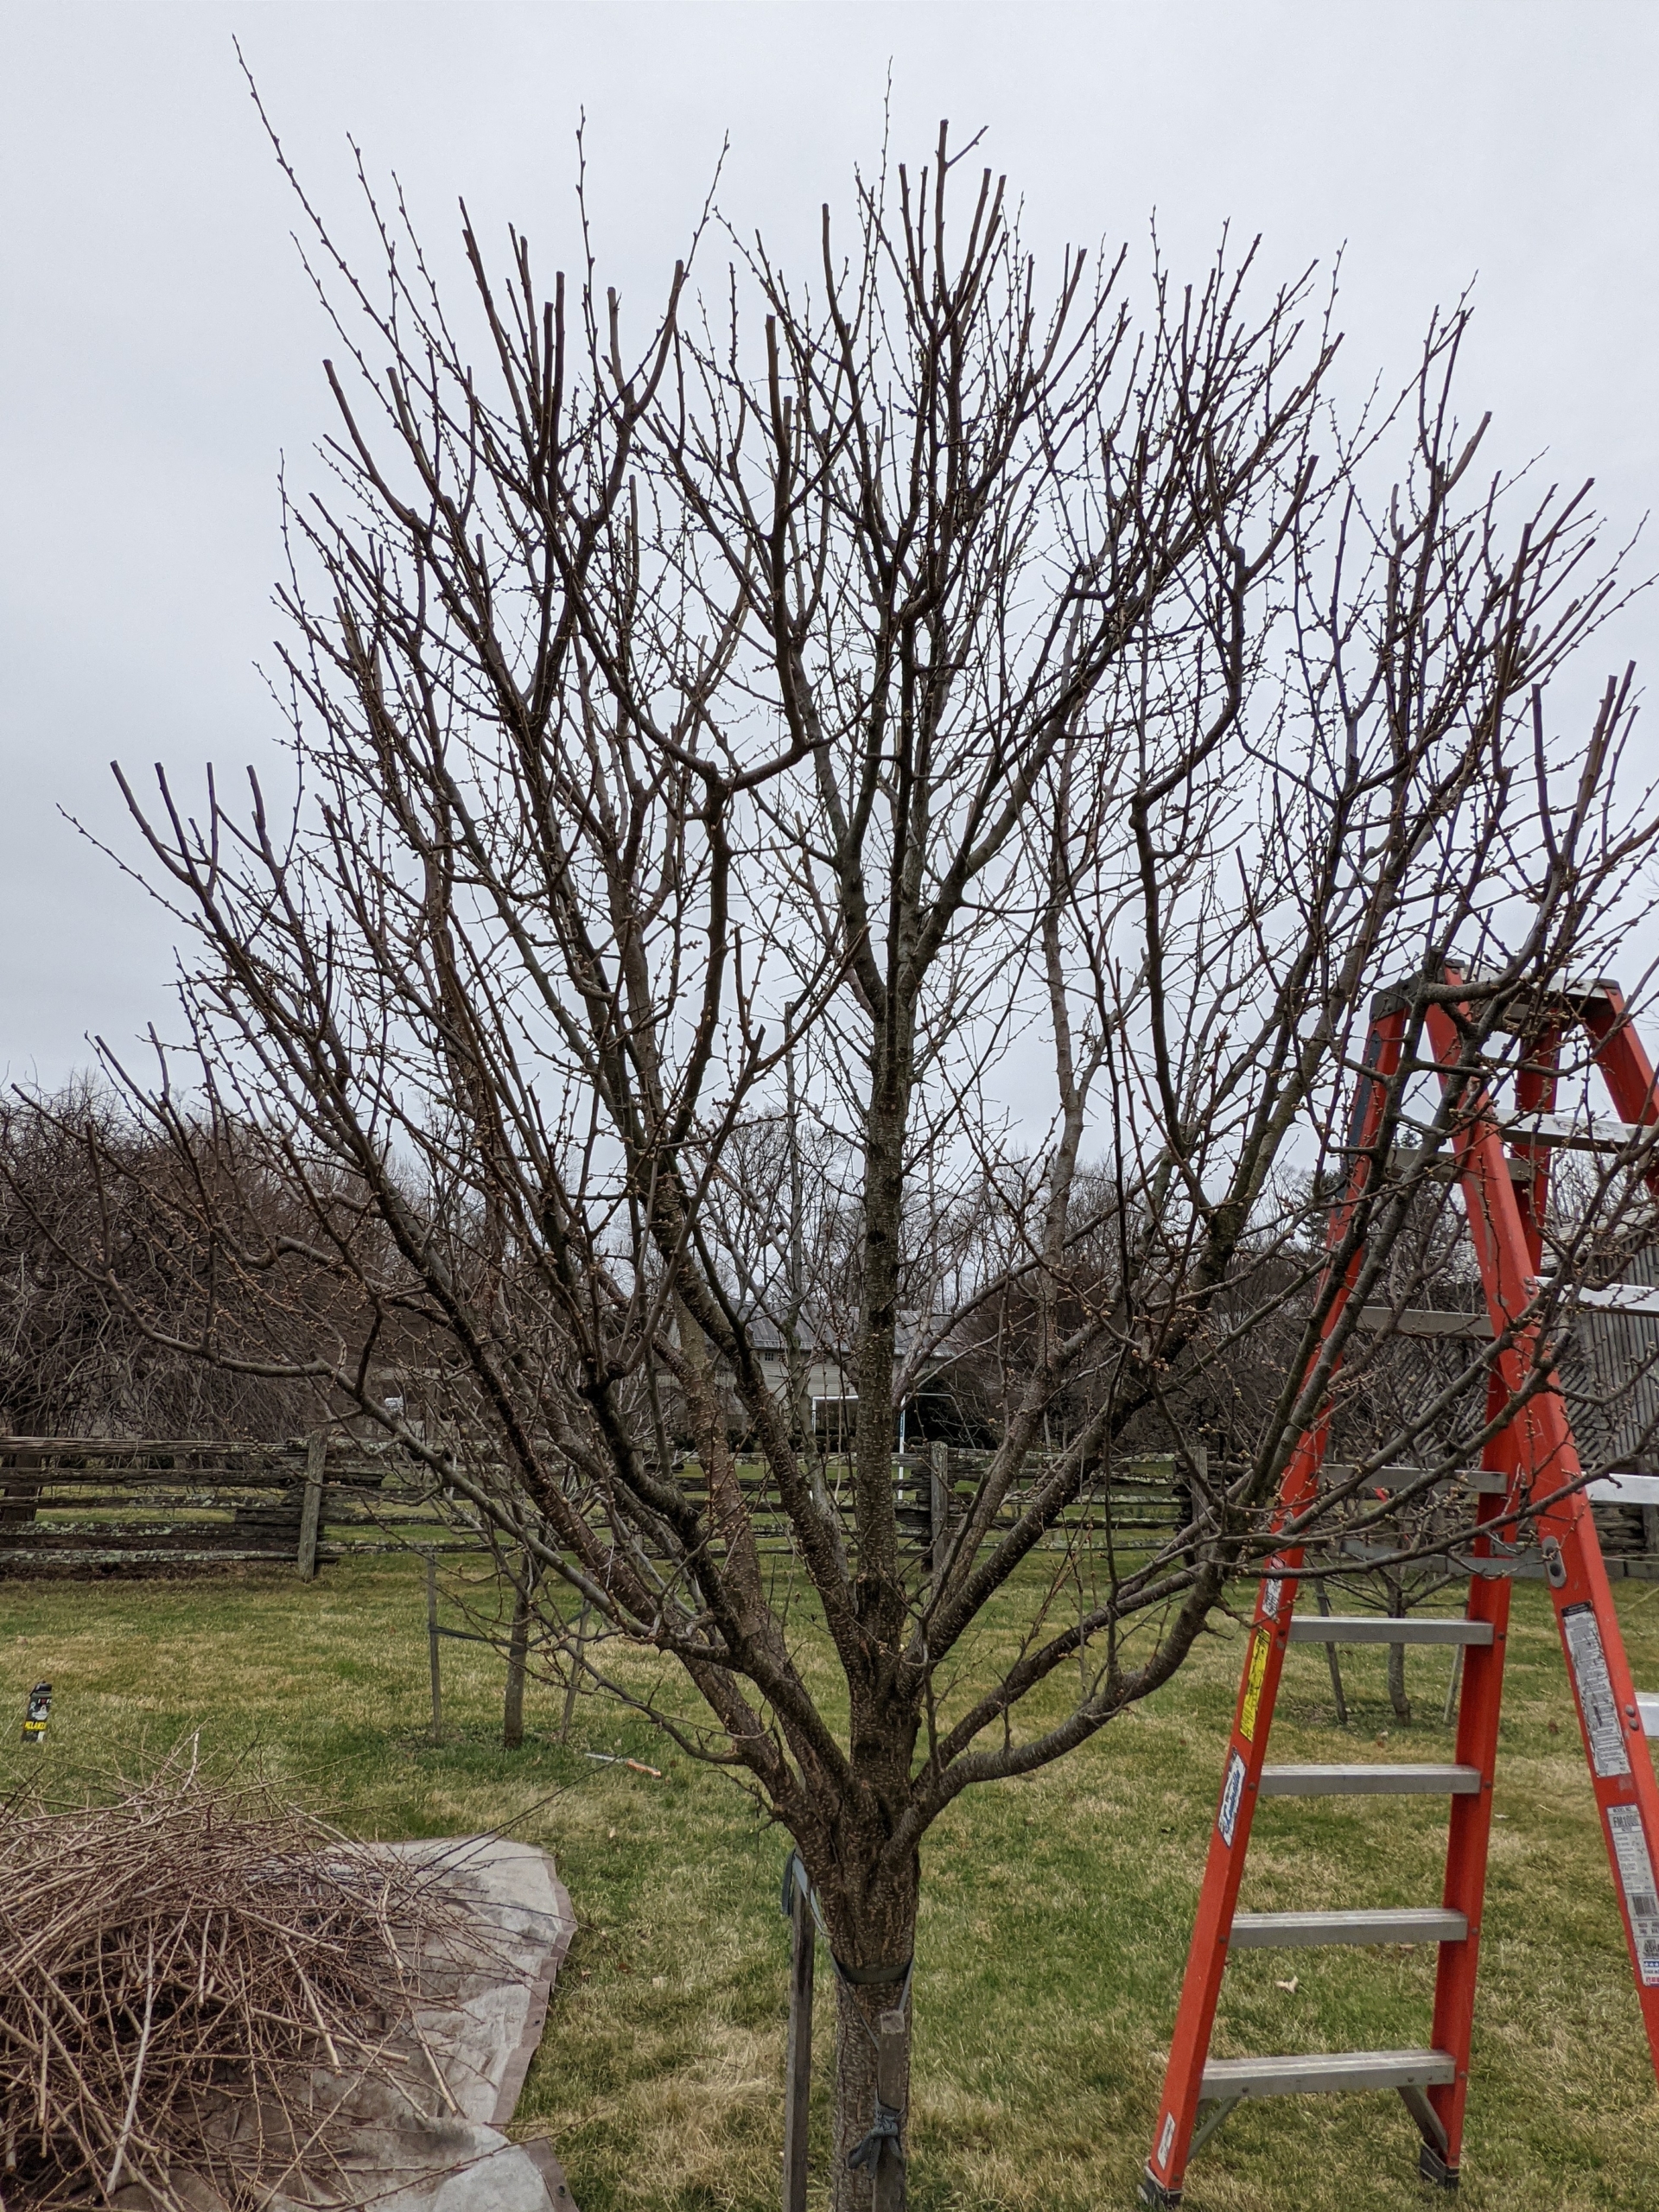
I take excellent care of all my trees and make sure they are pruned and groomed regularly. This week, Pasang and Brian tackled the rows of peaches and plums – one shaping the trees and the other removing the important “Ds” of pruning – dead, diseased, and damaged branches. On peach trees, fruit grows on one-year-old wood, so a mature tree can be pruned rather extensively – around 40 percent of the tree each year.
I always prefer hand tools that will give my trees a more natural appearance and shape. Smaller twigs are snipped off with regular secateurs. Each member of my outdoor grounds crew has a pair. It’s also very important to use sterilized pruning shears whenever trimming trees, so any diseases cannot be transferred from one specimen to another.
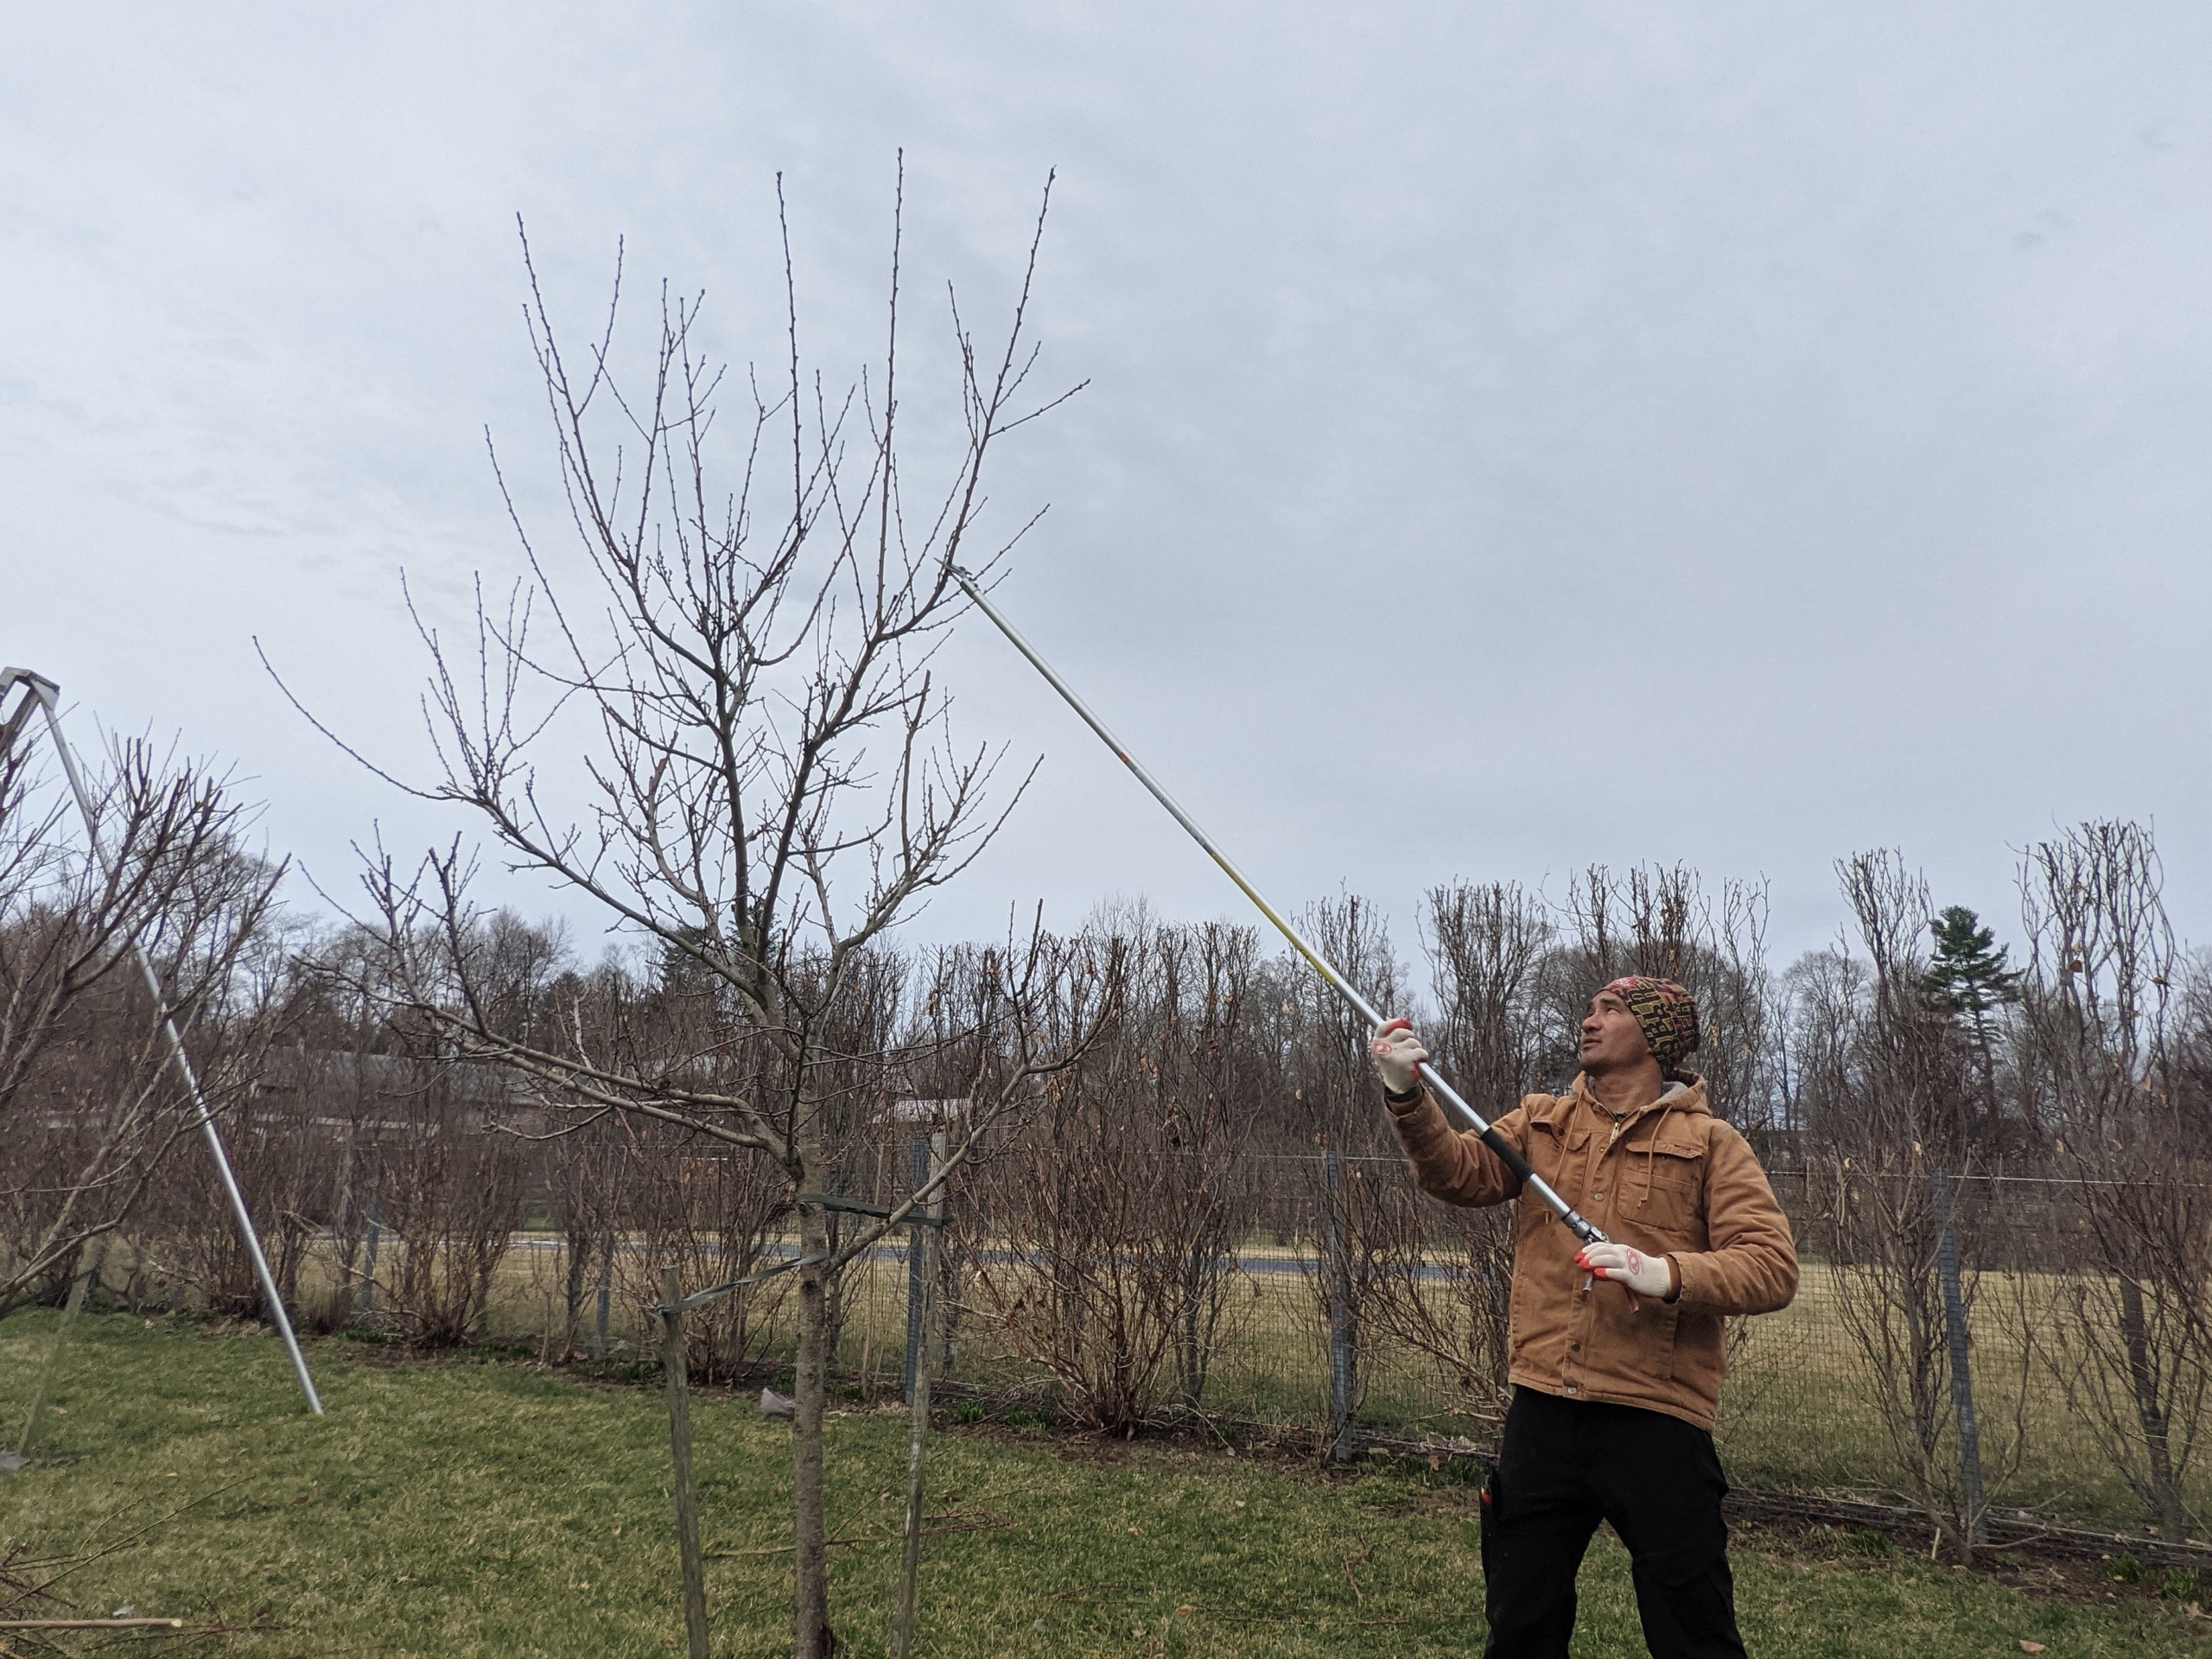
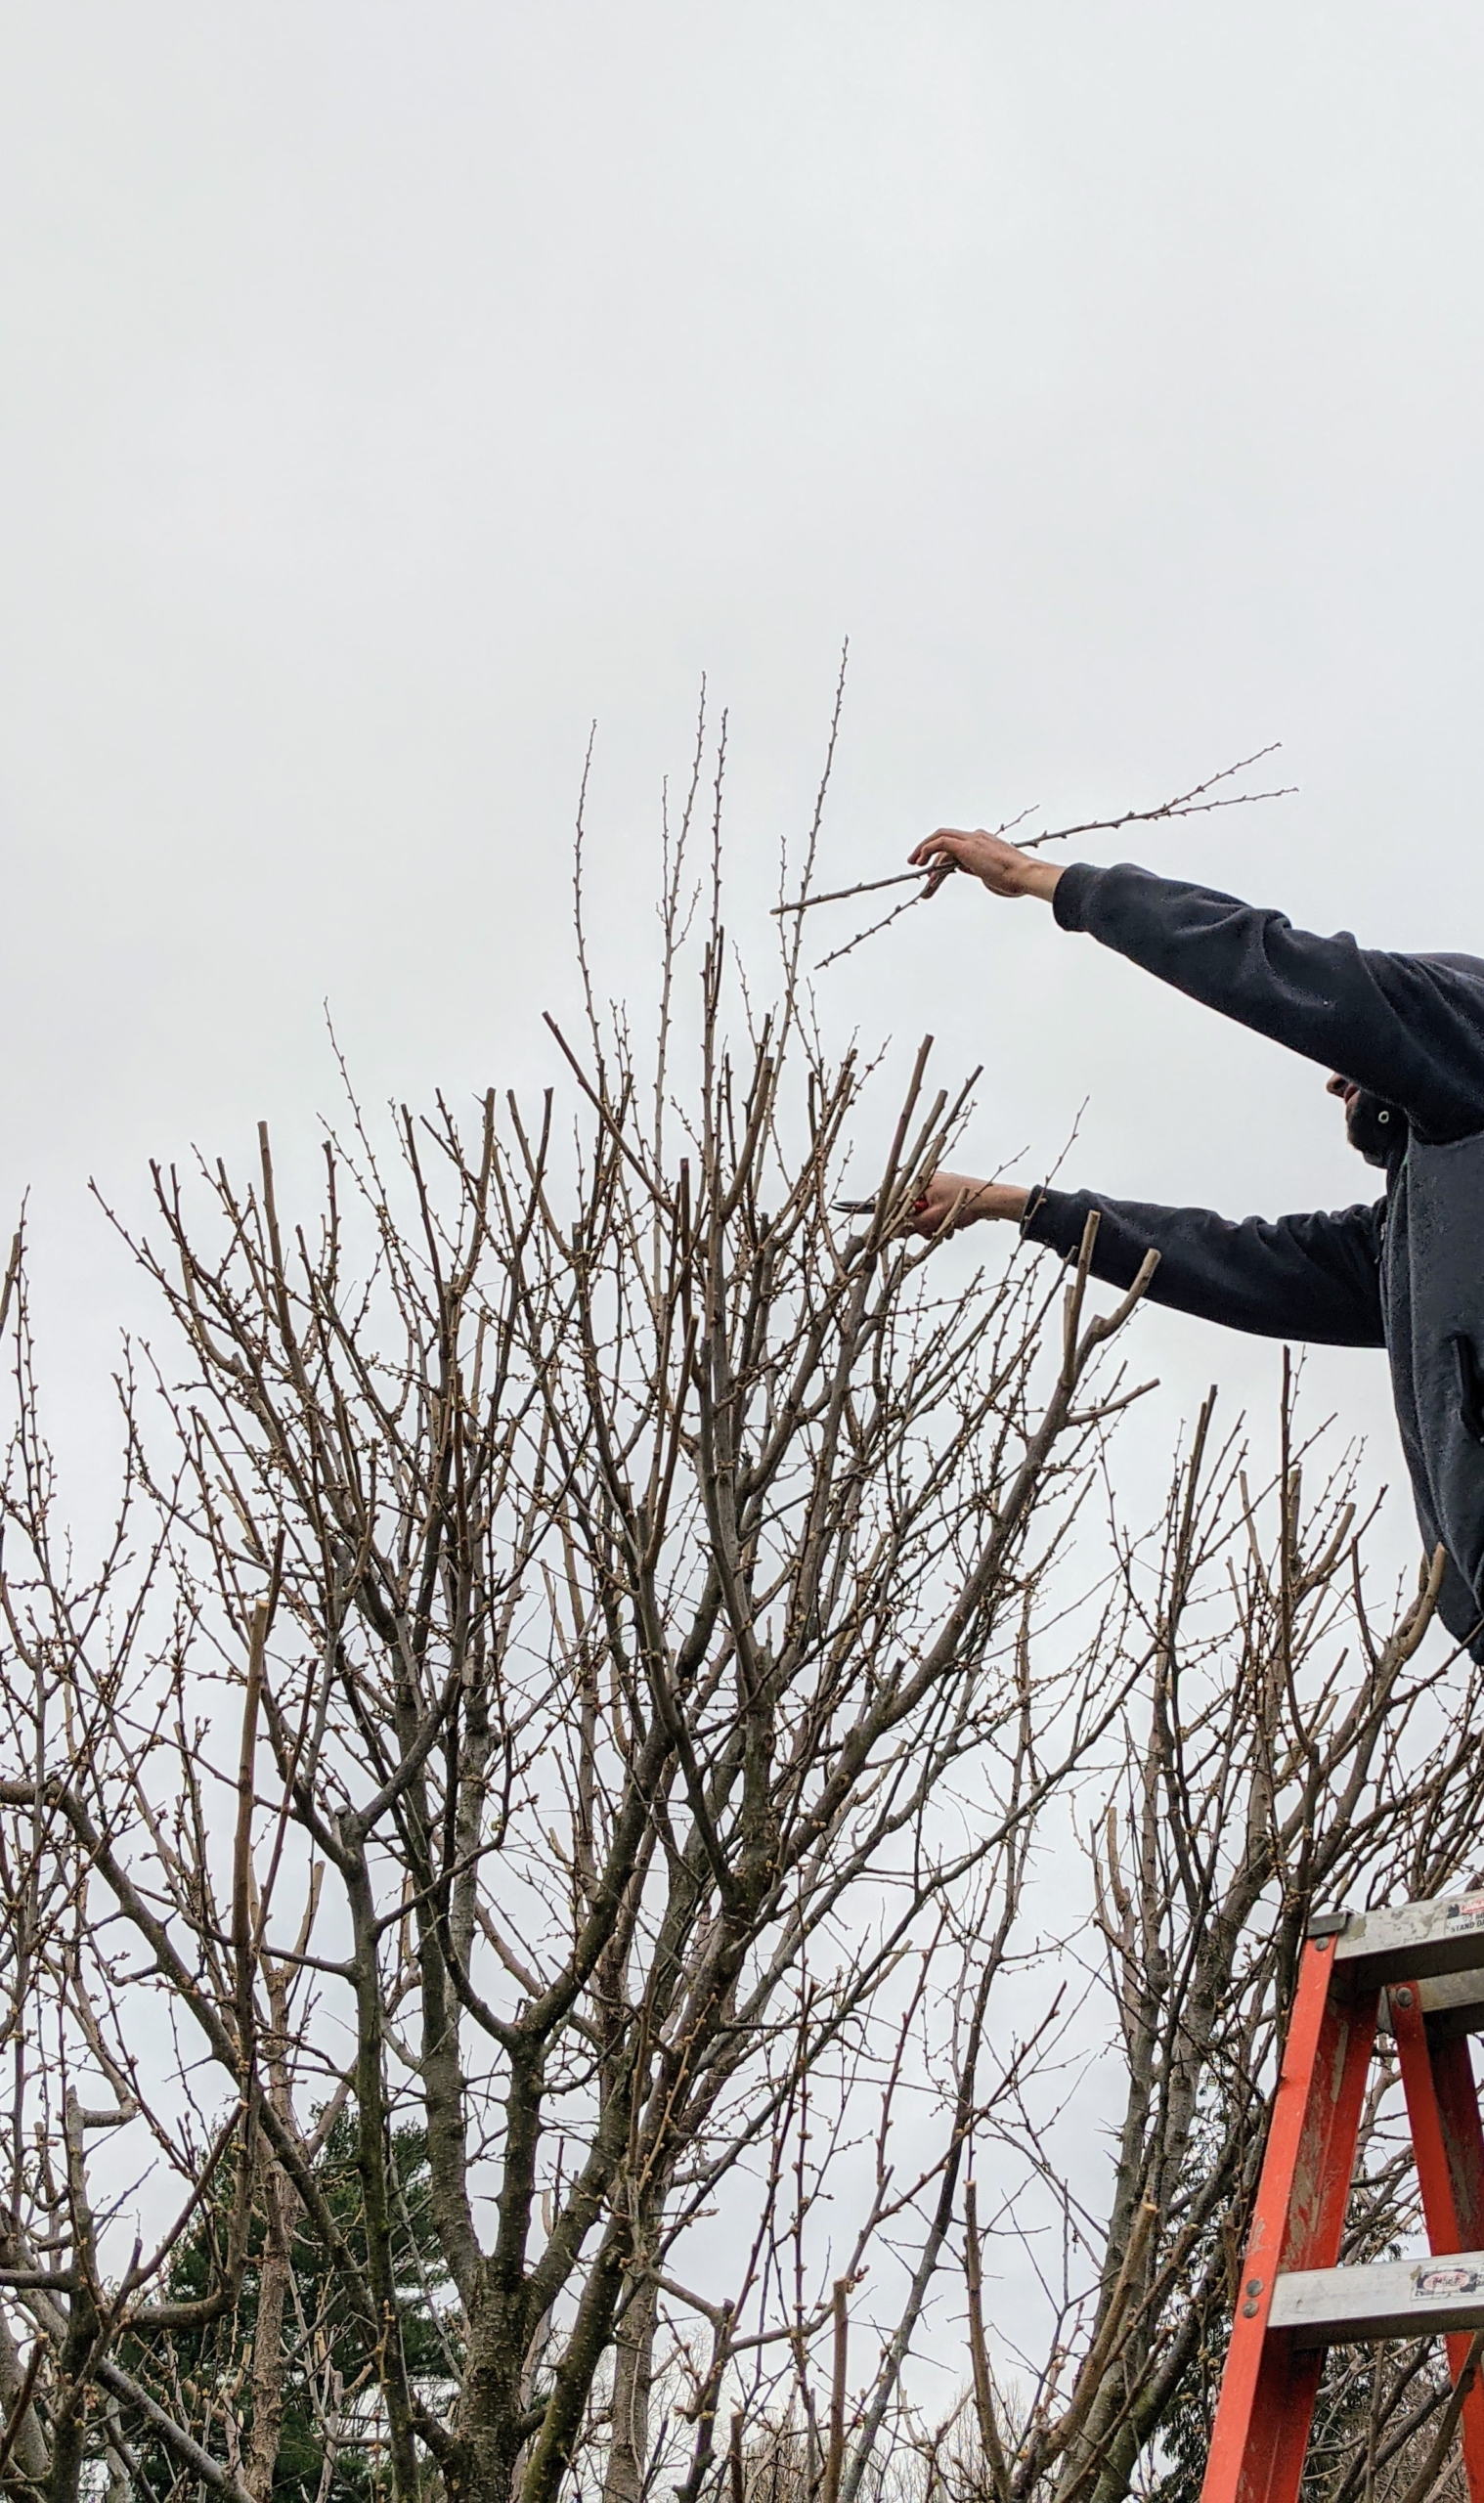
Pasang is an excellent pruner and does a lot of the smaller tree pruning projects at the farm. Here he is shaping the tree and pruning higher branches to help let in light and promote good air circulation.
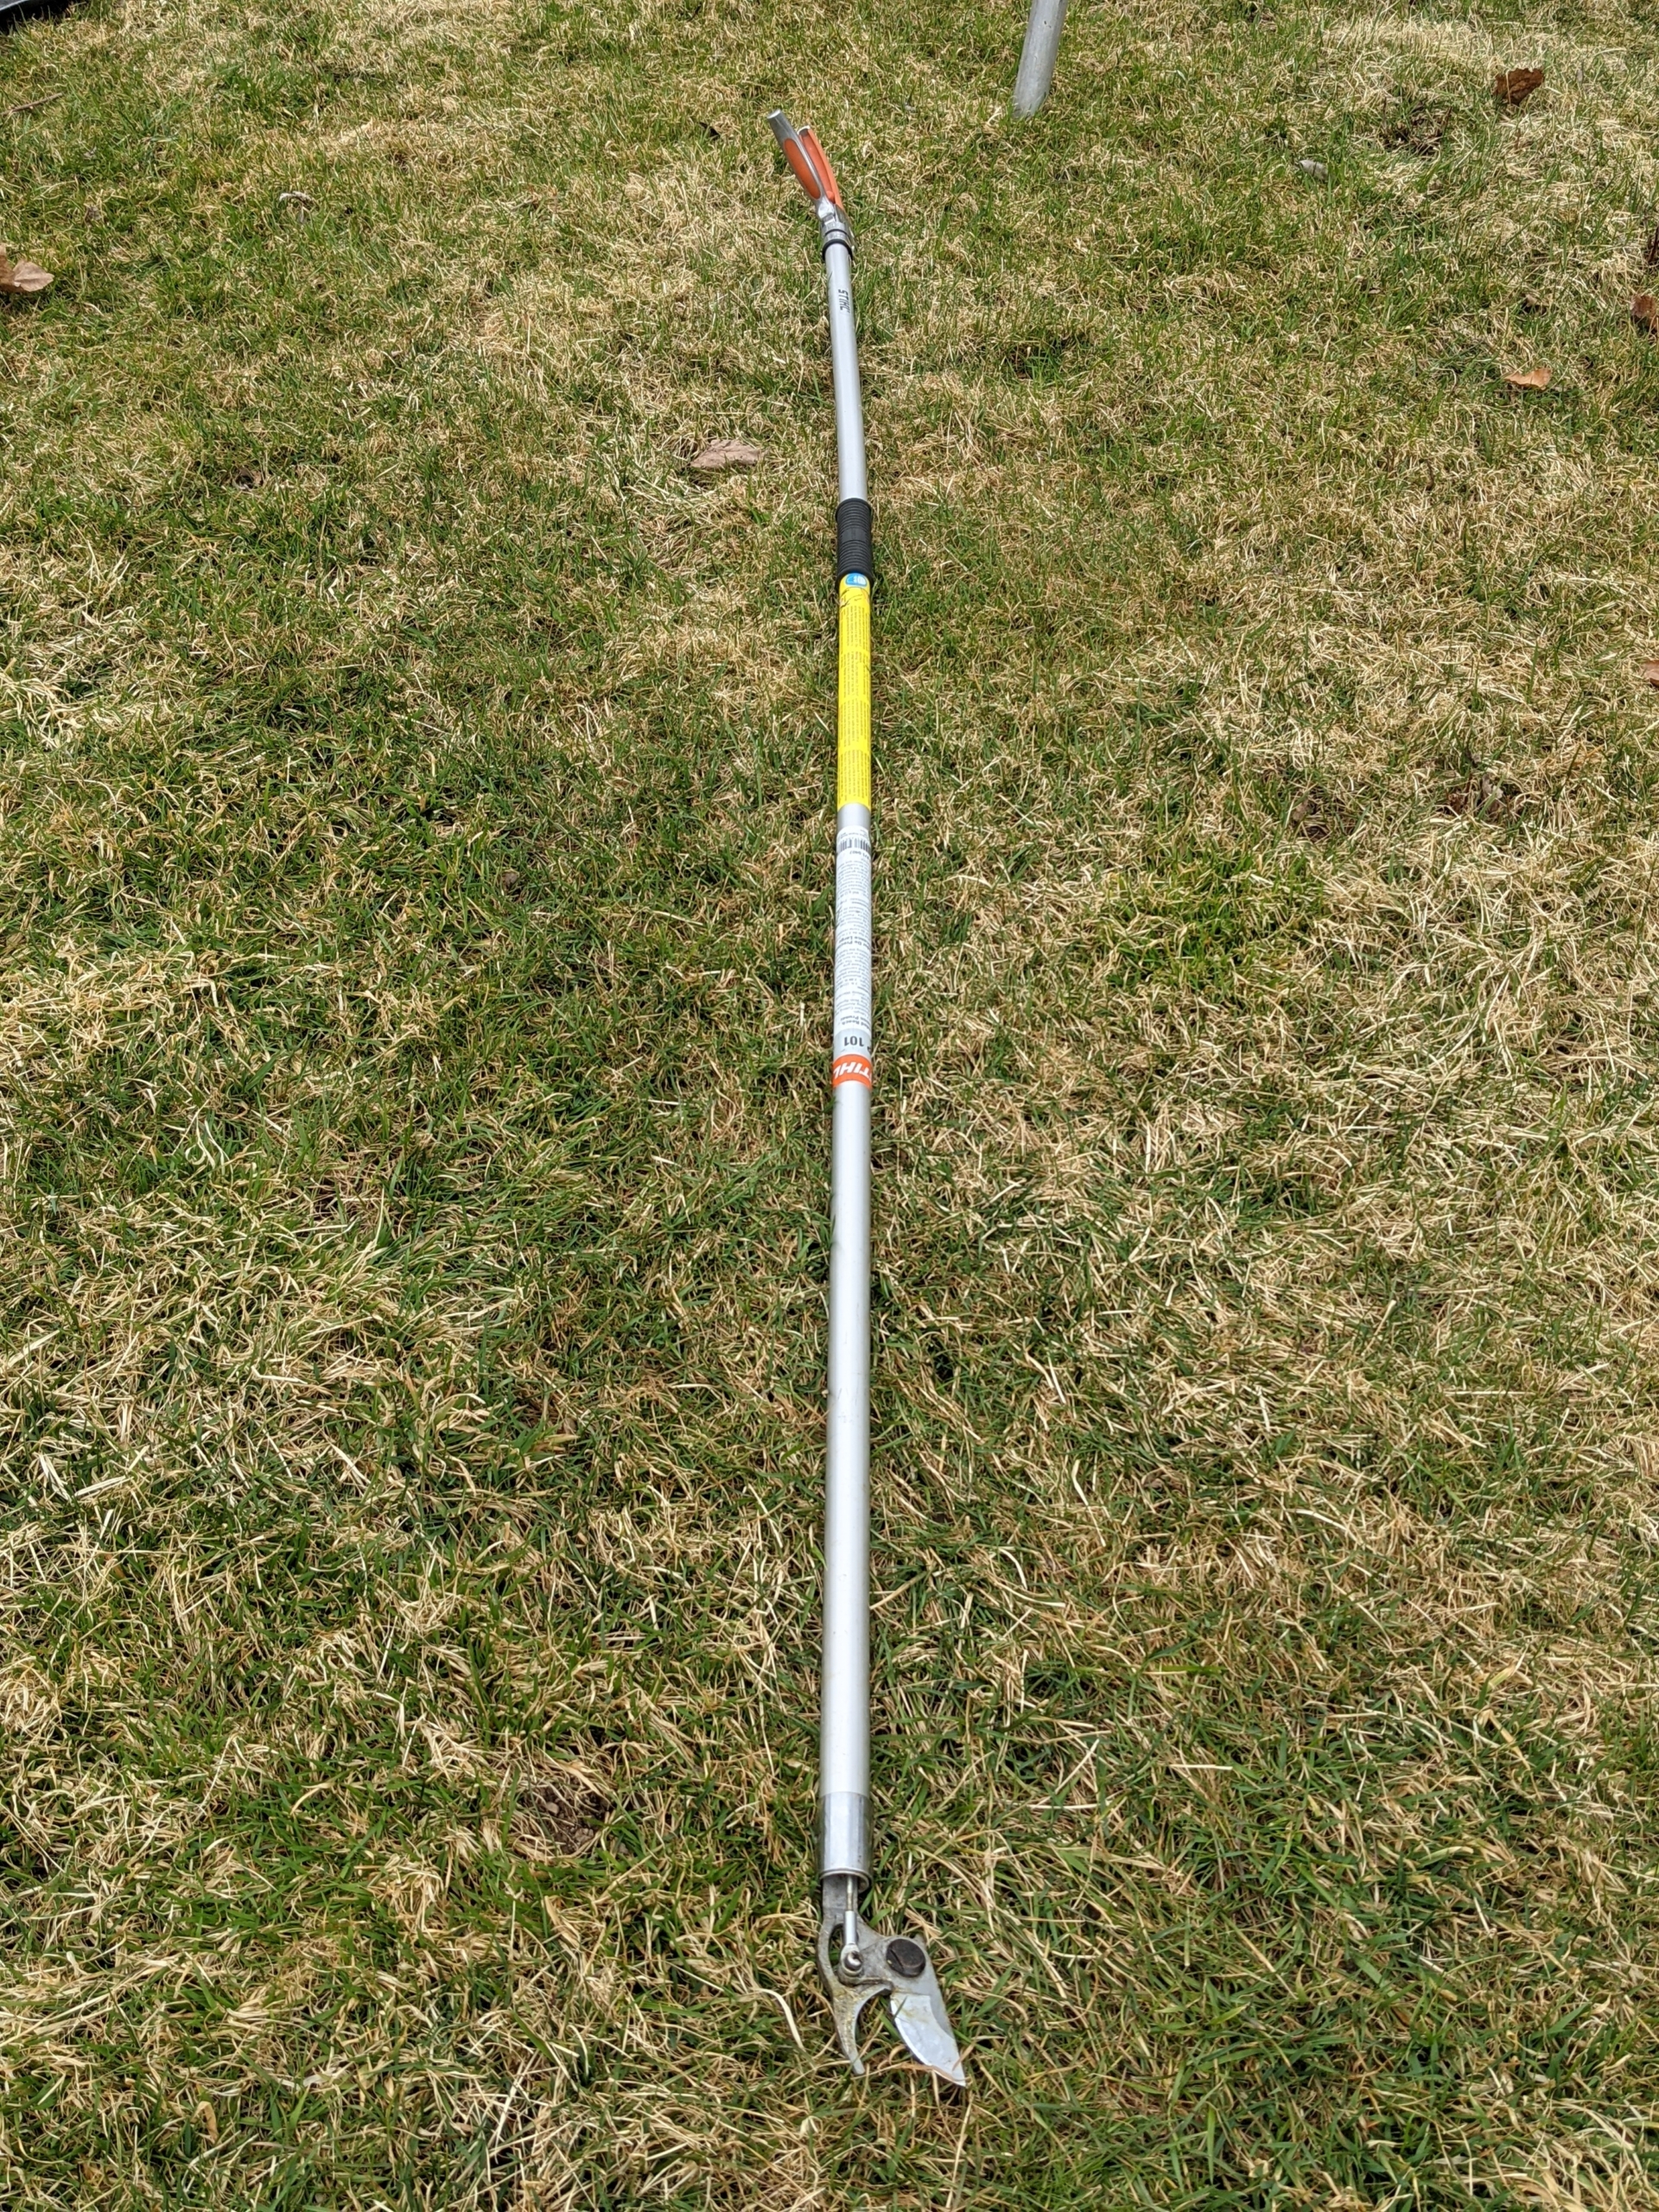
Pasang uses this STIHL Extended Reach Pruner – one of his favorite pruning tools because it allows him to cut branches with the squeeze of a handle. It is lightweight and has a working reach of seven-feet.
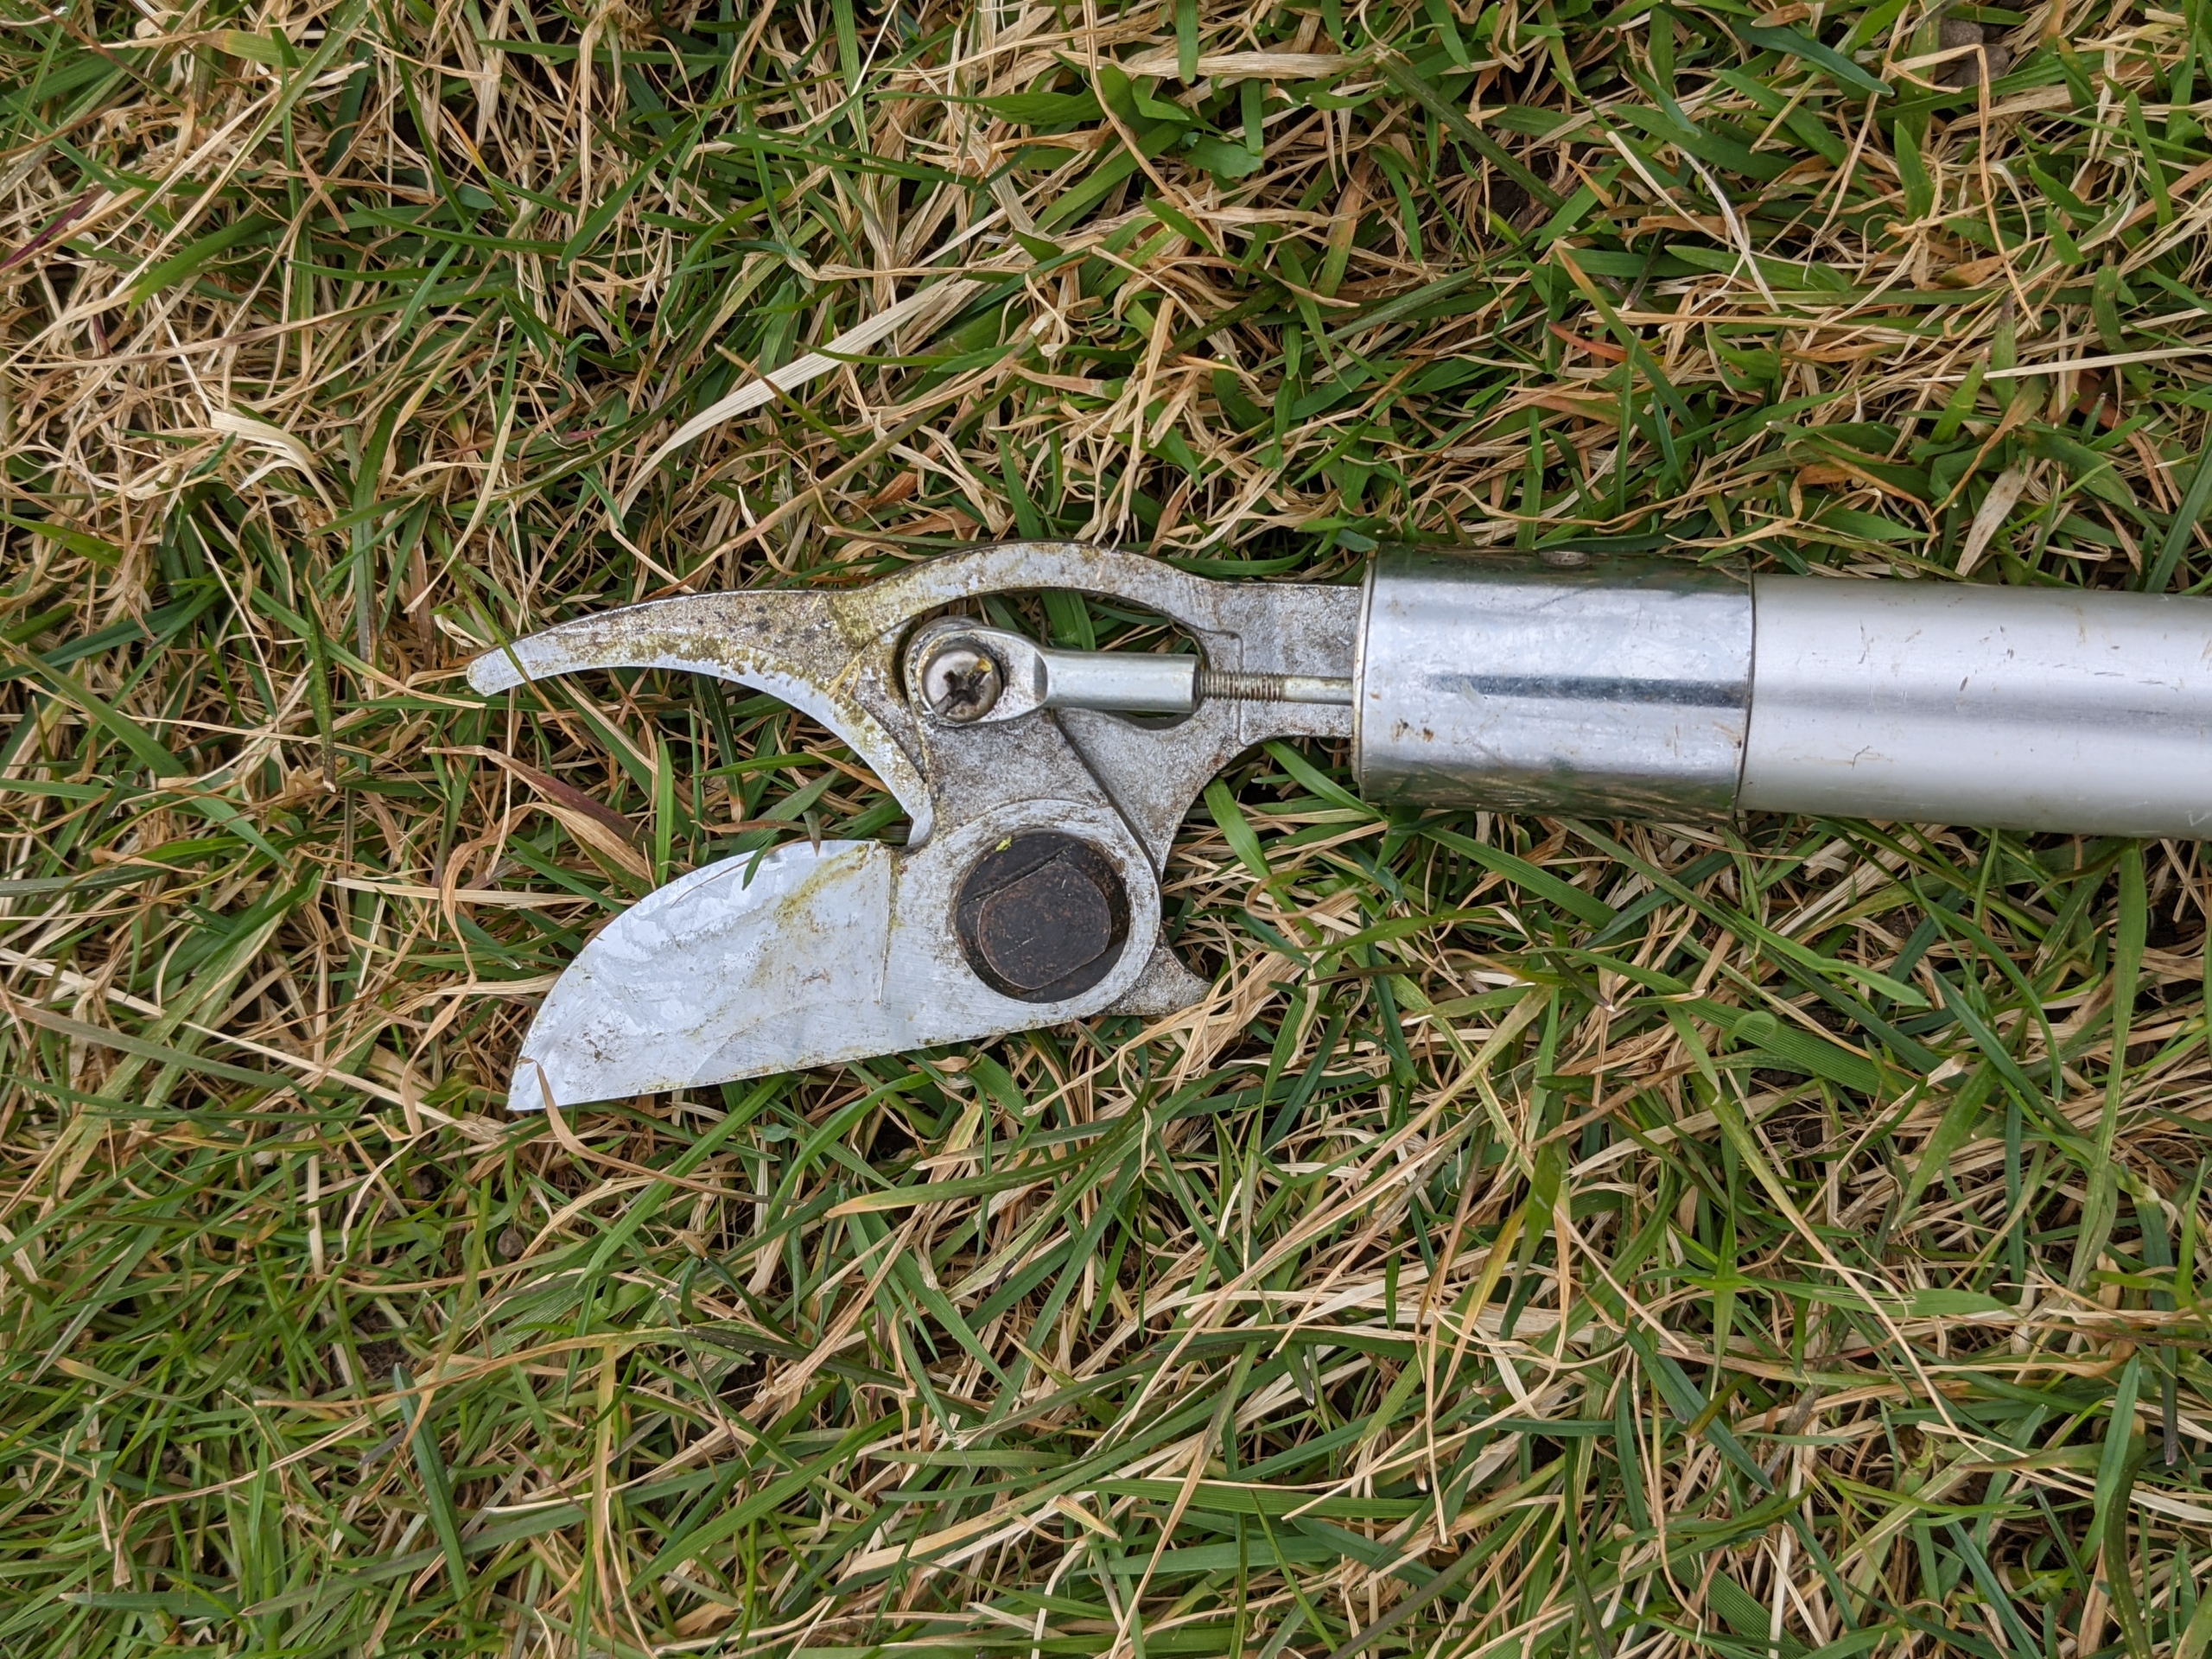
Here is a closer look at the cutting end of the pruner. It has a hard, chrome-plated blade that cuts branches up to .75 inches in diameter.
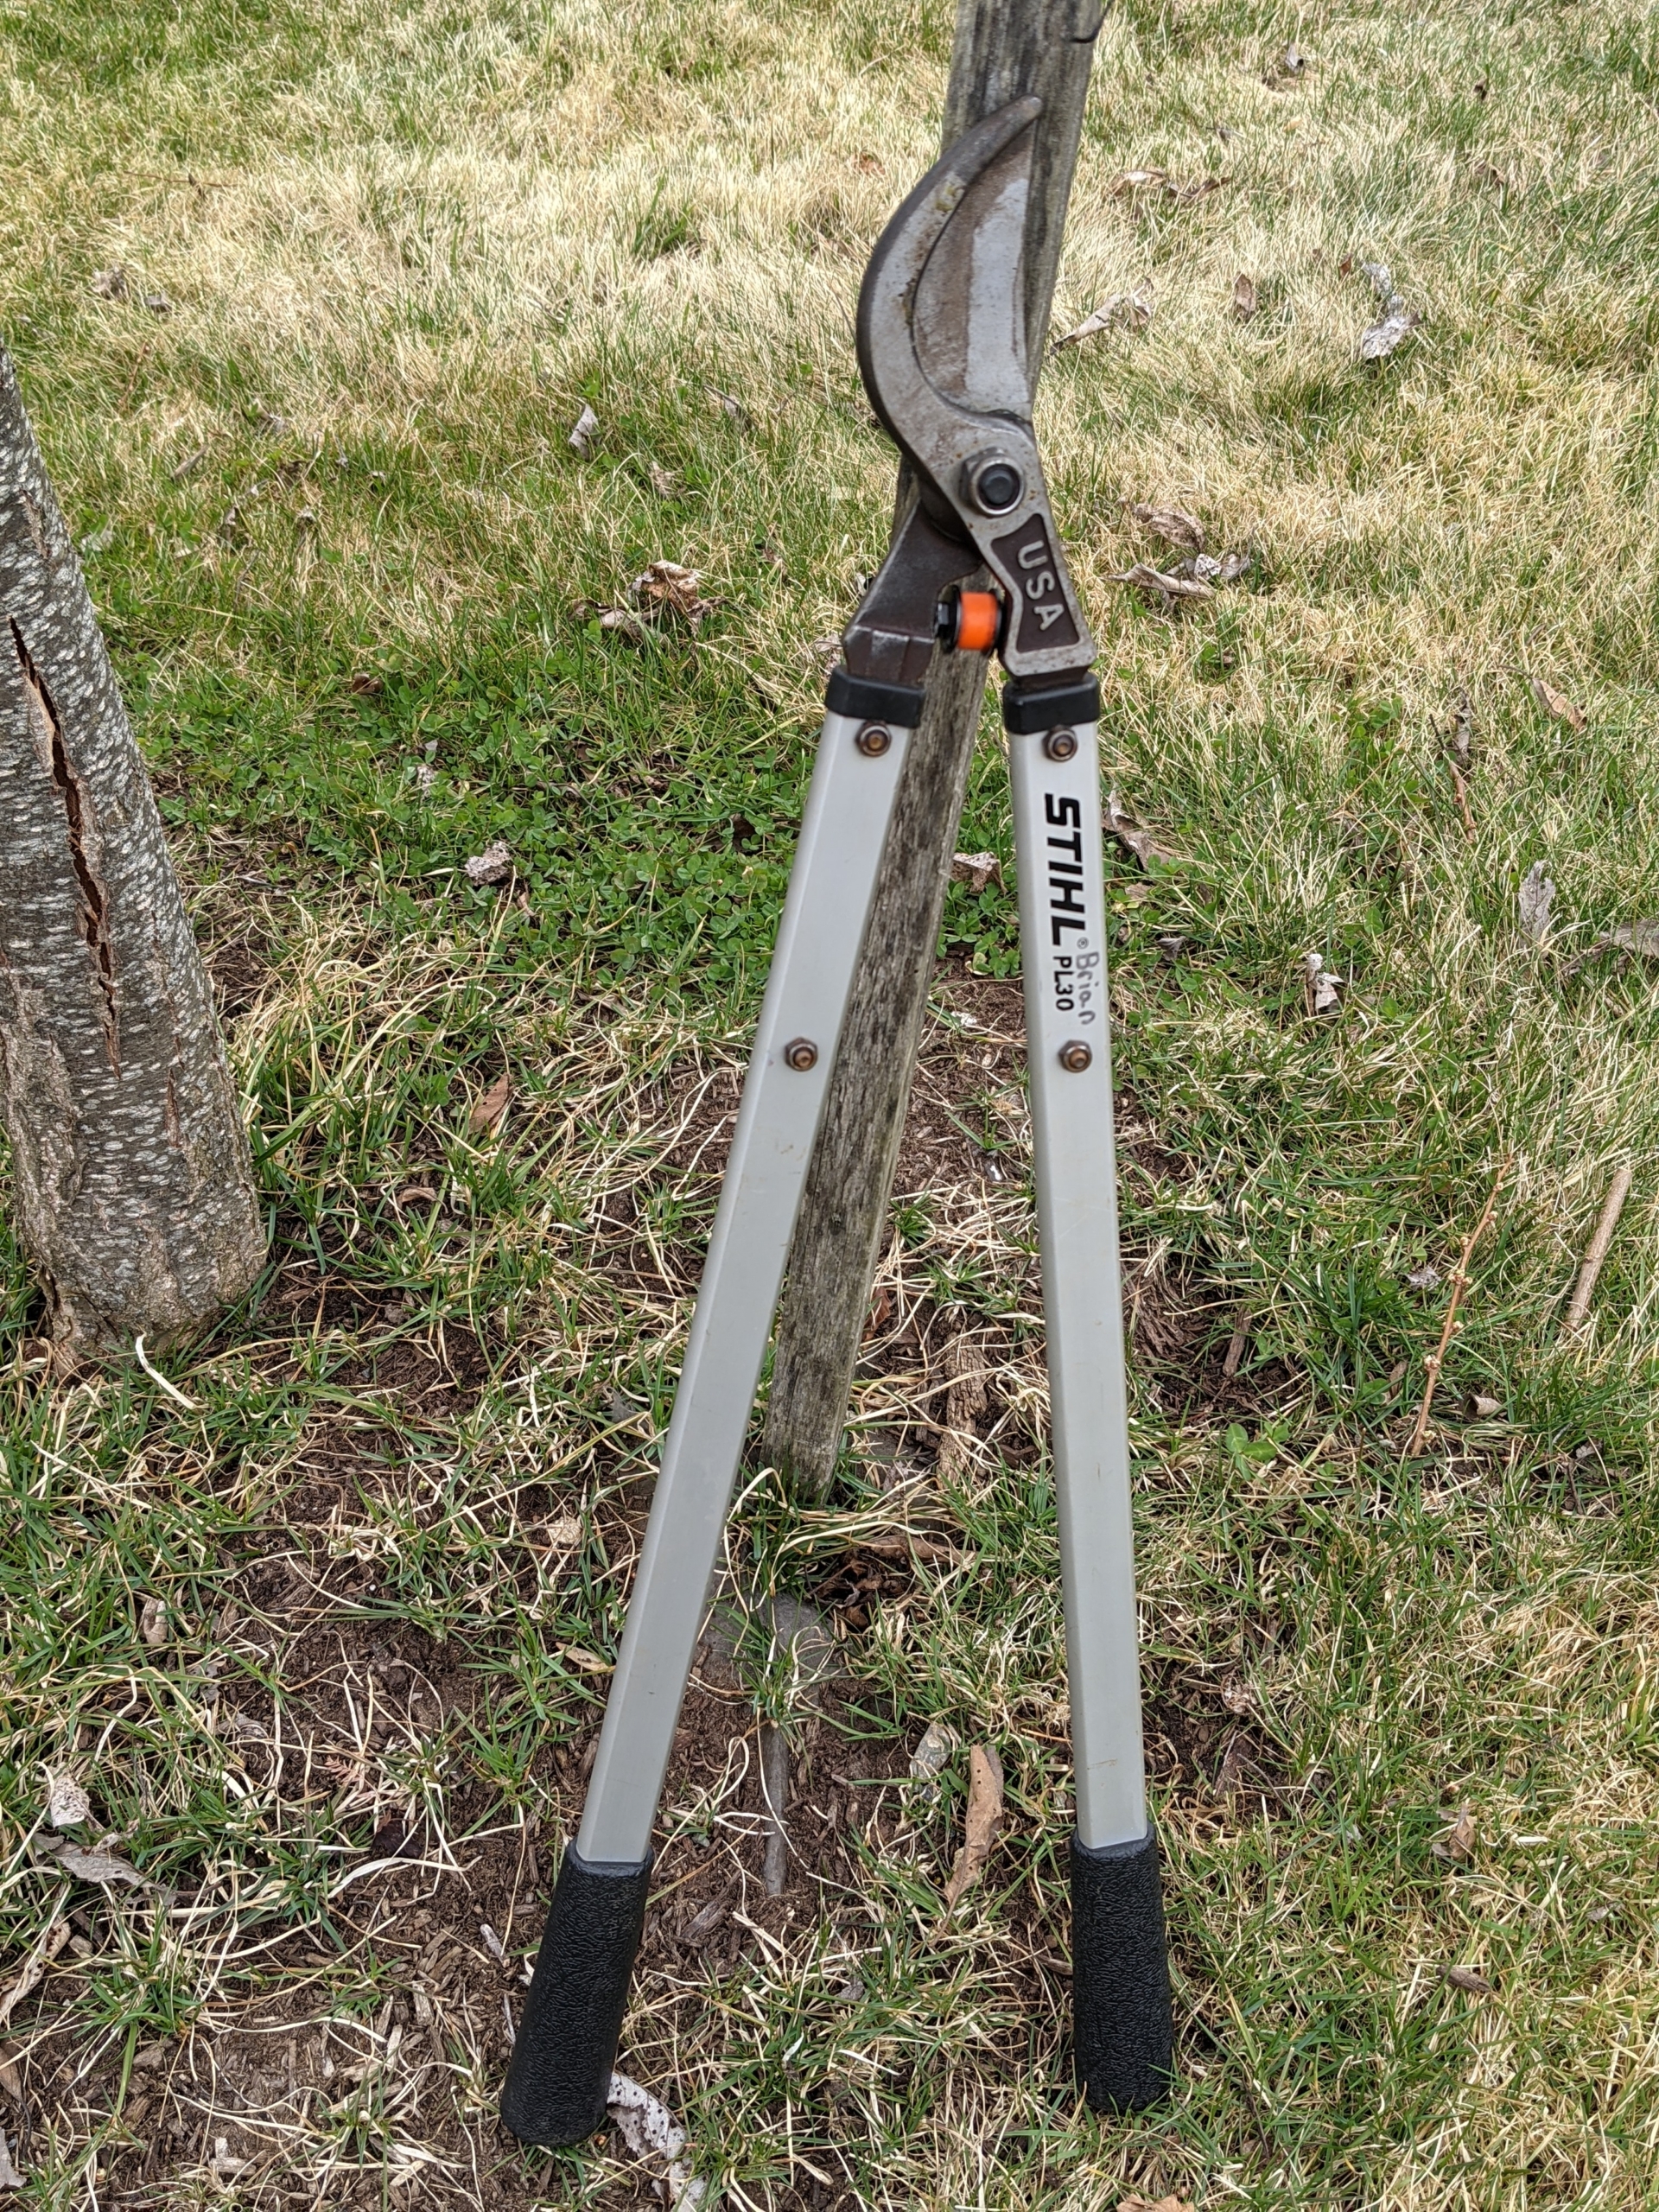
Another favorite tool is the STIHL lopper. Its aluminum handle measures a full 32-inches and the specially designed cutting head has a cutting capacity of two-inches. Brian likes to use this tool when pruning.
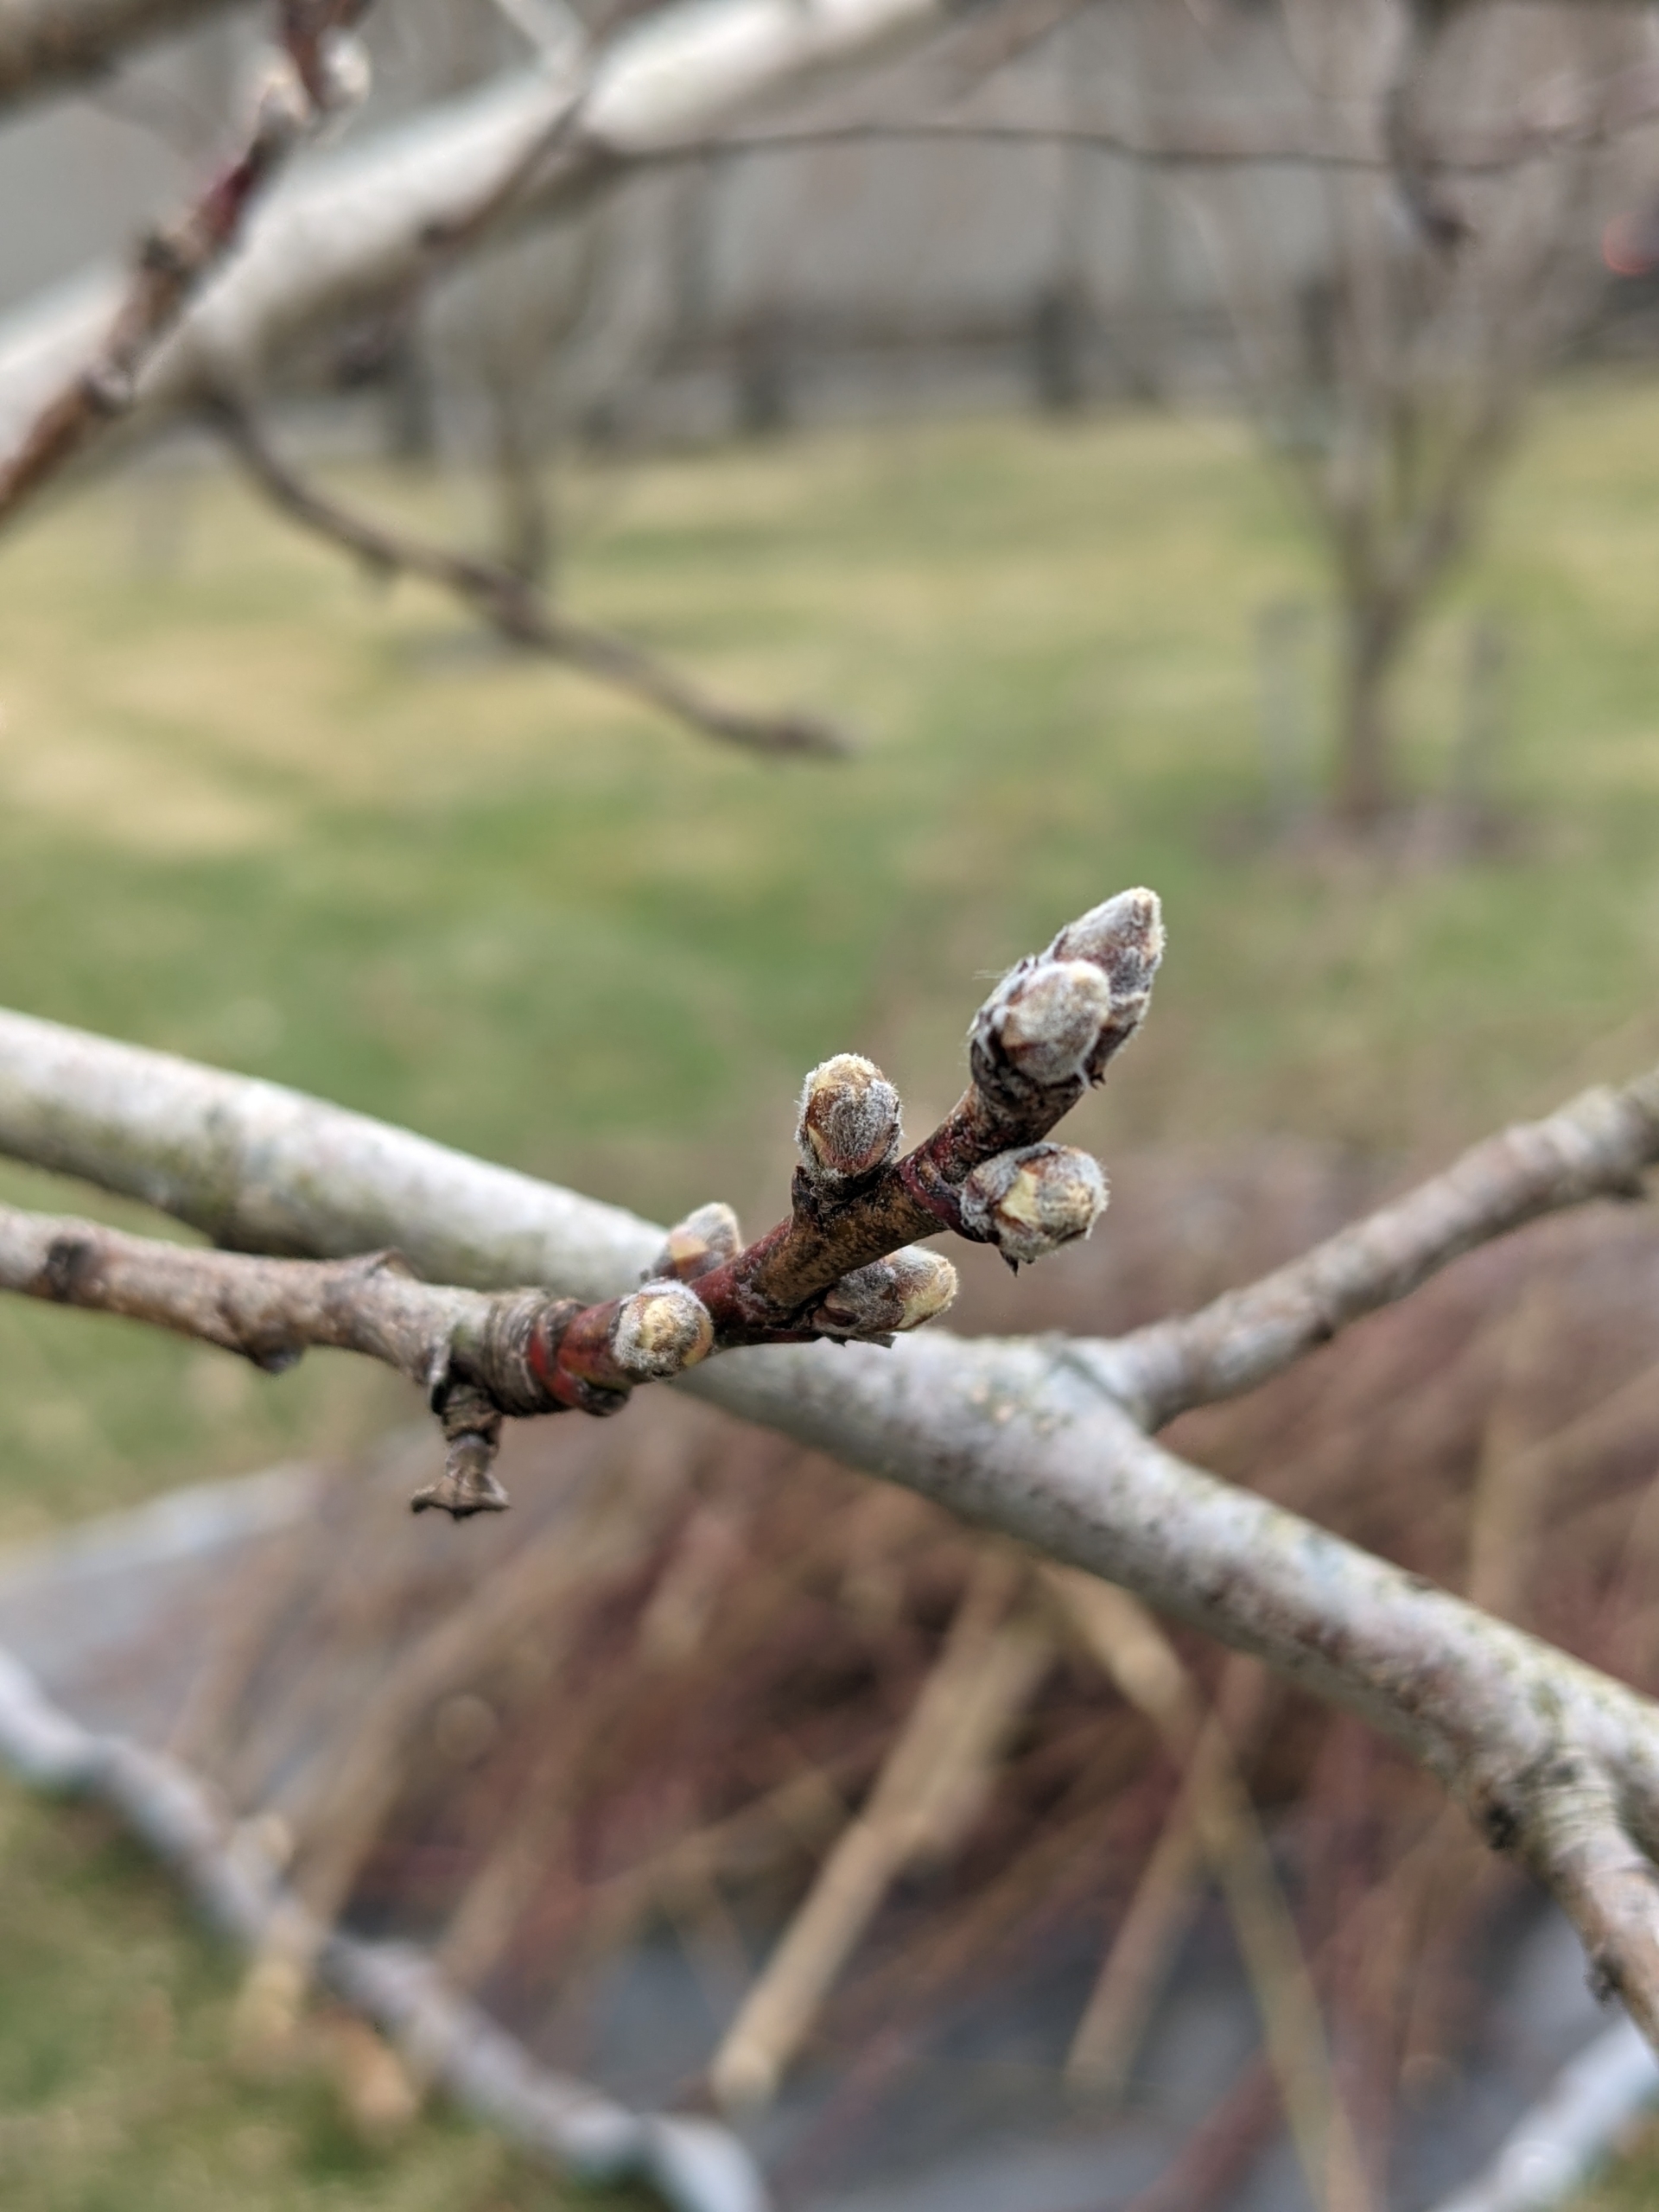
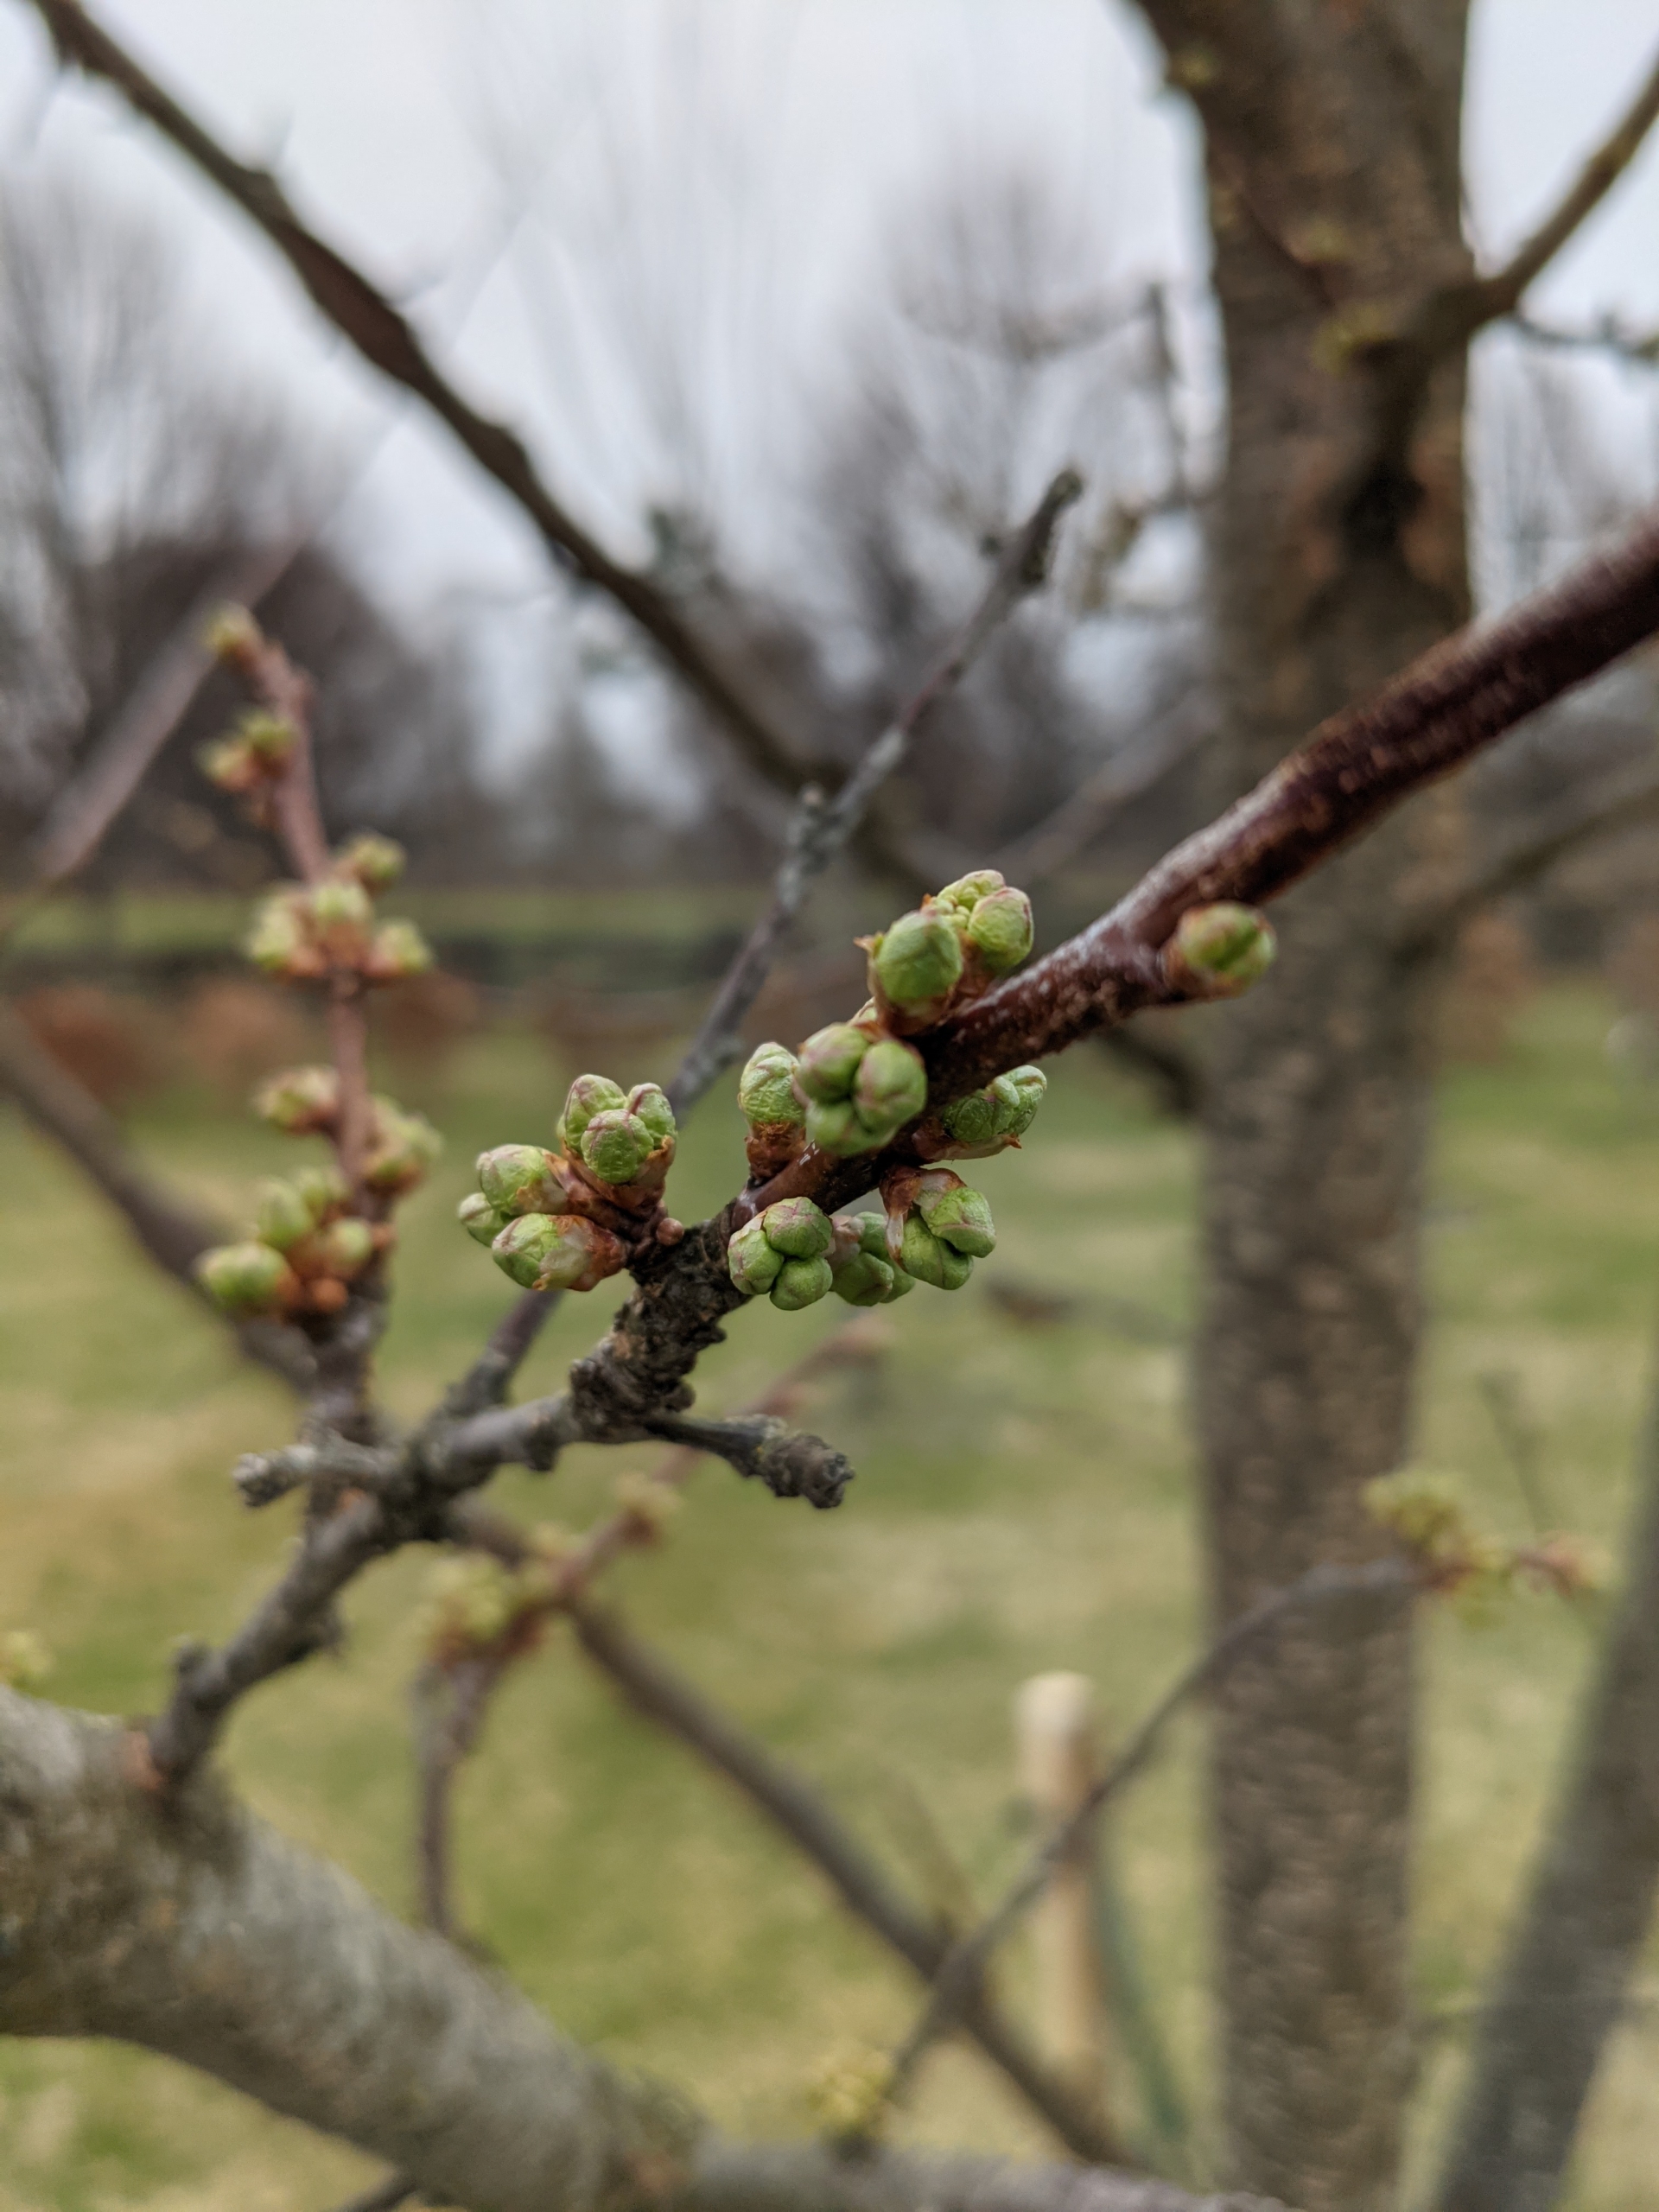
These are the flower buds of the peach. A peach flower bud produces a single flower that can set one fruit. There are many, many flower buds on these peach trees.
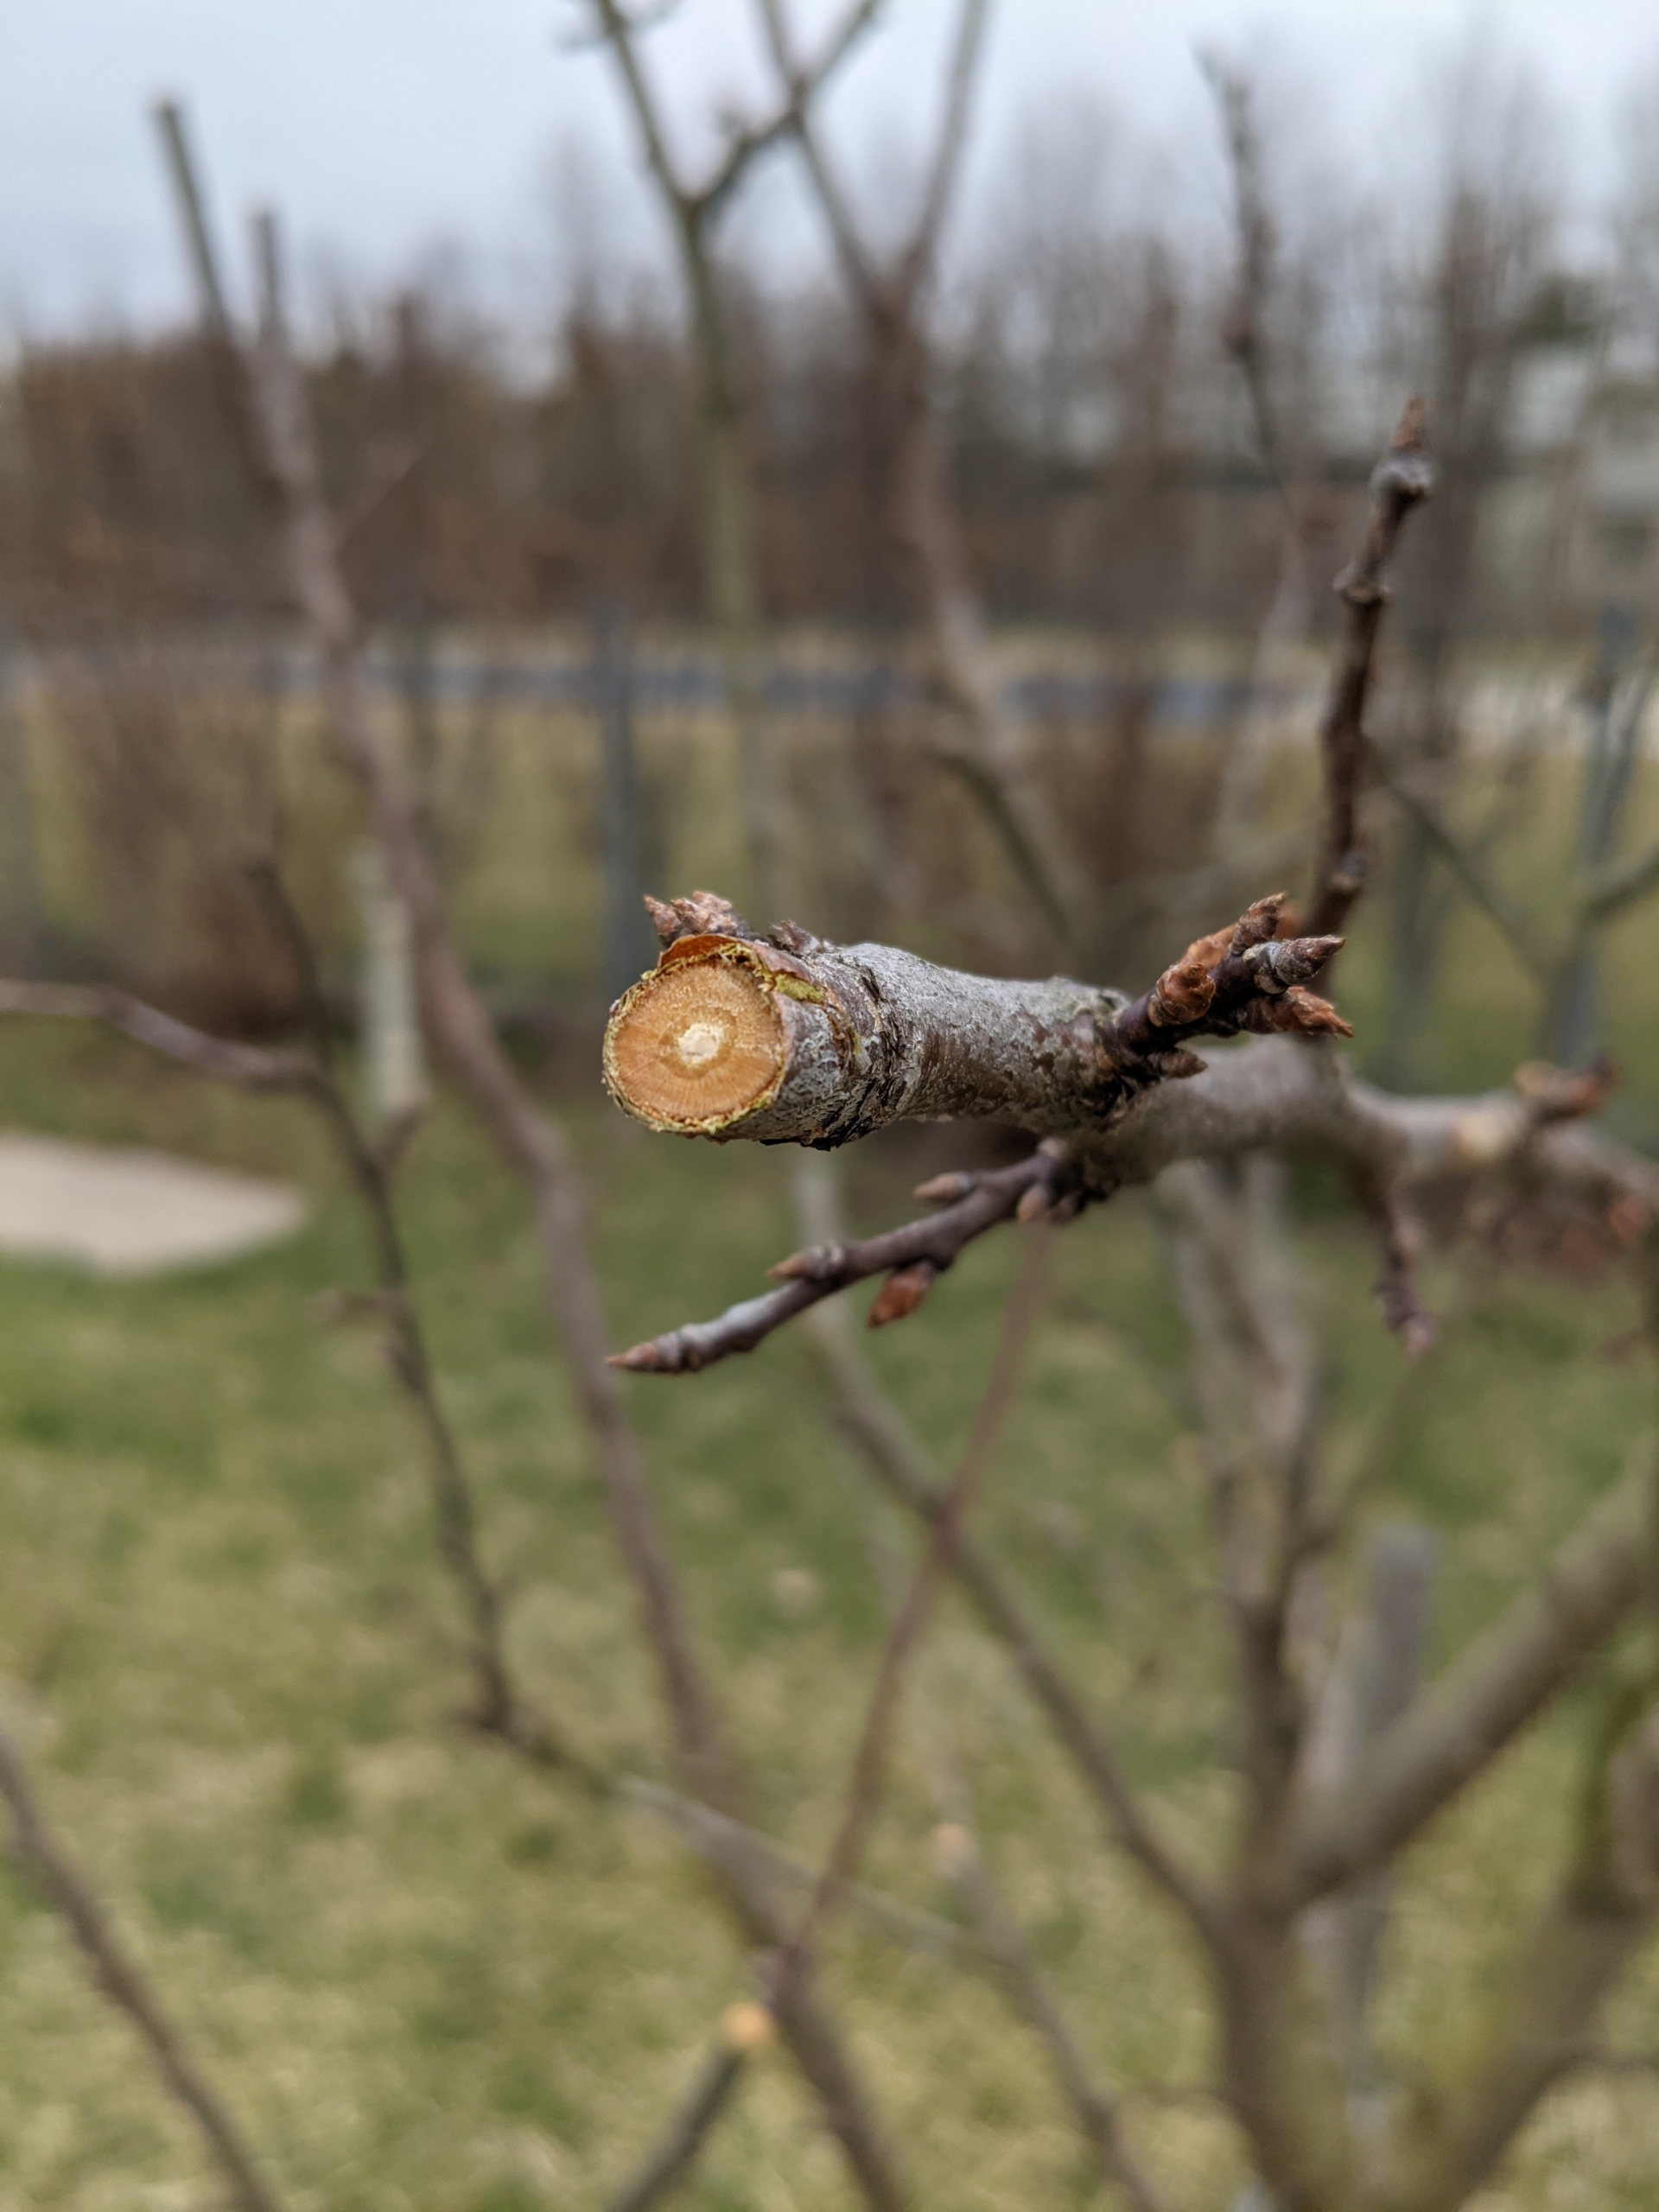
This is a dead branch – notice the dark brown wood. Dead branches, or those without any signs of new growth, are cut, so the energy is directed to the branches with fruiting buds.
Branches that are rubbing or crisscrossing are also cut. Basically, the goal is to create a tree with well spaced lateral branches. Any branches which interfere with the tree’s shape or create a dense framework should be removed.
Down below – all the cut branches. There is a lot of pruning to do on these trees – they are healthy and have produced a lot of growth in the last year.
Here, one can see what has already been cut, and what Brian still has left to trim – he’s almost done.
Here are the flower buds of the plum trees. All varieties of plums bloom in late winter to early spring and fruit generally ripens in May through September, depending on the species, cultivar and climate.
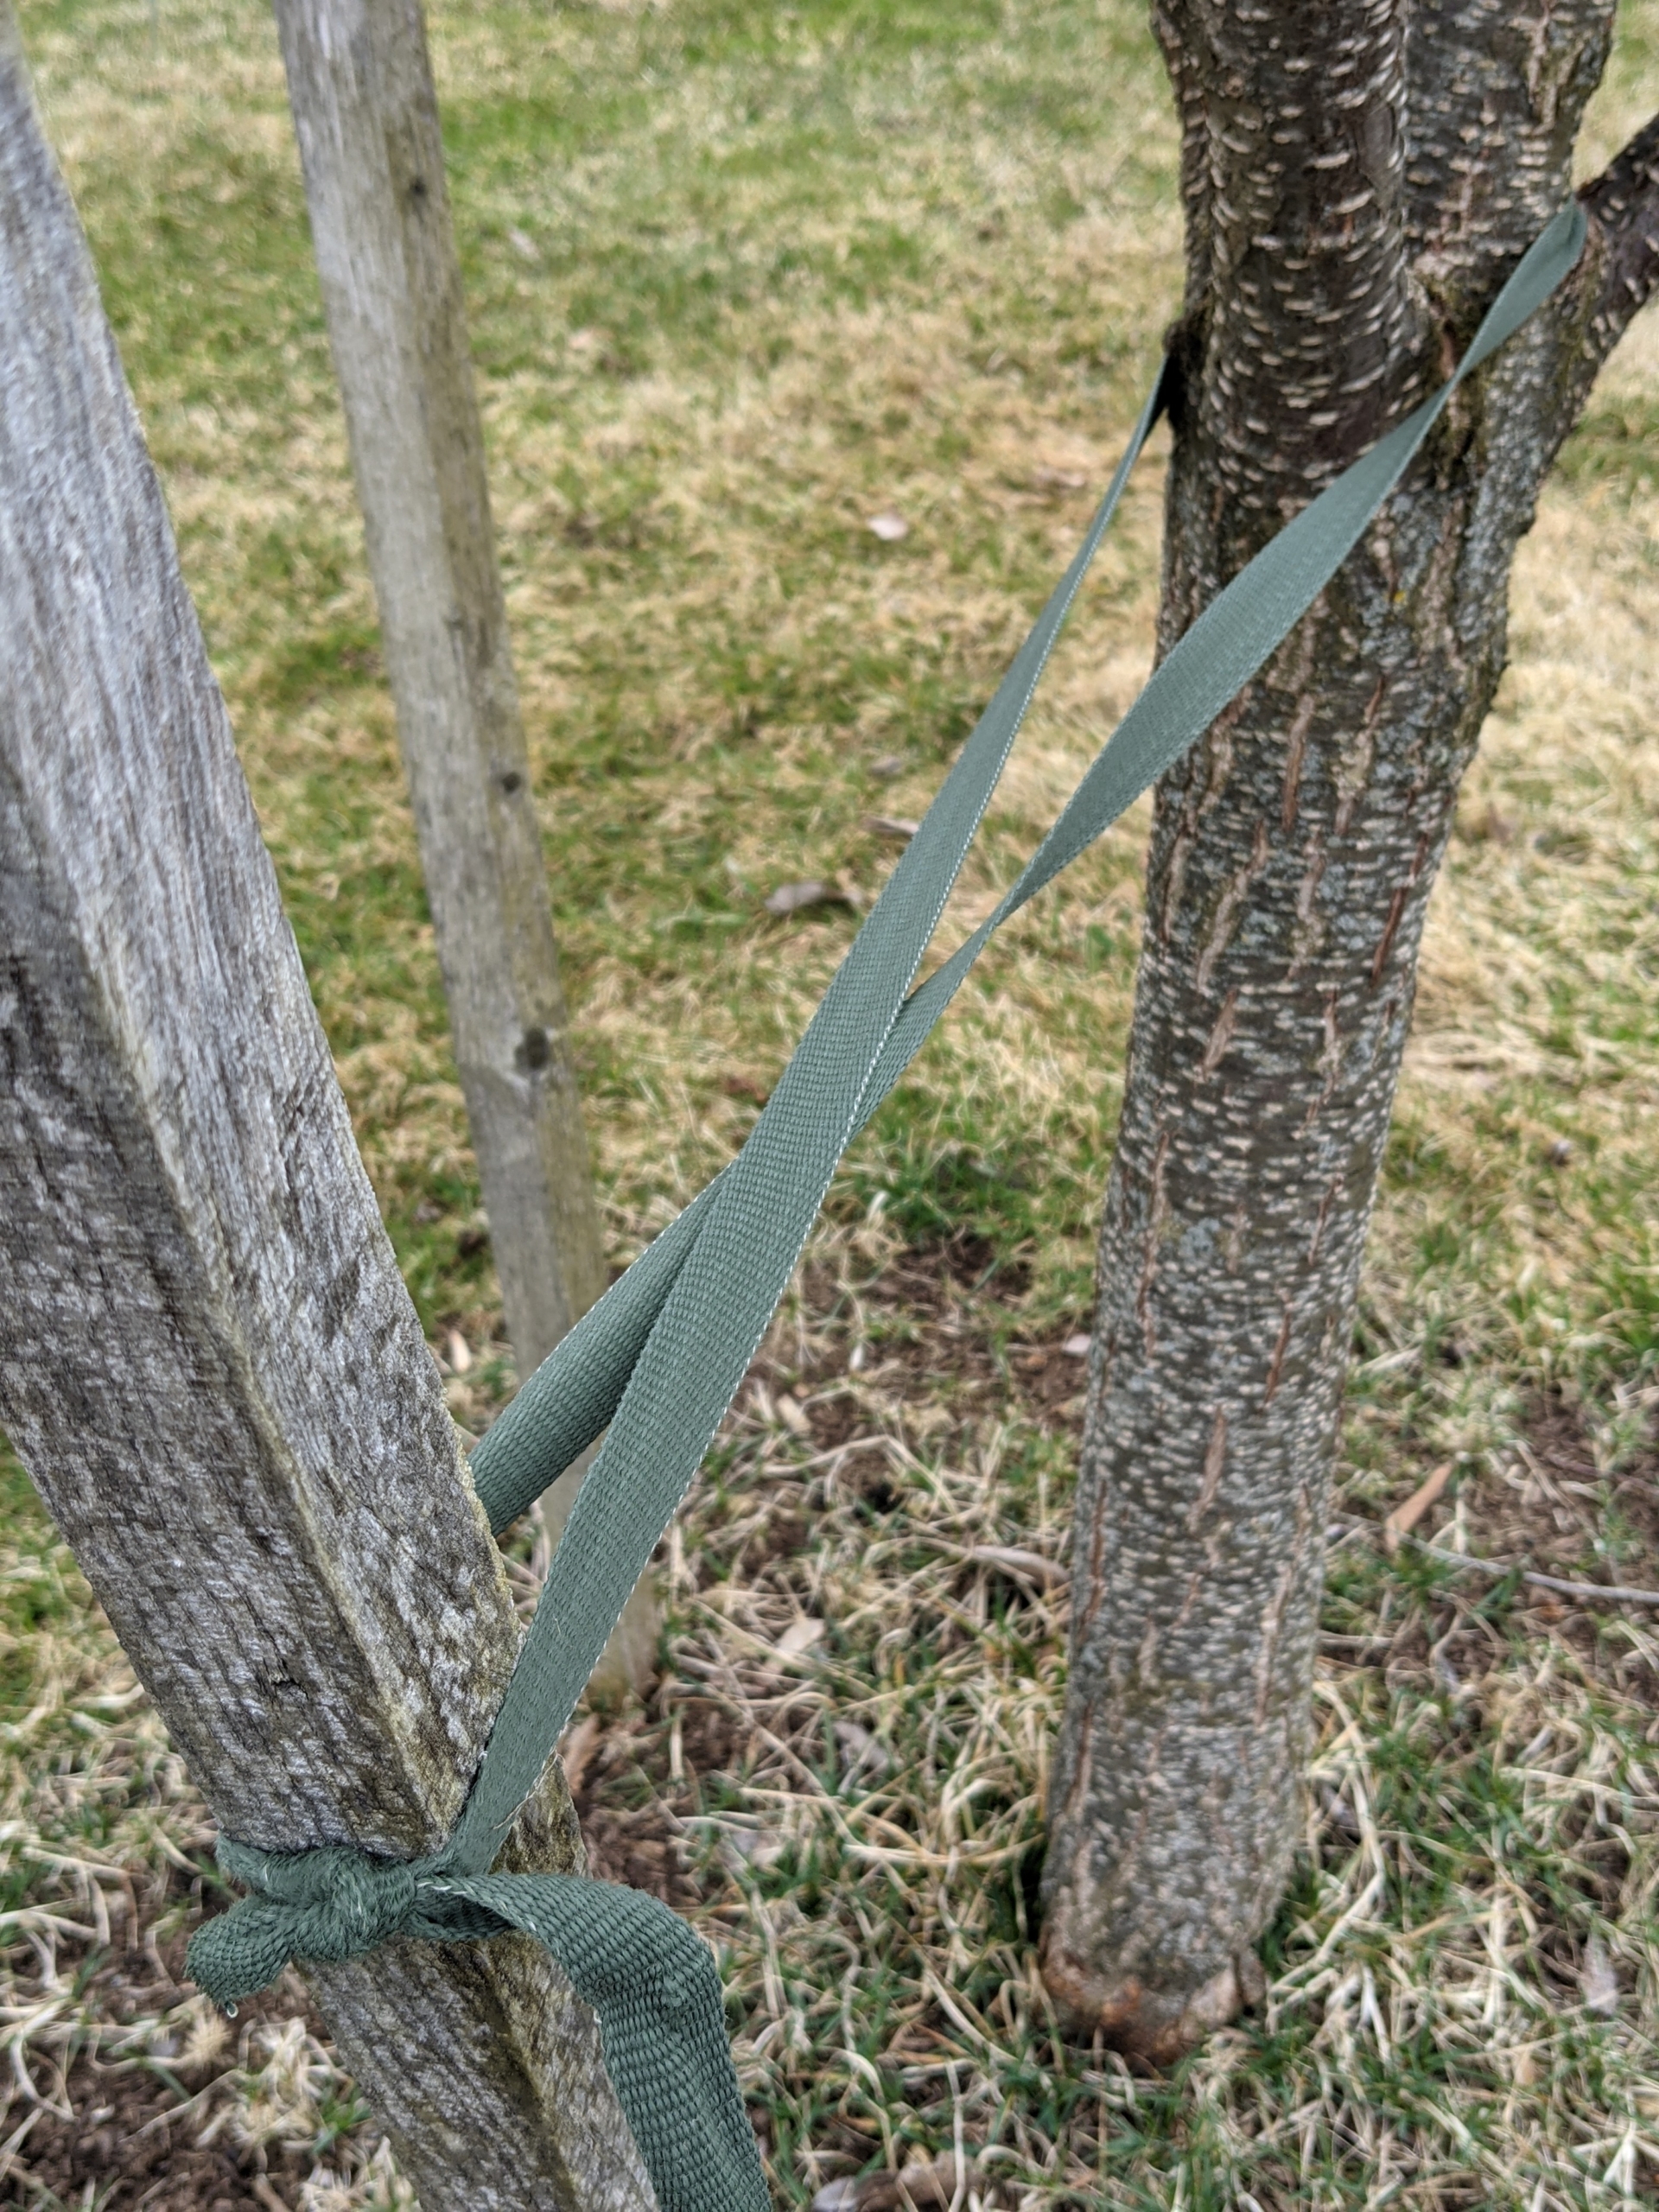
Many of the trees are staked and supported with arbor ties. Notice the figure-eight formation. I always teach every member of the crew to twist the twine or tie into a figure eight before knotting, so the tree or vine or cane is not crushed or strangled.
Plum trees are best pruned in a vase format to get a short trunk with several major branches to come off of the trunk at a 45-degree angle. This allows plenty of light and air into the tree.
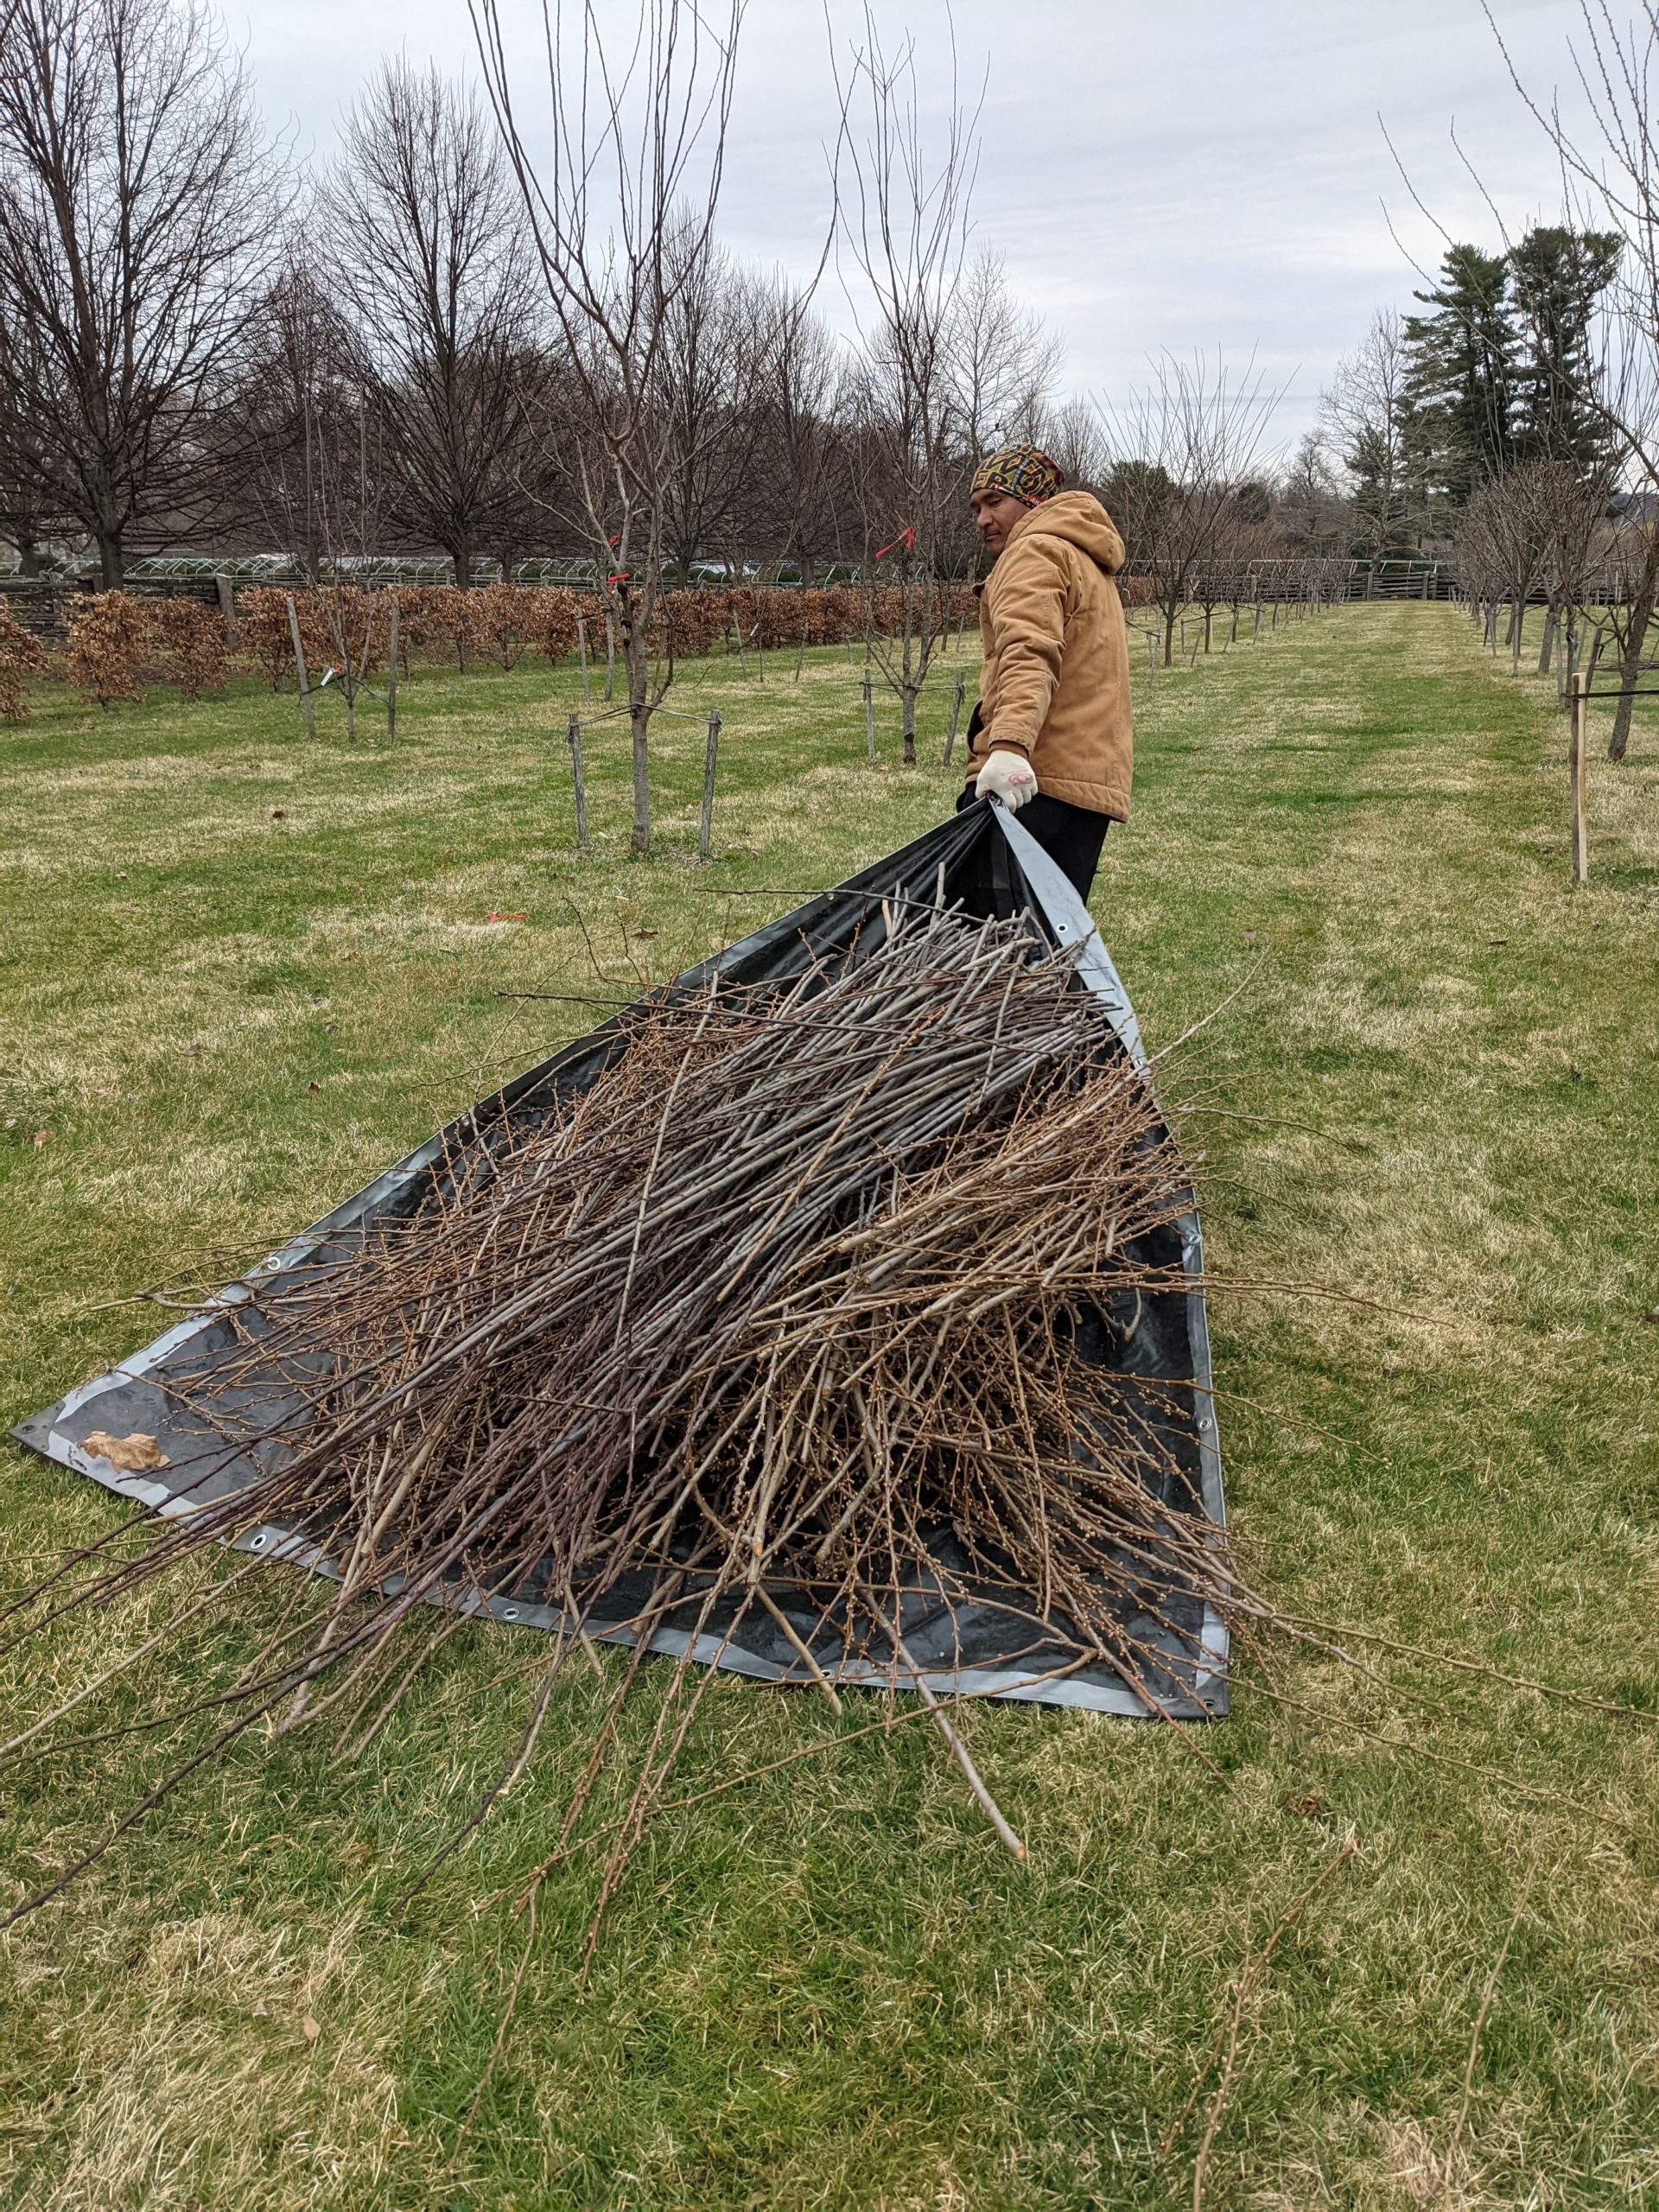
All the trimmed branches are placed on a tarp for easy and quick clean-up. These branches will be placed in our pile for chipping.
These fruit trees are bare now, but in several weeks, they’ll all be leafed out and flowering again. And come mid to late summer, we’ll have bounties of delicious, organic and sweet fruits to enjoy! I can almost taste them now.
This year’s spring burlap removal project is off to a great start.
Every autumn for as long as I’ve been gardening I’ve covered all my boxwood shrubs, various winter-sensitive plants, and outdoor ornamental urns to protect them from the season’s heavy snowfall, freezing temperatures, and damaging winds. Then, every spring when the ground begins to thaw, it’s all removed and stored away. This week, my outdoor grounds began removing the burlap from around my Winter House. The entire process takes several days to complete; however, knowing my plants are protected in the cold is a great comfort. And, seeing all the healthy, intact shrubbery and foliage at the start of a new season is an even greater delight.
Enjoy these photos.
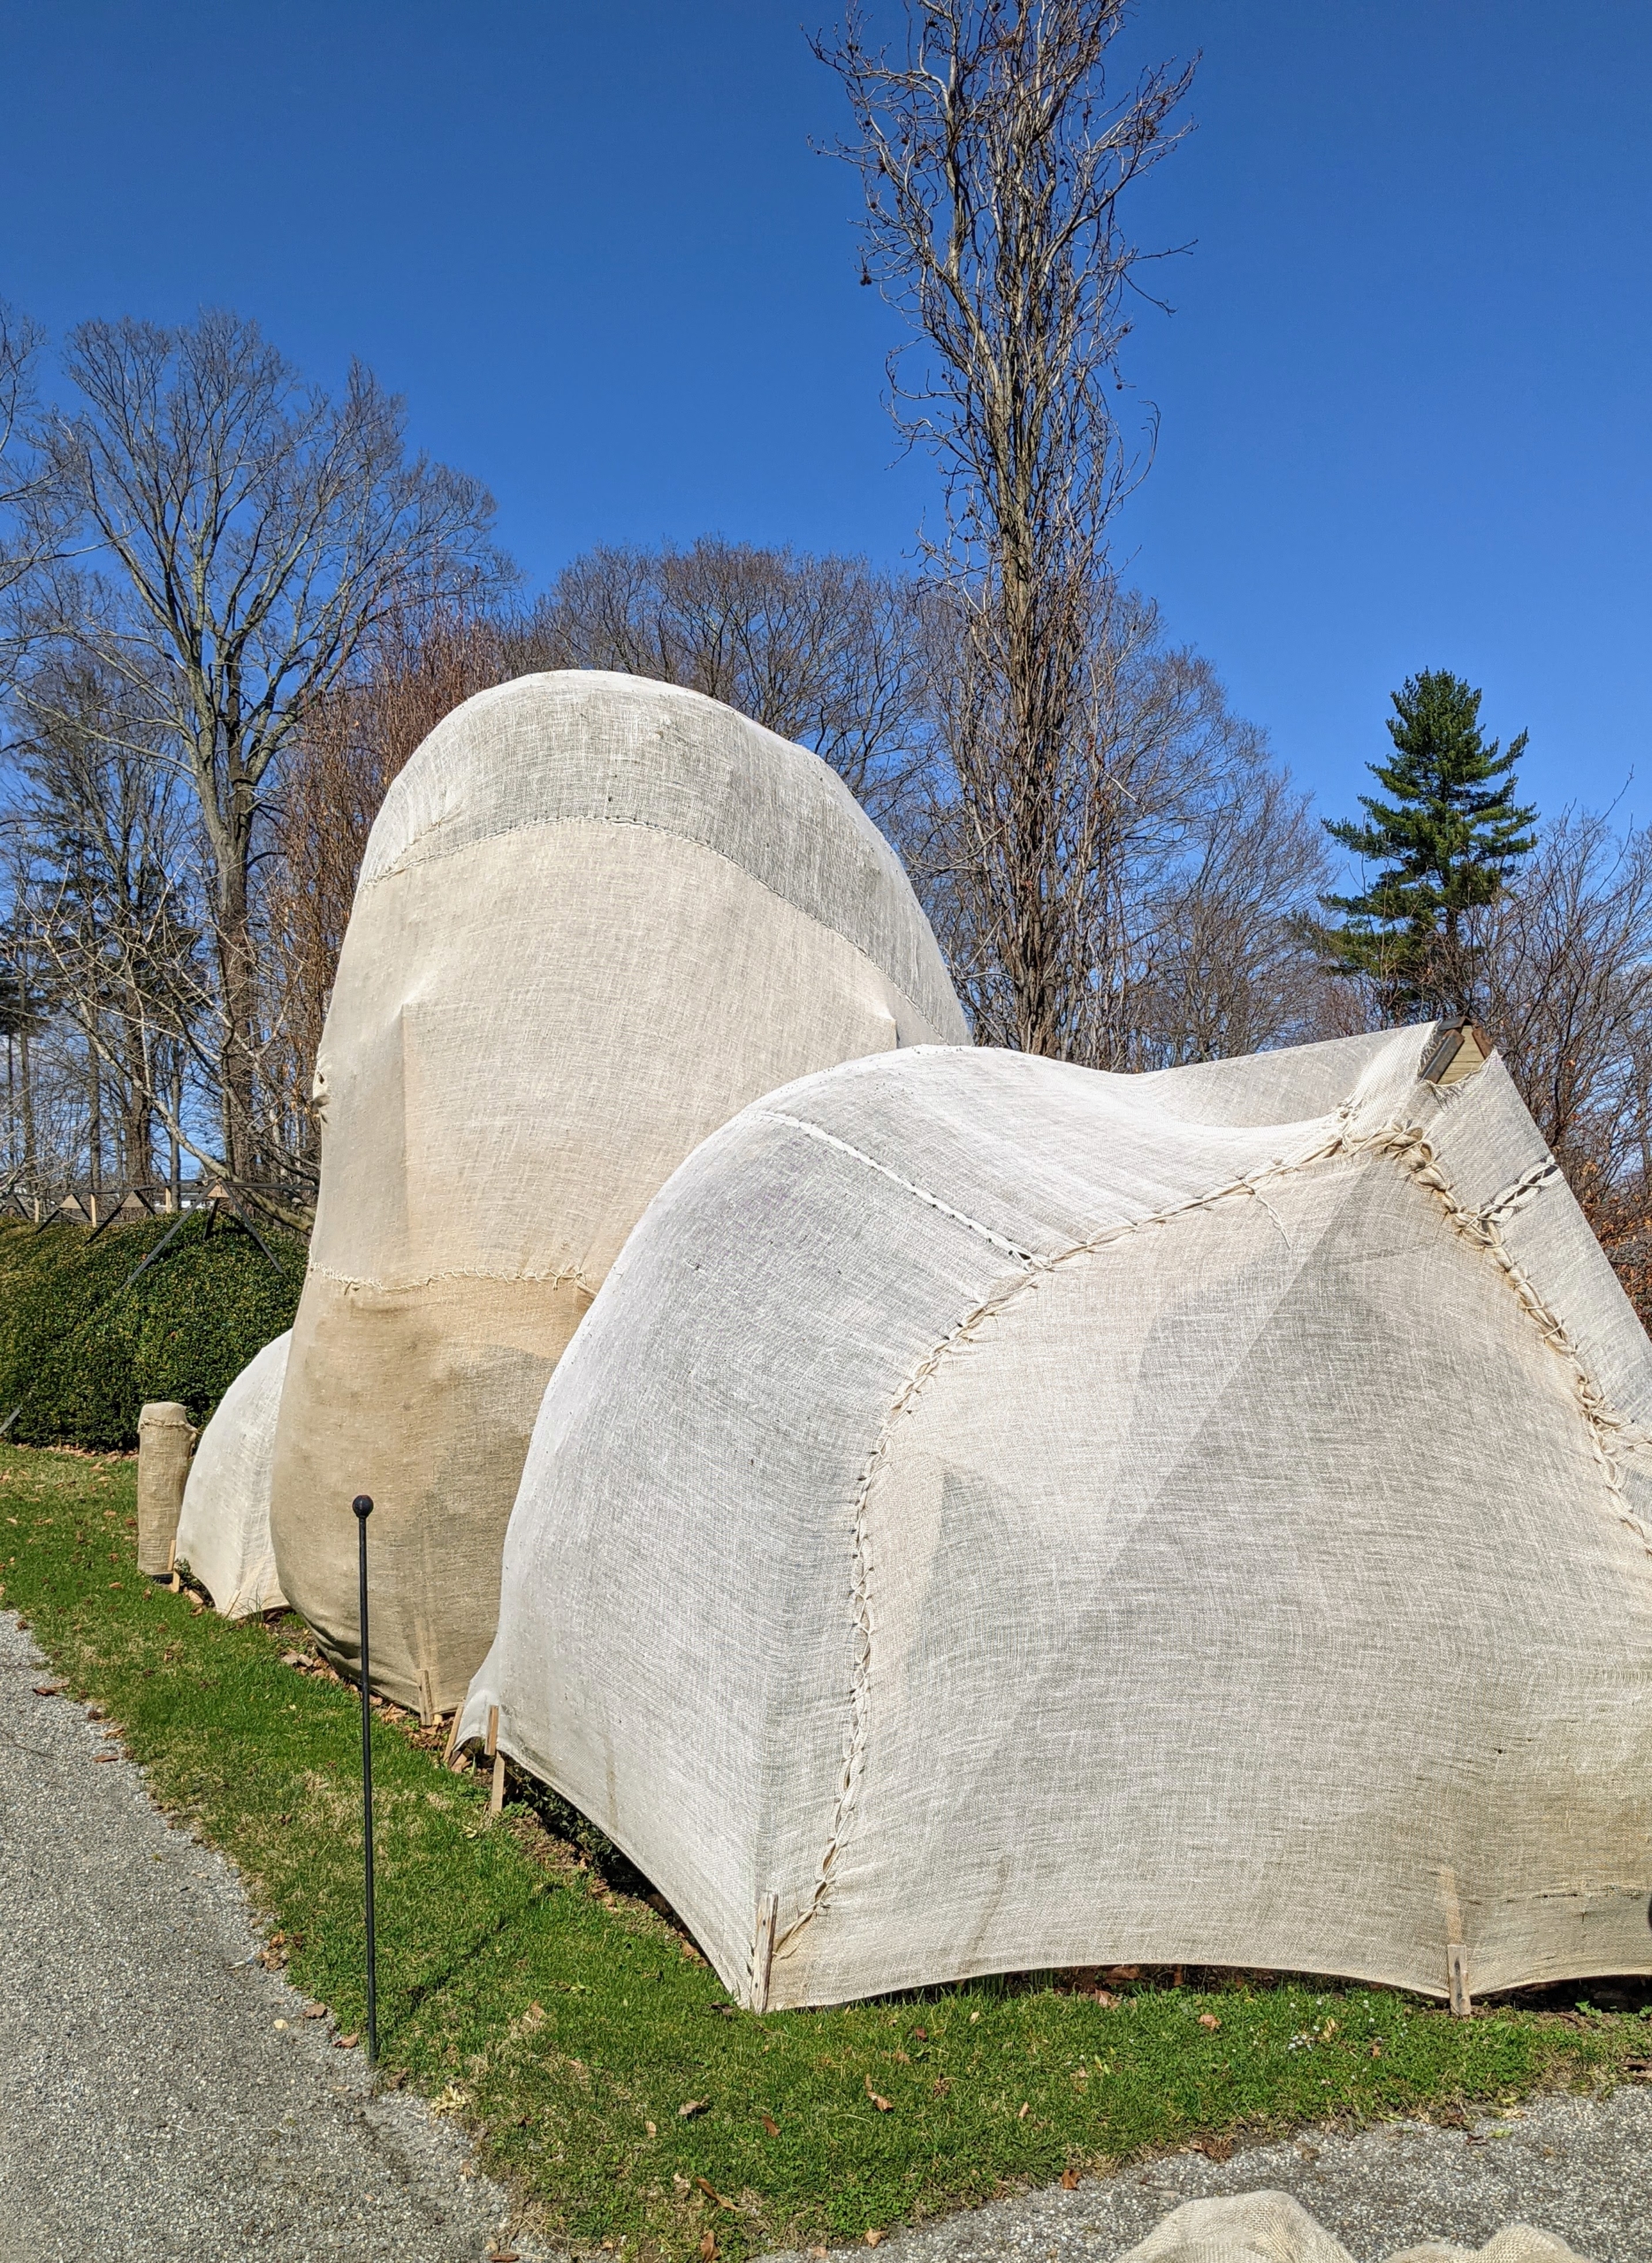
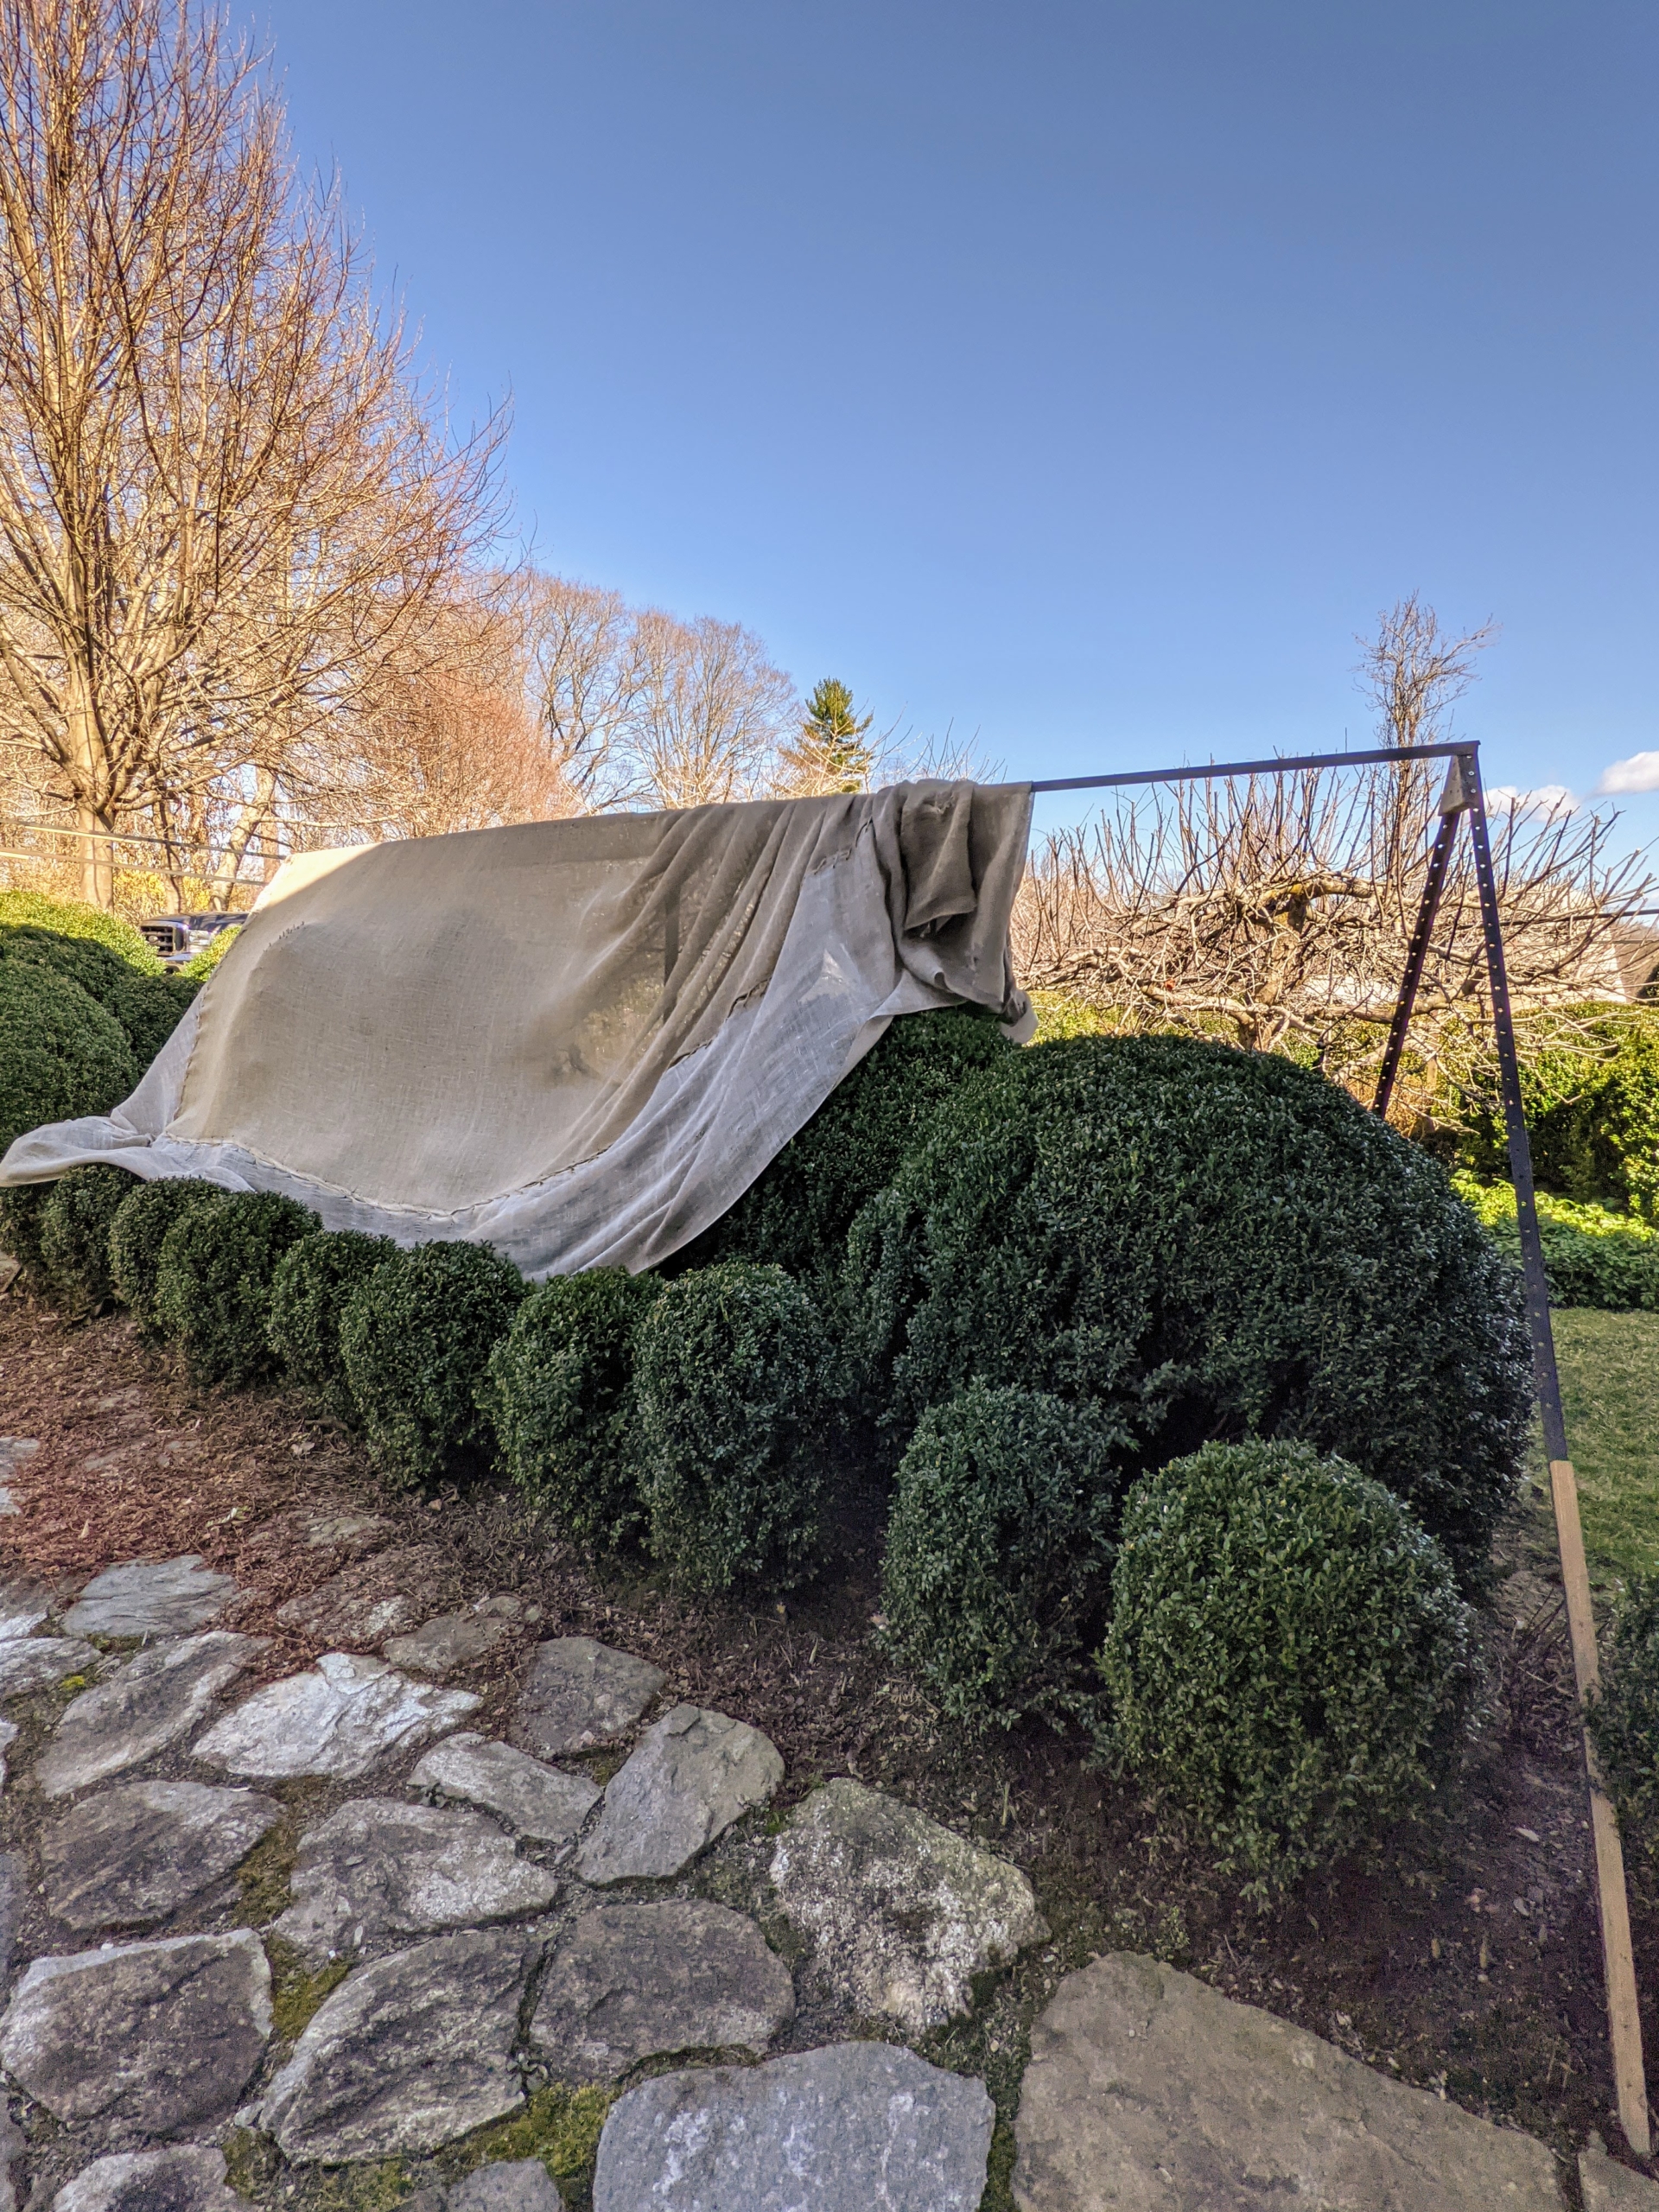
During winter, all the boxwood shrubs and hedges are covered in this natural colored fabric. Fortunately, the weather here in the Northeast has been beautiful and mild these last few days – perfect timing to start our removal project.
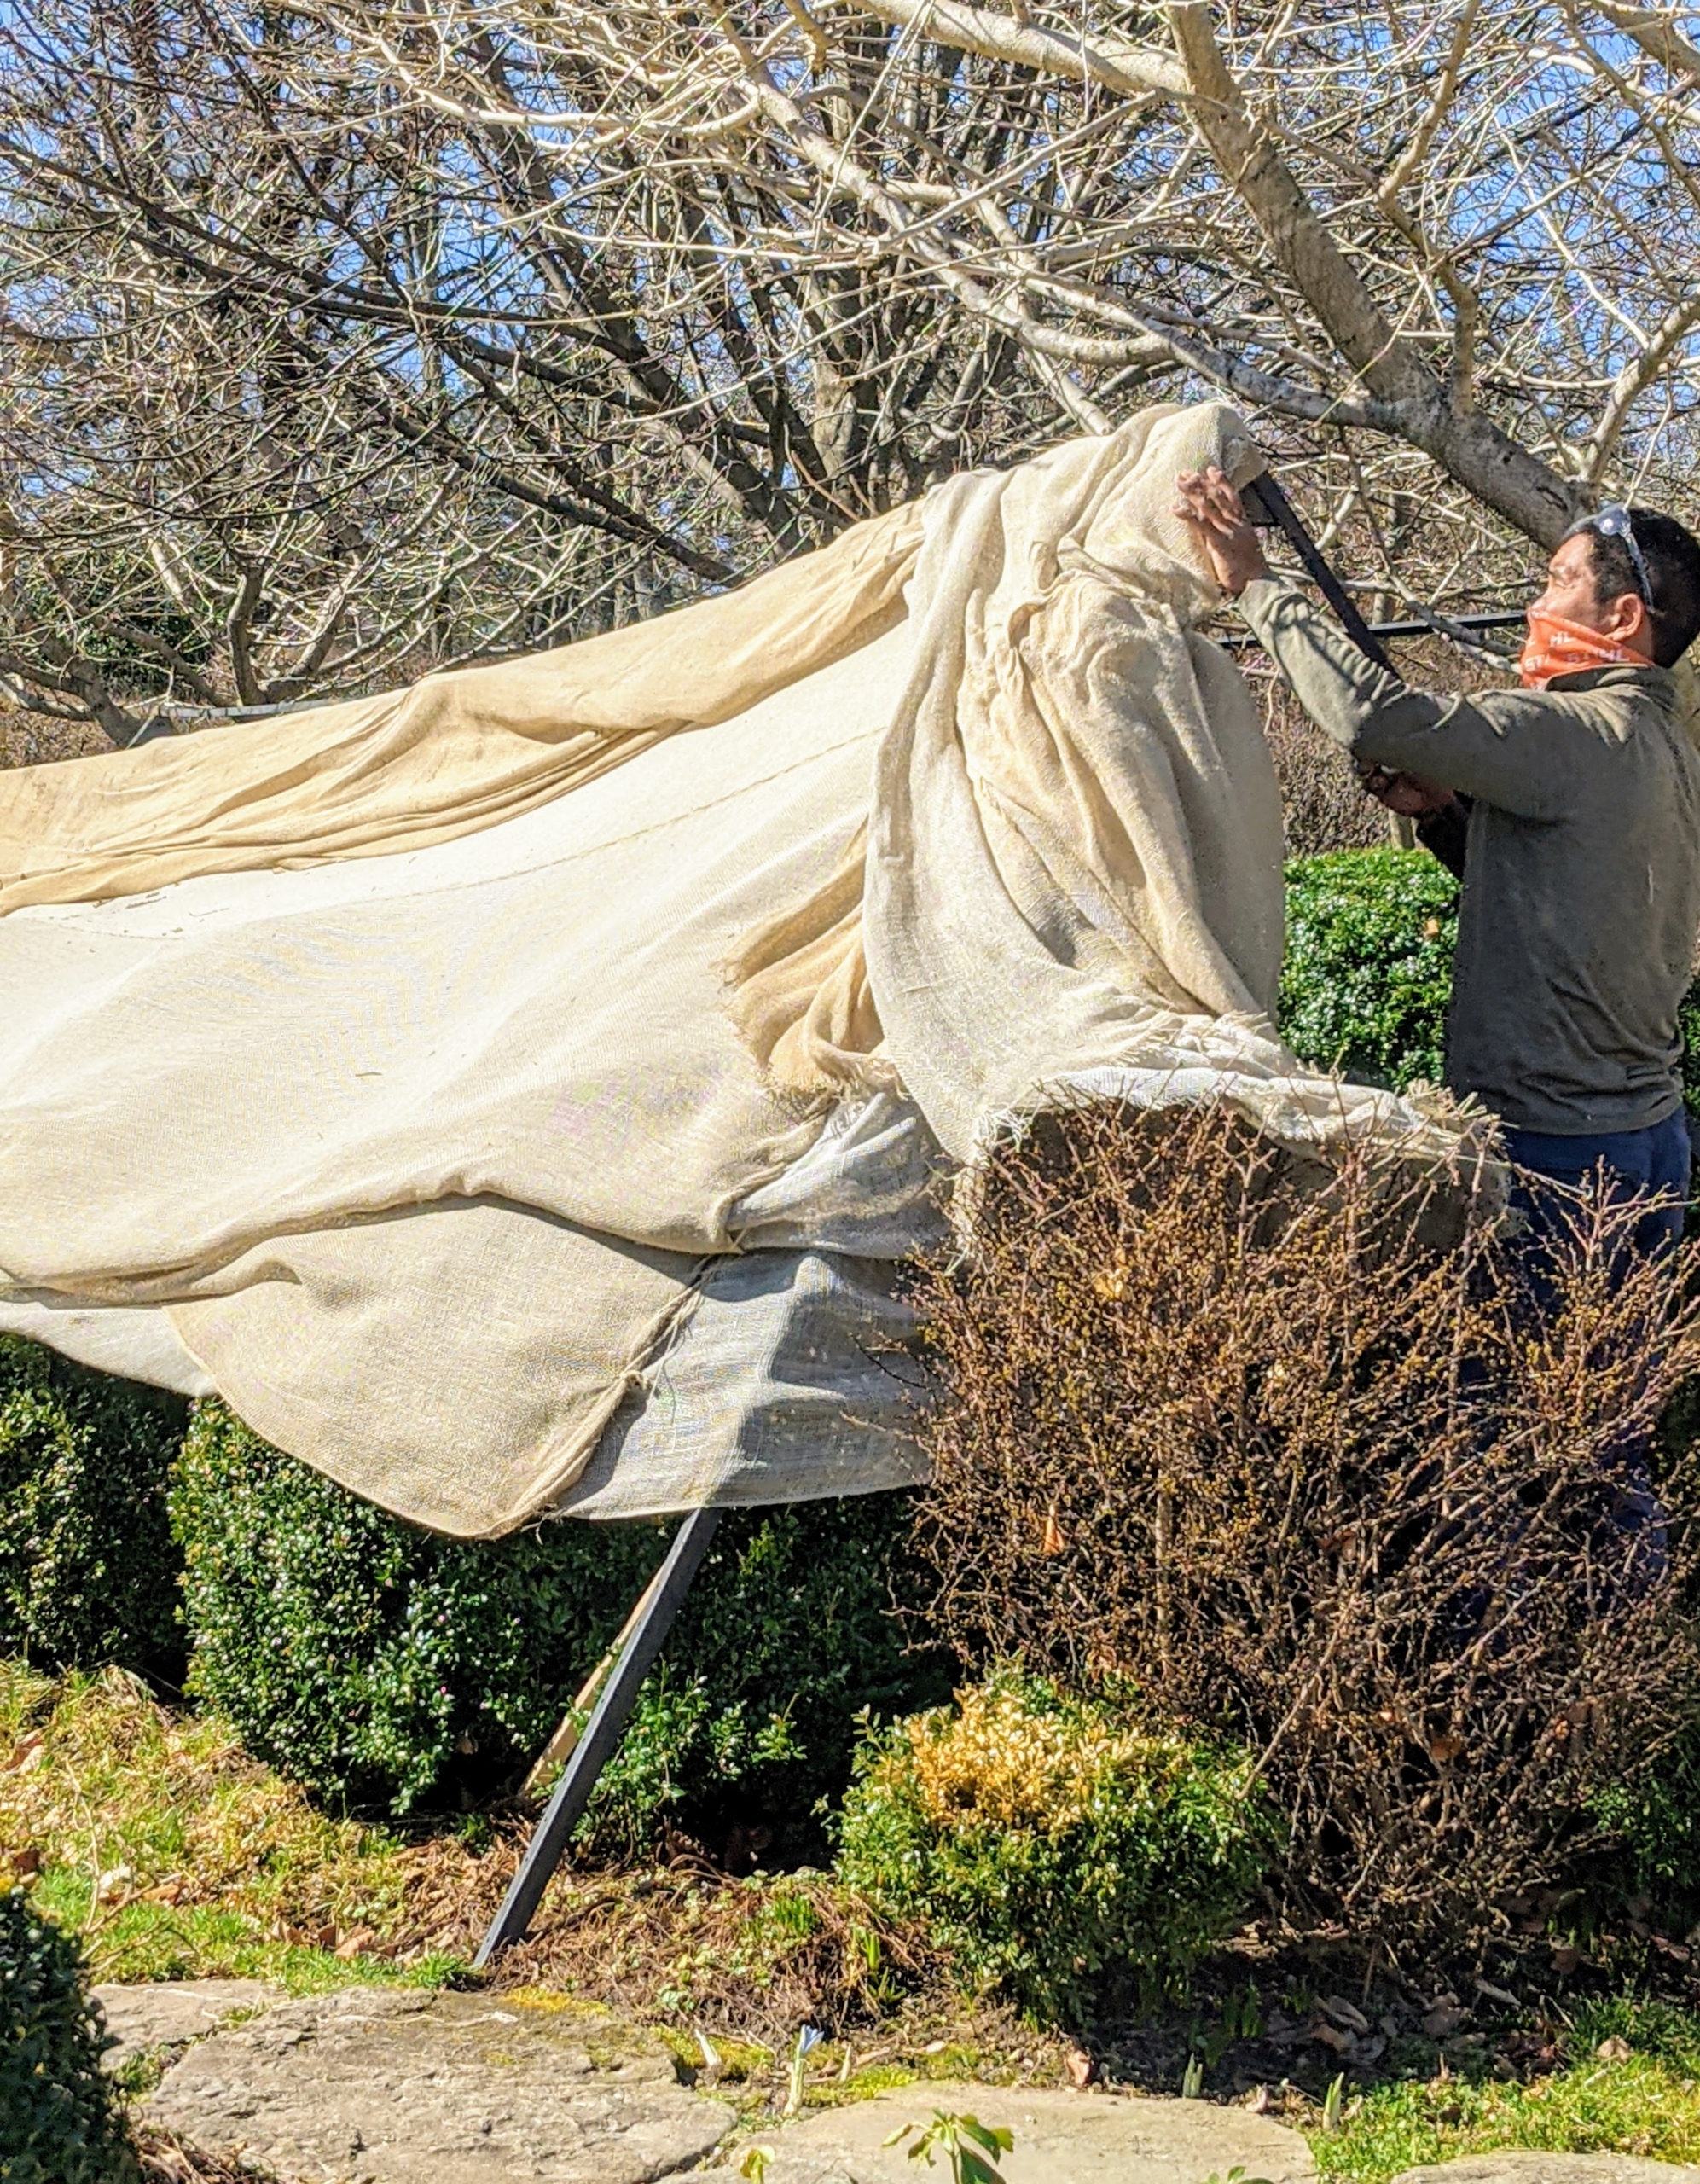
We remove the burlap once the temperatures are consistently above freezing and before Easter. All of the coverings are custom wrapped and sewn to fit each individual shrub, hedge, or bush. This is my herbaceous peony bed which is surrounded by boxwood shrubs.
One of the first steps is to remove the wooden strips that help sandwich and secure the burlap. The strips are collected and stored for next year.
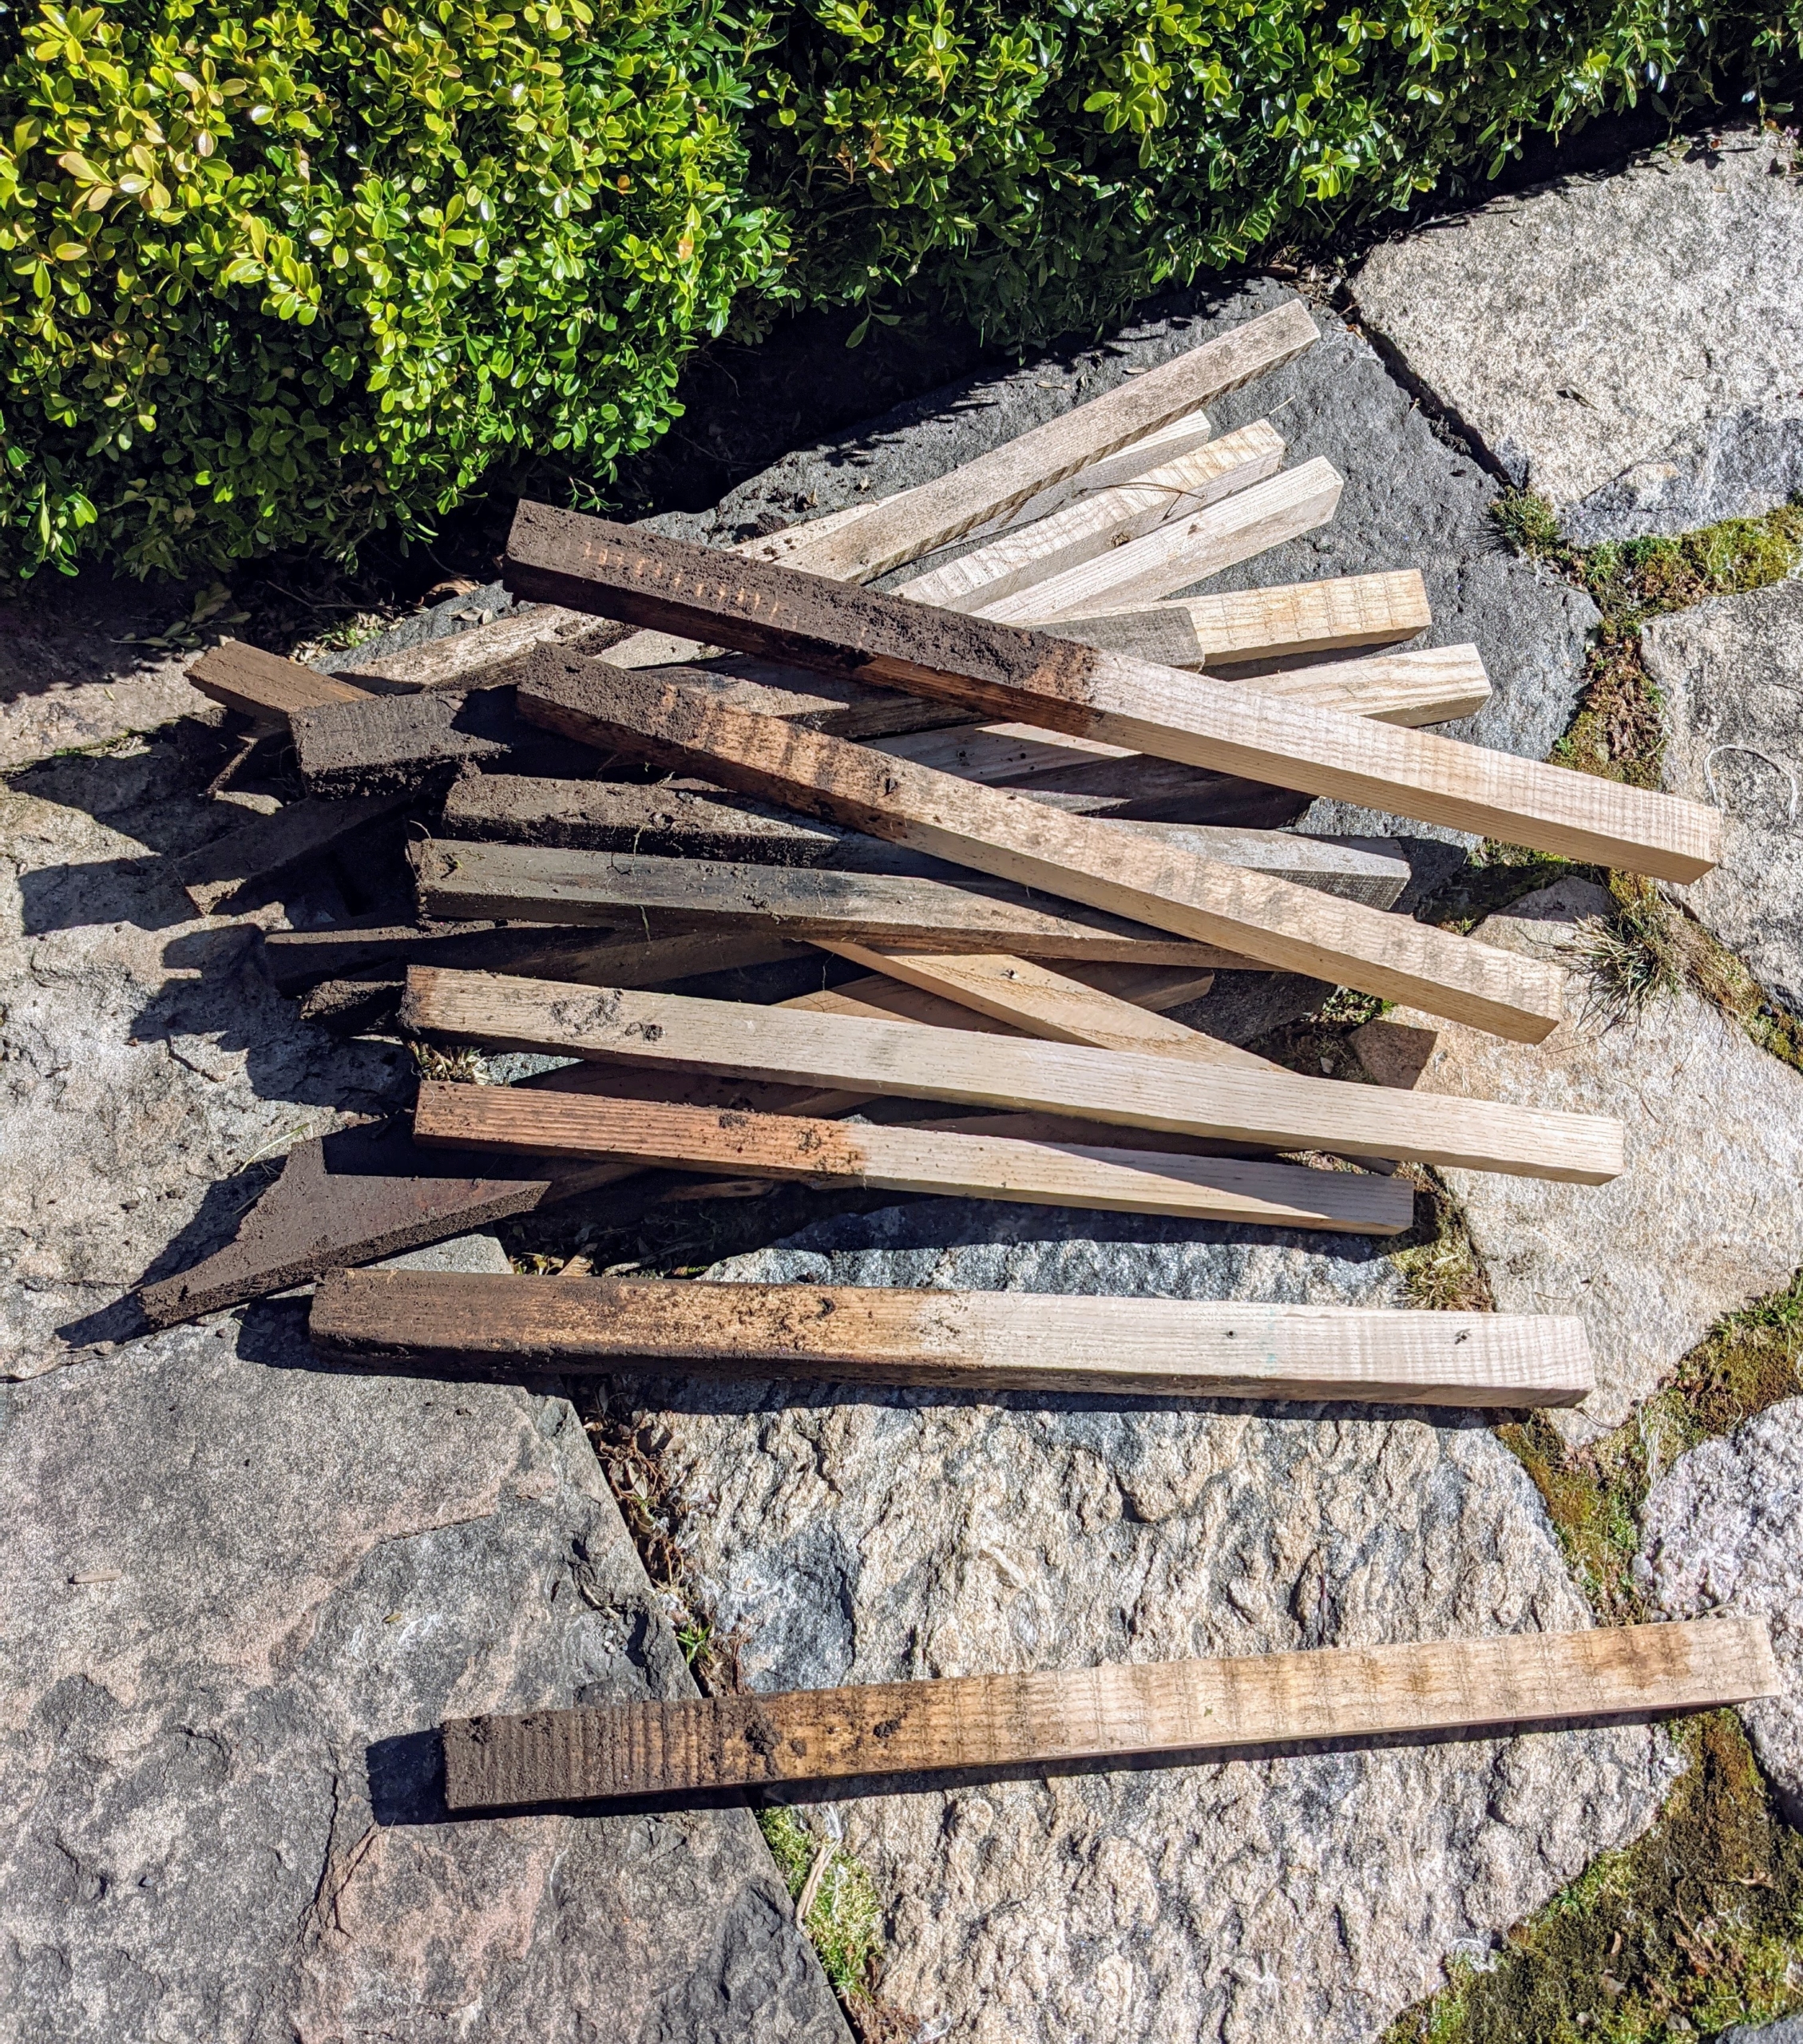
The crew also removes the wooden stakes that hold up the framing. These stakes, which are an inch-and-a-half by an inch-and-a-half, were milled right here at the farm. These wooden stakes are also gathered and stored for later use. It is important to me that nothing is wasted.
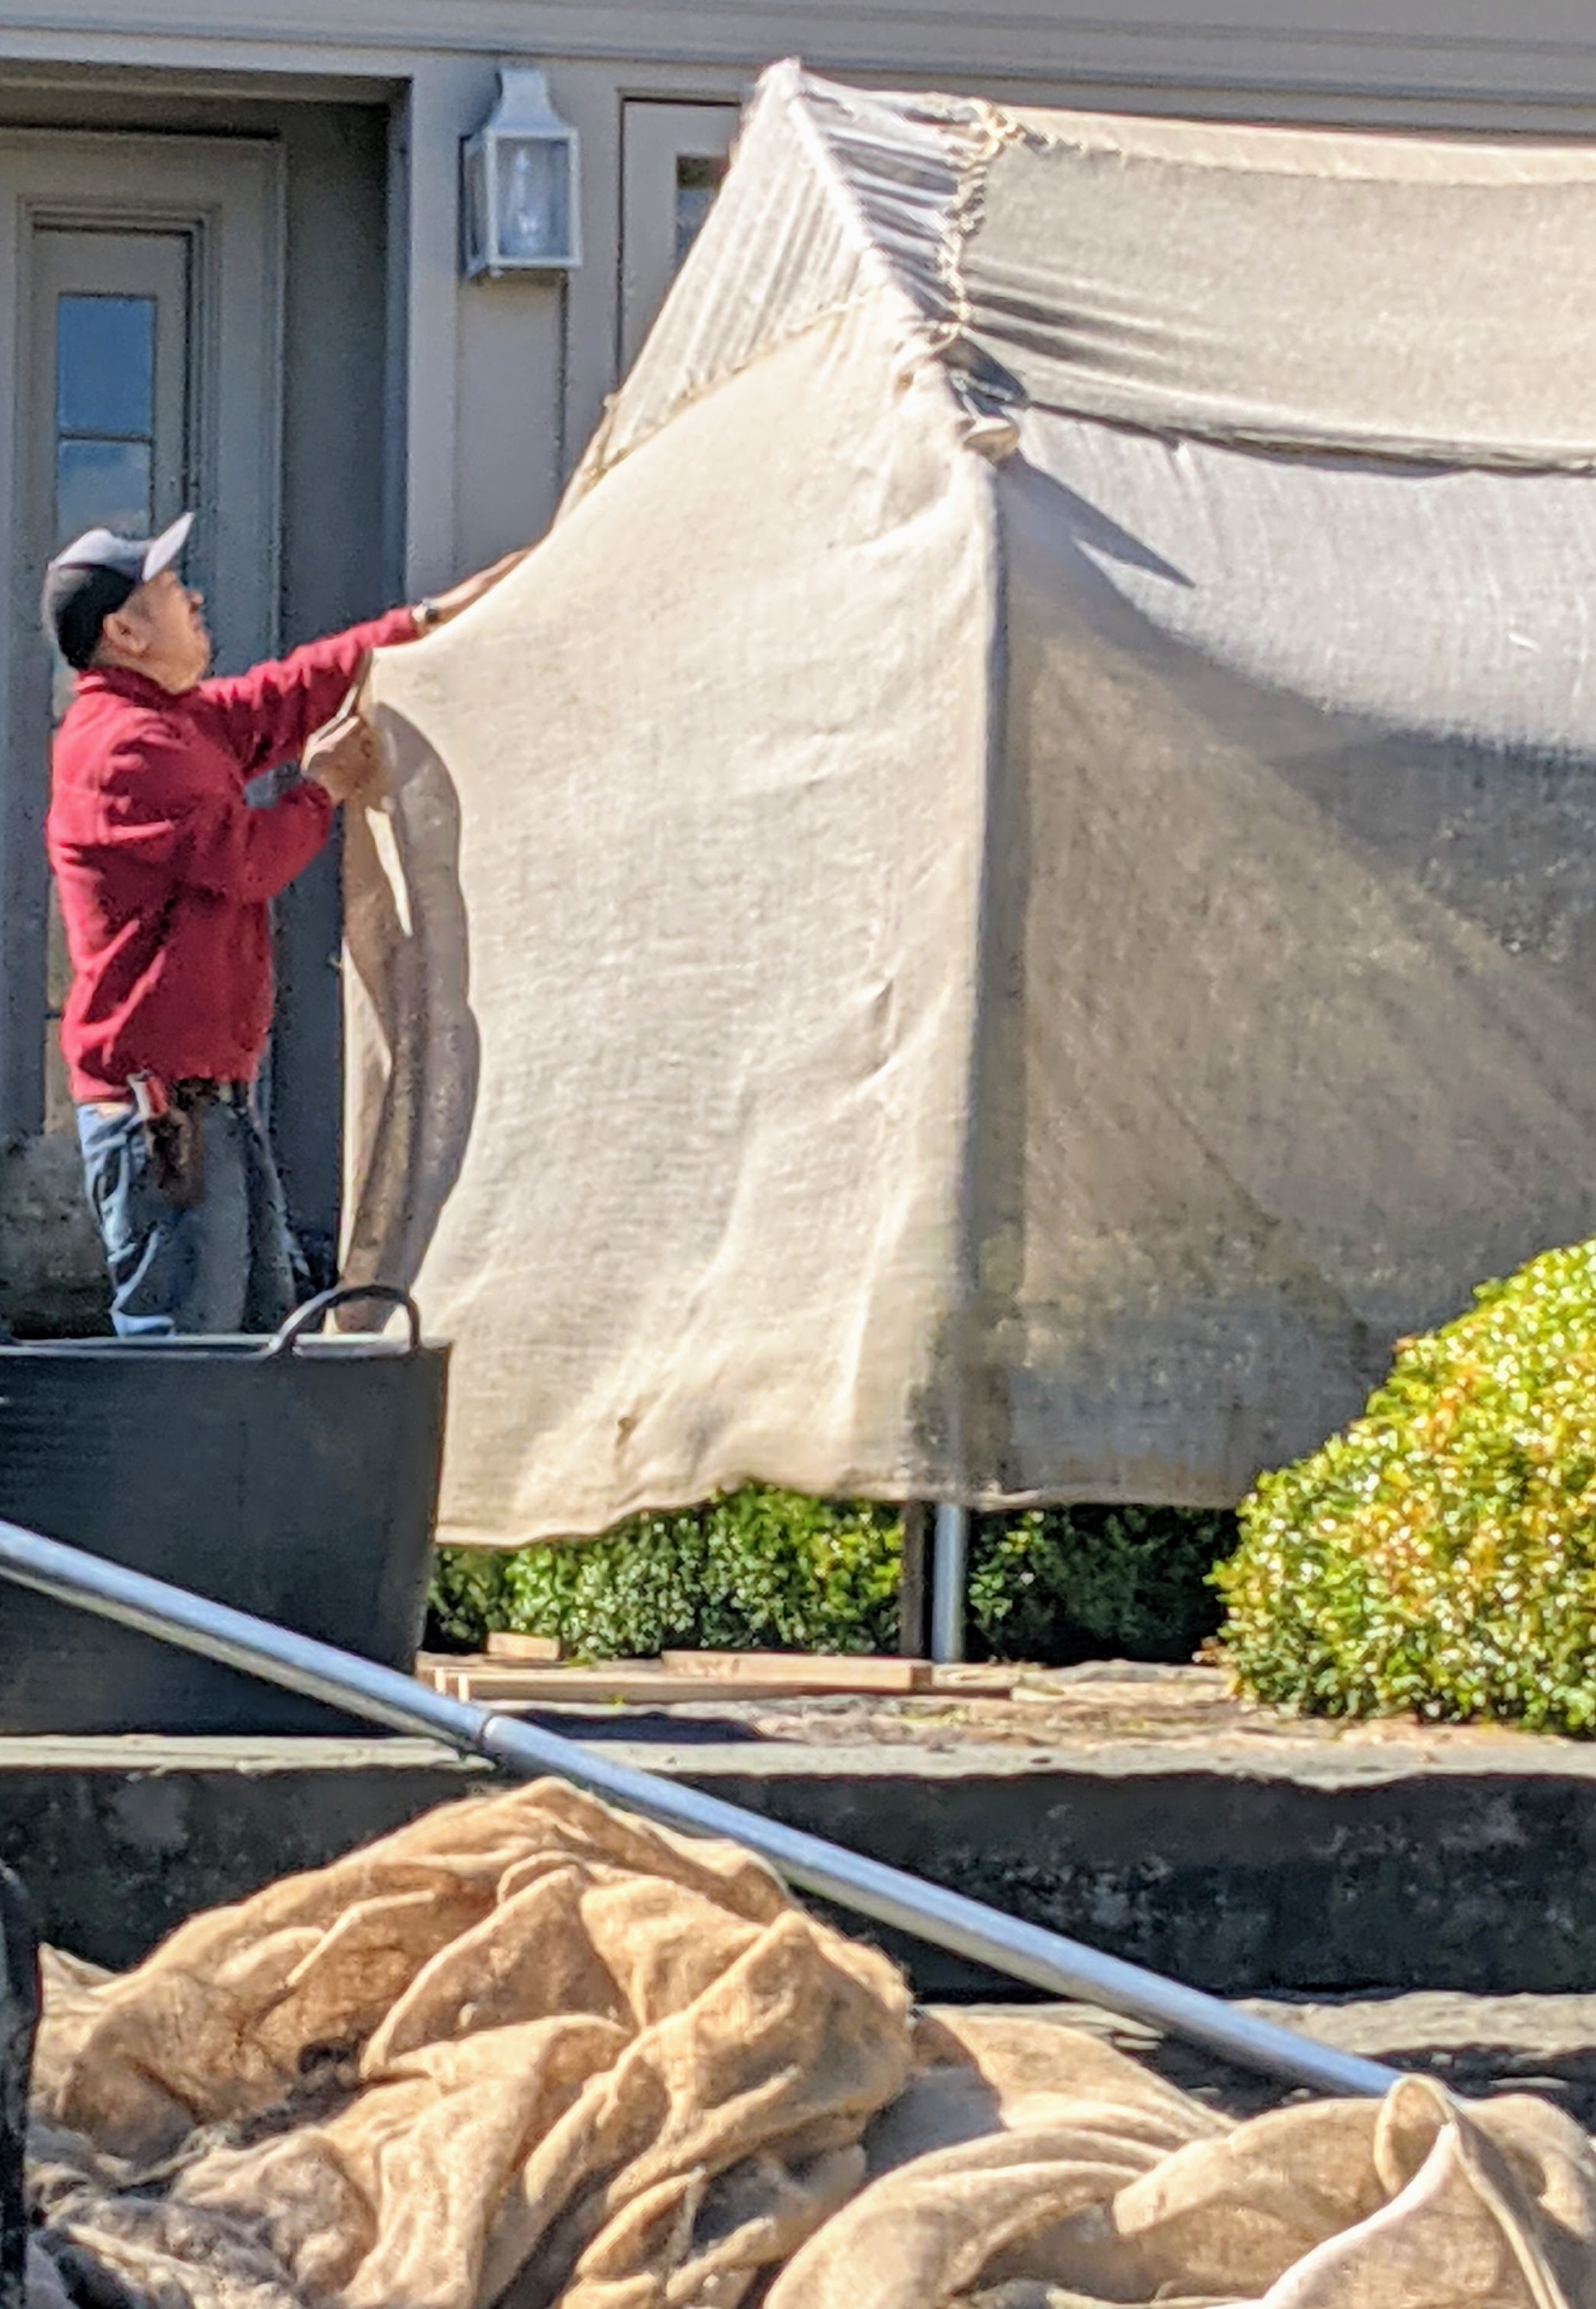
Here is Domi carefully lifting the burlap off of the low boxwood and golden barberry hedges on my terrace parterre.
We use industrial burlap that’s available in giant rolls of 40-inches or 60-inches wide. These covers are used for two or three seasons before being replaced.
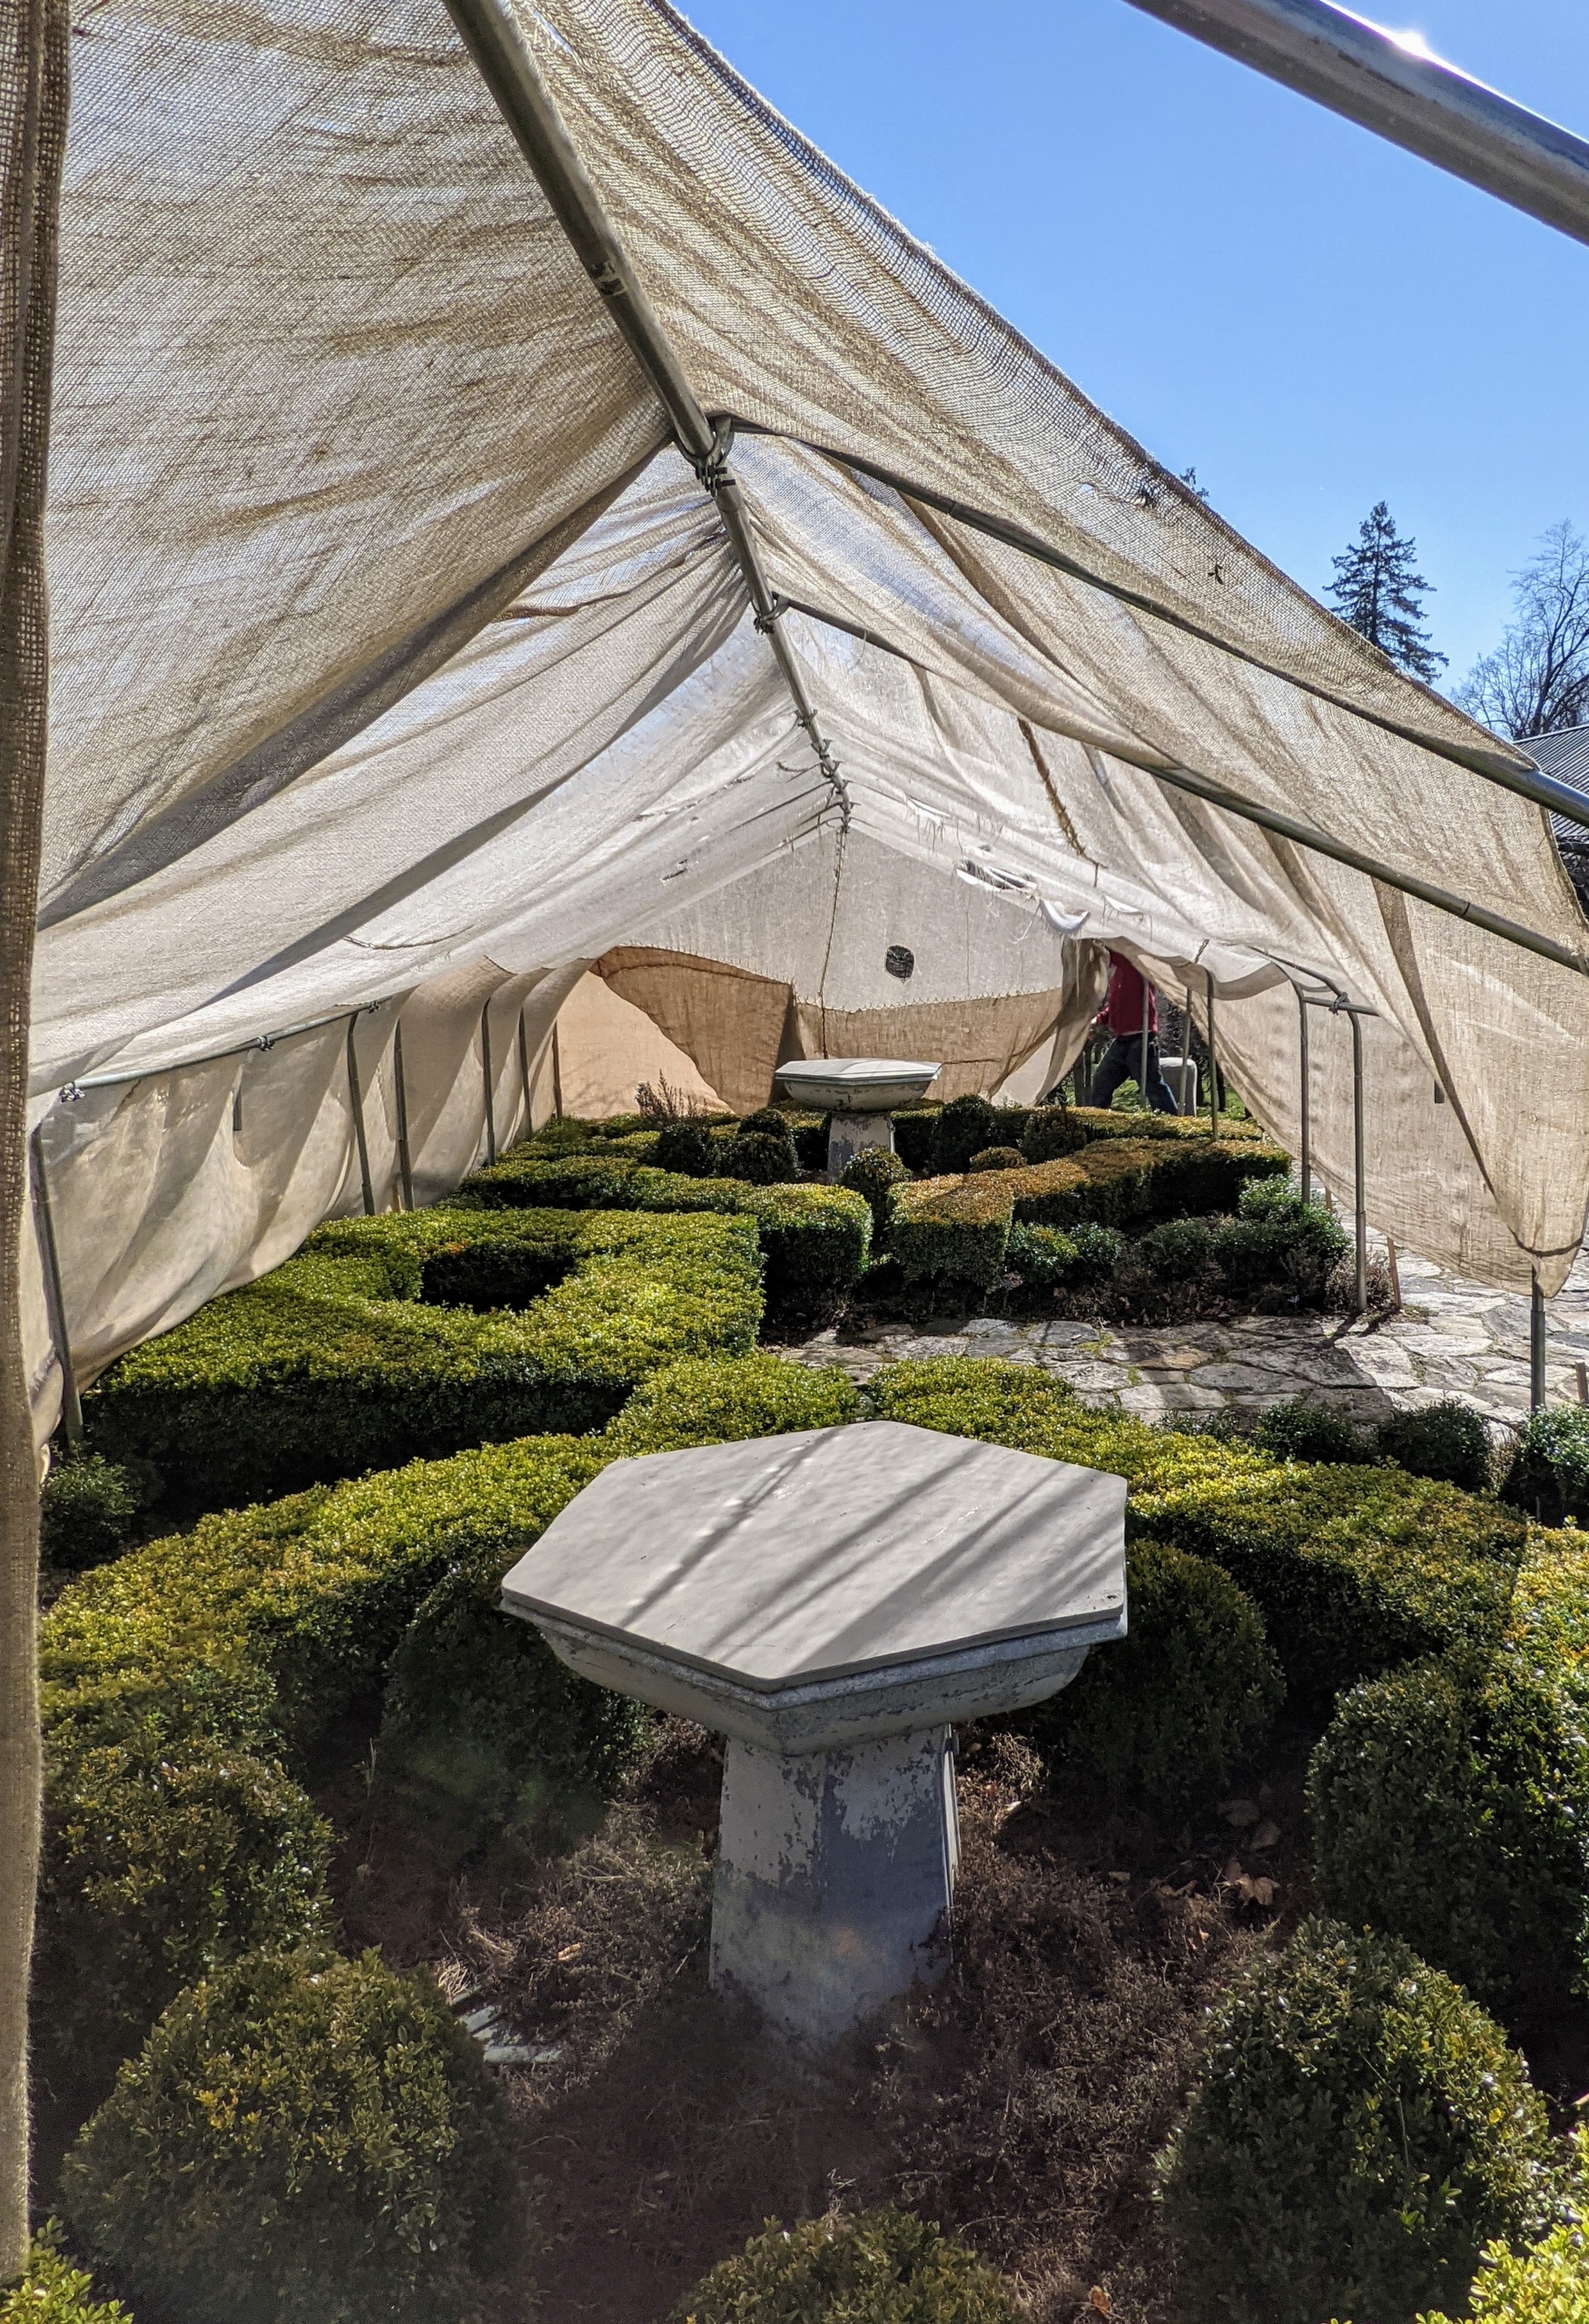
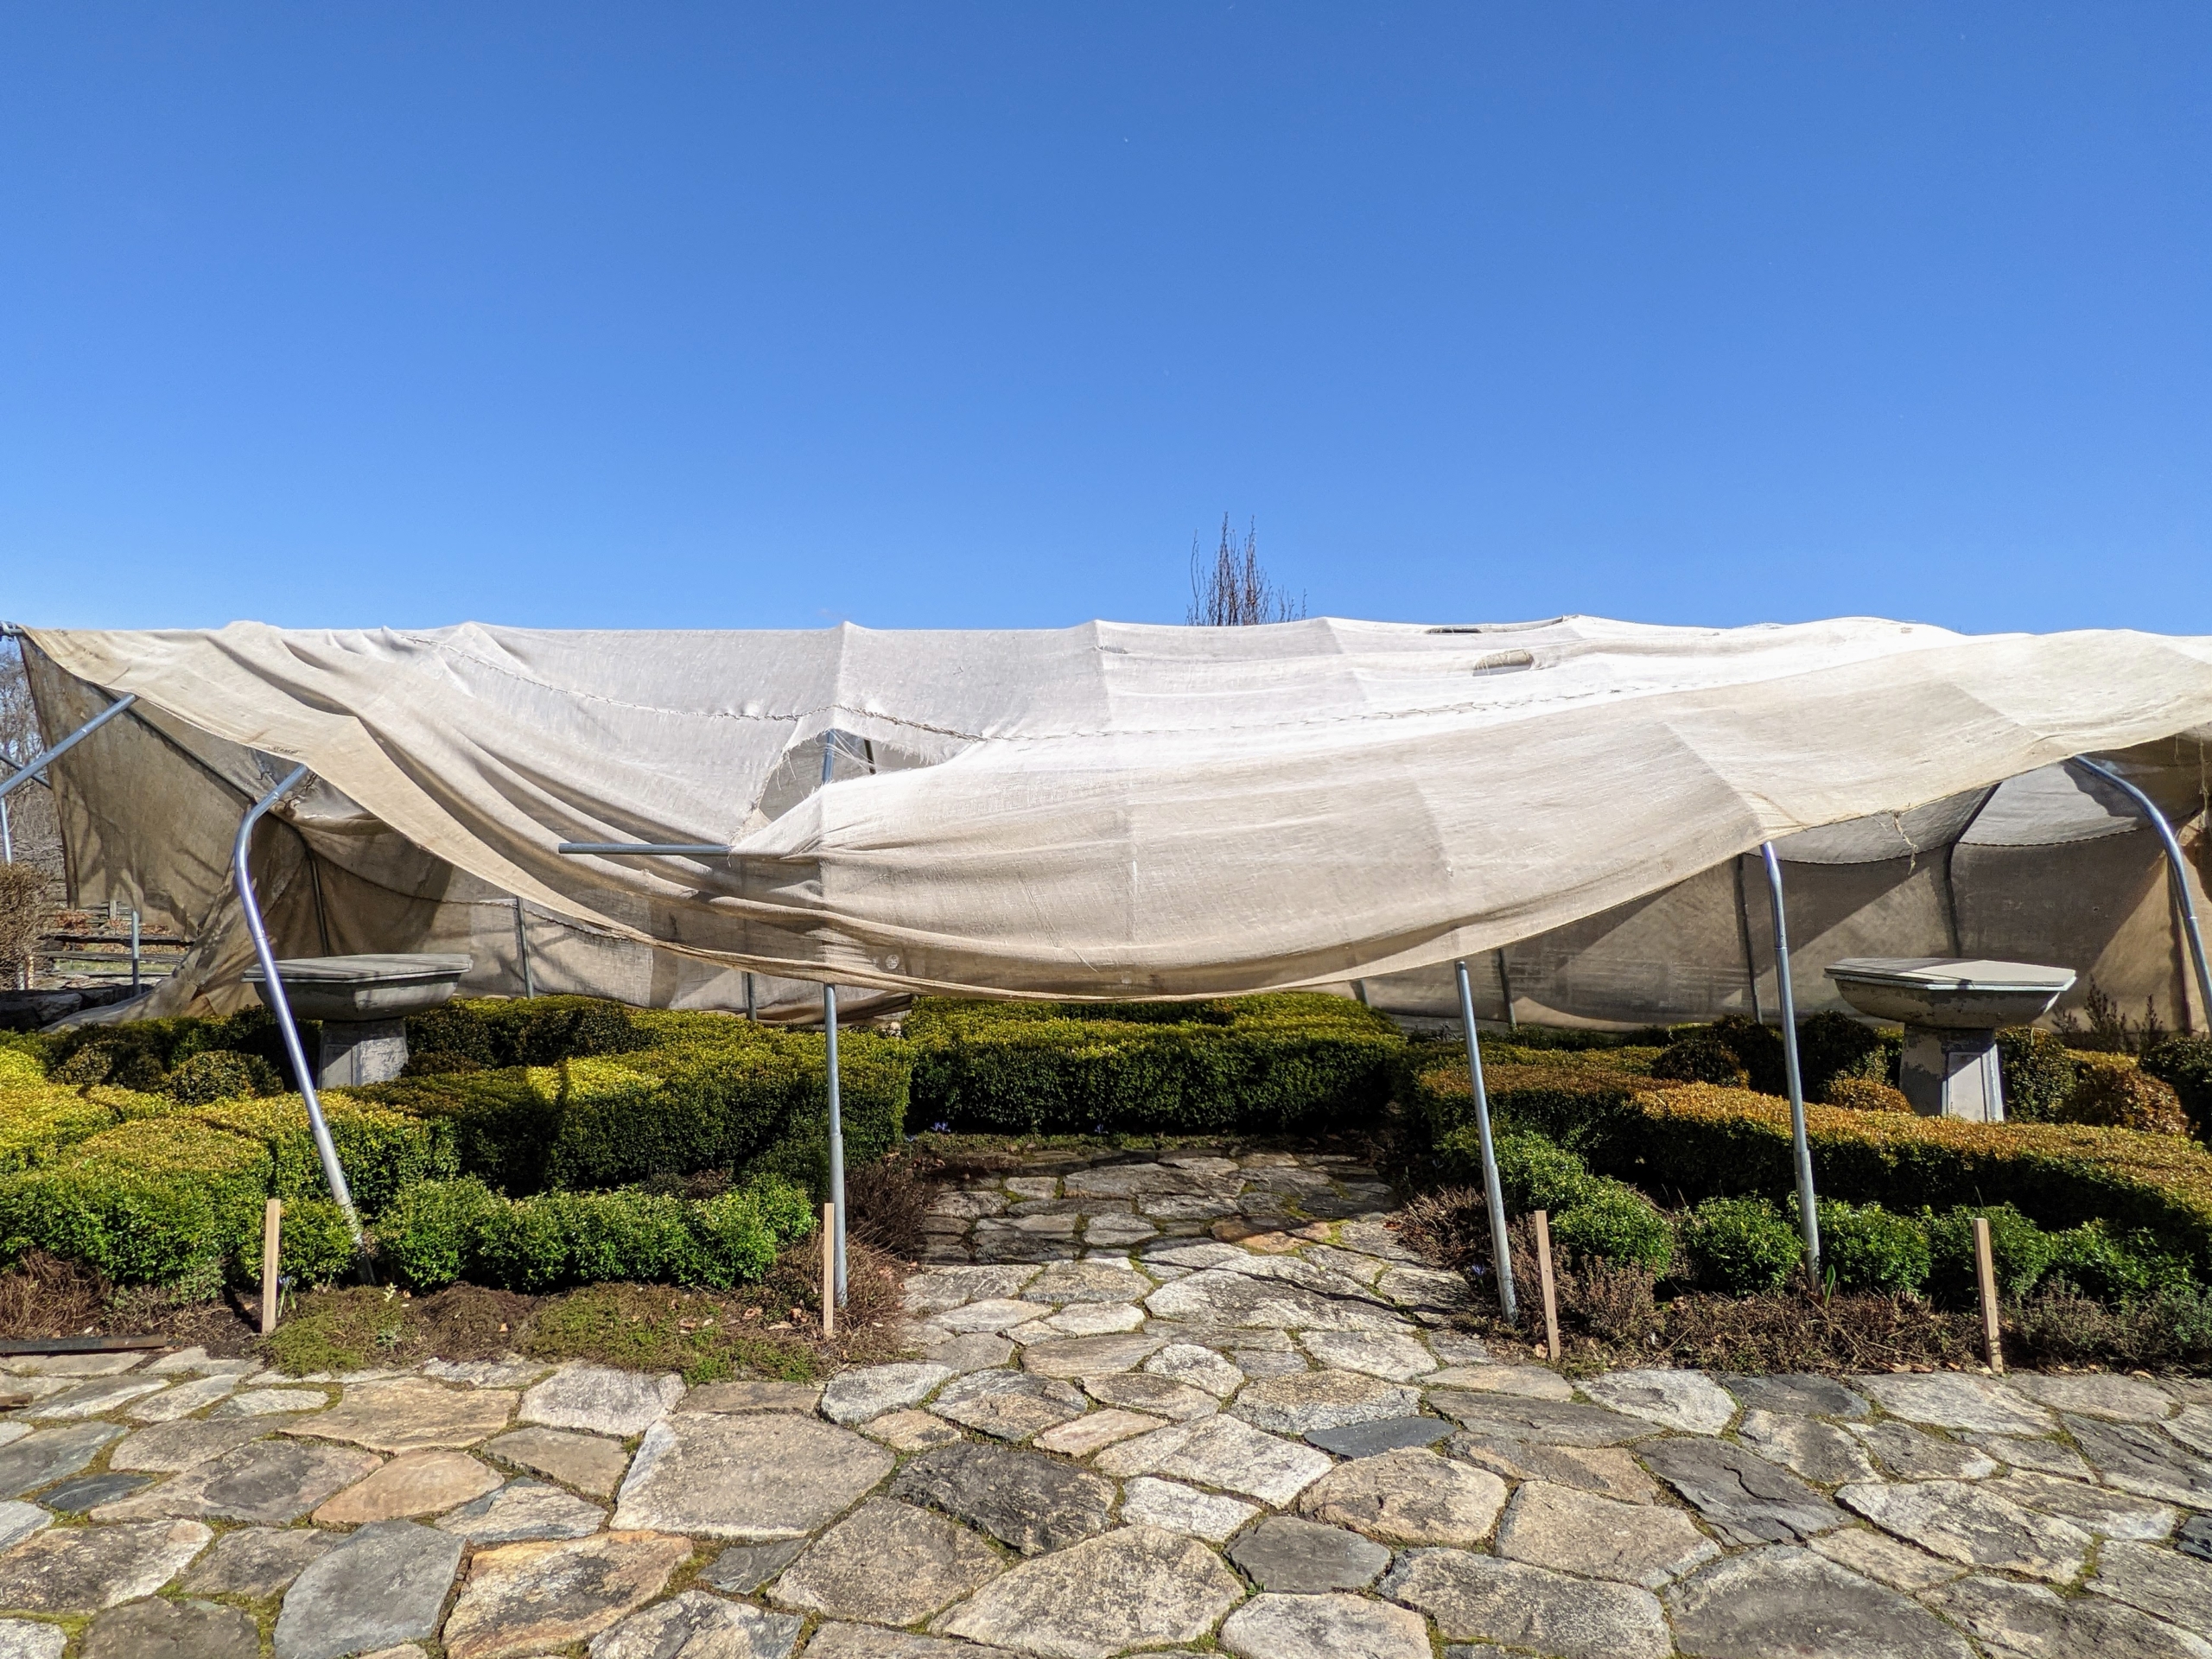
Here is what it looks like underneath the burlap covering my fountains in front of my Winter House kitchen. Holes are purposely left in some burlap, so birds can take shelter when needed. This burlap is very strong and can withstand weathering with minimal loss of durability.
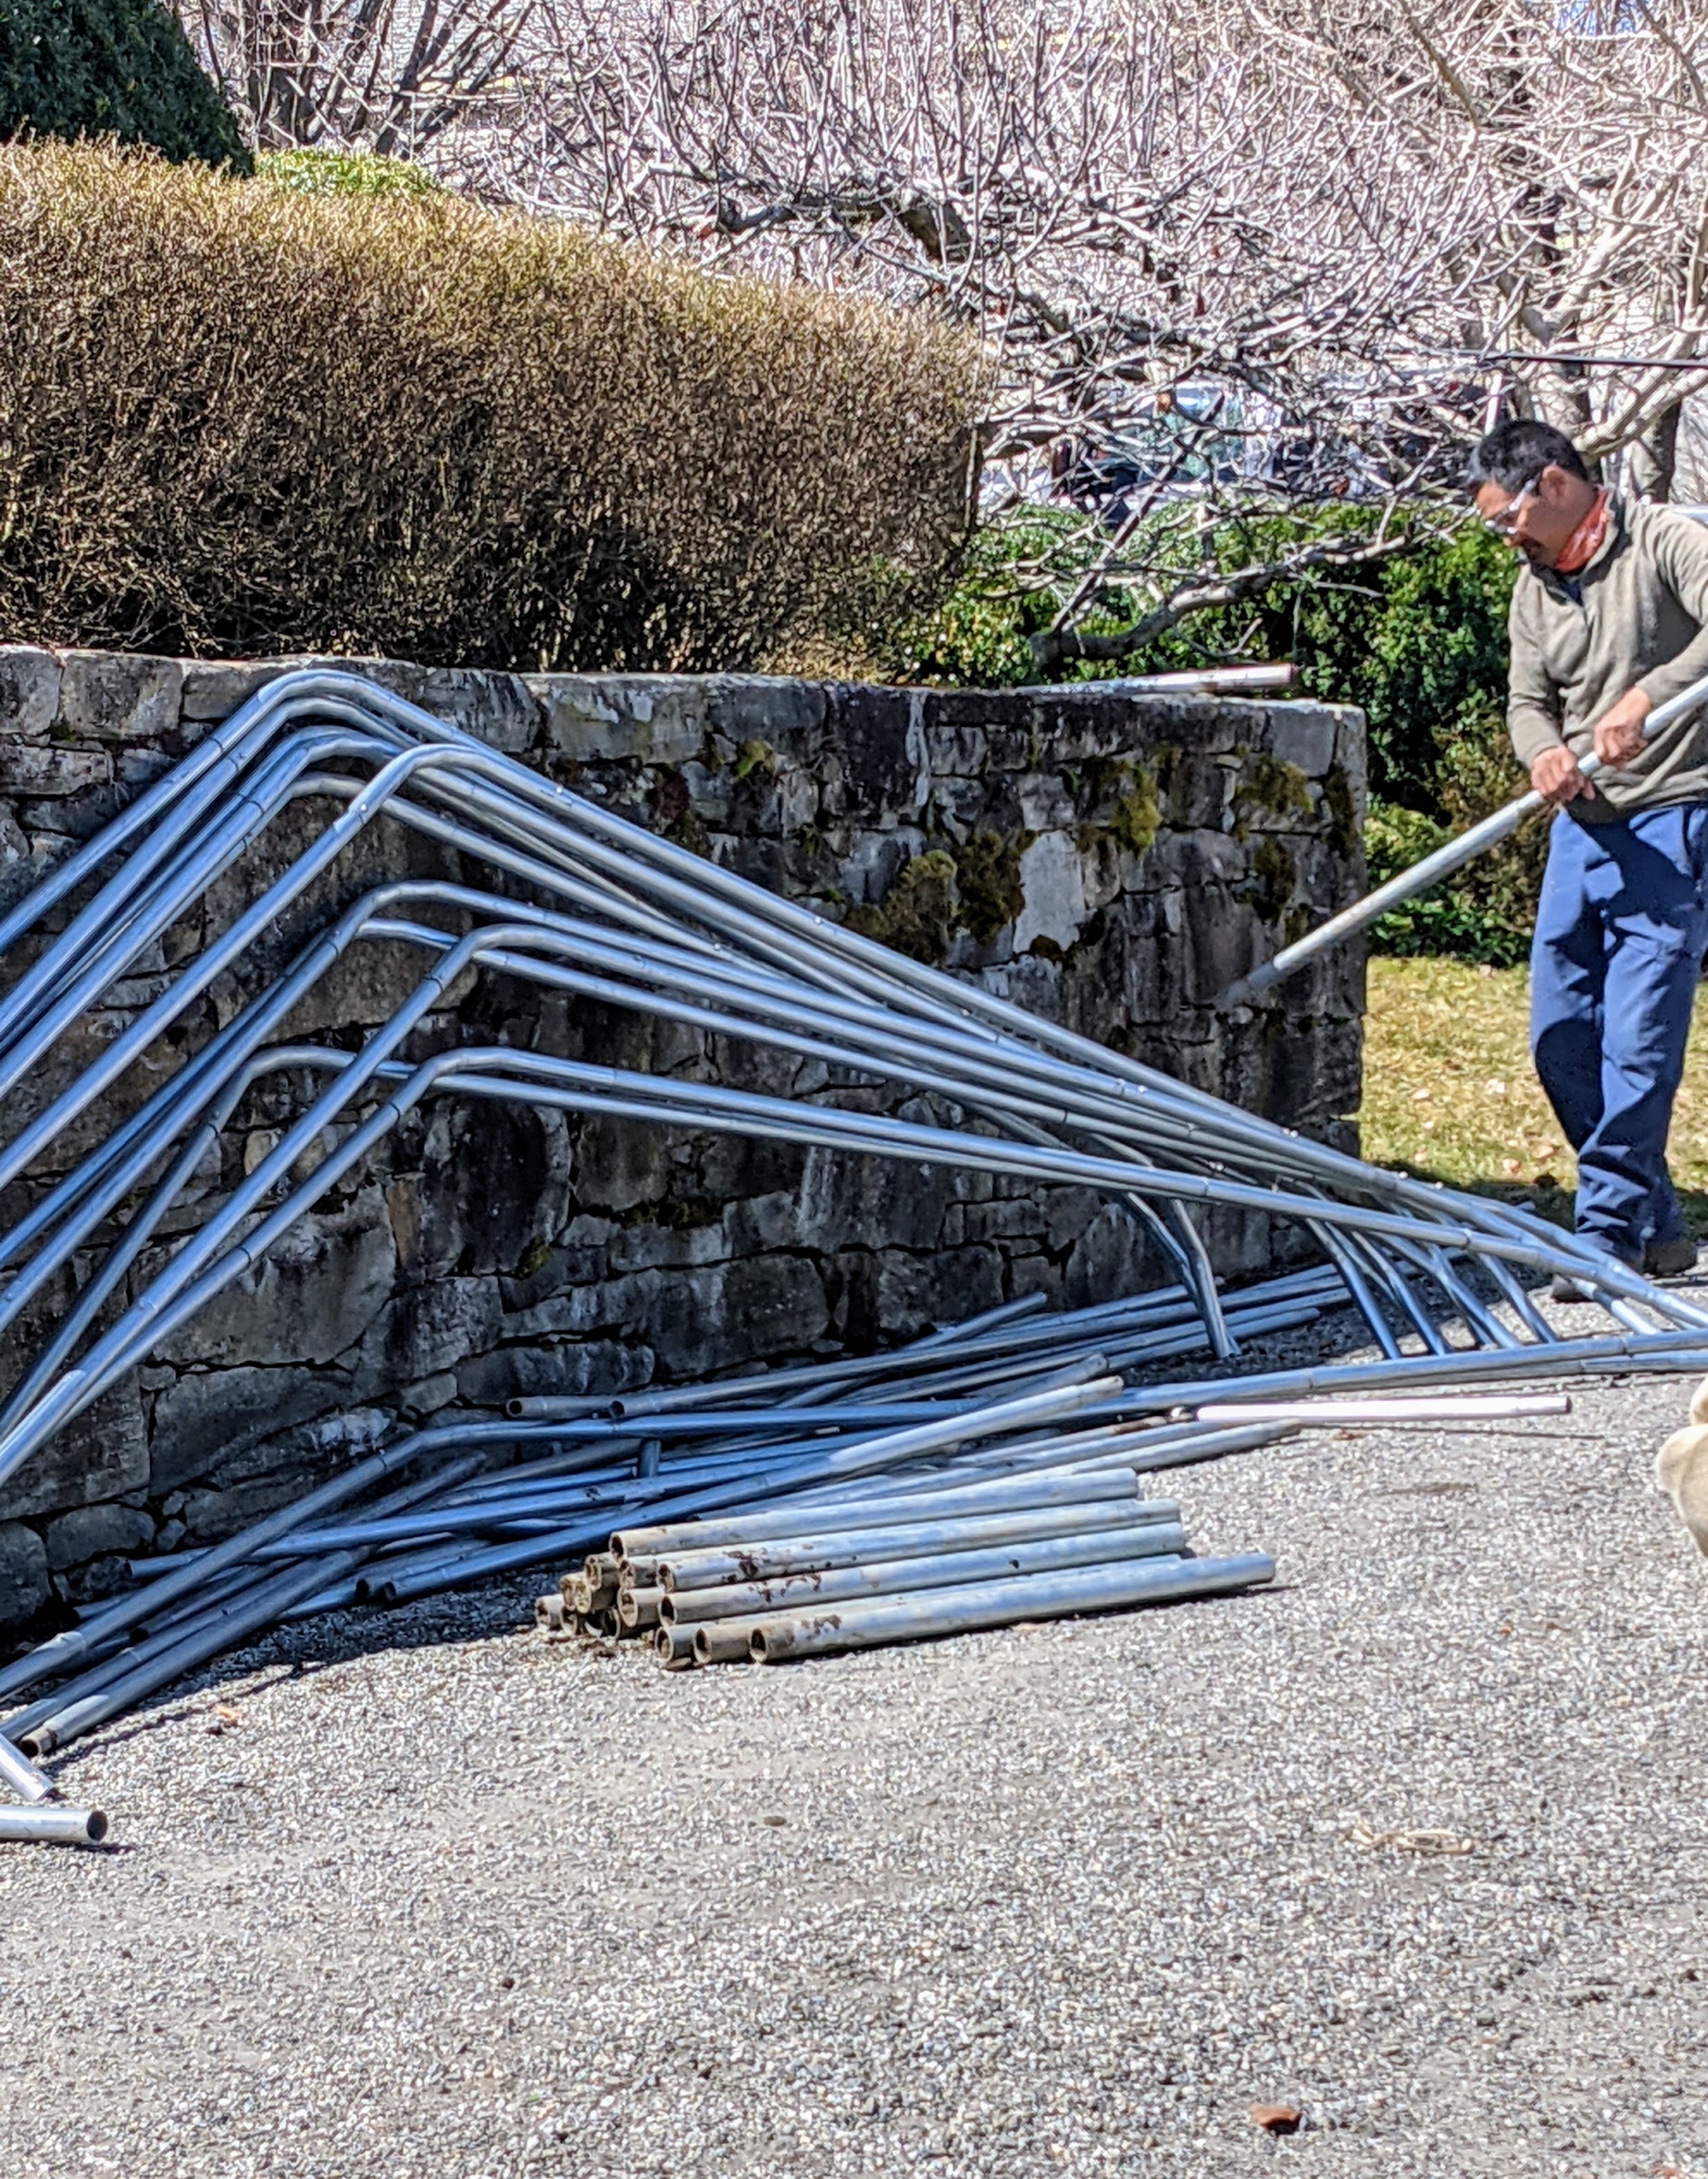
For the frames we use the same metal used to make hoop houses – strong industrial steel ground uprights and purlin pipes. These materials not only provide the necessary support frames for the burlap but also accommodate any growth. I ordered all the piping from Growers Solution, a family-owned business in Cookeville, Tennessee.
These pipes are made from rolled galvanized 16 gauge industrial tubing. The ground piping is pounded into the ground – each one about four to five feet from the next. The top pieces are 10-foot wide bow sections – these frames will last quite a while, I hope.
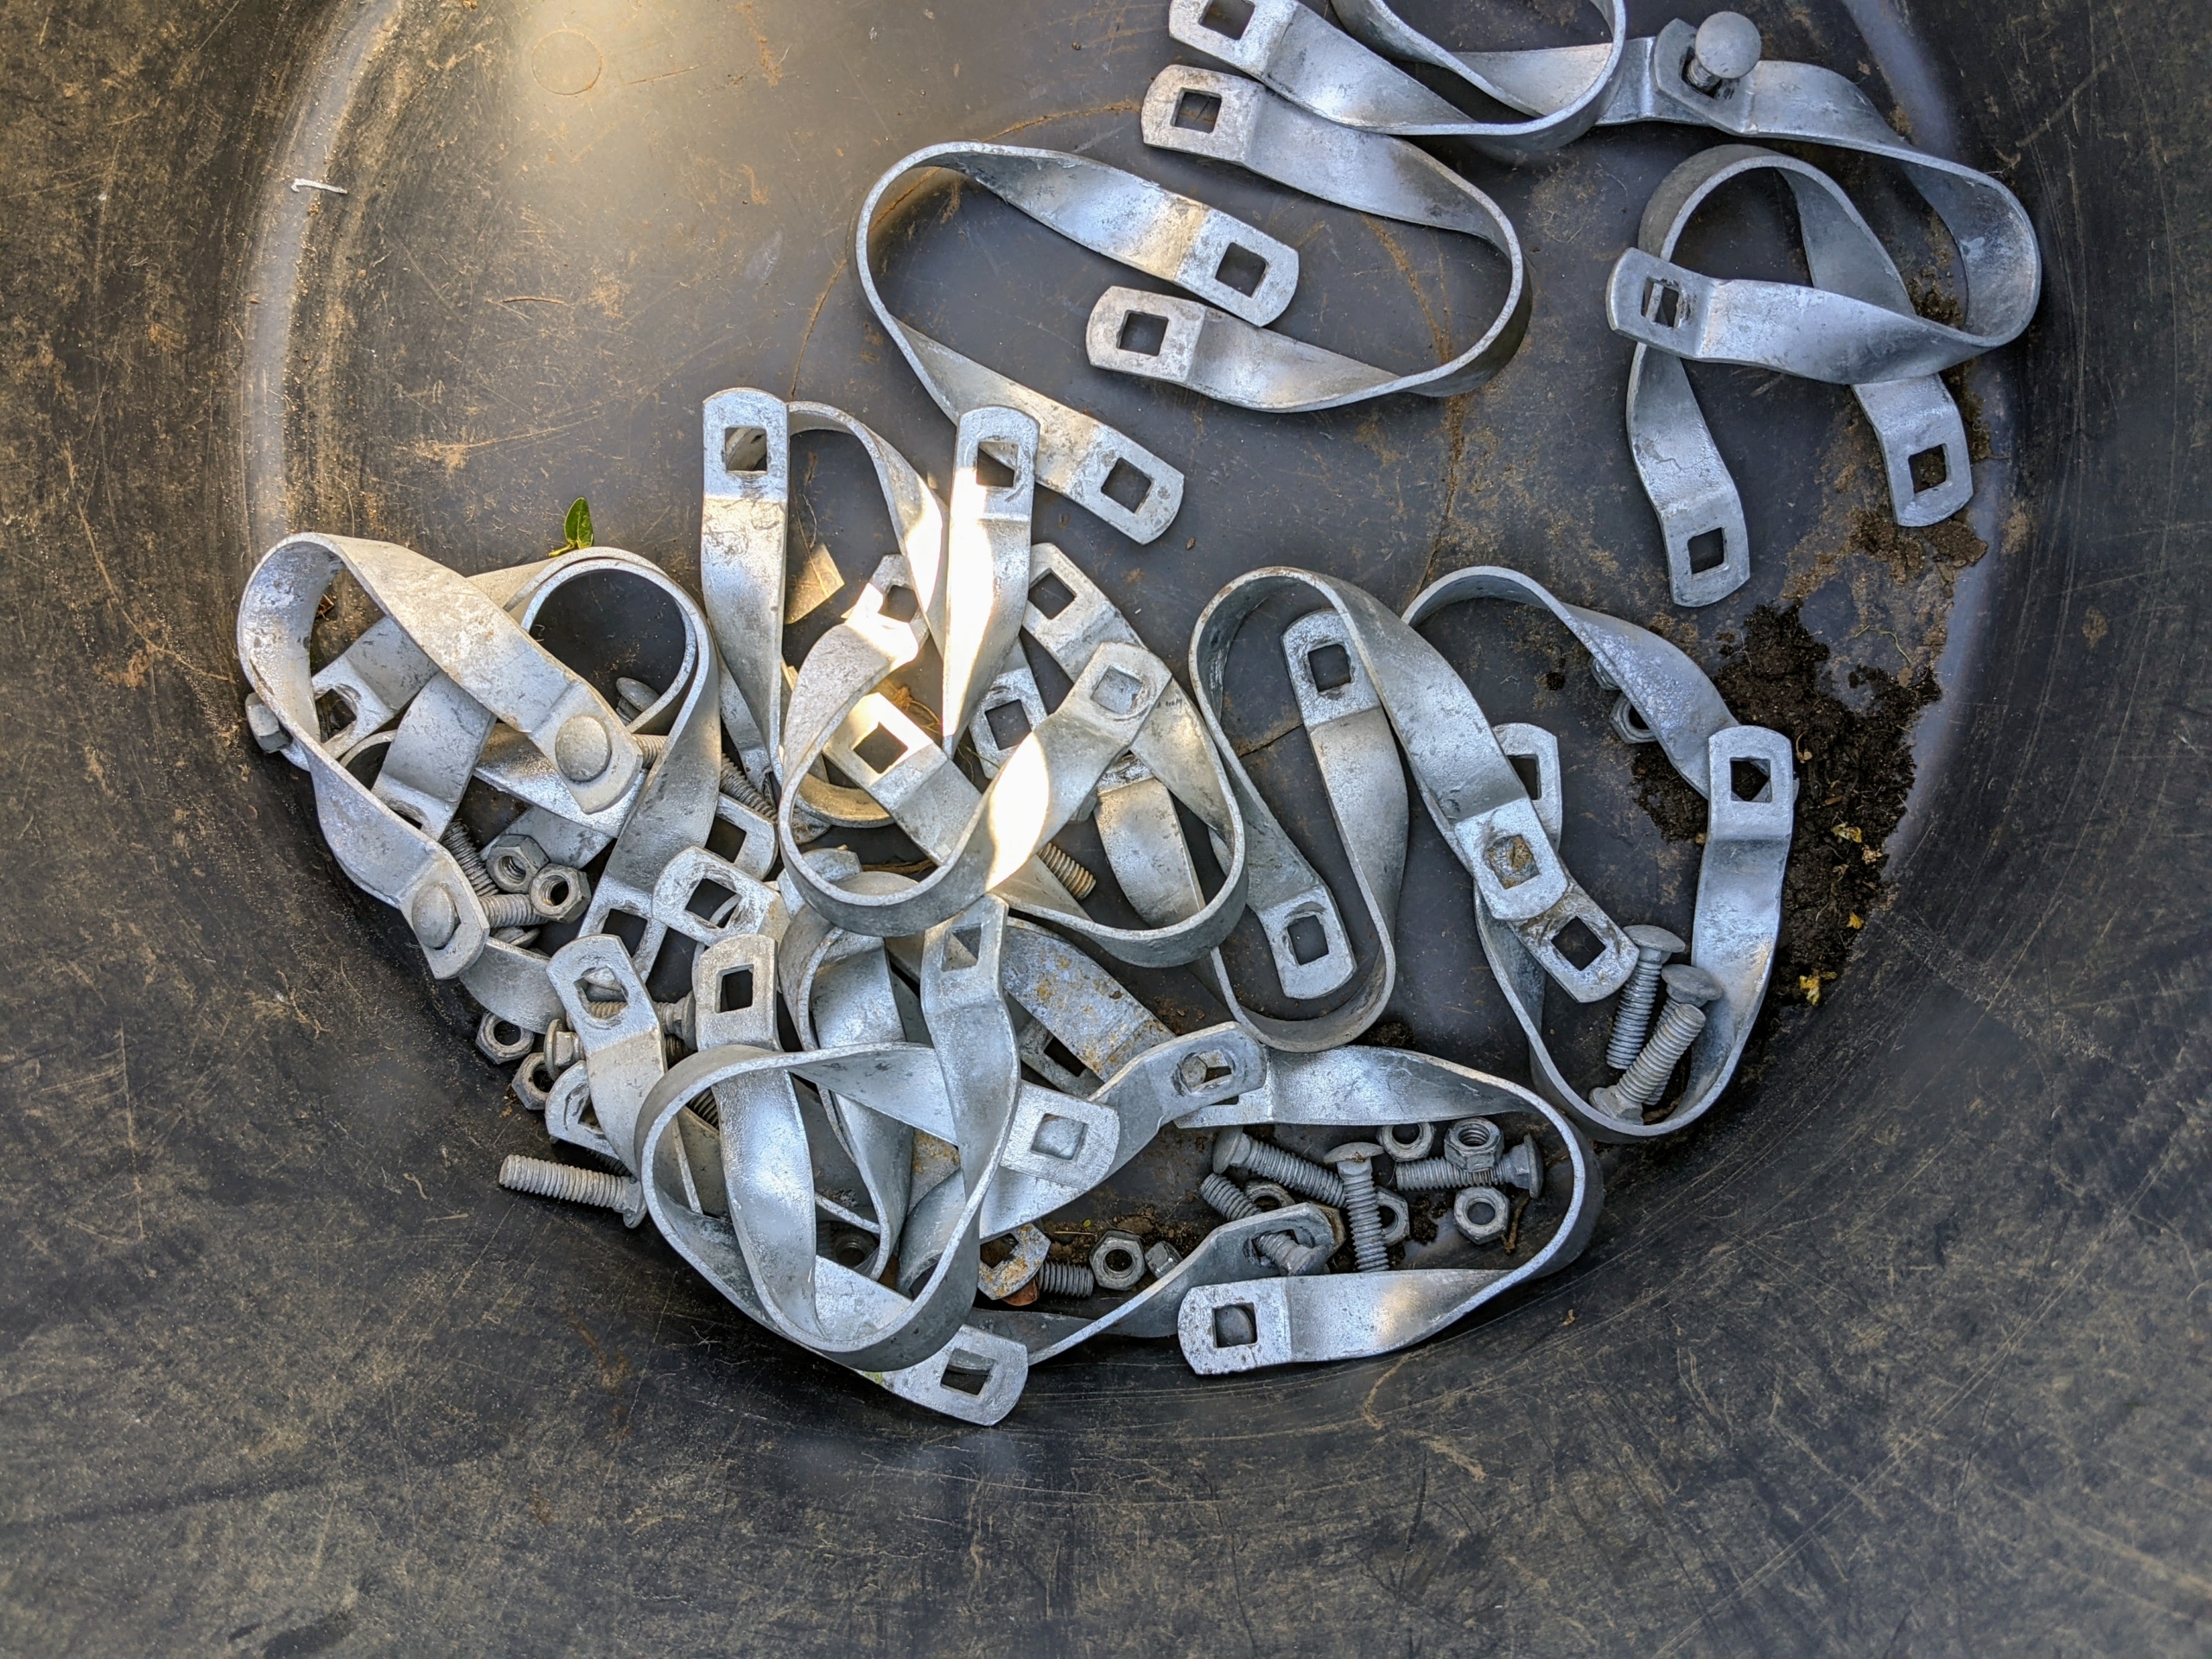
These fasteners are called tension purlin brackets. They connect the center piping to the bow sections of the frame. All the purlin brackets and pipes are saved from year to year.
In tighter areas, we build burlap frames using metal supports and wooden stakes. The burlap and all the supplies are removed gently, so as to preserve as much burlap as possible. Any damaged or badly timeworn burlap is saved for use in the gardens as a weed blocking layer under the mulch.
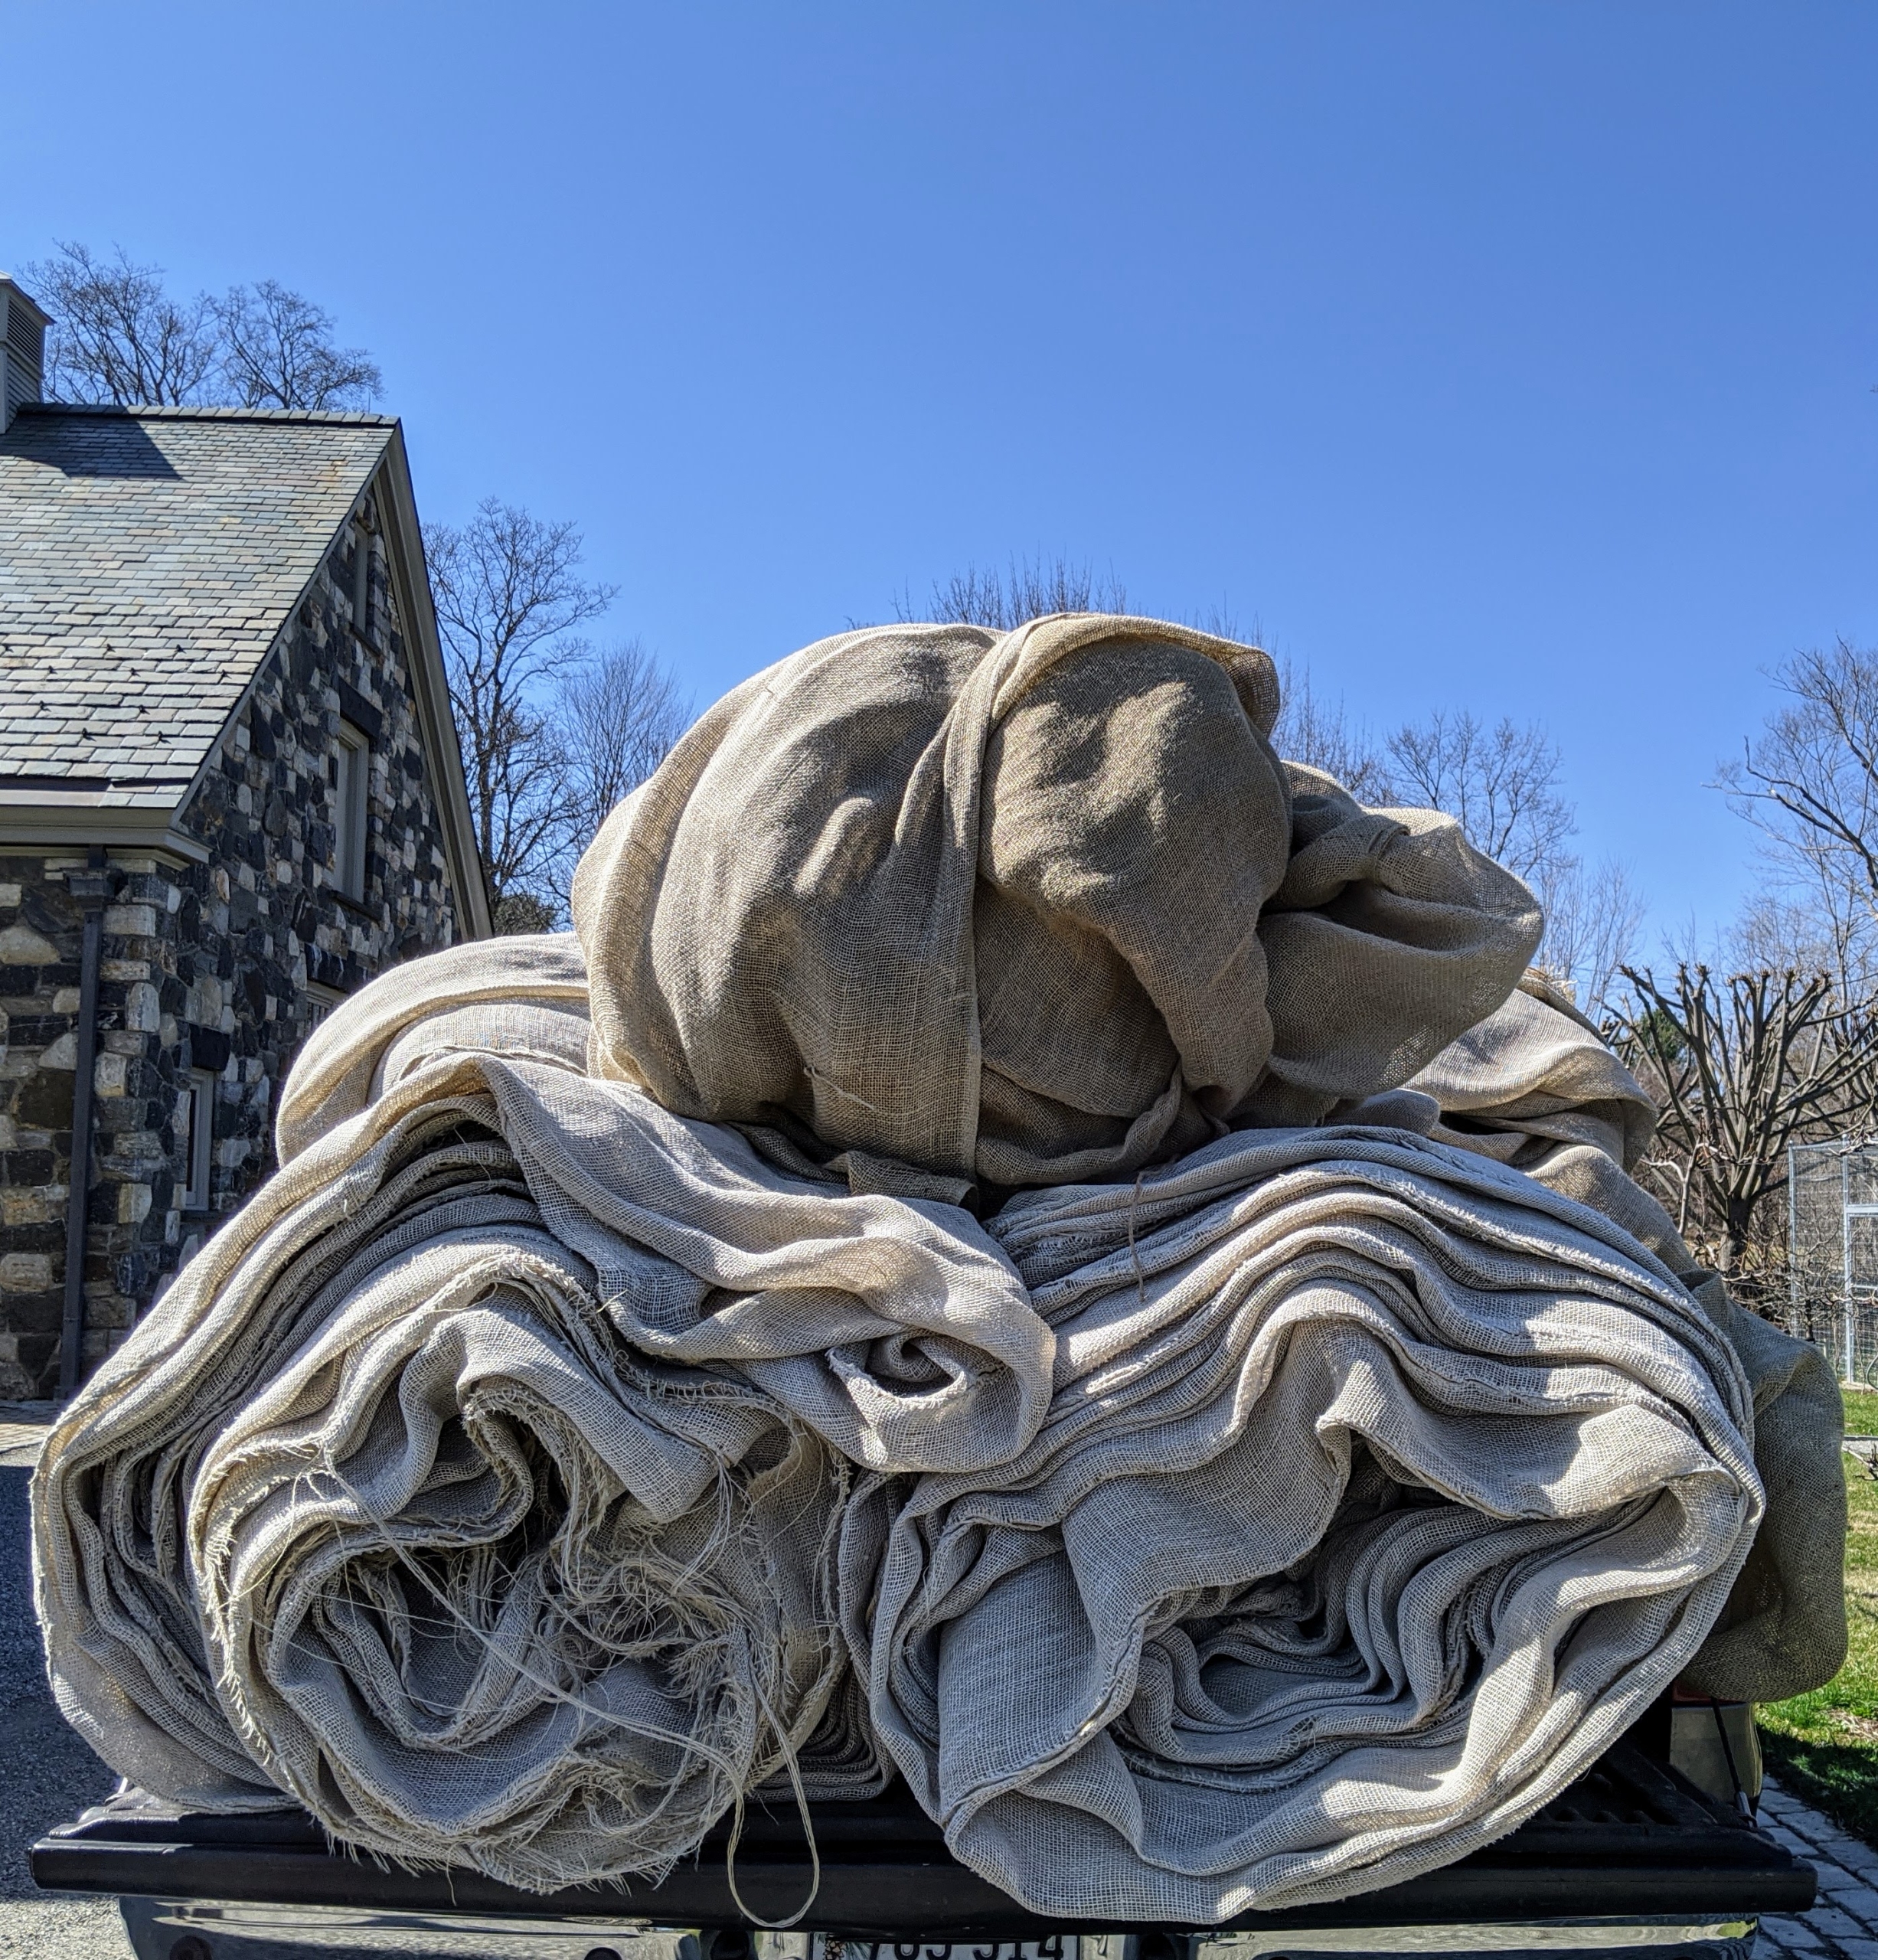
All the rolls of burlap must be kept dry when not in use. One of the few downsides to this fabric is that it will start to fray and disintegrate after time, especially if exposed to moisture. Here is one roll of fabric. It may not look it, but this roll is quite heavy.
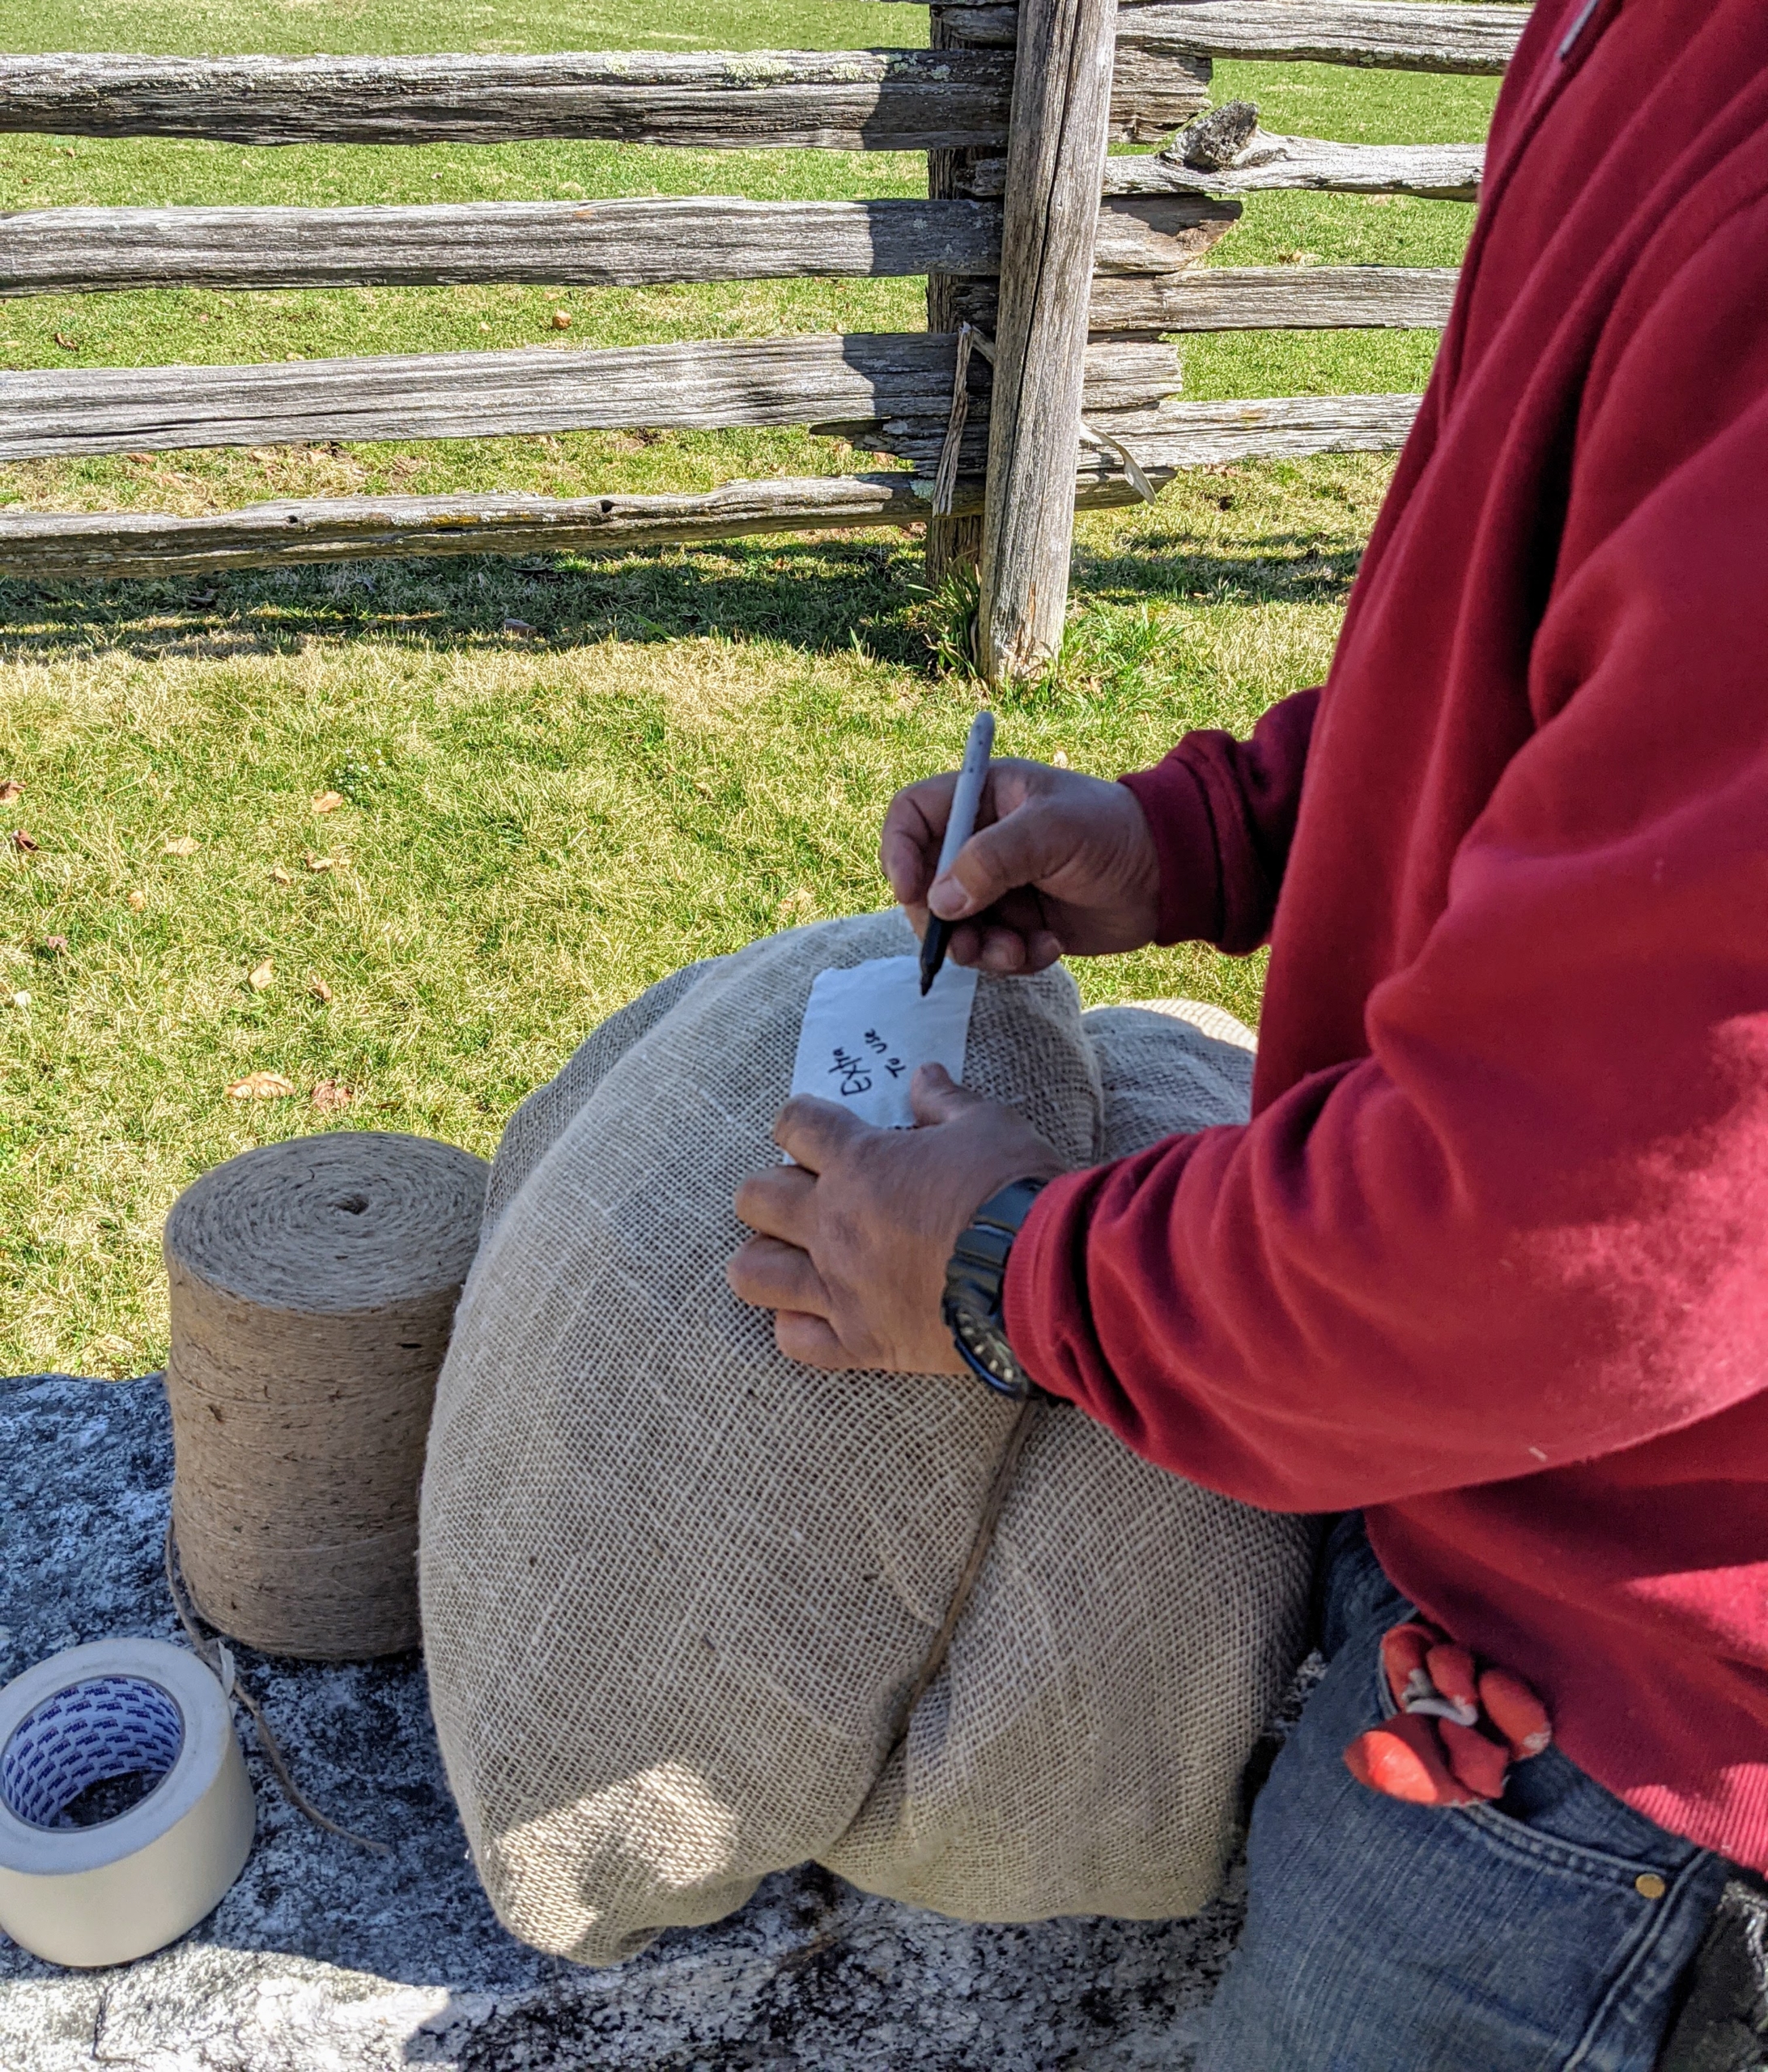
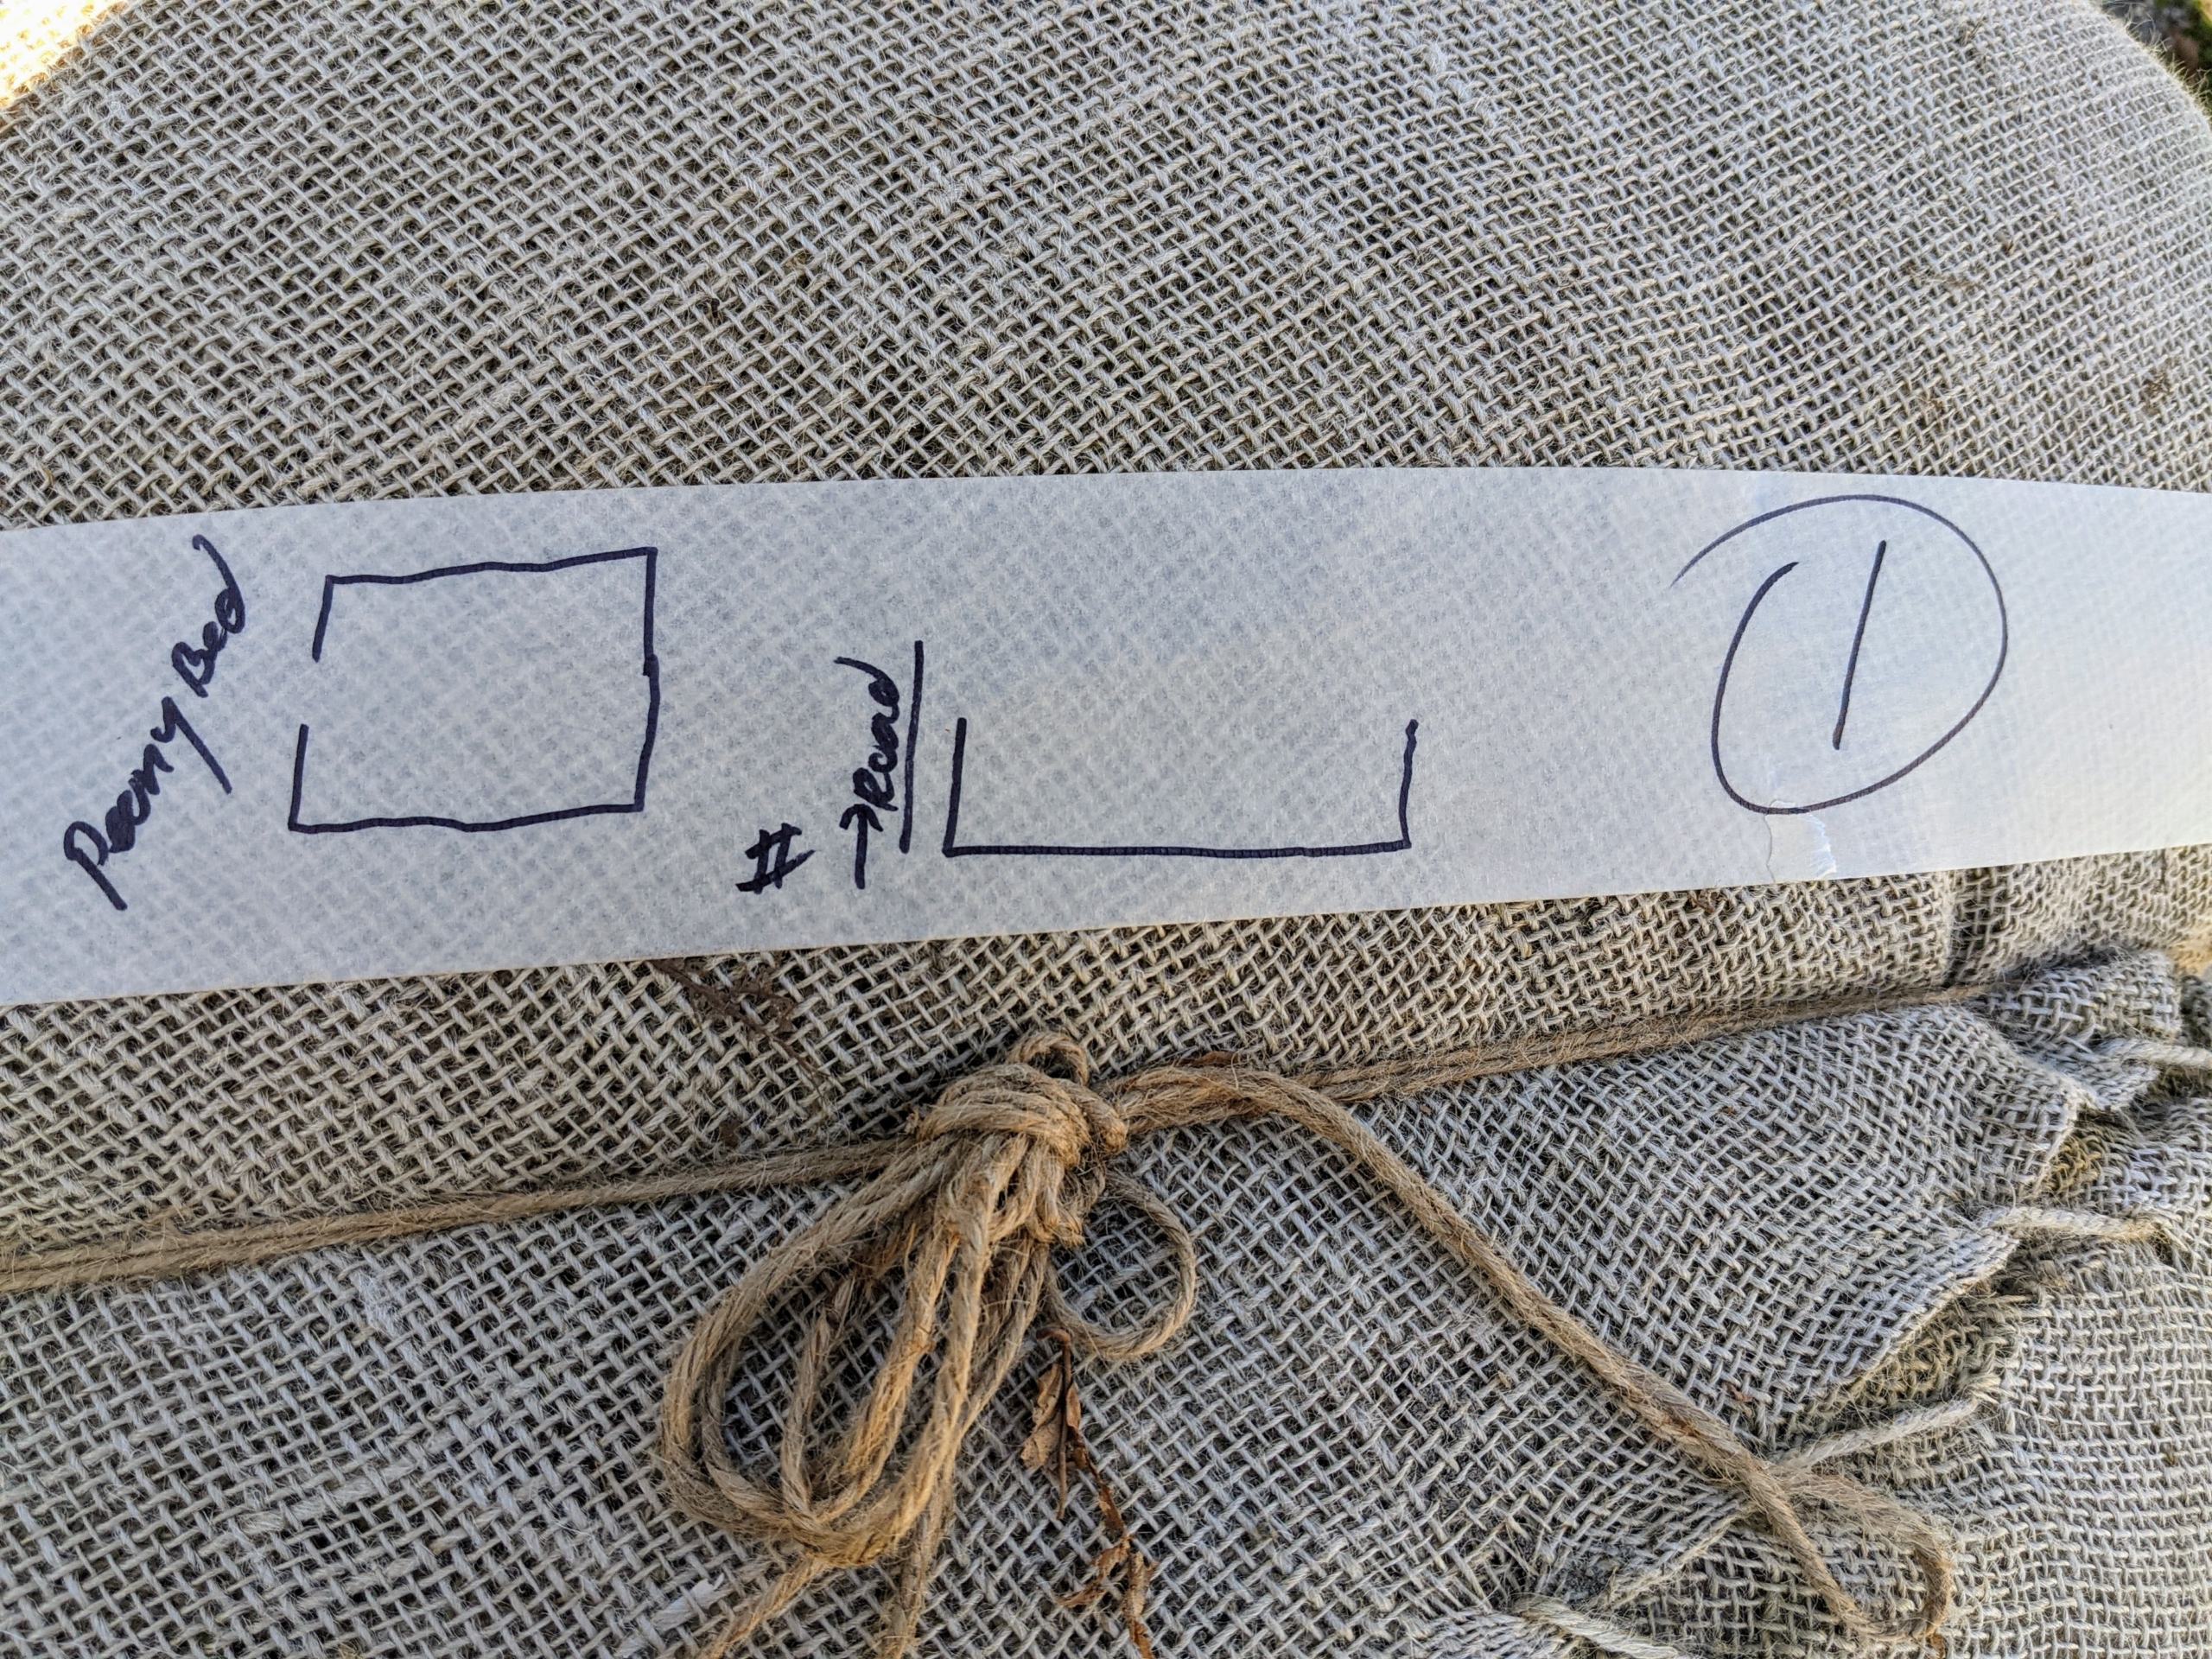
Chhiring labels each roll of burlap indicating what it covers and where. The label will make it easy to identify next fall when the boxwood is covered again.
Here is the label on one of the rolls. The sections of burlap are also tied with jute twine – we use this natural twine for many projects at the farm.
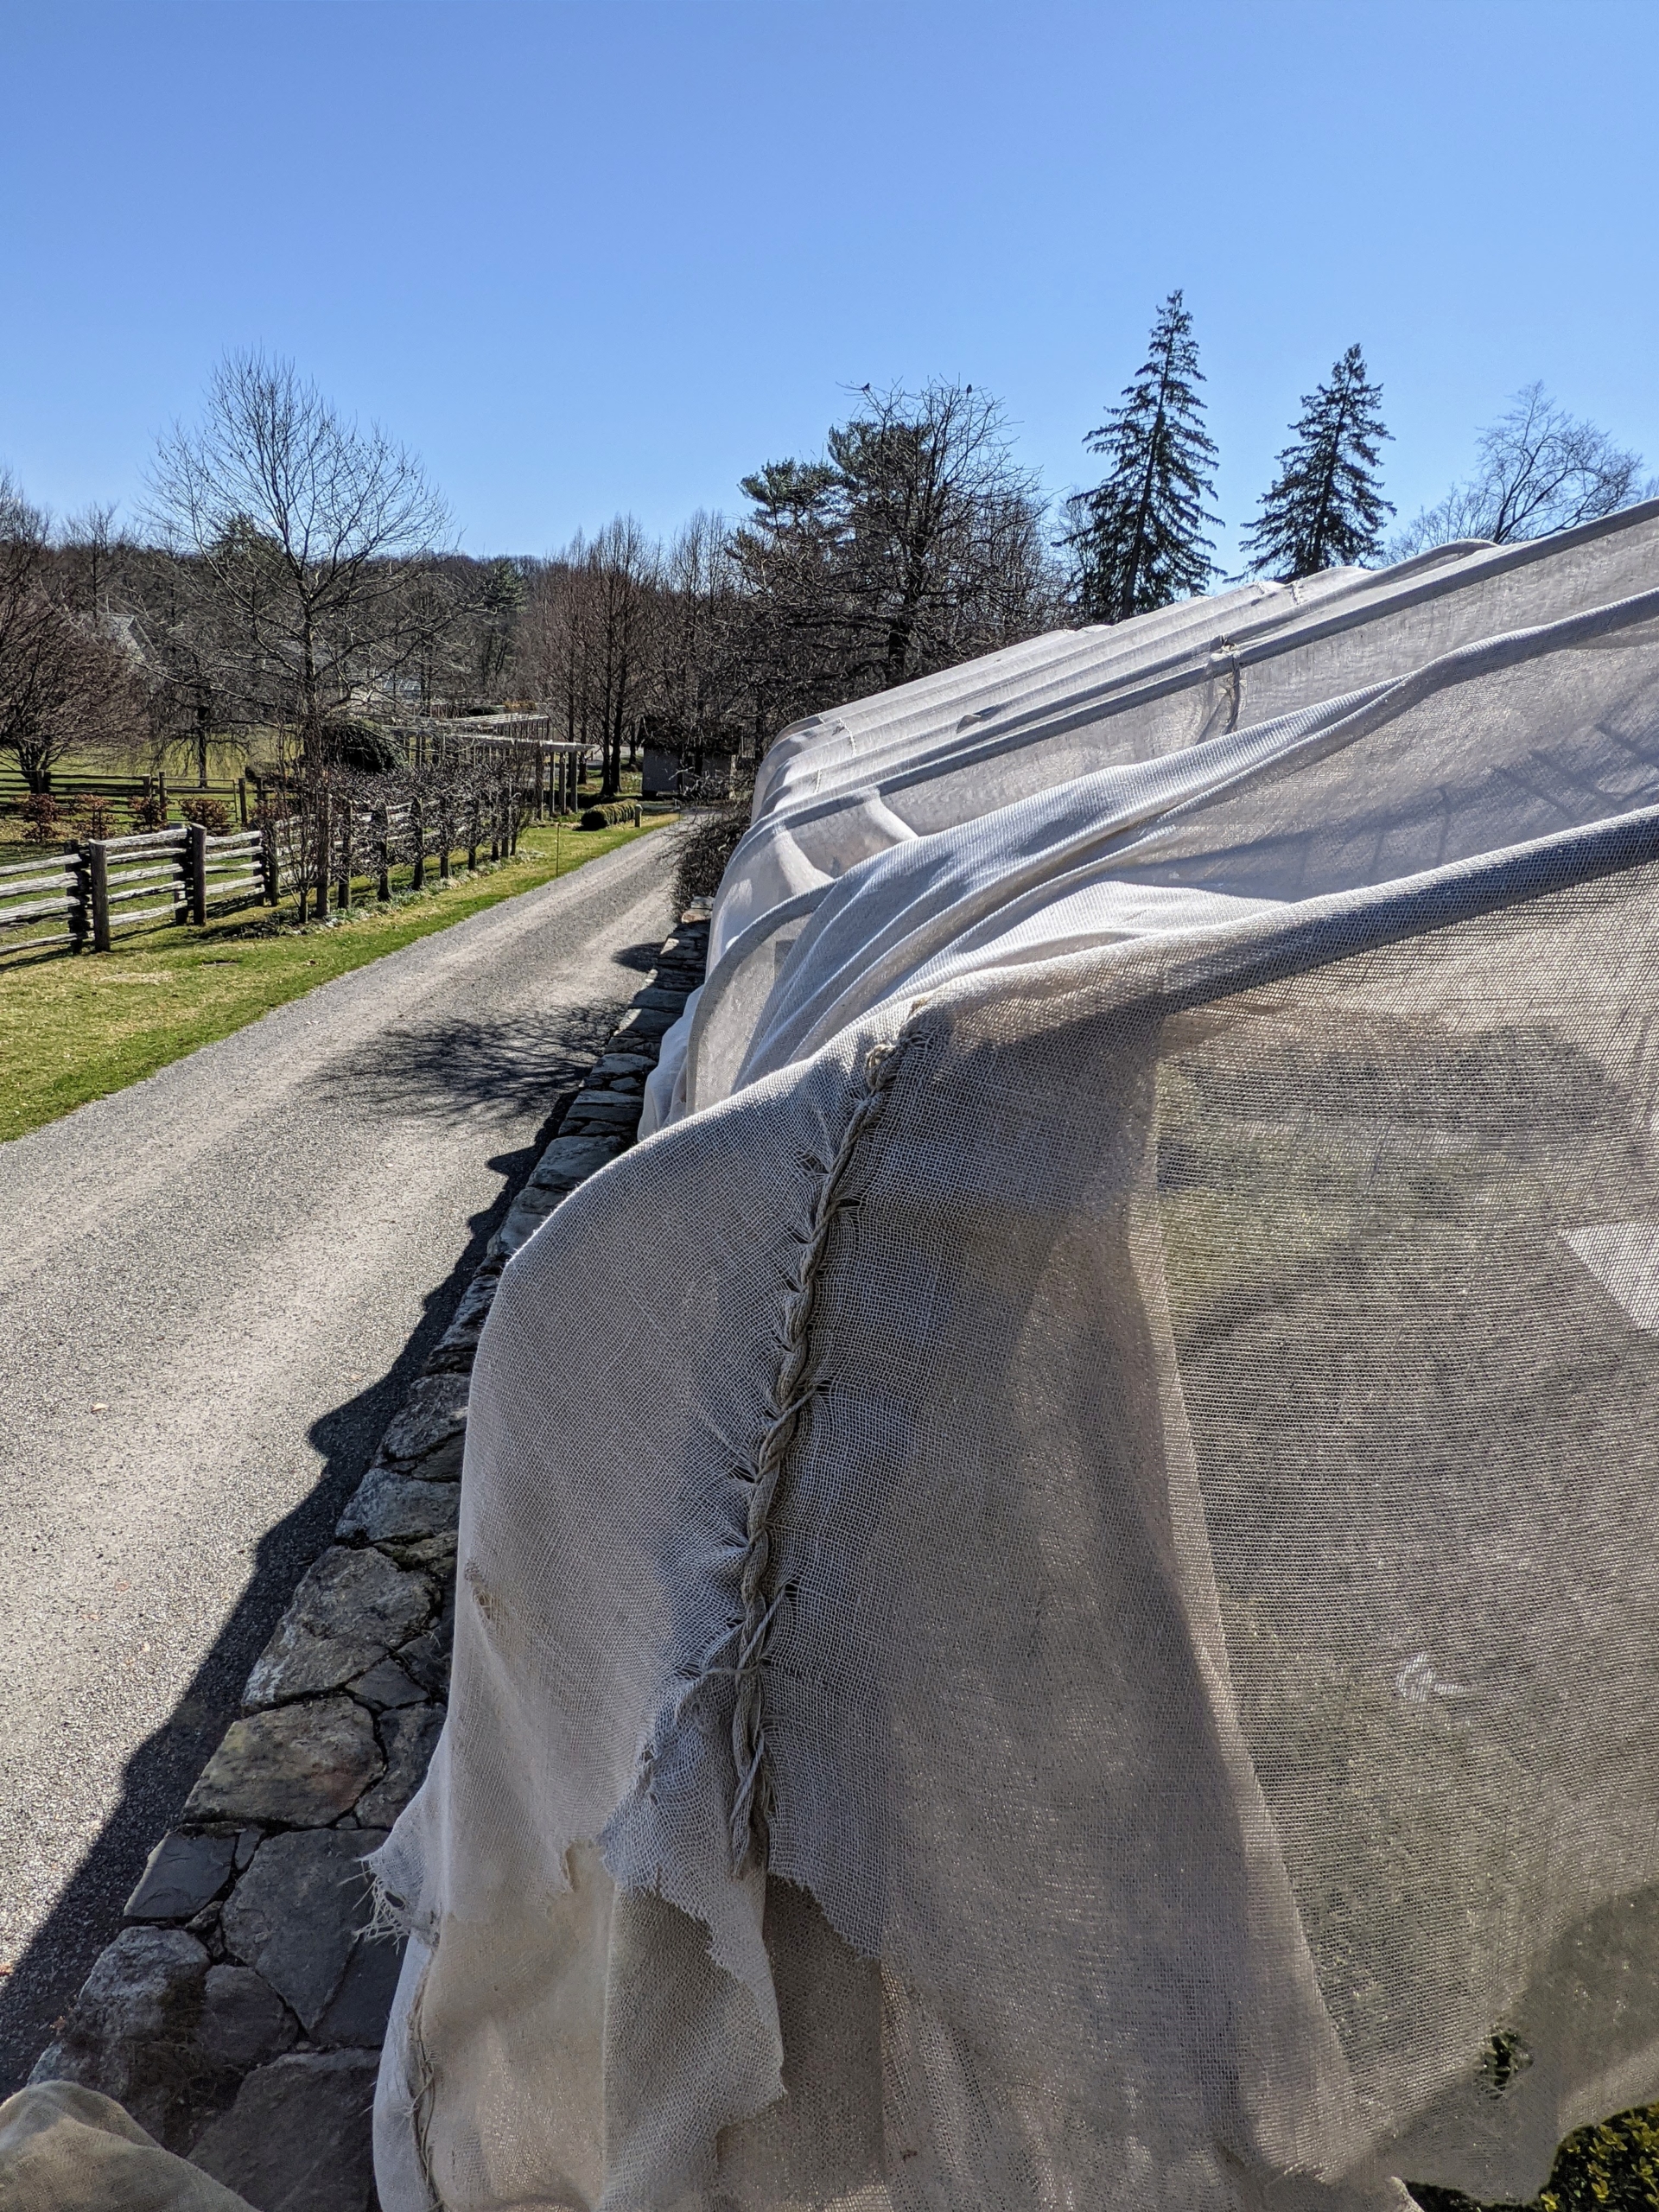
This side of the upper terrace parterre is along the carriage road in front of my home.
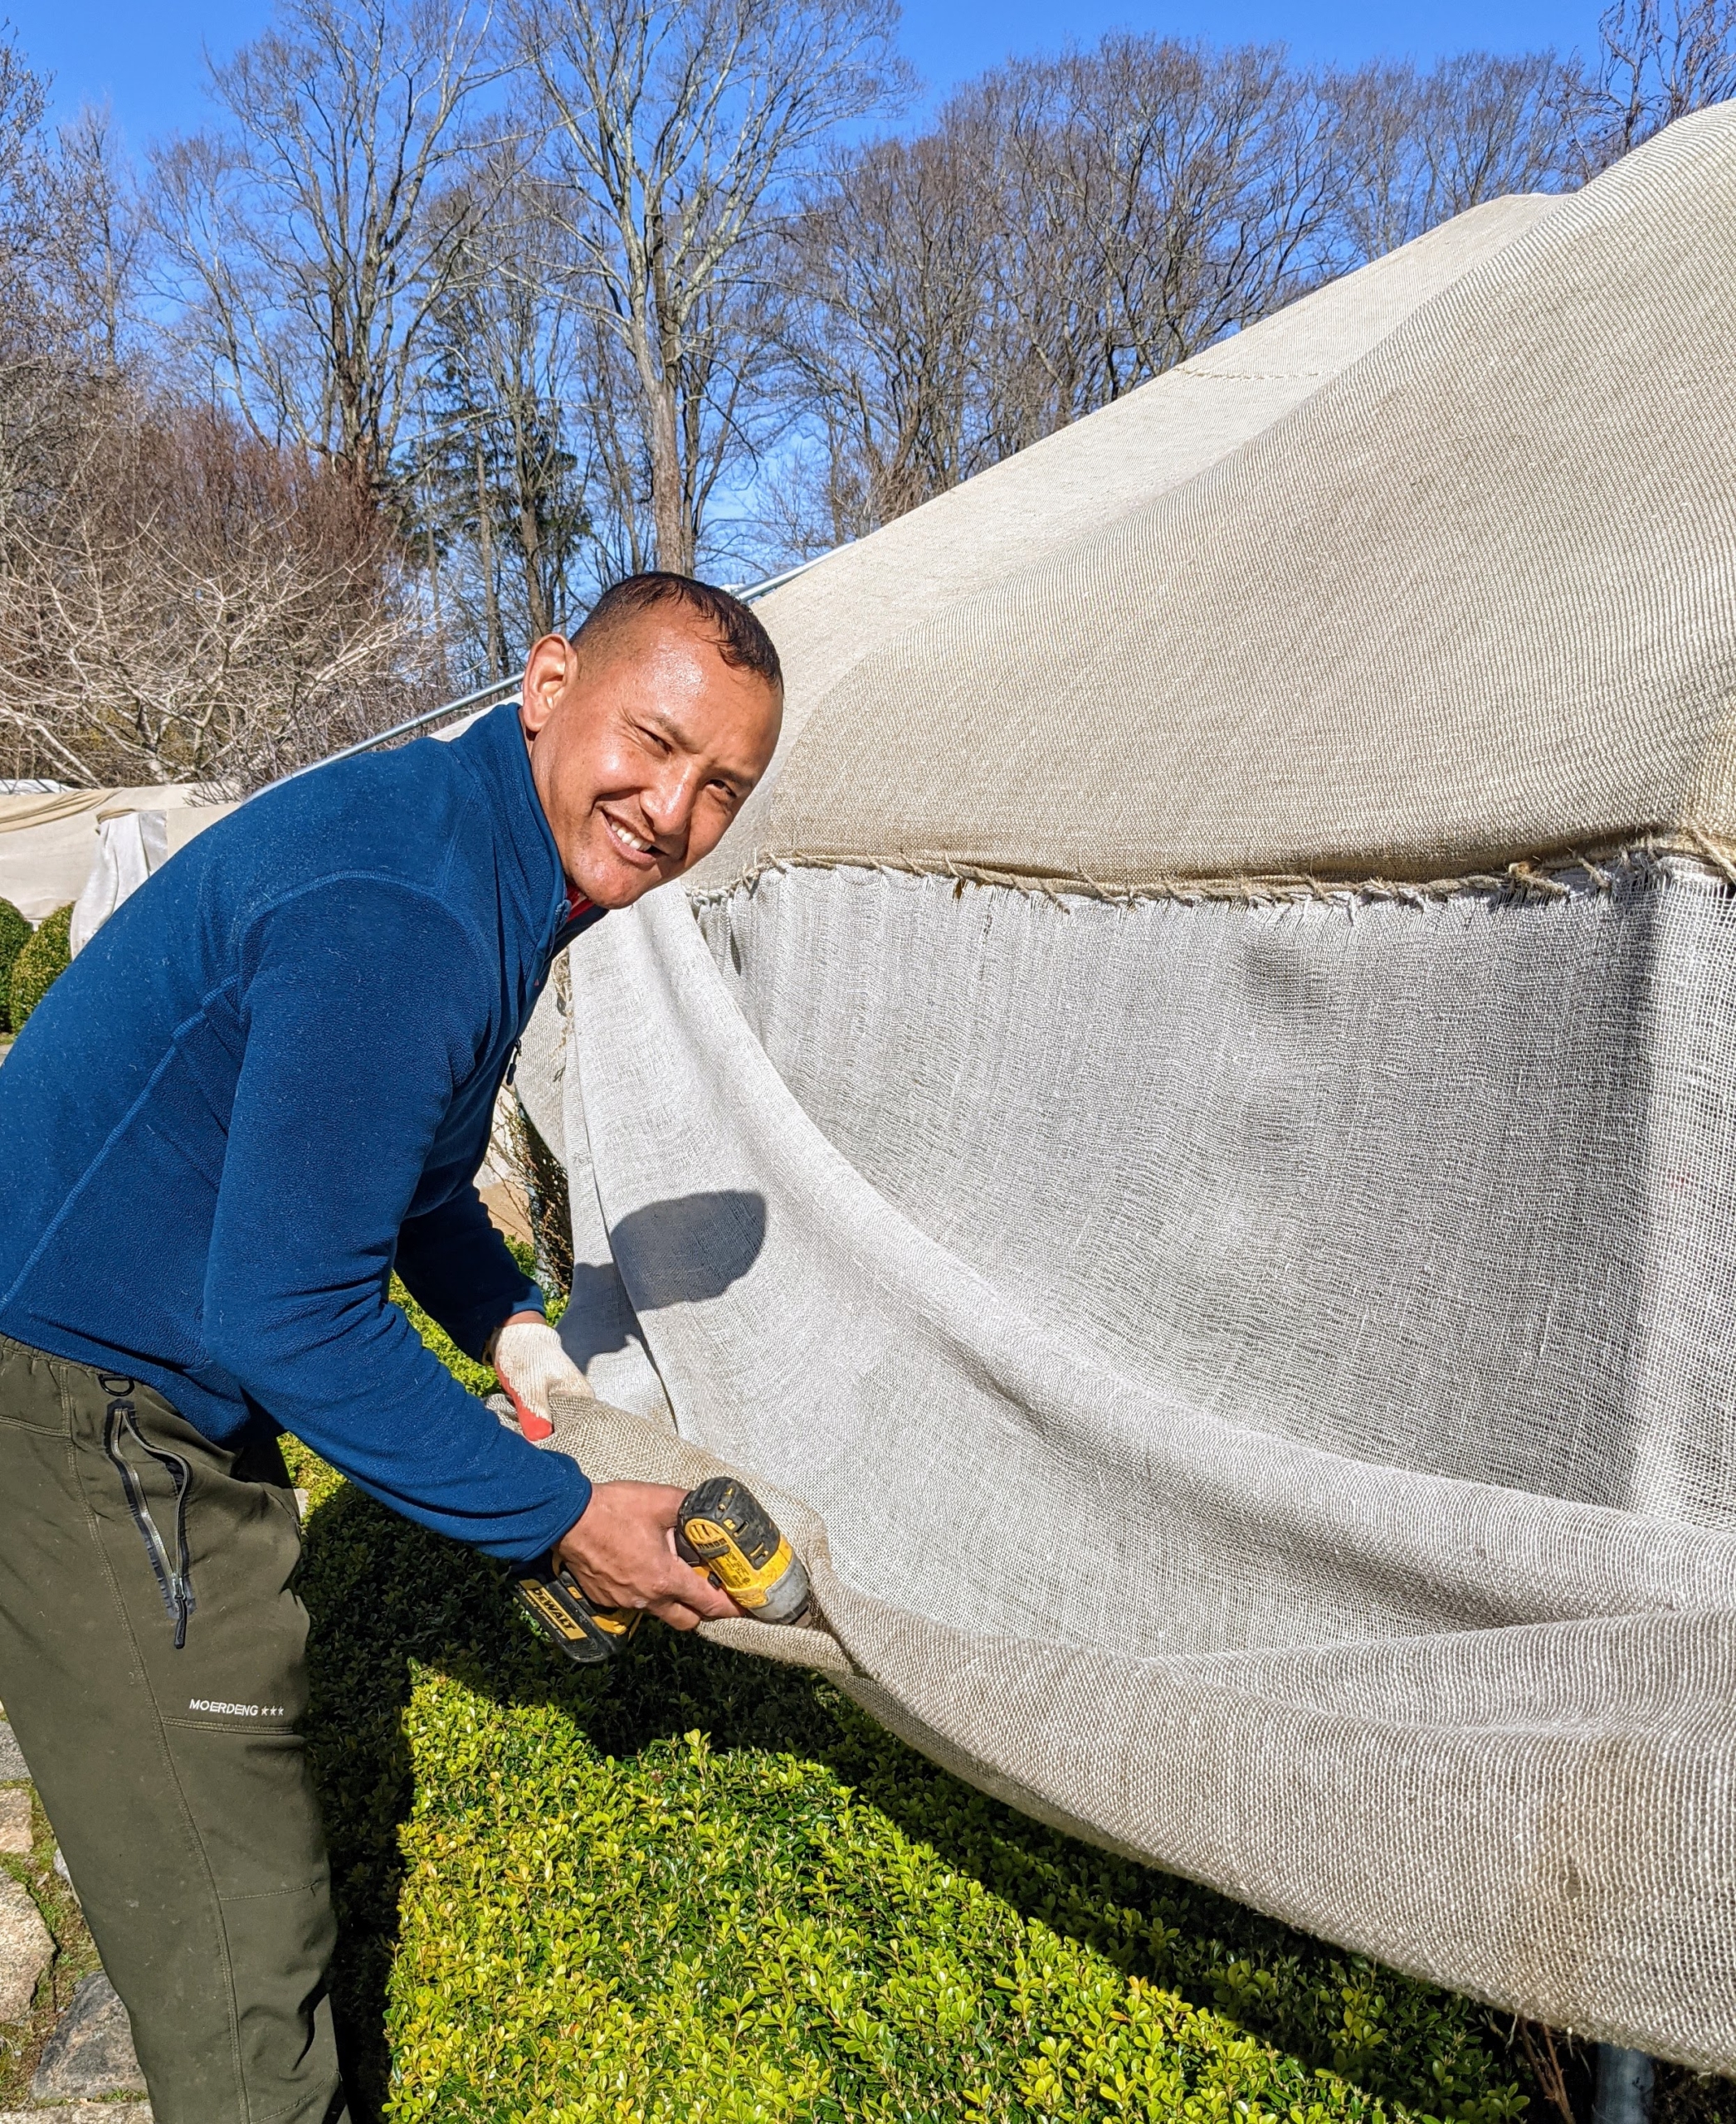
Here’s Chhiring pulling the fabric off of the steel piping in front of my Winter House porch.
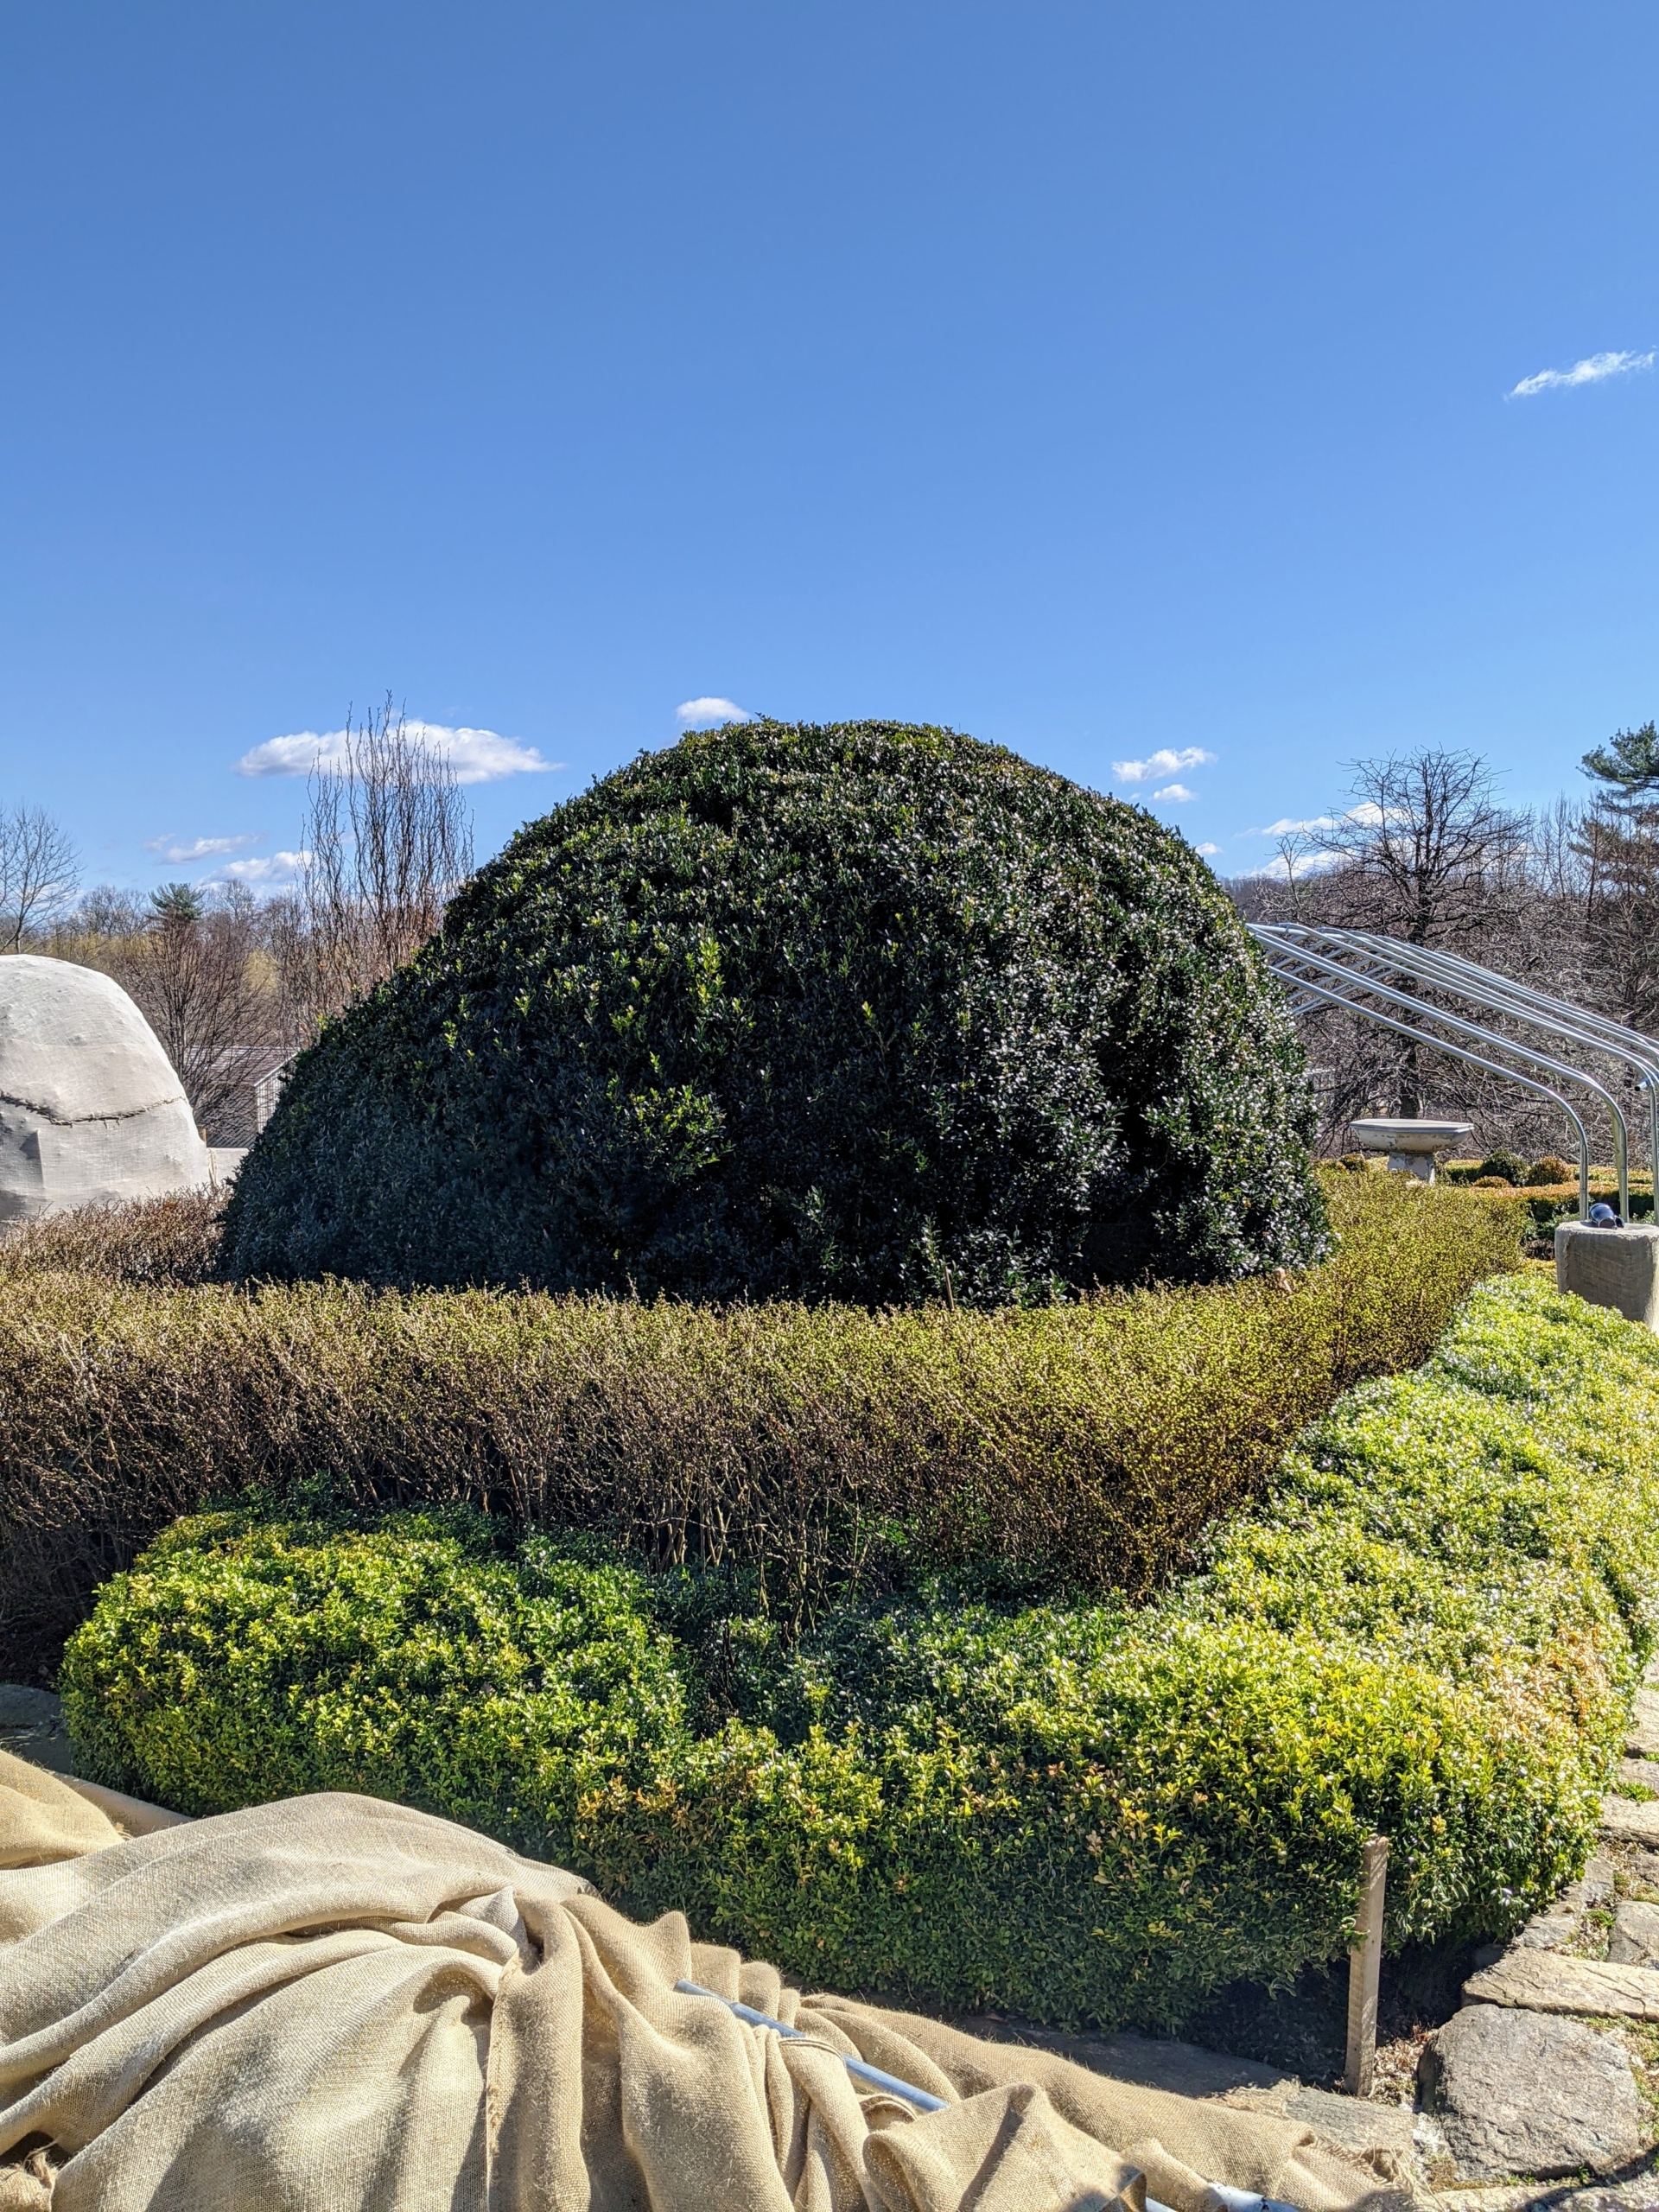
And this is the terrace outside my Green Parlor. It’s always so nice to see the boxwood once the burlap is removed.
The crew has been doing this for years – they have streamlined the process and everyone works swiftly and efficiently.
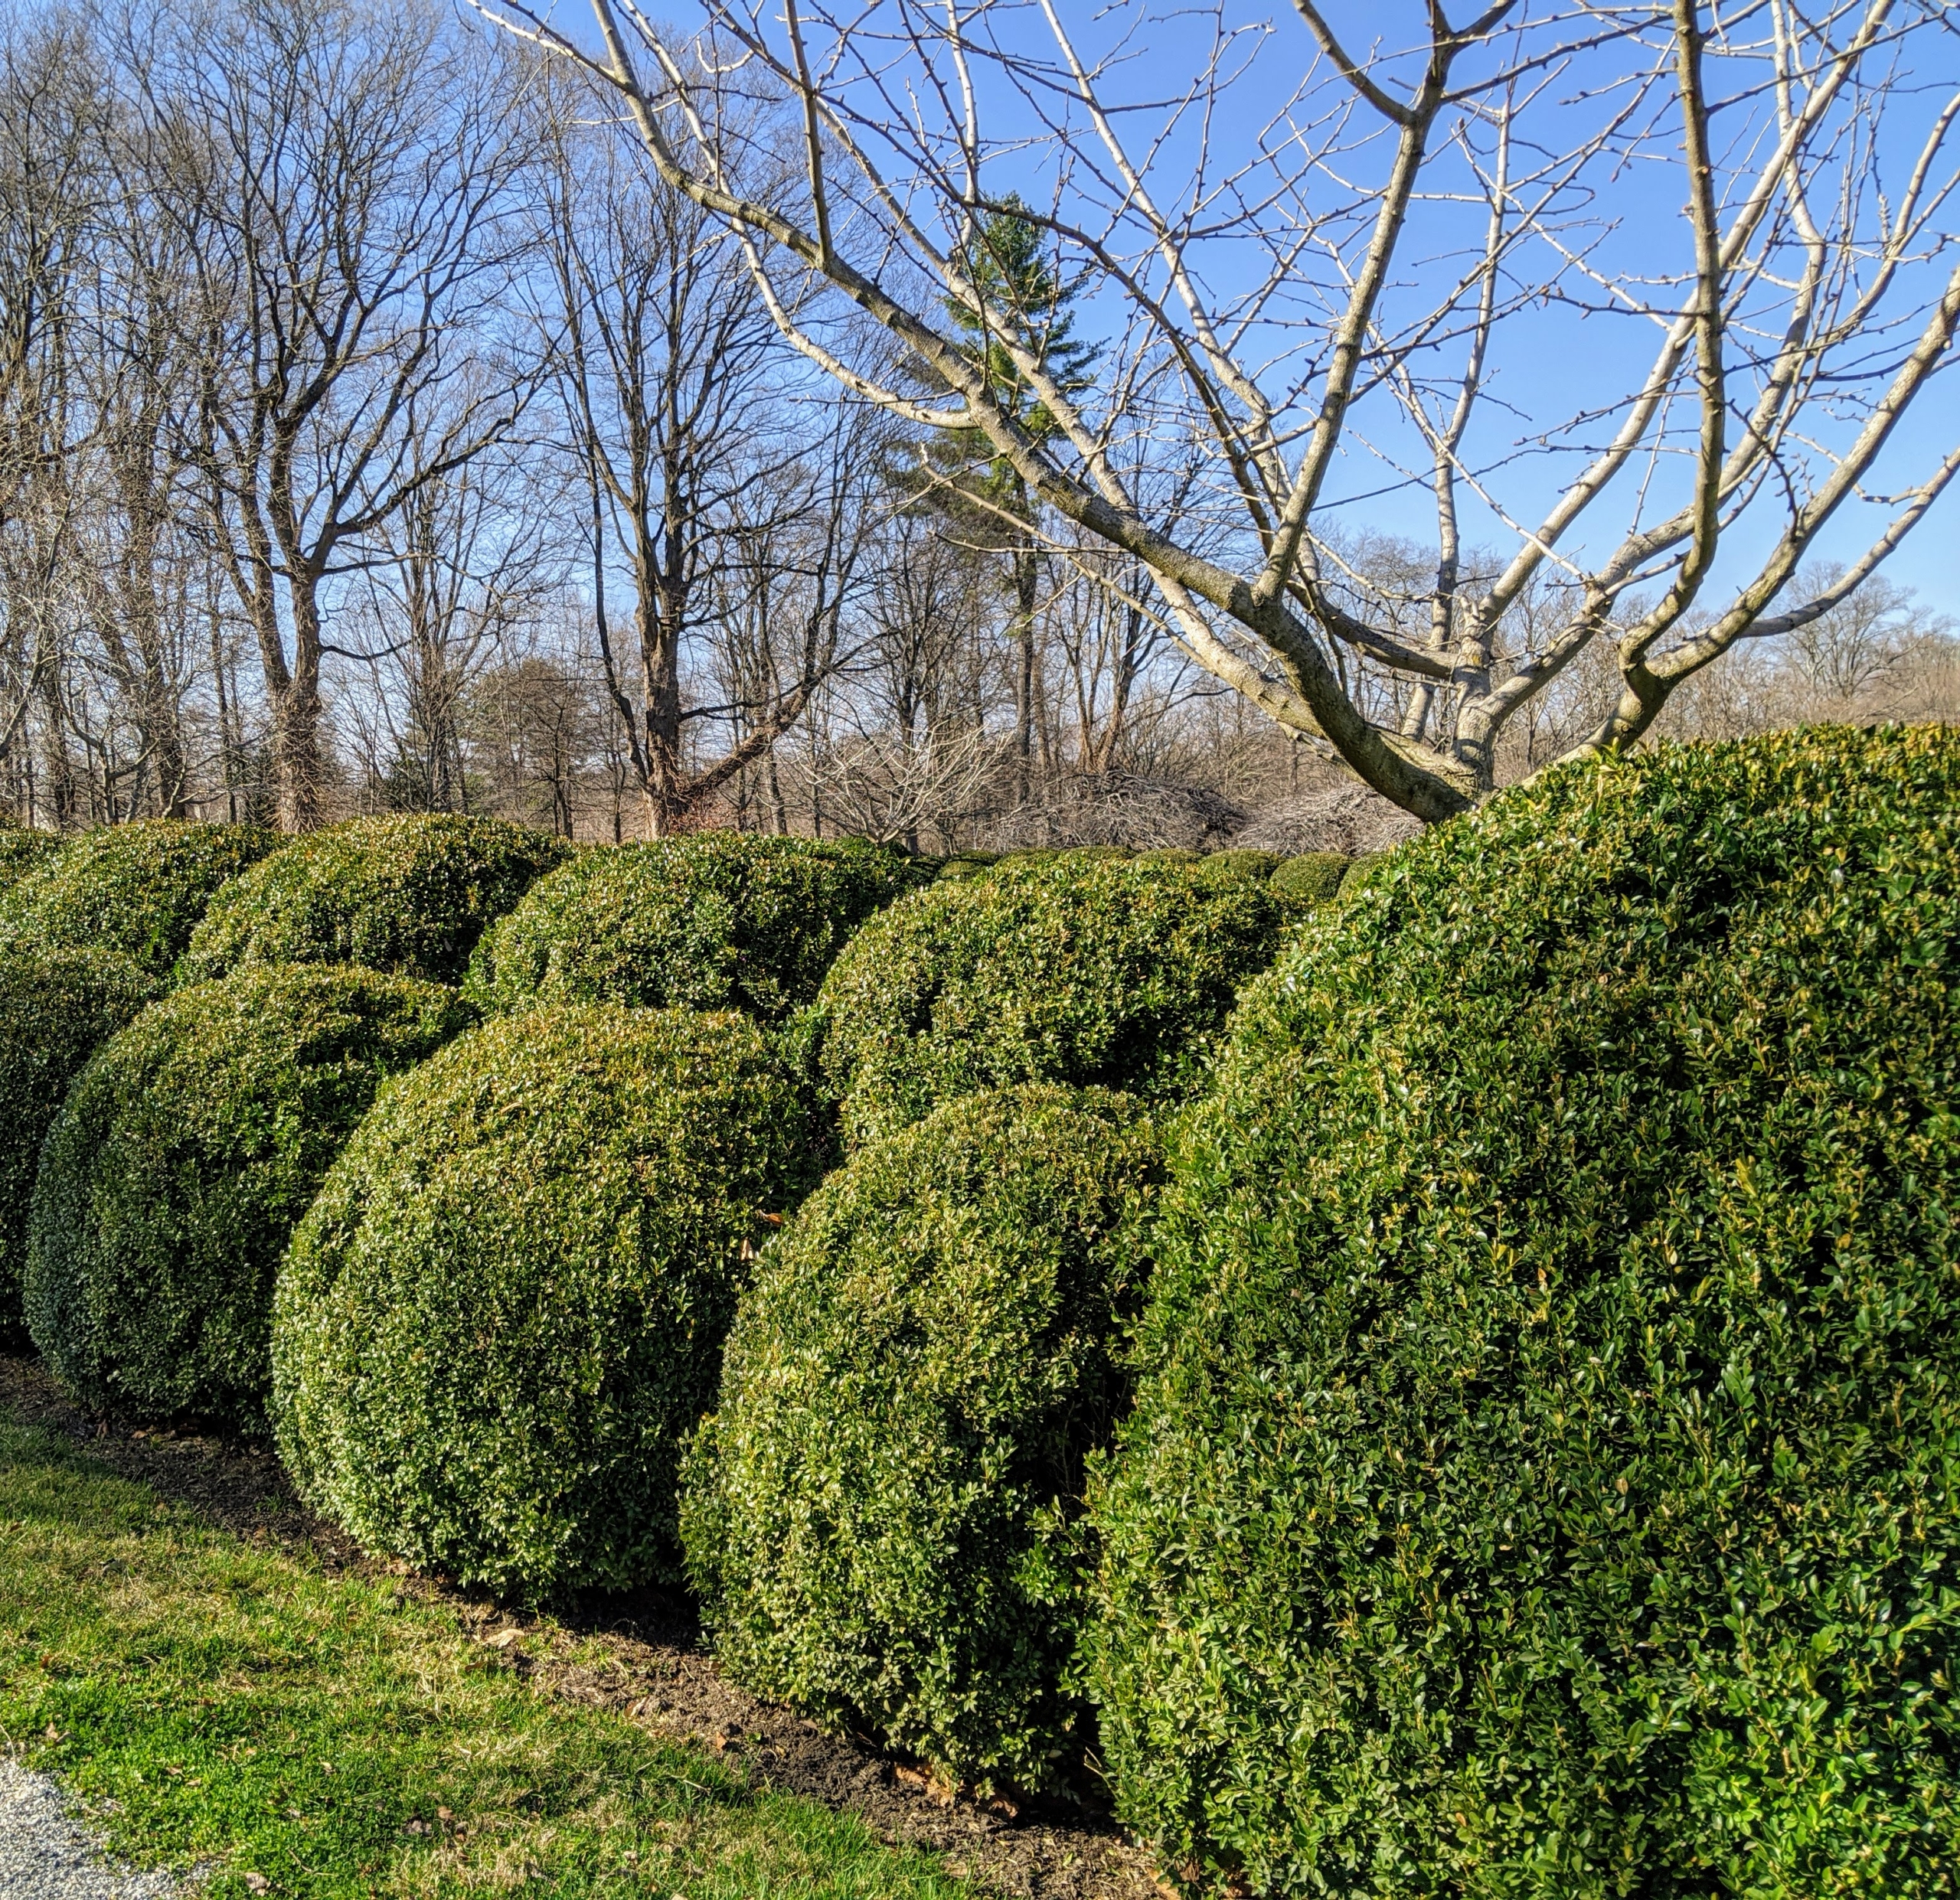
Everything is already looking so lush and green – all the greenery was well-preserved under the protective winter coverings.
Once the crew finishes removing the burlap, the materials are loaded onto the truck and taken to the Stable Barn for storage. Taking down the burlap is a much faster process than putting the burlap up, but still time-consuming.
Here is the boxwood that surrounds my herbaceous peony bed – now completely uncovered. Removing the burlap changes the entire appearance of the area and reveals what we hope for every year – green, healthy boxwood. What a gorgeous time of year.