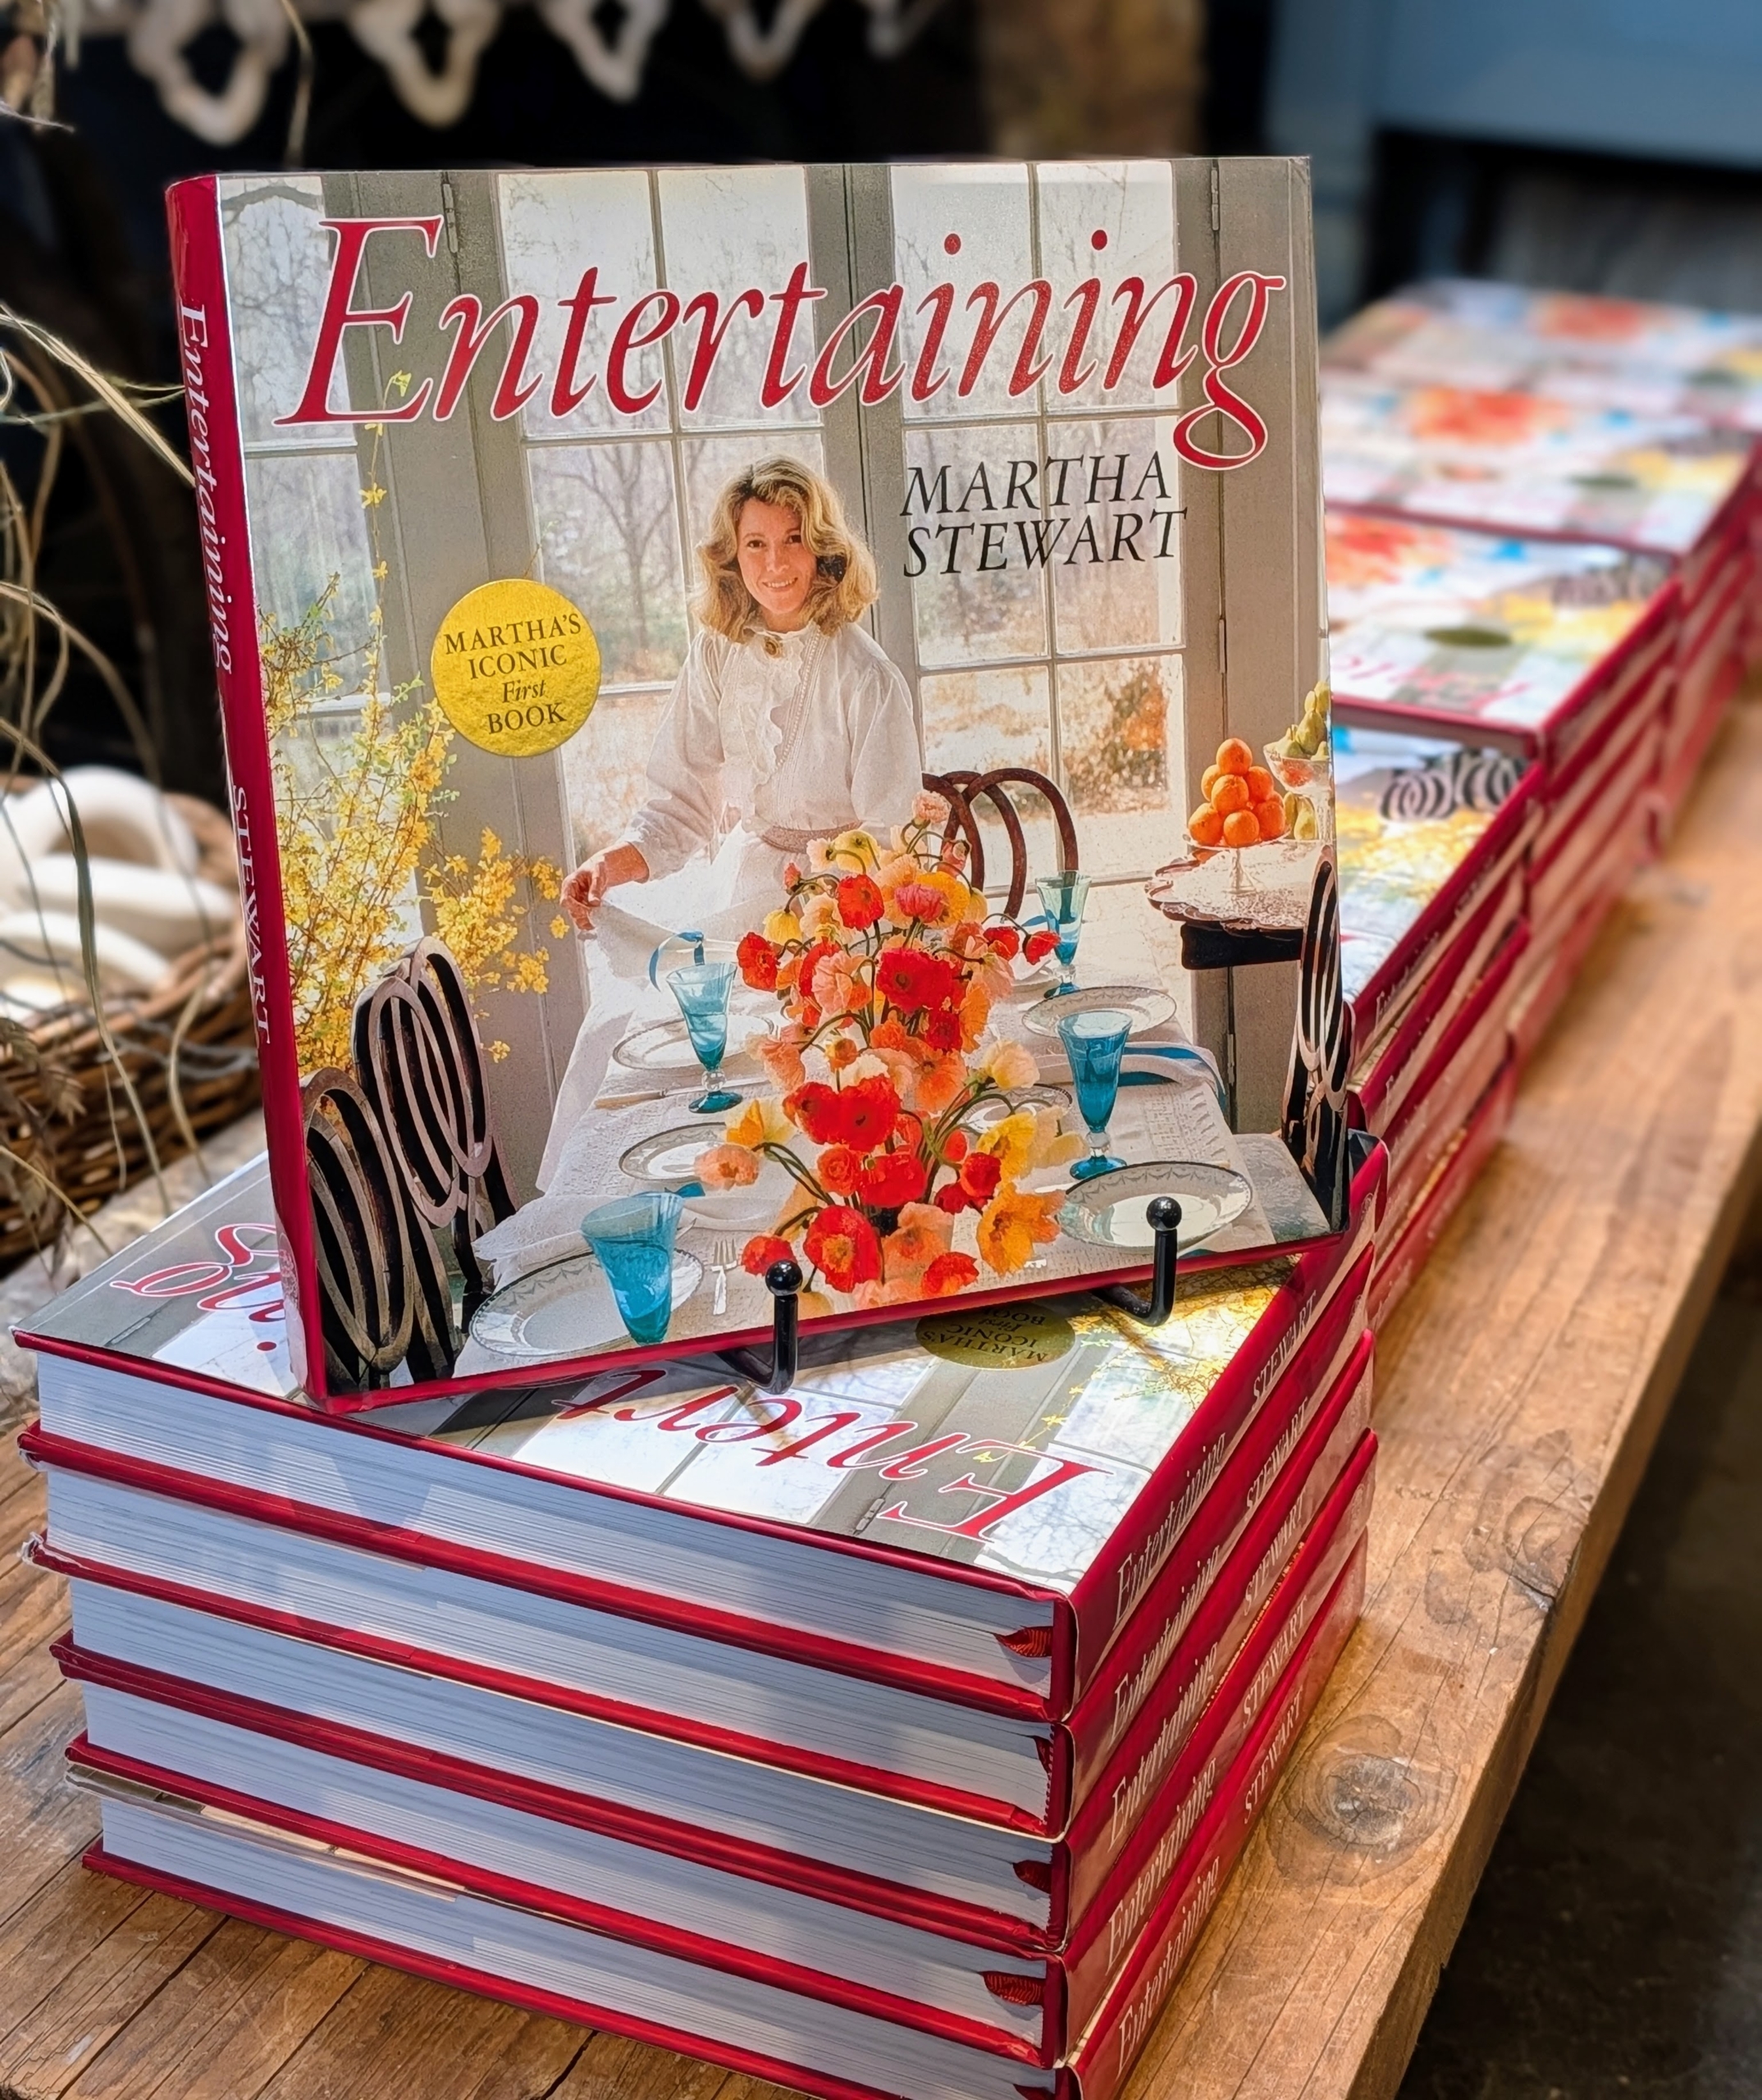
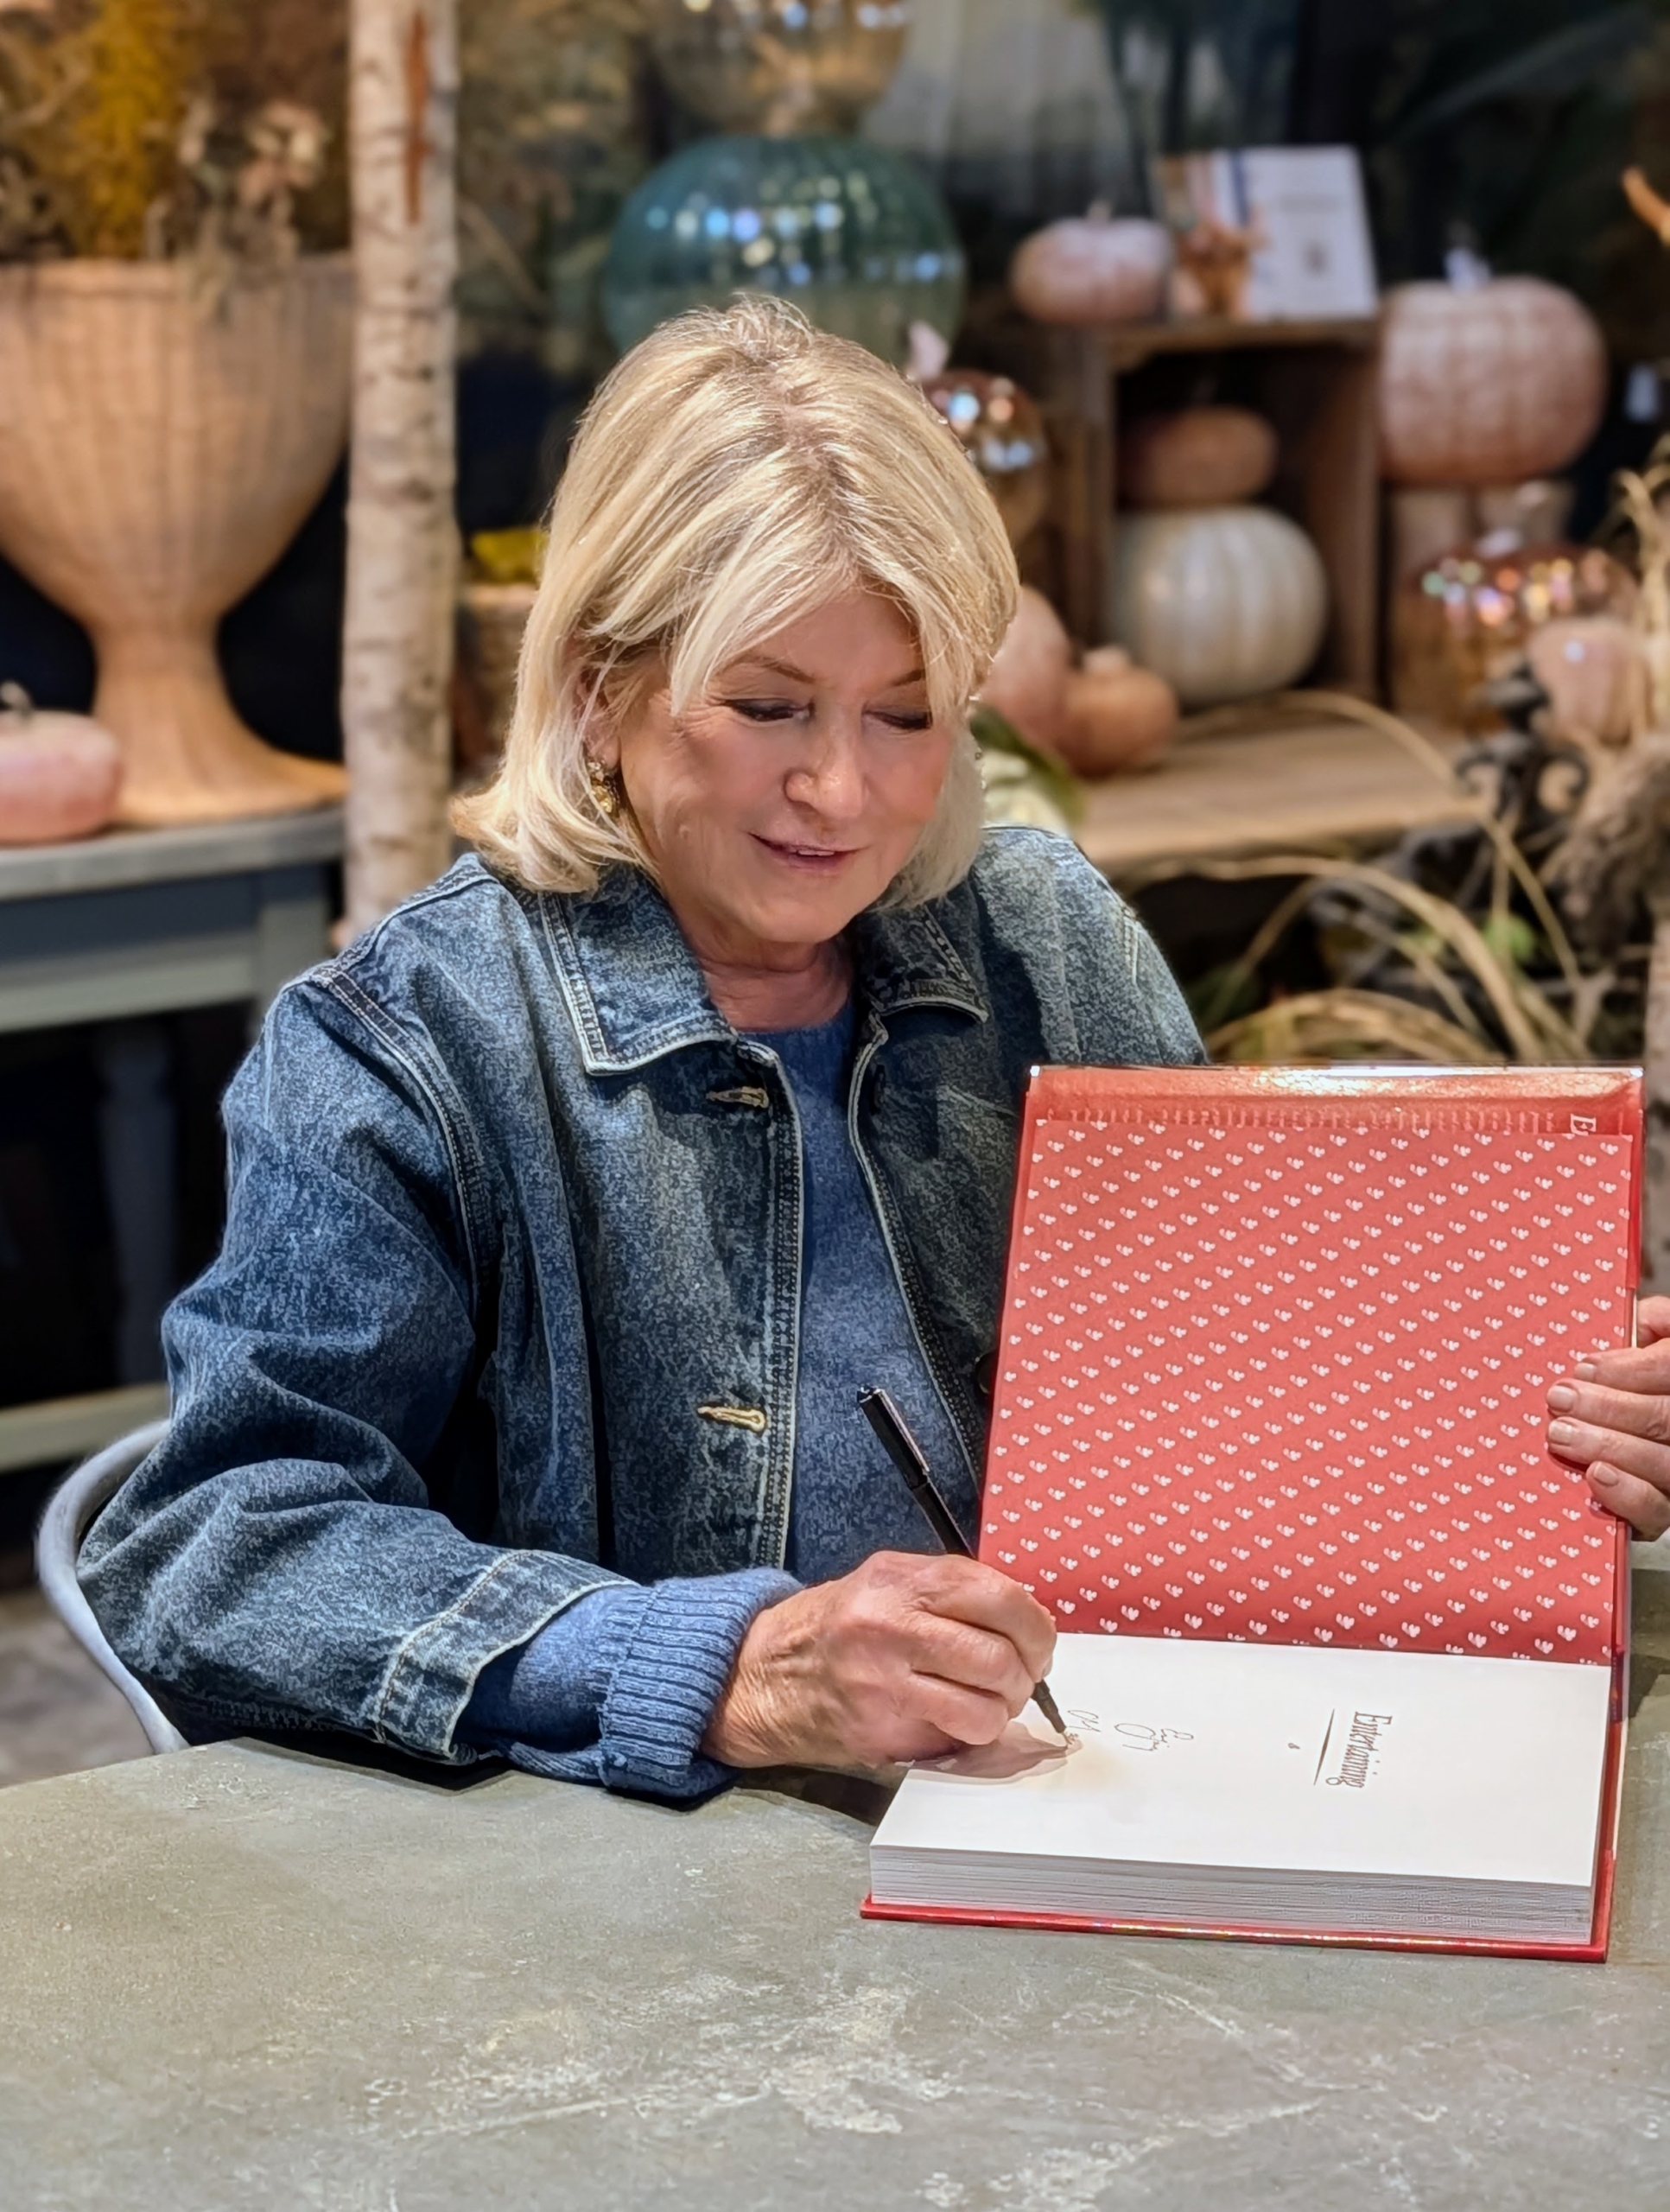
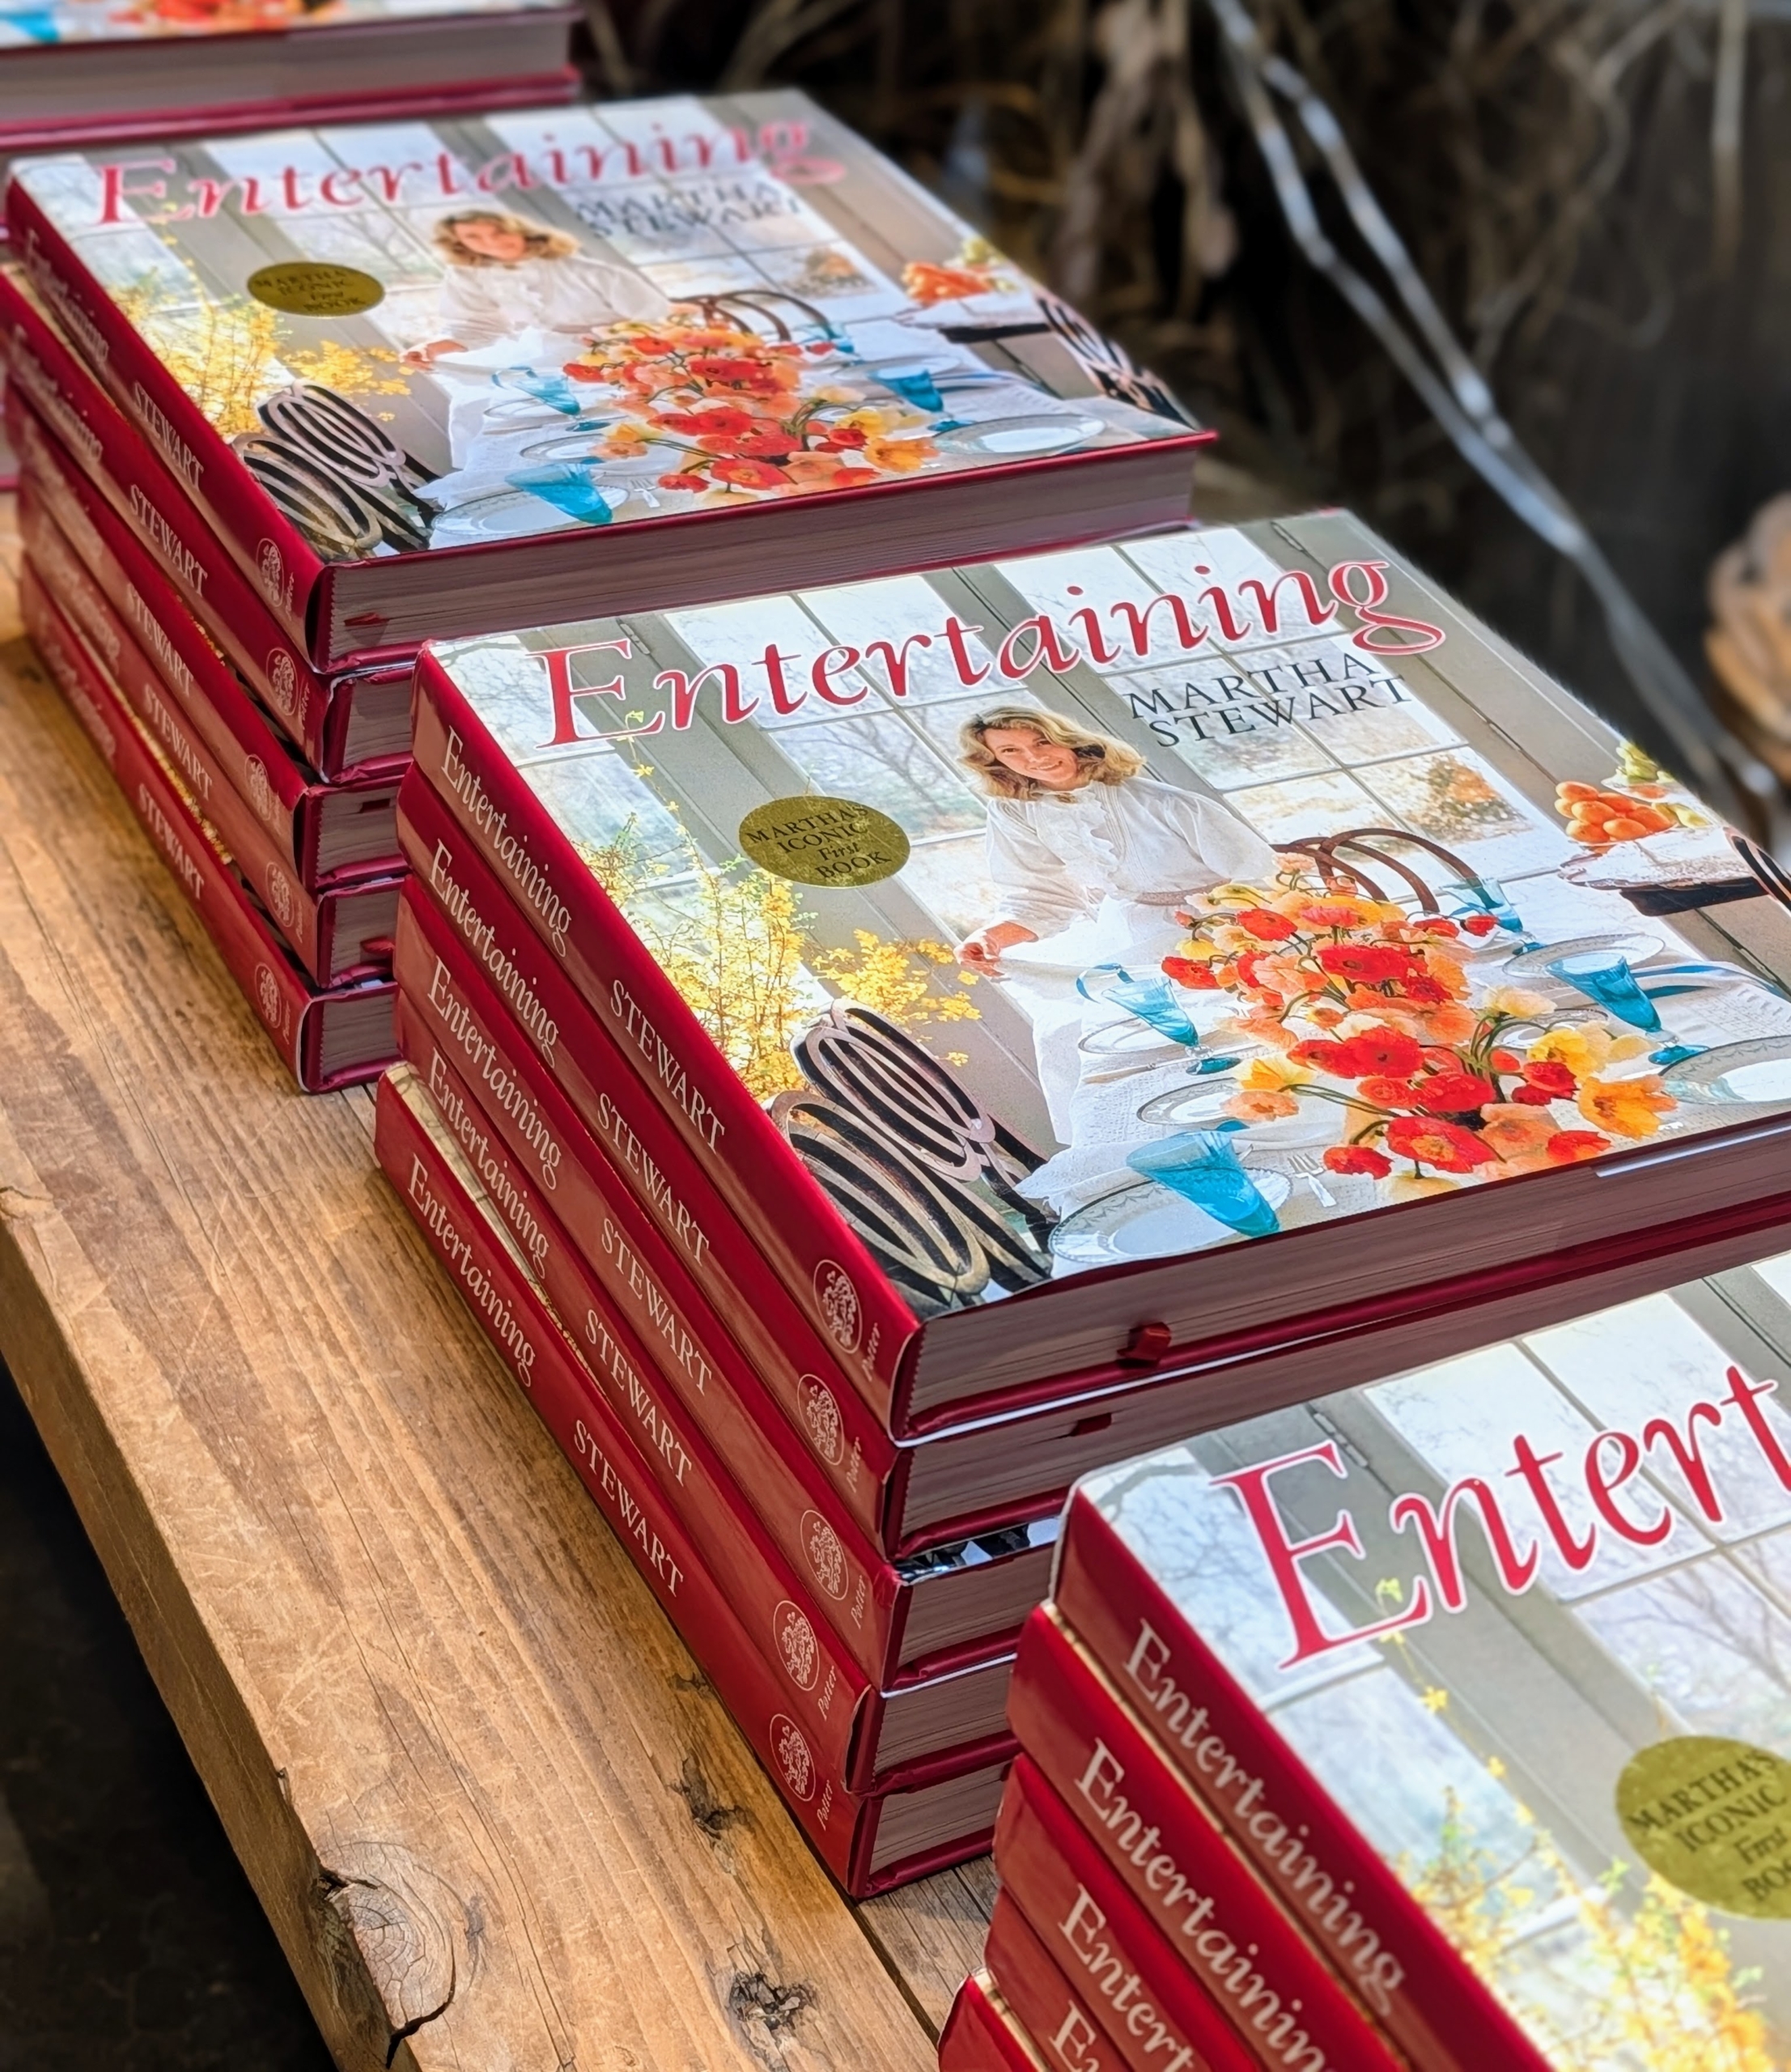
It's out on bookstore shelves today - the relaunch of my very first book, Entertaining.
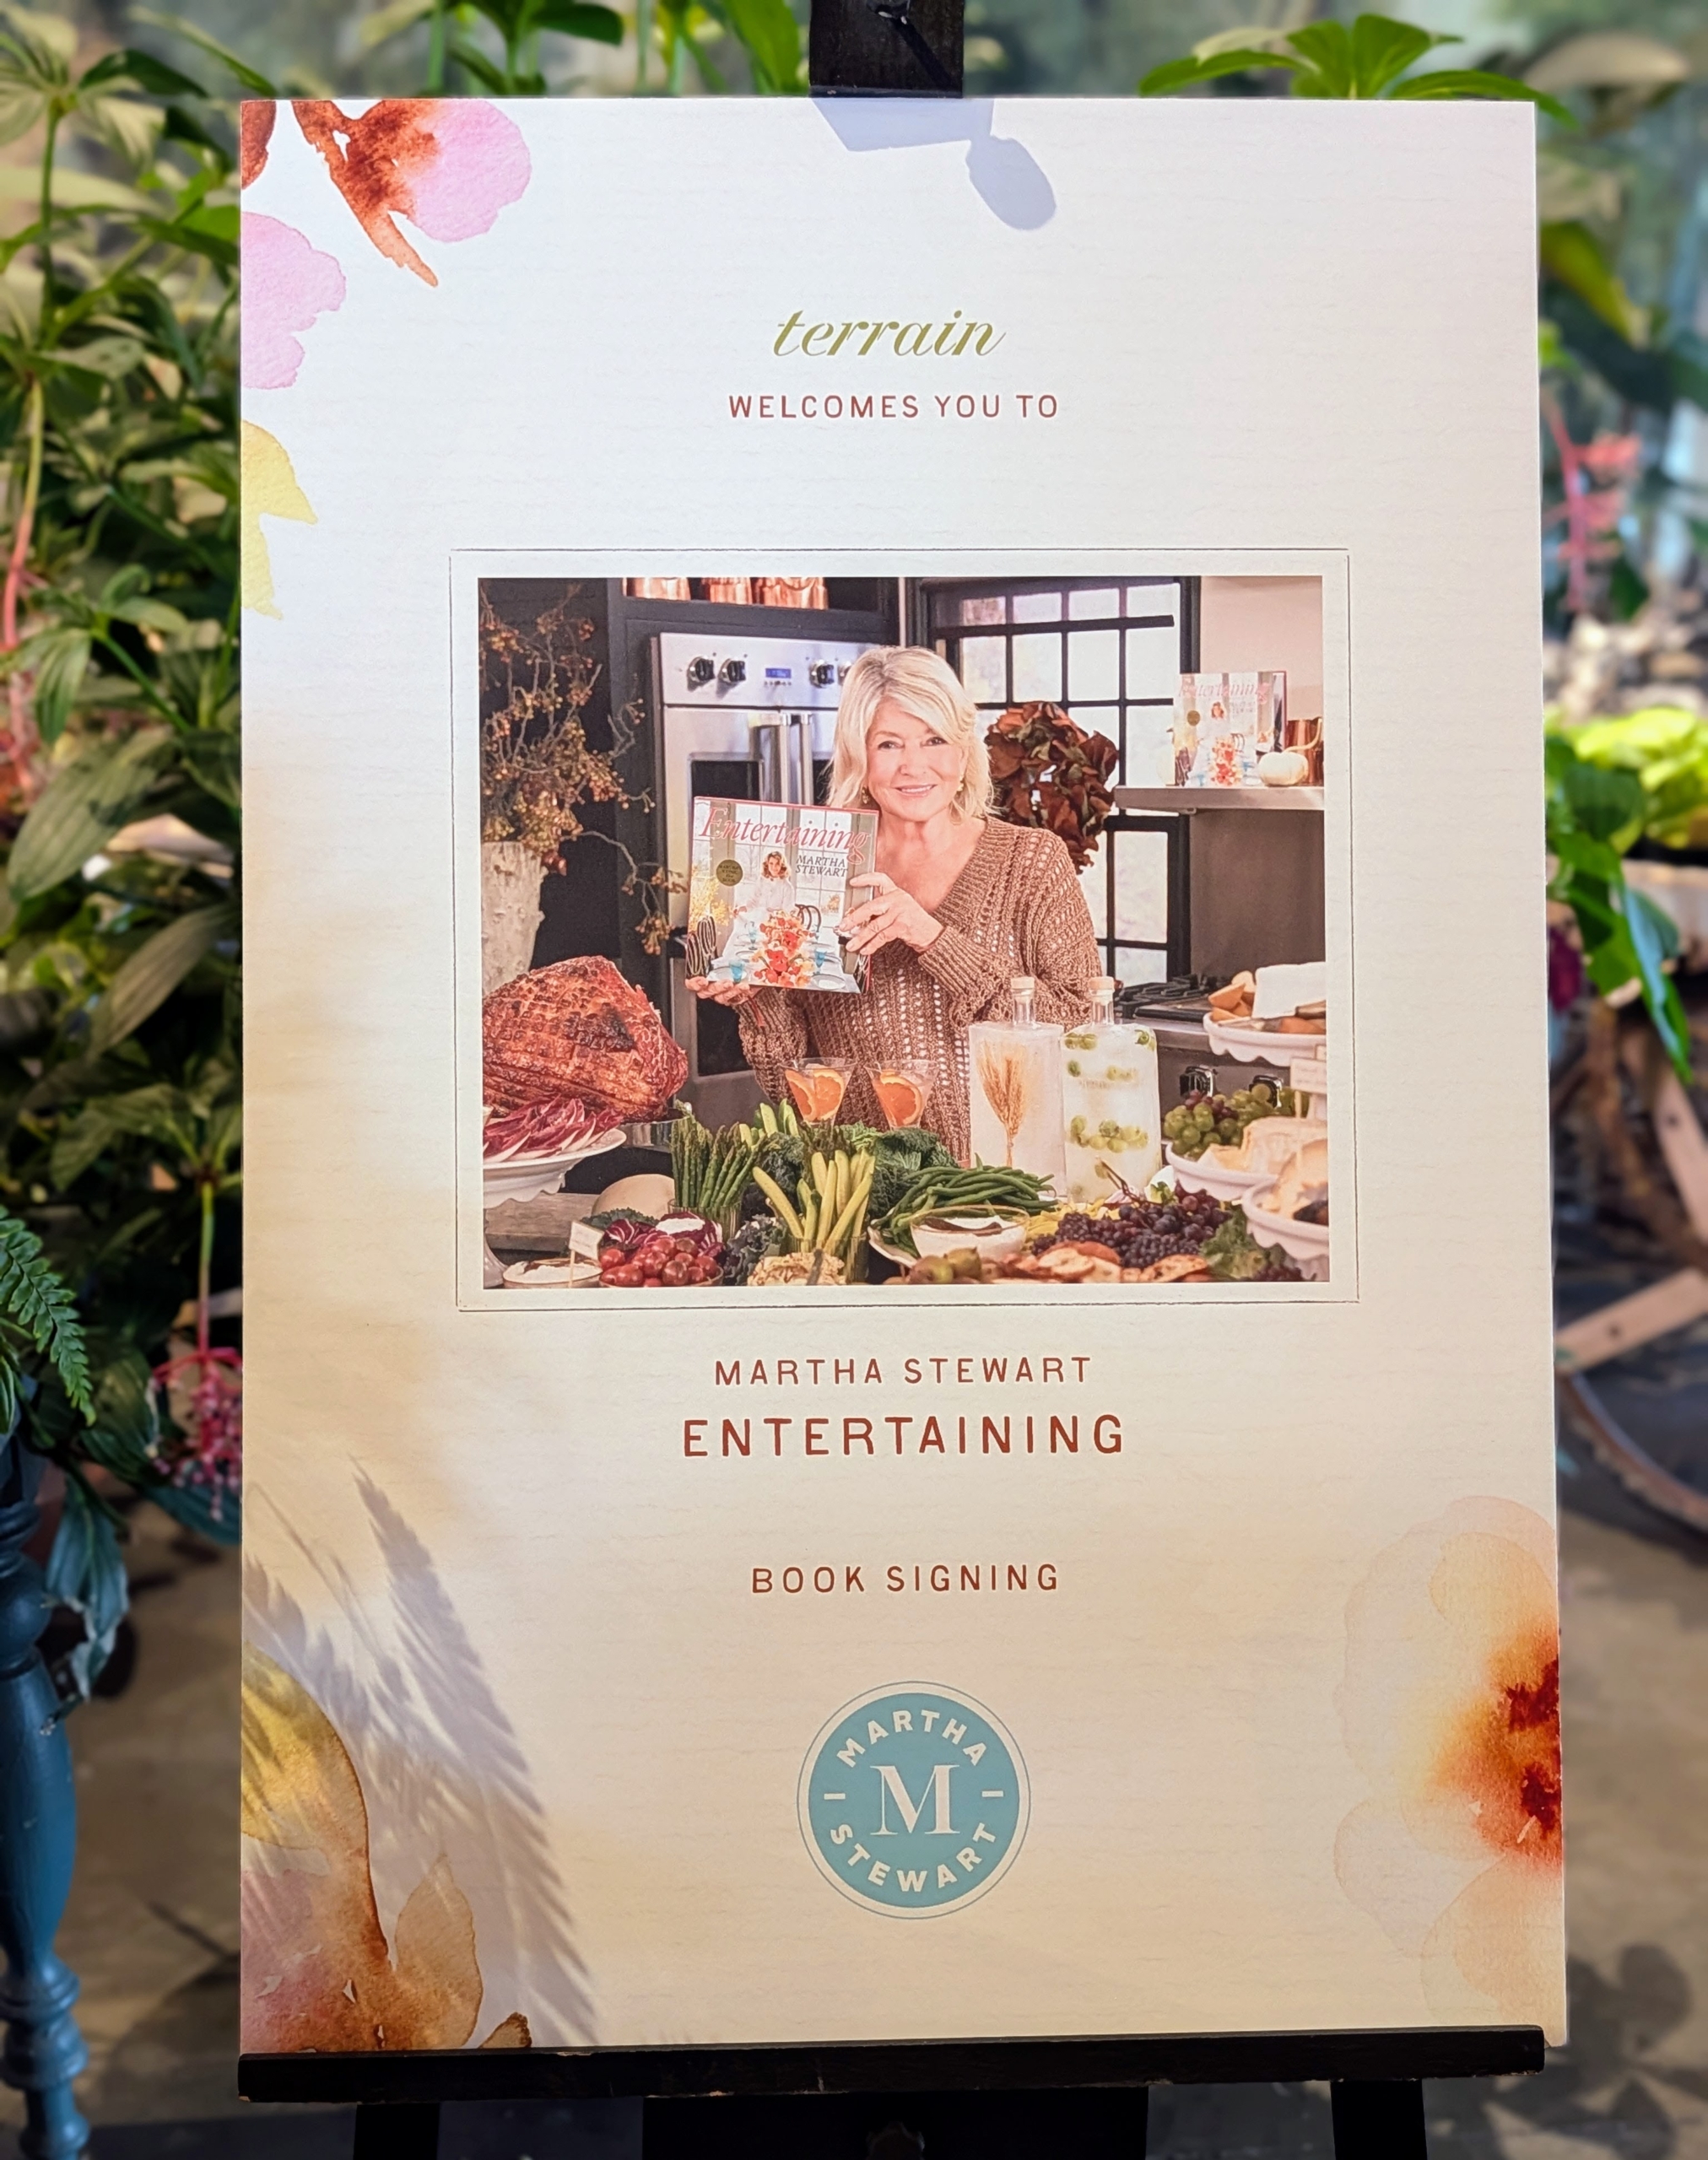
Entertaining was first released in December 1982. And now after nearly 43 years, it's out again, identical to the first edition with all 300 recipes and 450 full-color photographs. The book is a comprehensive guide to entertaining, featuring my ideas for everything from planning tips to cooking delicious dishes perfectly suited for every occasion. To promote this special book, I am conducting a book signing today at Williams Sonoma in New York City. Yesterday's book signing was at Terrain in Westport, Connecticut. I also hosted a podcast inviting several of those who helped me create Entertaining - be sure to listen to that show tomorrow wherever you get your podcasts. I'm so excited about the reprinting of Entertaining - whether you have an original version or not, you will love this book too!
Enjoy these photos.
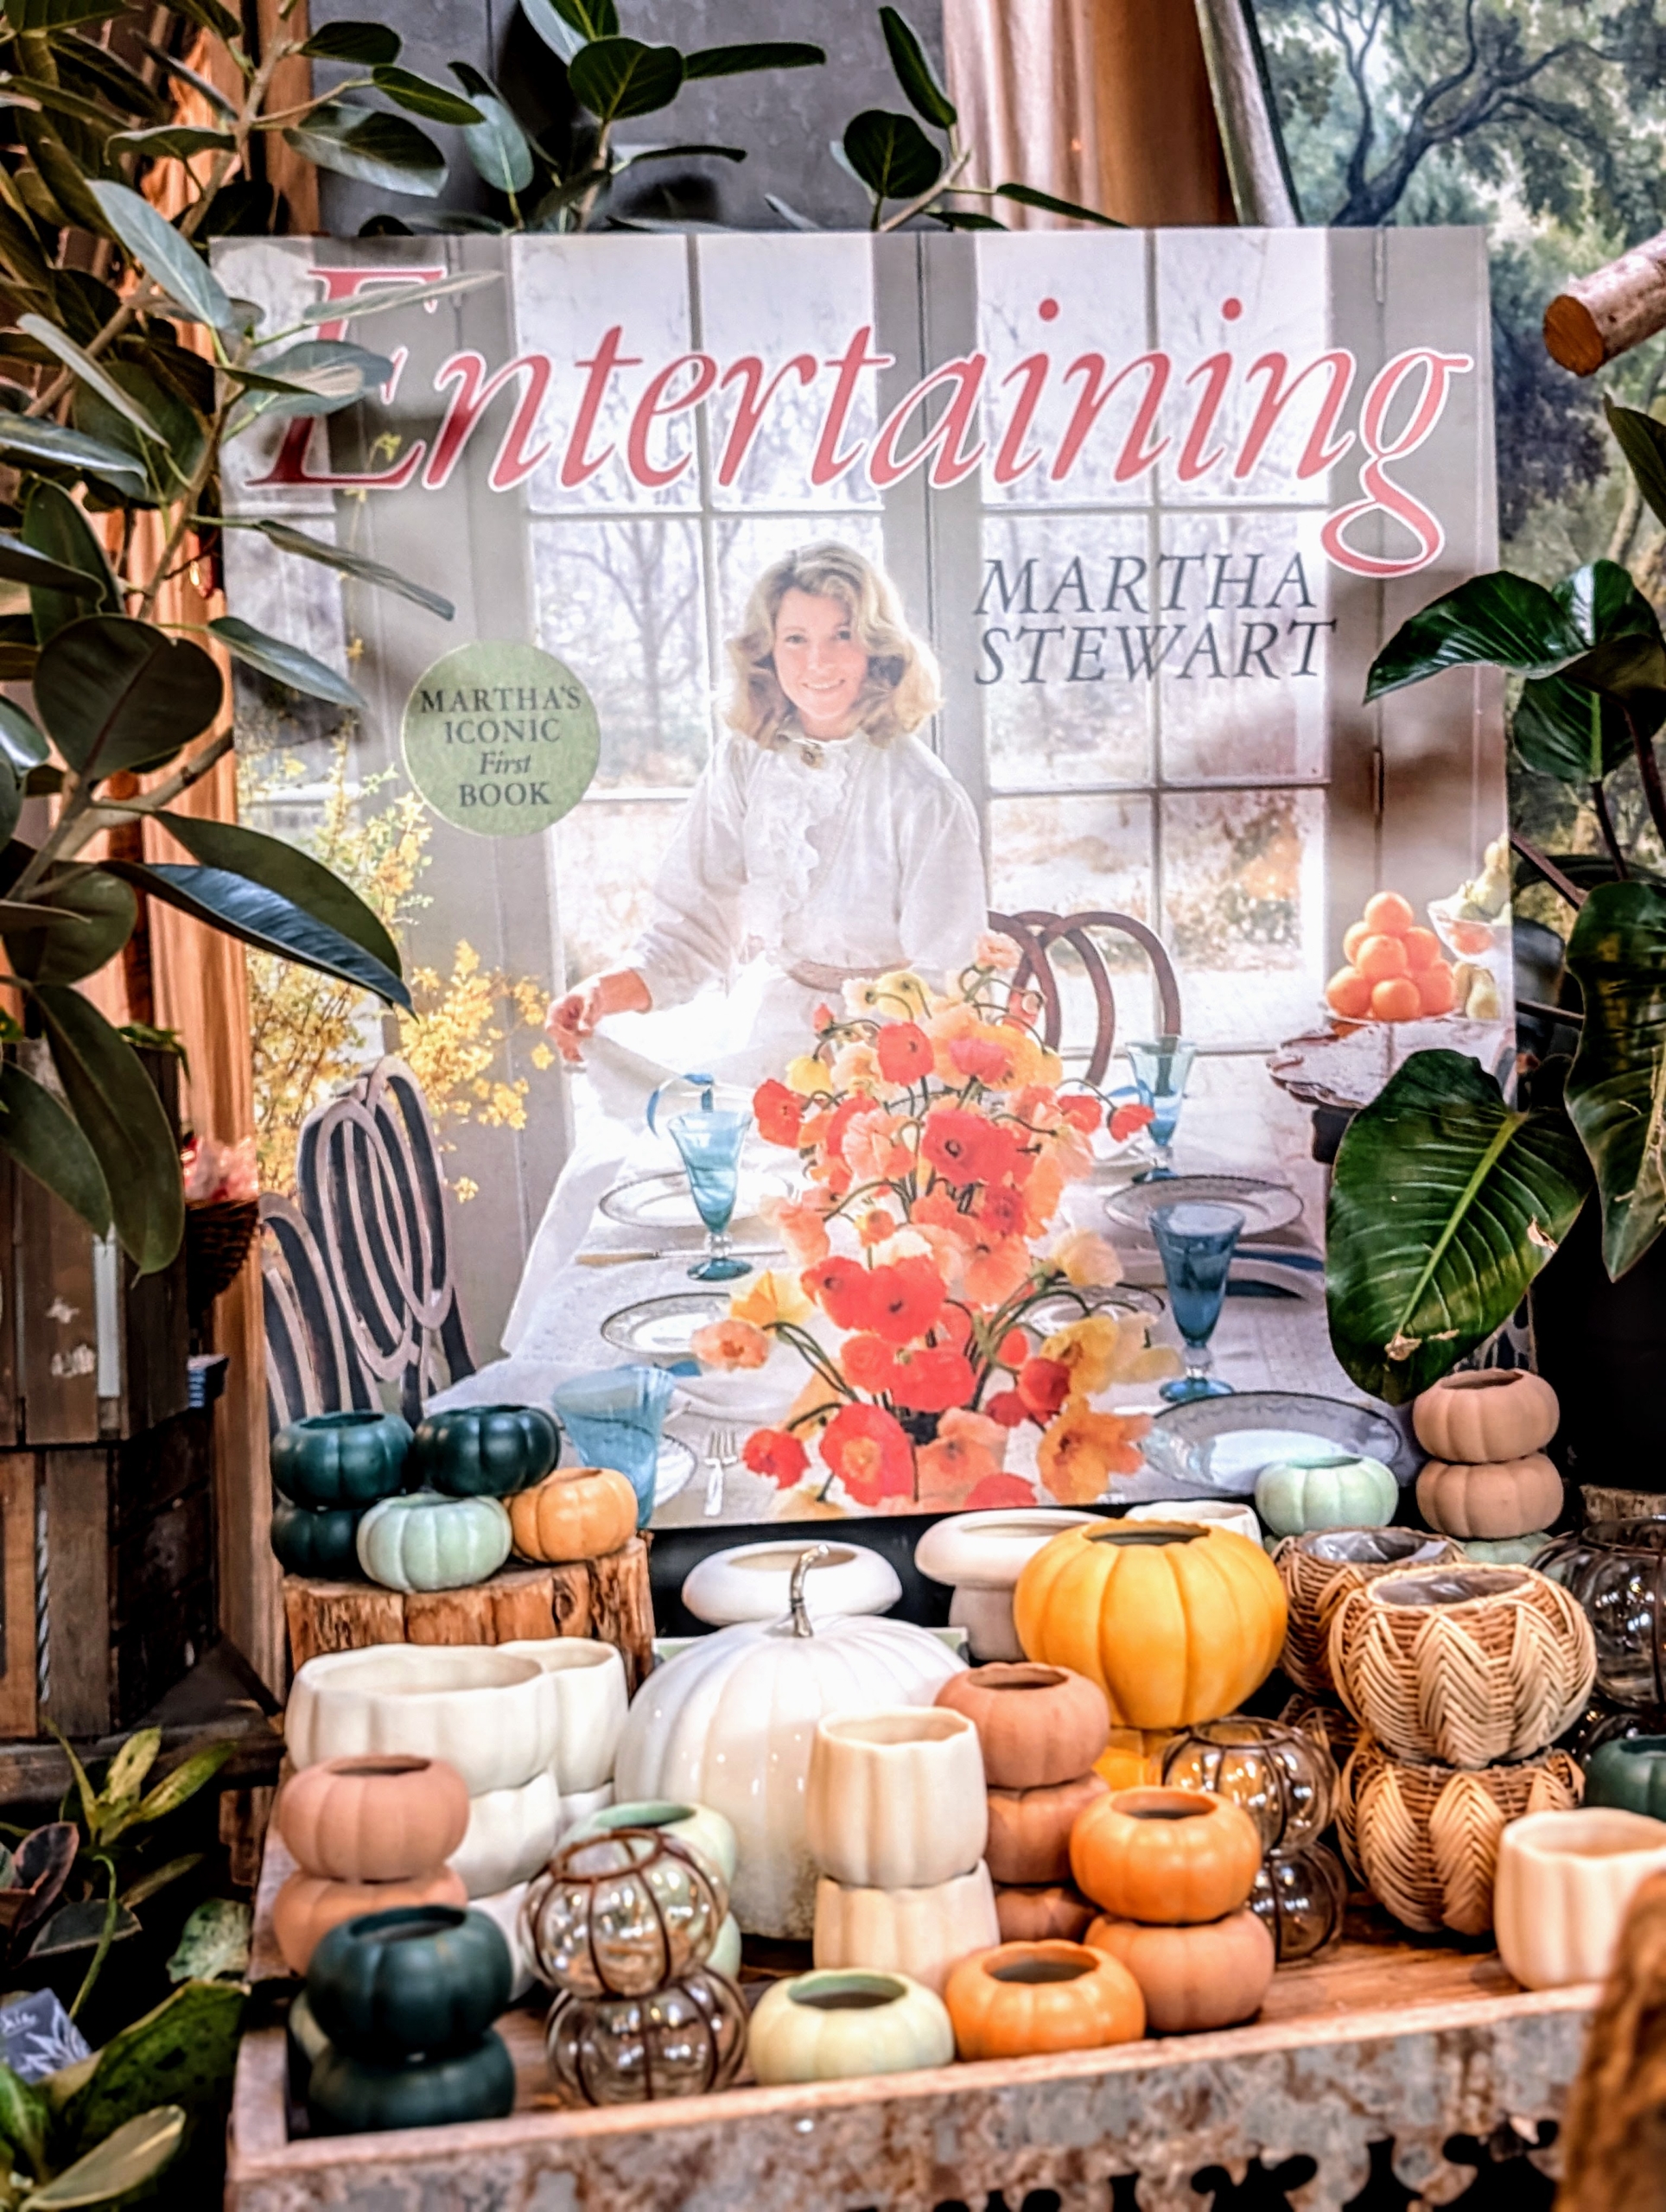
Here it is, the 2025 relaunched edition of my very first book, Entertaining. It is exactly like the original with all the great recipes, tips, and ideas everyone loves from the 1982 version. It’s in bookstores today and available to order online! Start your holiday shopping!
Yesterday’s events were held at Terrain’s Westport, Connecticut store, just an hour outside New York City. It’s one of two – the other Terrain is in Glenn Mills, Pennsylvania.
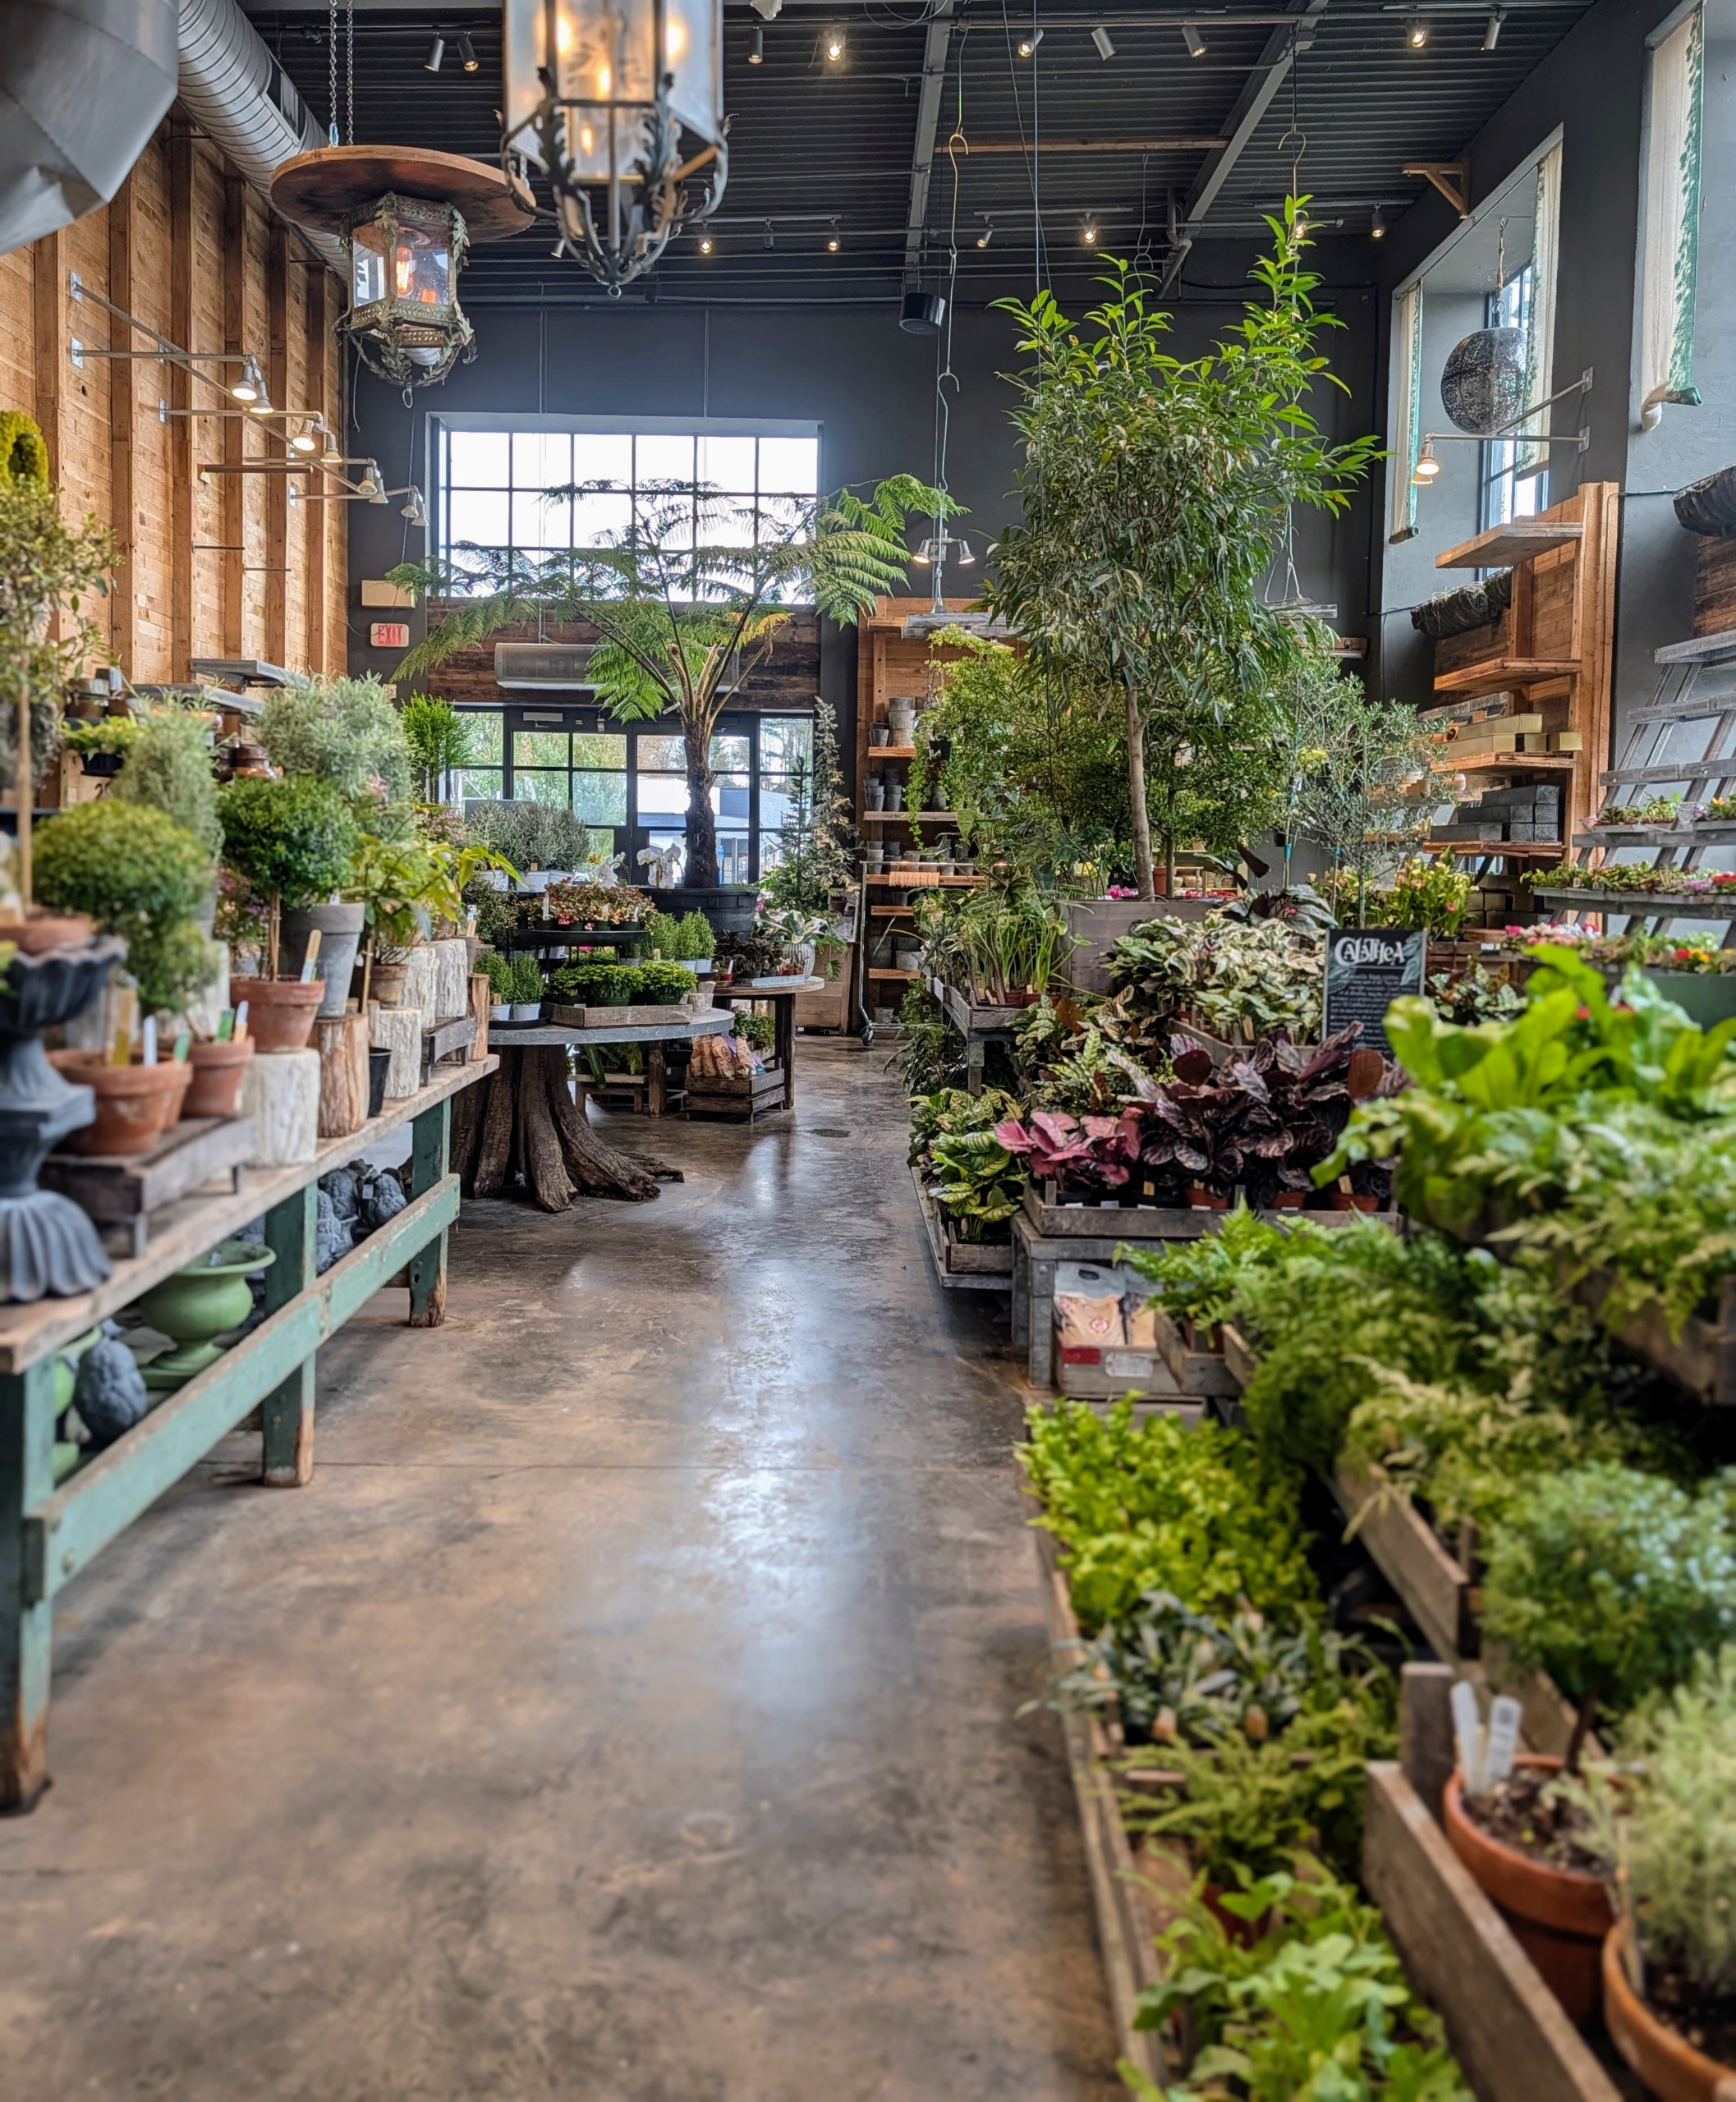
Terrain offers an assortment of seasonal plants and items for the home and garden. It also has indoor-outdoor nurseries, and a cafe.
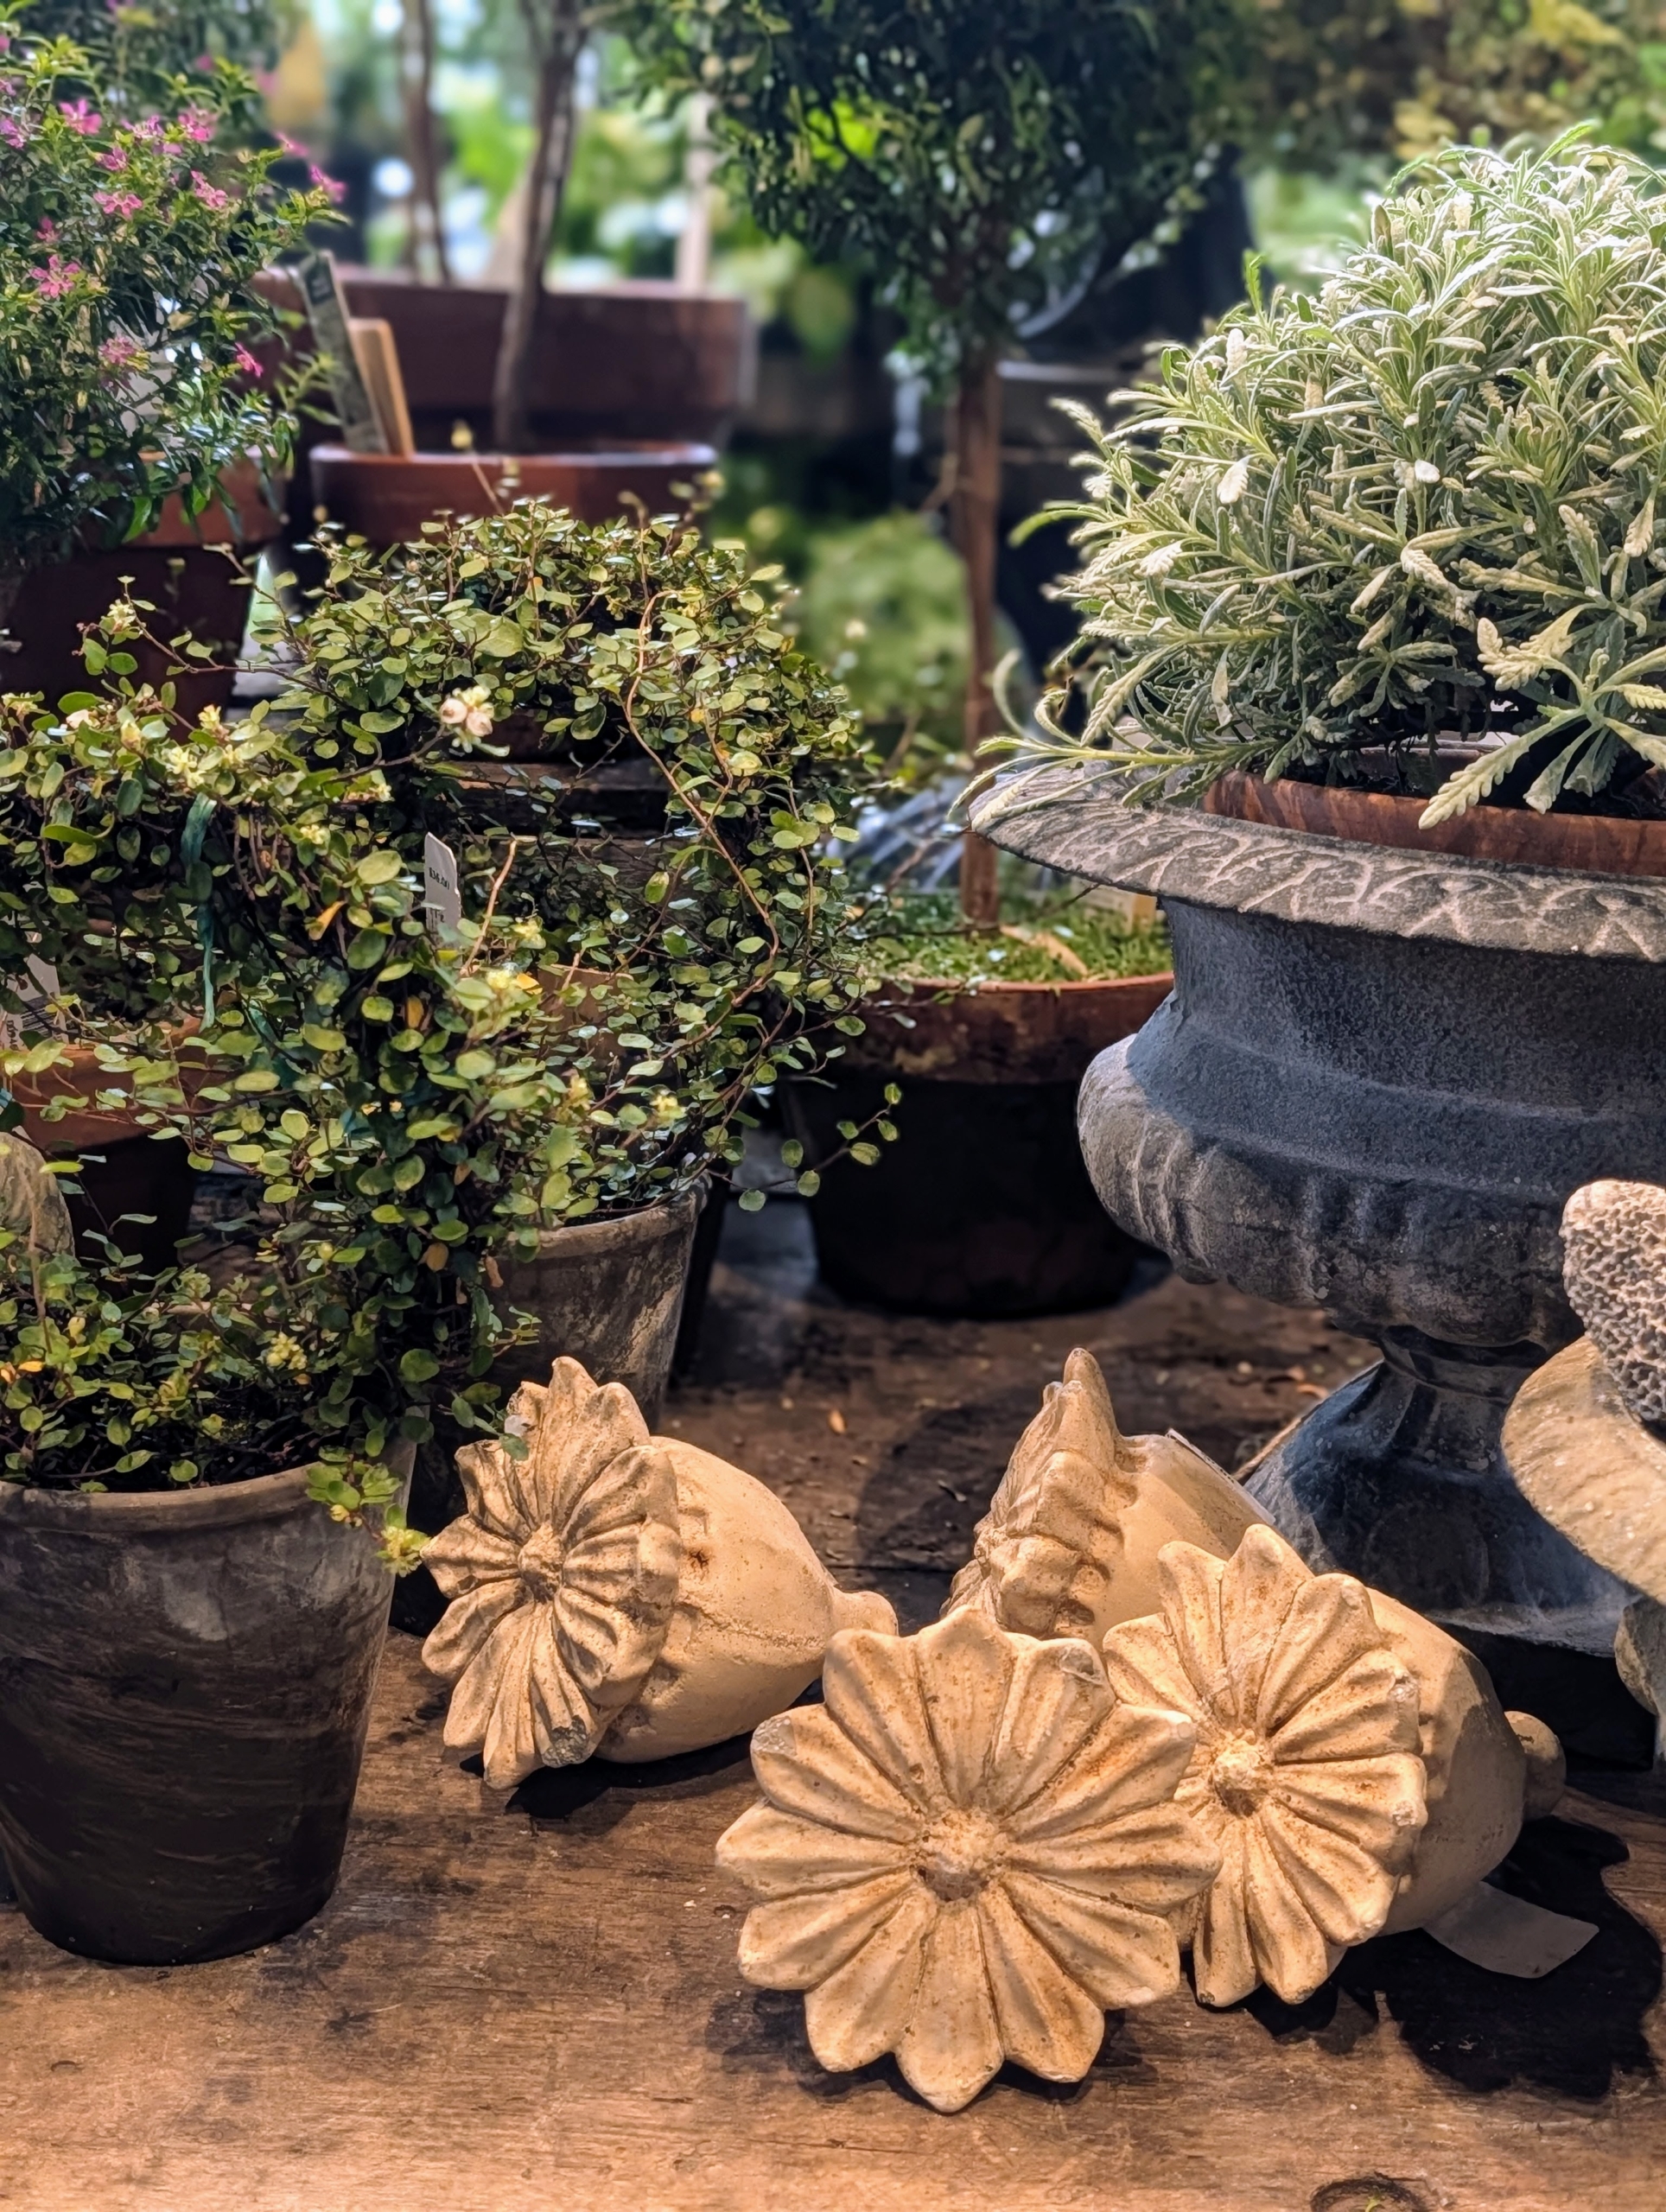
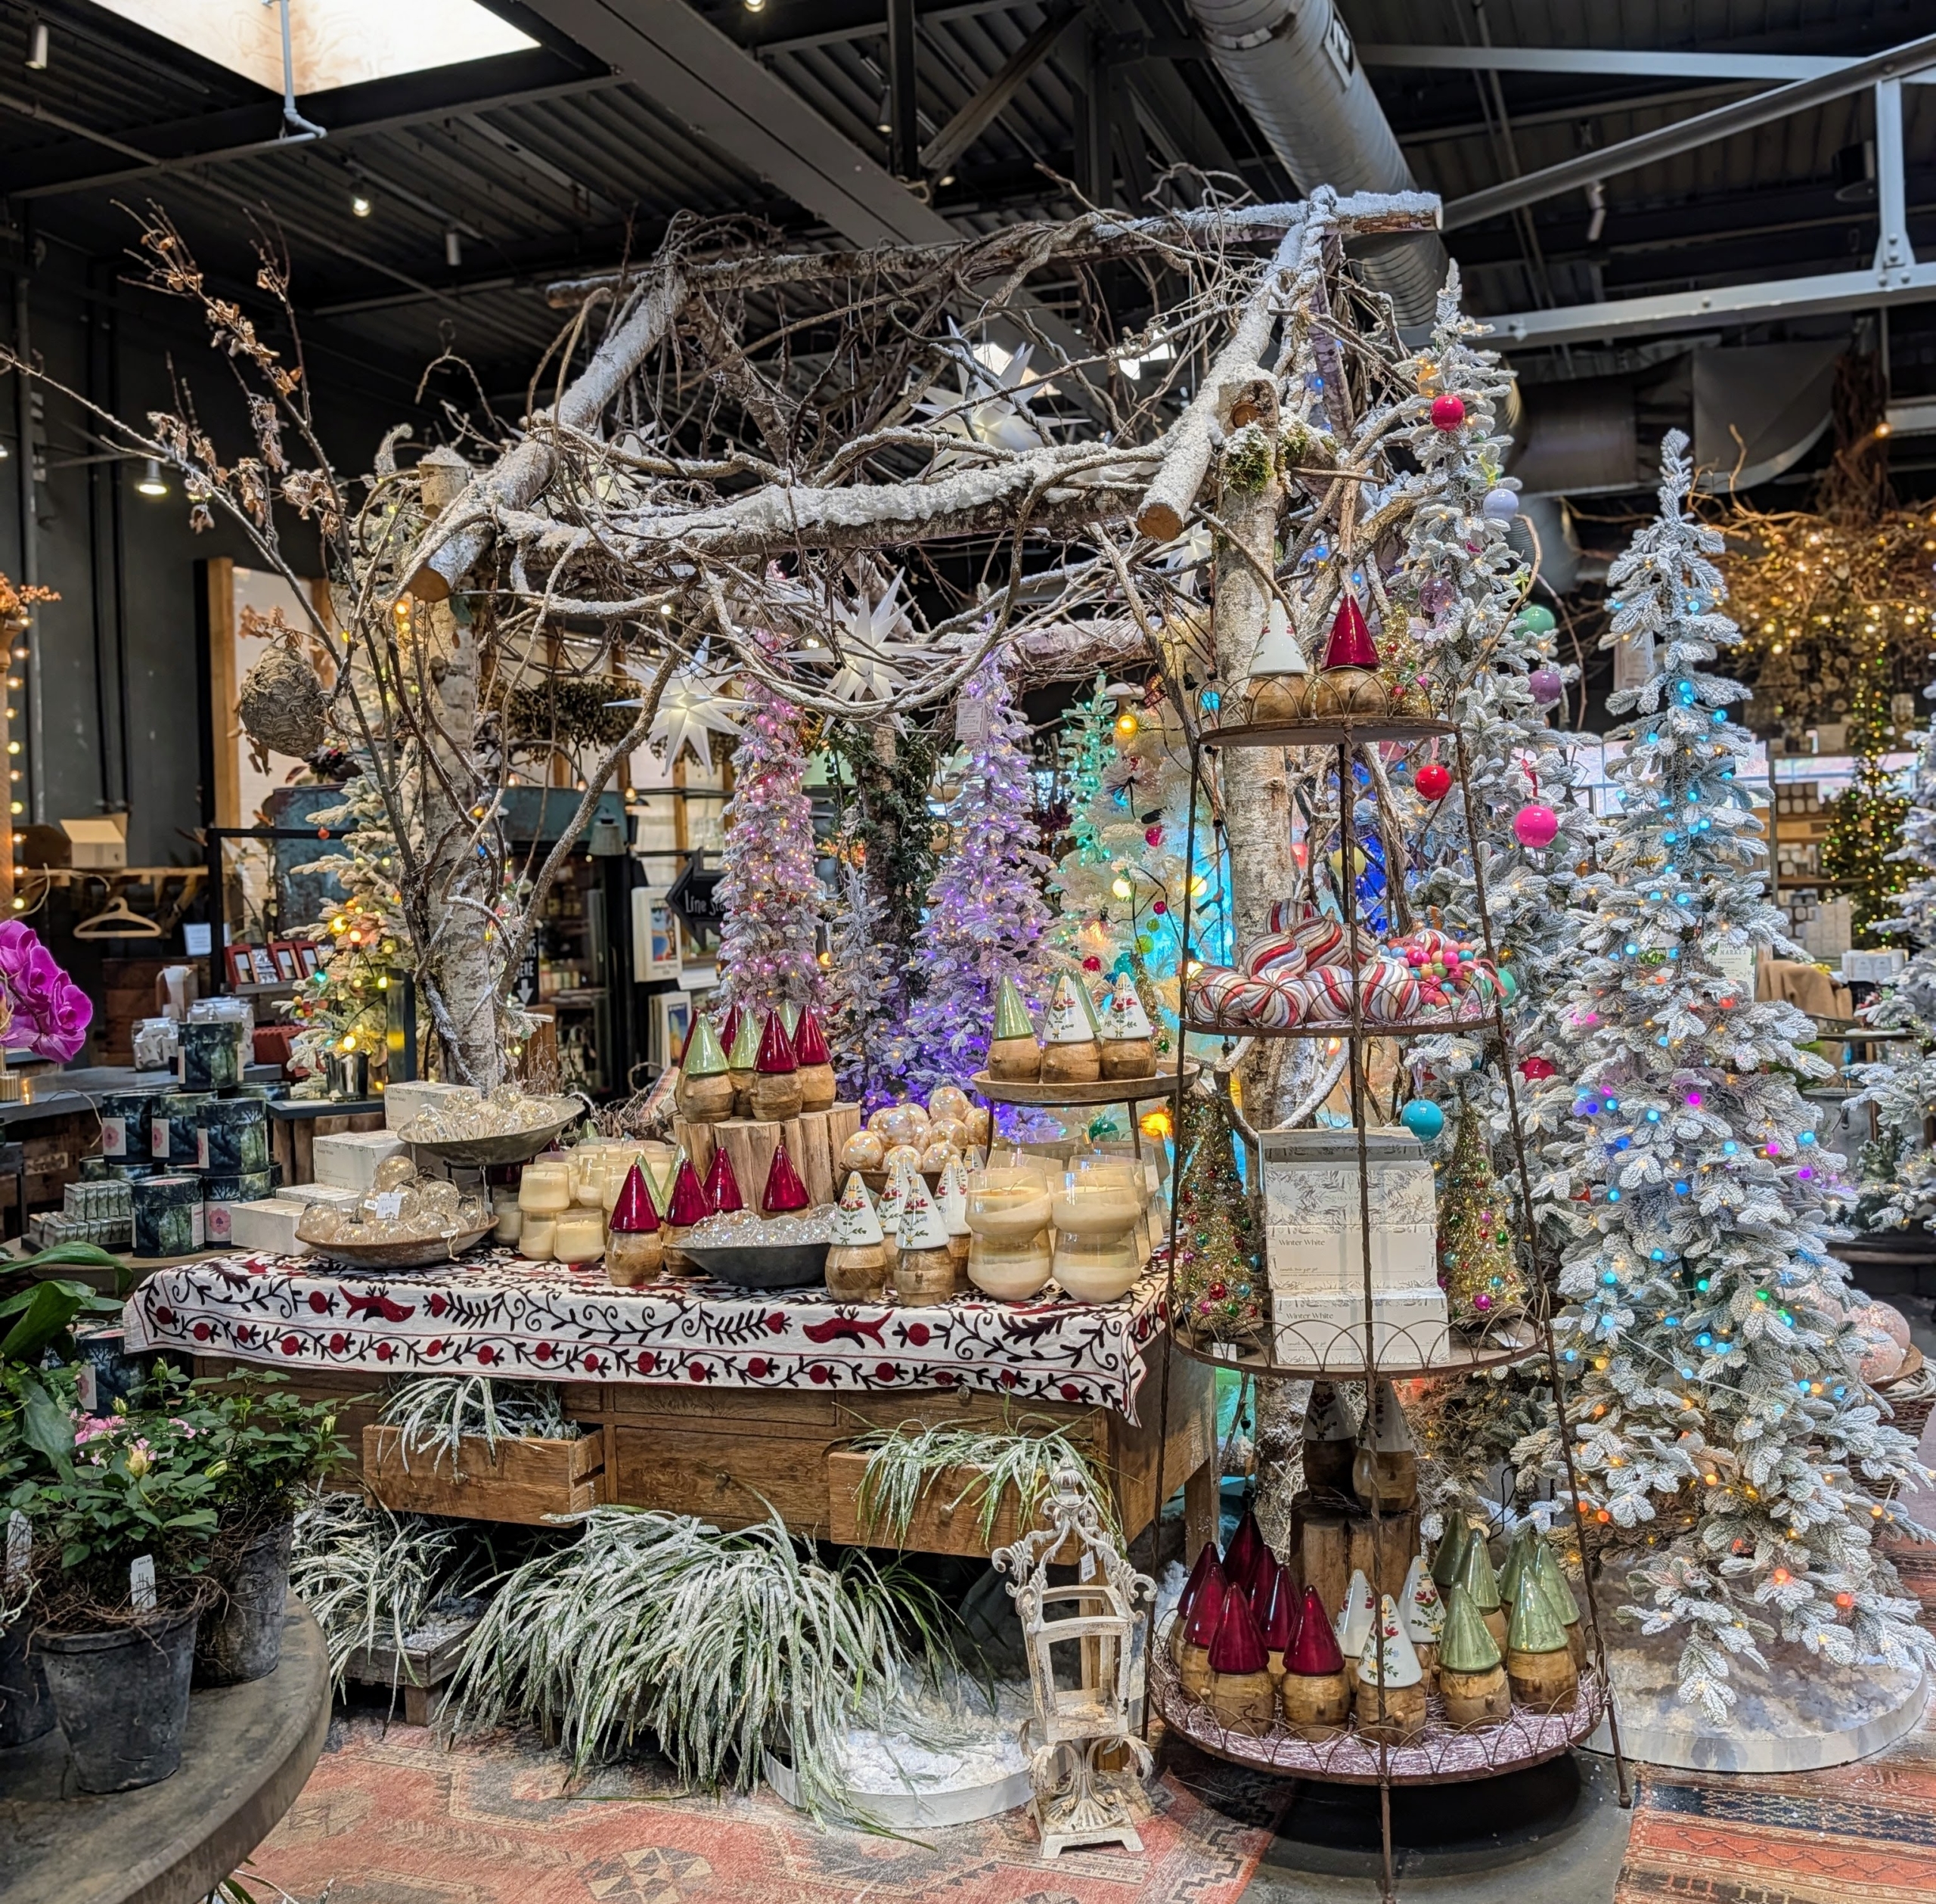
The store is filled with beautiful items from stone garden ornaments and urns…
… to holiday décor.
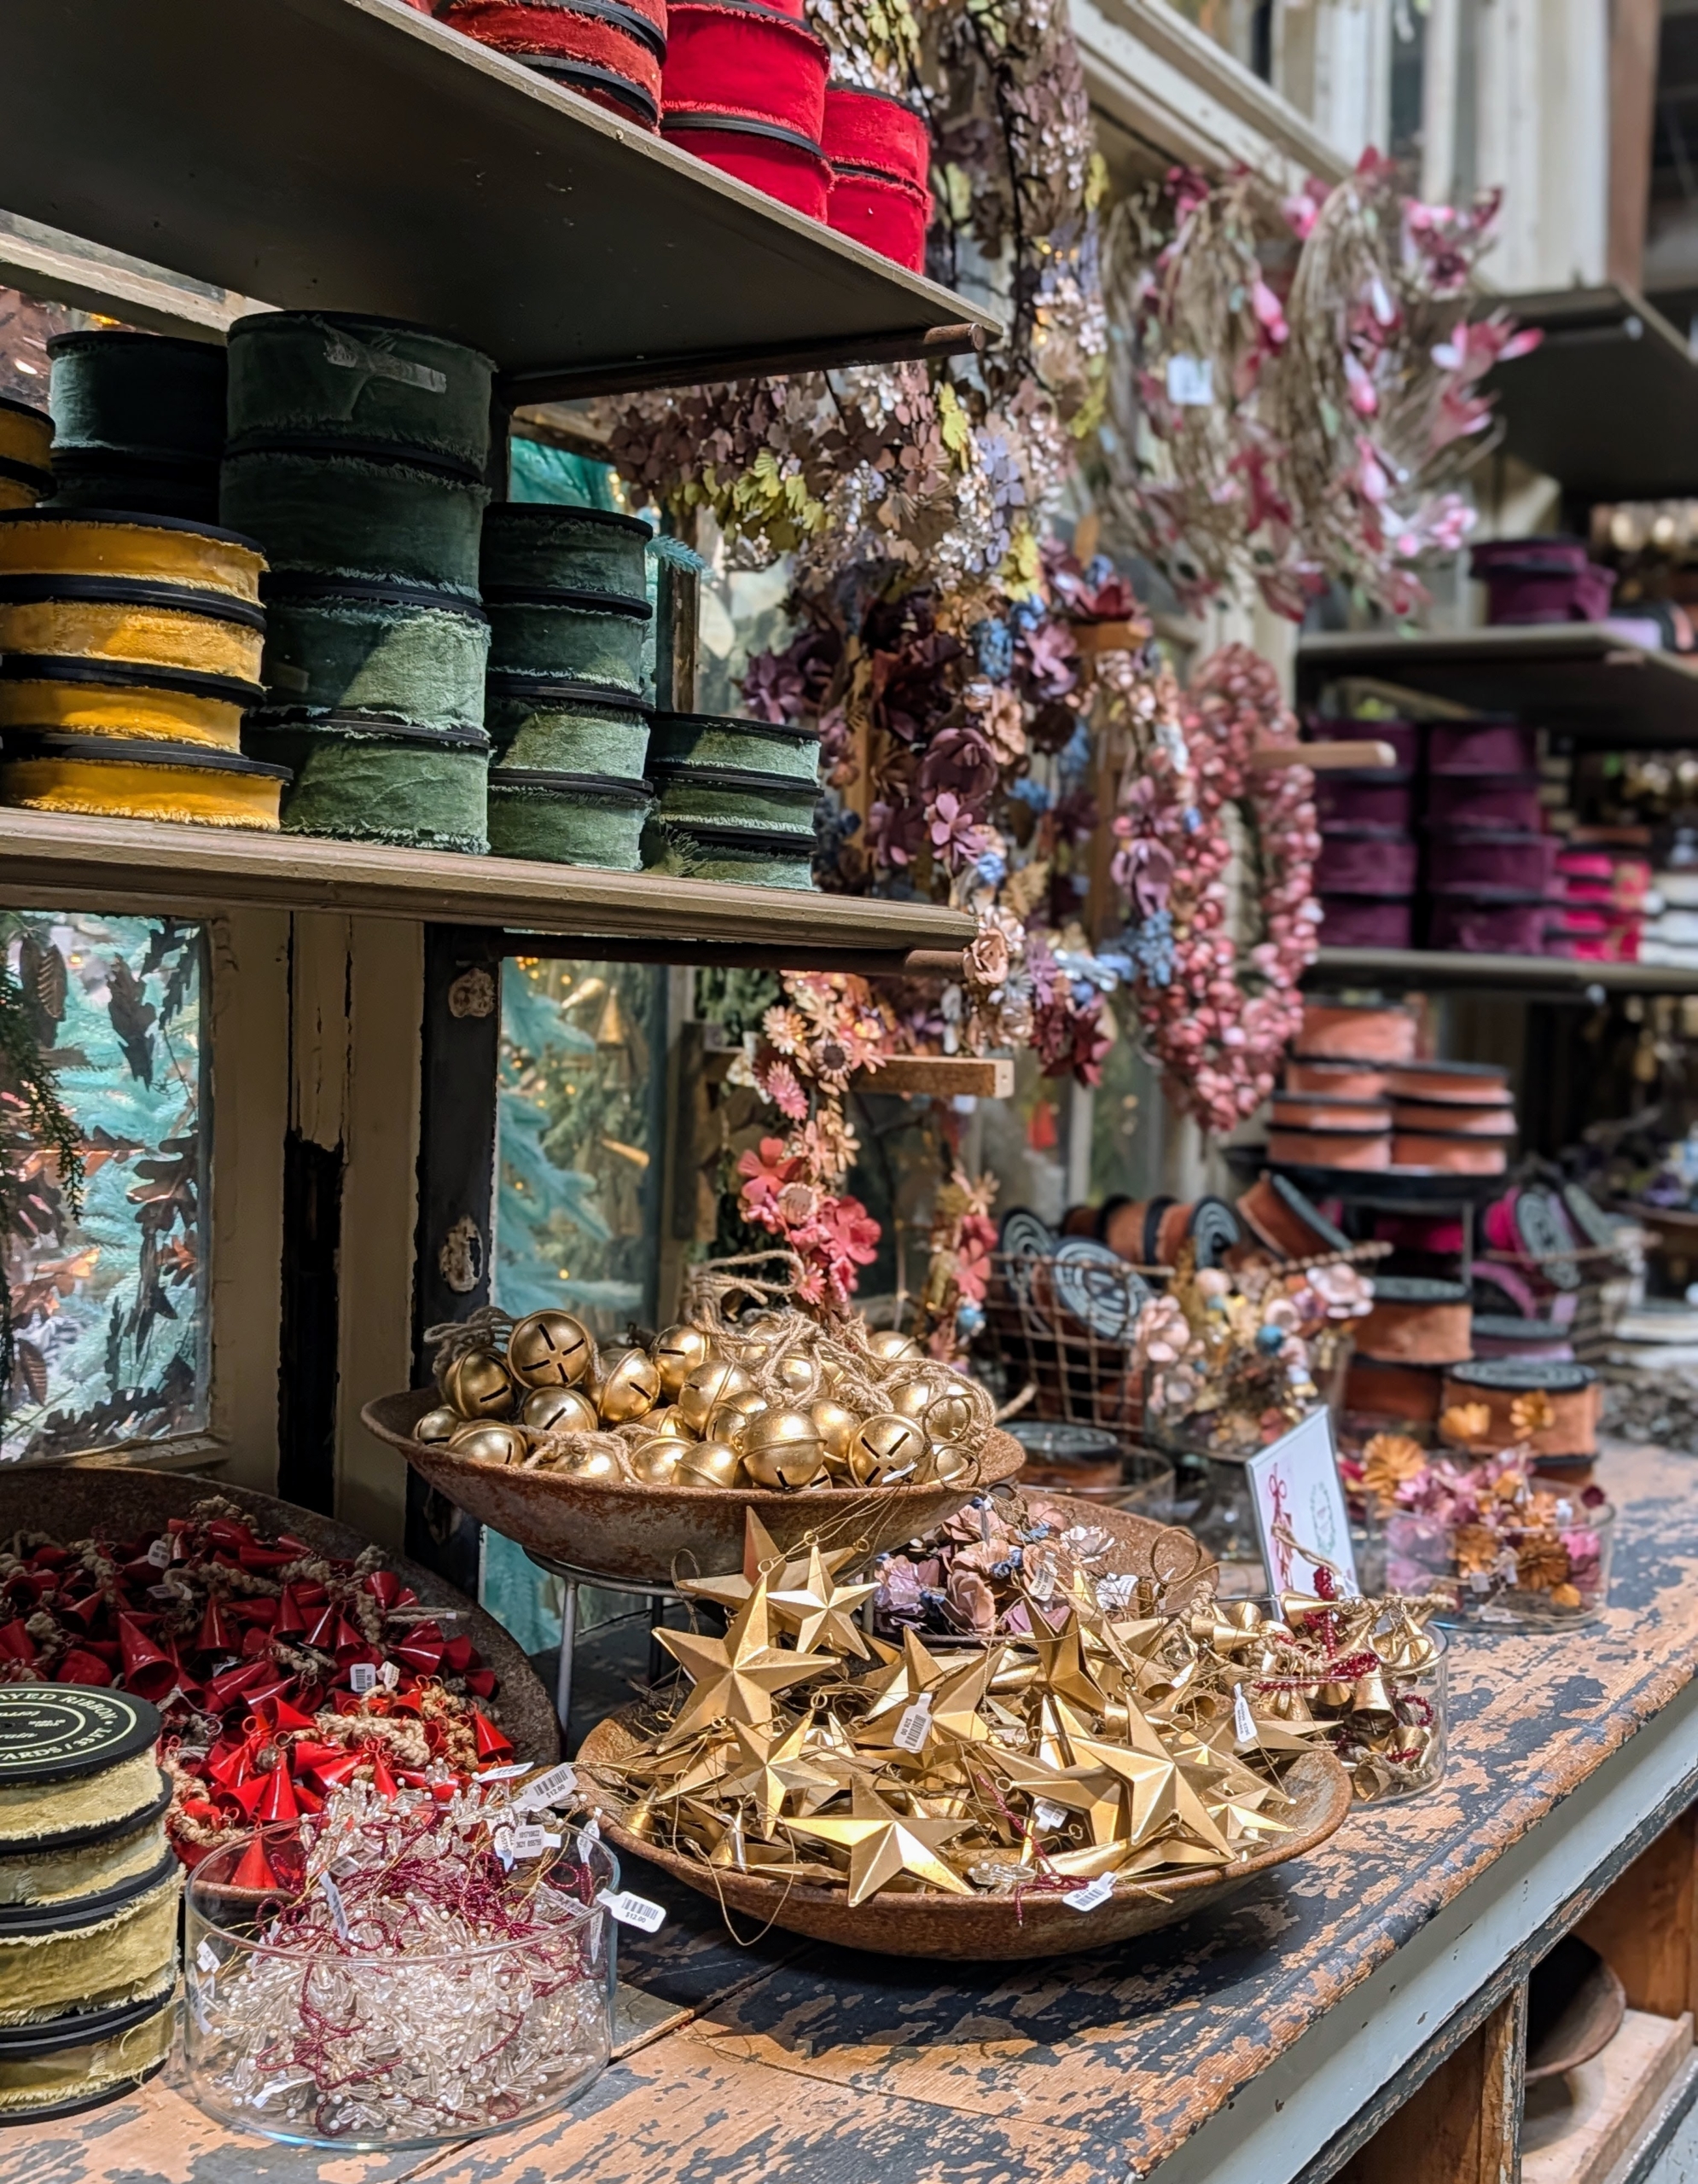
These tables and shelves are filled with ribbons, ornaments, and lights.
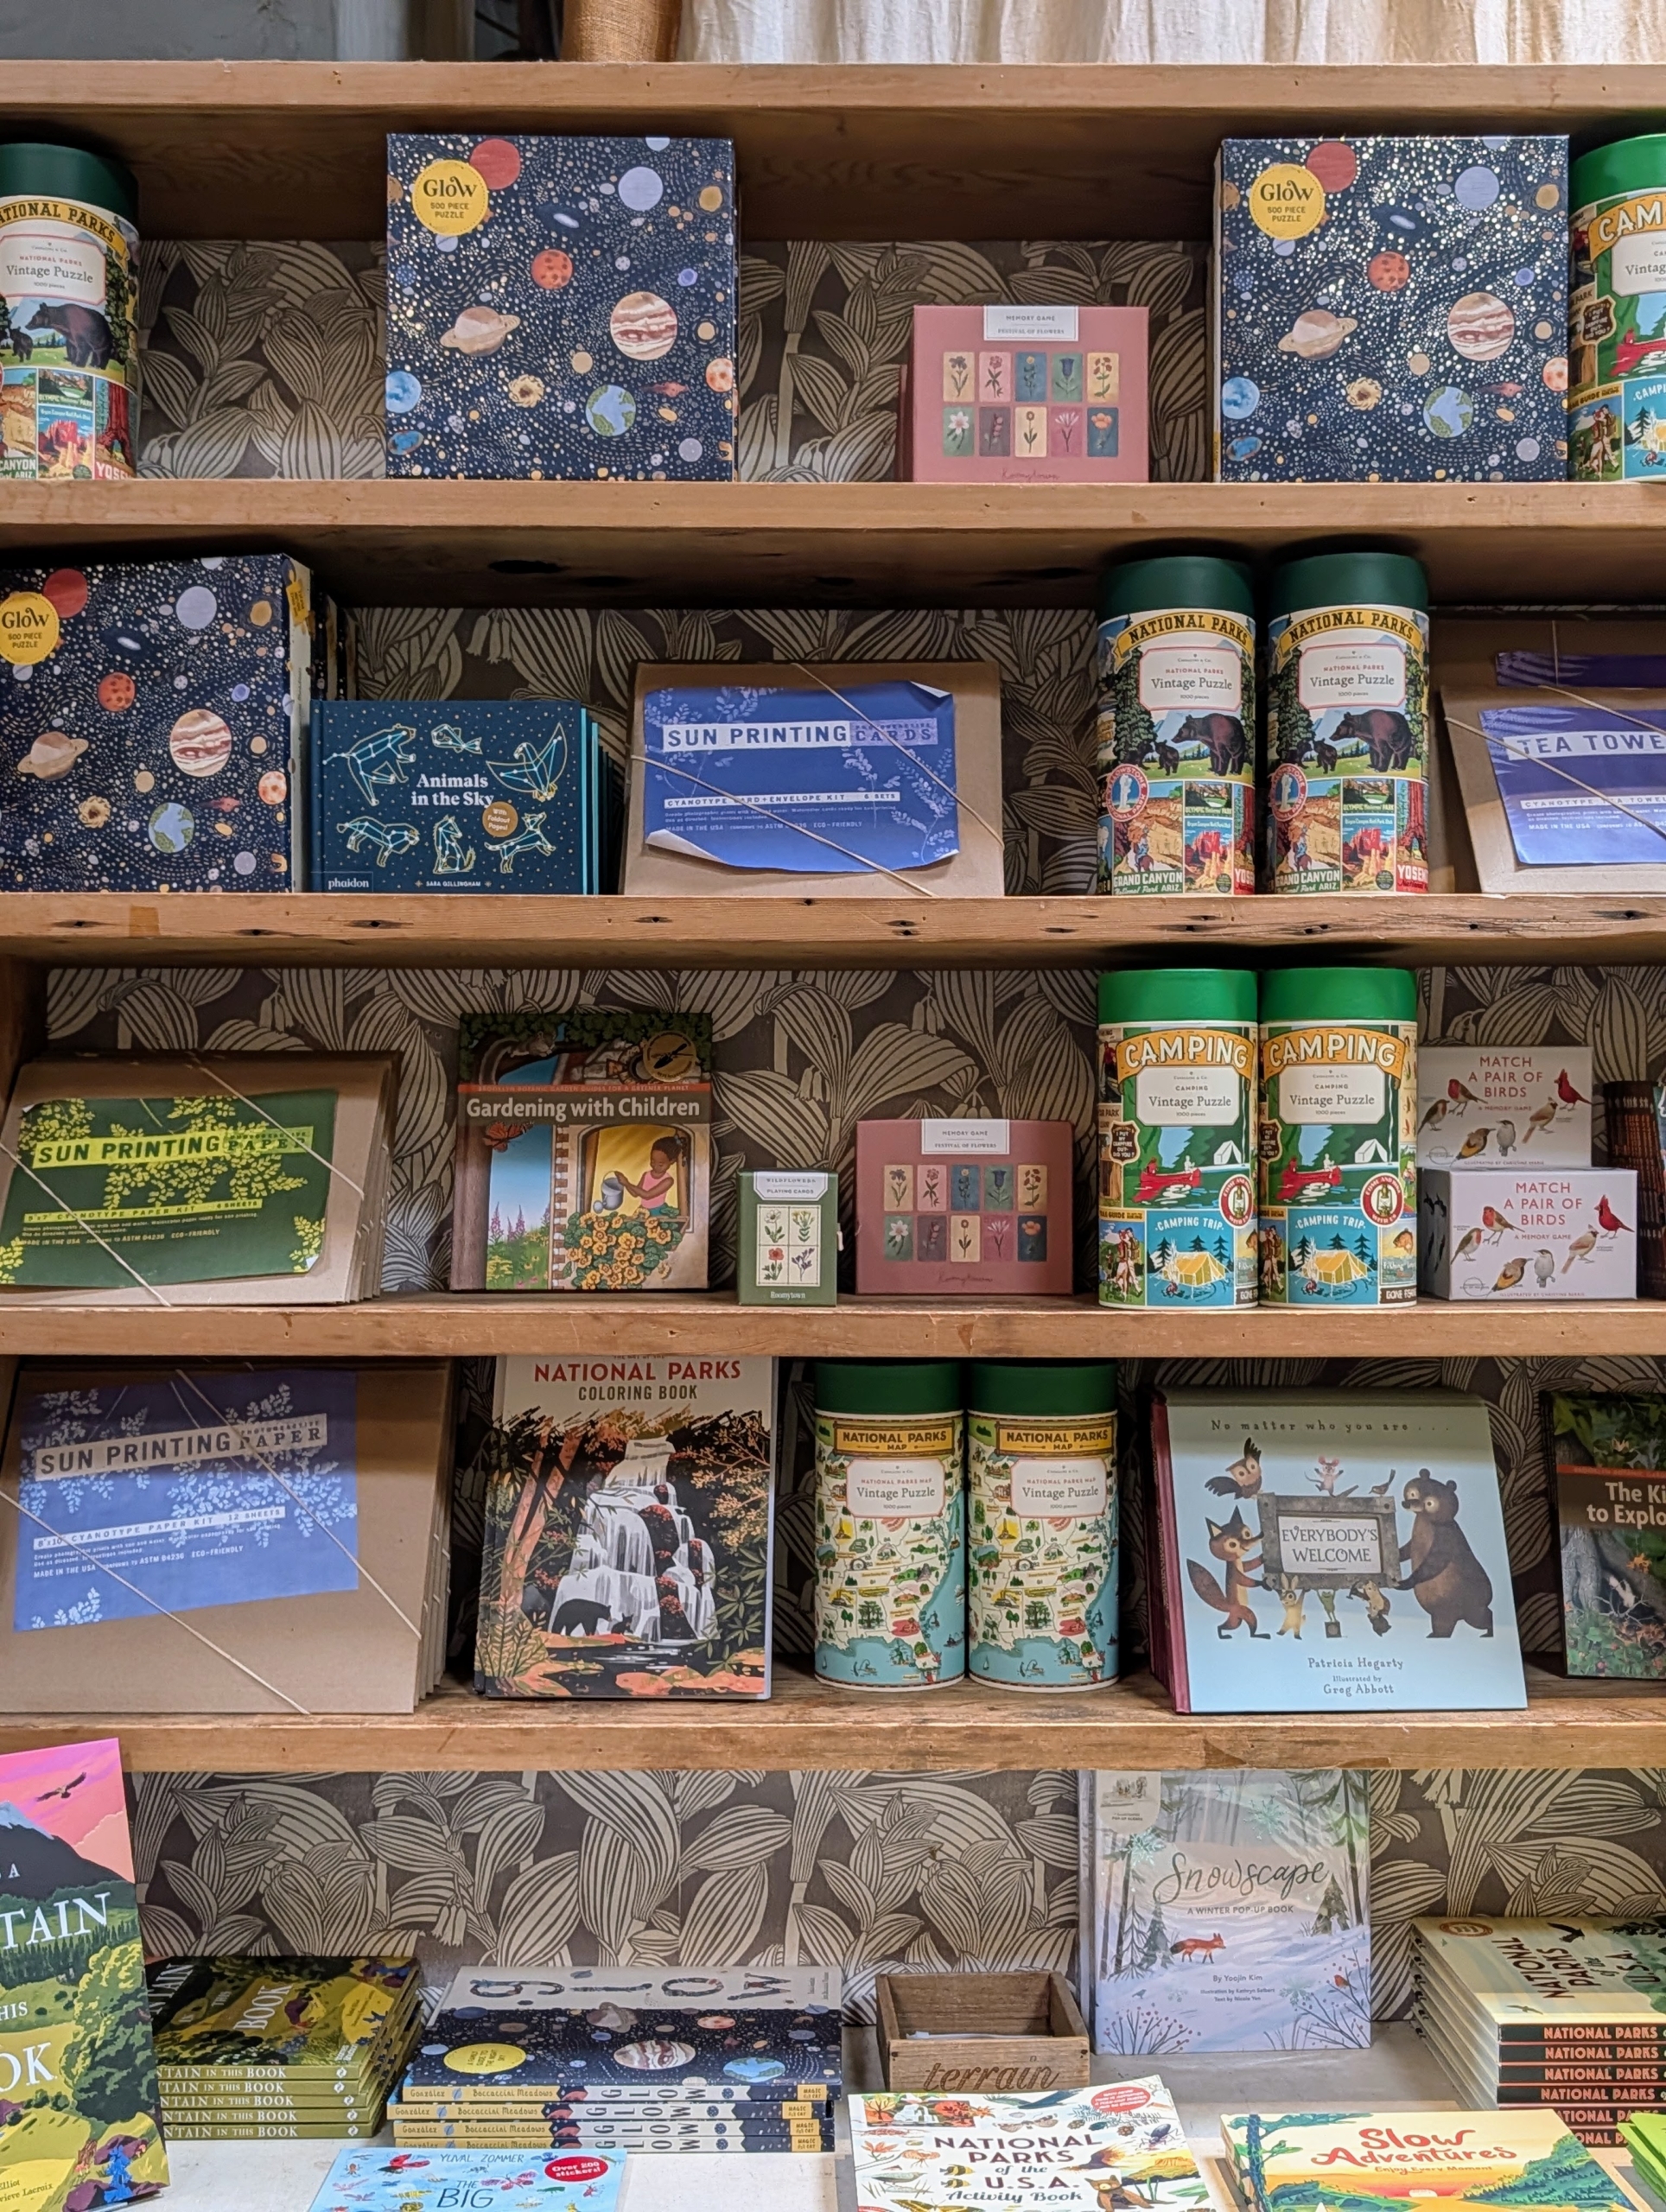
There are also lots of items for children – books, nature-inspired kits, and toys.
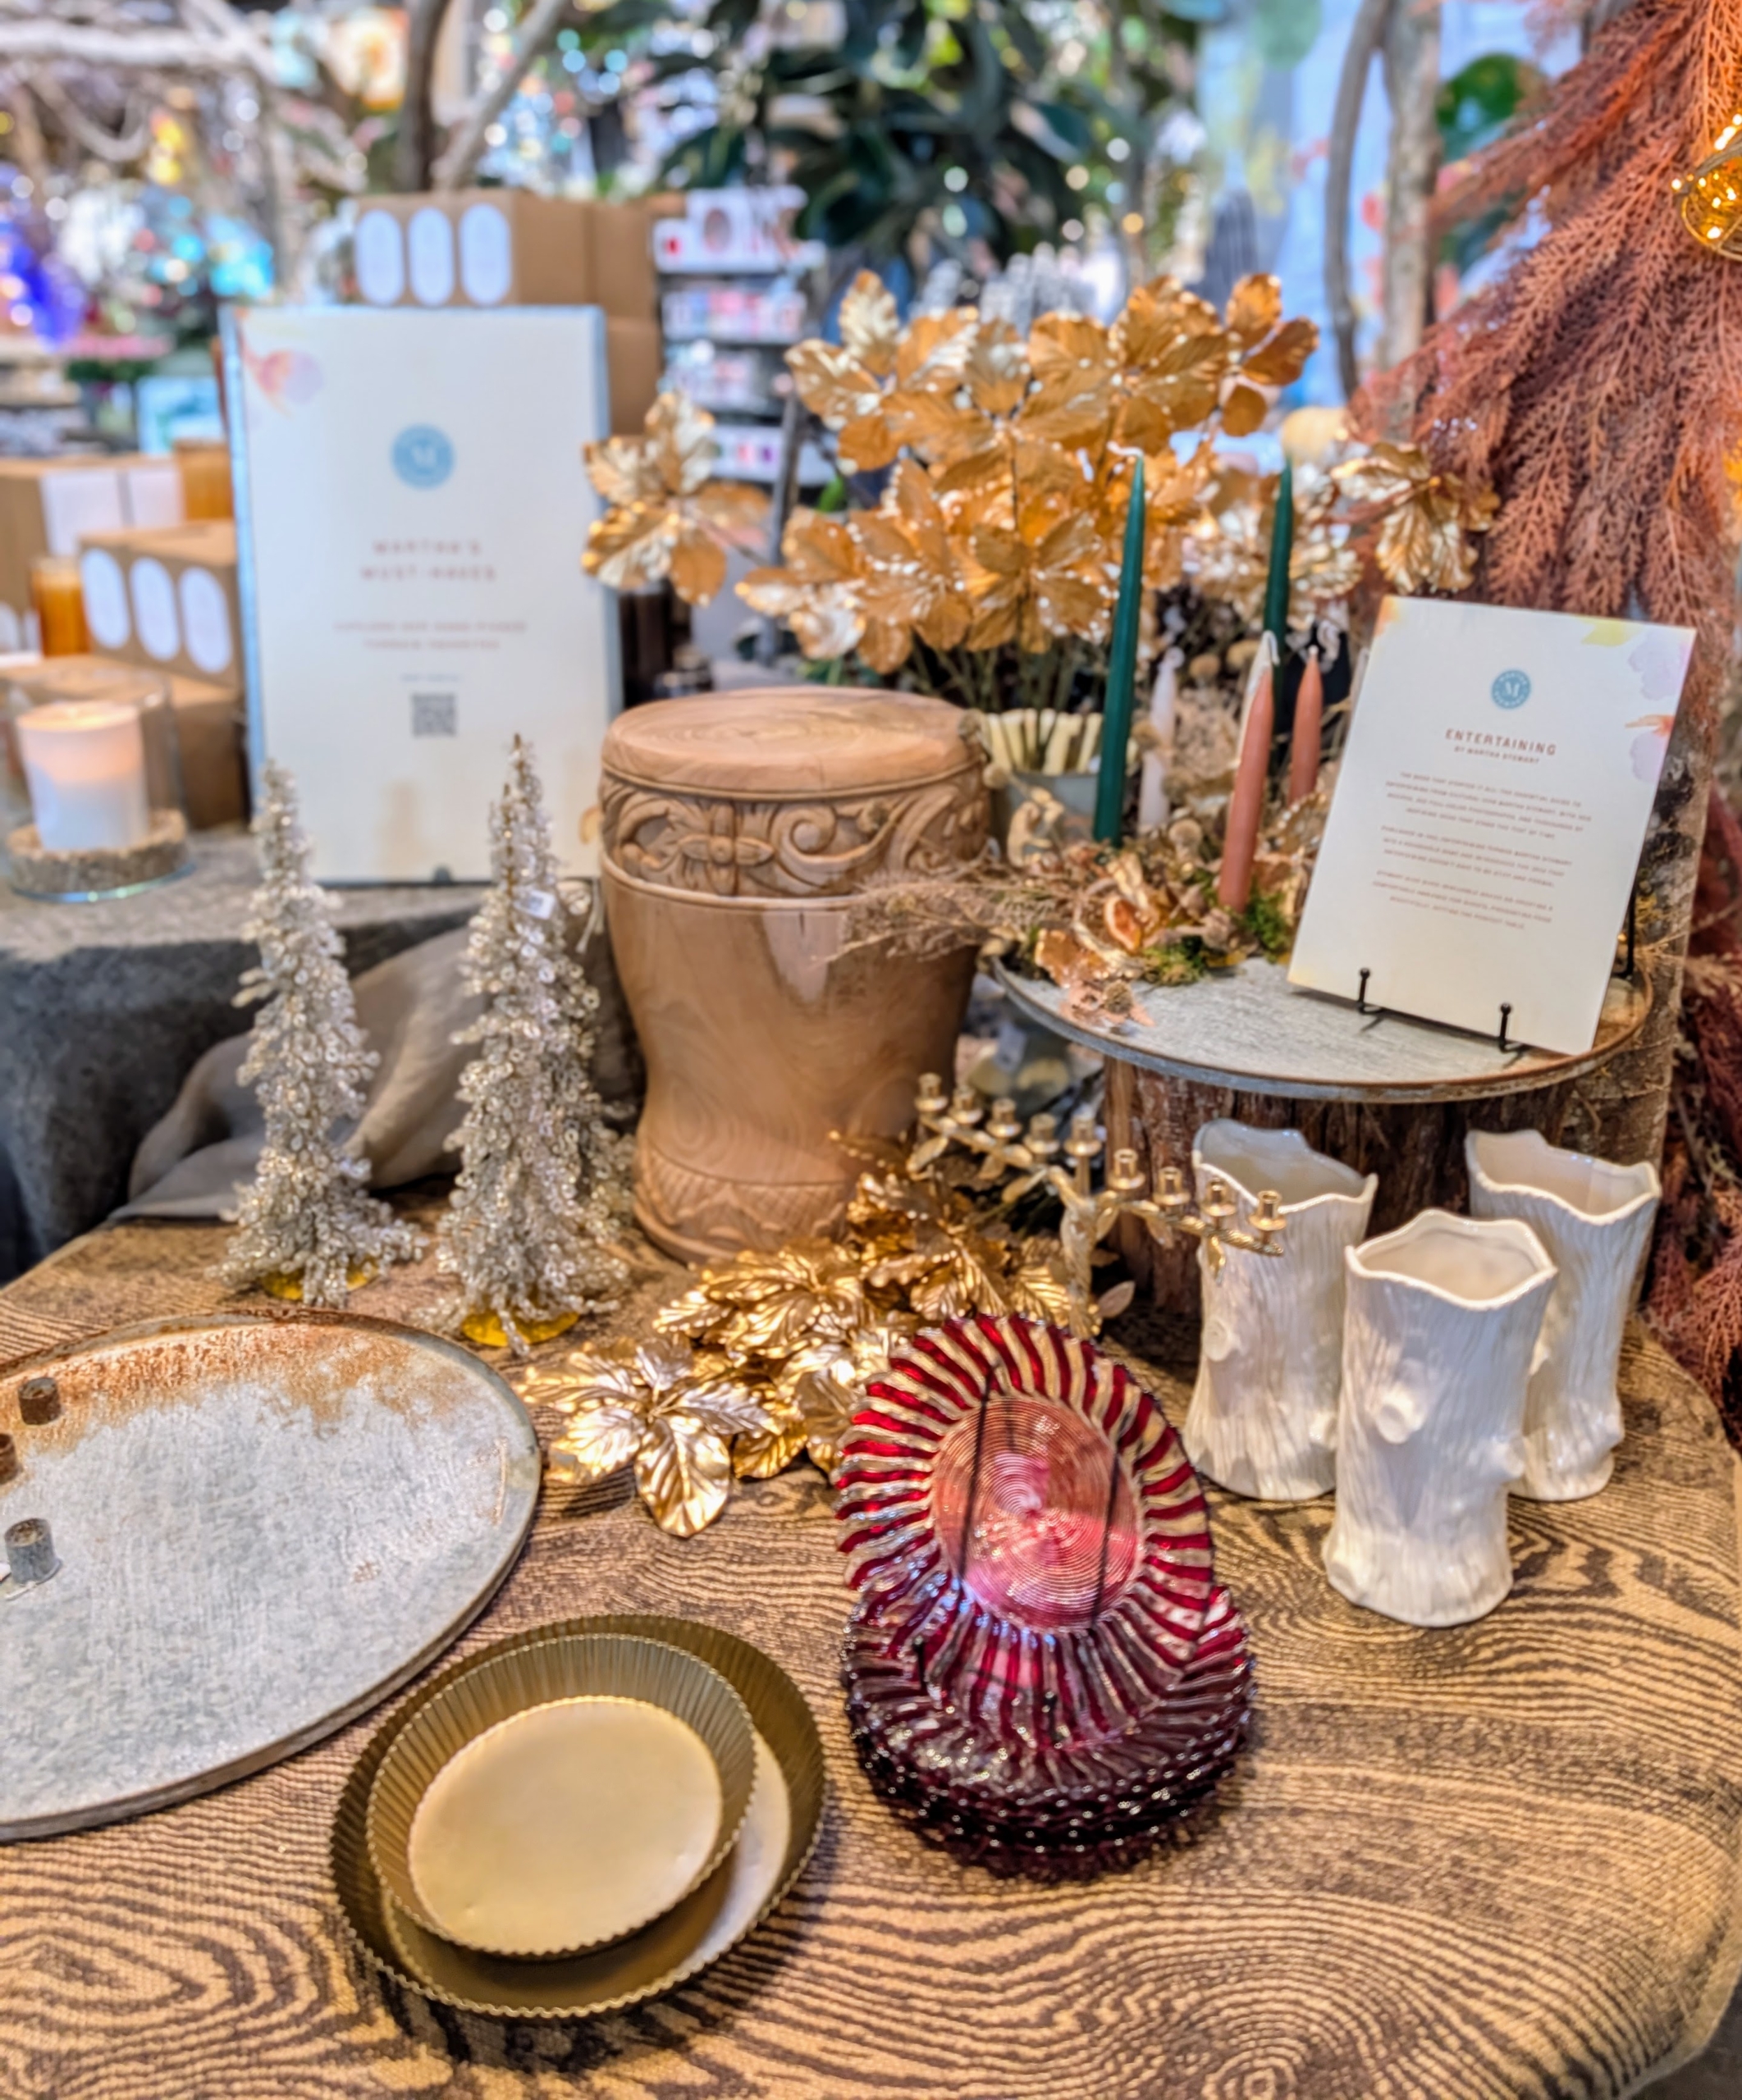
On one table are items I personally selected – Martha’s Must Haves for the holidays. They include the Tree of Life Menorah, the Aged Iron Cluster Taper Candle Holder Dish, Golden Tinsel, a Twinkling Vine Bell, an Ivory Ceramic Faux Bois Vase, a Leafy Rattan Hinged Tree Collar, a Habit Form Tray, 15-inch Silver Beaded Trees – all available at Terrain.
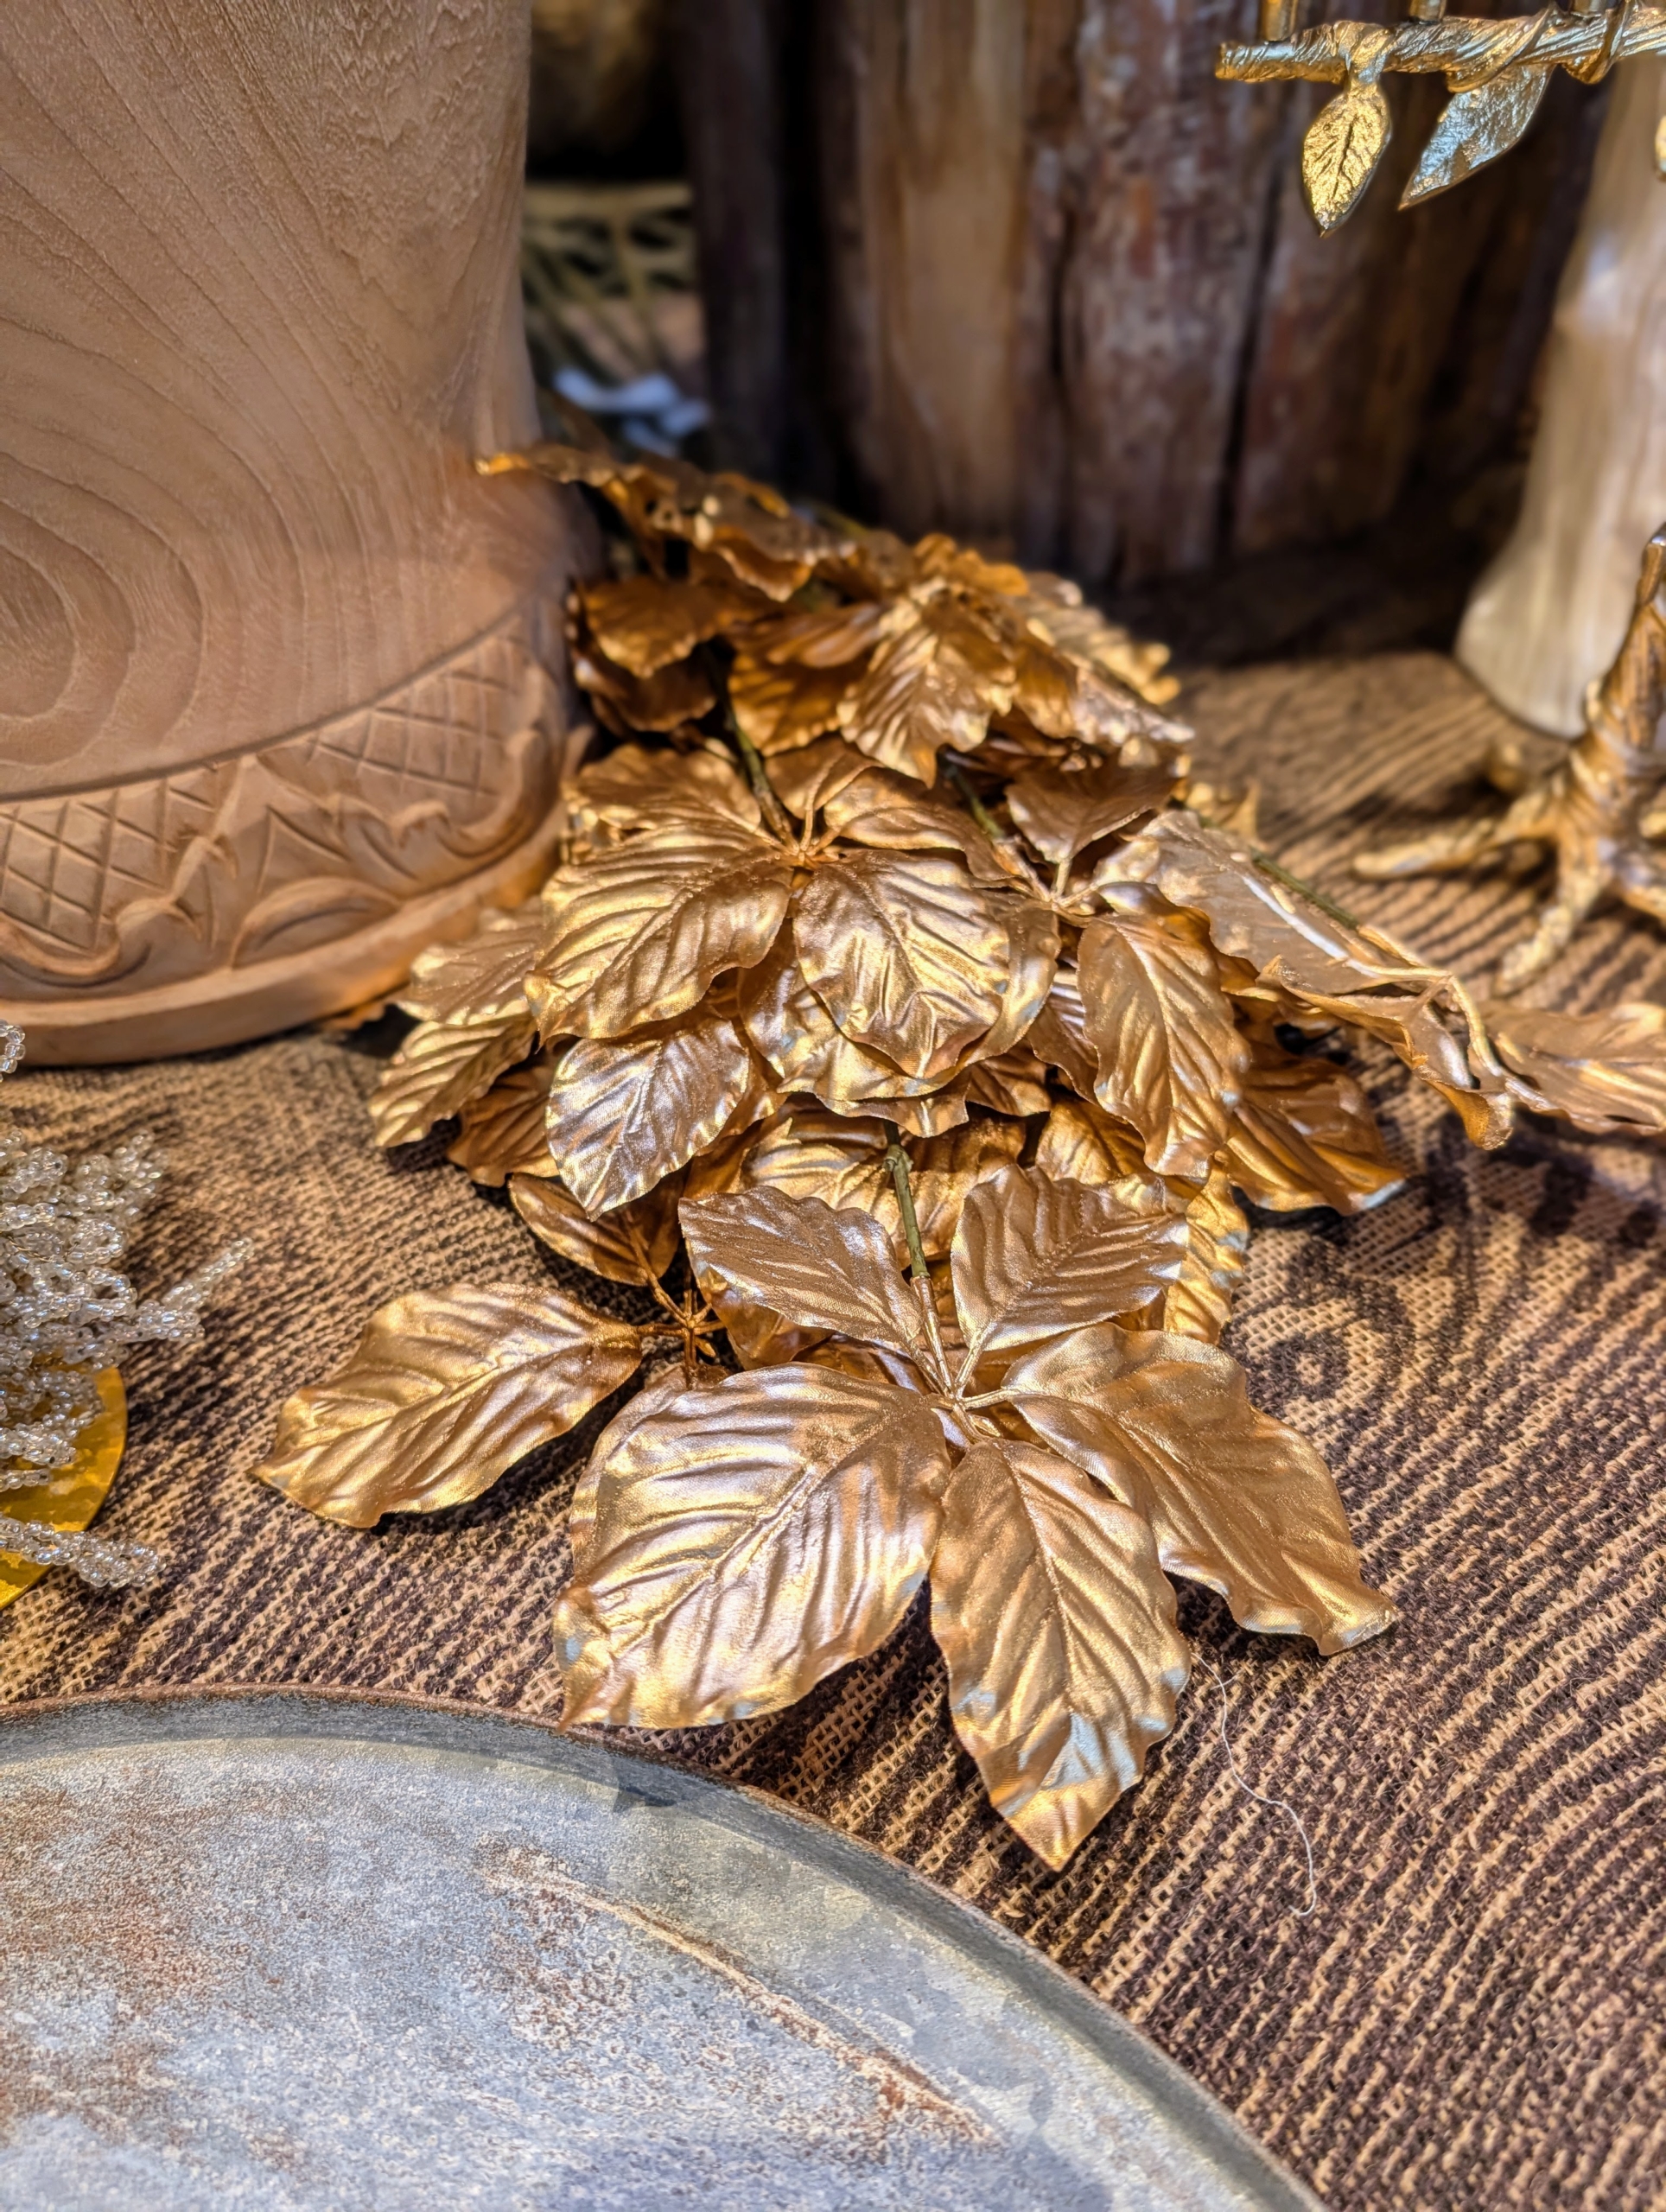
I also selected these Faux Garden Leaves for a touch of metallic shine to an arrangement.
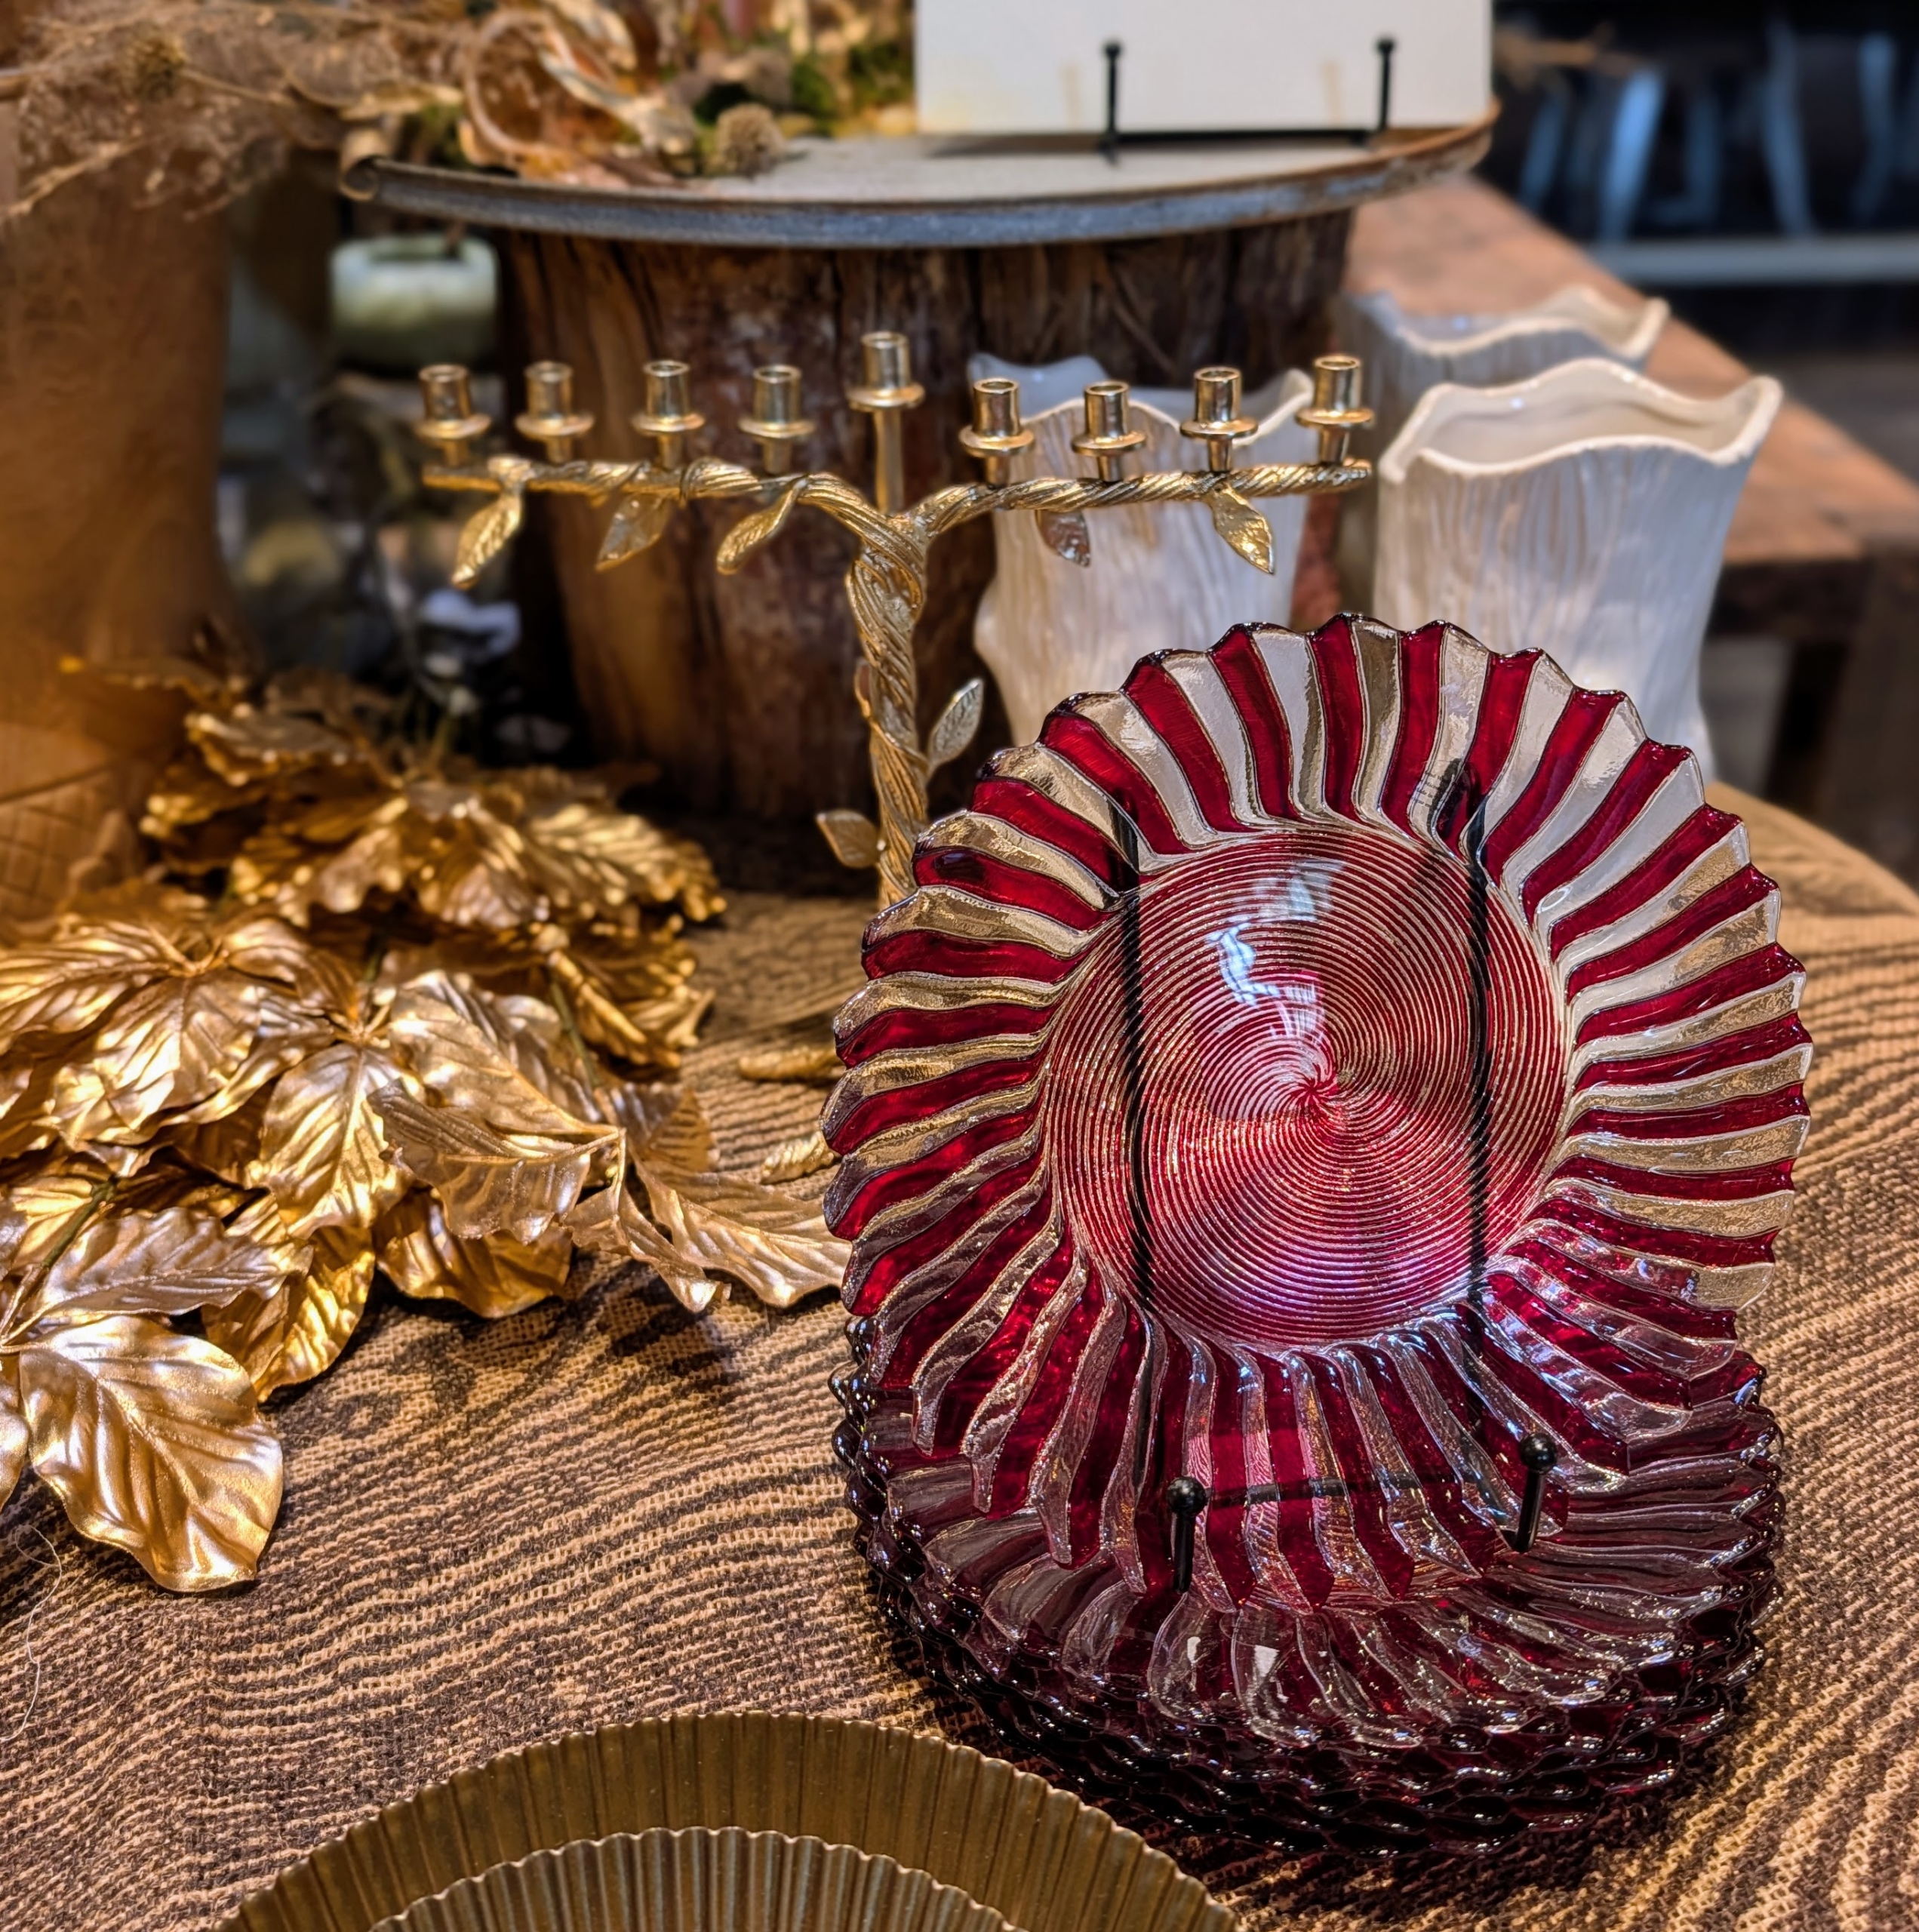
And these Candy Cane Glass Side Plates – handmade in Turkey especially for Terrain.
Some of you may even remember this book cover of me at my Turkey Hill home wearing Laura Ashley. And I still have all those dishes and goblets.
I was excited to host a podcast with several of those who worked on Entertaining with me. It was so great to see this group again and find out what they were all up to now.
Among those on the podcast was Corey Tippin, who was part of my catering team and later returned as a stylist for my television show and magazine.
It was so great to hear from all those who participated. You will love their memories. Be sure to listen to this nostalgic podcast.
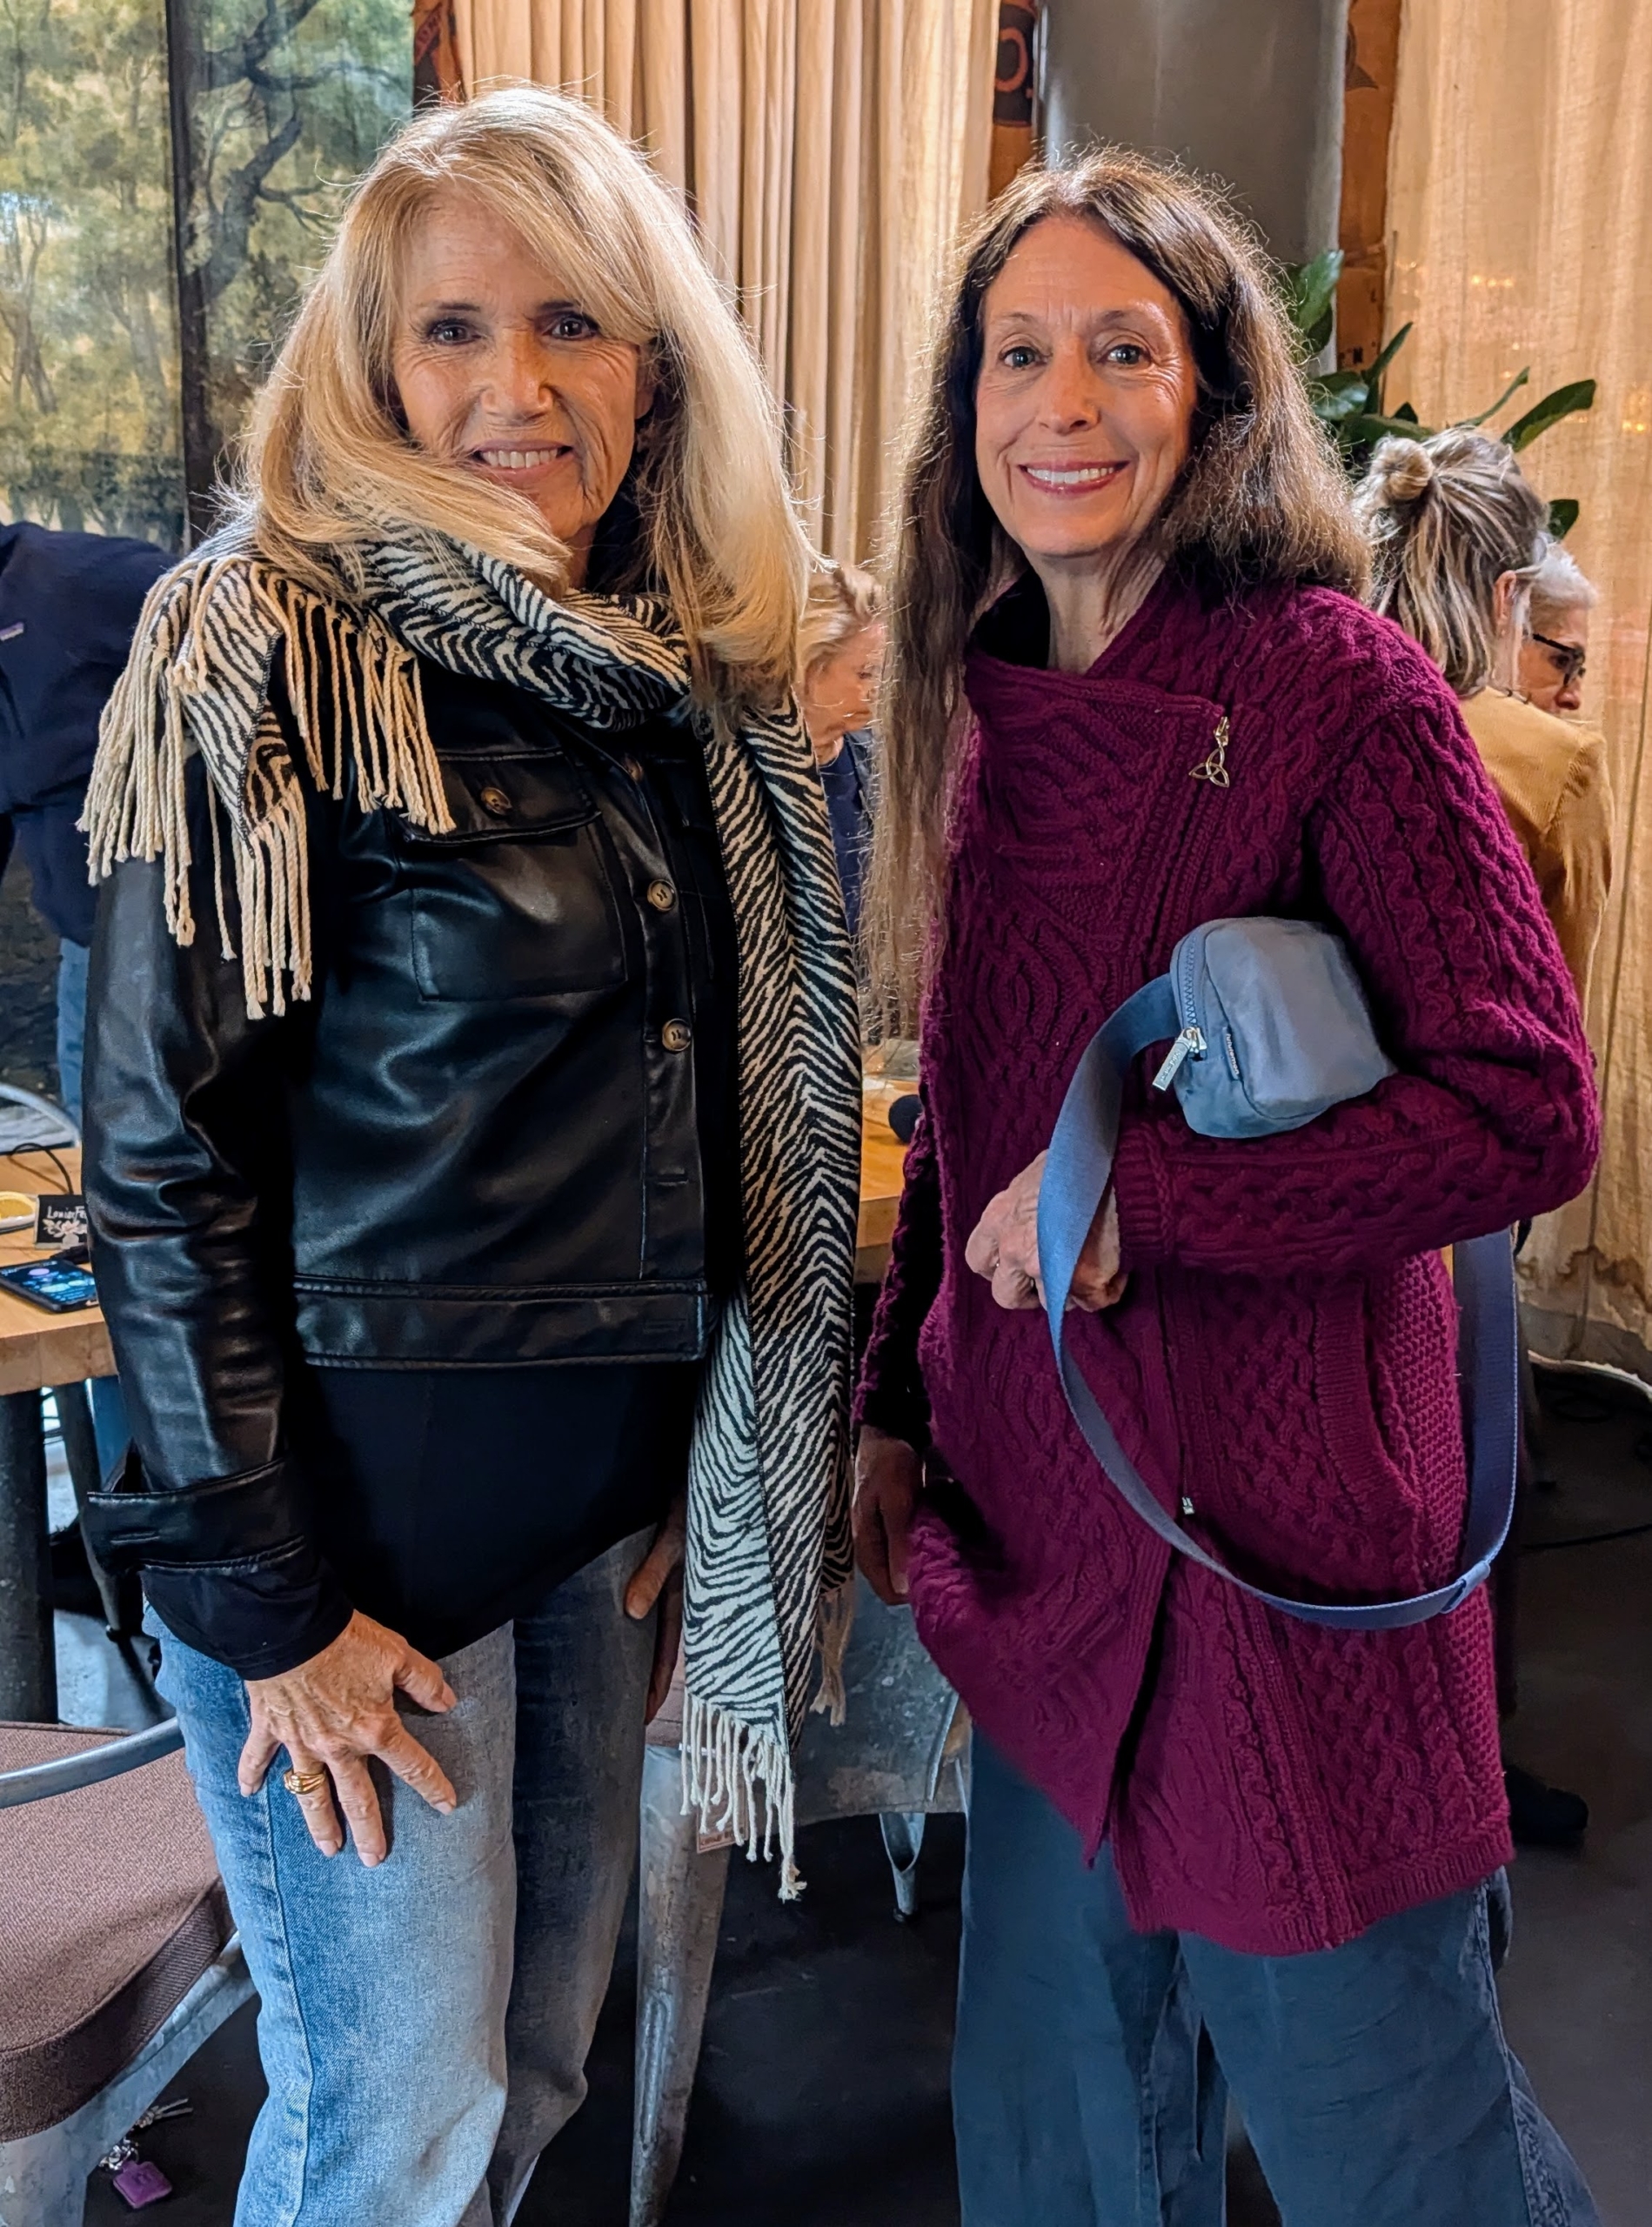
Also from my catering team – Louise Felix and Vicky Sloat, who started working with me at my first shop, the Market Basket, after seeing an ad in the local Westport paper.
Remember Necy on the right? She was one of my first housekeepers and later a talented flower arranger and cook. She was also on my podcast and came with her daughter Clarissa.
My nieces Kristina Christiansen and Sophie Herbert Slater were also there for the event.
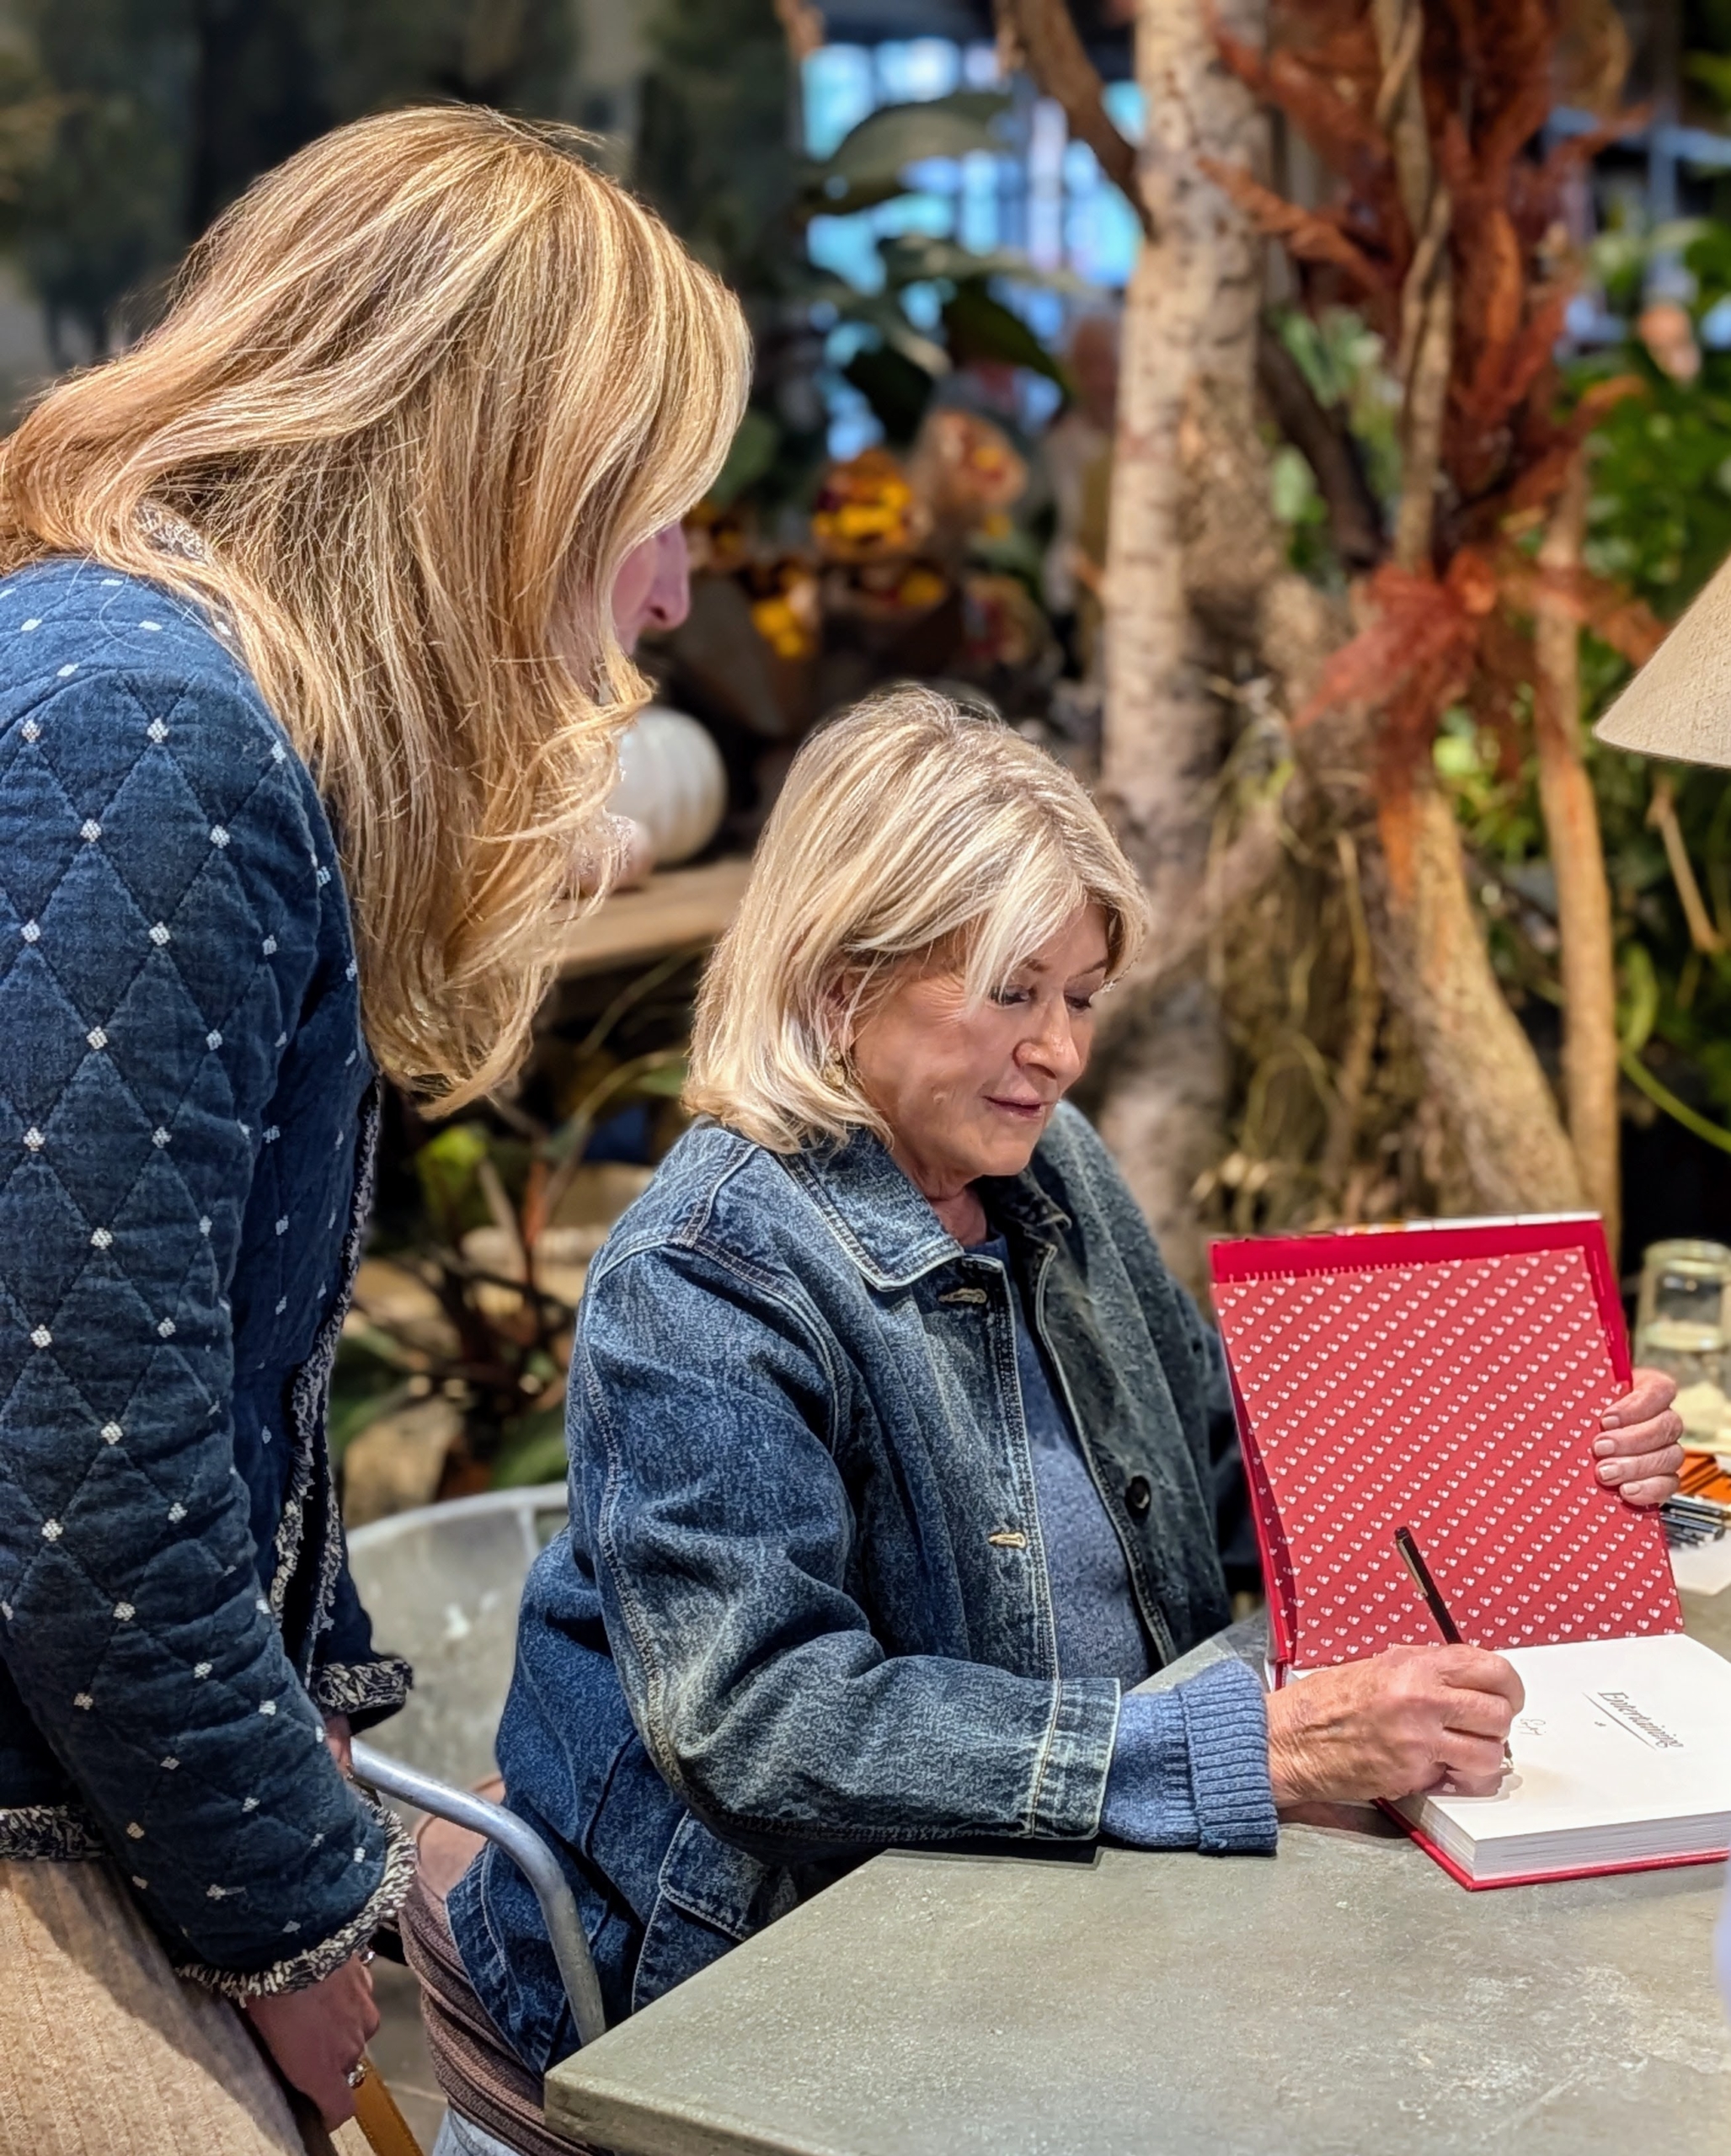
After the podcast, I did a book signing at the front of Terrain.
125 guests attended the event and purchased books.
Terrain gifted me with this gorgeous and large Medinilla magnifica. As the story goes, 13 years ago, when I first visited Terrain, I bought one of these plants – and they remembered. This specimen is even more special because it was grown by my friends Dennis Schrader and Bill Smith of Landcraft
Environments.
I chose this lovely Terrain urn for it. I am excited to see it thrive in my greenhouse.
So, whether you have a 1982 copy of it or not, get this new 2025 relaunched edition of Entertaining. And may you enjoy it for decades.
I love container plants, and whenever I am home I always like to keep a collection of interesting specimens in my enclosed porch, around my sitting room, and in my servery where I can see them every day. Most of my potted plants are kept in the greenhouse, so they can be maintained and carefully monitored. Last week, my head gardener, Ryan McCallister, rotated some of the potted specimens and brought in a selection of interesting succulents, ferns, and others.
Enjoy these photos.
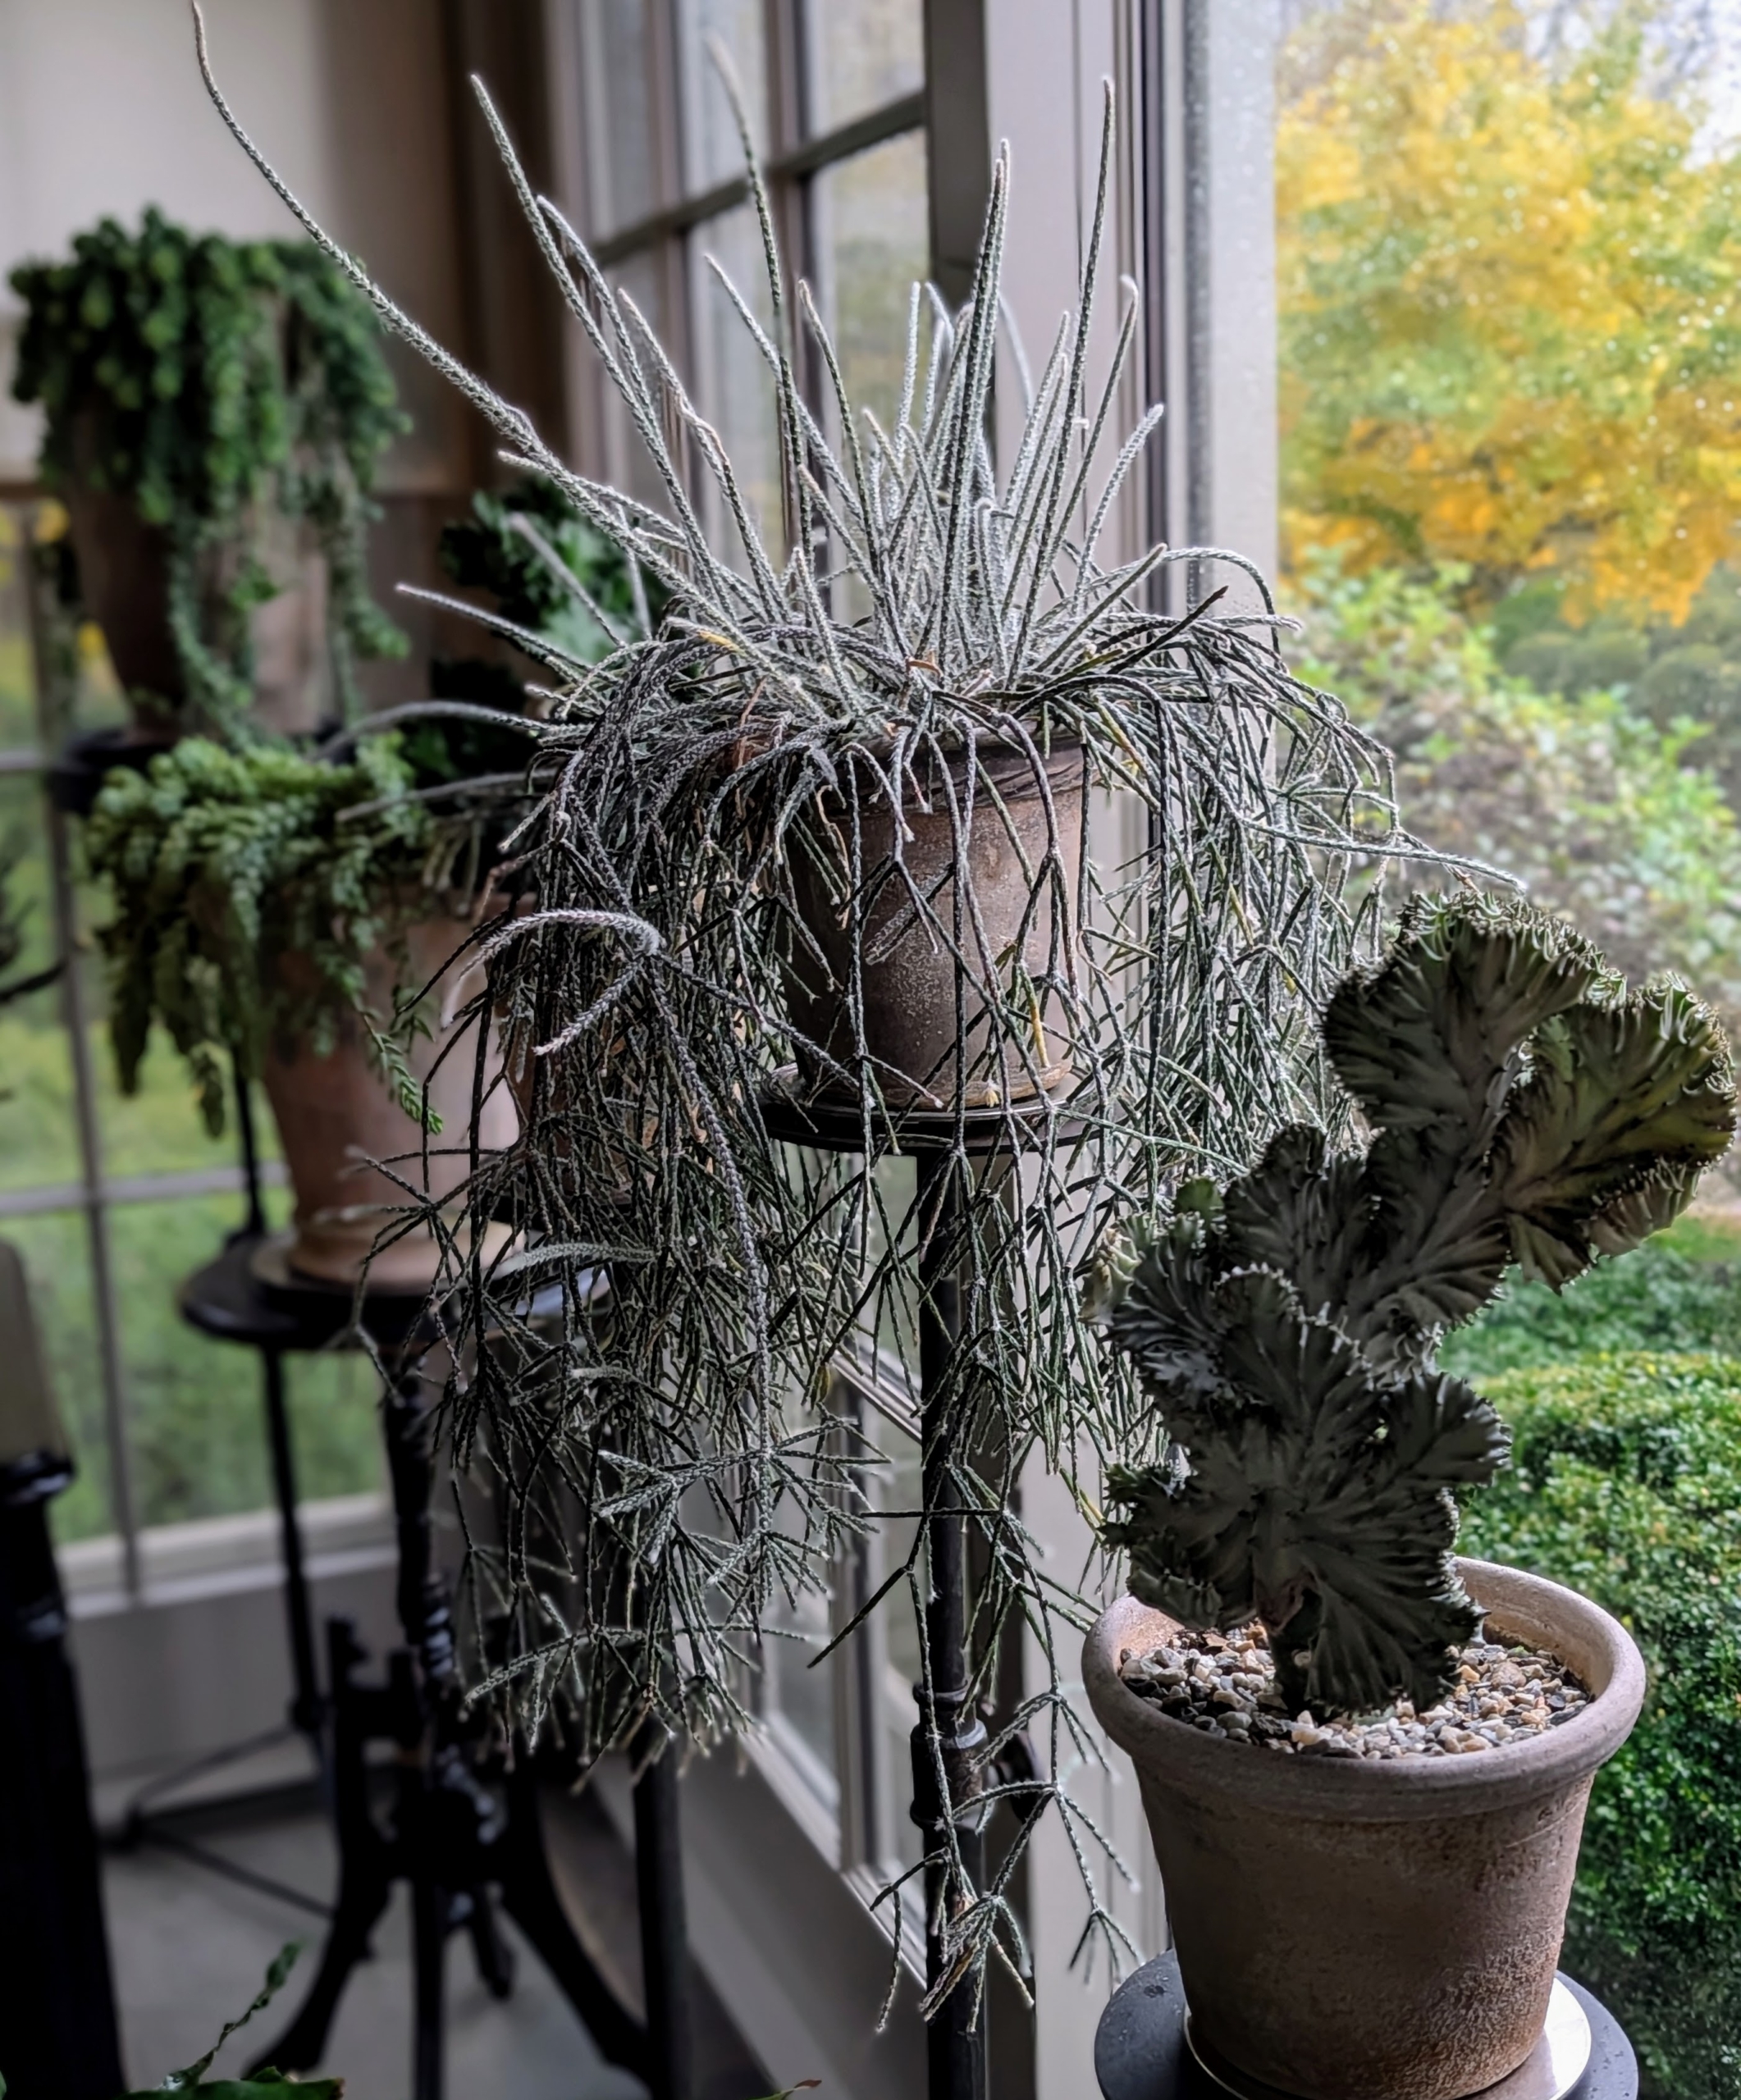
I often display interesting and eye-catching container plants in my Winter House porch. The big floor to ceiling windows provide lots of light and they all surround my desk, where I can enjoy them while writing or while attending remote meetings.
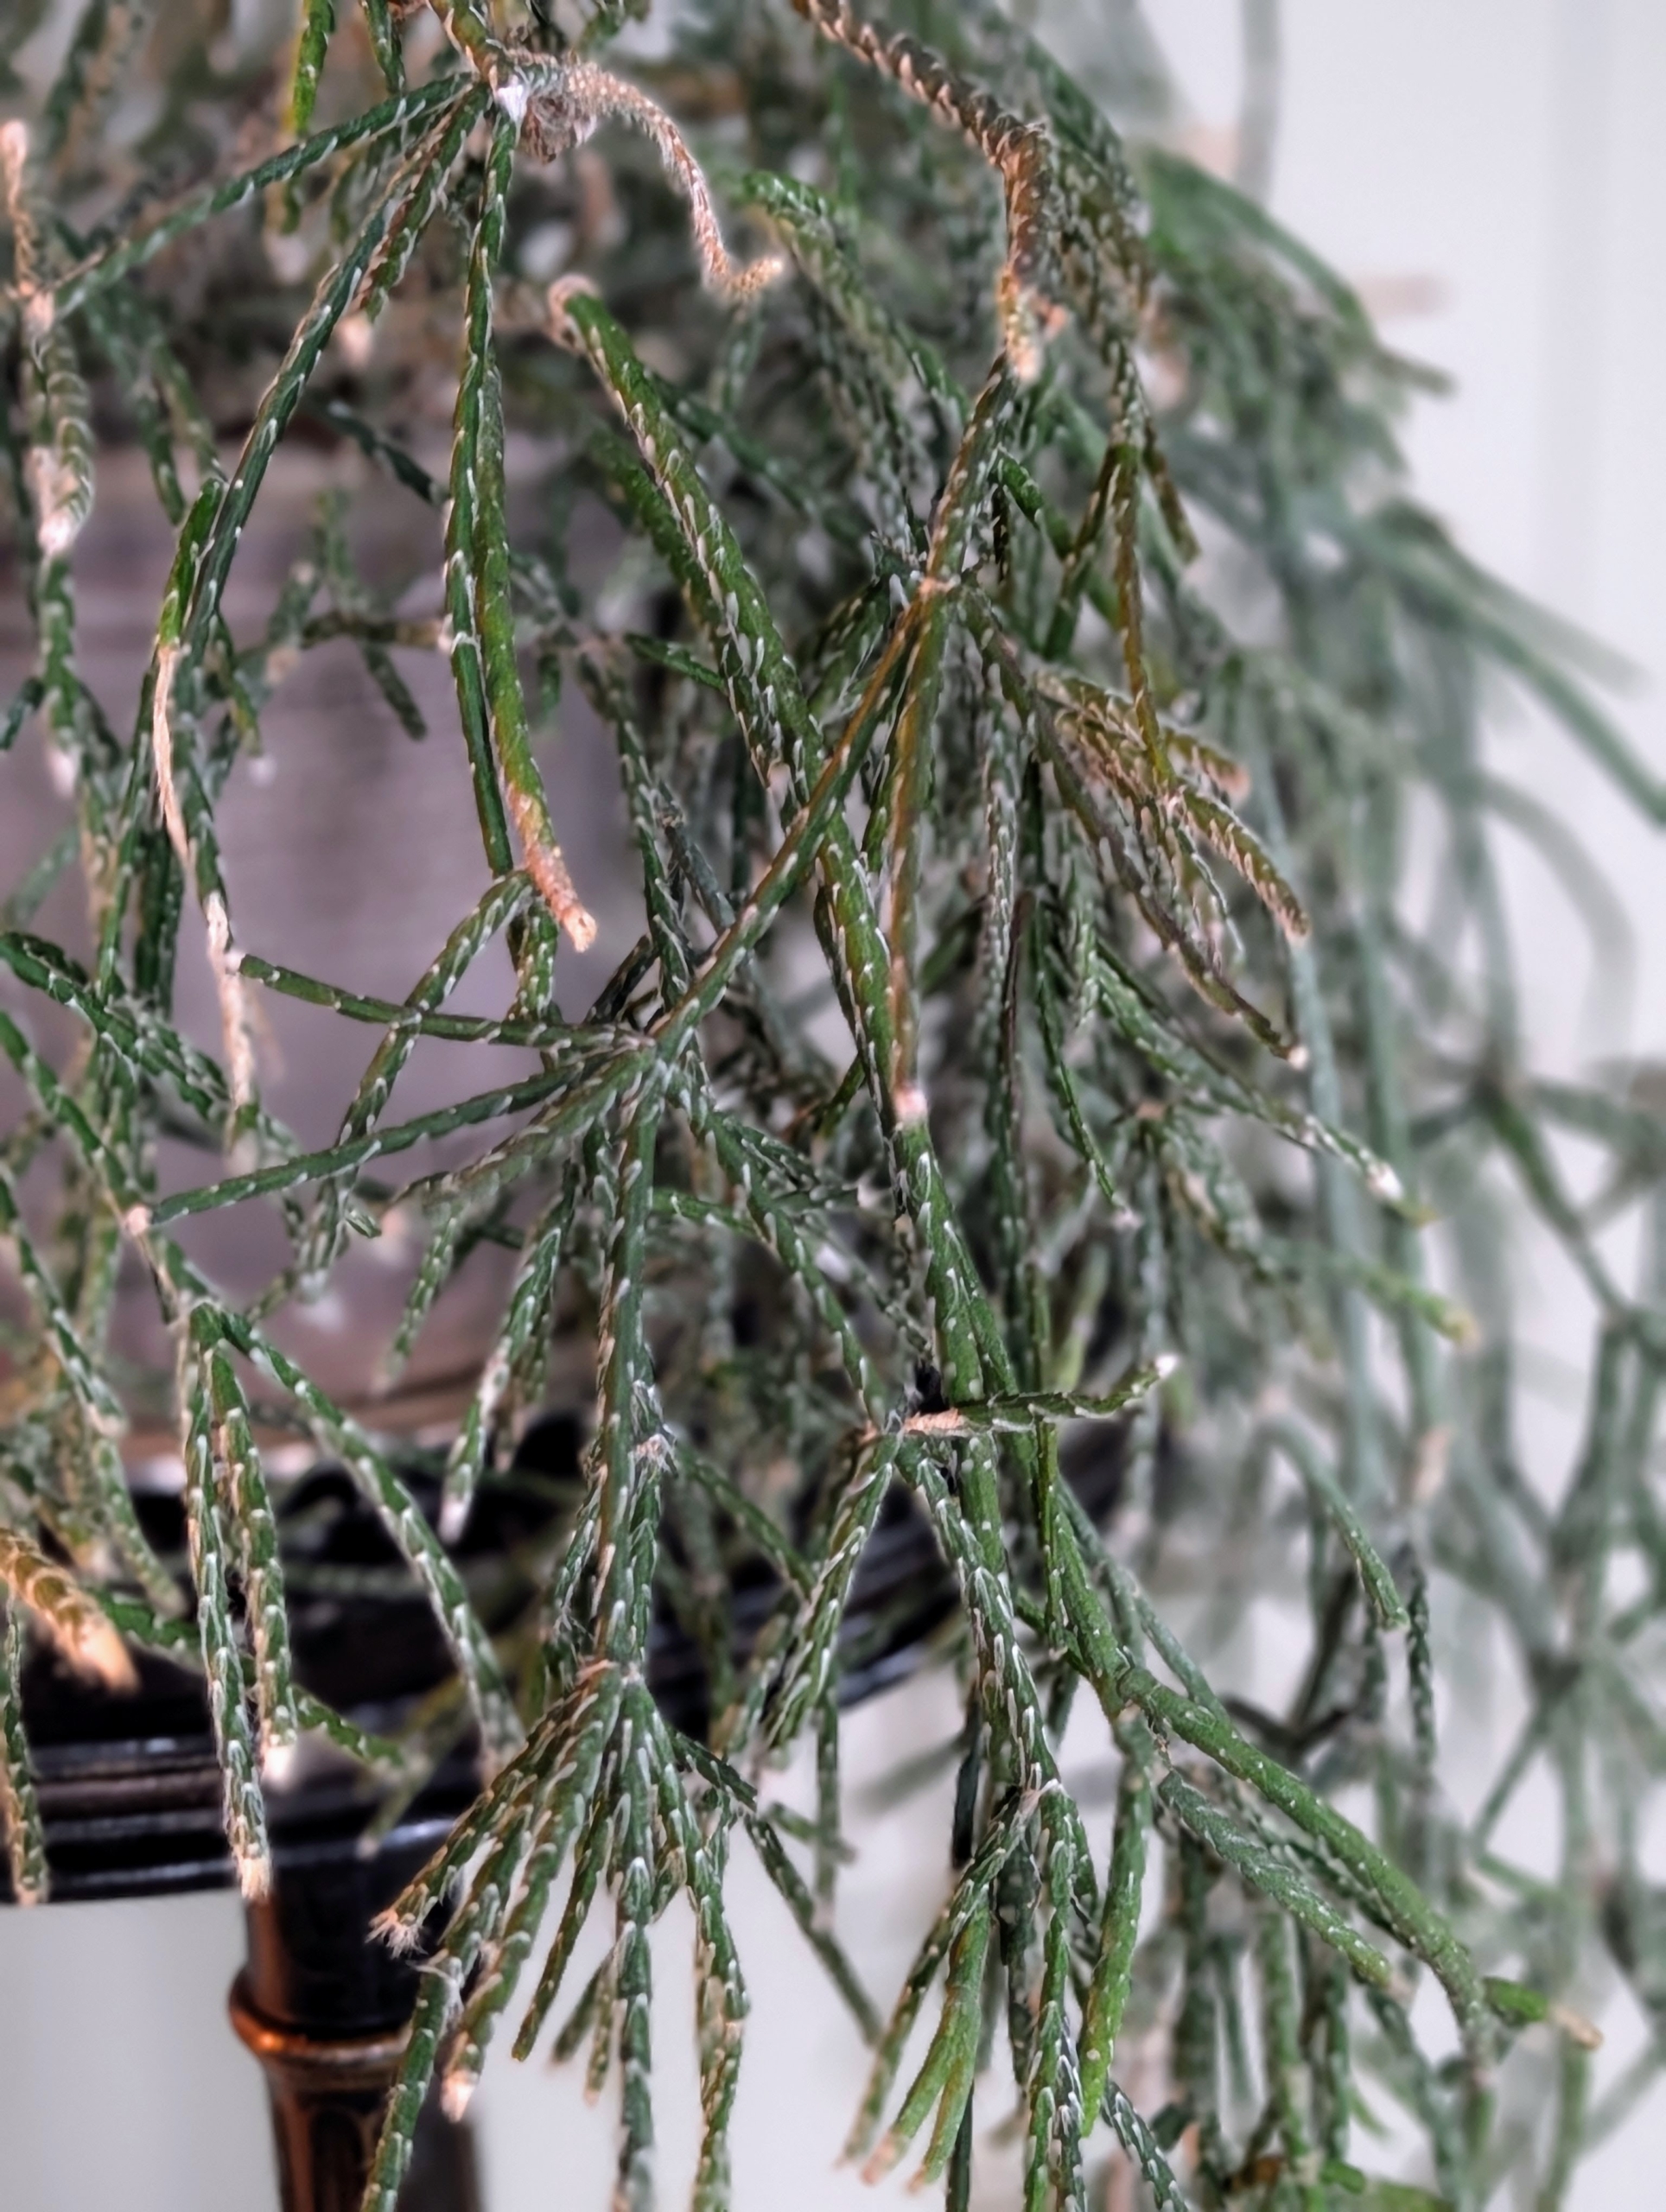
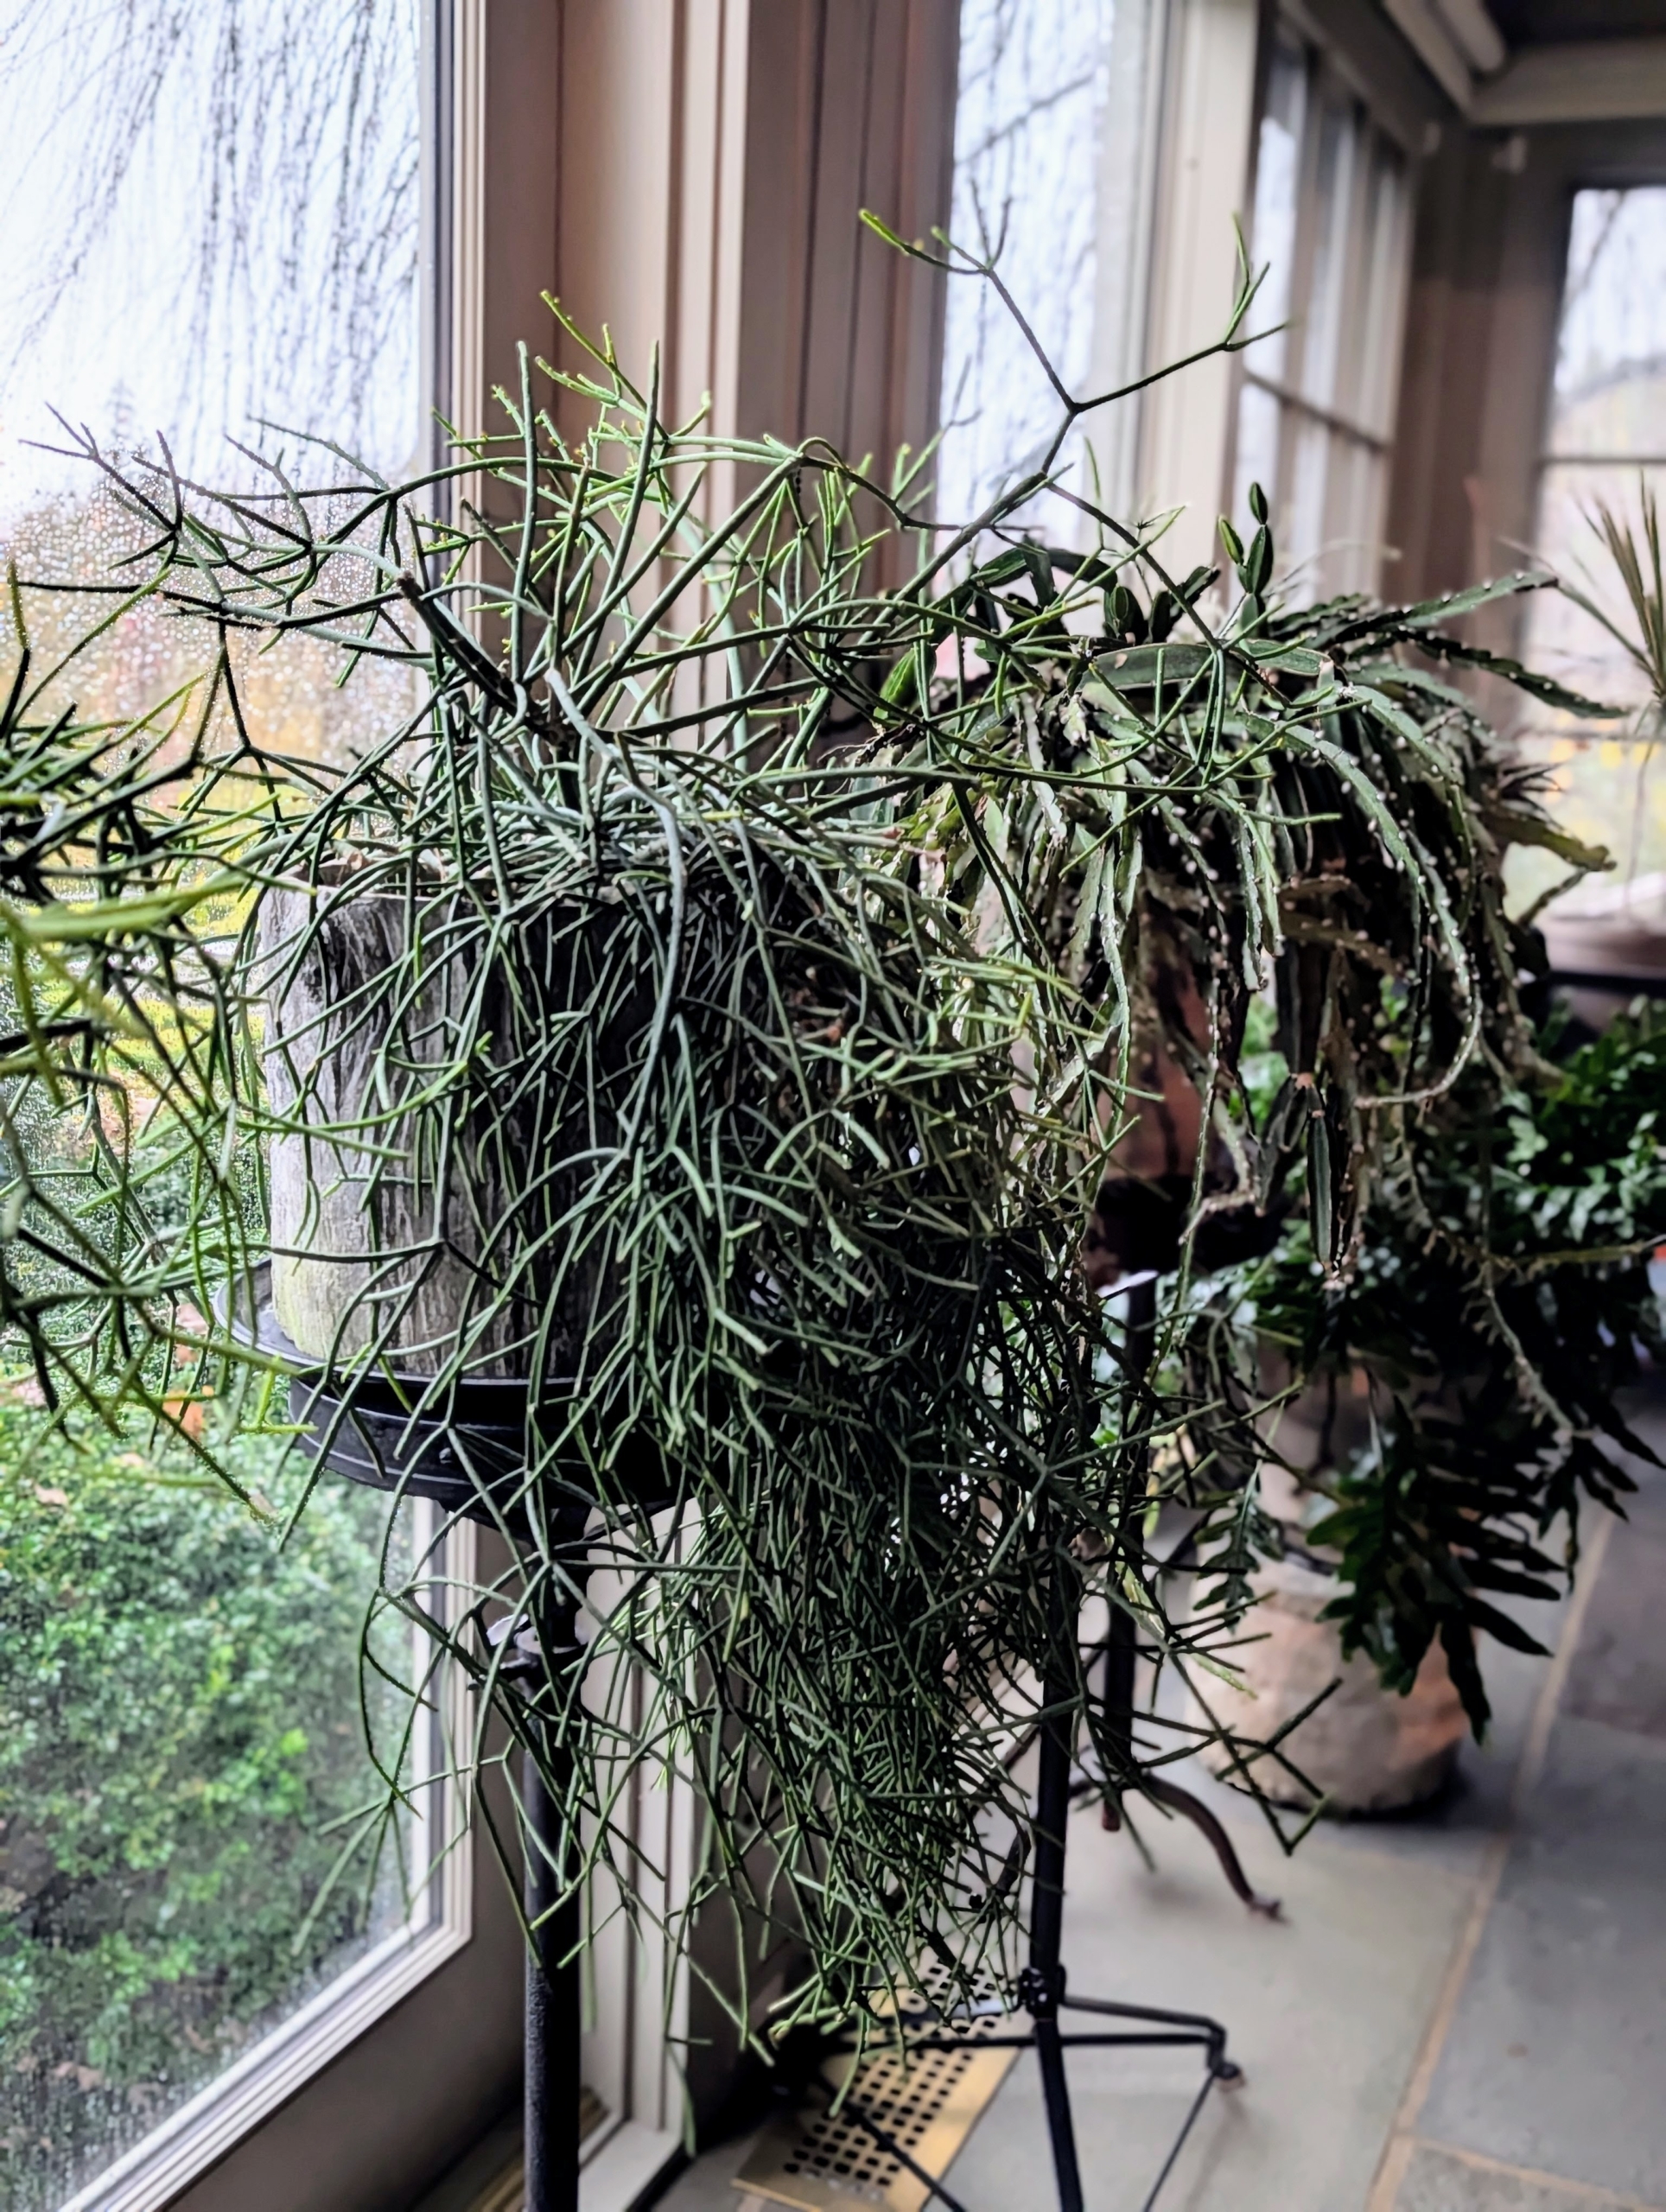
This is a potted rhipsalis, native to the rainforests of South America, the Caribbean and Central America. Rhipsalis is a cacti genus with approximately 35 distinct species. I have many types of rhipsalis growing in my greenhouse. Rhipsalis specimens have long, trailing stems making them perfect choices as indoor plants on pedestals or tall tables.
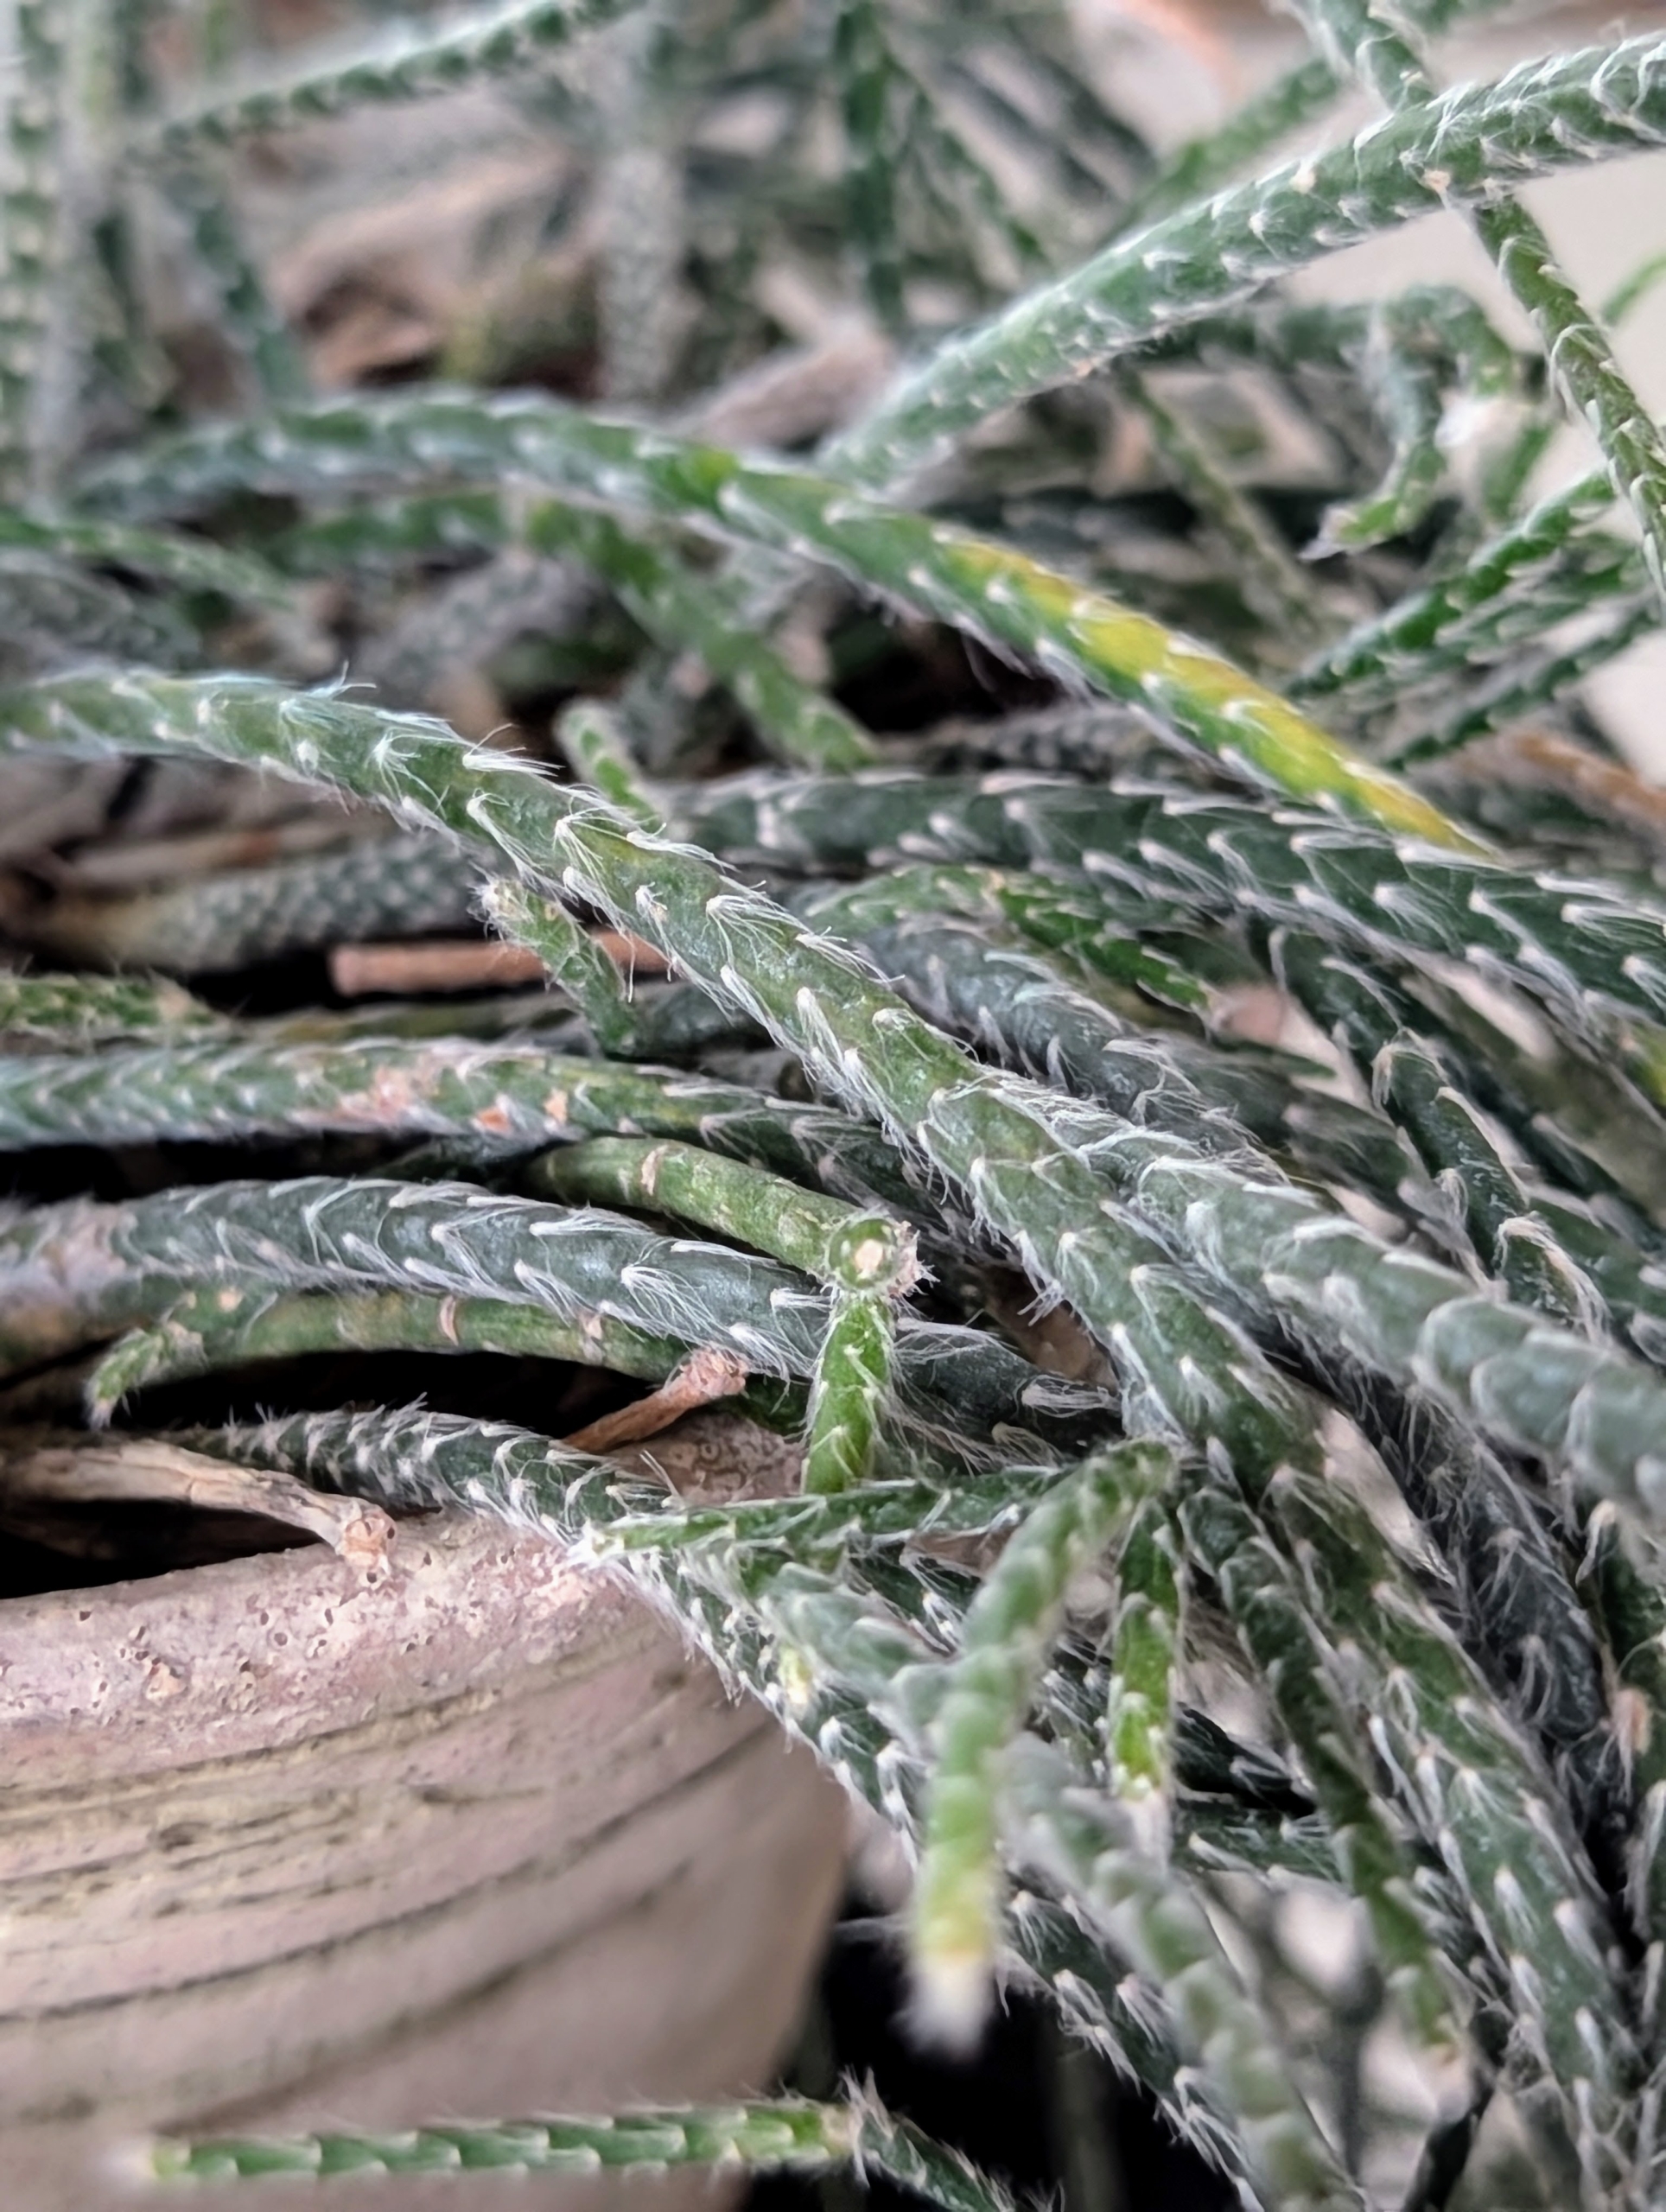
Here’s a closer look. Also known as chain cactus or mistletoe cactus, the thread-like rhipsalis stems are narrow, green and can grow several feet long.
Displayed on its own or with other specimens, rhipsalis plants always get lots of attention.
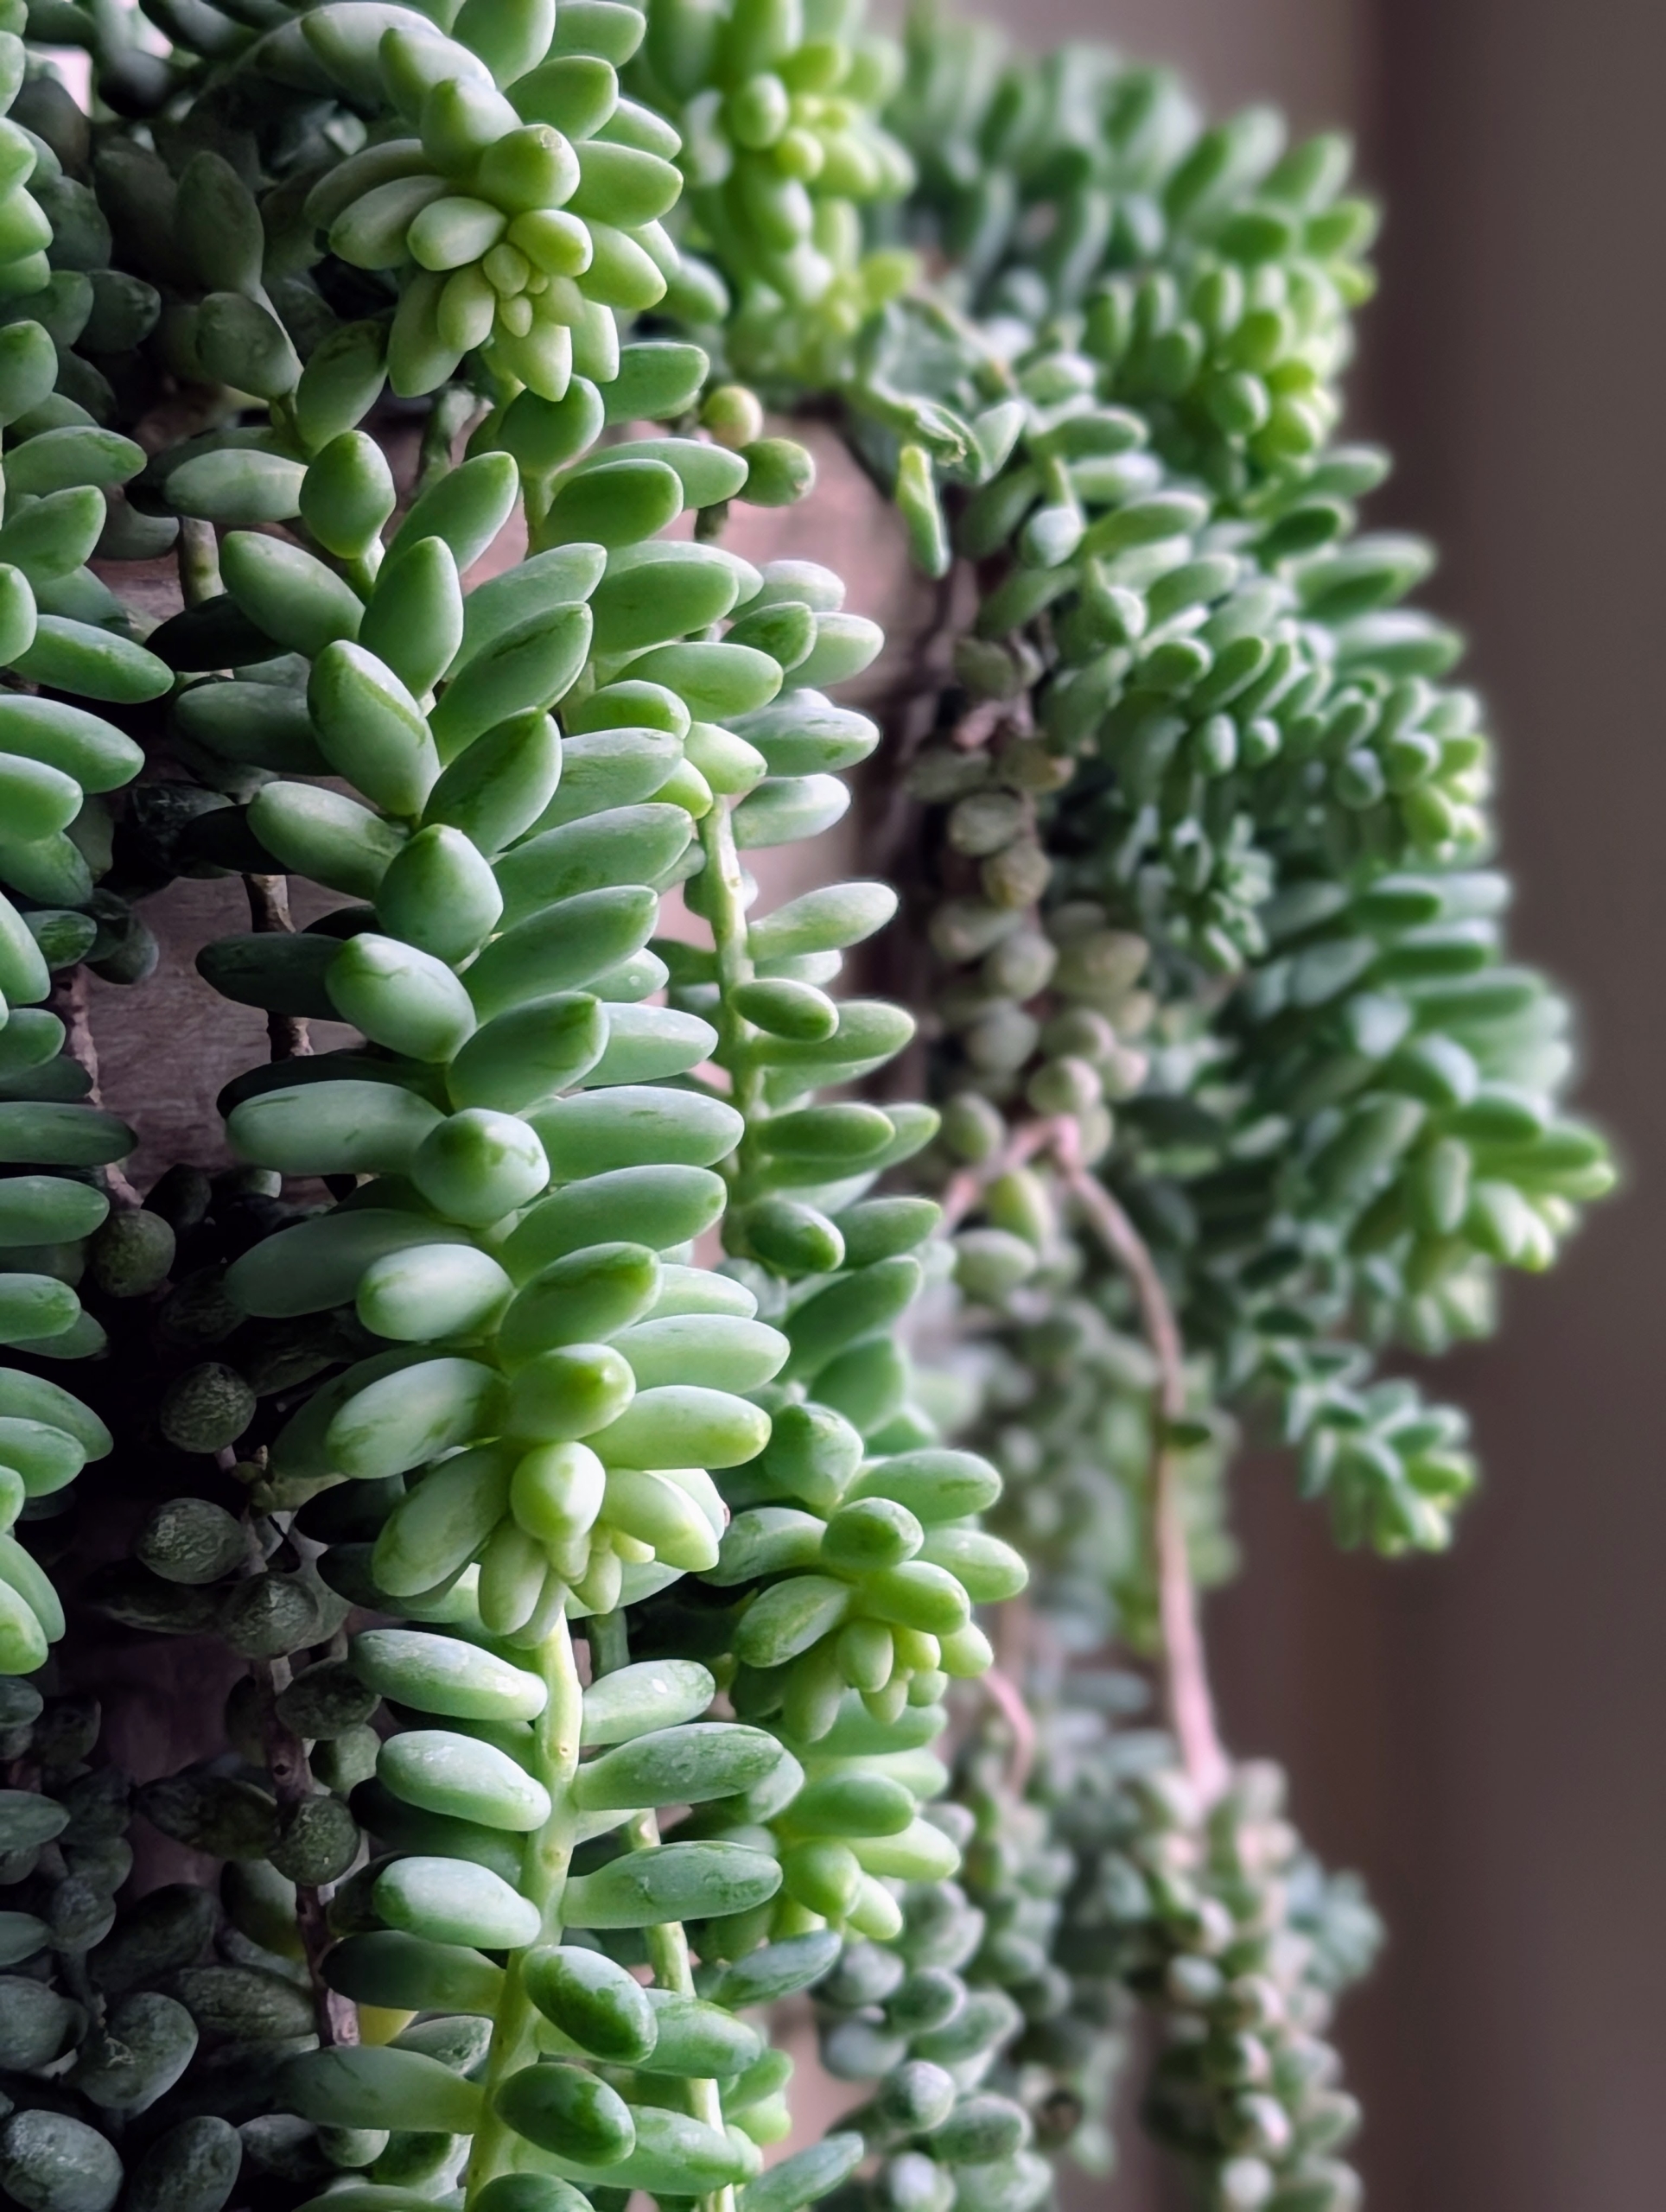
Burro’s Tail, also known as Sedum morganianum, is a succulent plant native to Mexico and Honduras. It is characterized by its long, trailing stems that resemble the tails of burros, making it a popular choice for indoor gardening due to its low maintenance needs.
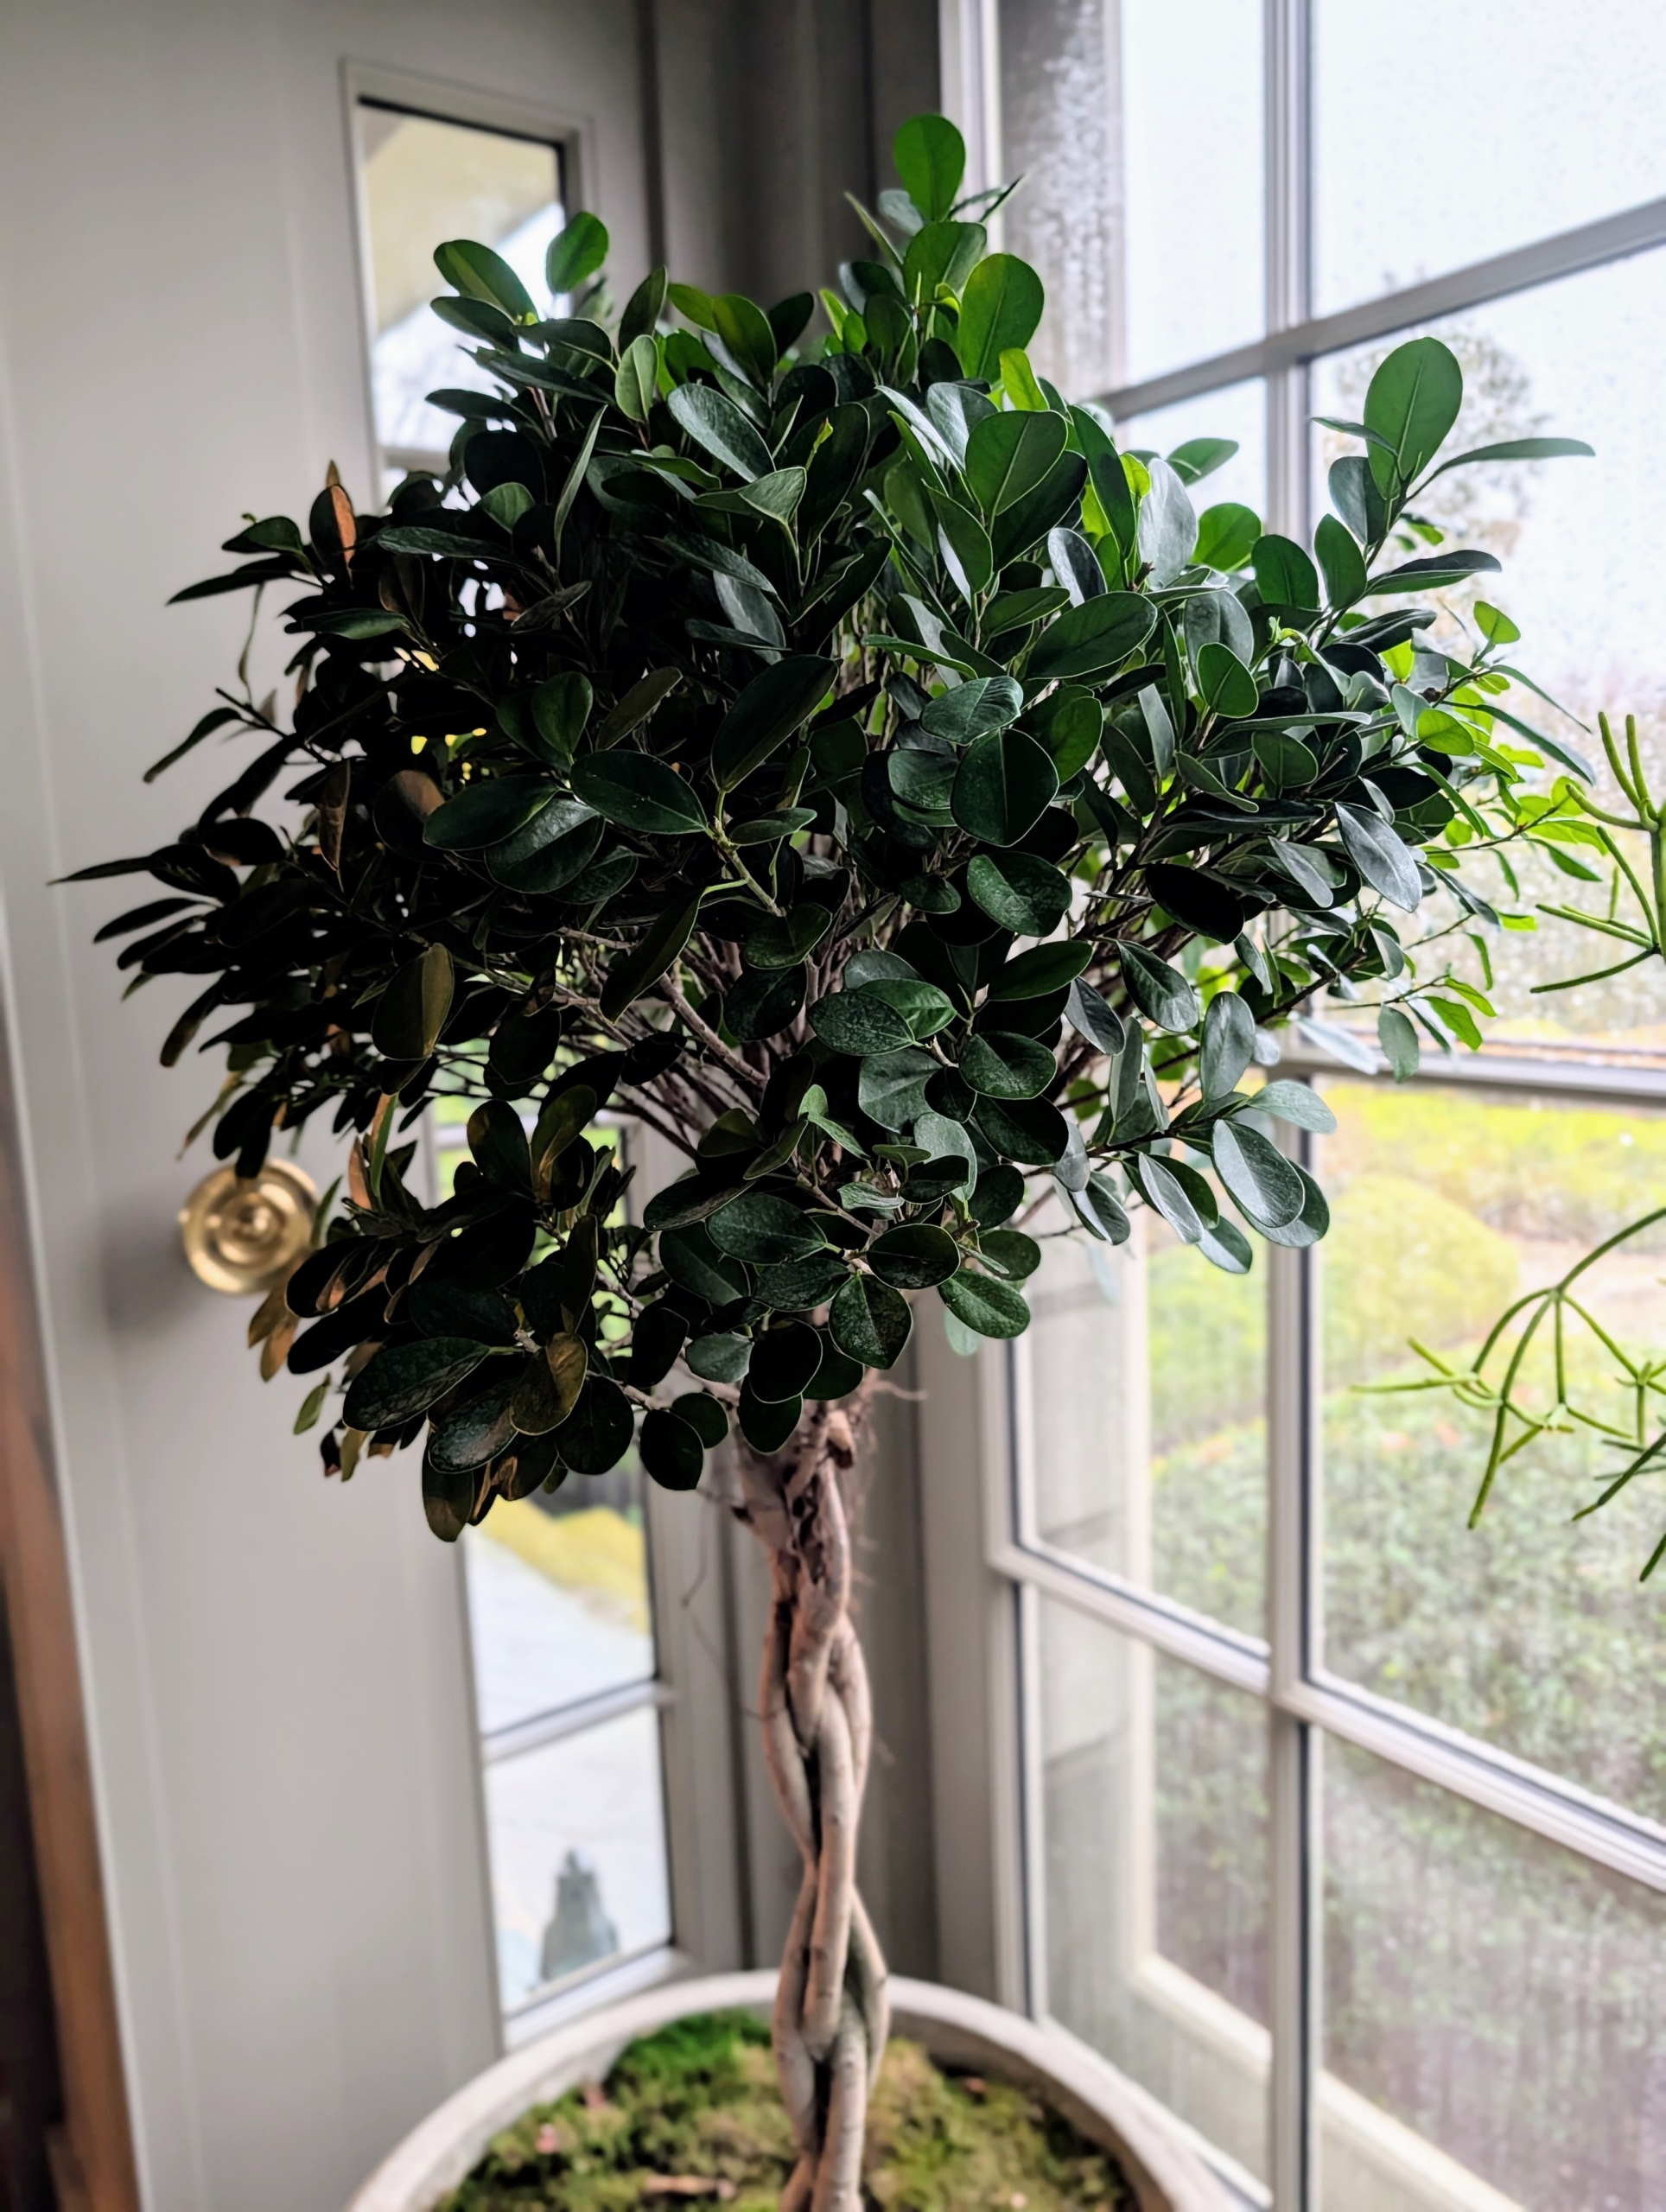
I have two potted ficus trees on this porch. Ficus belongs to the family Moraceae. This family includes a diverse range of woody trees, shrubs, and vines. Ficus trees are known for their ornamental value, adaptability, and ease of care. They typically have glossy green leaves, which can vary in size and shape depending on the species.
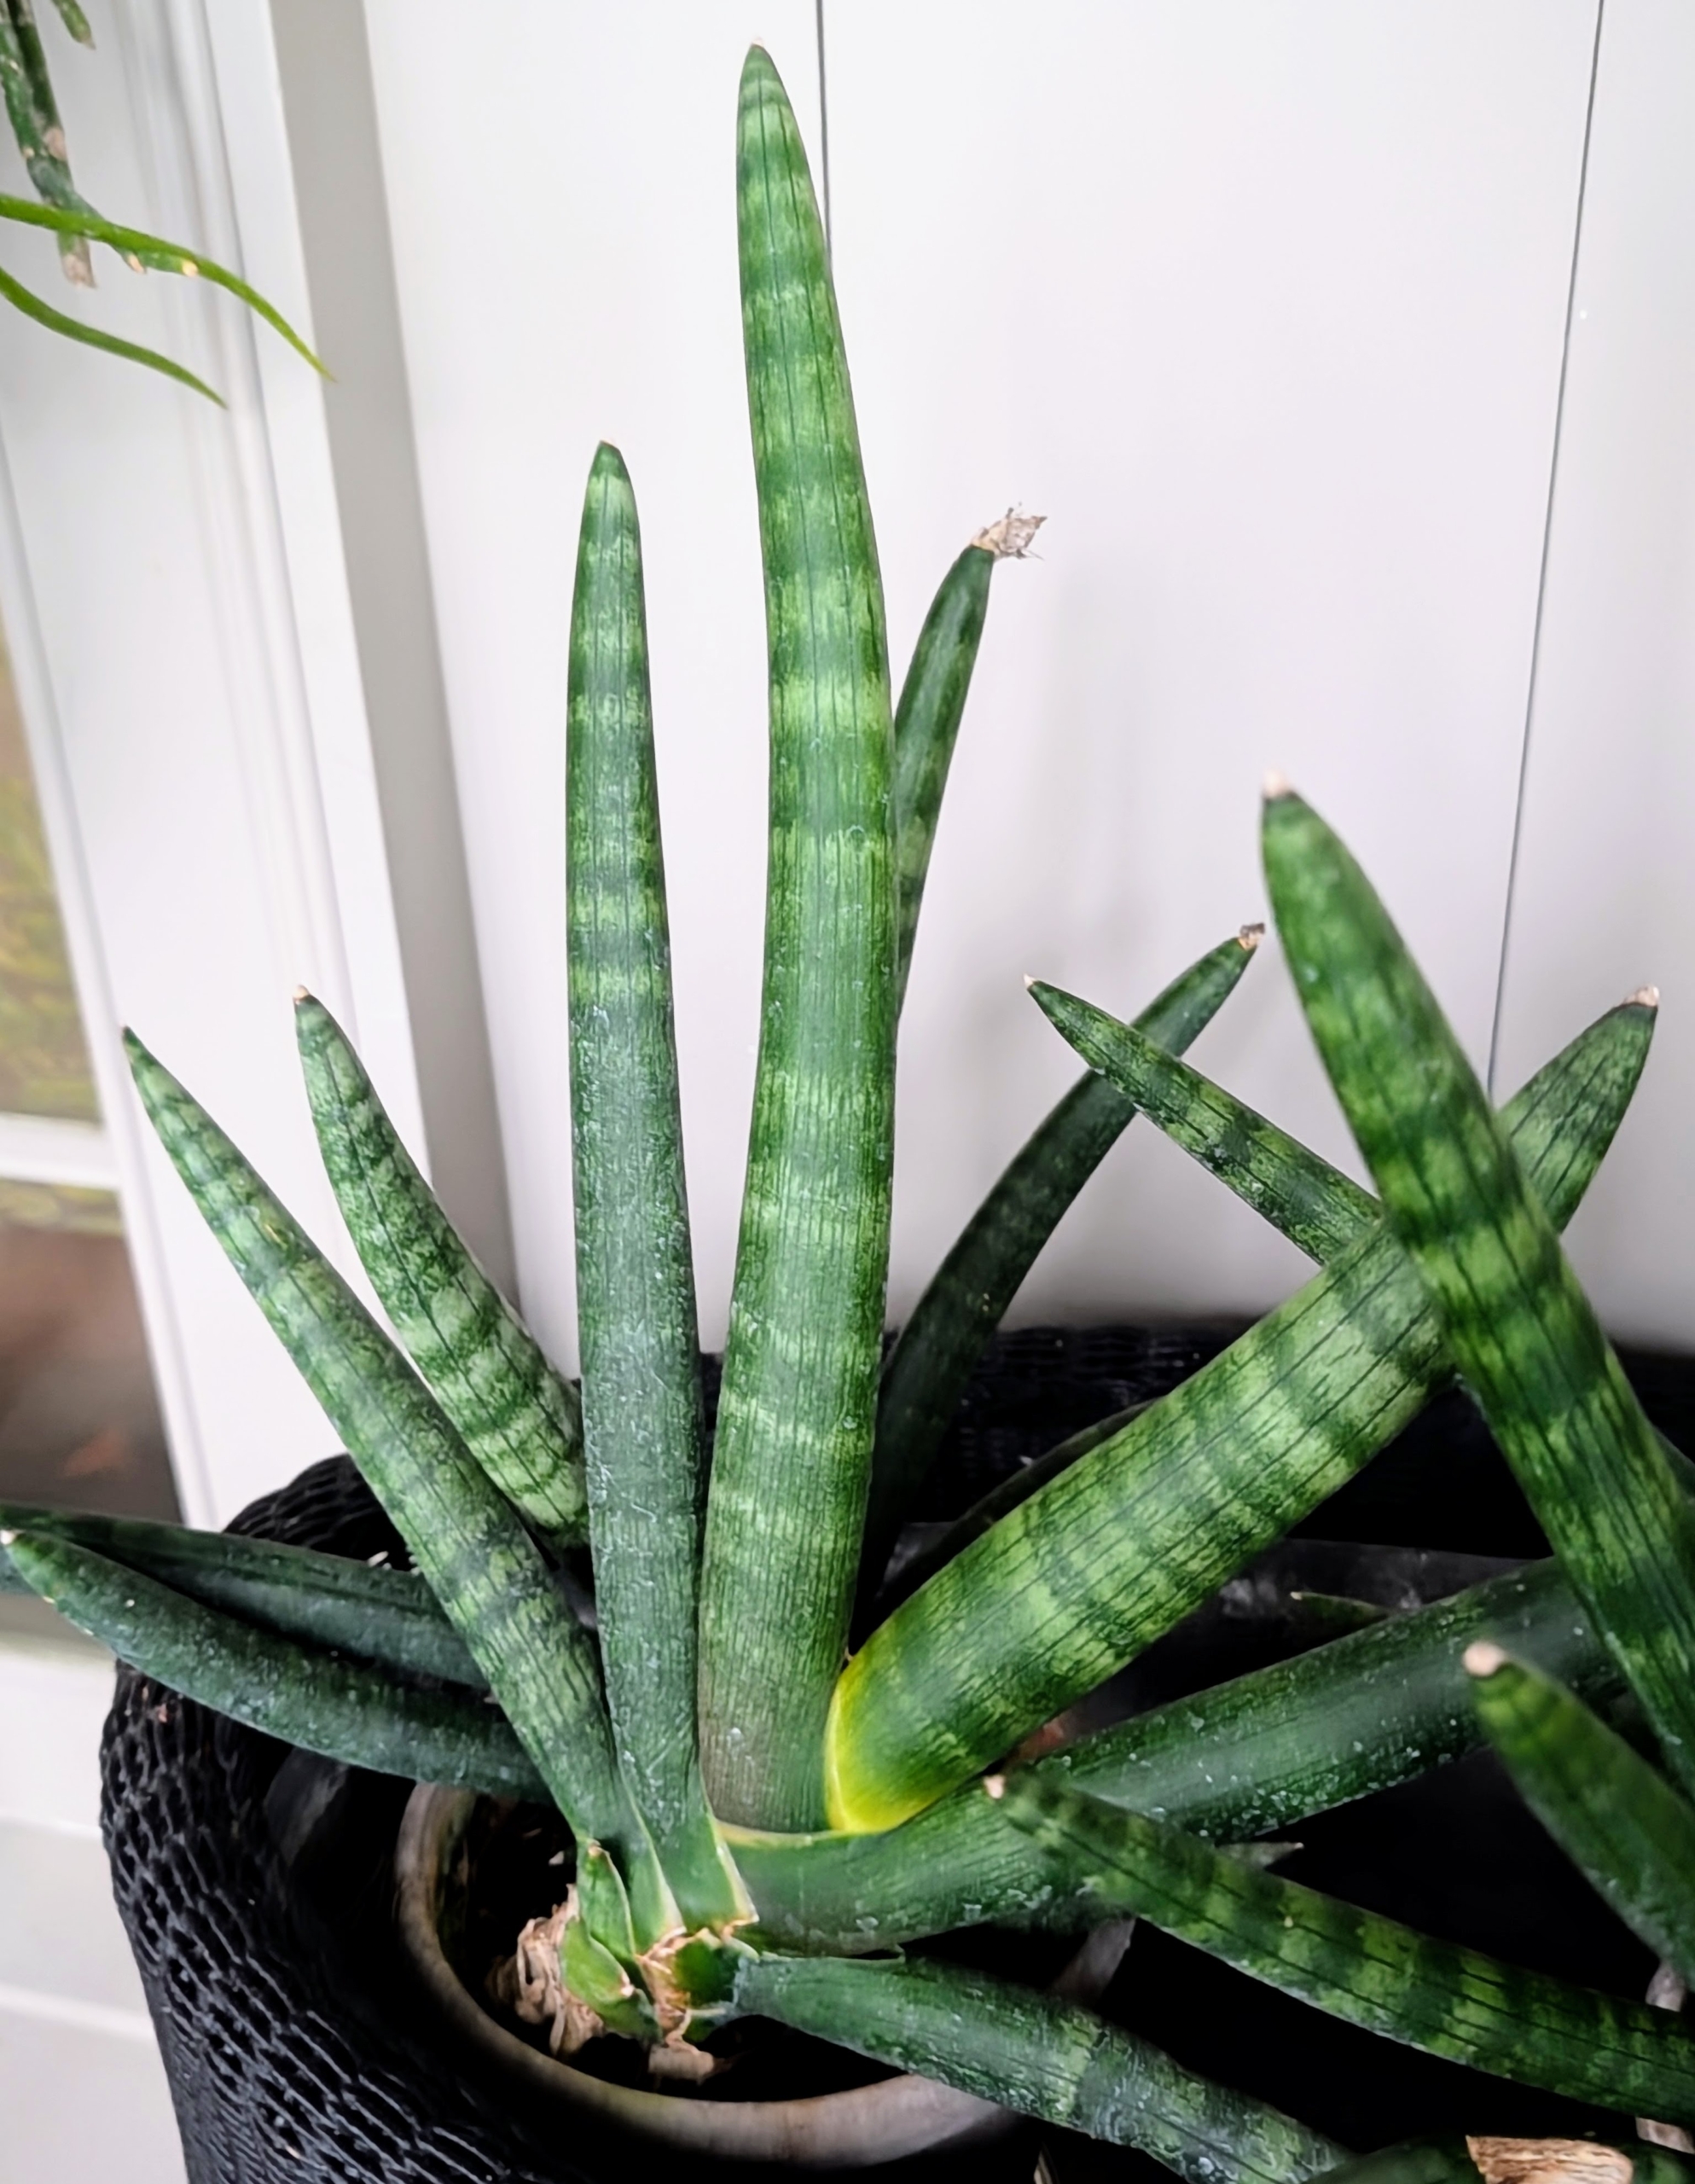
This plant is a Sansevieria cylindrica. It’s native to arid regions of Africa and thrives in dry climates with sandy, well-draining soil. The plant’s cylindrical leaves can be smooth or banded.
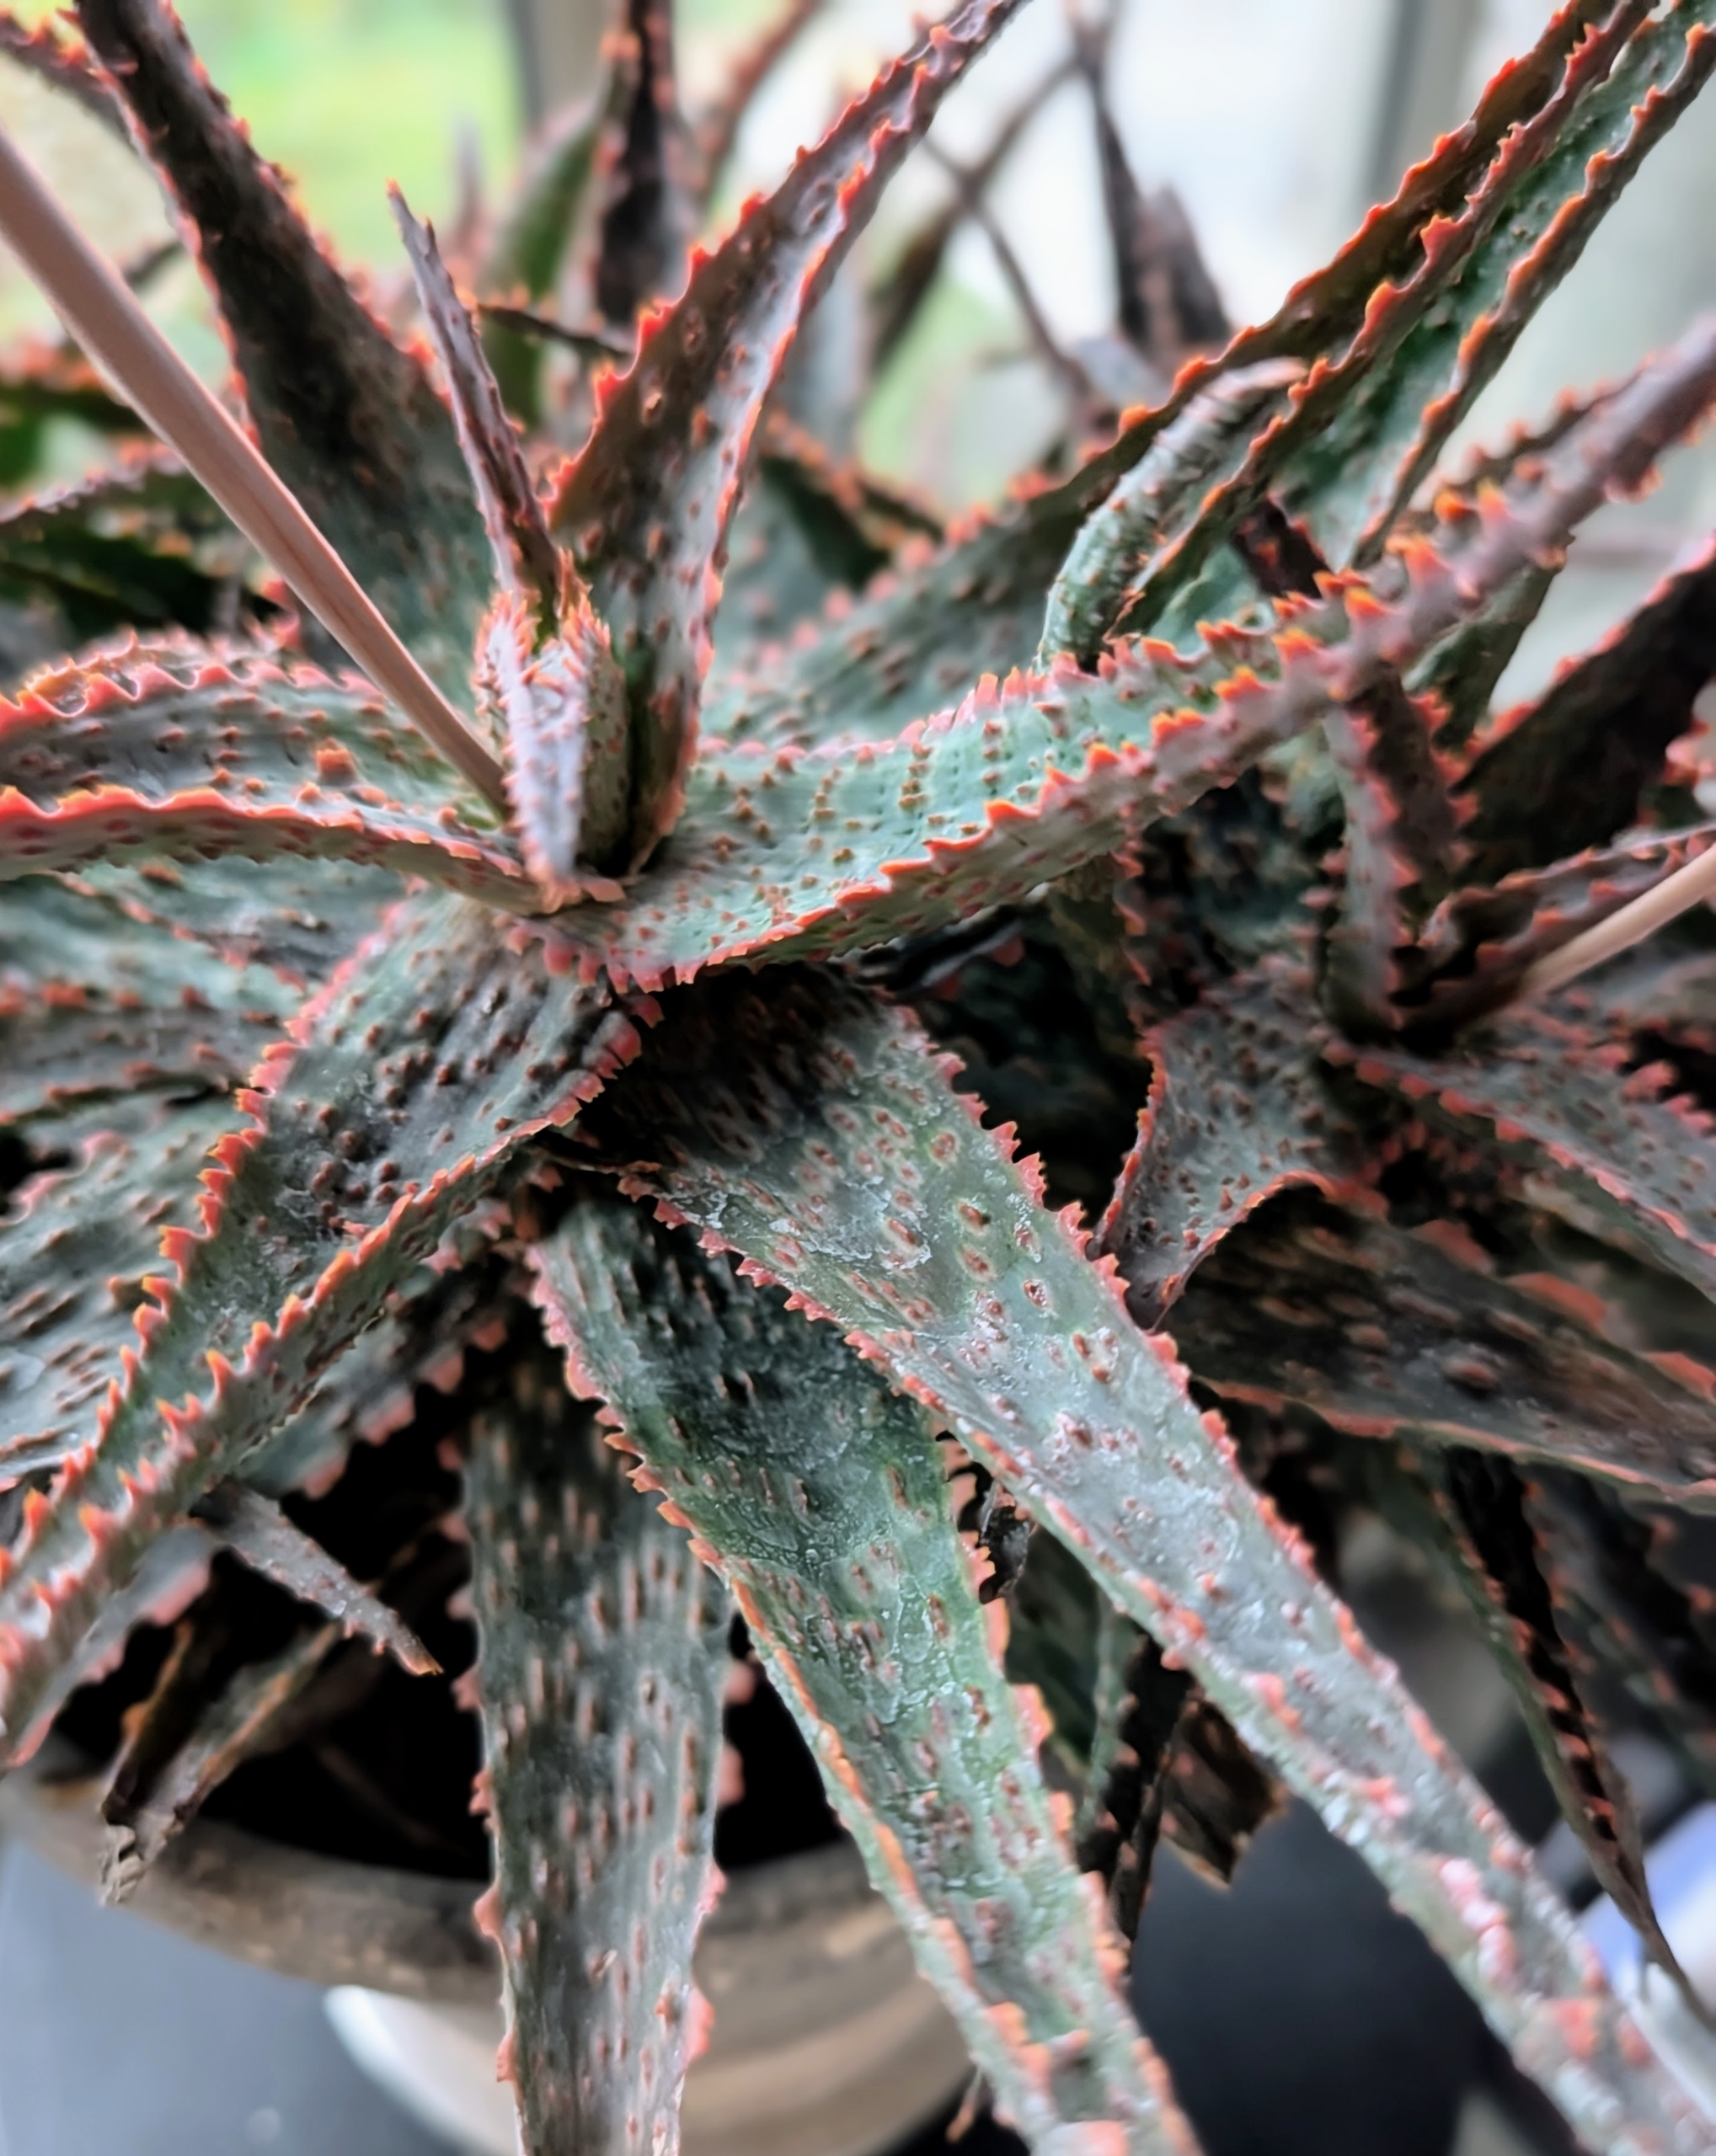
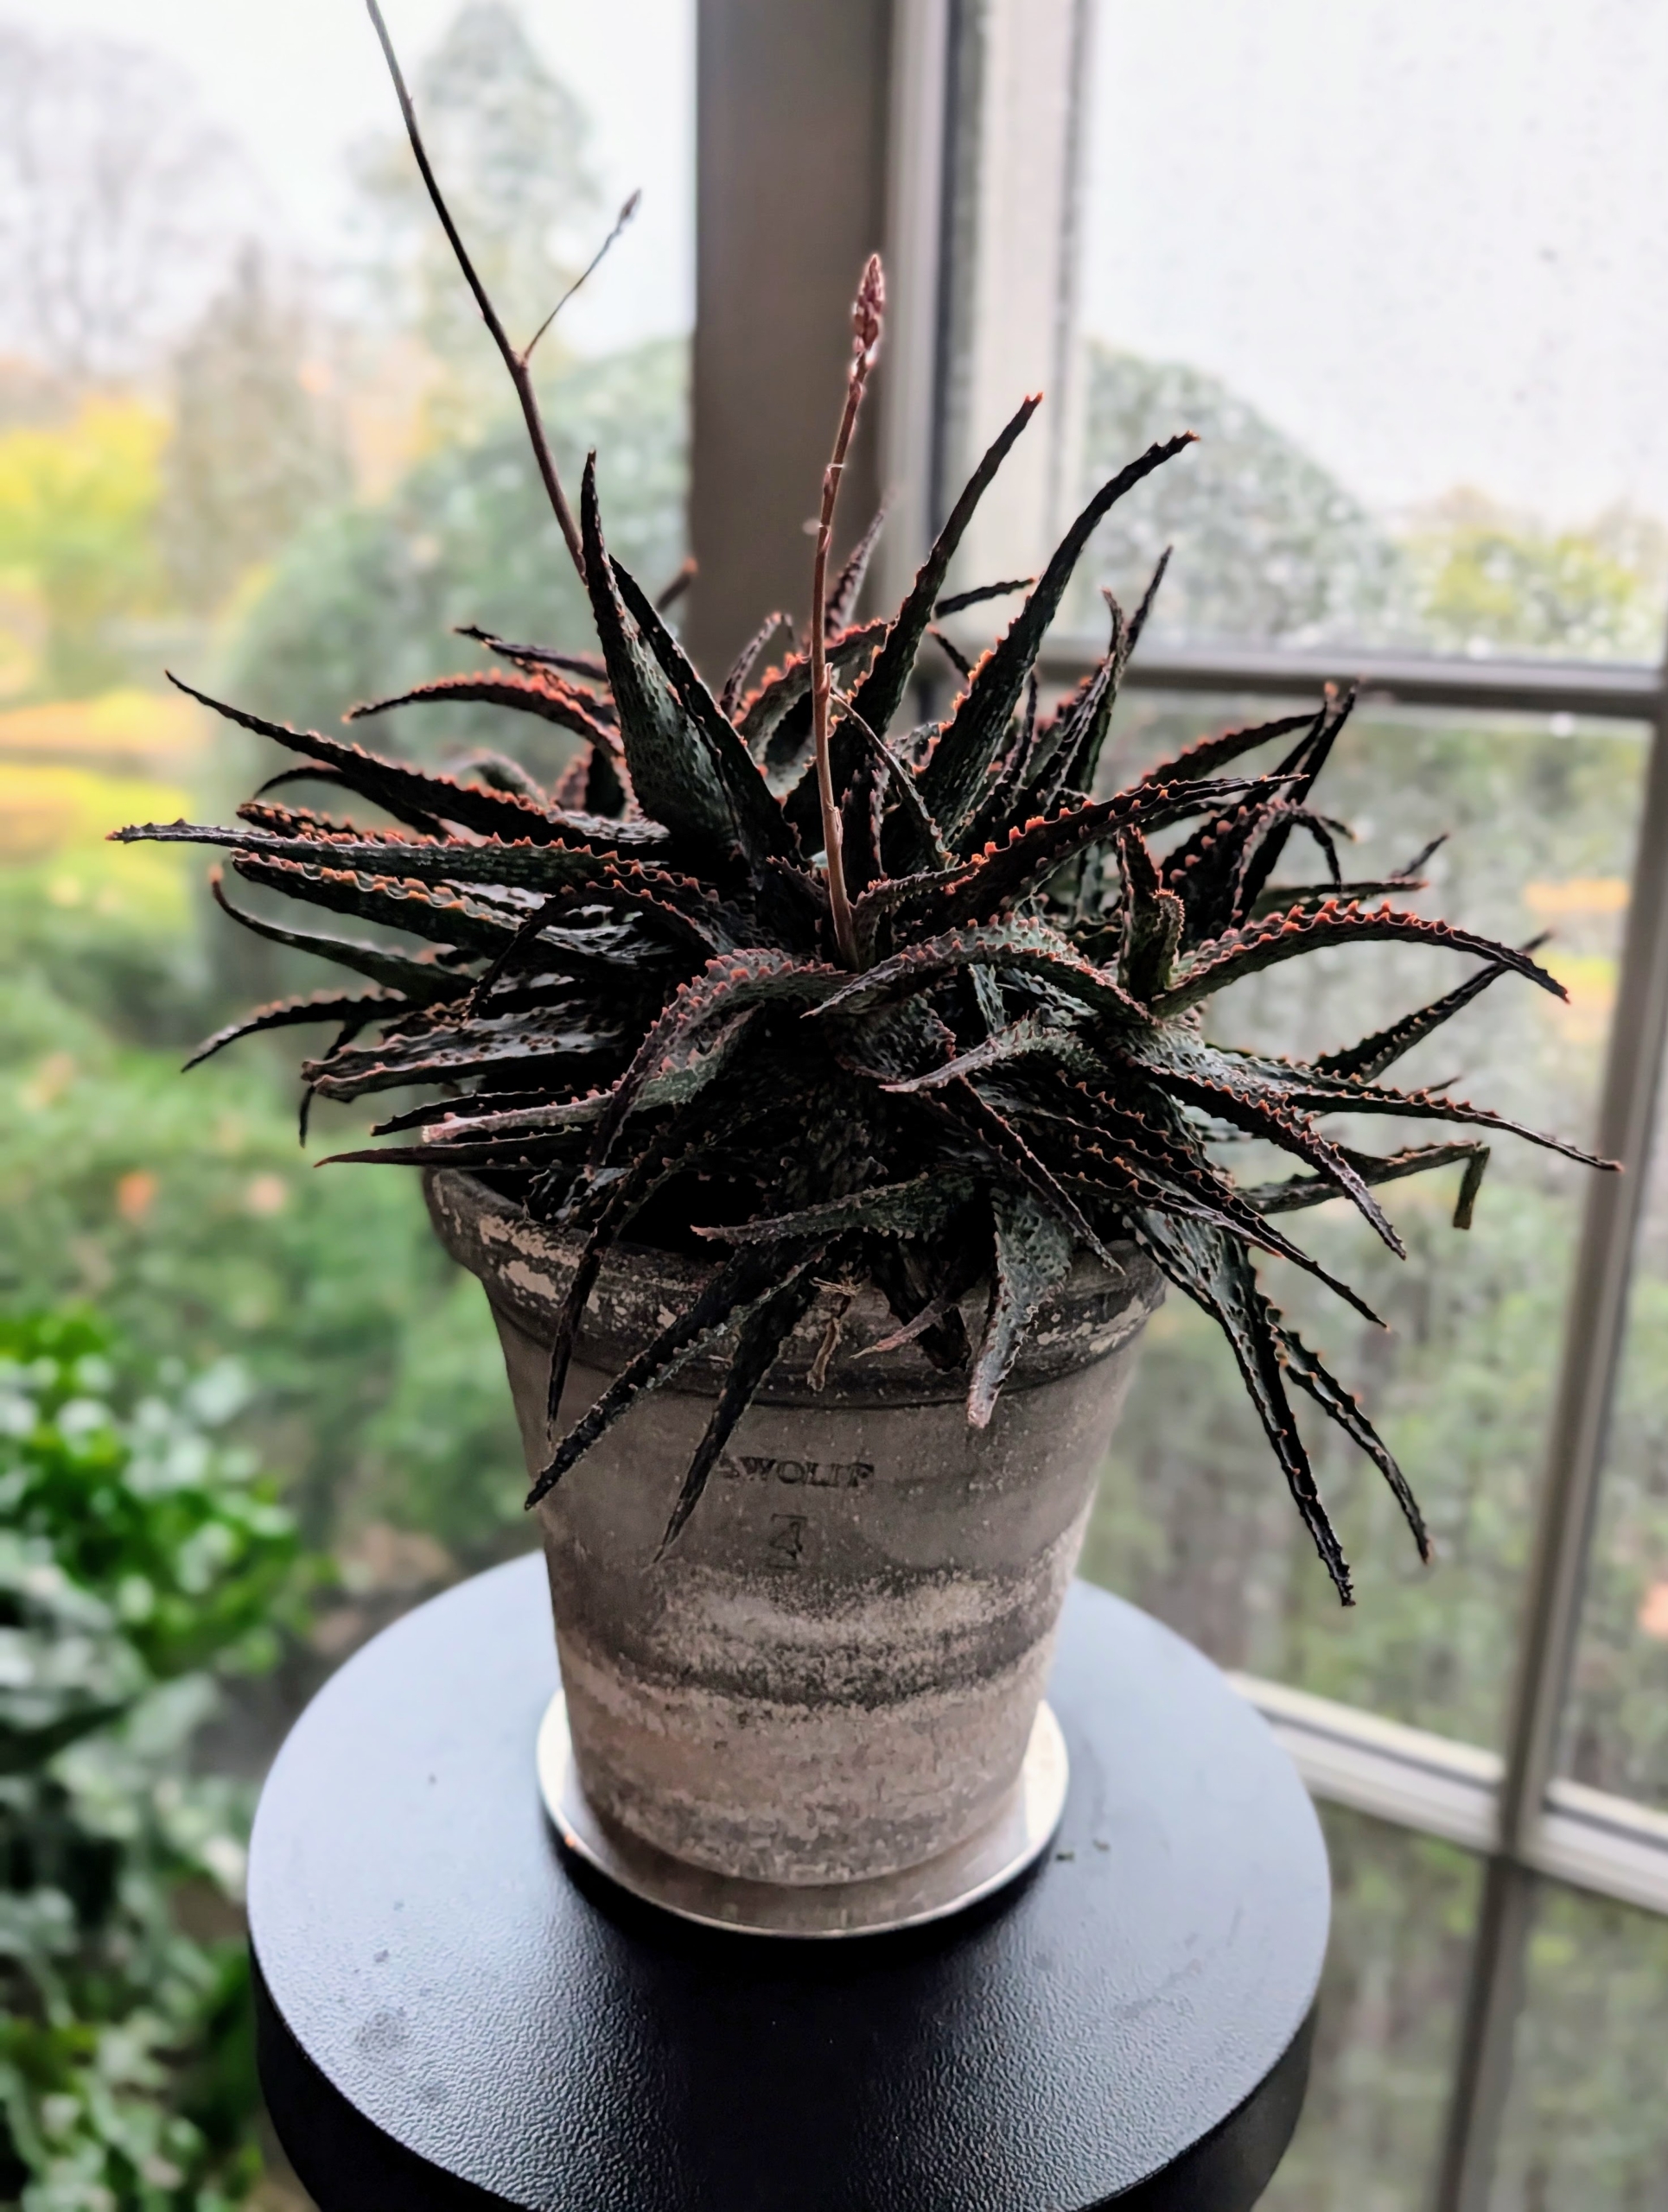
This succulent is an aloe – a striking variety with star-shaped blue-green rosettes. The leaves are covered in orange bumps and lined with small jagged teeth that tend to be flat with a slight downward arch.
Aloe plants are considered to be some of the faster growing succulents.
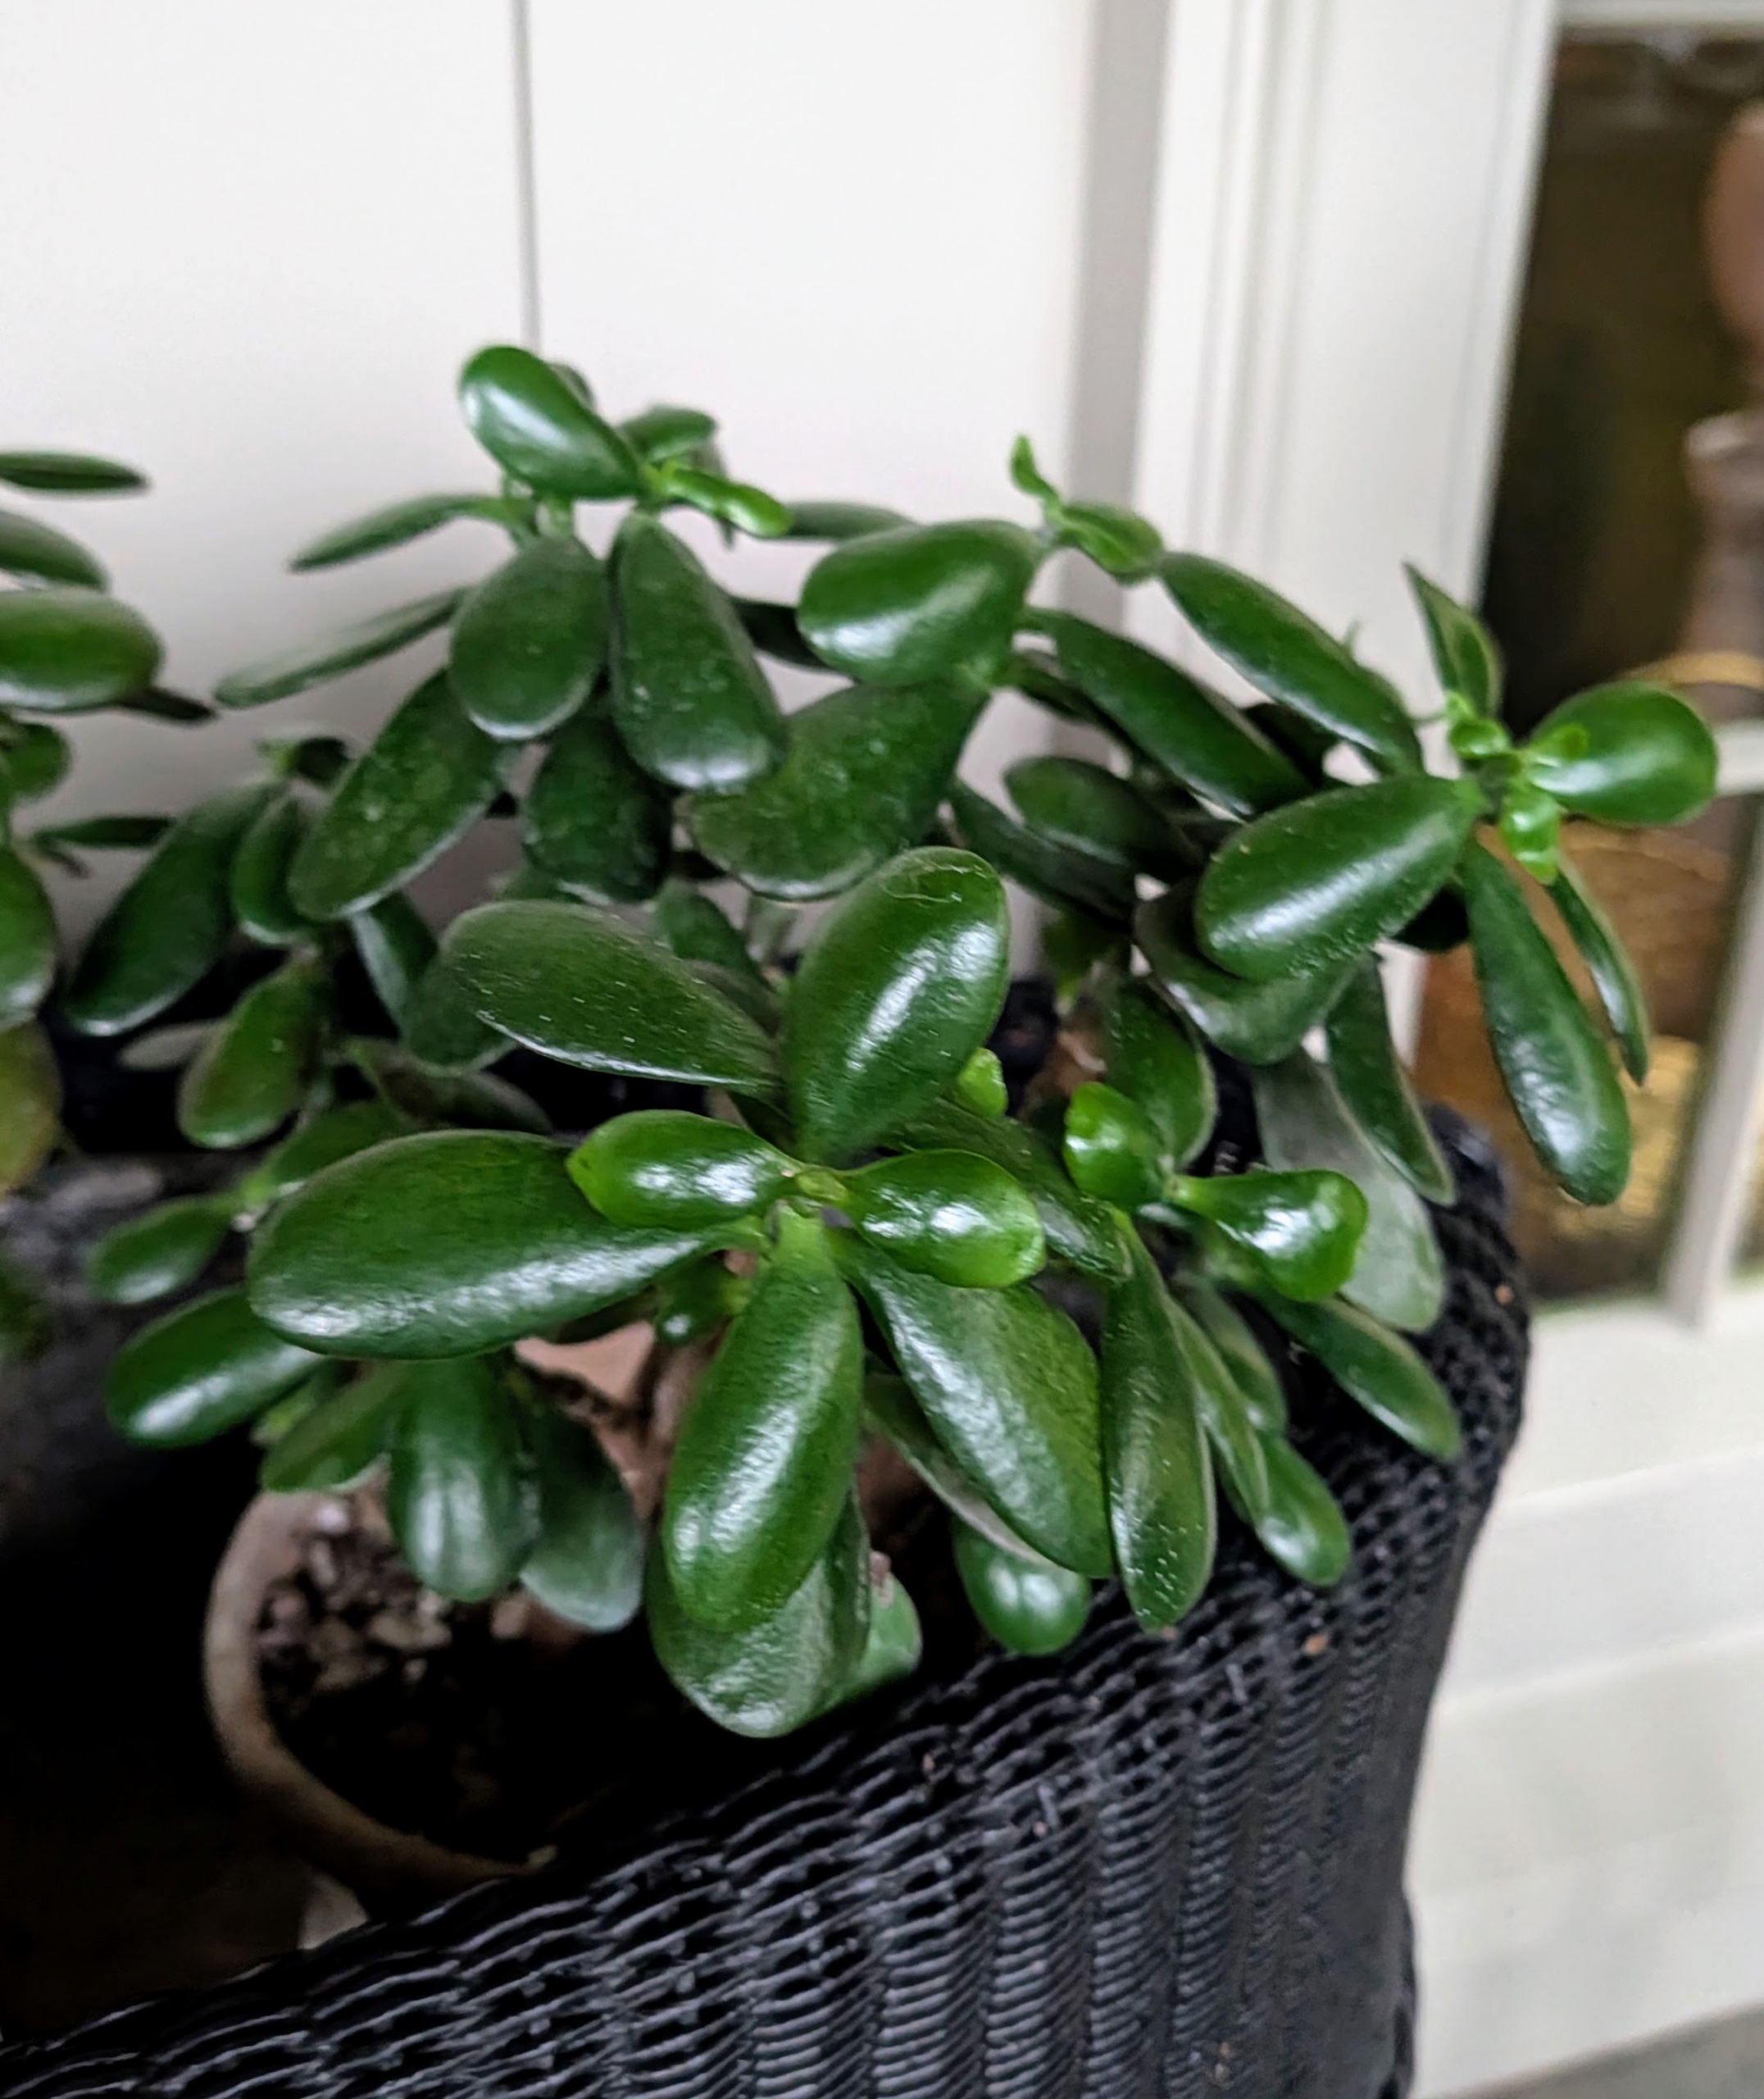
The jade plant is another popular succulent characterized by its thick, woody stems and shiny, oval shaped leaves.
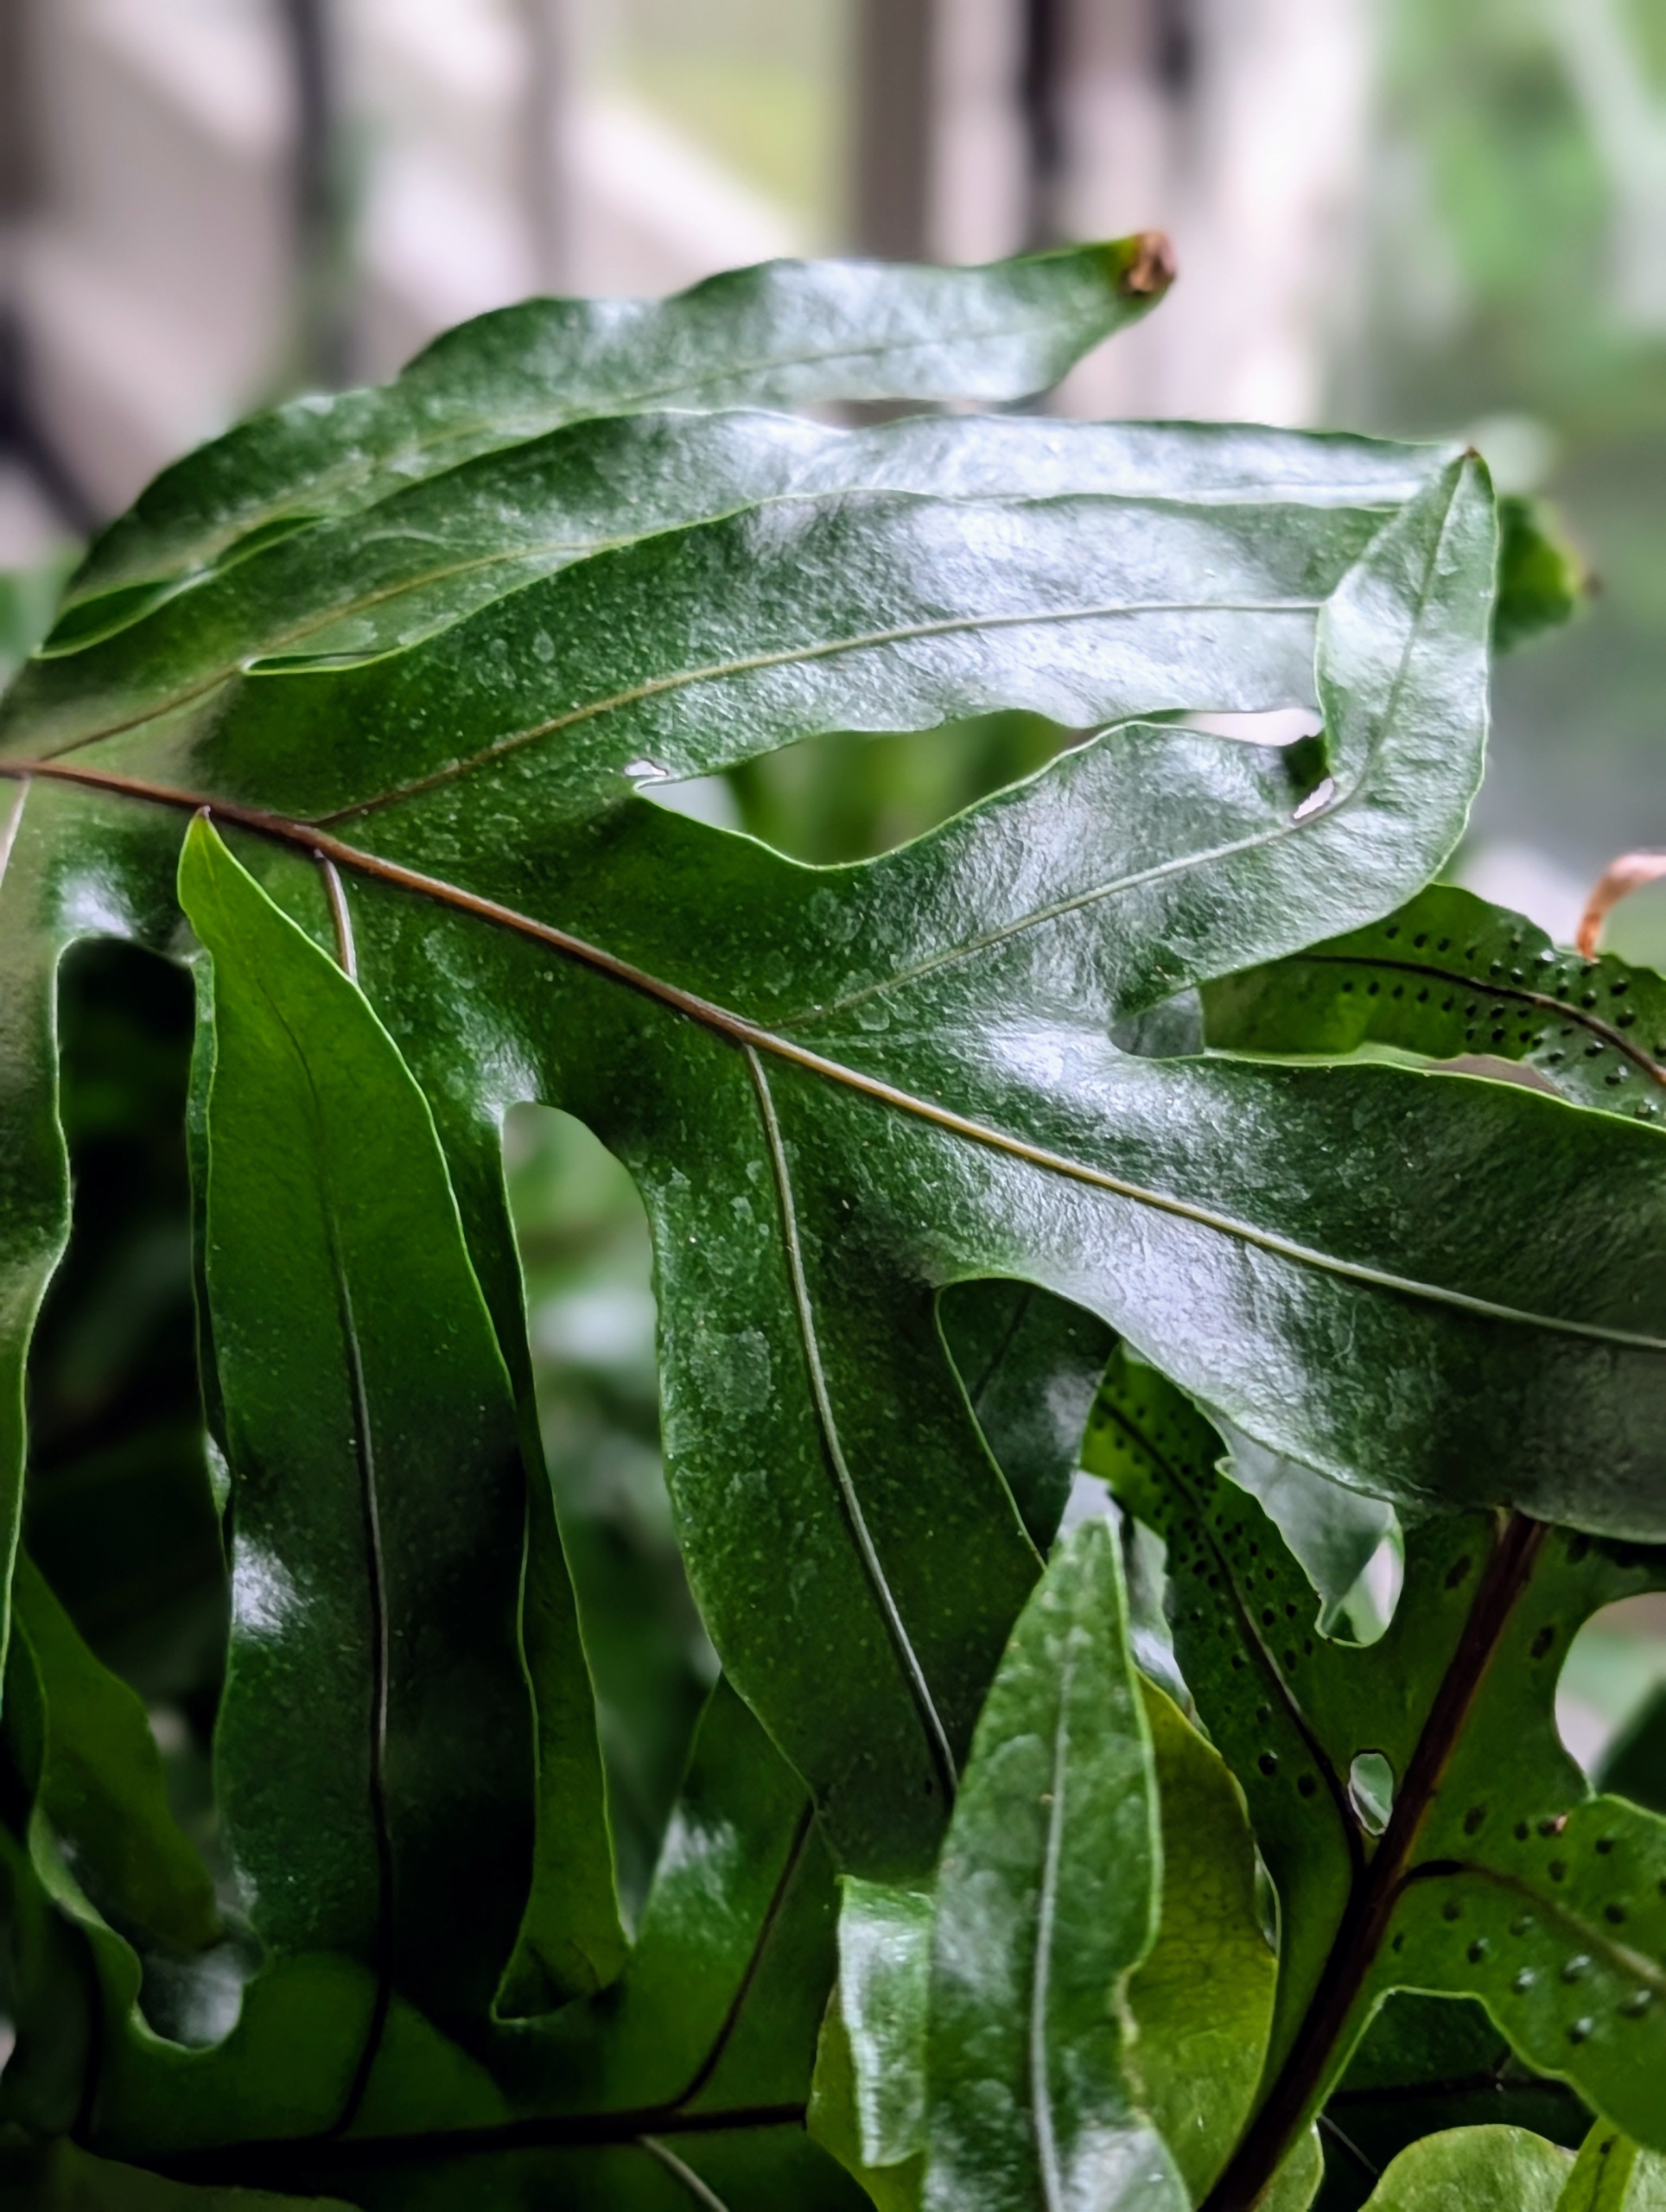
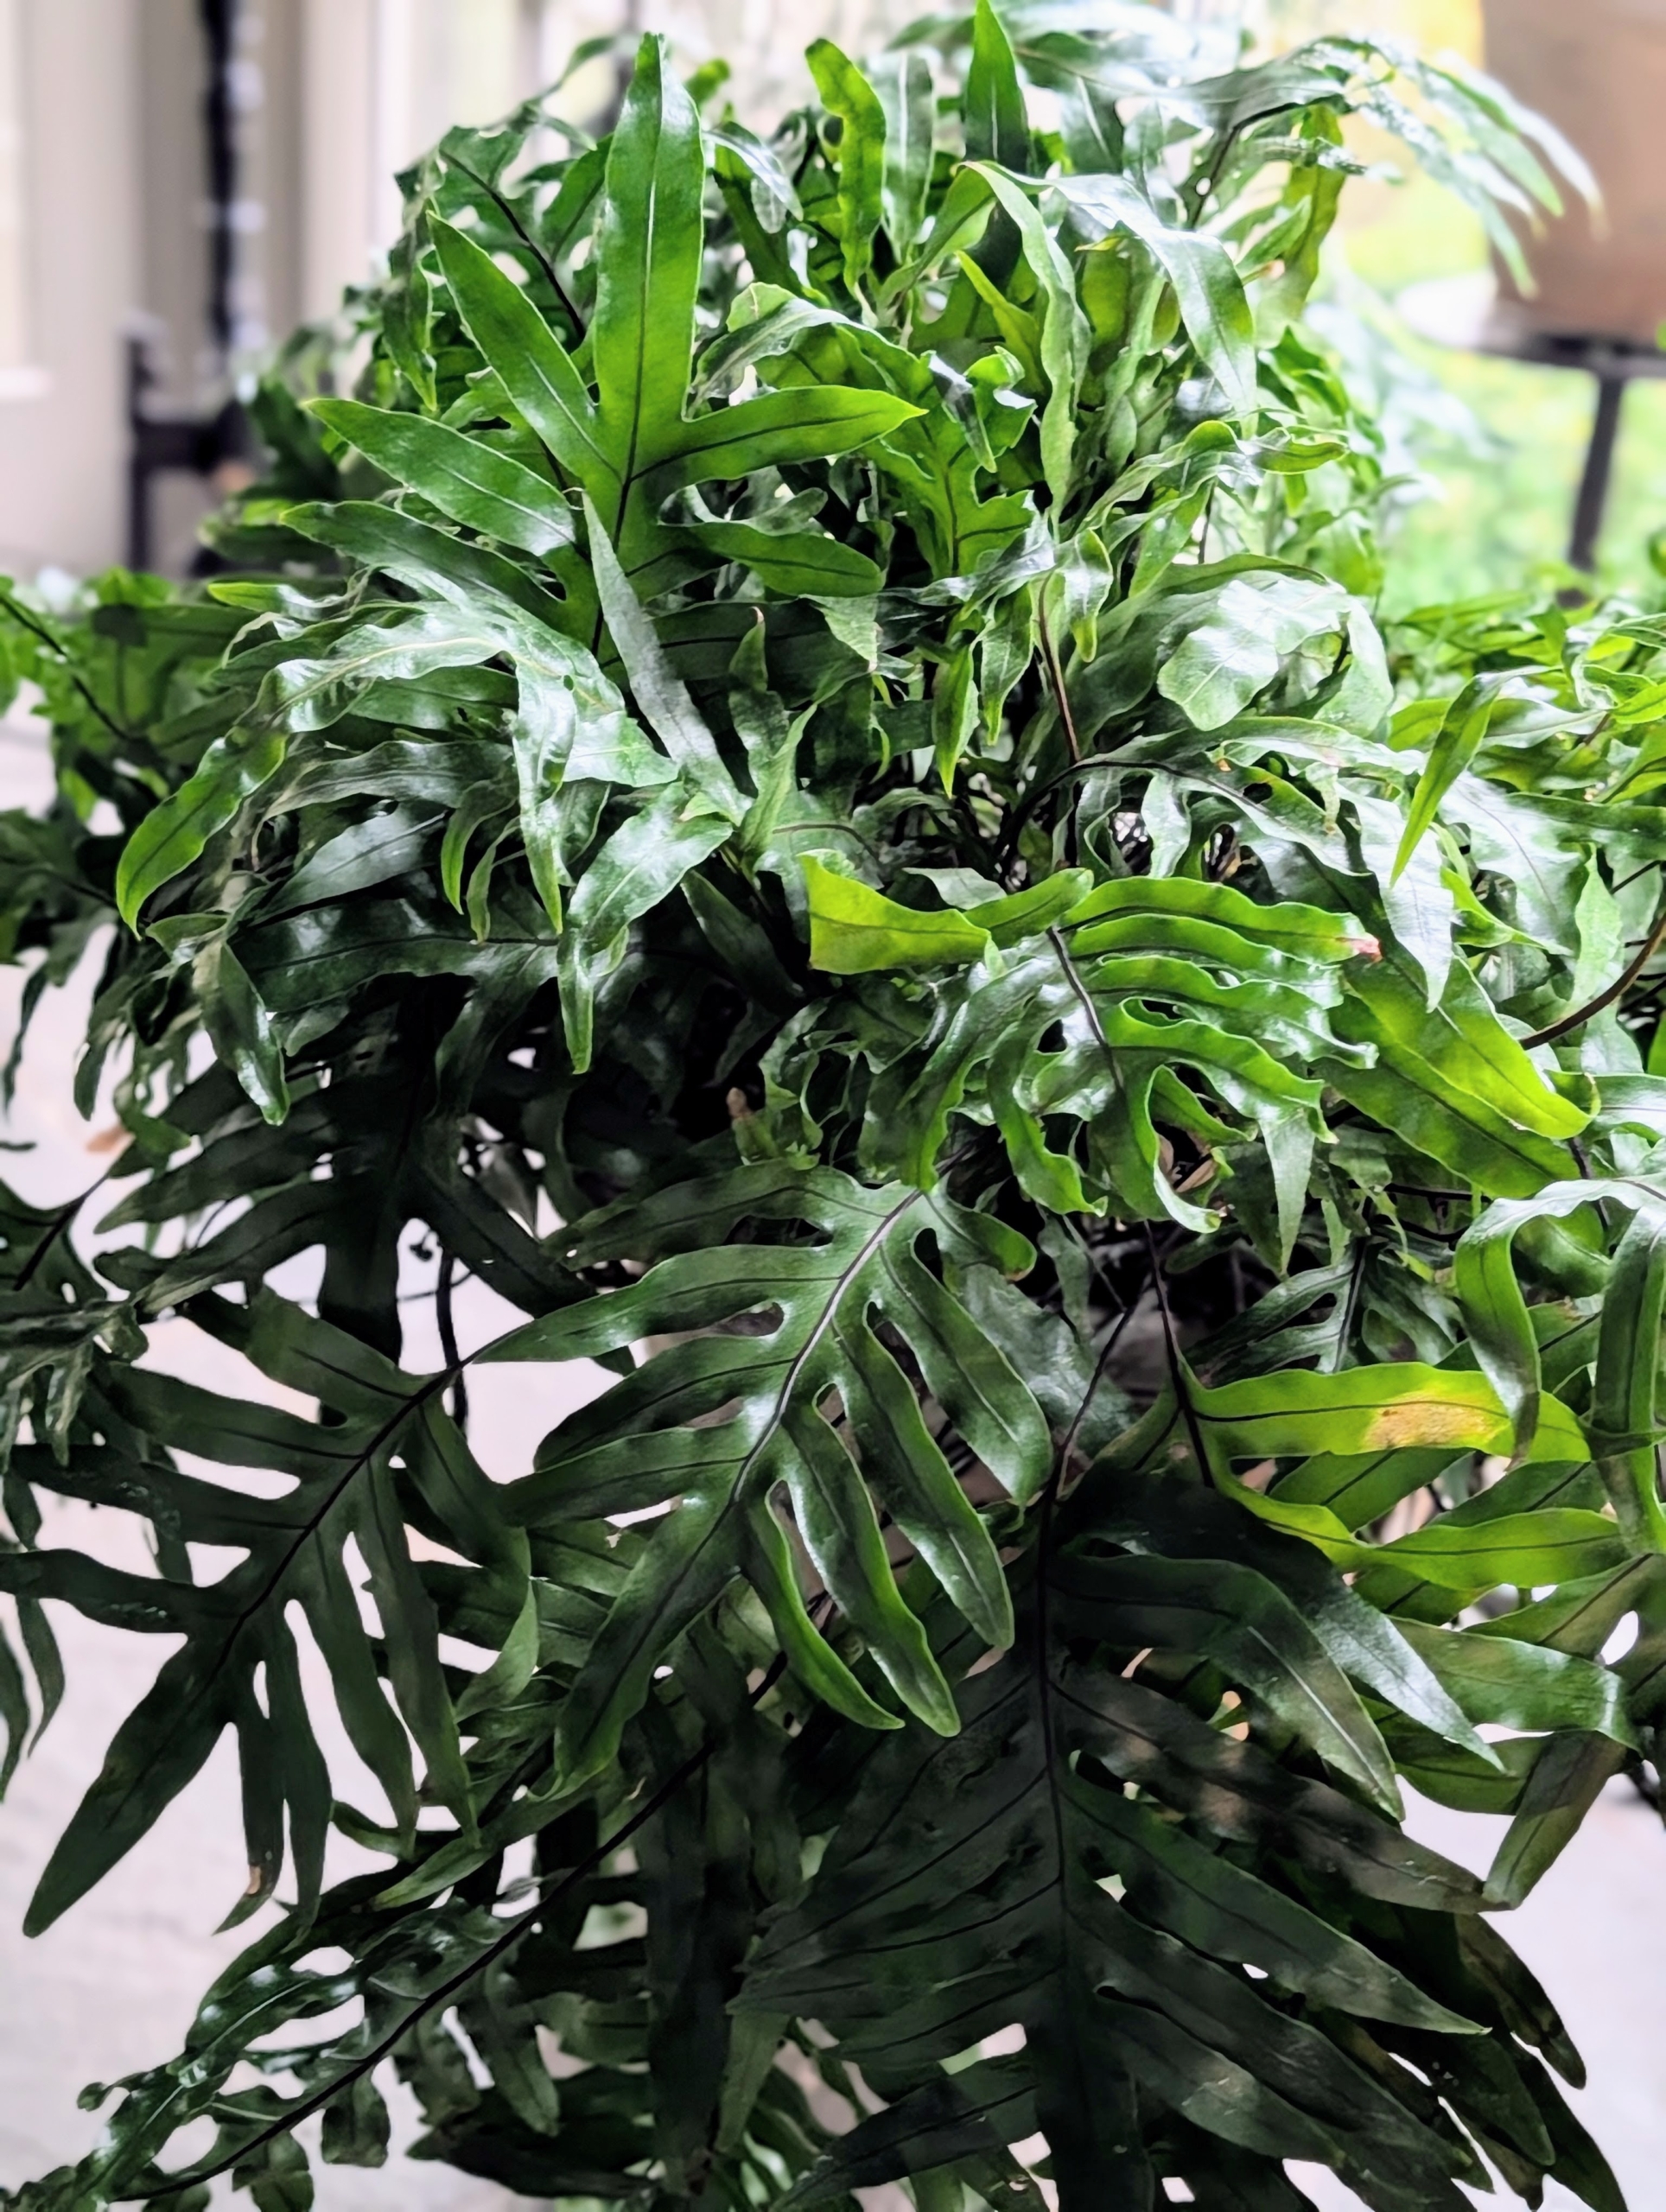
Monarch ferns are also easy to care for plants. They are tropical ferns native to the Western Pacific Rim and loved for their glossy, green foliage.
Monarch ferns thrive in consistently moist soil, bright indirect light, and high humidity.
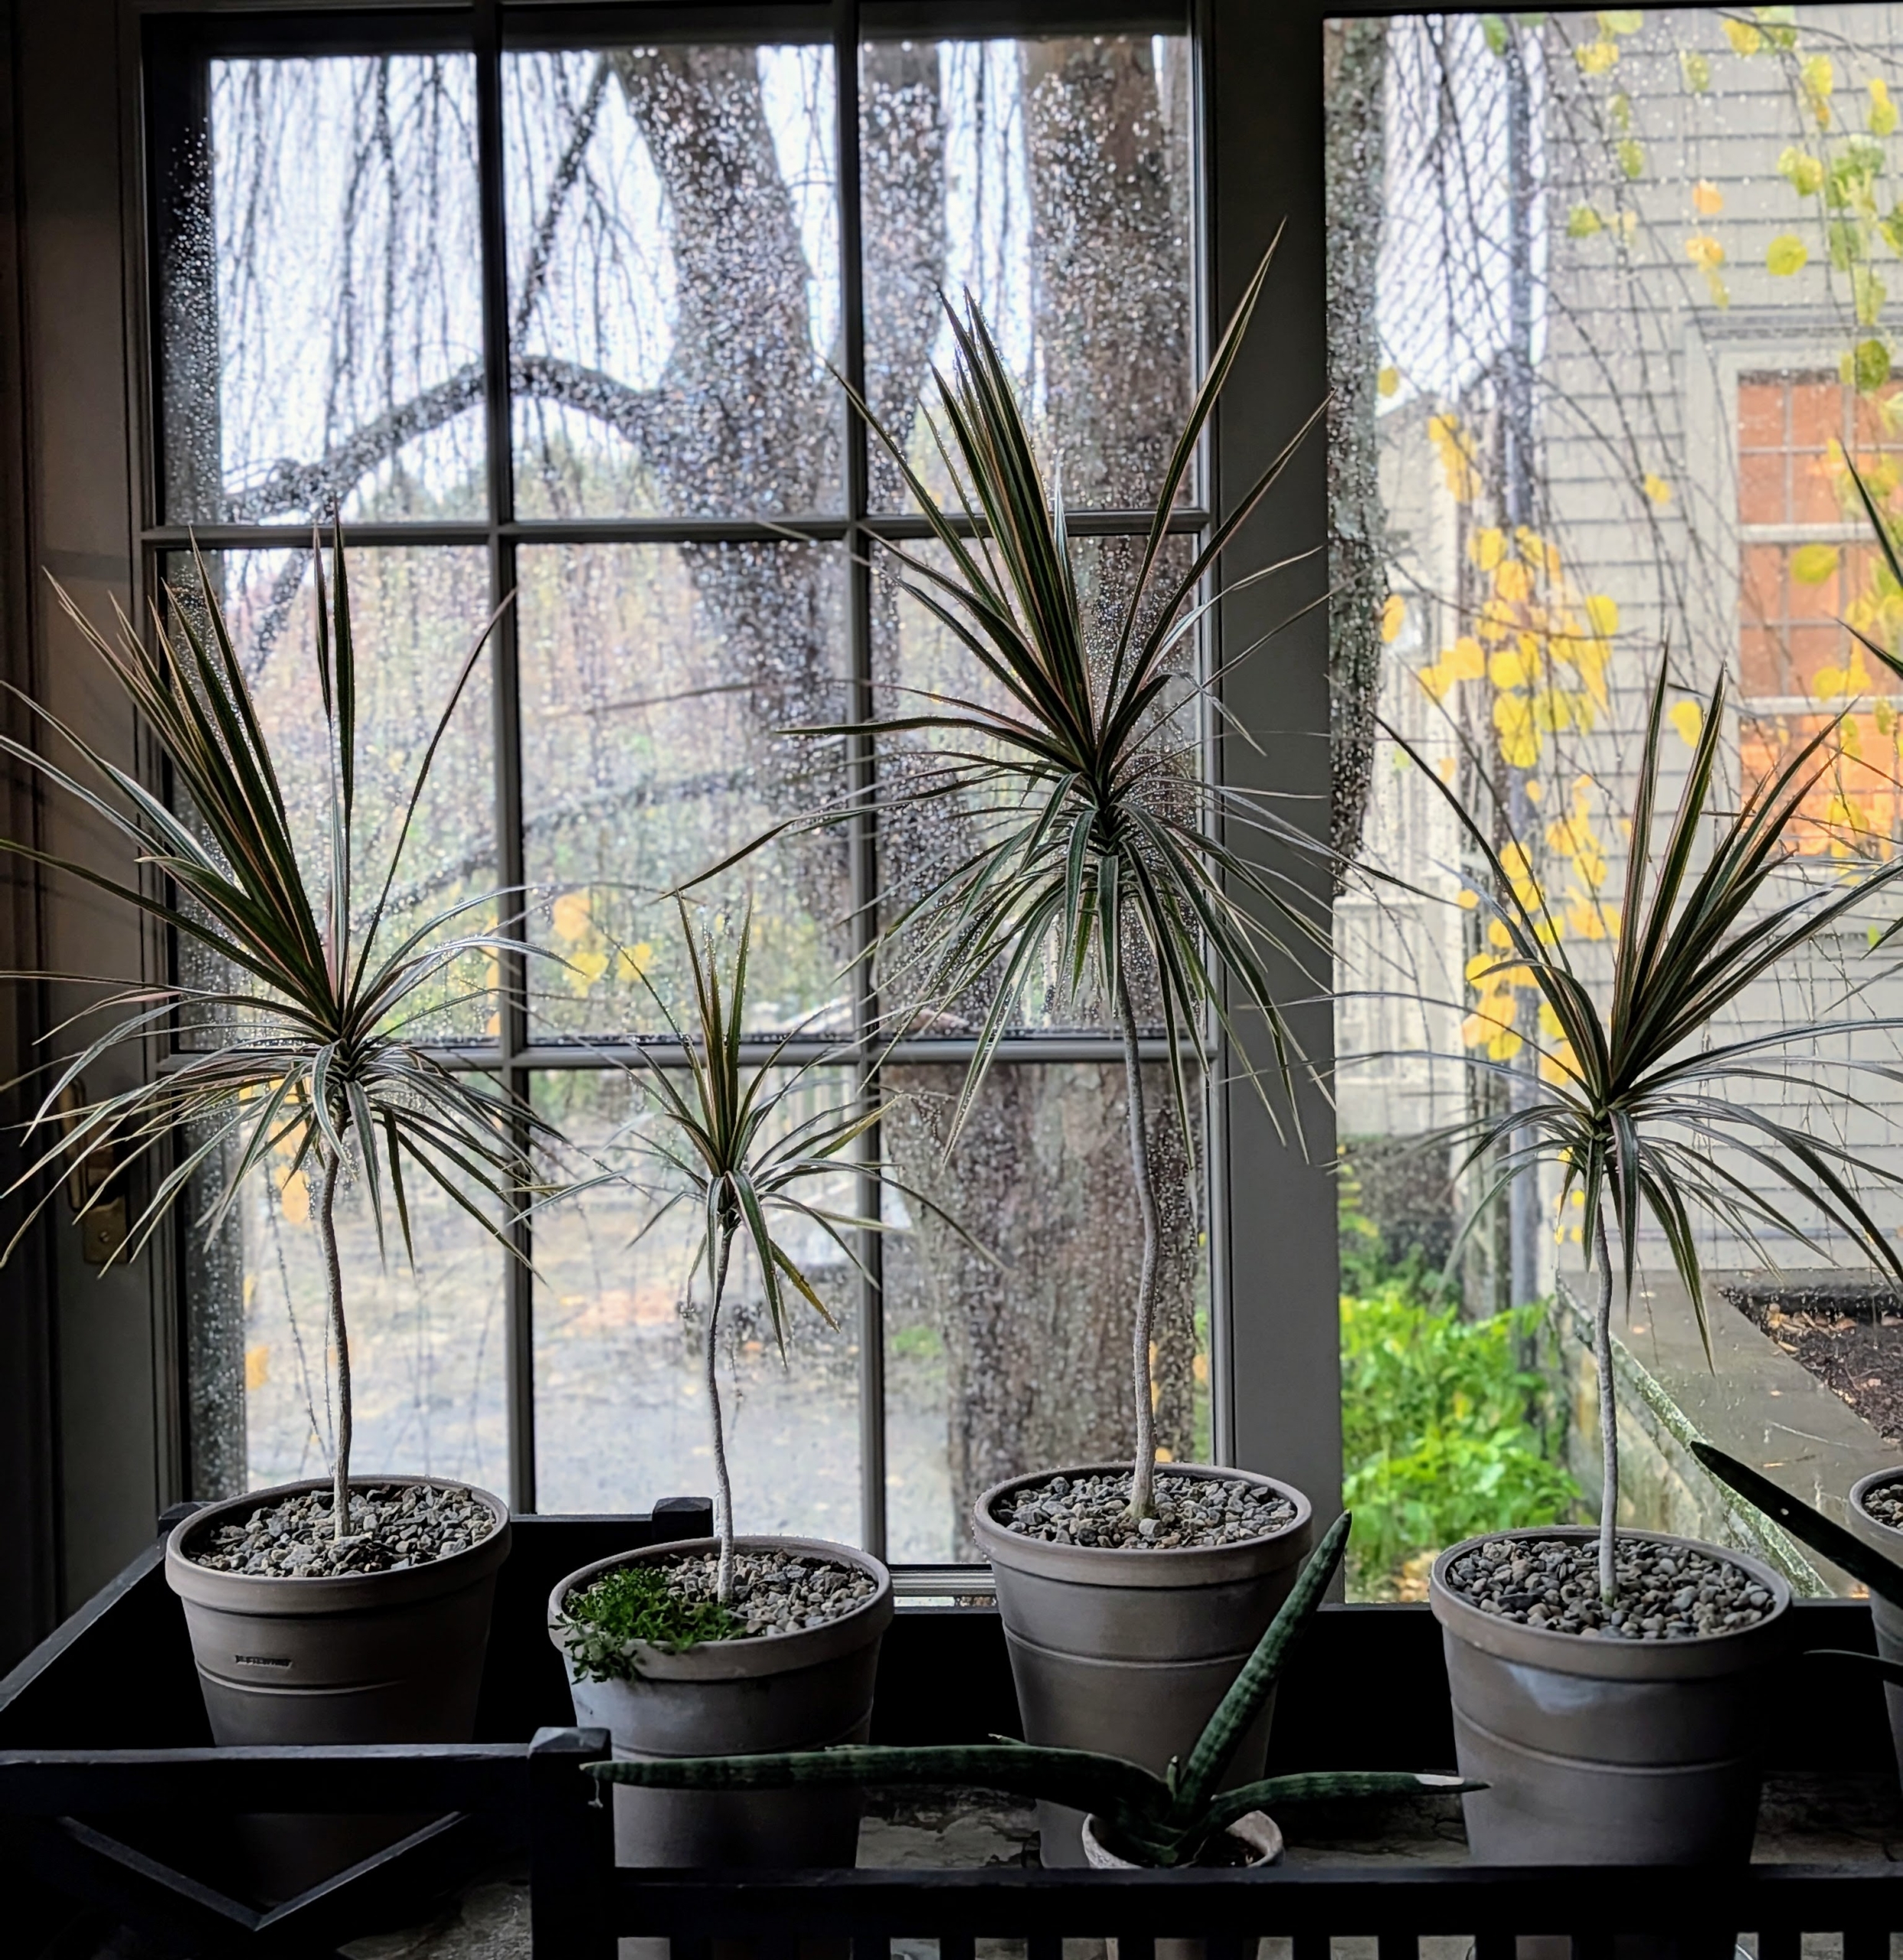
On one end, I displayed several potted and delicate dracaenas. There are more than 170 different species of dracaena and they all have grass-shaped leaves that grow from one or more thick, cane-like stems. Dracaena is a low-maintenance, easy to maintain plant that does best in bright, indirect sunlight.
Dracaena’s narrow foliage may be completely green or may include stripes or edges of green, cream, red, or yellow.
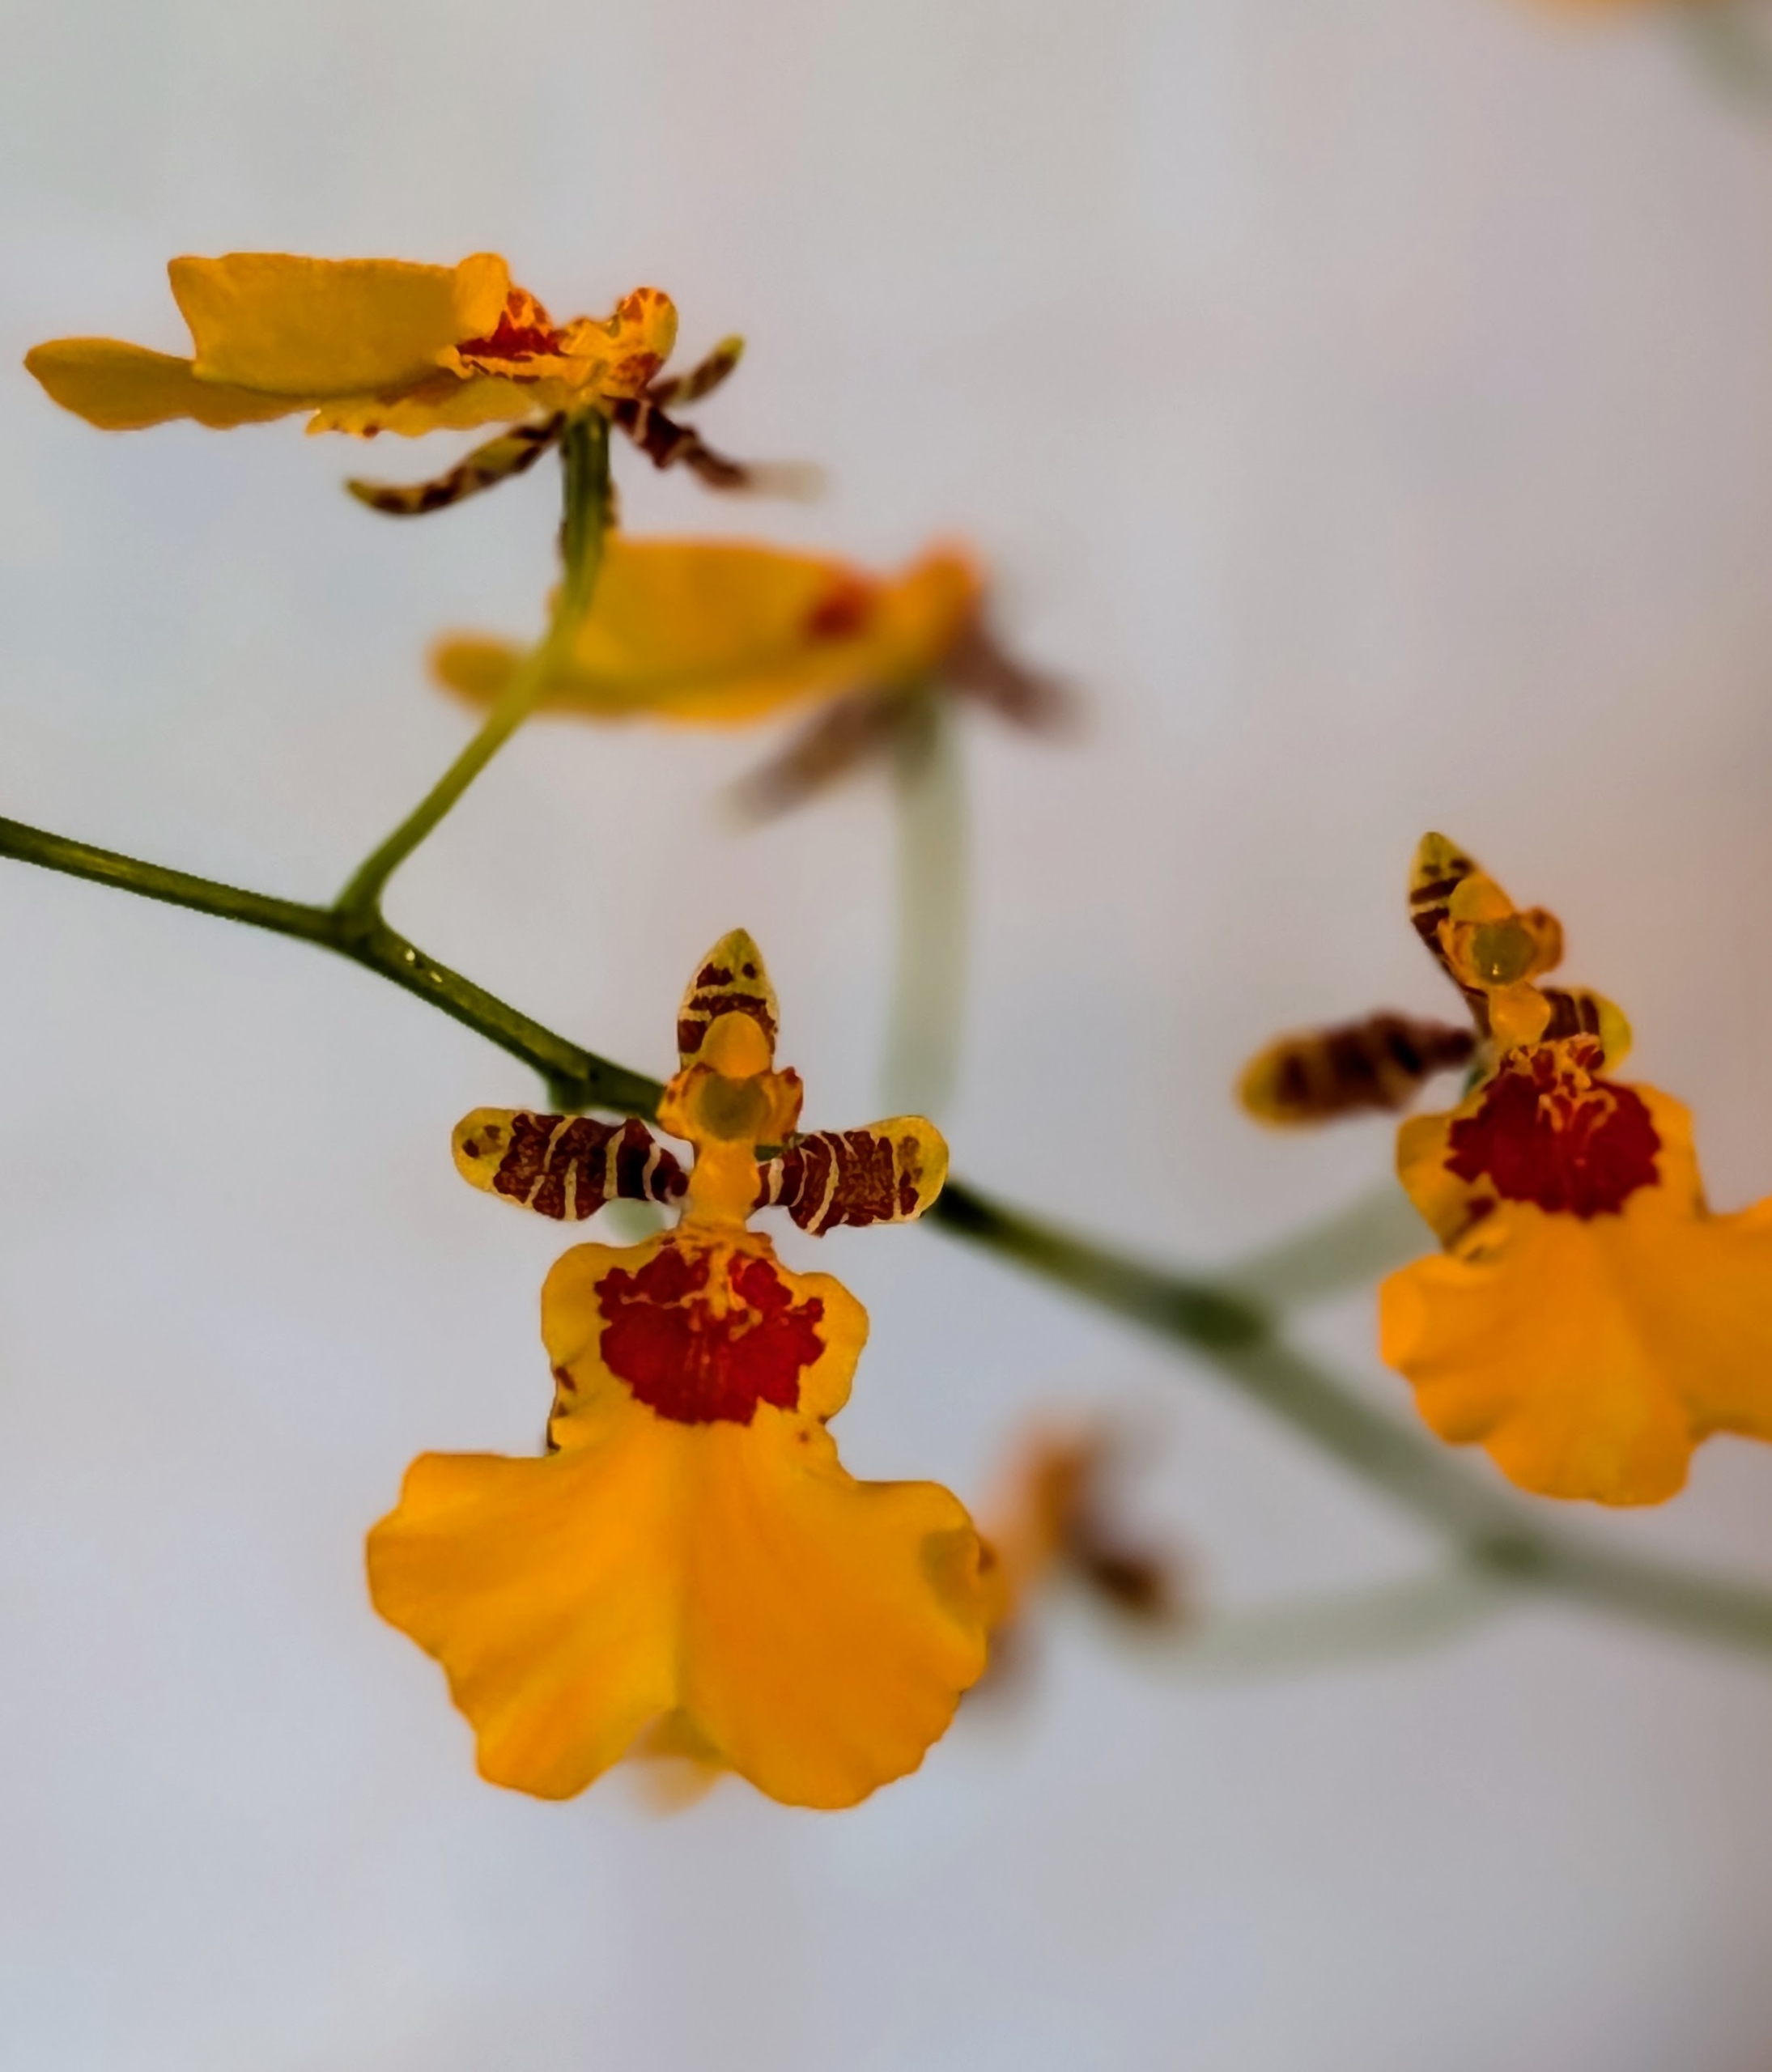
In my sitting room right now are several blooming orchids. Oncidium orchids typically bloom heaviest in fall and spring. Caring for orchids can be daunting, but understanding their basic and unique needs, these beautiful plants can thrive in nearly any home.
The size of orchids depends on the species. They can be quite small or very large. However, every orchid flower is bilaterally symmetric, which means it can be divided into two equal parts.
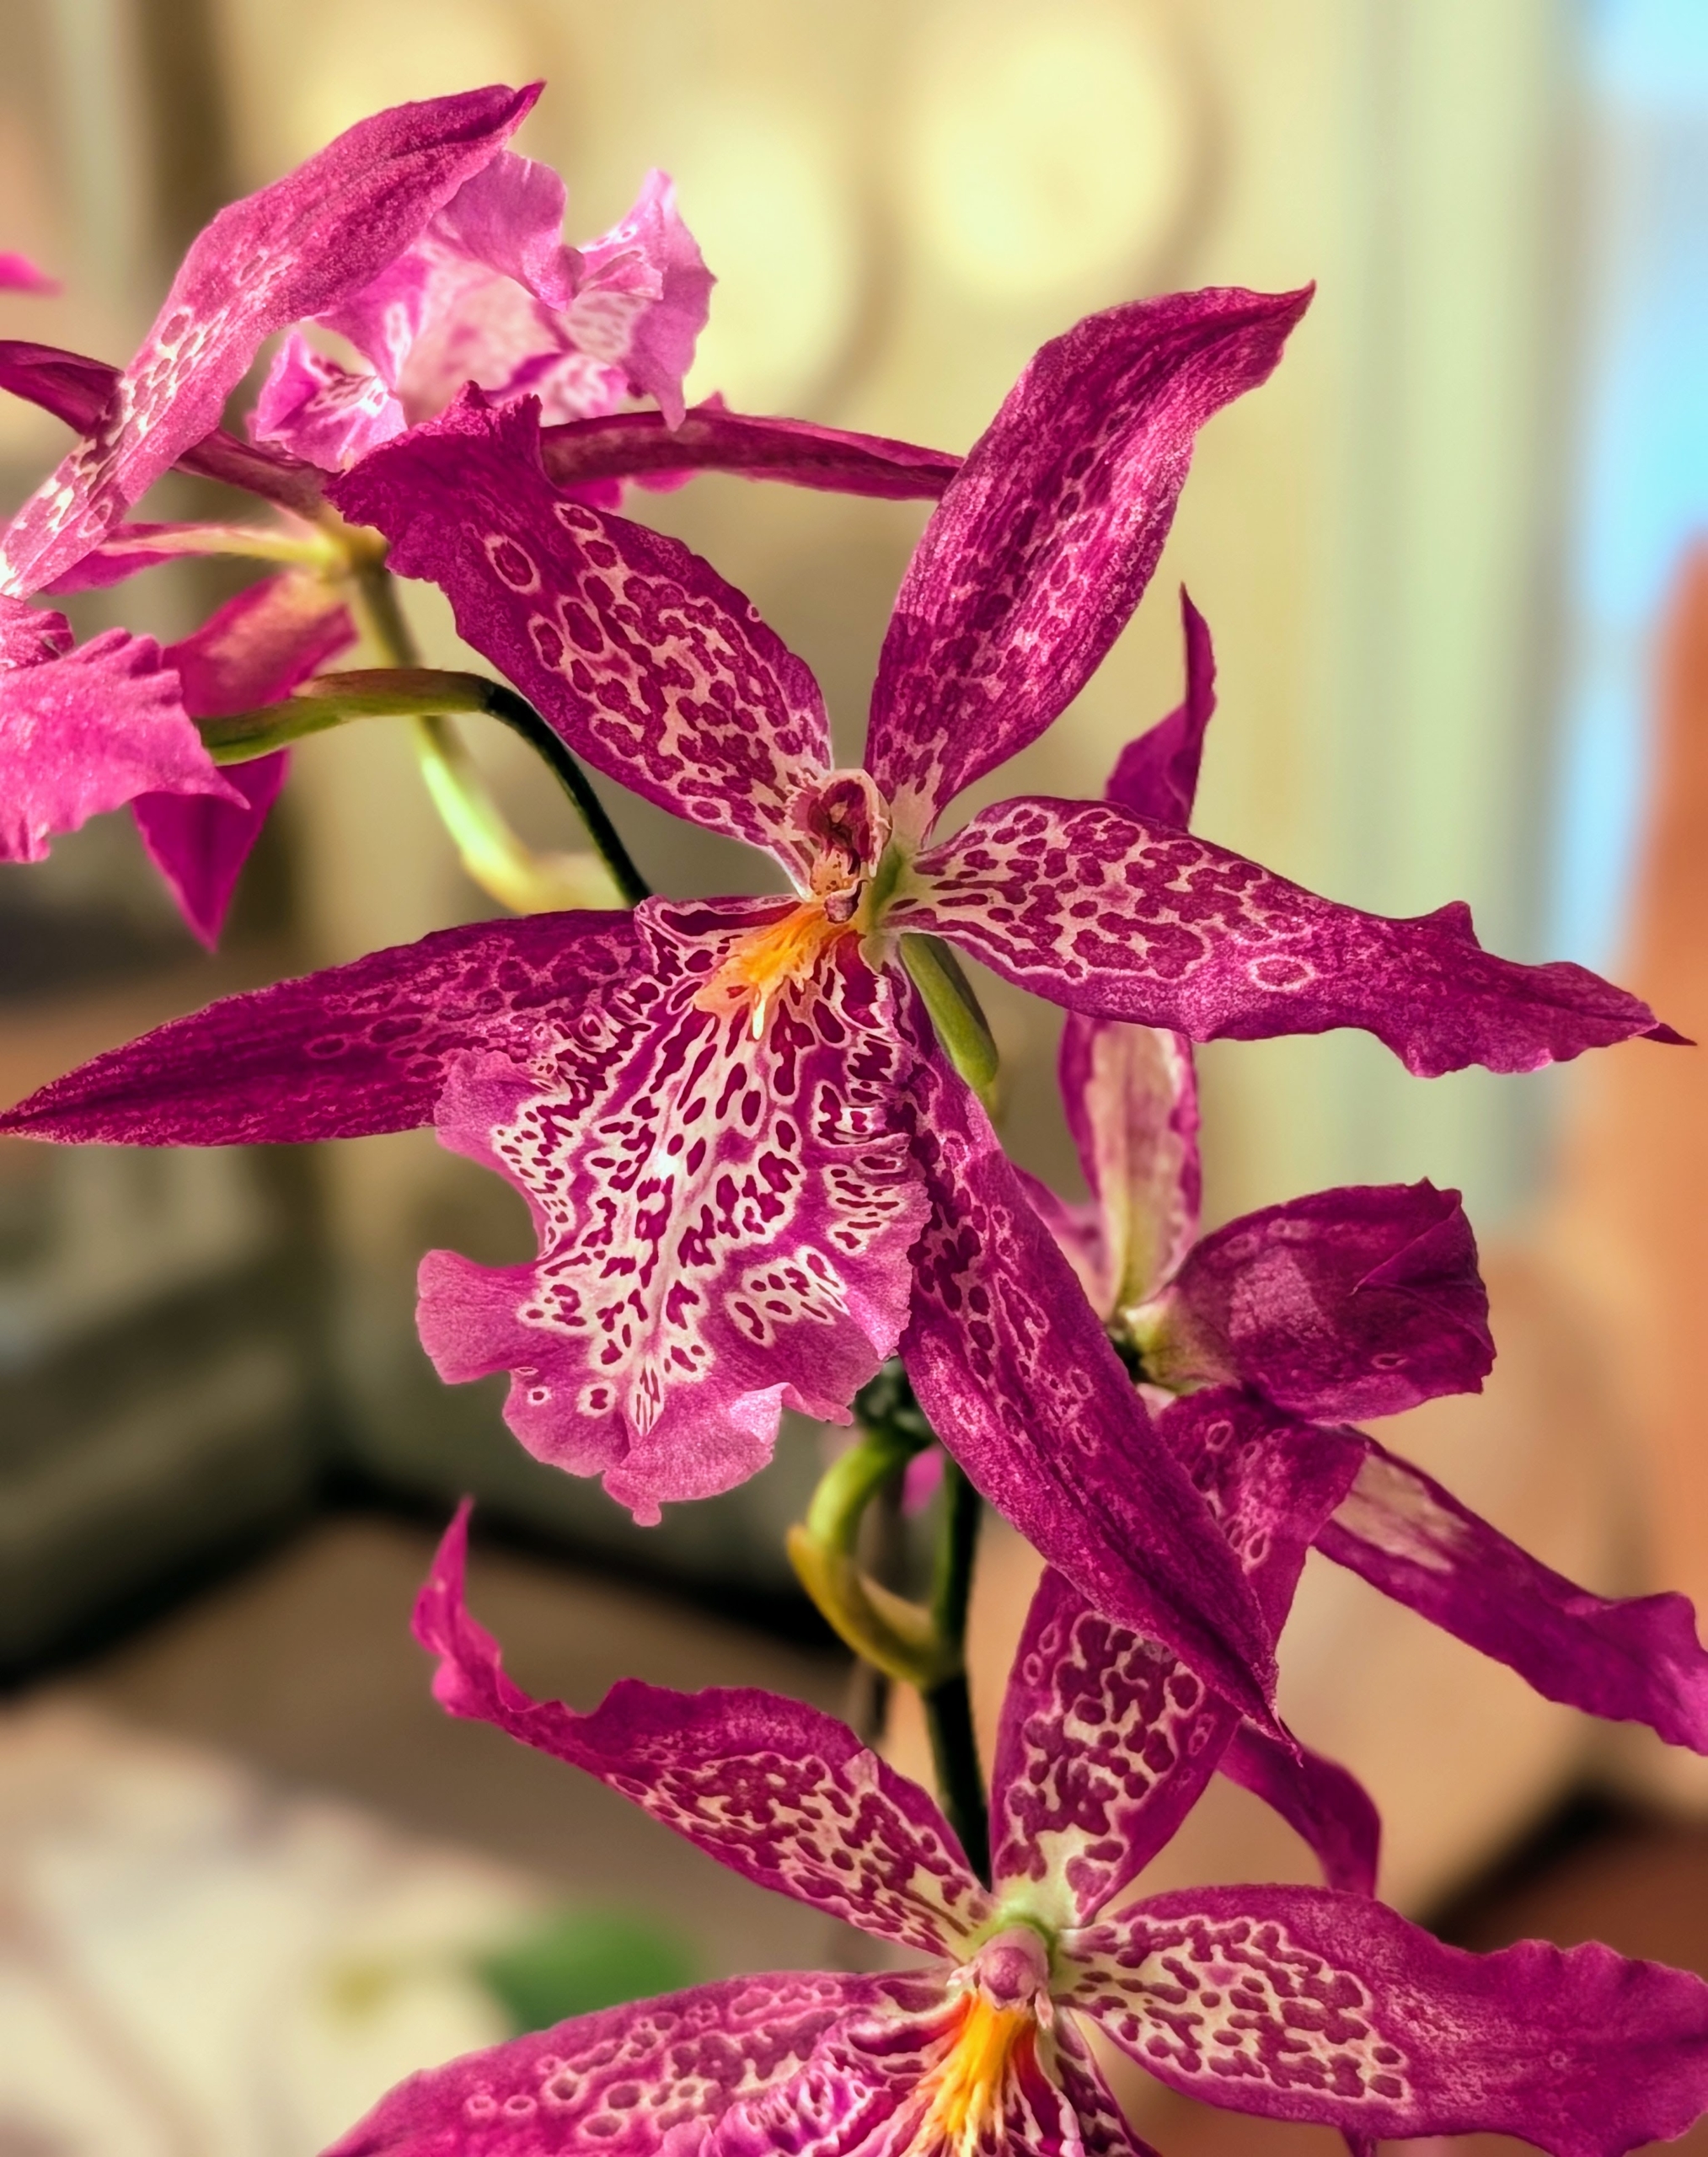
Here is another orchid – this one in bold pink.
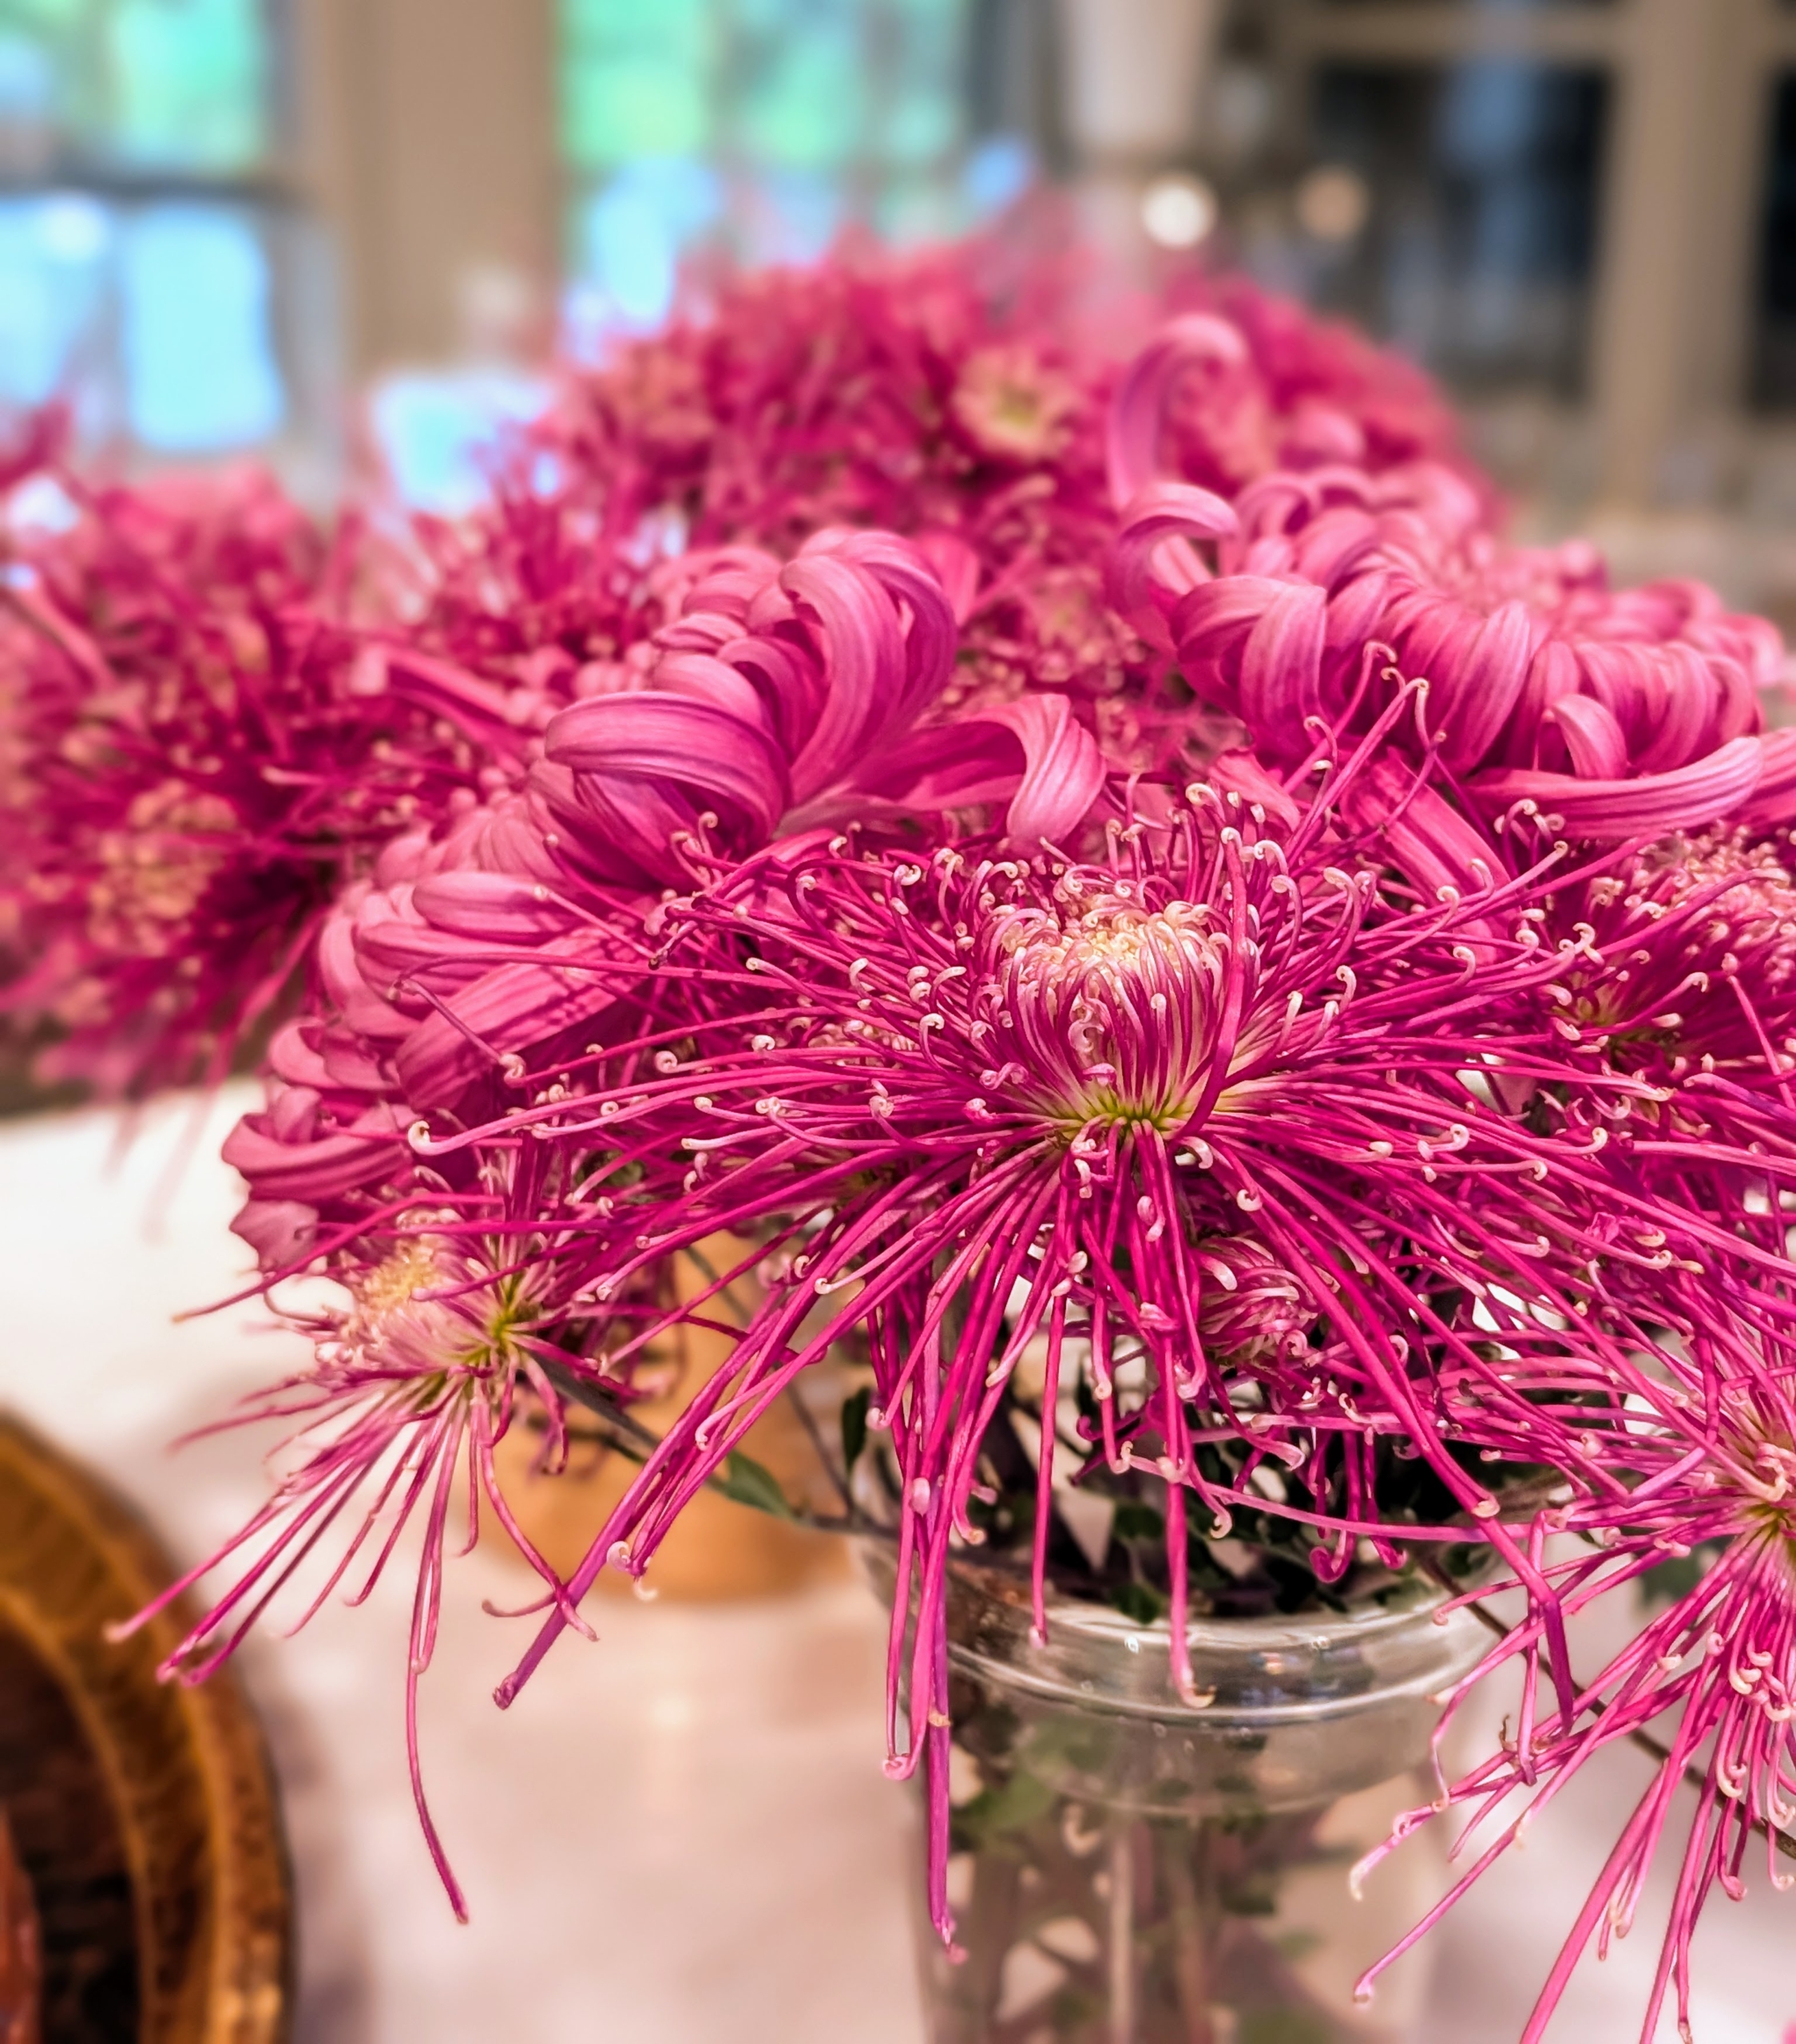
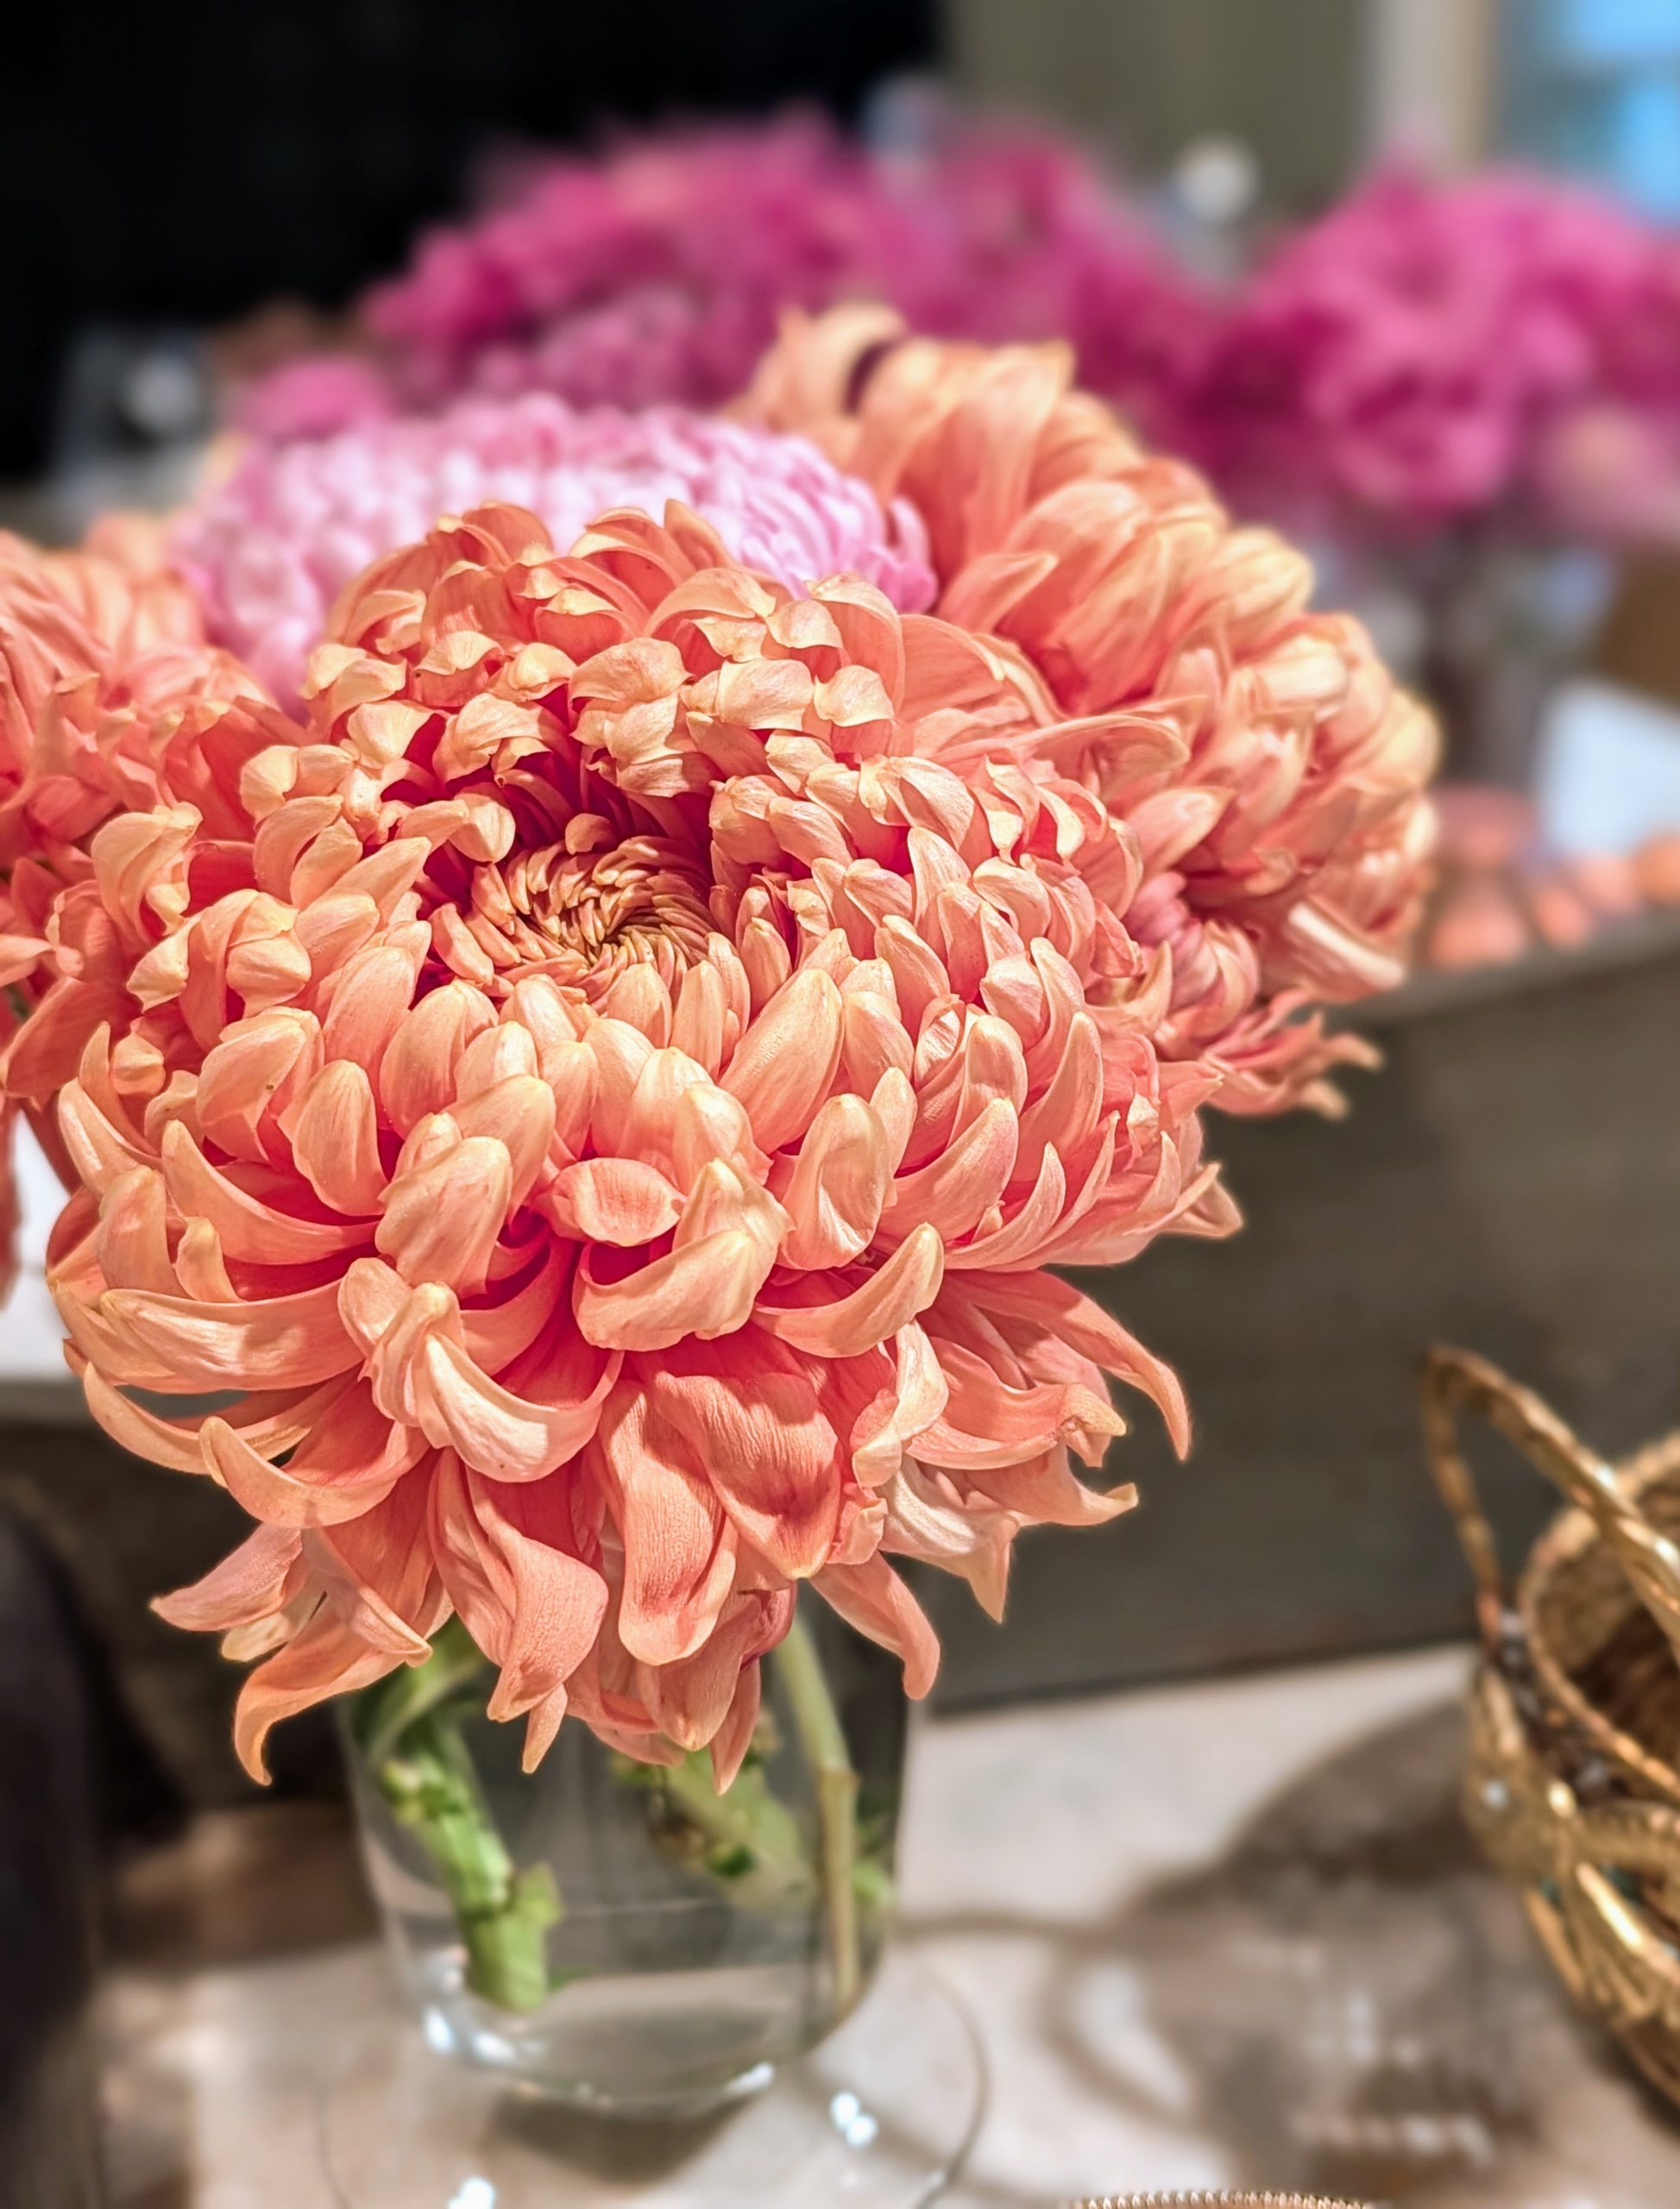
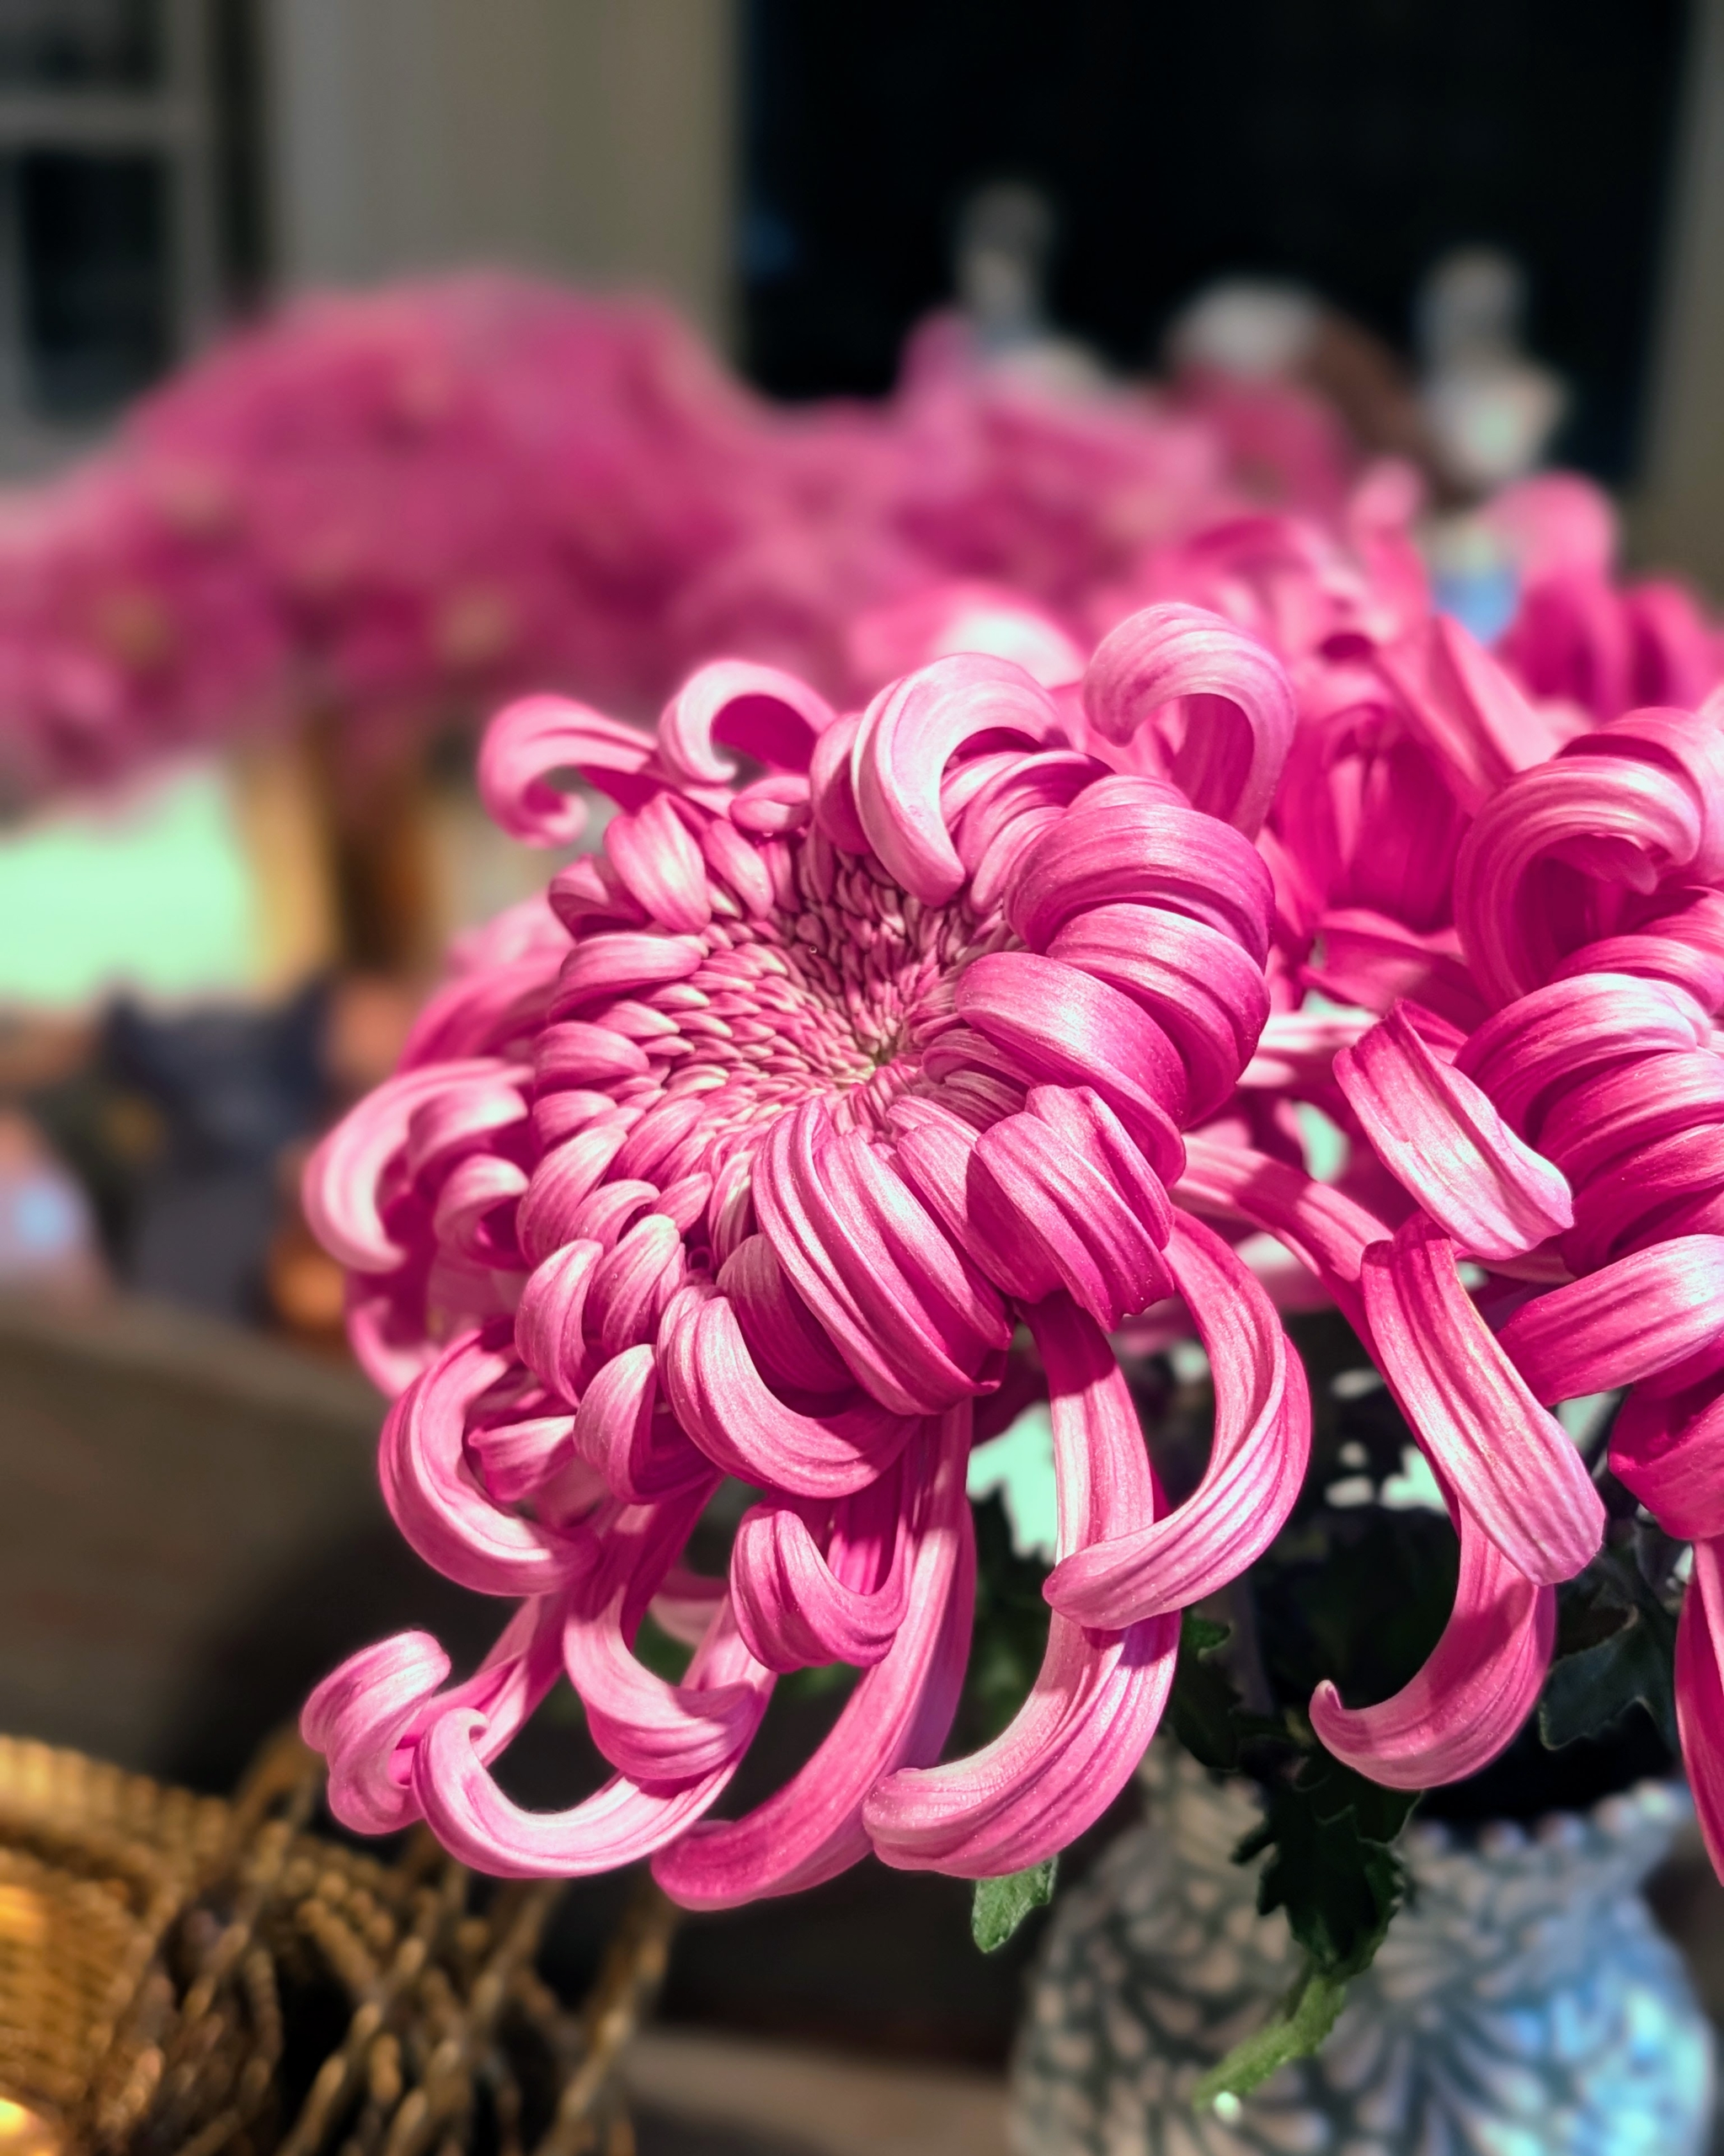
And look at these gorgeous cut chrysanthemums in my servery – hopefully you’ve also seen them on my Instagram page @MarthaStewart48. I just can’t get enough of them. They’re from Bear Creek Farm in Stanfordville, New York.
I grew these from small plants I received from Bear Creek last spring. I just went back for a wonderful heritage chrysanthemum workshop. I’ll be sharing those photos very soon.
Chrysanthemums, also known as mums, are popular fall flowers. They come in a variety of bold colors and add gorgeous seasonal interest just as summer blooms begin to fade. If you love cut flowers and potted plants as much as I do, use them to decorate your home. I feel so fortunate to have such an amazing collection of extraordinary plants to share with my guests and to enjoy myself.
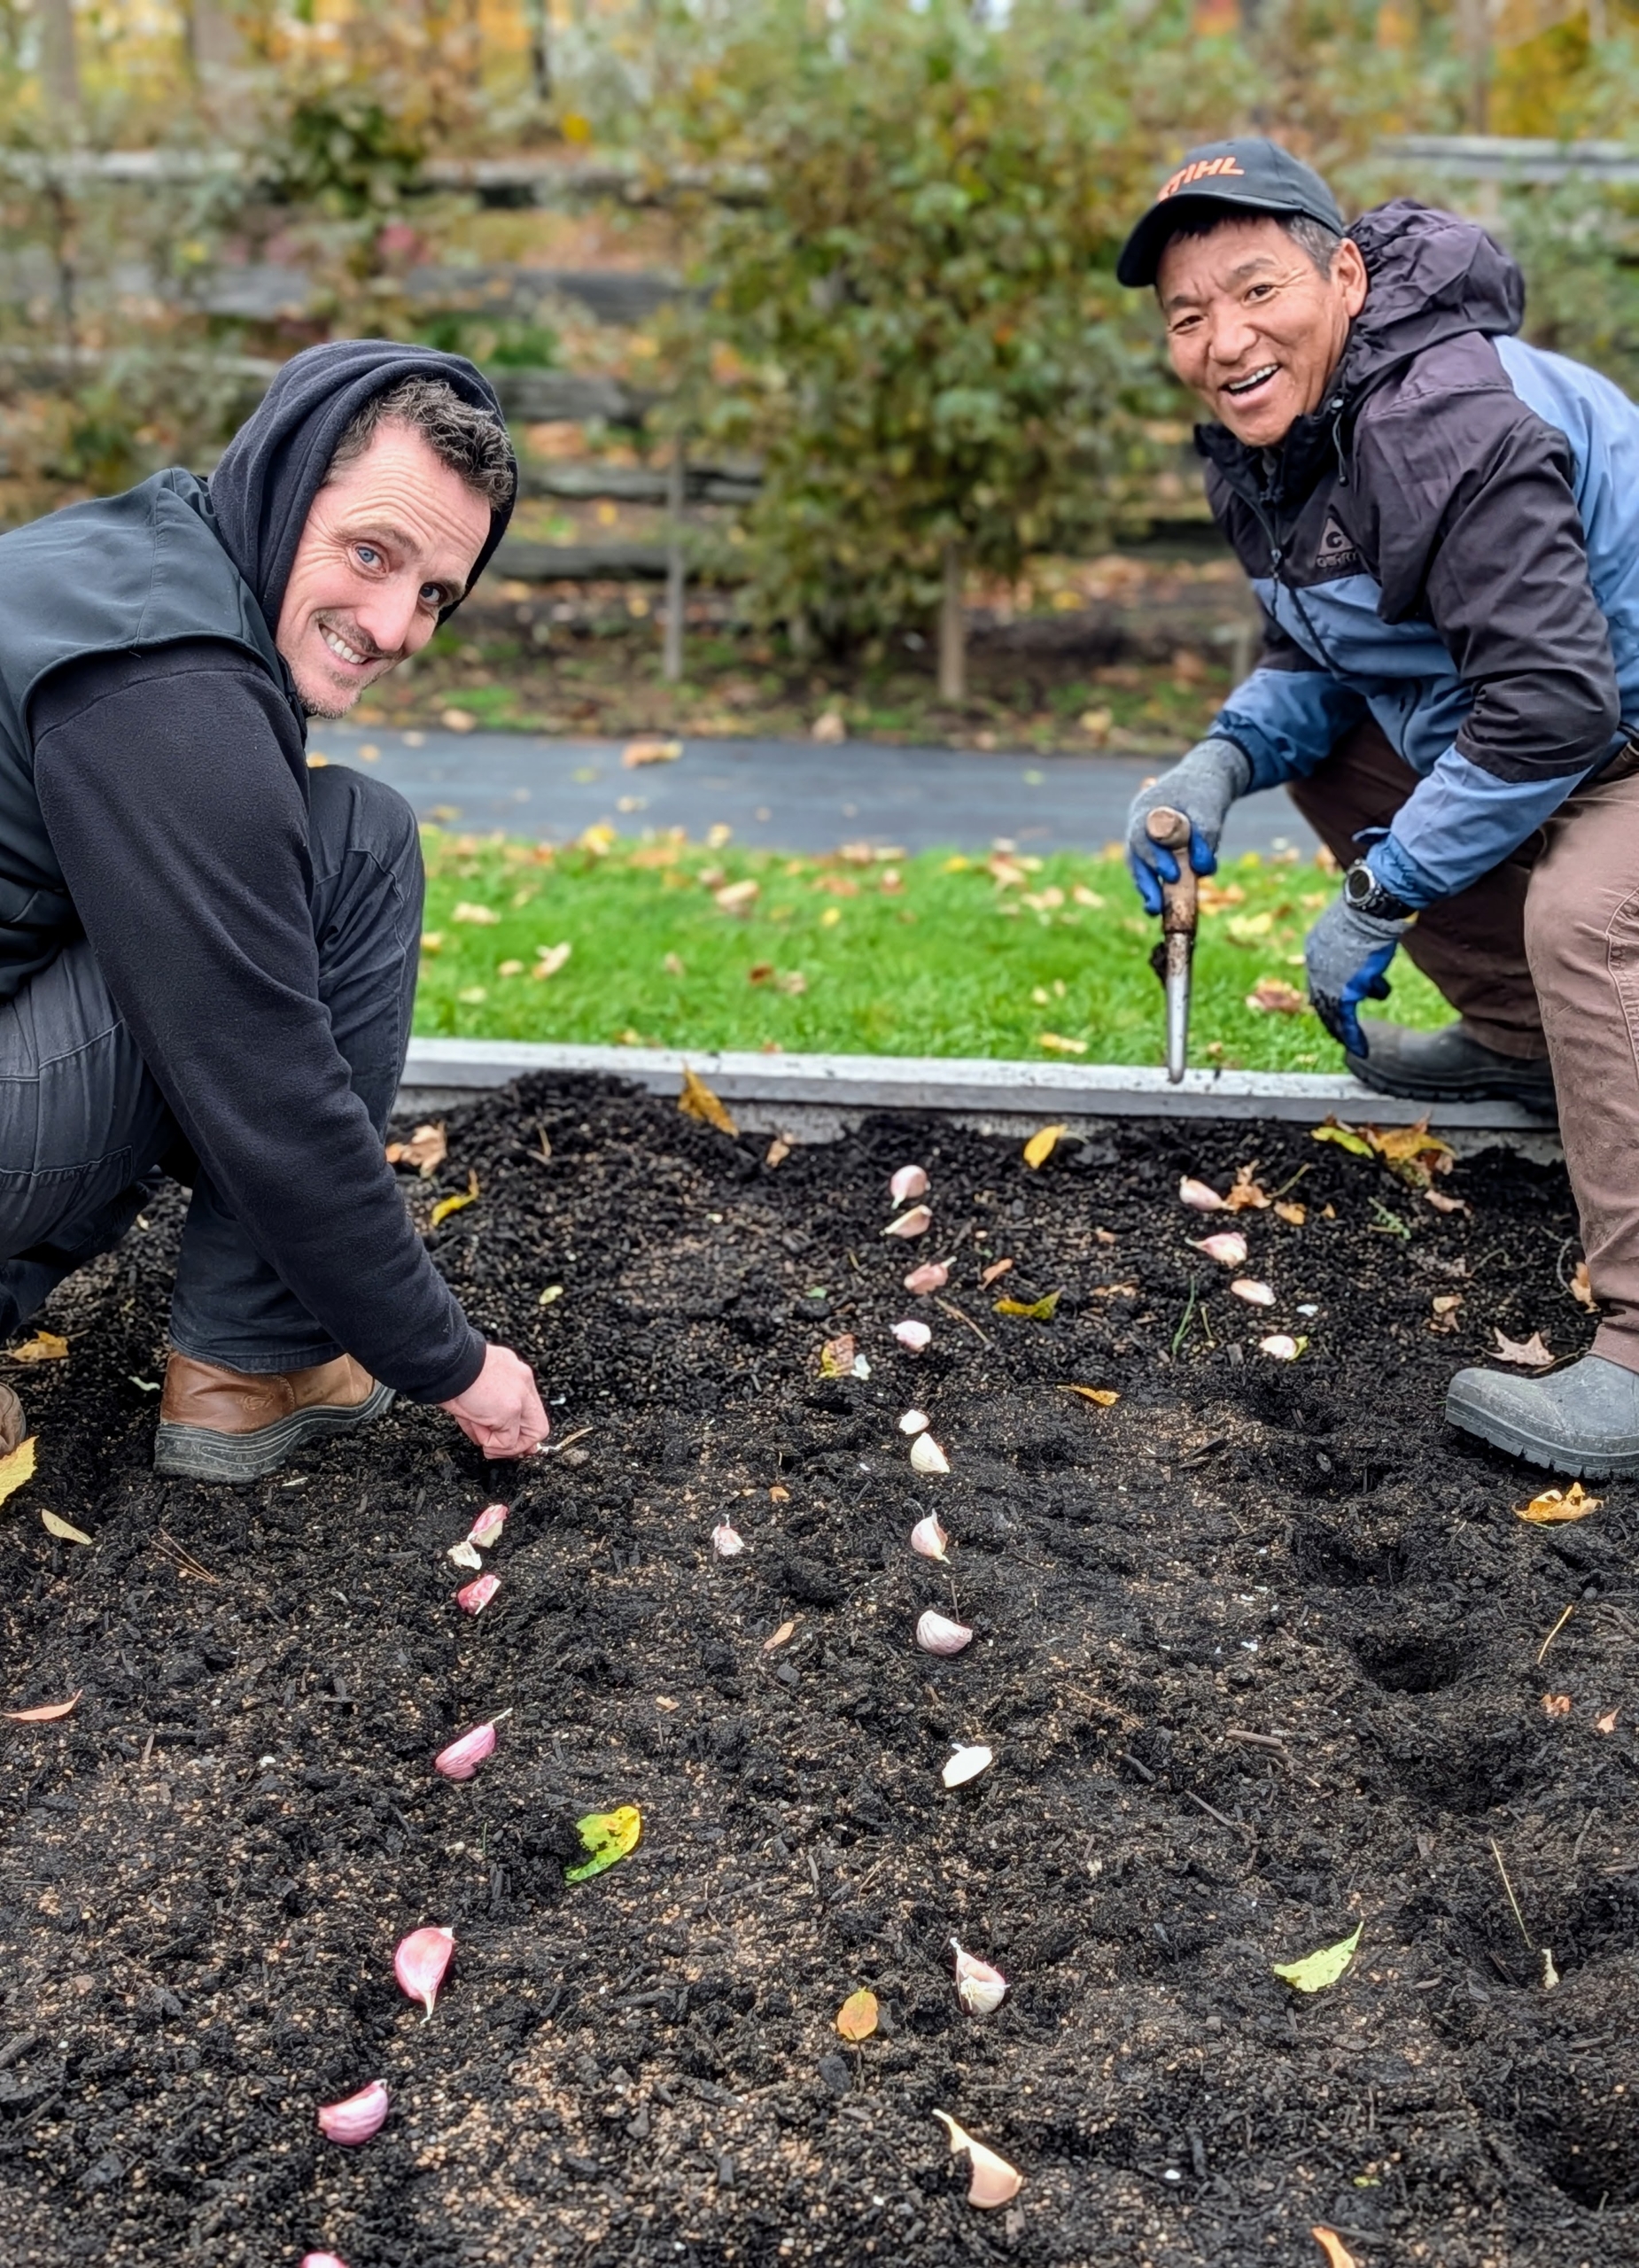
Another task is done. Next year's garlic crop is now planted.
Fall is the ideal time to plant garlic. Doing it now allows the bulbs to establish good roots before winter, leading to larger and more flavorful cloves by the summer harvest. Every year, I plant two raised beds of garlic from Keene Garlic in Wisconsin. Garlic is great for cooking and very good for one's health. It is well known to lower blood pressure and cholesterol, and carries many antioxidant properties. Knowing that I also grow the garlic myself makes it even more special.
Here is my process, enjoy.
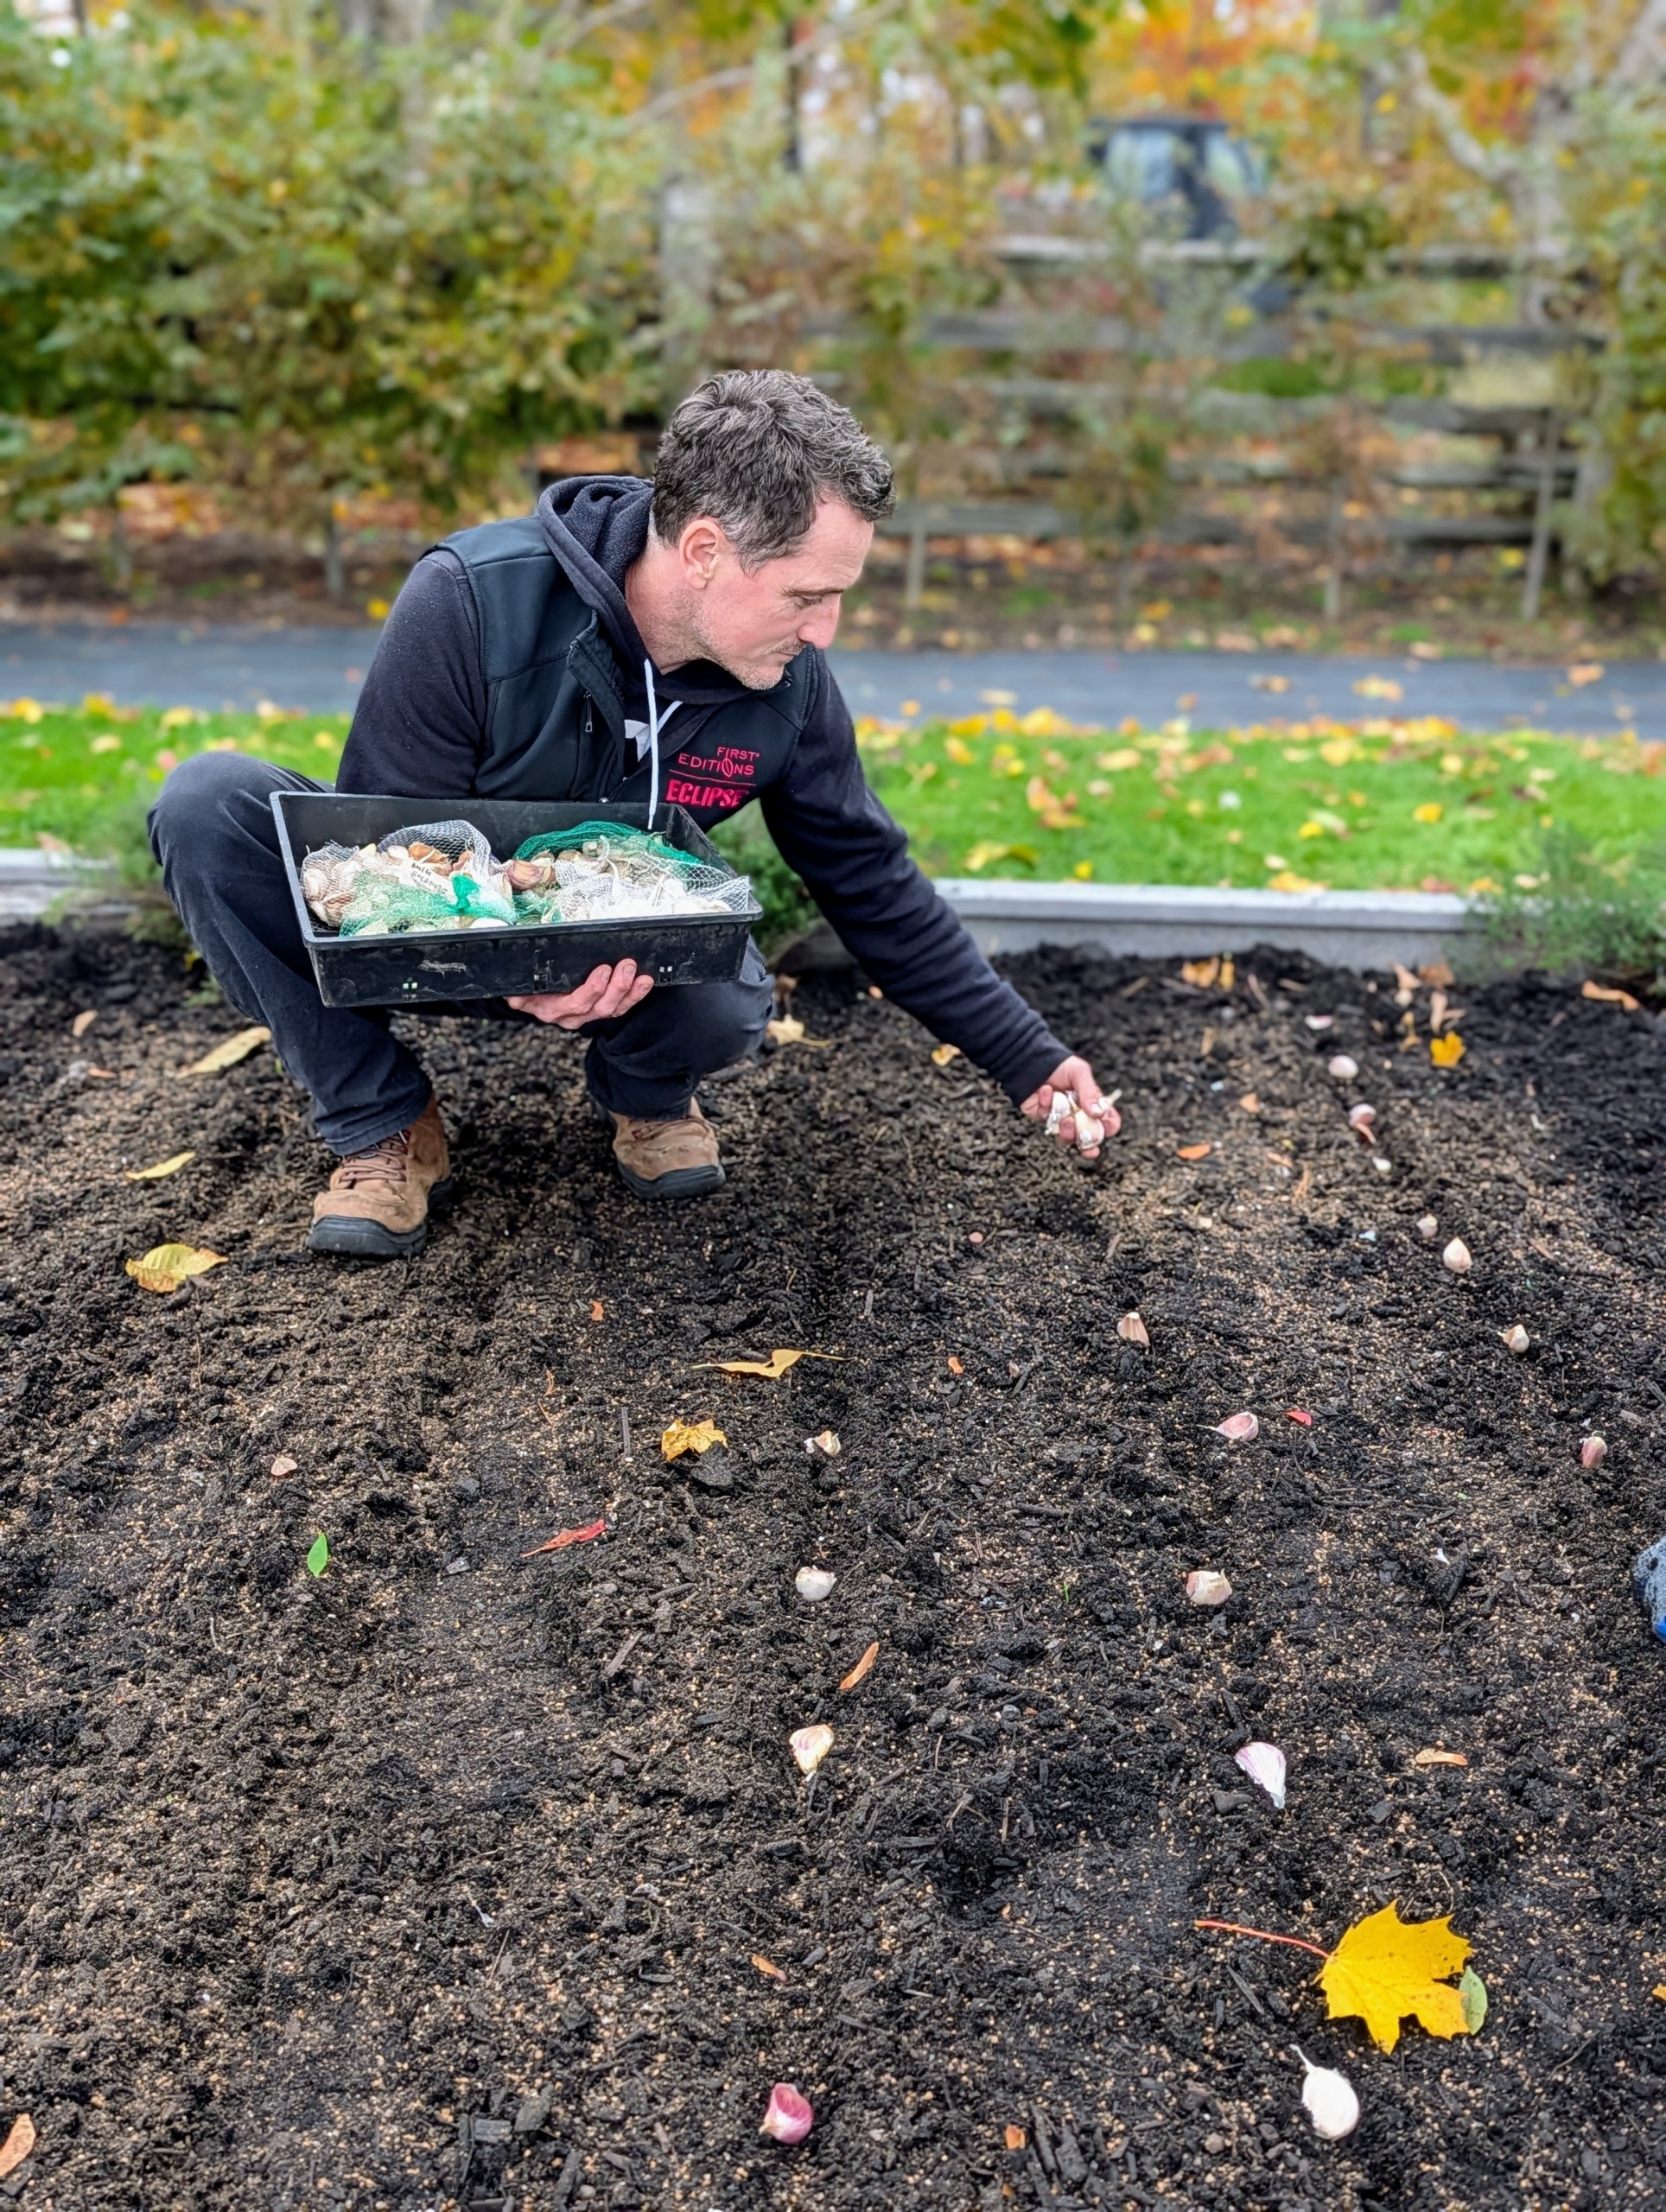
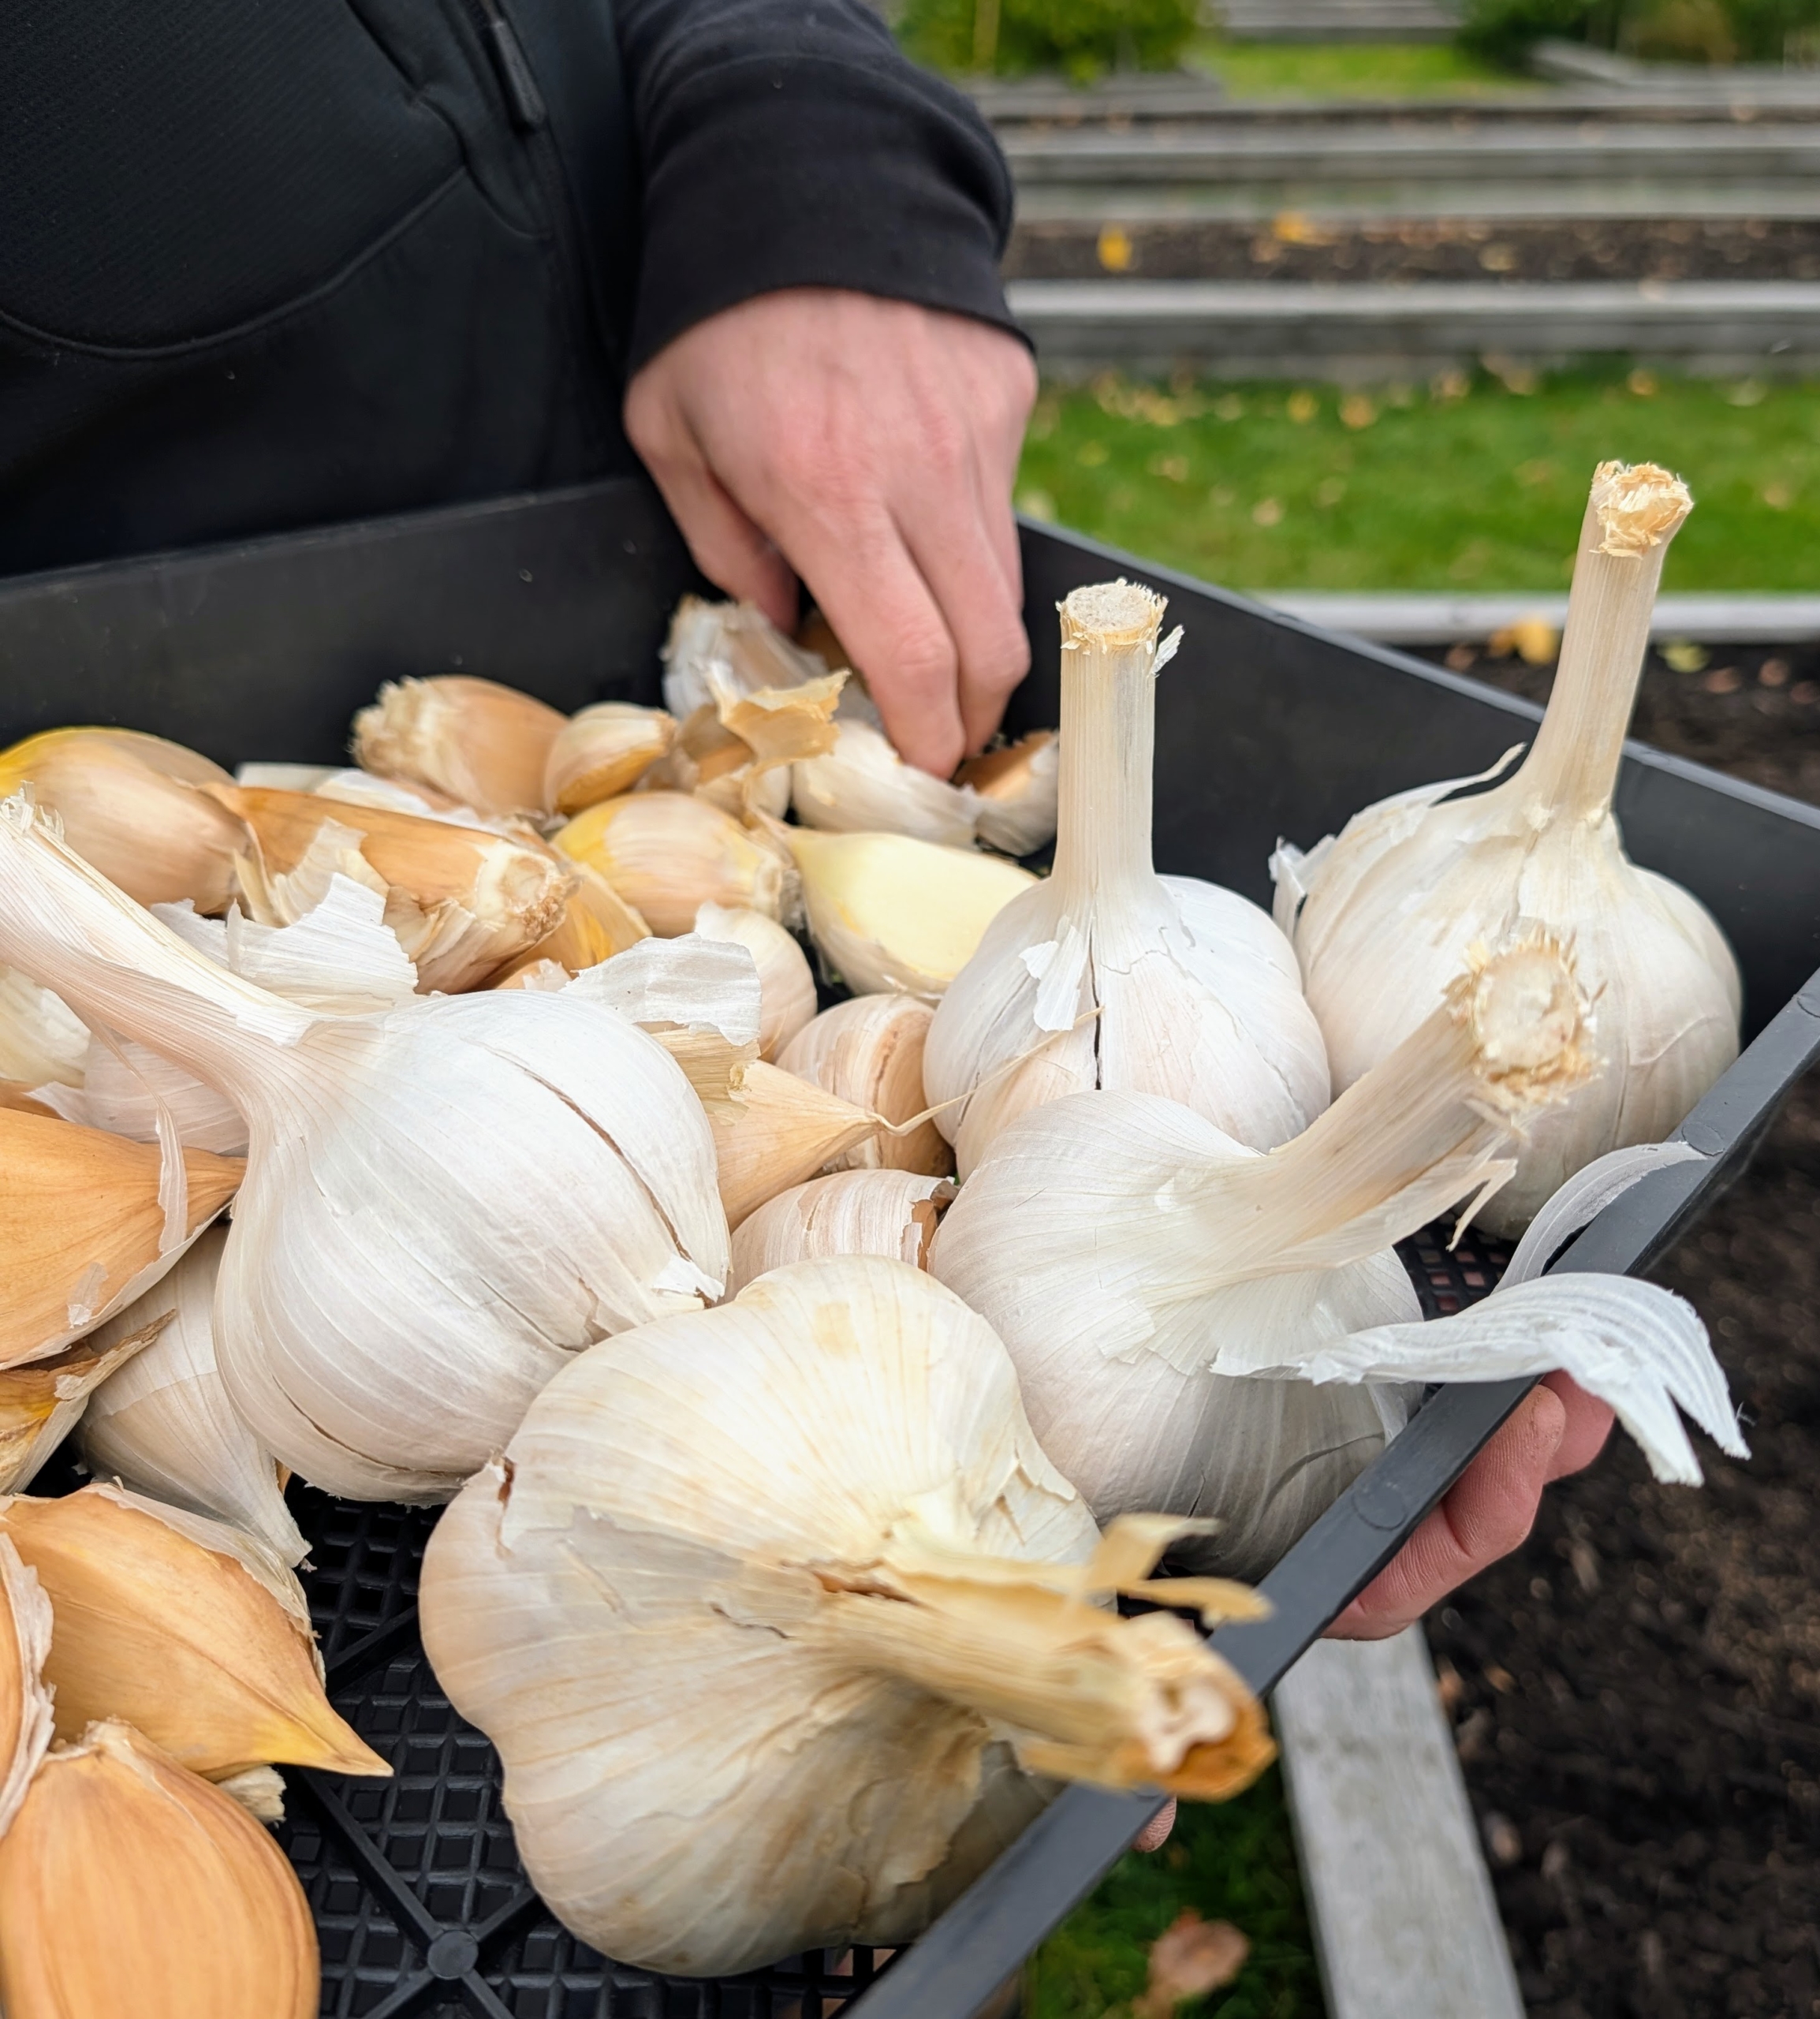
All the seed garlic that was prepared for planting the day before is brought out to my large half-acre vegetable garden.
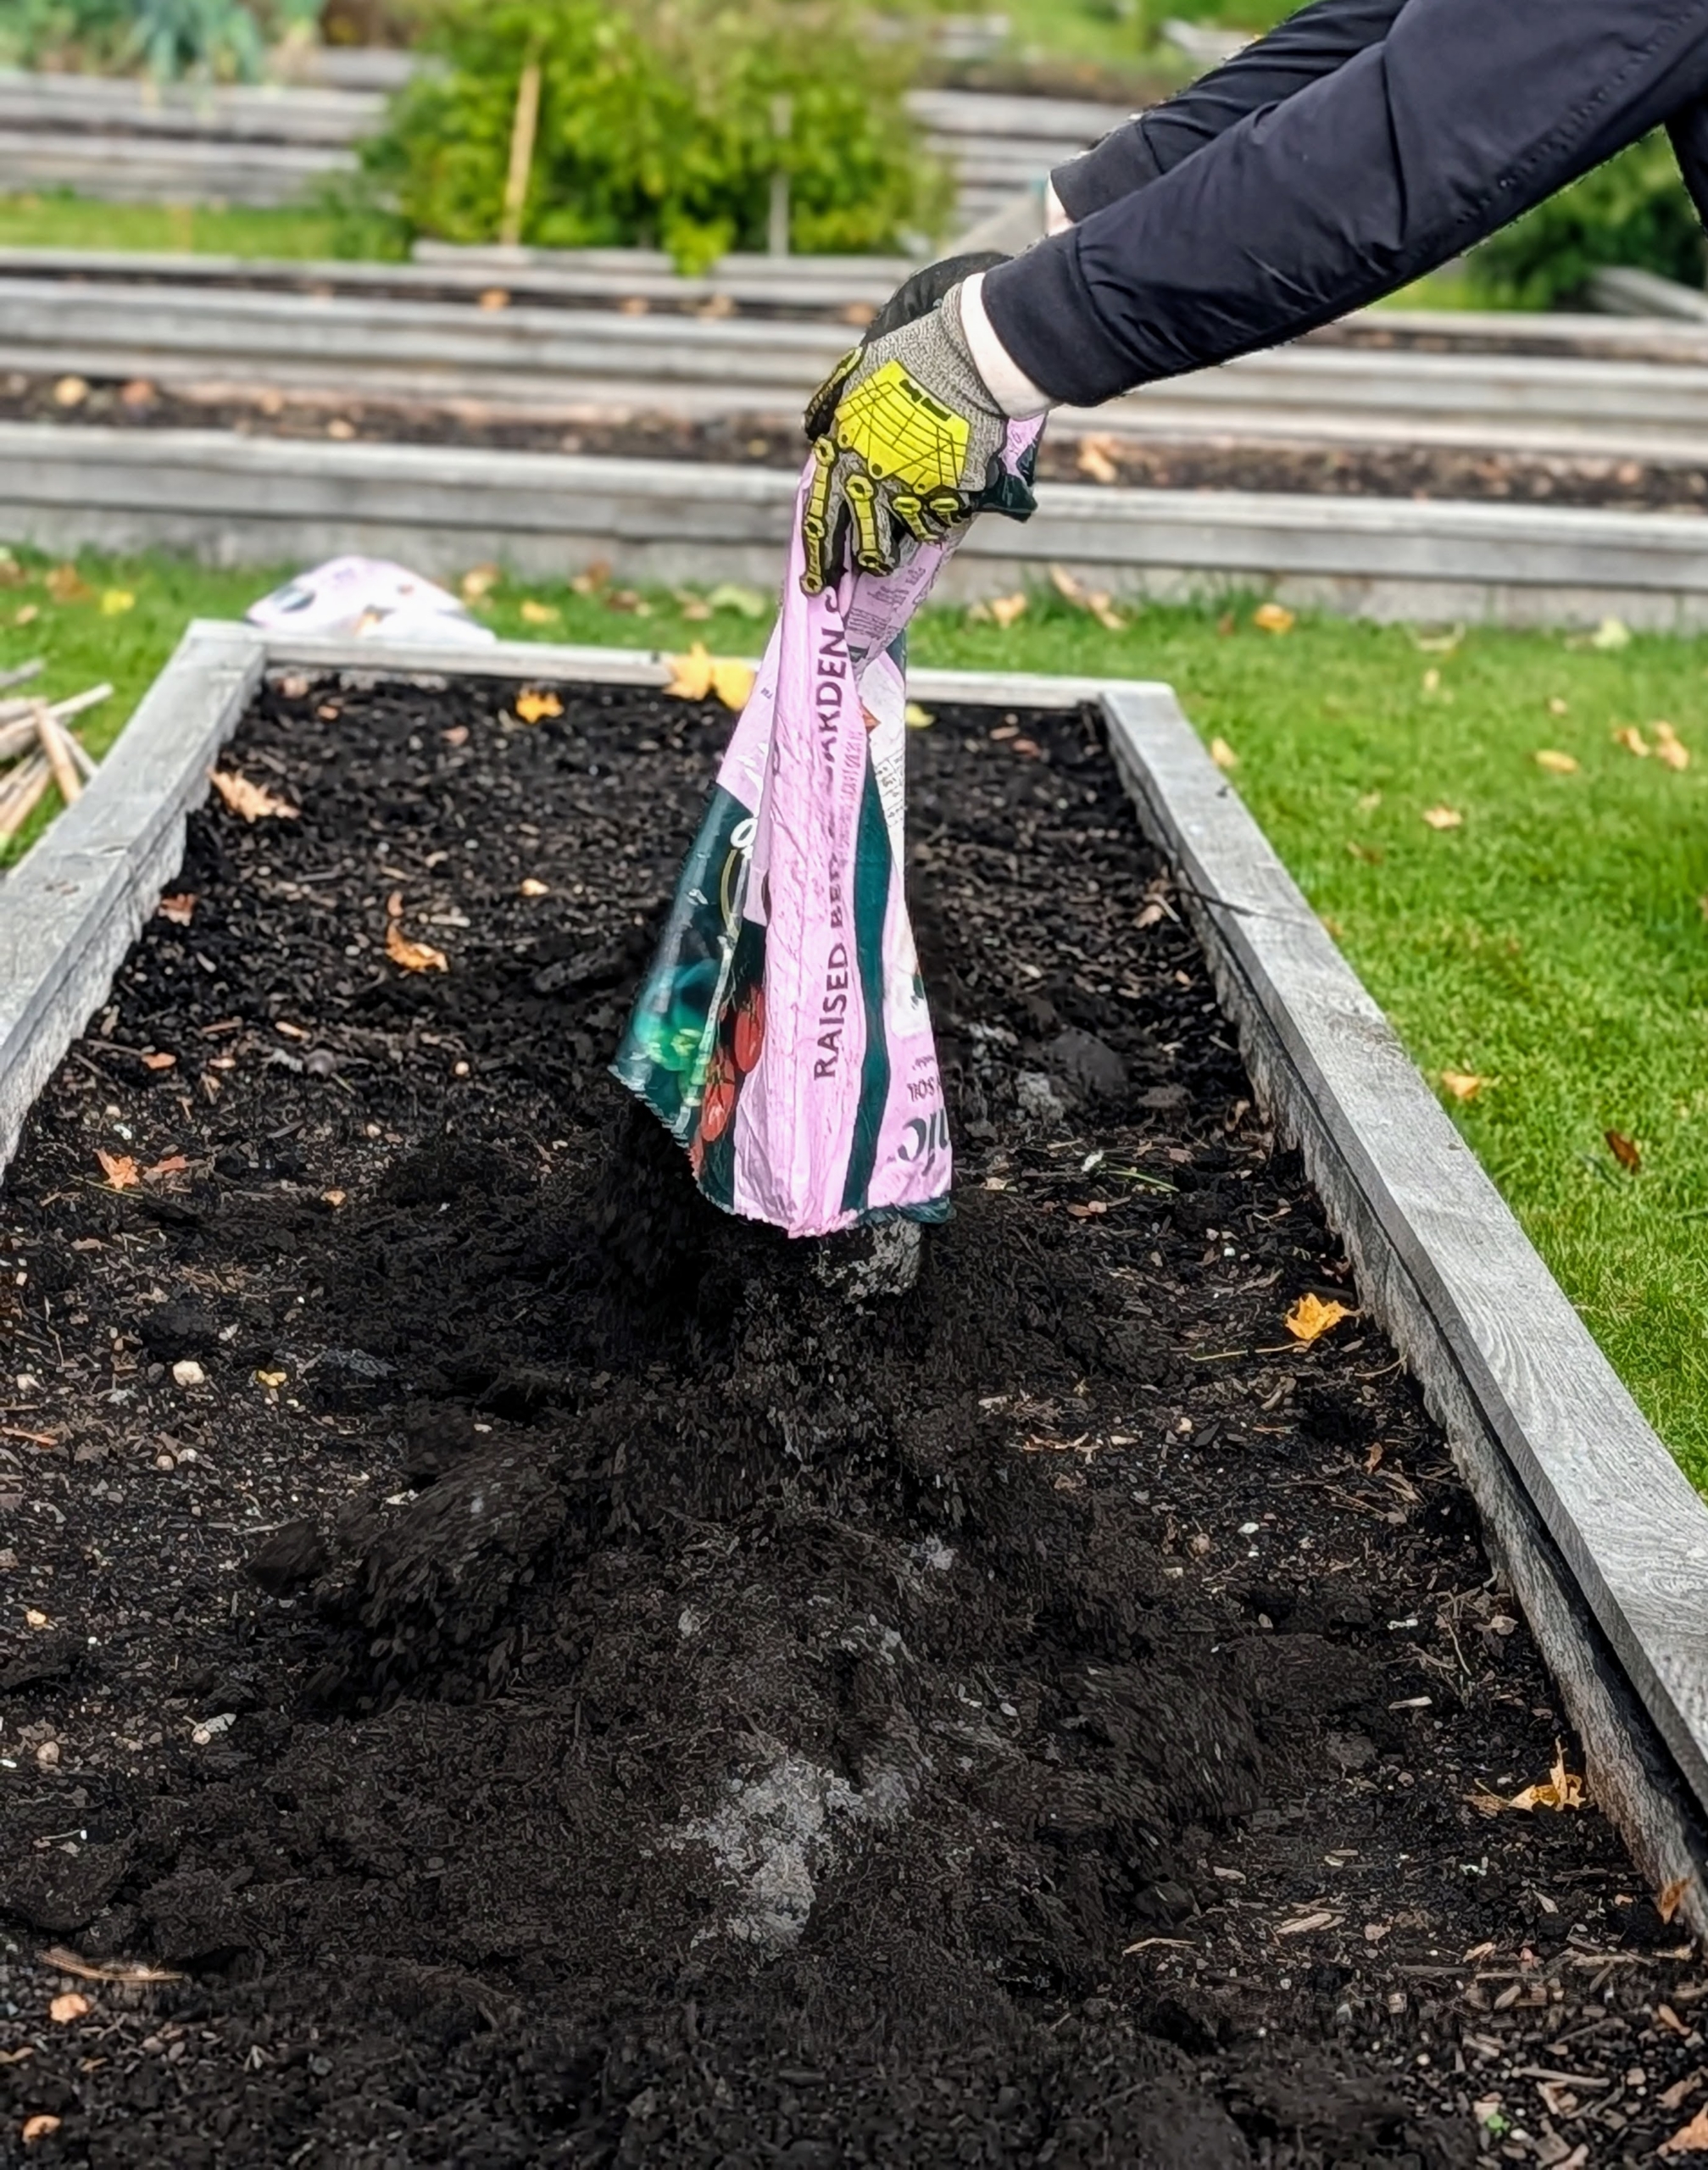
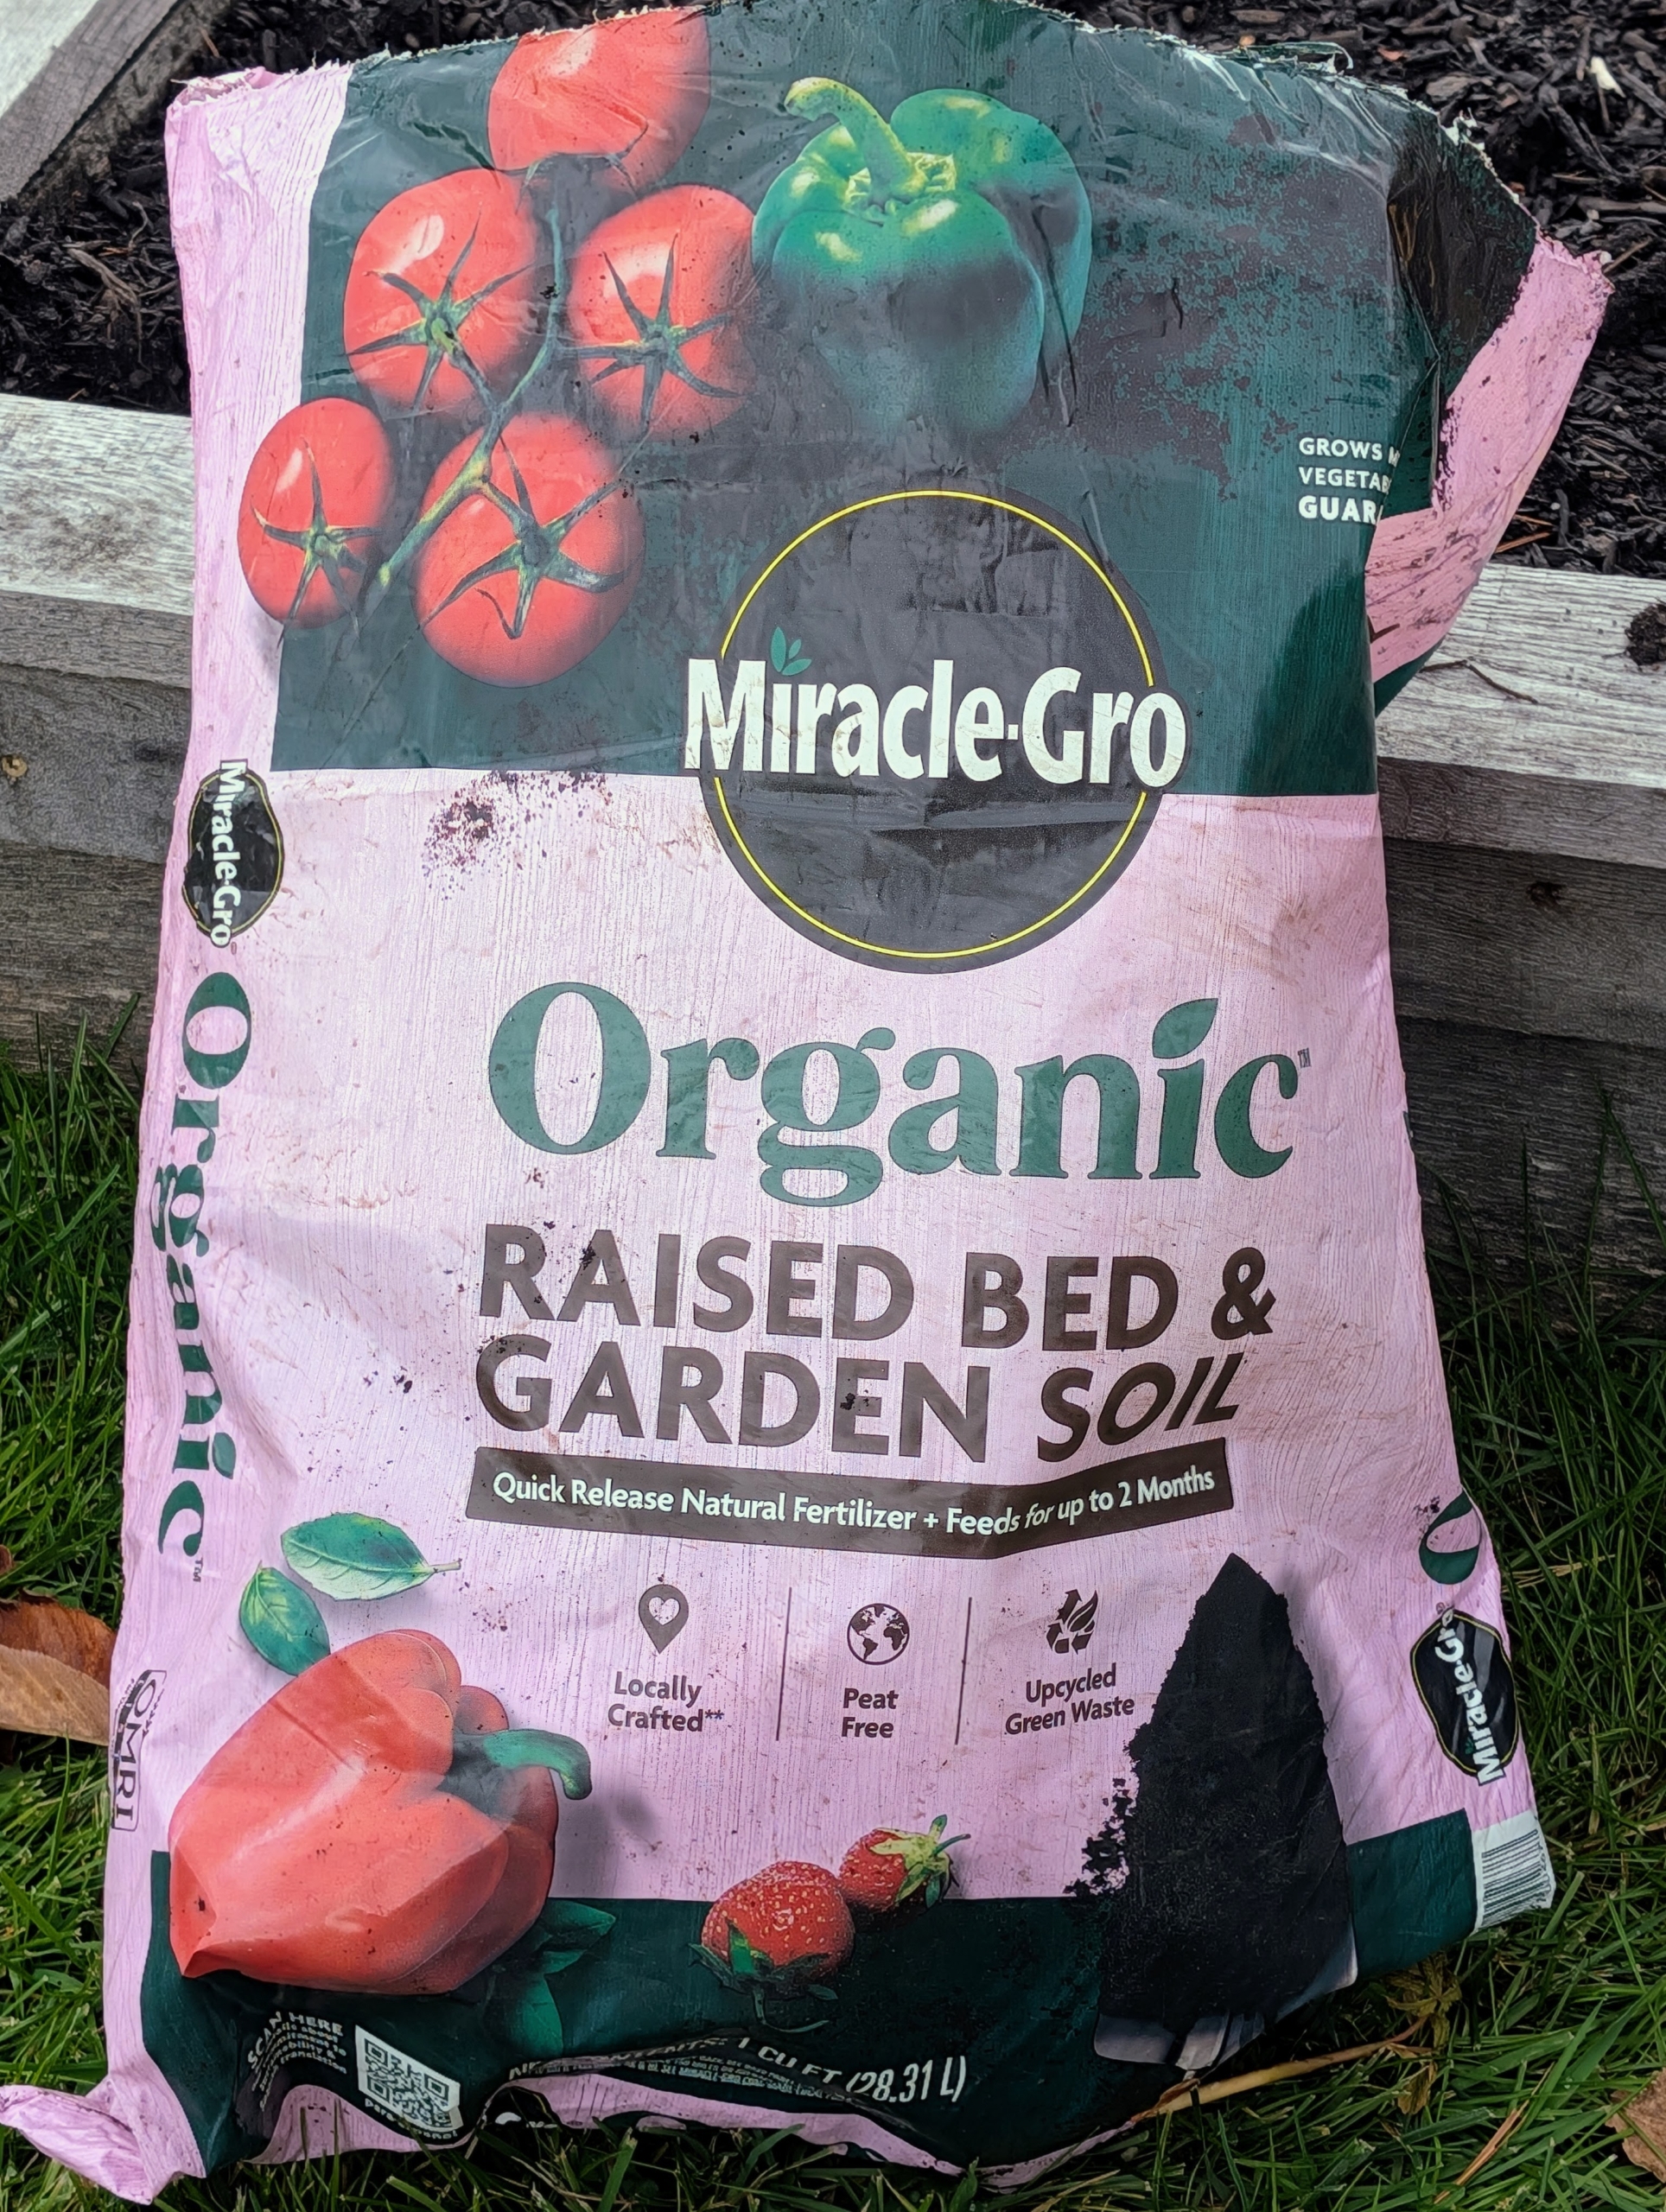
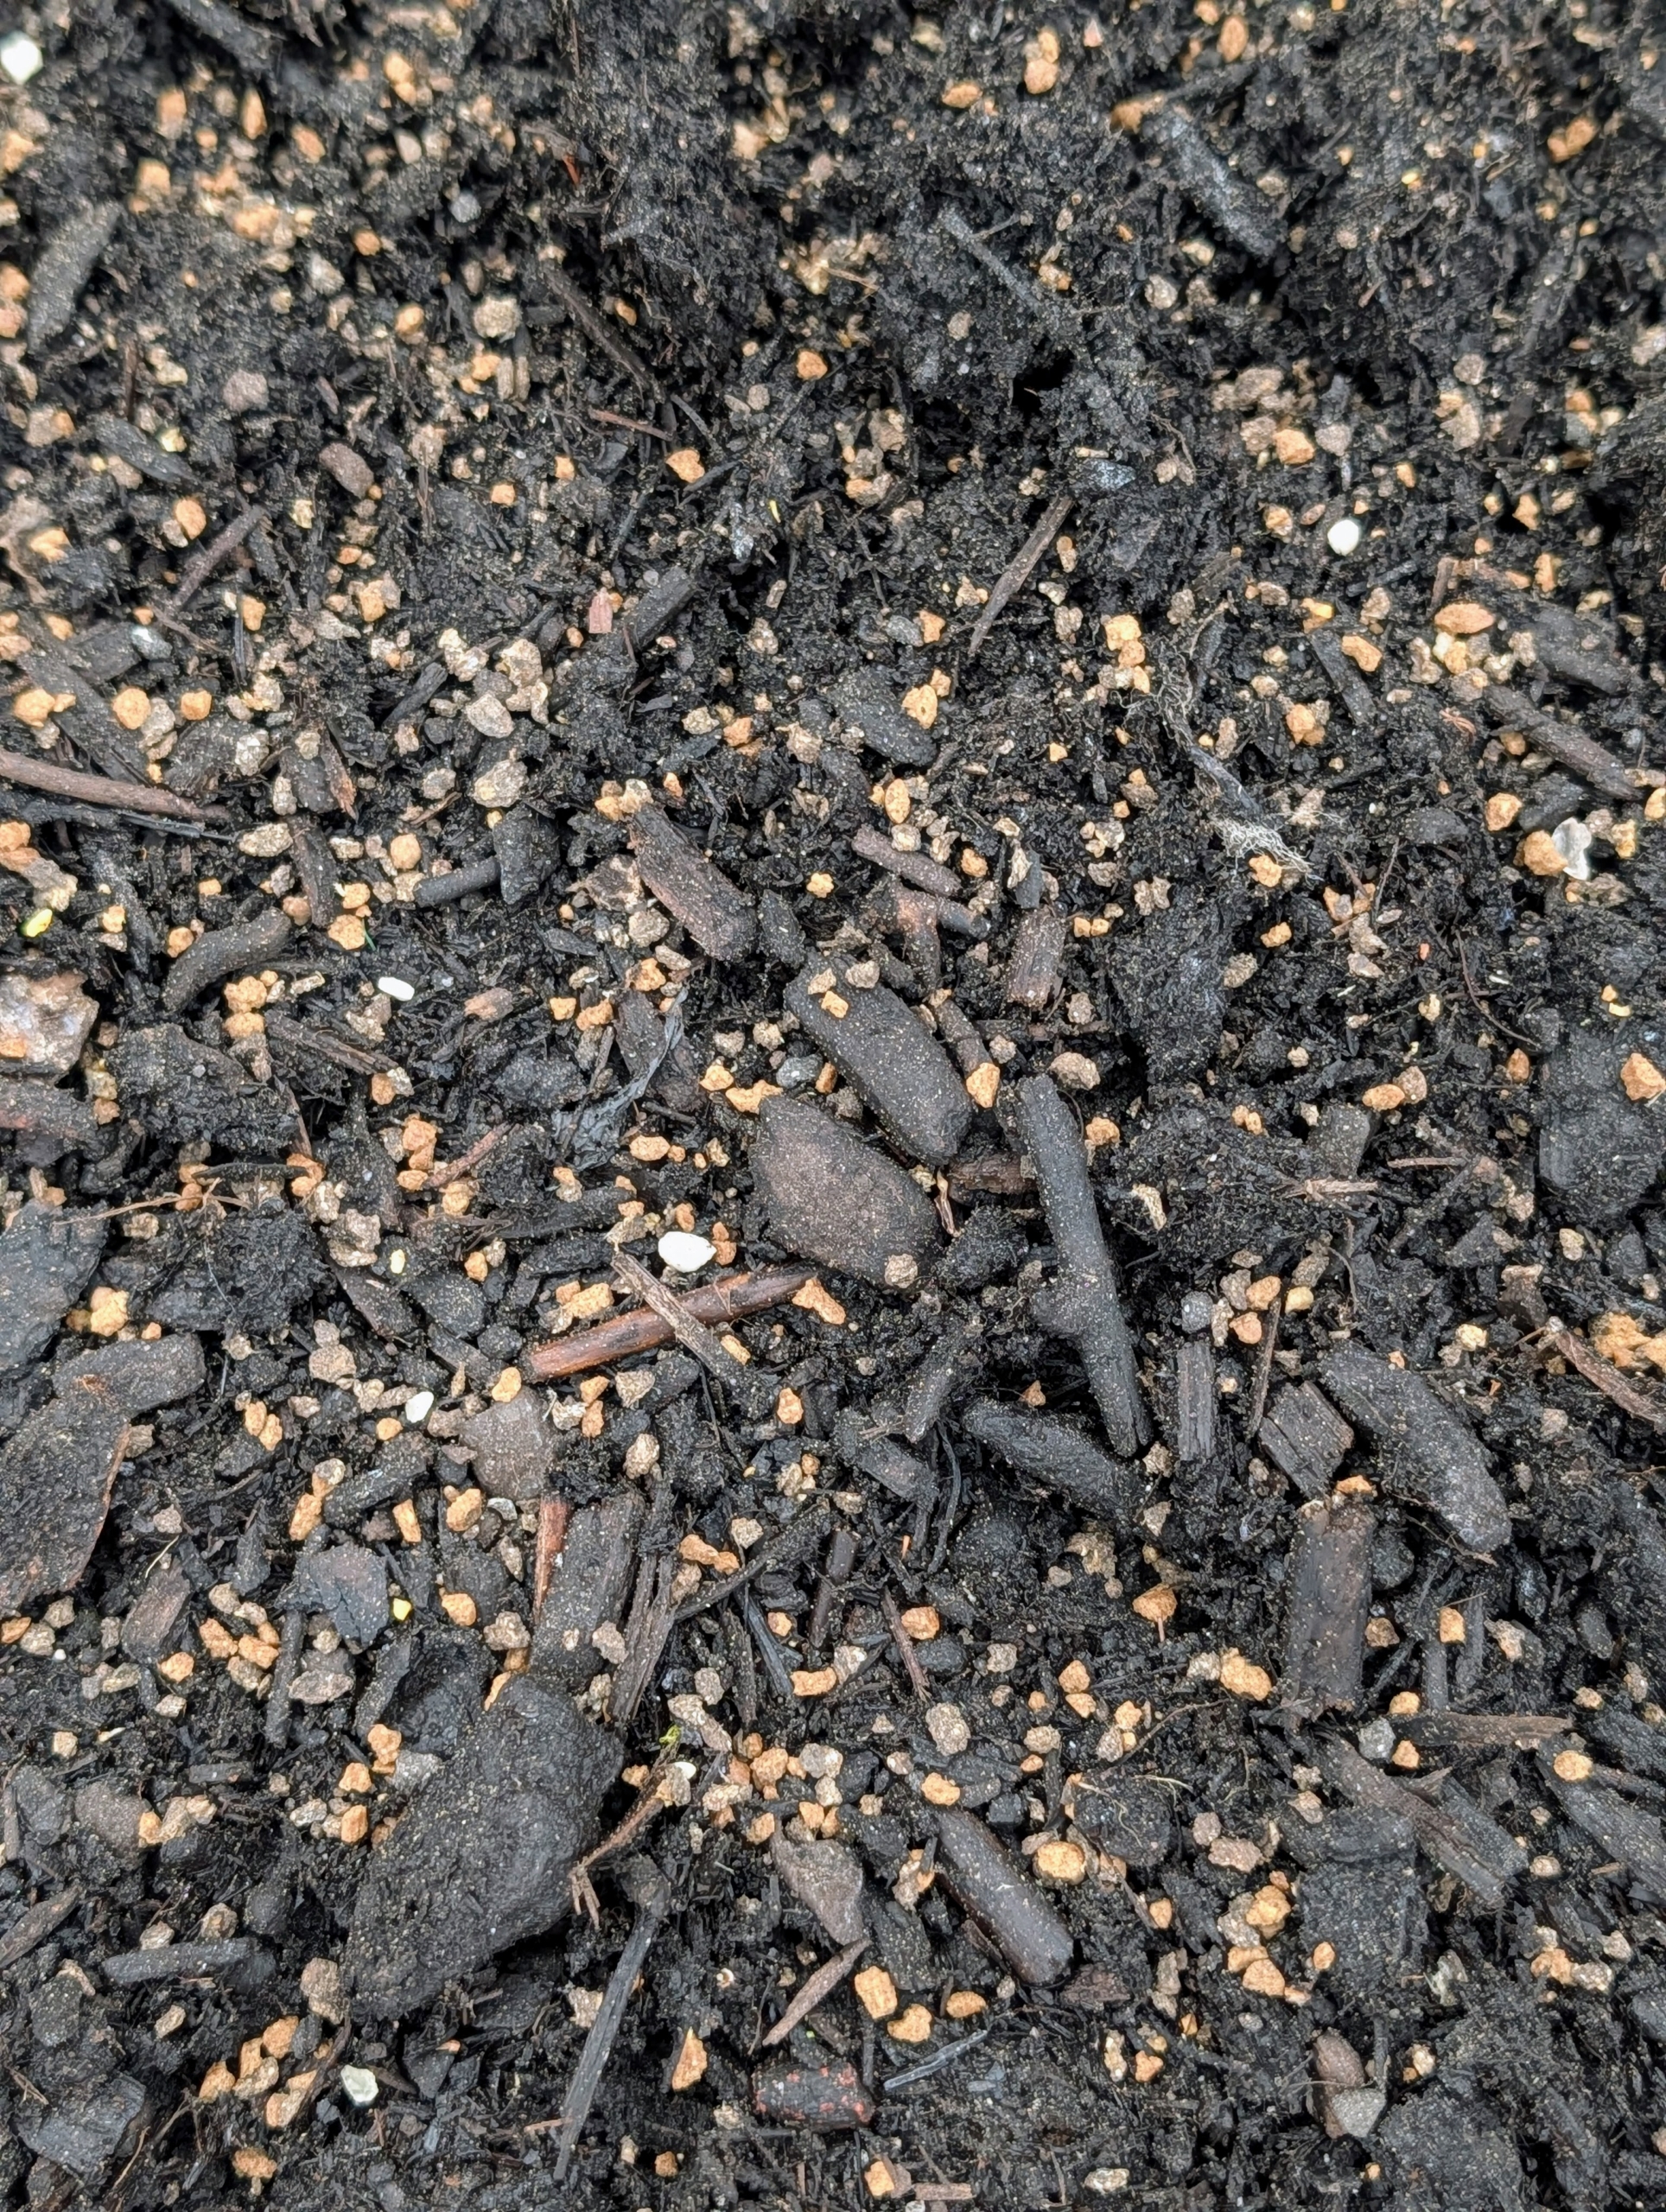
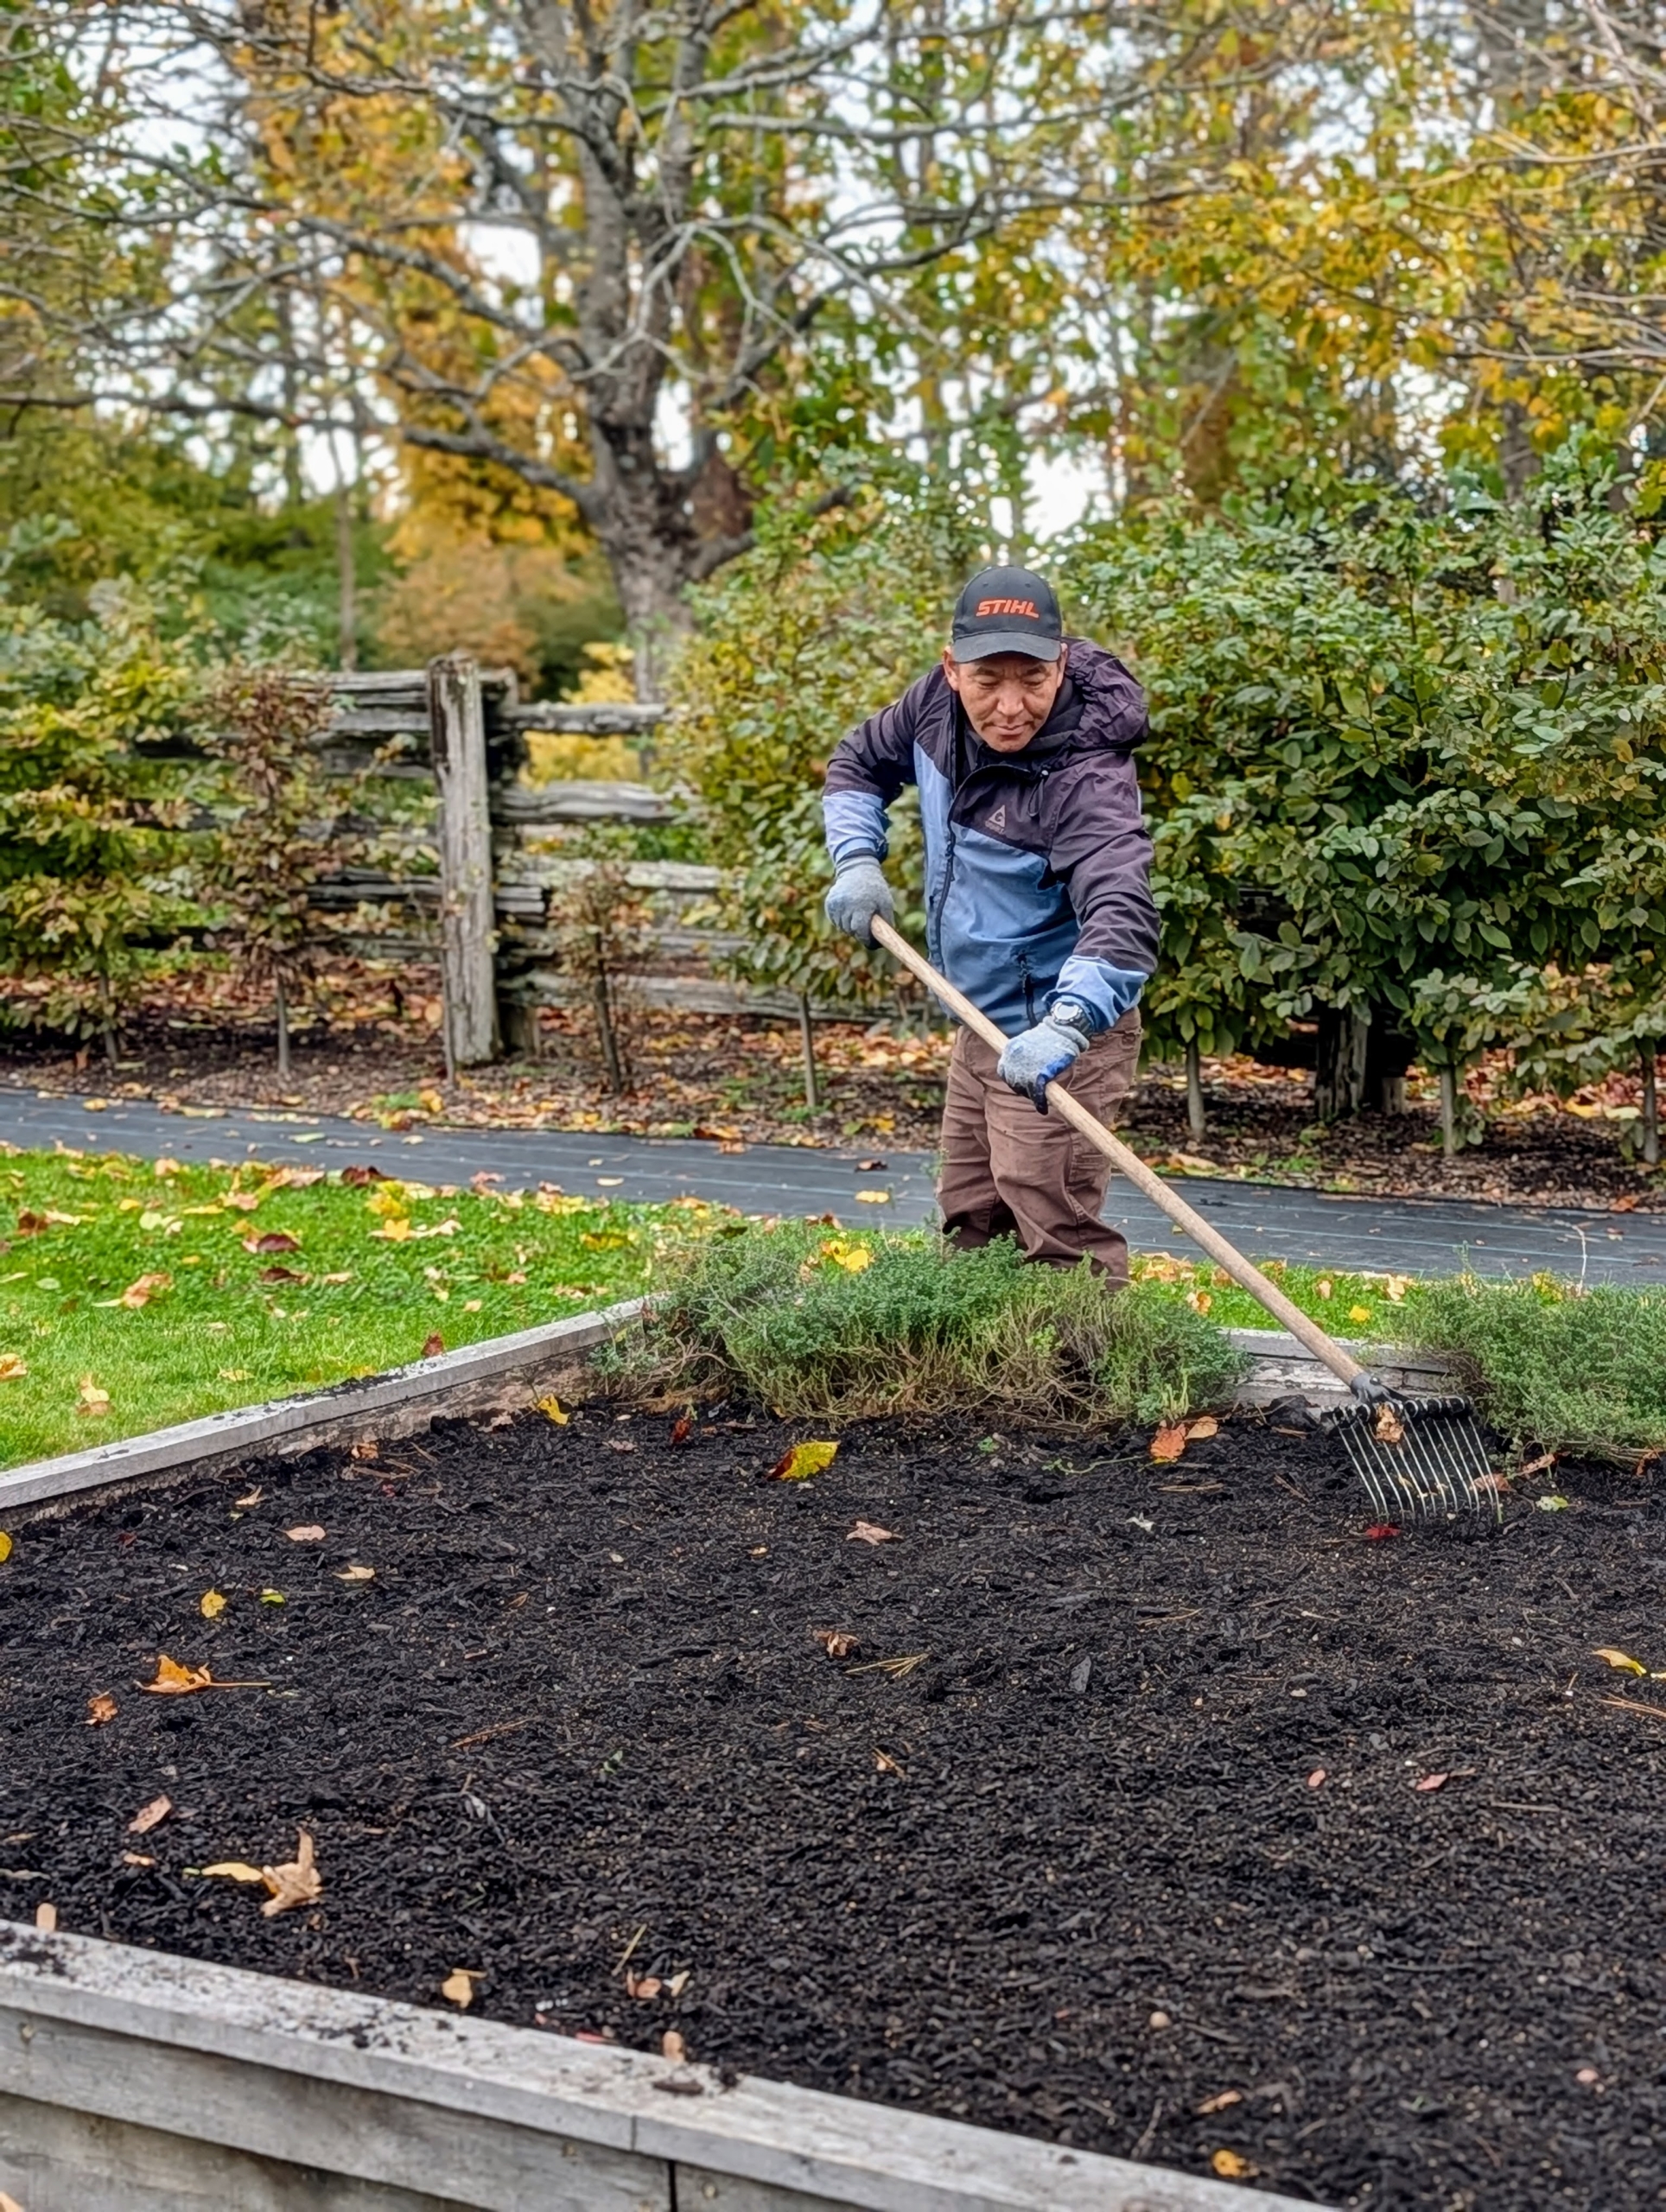
A new top layer of soil is added to the bed before planting the garlic.
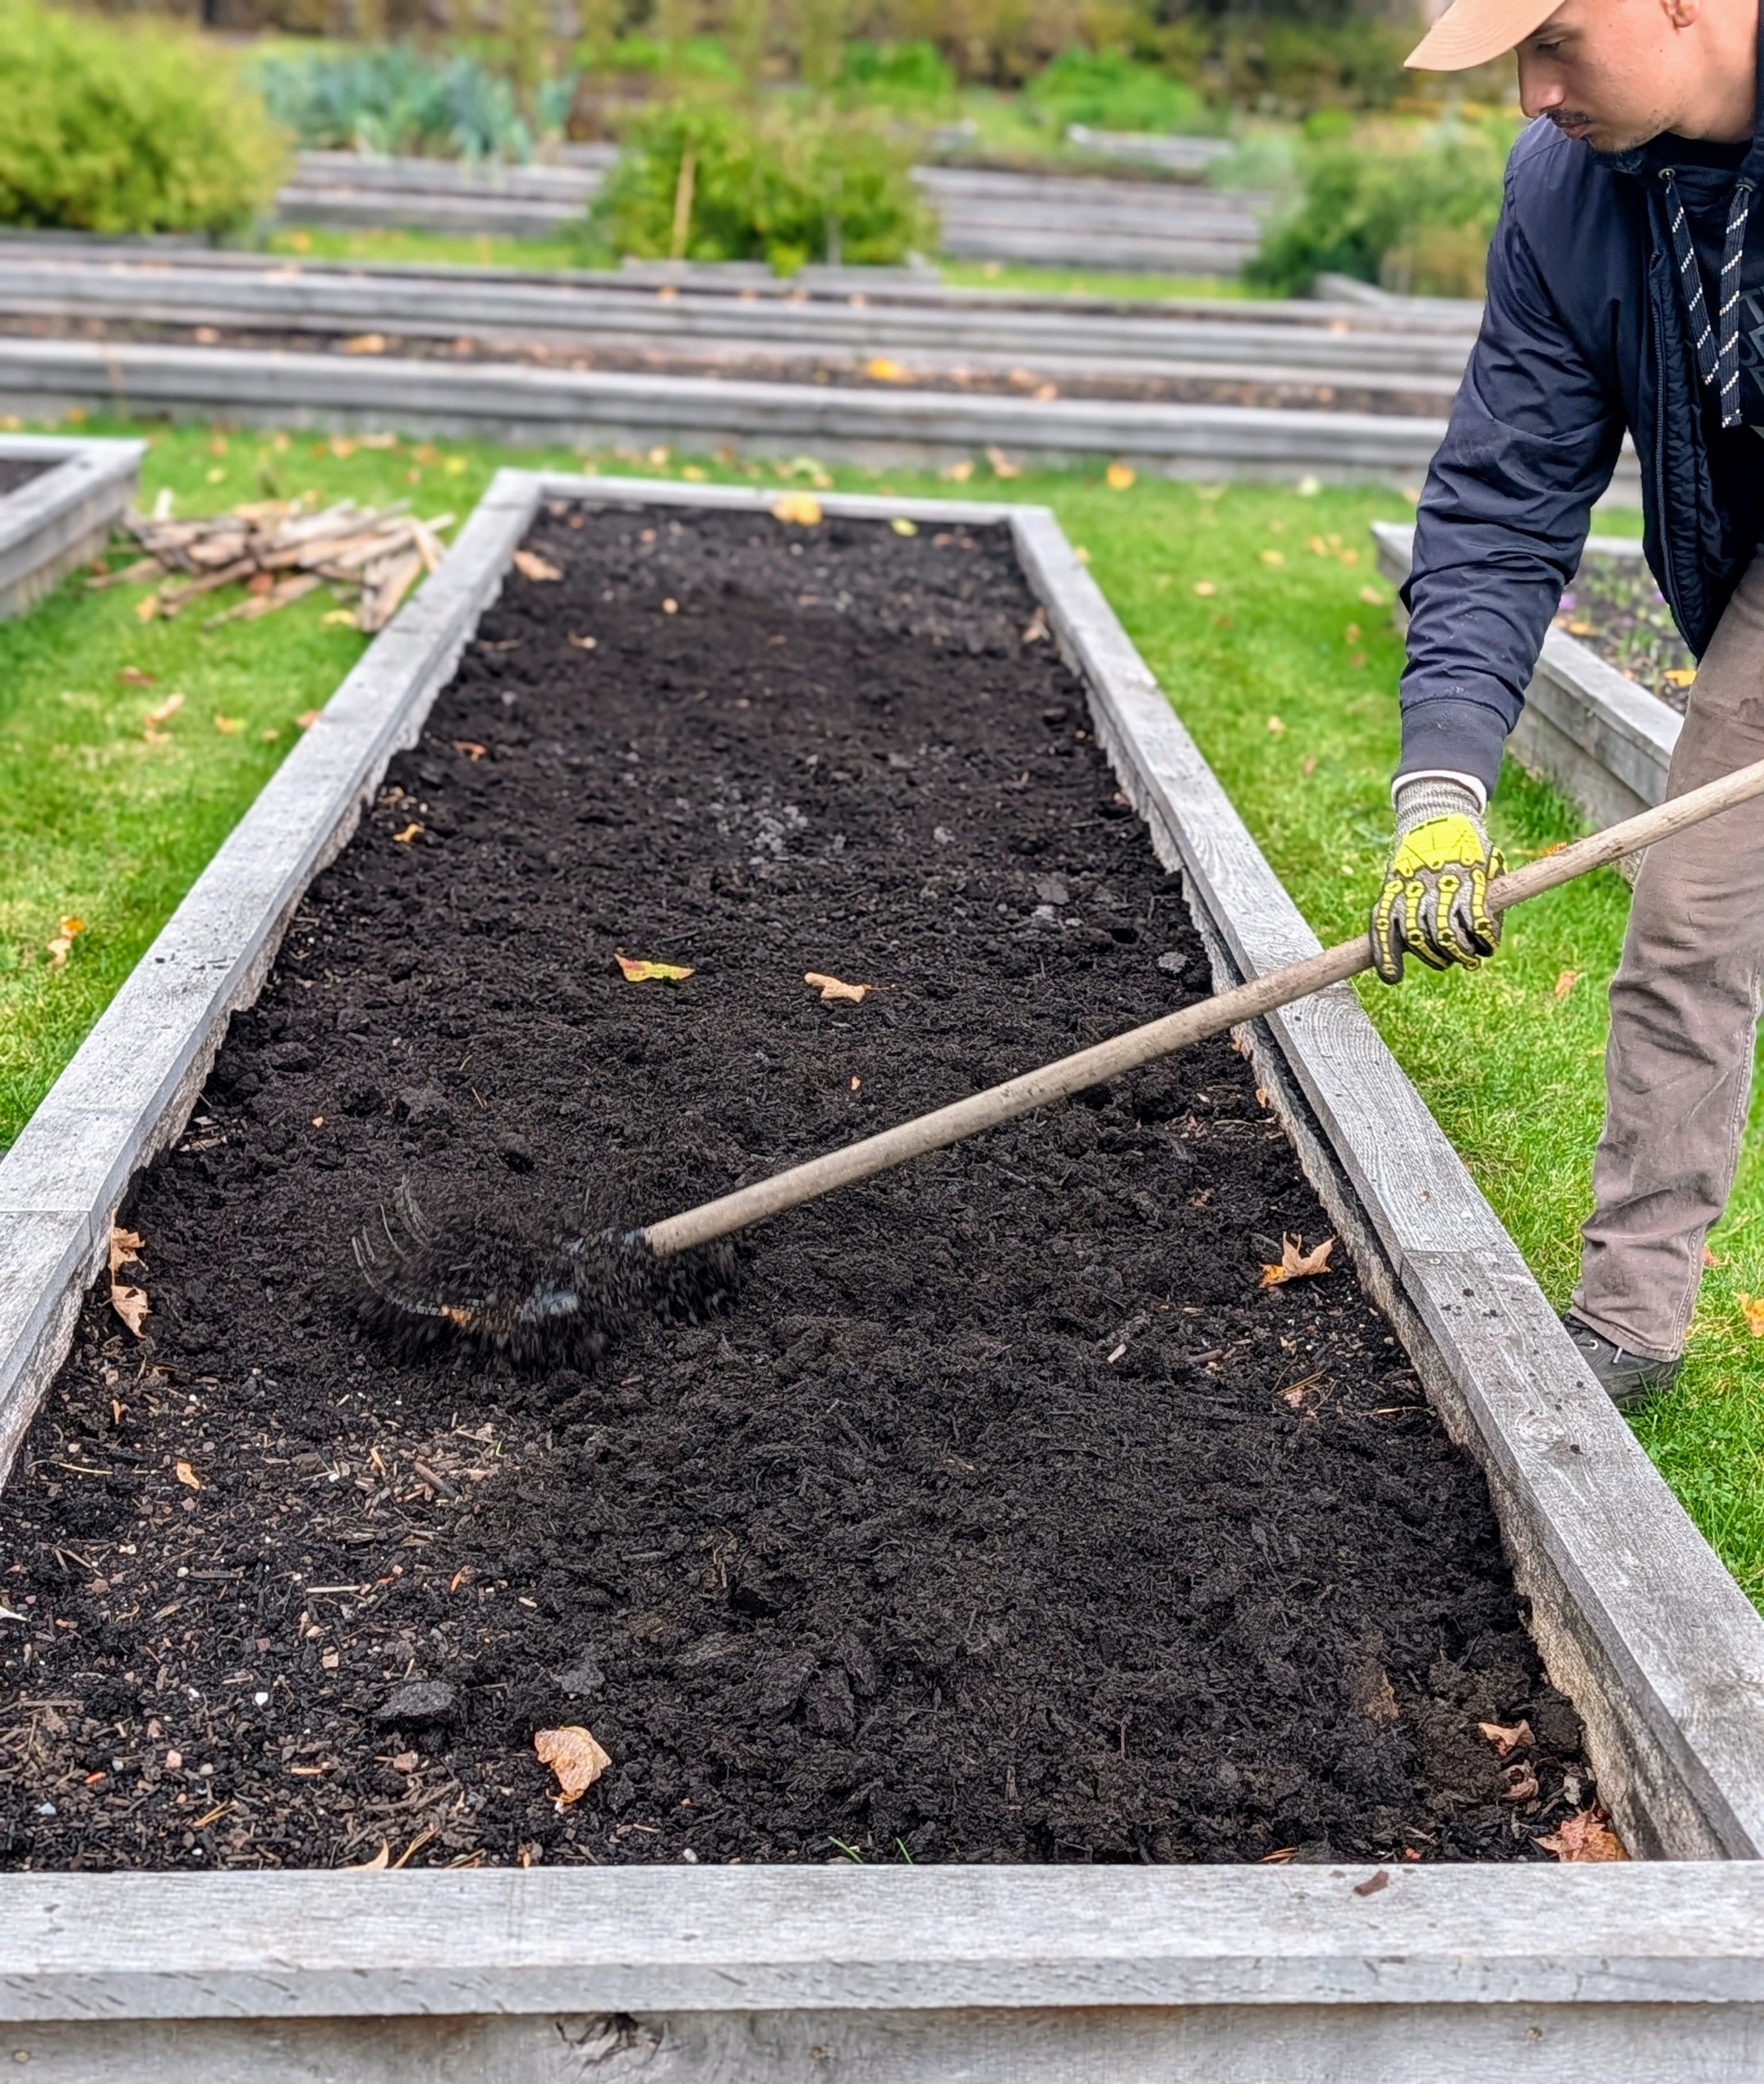
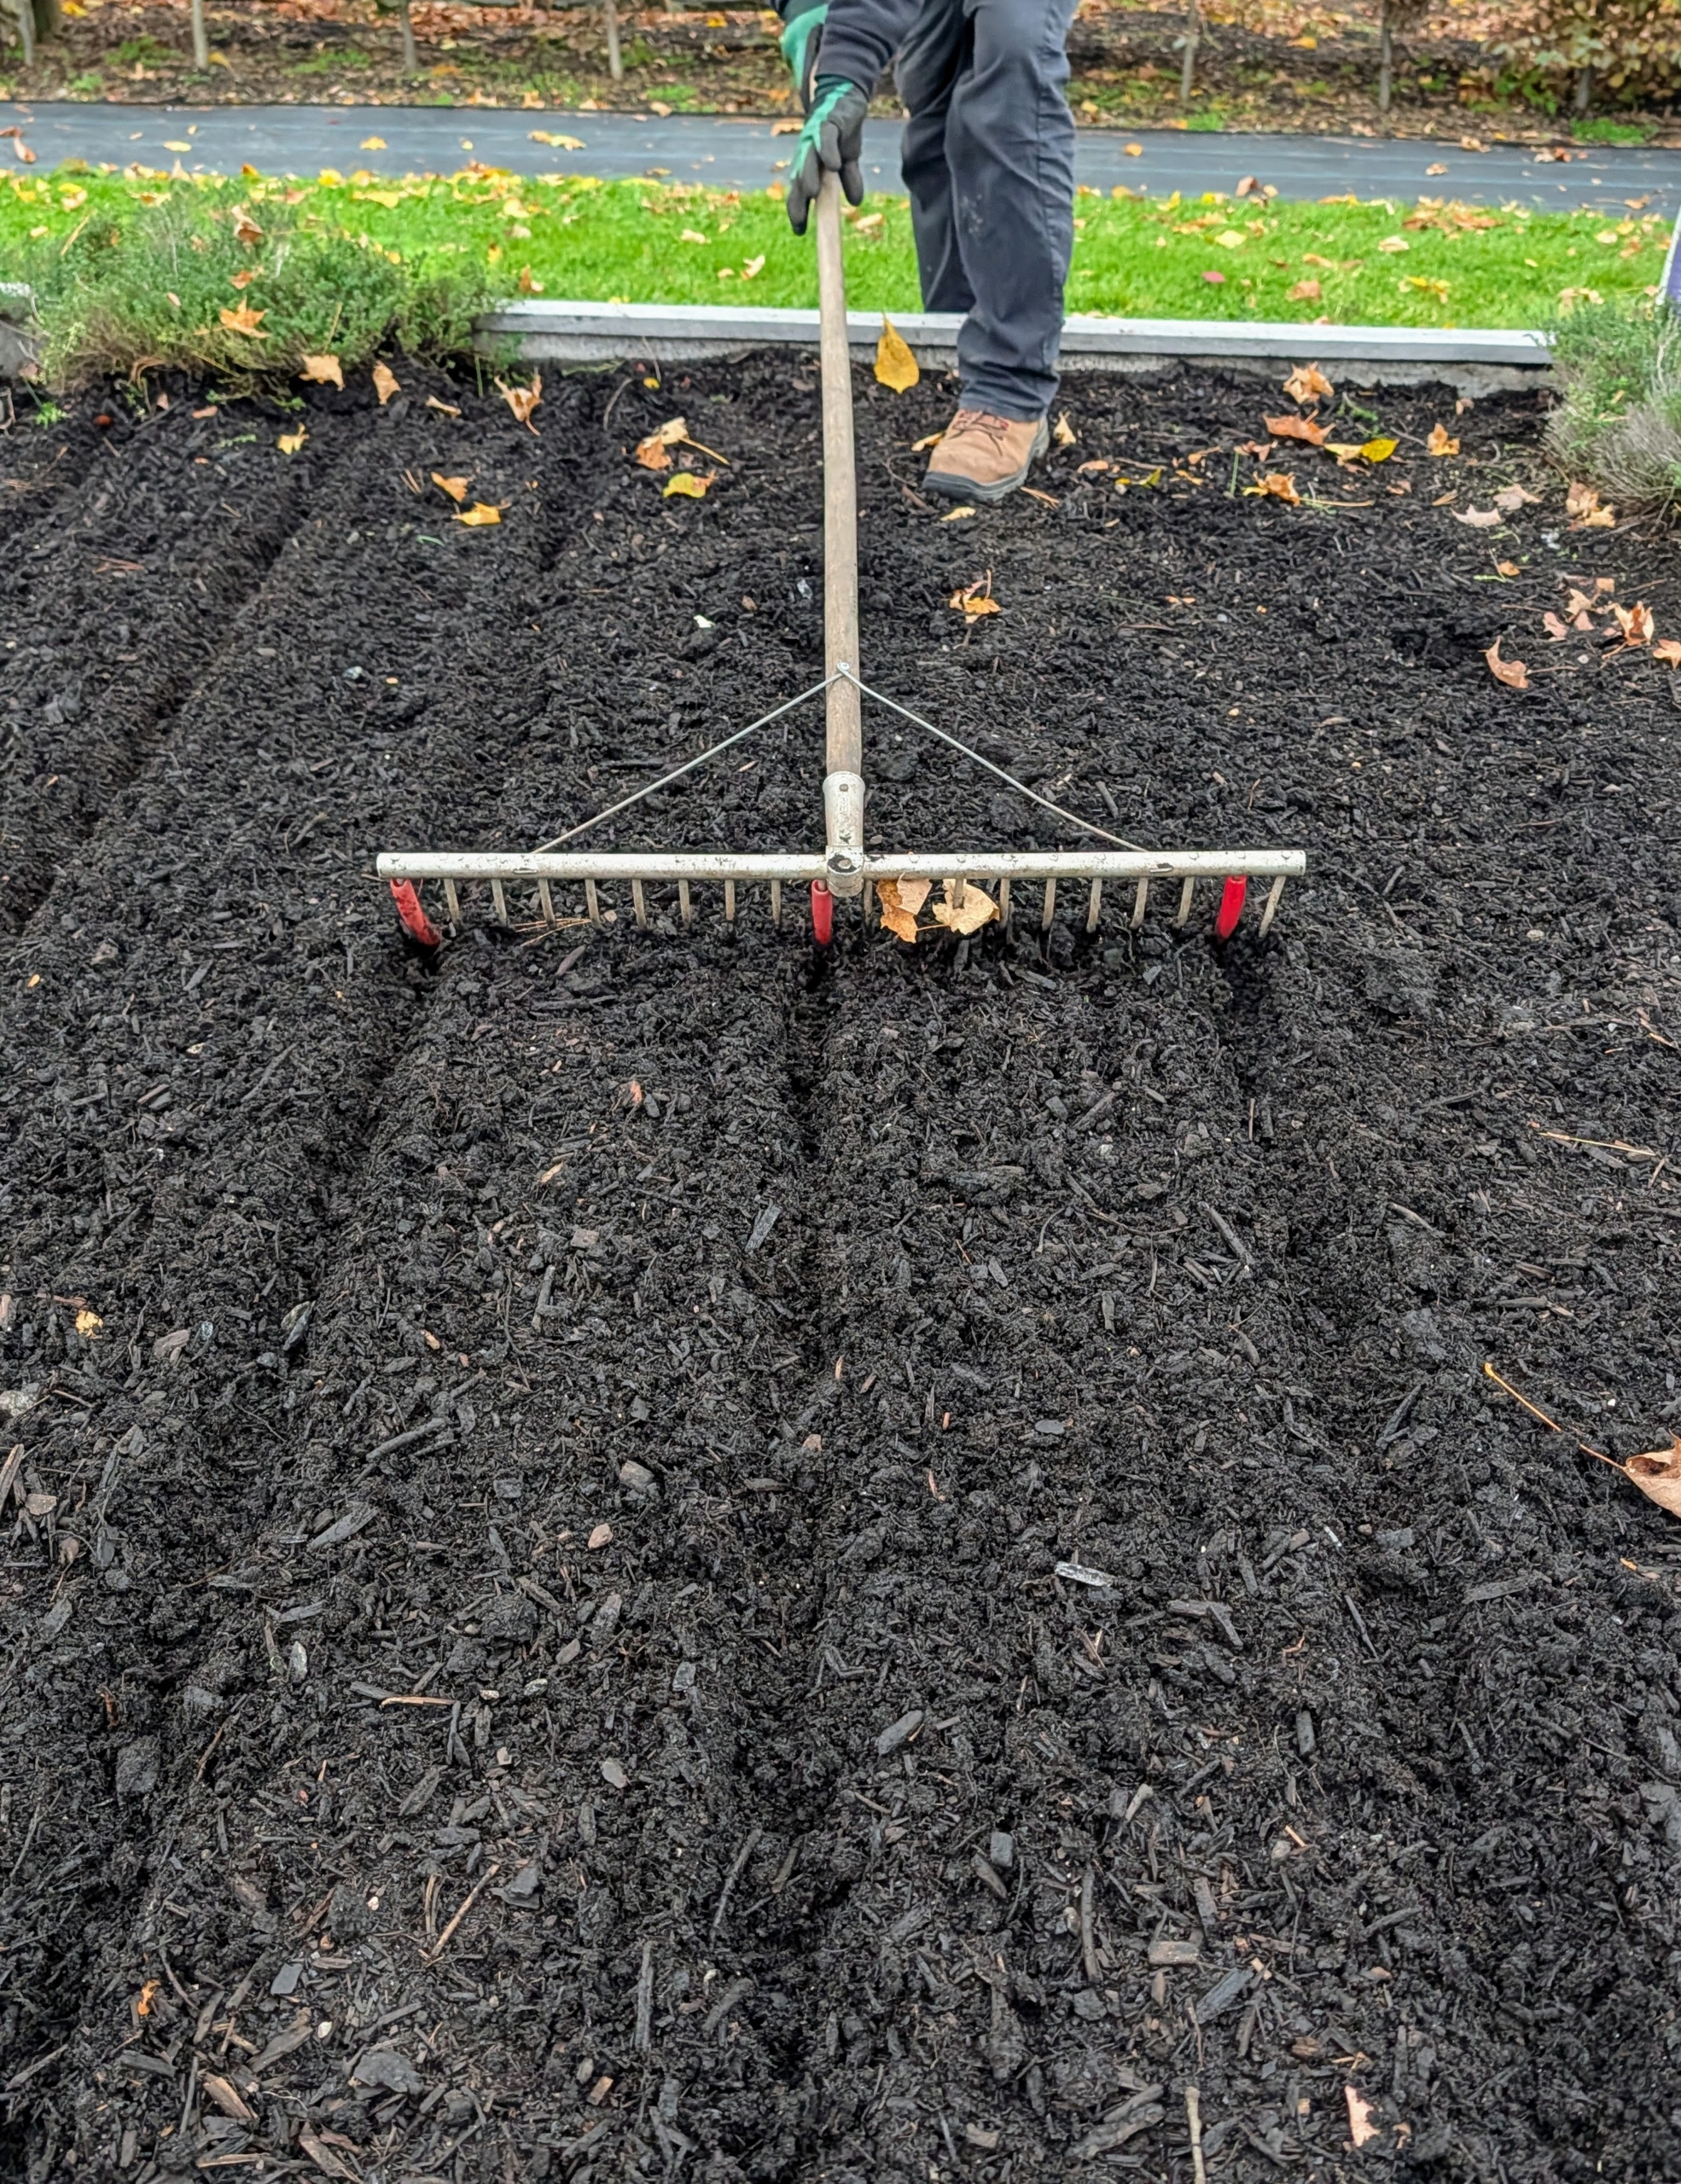
Once the soil is spread across the bed, Matthew rakes it, so it is level and smooth.
In an adjacent bed that has already been cultivated, Ryan uses a Bed Preparation Rake from Johnny’s Selected Seeds to create furrows in the soil. Hard plastic red tubes slide onto selected teeth of the rake to mark the rows.
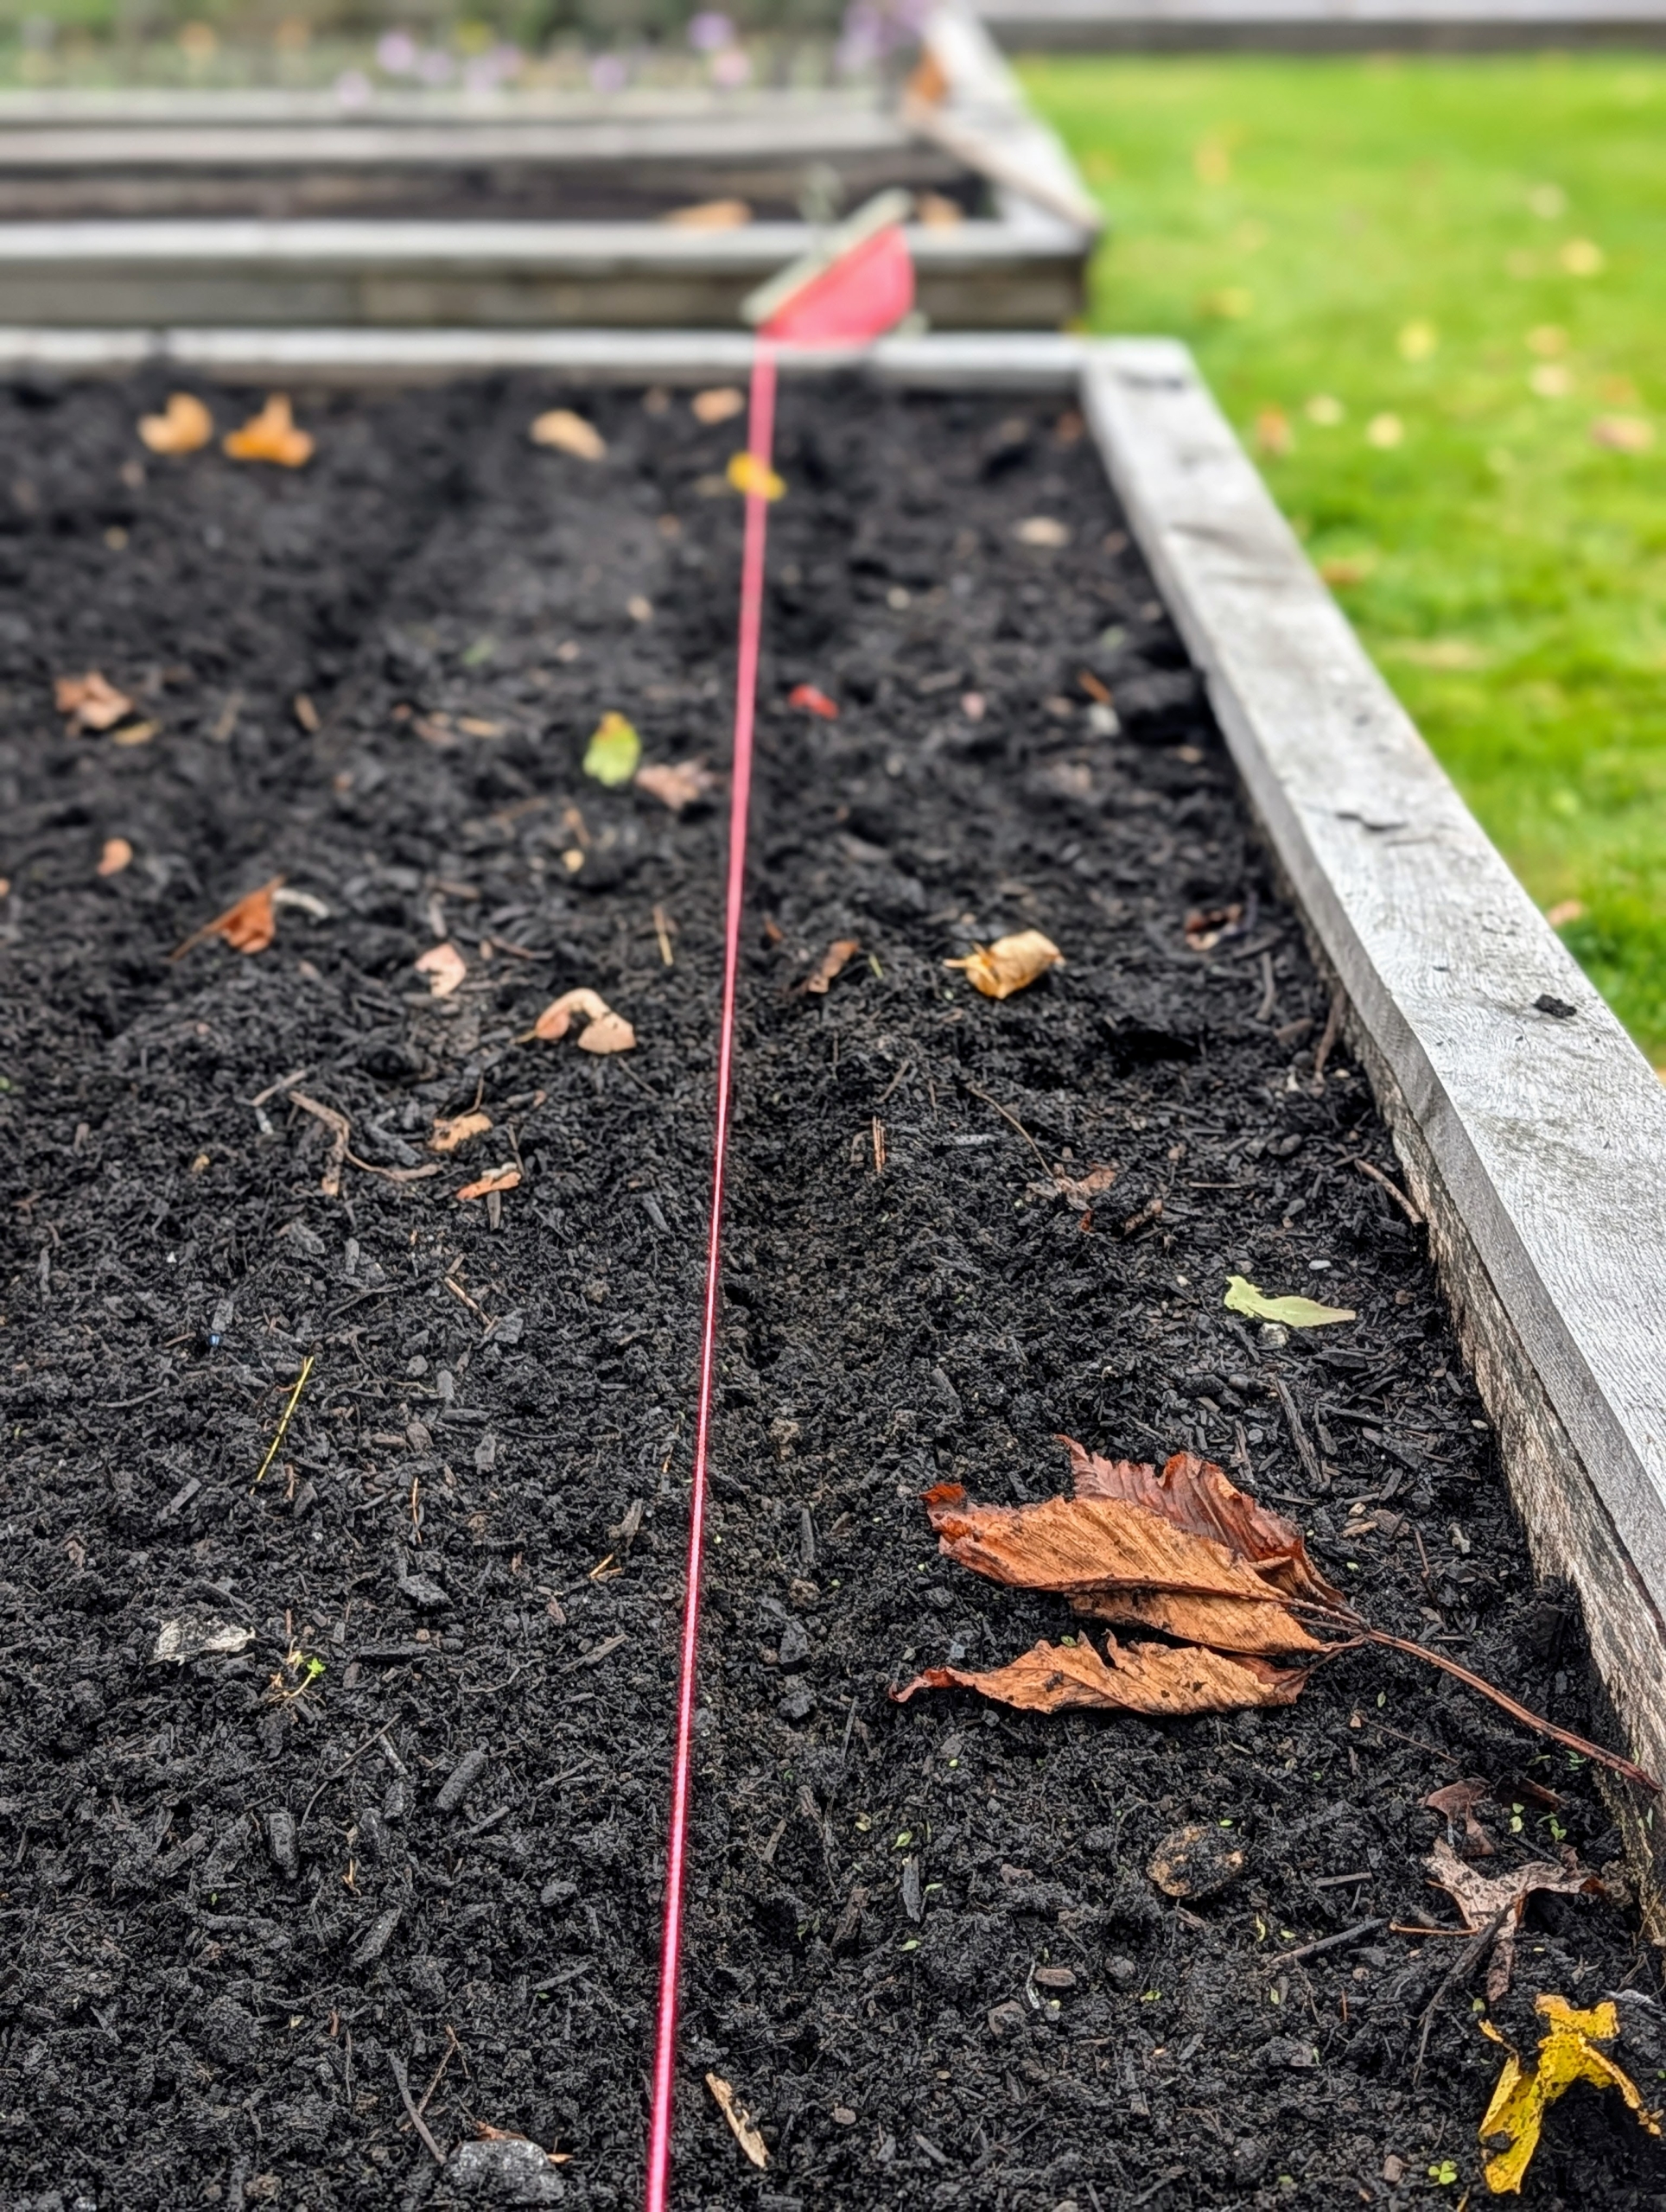
Landscape string is secured at one end to ensure the rows are perfectly straight. This is a guide for all the other rows in the bed. Ryan already determined how many rows would fit in this bed and how many garlic cloves would be planted in each row.
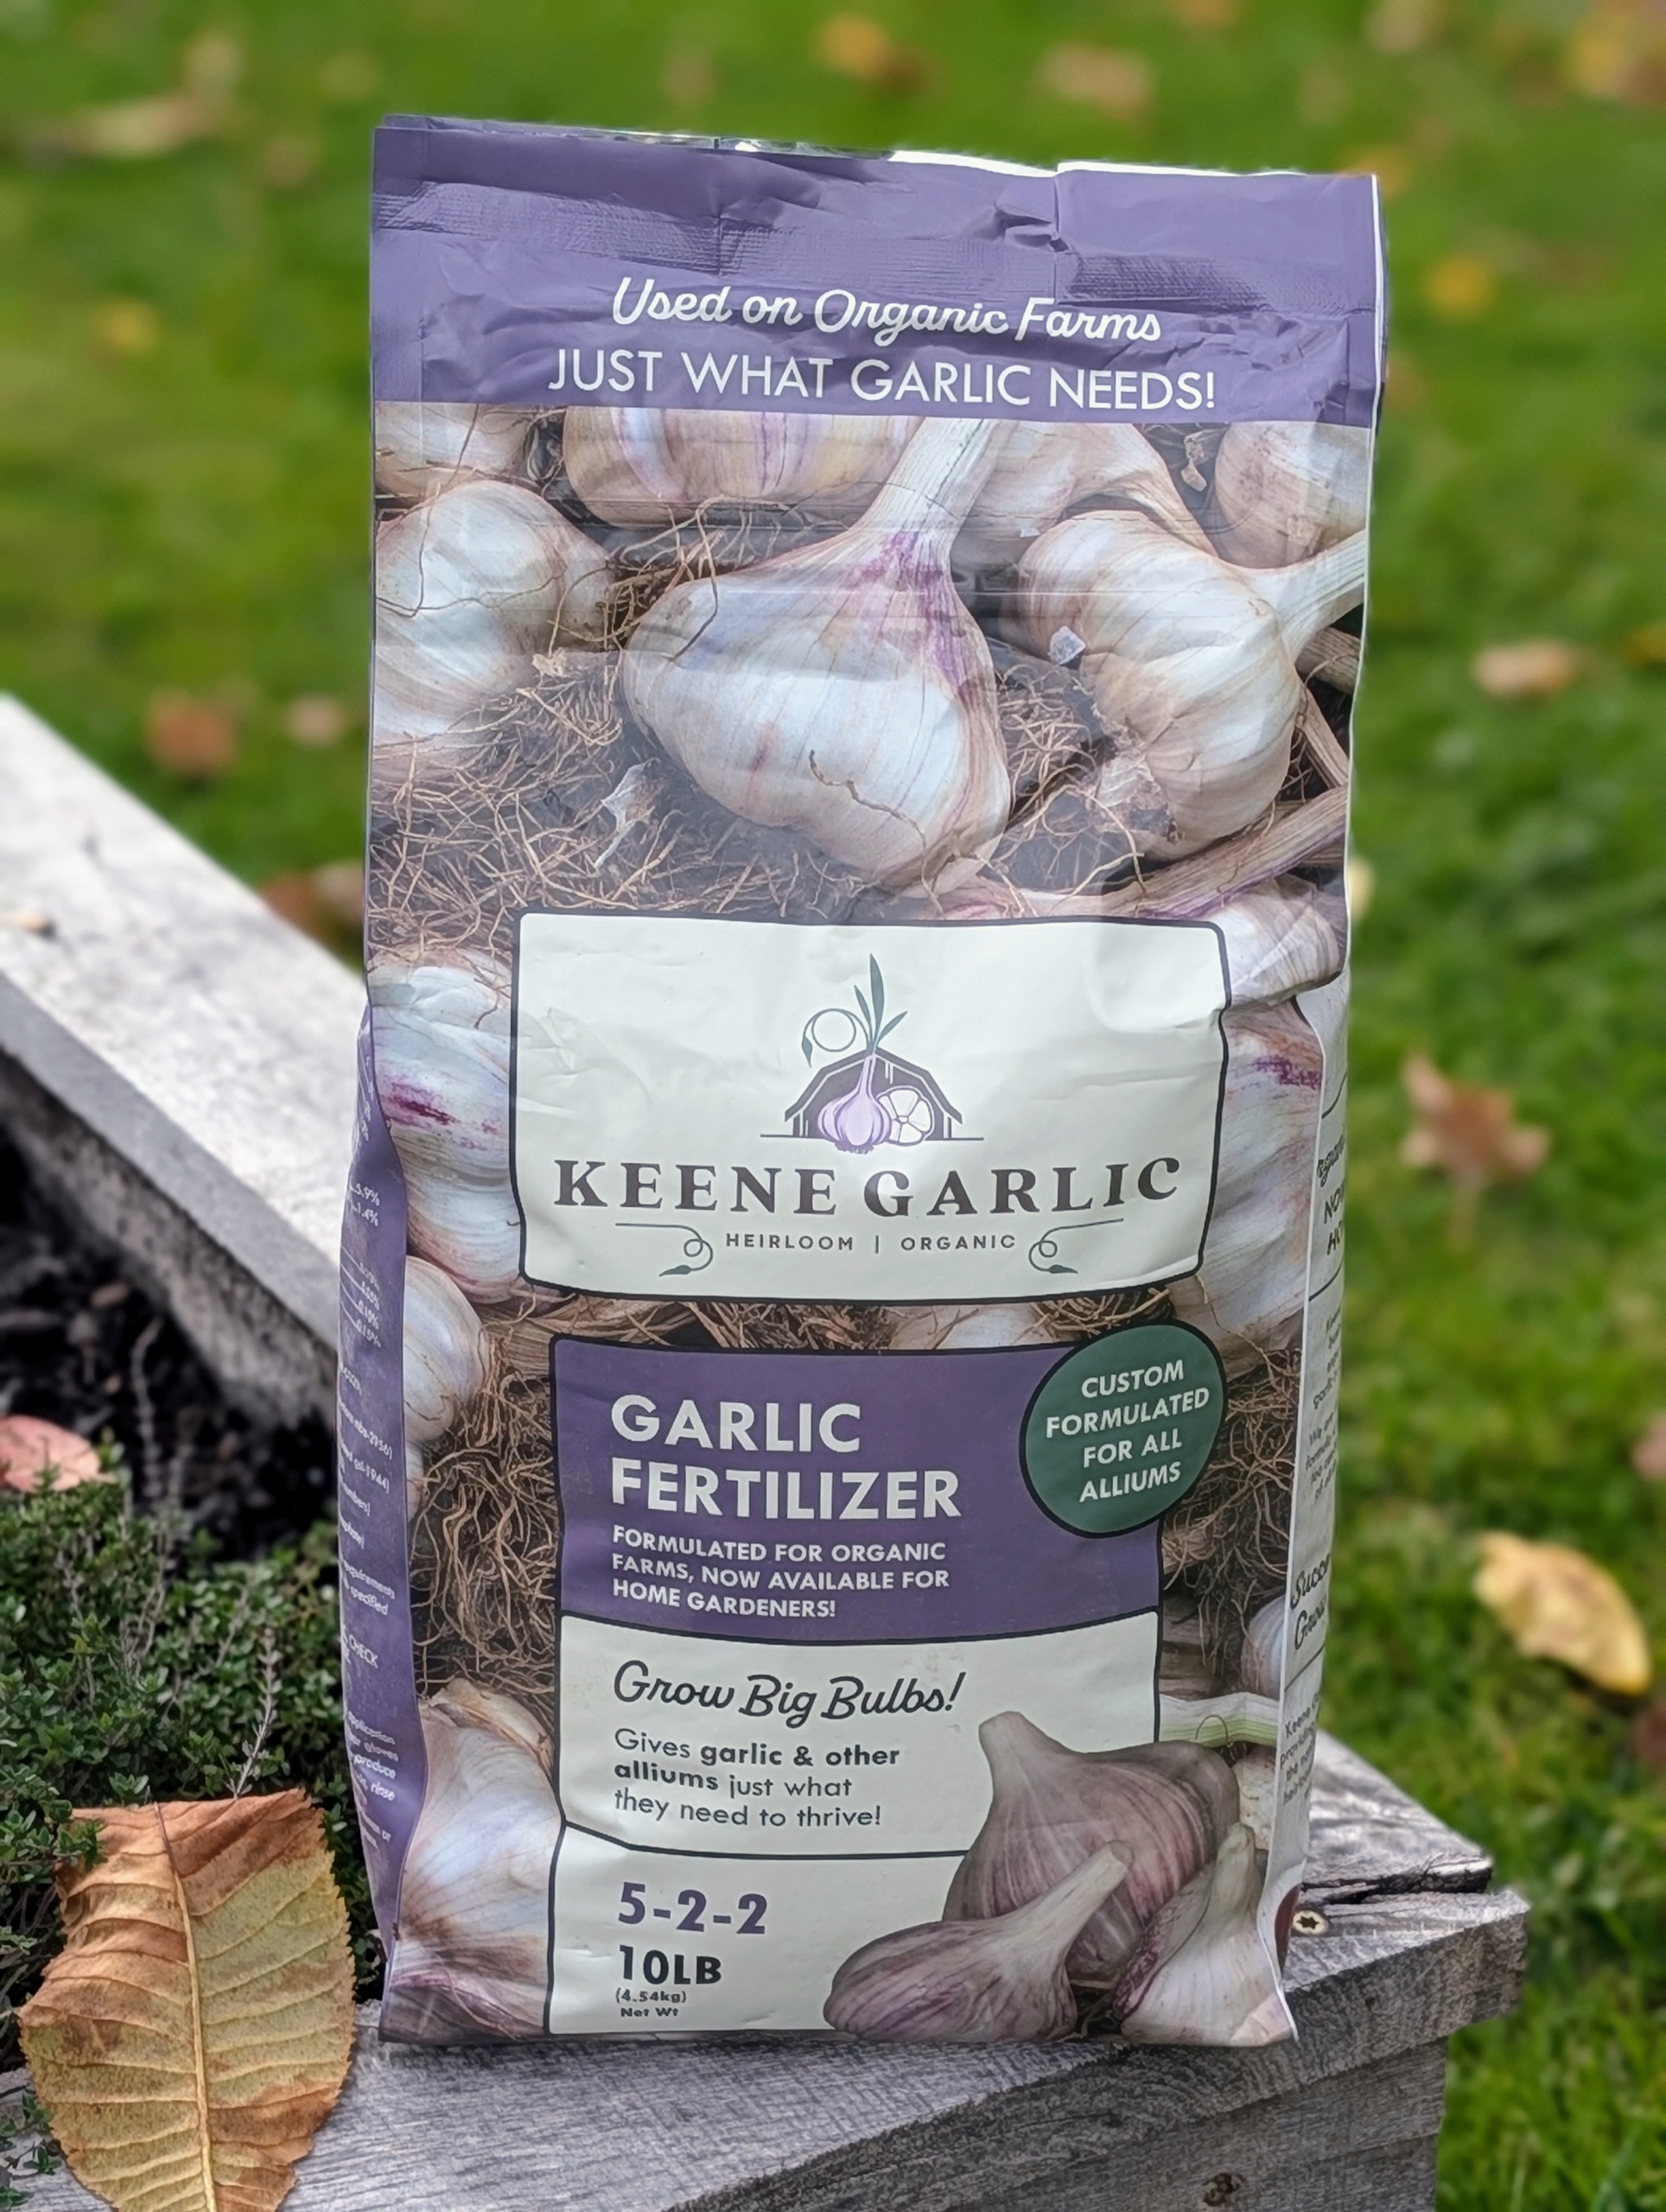
Next, it’s important to feed the bed. Keene Garlic Fertilizer is an organic 5-2-2 formula specially made for garlic and alliums.
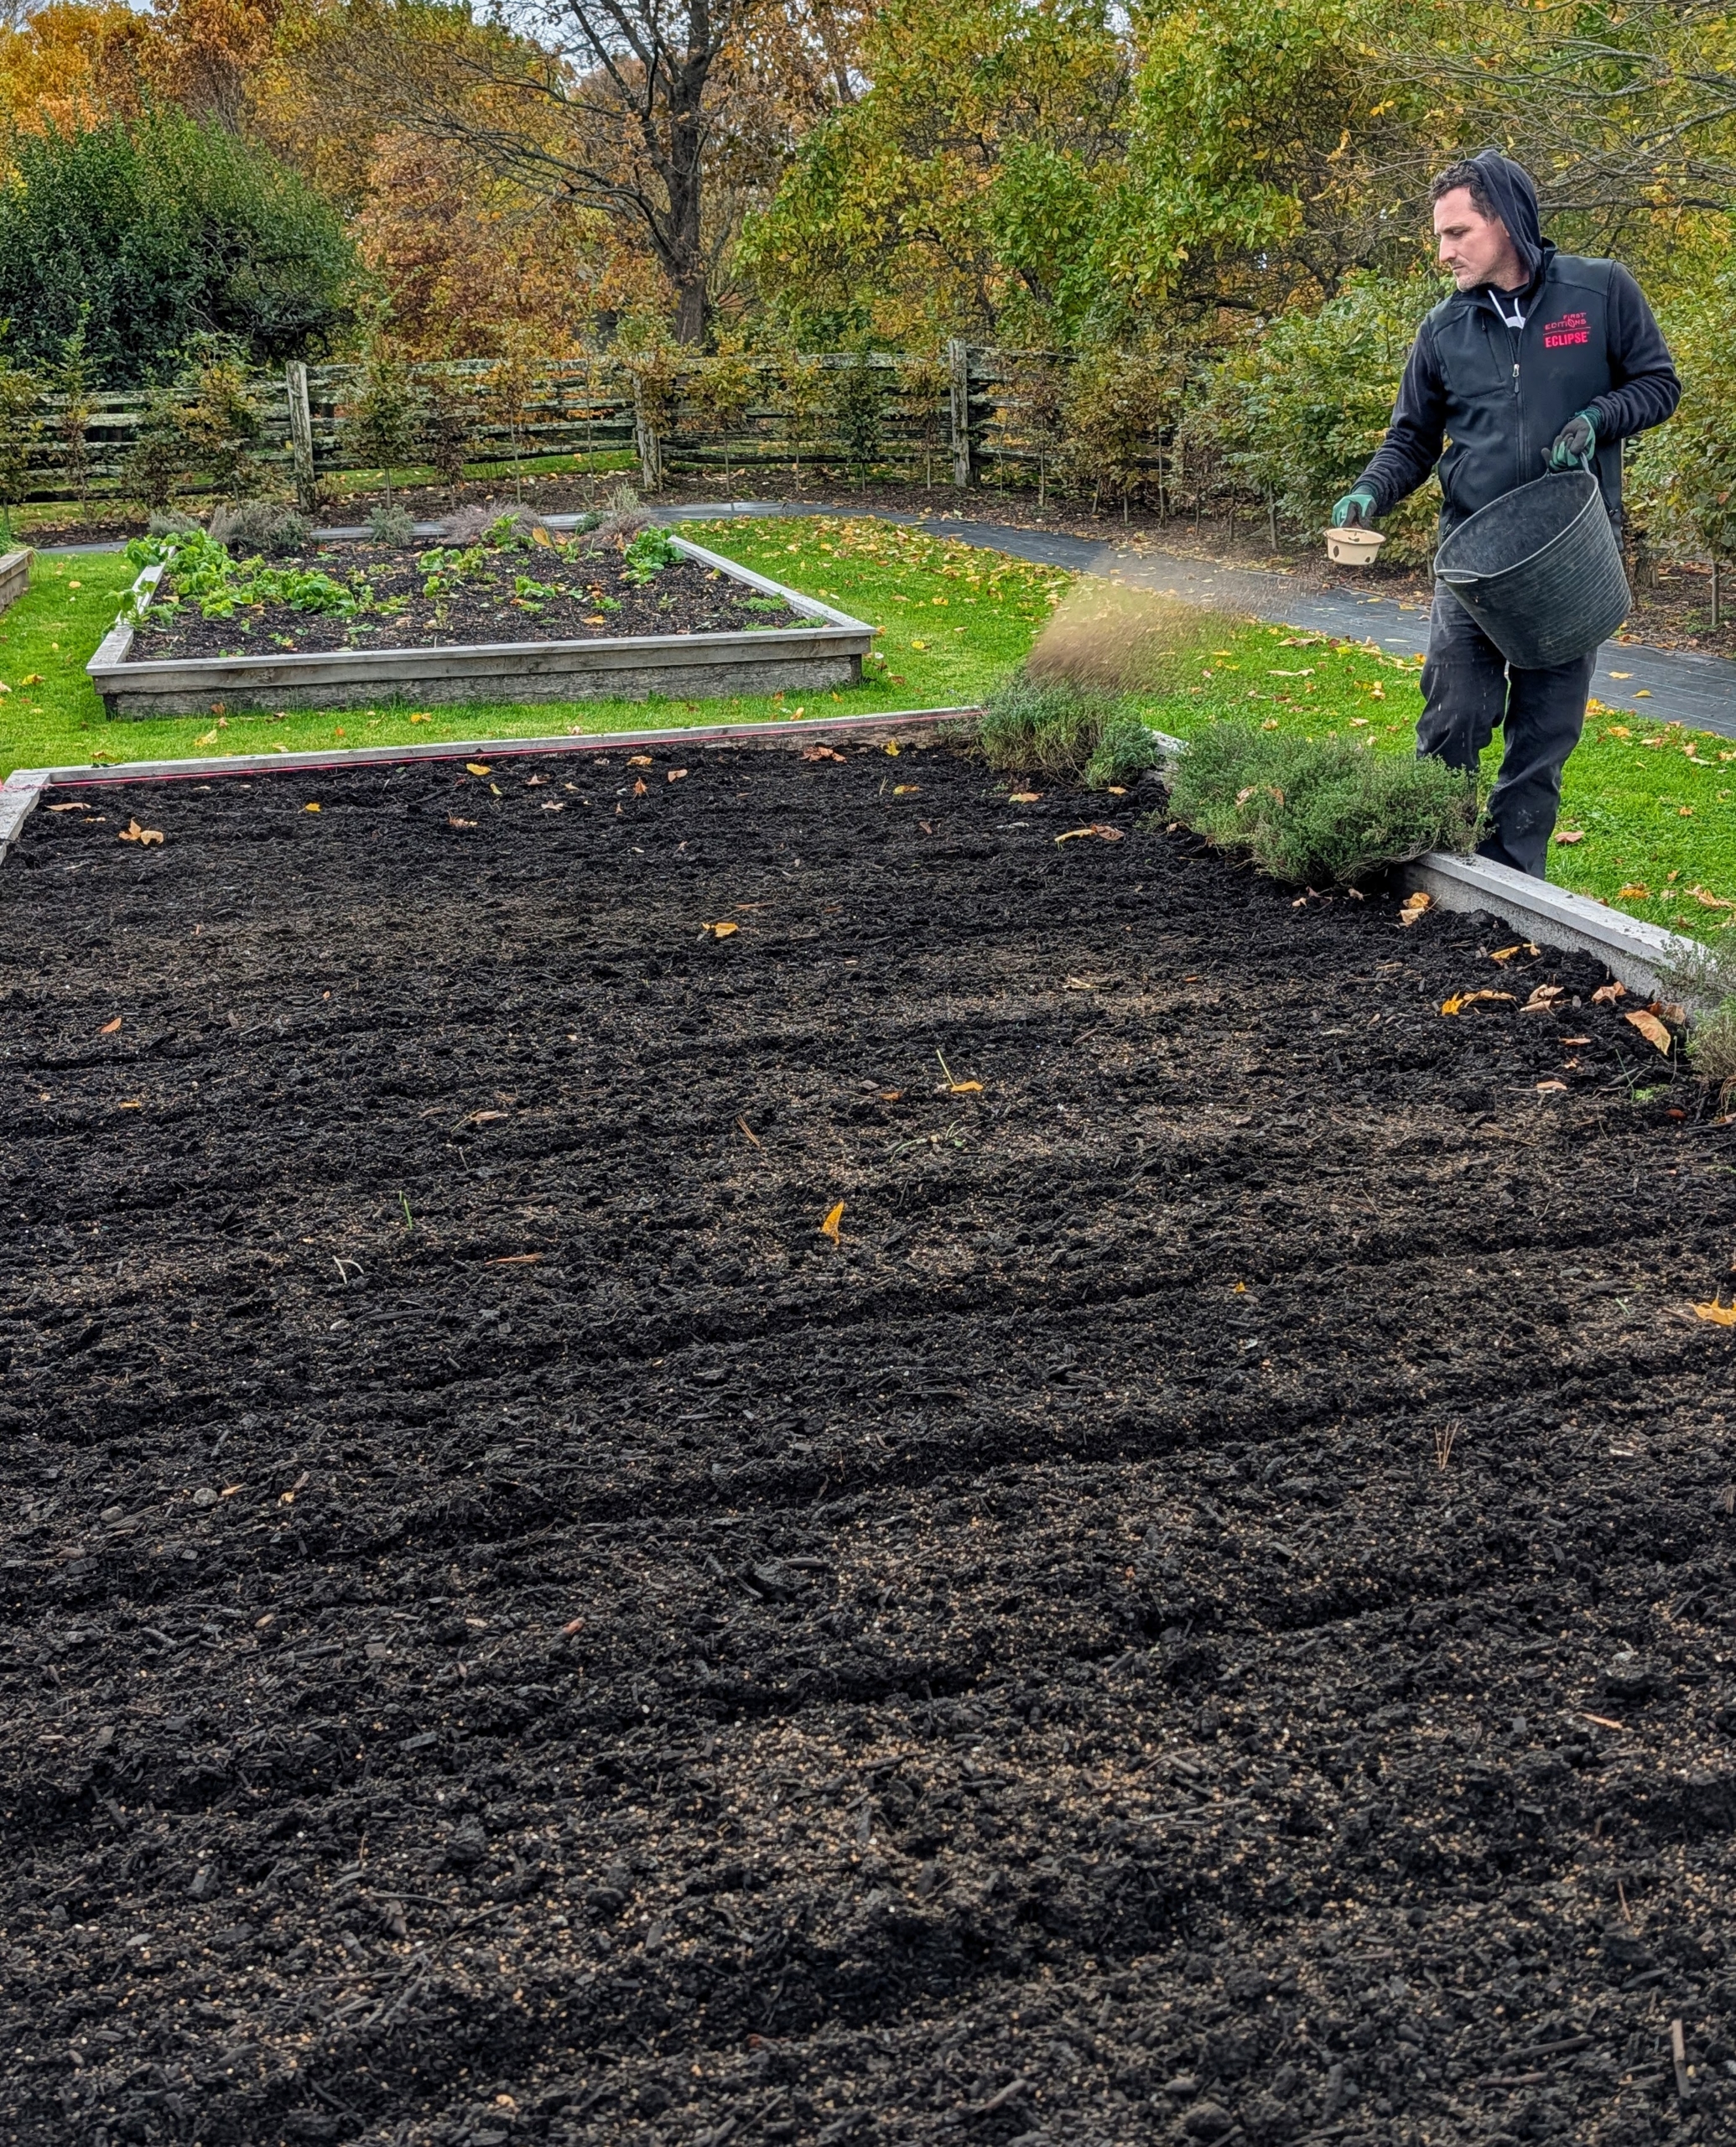
Using a scoop, Ryan broadcasts a generous amount of fertilizer over the beds.
This fertilizer will help produce large, robust bulbs that are flavorful and nutritious.
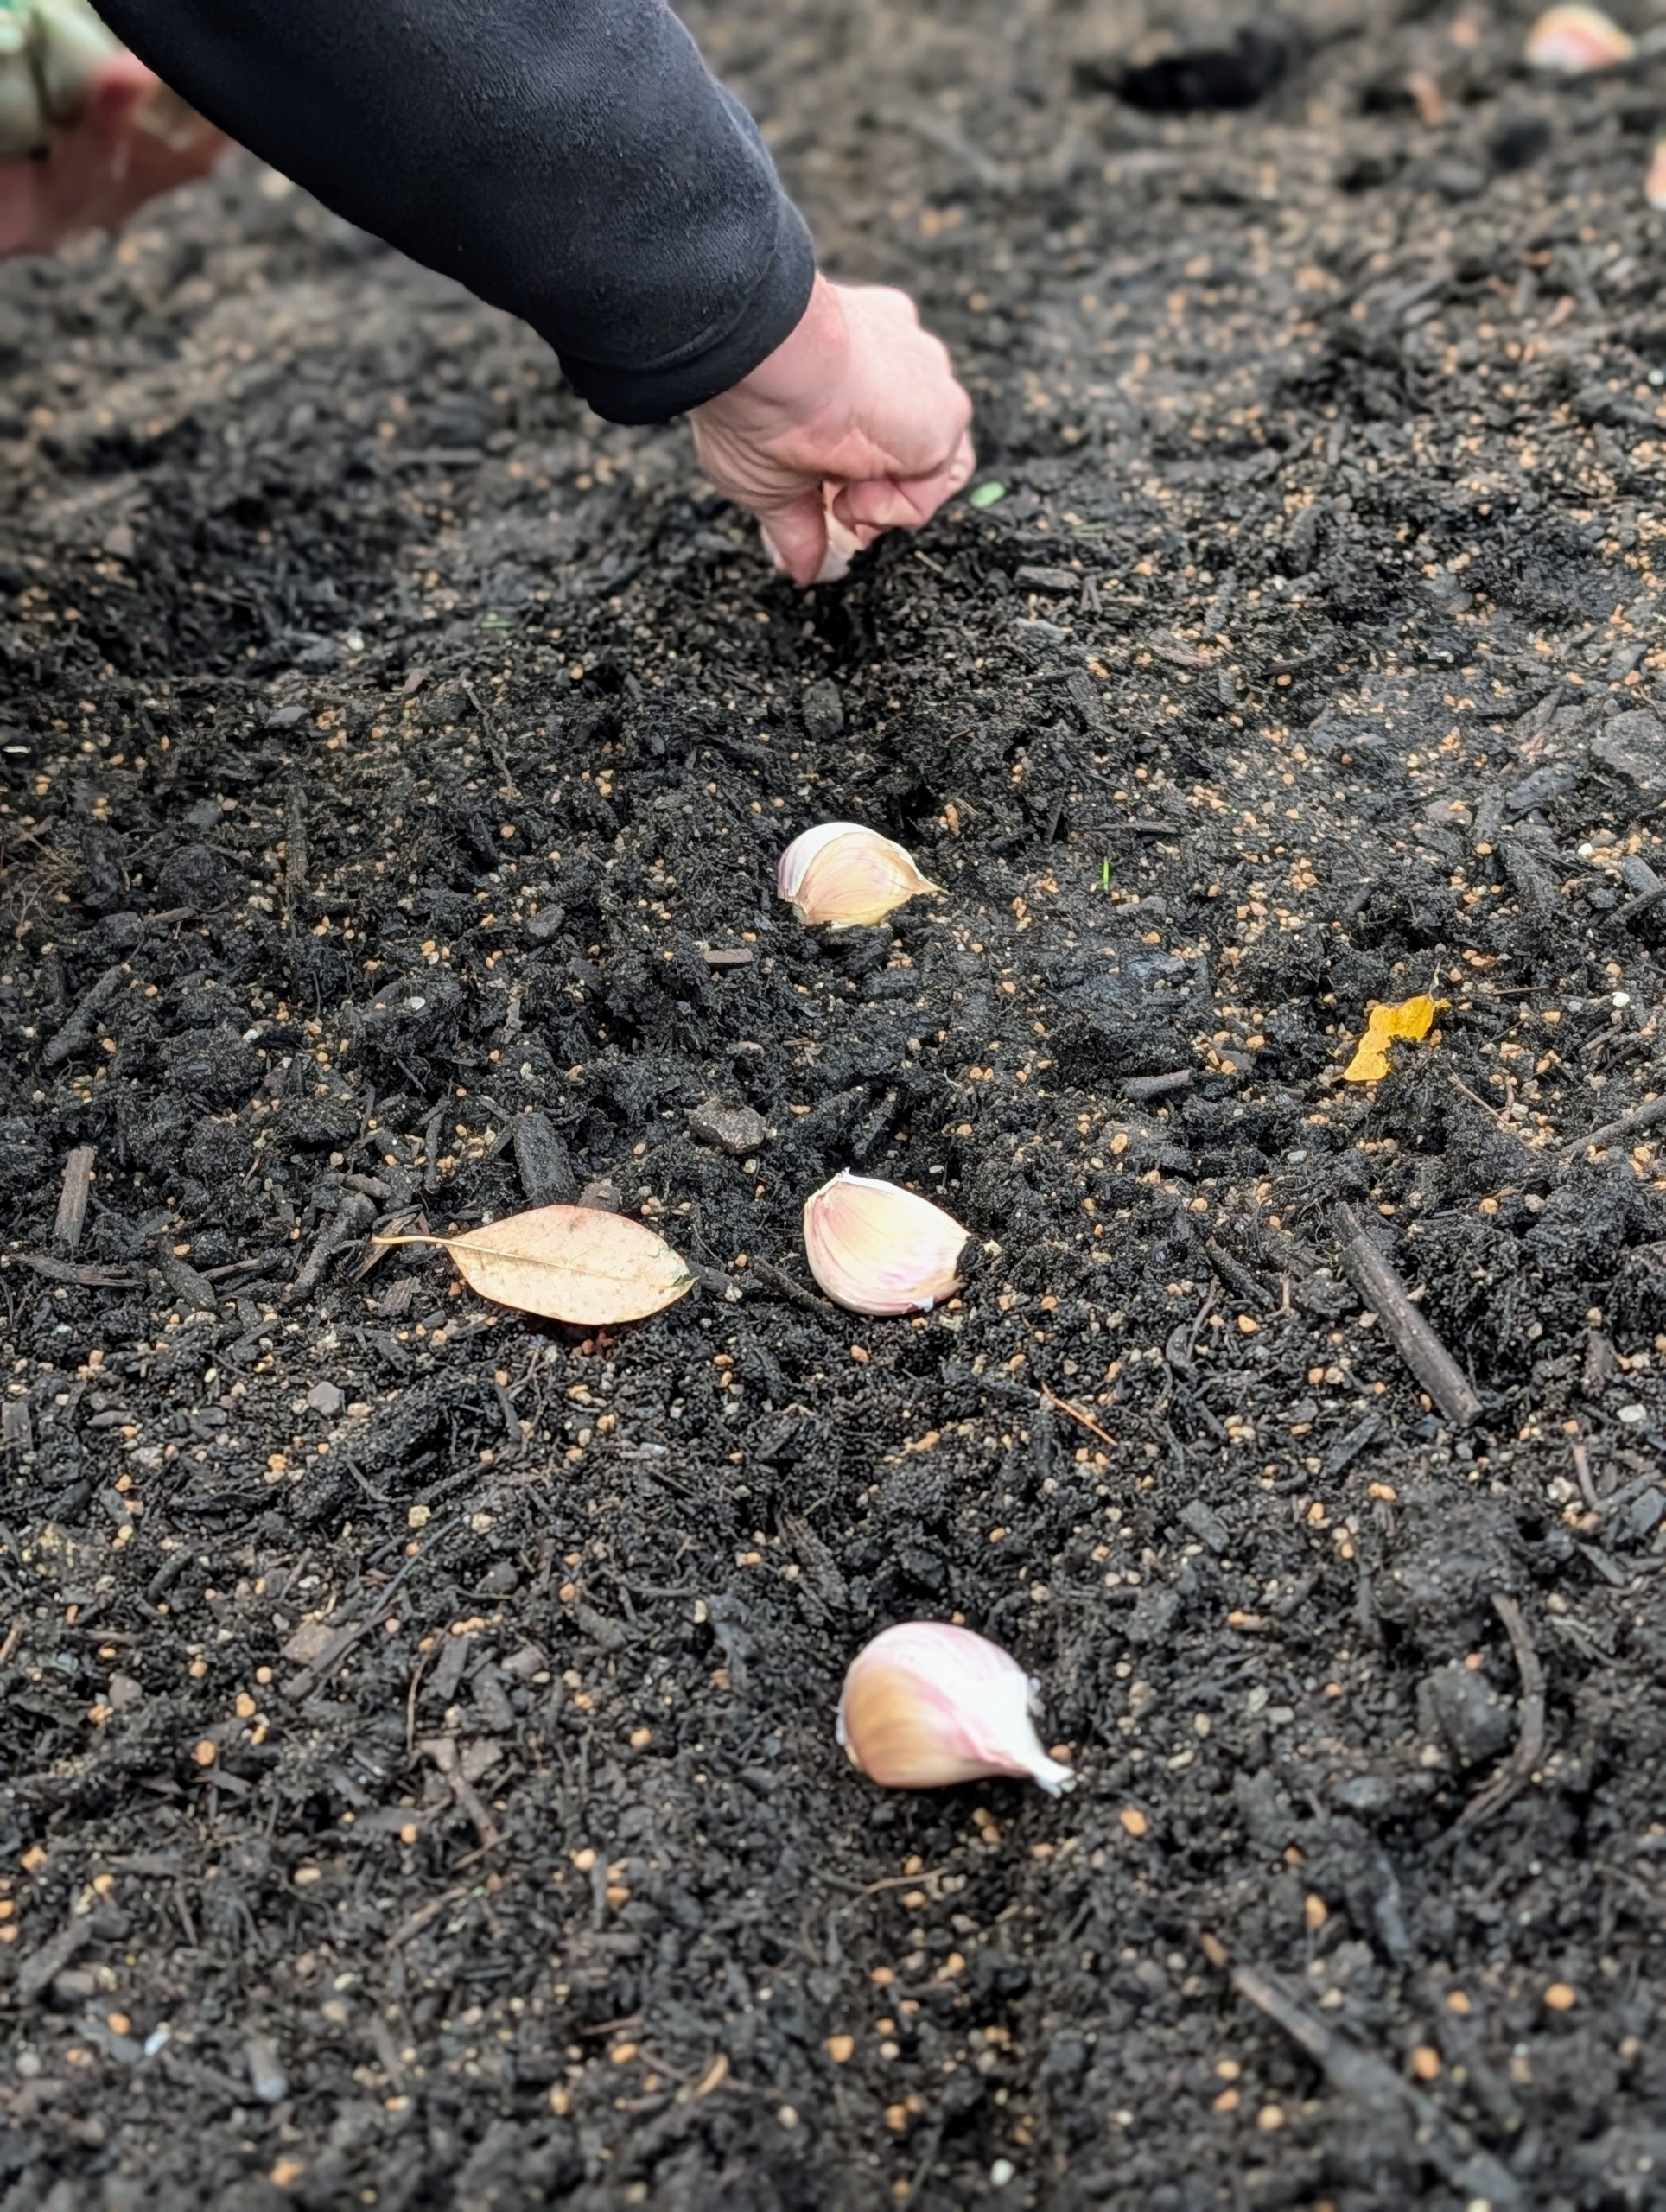
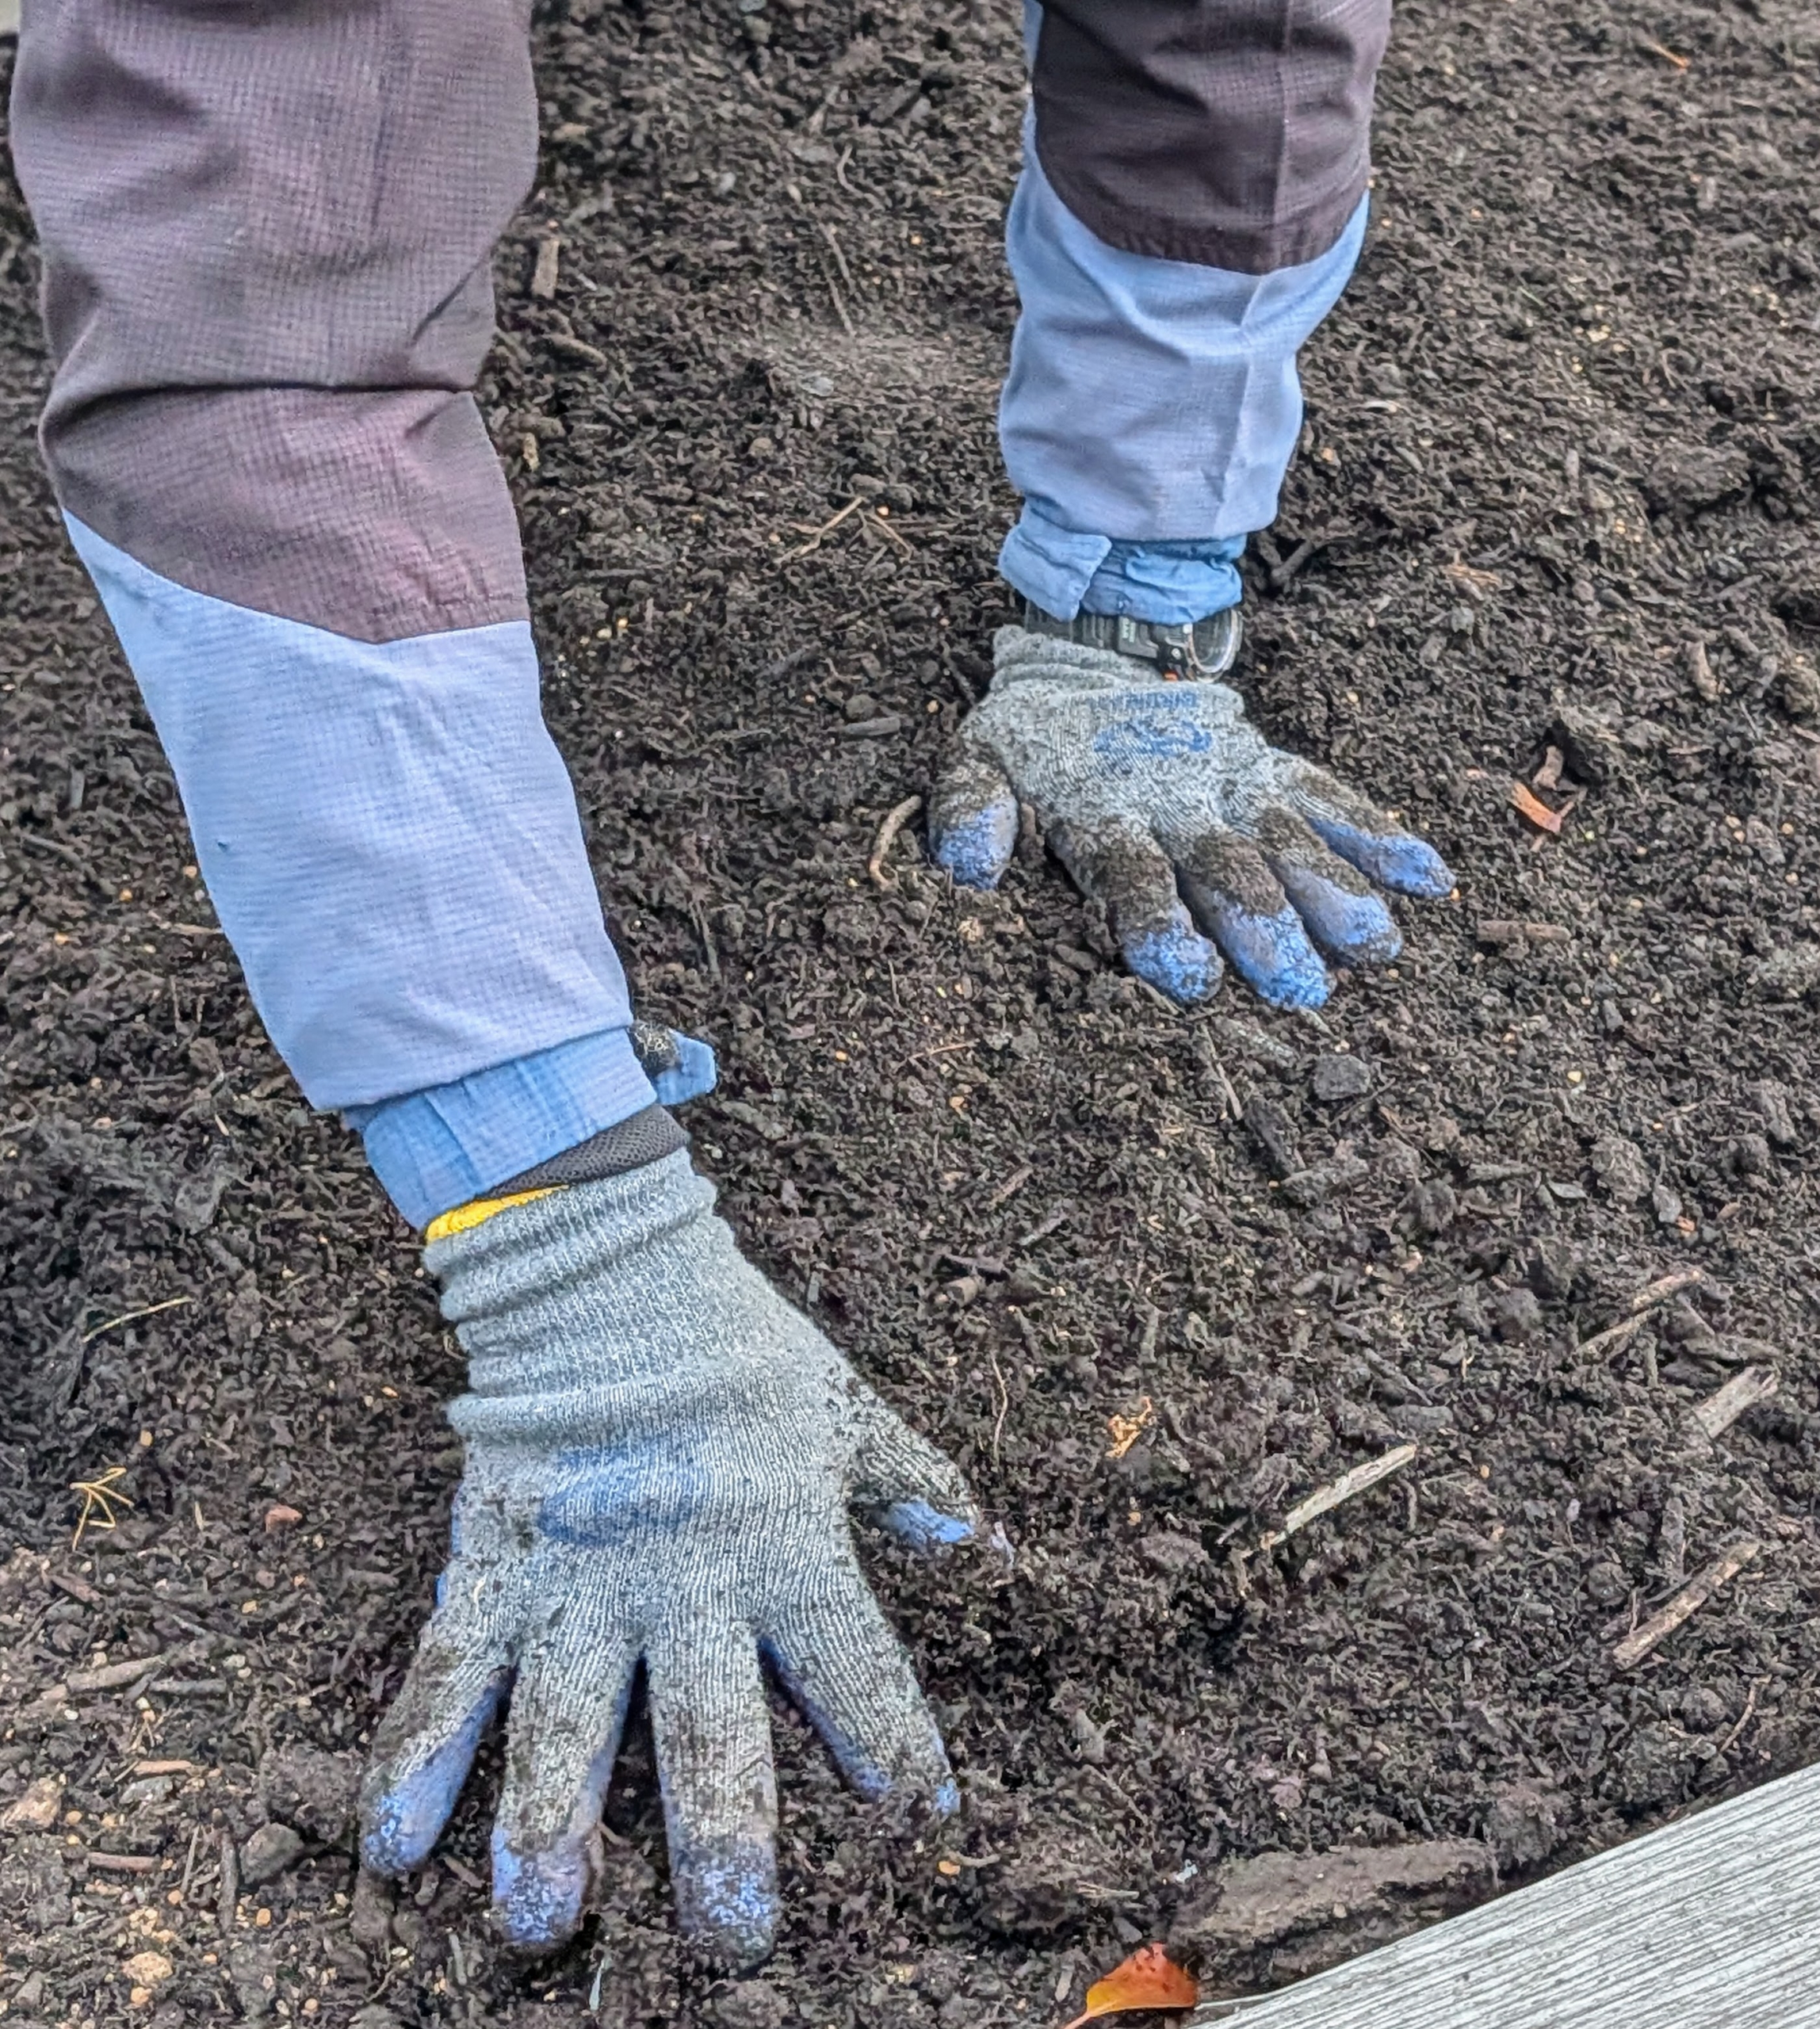
Ryan positions each clove. When planting multiple rows of garlic, be sure the rows are at least one-foot apart.
It is also important to give each clove enough room to grow and develop. They should be planted at least several inches from each other.
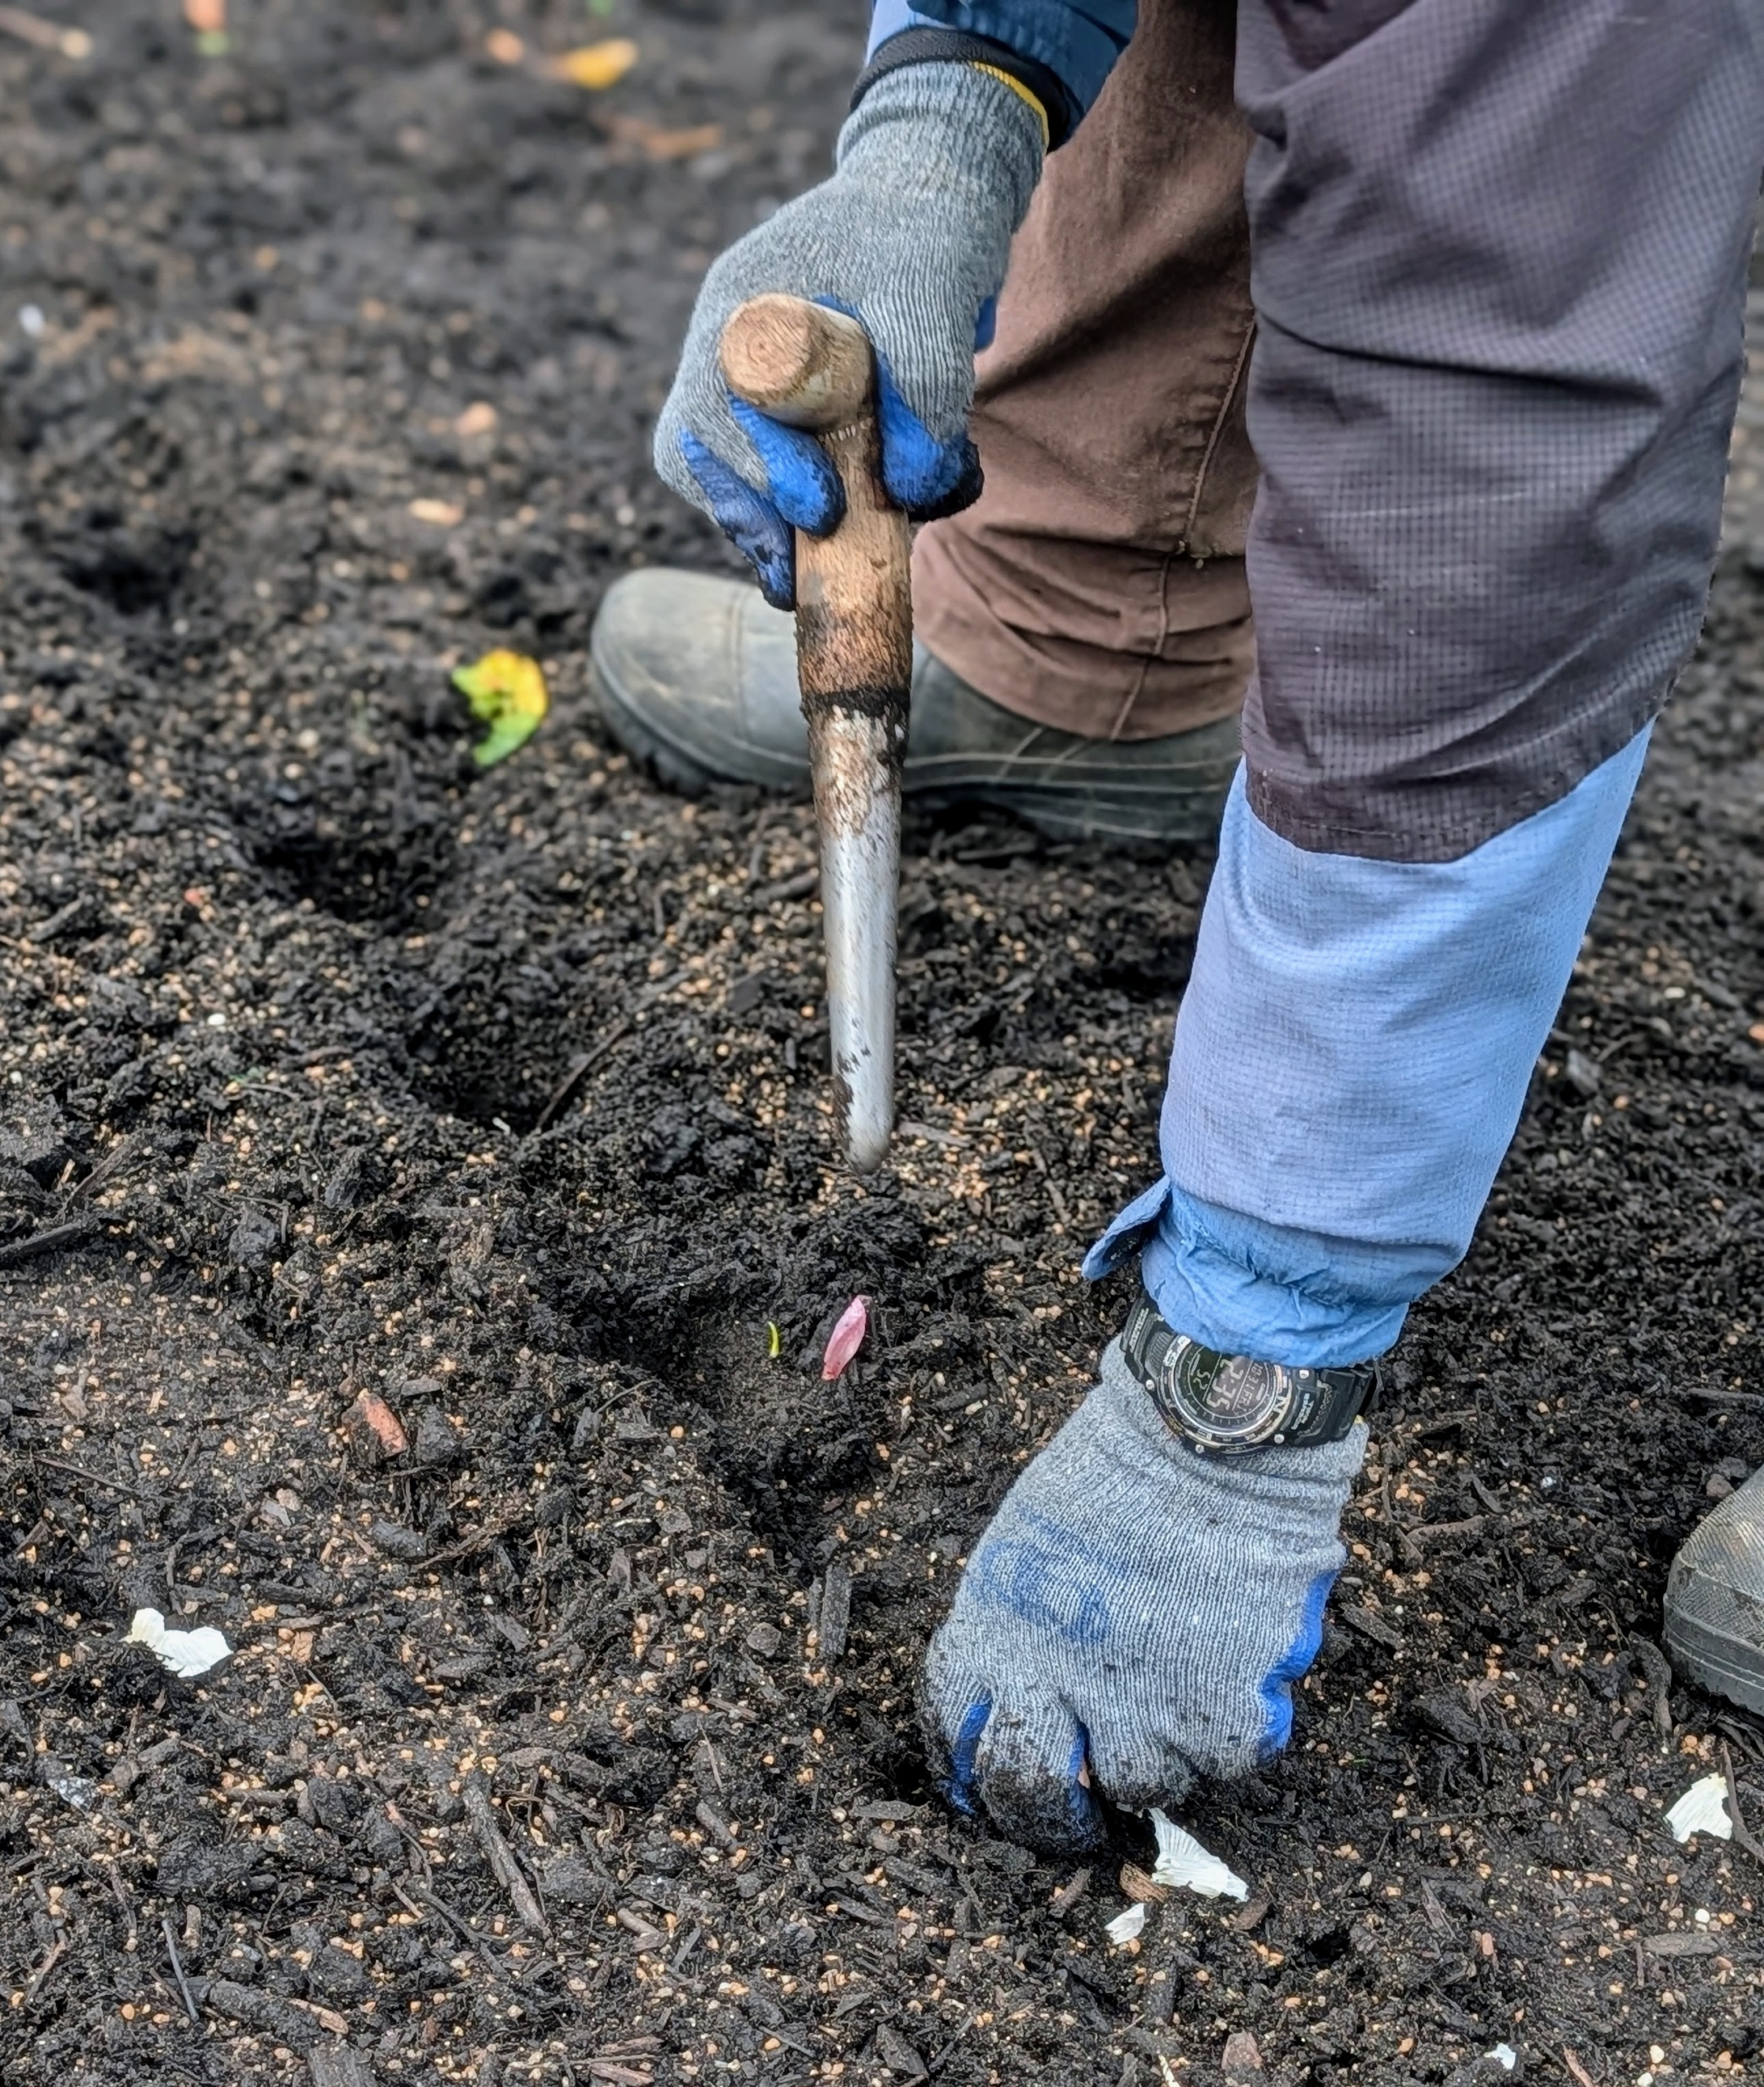
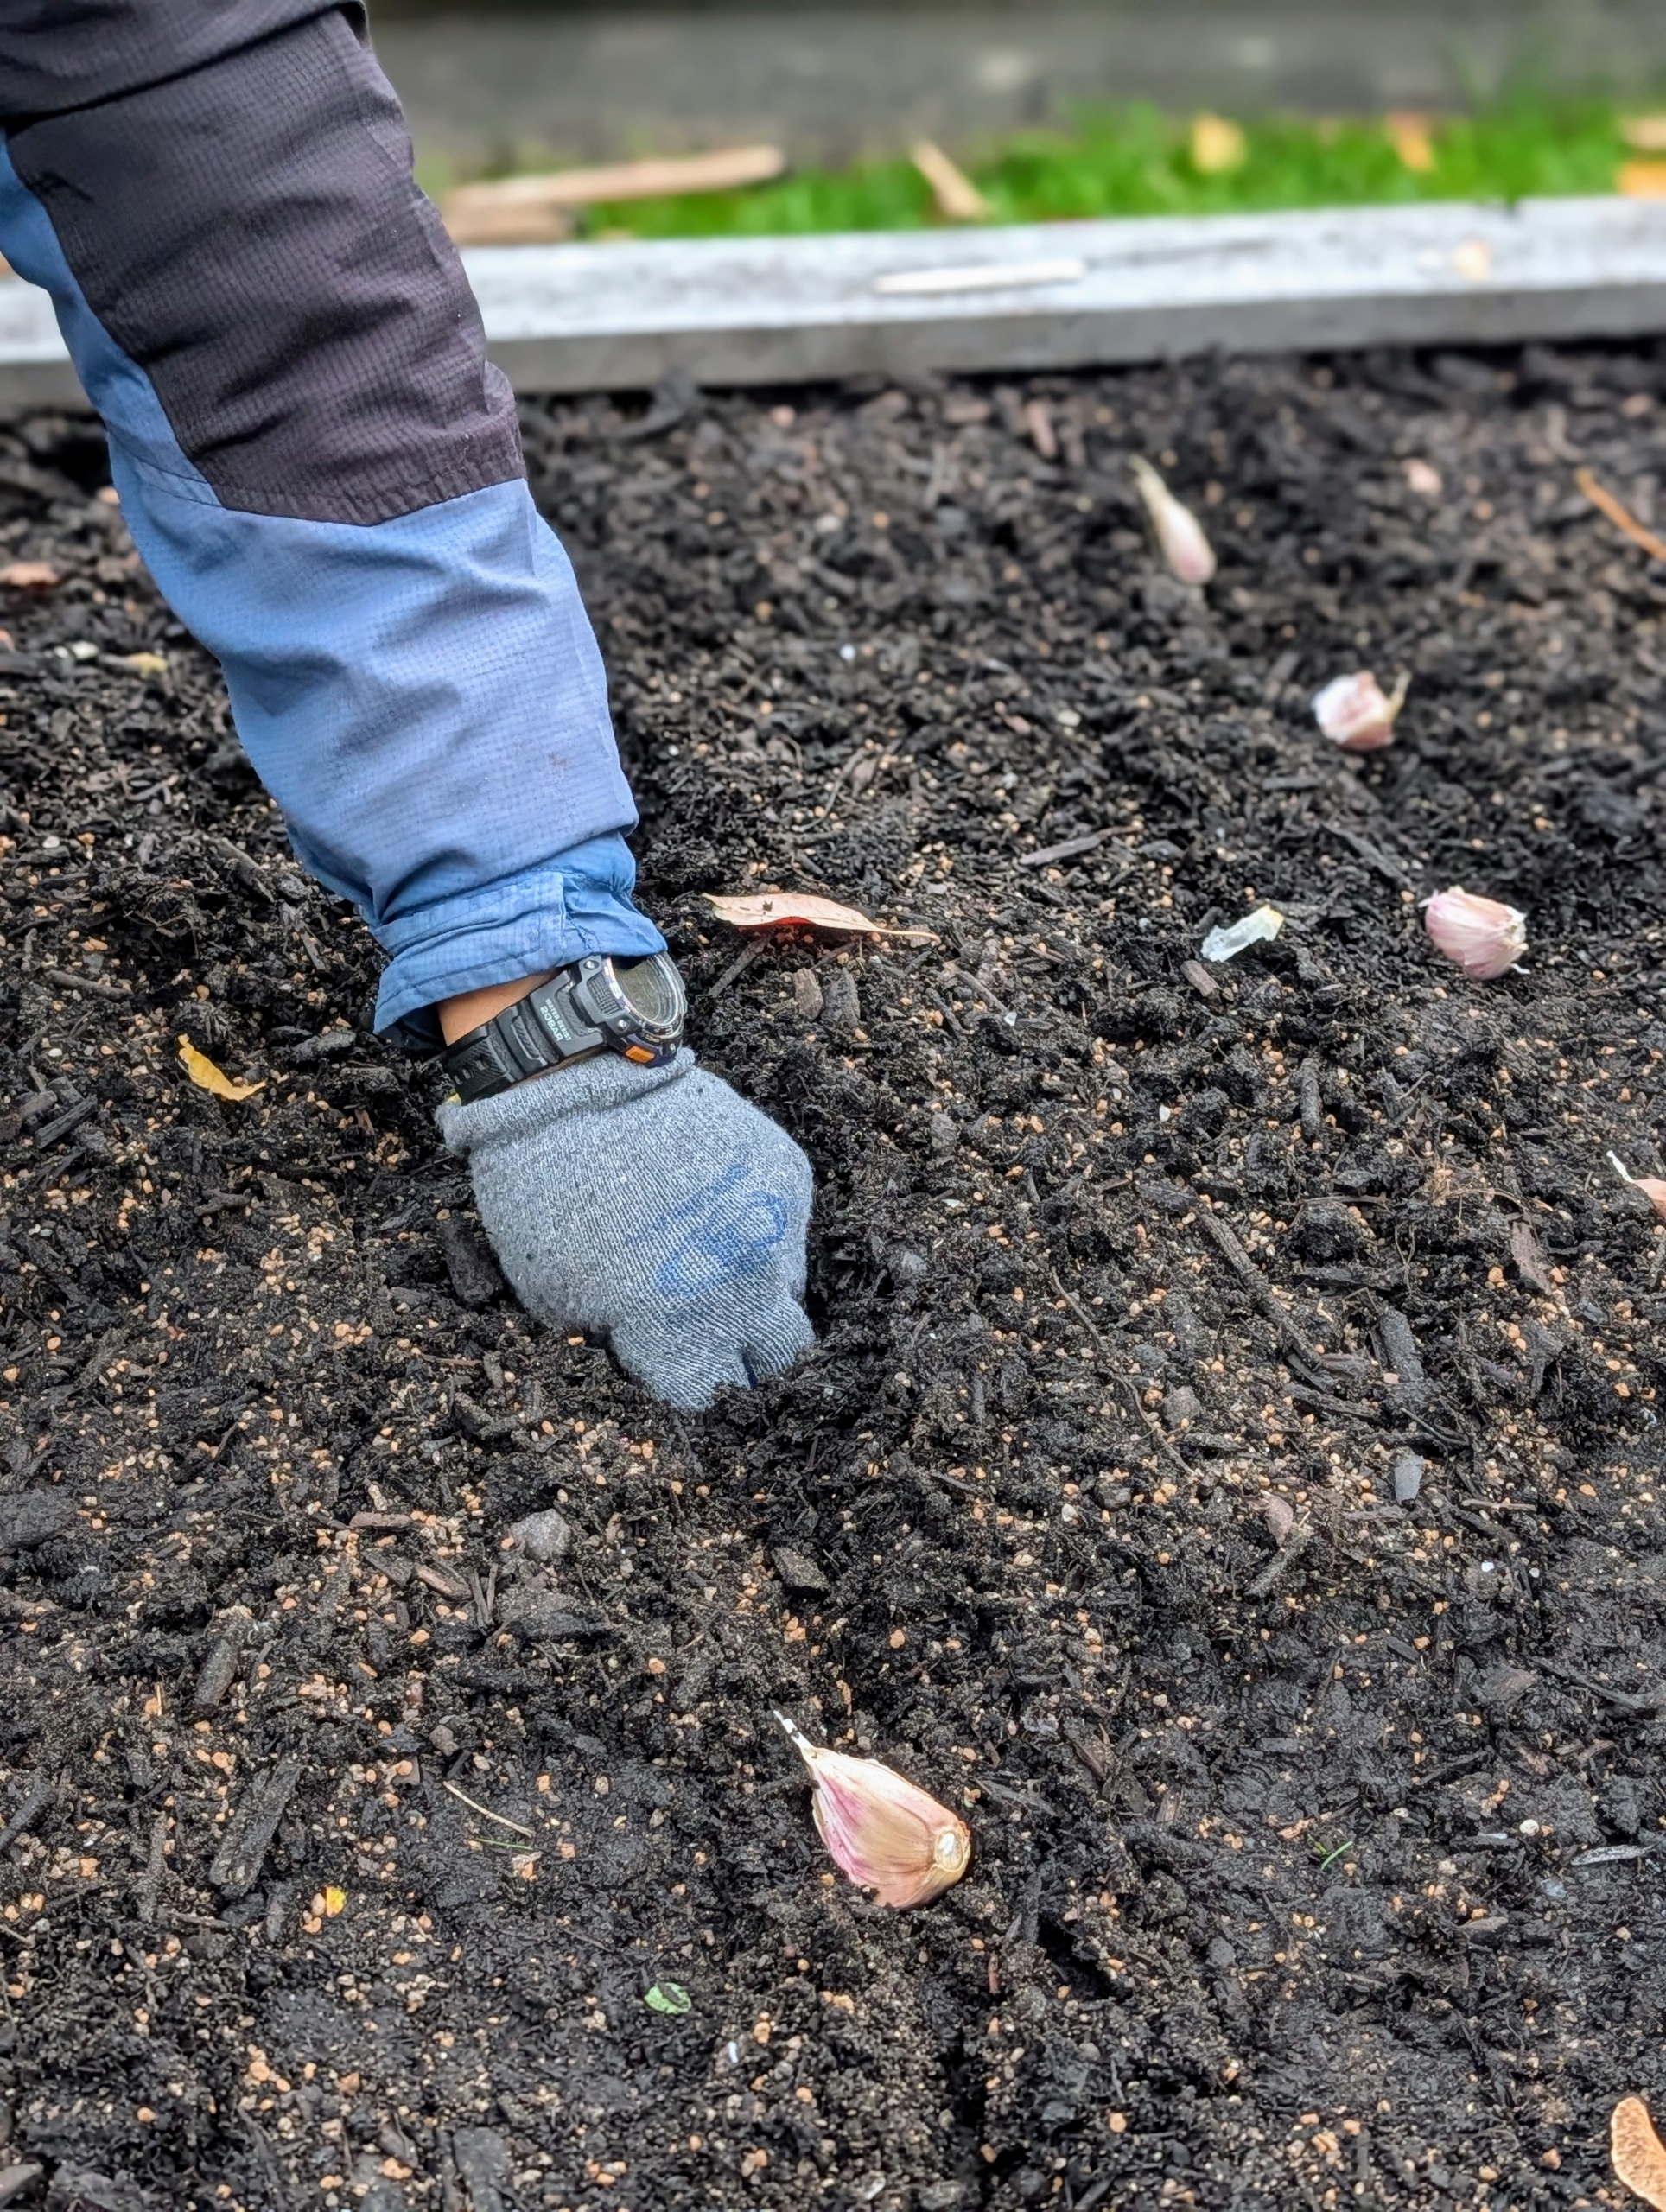
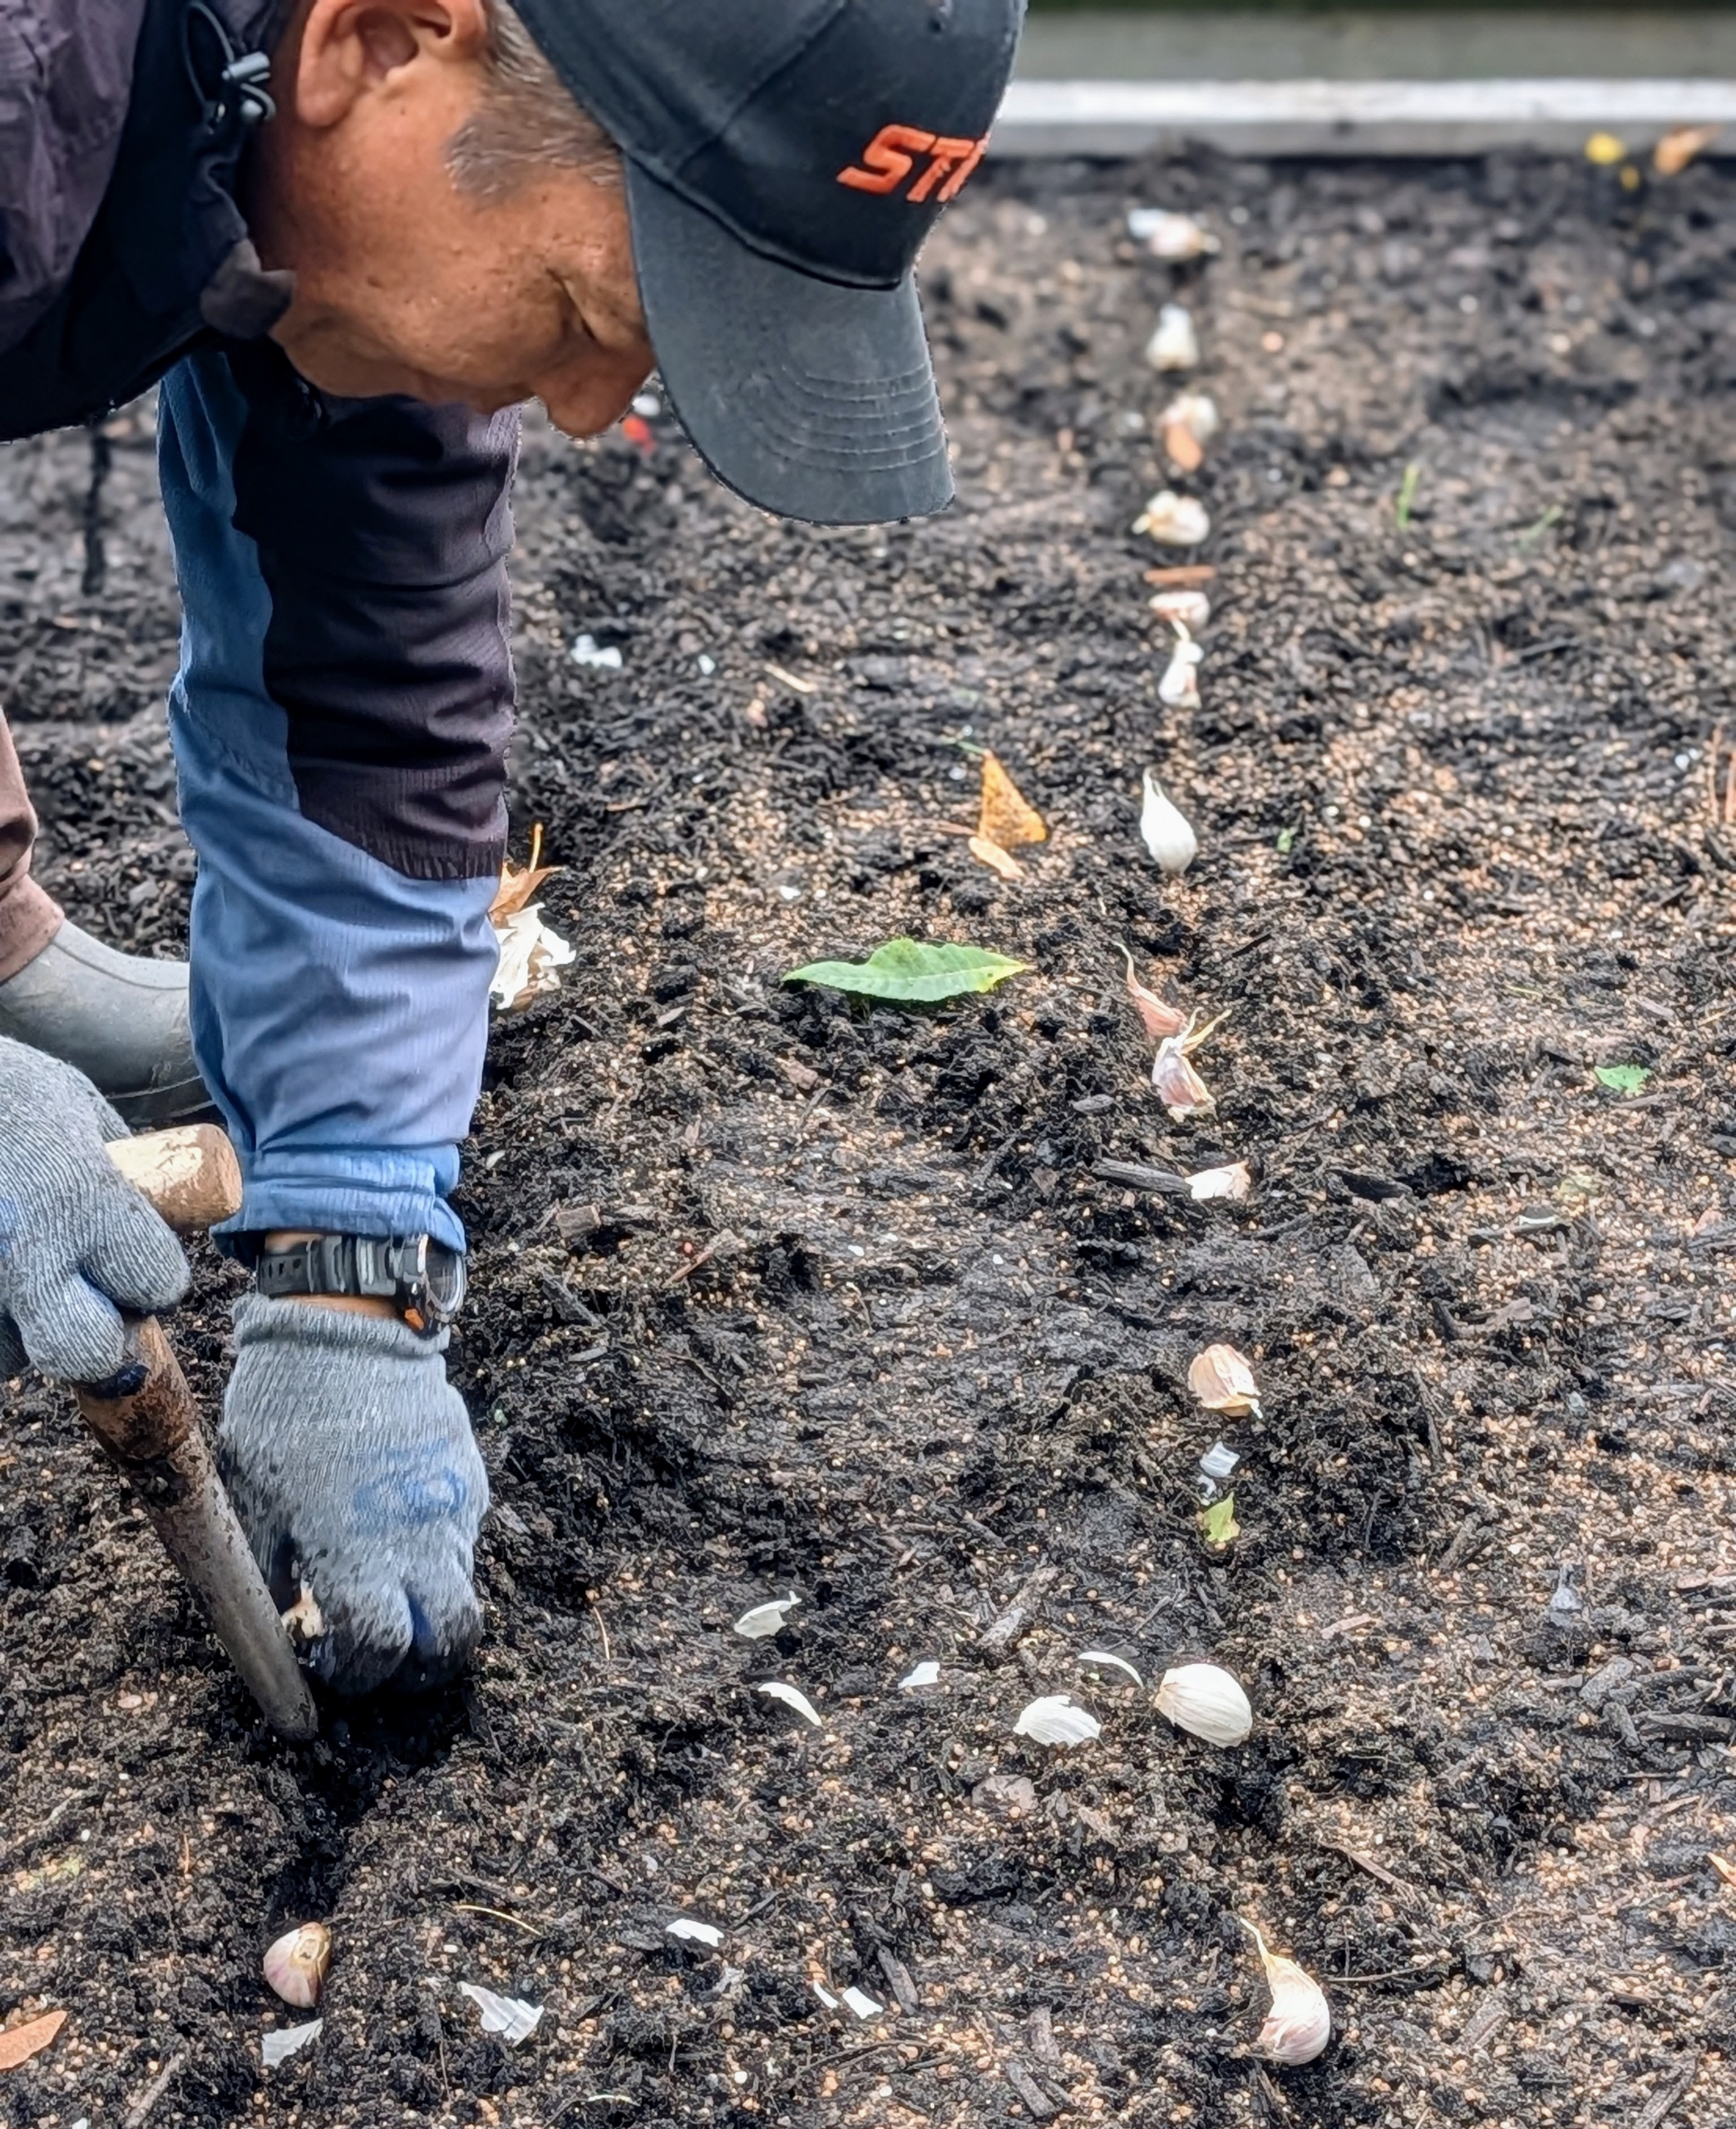
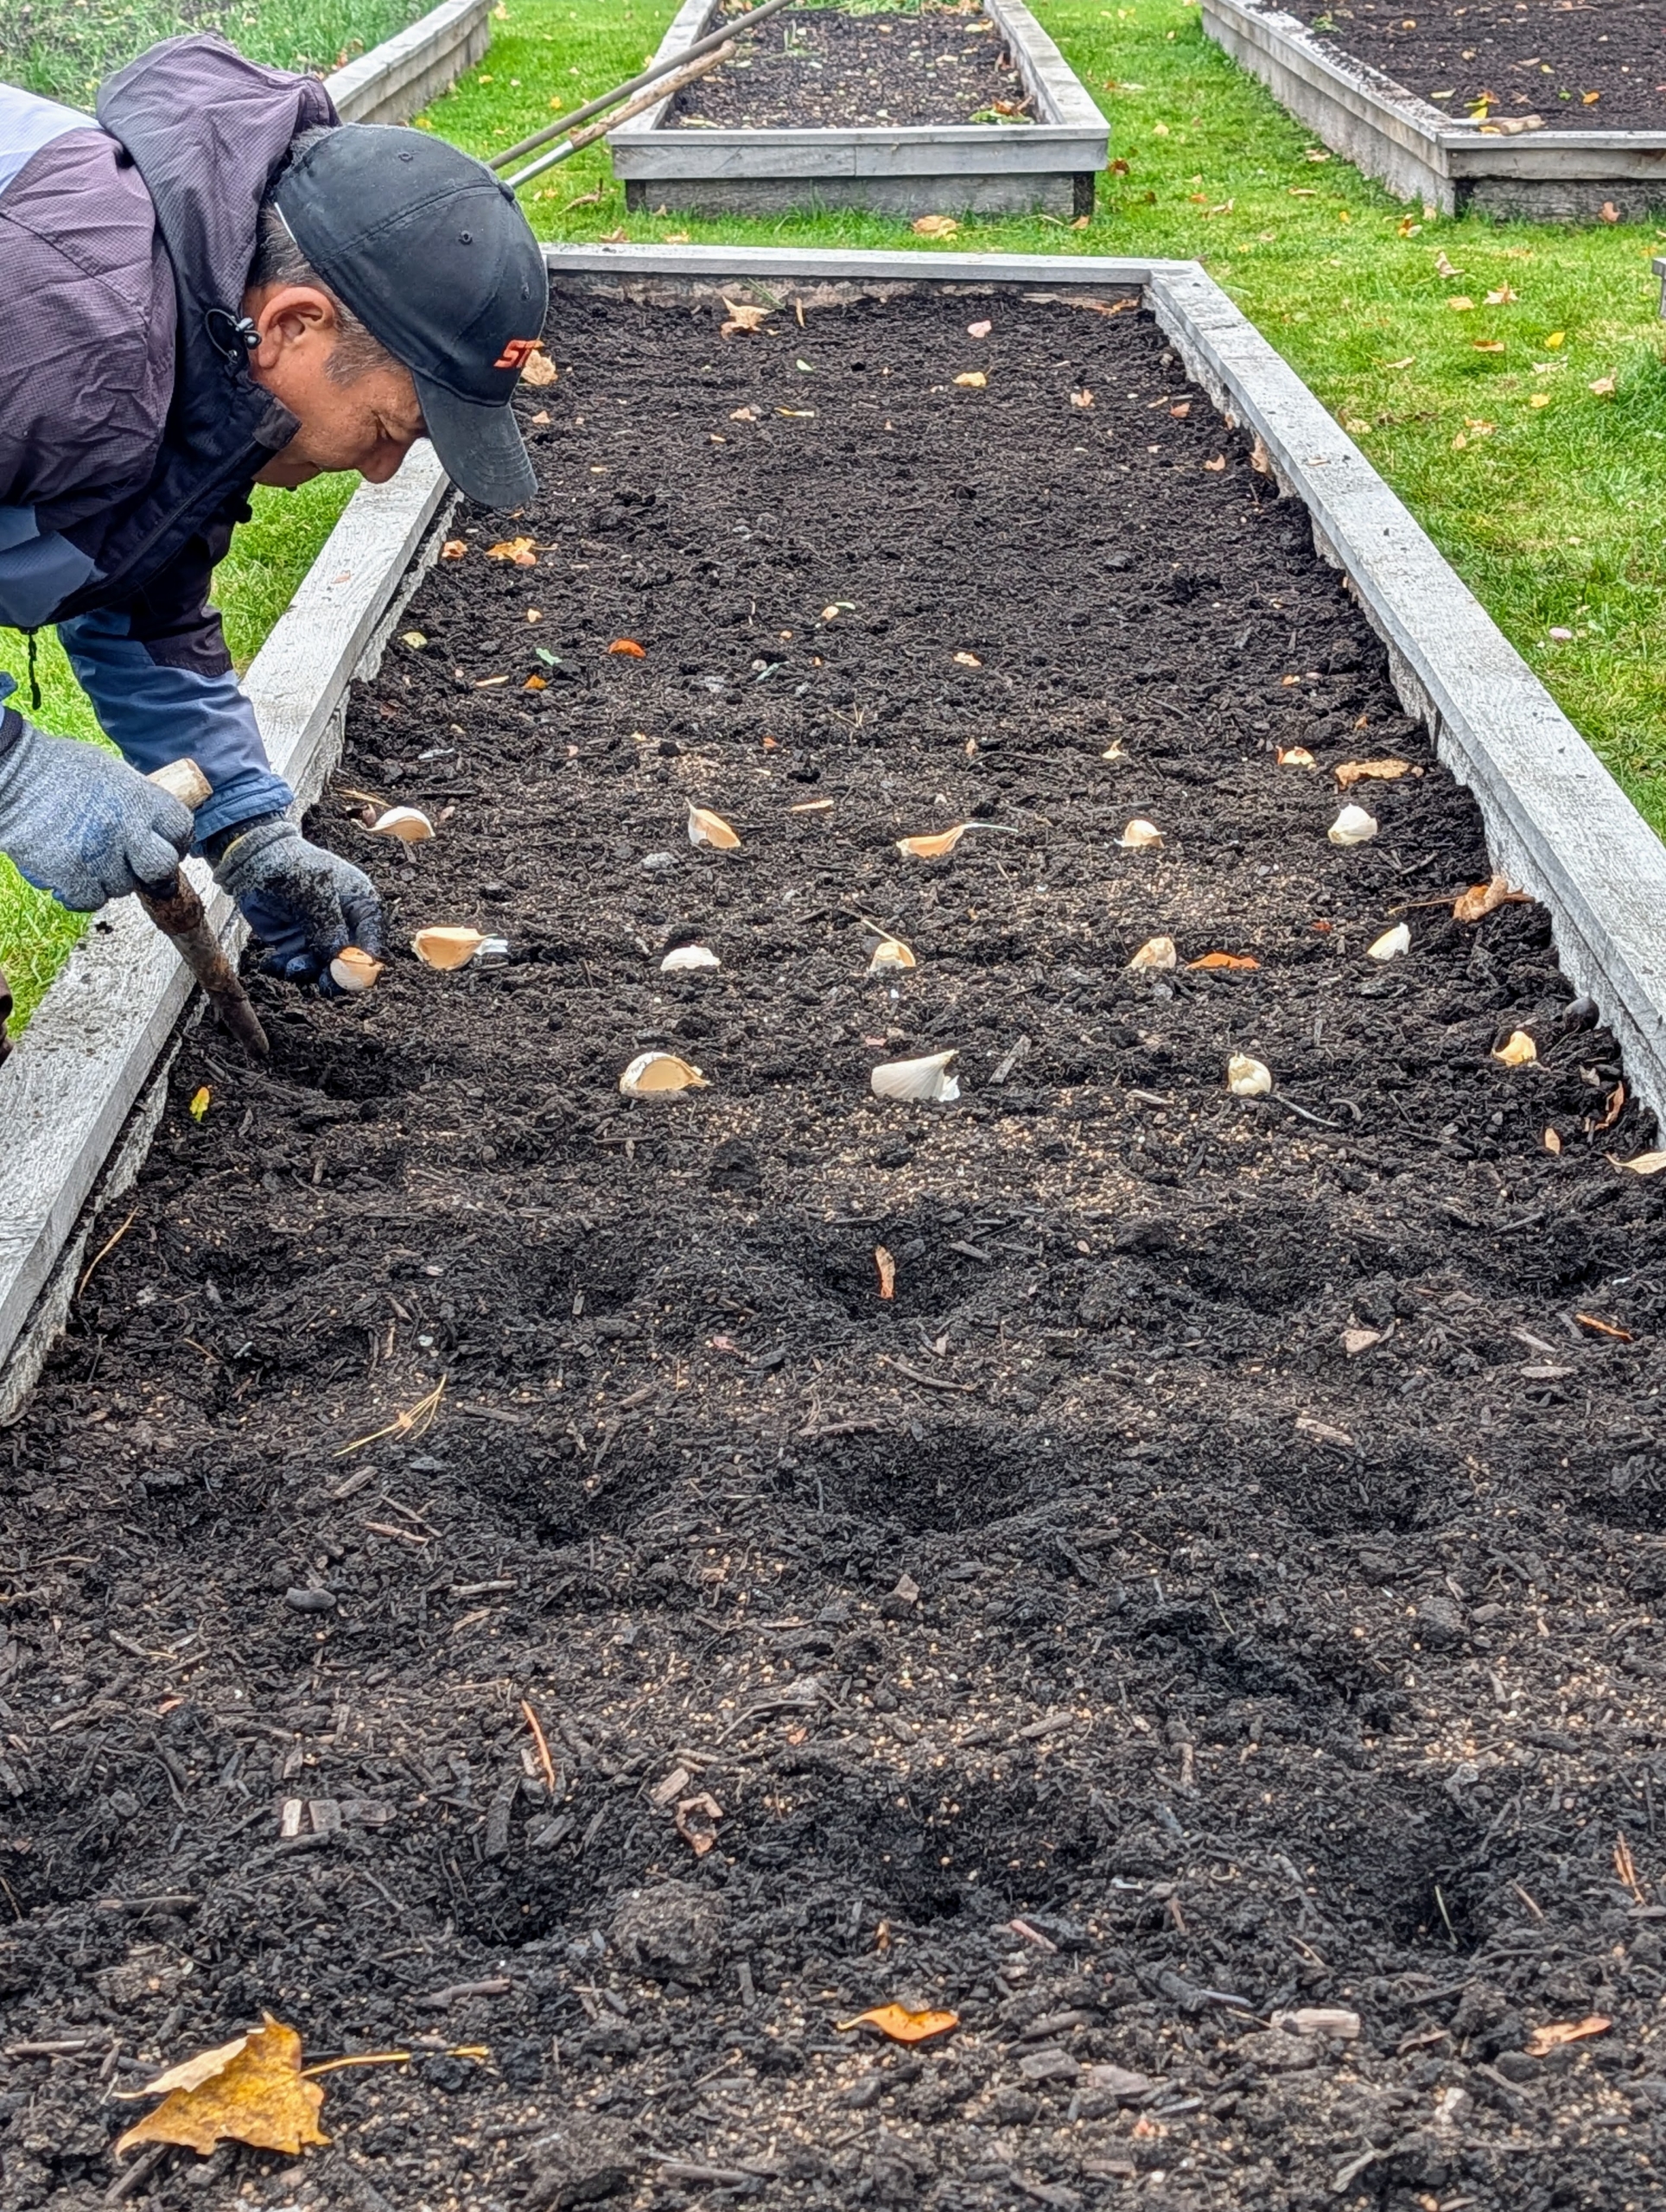
To make the holes for planting garlic, Phurba uses a dibble or a dibber. The T-grip on the dibber allows the planter to apply enough pressure to create a consistent depth for each hole.
Phurba pushes the dibber into the soil to make the hole.
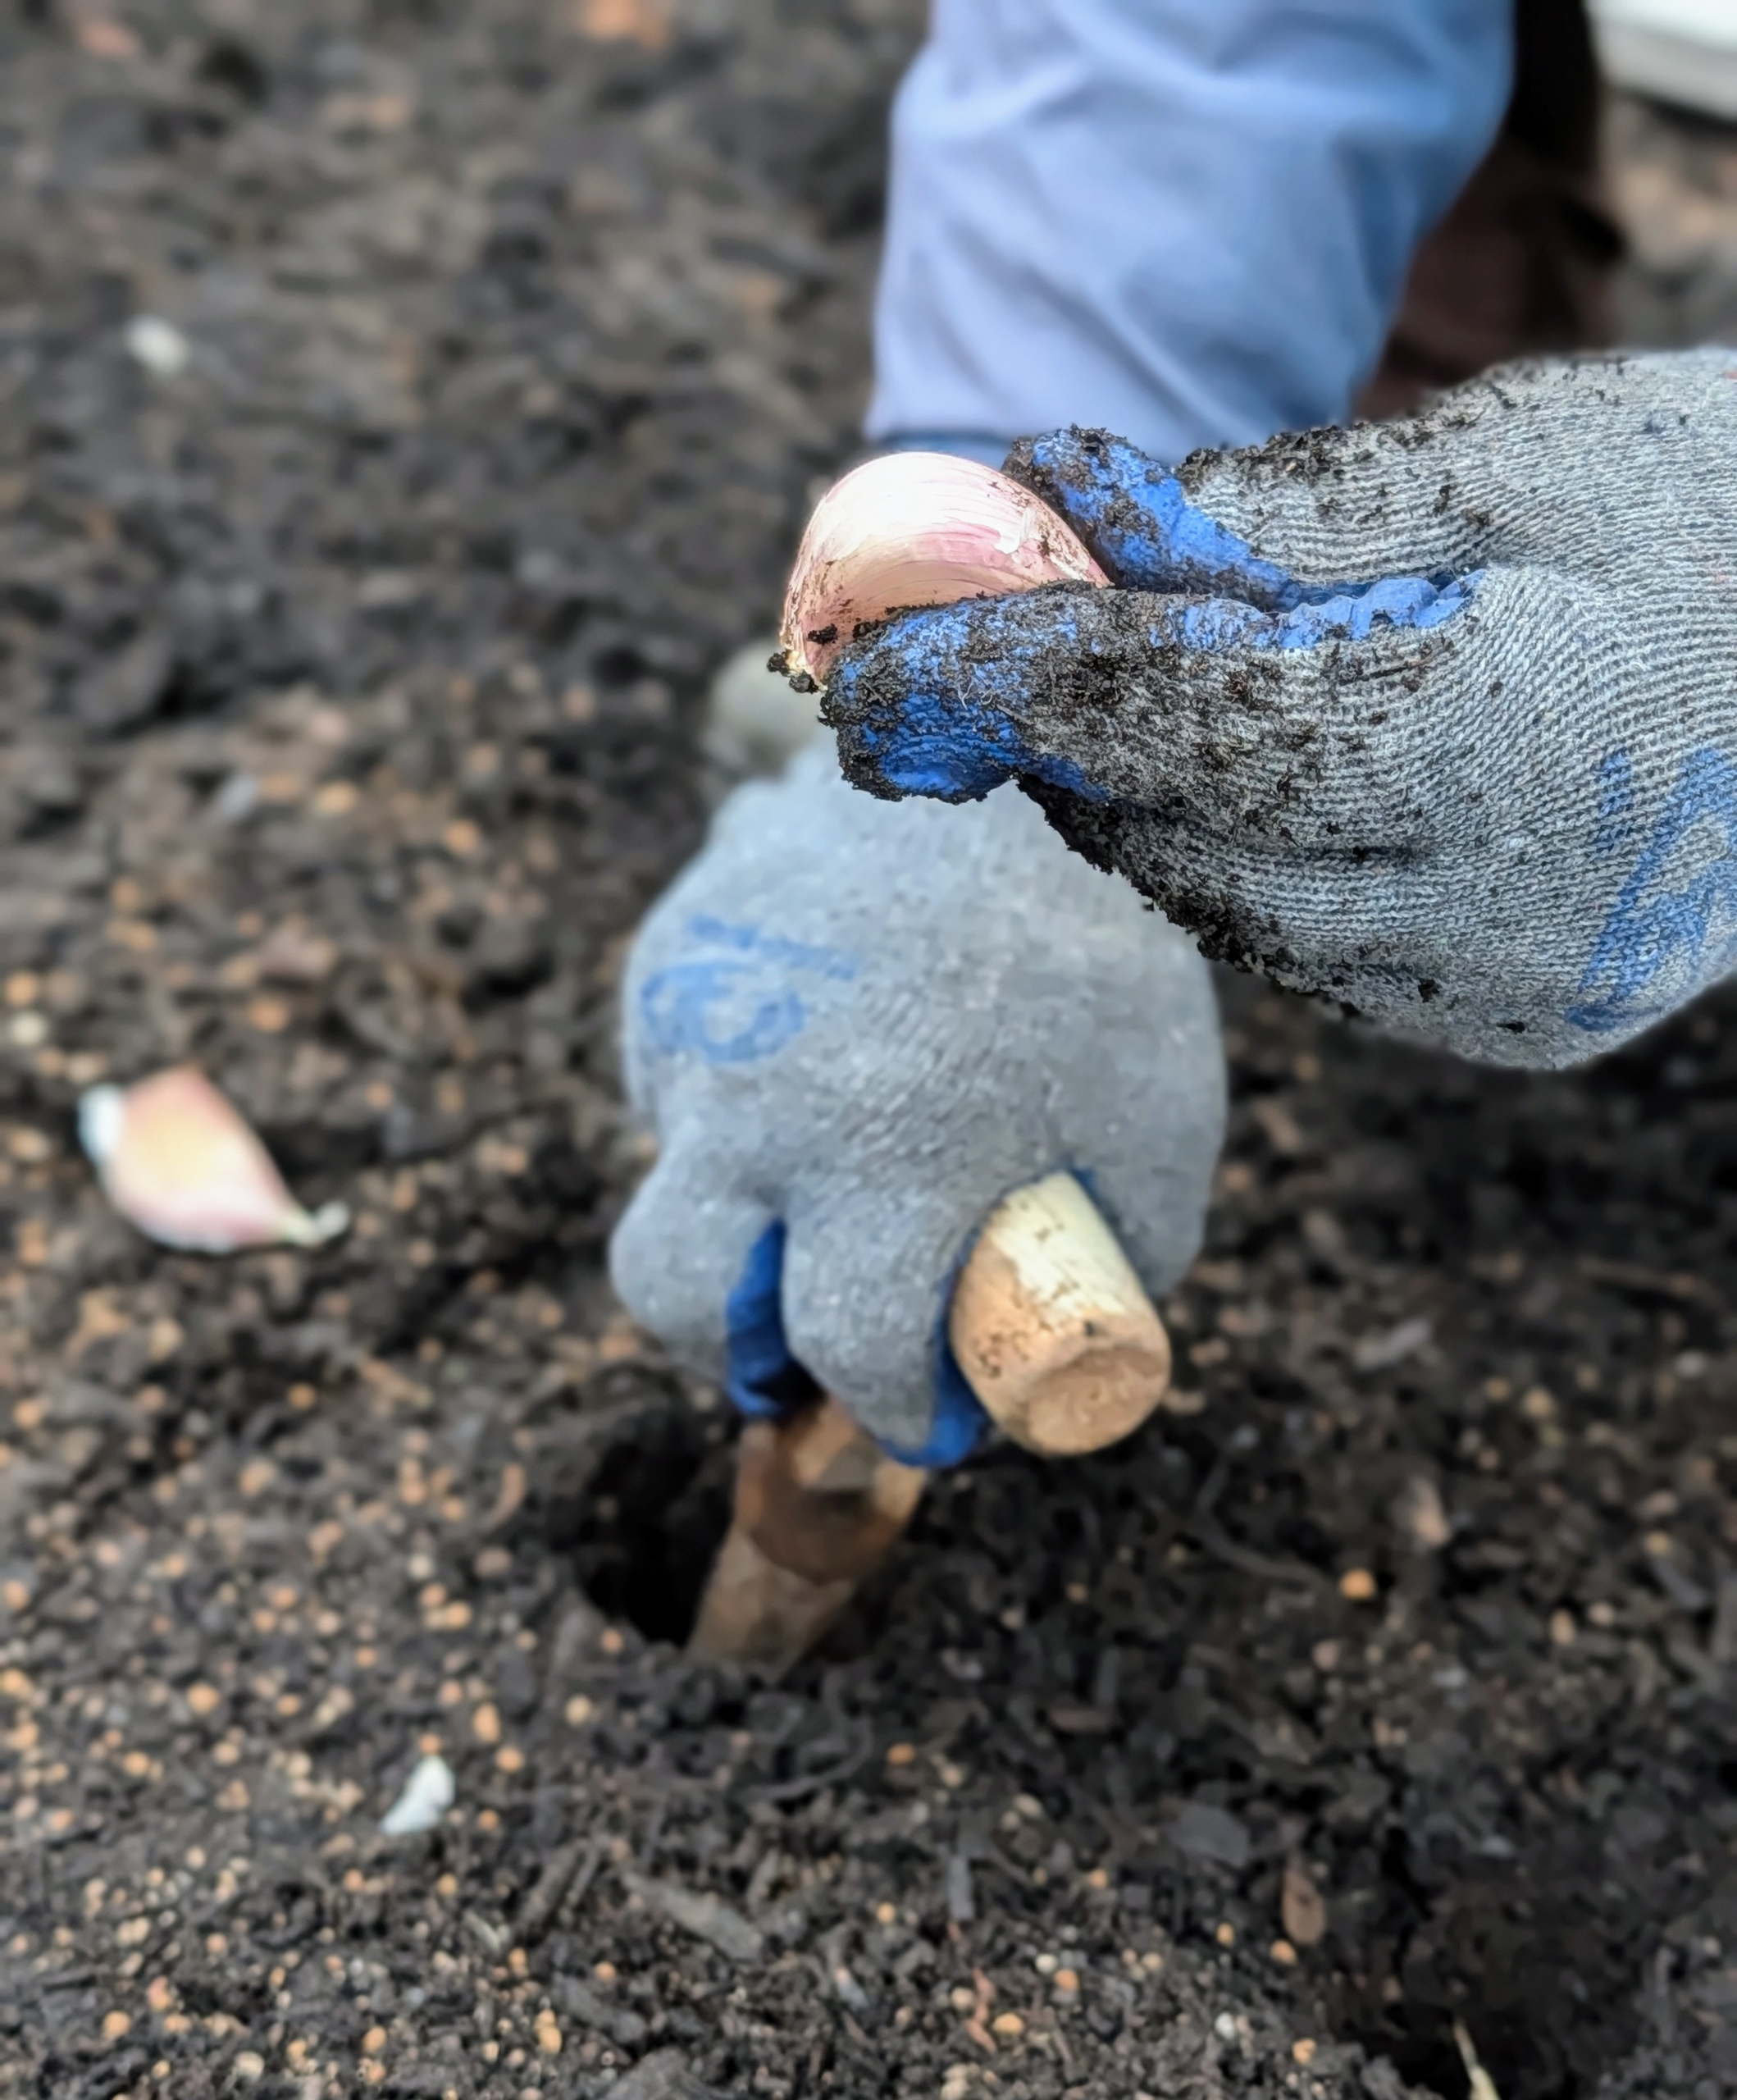
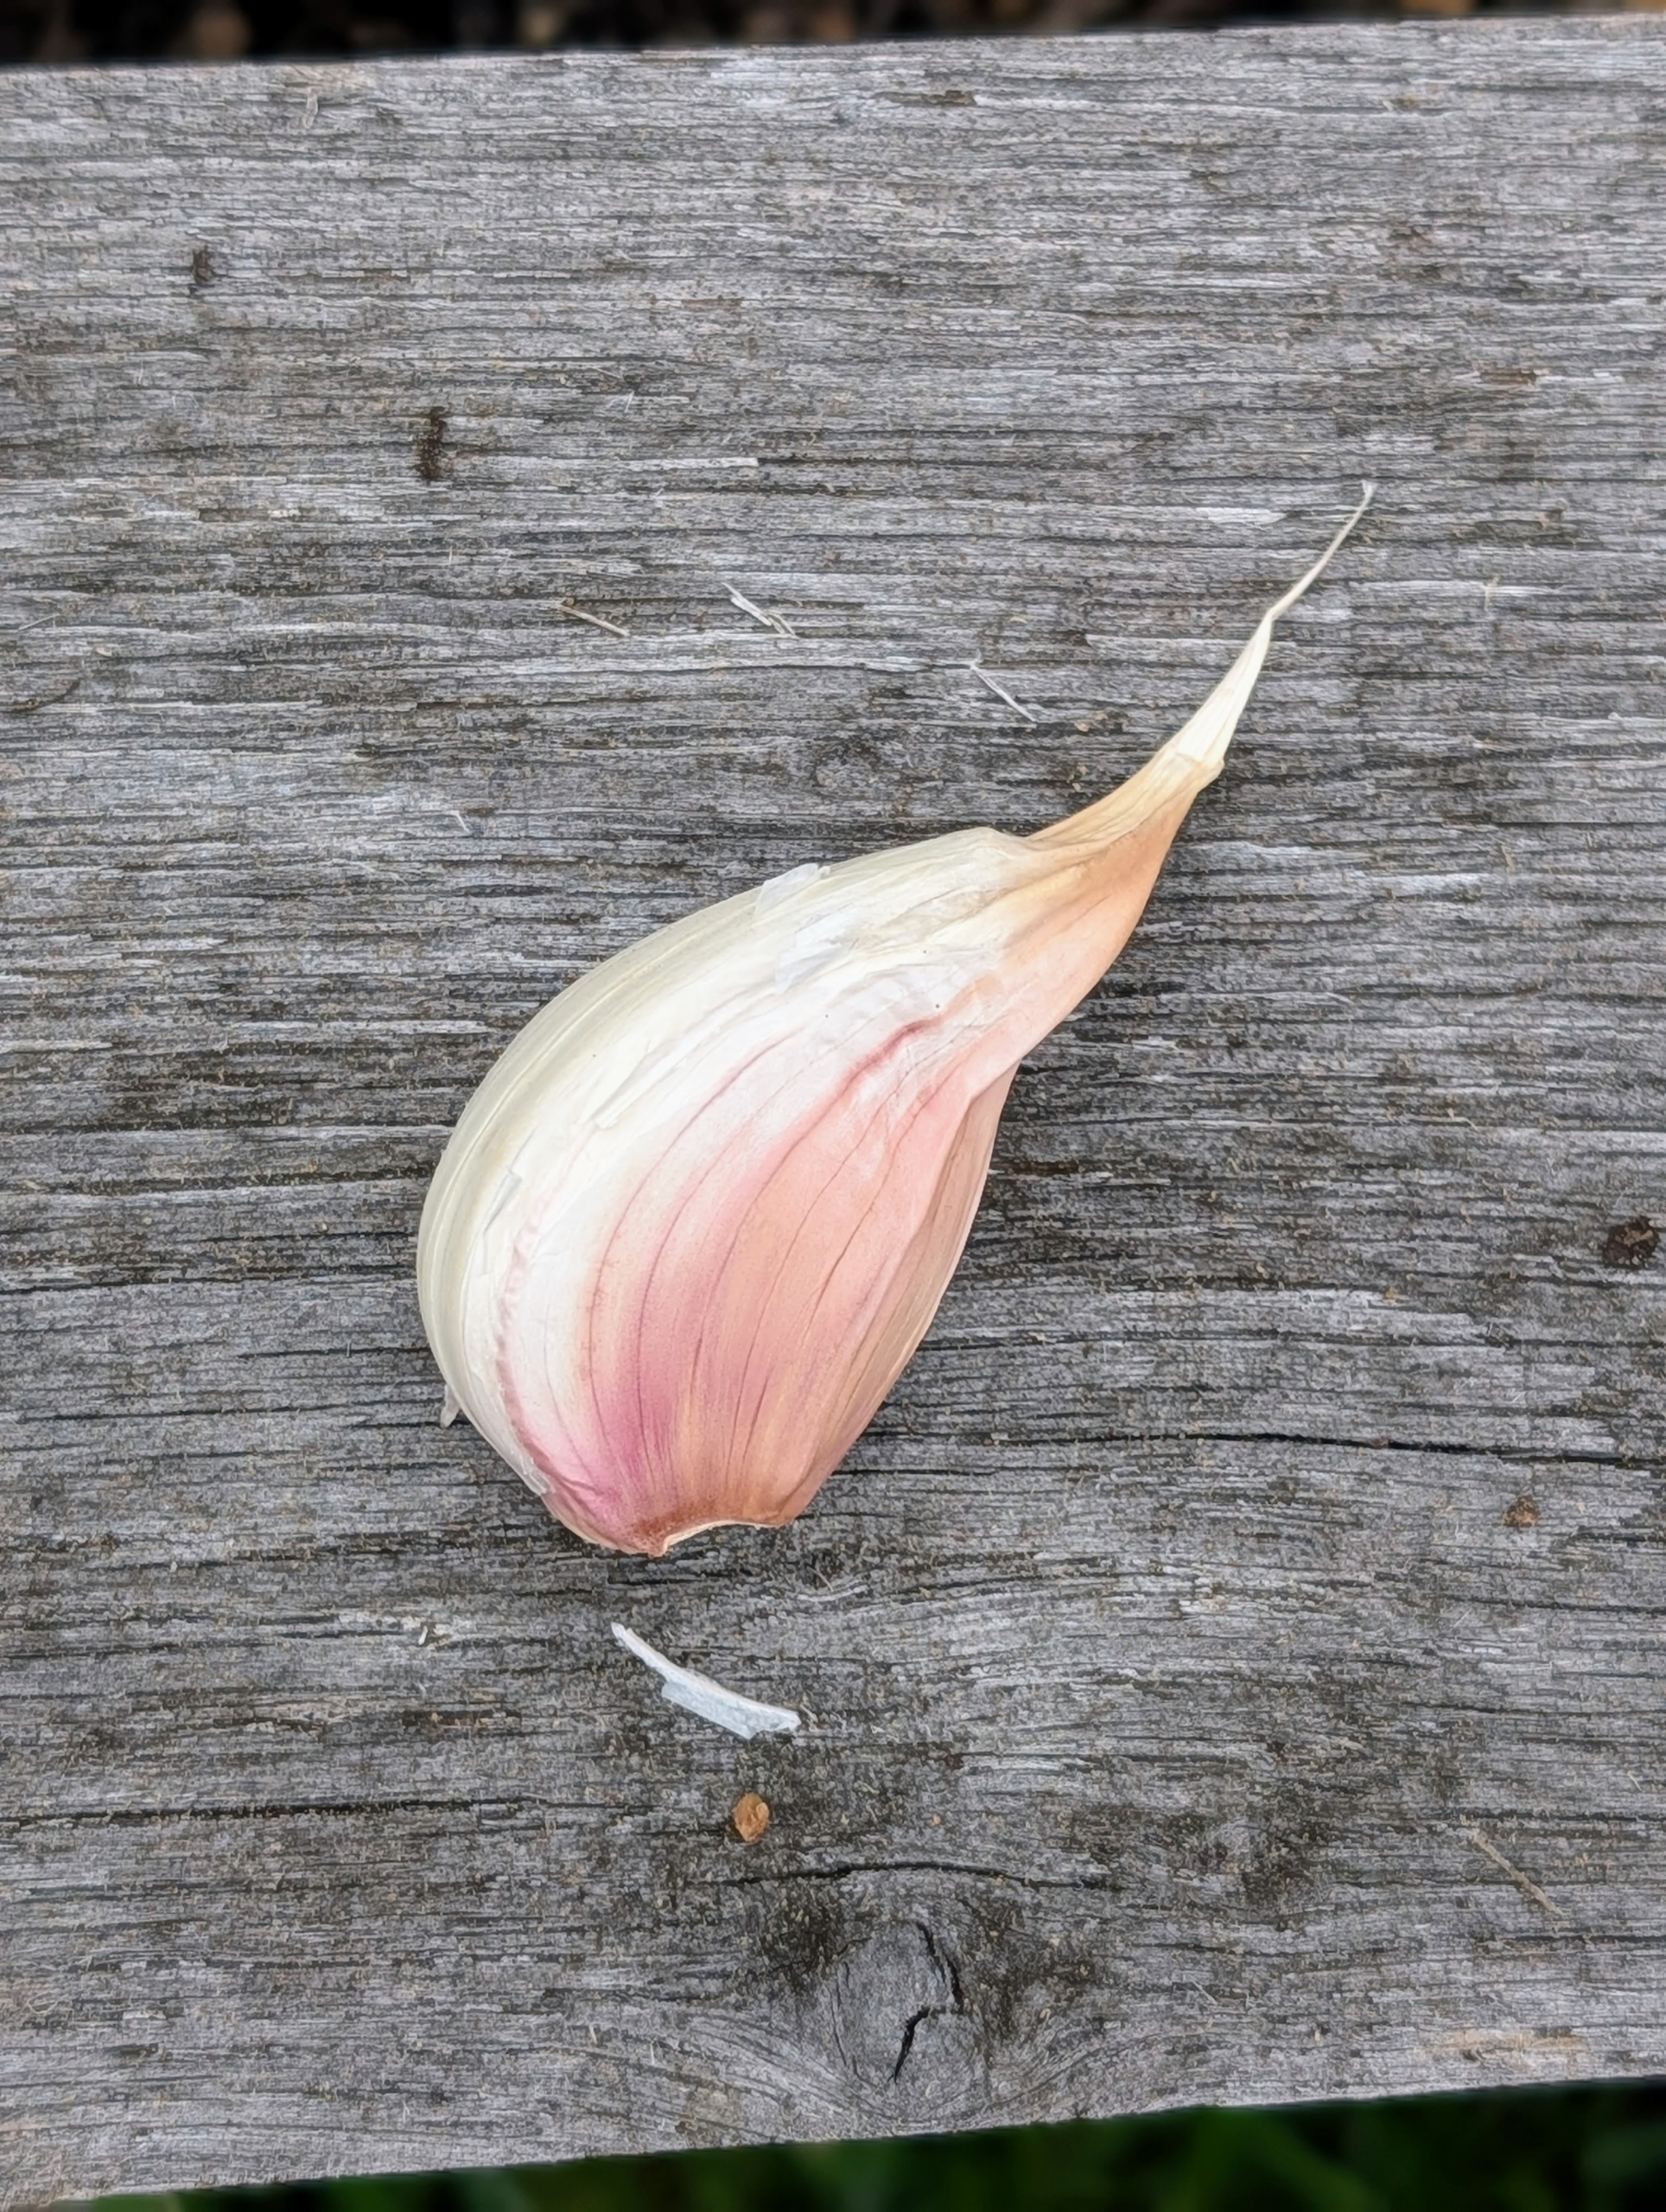
Here is a seed garlic clove. It is planted with the pointed end faced up. The majority of garlic in the US is planted from mid-October through November before the ground freezes.
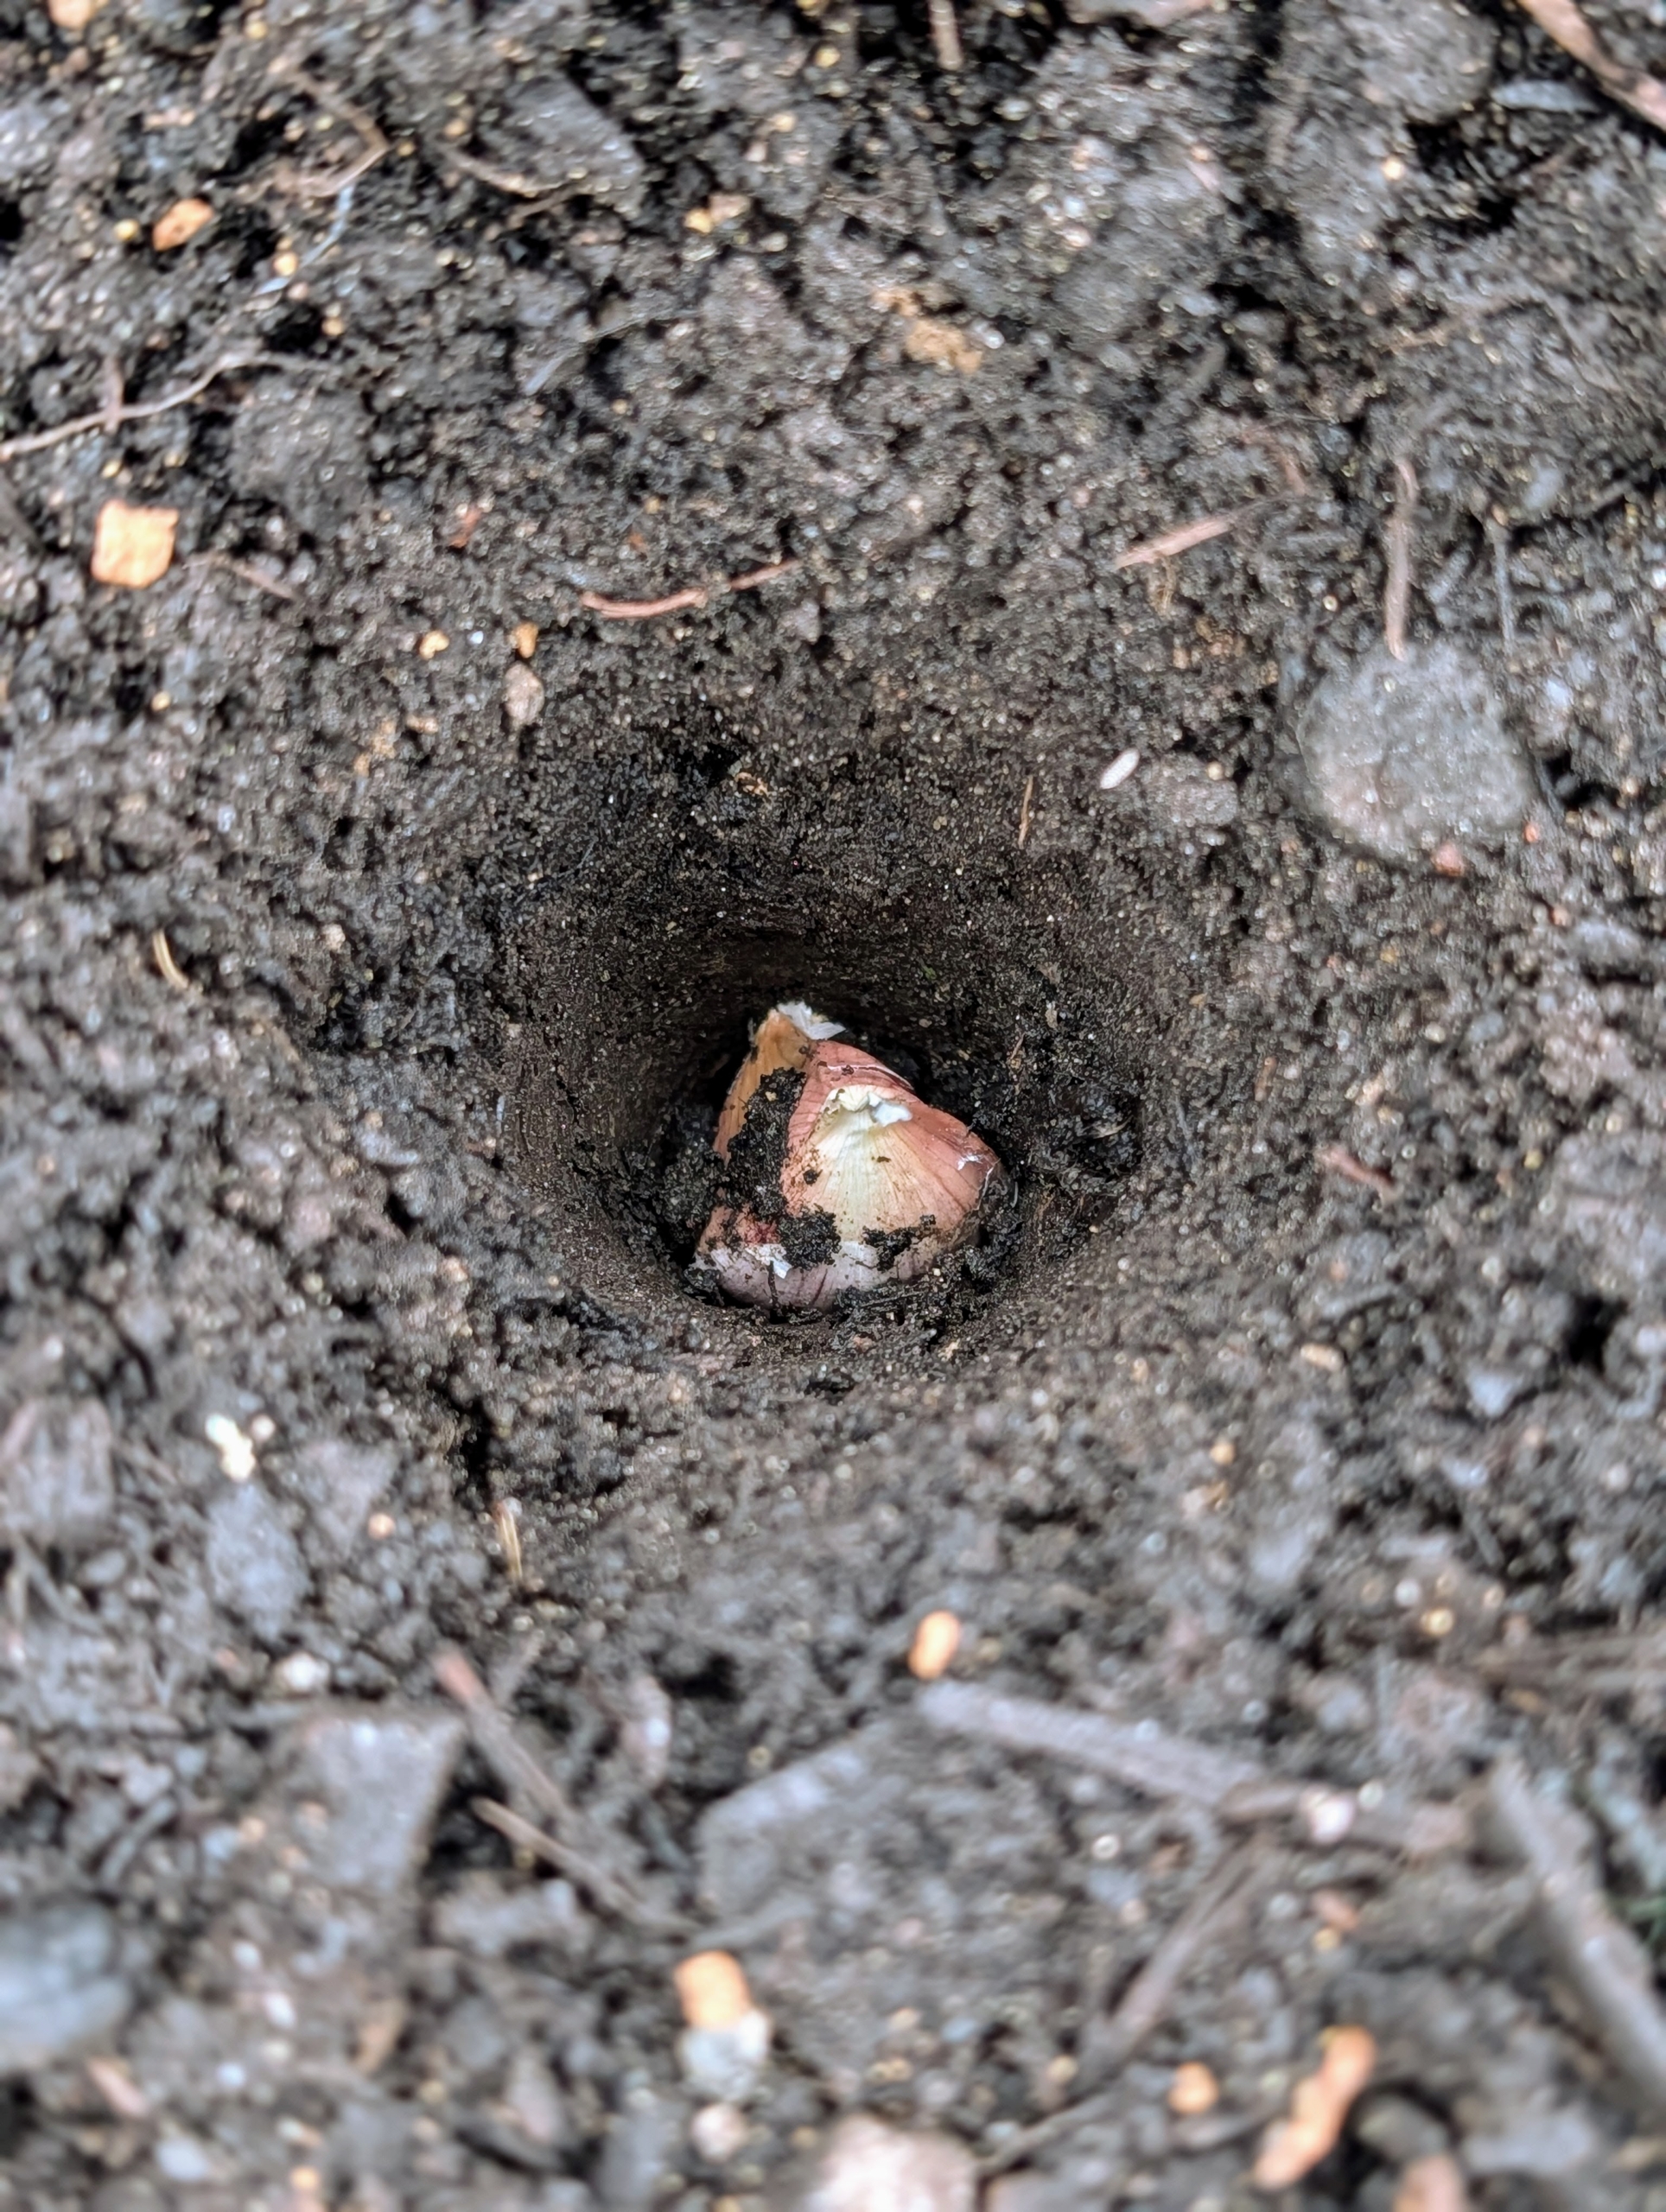
Phurba places the clove into the hole.
Cloves should be pushed down at least three inches deep.
Ryan and Phurba work in tandem – as one places the seed garlic in the row, the other plants it. If the soil in the bed is well cultivated, this should be a fast and easy process.
Phurba also makes sure to leave one row uncovered, so Ryan knows the proper placement of each clove.
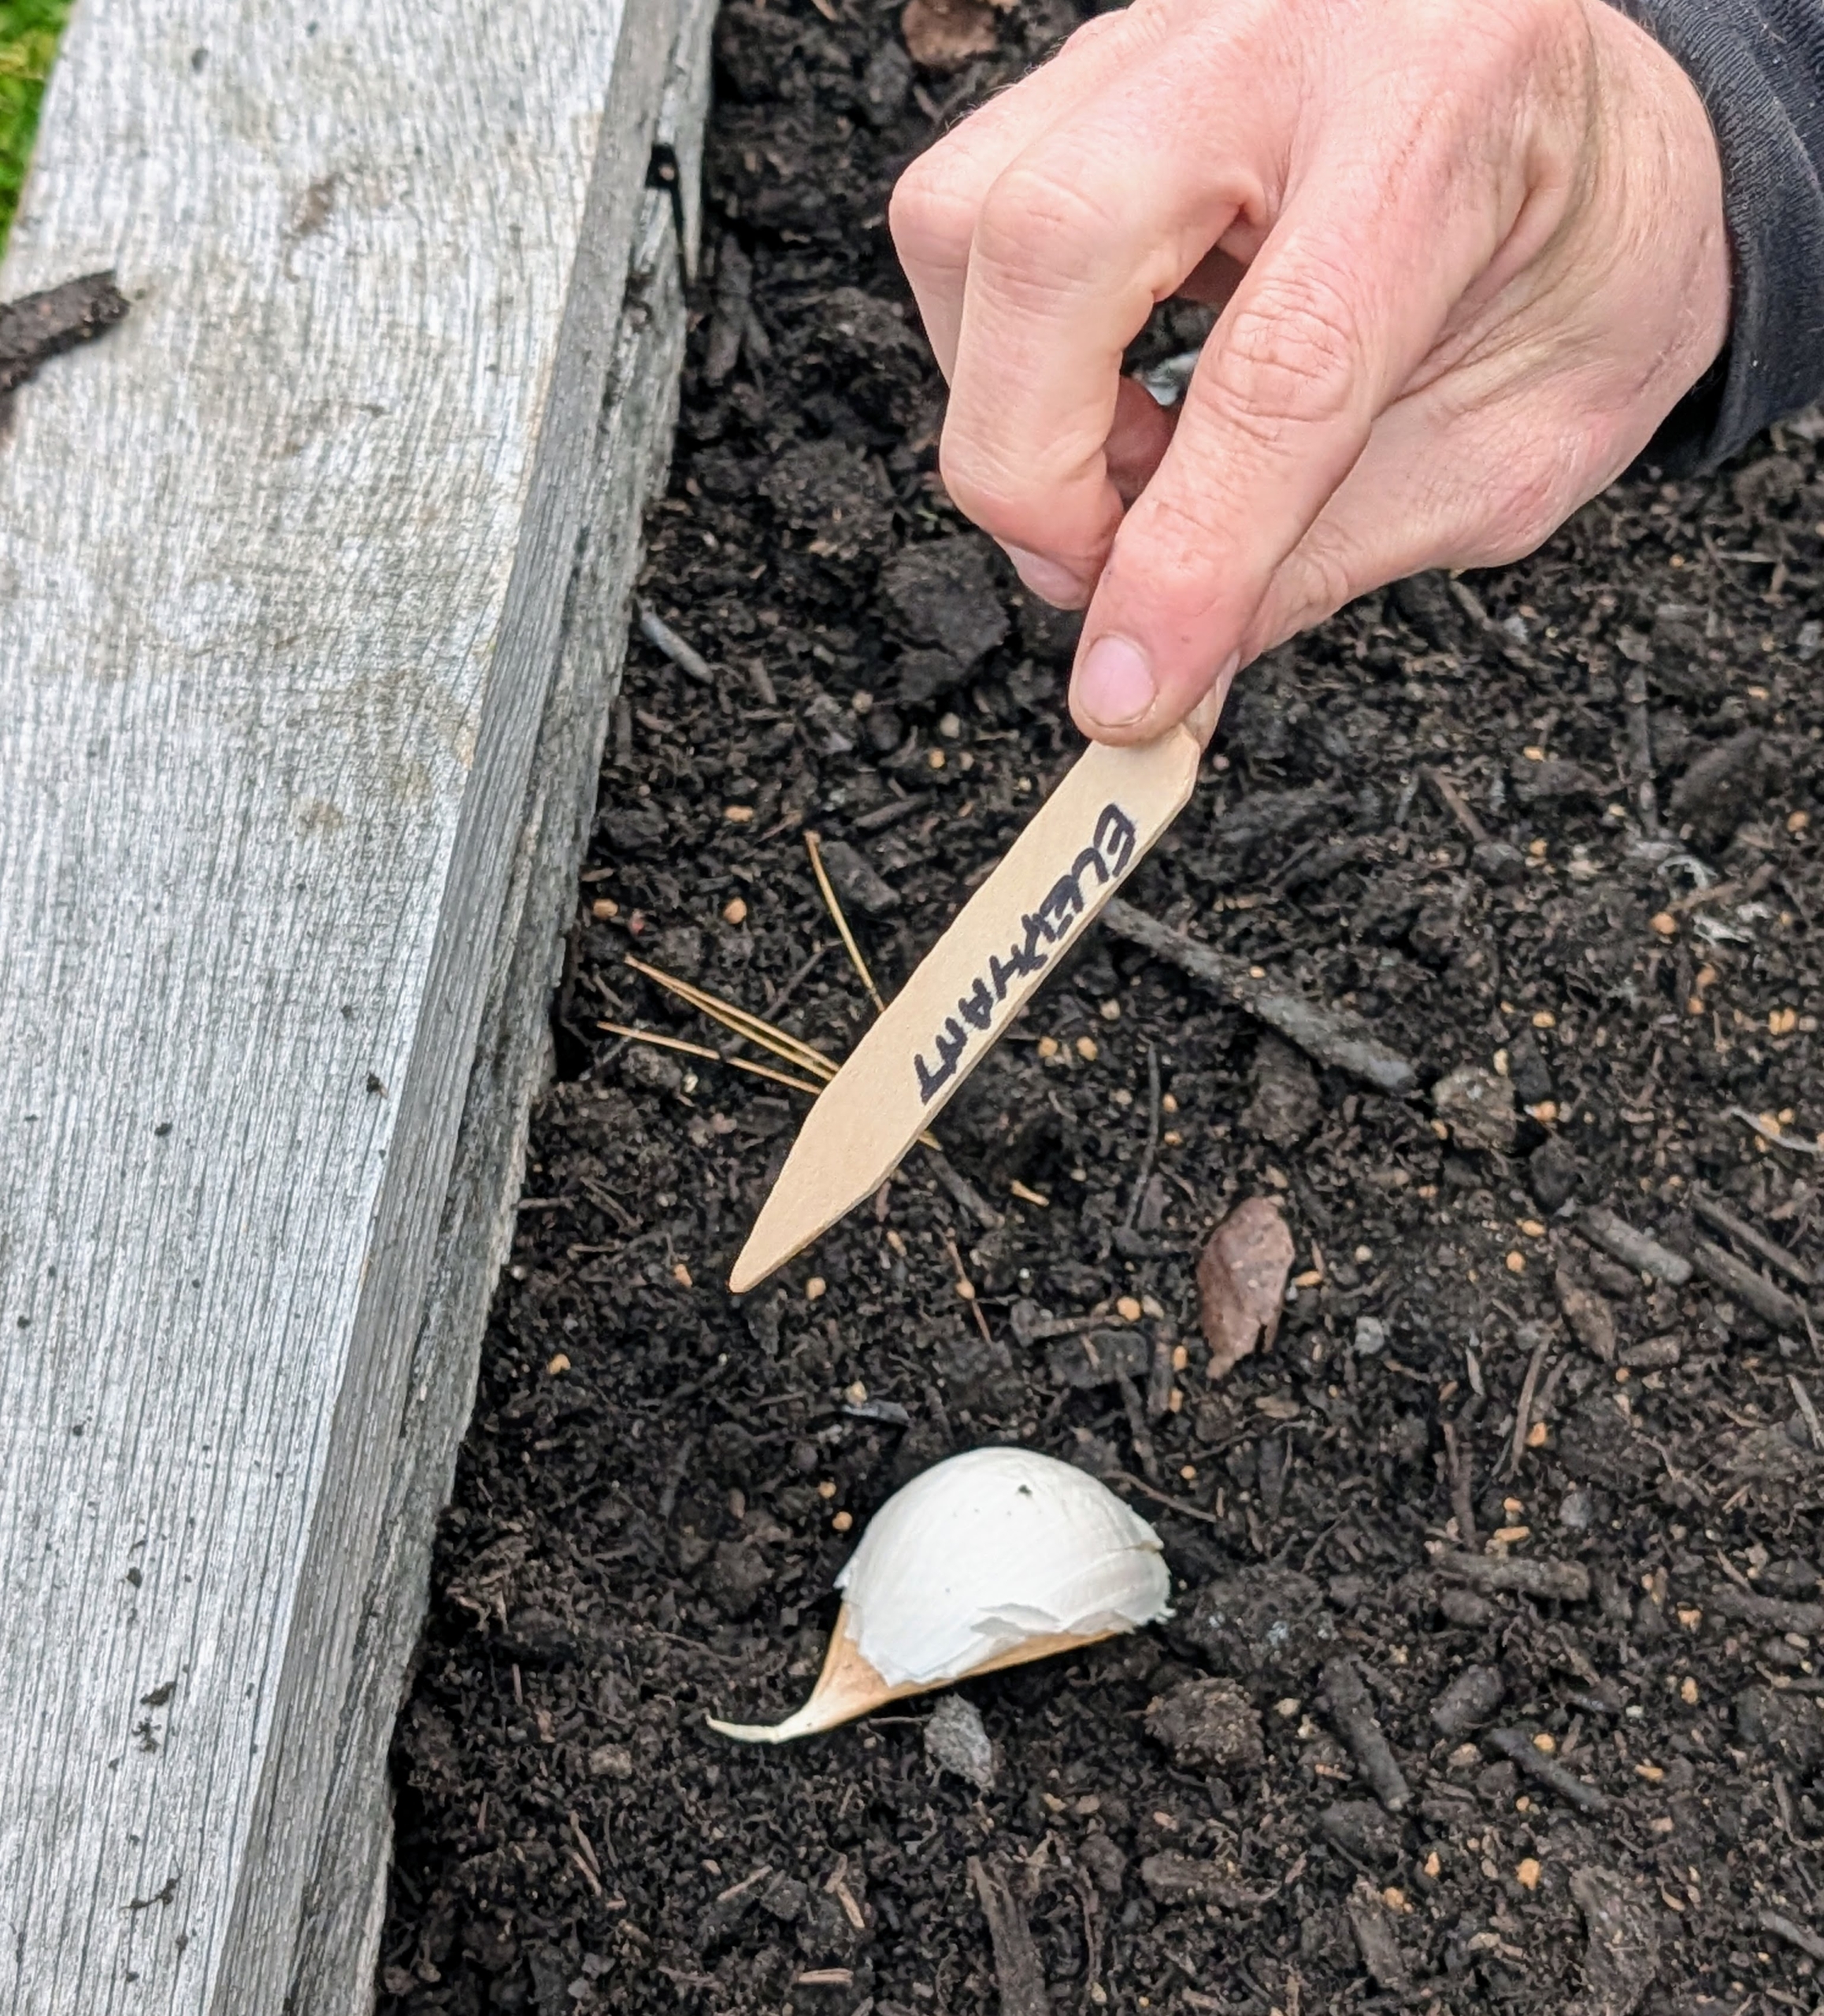
Here is Ryan with the Elephant garlic. Elephant Garlic is actually a leek that resembles garlic in growing and in appearance. It has a very mild flavor.
All the garlic rows are marked with the appropriate variety name.
Phurba plants these cloves in the same way he did the others.
After planting, he backfills the rows with soil.
And then both beds are raked evenly. Any garlic crop will tolerate some shade but prefers full sun. This garlic will be ready to harvest mid-July to August. And that’s it – we wait until next year to harvest. If you’ve never grown your own garlic, give it a try.