Transplanting Artichoke Seedlings
It's winter and bitterly cold here in the Northeast, but I'm already preparing for the next growing season here at my farm.
I start sowing seeds indoors soon after the New Year. Starting from seed is not difficult to do, but it does require careful attention and patience. And once the seedlings start to develop, it’s important to keep up with maintenance care - thin out seedlings that are weak, prick out those that are growing too big for their seed starting trays, and transplant them into larger pots and flats. This week, Ryan transplanted the artichokes.
Here are some photos, enjoy.
-

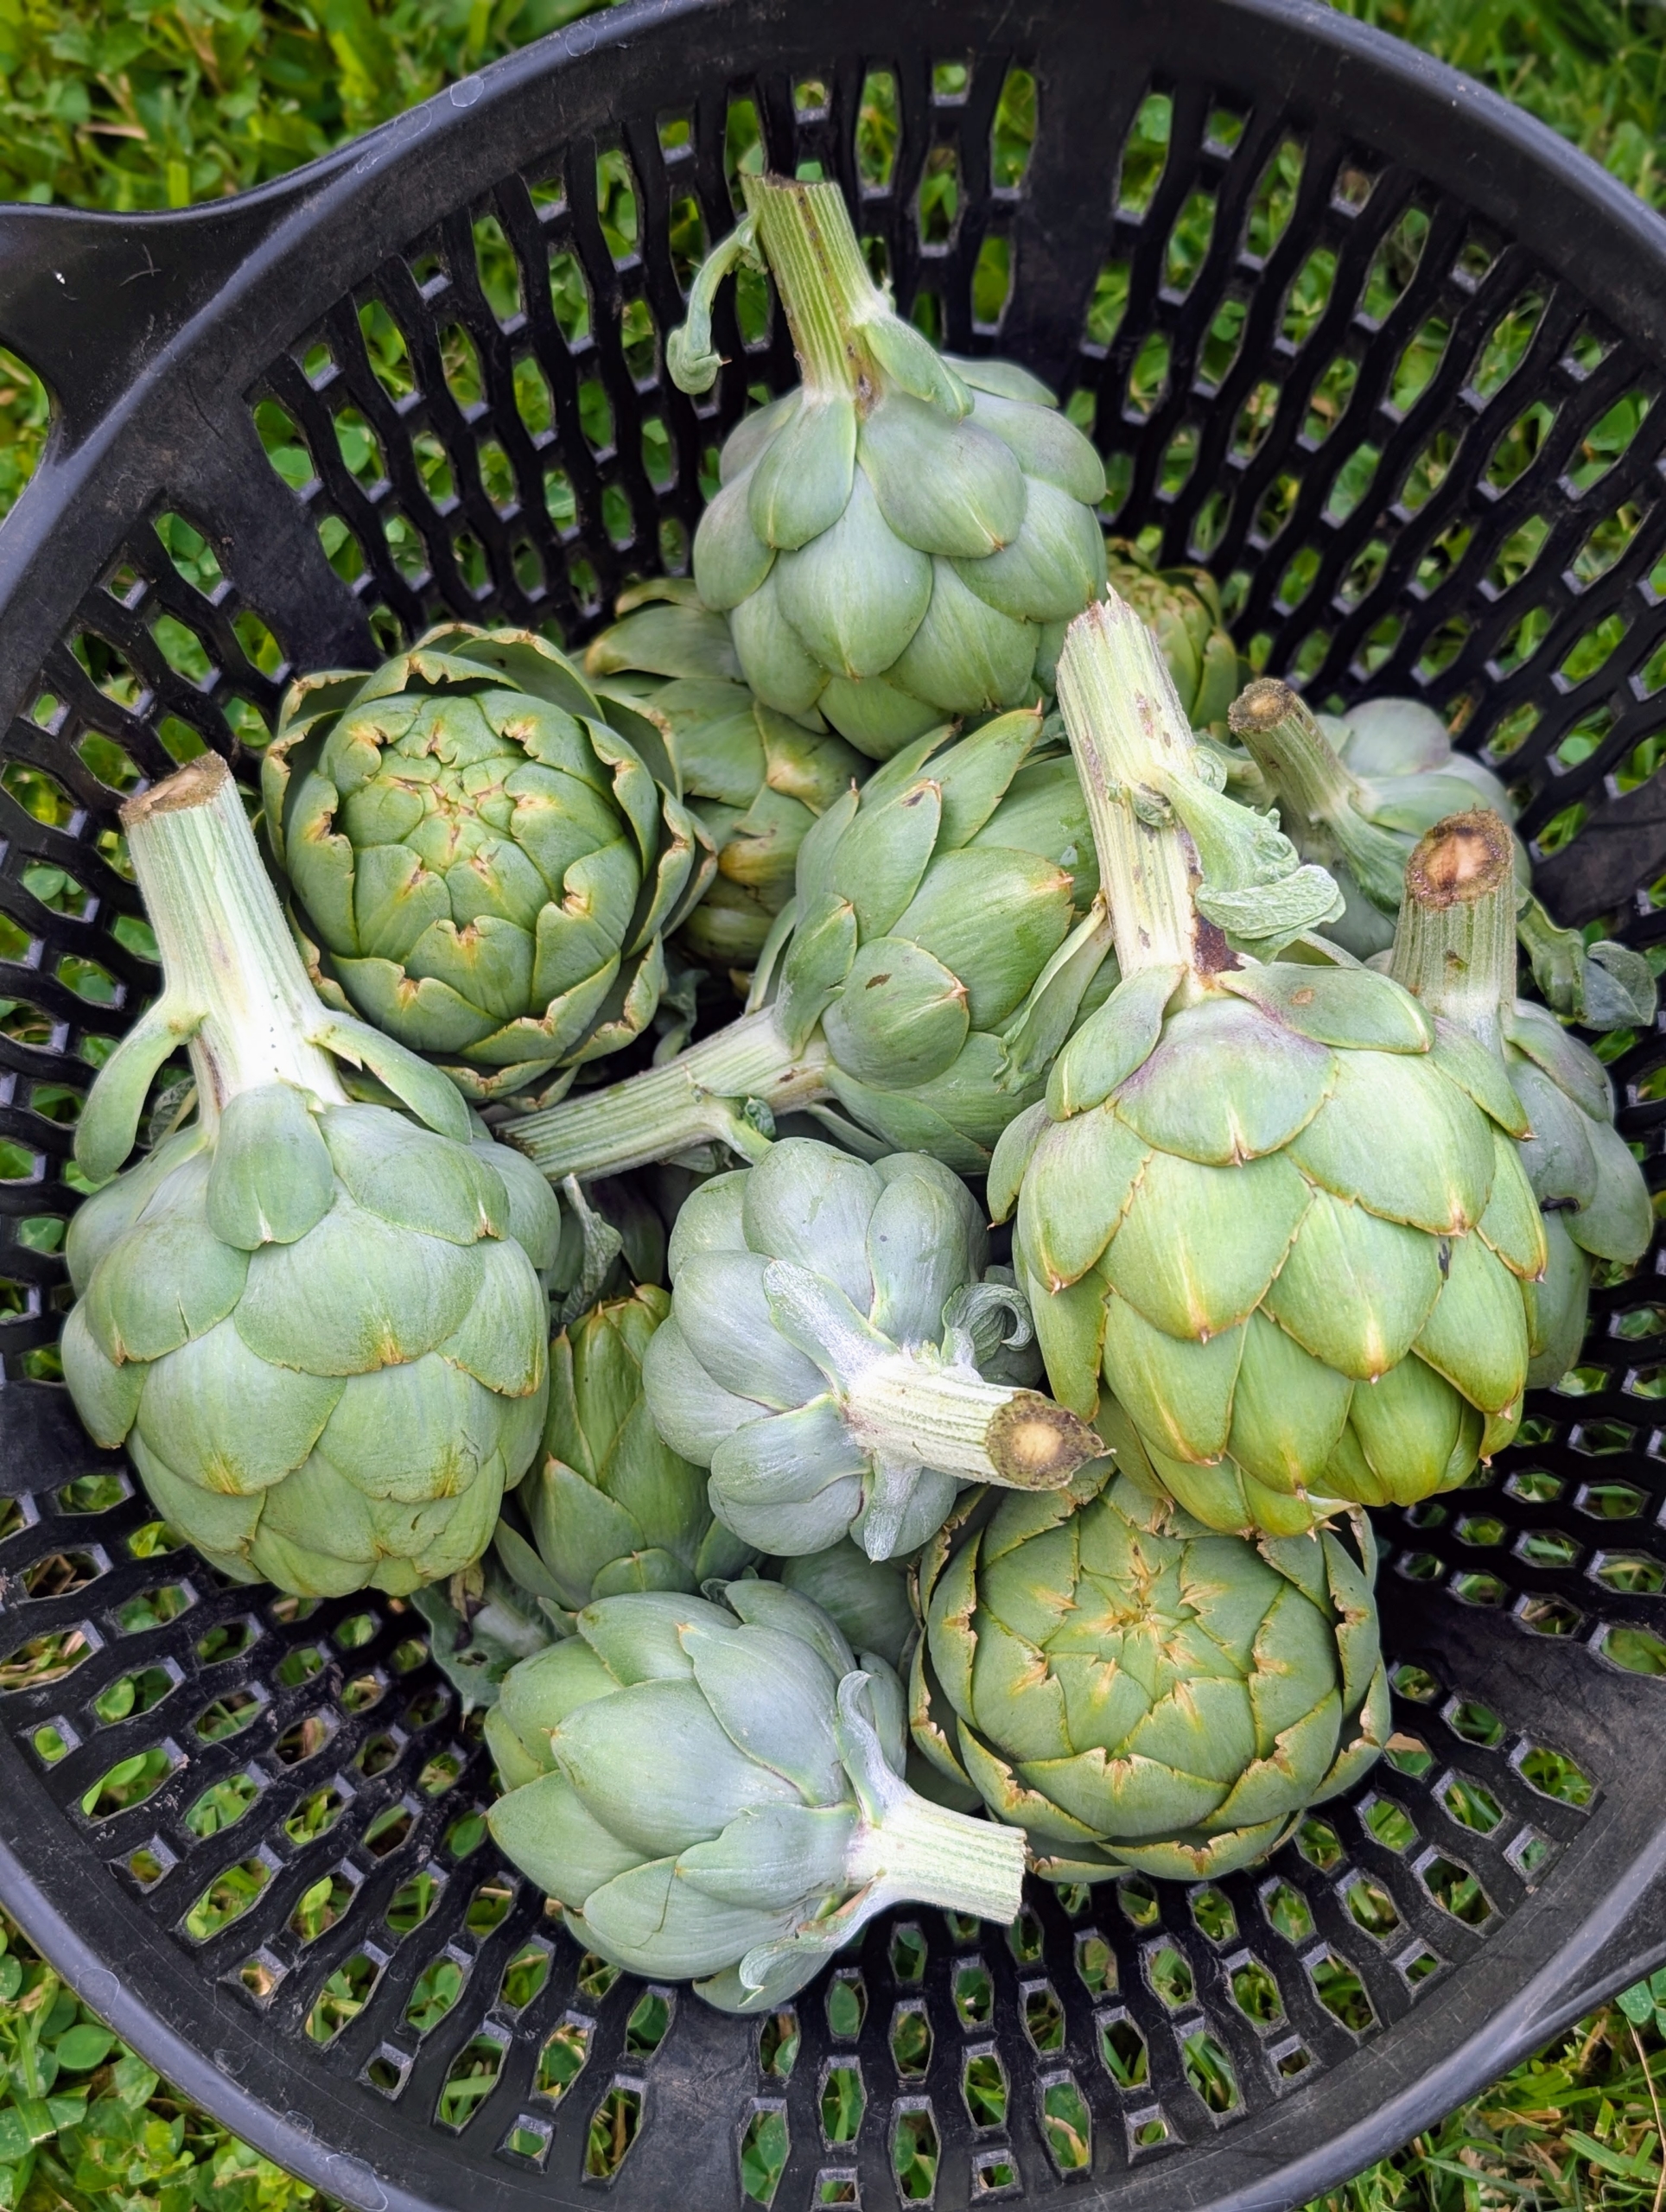
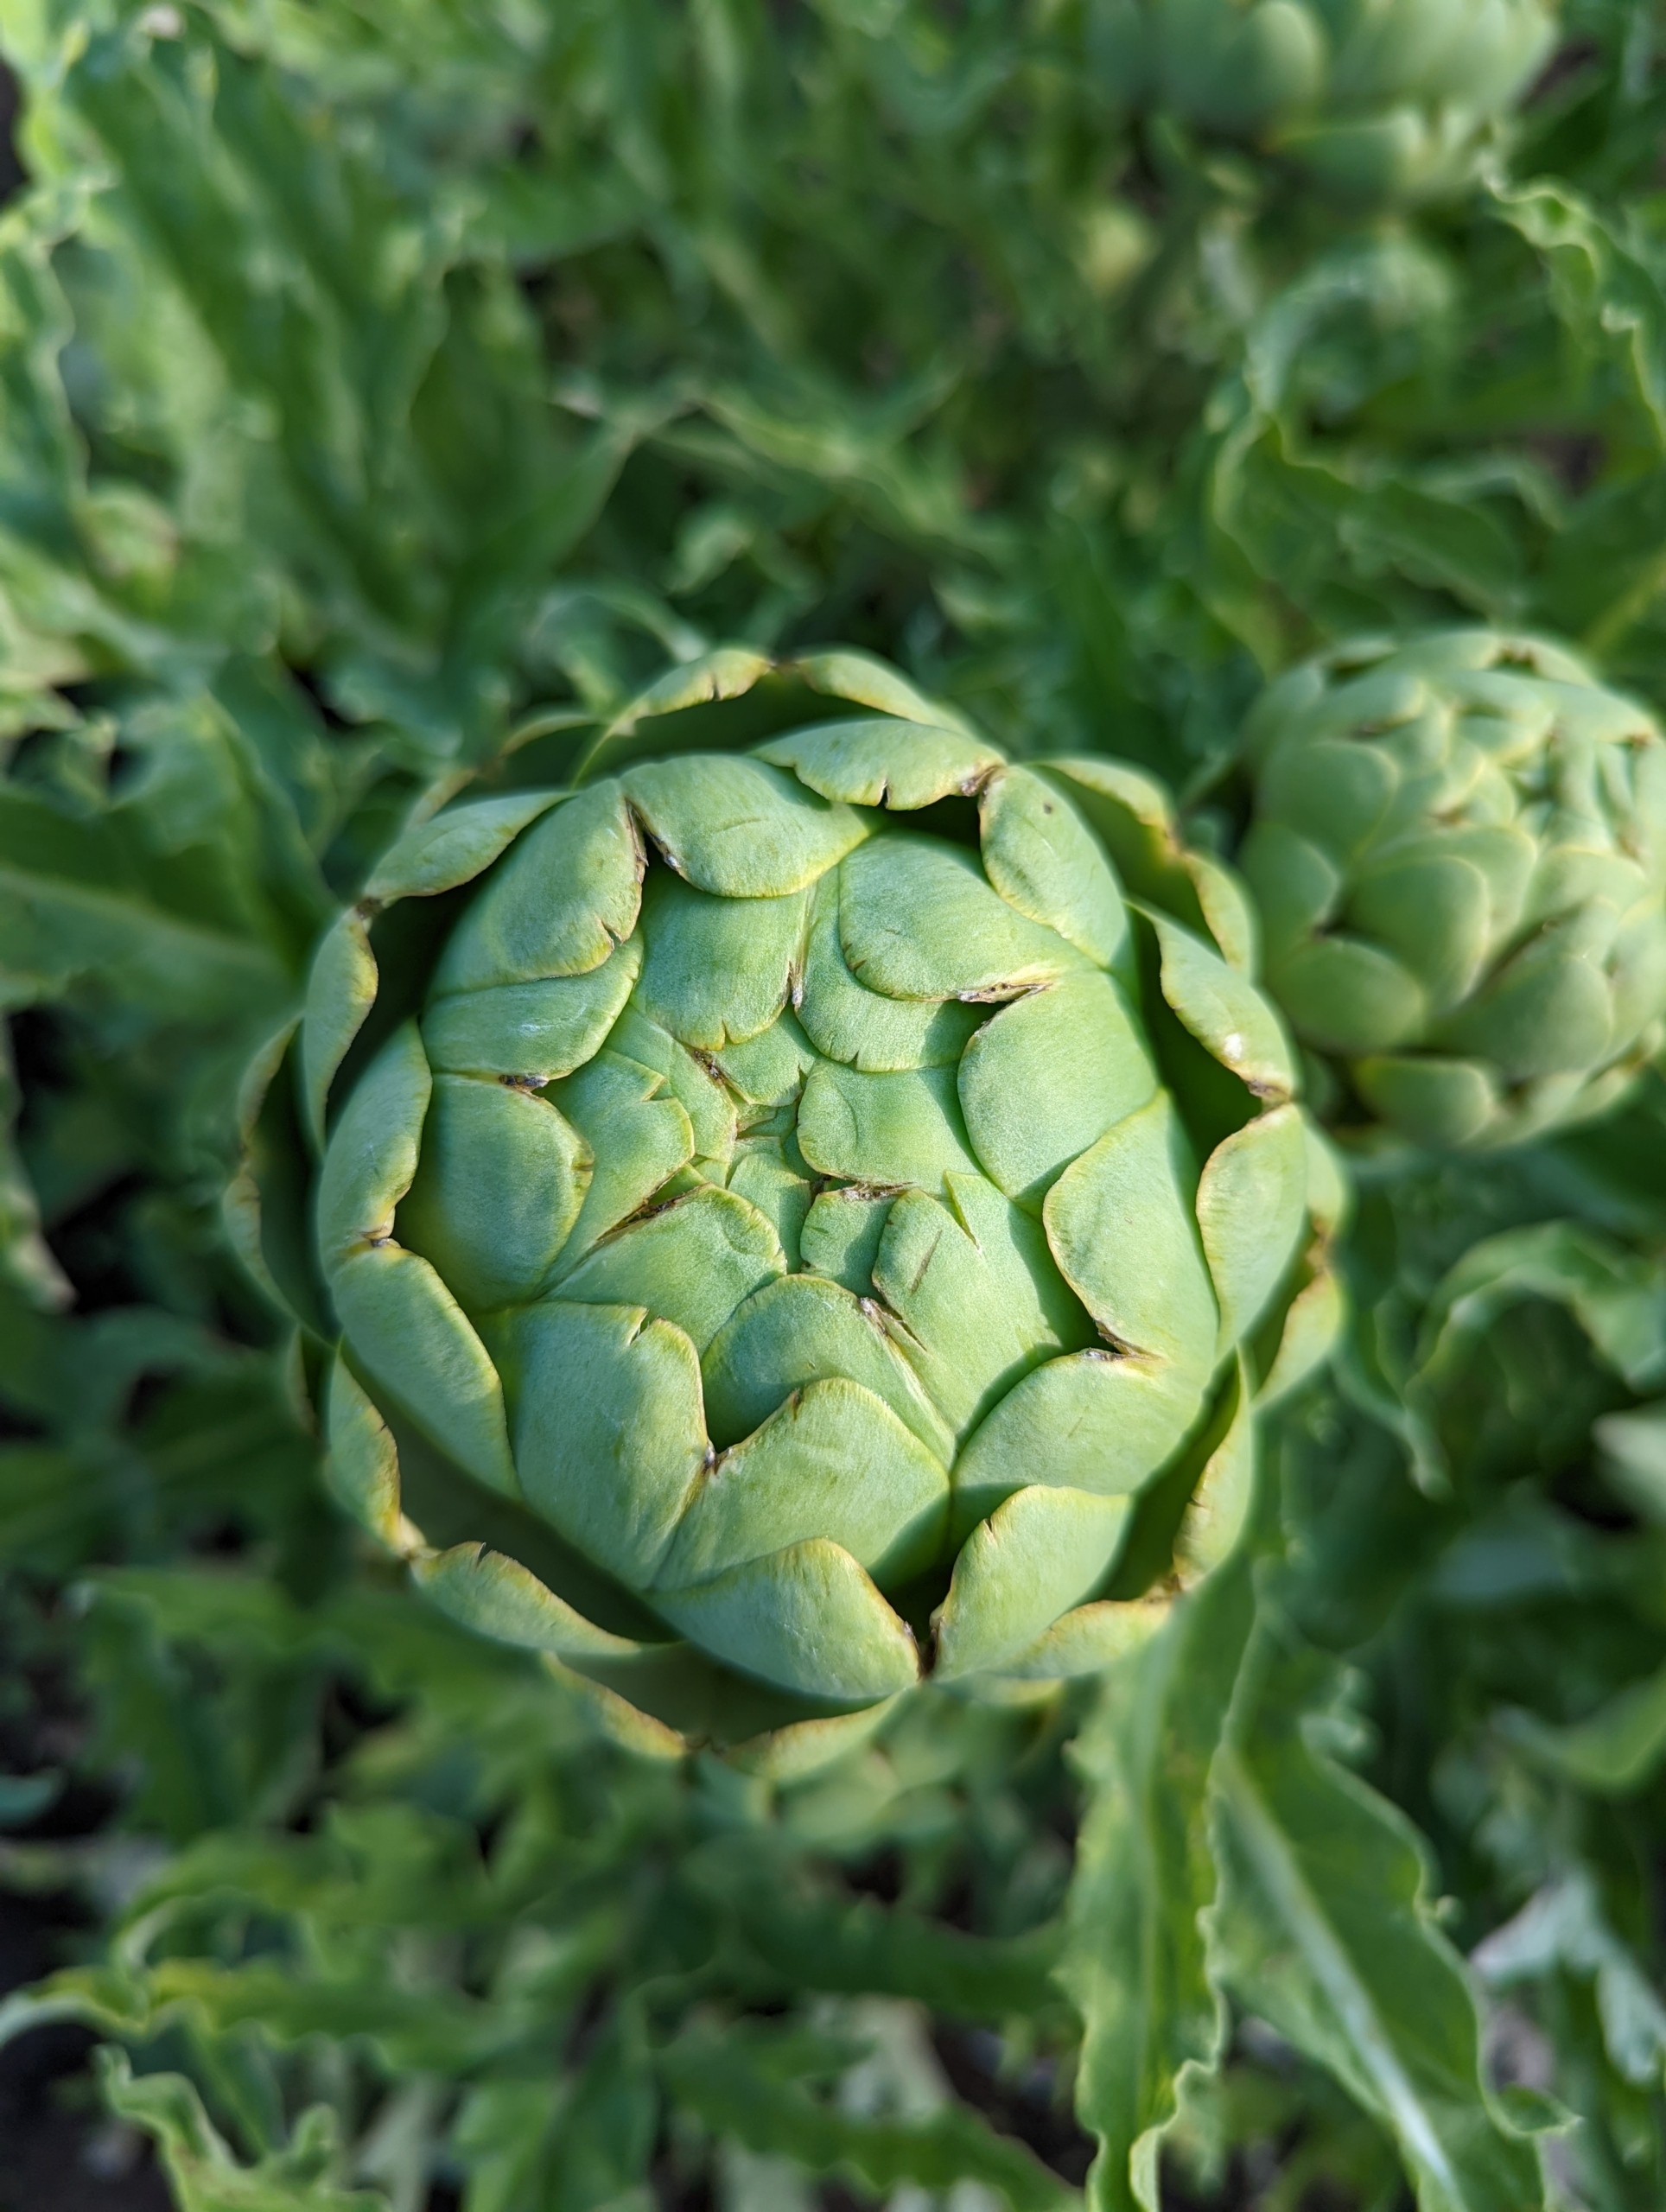
- Artichokes are in season late spring and early summer. The globe artichoke is an heirloom vegetable grown for its tender, edible flower buds. I love artichokes and grow many every year.
-
- I like to pick them young and small, but always look for those that are plump, firm, and heavy for their size. Artichokes are among the finest sources of dietary fiber and antioxidants. They are also an excellent source of vitamins C, K and B6 as well as folic acid, potassium, iron, manganese, and phosphorus.
-
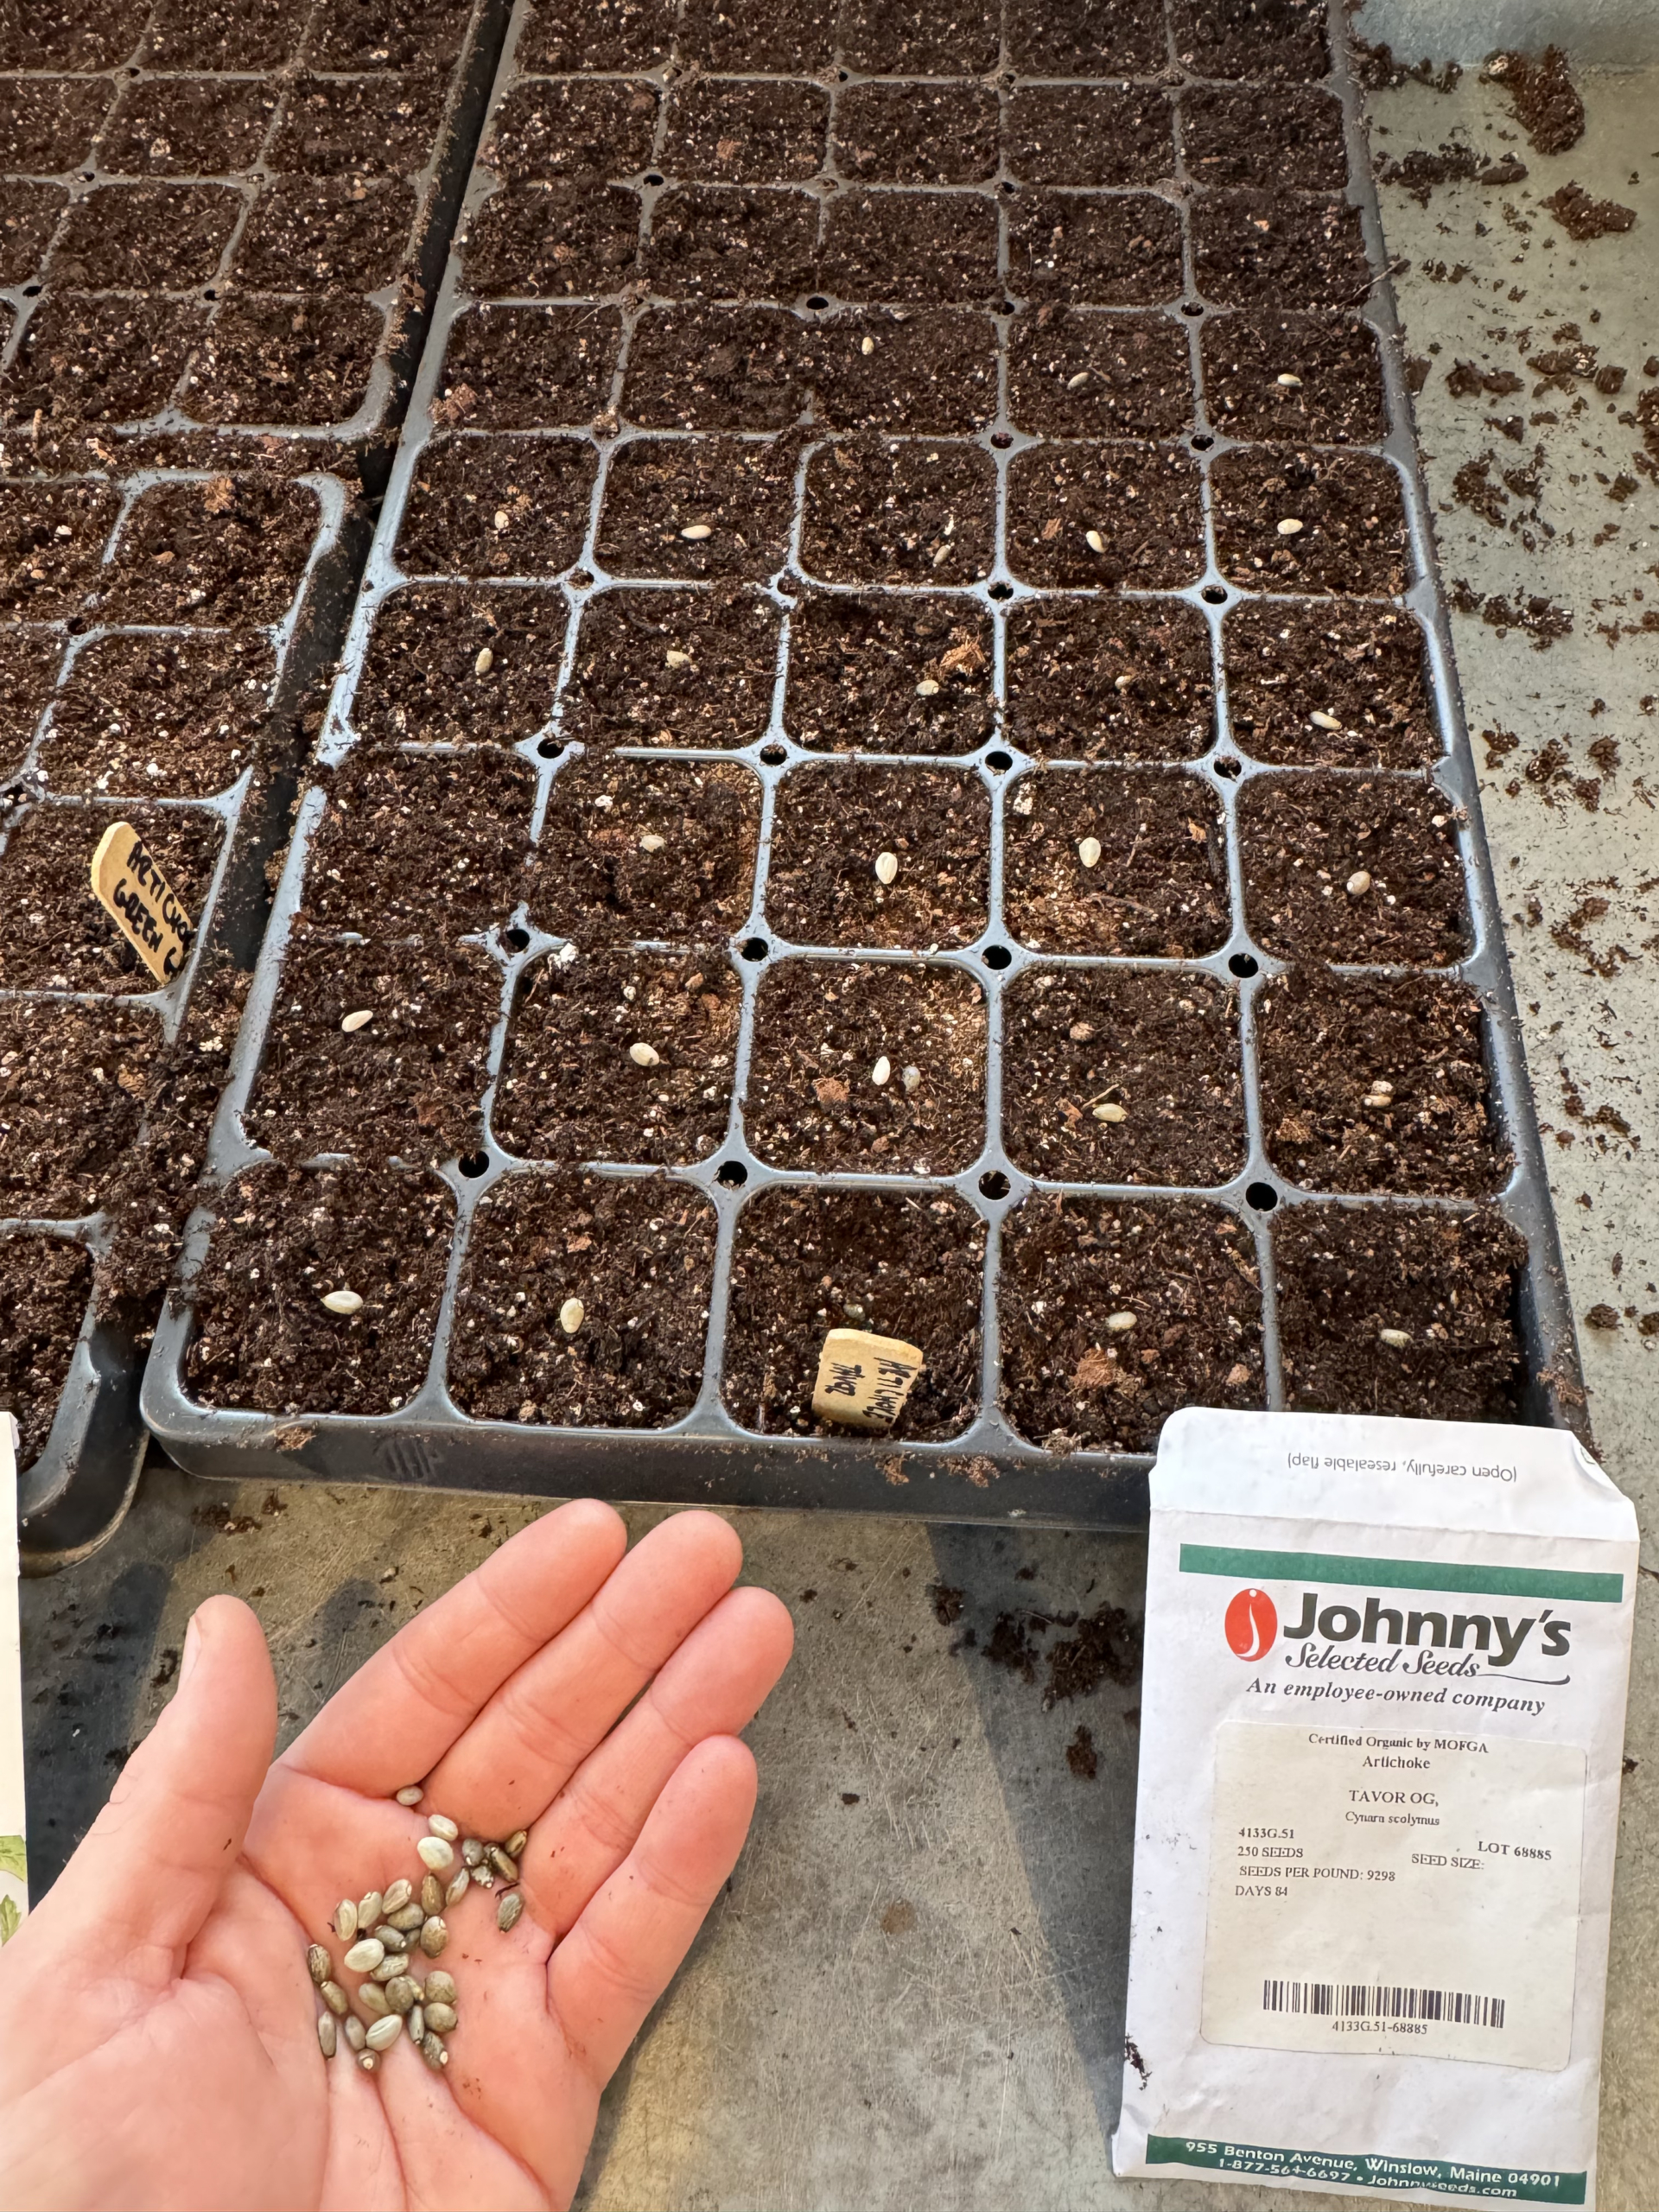
- Here at my farm, all my delicious artichokes start as seed. It’s important to start vegetable seeds early, so they are ready in time to plant outdoors once the weather is right.
-
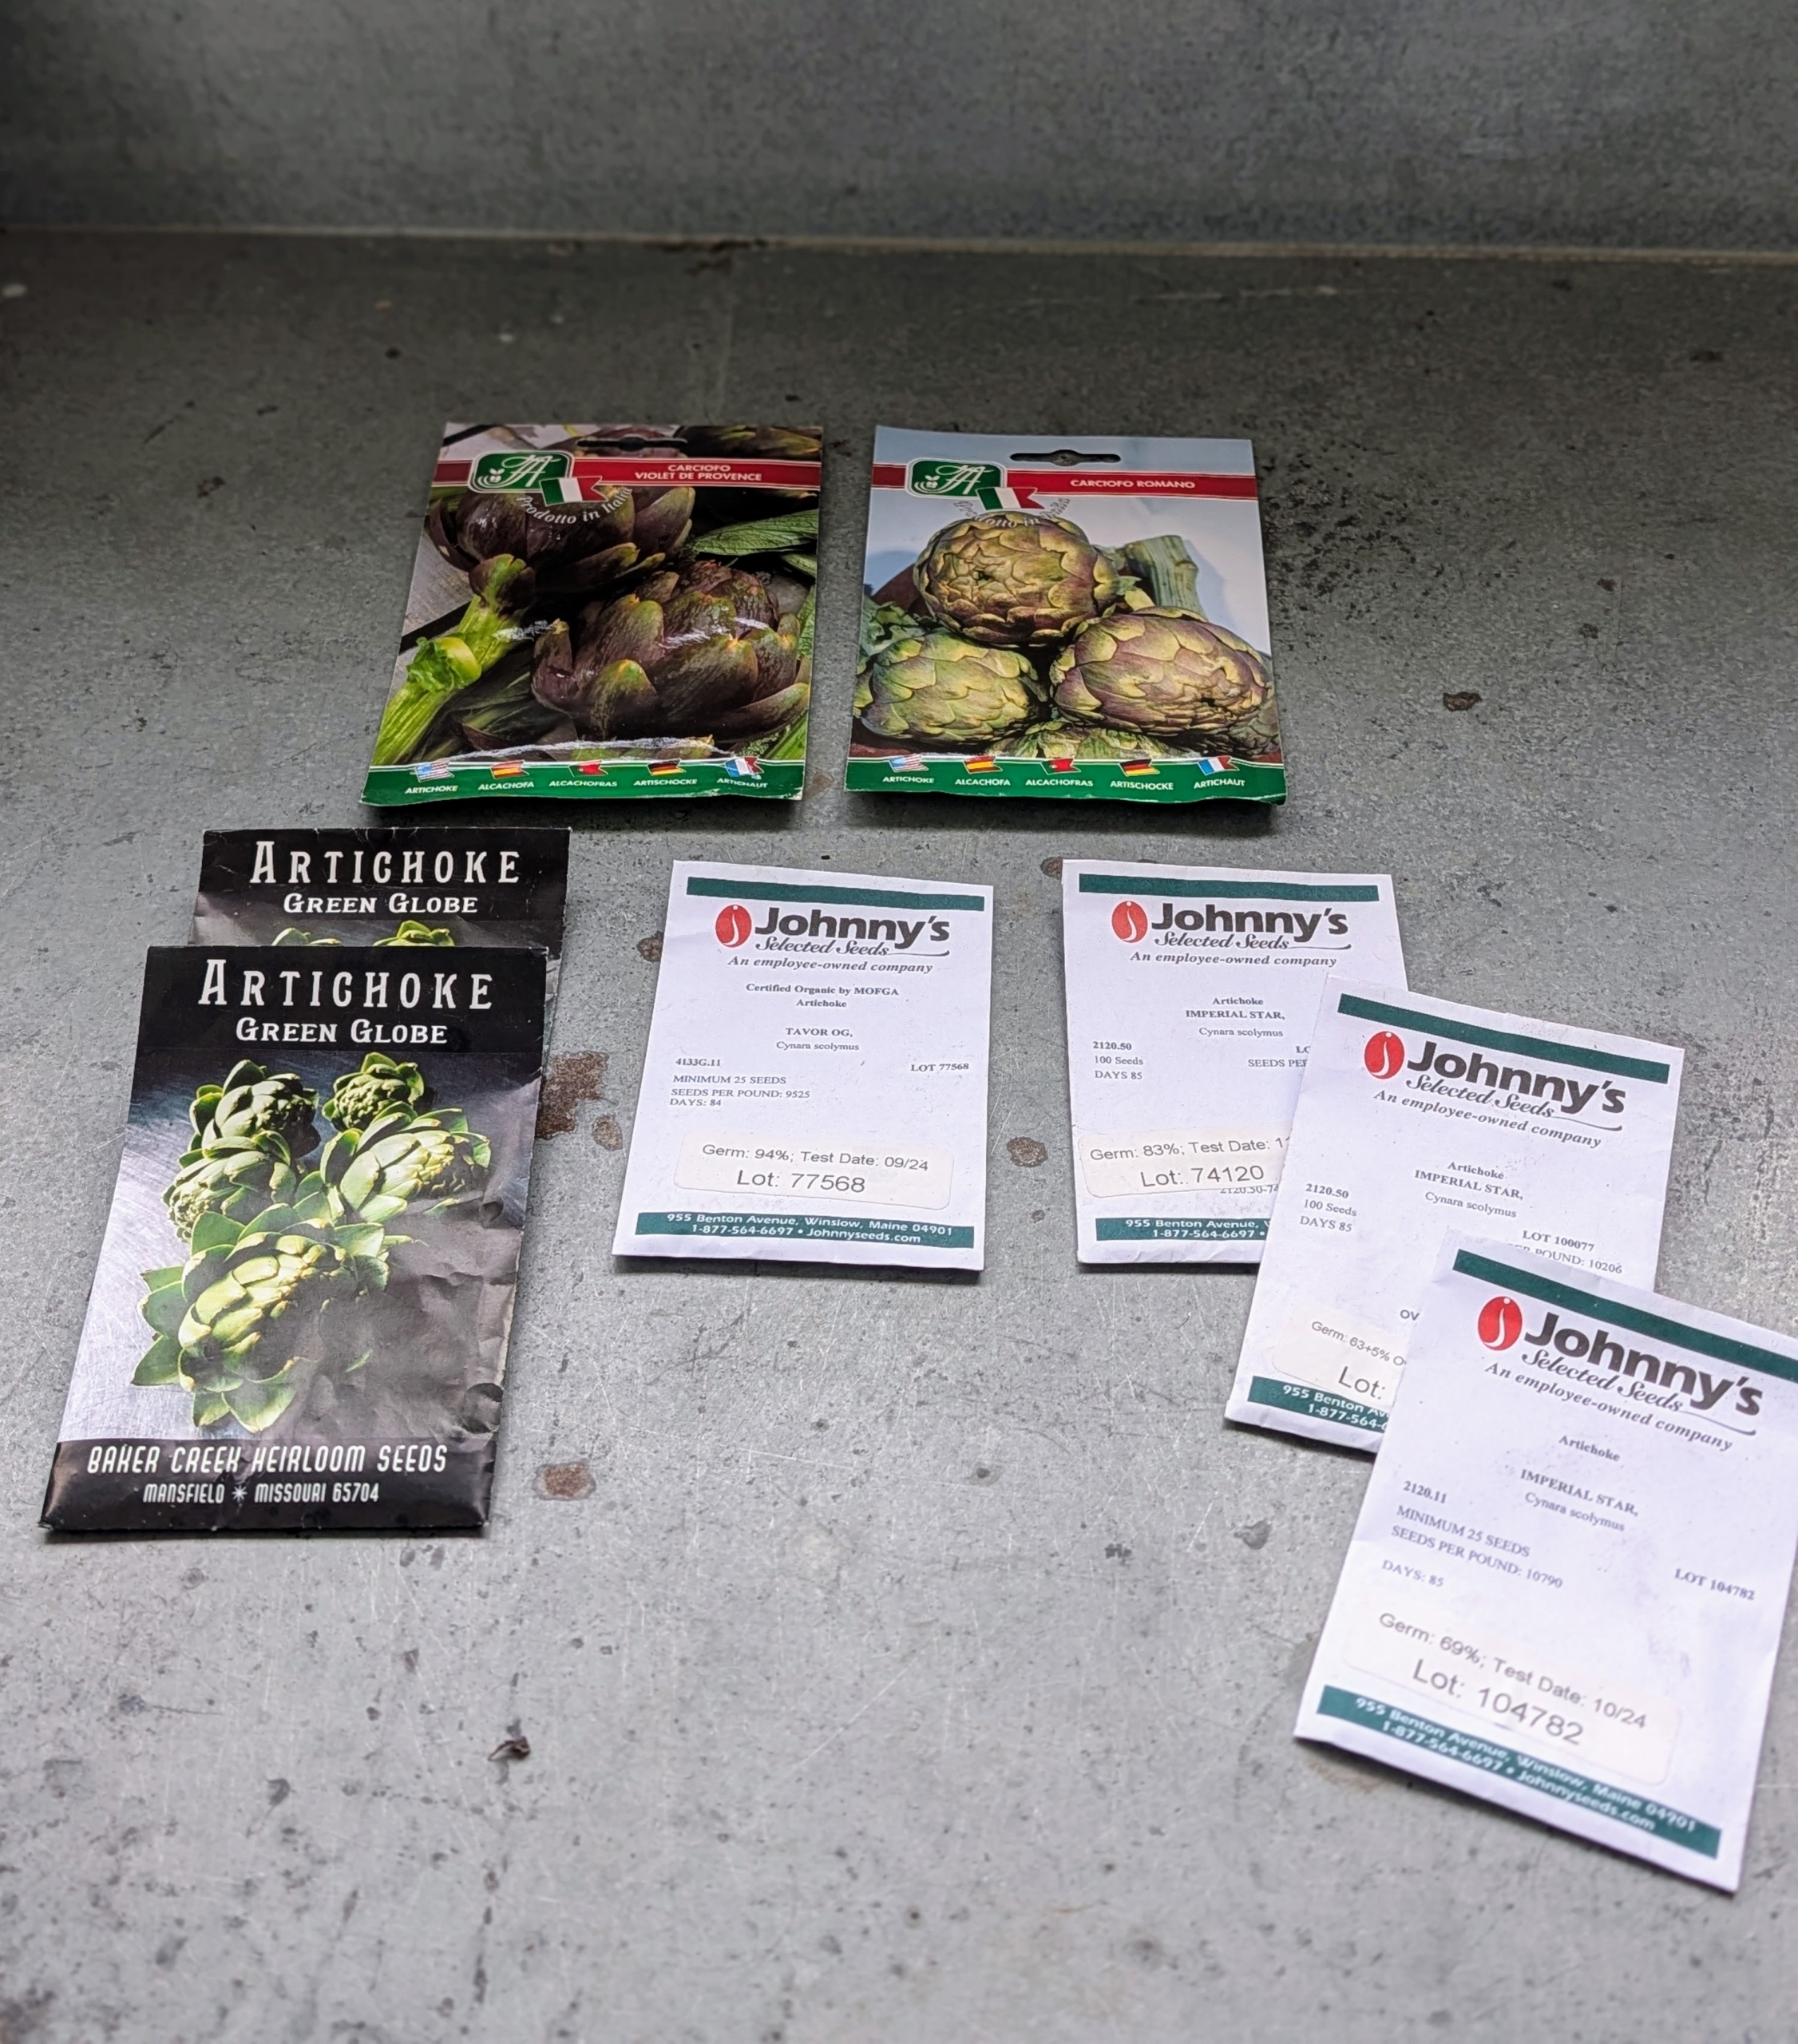
- I enjoy trying seeds from various vendors, but Johnny’s Selected Seeds and Baker Creek Heirloom Seeds are two of my go-to sources.
-
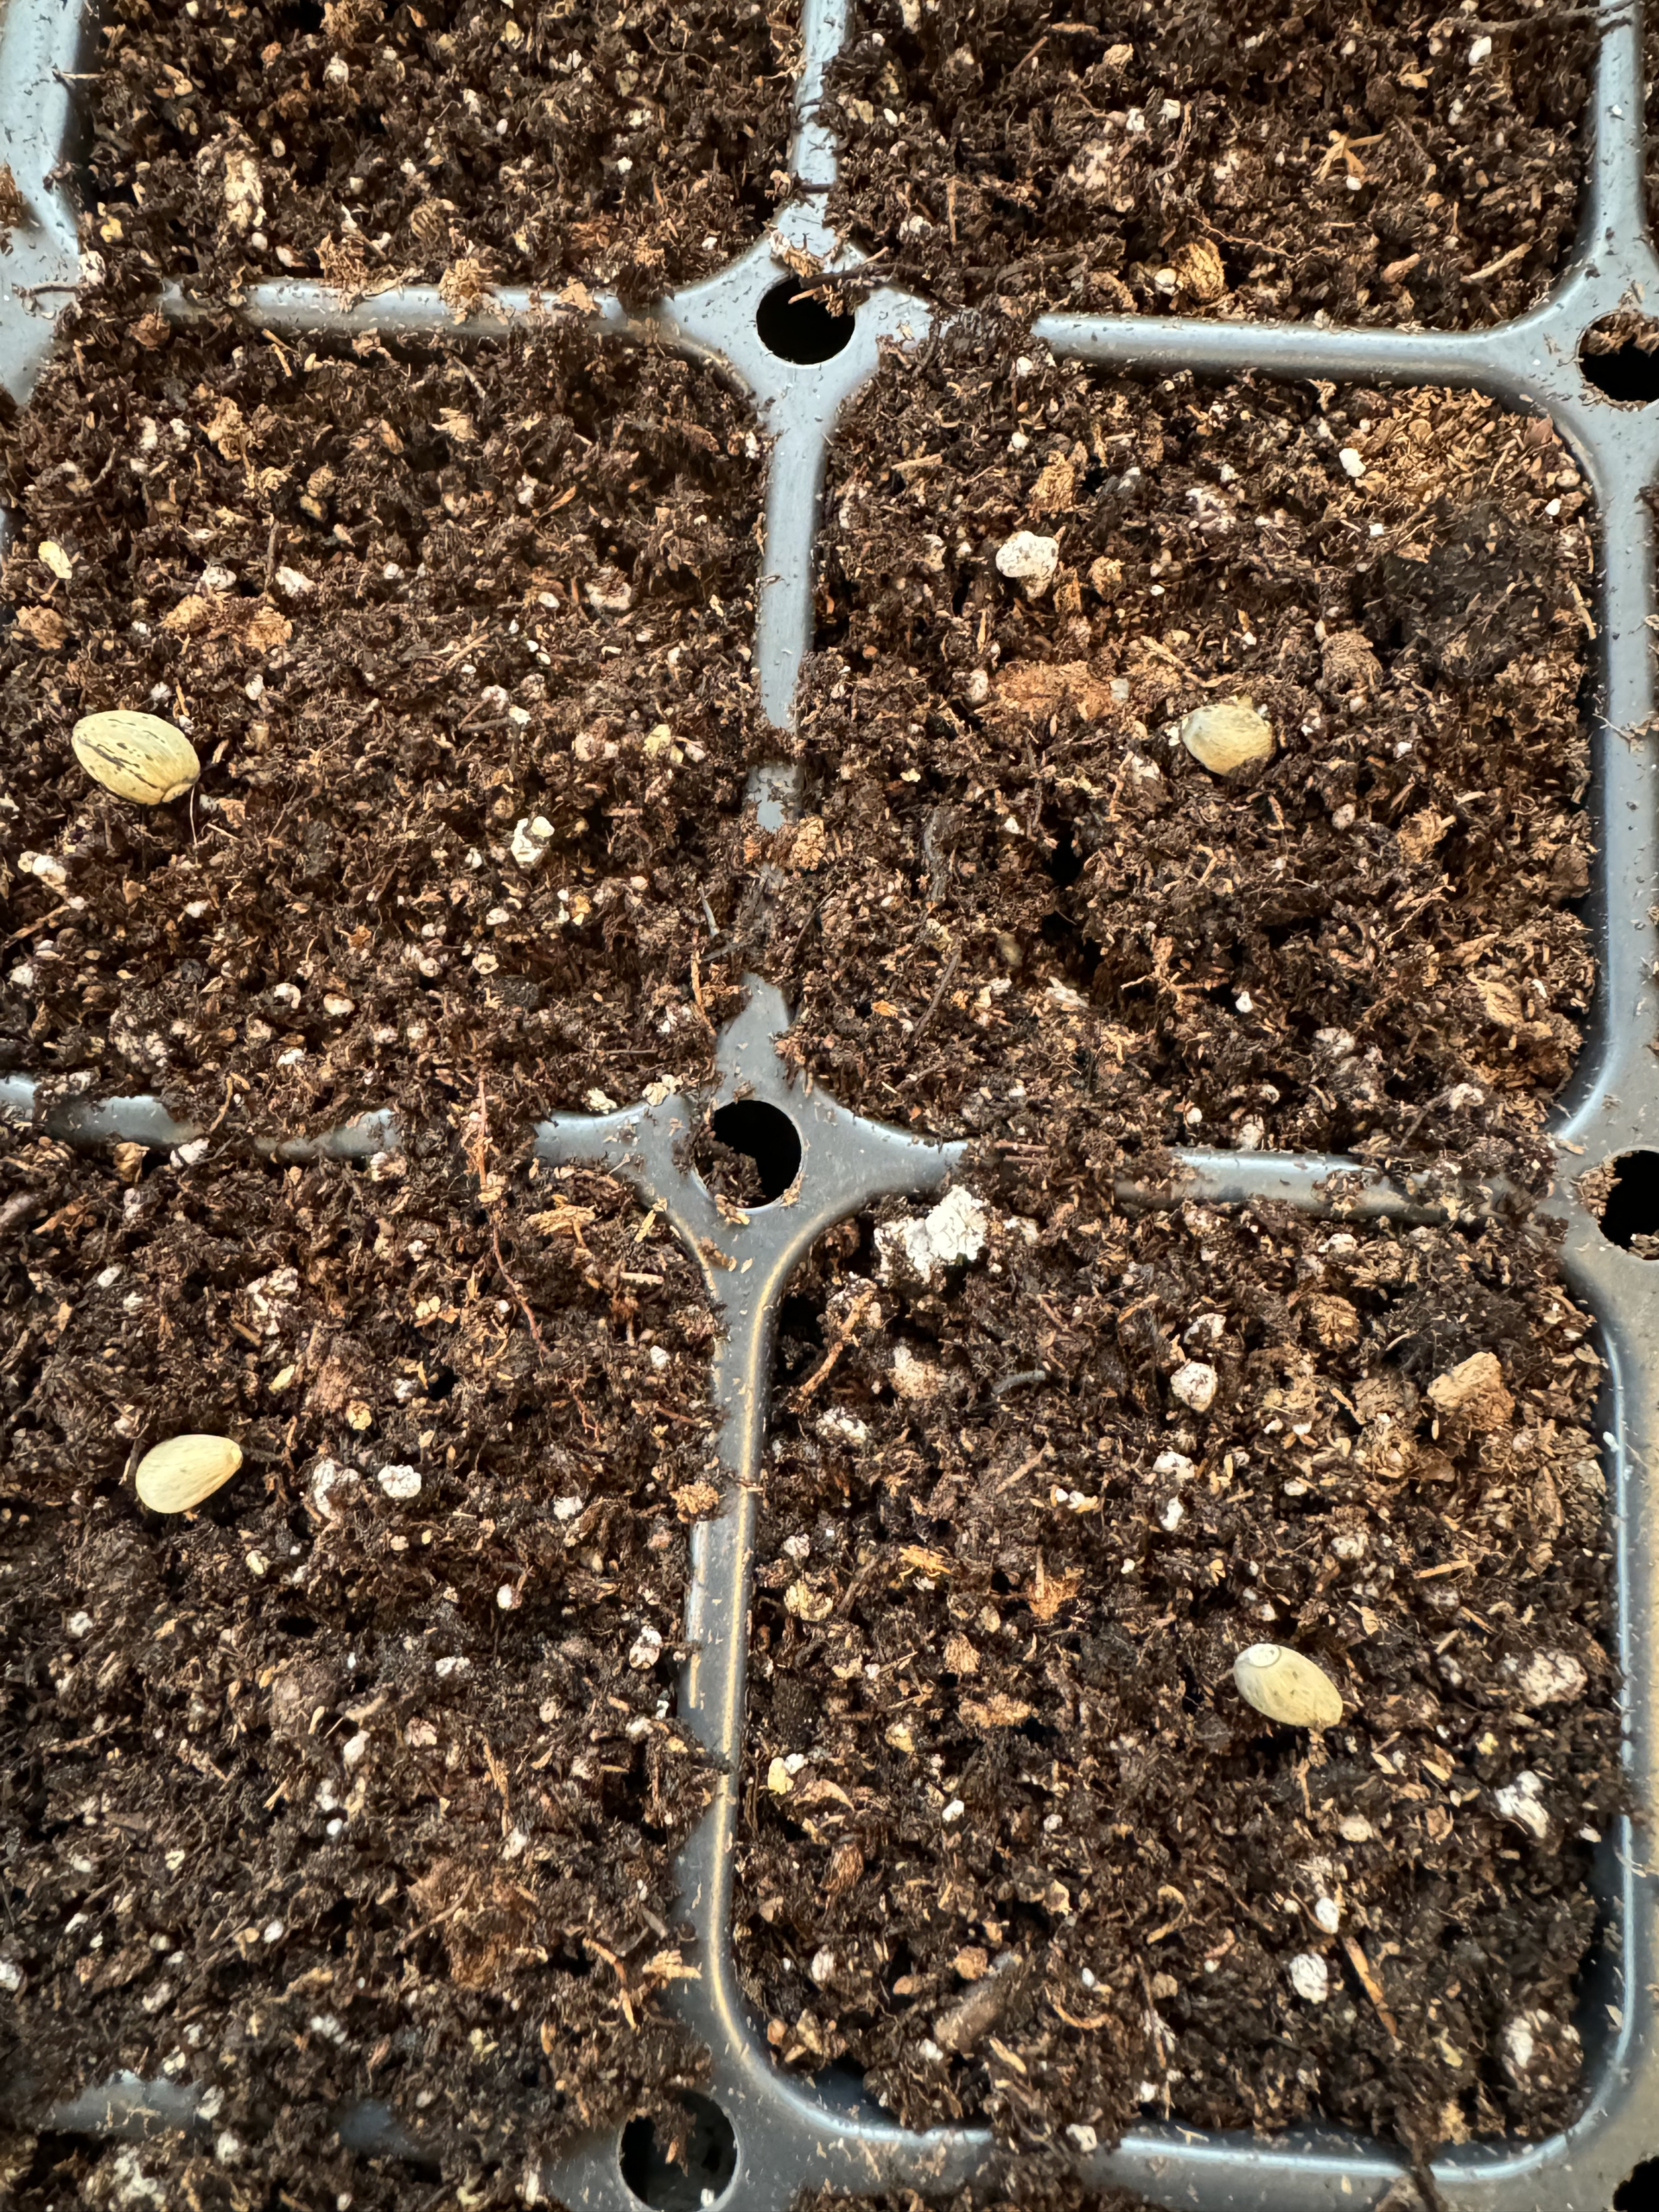
- Artichoke seeds are small, so one must take time dropping them – one per cell. It’s a good idea to keep a record of when seeds are sown, when they germinate, and when they are transplanted. These observations will help organize a schedule for the following year.
-
- After a few weeks, the tiny seeds have sprouted and grown enough to move into bigger containers.

-
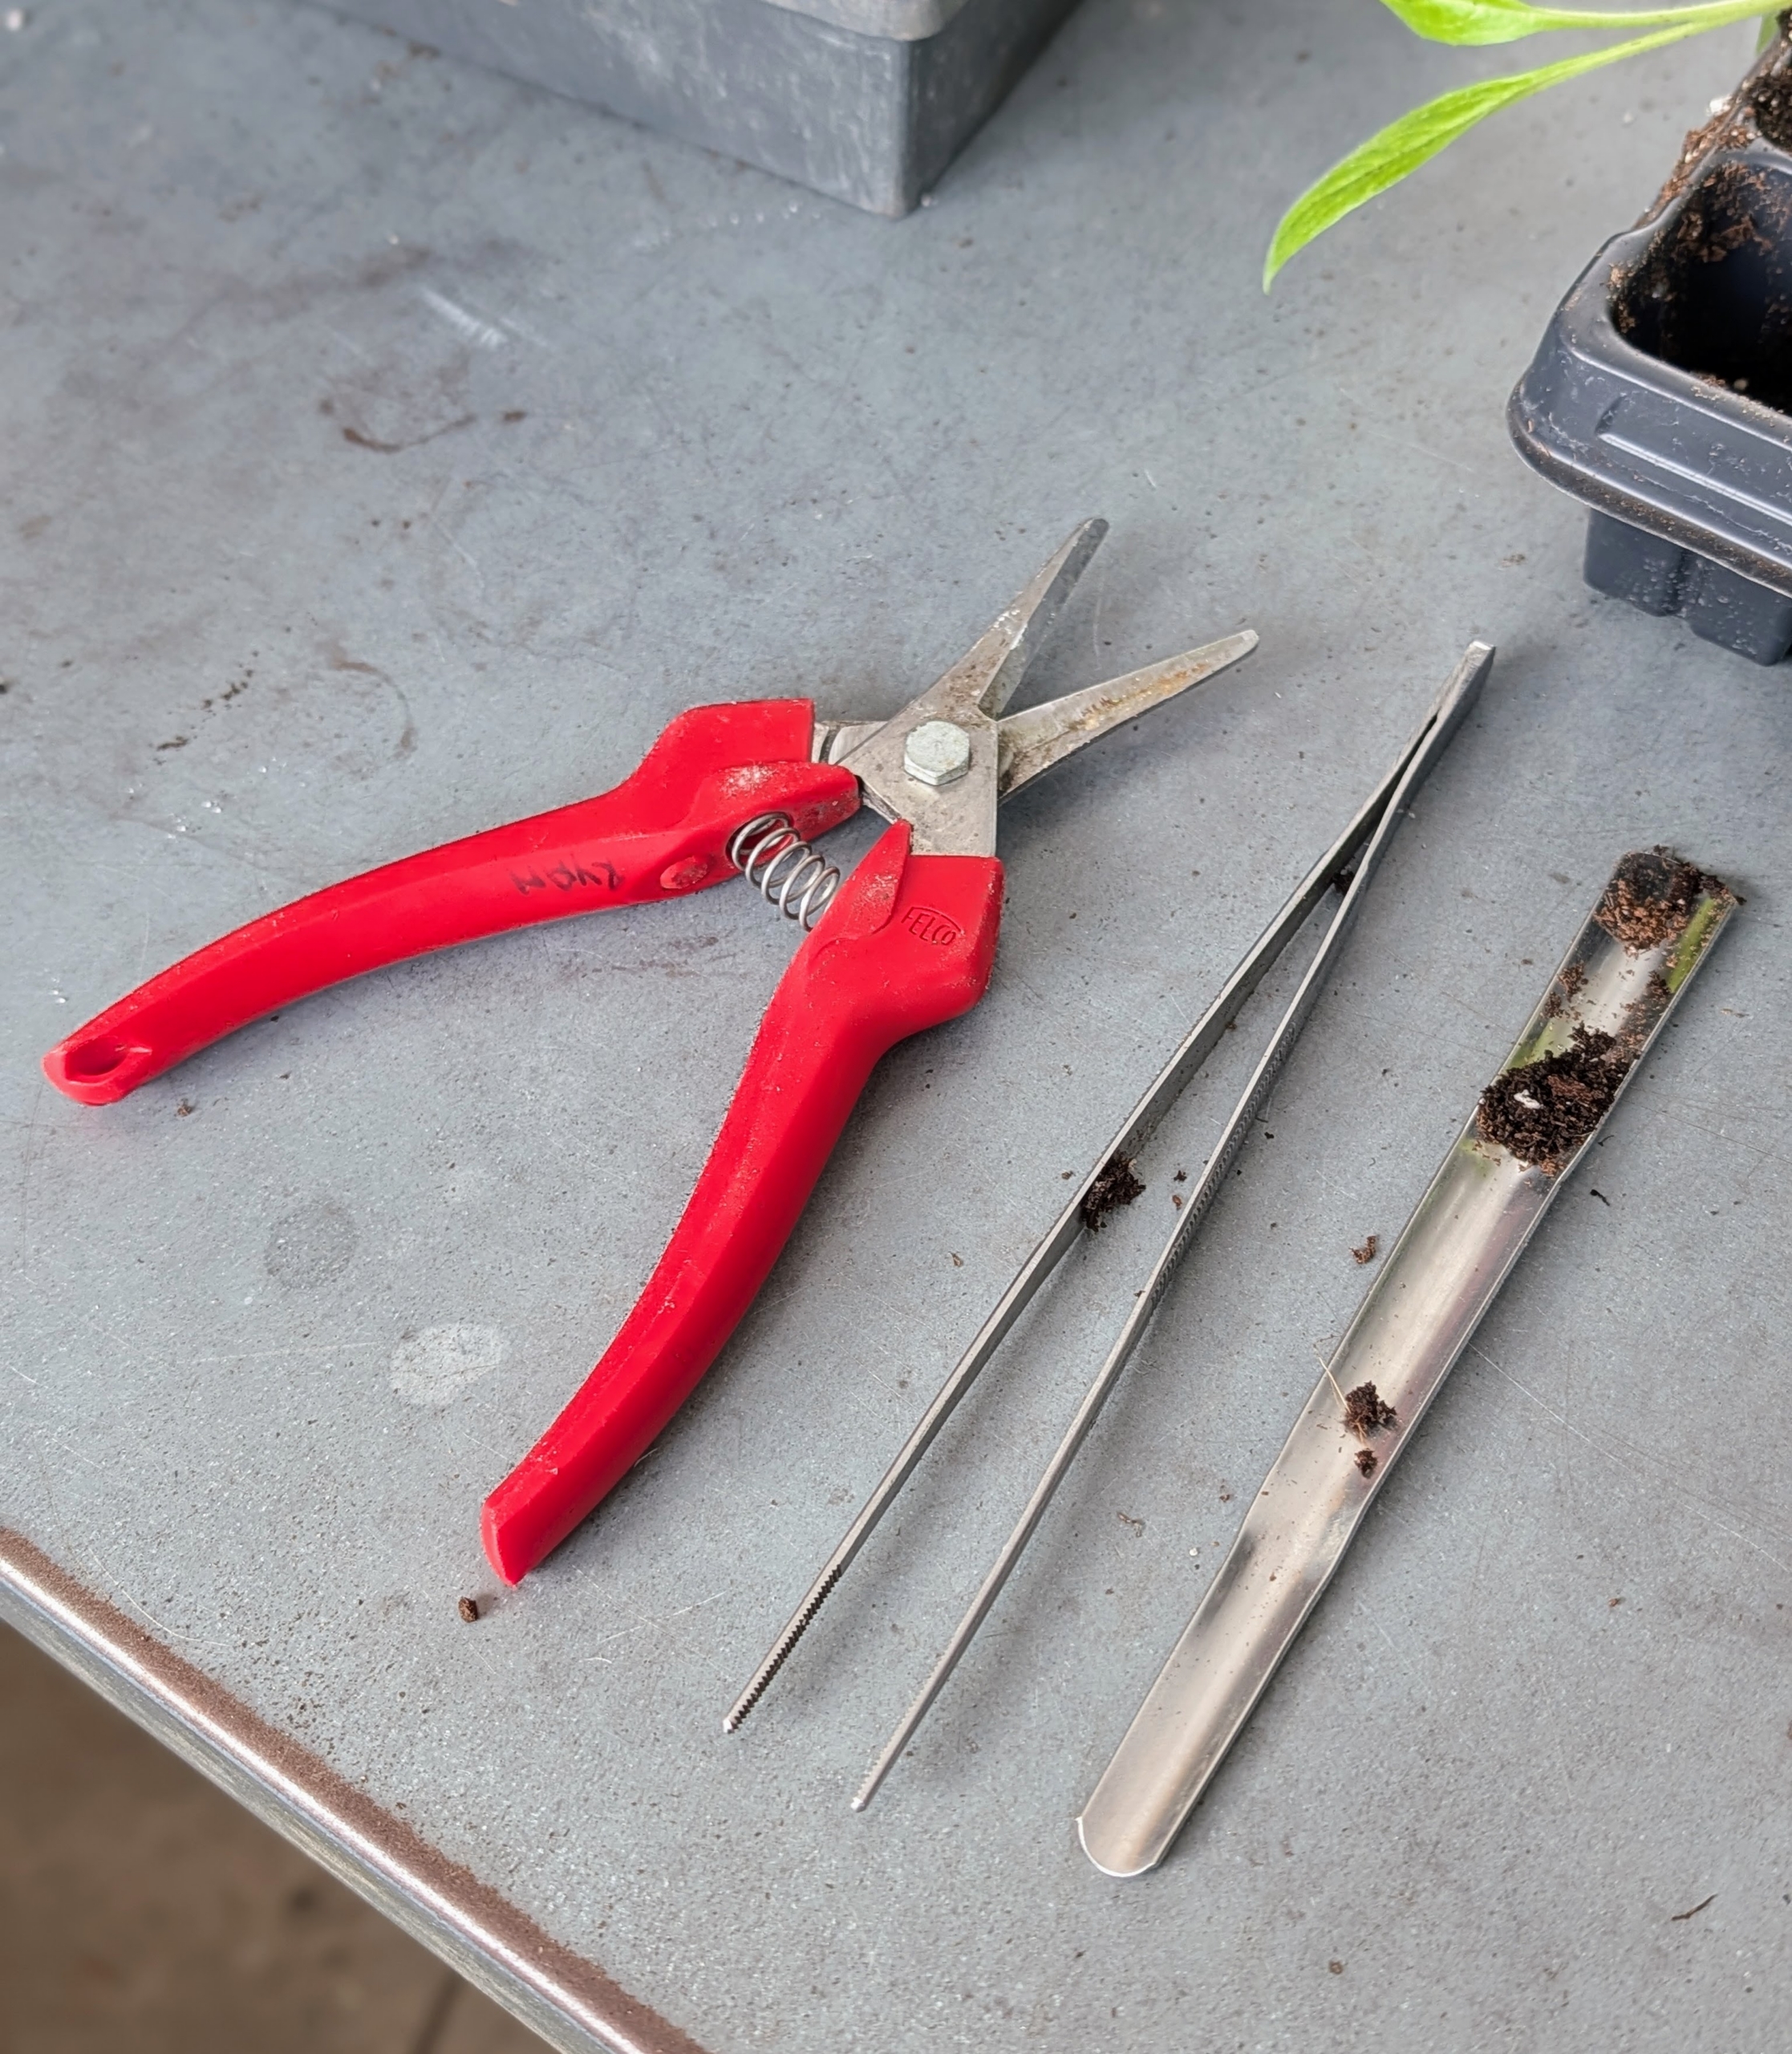
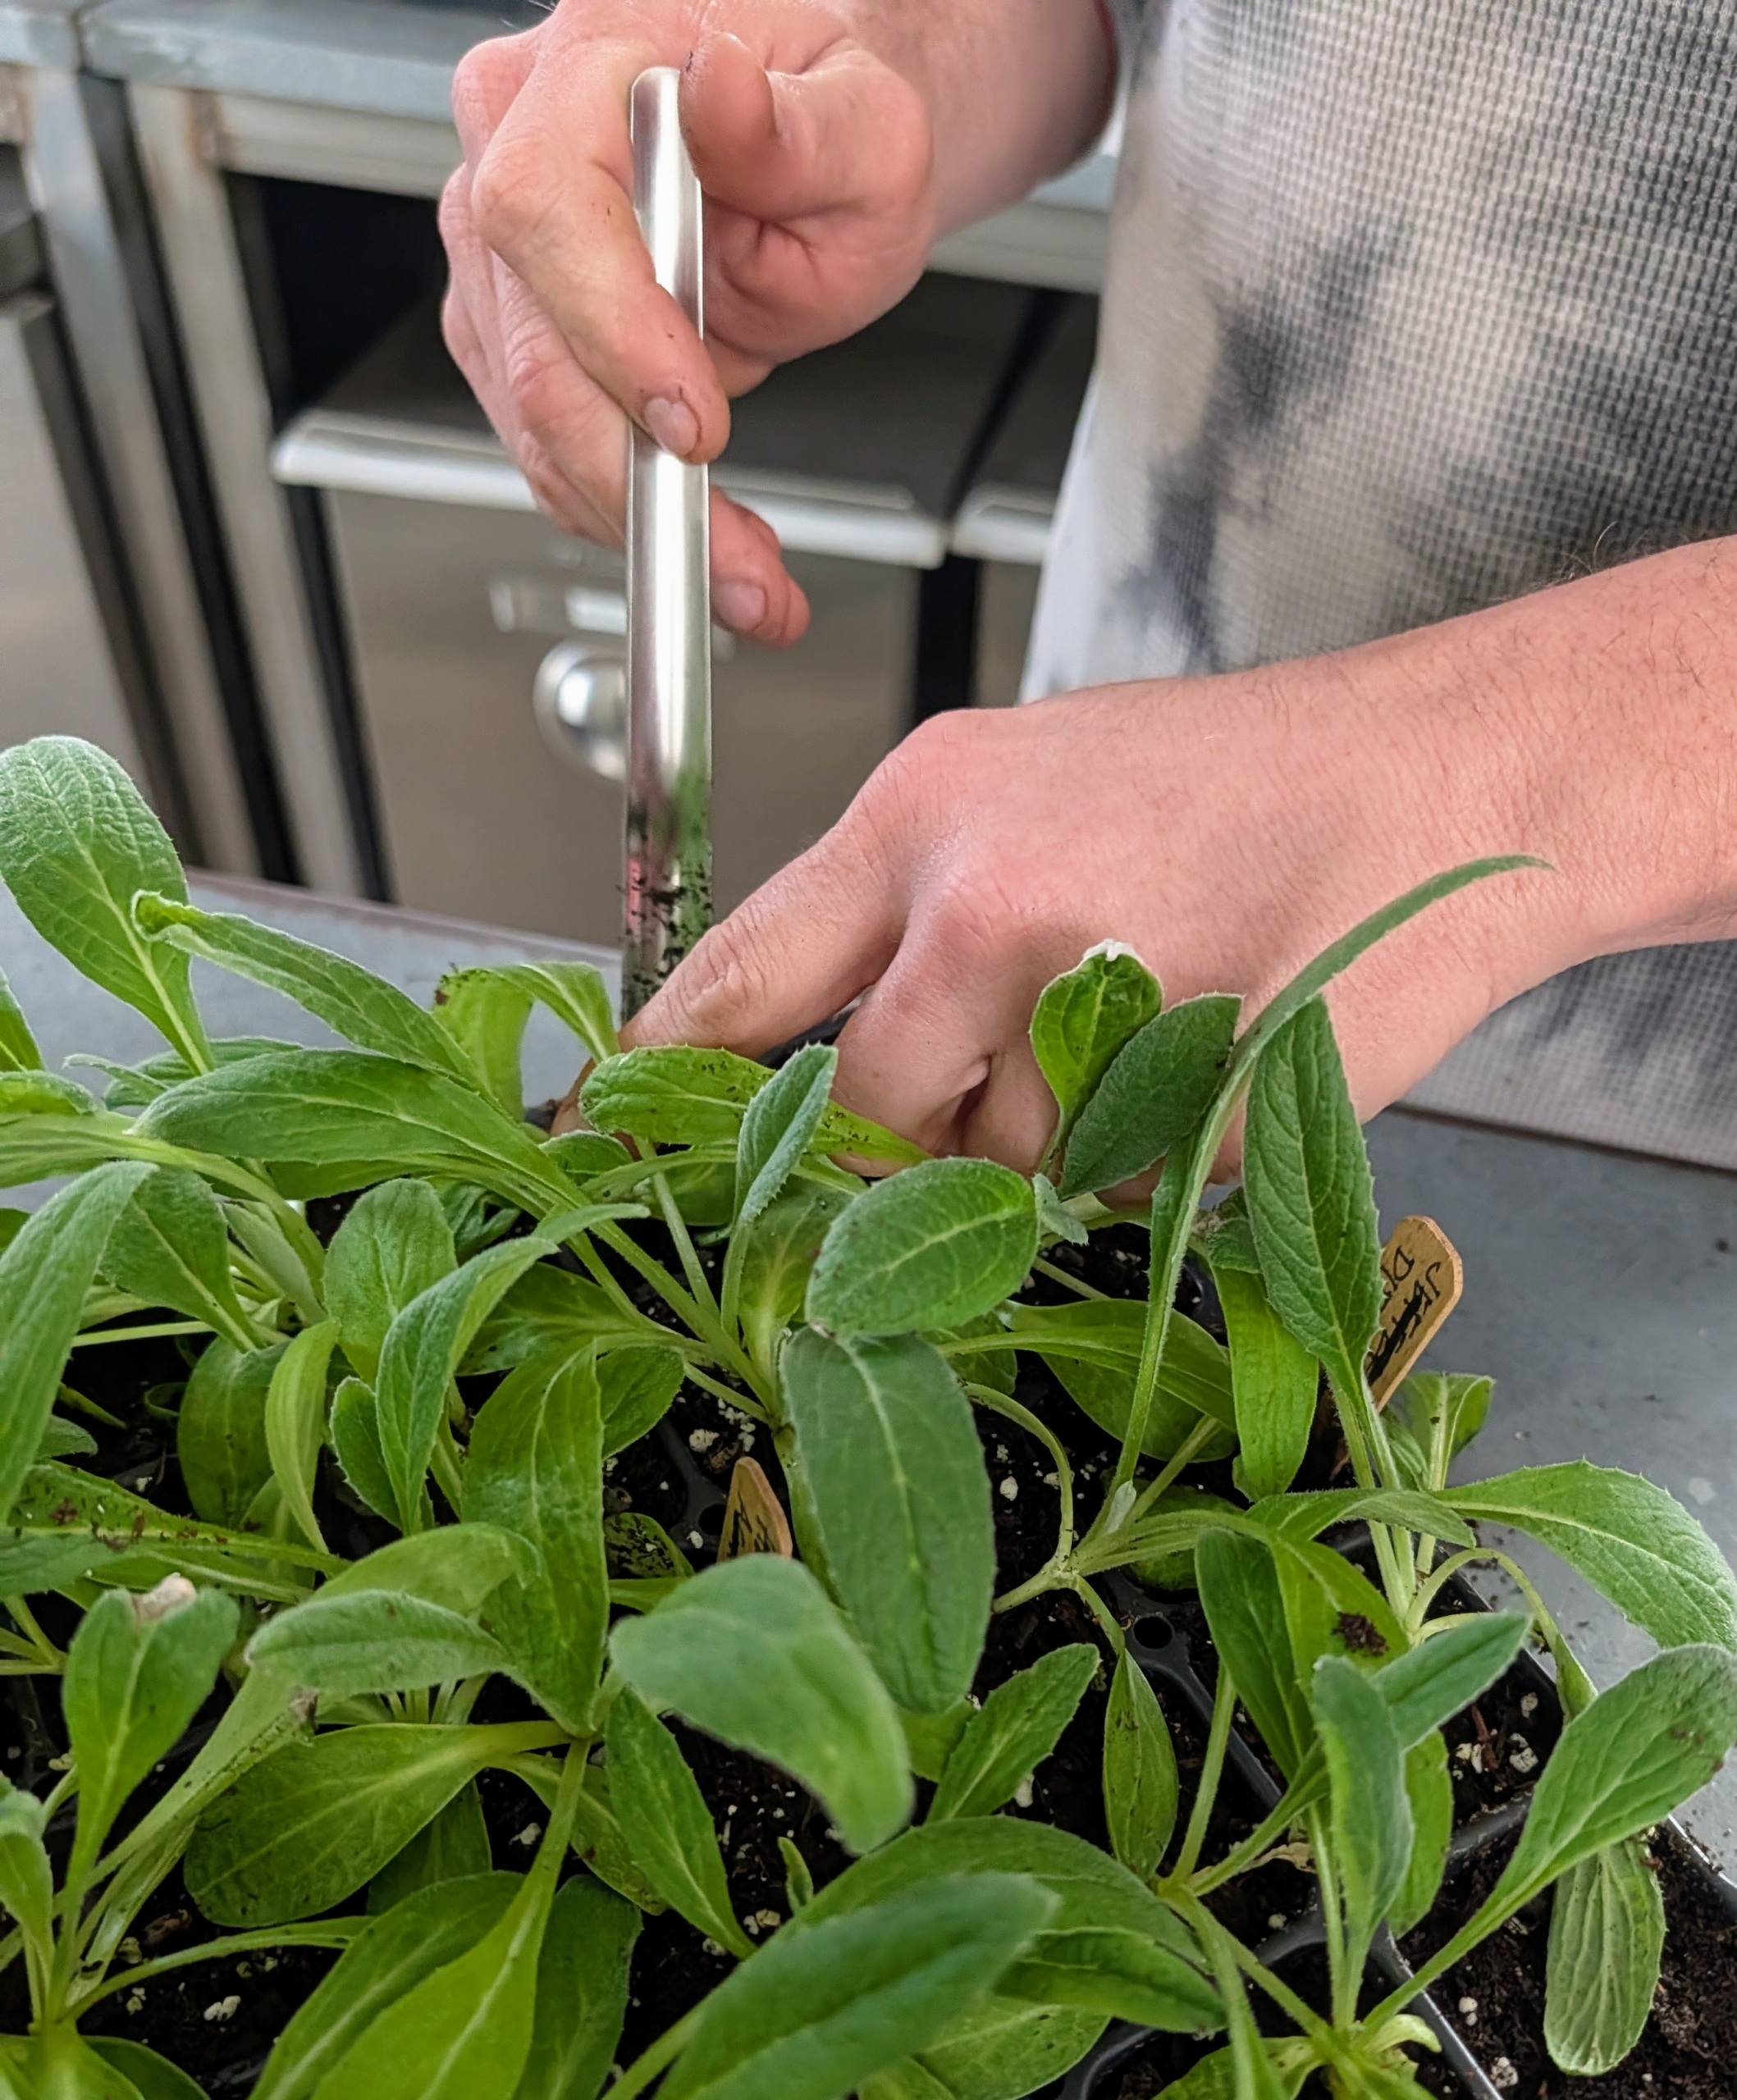
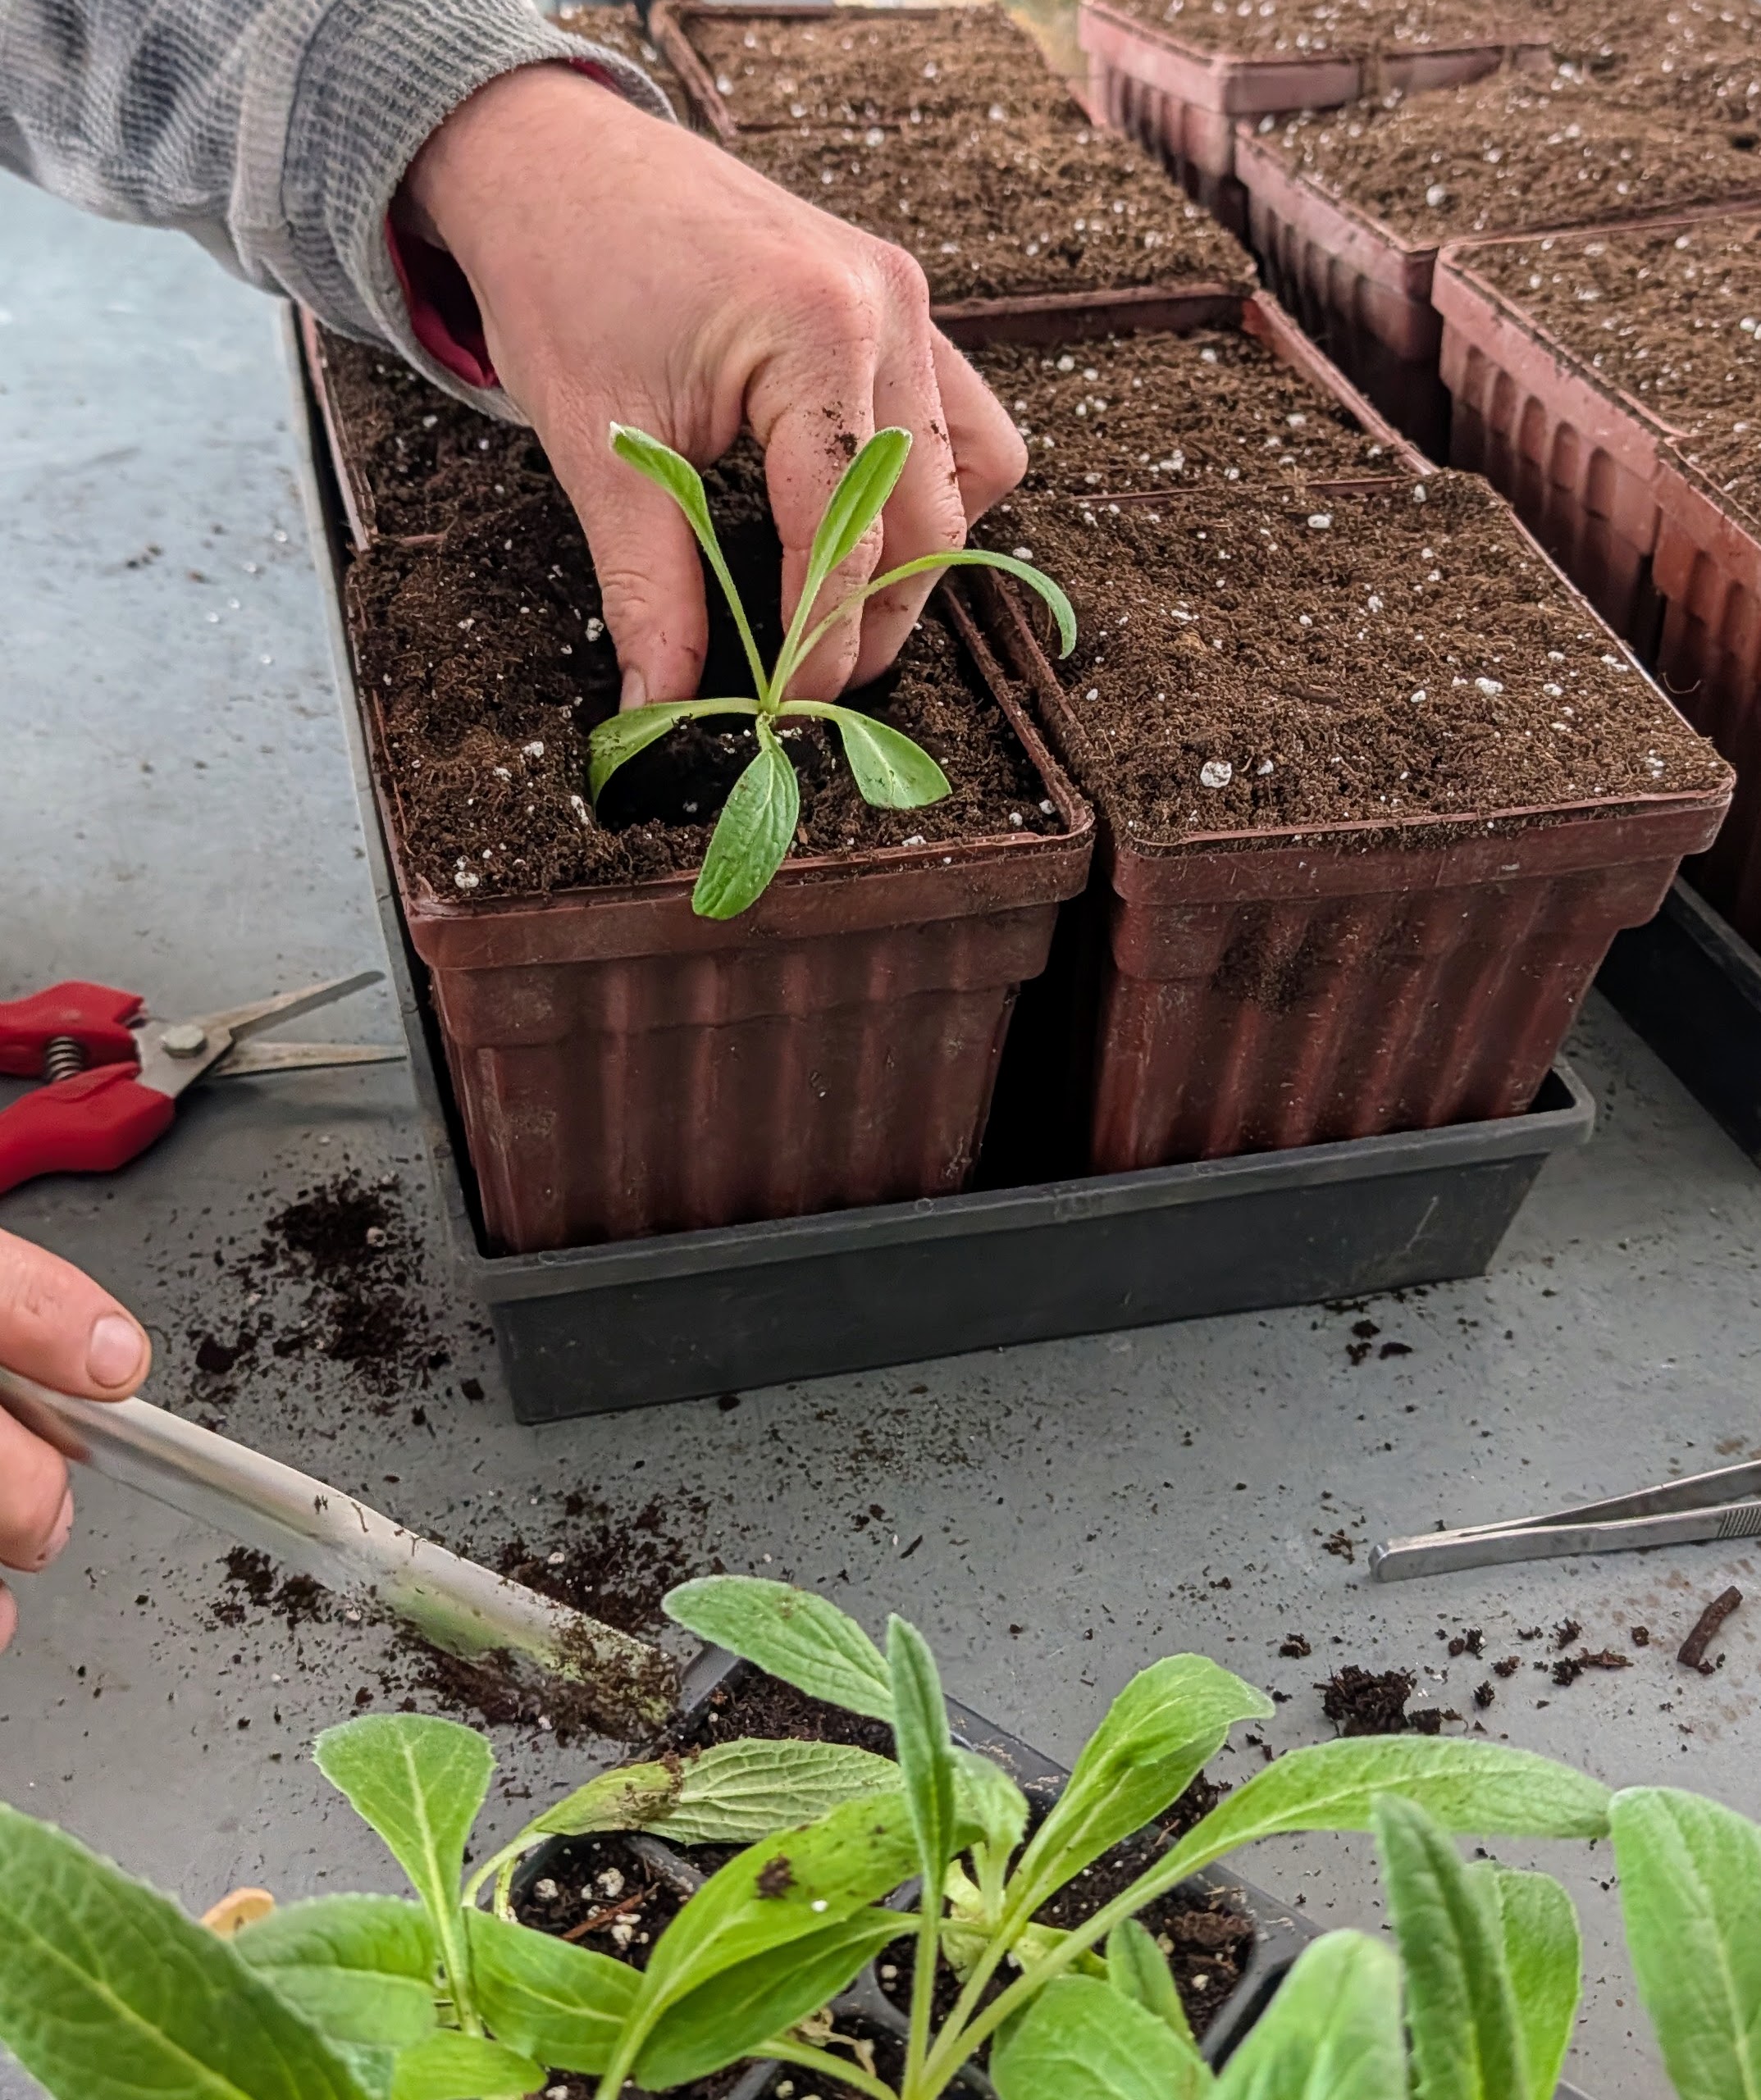
- These tools are great for transplanting seedlings. The tools include small cutters to remove any dead leaves, a pair of large tweezers, and a widger from Johnny’s Selected Seeds. It has a convex stainless steel blade that delicately separates the tiny plants.
-
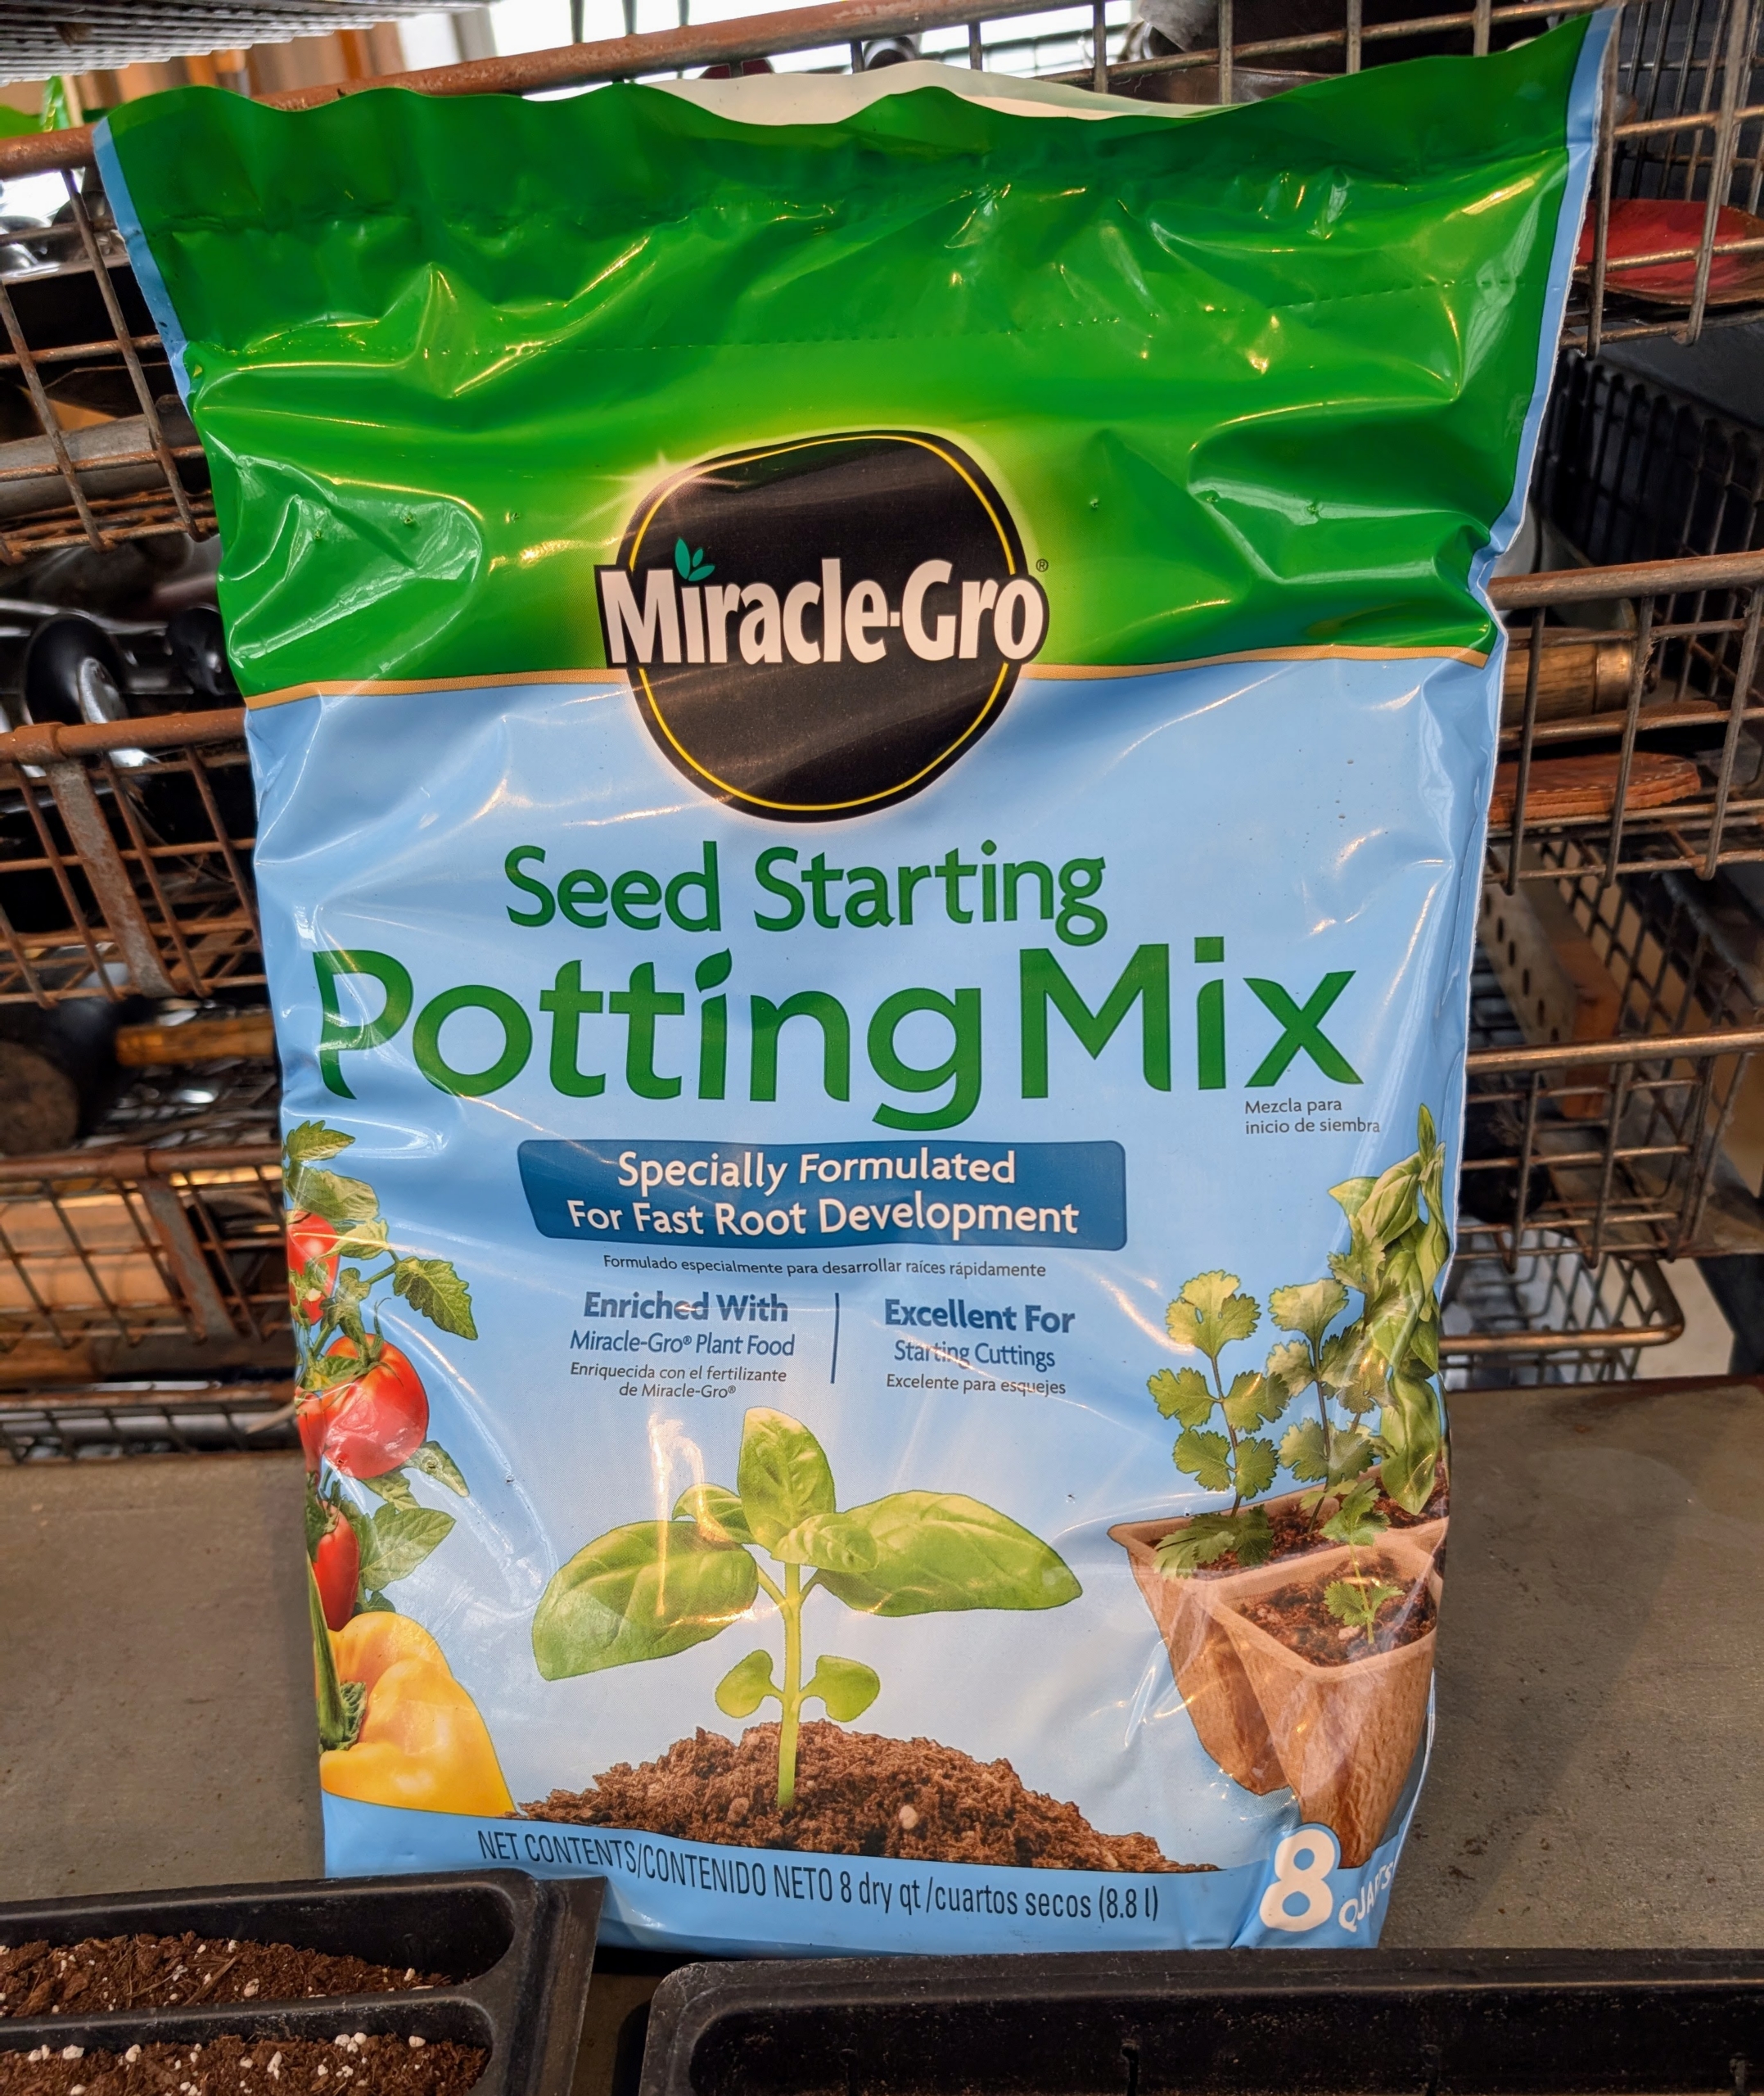
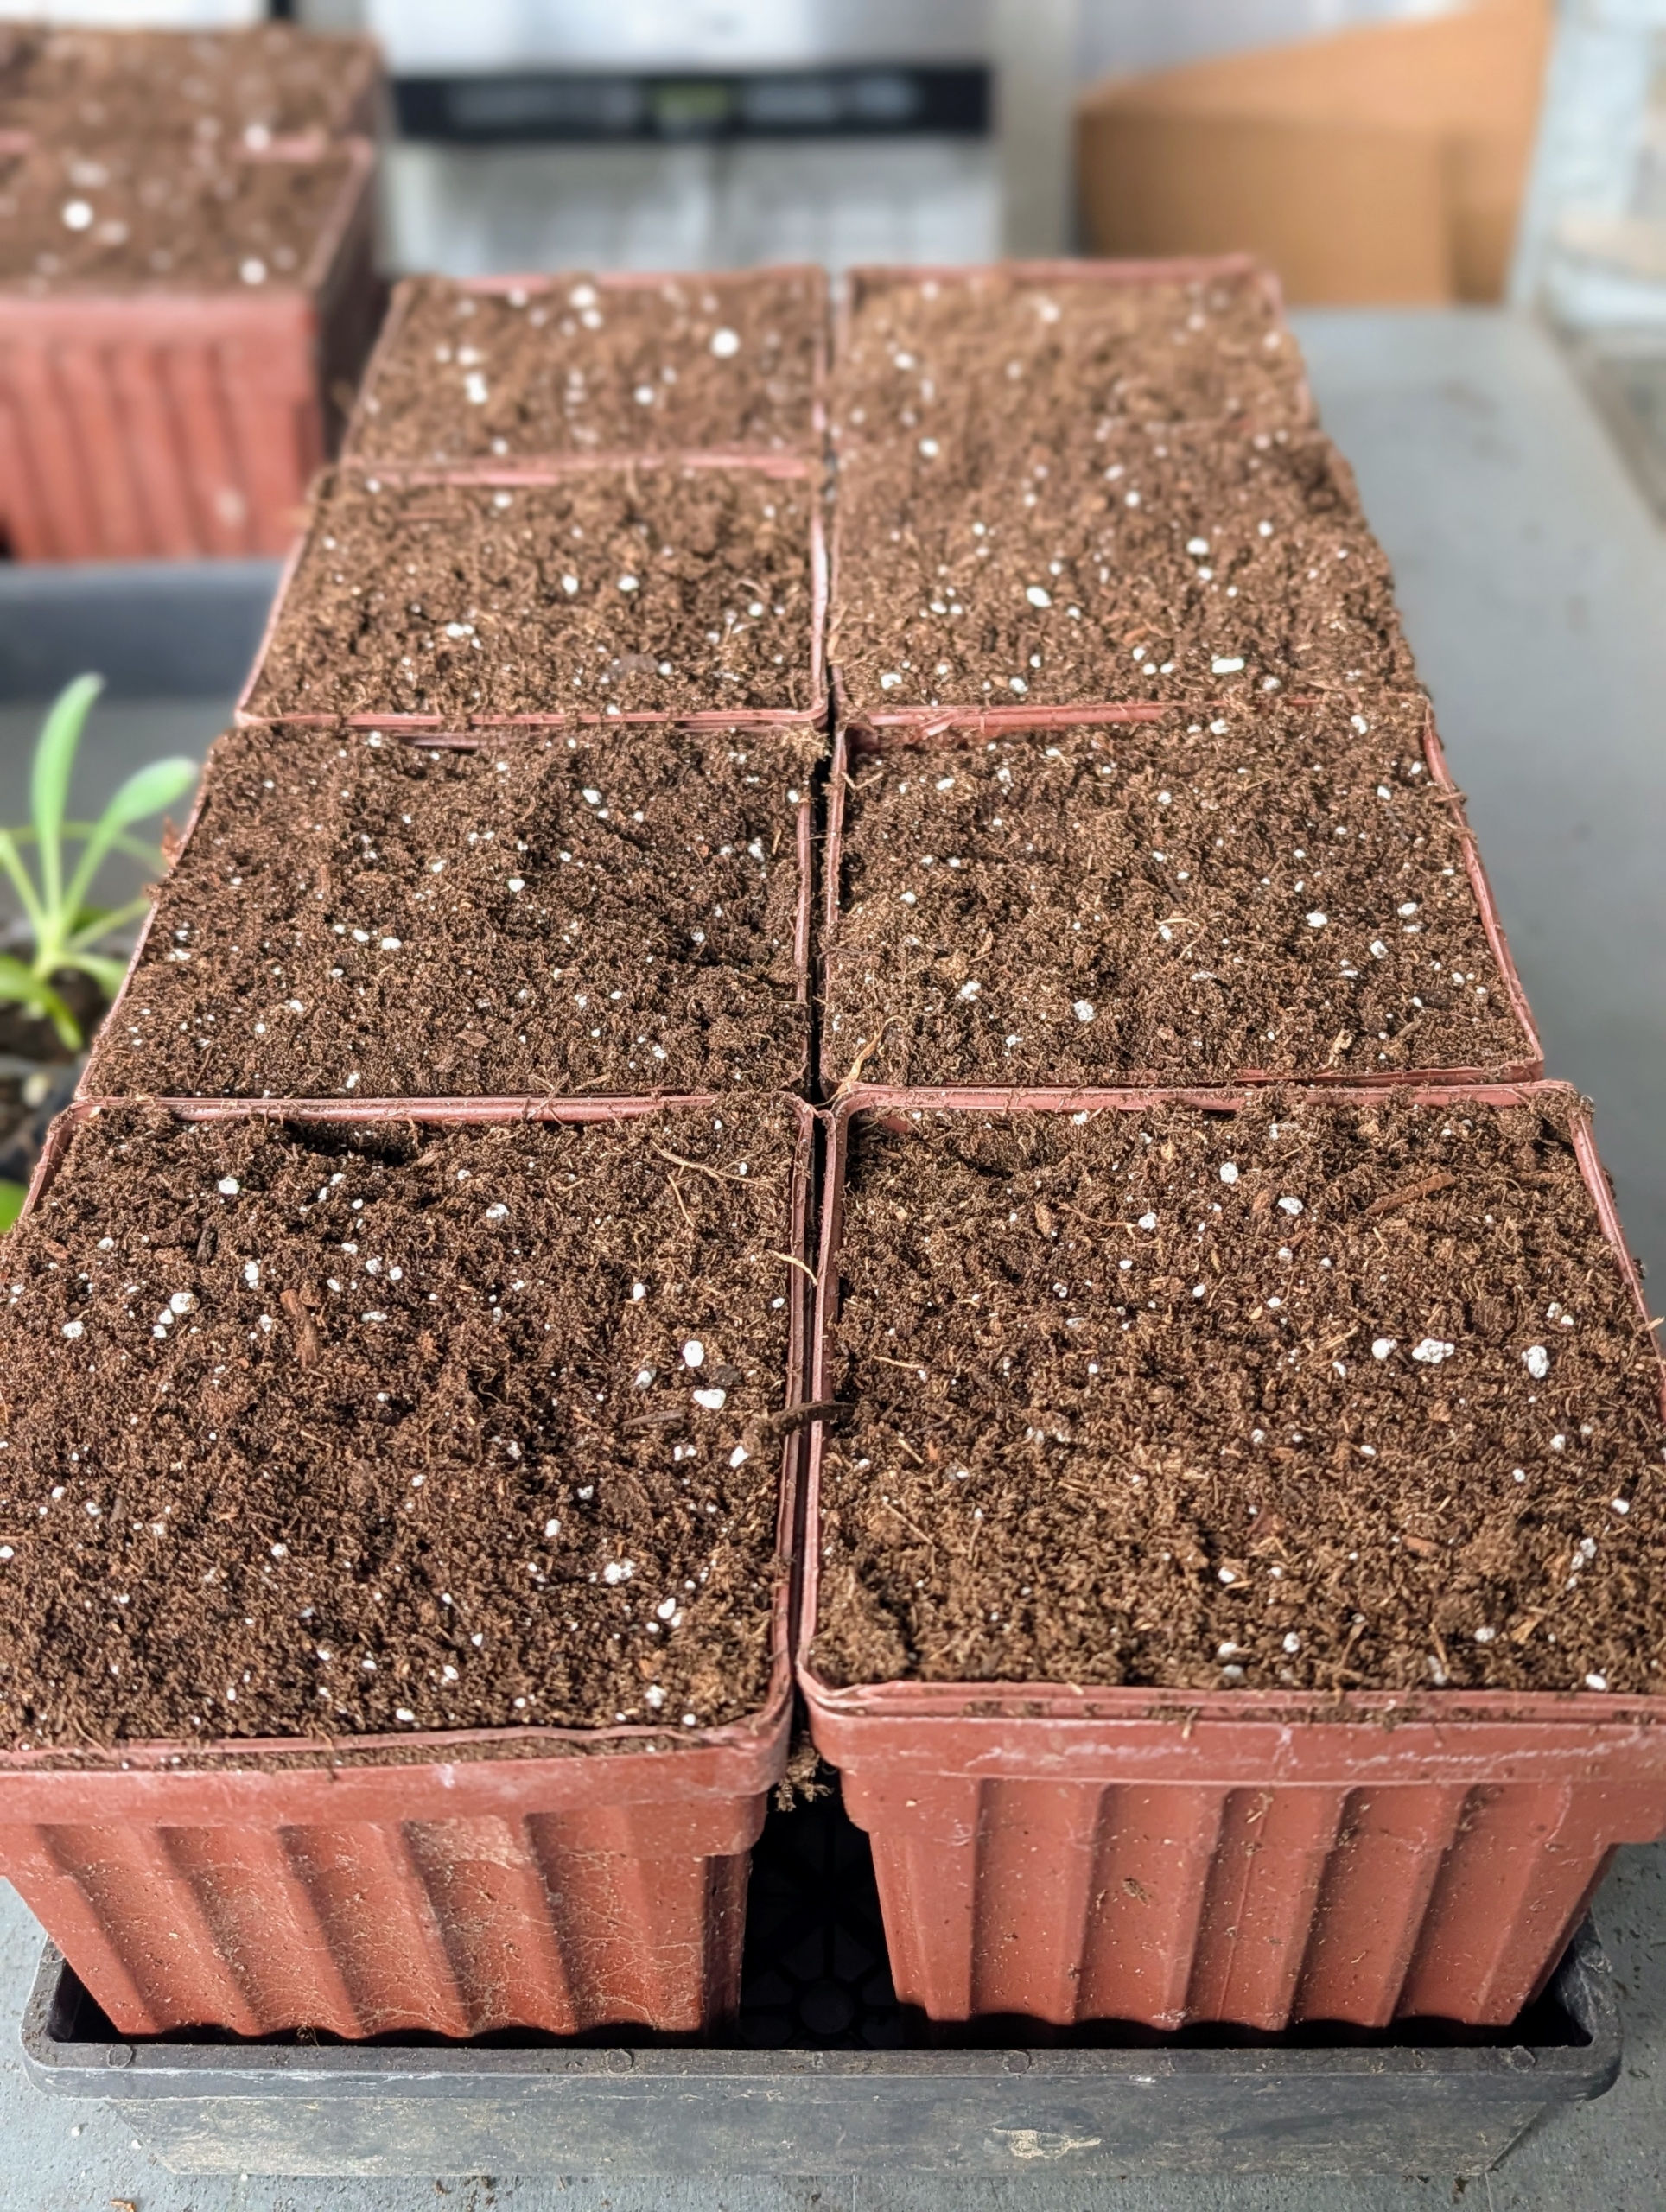
- Use a pre-made seed starting mix that contains the proper amounts of vermiculite, perlite and peat moss. Seed starting mixes are available at garden supply stores.

-
- I use Miracle-Gro Seed Starting Potting Mix.
-
- Blackie sits nearby and watches Ryan working.

-
- Ryan fills the pots to the top. A good quality mix designed for seedlings will be fast draining and light. These mixes are formulated to encourage strong, healthy growth in new plants.
-
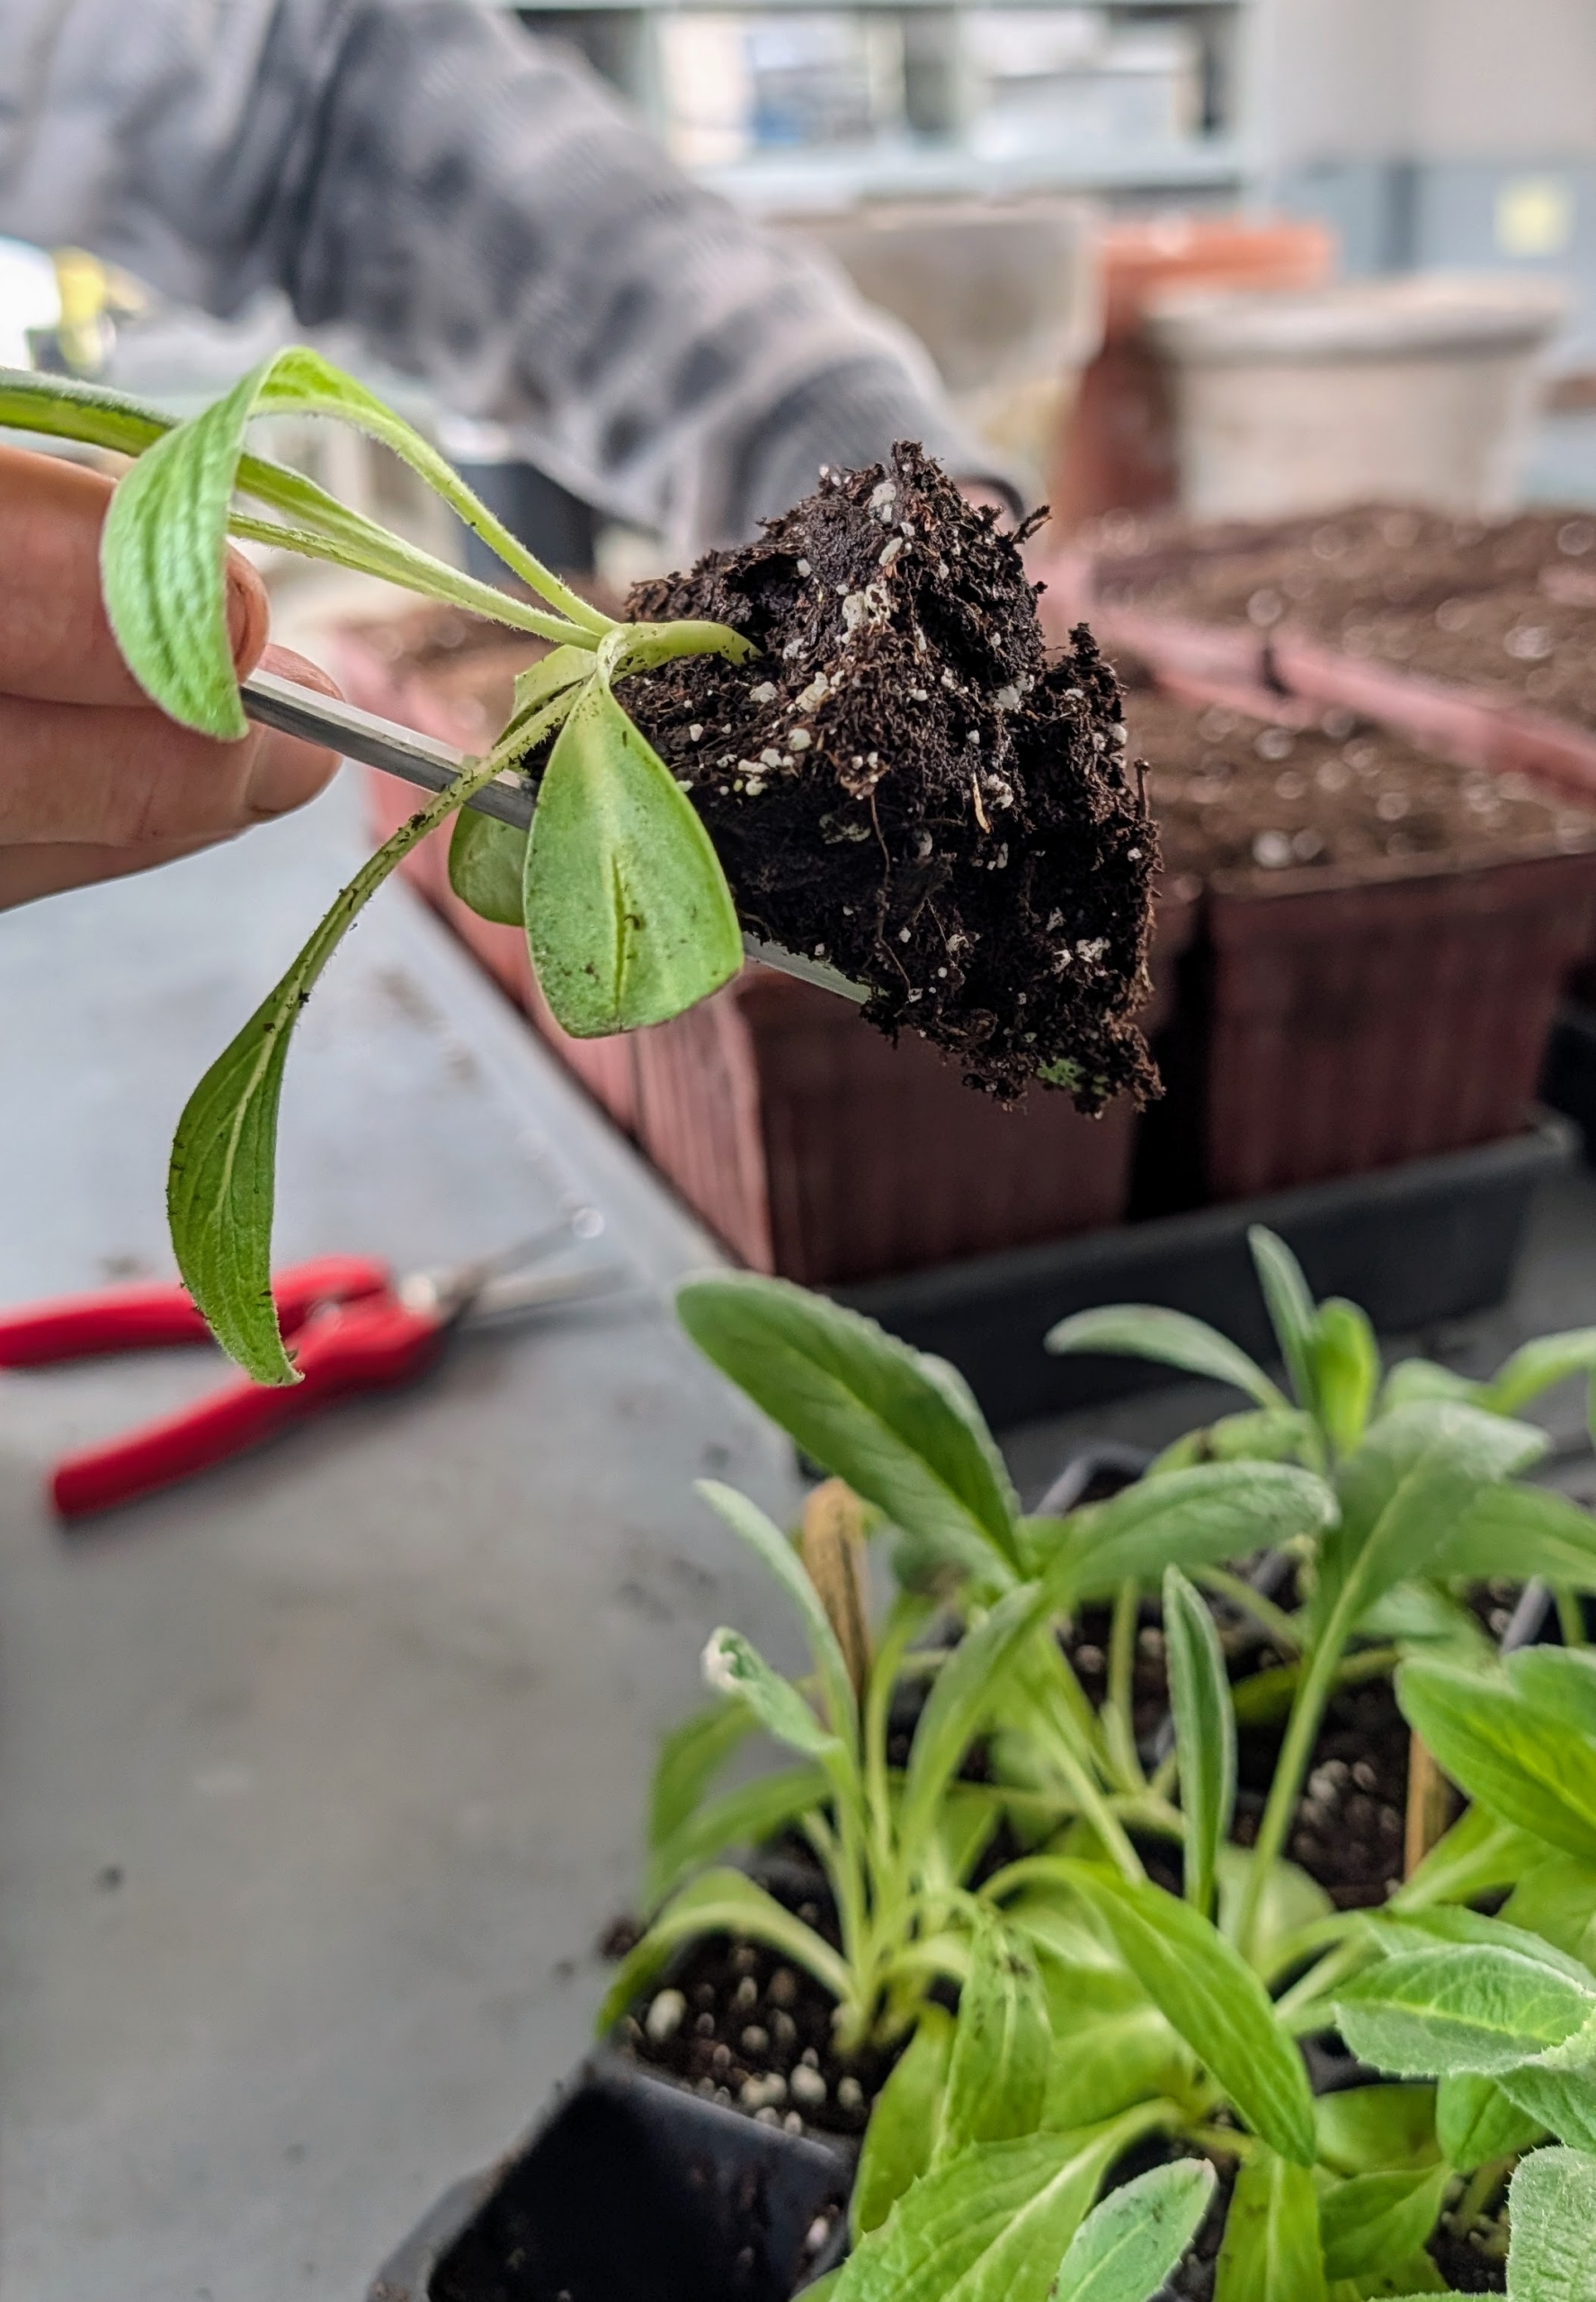
- Using the widger, Ryan carefully removes the seedling from the tray. All of these are in excellent condition.
-
- Ryan is very careful so as not to break the small root ball.
-
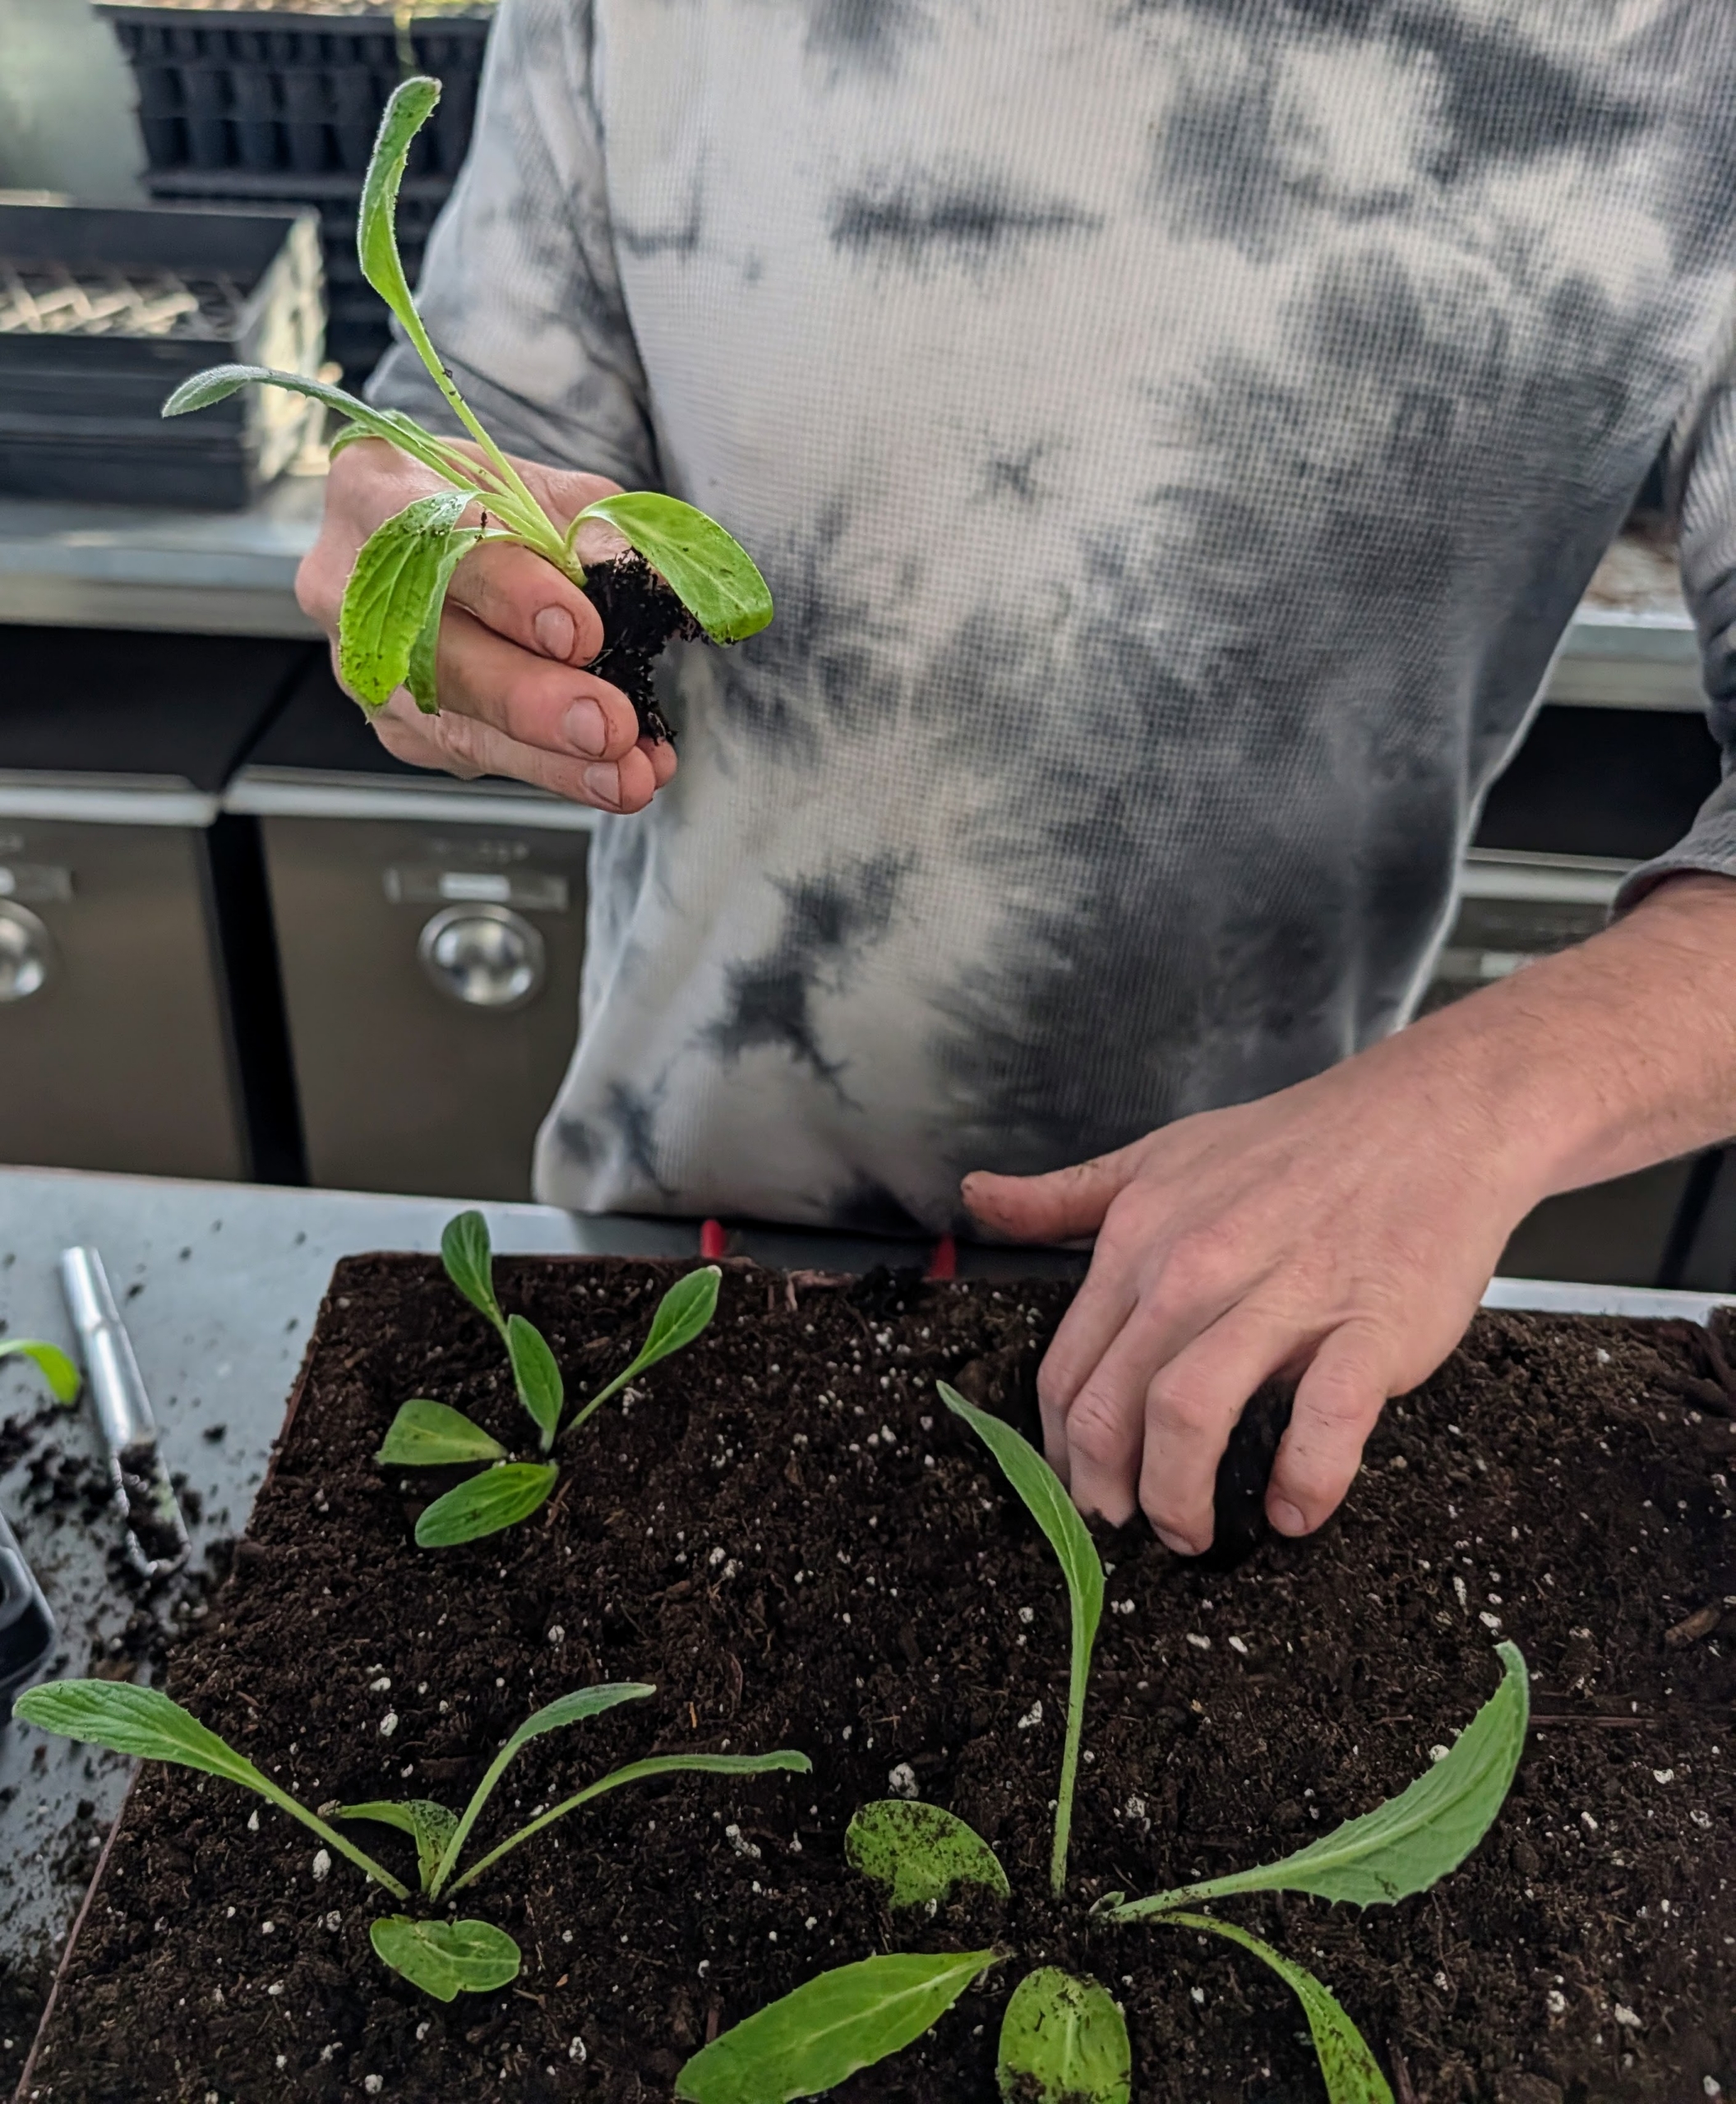
- Using his fingers, Ryan makes a small hole in the pot for the seedling.
-
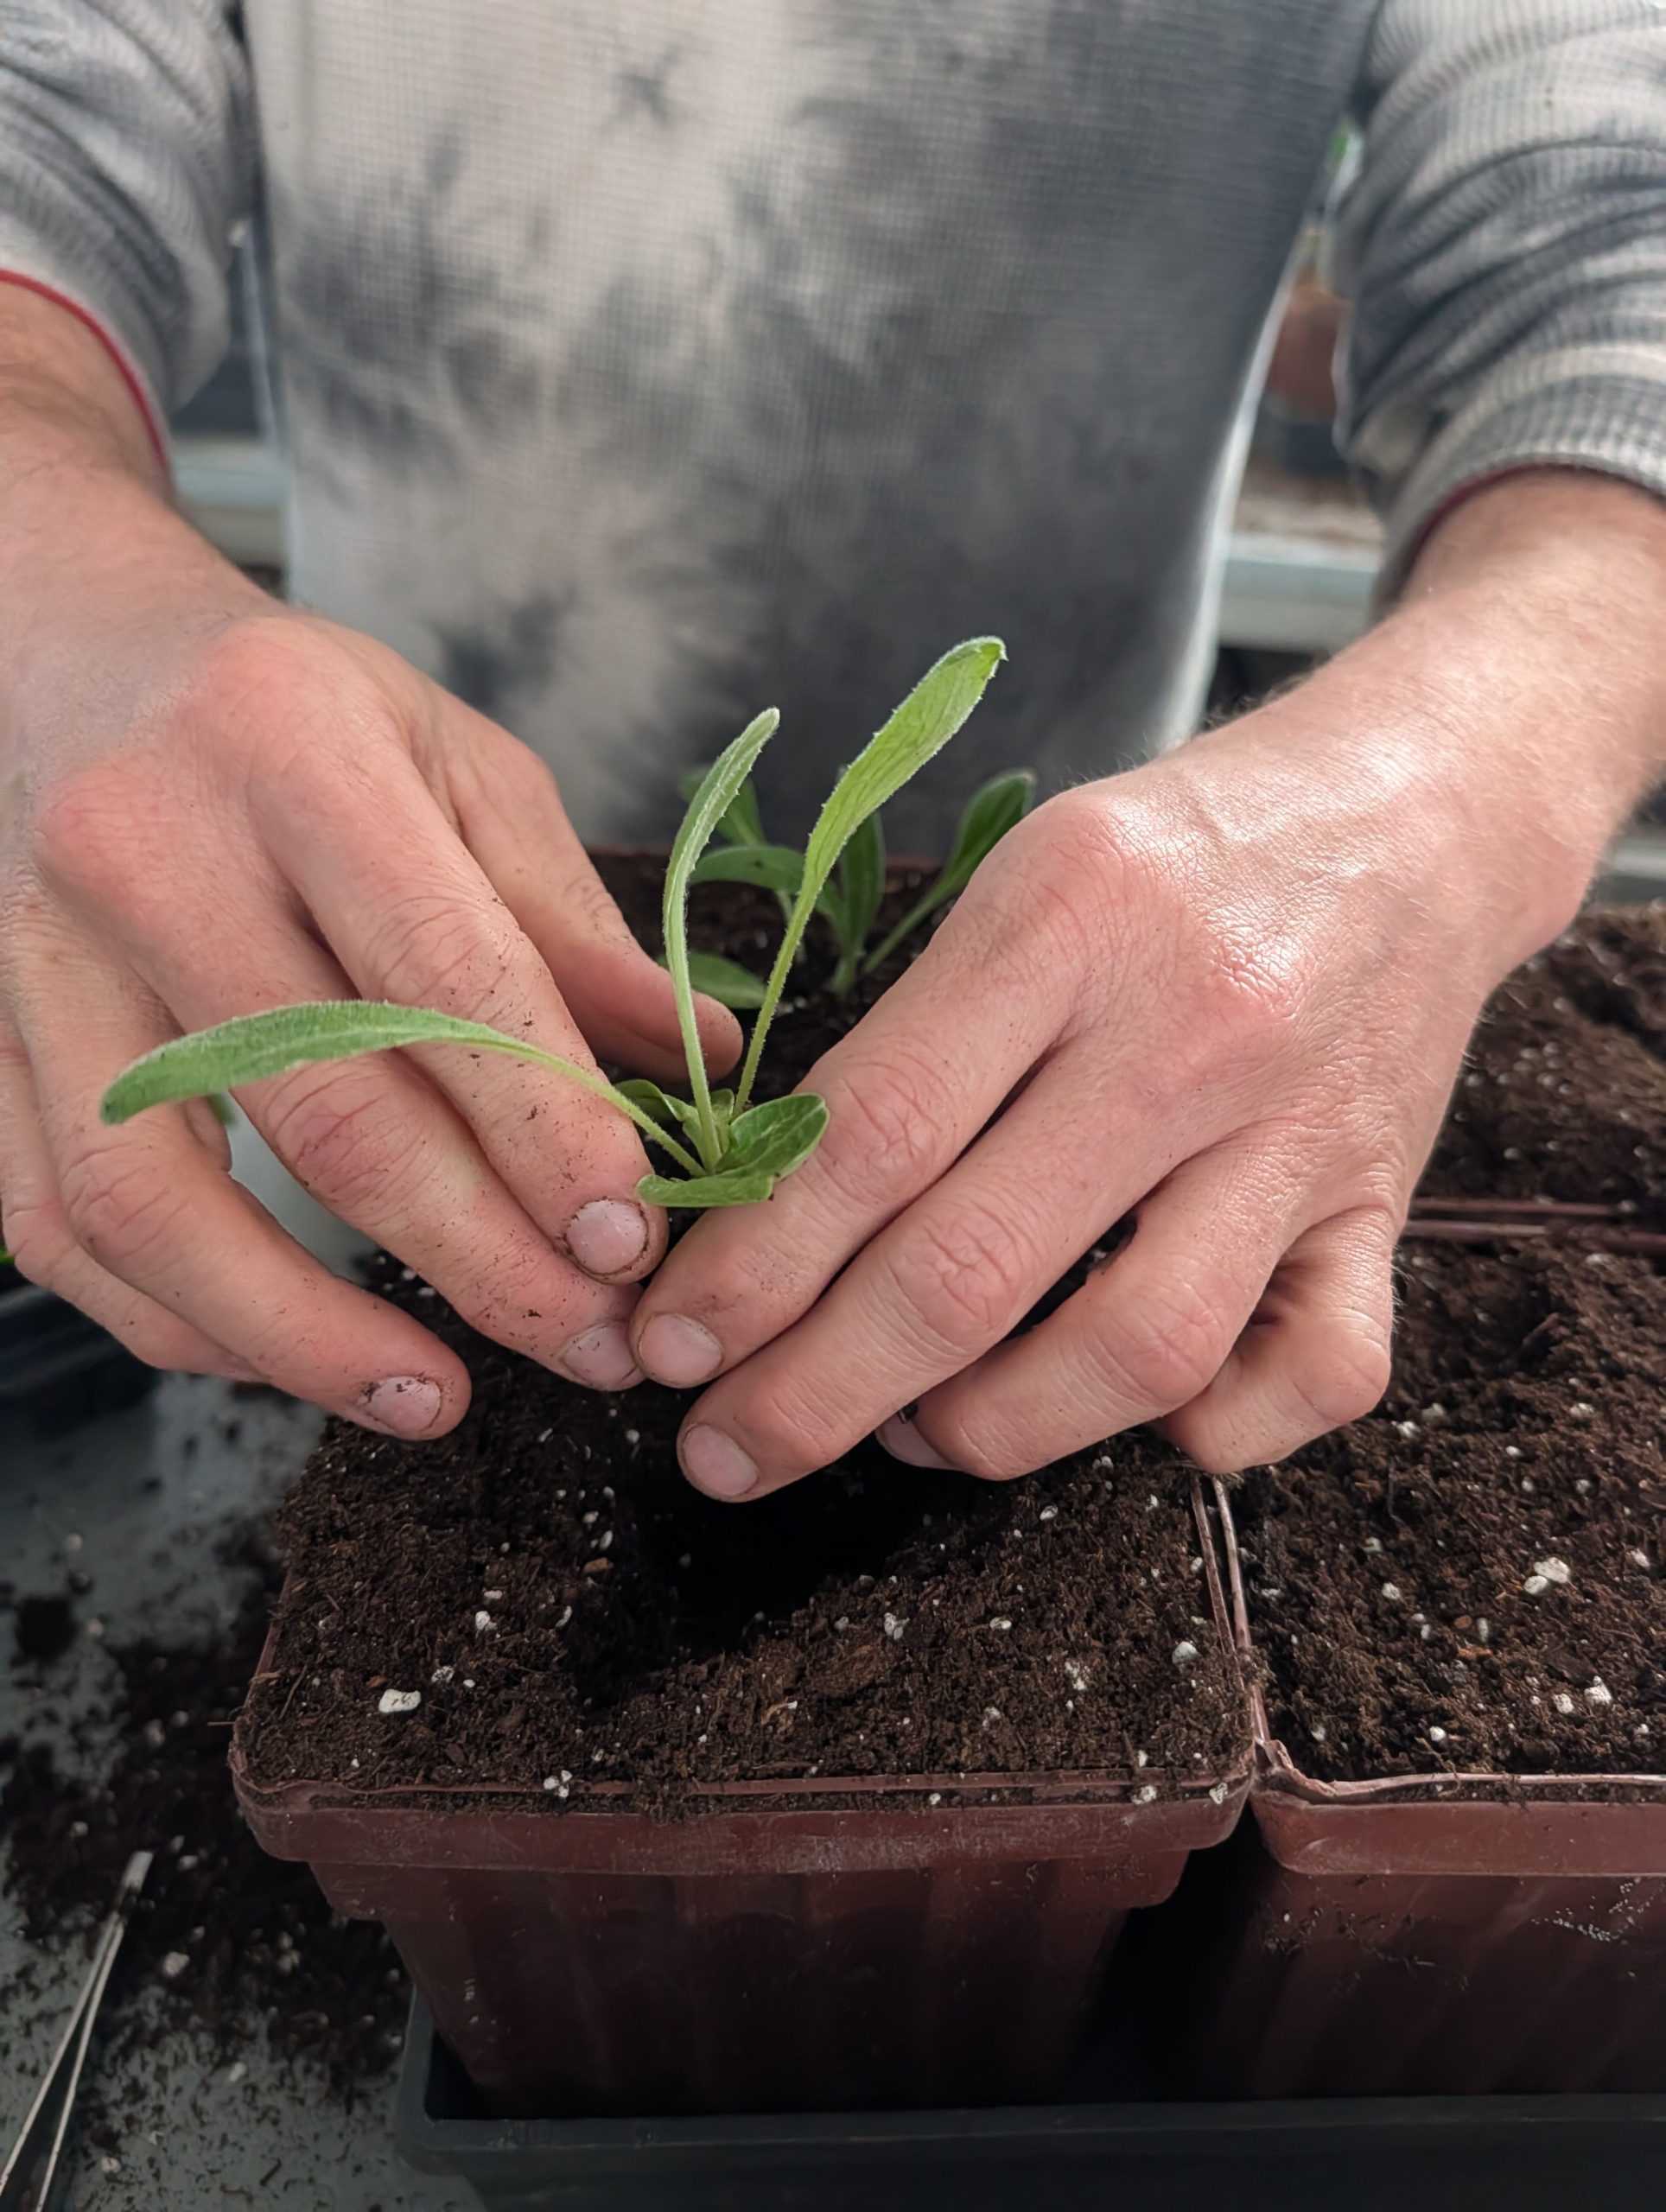
- Then he places the seedling in its new container.
-
- Once the seedling is in its hole at the same depth it was in the seed tray, Ryan positions it so it is straight and secure.
-
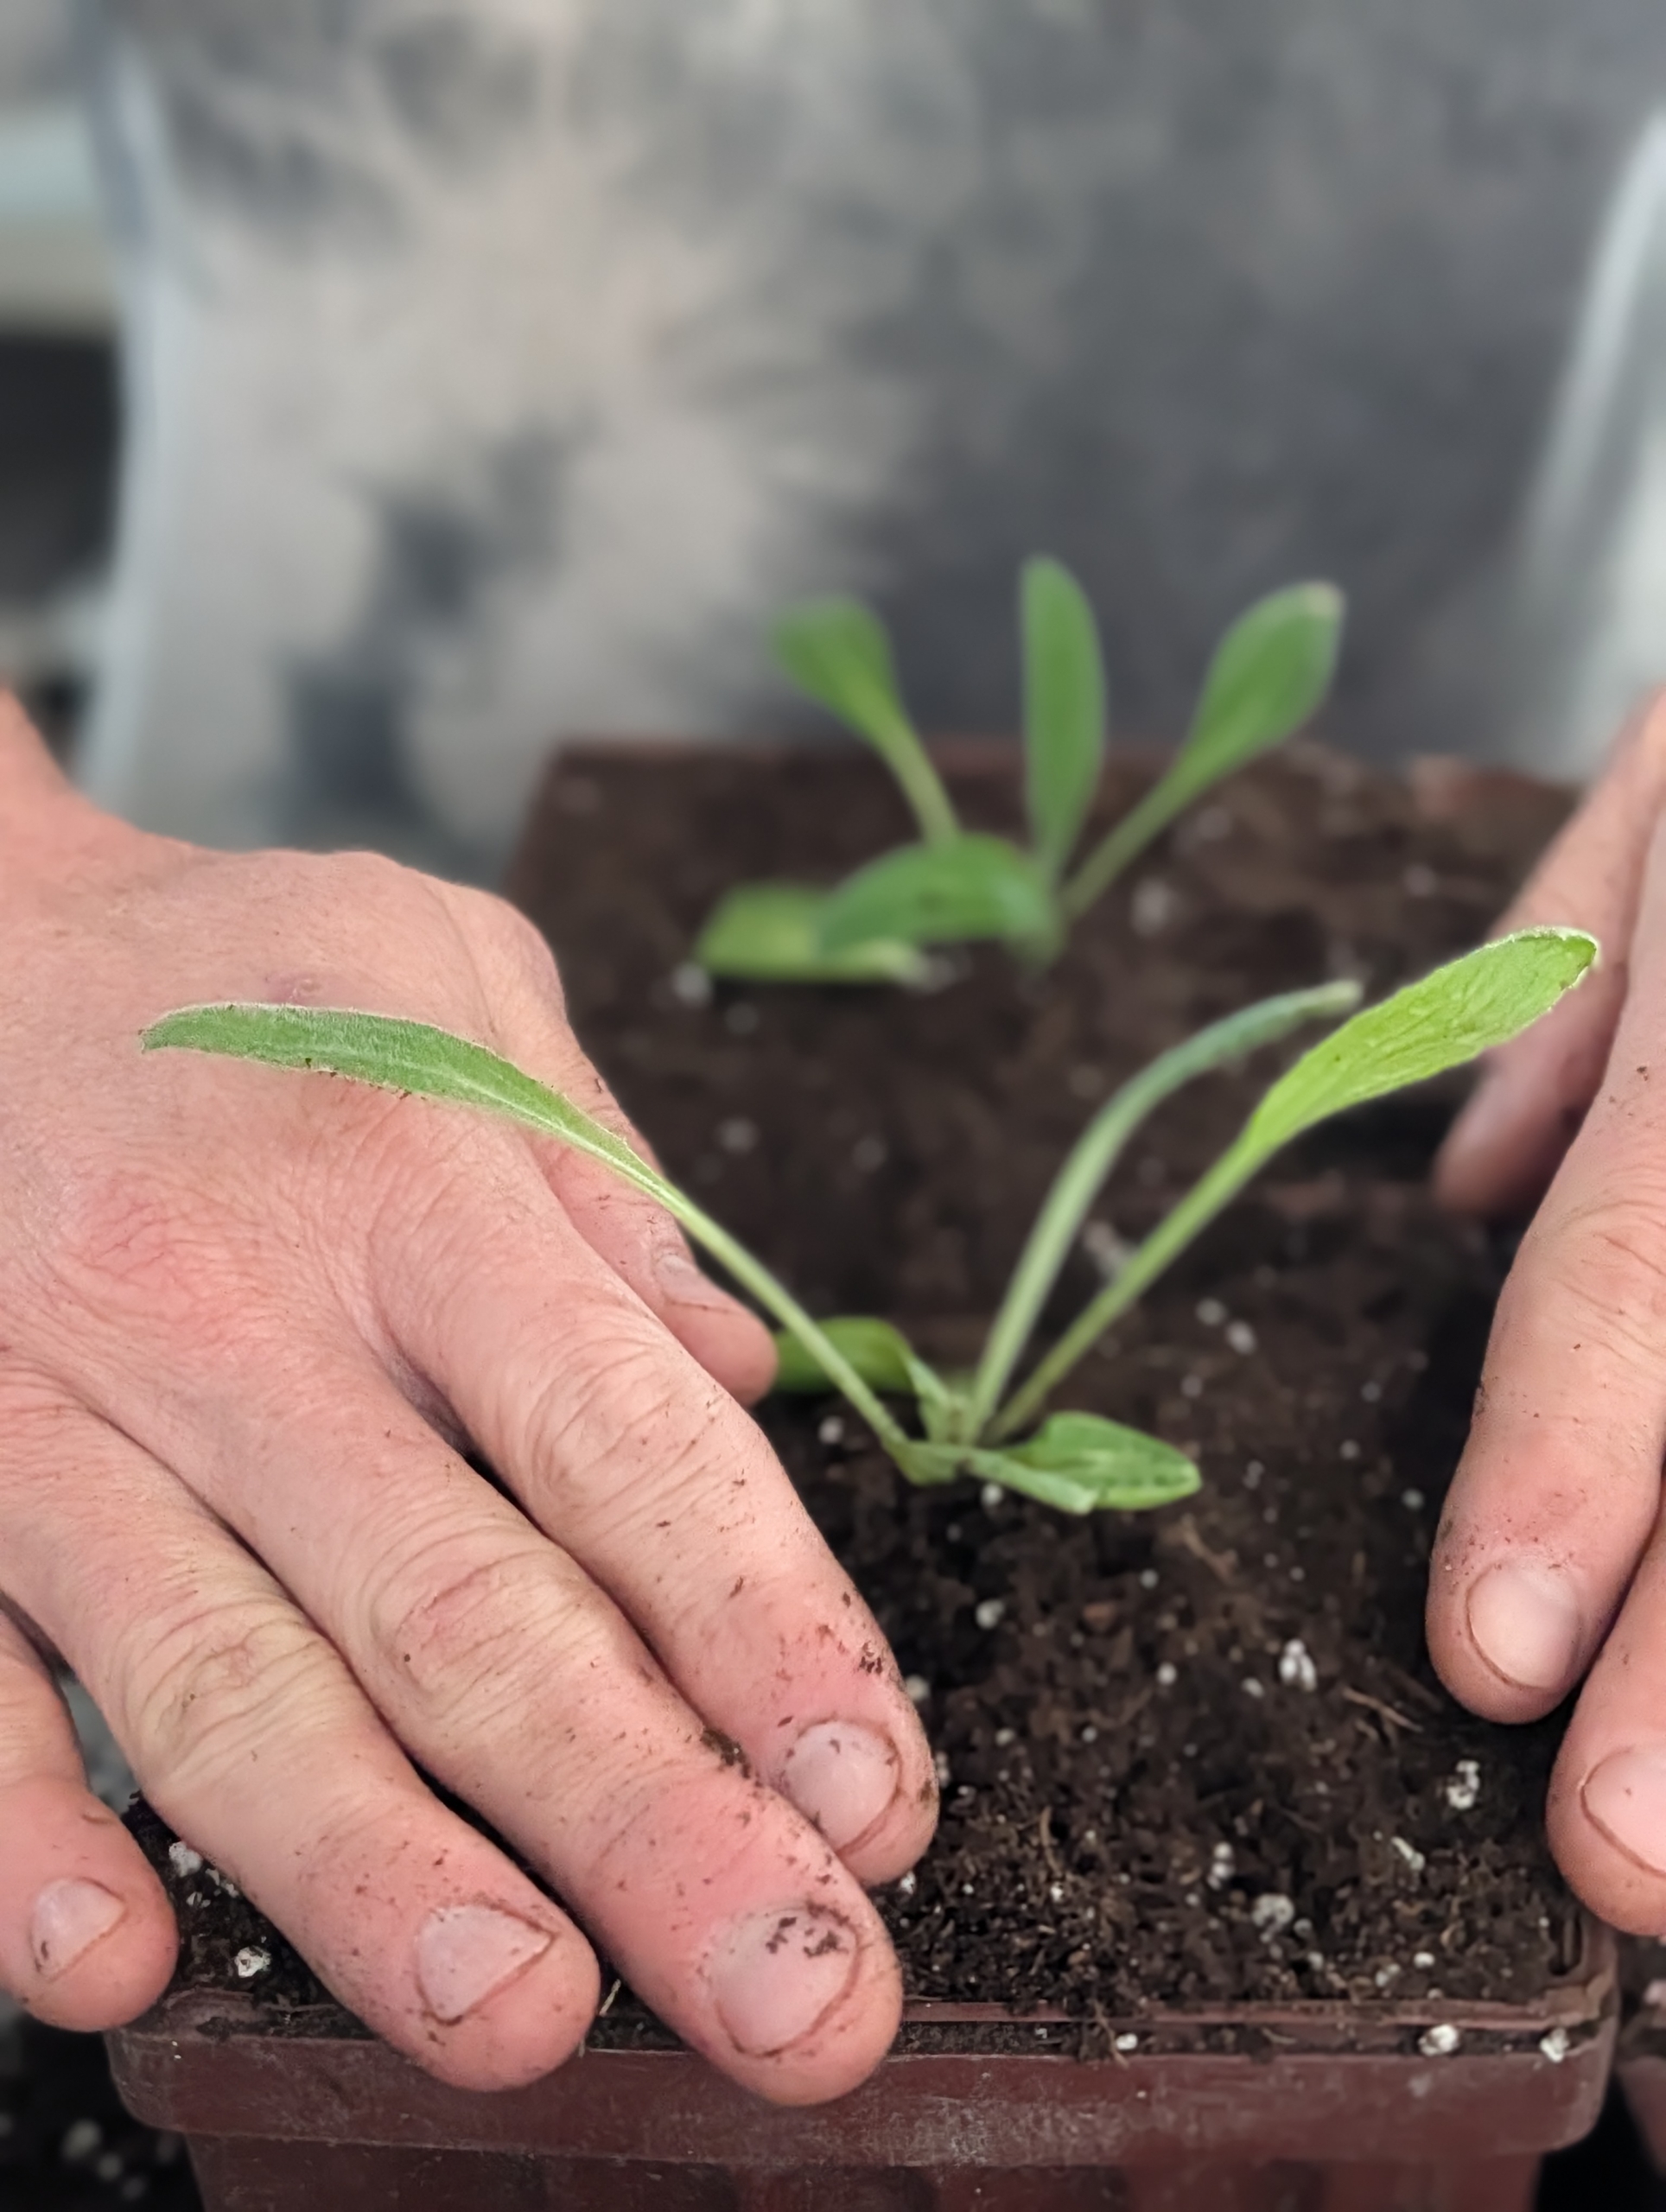
- And then gently firms up the surrounding soil. He avoids handling the seedling by its tender stems, which can bruise easily. The strong and healthy plants now have more room to grow.
-
- The purpose of transplanting is to provide enough room – overcrowding can stress the young sprouts.
-
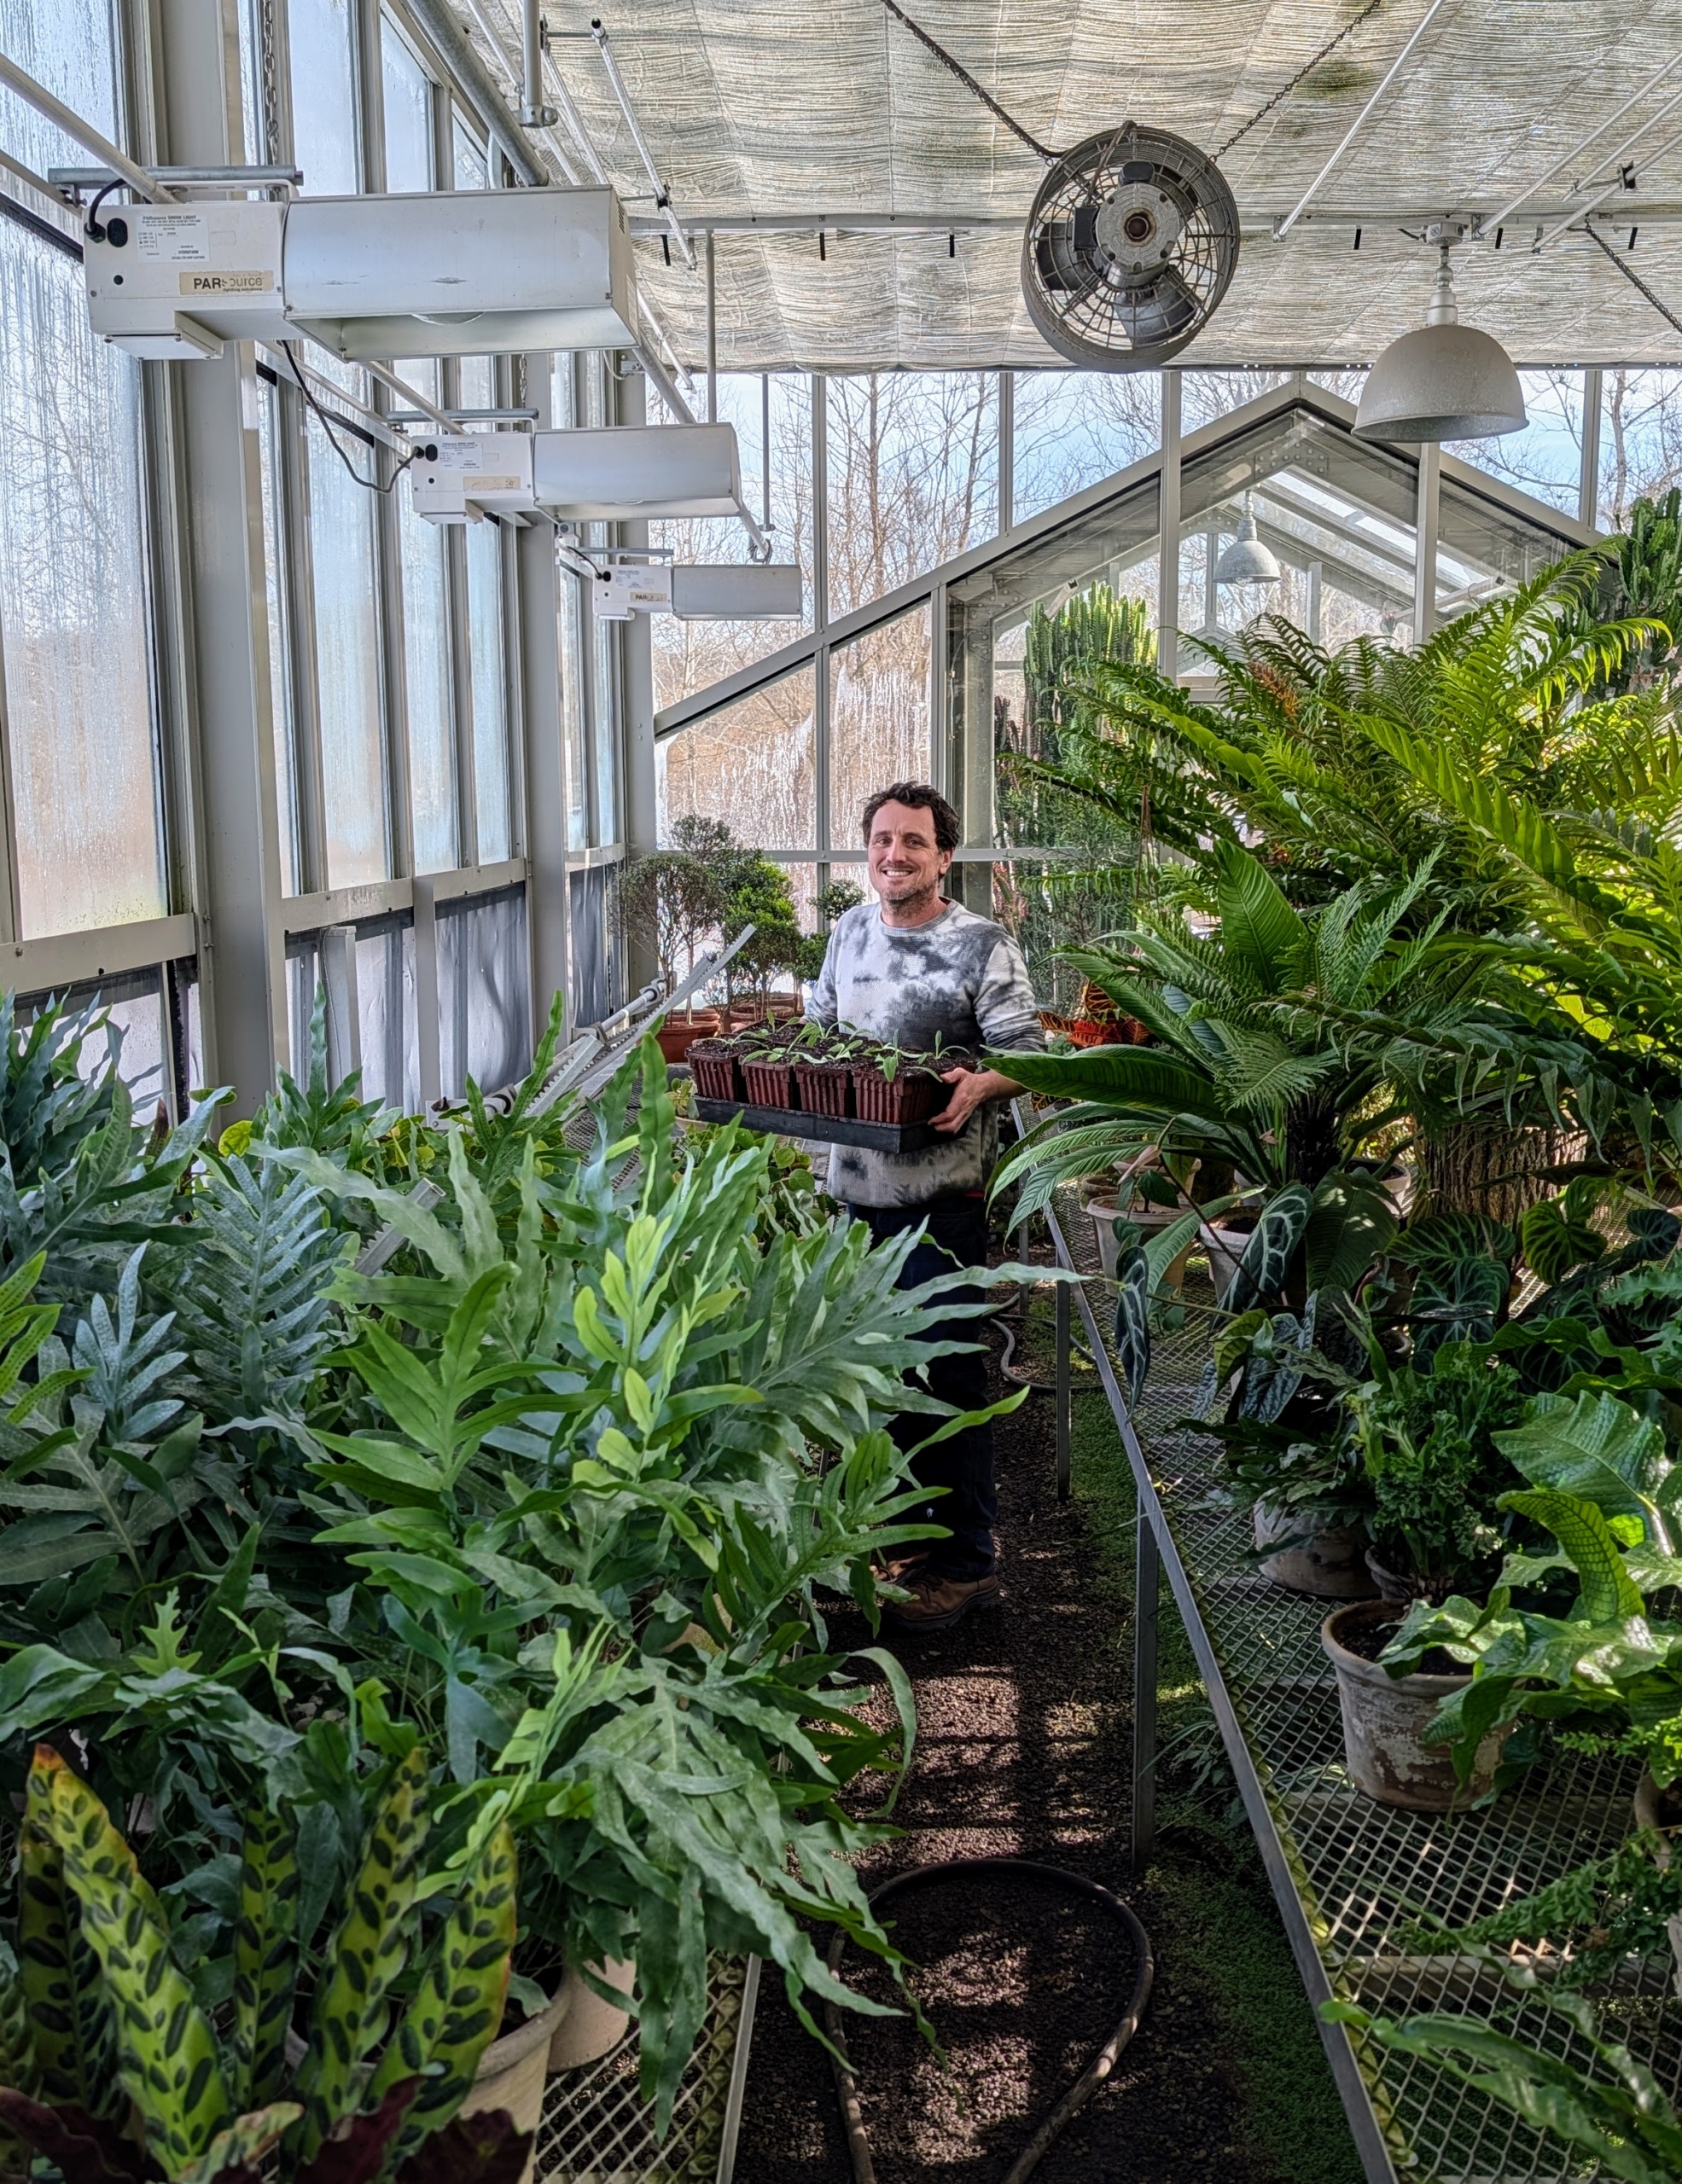
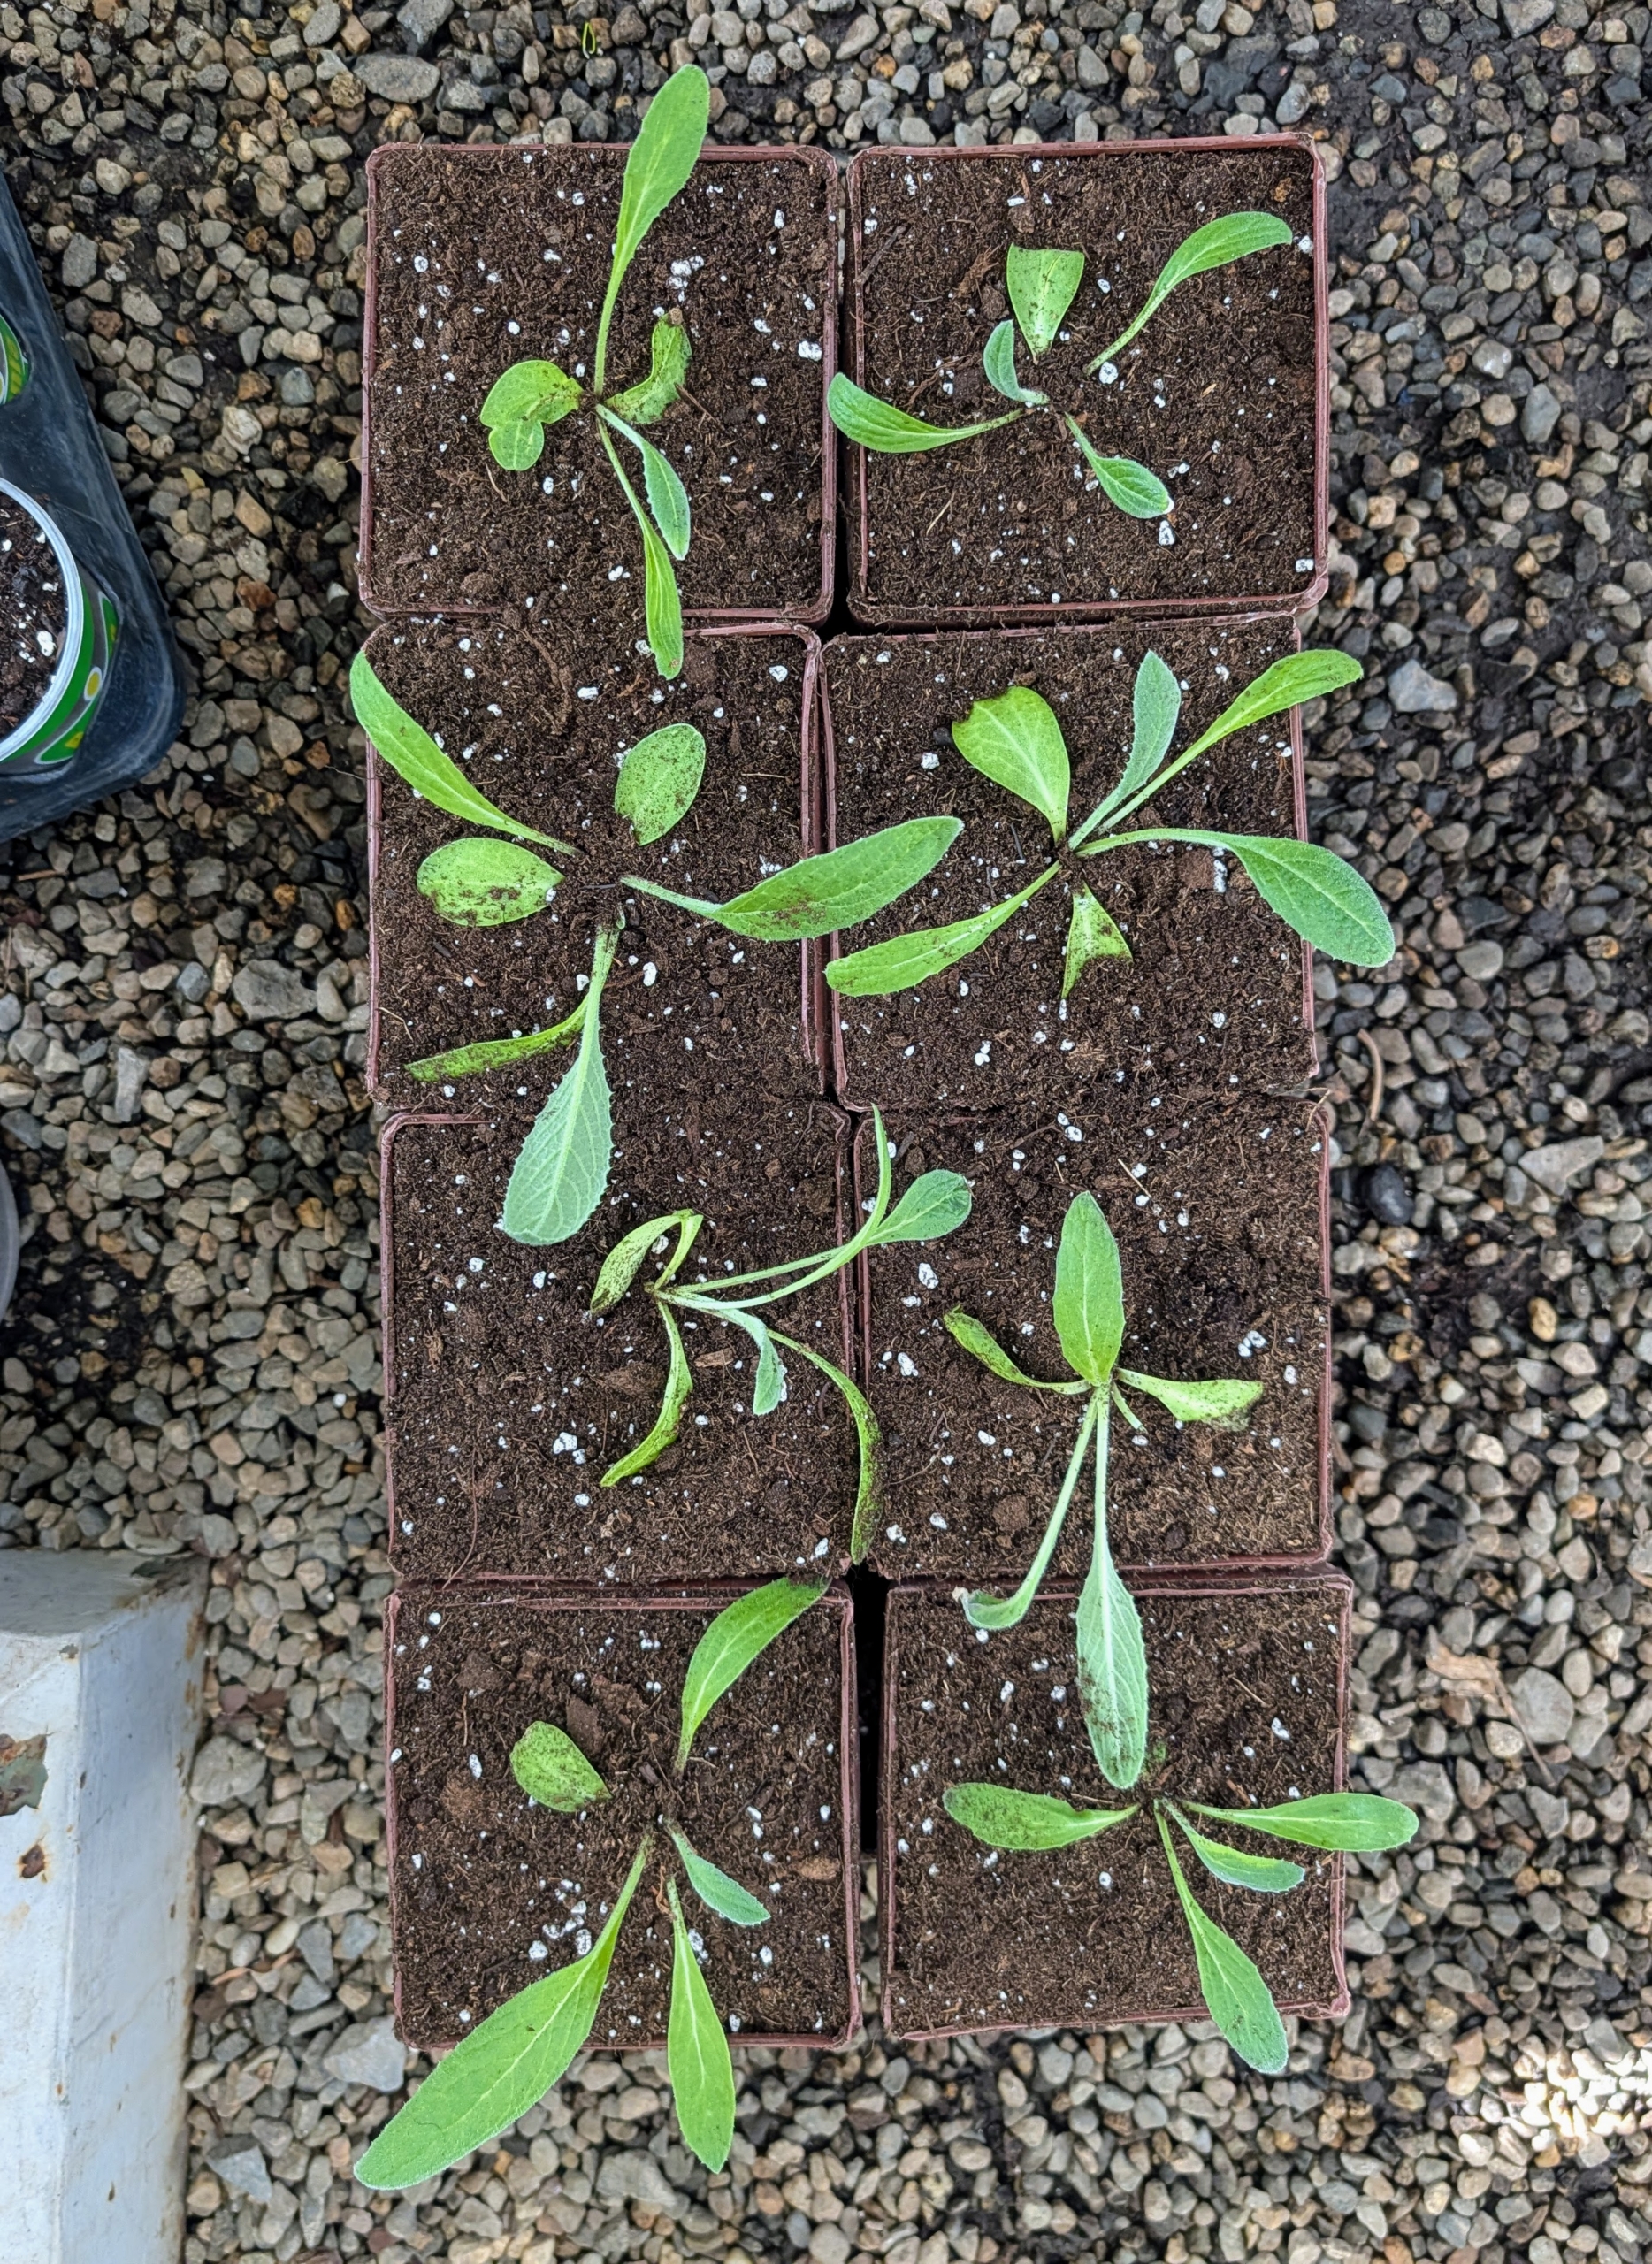
- The pots are watered thoroughly and fed next door in the greenhouse.

-
- They will sit on one of the long sliding tables where they can be checked every day. The plants will have good exposure to light and can continue to grow until they are ready to plant outdoors.