
Second Cut of Hay Process Begins
Here at my farm, it's that time of year again - when my outdoor grounds crew starts the process of harvesting the second cut of hay.
In most cases, hay is cut during the late bud or early bloom stage to maximize its nutritional value. Yesterday, my outdoor grounds crew cut and tedded the hay in my giant horse pasture. The first cut was done in June. This cut is greener, more dense, and filled with lots of protein - my horses love it.
Here are some photos and a video clip, enjoy.
-

- Timing is everything when cutting the hay crop. We hope for at least a week of good, dry, warm weather, so we can work in the fields and guarantee a good harvest.

-
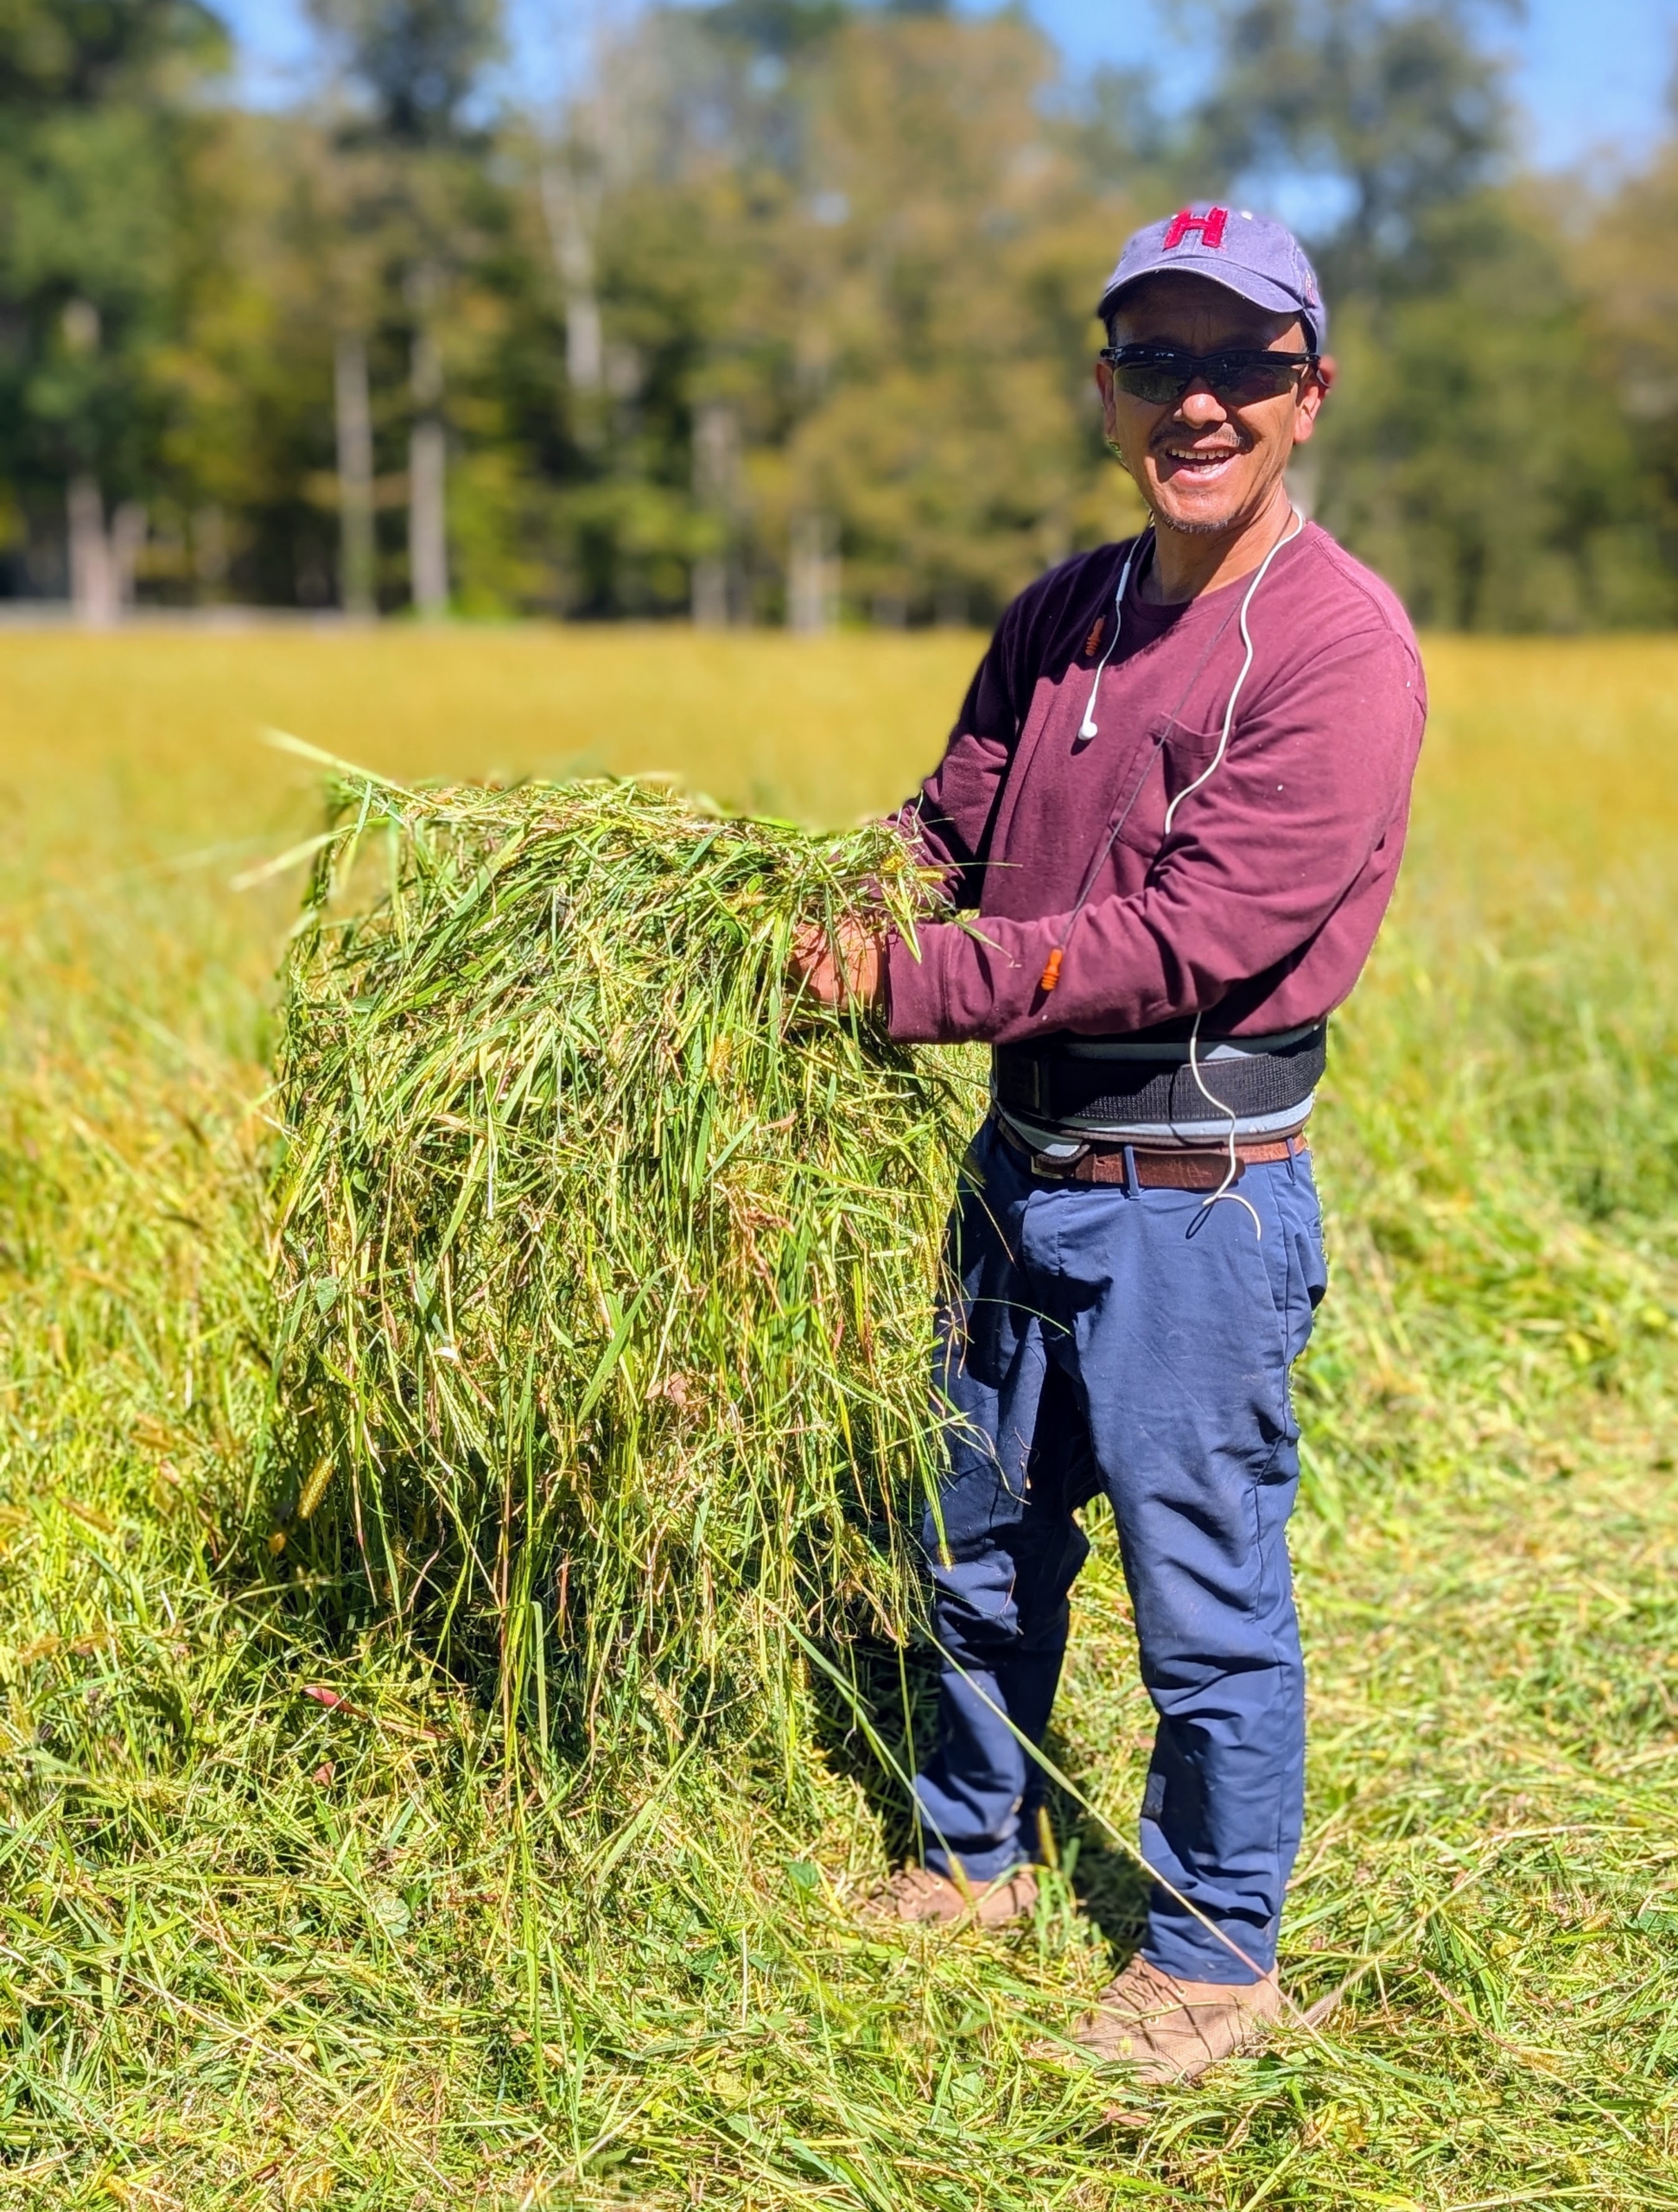
- My outdoor grounds crew foreman, Chhiring Sherpa, keeps track of the weather during hay cutting time. It’s crucial he select the best days for this process. Yesterday, my run-in paddock was first on the list for cutting.

-
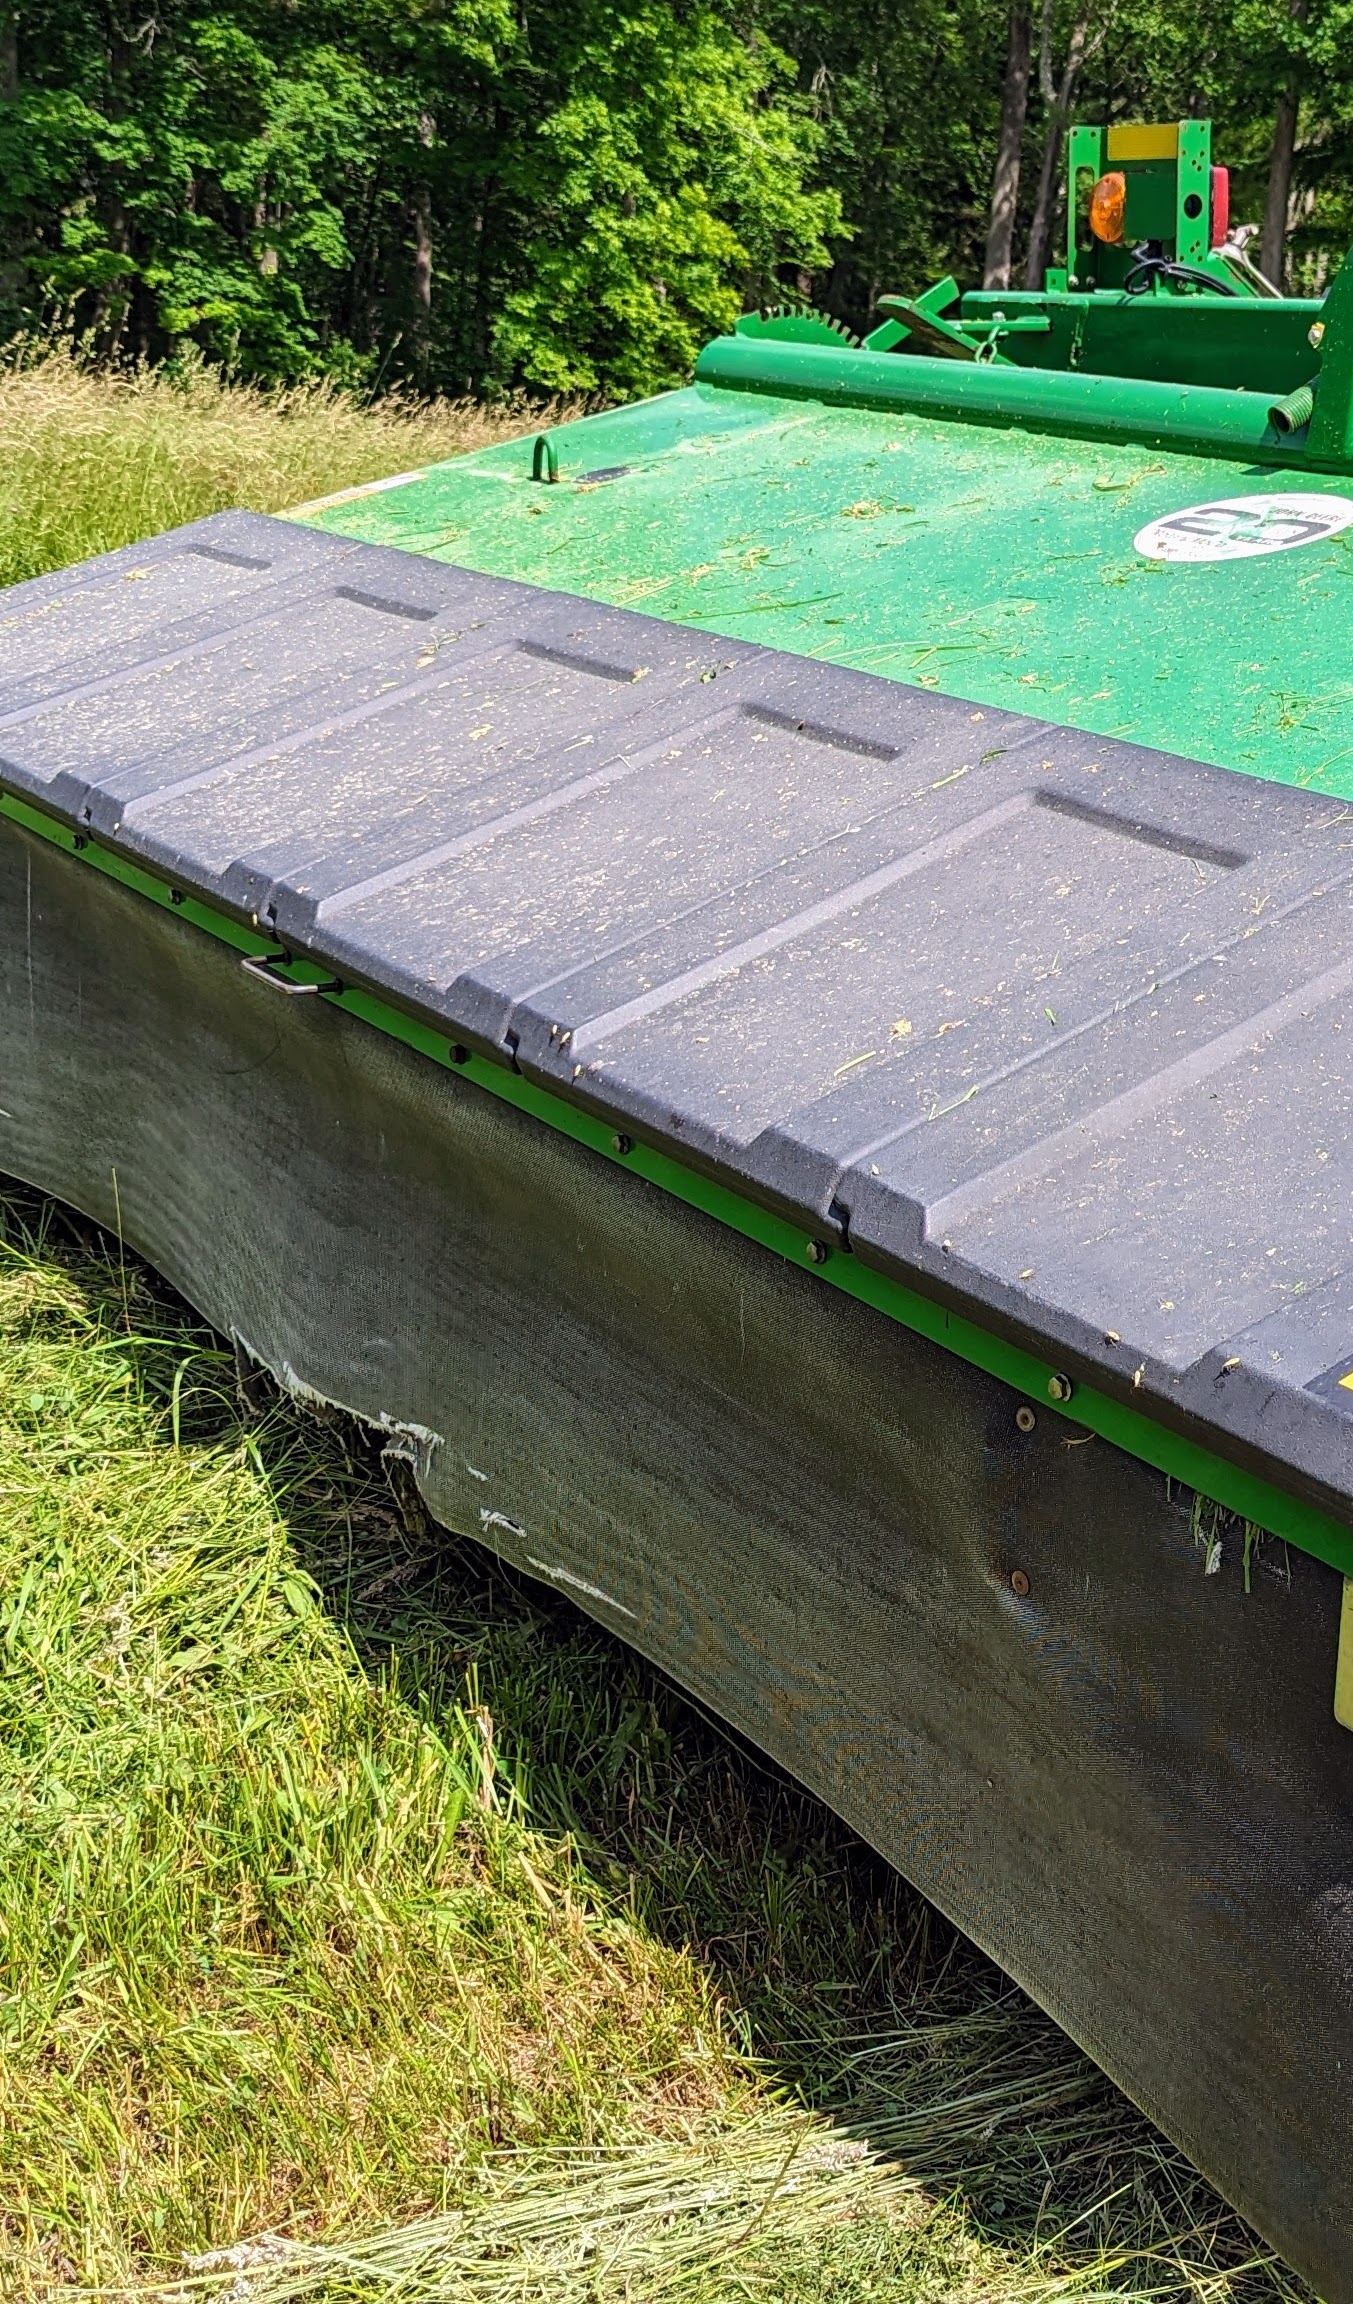
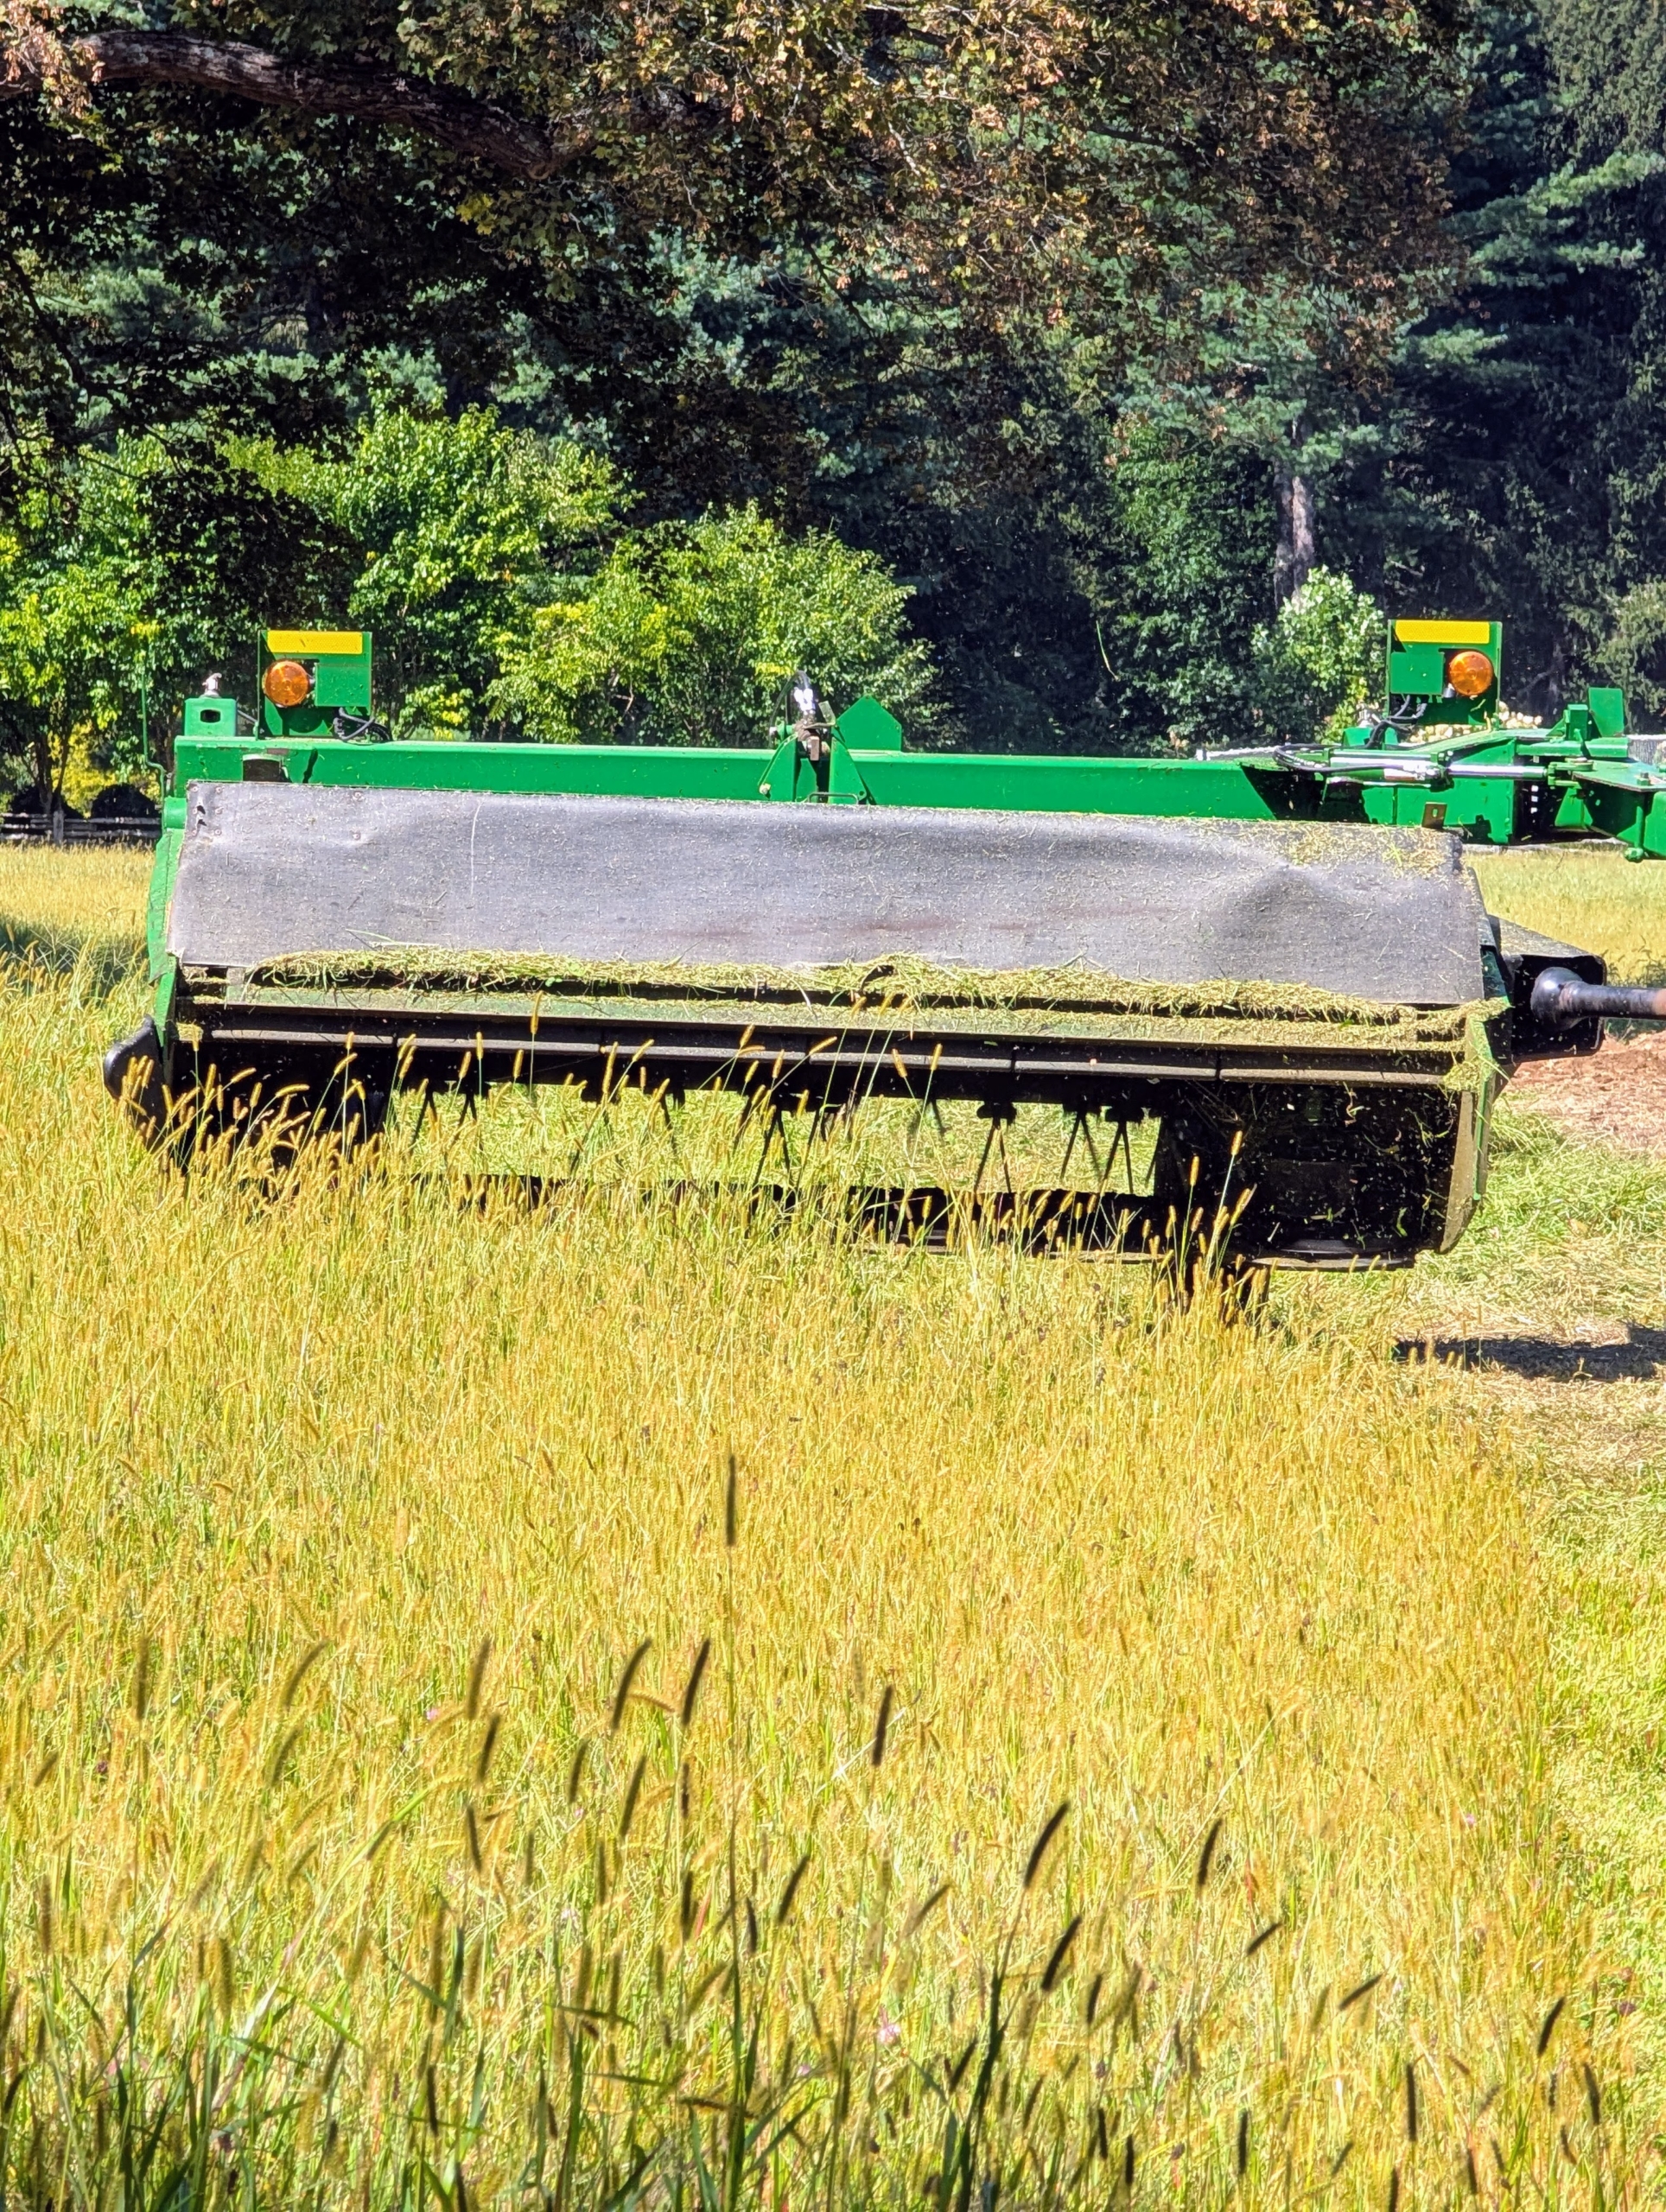
- This is our mower-conditioner. It cuts, crimps, and crushes the hay to promote faster and more even drying.
-
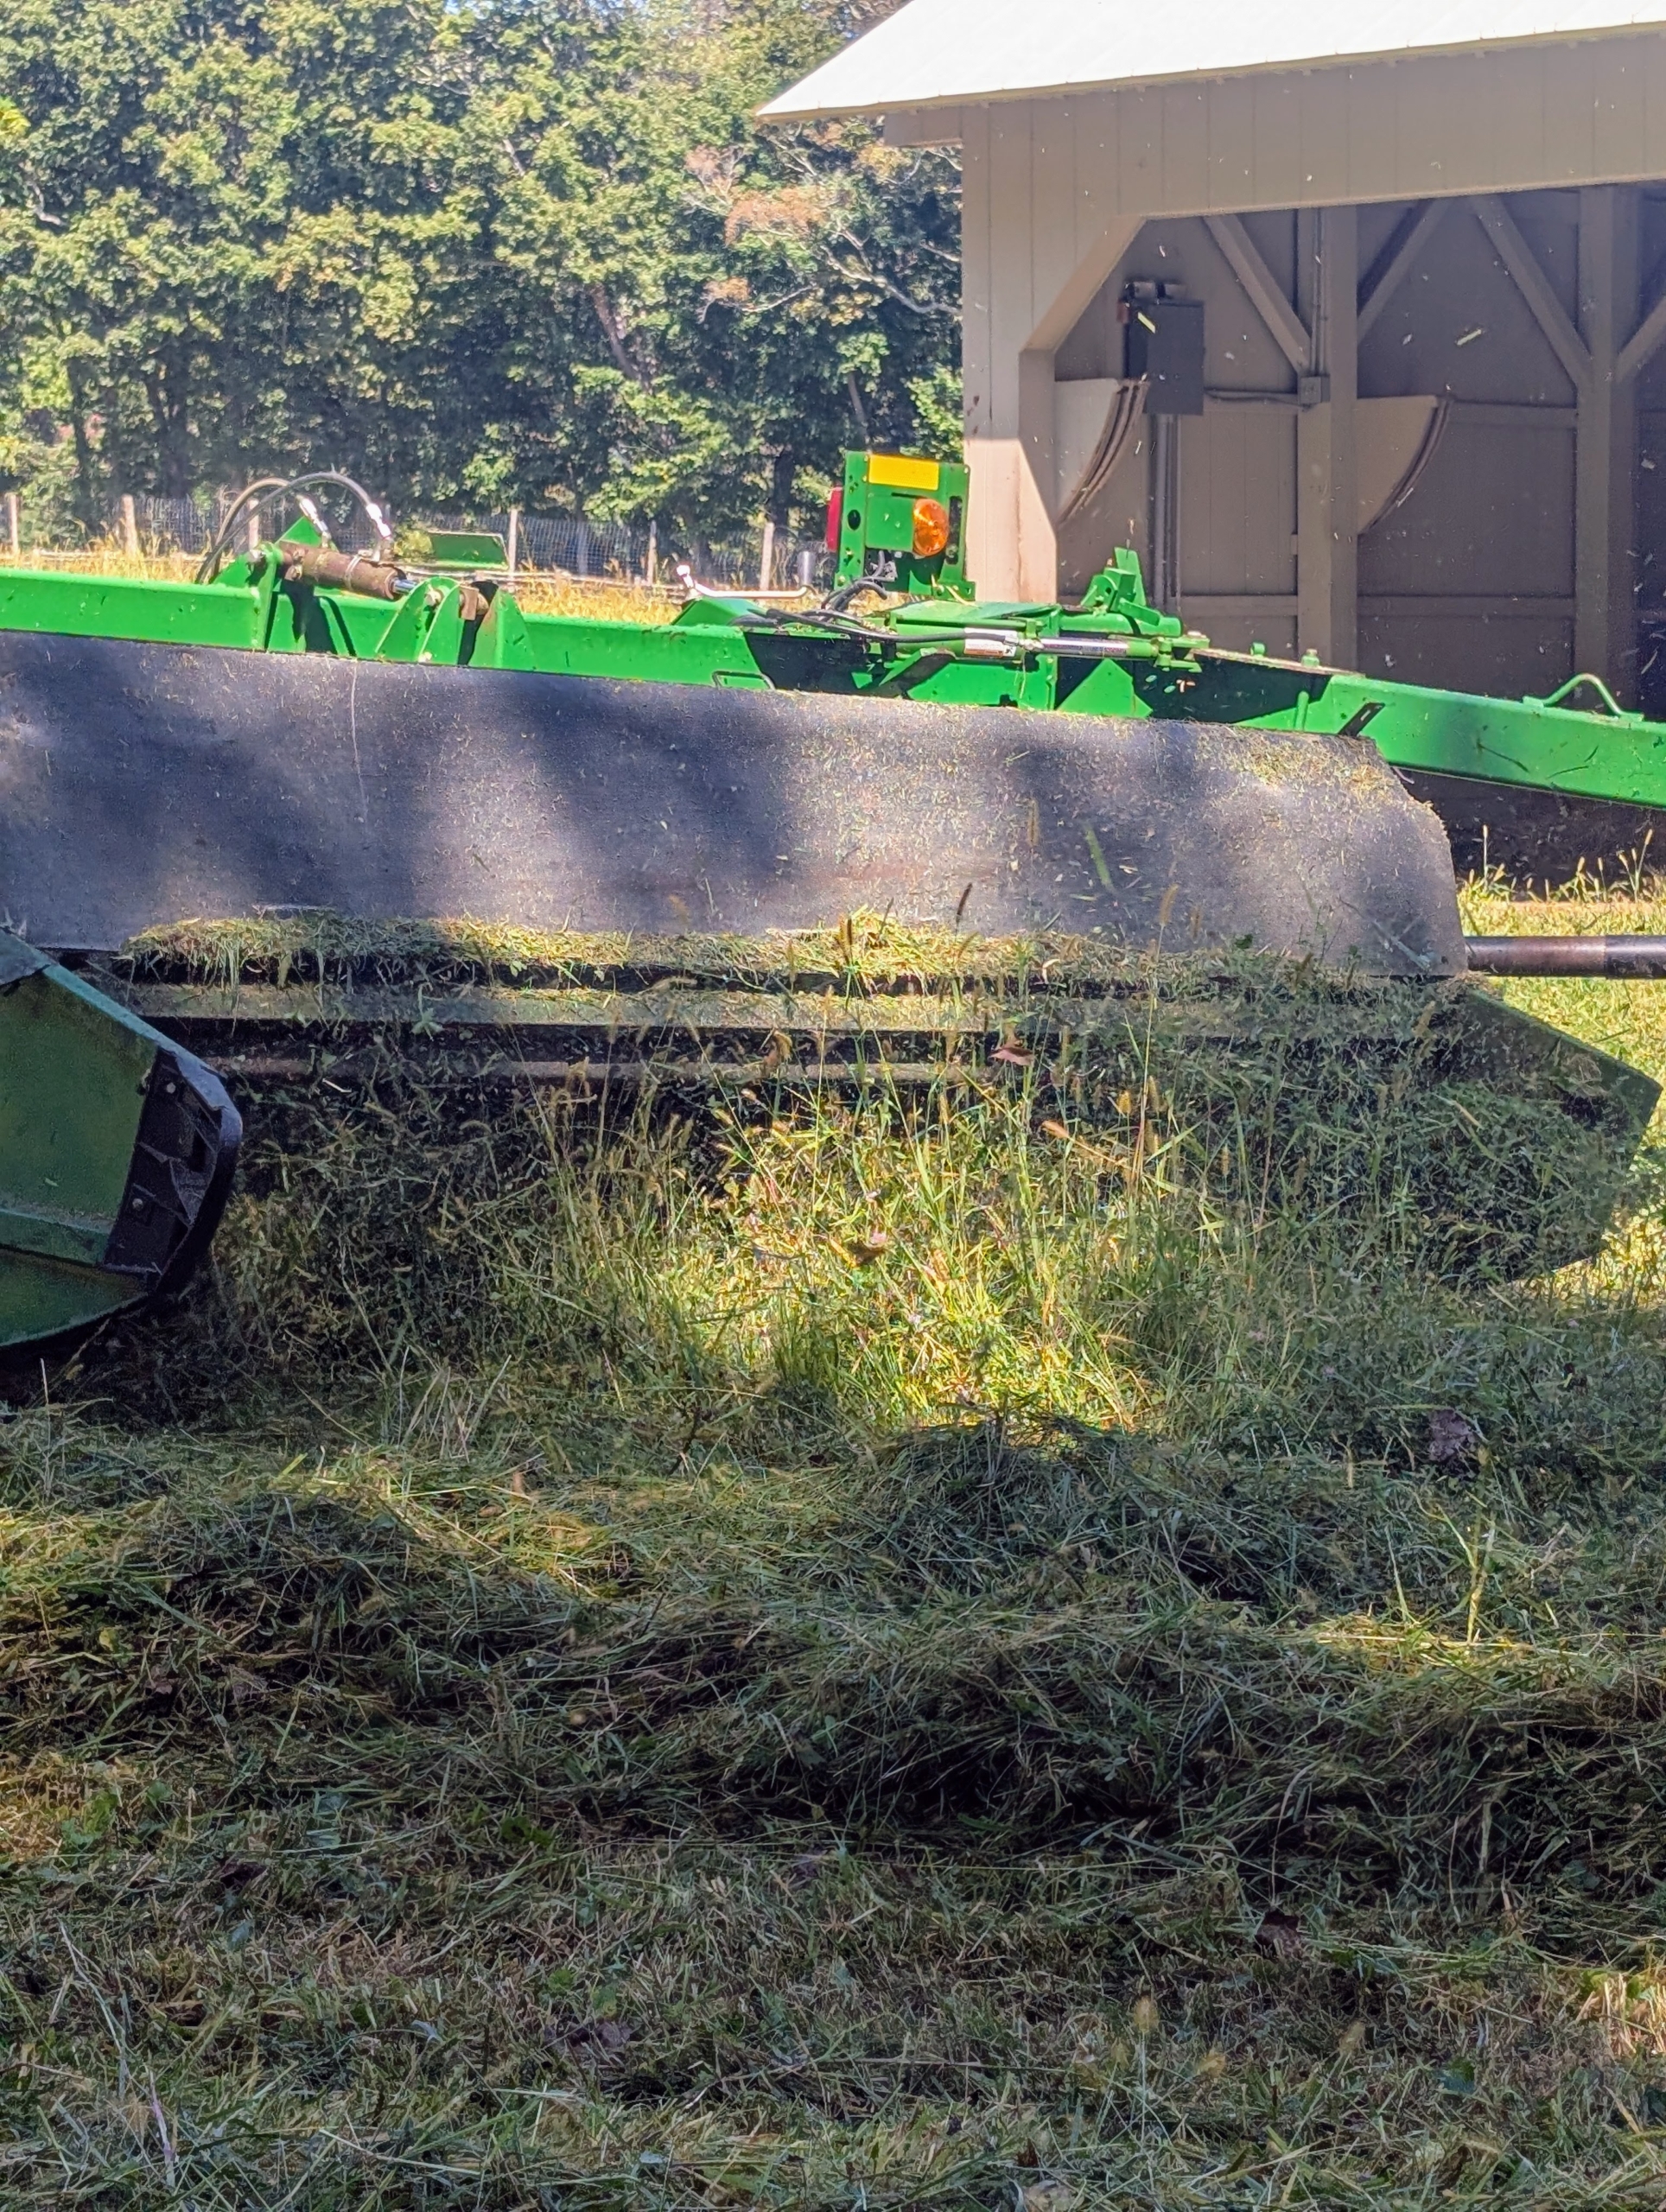
- The discs and blades are located behind the protective shield of the mower-conditioner.

-
- The shield stays on the apparatus as it moves through the field.

-
- On cutting day, Chhiring goes around the fields counter clockwise cutting all the hay. The process of cutting should take about an hour and a half per field. I have three.
-
- The hay goes through the machine and processes the hay one wide strip at a time.
-
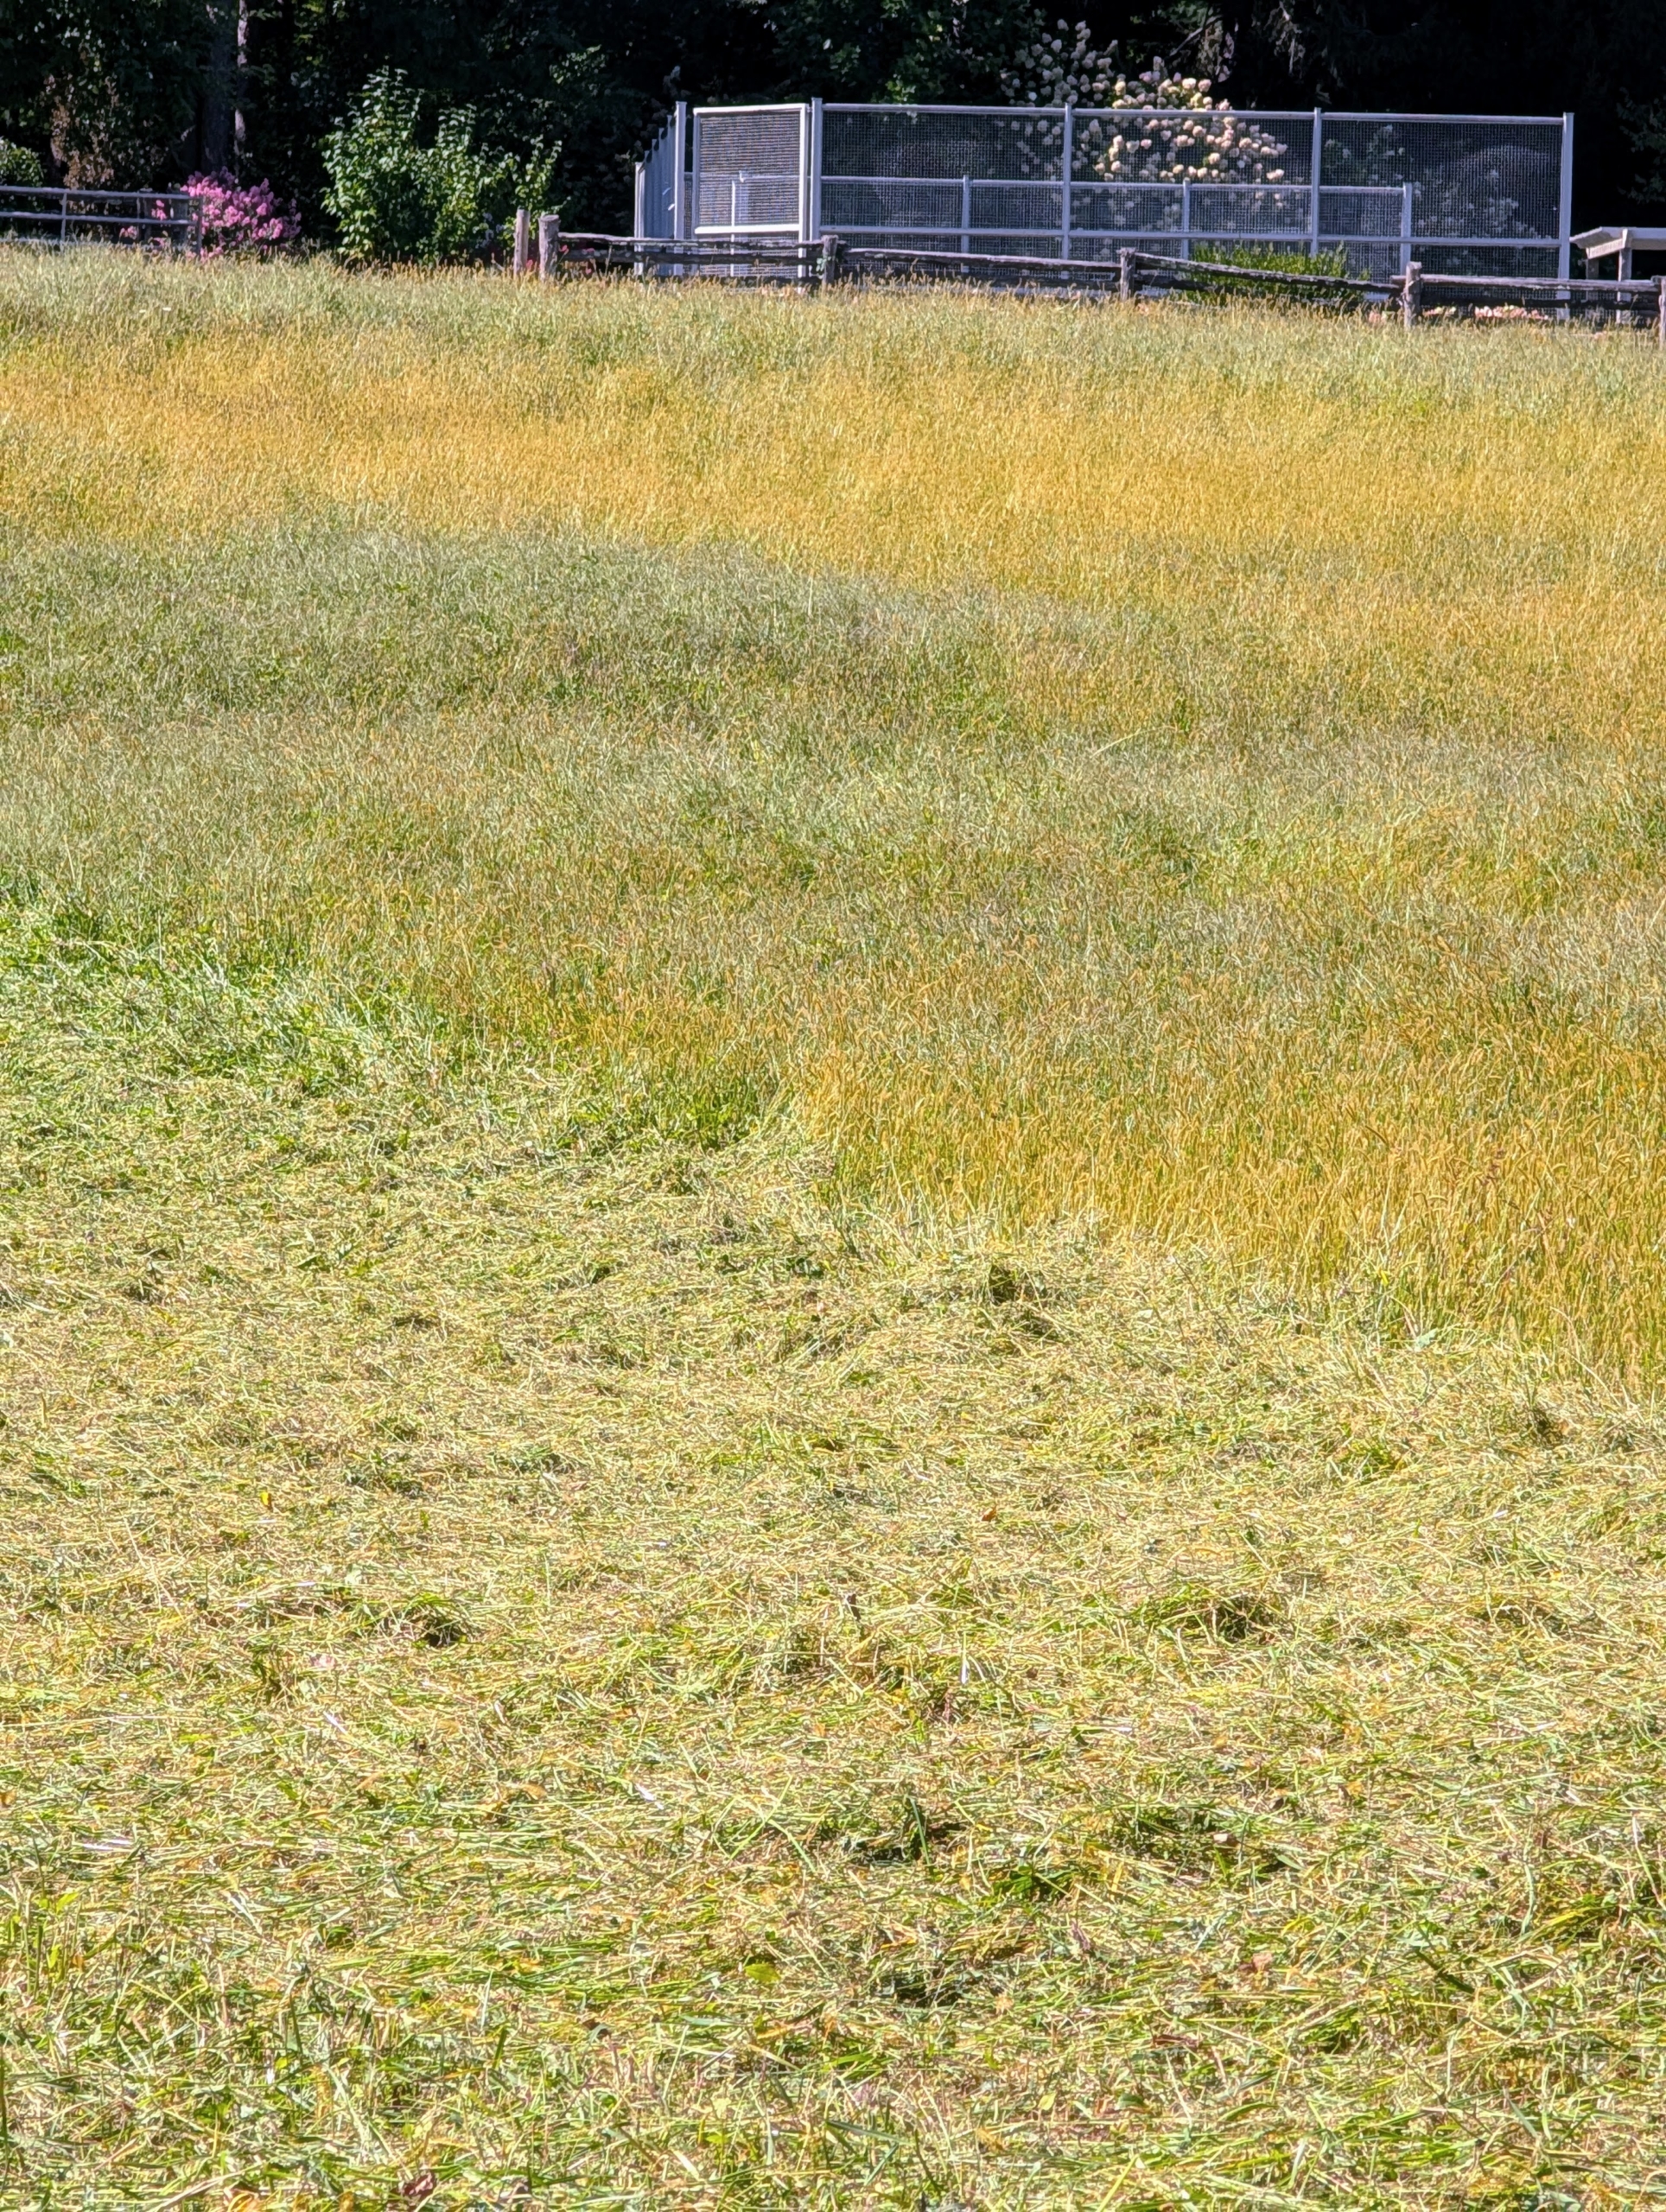
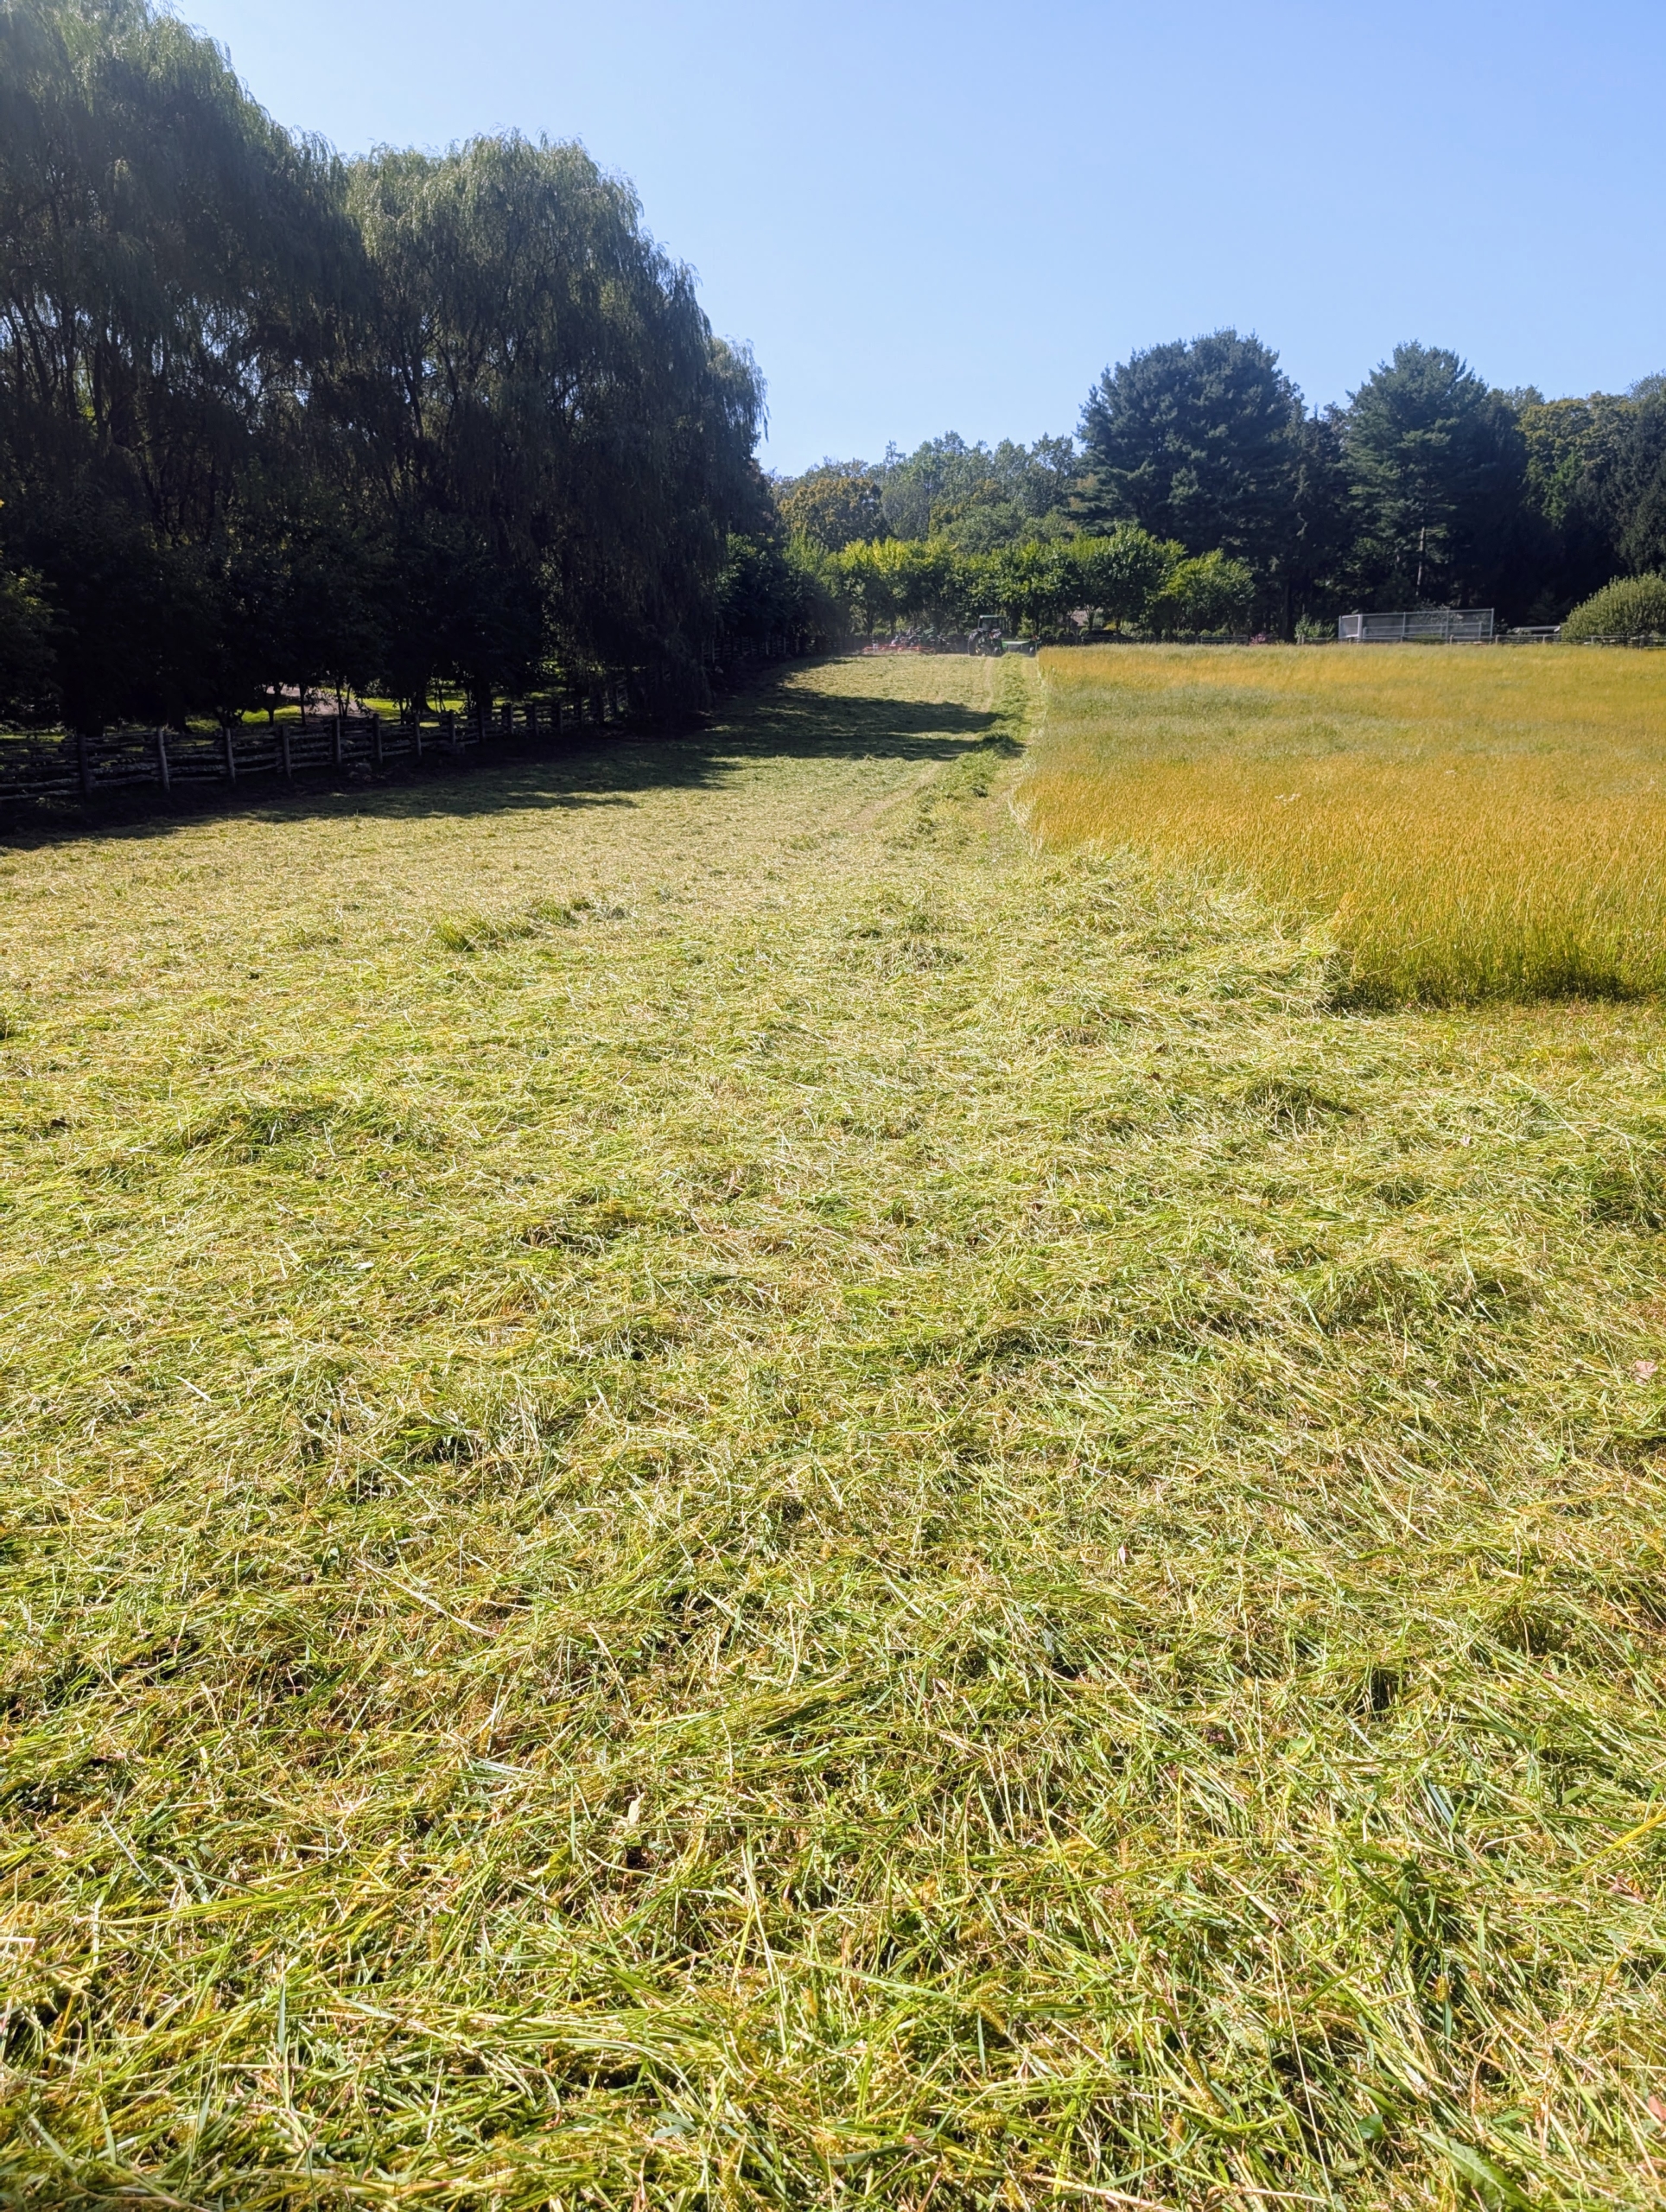
- Here, one can see what has been cut and what Chhiring still has to do.
-
- It is important that Chhiring moves slowly enough to get every area of the hay field cut. He does not want to miss any bit.
-
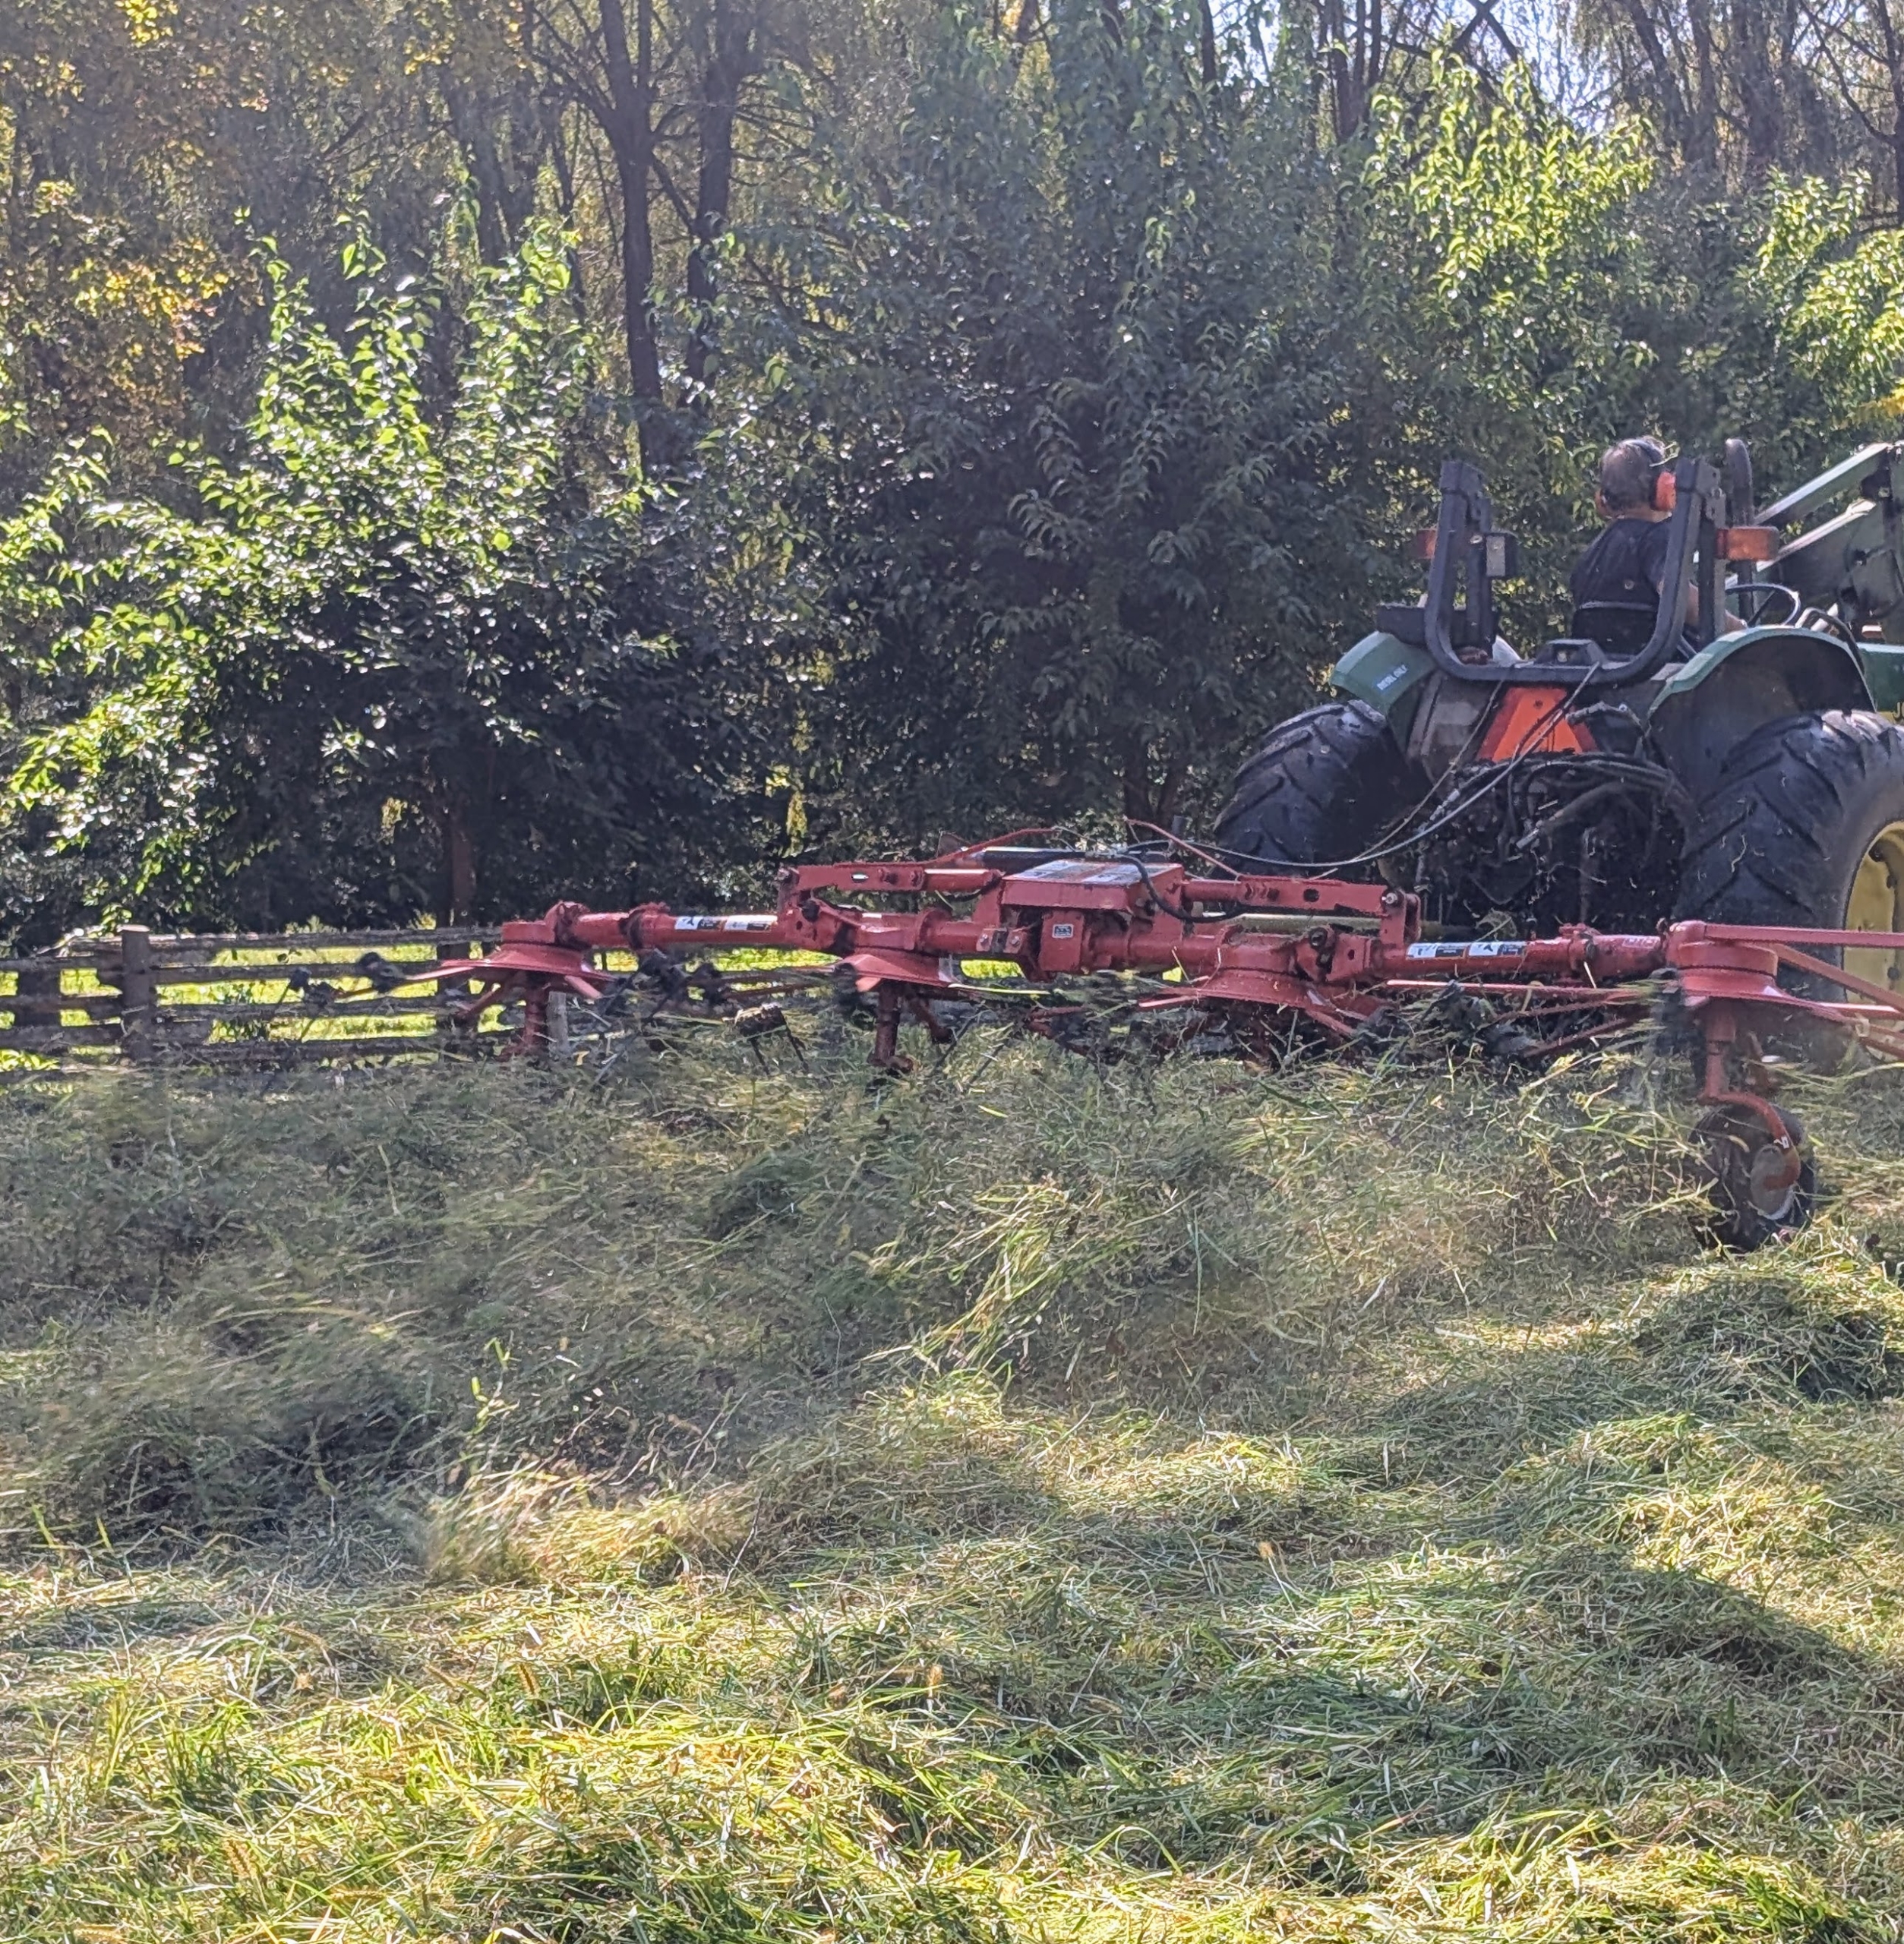
- Once cut, the cut hay is ready for tedding, also known as fluffing. This is our hay tedder. It spreads and fluffs the hay in a uniform swath. It uses a rotary motion to grab the hay with spinning tines that cast it out the back of the machine.

-
- Here is one of the tines that picks up and flips the hay.

-
- The tines are connected to these rotors, which are the moving parts of the tedder that lift and spread the hay.

-
- This part of the process allows air circulation for drying and is crucial for conditioning the hay so it is ready for harvest.

-
- Fernando must drive through the field, carefully watching that he has flipped everything that was cut.
-
- Here is an area of cut, tedded hay. As it dries, it will become less green and more of a tan color, indicating it is dry.

-
- Chhiring says this is the best second cut hay he’s seen here at my farm – my horses will be so happy.
-
- This field is now all cut and tedded. Next, the hay will be flipped again and then formed into rows for baling. The clip below shows how the tedder works. Stay tuned for the rest of the process.


