Enjoying Cut Tulips
Among the many benefits of growing one's own flowers - they can be enjoyed both inside and out.
It's always so nice to walk through the gardens and see a multitude of beautiful and colorful blooms. I also love cutting fresh flowers to display in my home. Recently, my housekeeper Elvira Rojas brought in some beautiful spring tulips - so loved for their tall, straight stems, graceful leaves, and bright, cheery blooms.
Enjoy these photos and tips.
-

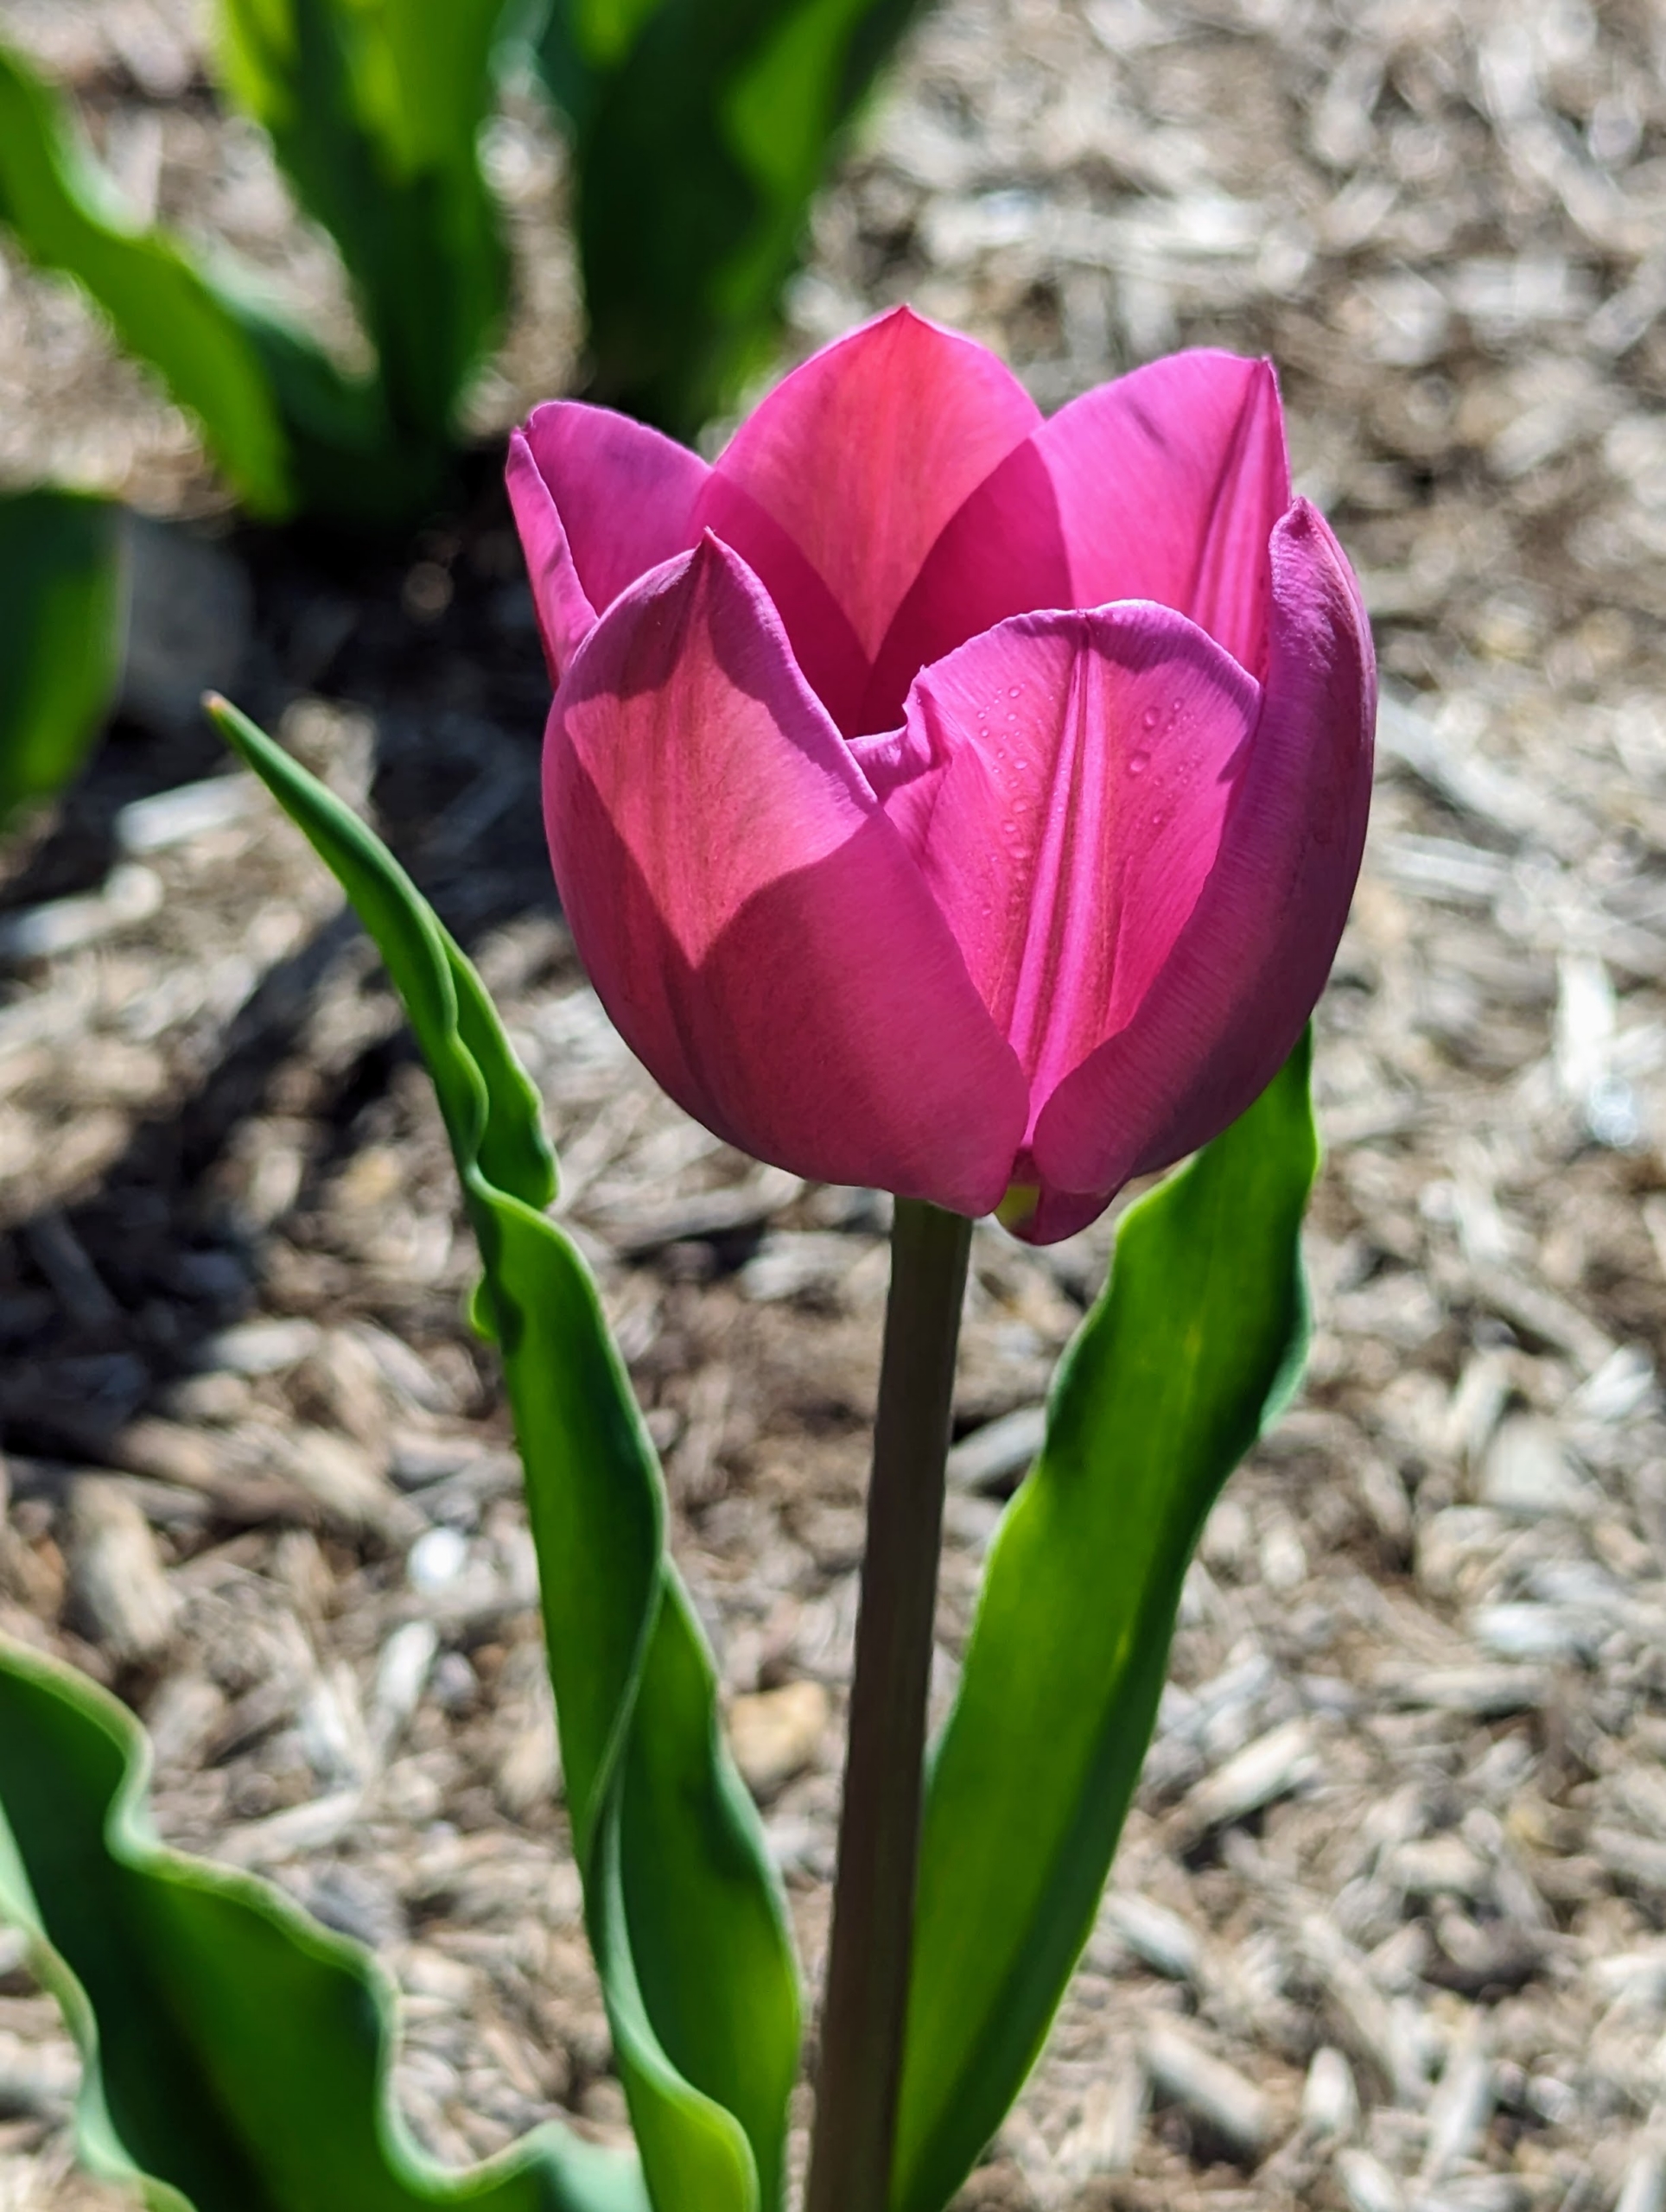
- Hard not to love fresh, colorful spring tulips. They come in a large variety of shapes, sizes, colors, and forms. Some are traditional and cup-shaped, some have fringed petals, others have pointed ones, and some are full of fanciful ruffles. Some varieties even carry a soft, subtle scent.
-
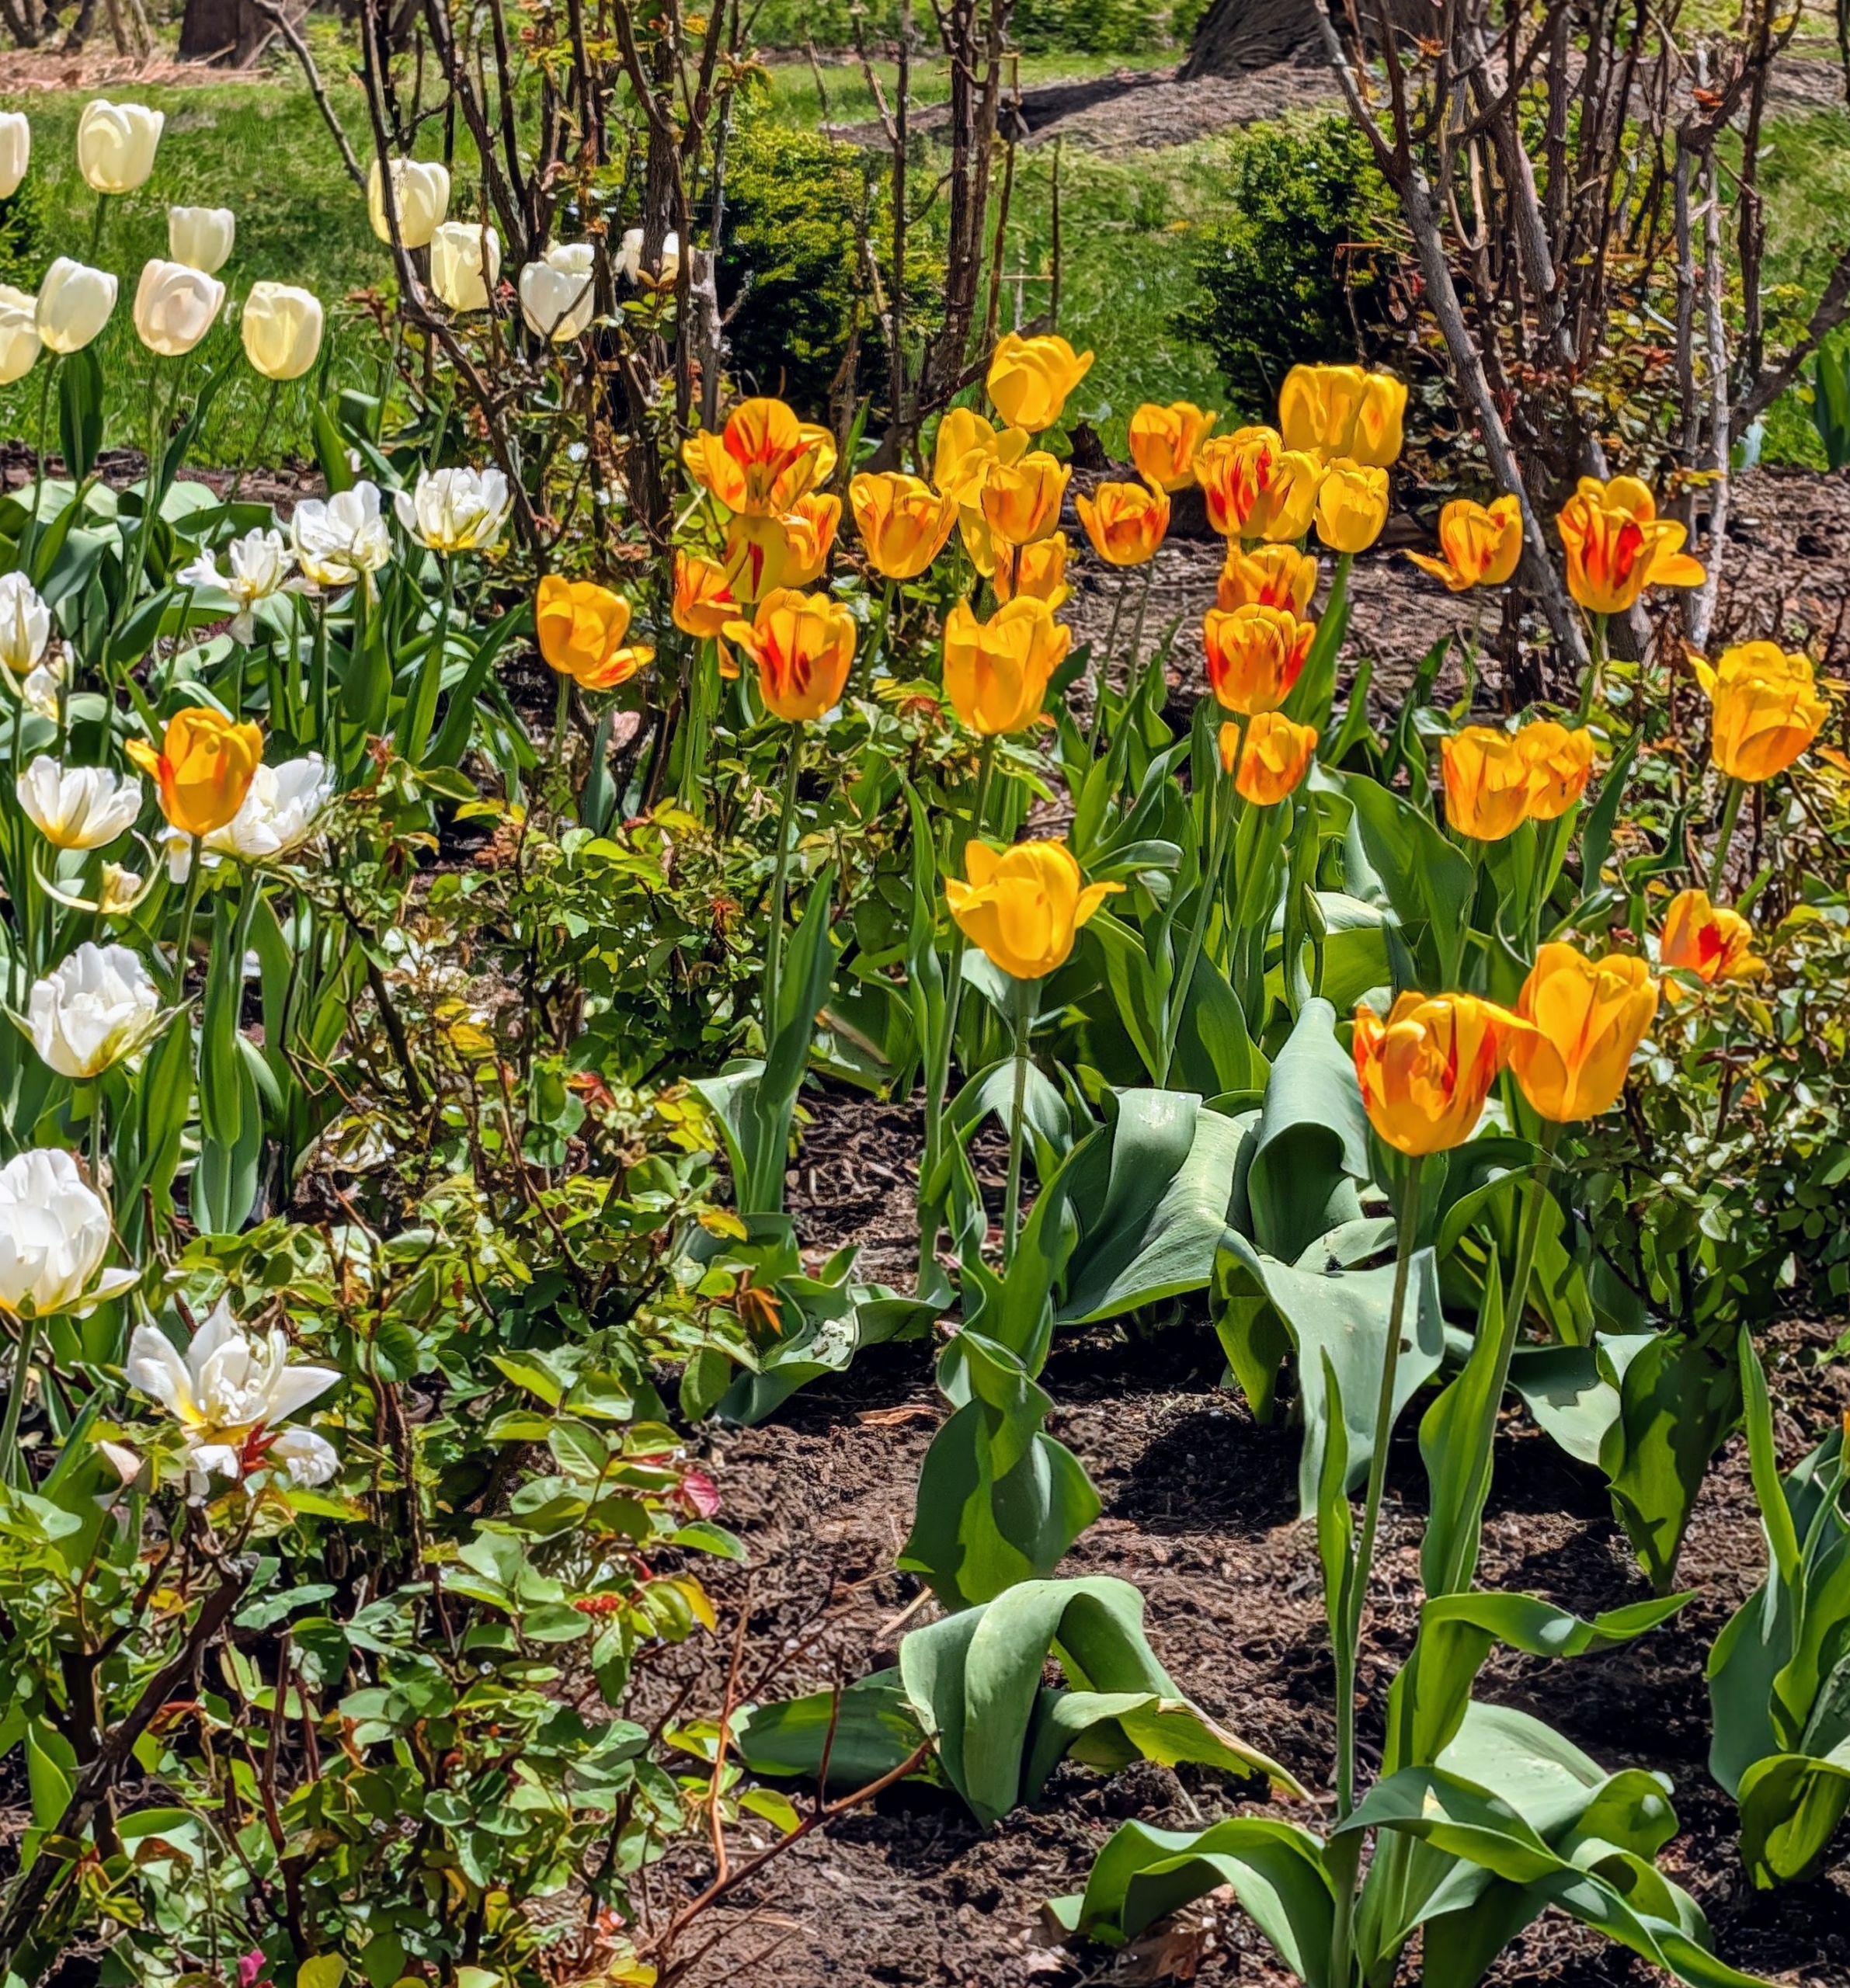
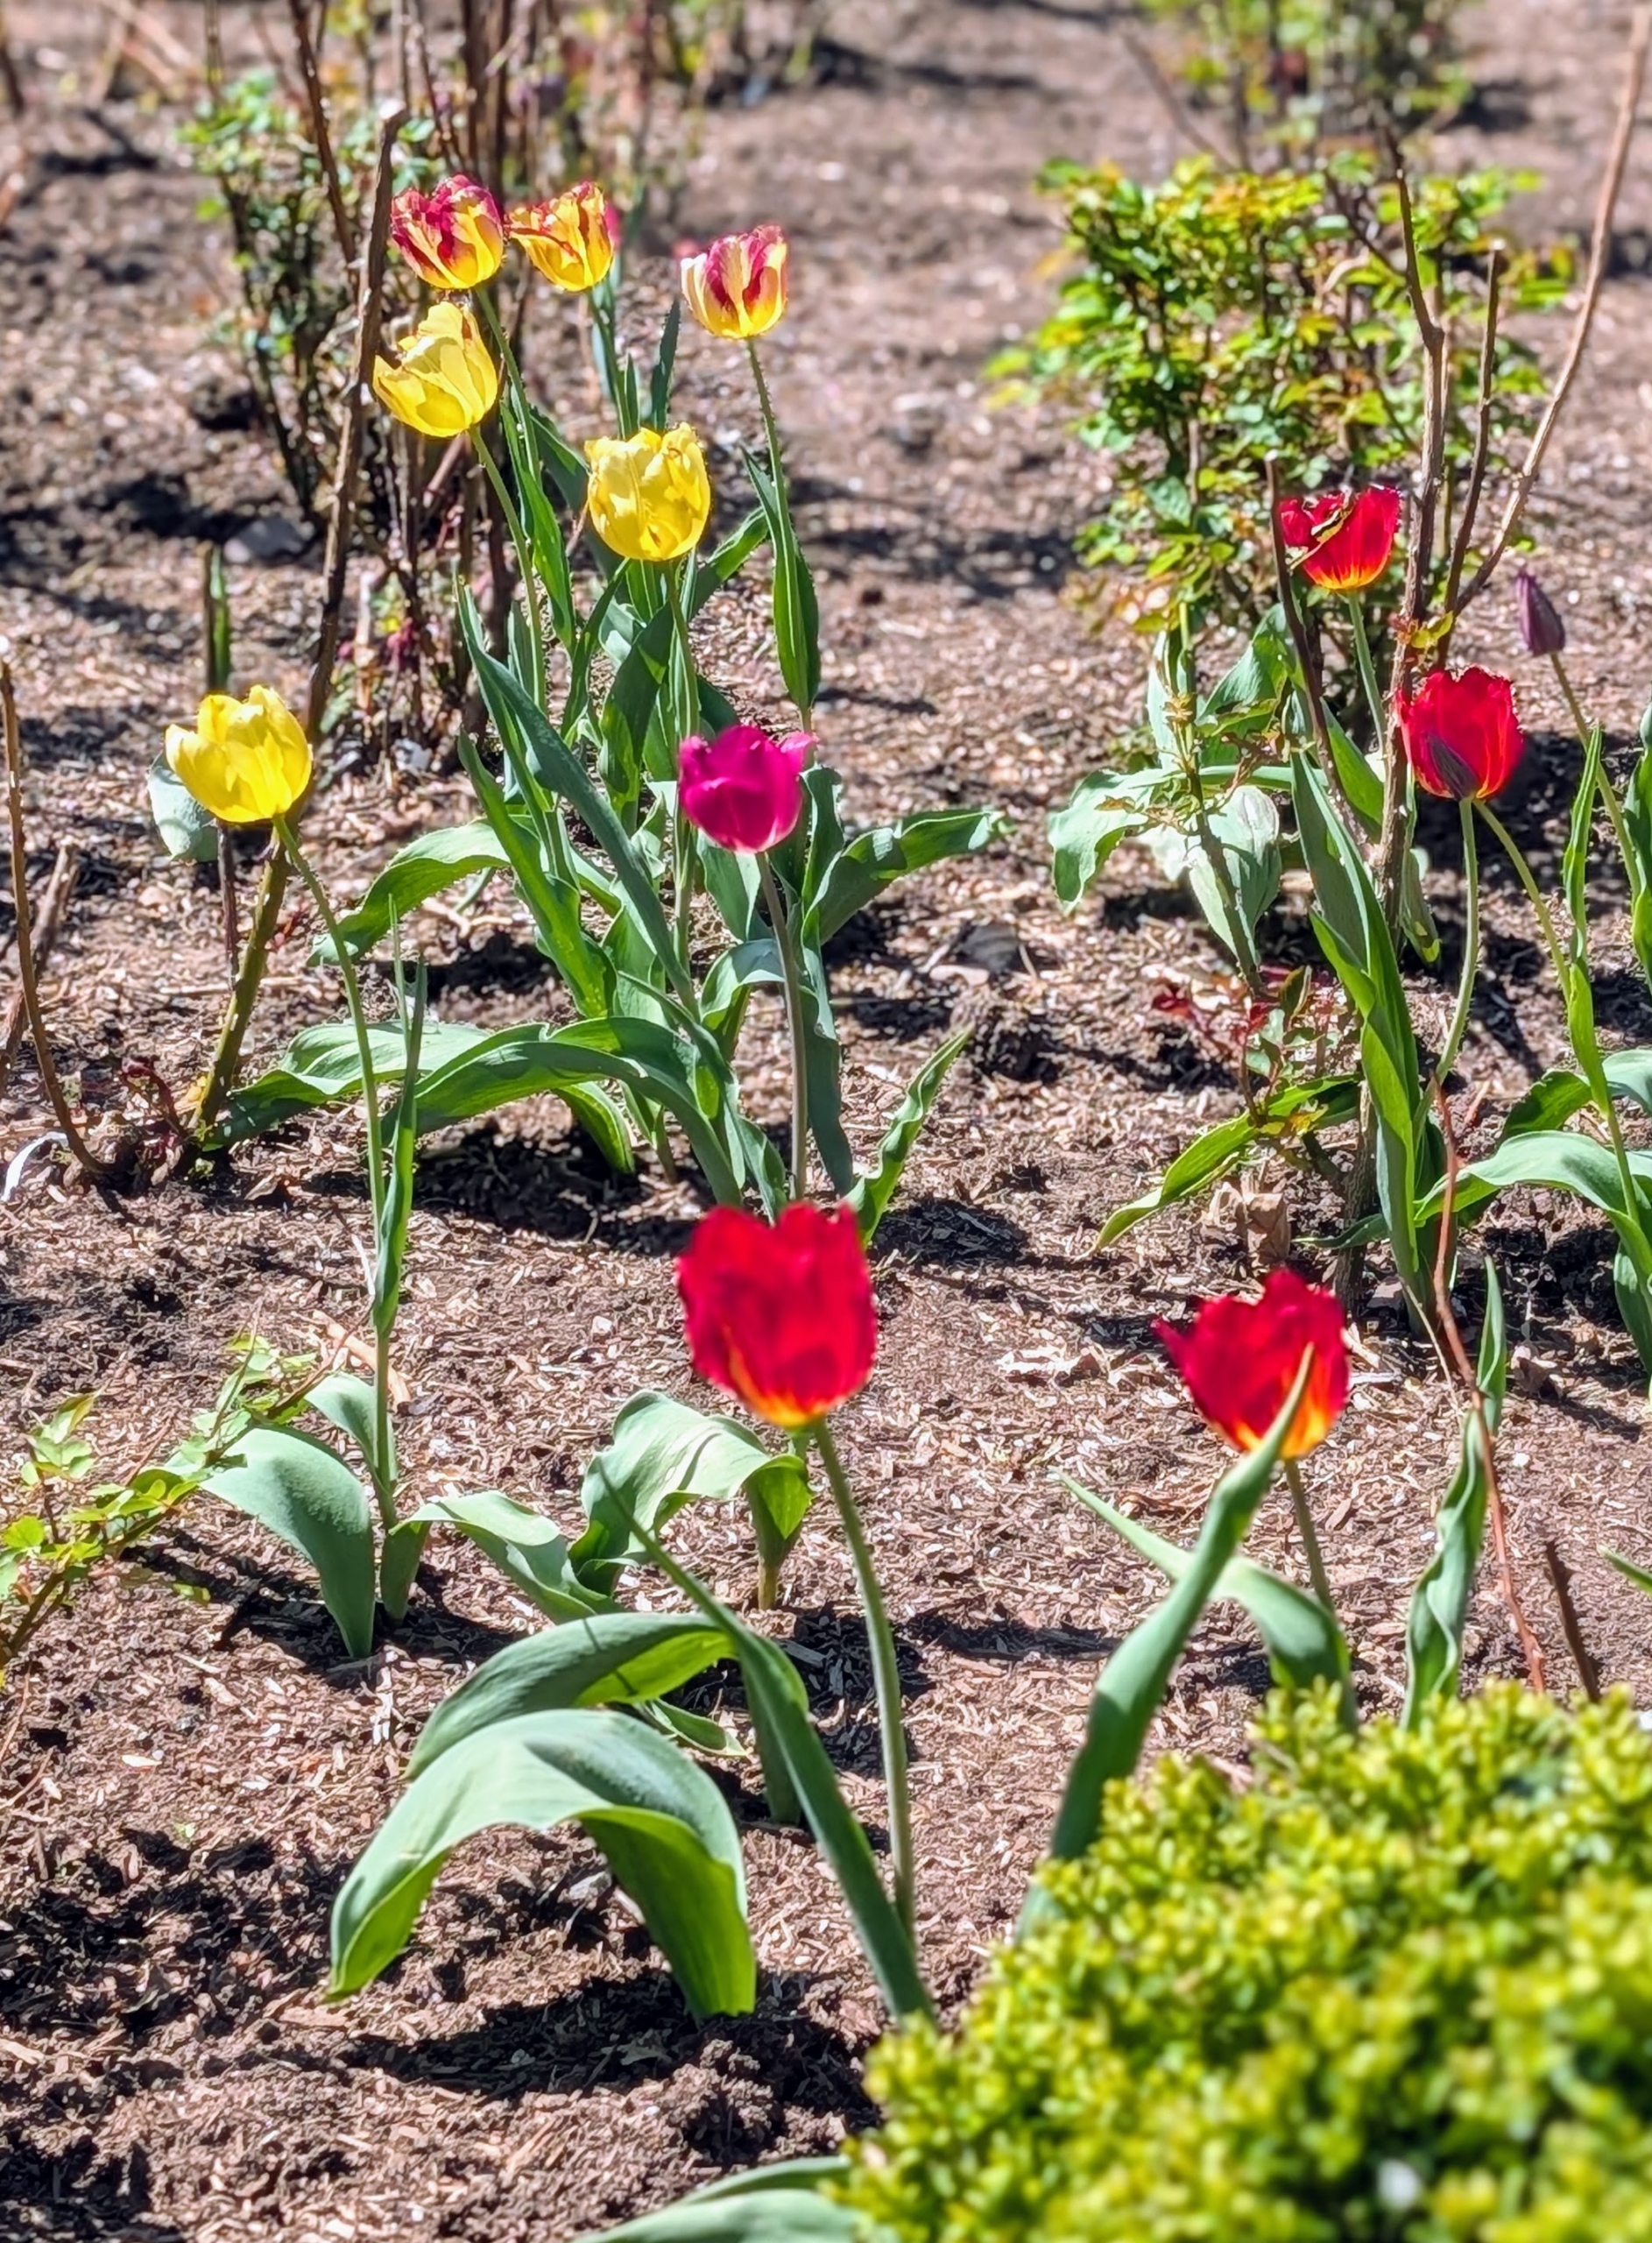
- Tulips typically begin emerging from the ground in late winter or early spring. I have tulips growing in many areas around my farm including several beds of my vegetable garden, in my flower cutting garden, and in this bed behind my main greenhouse.
-
- In 2015, this garden was dedicated entirely to tulips. I eventually turned this space into a rose garden, but some tulips continue to pop up every spring.
-
- Although closely associated with Holland, tulips were first cultivated in Turkey. The name tulip is believed to be derived from the Turkish word for turbans, “tulbend,” because of their resemblance.
-
- Garden tulips thrive in sunny areas with well-drained soil. They also need cold winters, where they can get 12 to 16 weeks with temperatures between 35 and 45 degrees Fahrenheit to trigger proper root development and flower formation.
-
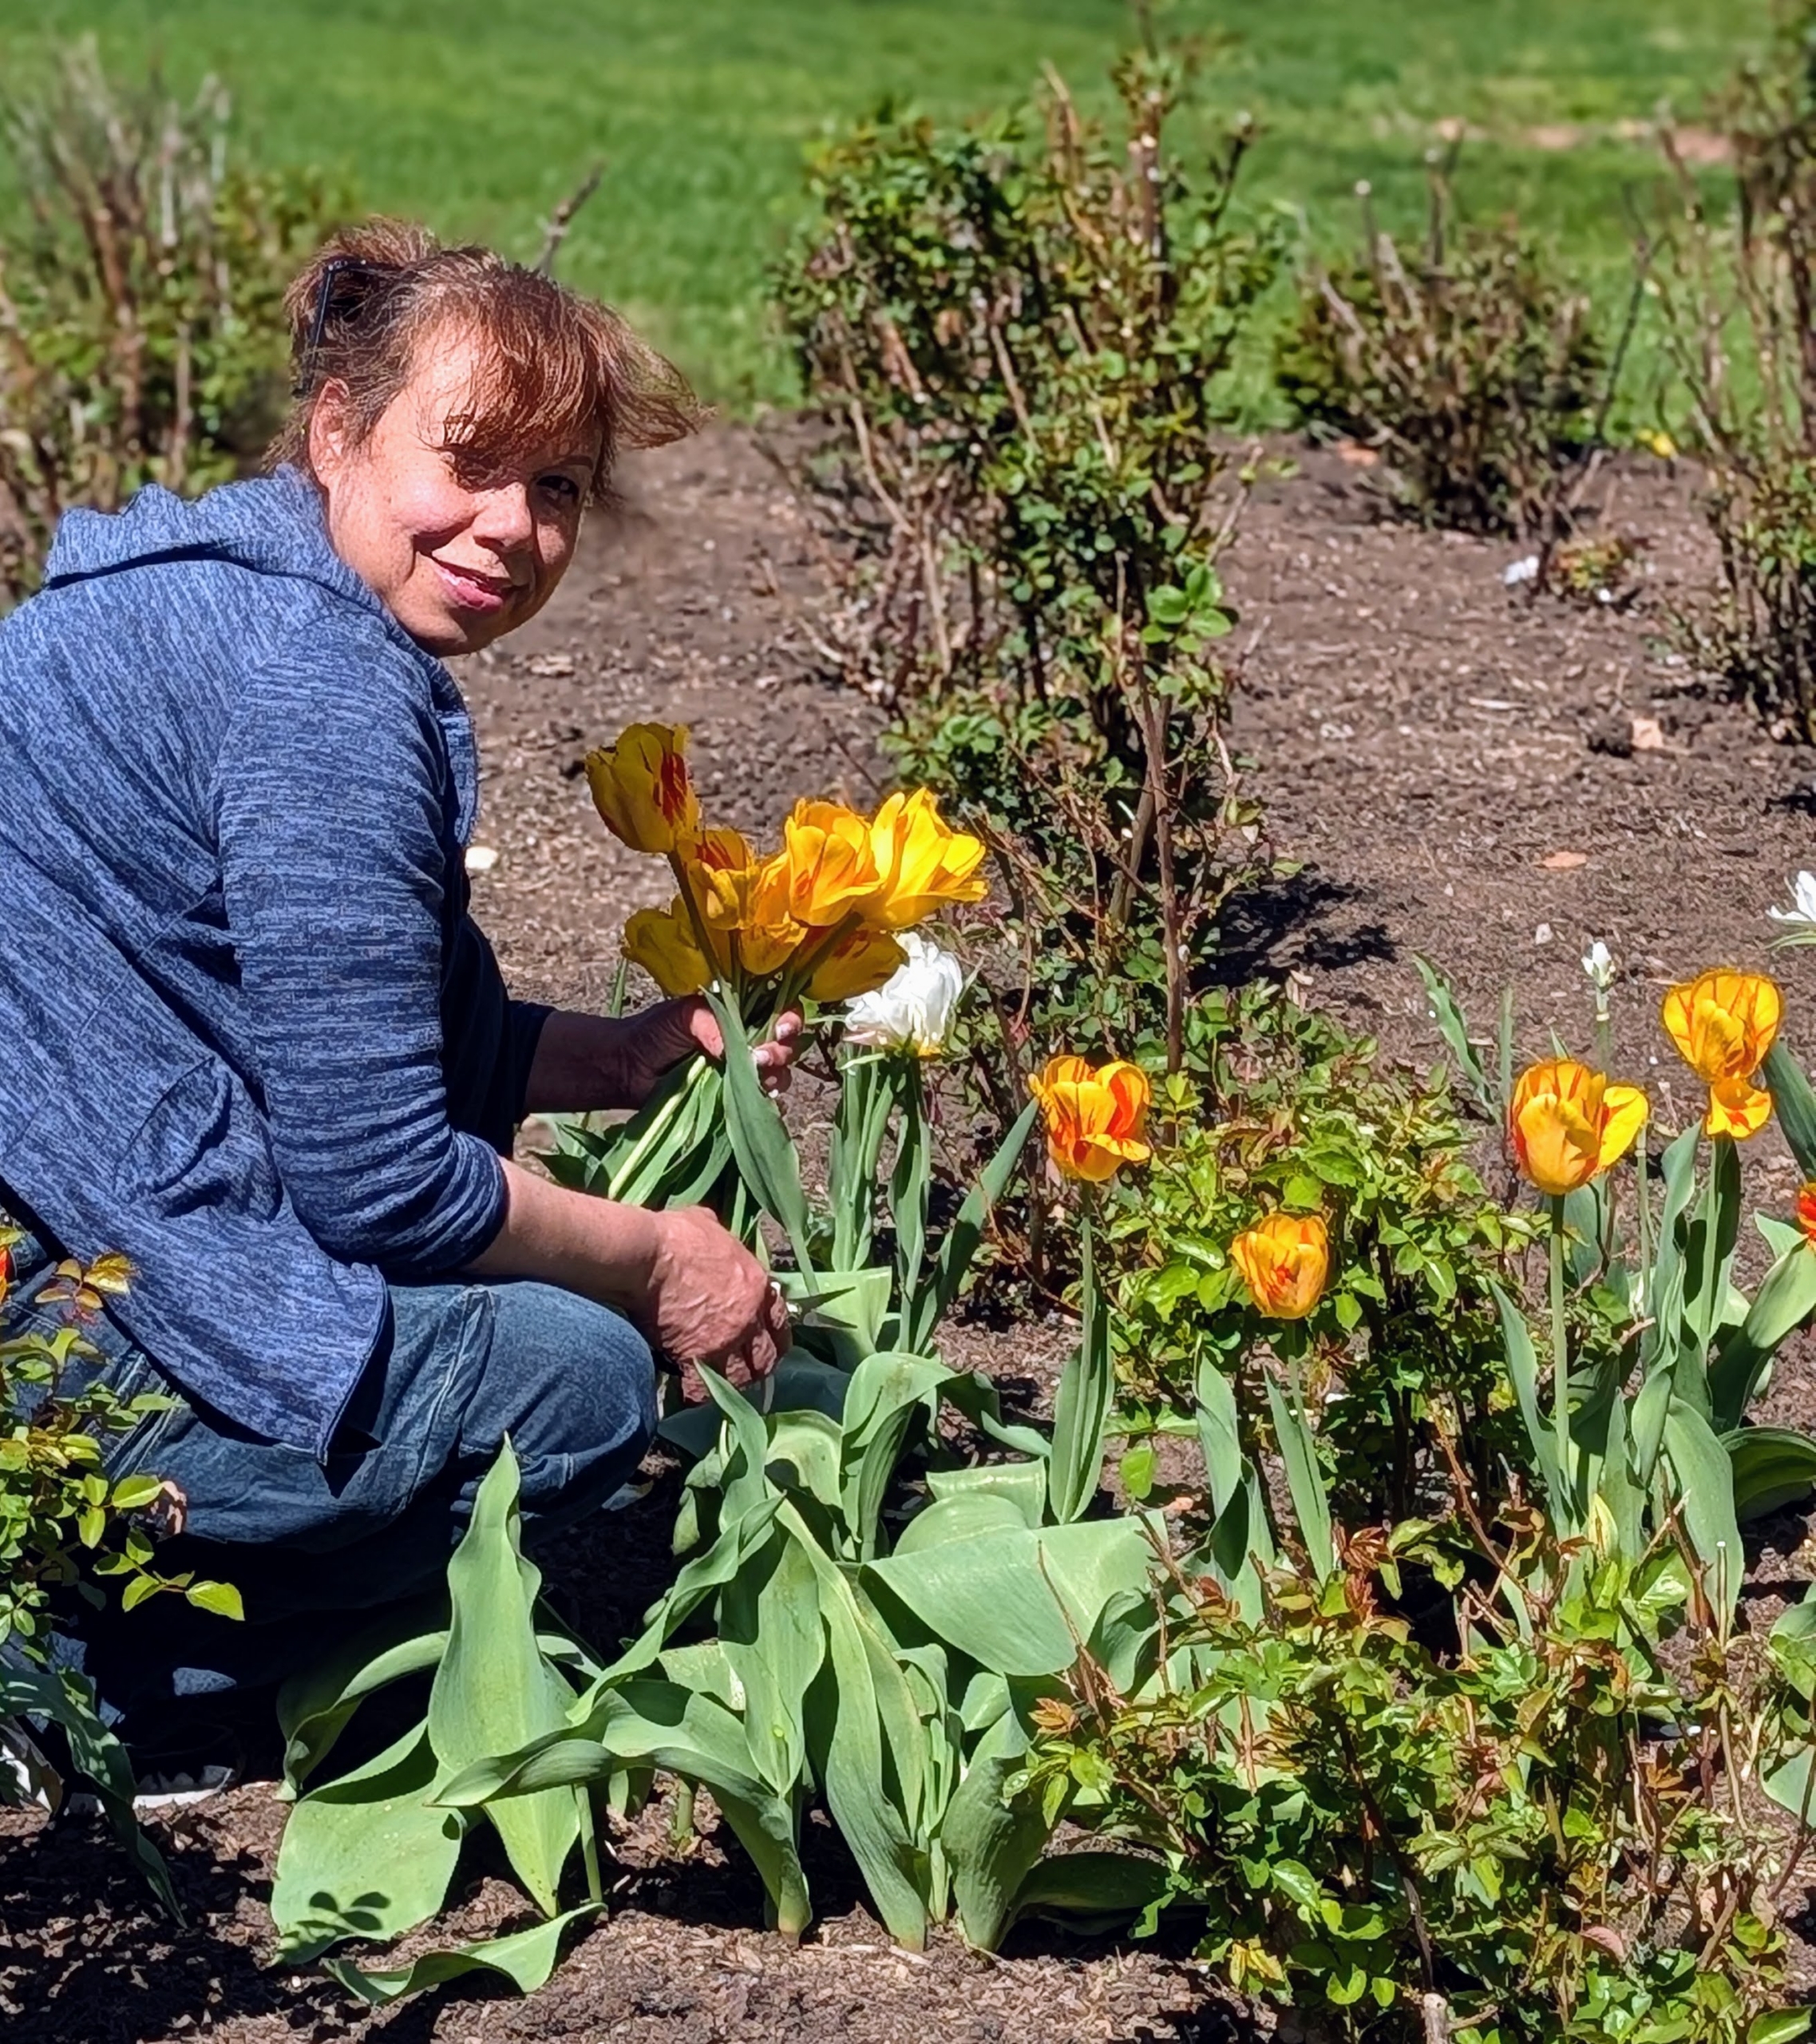
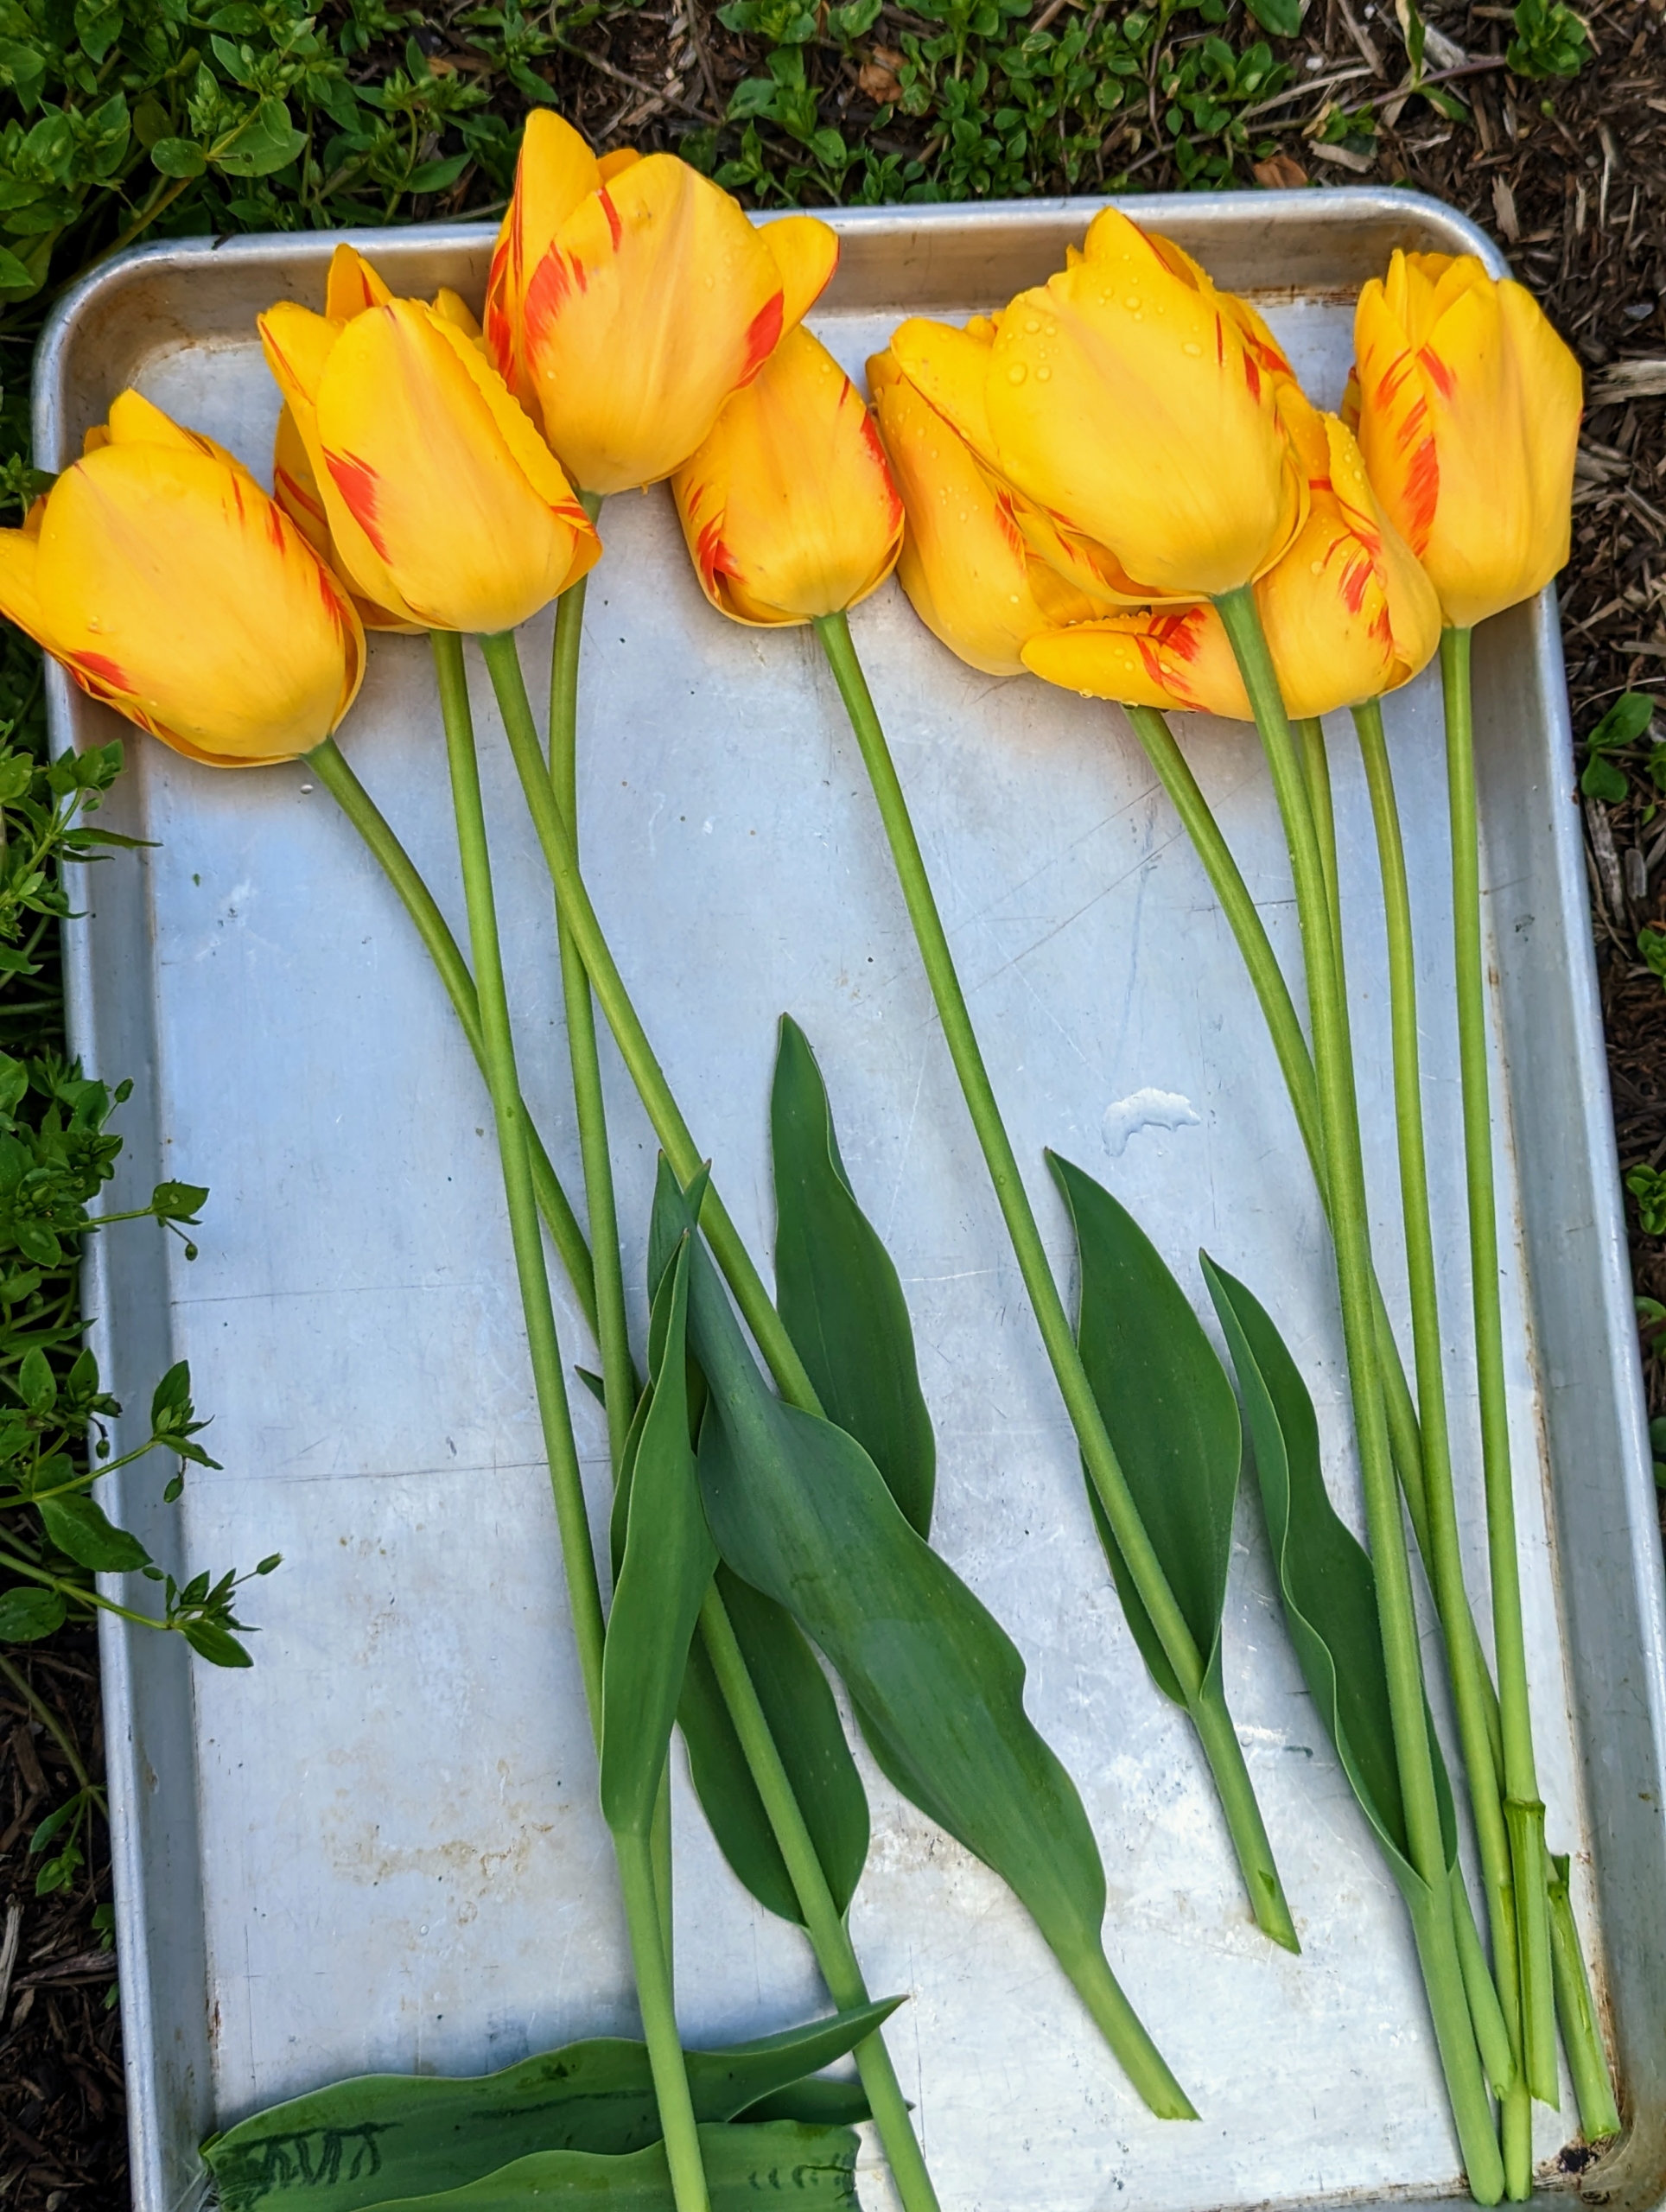
- Here’s Elvira cutting some of the tulips to bring indoors. If possible, cut tulips when the buds show full color but are not yet completely open – this will allow for the longest vase life.

-
- And cut flowers in the early morning or late evening when stems are fully hydrated and sugars are at their peak. And always use clean, sharp shears.
-
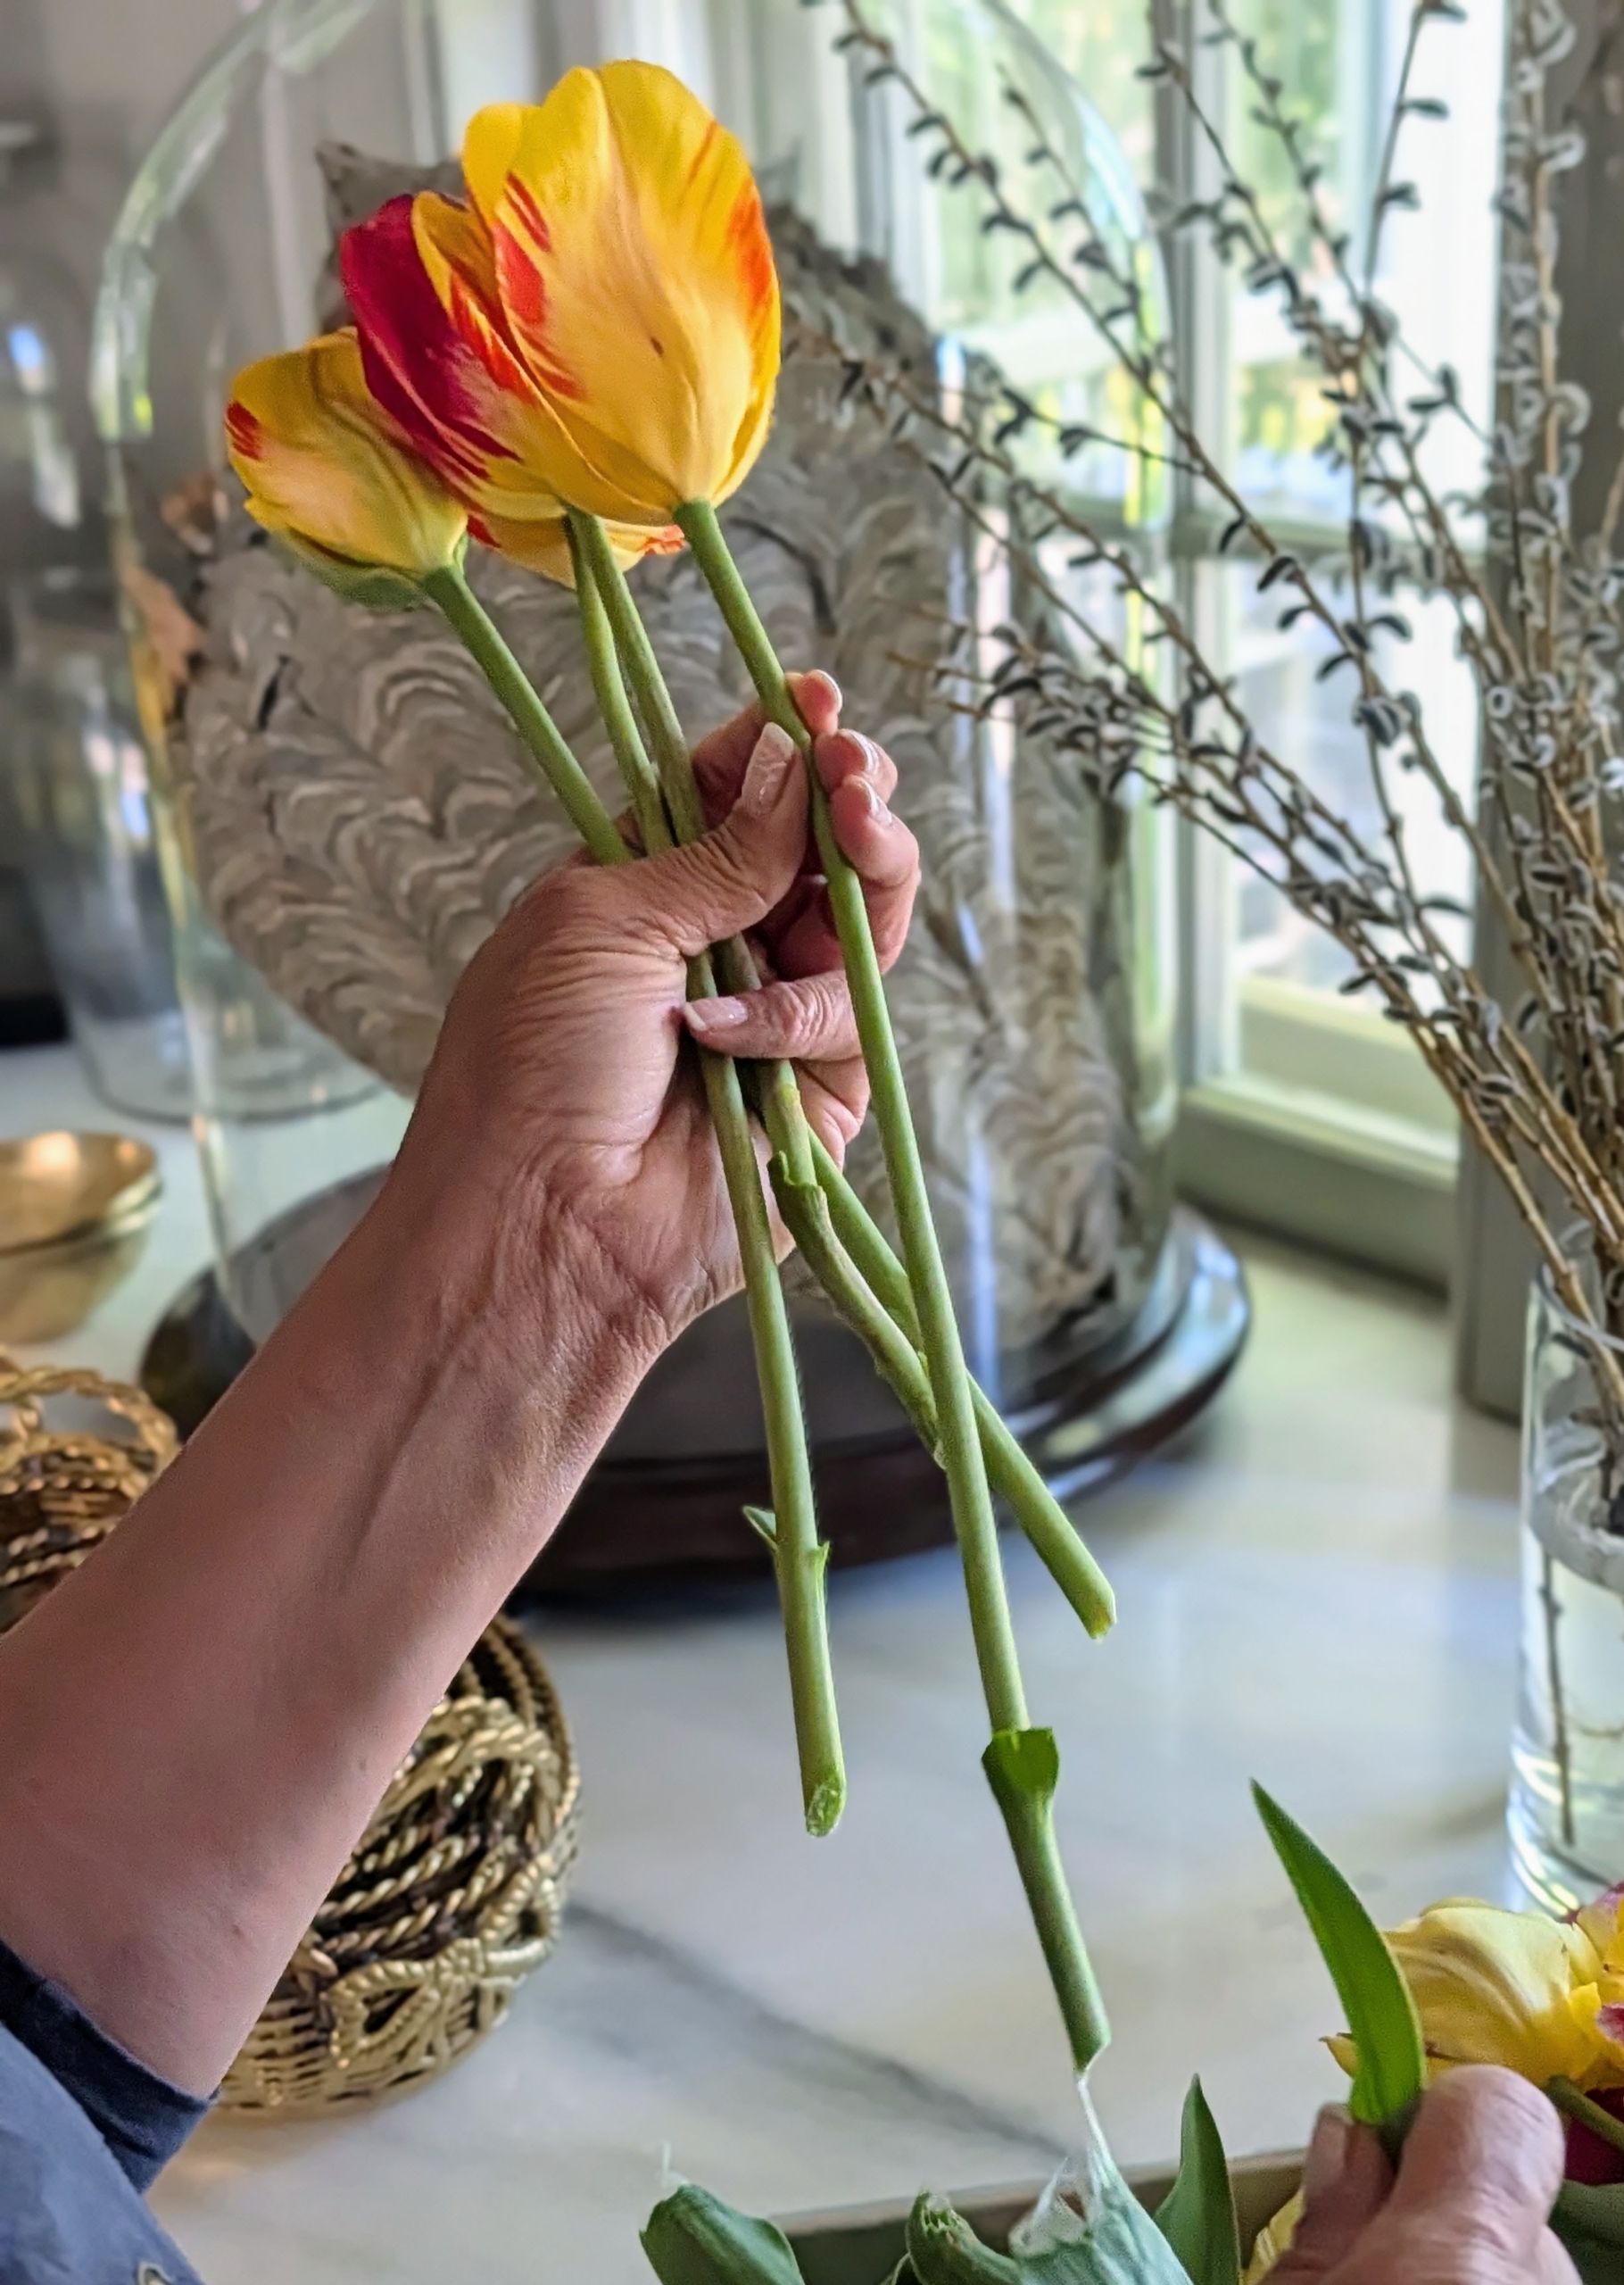
- Cut the tulips at the base of the stem at a 45-degree angle to provide the largest surface area for water uptake while in the vase.
-
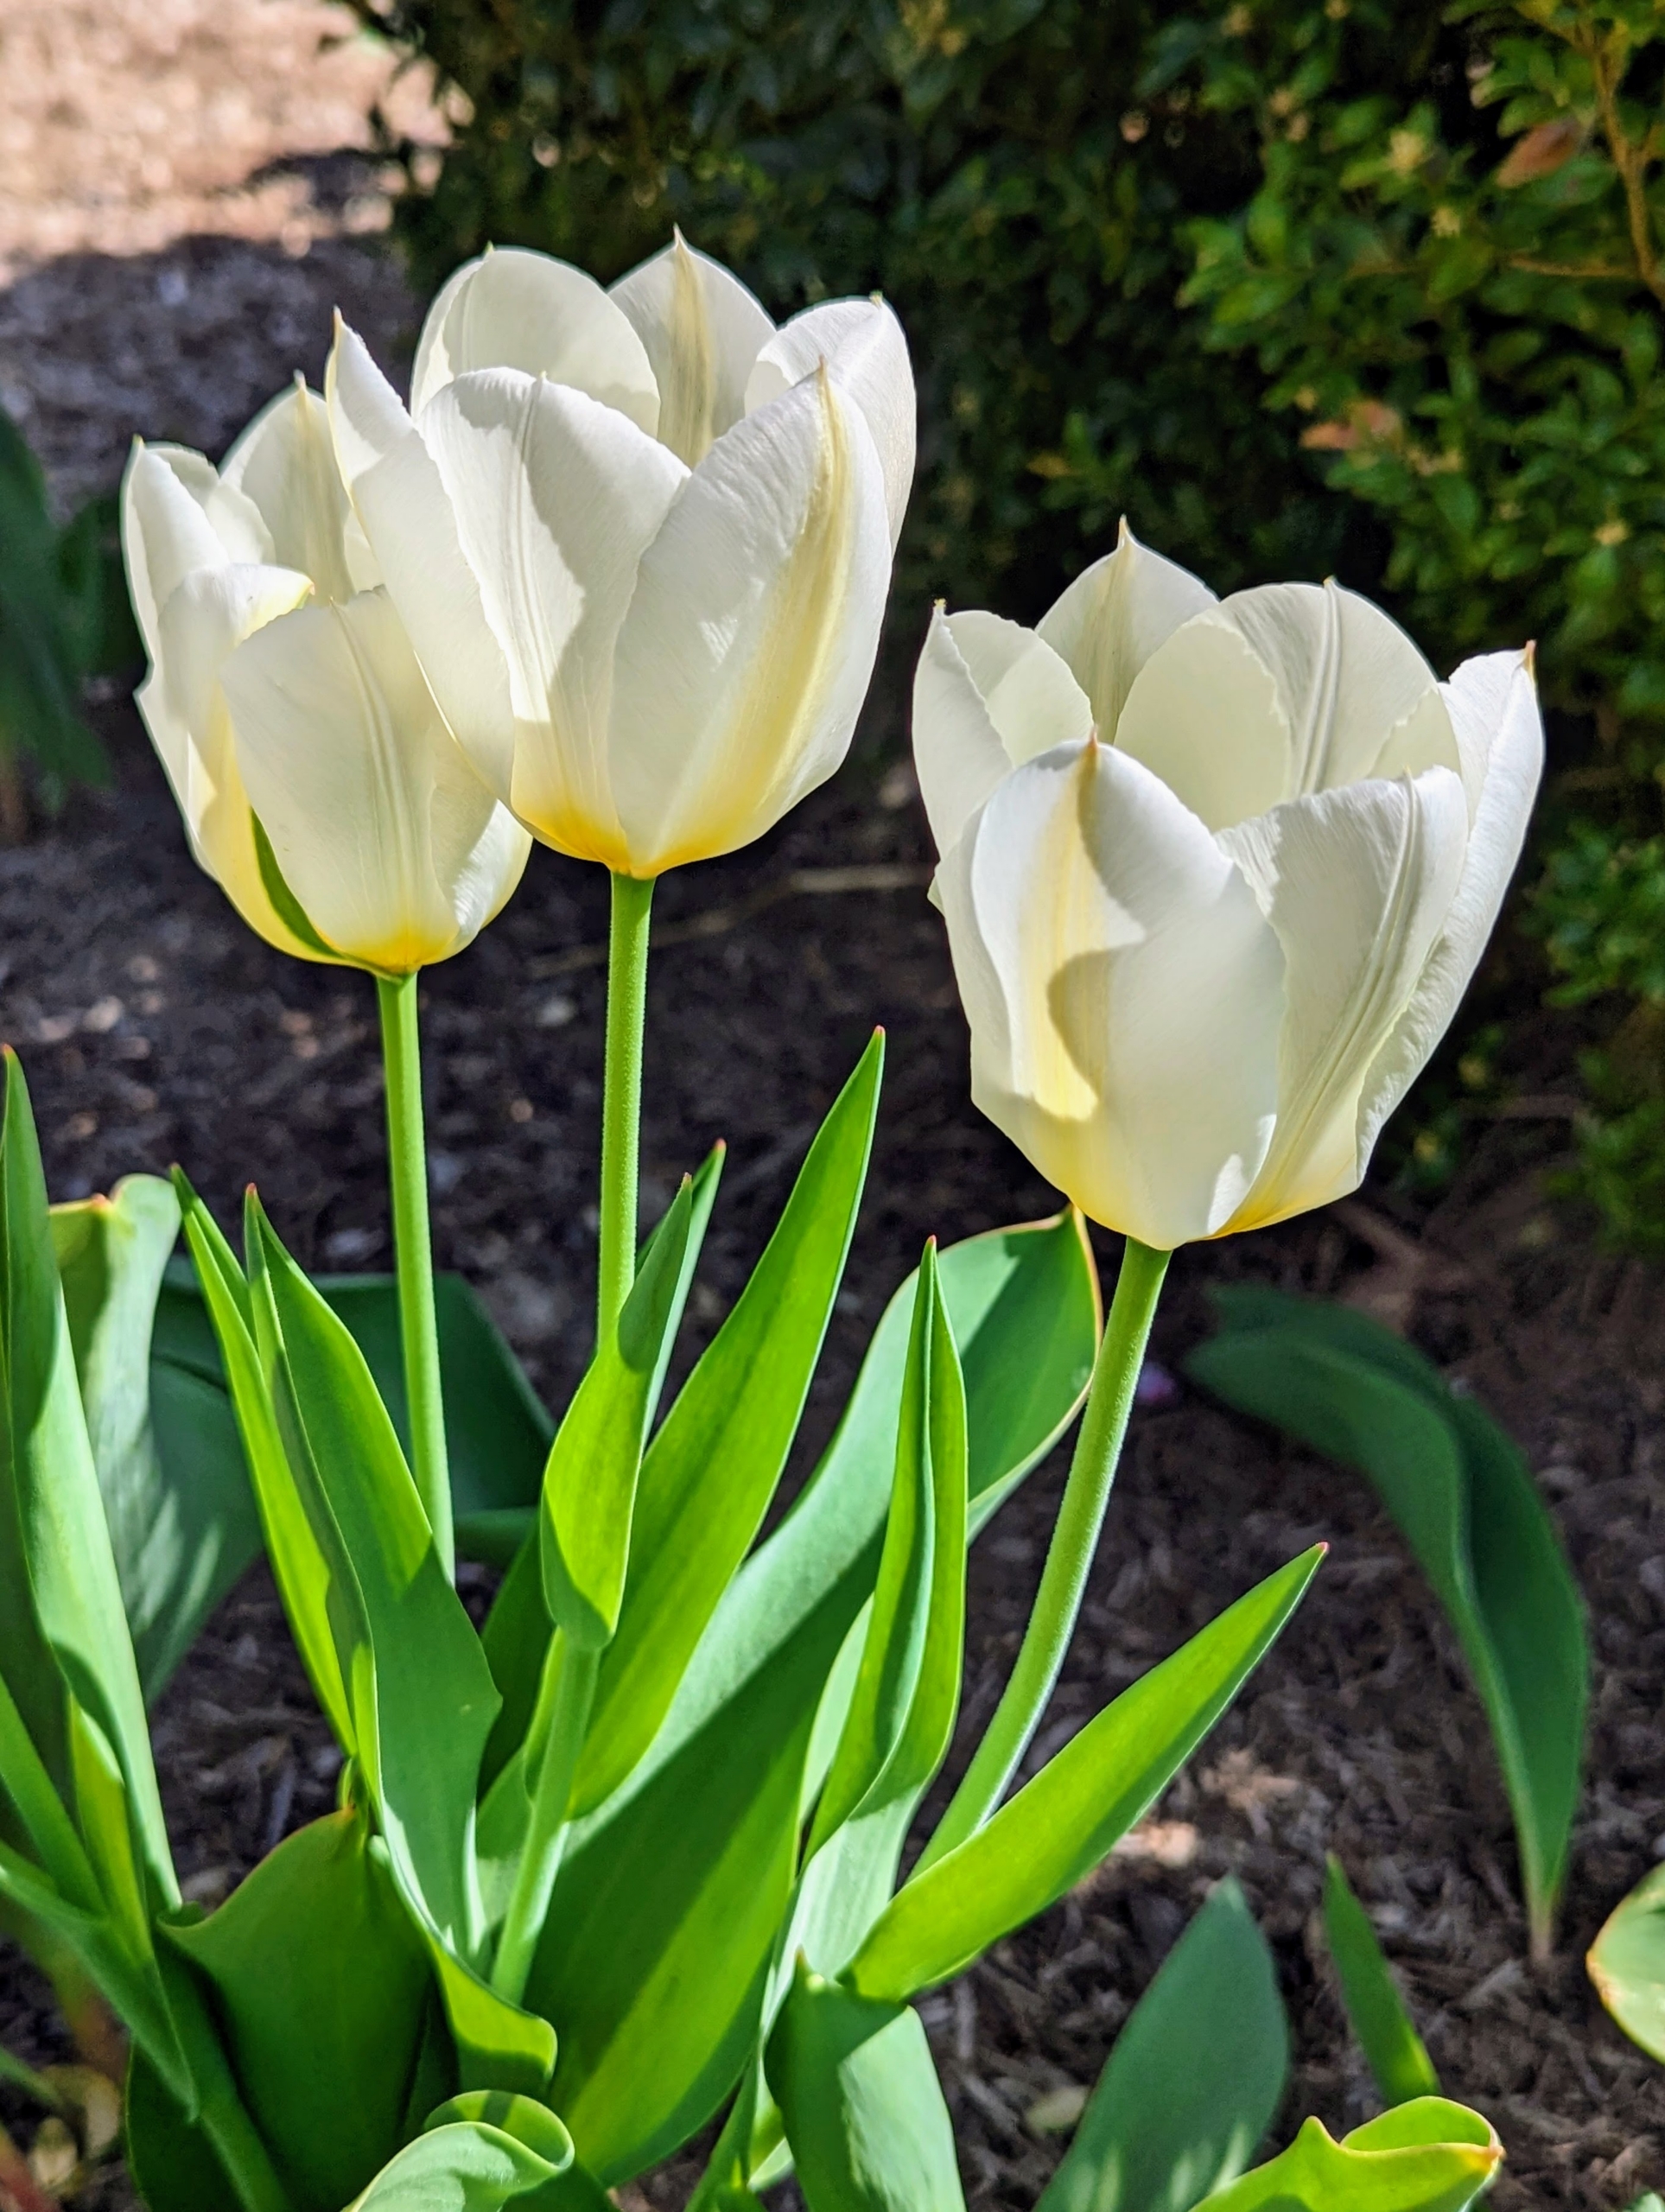
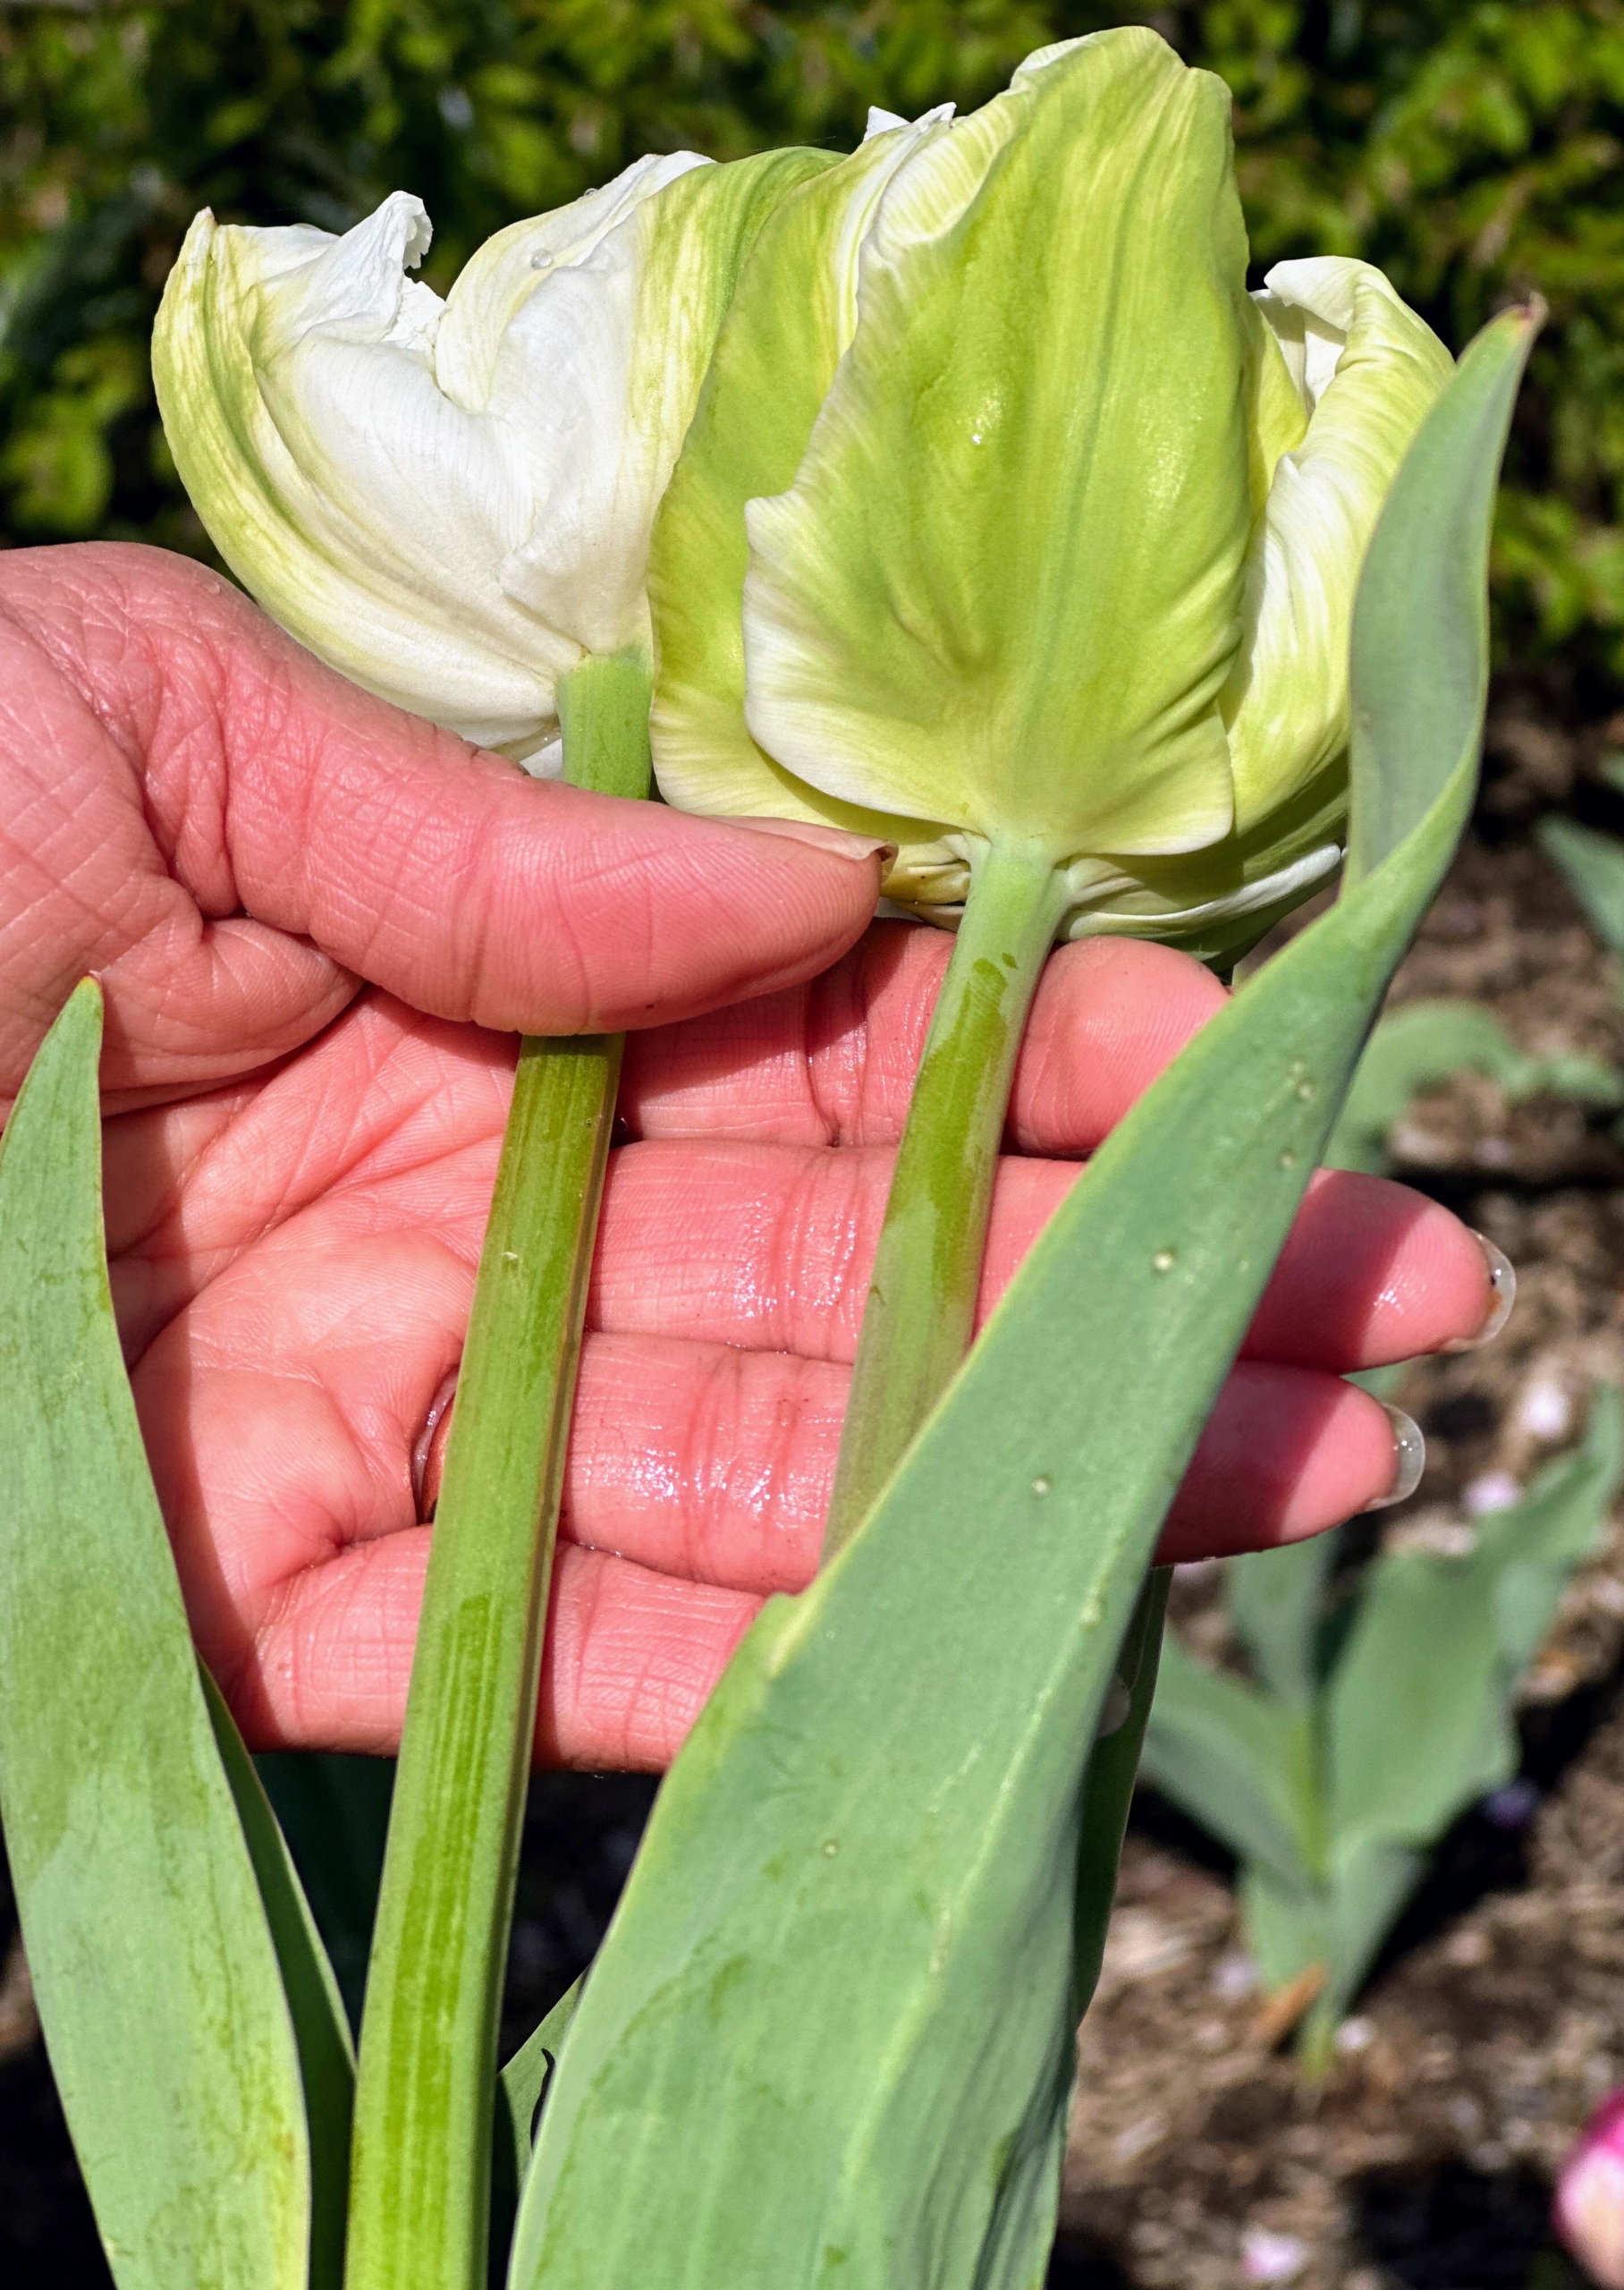
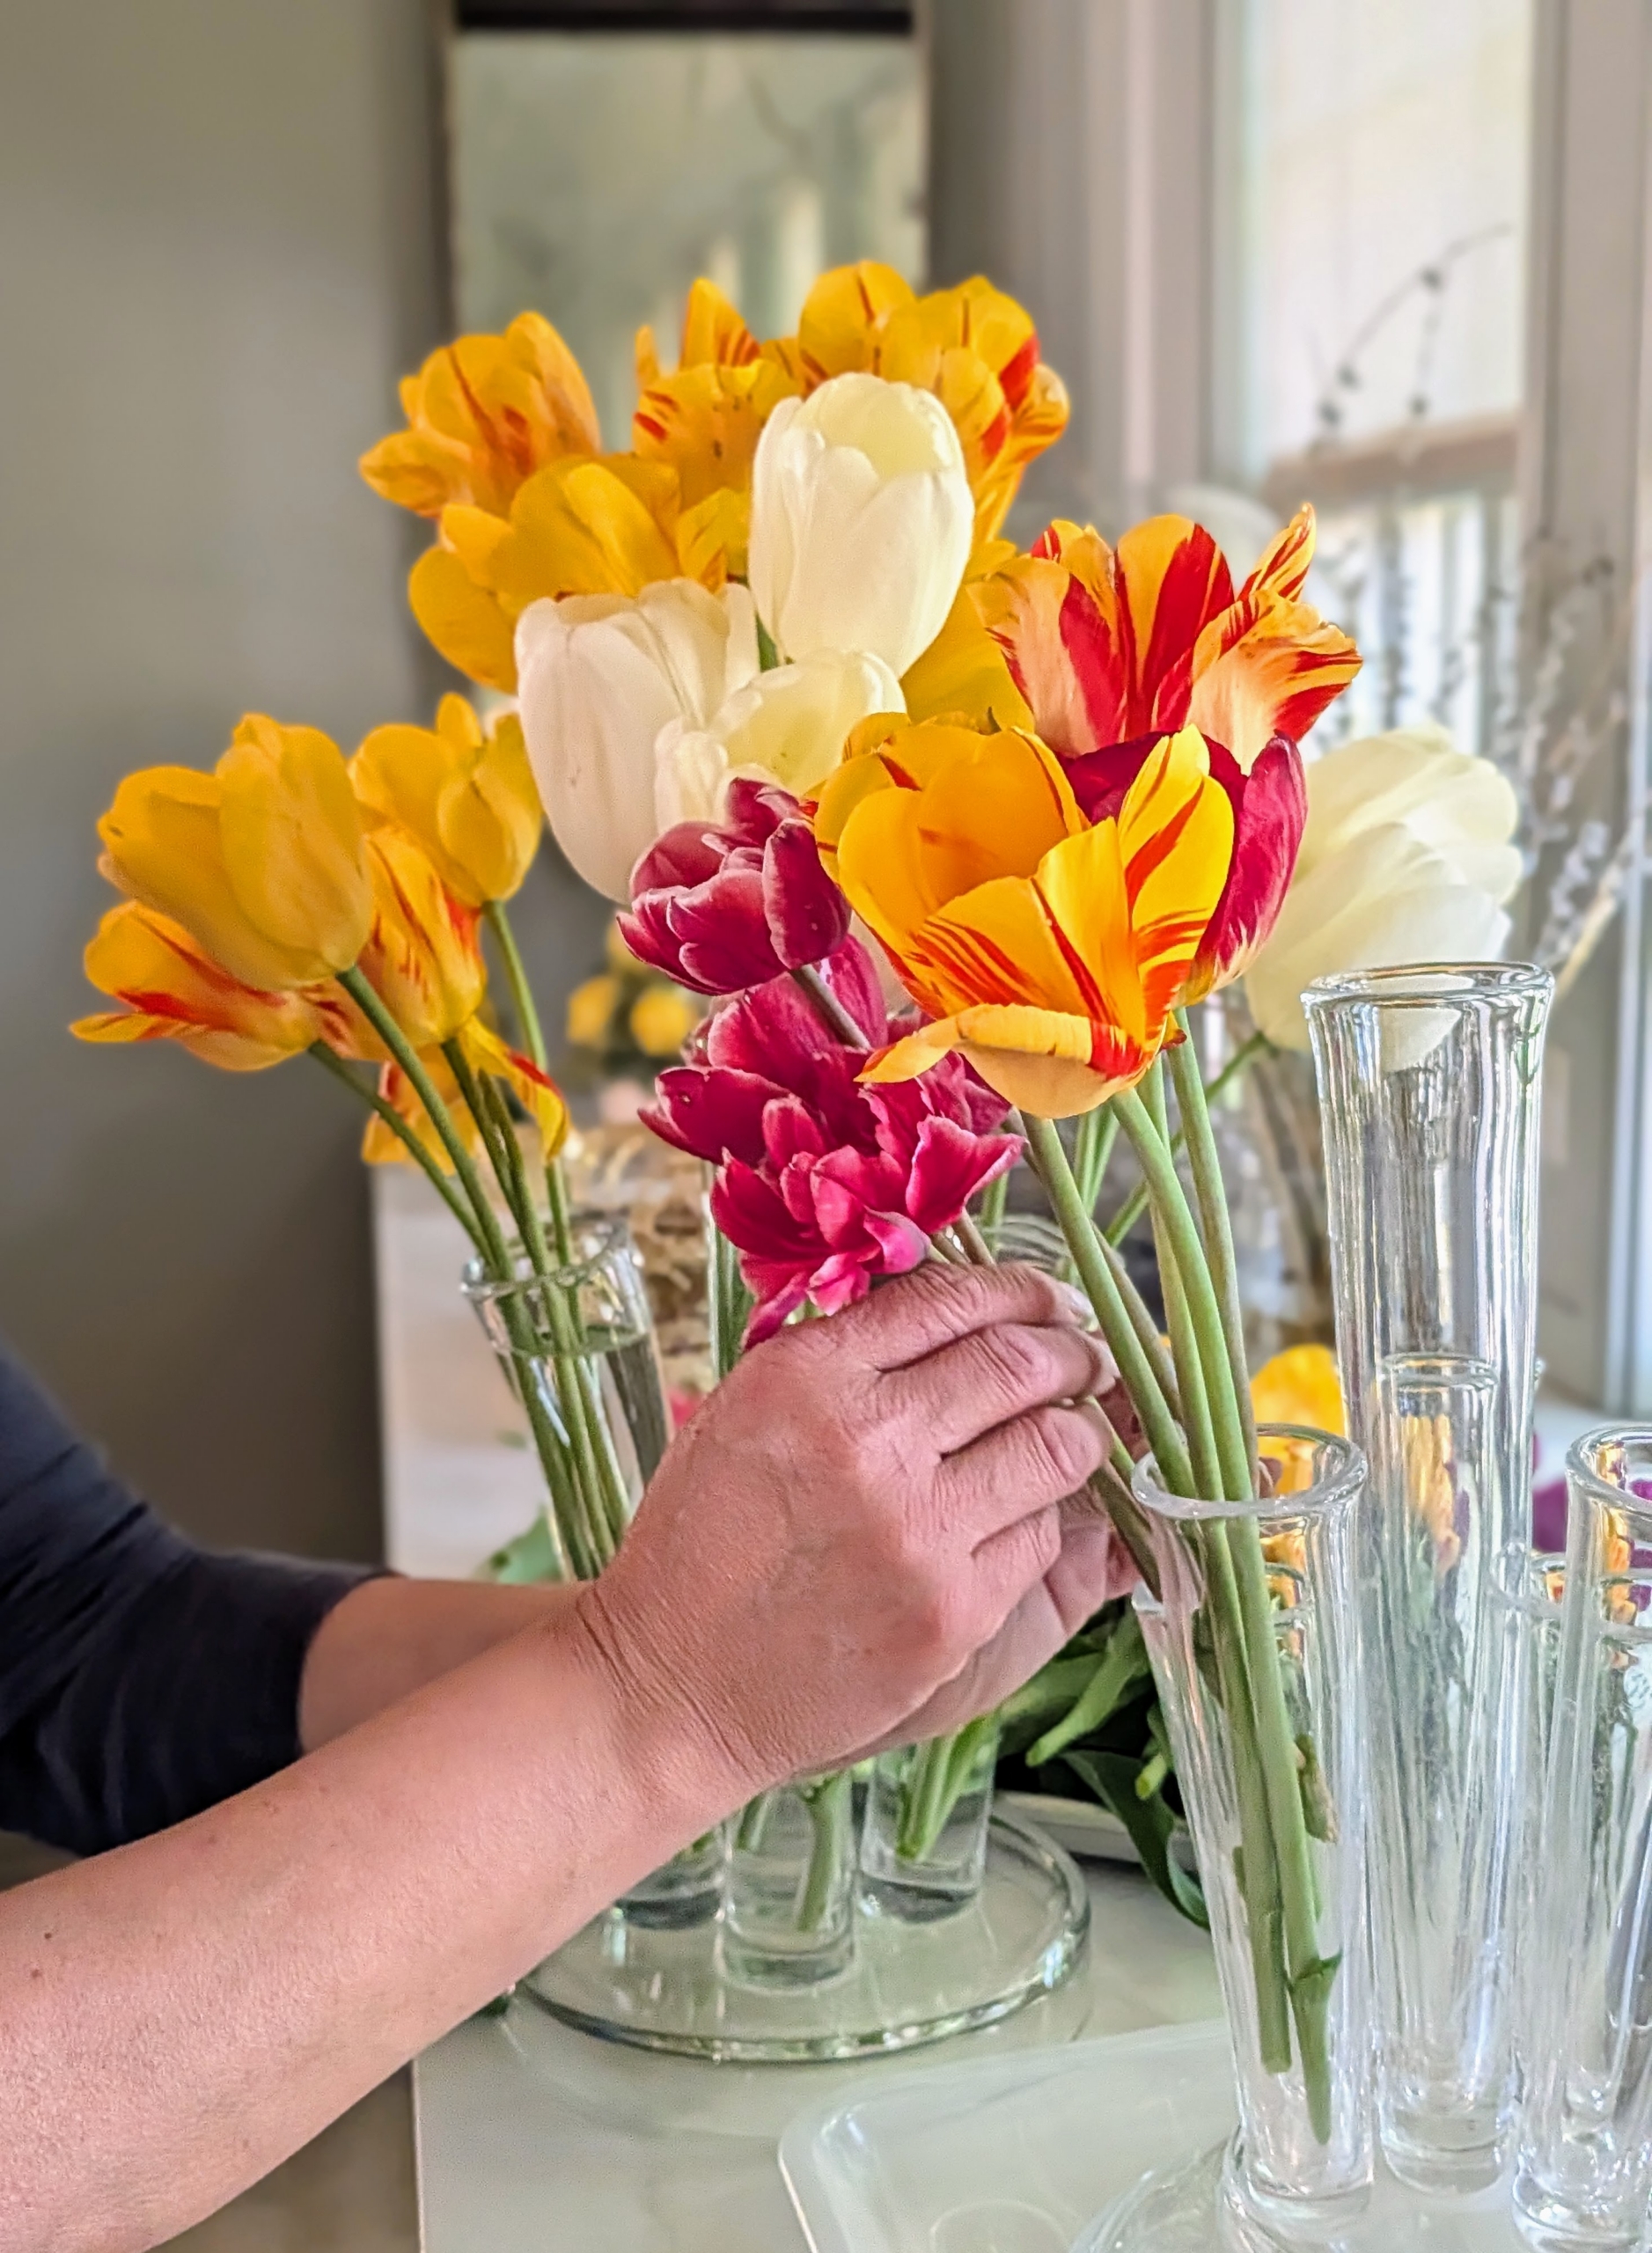
- Elvira also picks some white tulips.
-
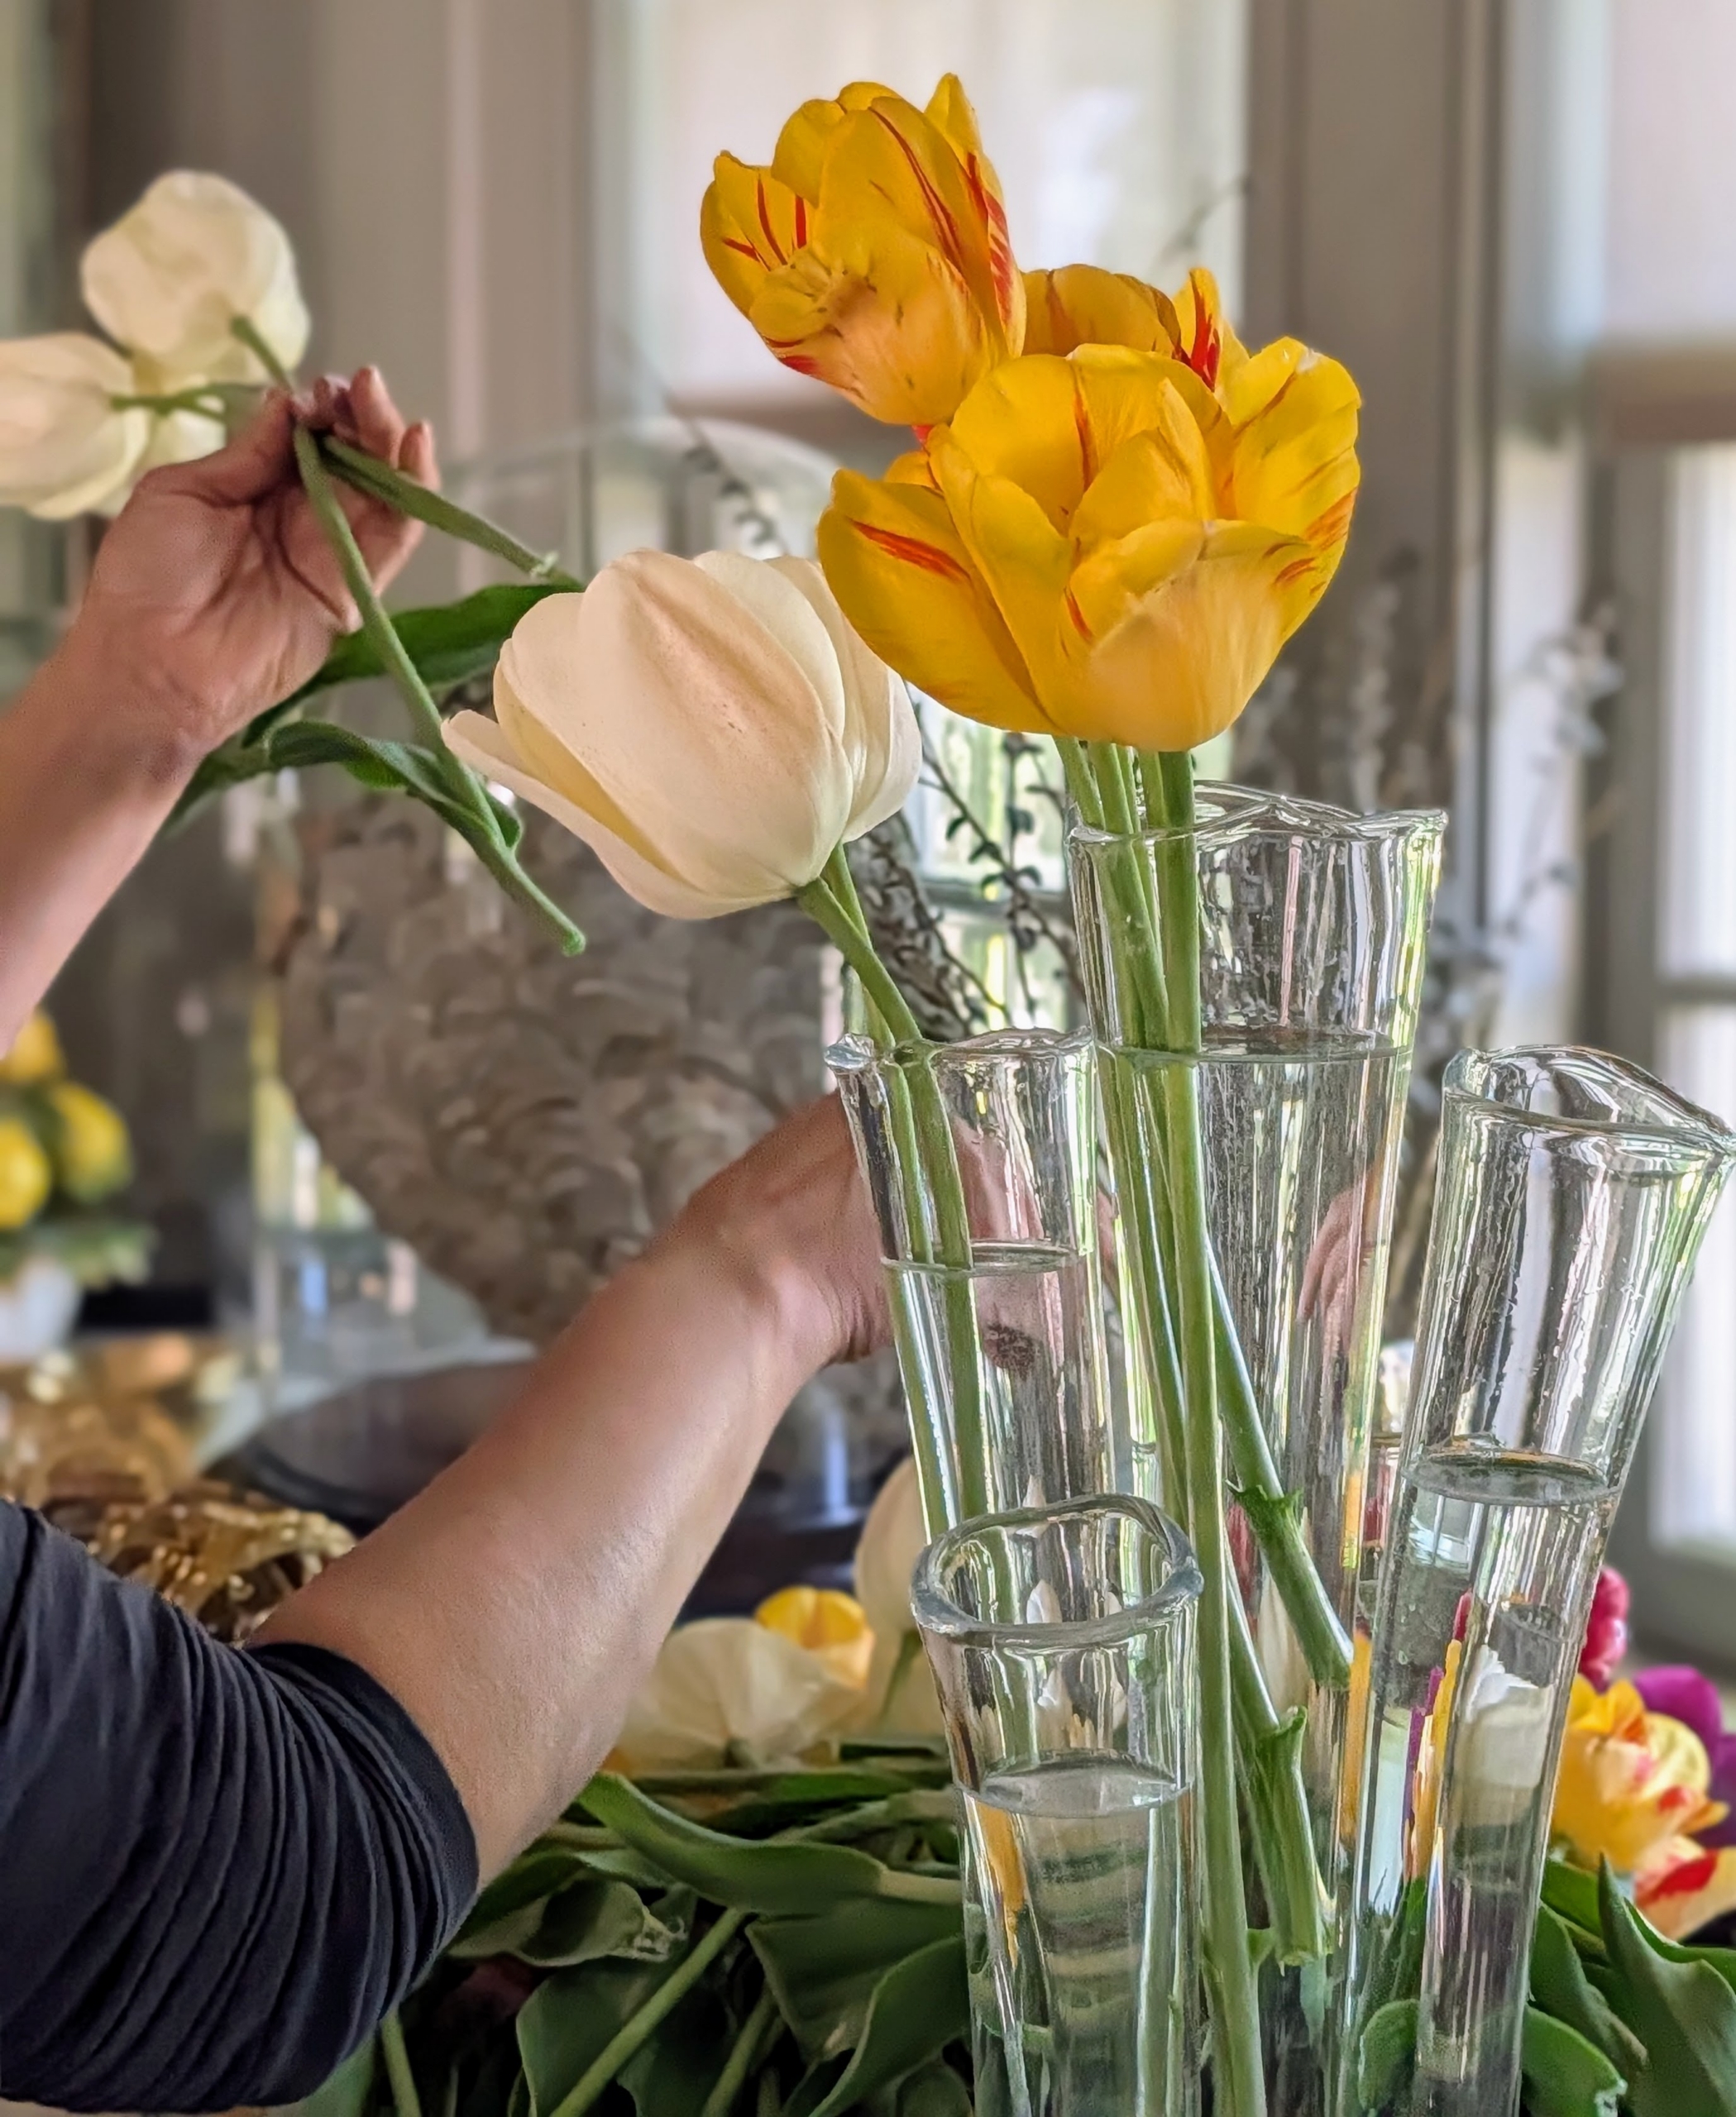
- As soon as the flowers are brought in, vases are filled and arranging begins. I use cool, fresh water and only fill about two thirds to avoid over-submerging. More water can be added later if needed.
-
- Putting tulips and other flowers in water soon after cutting prevents stems from sealing, which can slow water uptake and reduce freshness.
-
- I like to keep similar colors and varieties together, but tulips can be mixed depending on preference.
-
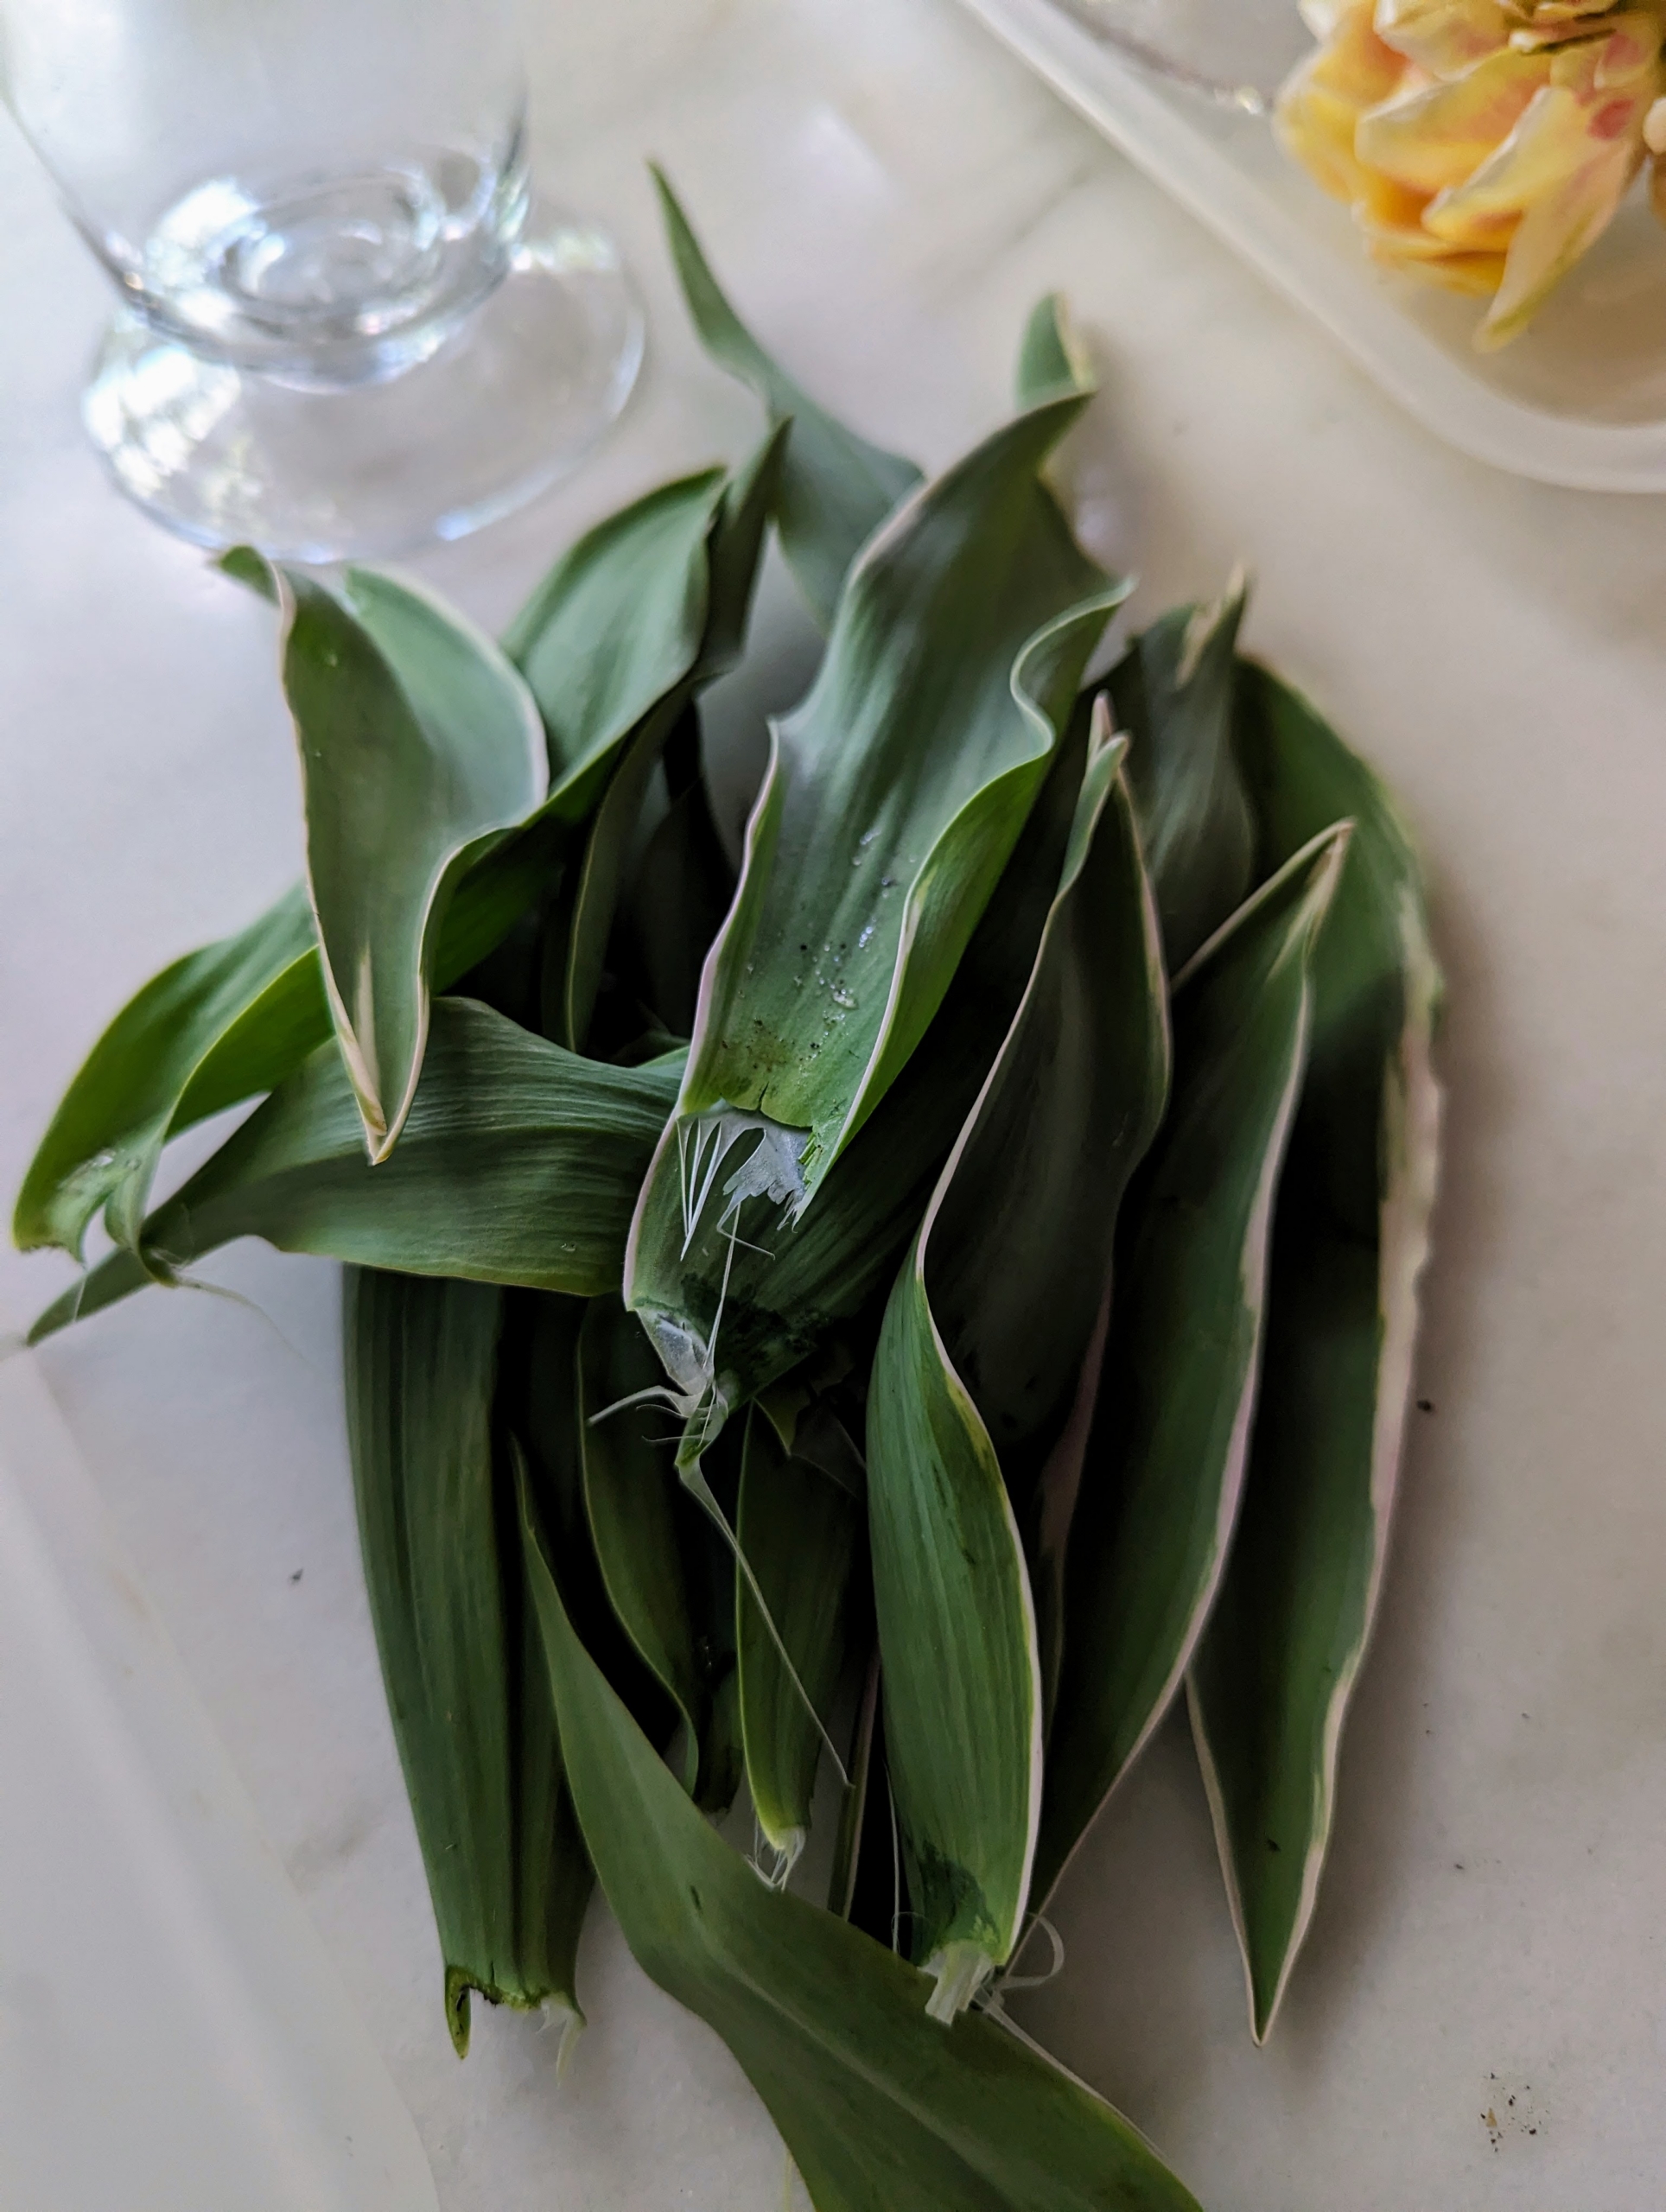
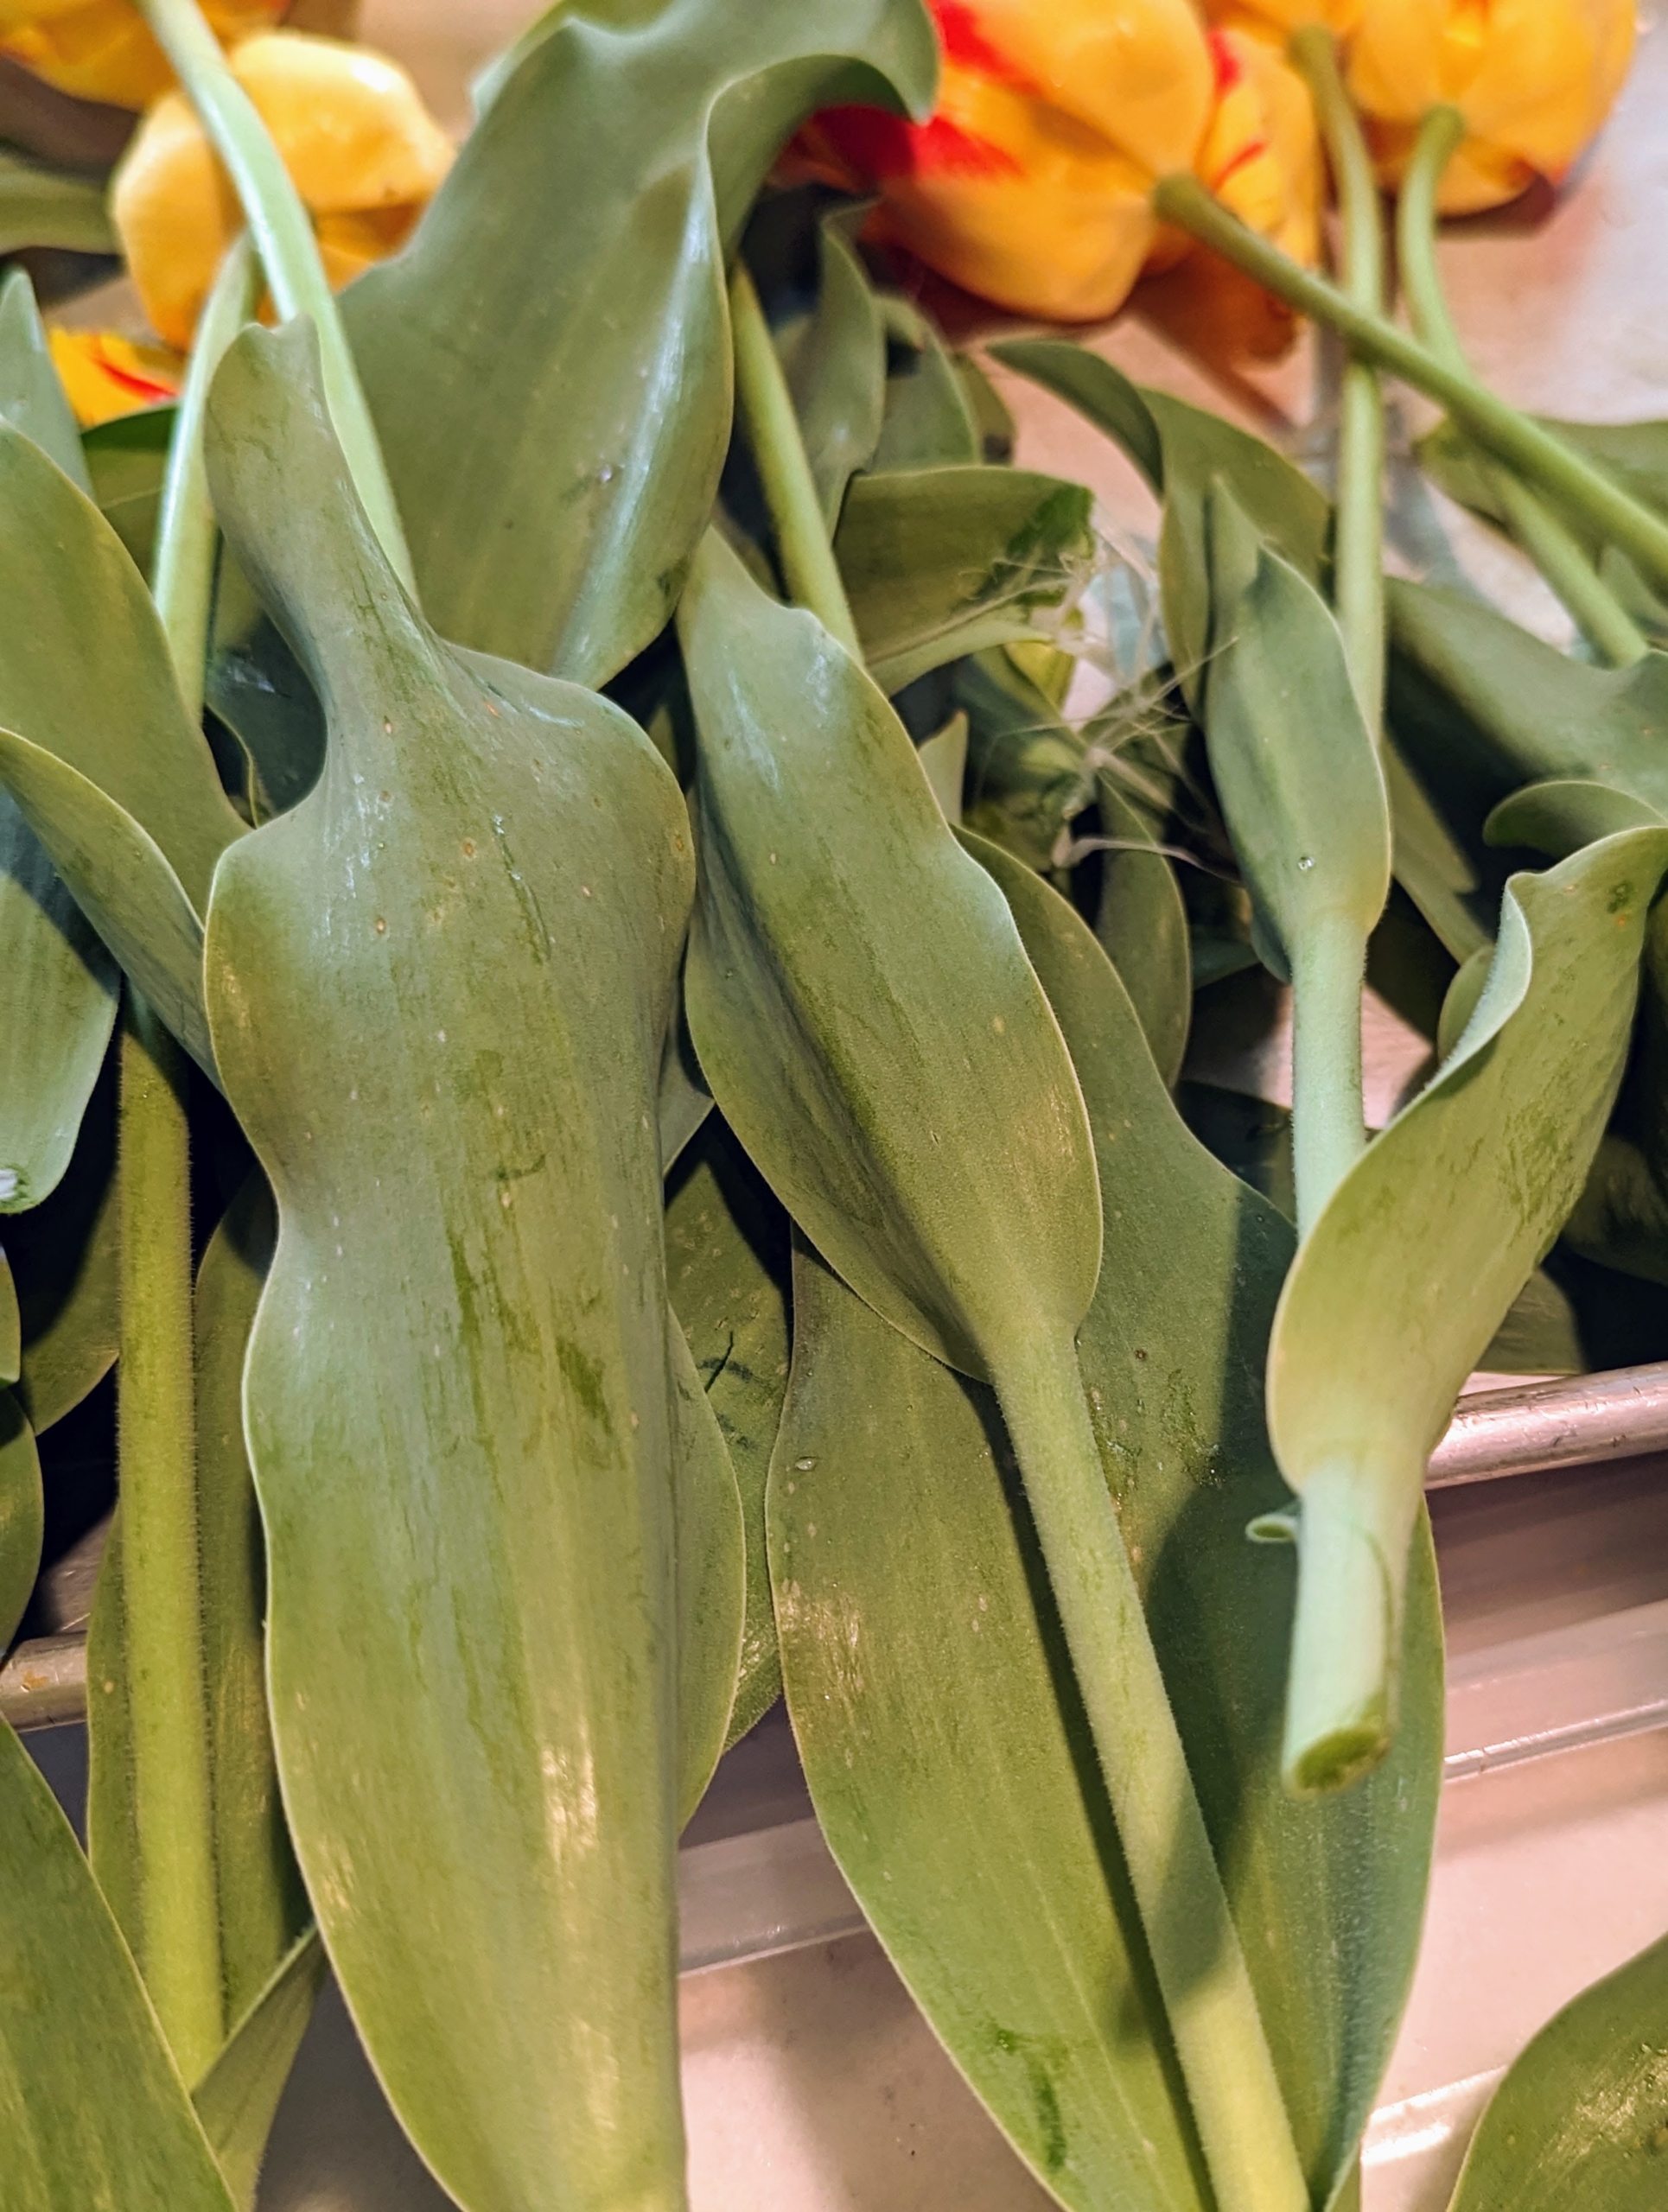
- Any leaves that would sit below the waterline should be removed to keep the flowers fresh and prevent bacteria from growing.
-
- To remove the leaves, gently pull them back and peel them away from the stem.
-
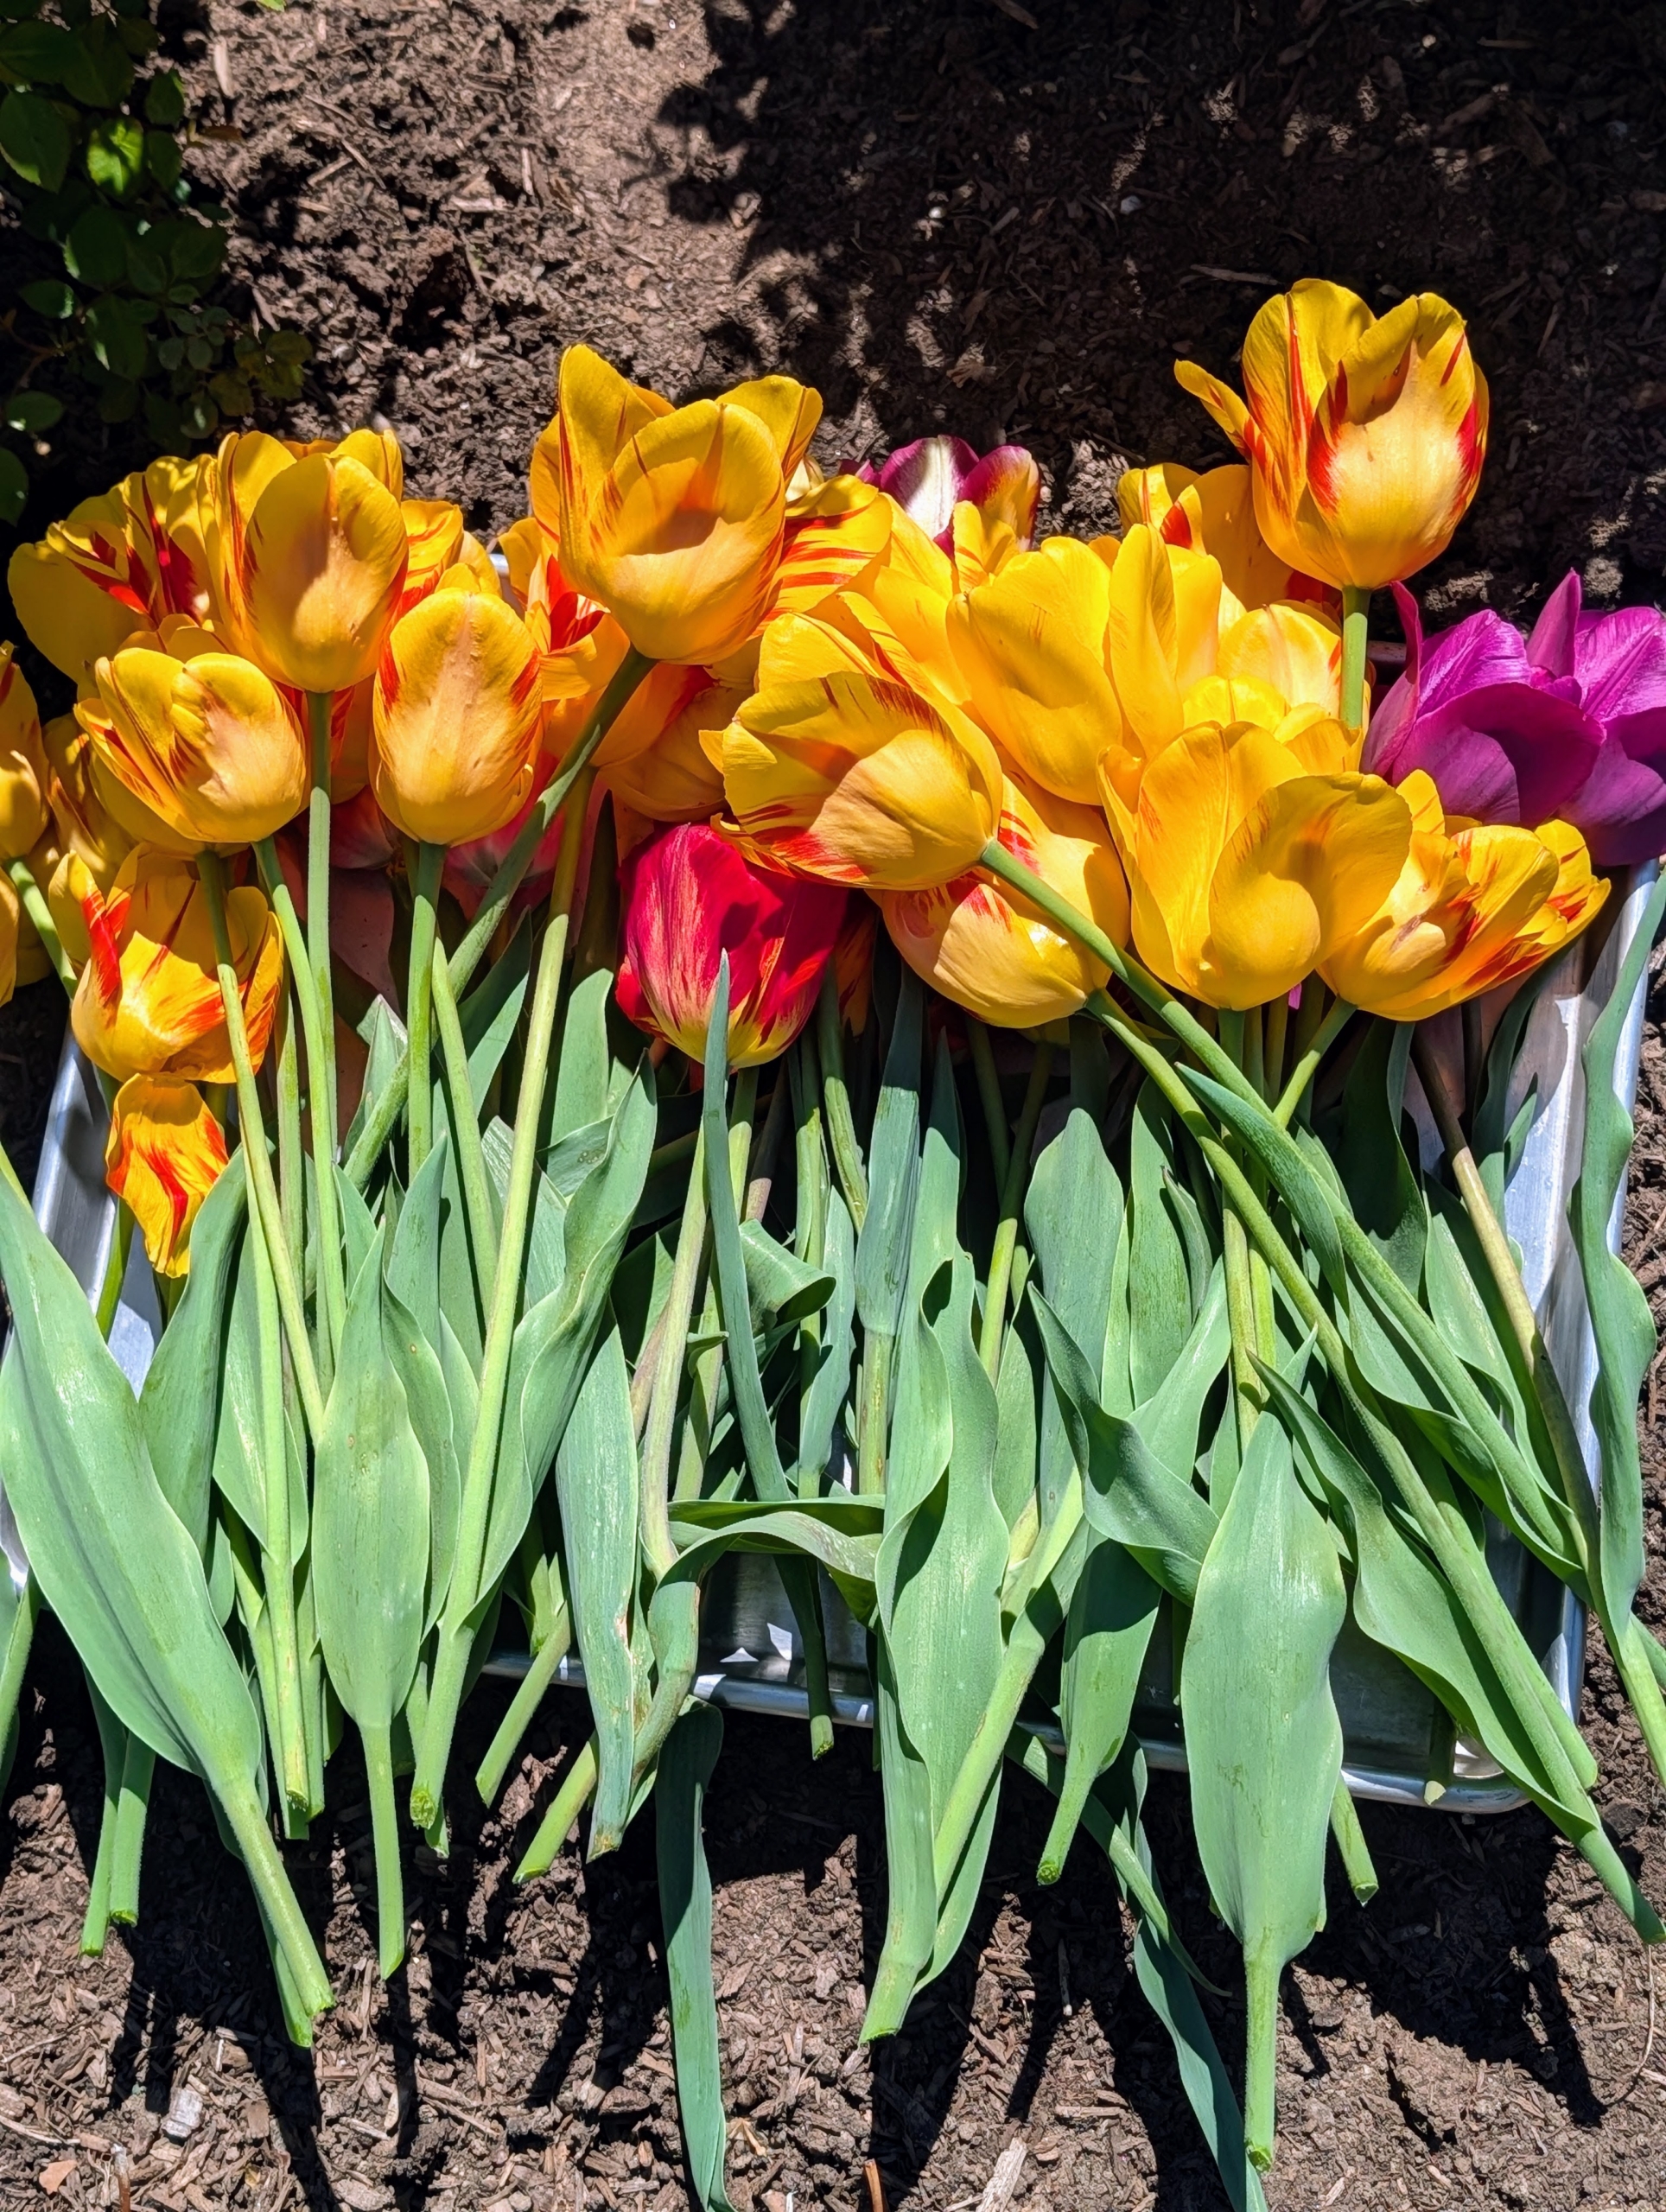
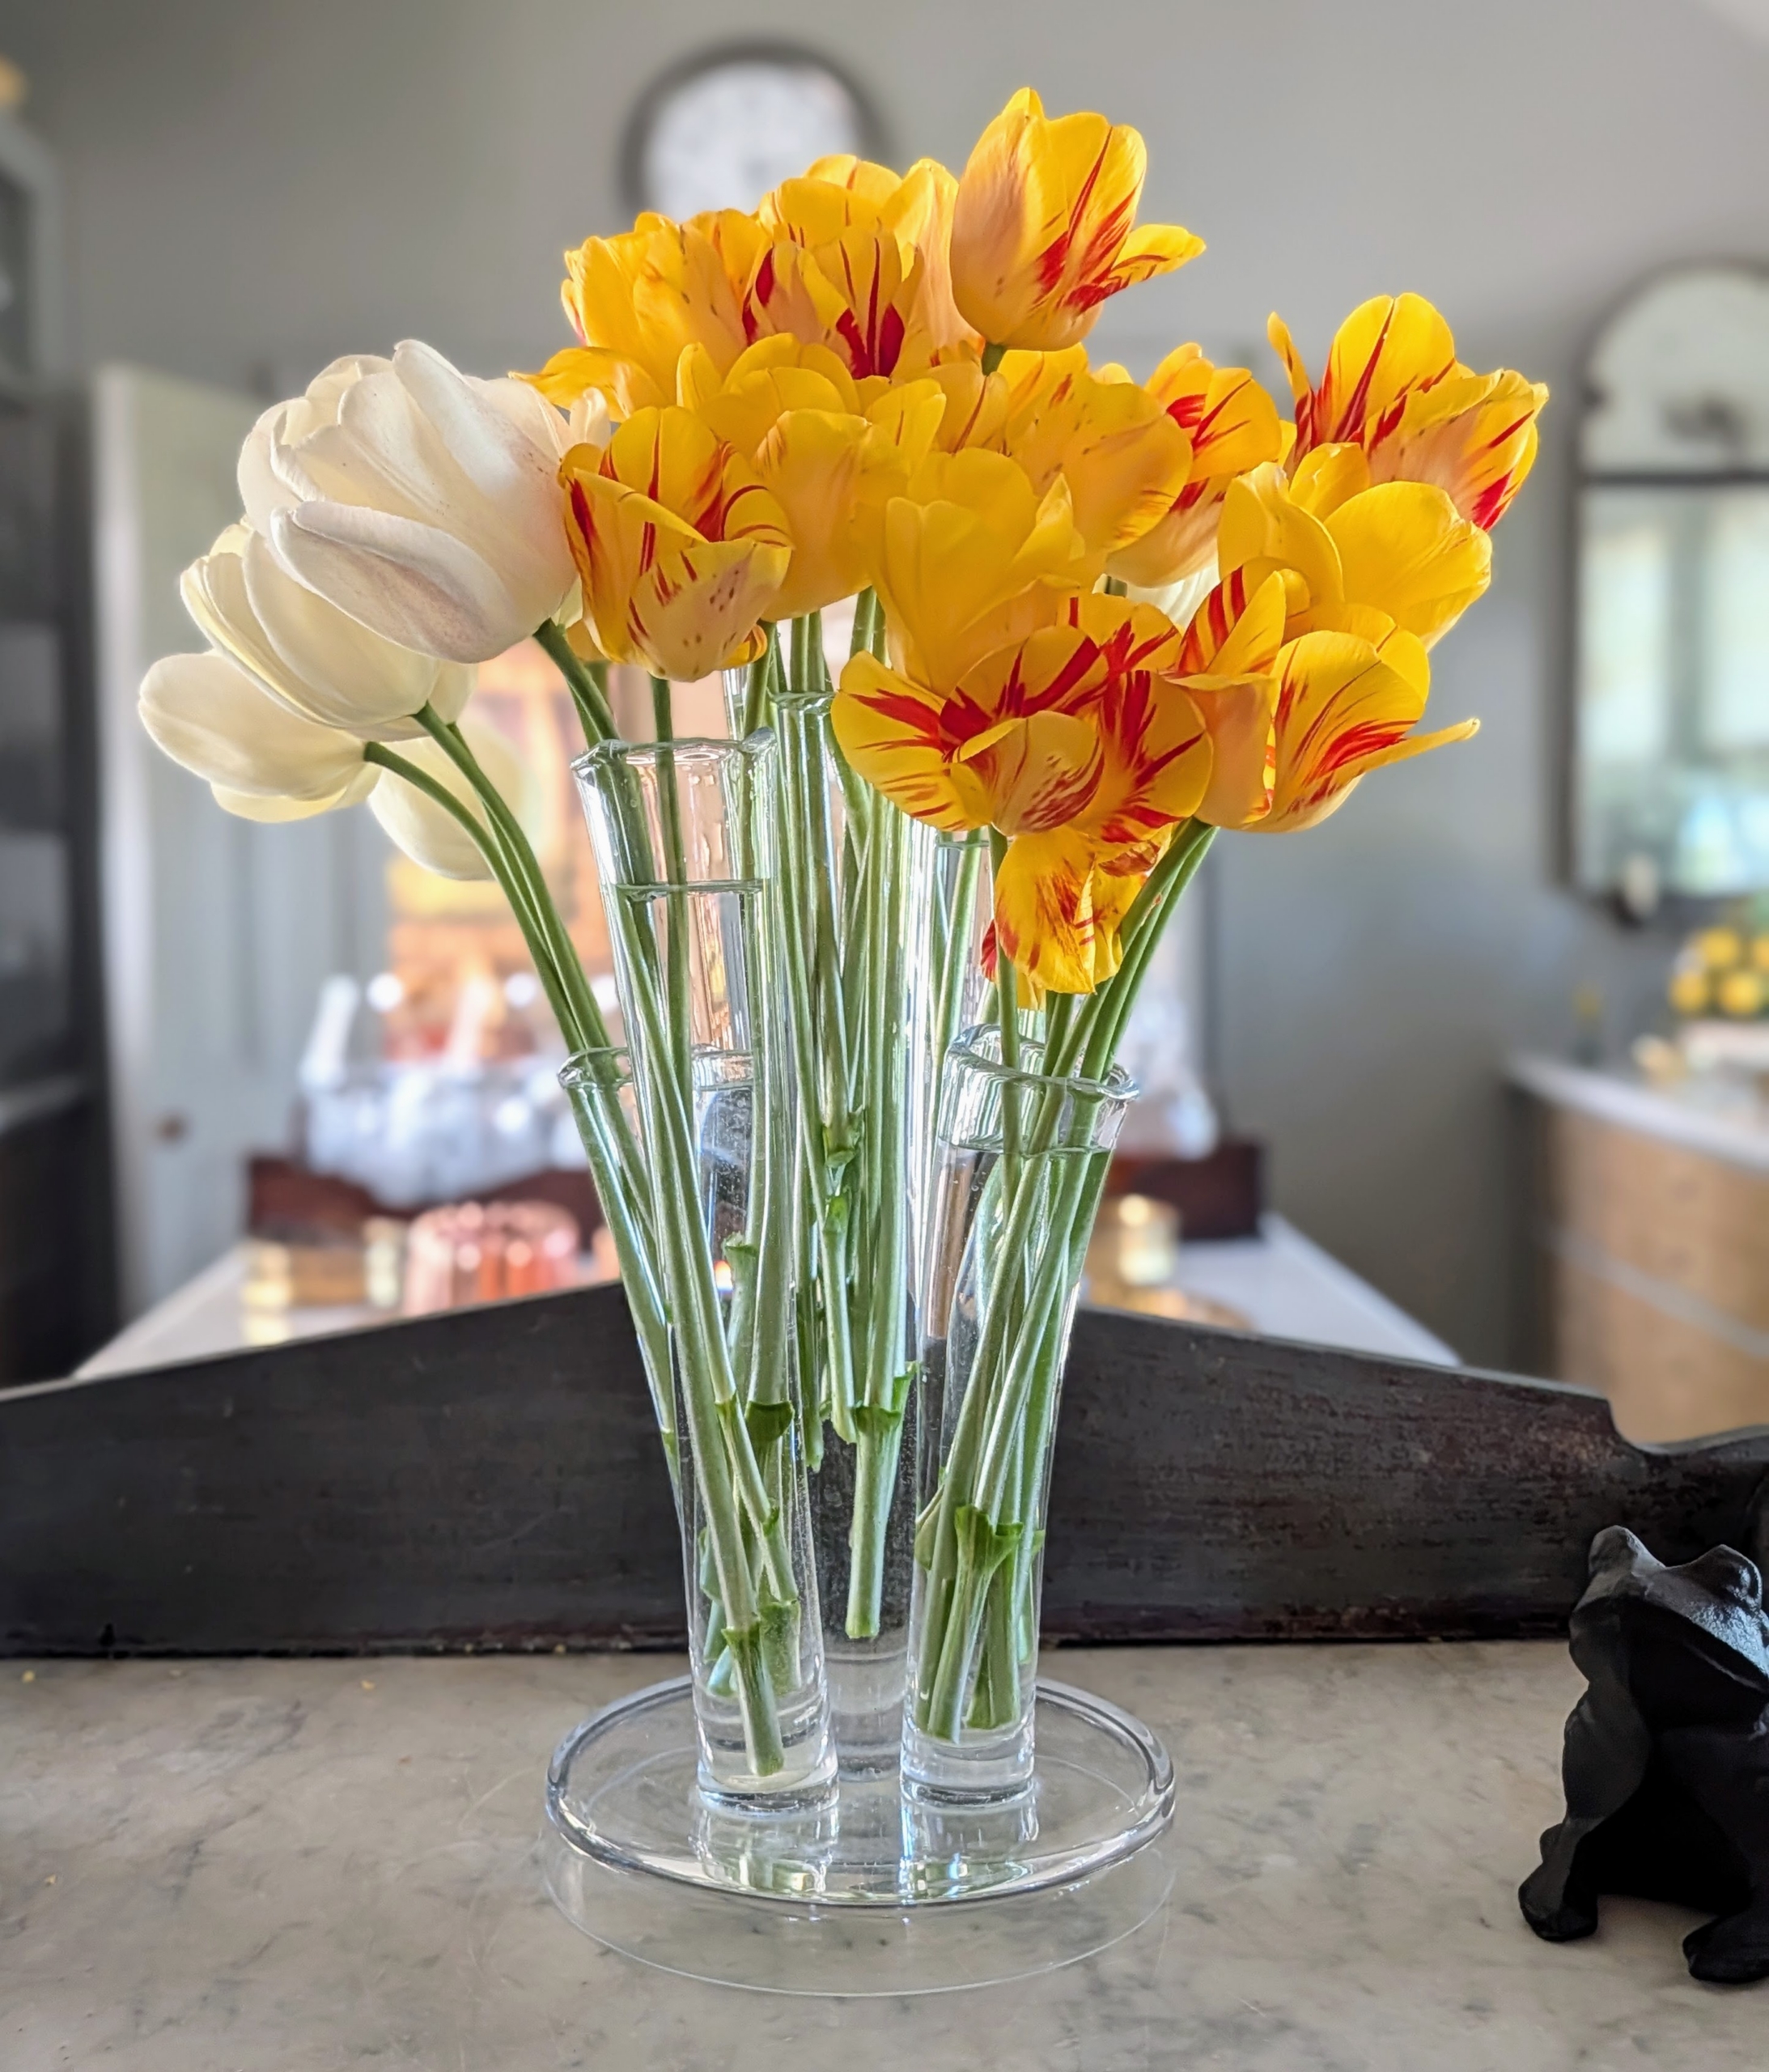
- These yellow tulips with bright red streaks are striking for cut arrangements.

-
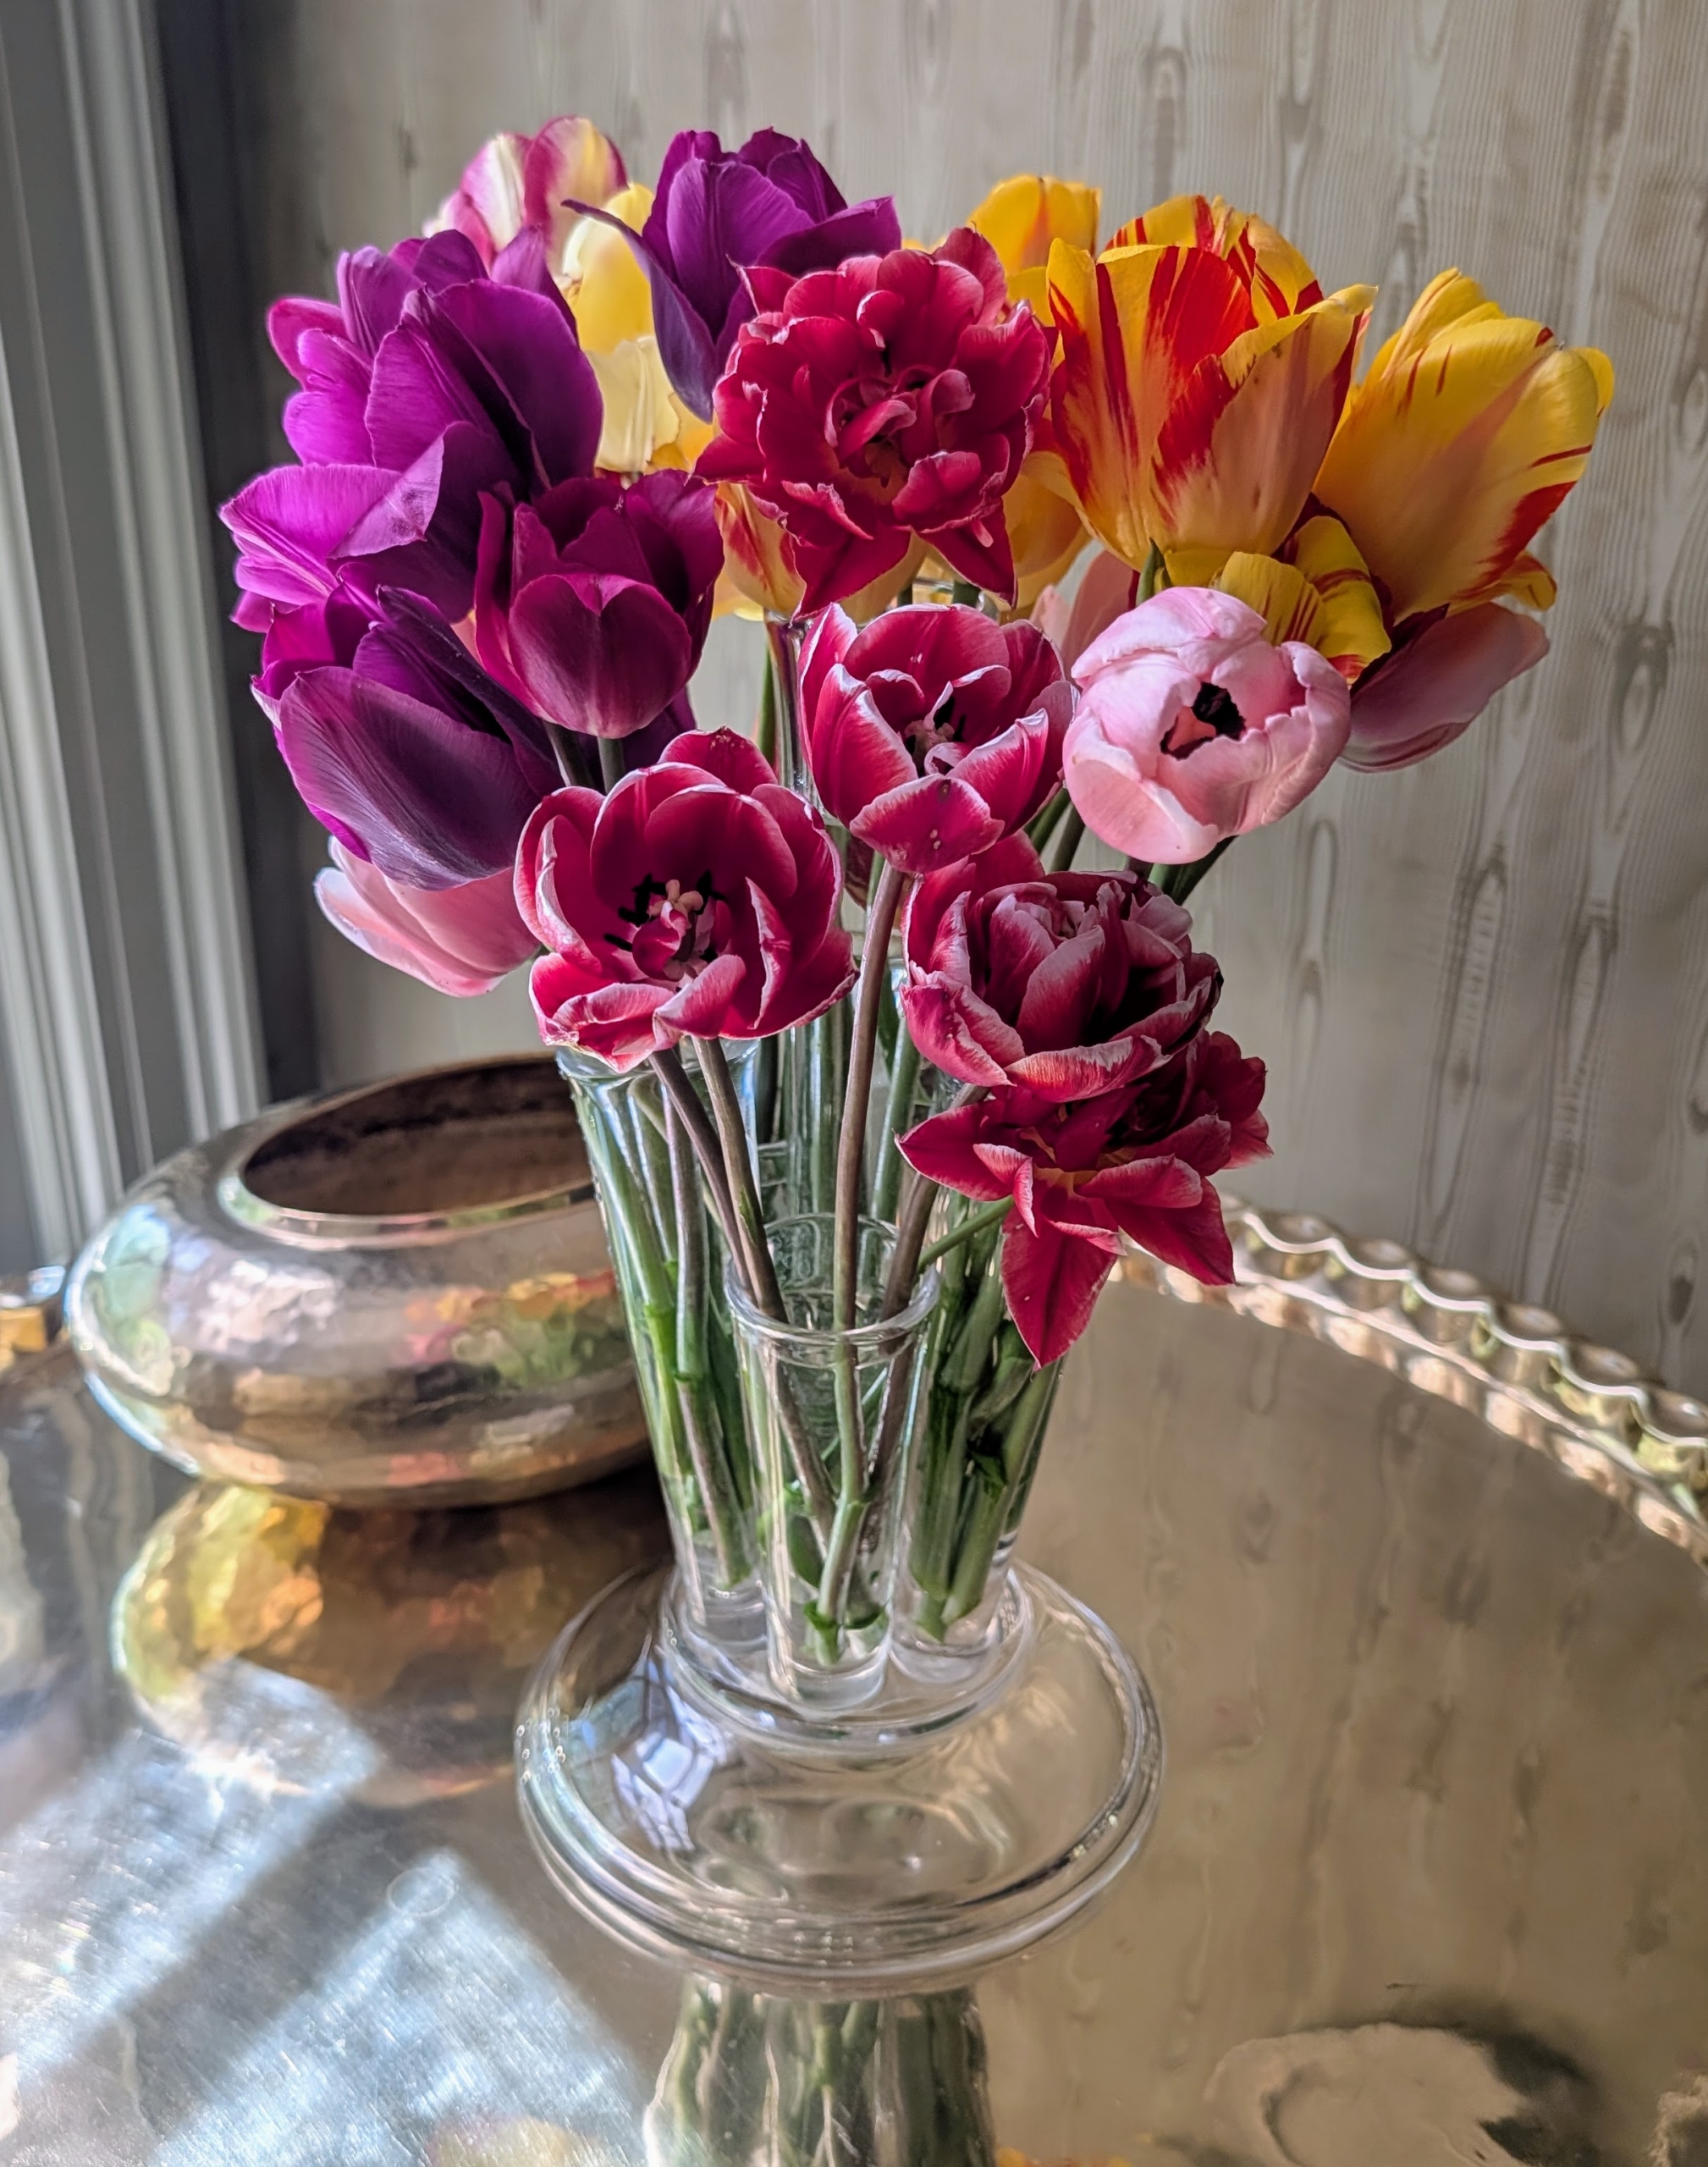
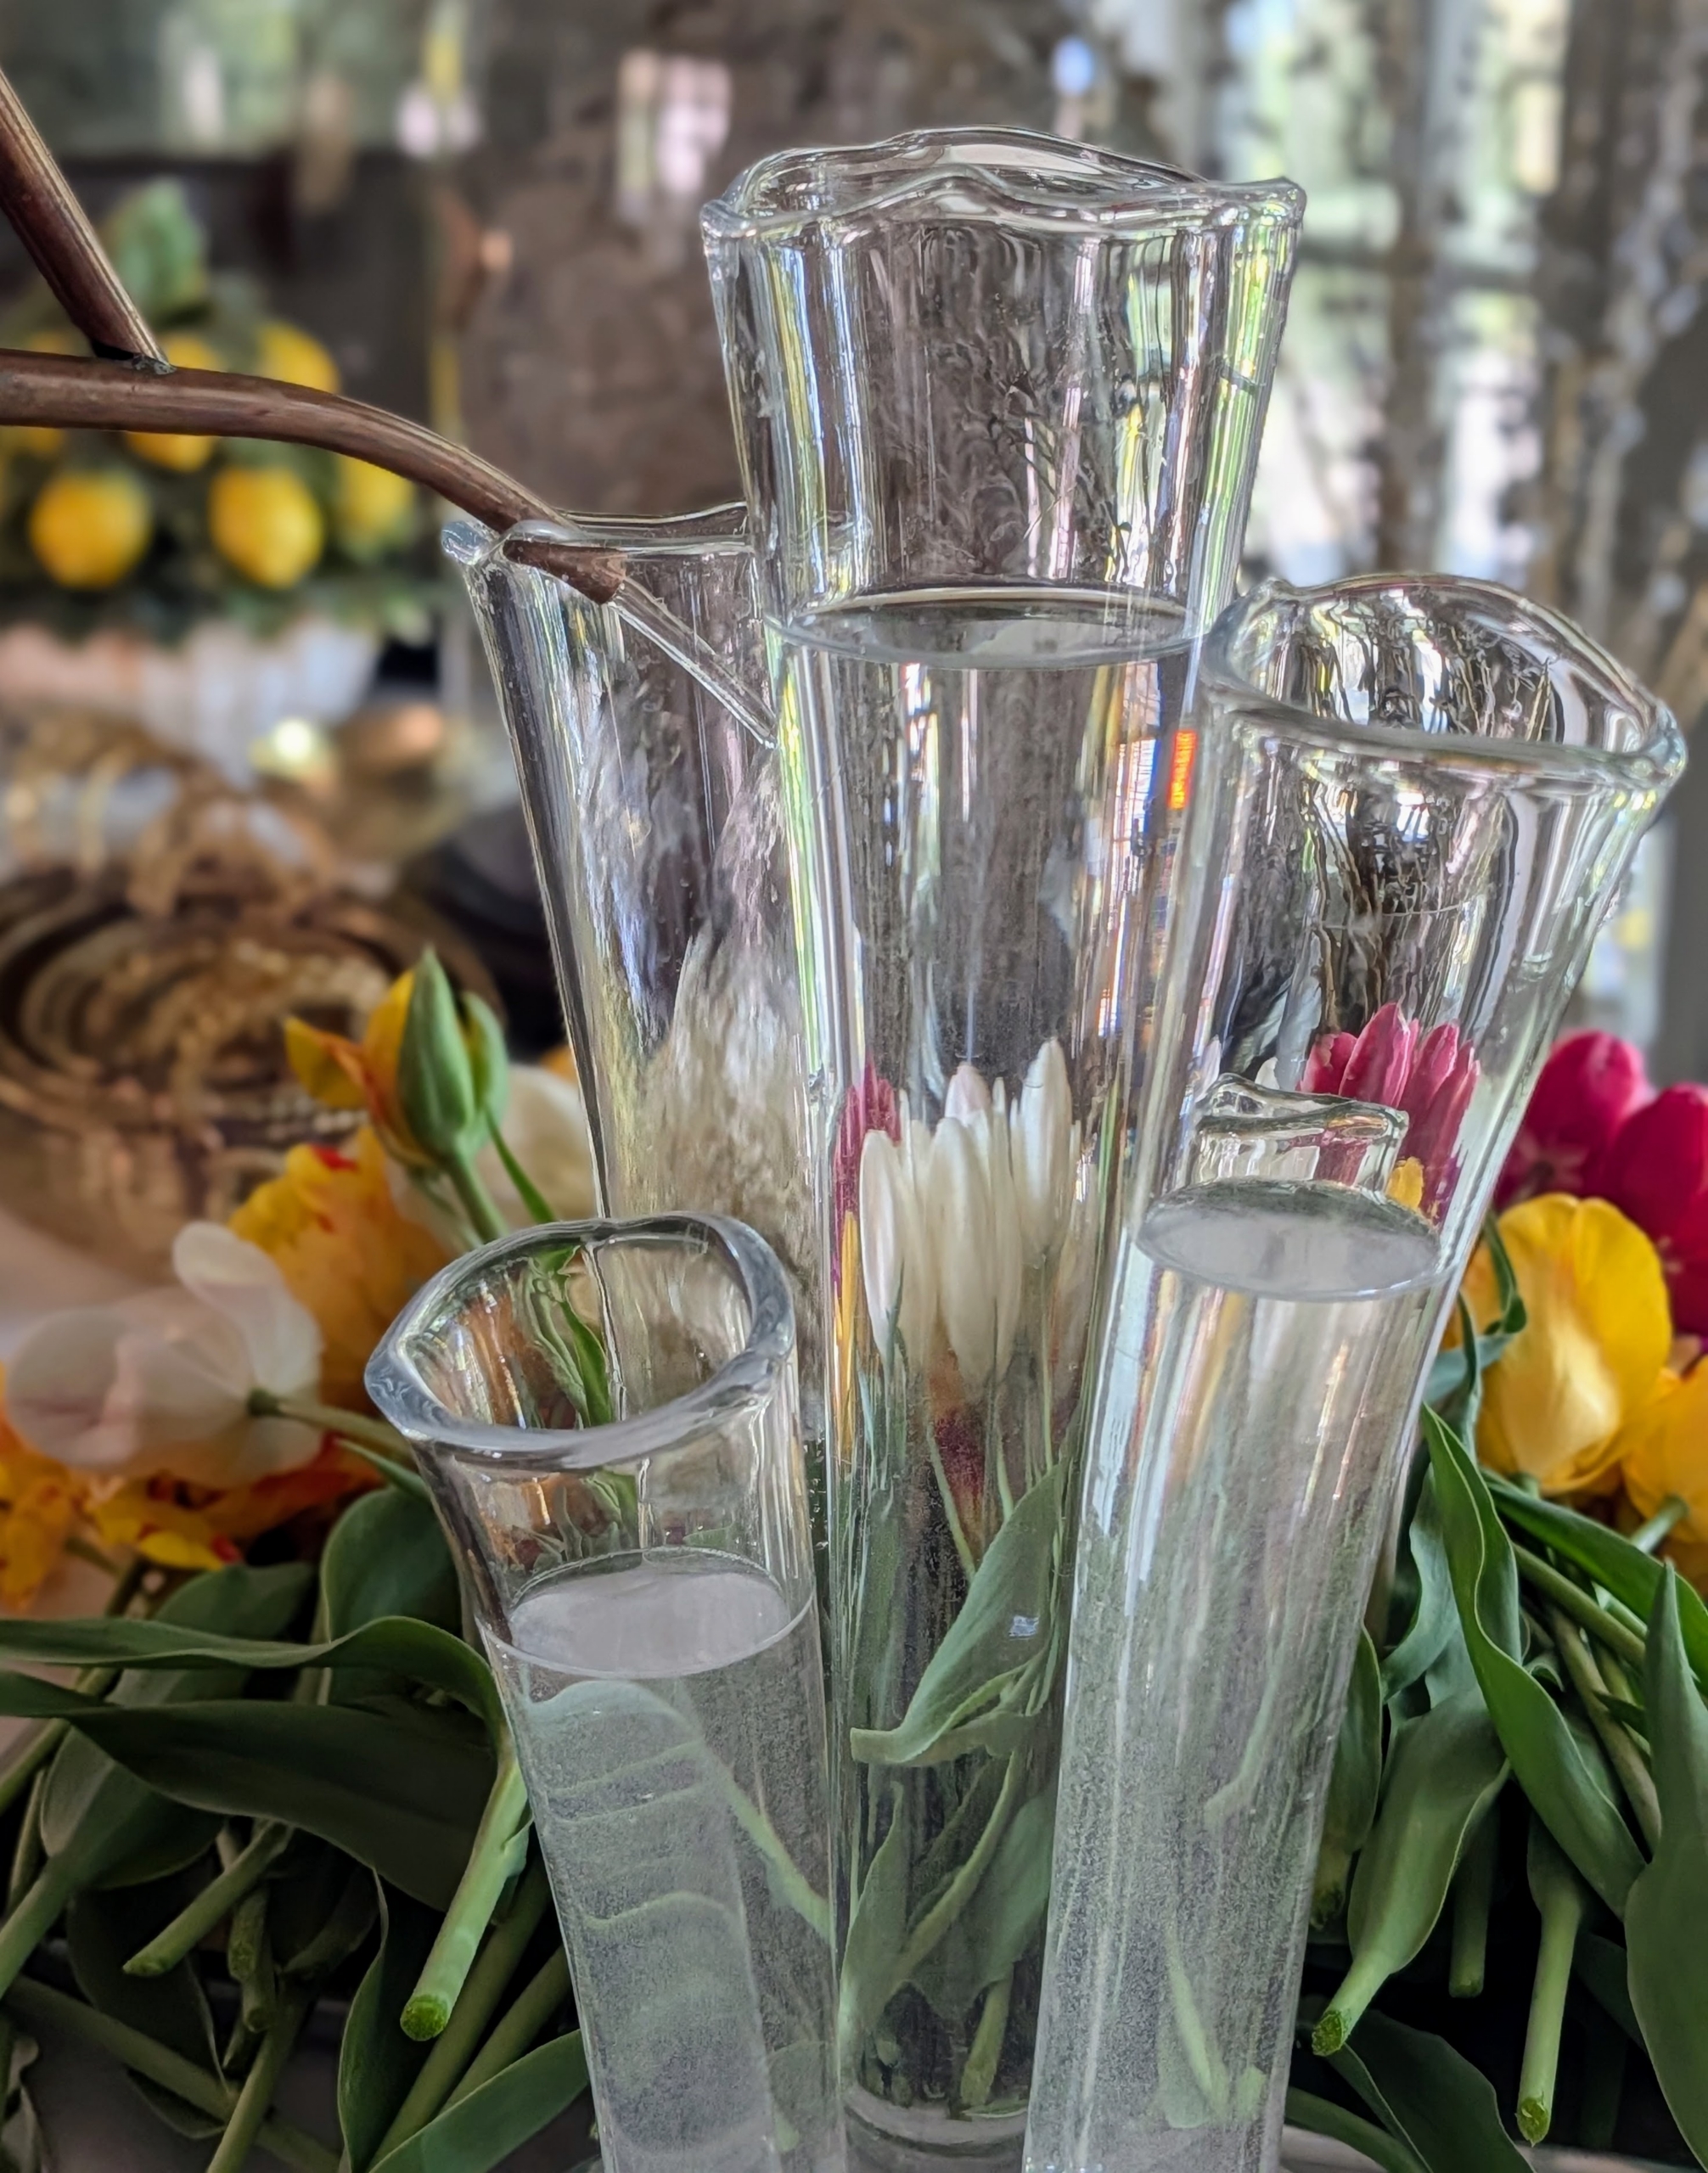
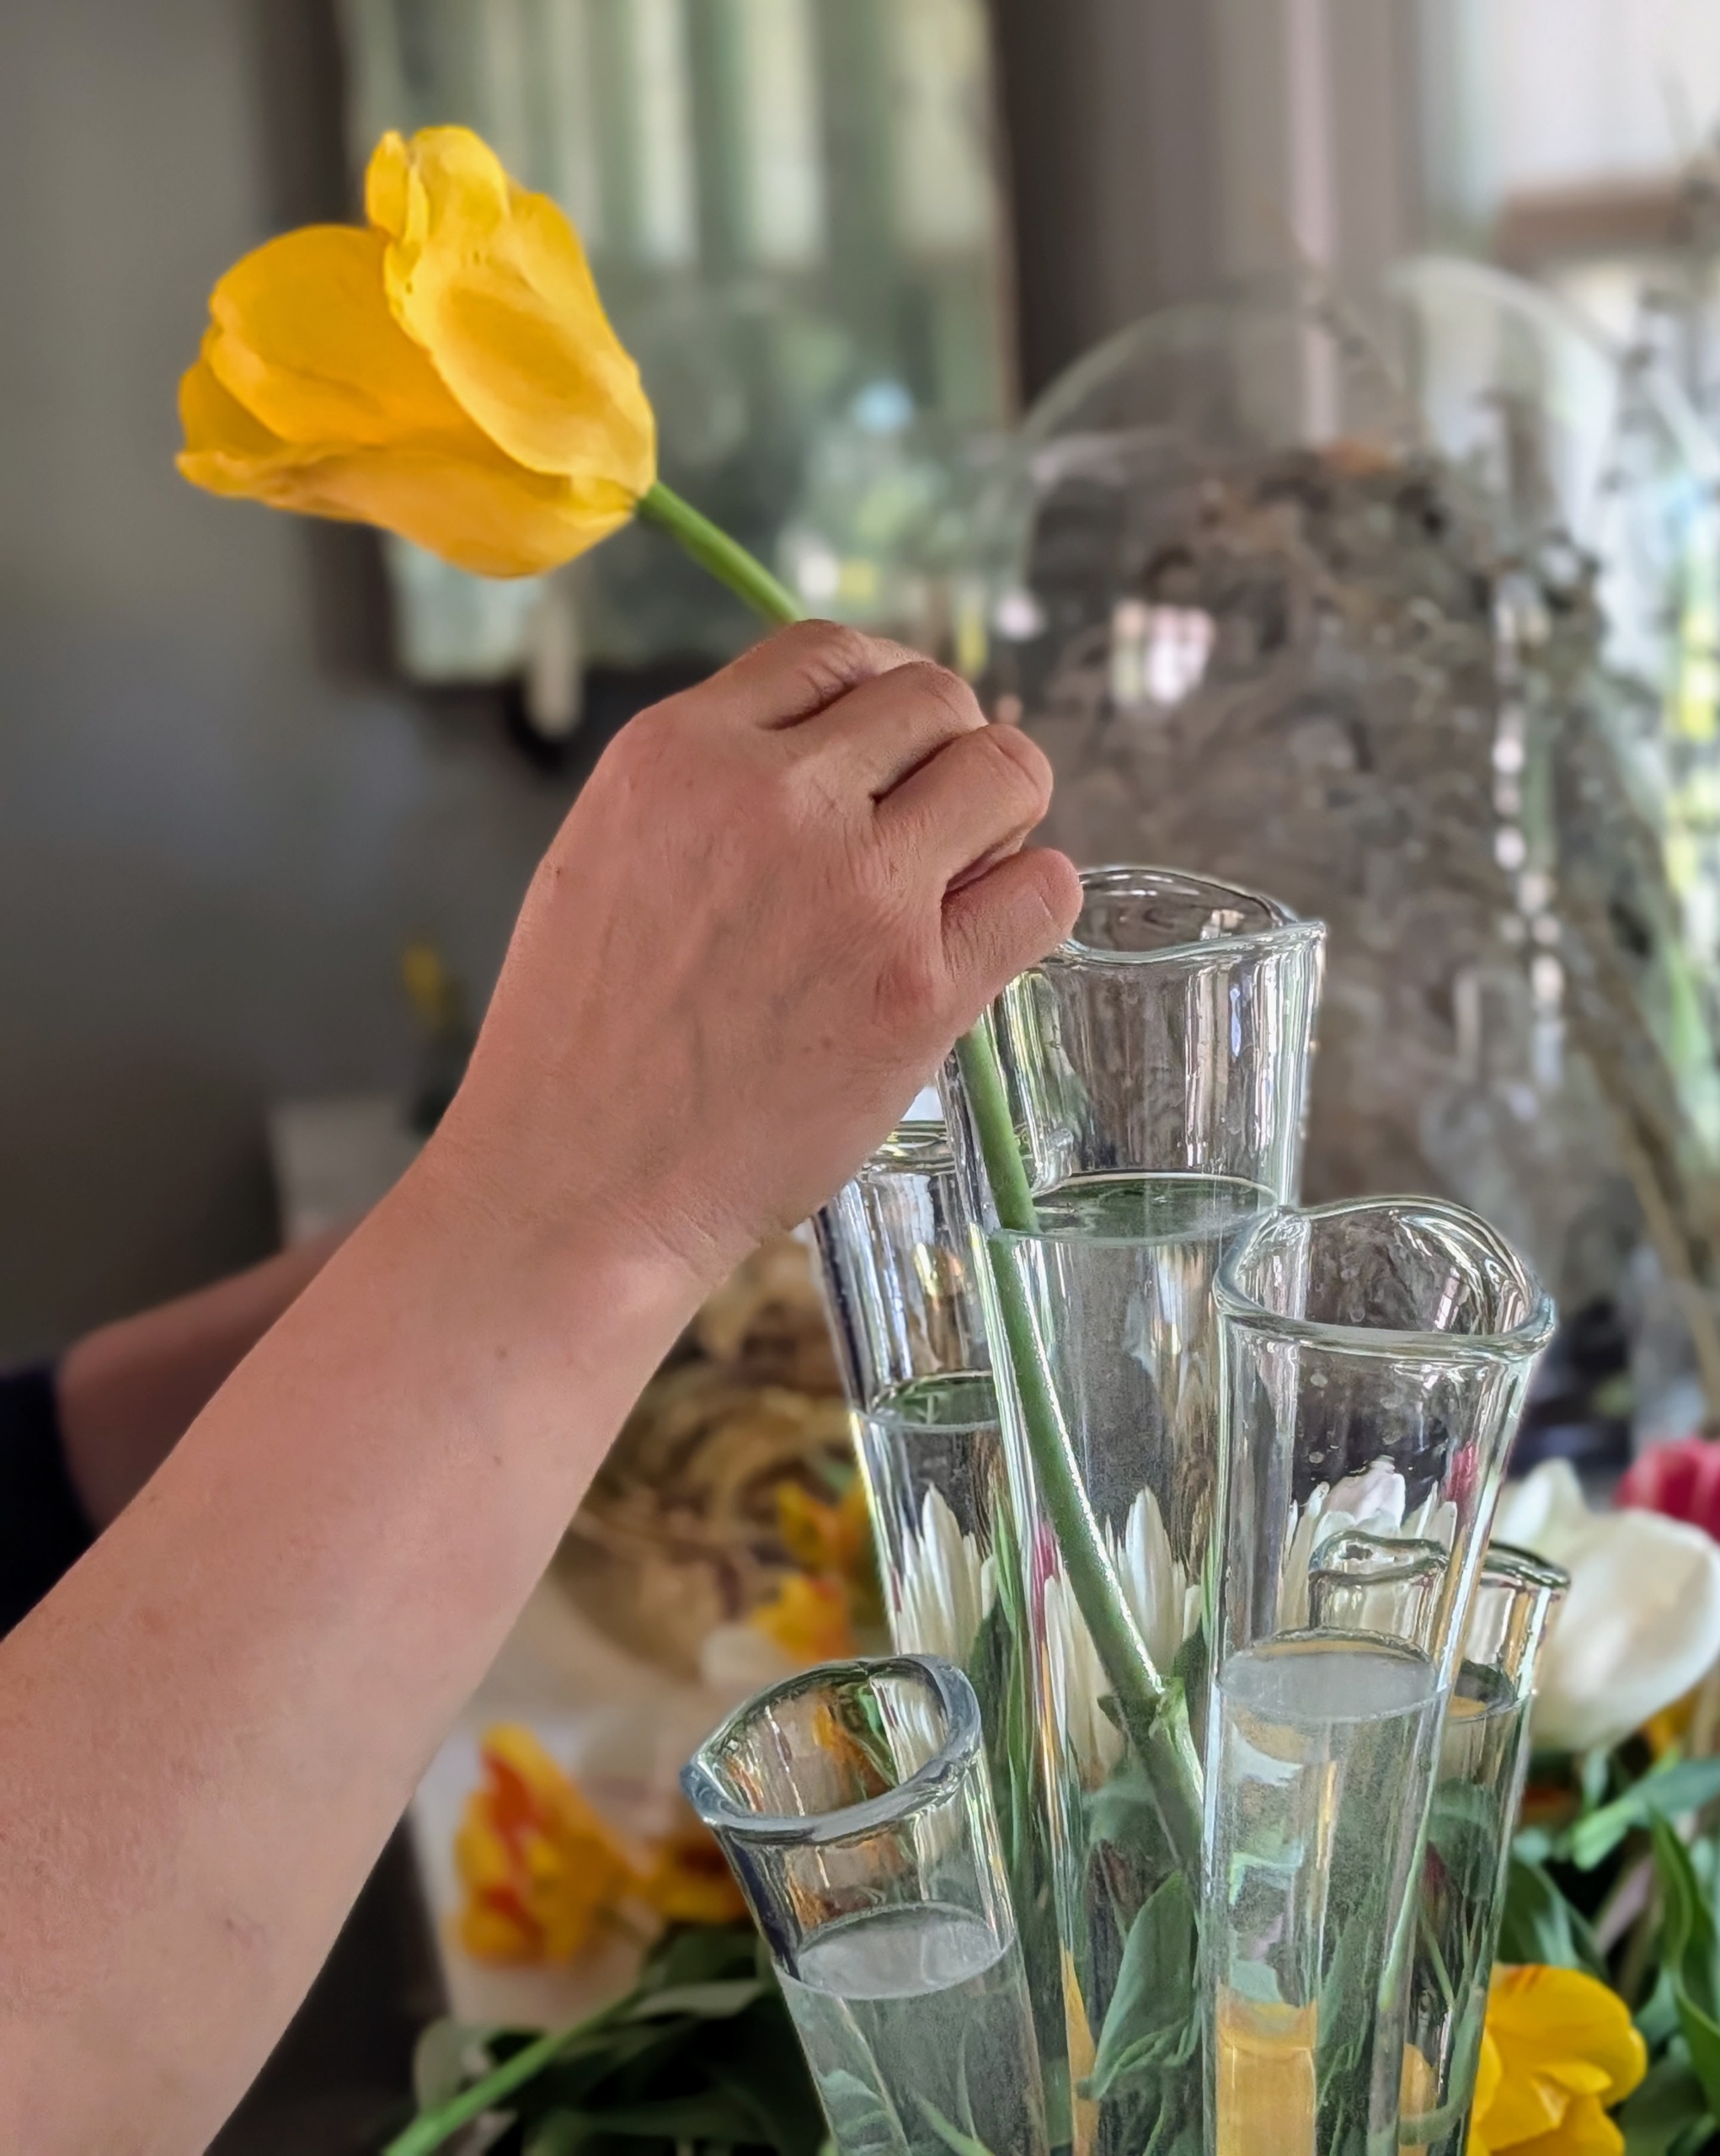
- My antique glass finger vases work well for tulips because they support the tall stems.
-
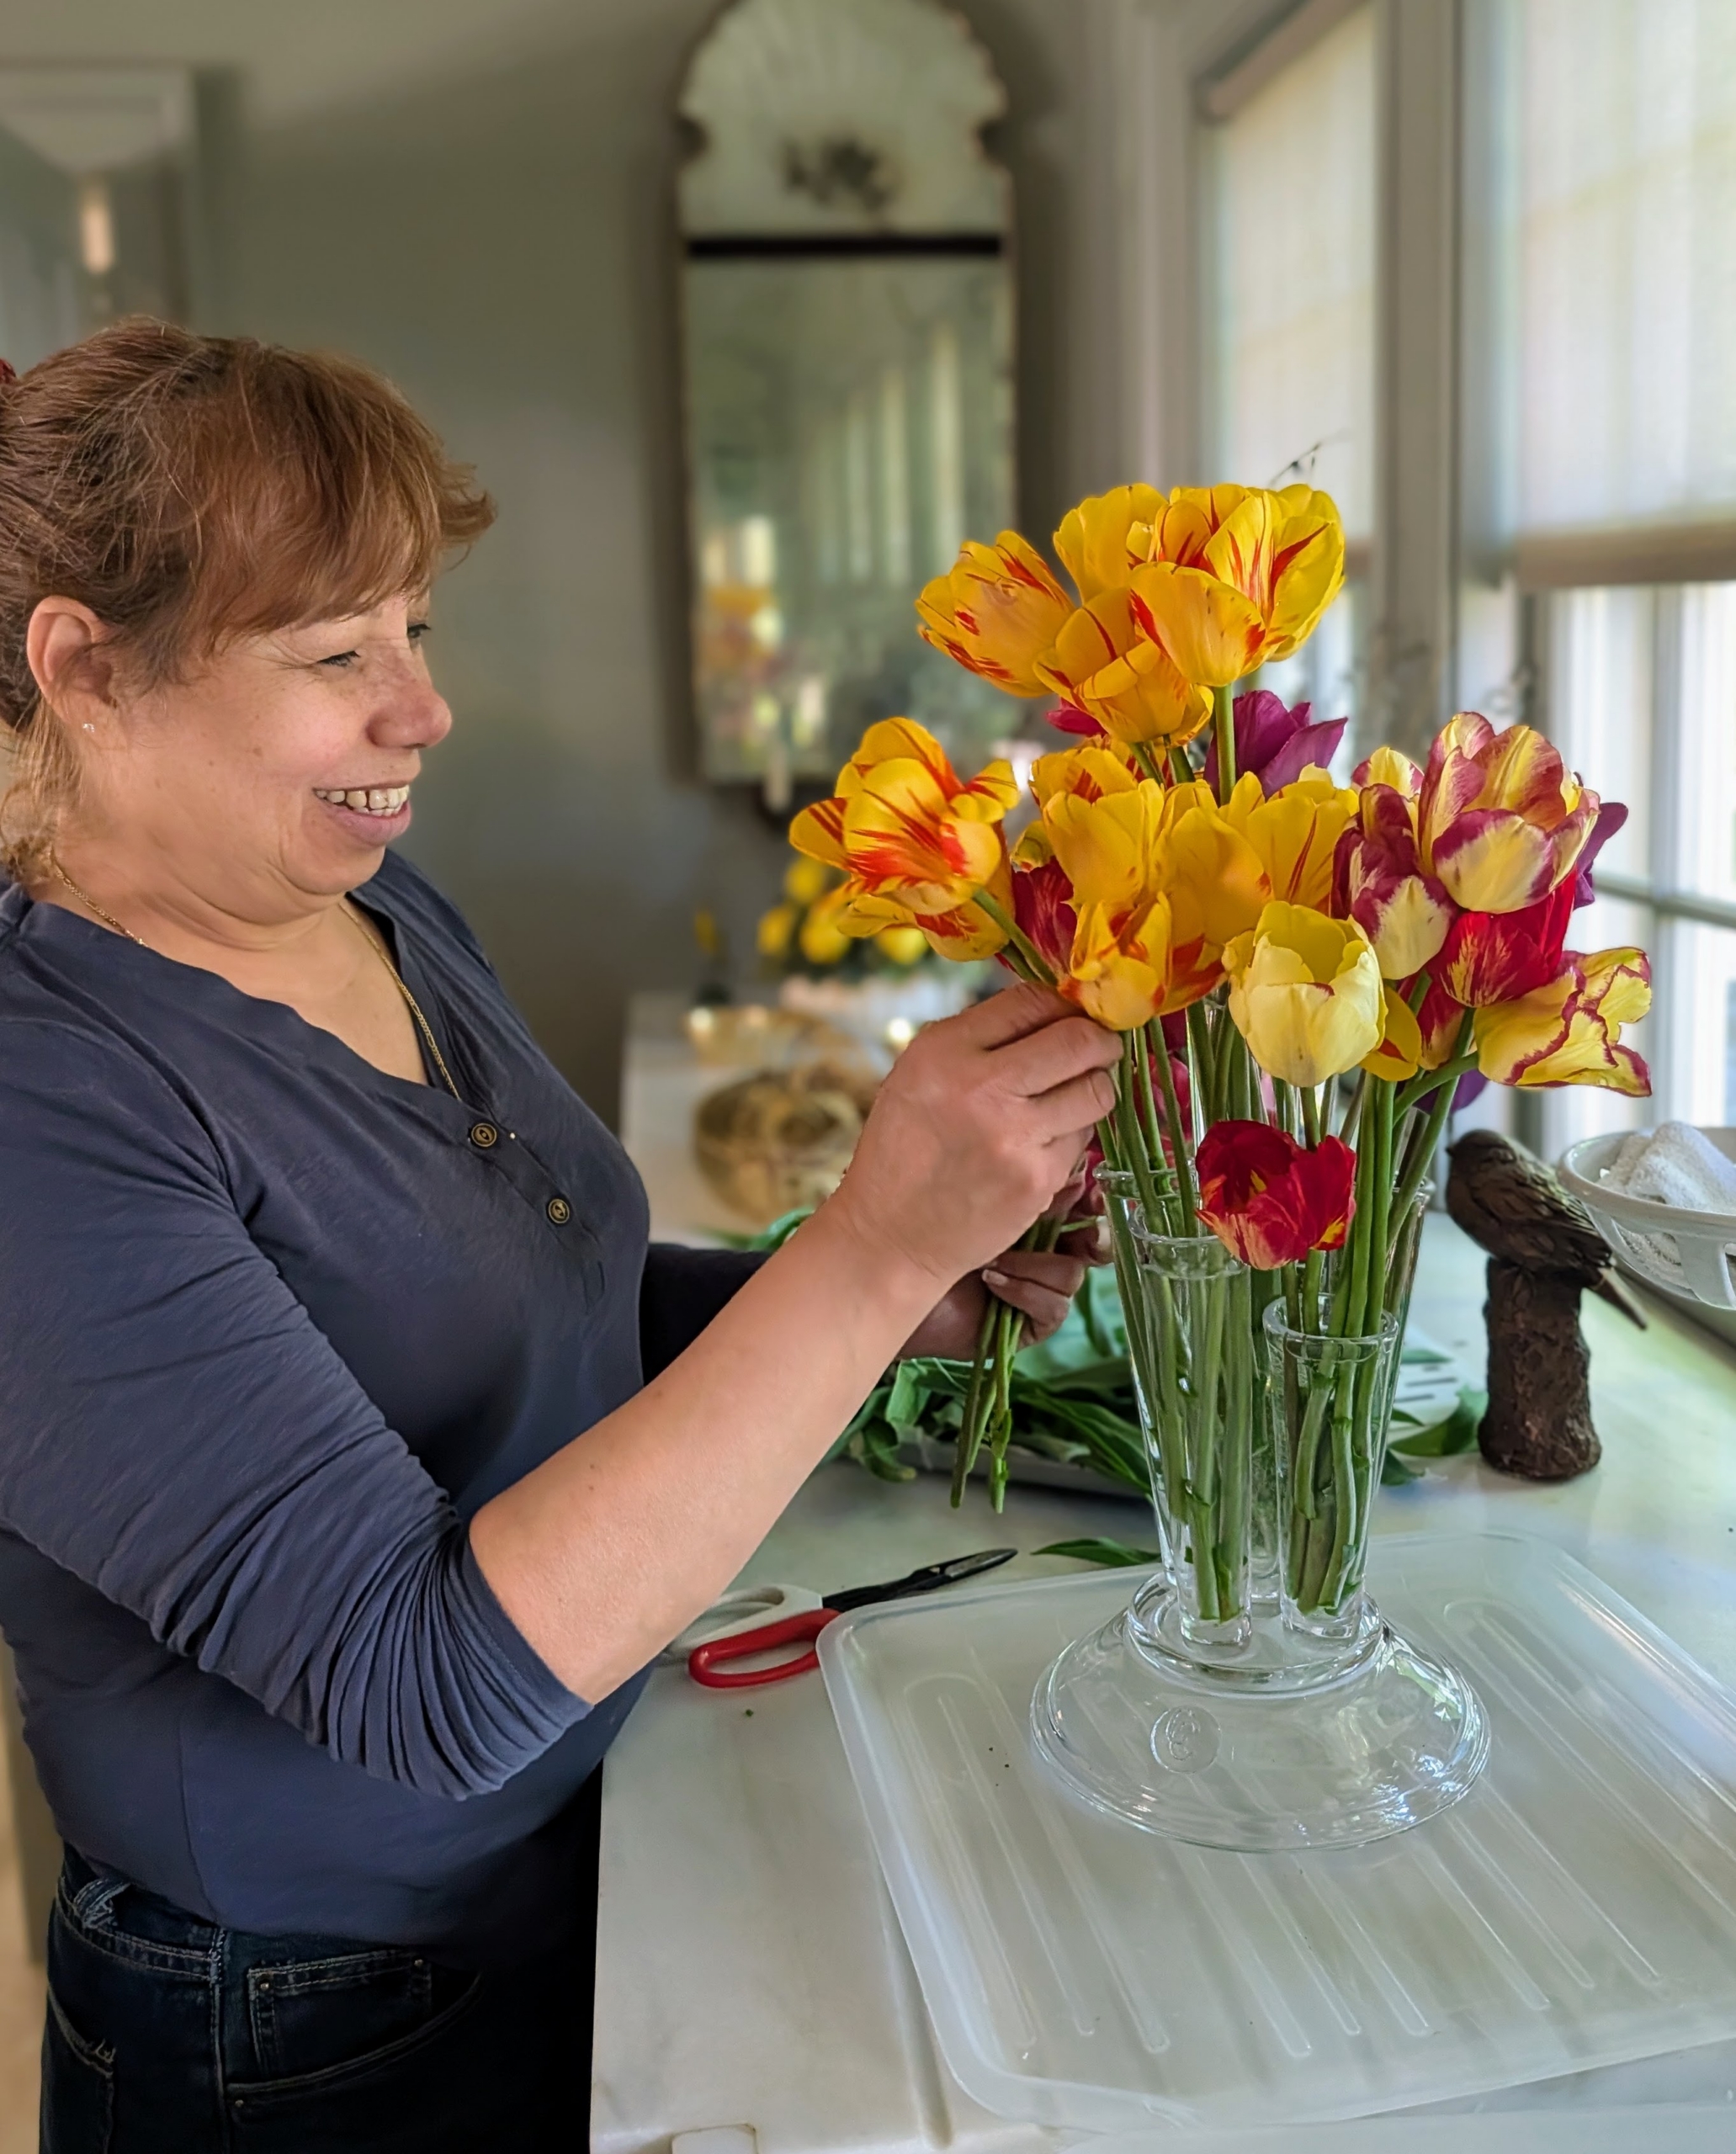
- Elvira mixes white with these yellow tulips. Tulips have been hybridized in just about every color except blue. Most tulips have one flower per stem, but there are some multi-flowered varieties.

-
- And do you know… tulips follow the sun even when they’re in a vase? Watch them. Tulips also continue to grow even after they’ve been cut.
-
- Elvira looks at the arrangement from all sides and fills in any holes. This arrangement looks full and beautiful.
-
- This arrangement is placed on this counter in my servery, where I can see them every day on my way to the kitchen.
-
- Mother Luna Mona and daughter Half Moon nap nearby – flowers don’t interest them too much.

-
- These tulips are displayed in my sitting room on a brass tray table. Keep cut flowers in a cool area as heat reduces the bloom time. I hope you can bring some flowers inside from the garden and enjoy the beautiful spring blooms.