We're expecting temperatures in the 50s today with possible frost tonight - very different from the recent warm weather we had when so many of the spring flowers were blooming.
Last week, temperatures reached the high 80s. Every day, something new came to life with vibrant spring color - Fritillaria, Leucojum, Muscari, the tulips, the Mertensia with their charming blue flowers that open from pink-tinged buds, the large blooms of the Magnolias, and of course, lots and lots of daffodils. I hope they all make it through the cold snap.
Here are some photos, enjoy.
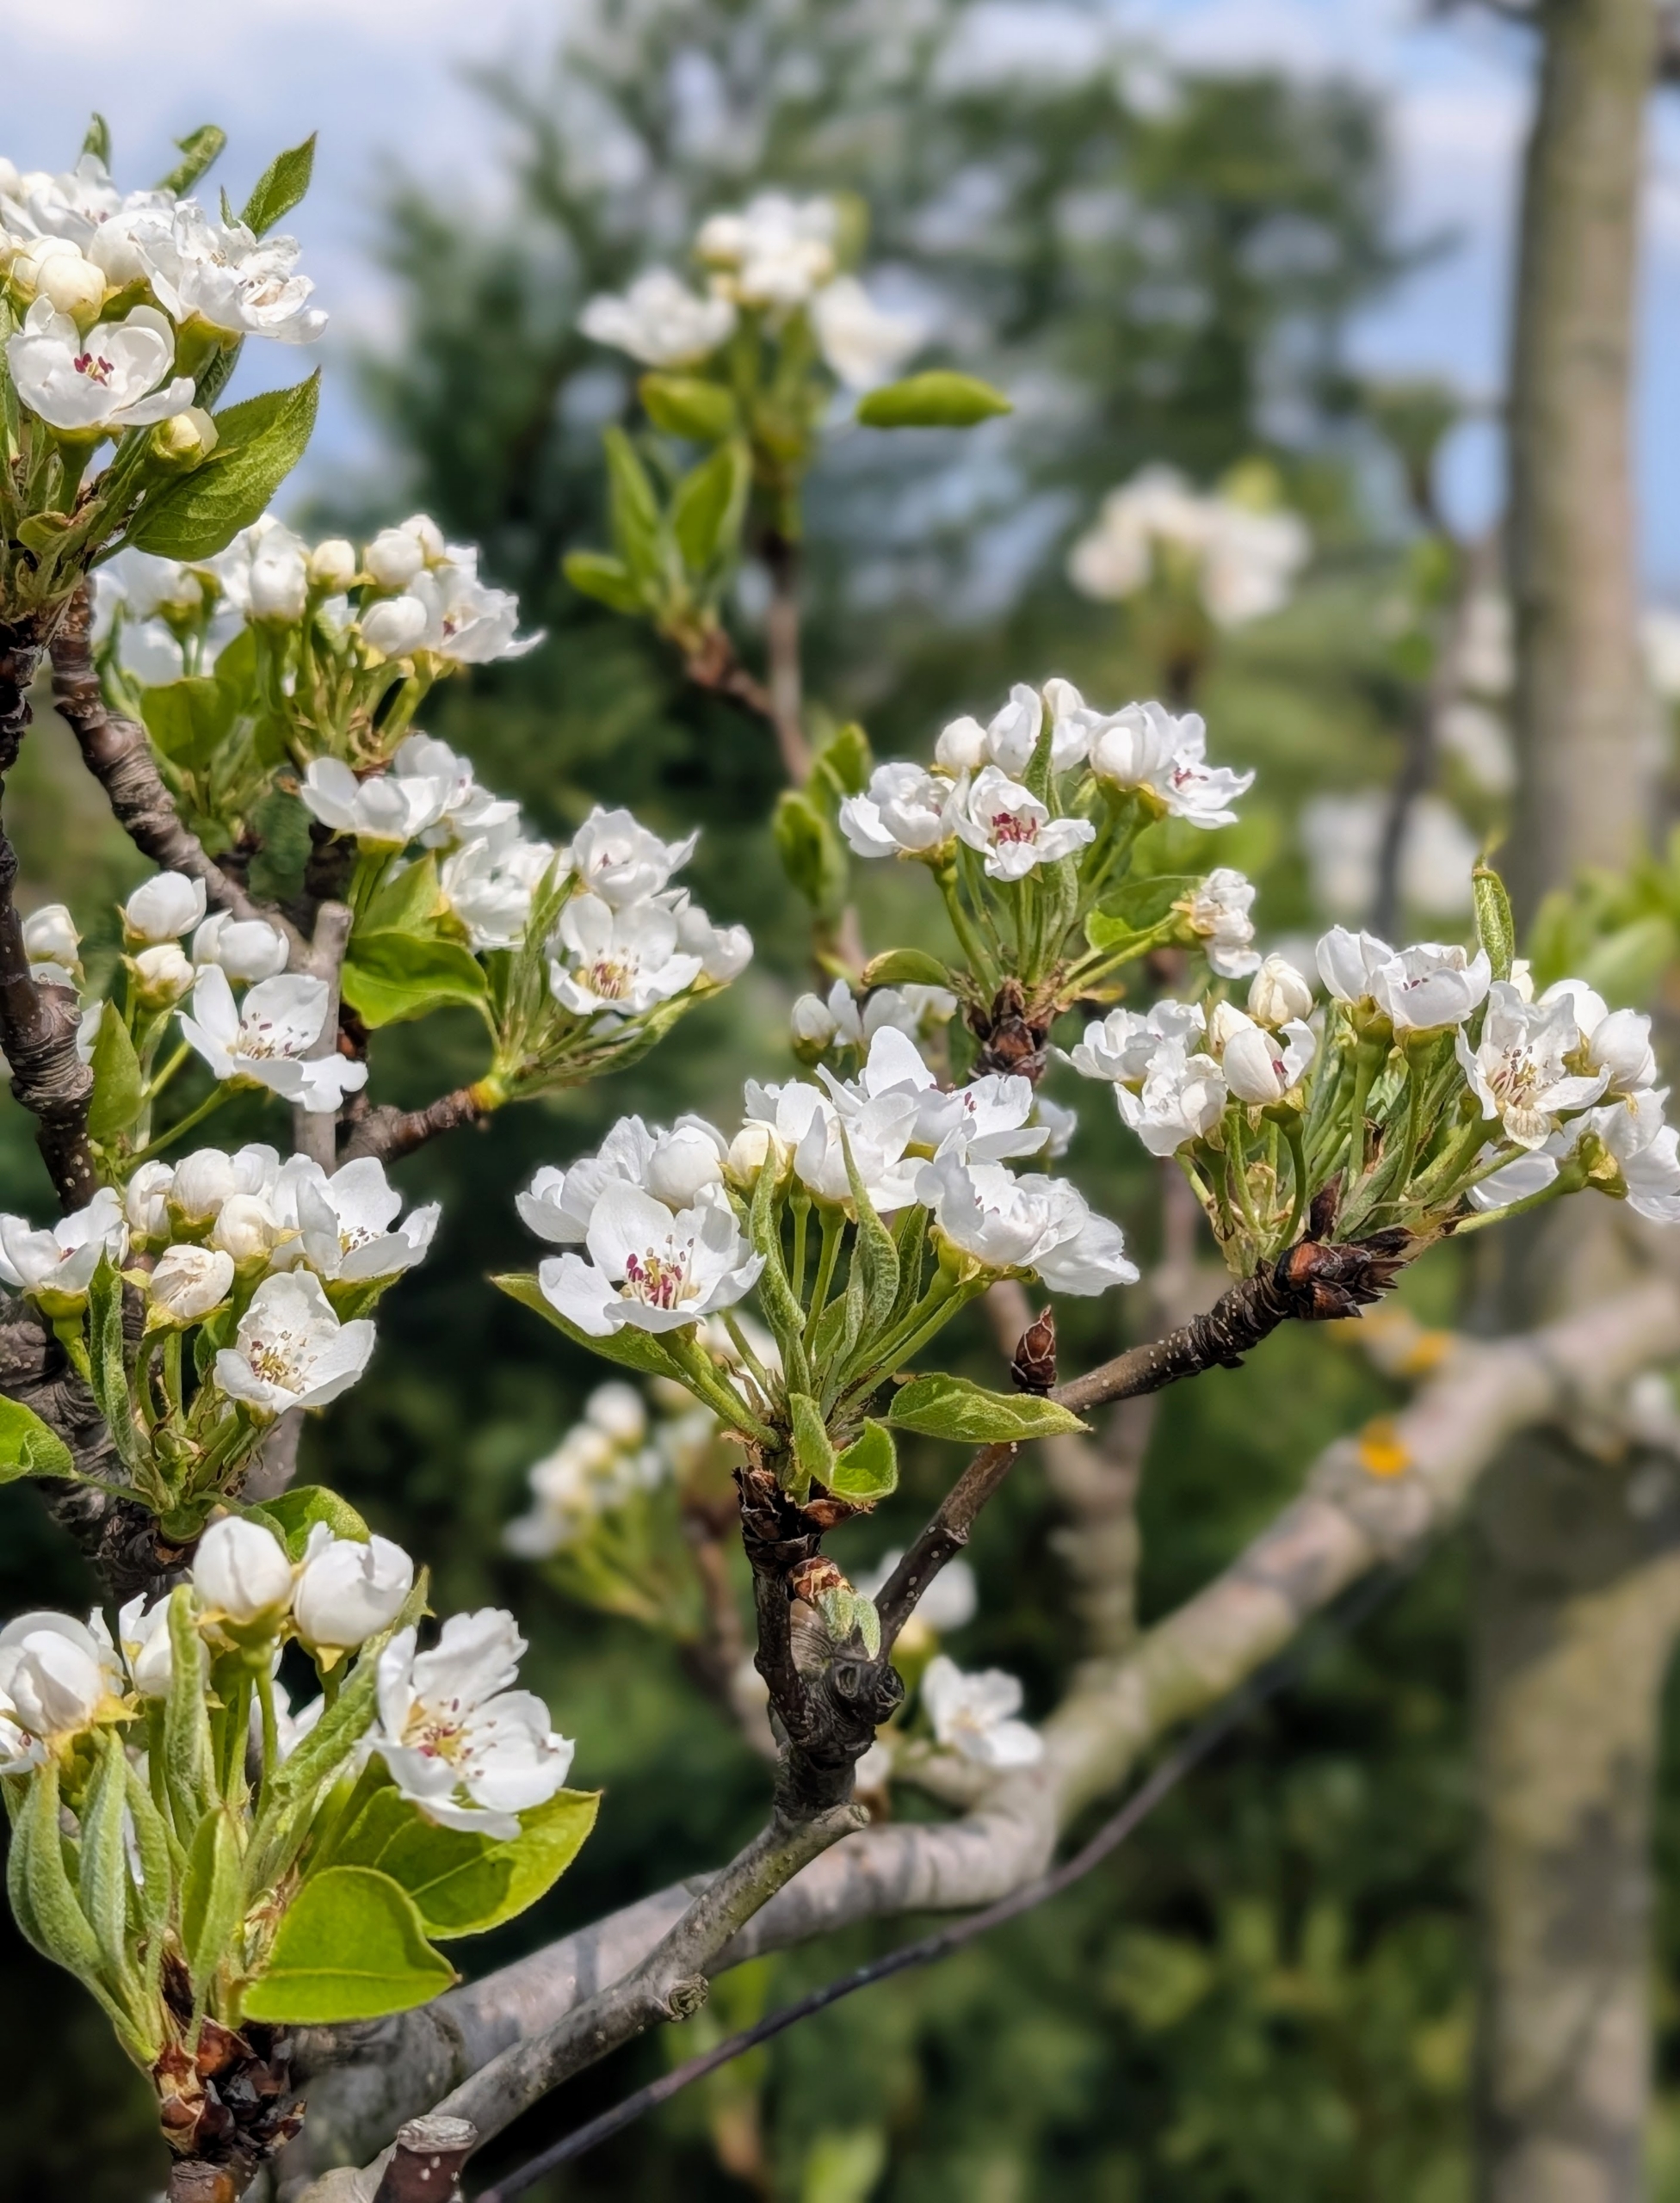
Fruiting pear trees bloom from April to May, with stunning white flowers. These espaliered Asian pear trees are hard to miss outside my stable. Here I have six ‘Shinseiki’ and four ‘Nijisseiki’ pear trees.
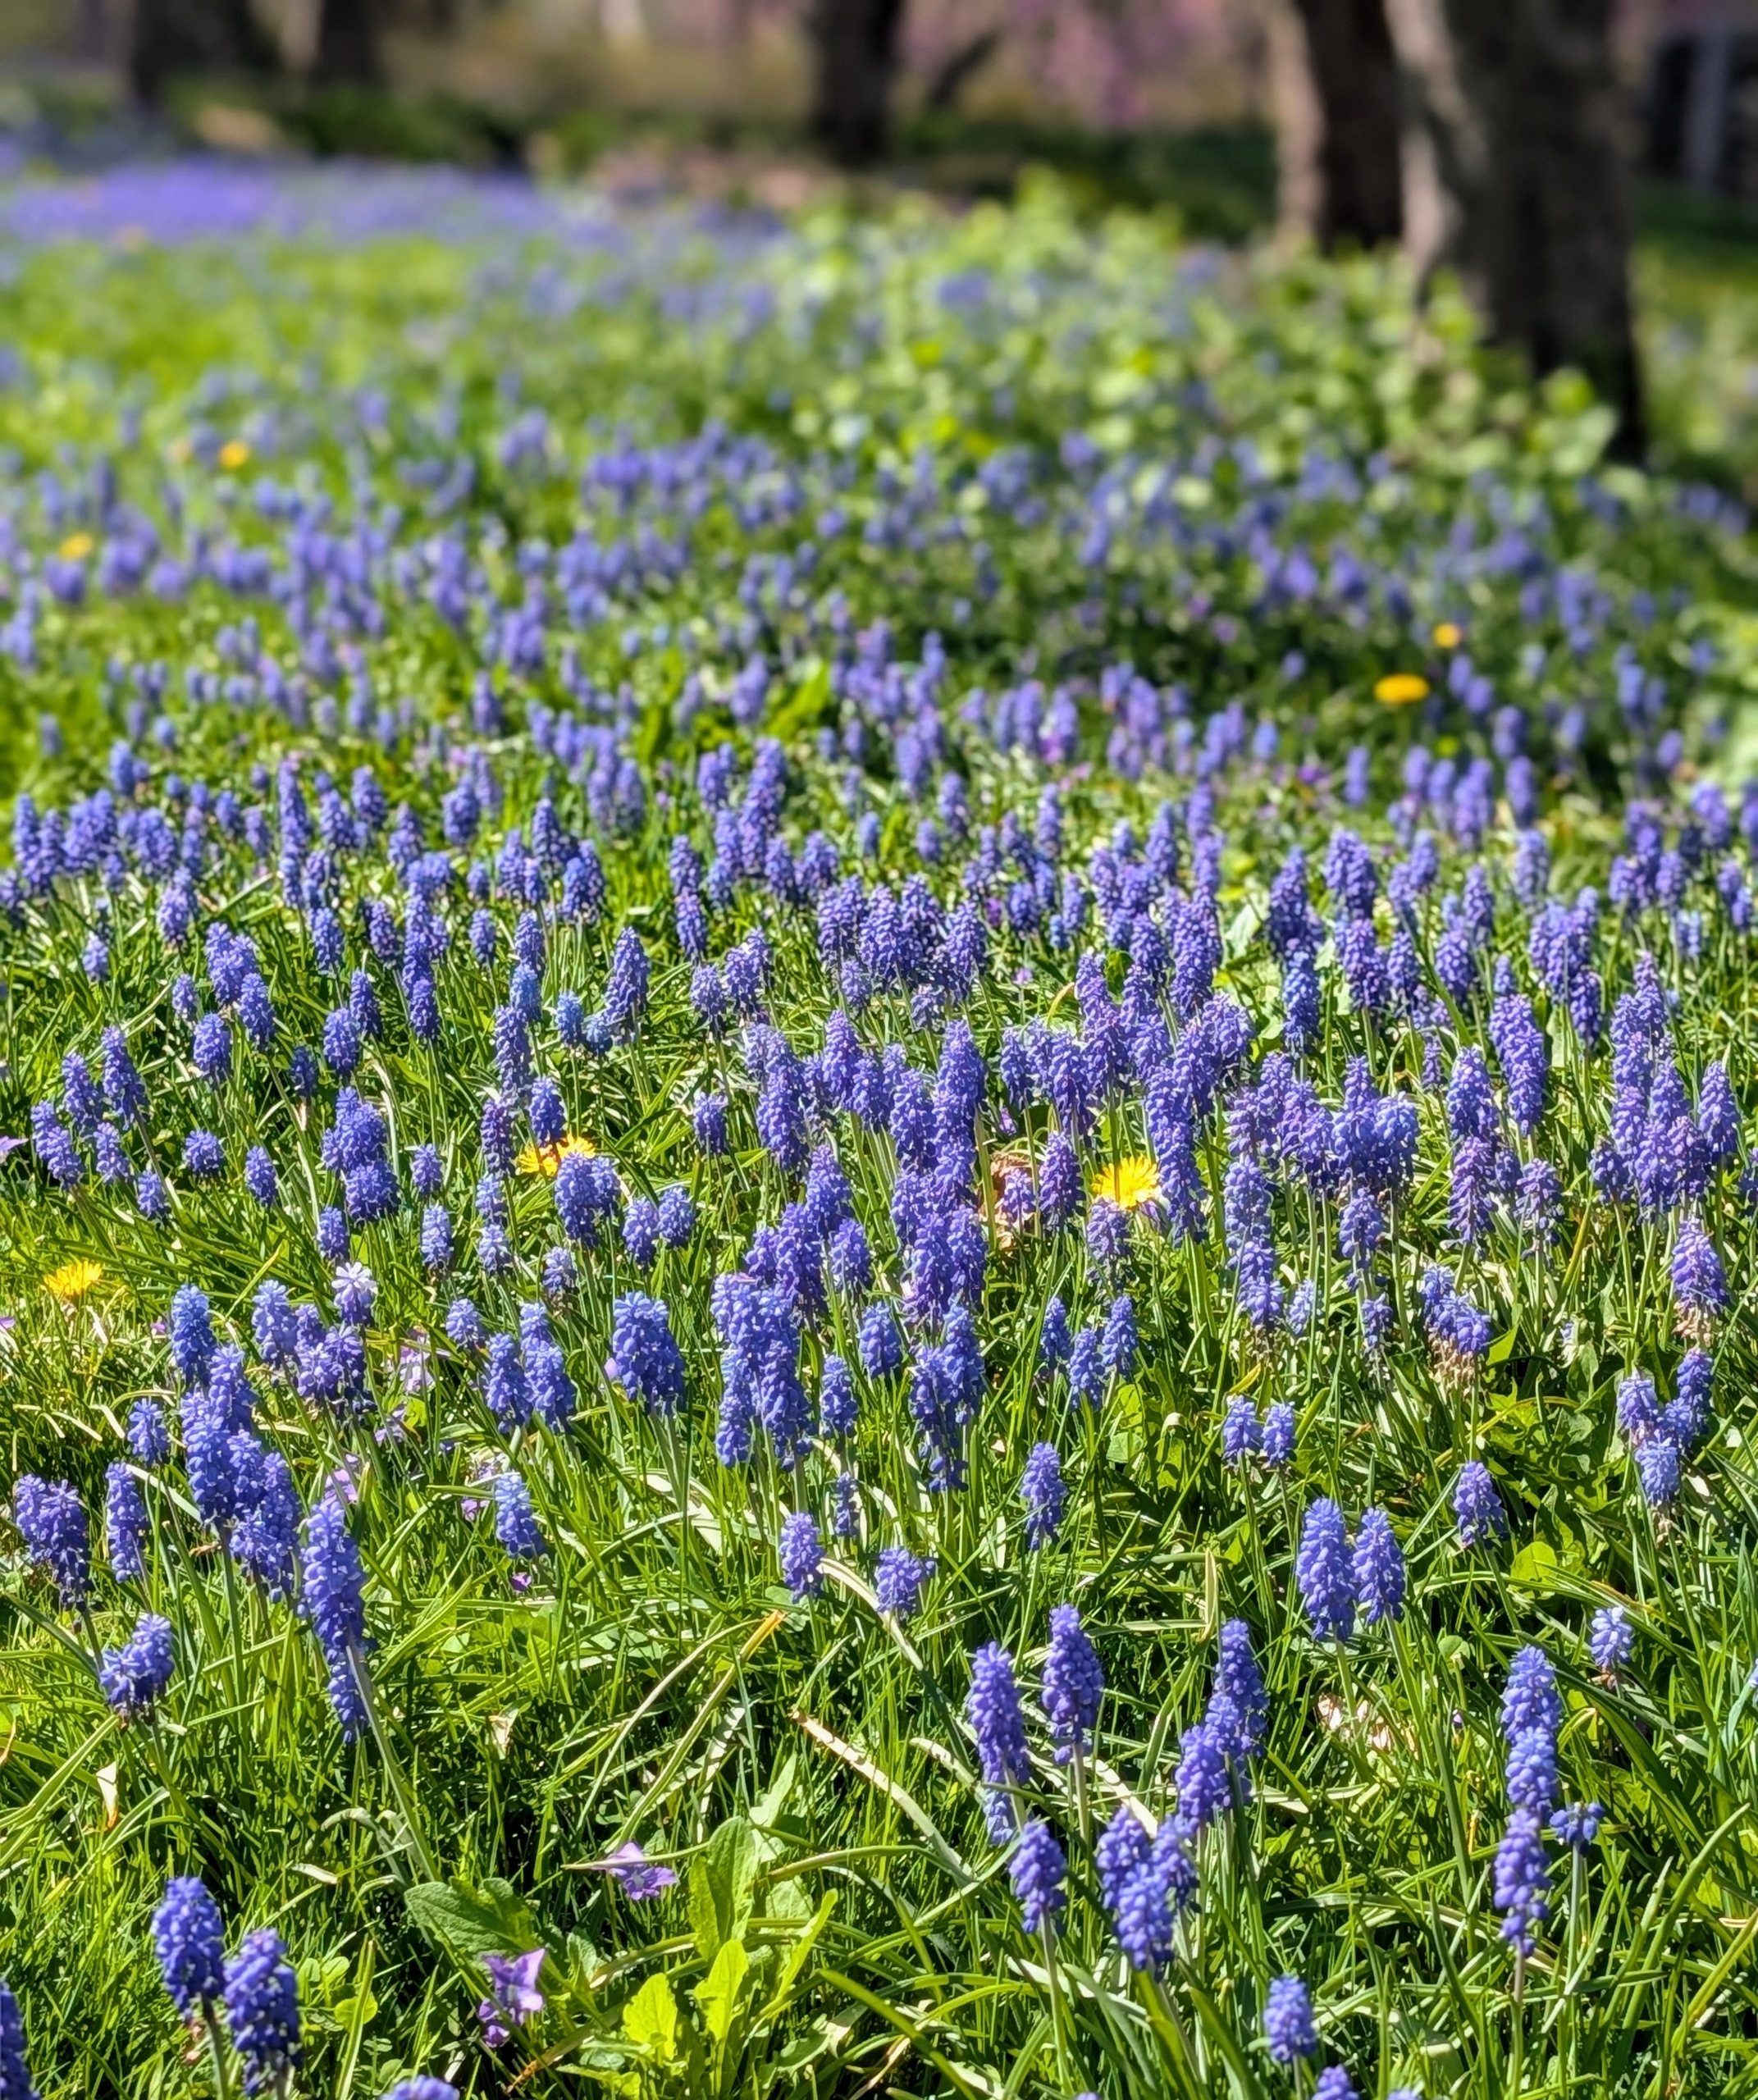
Swaths of Muscari are blooming under my old apple trees. Muscari is a genus of perennial bulbous plants native to Eurasia that produce spikes of dense, most commonly blue, urn-shaped flowers that look like bunches of grapes in spring.
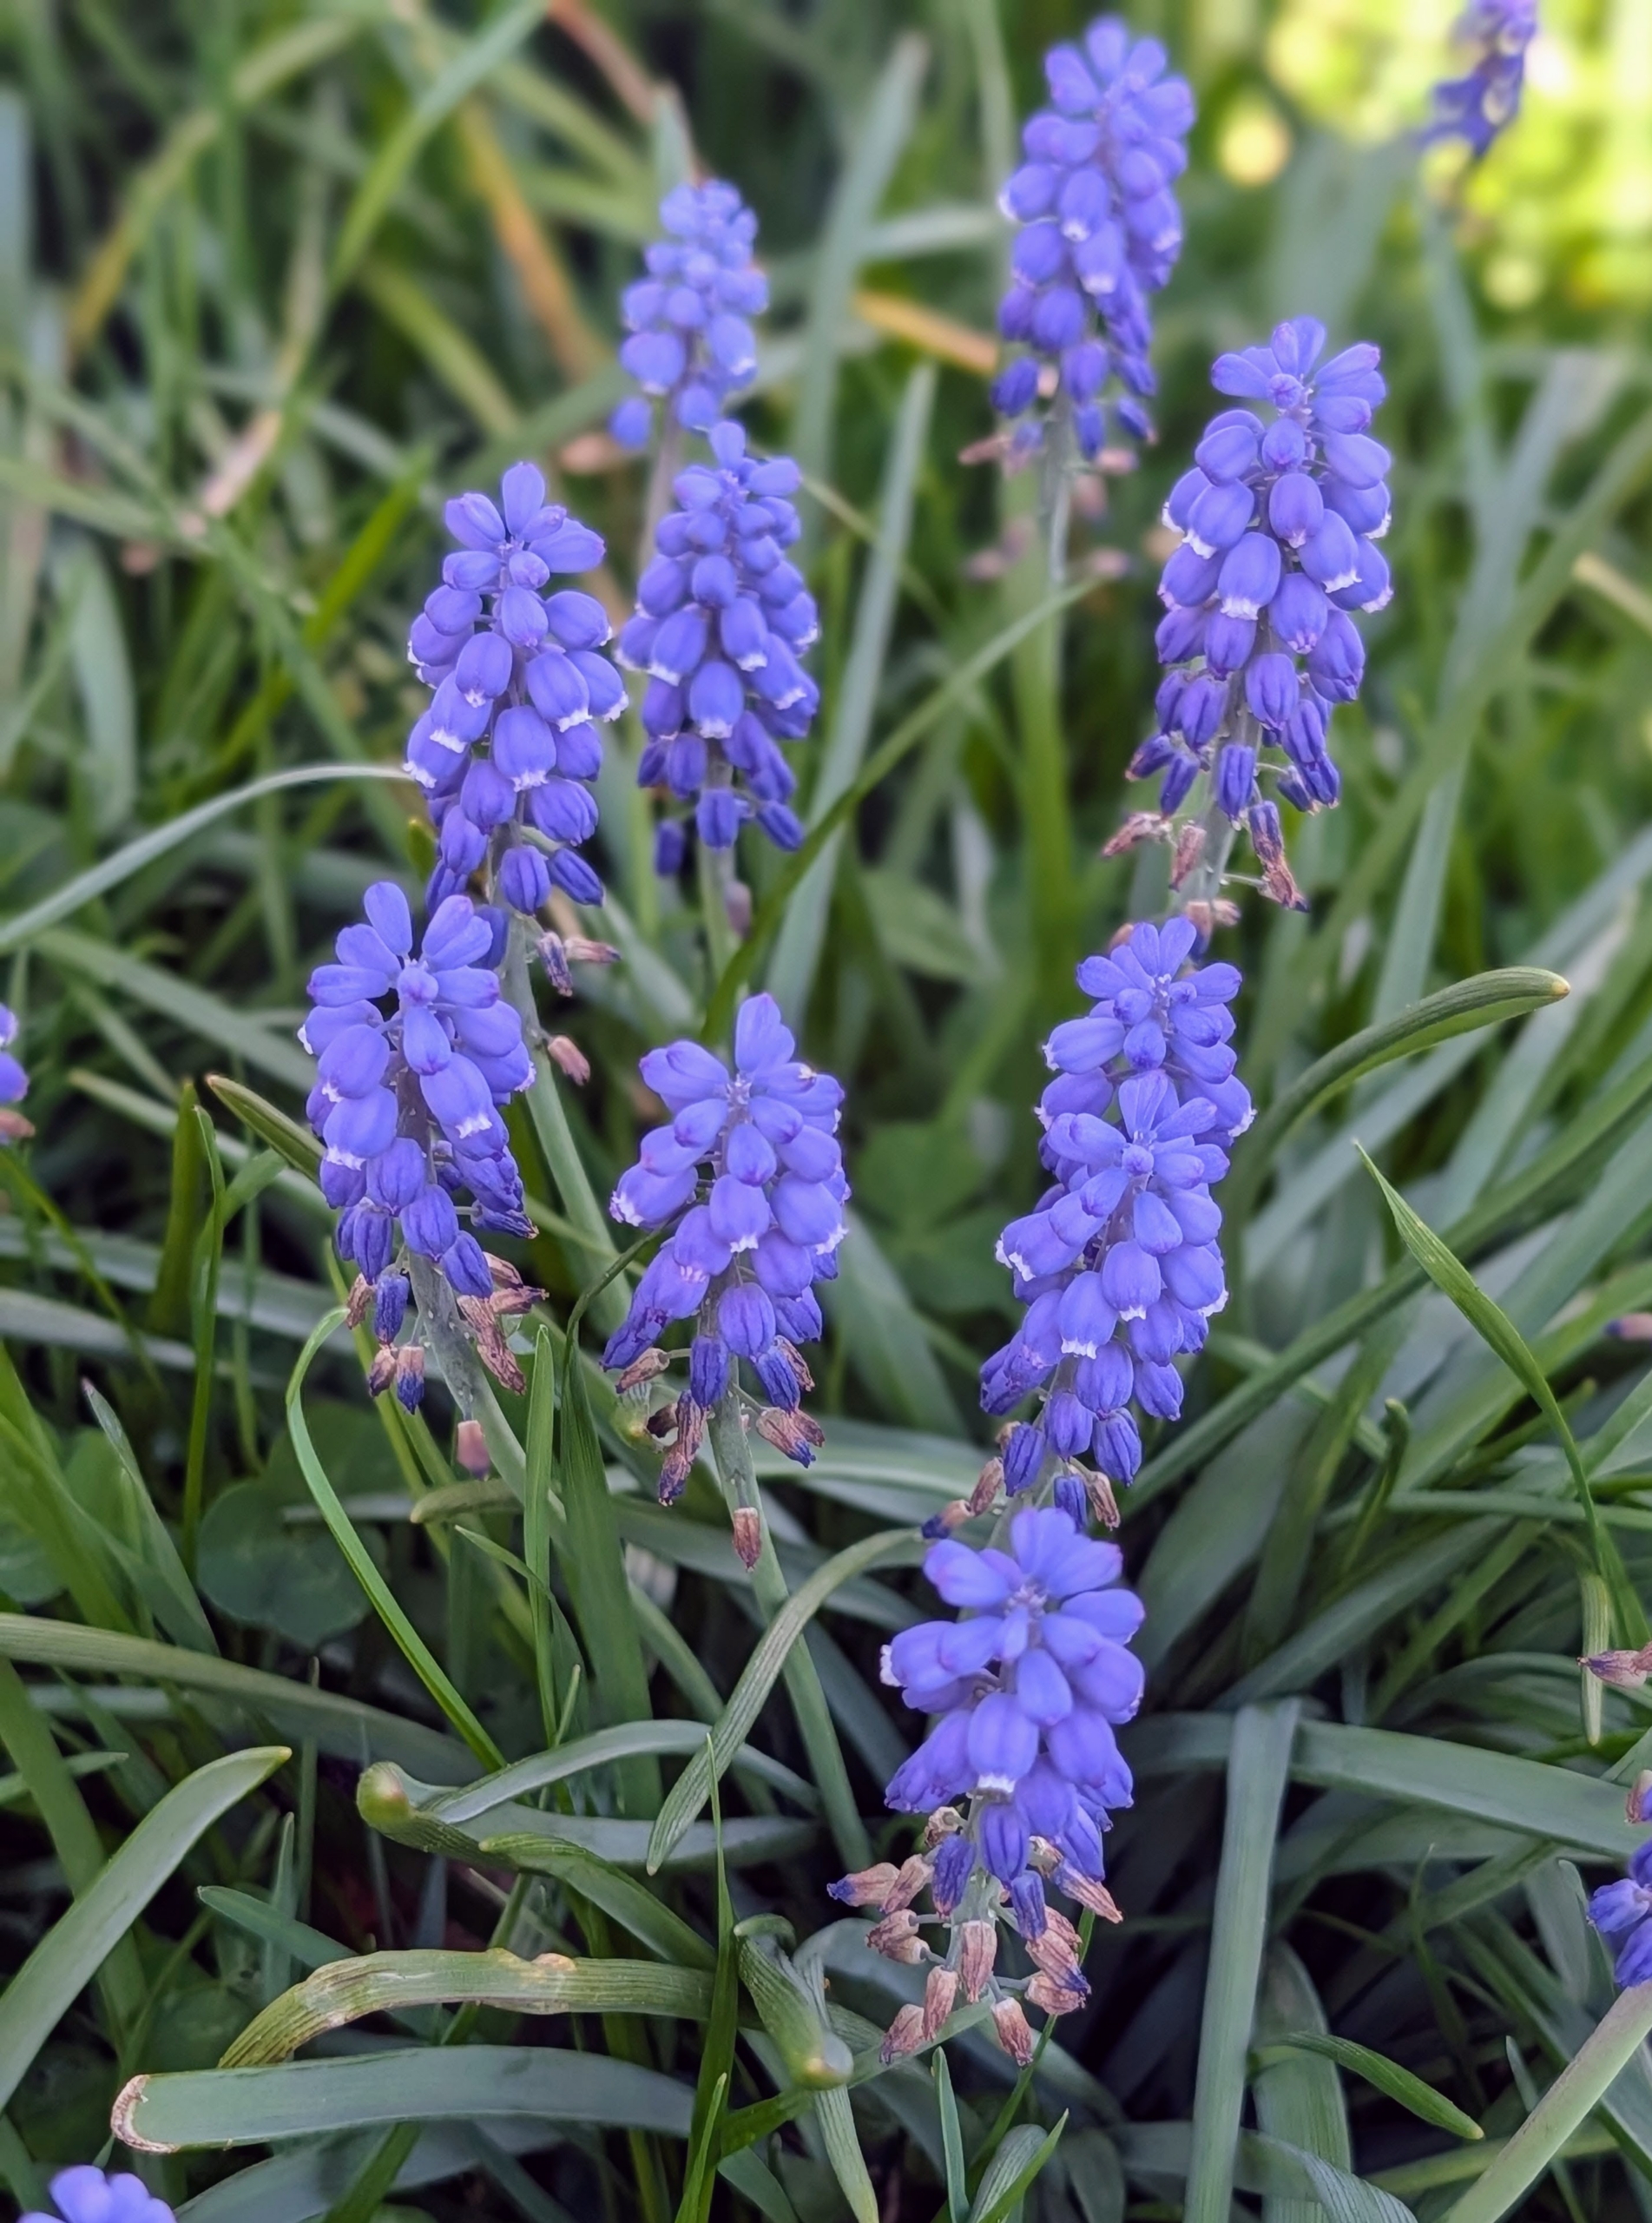
Here they are up close. Muscari is also known by its common name for the genus – grape hyacinth.
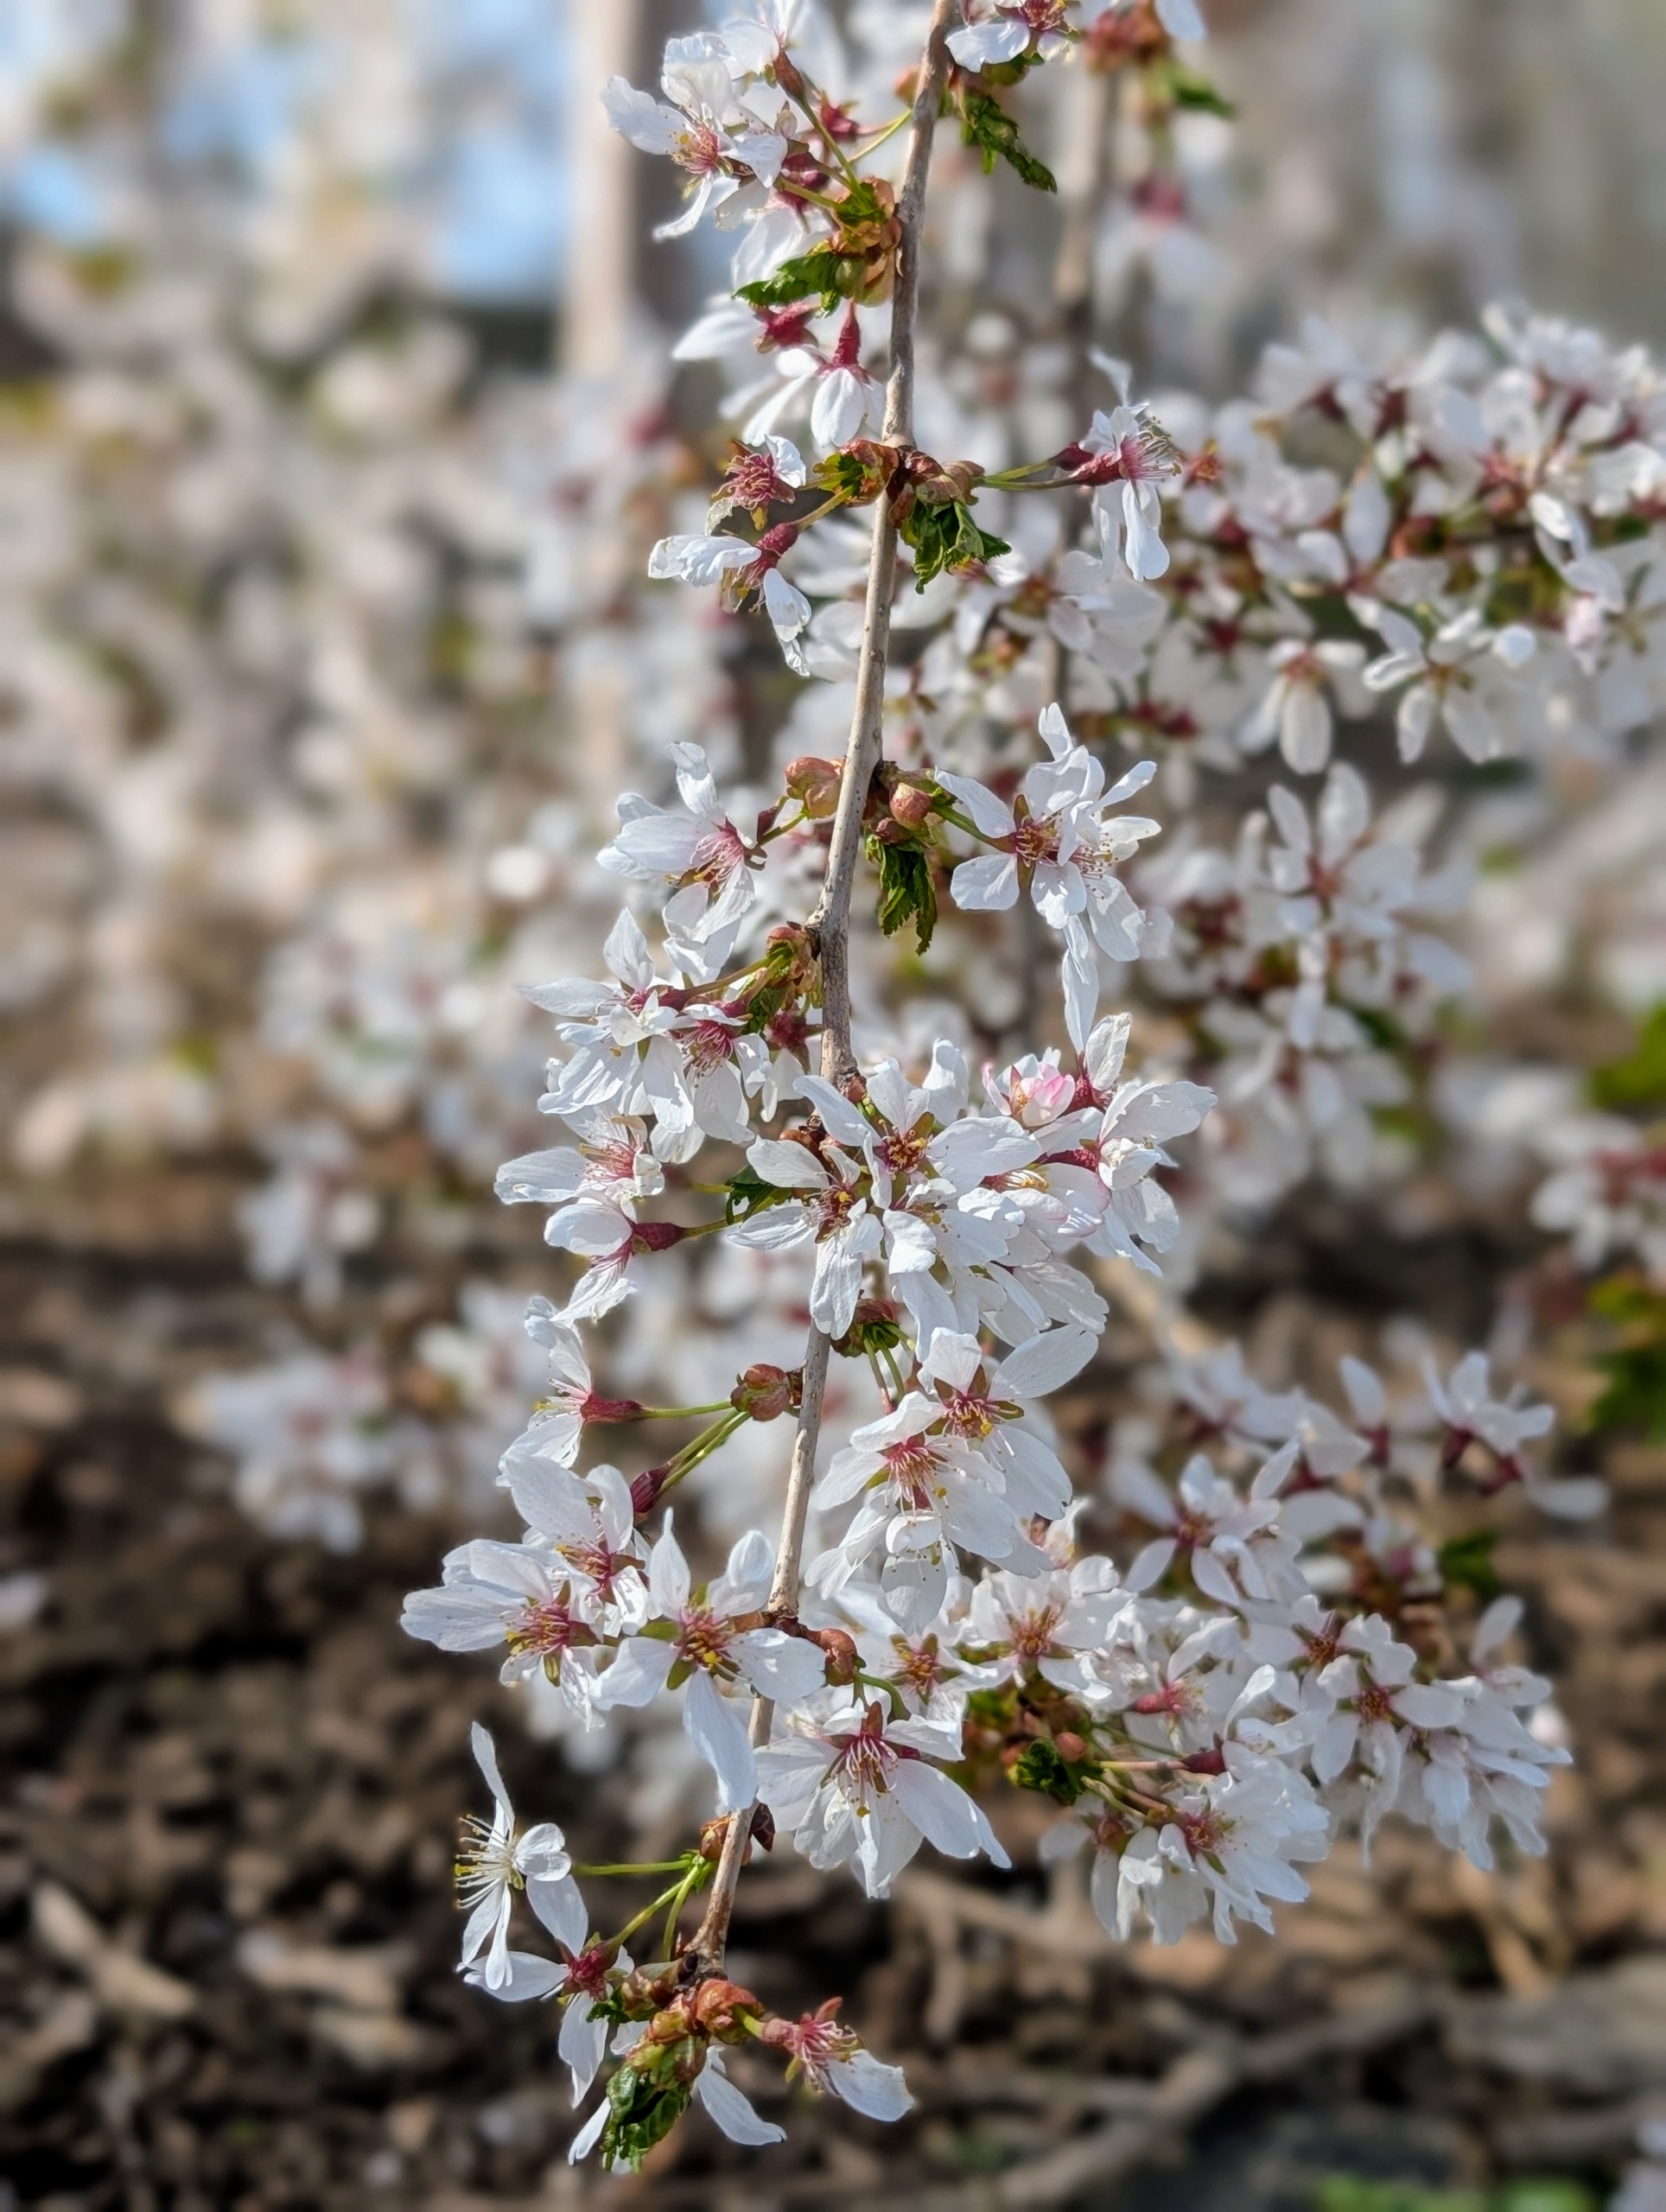
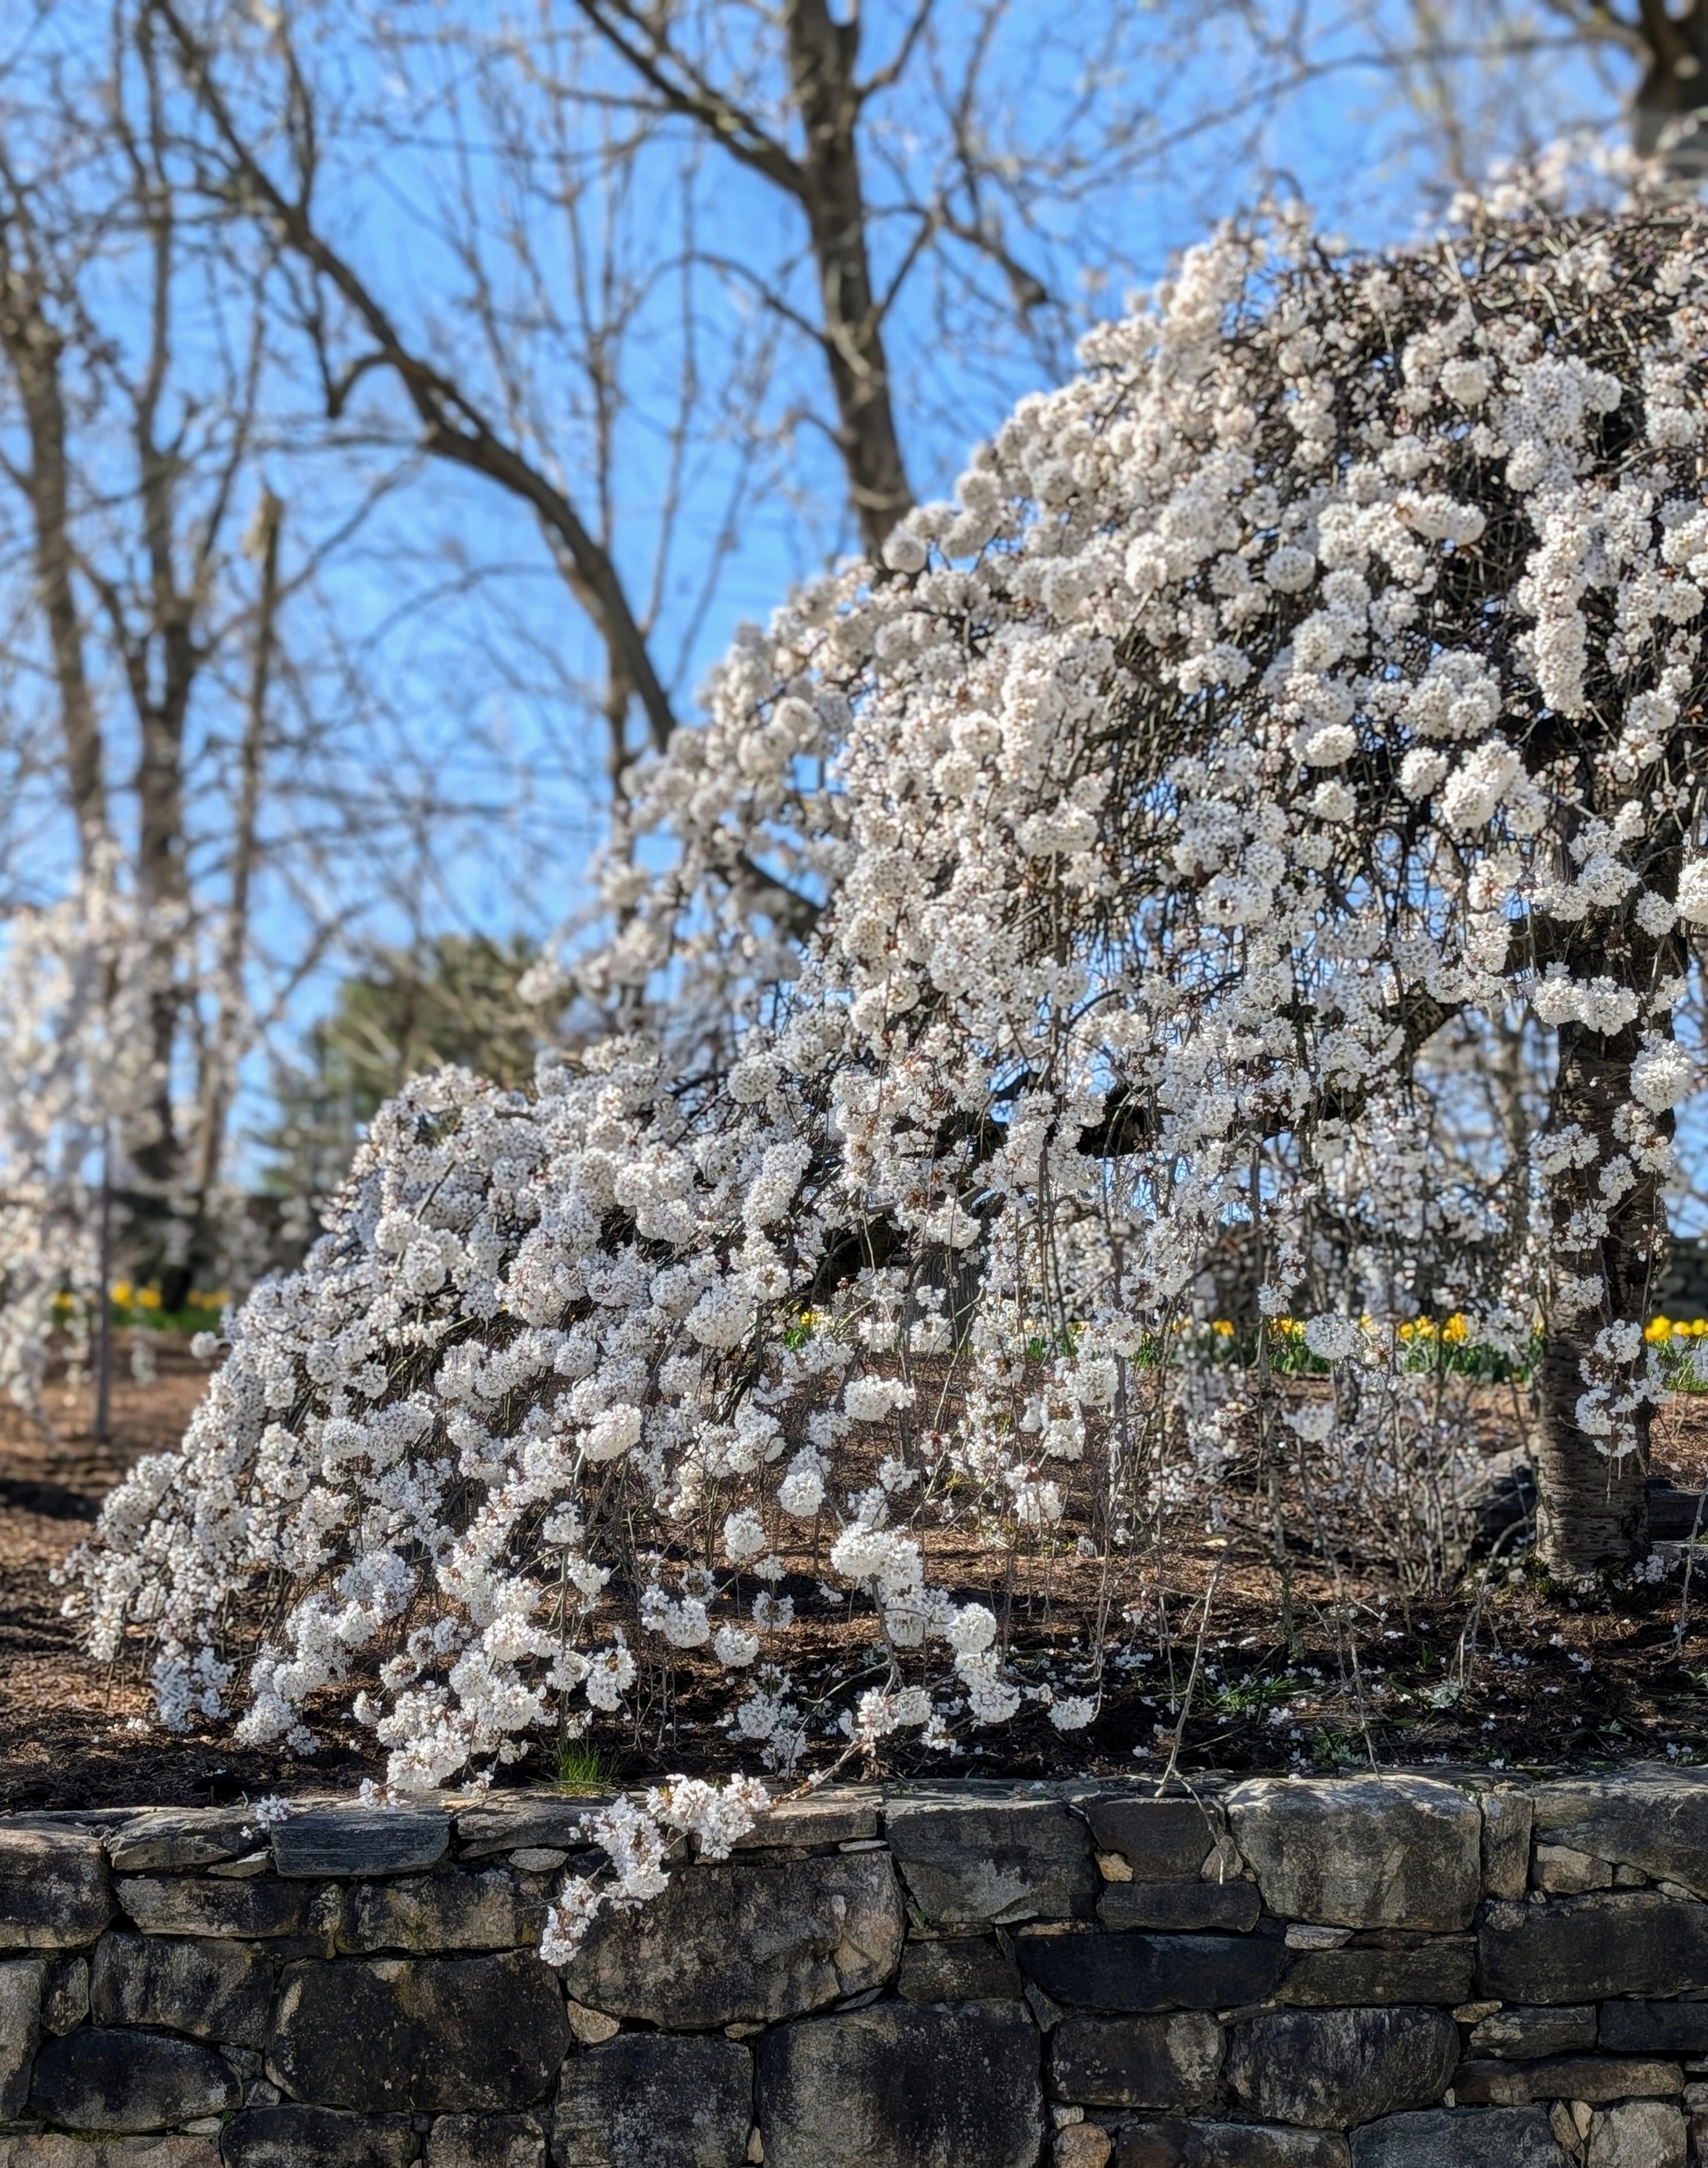
These are the flowers of a weeping cherry tree with its cascading branches. This is one of several outside my stable. They only bloom for a short while. These trees are eye-catchers when guests are lucky enough to see them filled with white flowers.
When in bloom, weeping cherry flowers attract many butterflies and hummingbirds.
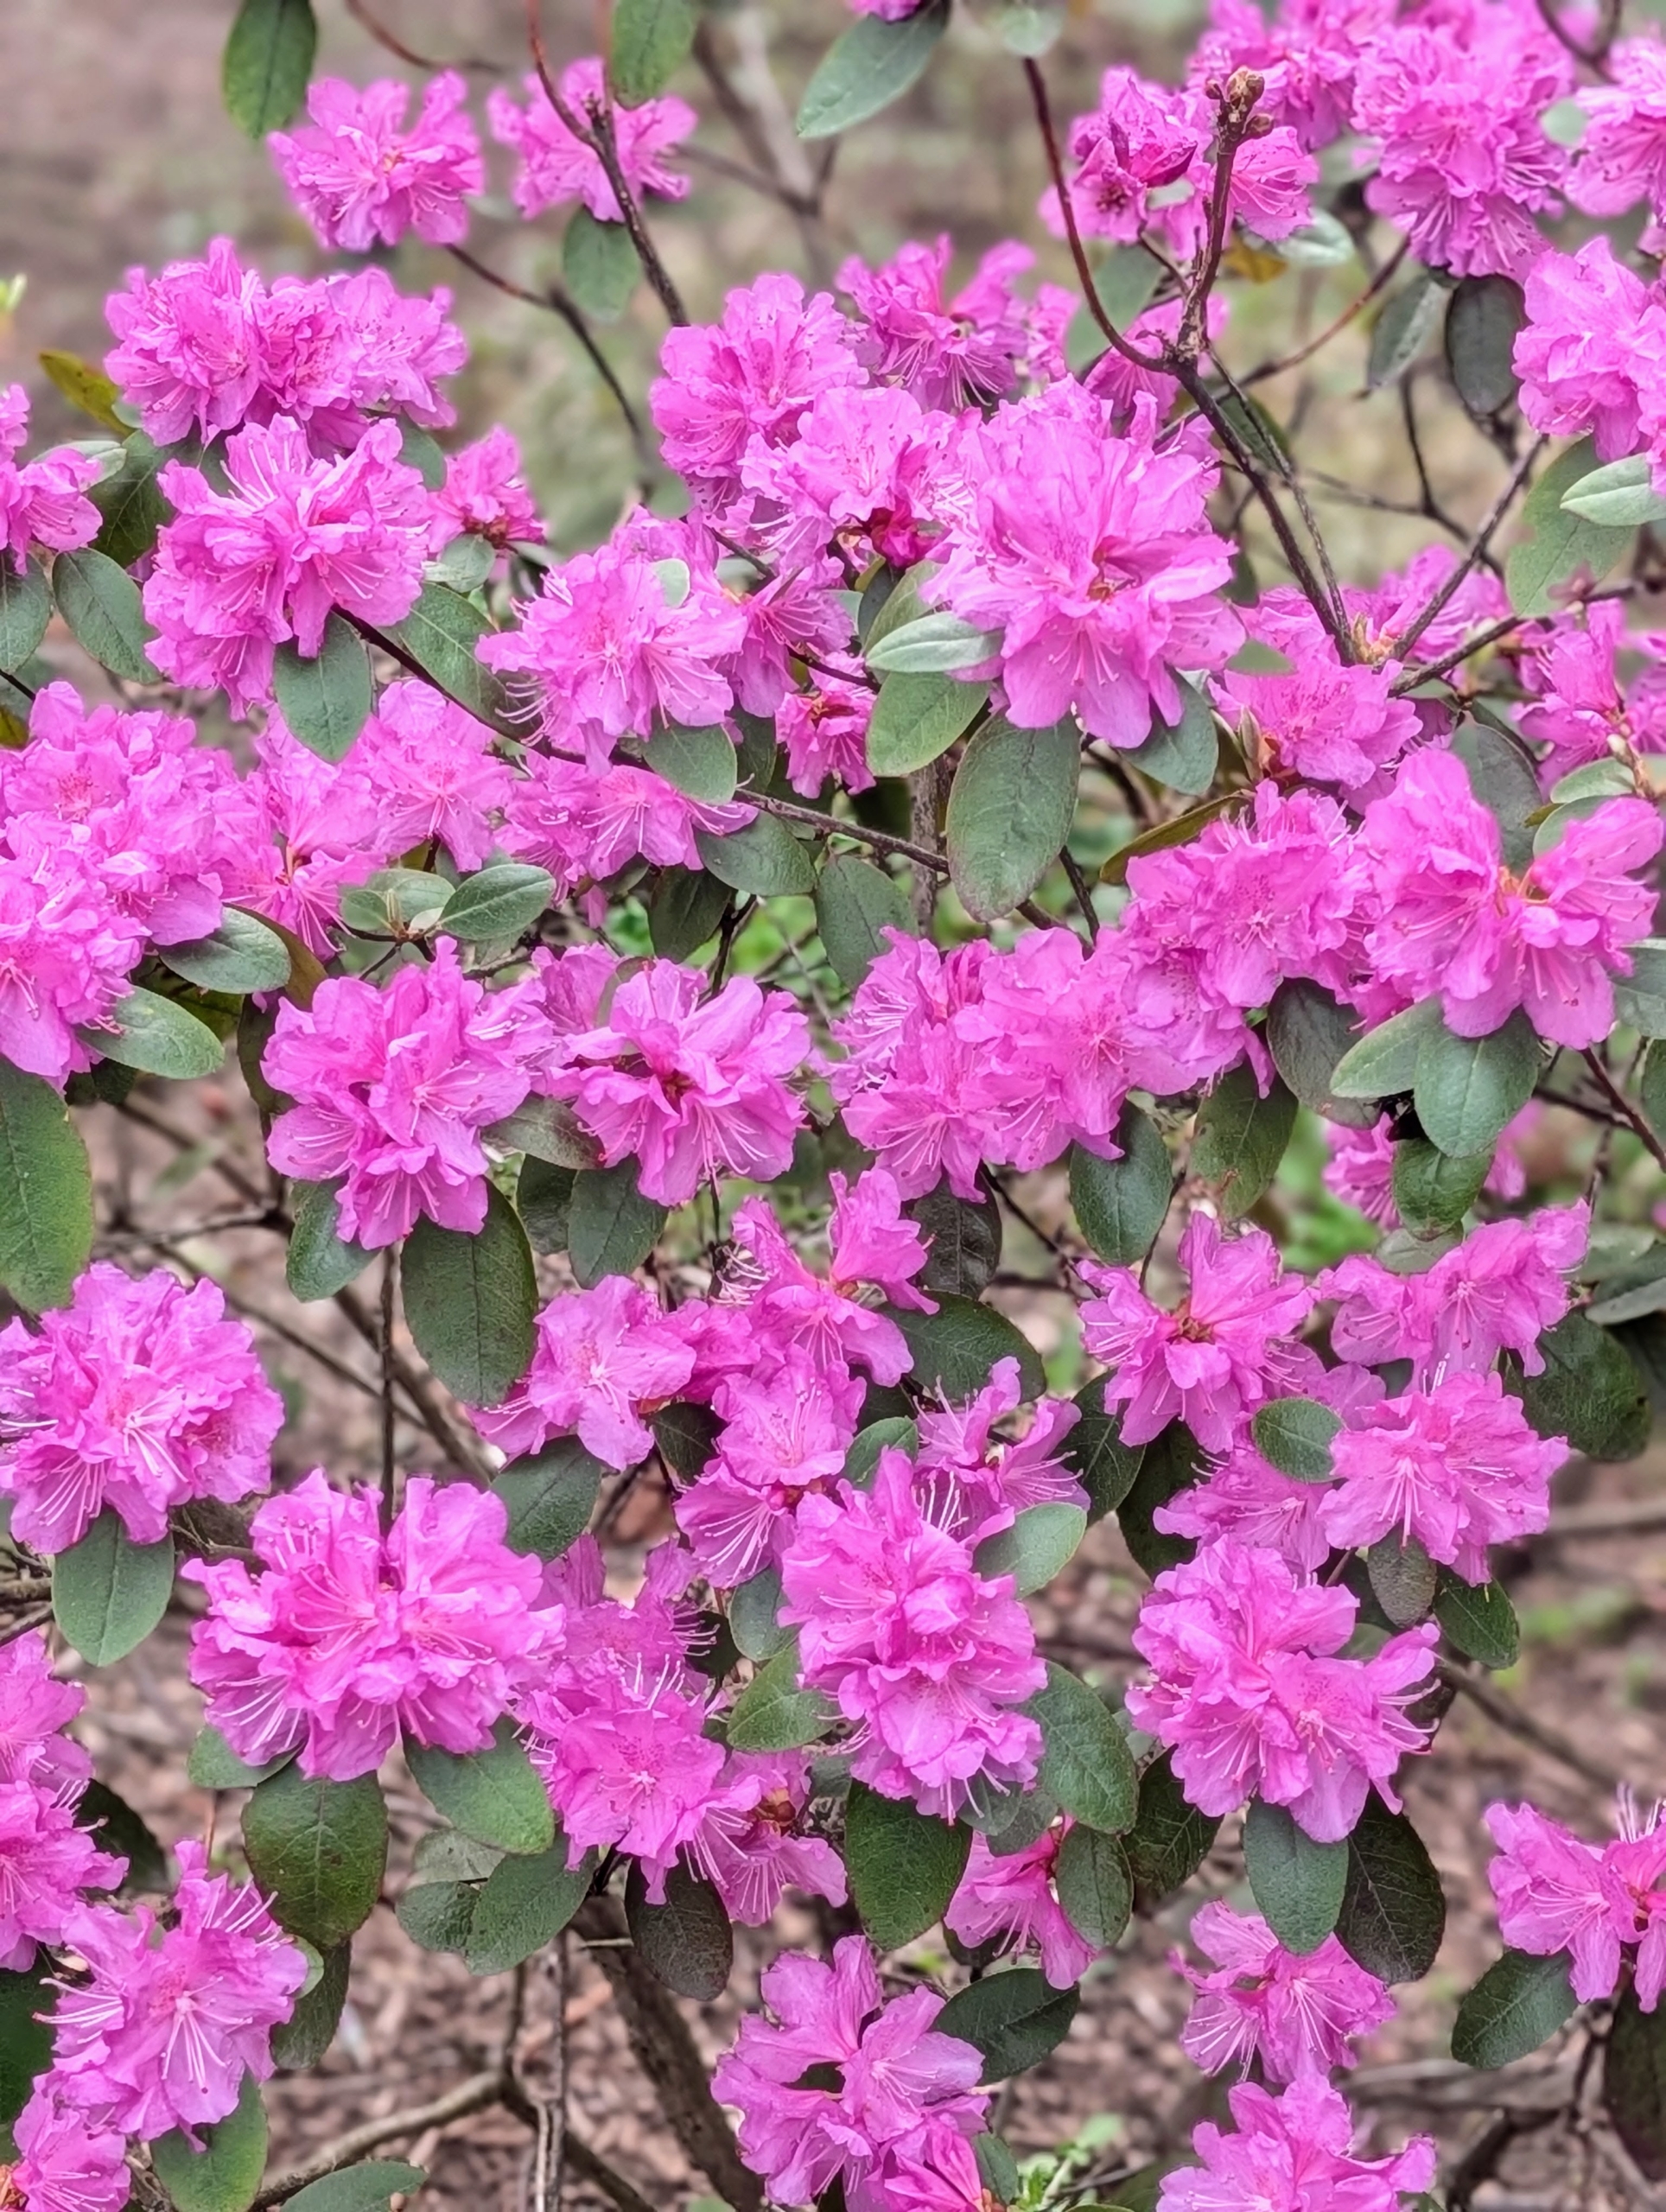
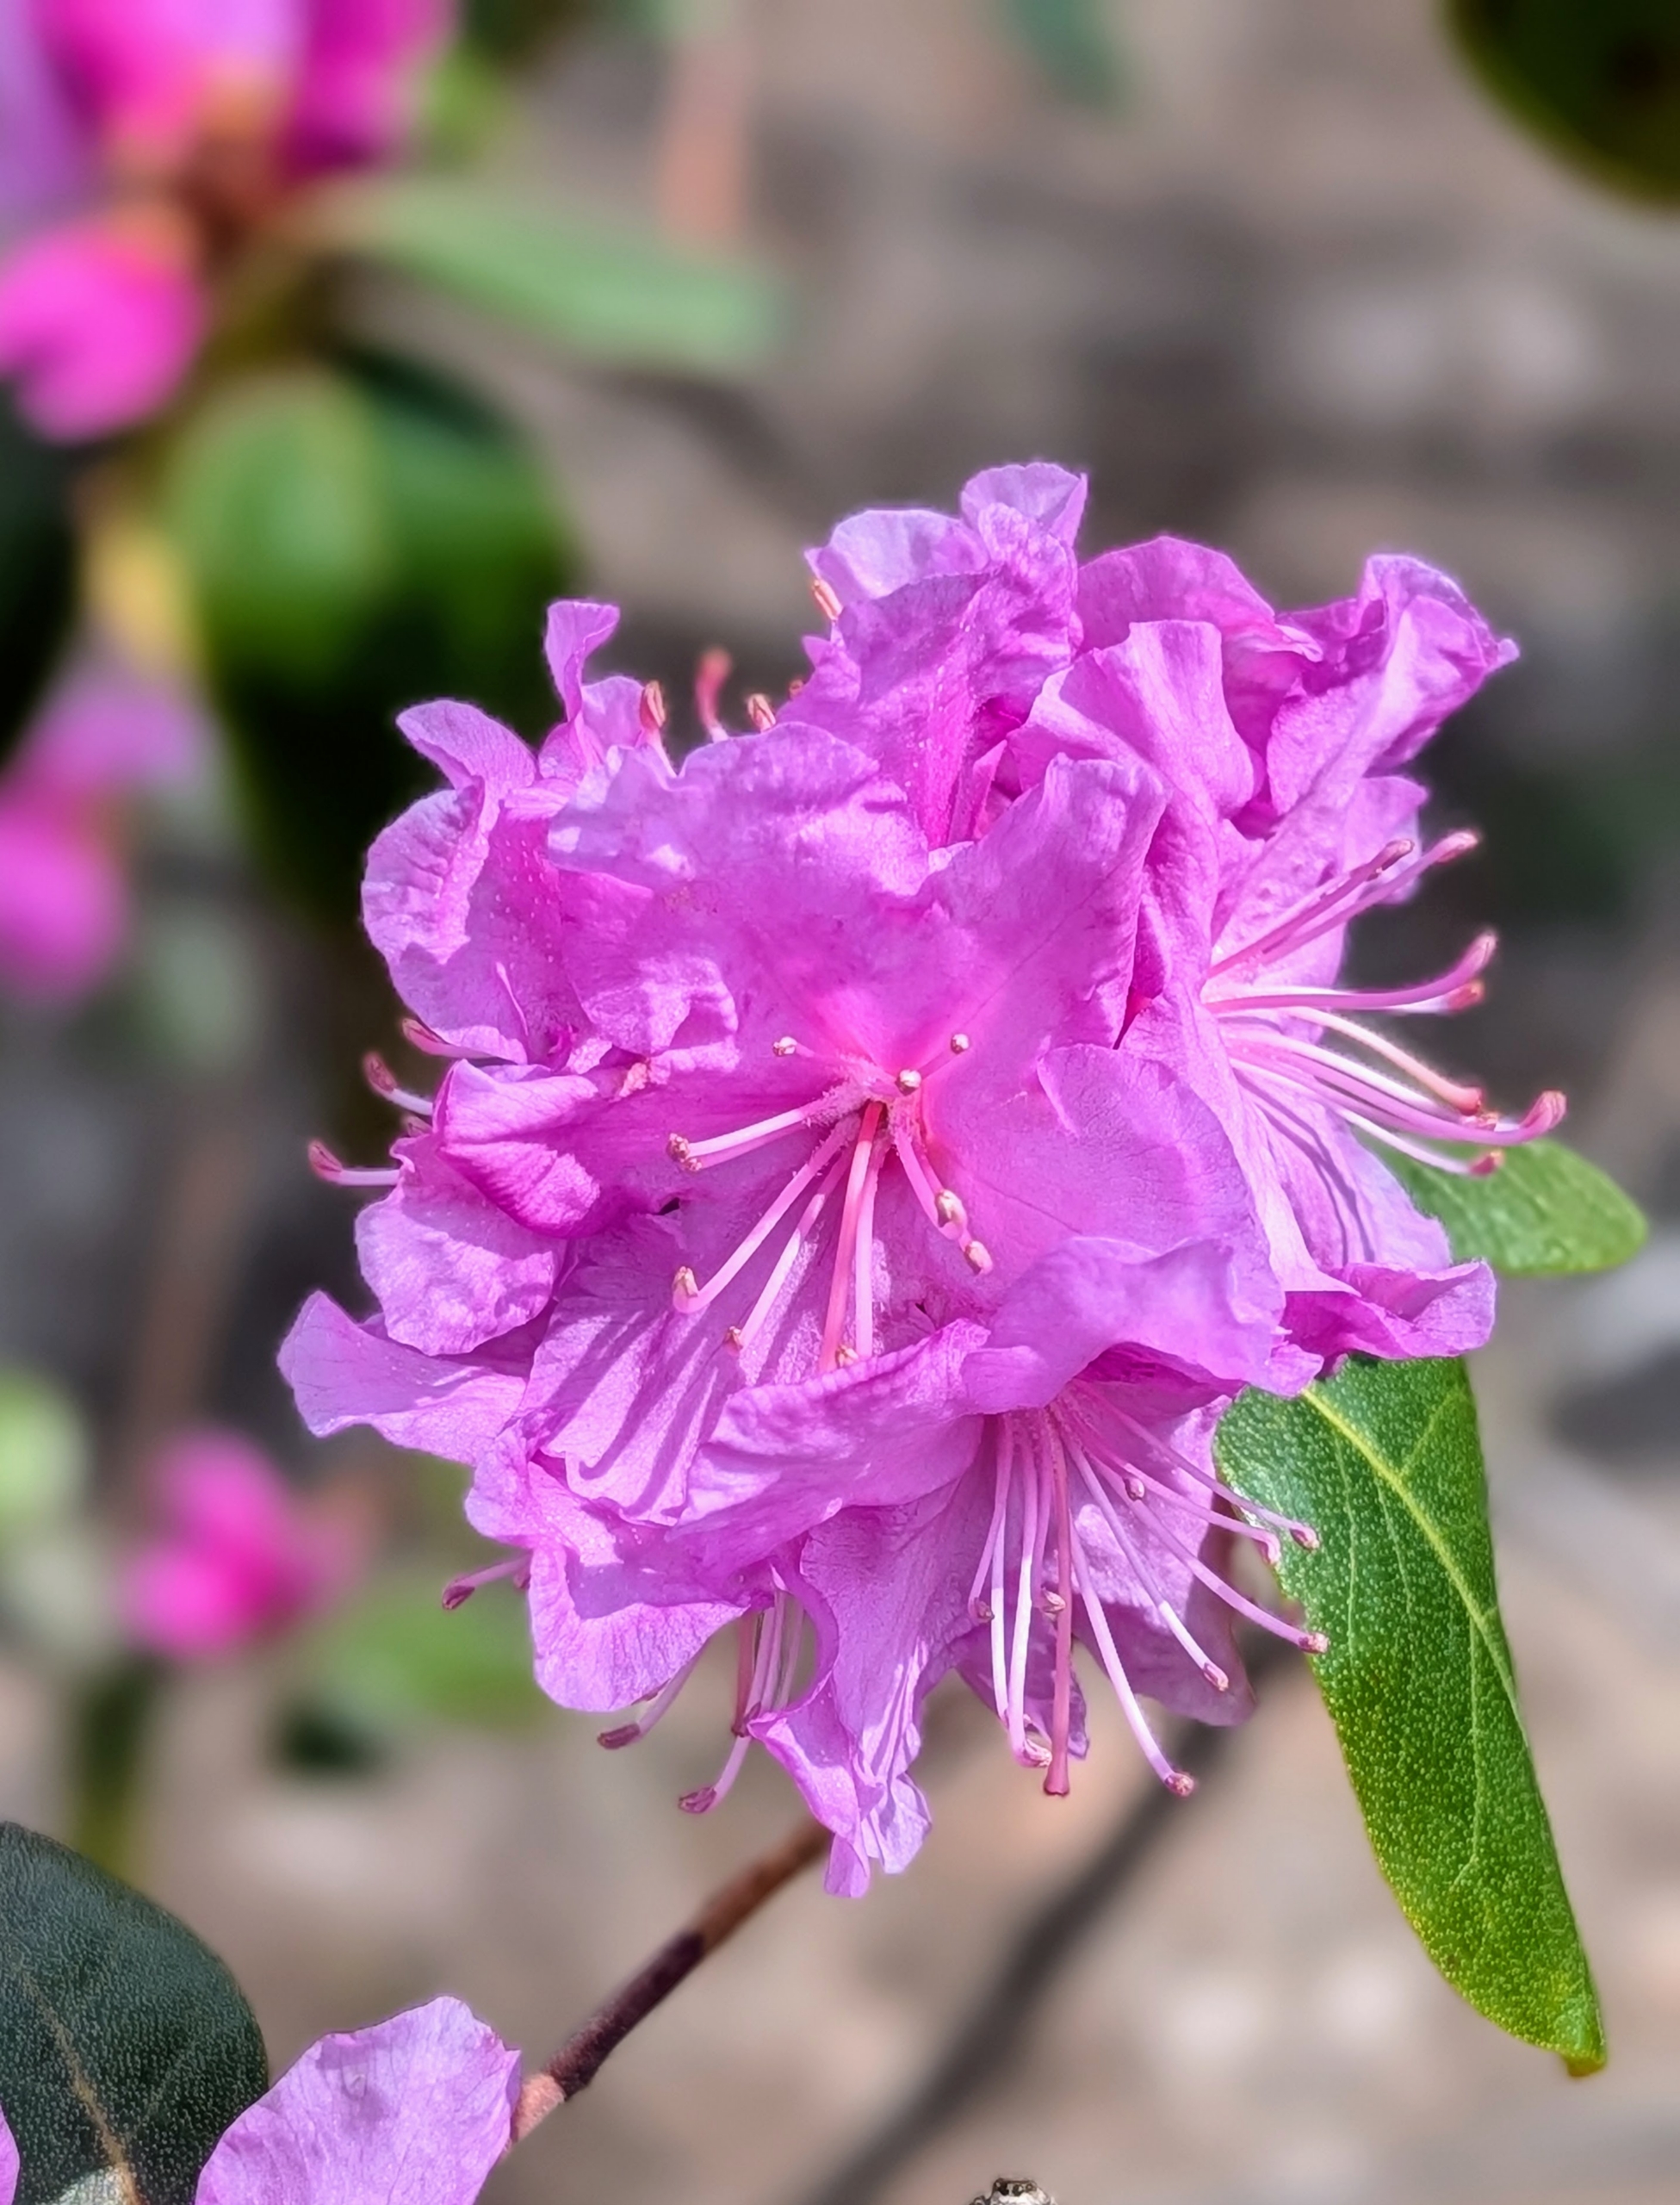
A handful of azaleas along one side of my farm are also blooming. Of all the shrubs that flower in spring, azaleas provide some of the most brilliant displays. I have hundreds planted outside my Summer House and down the carriage road to the stable.
Azaleas are generally healthy, easy to grow plants. Some azaleas bloom as early as March, but most bloom in April and May with blossoms lasting several weeks.
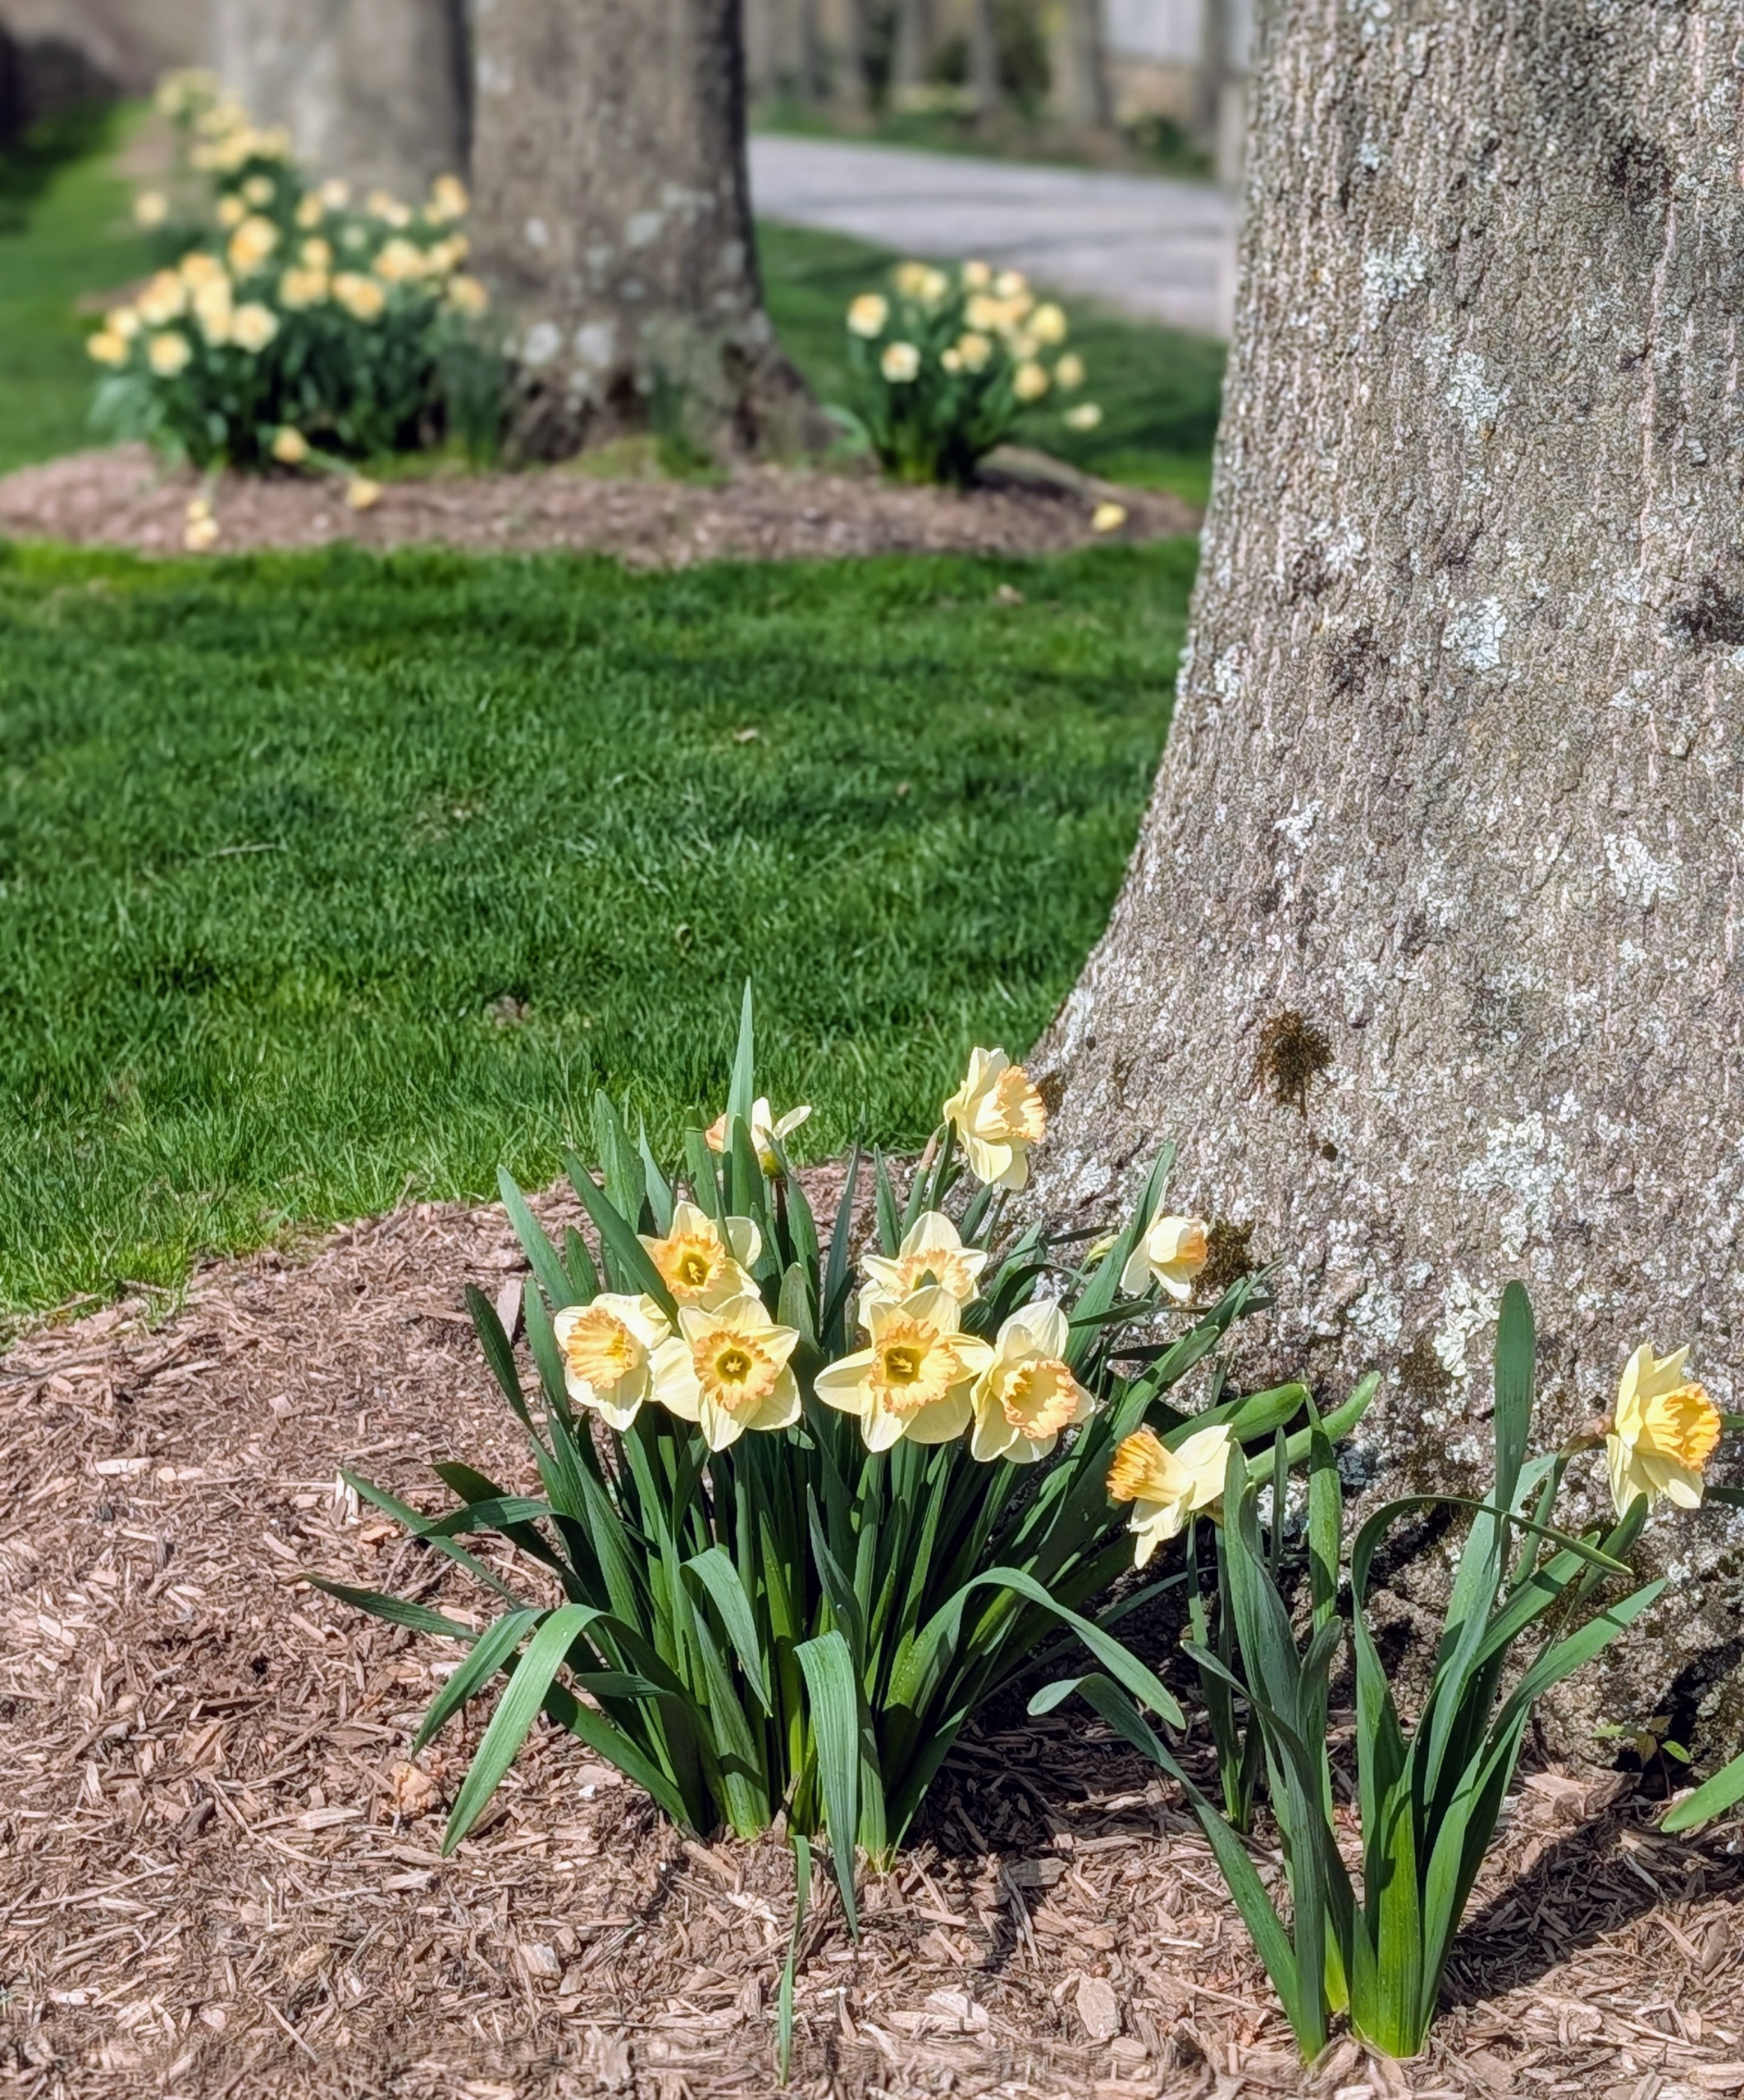
My long daffodil border is broken up into various groupings – different varieties, different shapes and sizes, and different blooming times. This provides a longer splash of color through the season. More and more pop up every day.
The flowers are generally white or yellow with either uniform or contrasting colored tepals and coronas. This white daffodil has a bold contrasting orange center.
Underneath the majestic pin oaks in the allée and in the pits under the weeping willows I have a variety of Narcissi named after me by Van Engelen Inc., a wholesale flower bulb company in Bantam, Connecticut.
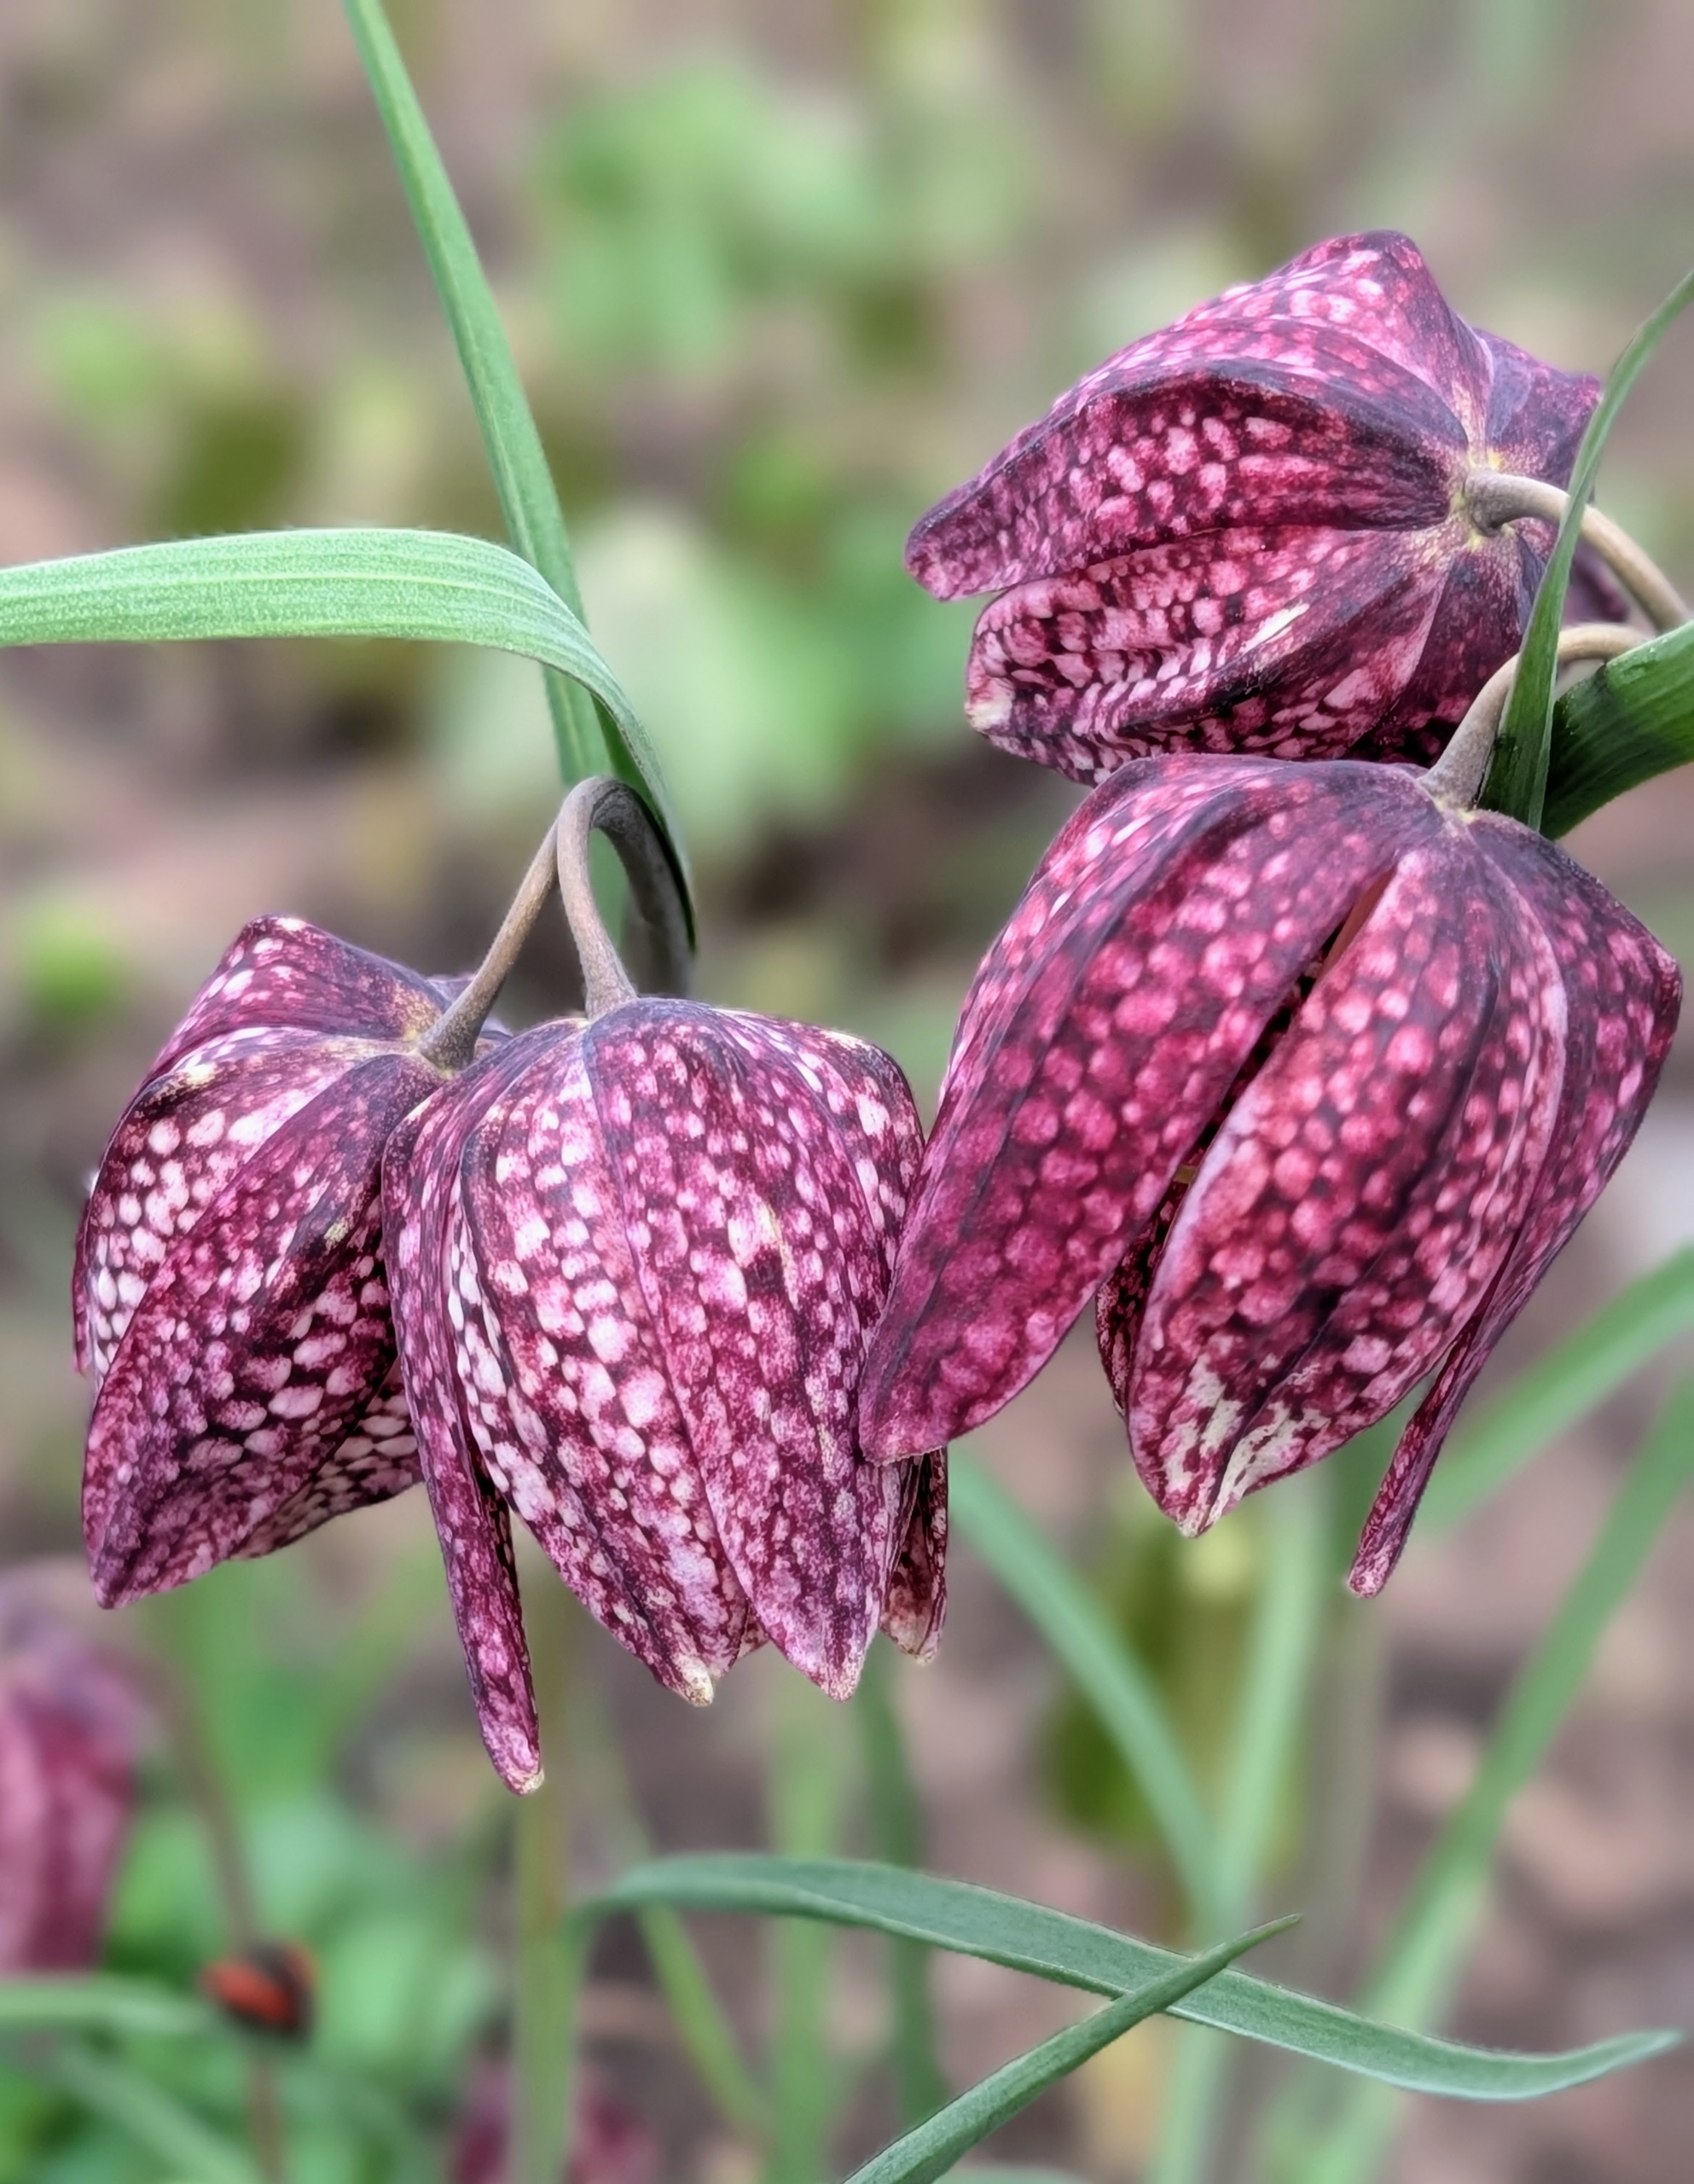
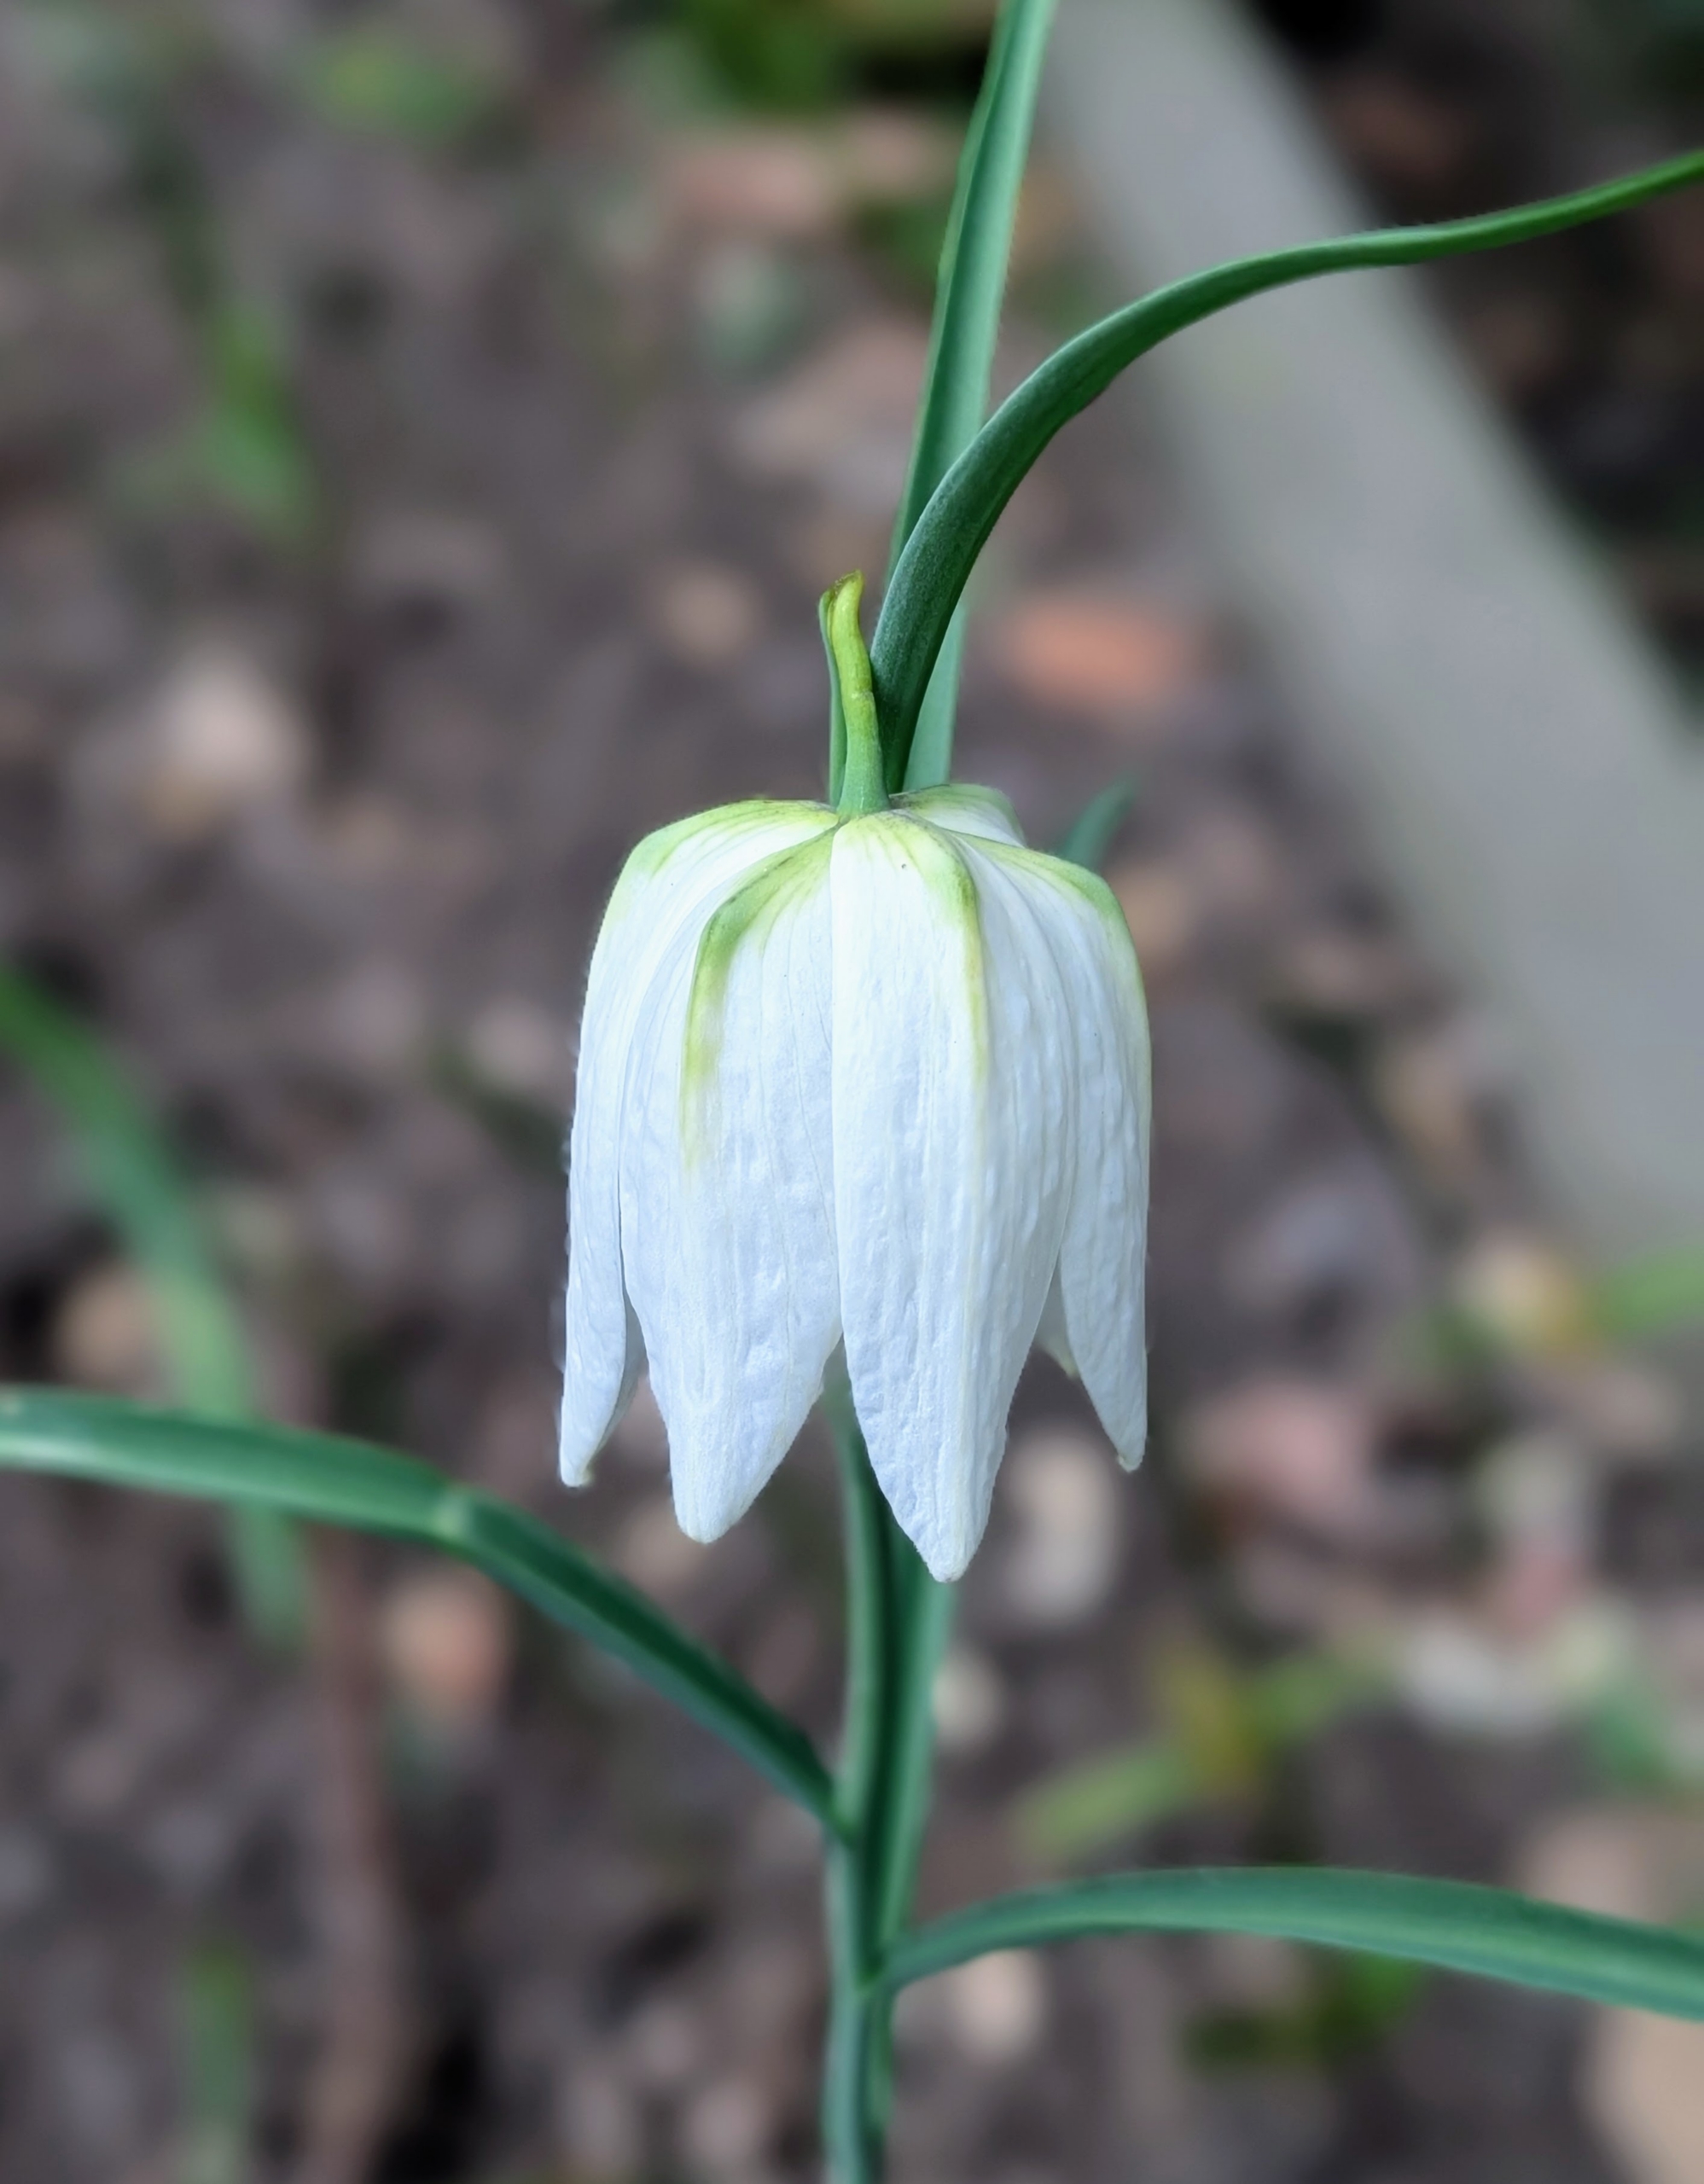
Commonly known as Guinea Hen Flower, Checkered Lily or Snake’s Head Fritillary, Fritillaria meleagris is an heirloom species dating back to 1575. It has pendant, bell-shaped, checkered and veined flowers that are either maroon or ivory-white with grass-like foliage on slender stems.
Here is one of the blooms in white.
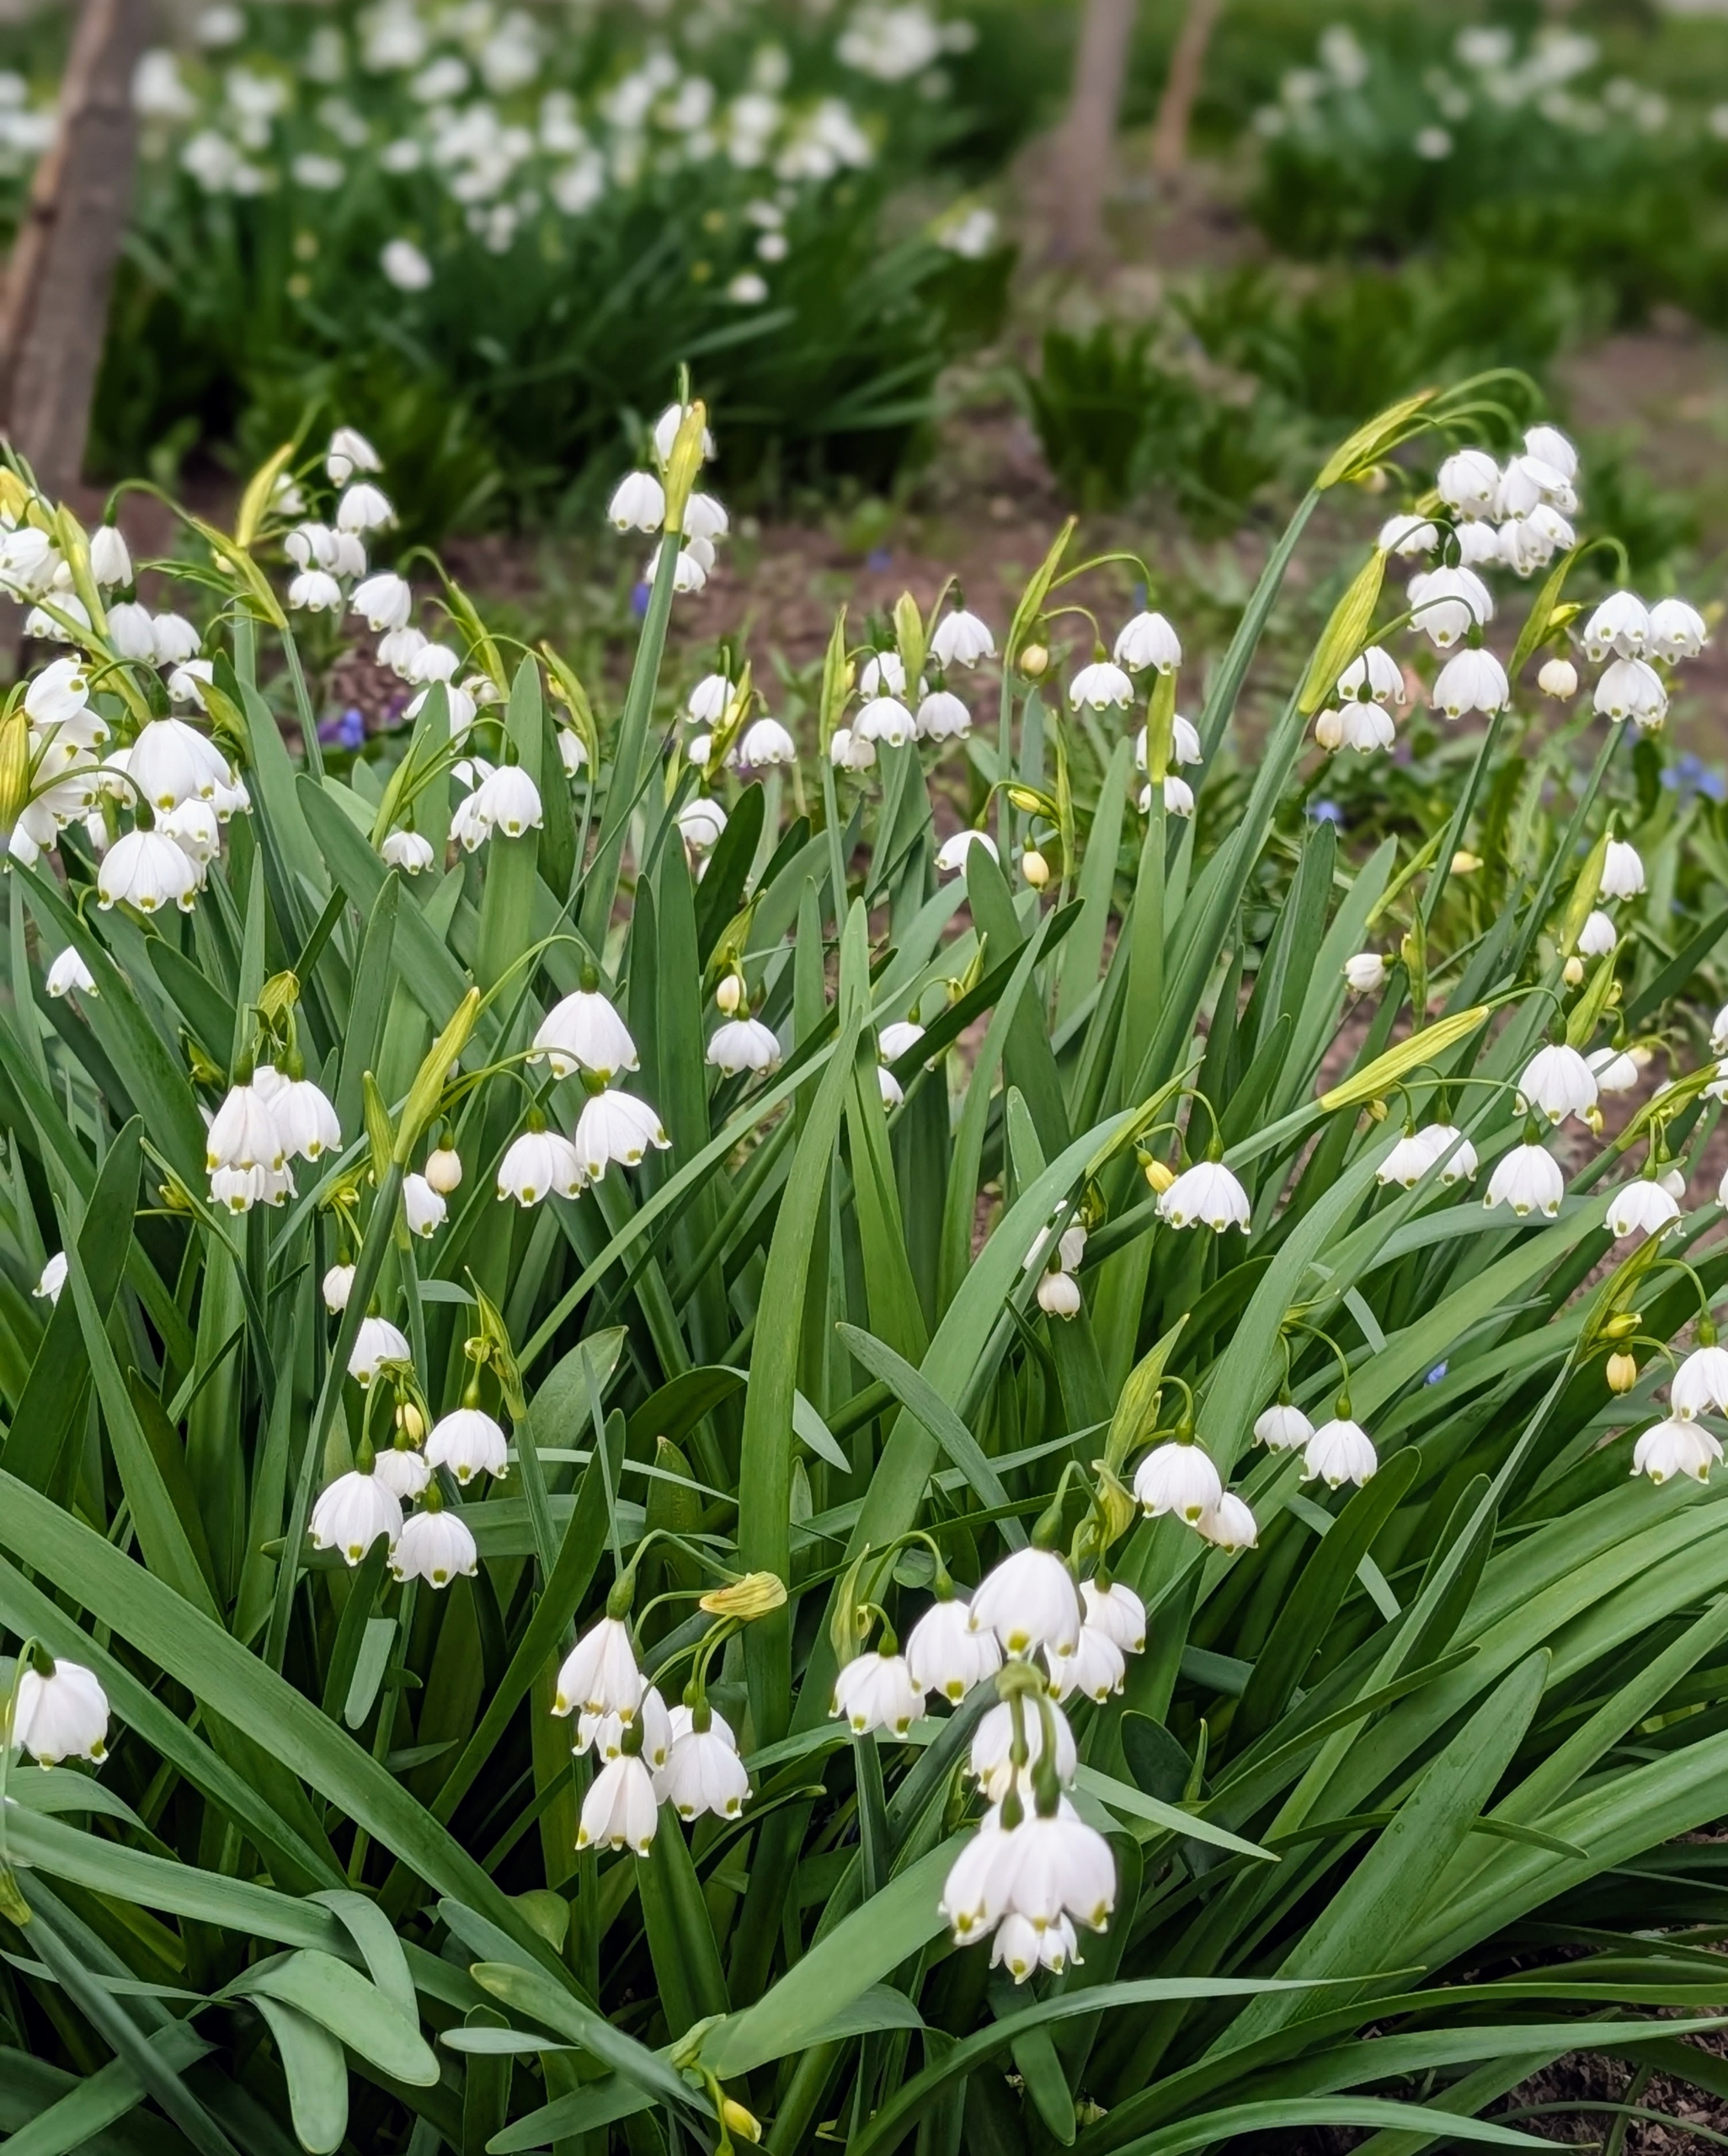
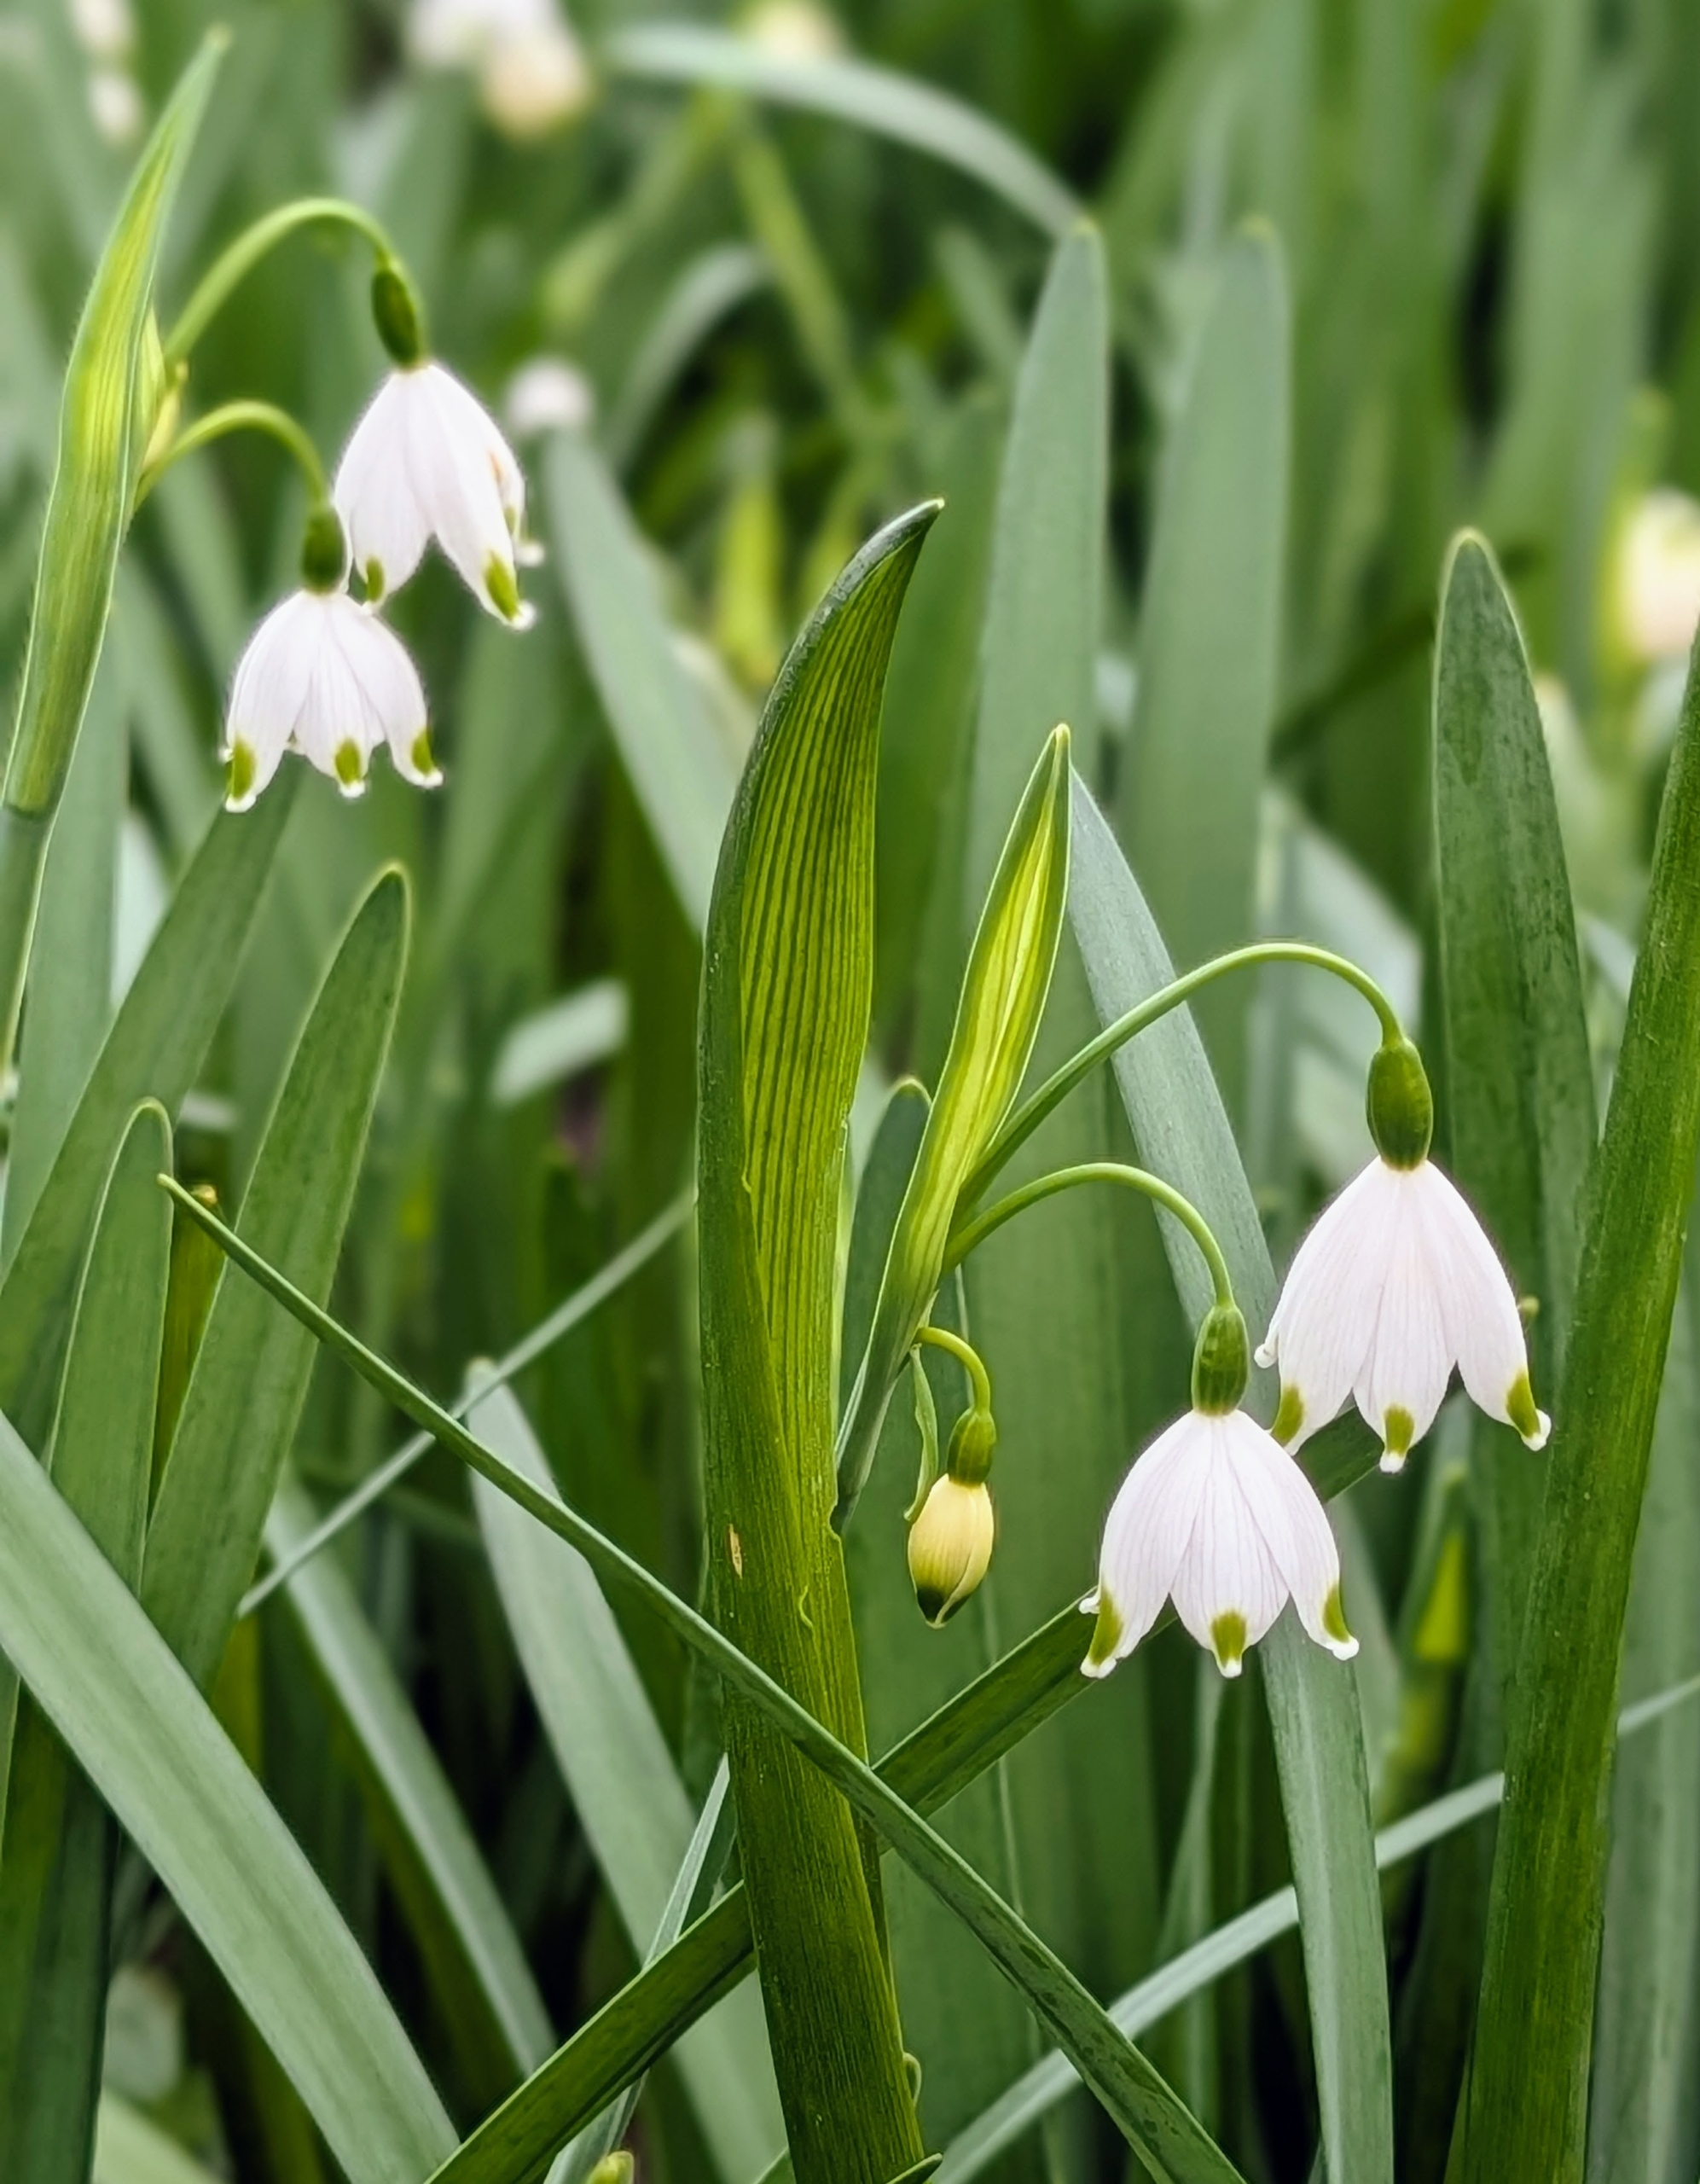
These are Snowflakes – not to be confused with Snowdrops. The Snowflake is a much taller growing bulb which normally has more than one flower per stem. Snowflake petals are even, each with a green spots on the end, whereas Snowdrops have helicopter-like propellers that are green only on the inner petals.
Snowflakes, Leucojum, are native to Eurasia and are members of the amaryllis family. These perennials increase over time and are not attractive to deer or rodents.
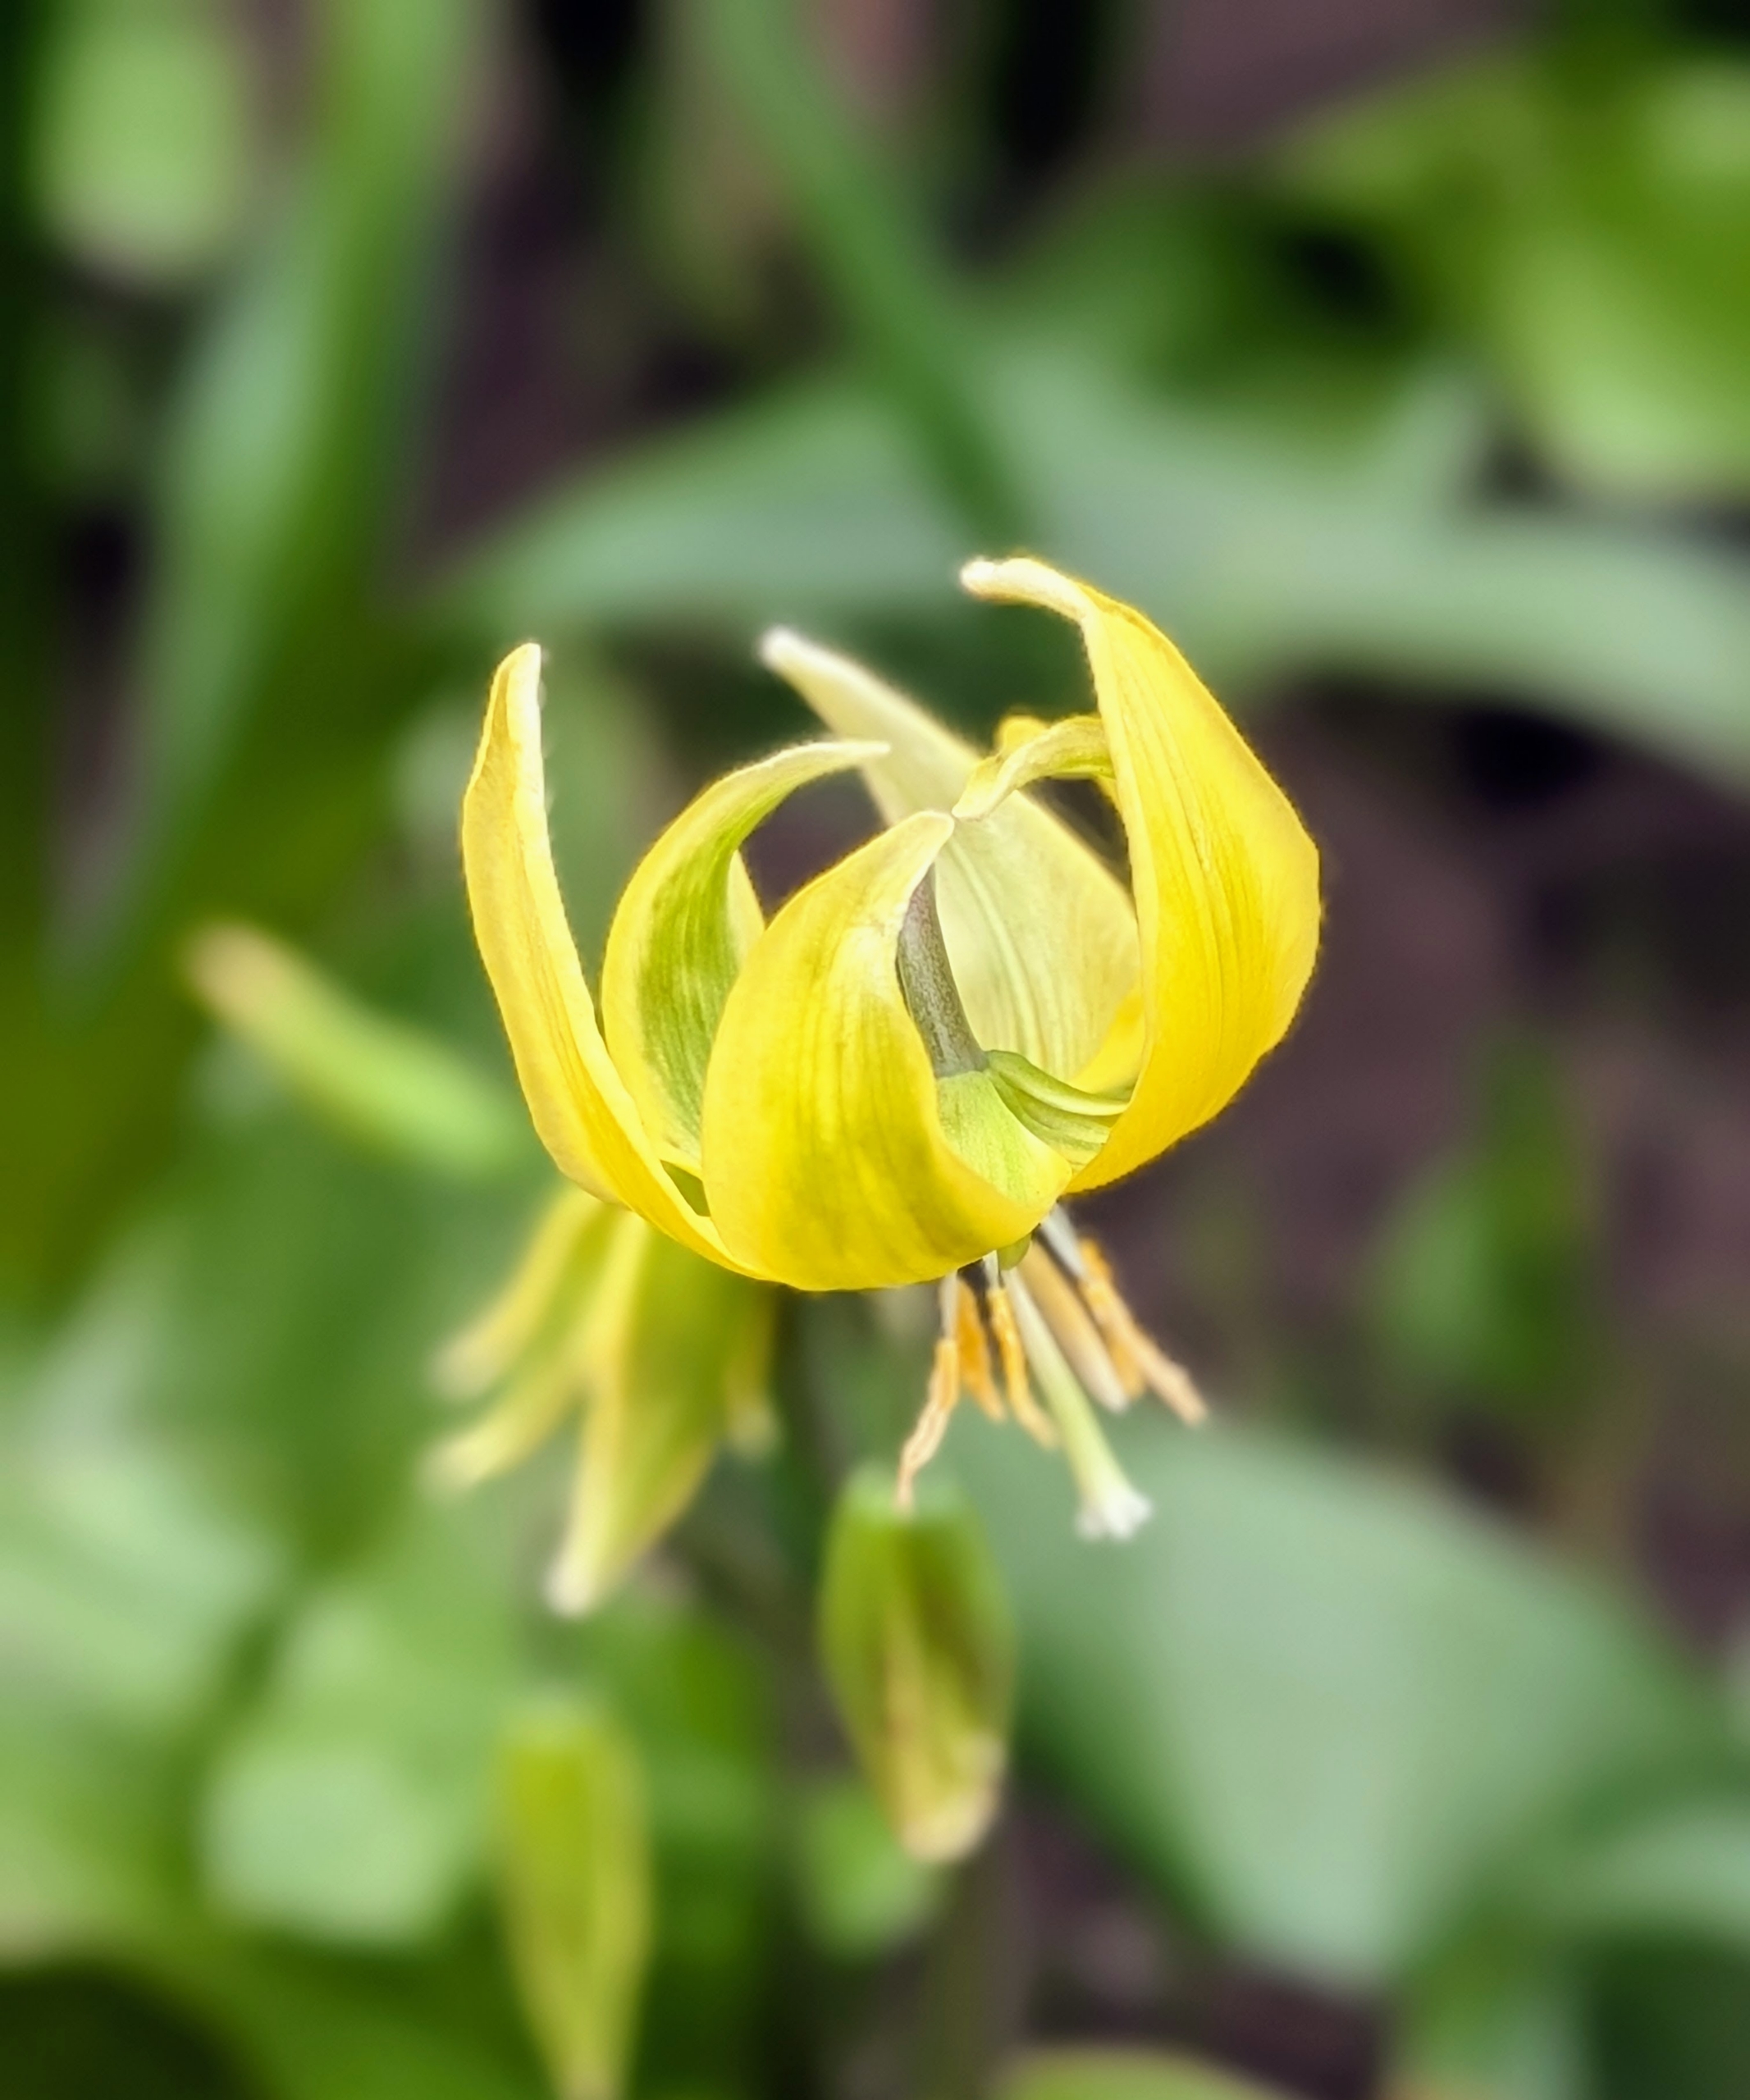
This trout lily is ‘Pagoda Dogtooth.’ It produces up to 10 clustered, 12-inch arching stems that bear yellow, nodding flowers with reflexed petals.
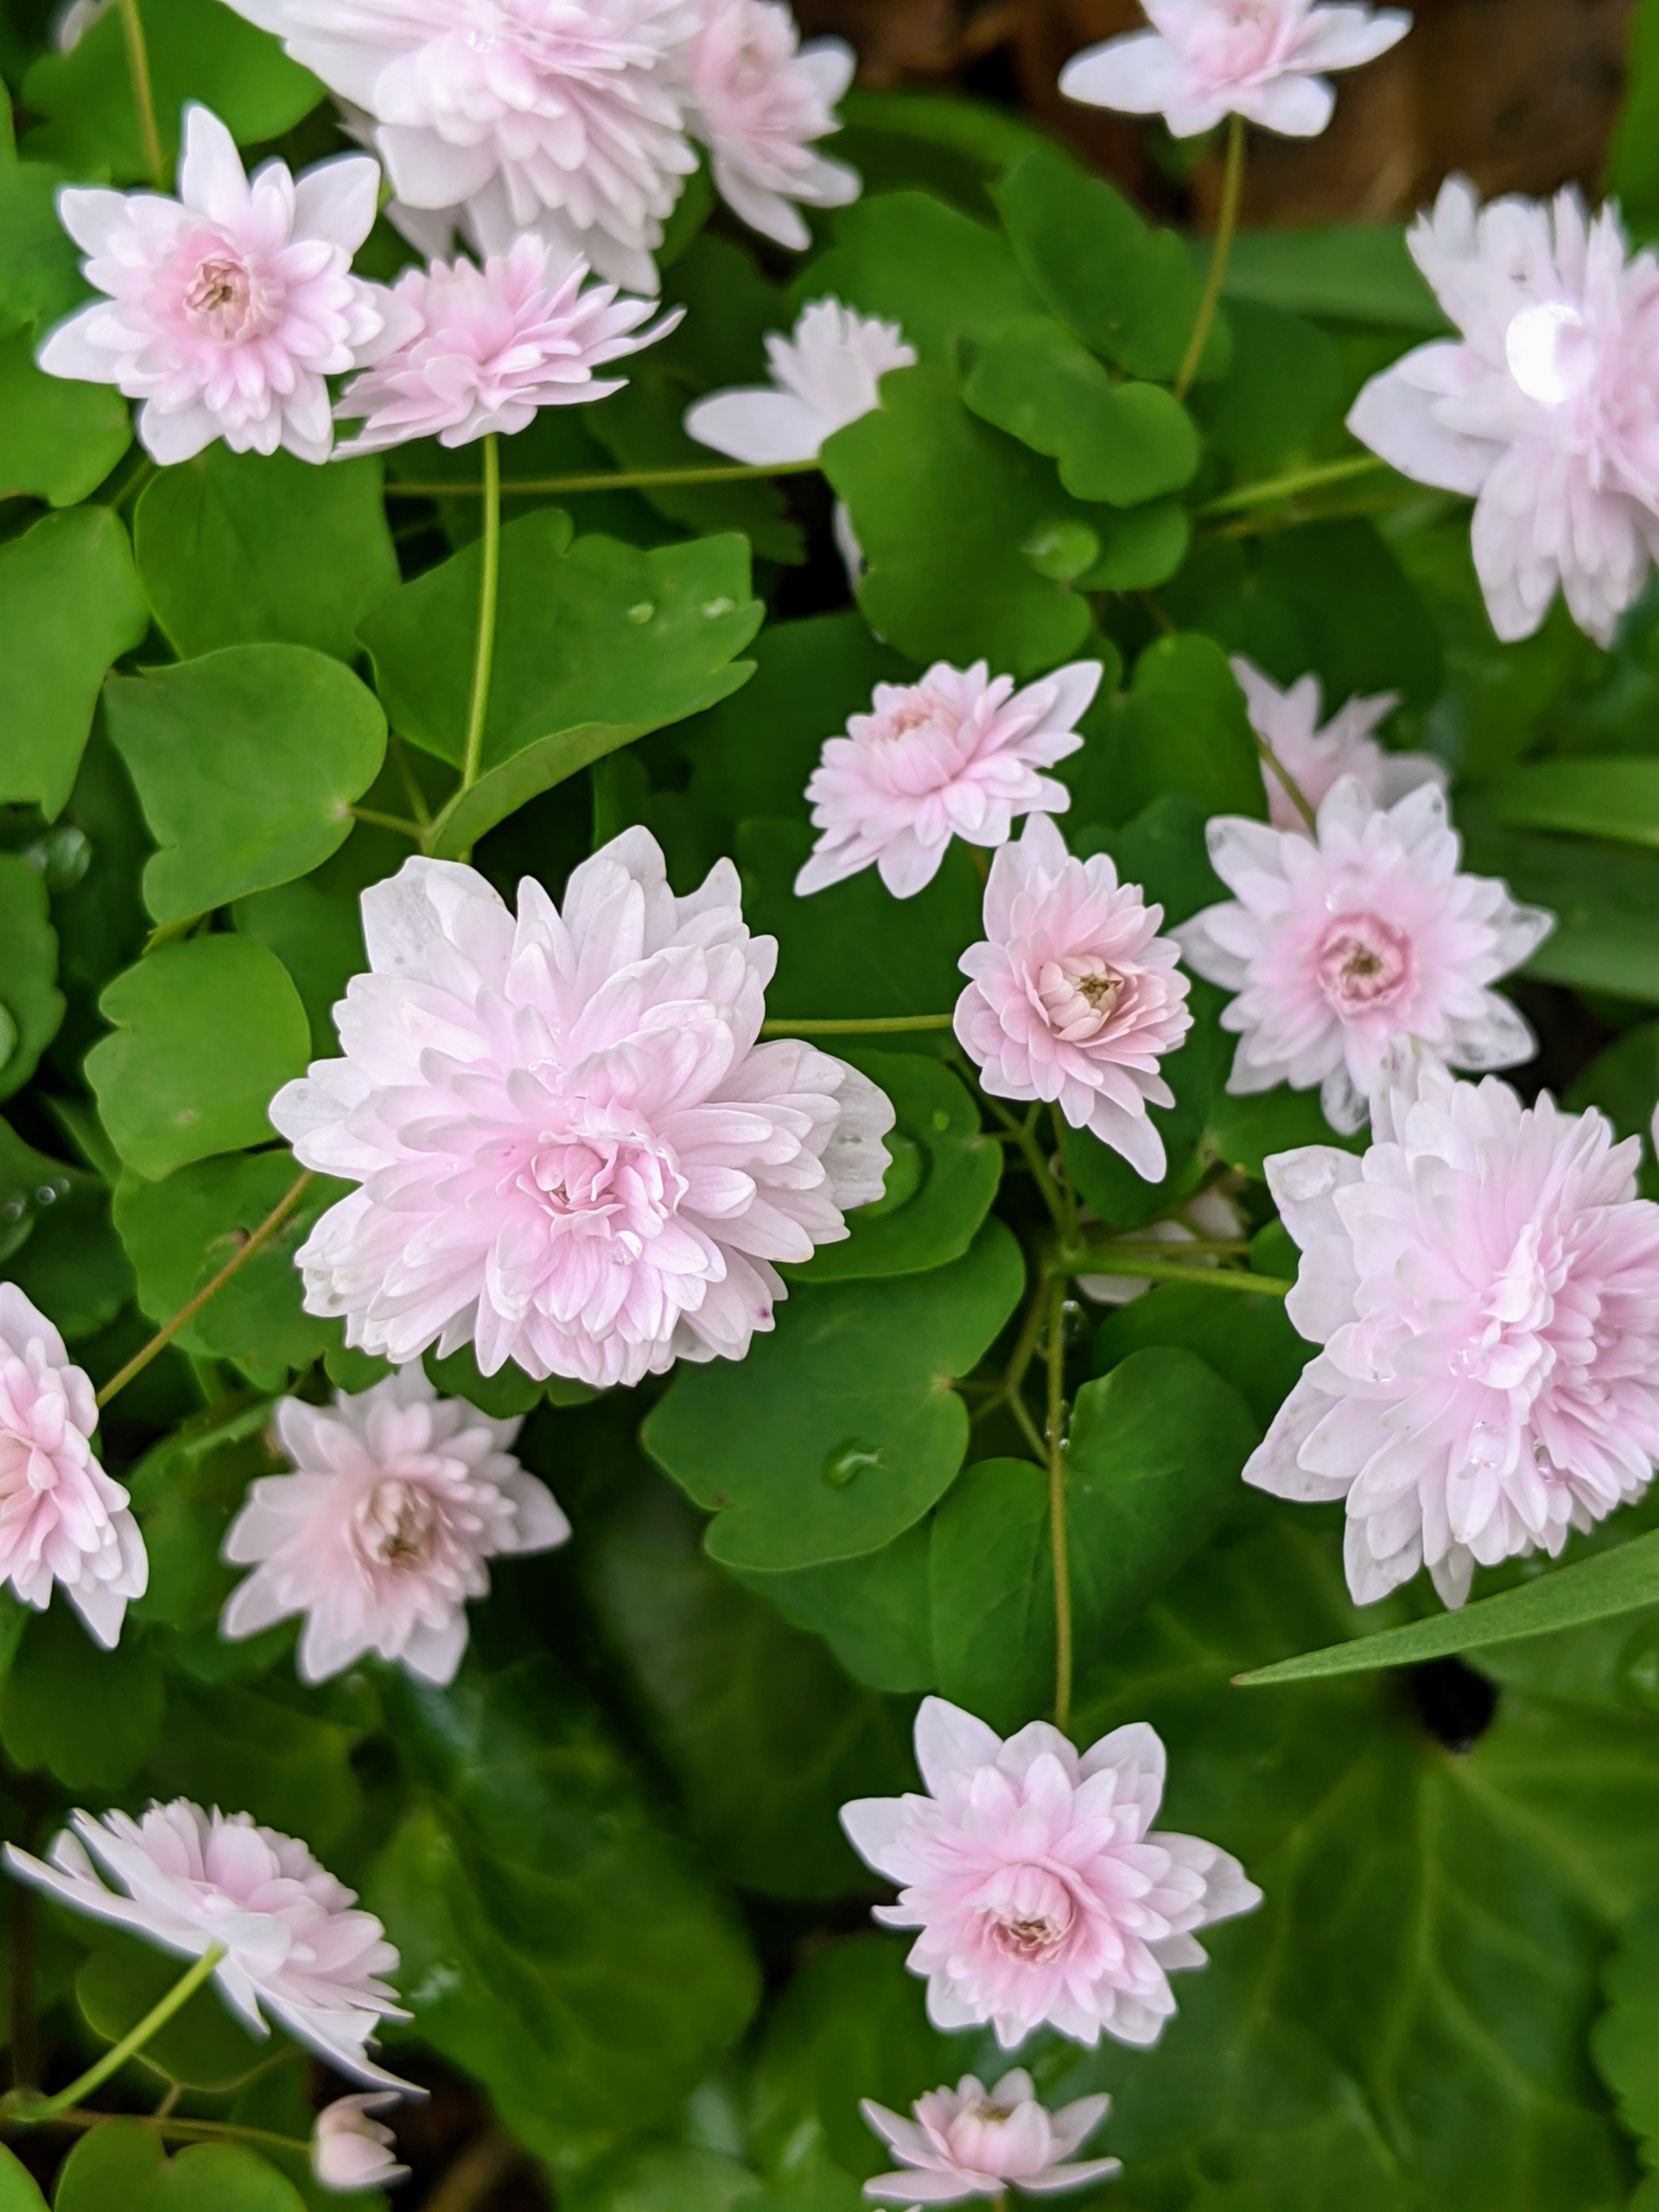
Anemonella thalictroides is an easy-to-grow, deer-resistant, durable, but dainty looking plant. The genus name Anemonella roughly translates as ‘little anemone’ because its flowers are miniature copies of the windflower. These are a light pale pink.
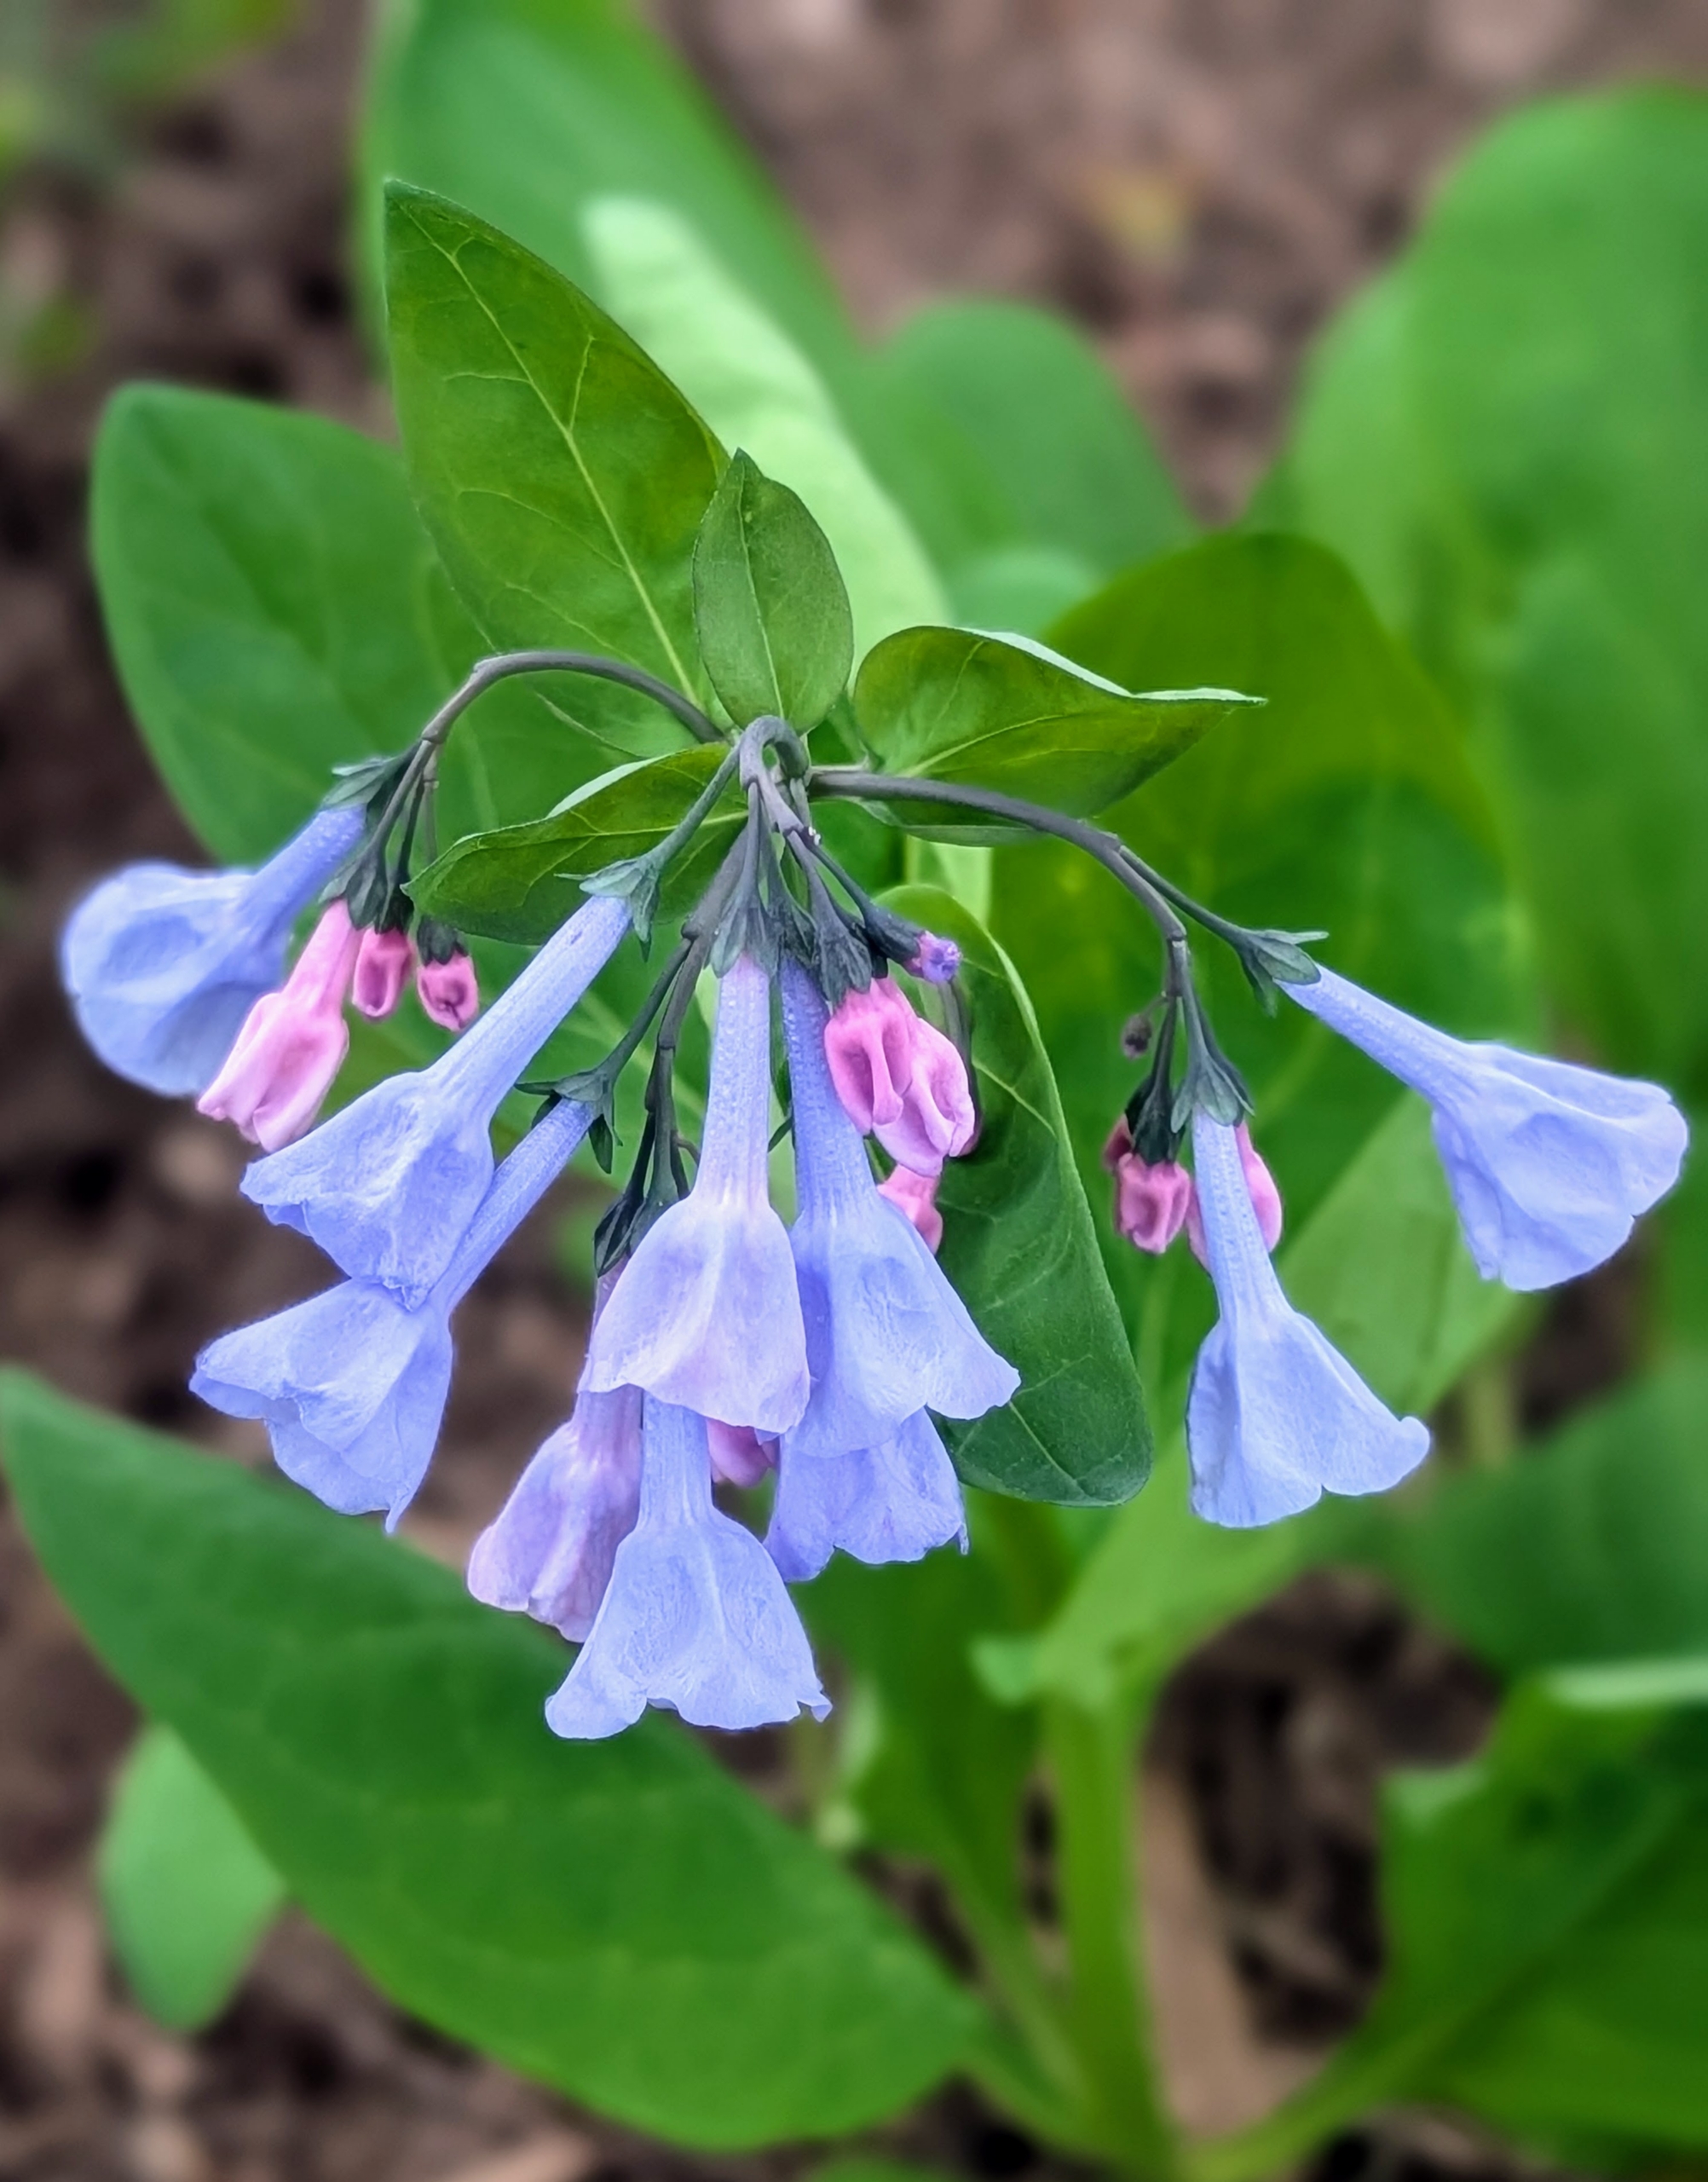
Mertensia virginica, or Virginia bluebell, is a perennial that is native to North America. Its buds are actually pink, but the flowers are blue. They can grow in any garden and bloom in early to mid spring and continue blooming through early to mid summer.
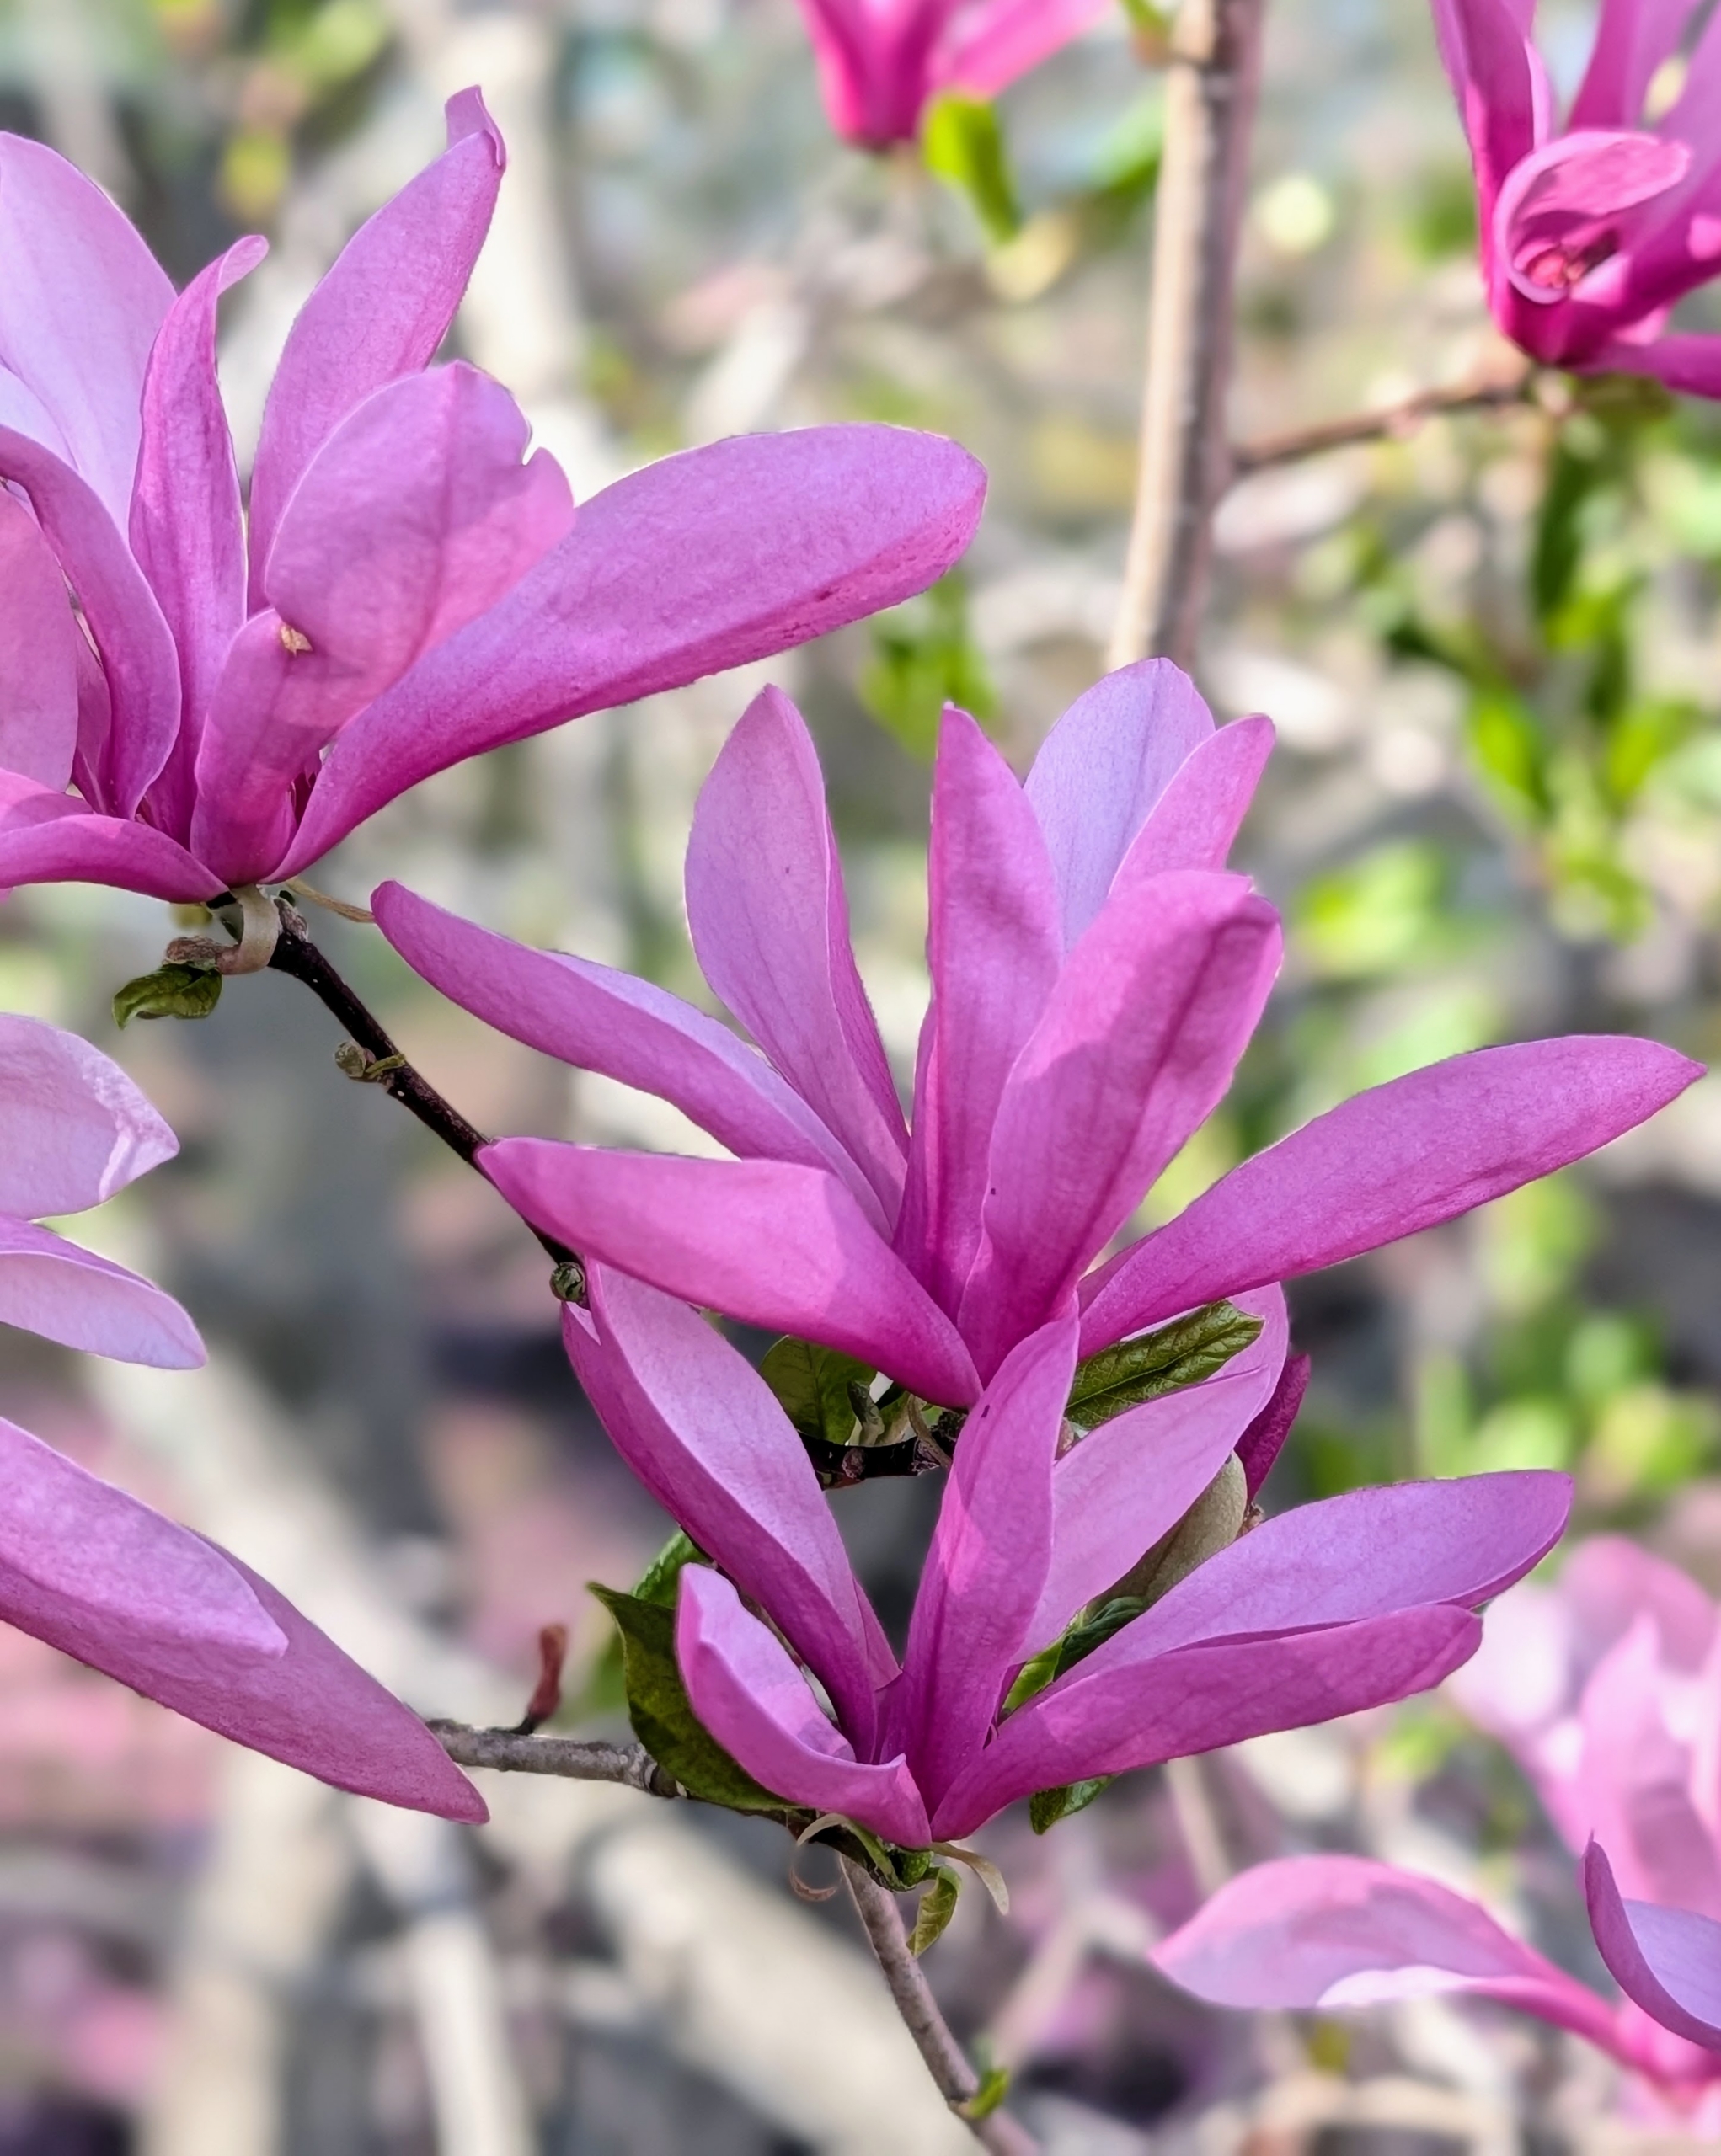
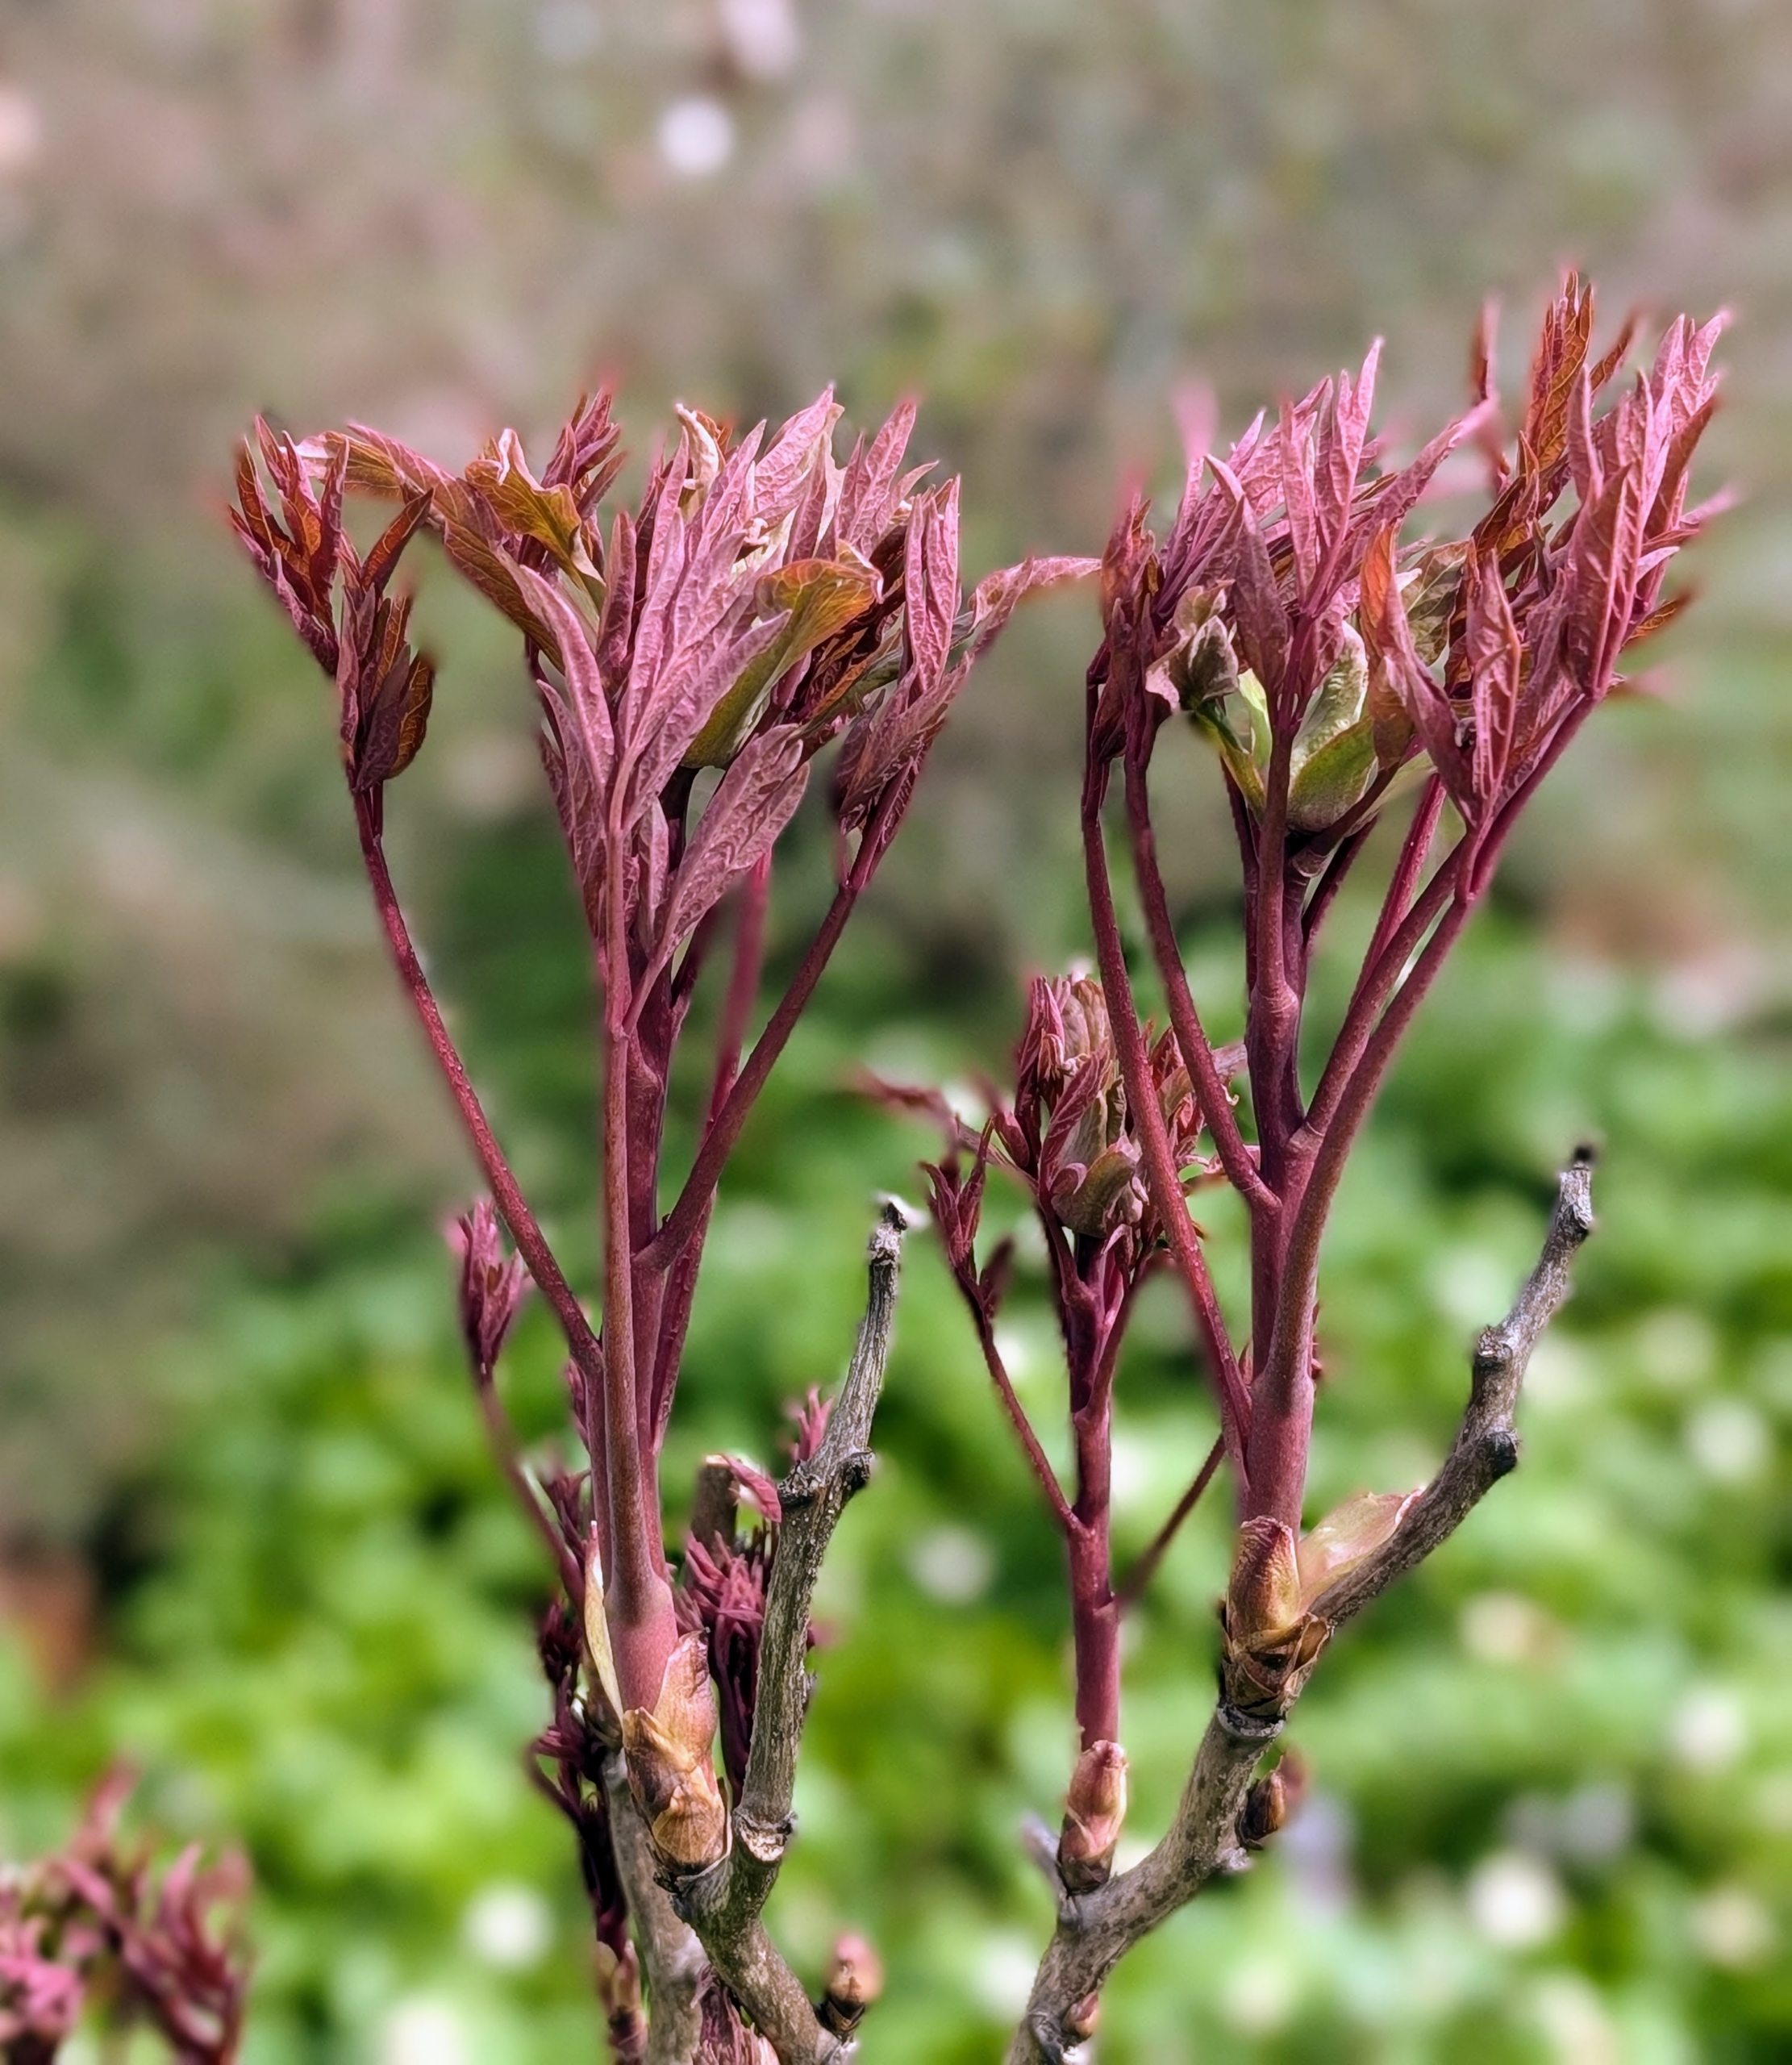
Magnolia is a large genus of about 210 flowering plant species in the subfamily Magnolioideae. It is named after French botanist Pierre Magnol. Growing as large shrubs or trees, they produce showy, fragrant flowers that are white, pink, red, purple or yellow, which may be bowl-shaped or star-shaped.
The foliage of the tree peonies are also starting to emerge.
In my vegetable garden, I also have a few beds of blooming tulips. There are currently more than 3000 registered tulip varieties, which are divided into at least 15-groups, mostly based on the flower type, size, and blooming period.
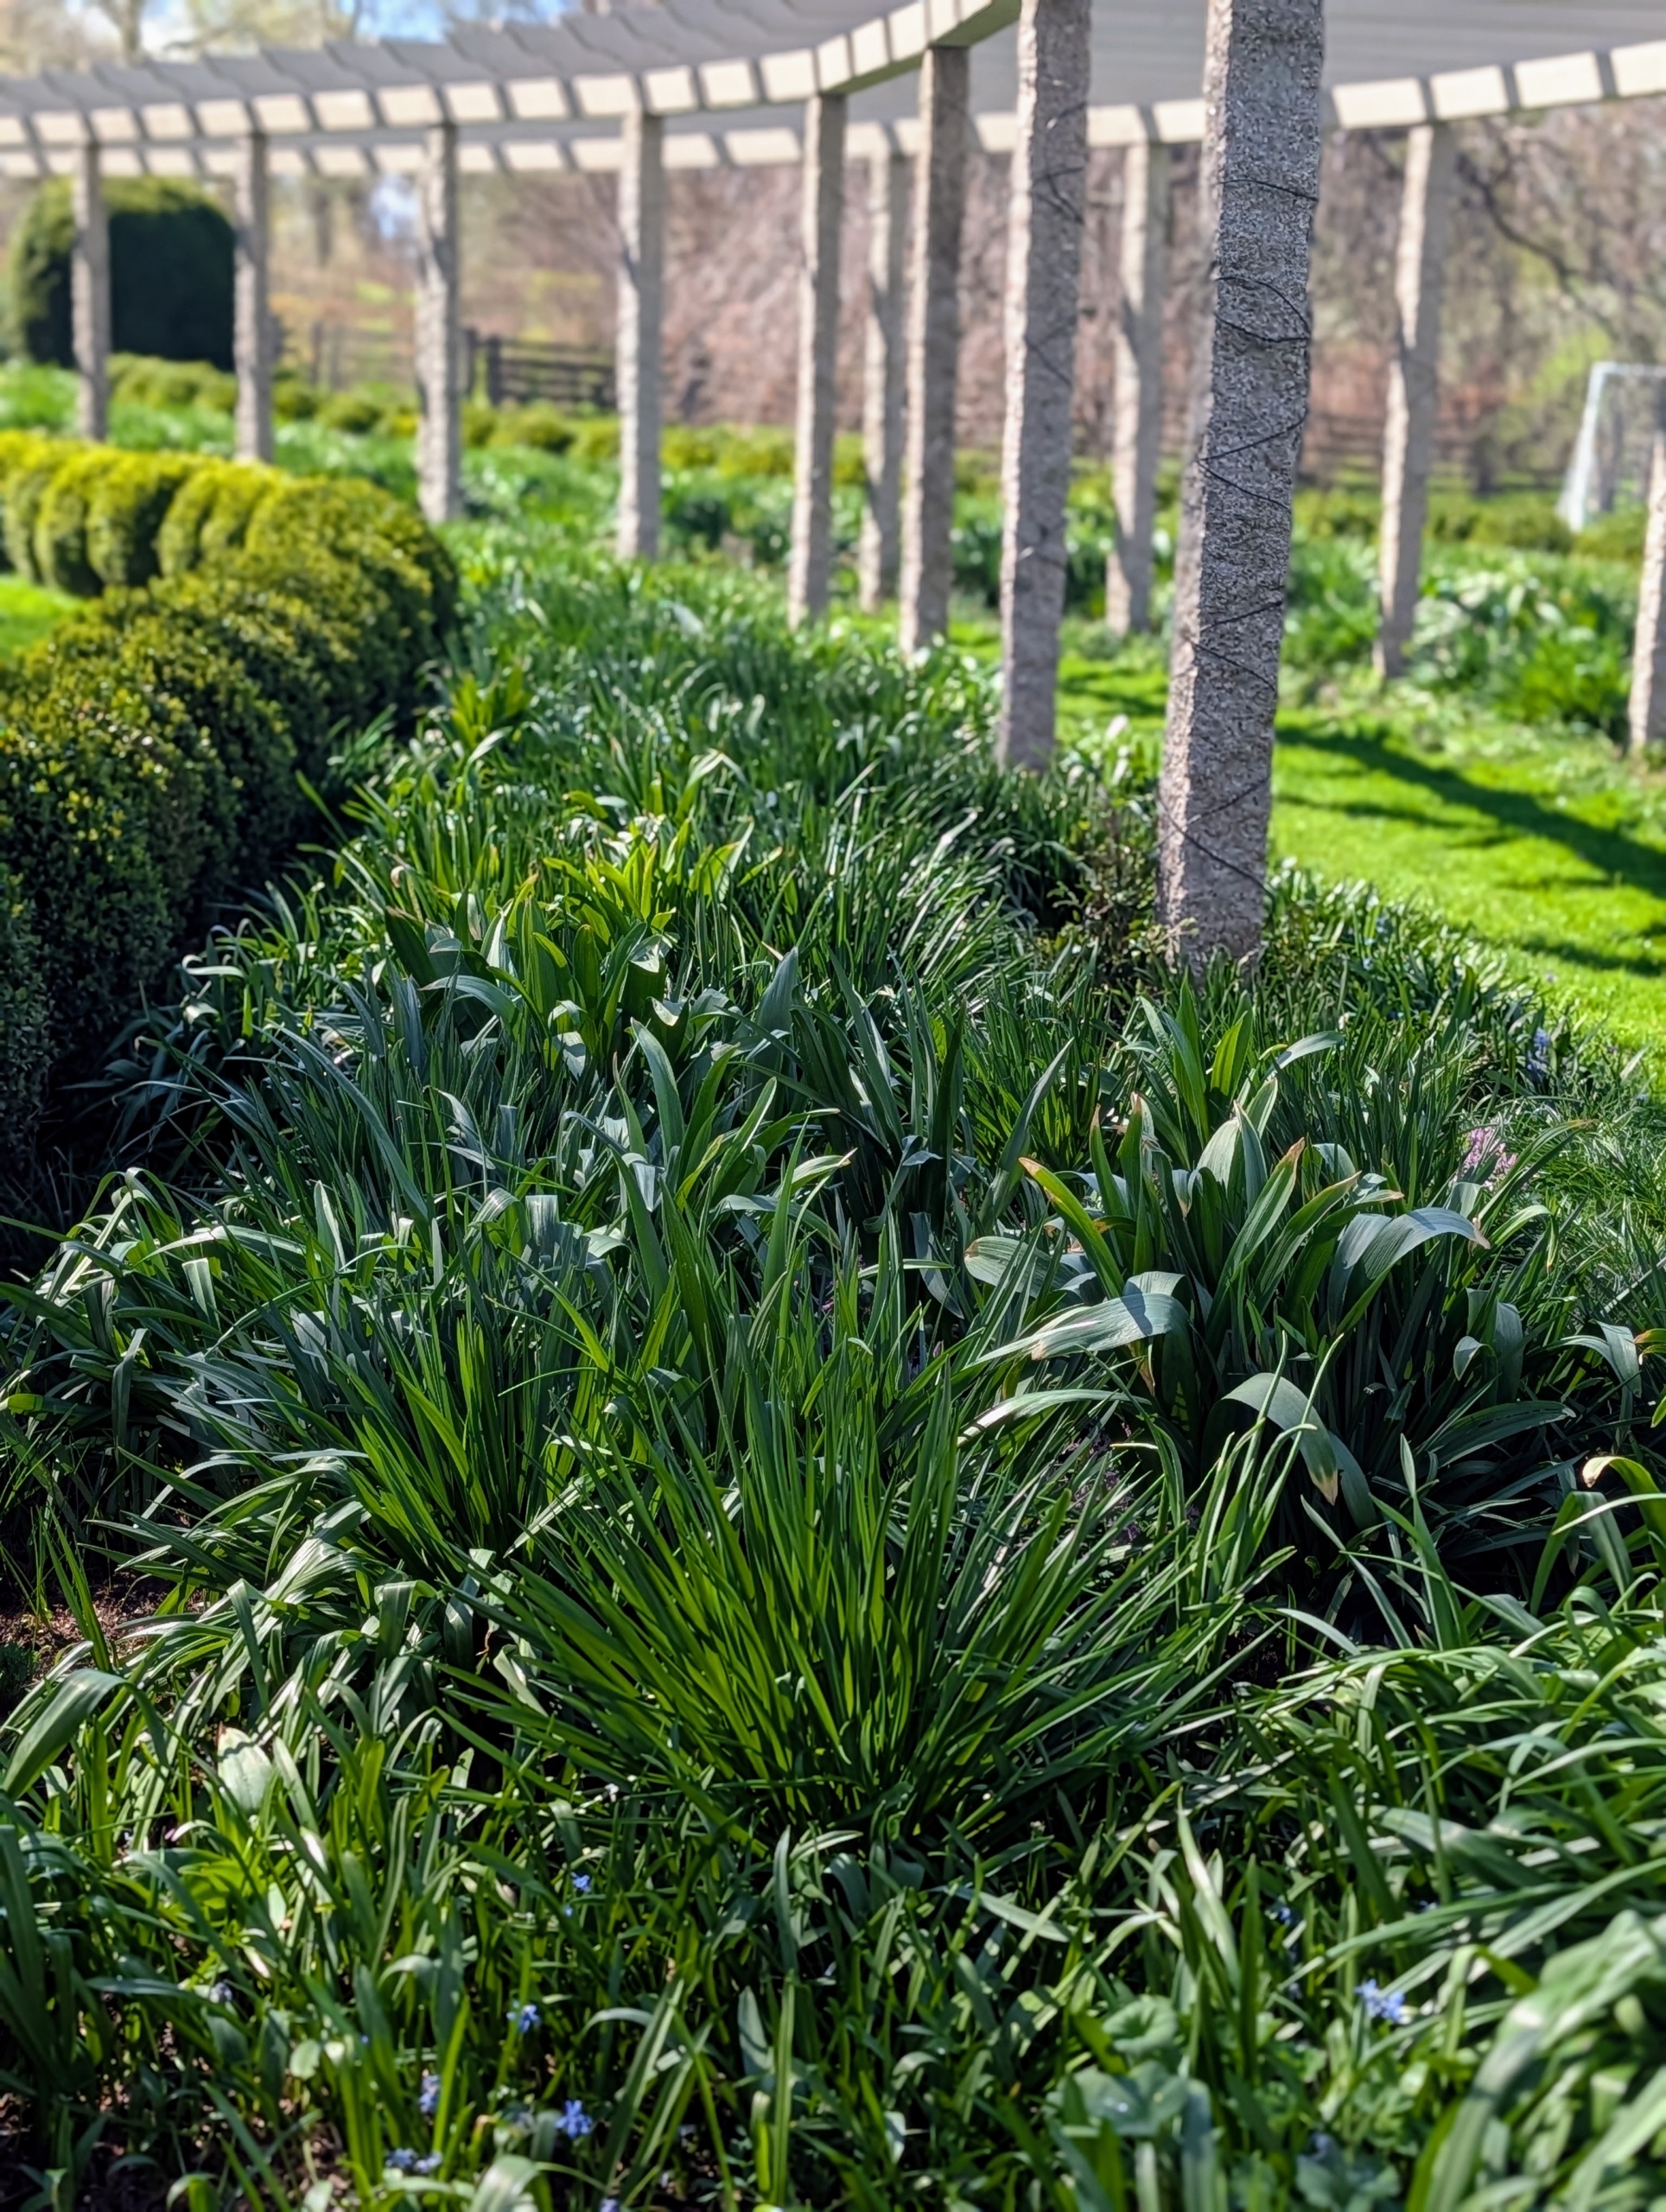
My long pergola is just full of lush green foliage. Soon, it will display a palette of blue, purple, and lavender Alliums, Camassia, and Spanish Bluebells. Hopefully the cold weather won’t affect the plants too much – fingers crossed.
With its rich history and exclusivity, the Masters Tournament is often called a "tradition unlike any other."
The Masters Tournament occurs during the first week of April every year and is held at the same host venue, the Augusta National Golf Club, a private course in the city of Augusta, Georgia. In the early 1800s, the land served as a plantation and nursery before legendary amateur golfer, Bobby Jones, and businessman, Clifford Roberts, founded the golf club and designed the 365-acre course with renowned architect, Alister MacKenzie. It has hosted the prestigious golf competition since 1934. Earlier this month, I traveled down to catch some of the tournament with my longtime friend, "banker" Jane.
Enjoy these photos. And congratulations to Rory McIlroy for his great 2026 win.
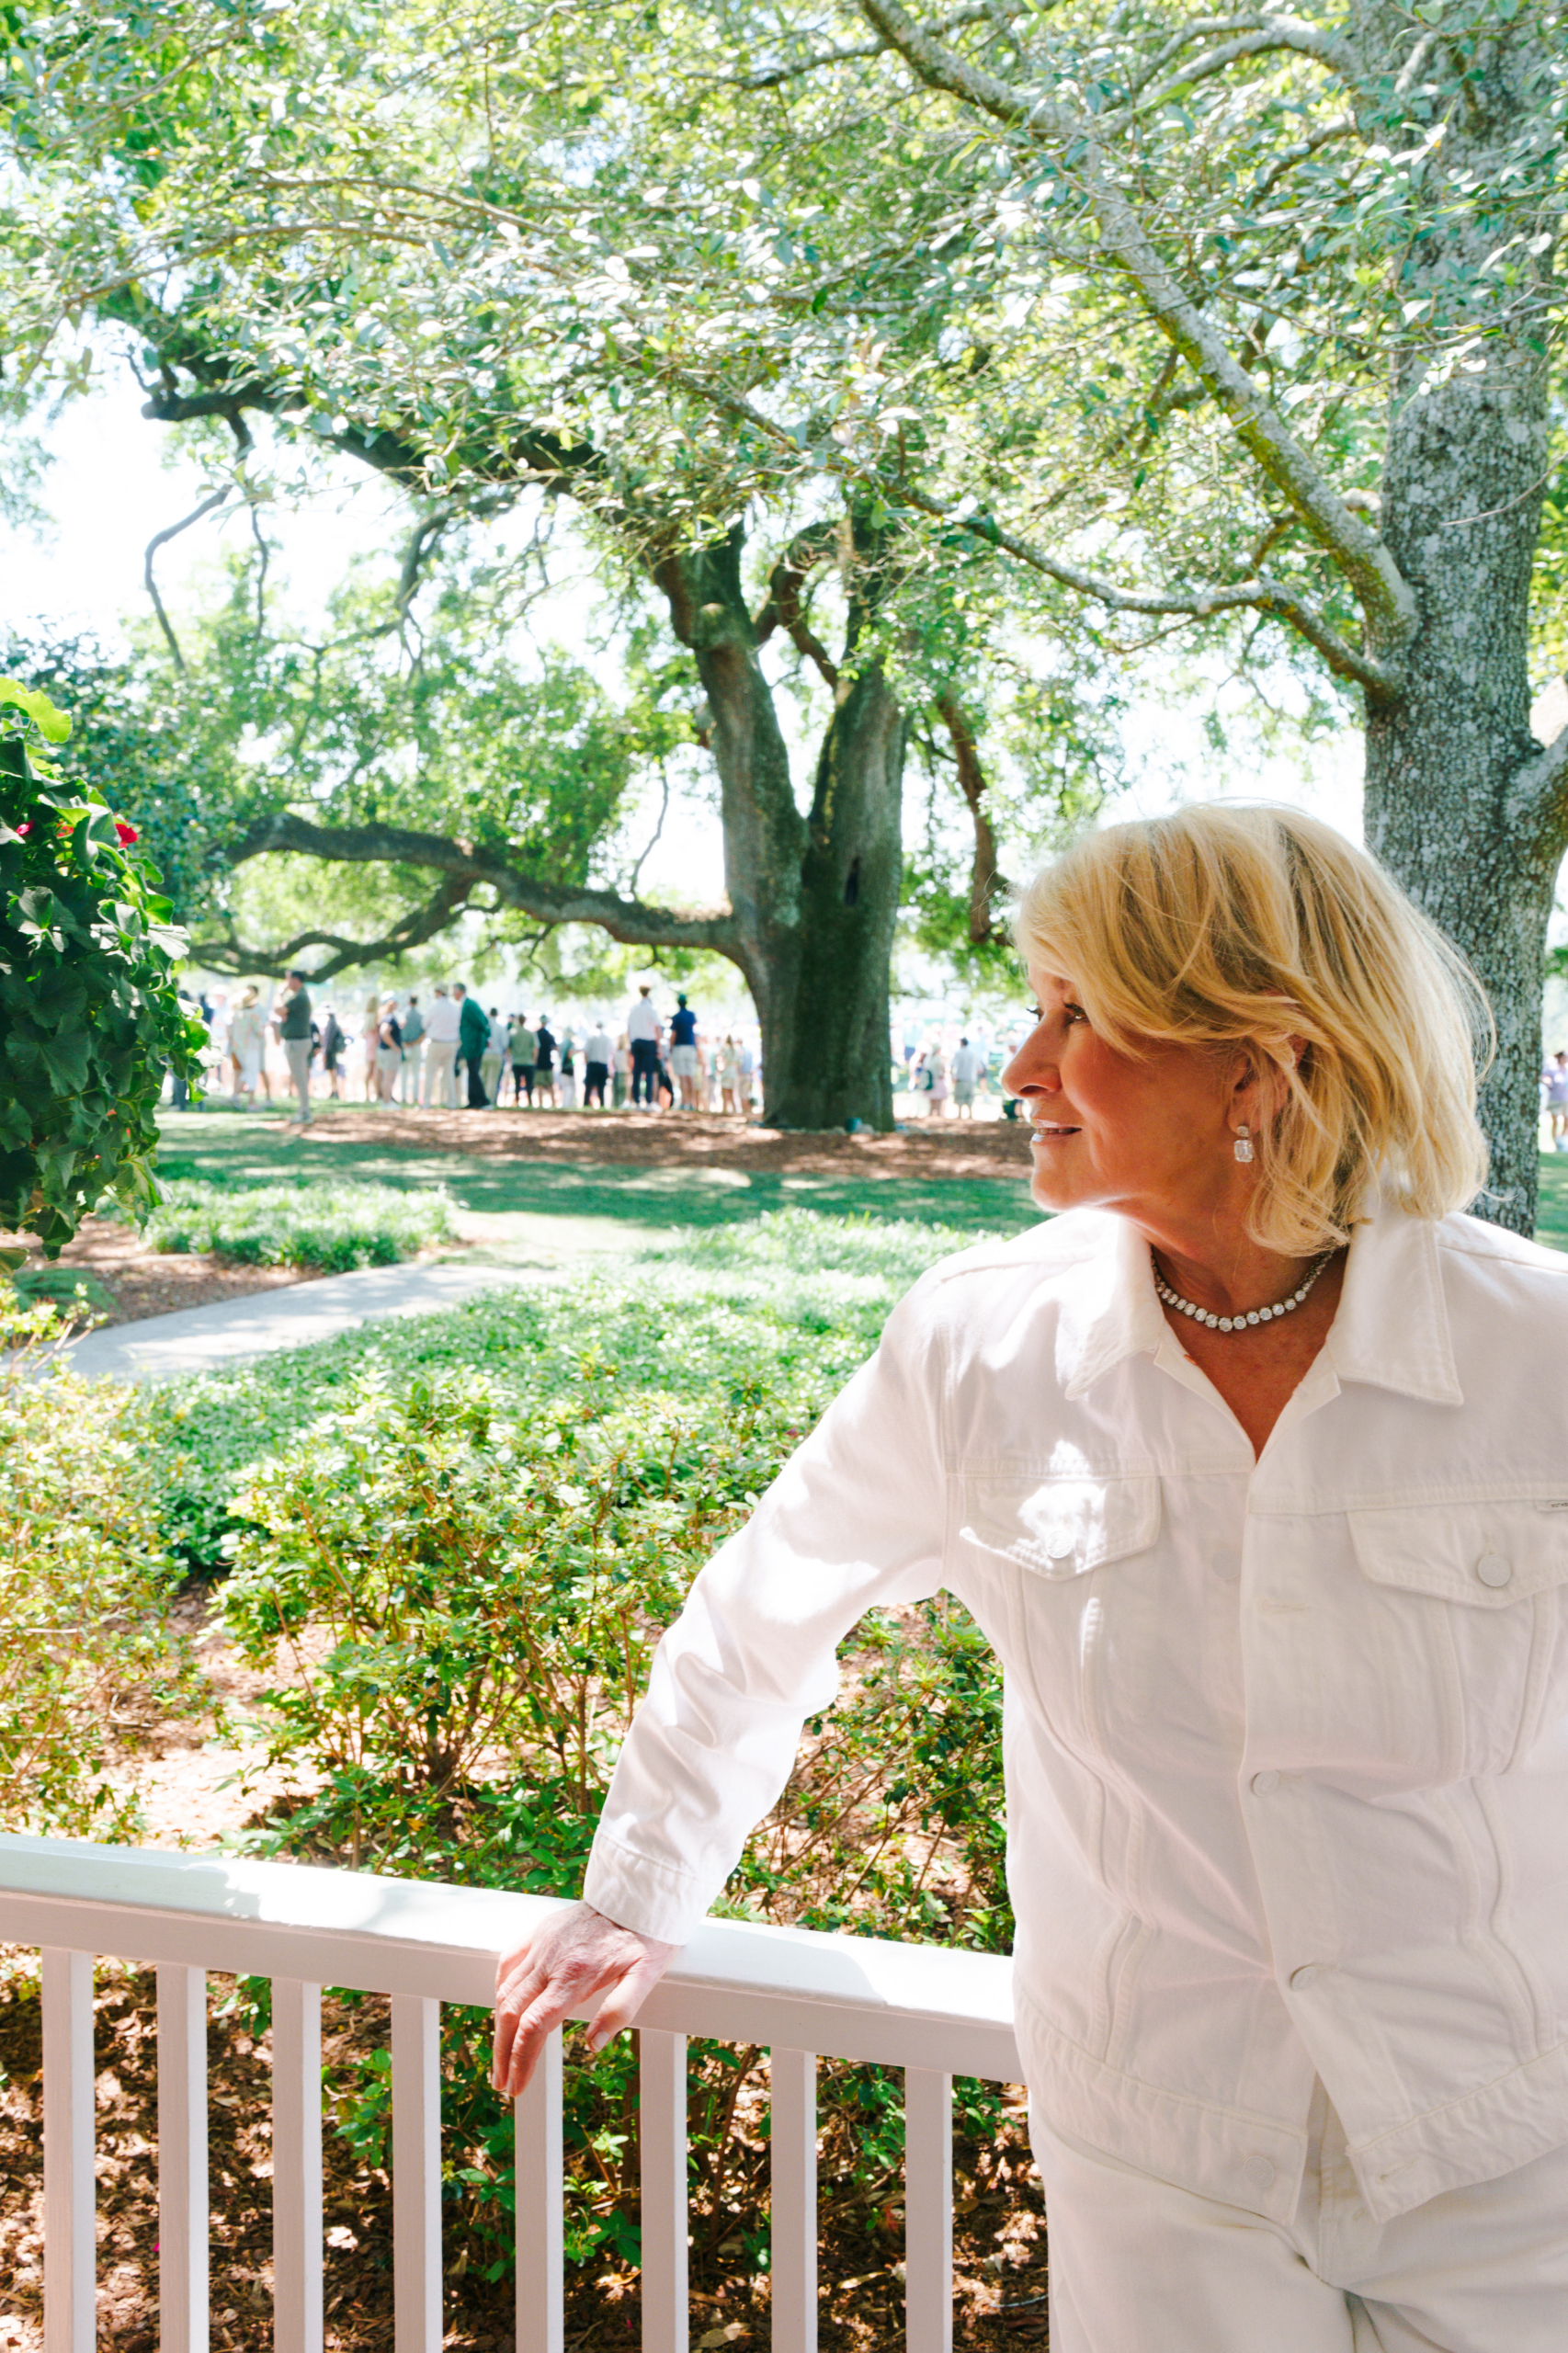
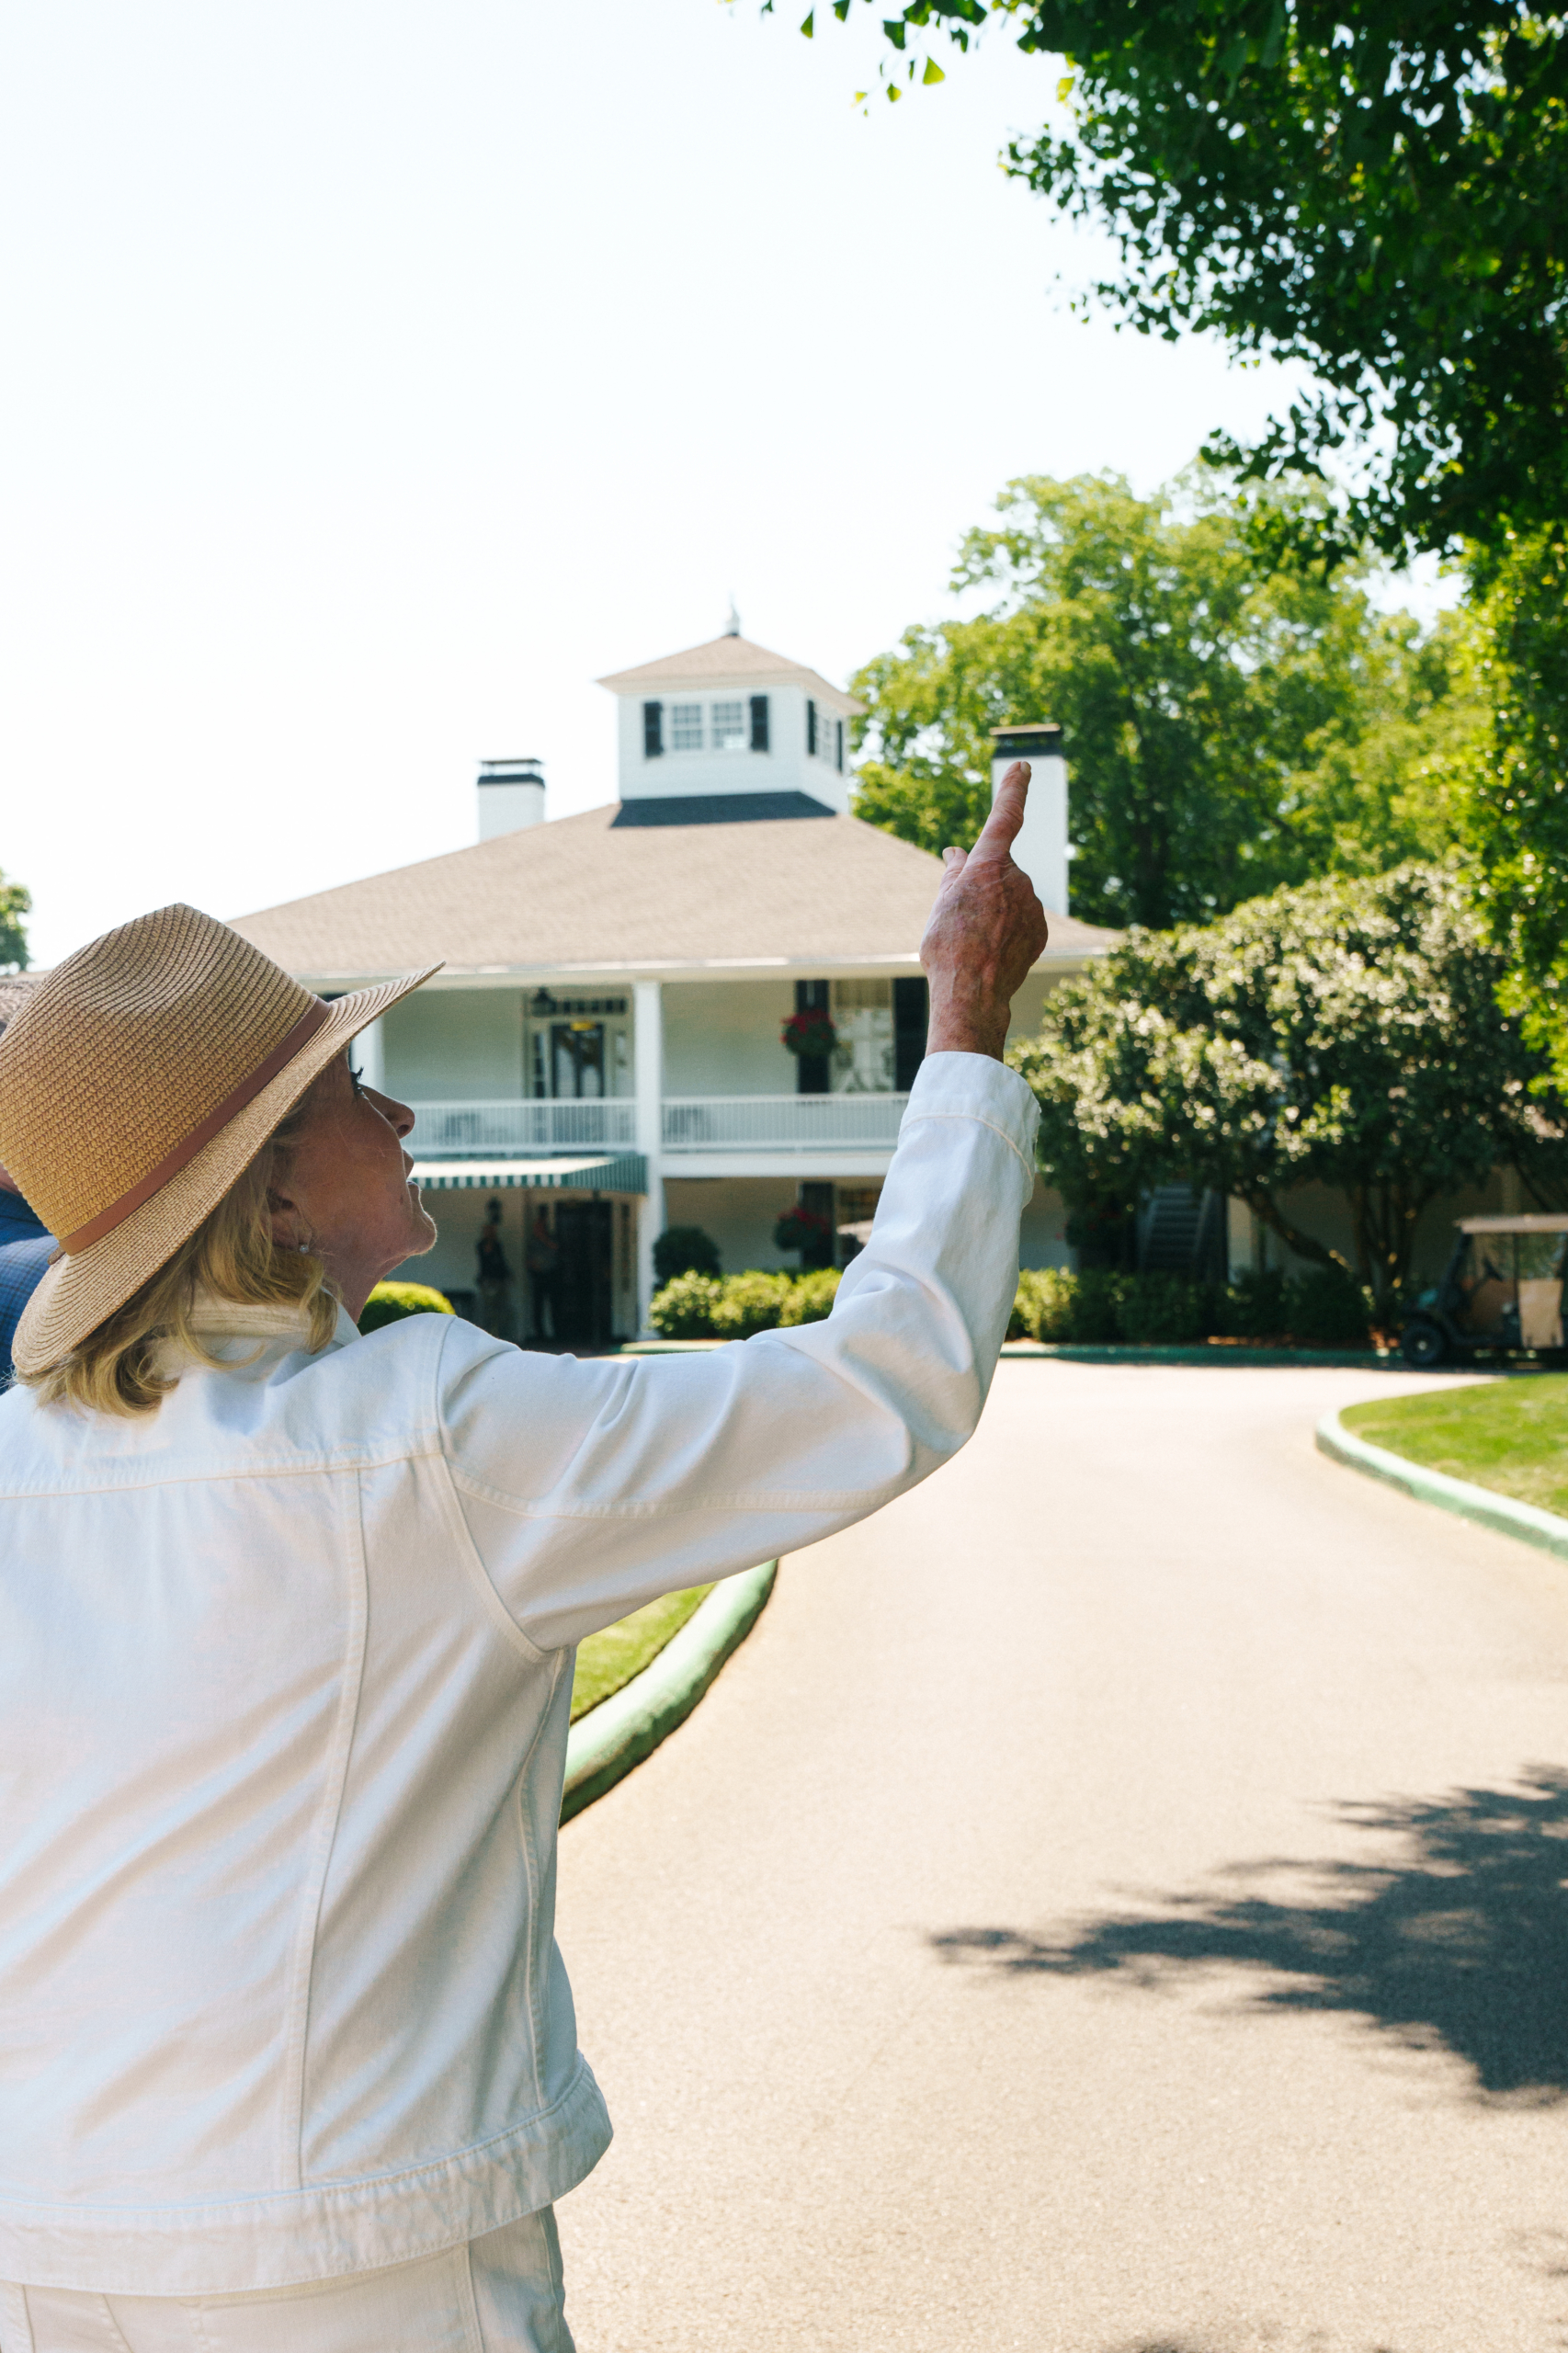
The Augusta National Golf Club Clubhouse behind me was first constructed in 1854. When the land was a plantation, this Clubhouse was where the owner lived. It has since gone through several renovations to accommodate the needs of the Masters Tournament. It has a Georgian-style facade and an expansive porch with gorgeous views of the course.
Here I am with my longtime friend, “banker” Jane.
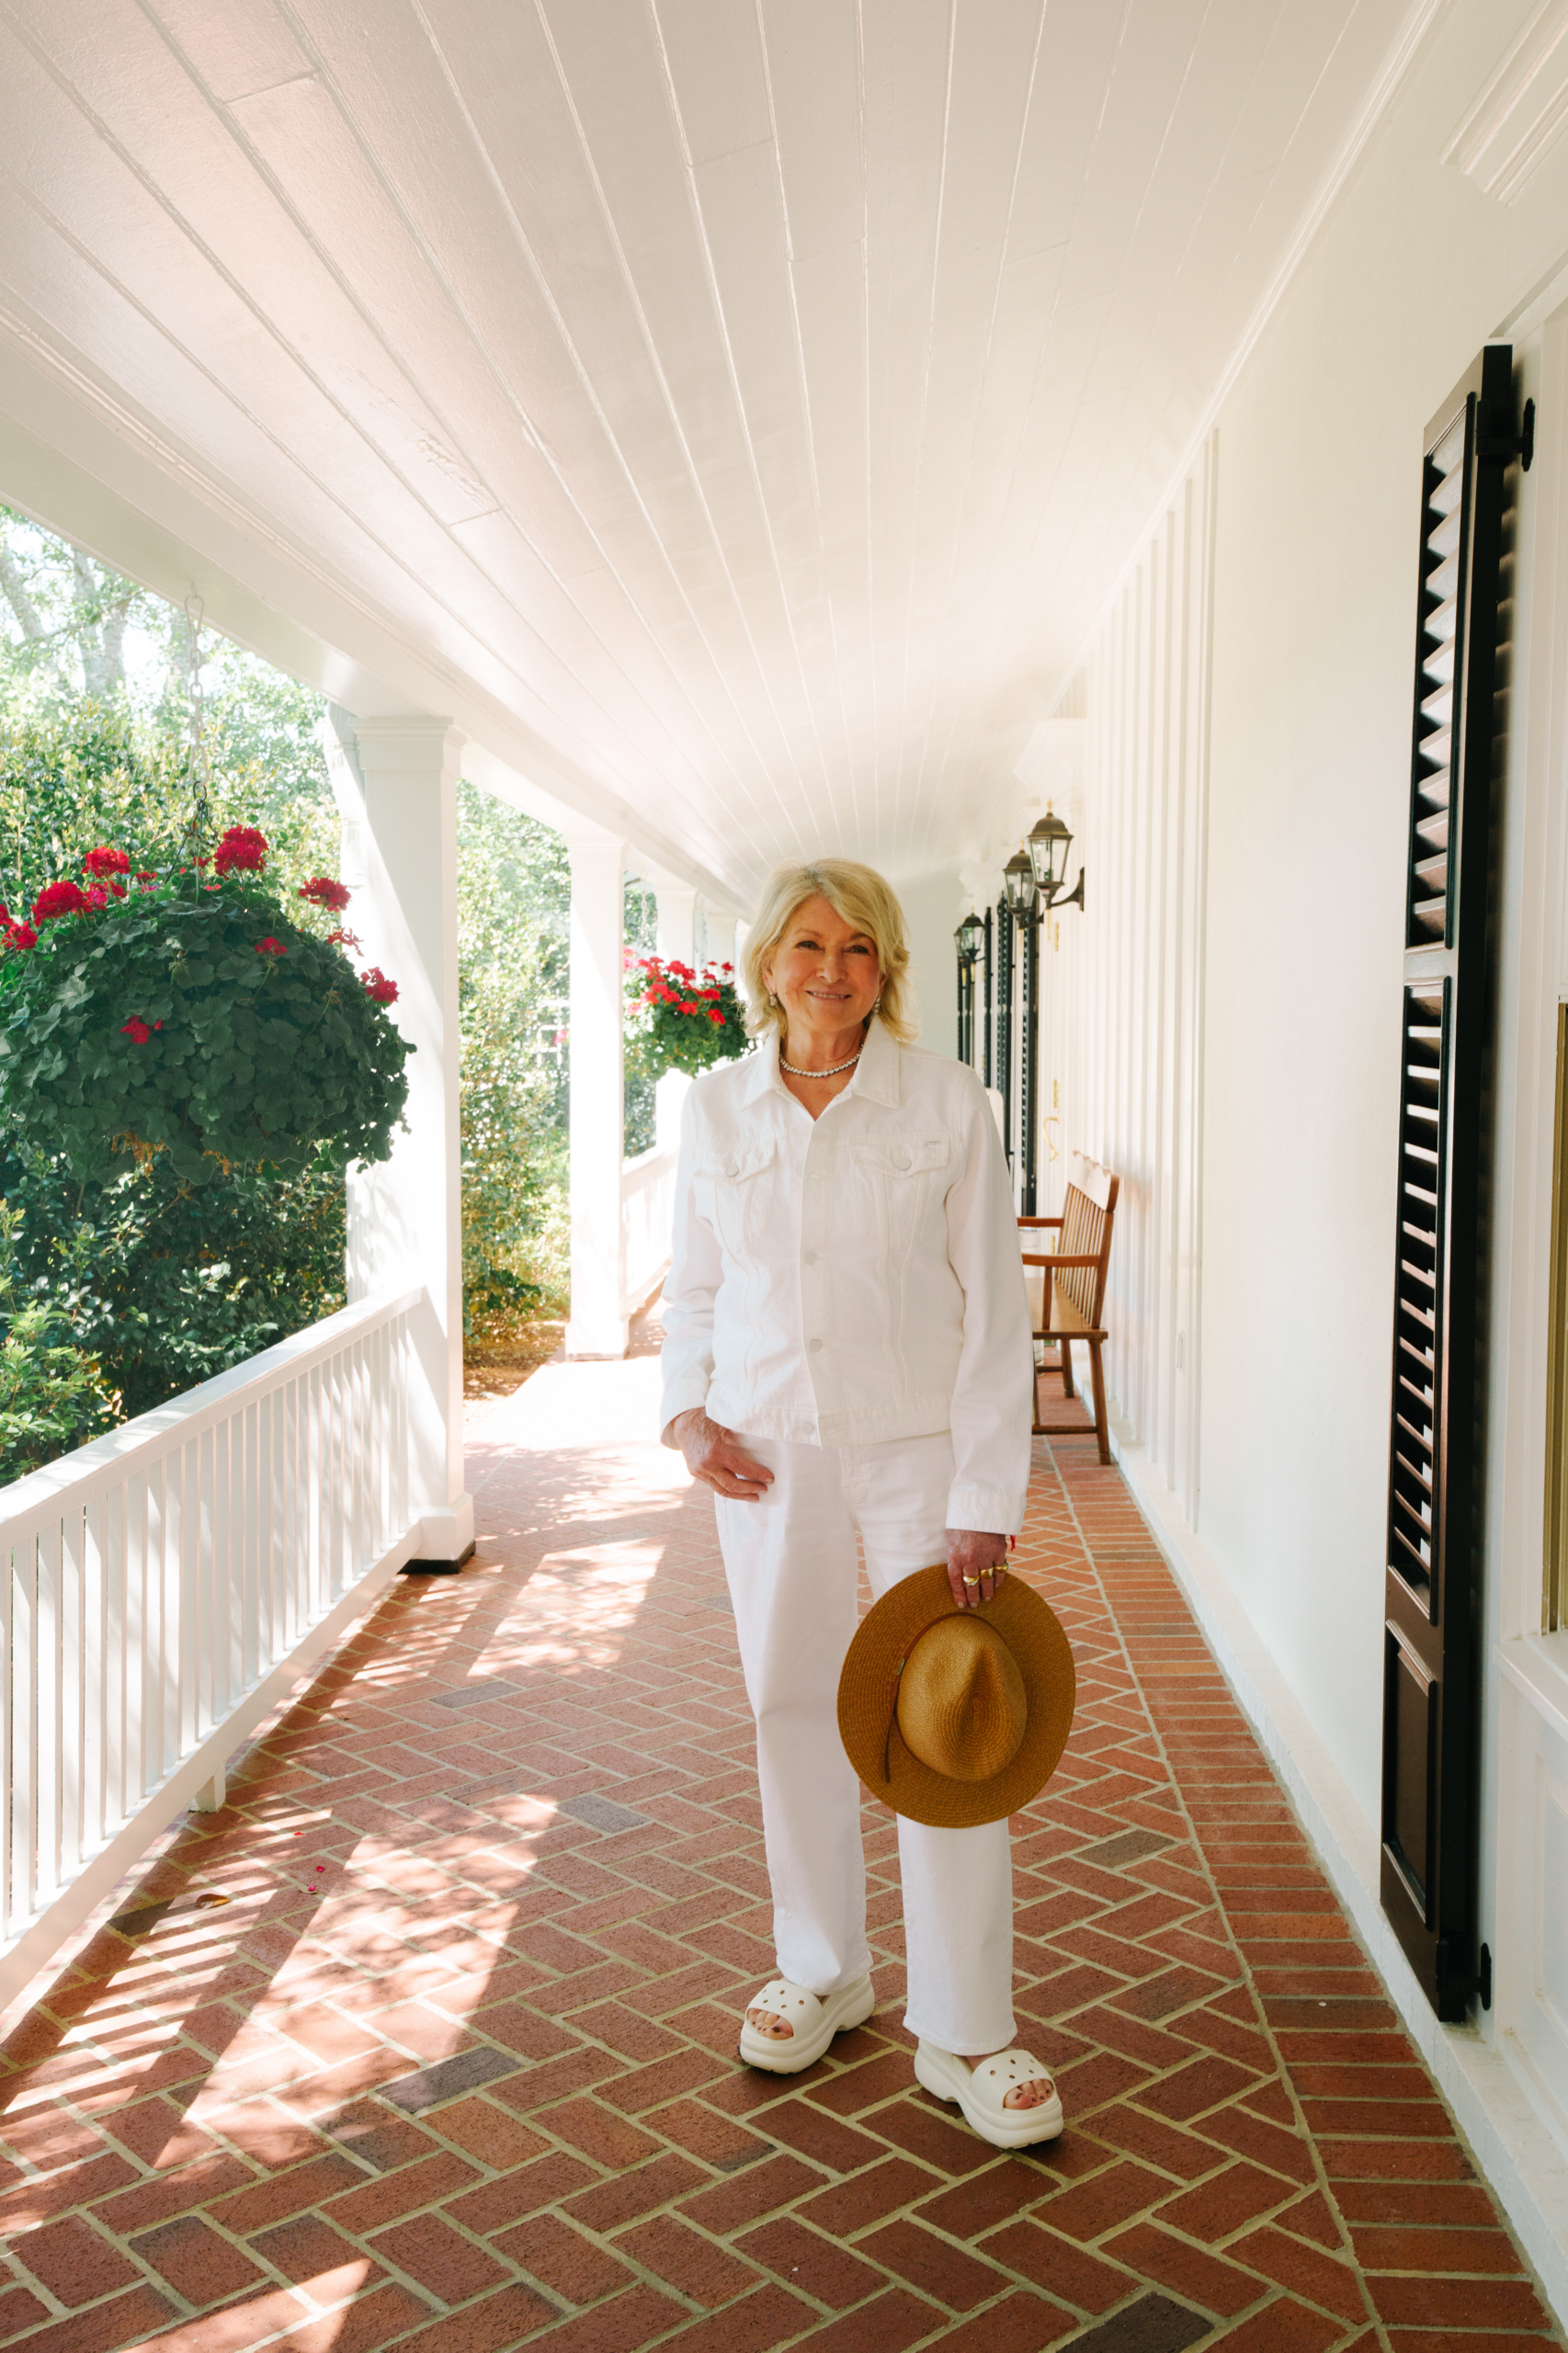
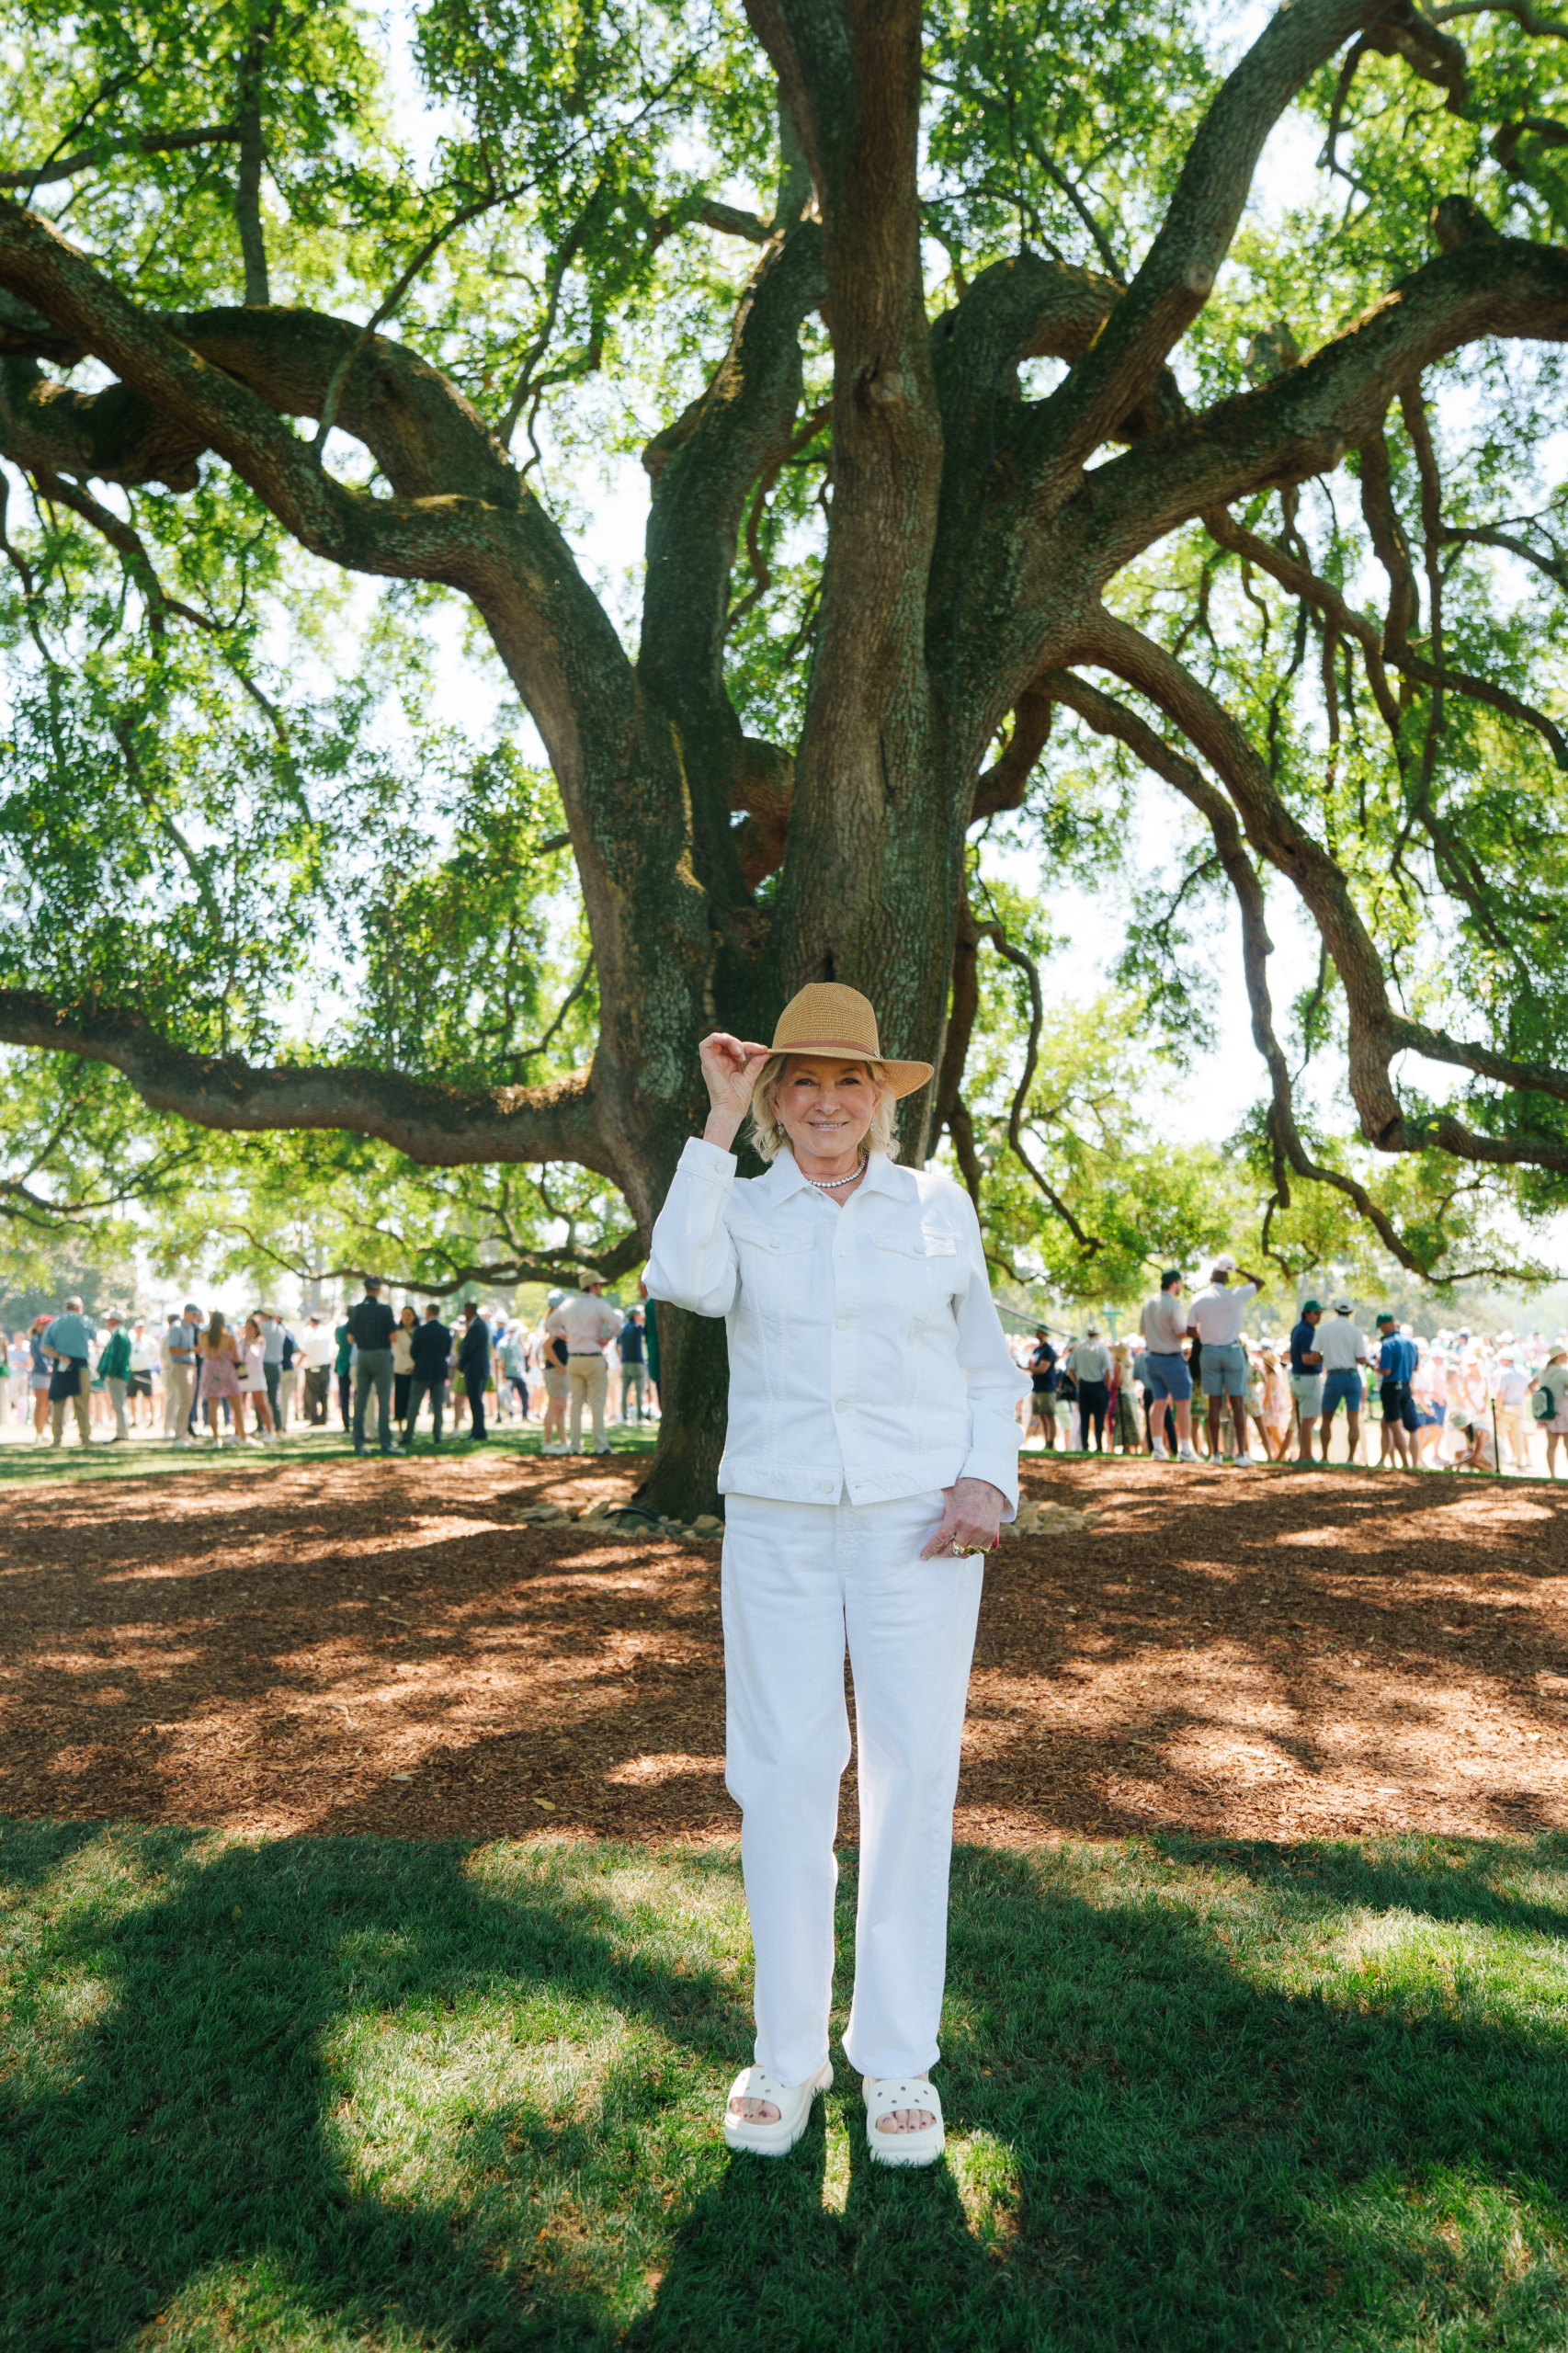
I’m standing on the porch of the exclusive Clubhouse wearing Mother Denim jeans and jacket, with a diamond necklace.
I also wore my new Evelyn Trilby hat from Barbour.
It was the perfect ensemble for this event – comfortable and just right for the day’s weather. This Clubhouse also houses a museum showcasing the rich history of the tournament and the club itself.
I had the chance to speak with so many and learn more about this historic place.
Here I am standing in front of the iconic live oak tree, which has stood here since the 1800s before the course was even built. The tree stands between the clubhouse and the first tee. It is now a popular spot for networking and business during Masters week.
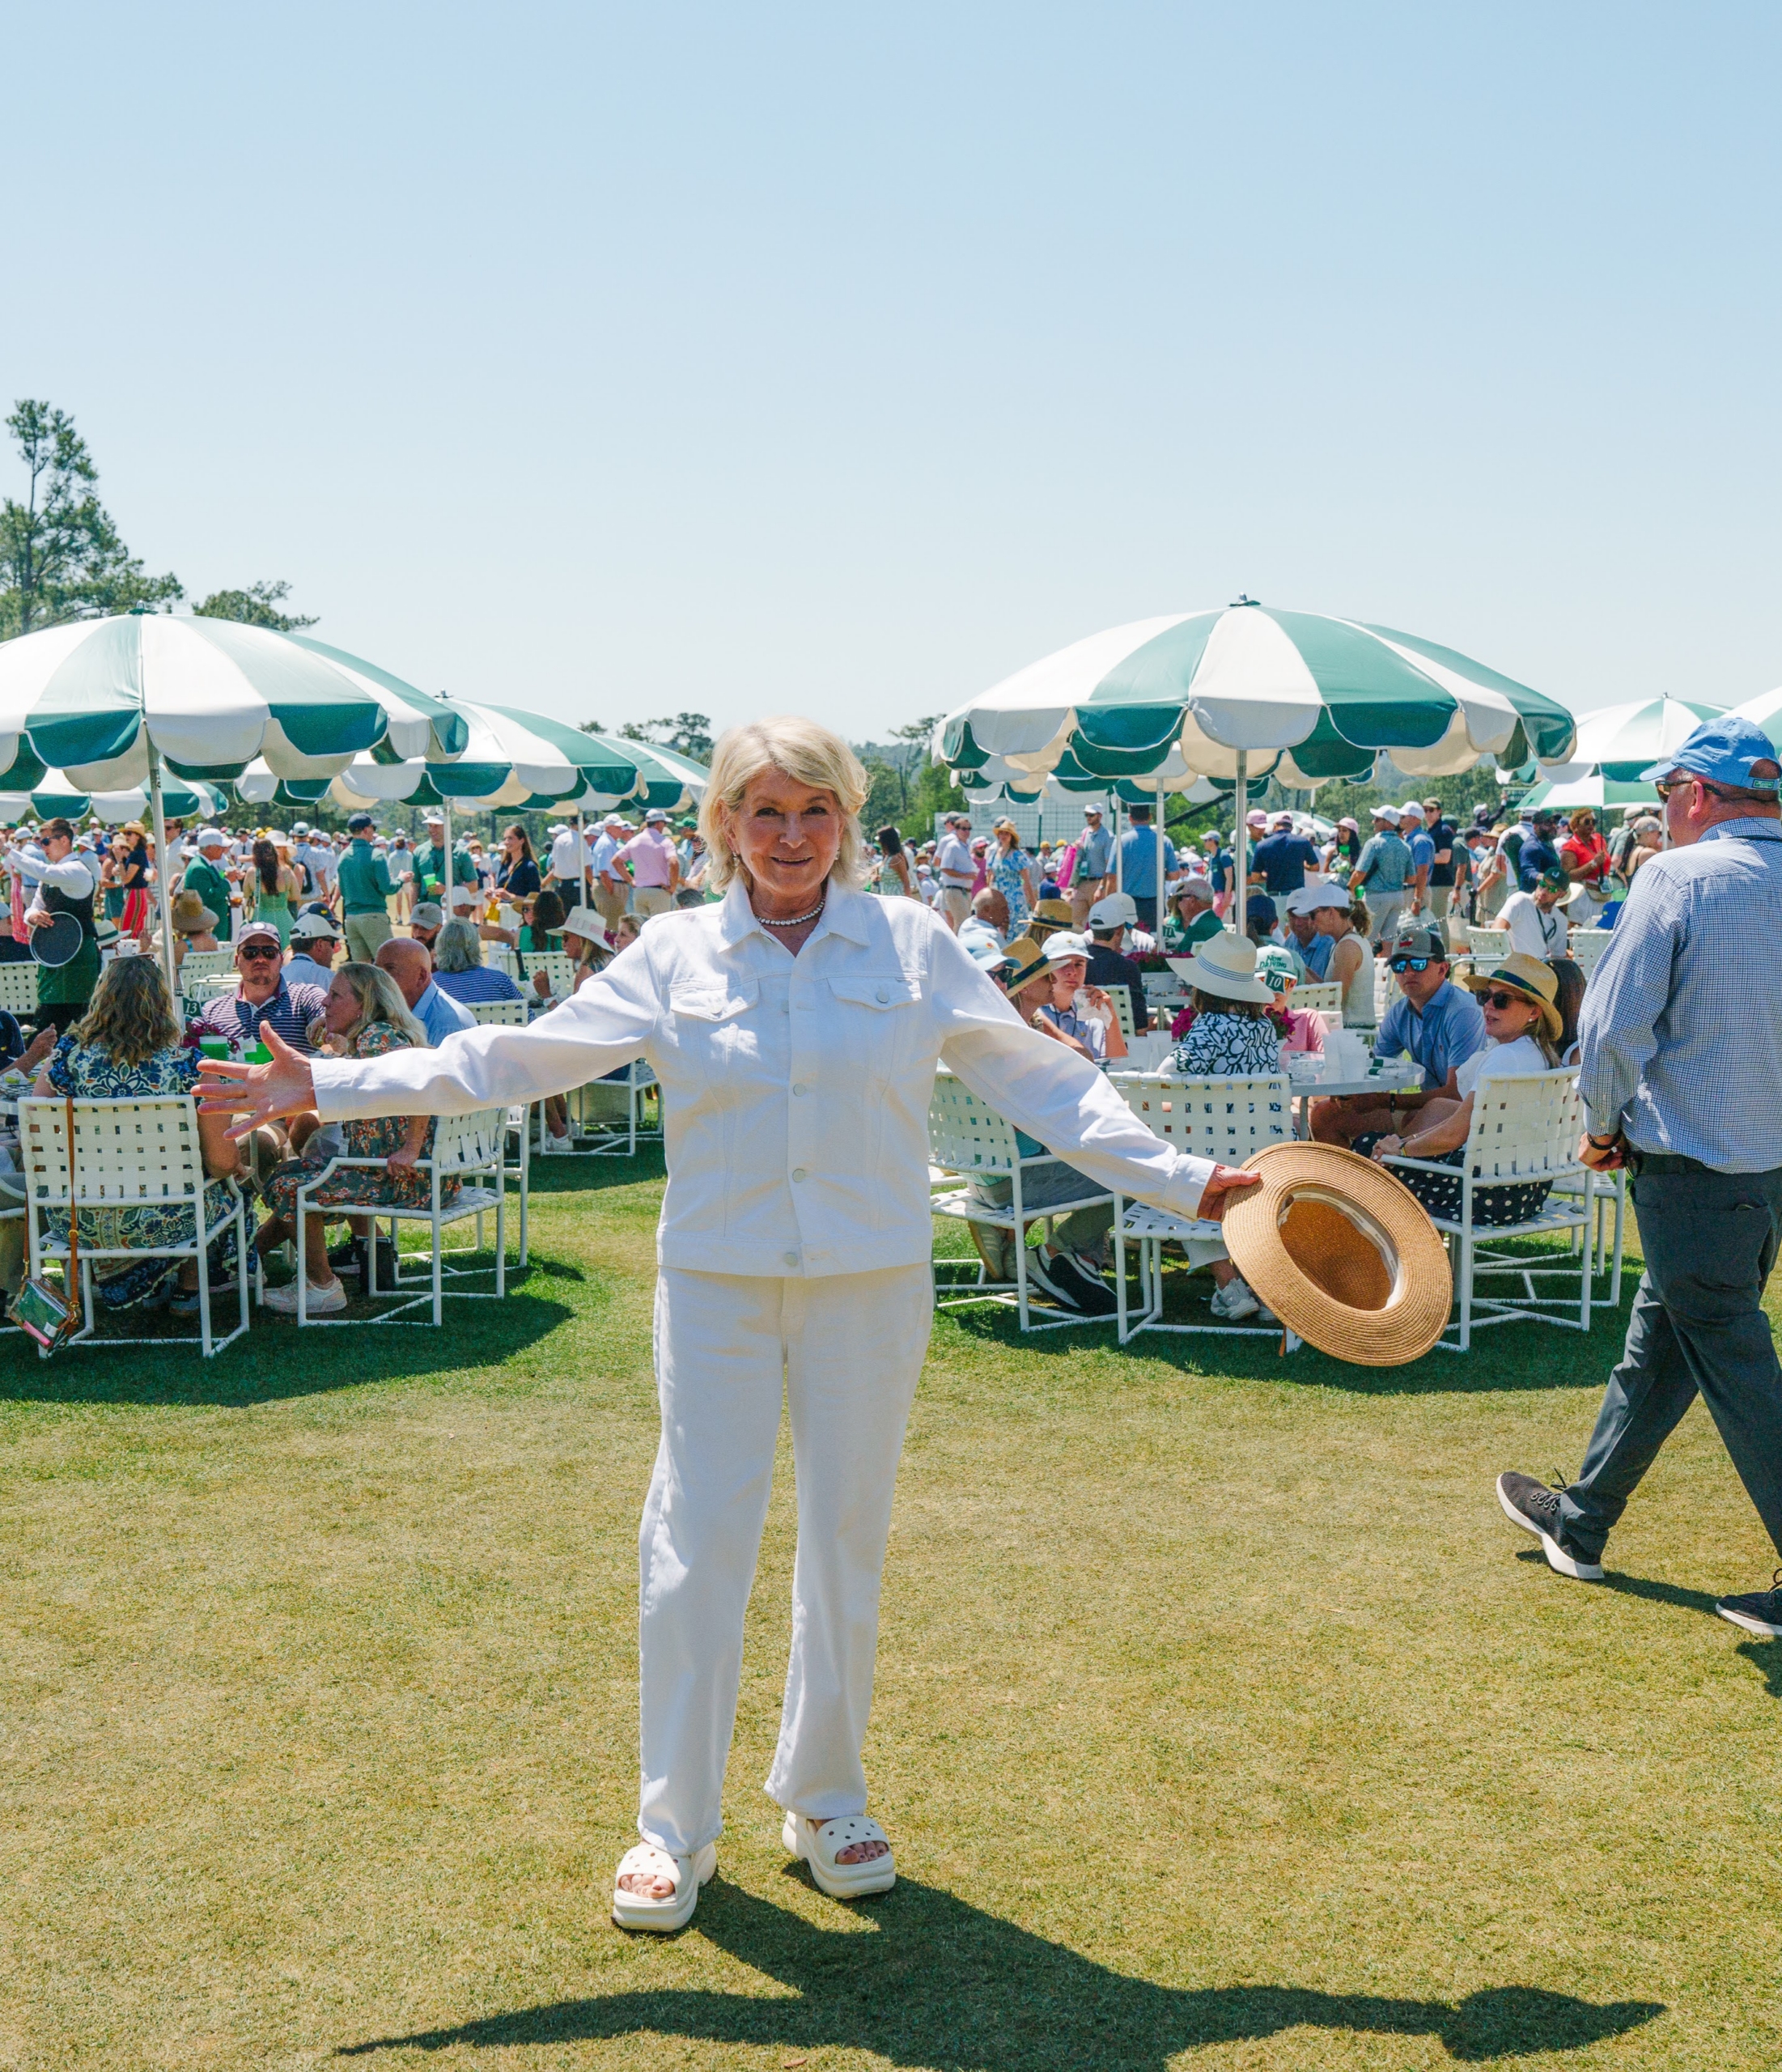
The crowd was extraordinary. 40-thousand guests attend the event rounds from Thursday through Sunday every year. I’m standing in front of the traditional green and white umbrellas representing the lush green fairways and white sandy bunkers. And, while the grassy lawns are trampled by so many during the week-long event, they are perfect again after everyone leaves because of the advanced SubAir system which provides consistent ventilation and moisture to the turf.
I am pointing at the blooms of a magnolia tree. The rules are very strict at Augusta National – absolutely no cameras and no phones allowed. An official Augusta National Golf course photographer took these photos of me.
Here I am watching Rory McIlroy tee off in the third round.
Here I am standing with legendary golfer, Tom Watson. His career includes eight major championships – two of which are Masters titles.
Kohler brought some new premium home saunas and wellness products to the event. This is the Kohler x Remedy Place Ice Bath – a wellness ice plunge that can be installed indoors or out.
This is me surrounded by some of the Kohler “he-men” after a plunge.
Also featured – the KLAFS TARAS Sauna designed for the outdoors. It features reinforced aluminum, floor to ceiling glass walls, and superior heat retention inside.
And do you know what this is? It’s called the Ammortal Chamber made to boost mental clarity, restore physical recovery, and increase circulation and energy.
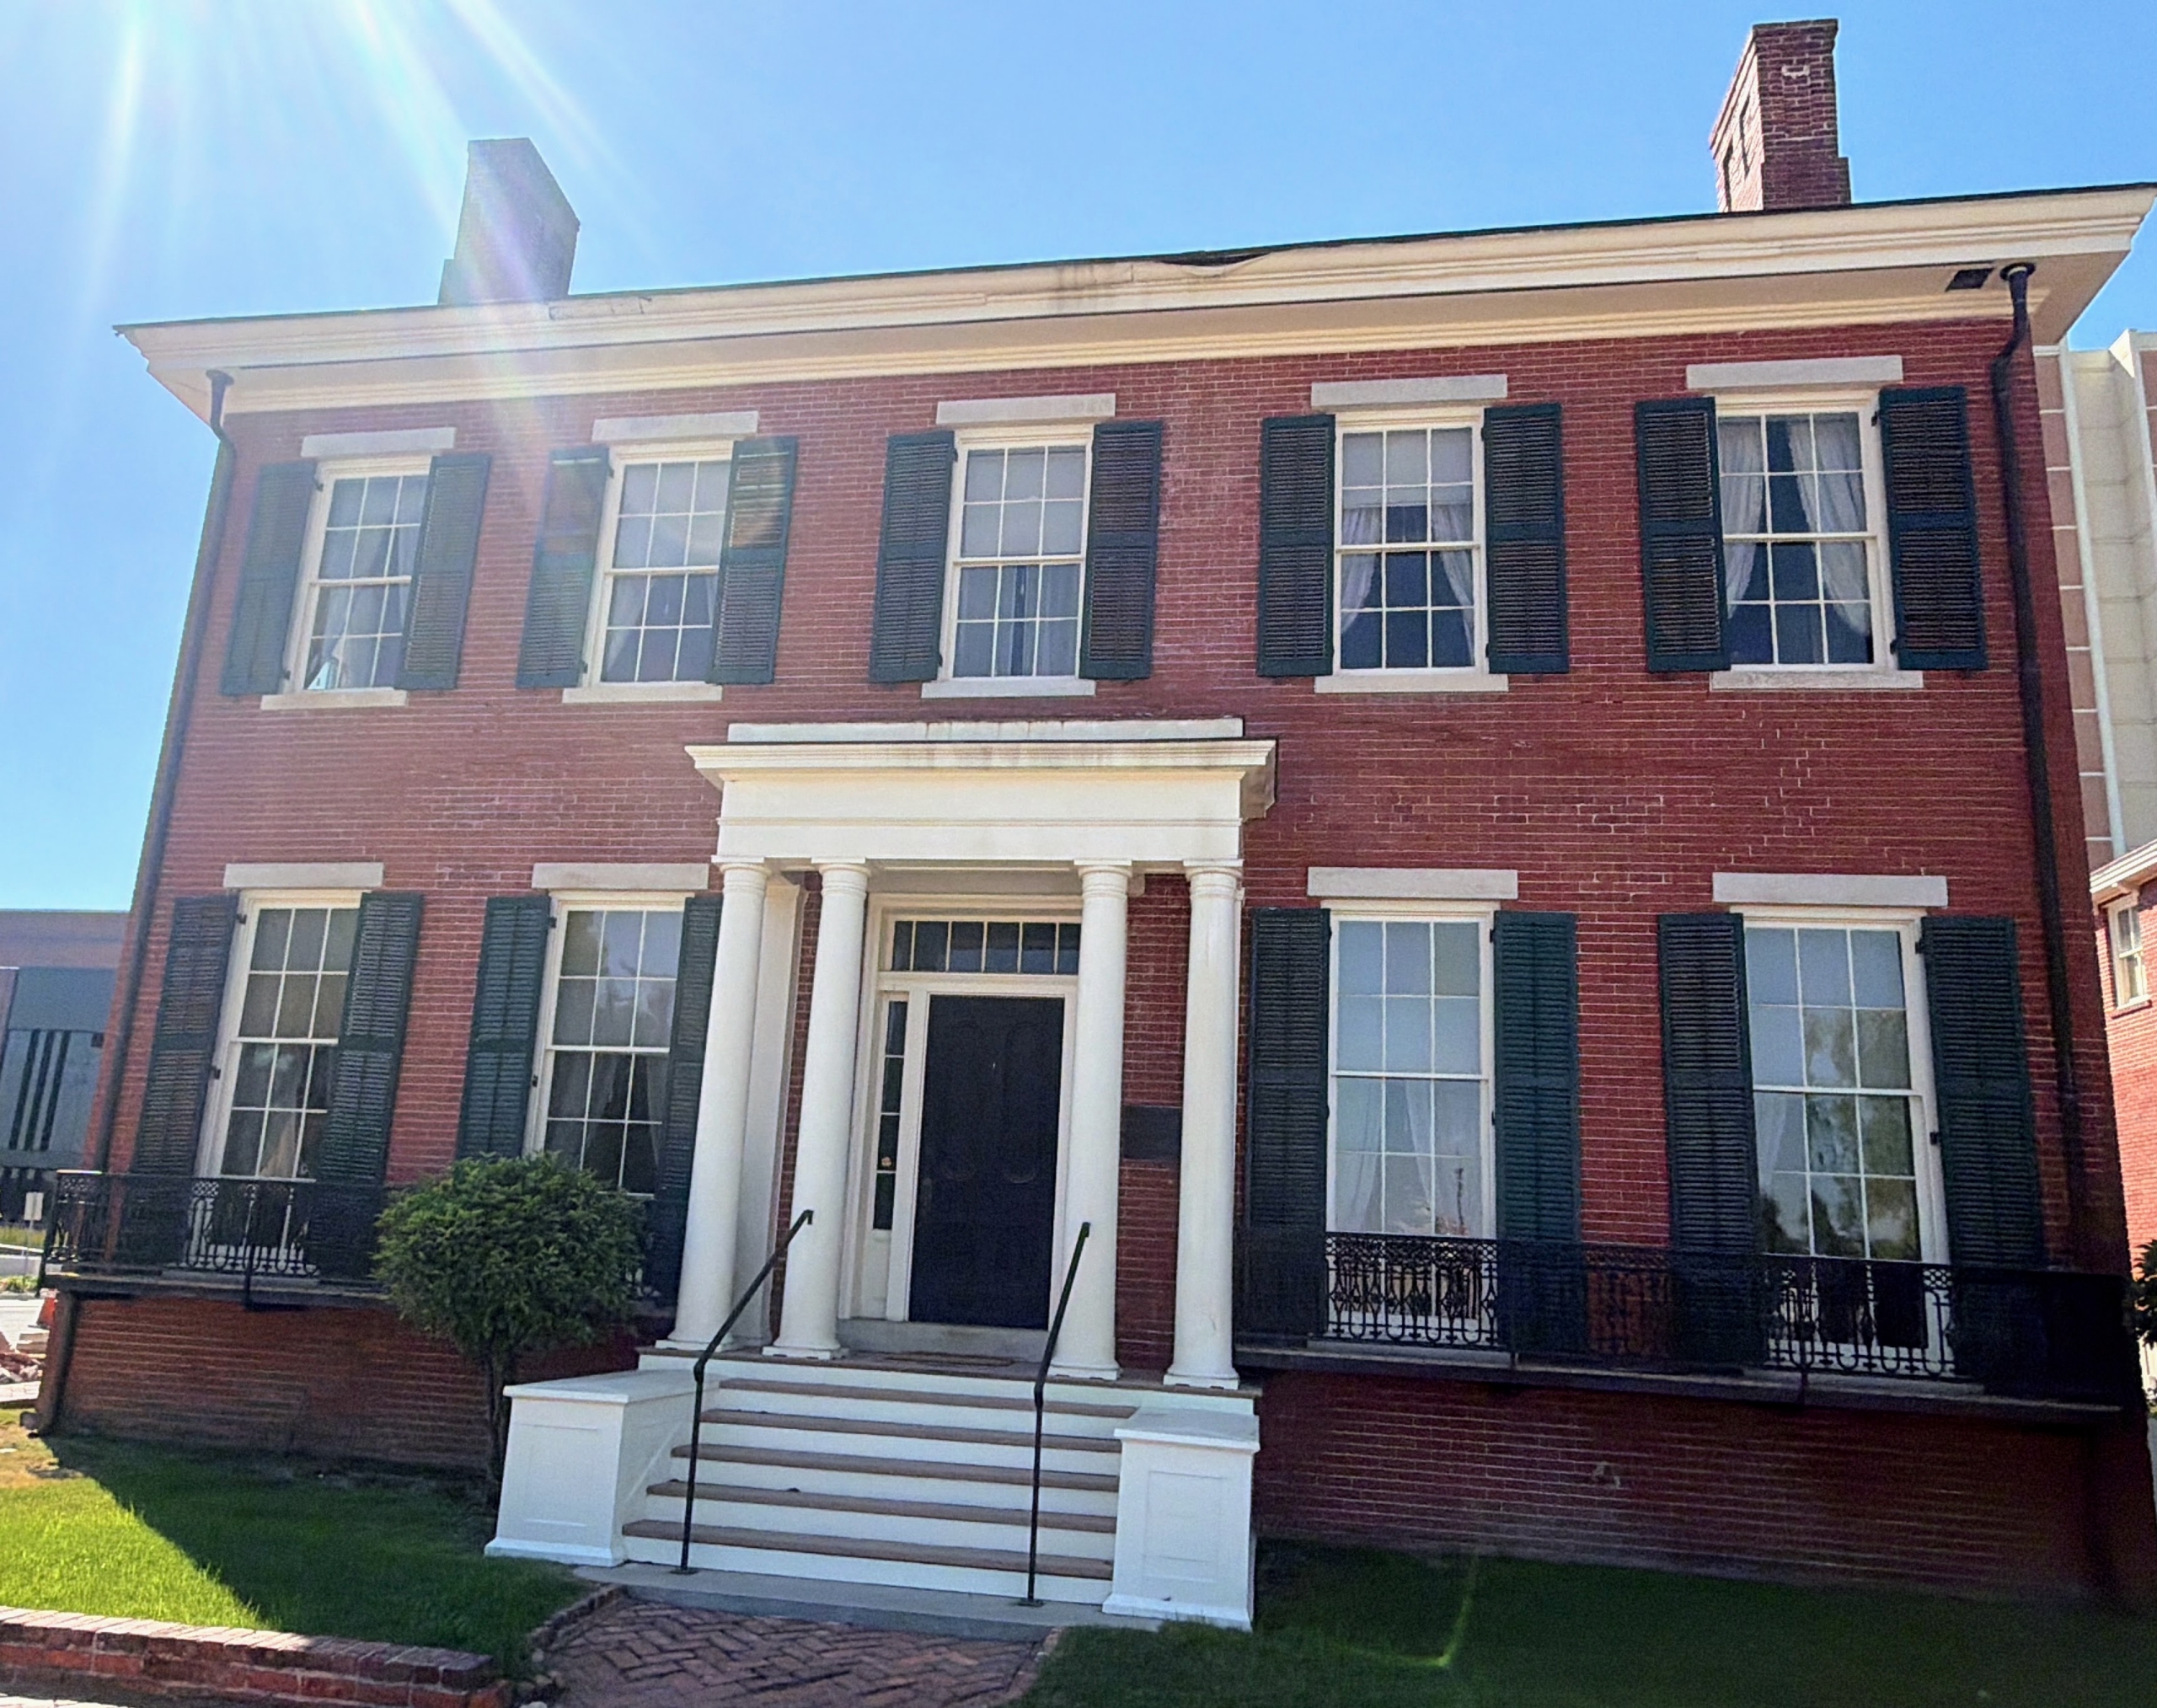
Driving around the area, i also passed by the boyhood home of Woodrow Wilson, the 27th President of the United States. He lived in this home from 1860 to 1875.
Interestingly, next door is the boyhood home of Joseph R. Lamar, Associate Justice of the Supreme Court. It is the only place in America where a future president and supreme court justice lived next to each other as young boys and were good friends.
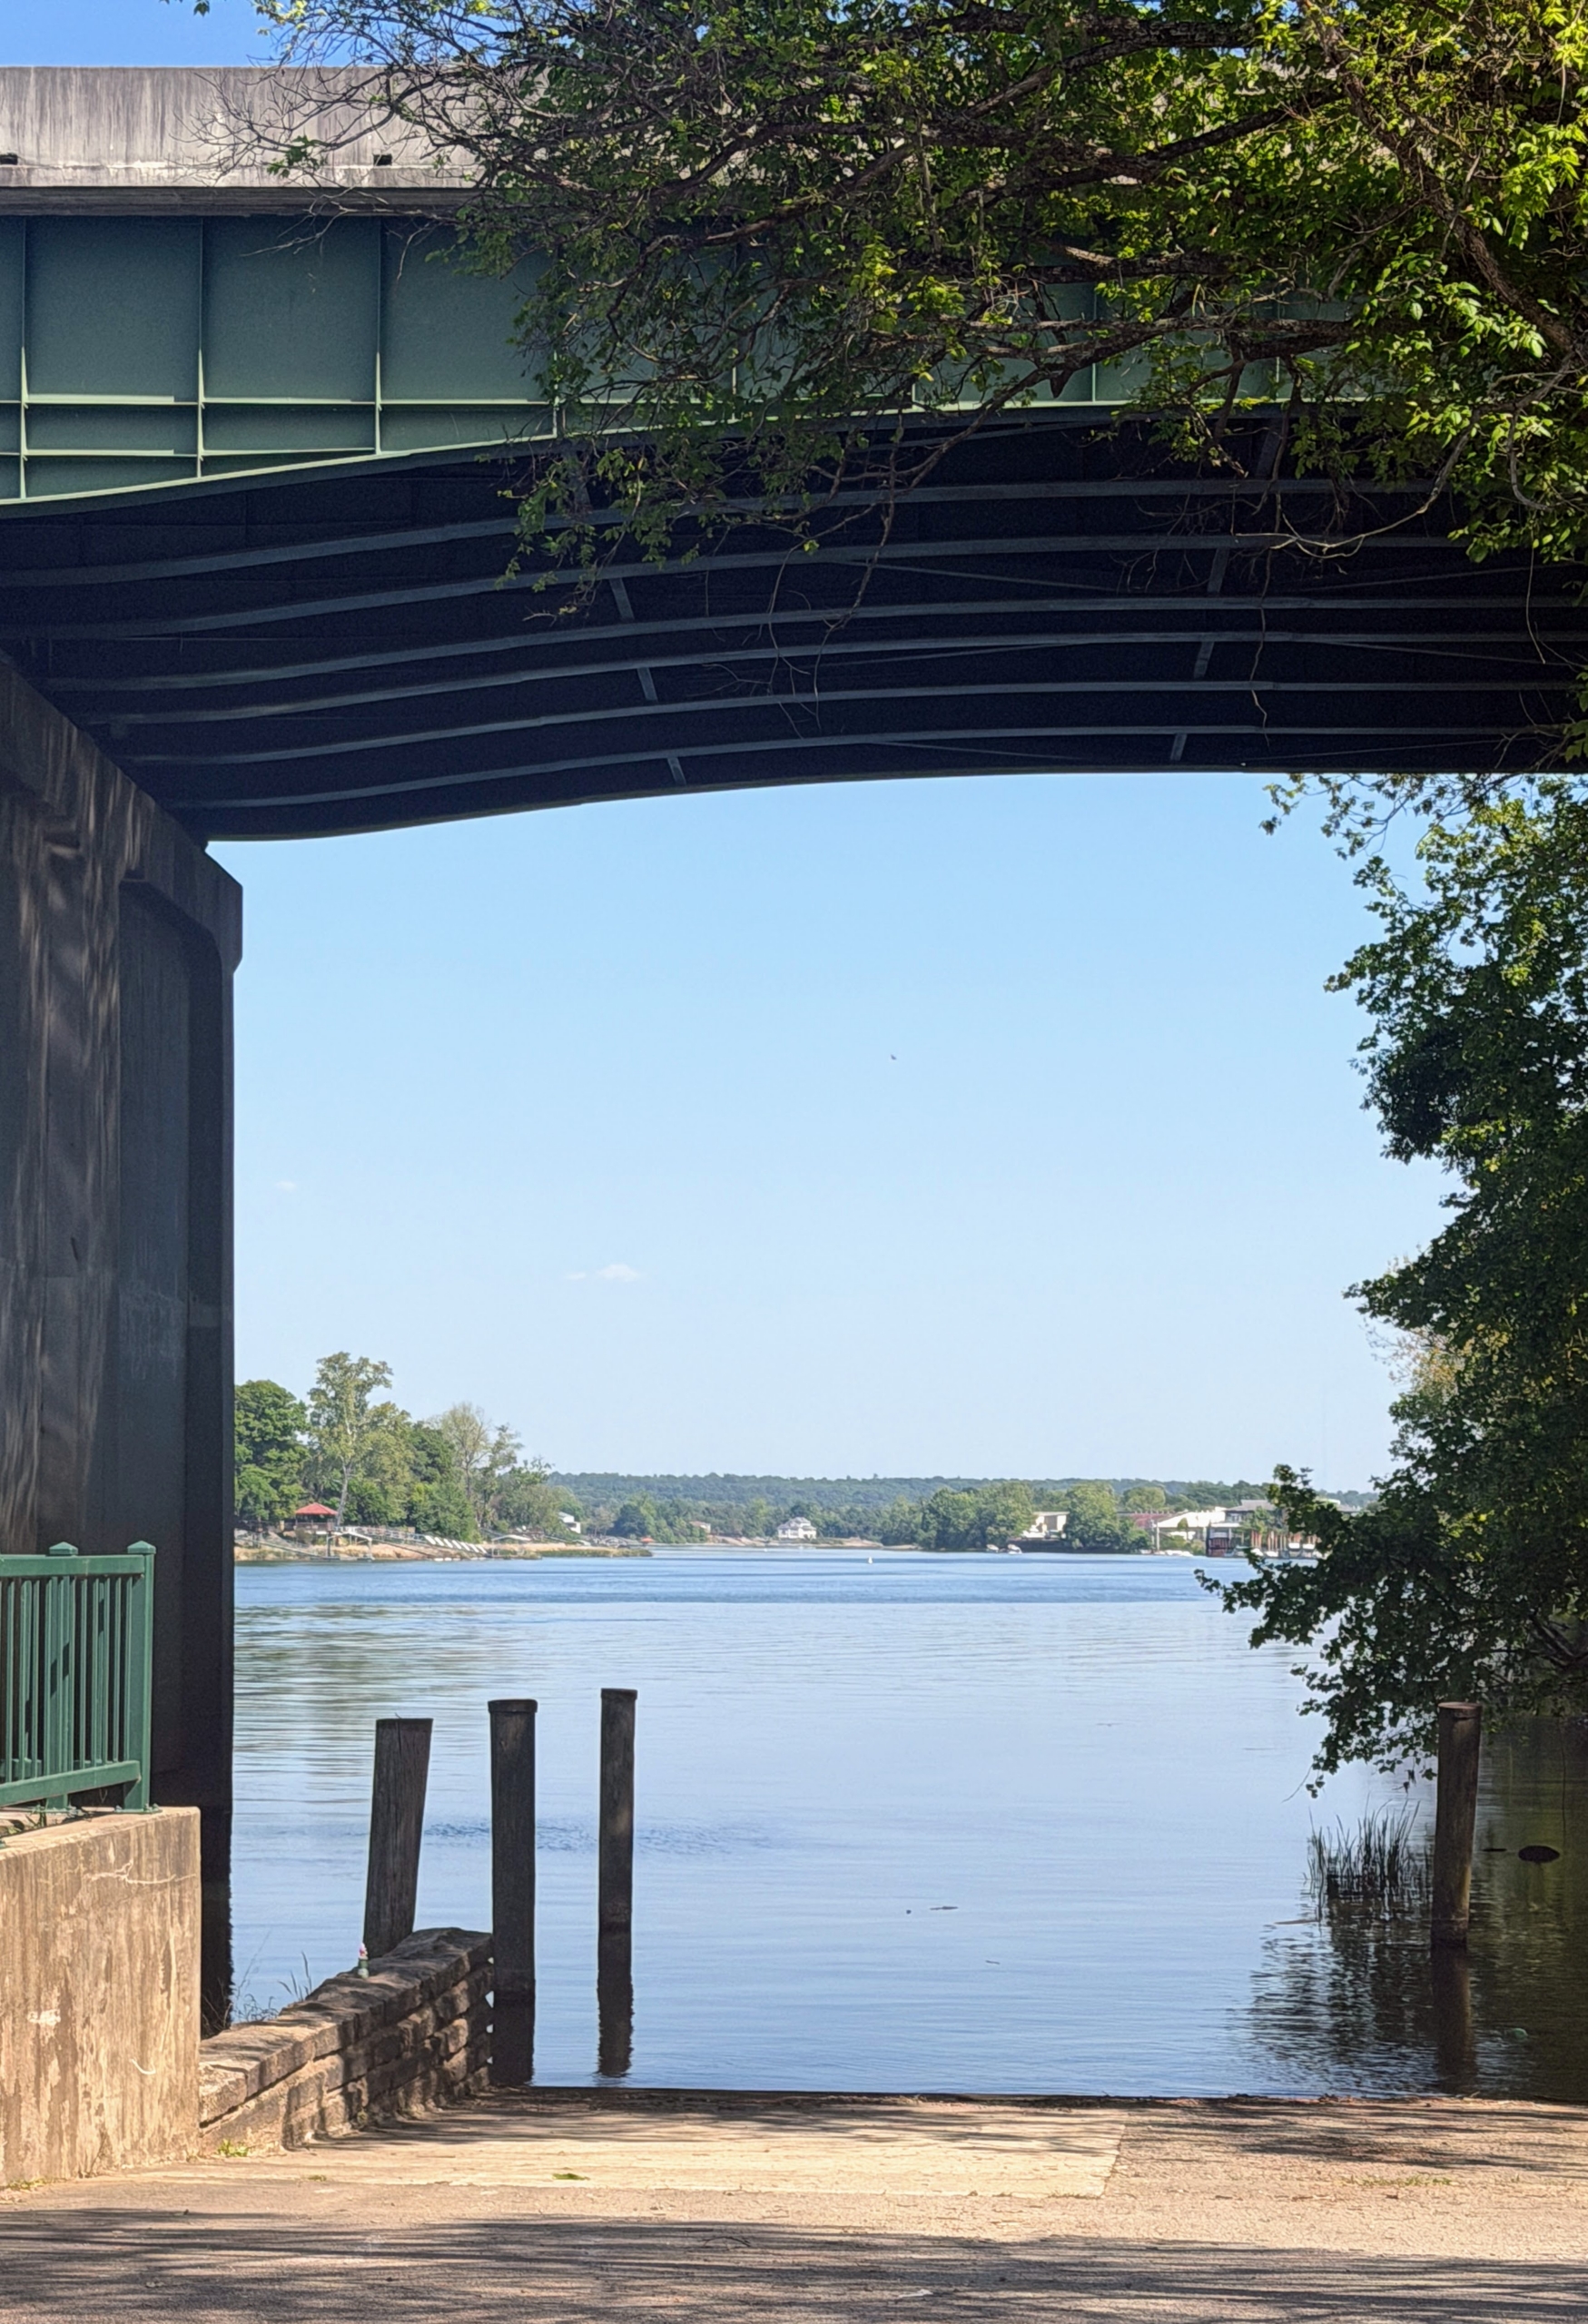
And this is a view of the Savannah River, one of the longest and largest waterways in Georgia. It forms a great portion of the border between Georgia and South Carolina and runs more than 300 miles.
On our way back to the airport, we saw many planes – the runway was packed. Flying by private jet seems to be the new way to travel.
Here in the Northeast, we’re expecting a little break from the unseasonably warm weather we've had the last few days. Forecasters say it should be more pleasant with temperatures in the 70s - perfect for continuing all the tasks that need to be done around the farm.
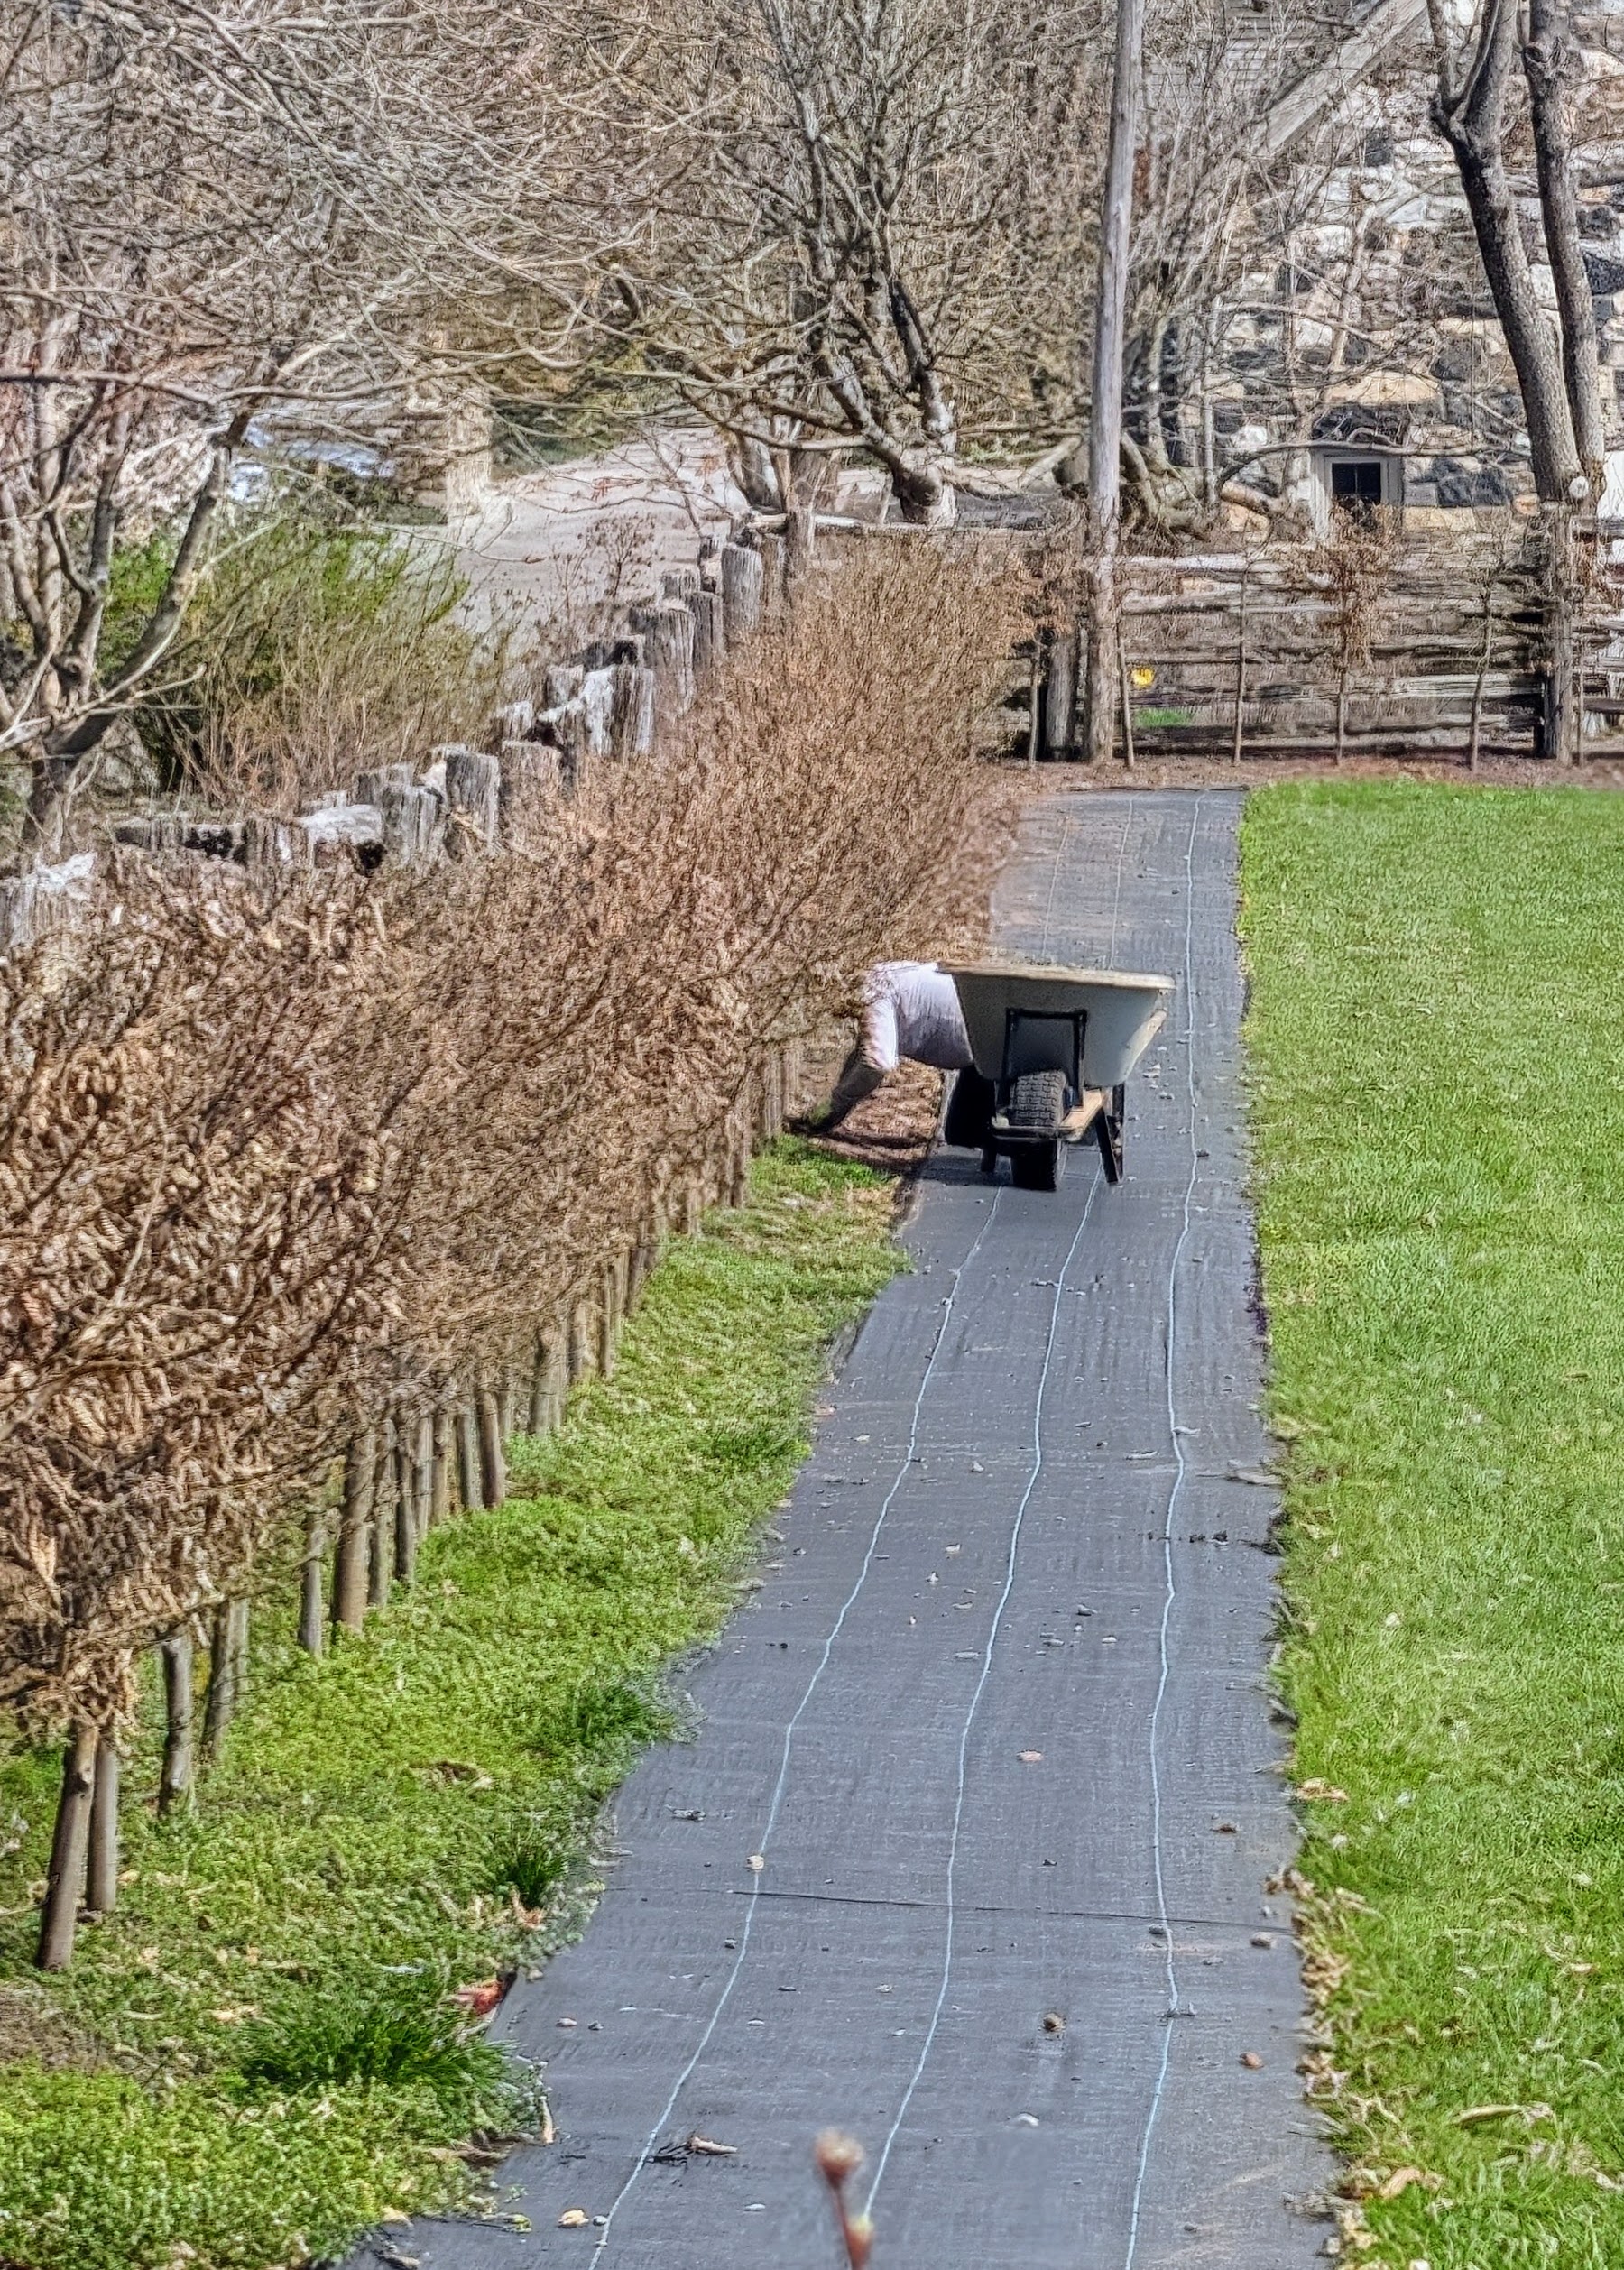
There's always so much to do this time of year. My outdoor grounds crew is busy moving and planting smoke bushes in my middle field allée, transplanting boxwood shrubs outside my greenhouse, planting large arborvitae evergreens, clearing sod and tilling soil for new flower beds, uncovering the dahlias, and of course, beginning the task of aerating and mowing the lawns.
Here are some photos, enjoy. What's on your to-do list this weekend?
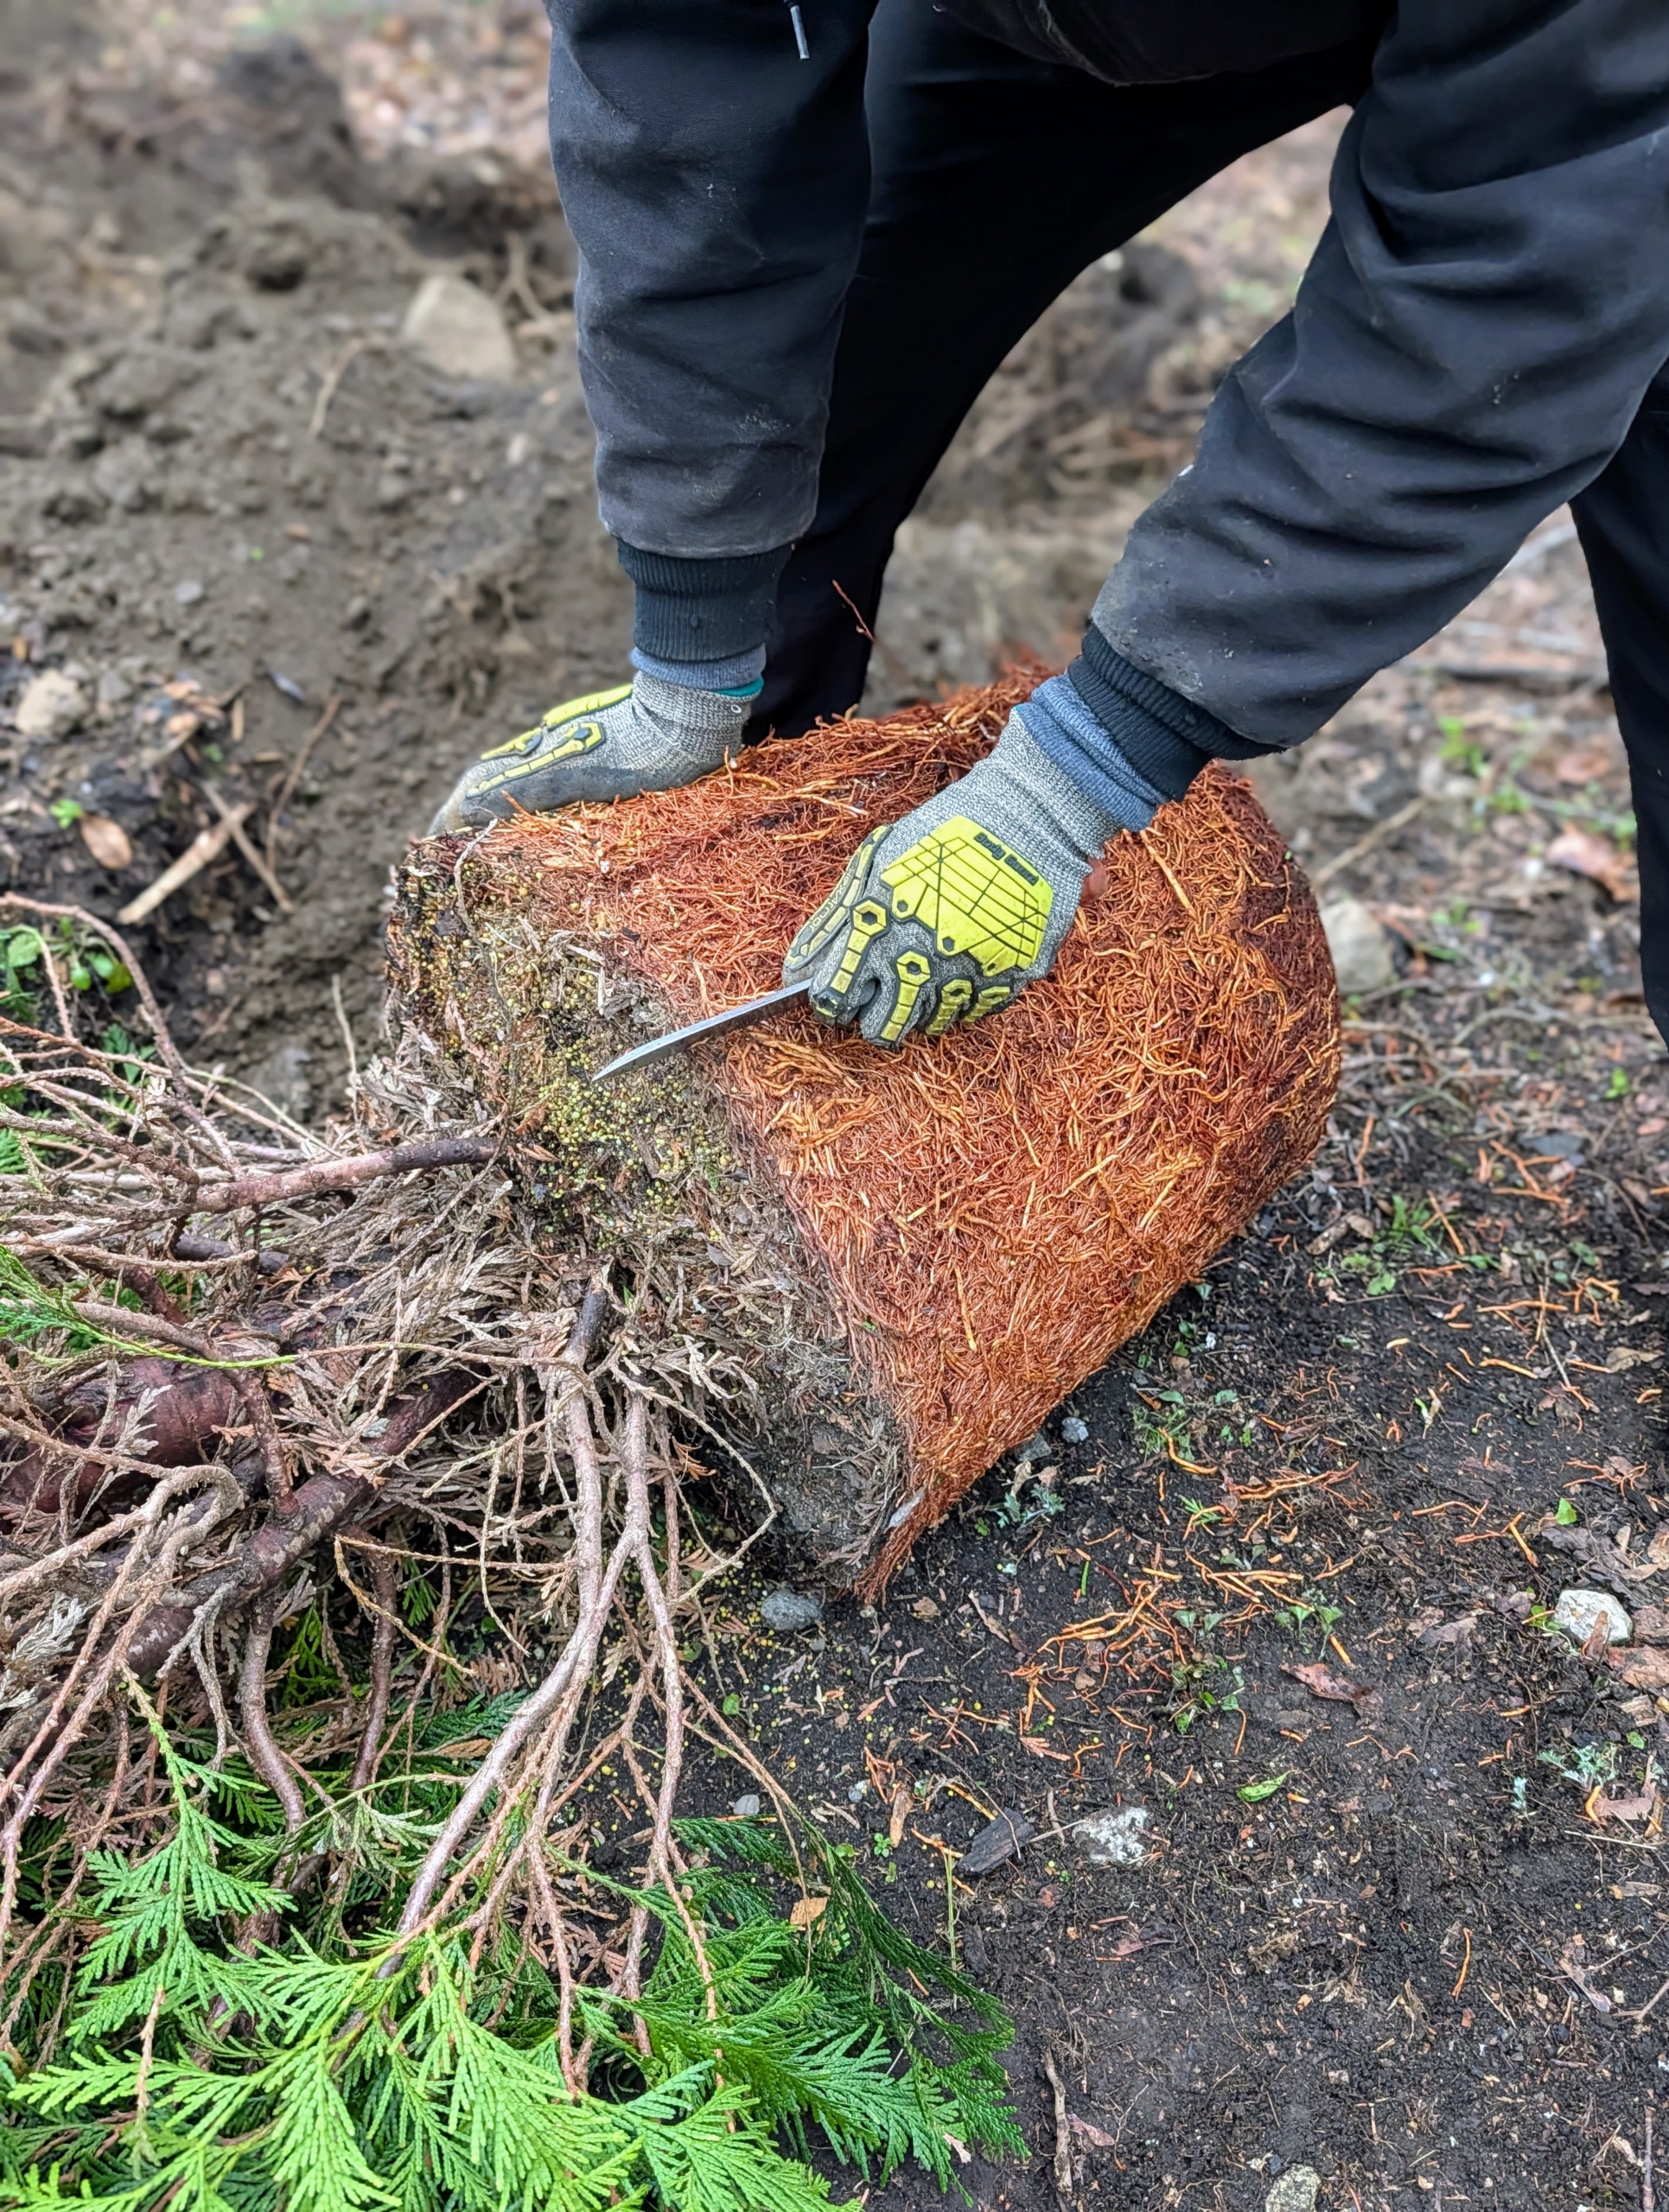
Thuja plicata ‘Green Giant’ is a fast growing evergreen that provides lush, soft foliage and works great for privacy borders. It is commonly known as arborvitae.
When planting anything, it’s always a good idea to scarify the root ball, or make intentional cuts to stimulate root growth.
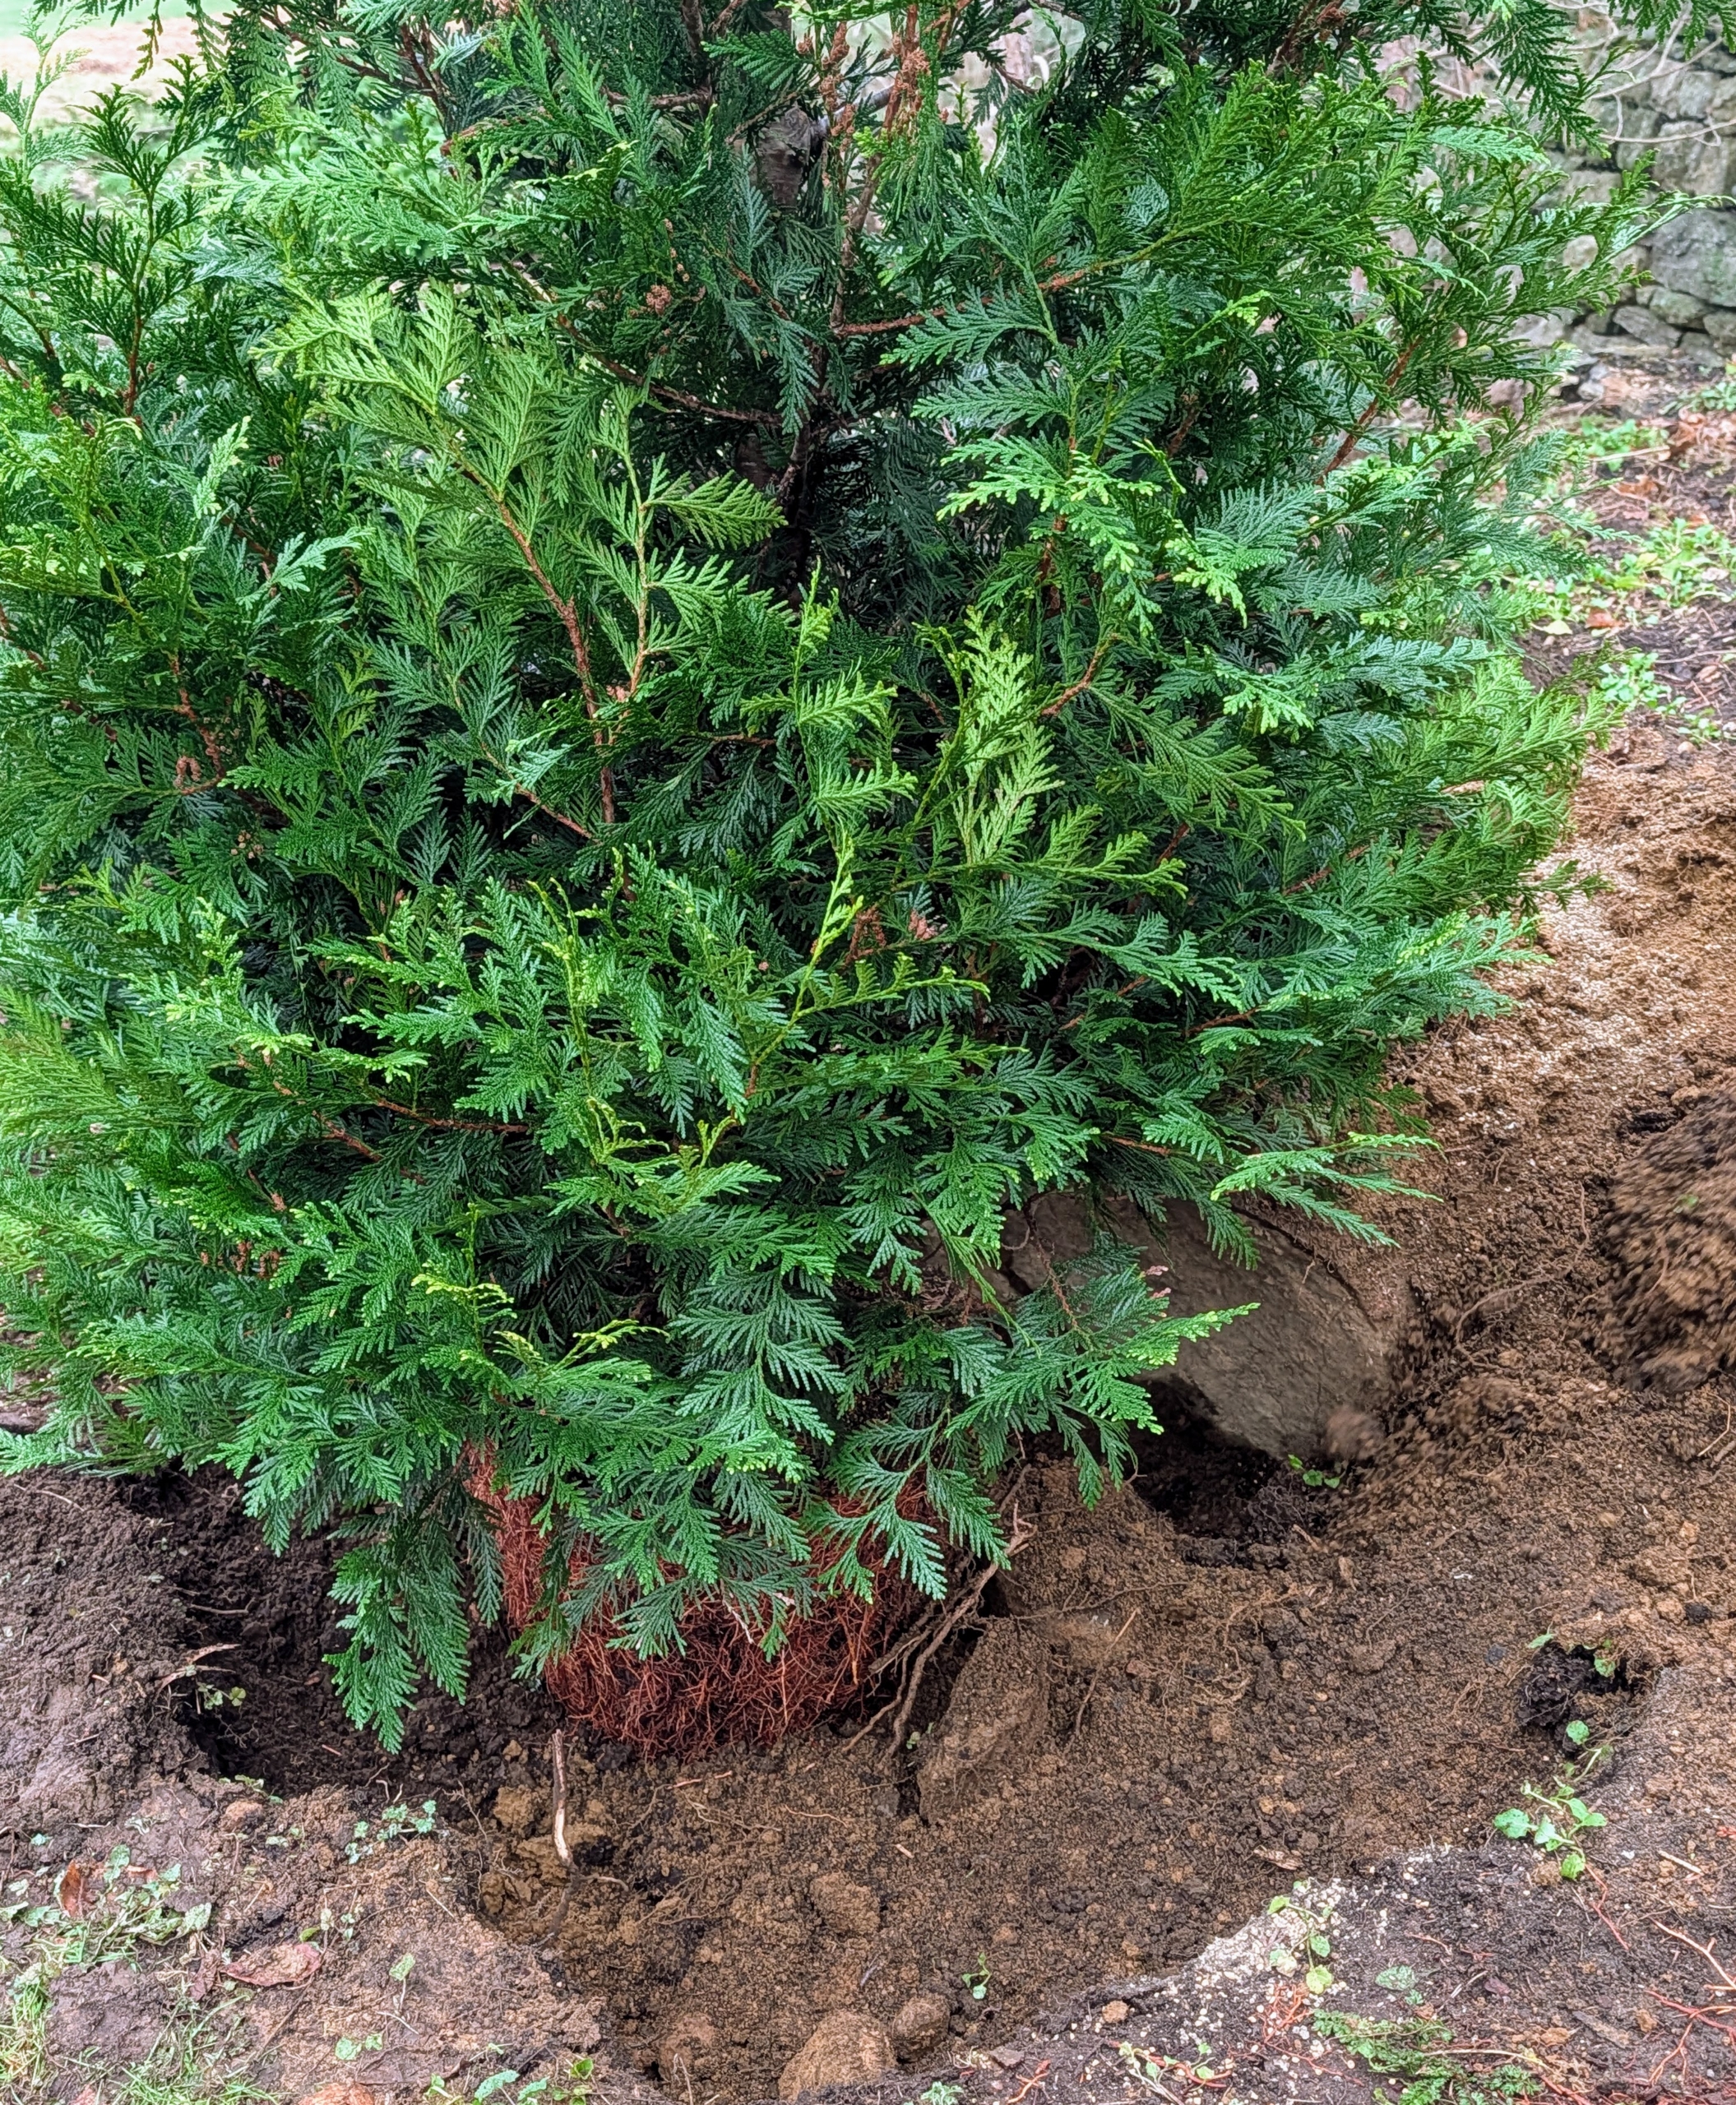
The tree is placed into the hole at the proper height. When choosing trees or plants, be sure to consider the size of the specimens when mature. These trees will grow pretty wide, so they need a good amount of space.
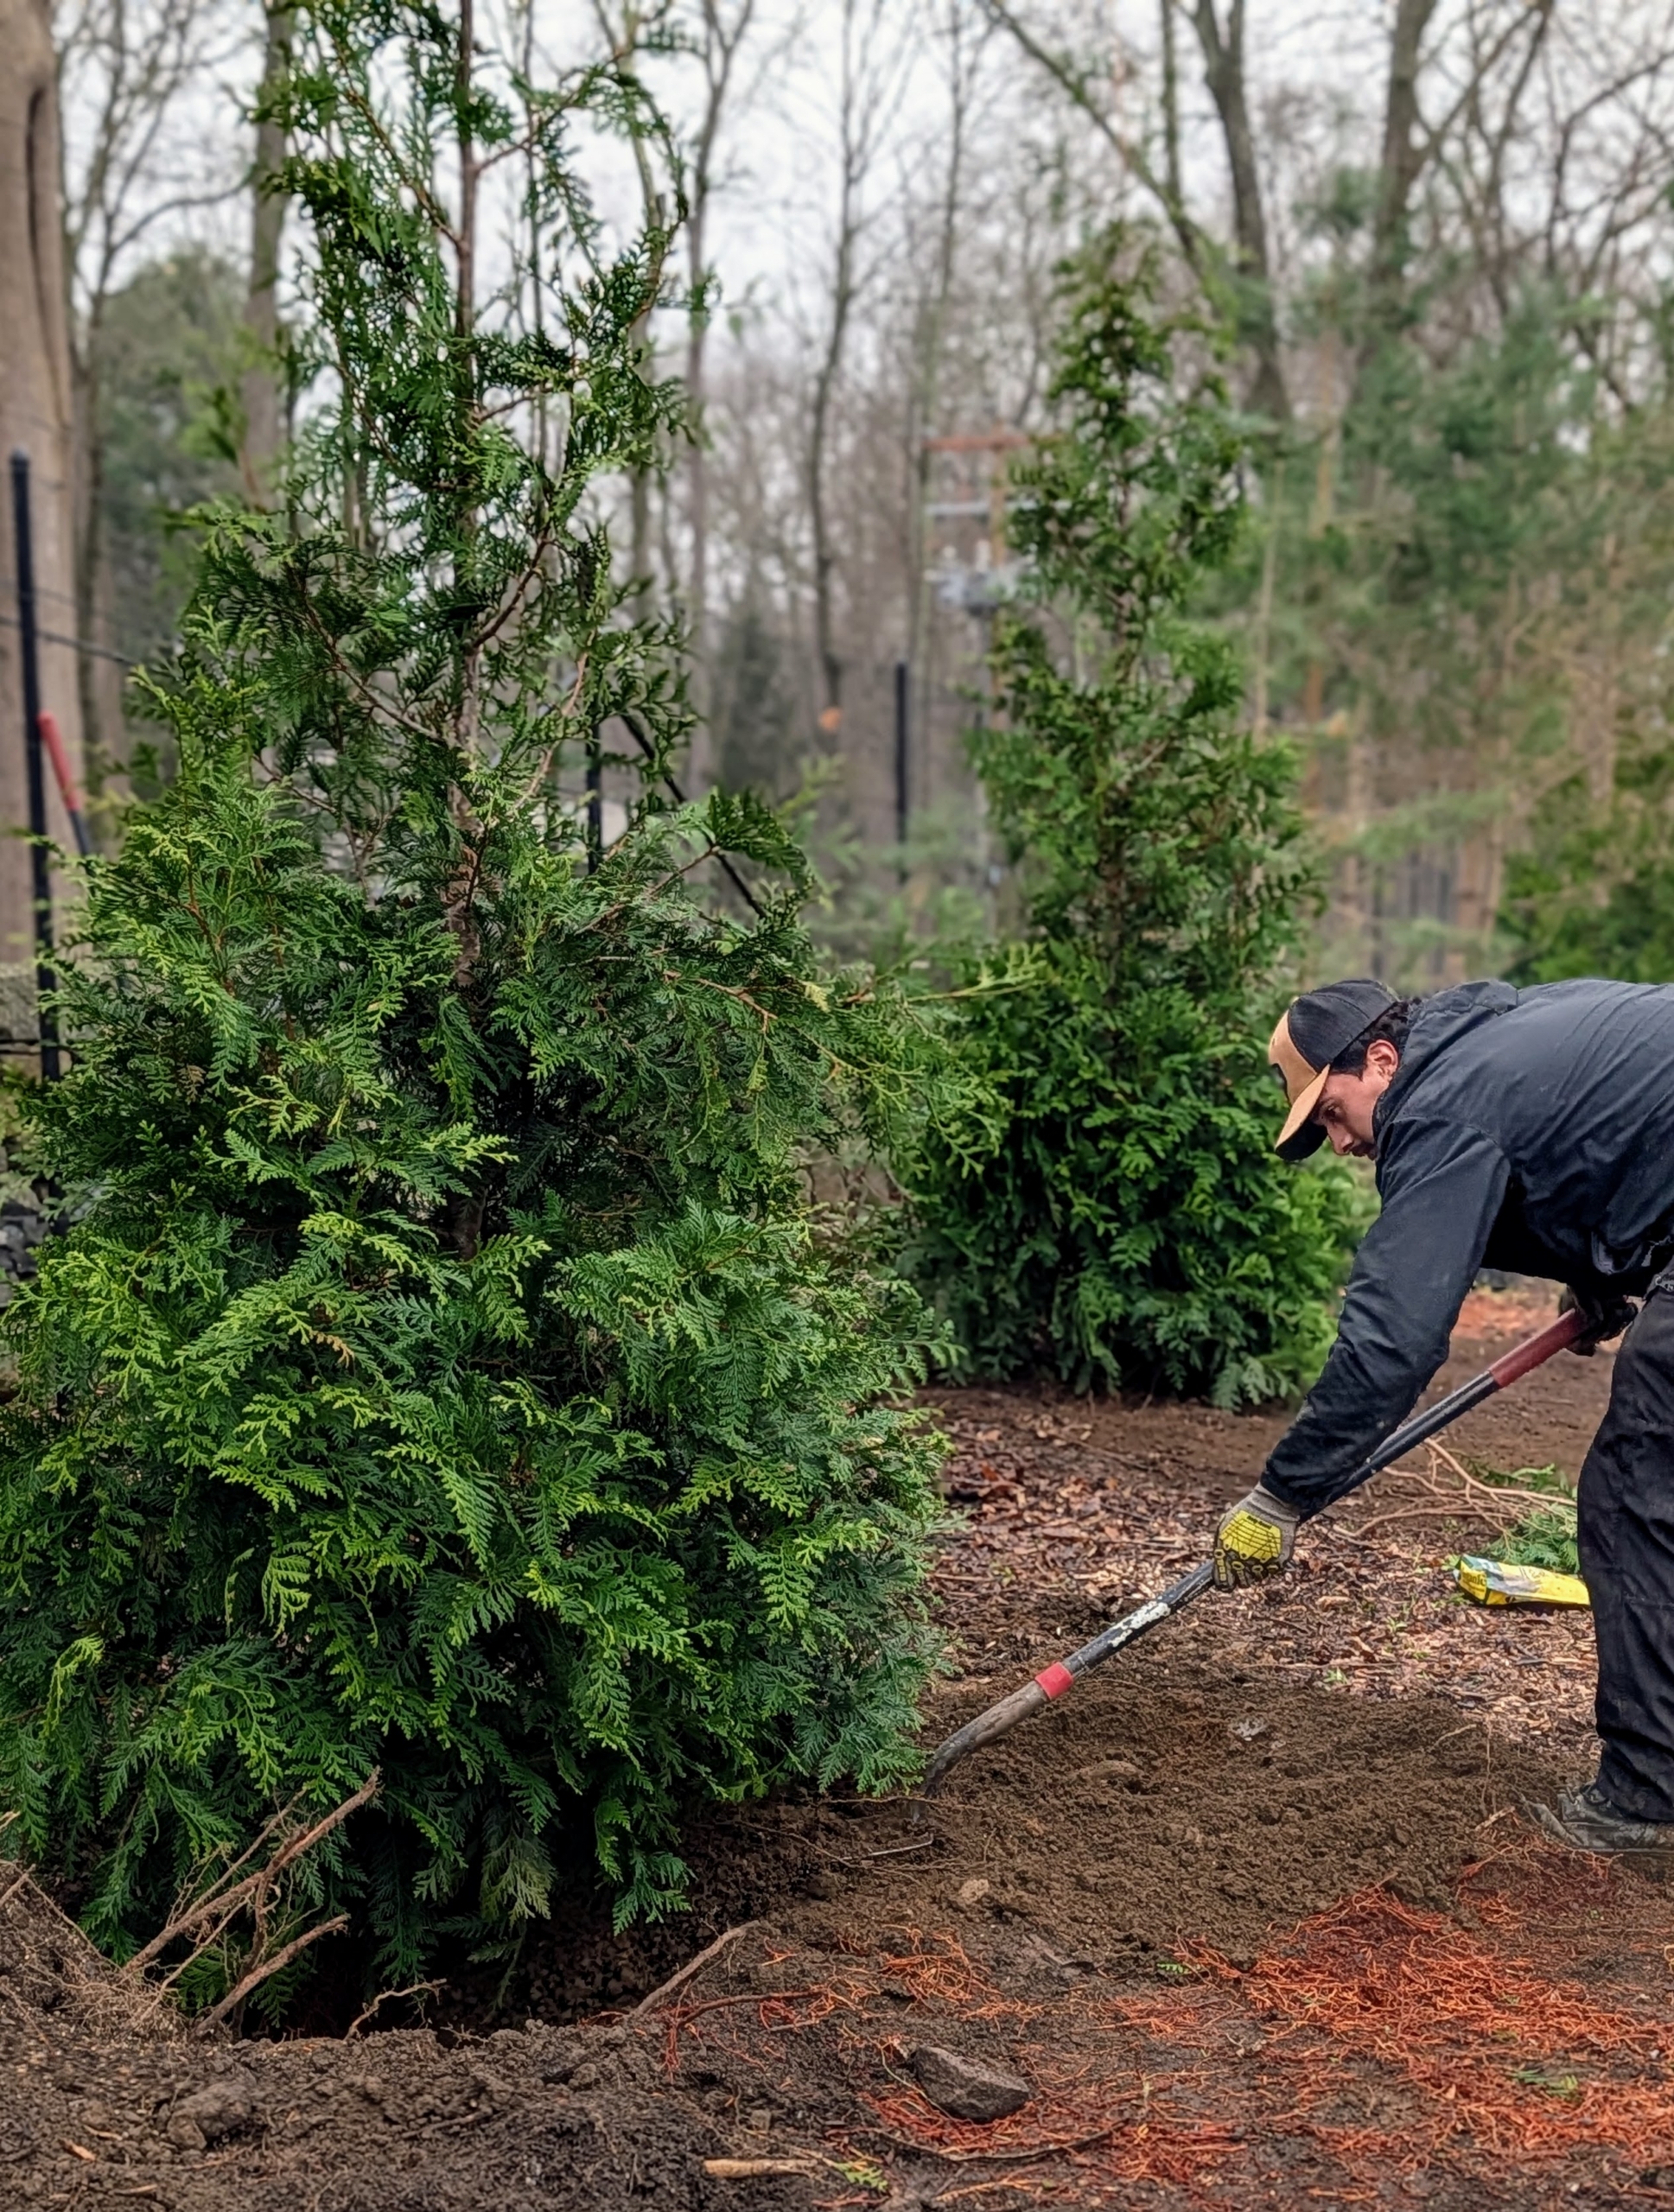
Matthew backfills and then rakes the area so it is neat and tidy.
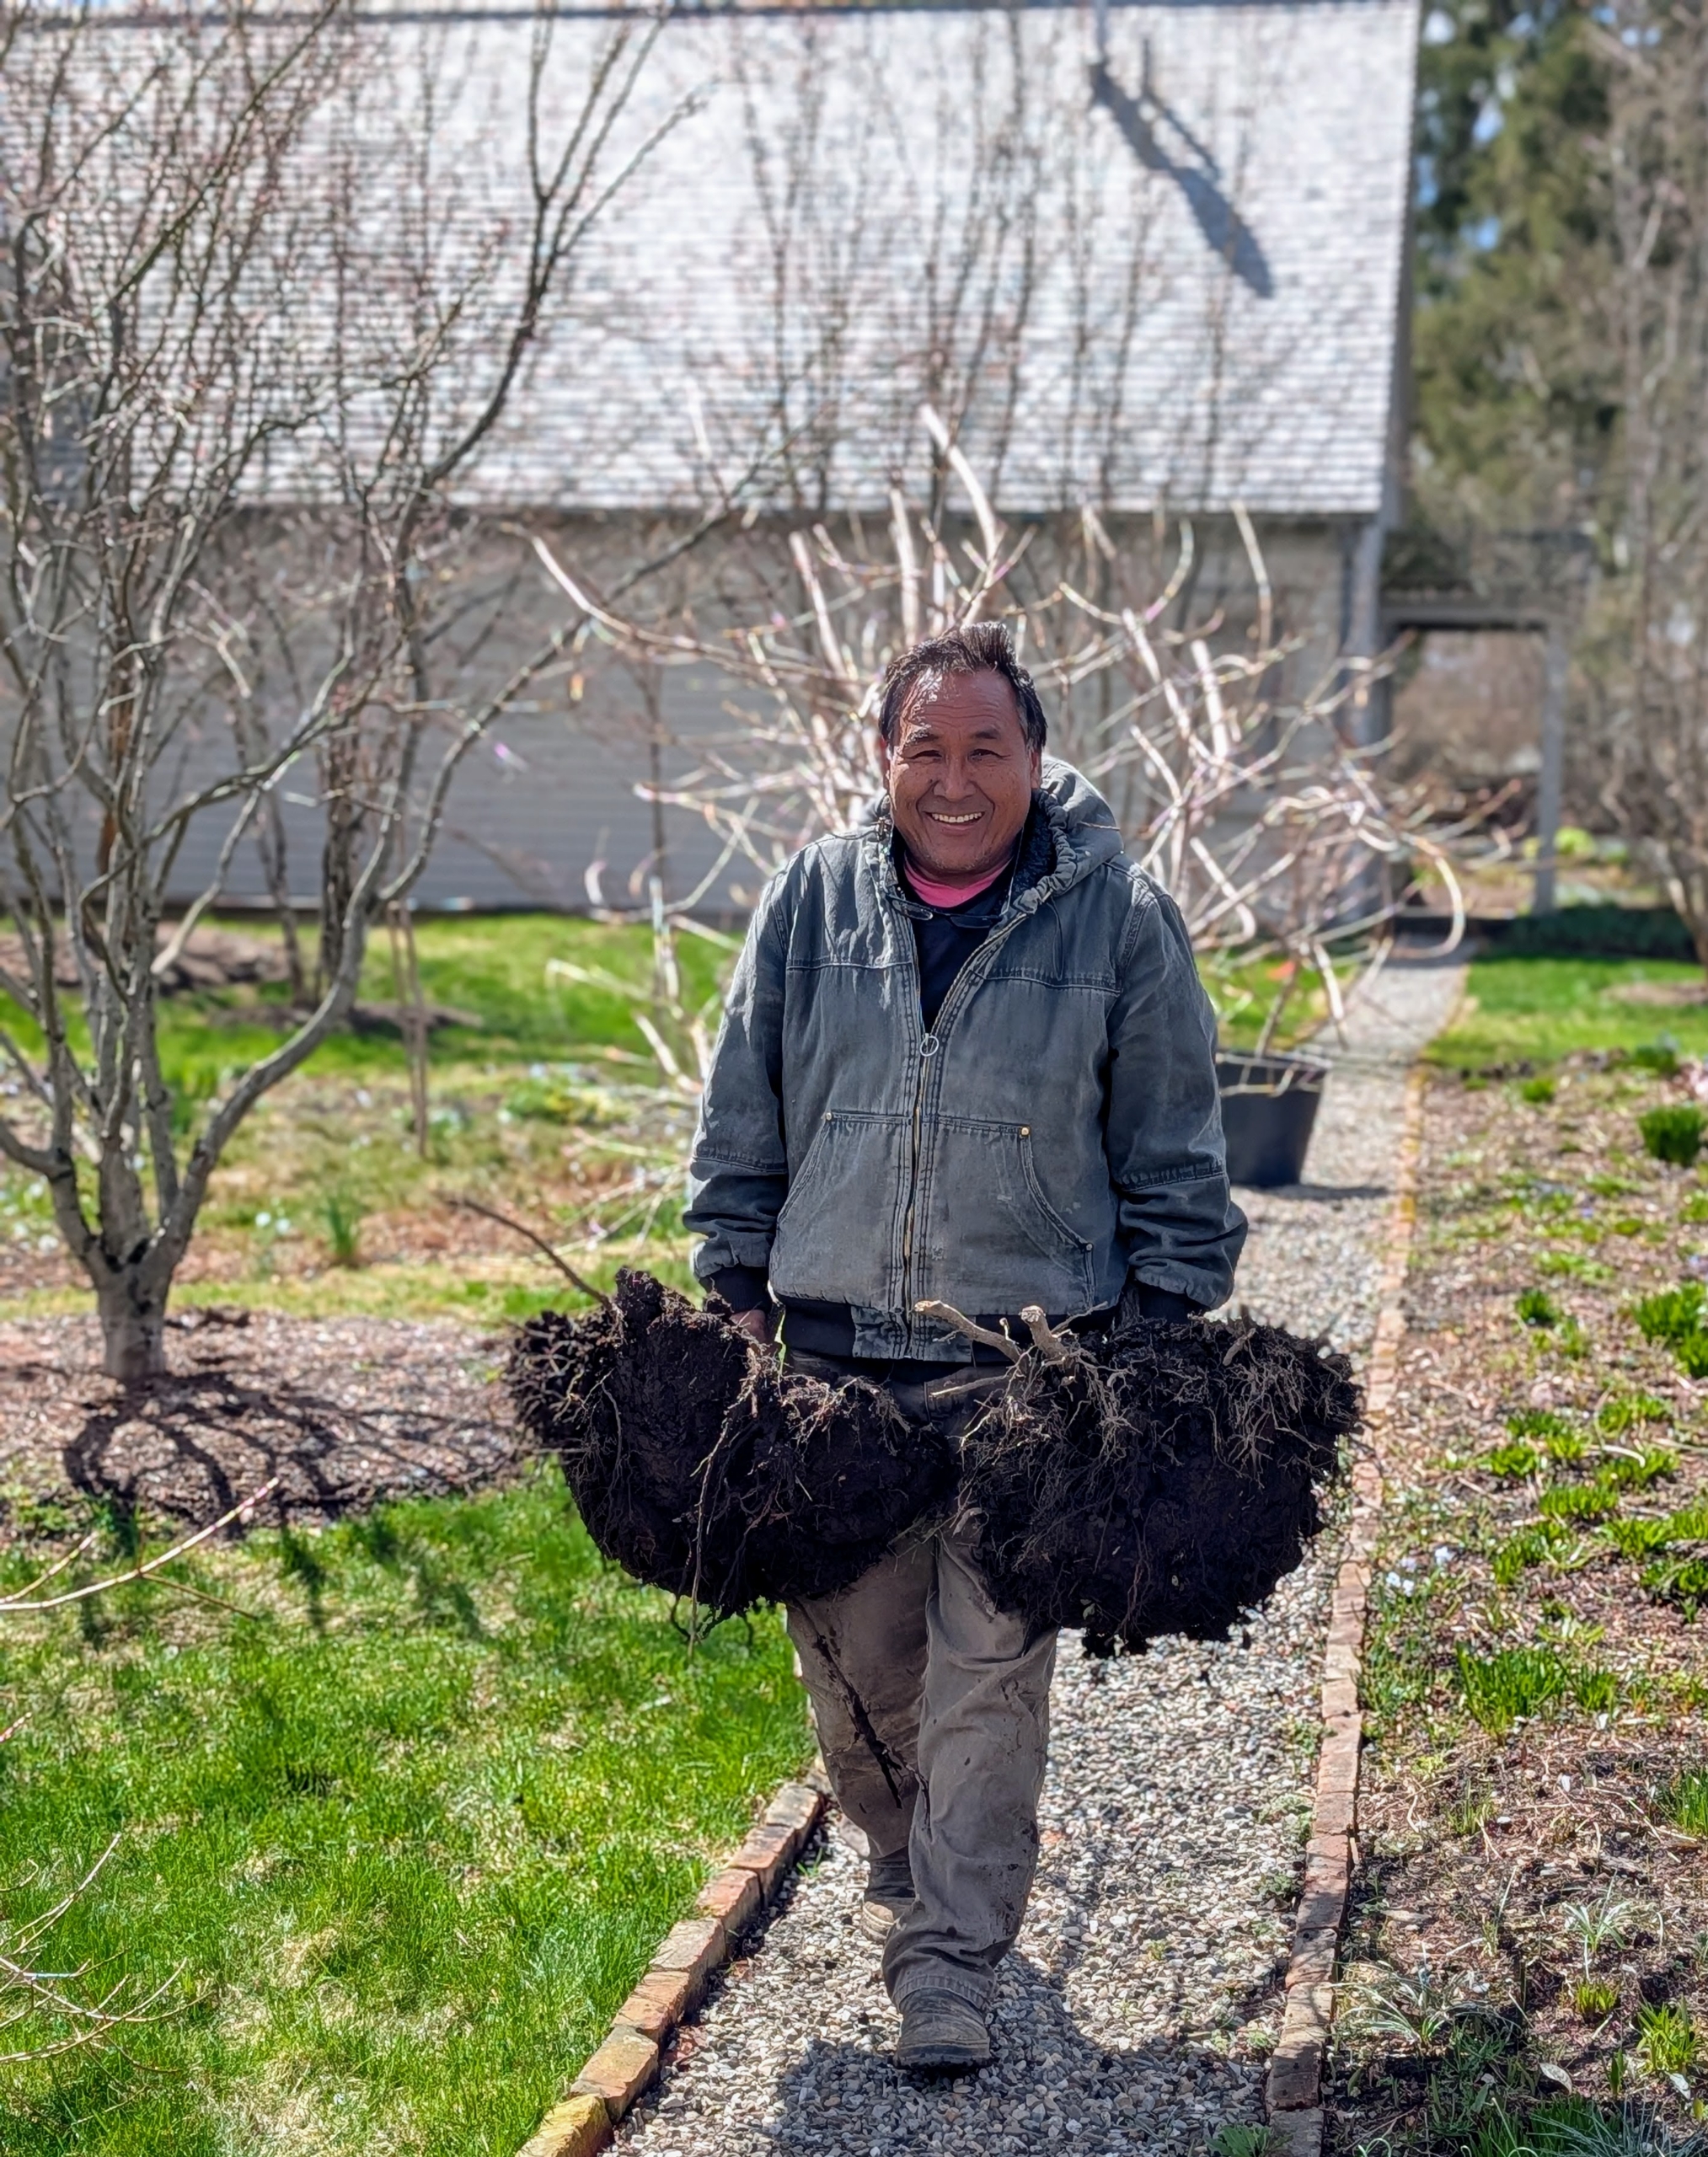
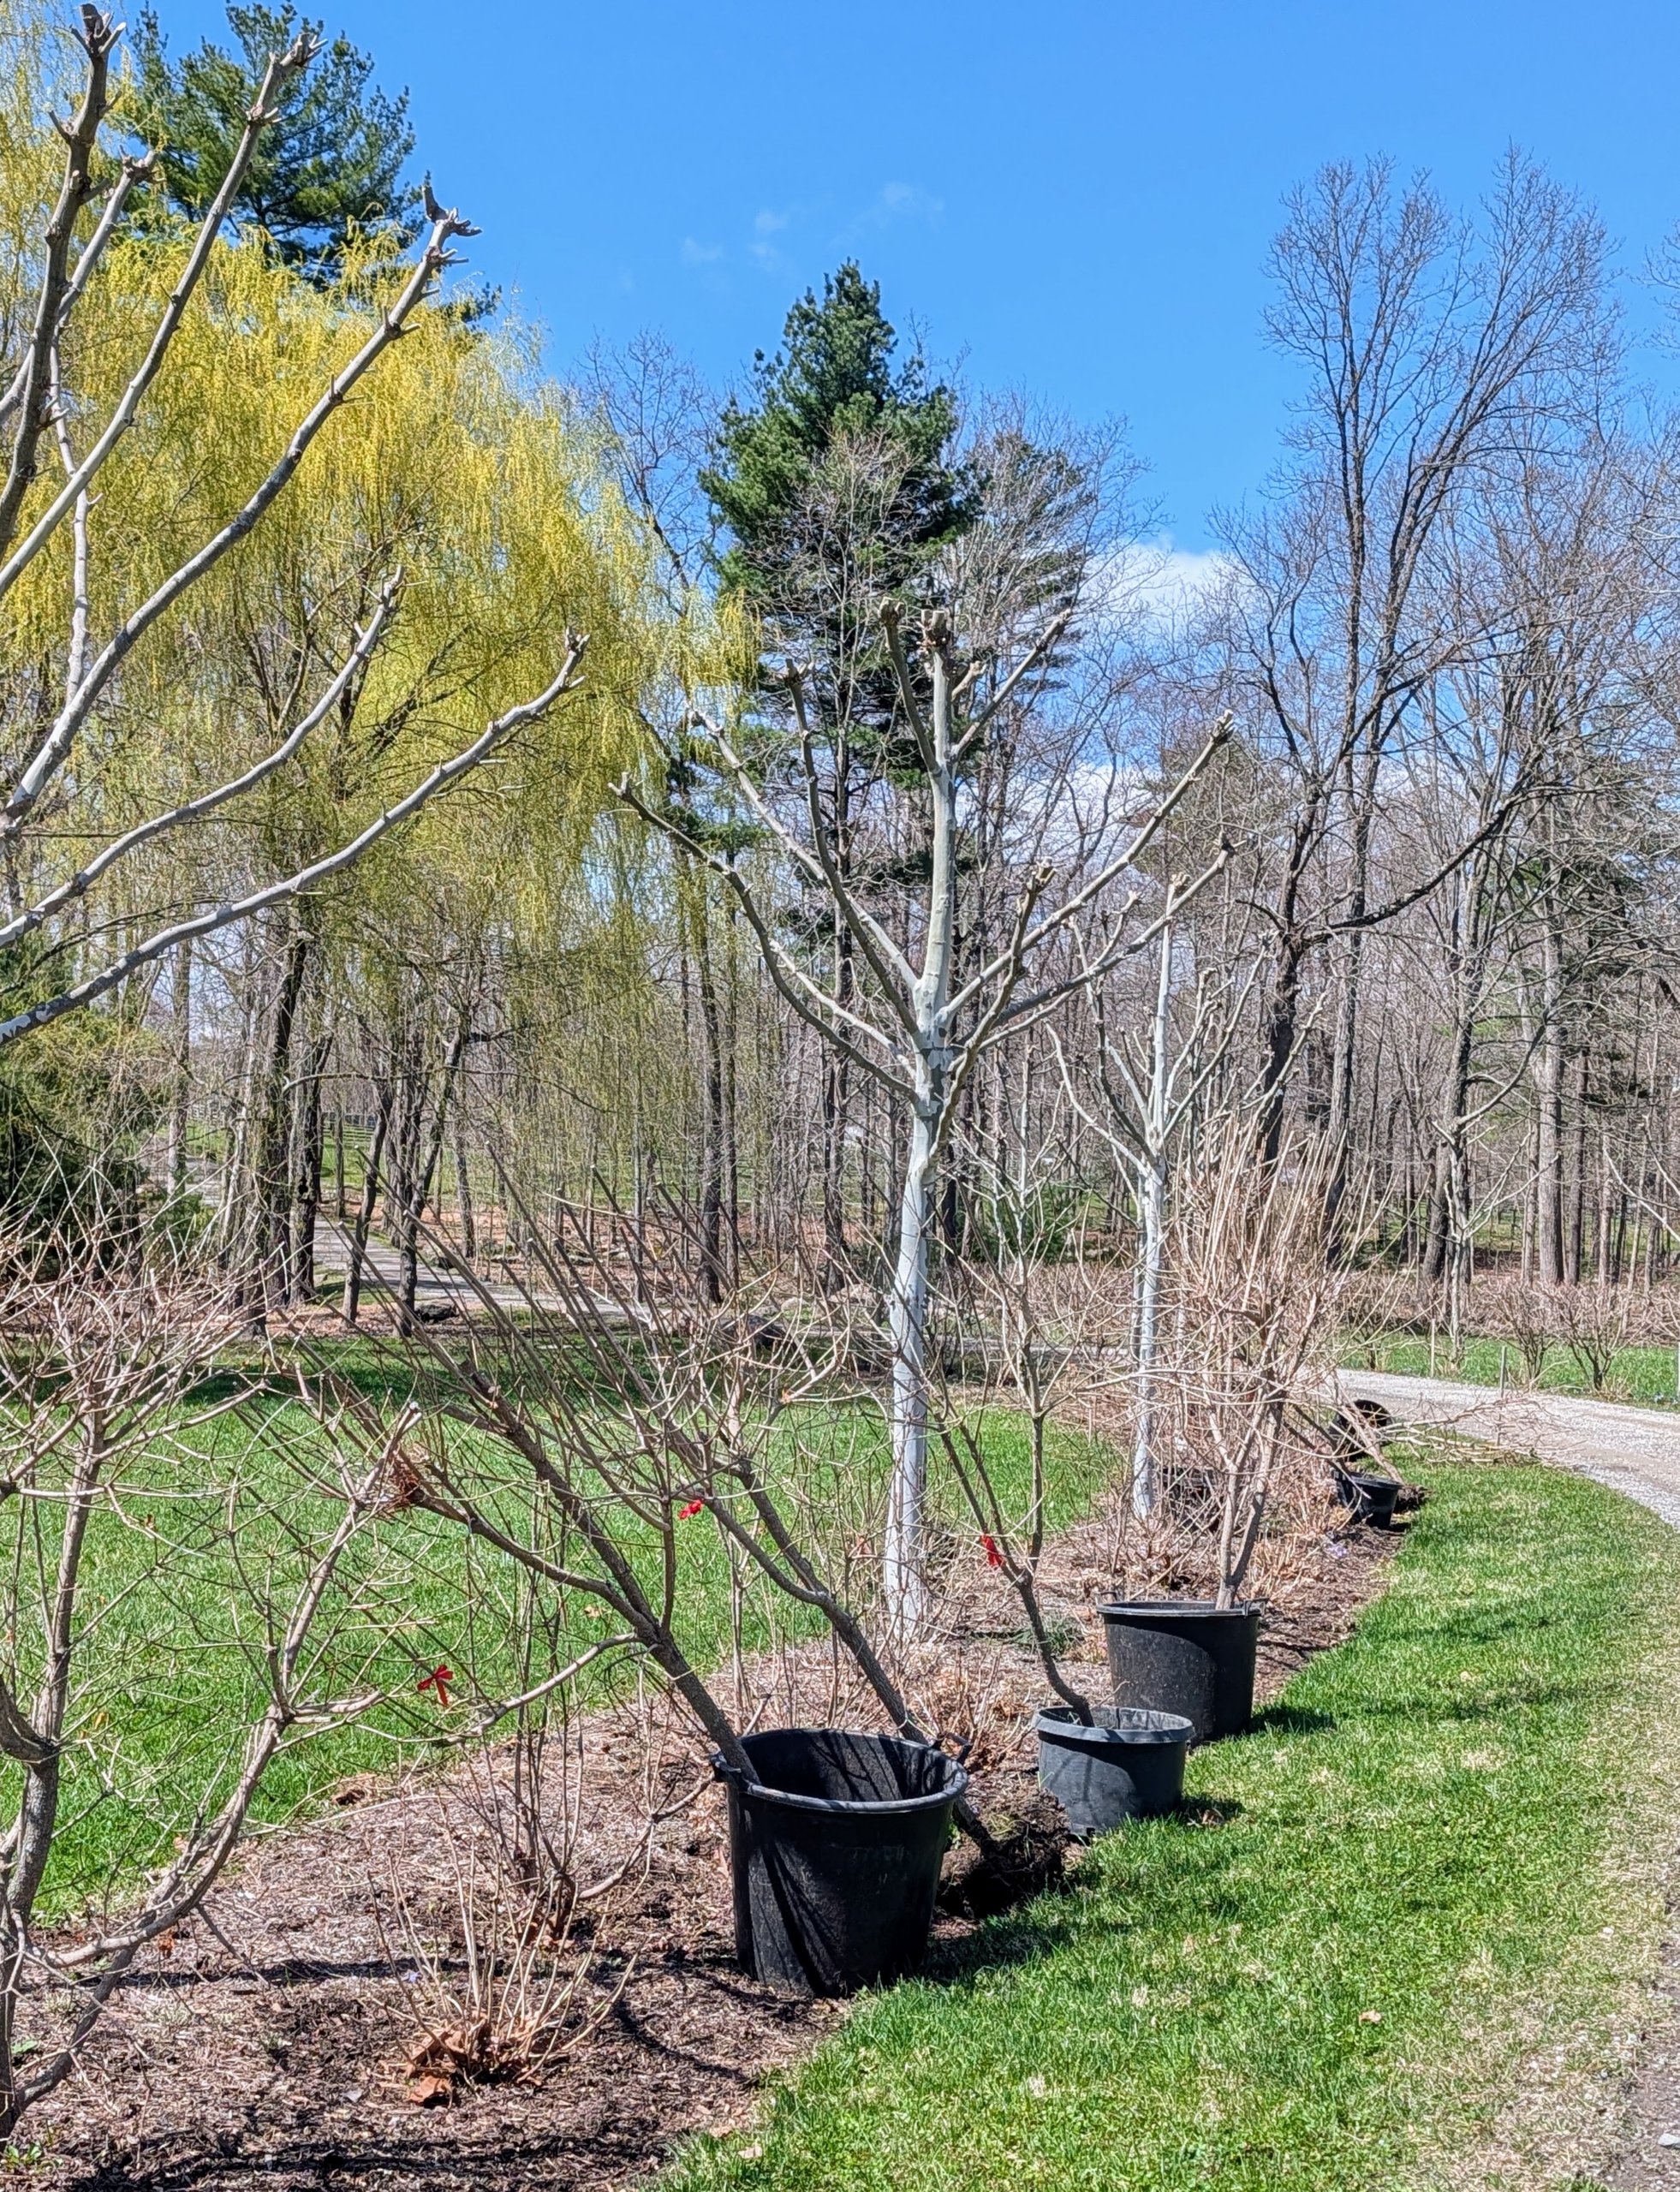
Here’s Pete moving a group of Cotinus trees that had outgrown their spaces outside my Tenant House. I decided they would do better in the allée of smoke bushes in my middle hayfield.
The trees filled in areas where others had died. Don’t be afraid to move trees – as long as the trees are in good condition and the transplanting process is done carefully, this should be an easy task.
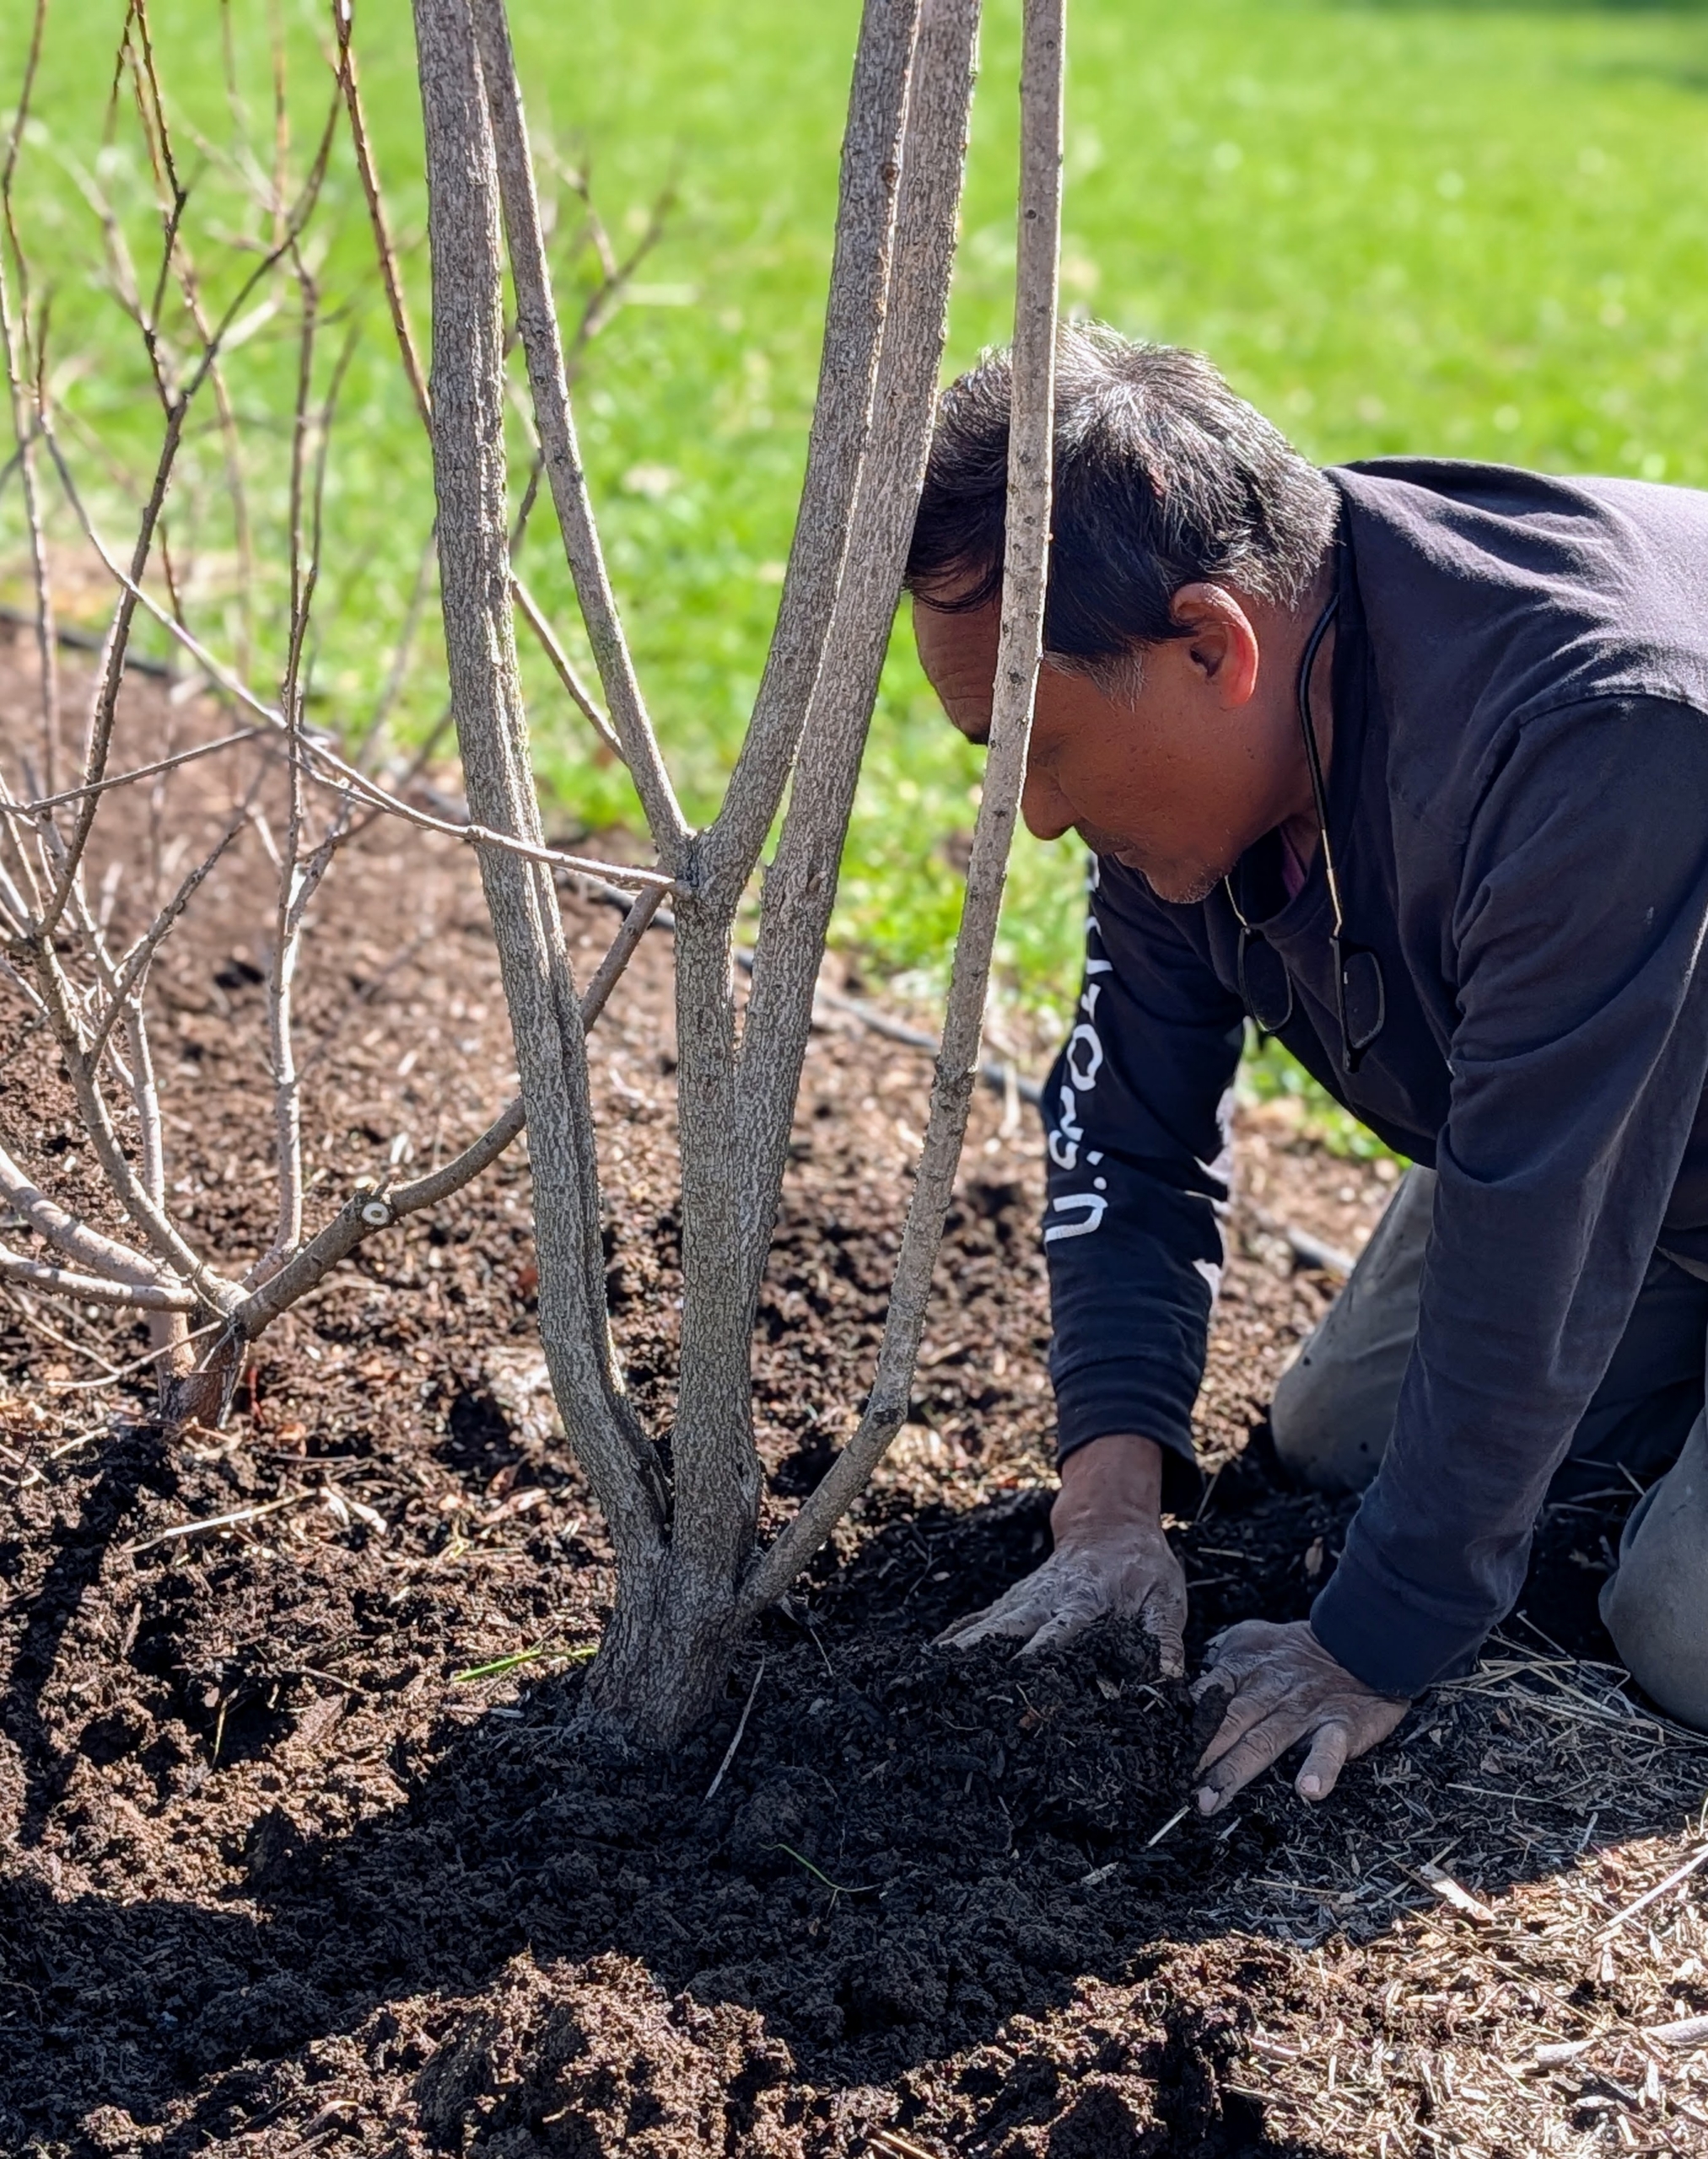
The trees are planted at the same depth, “bare to the flare,” which means covered with soil only until the point where the roots meet the main trunk of the tree.
Phurba rakes the area after the trees are planted, fed, and backfilled.
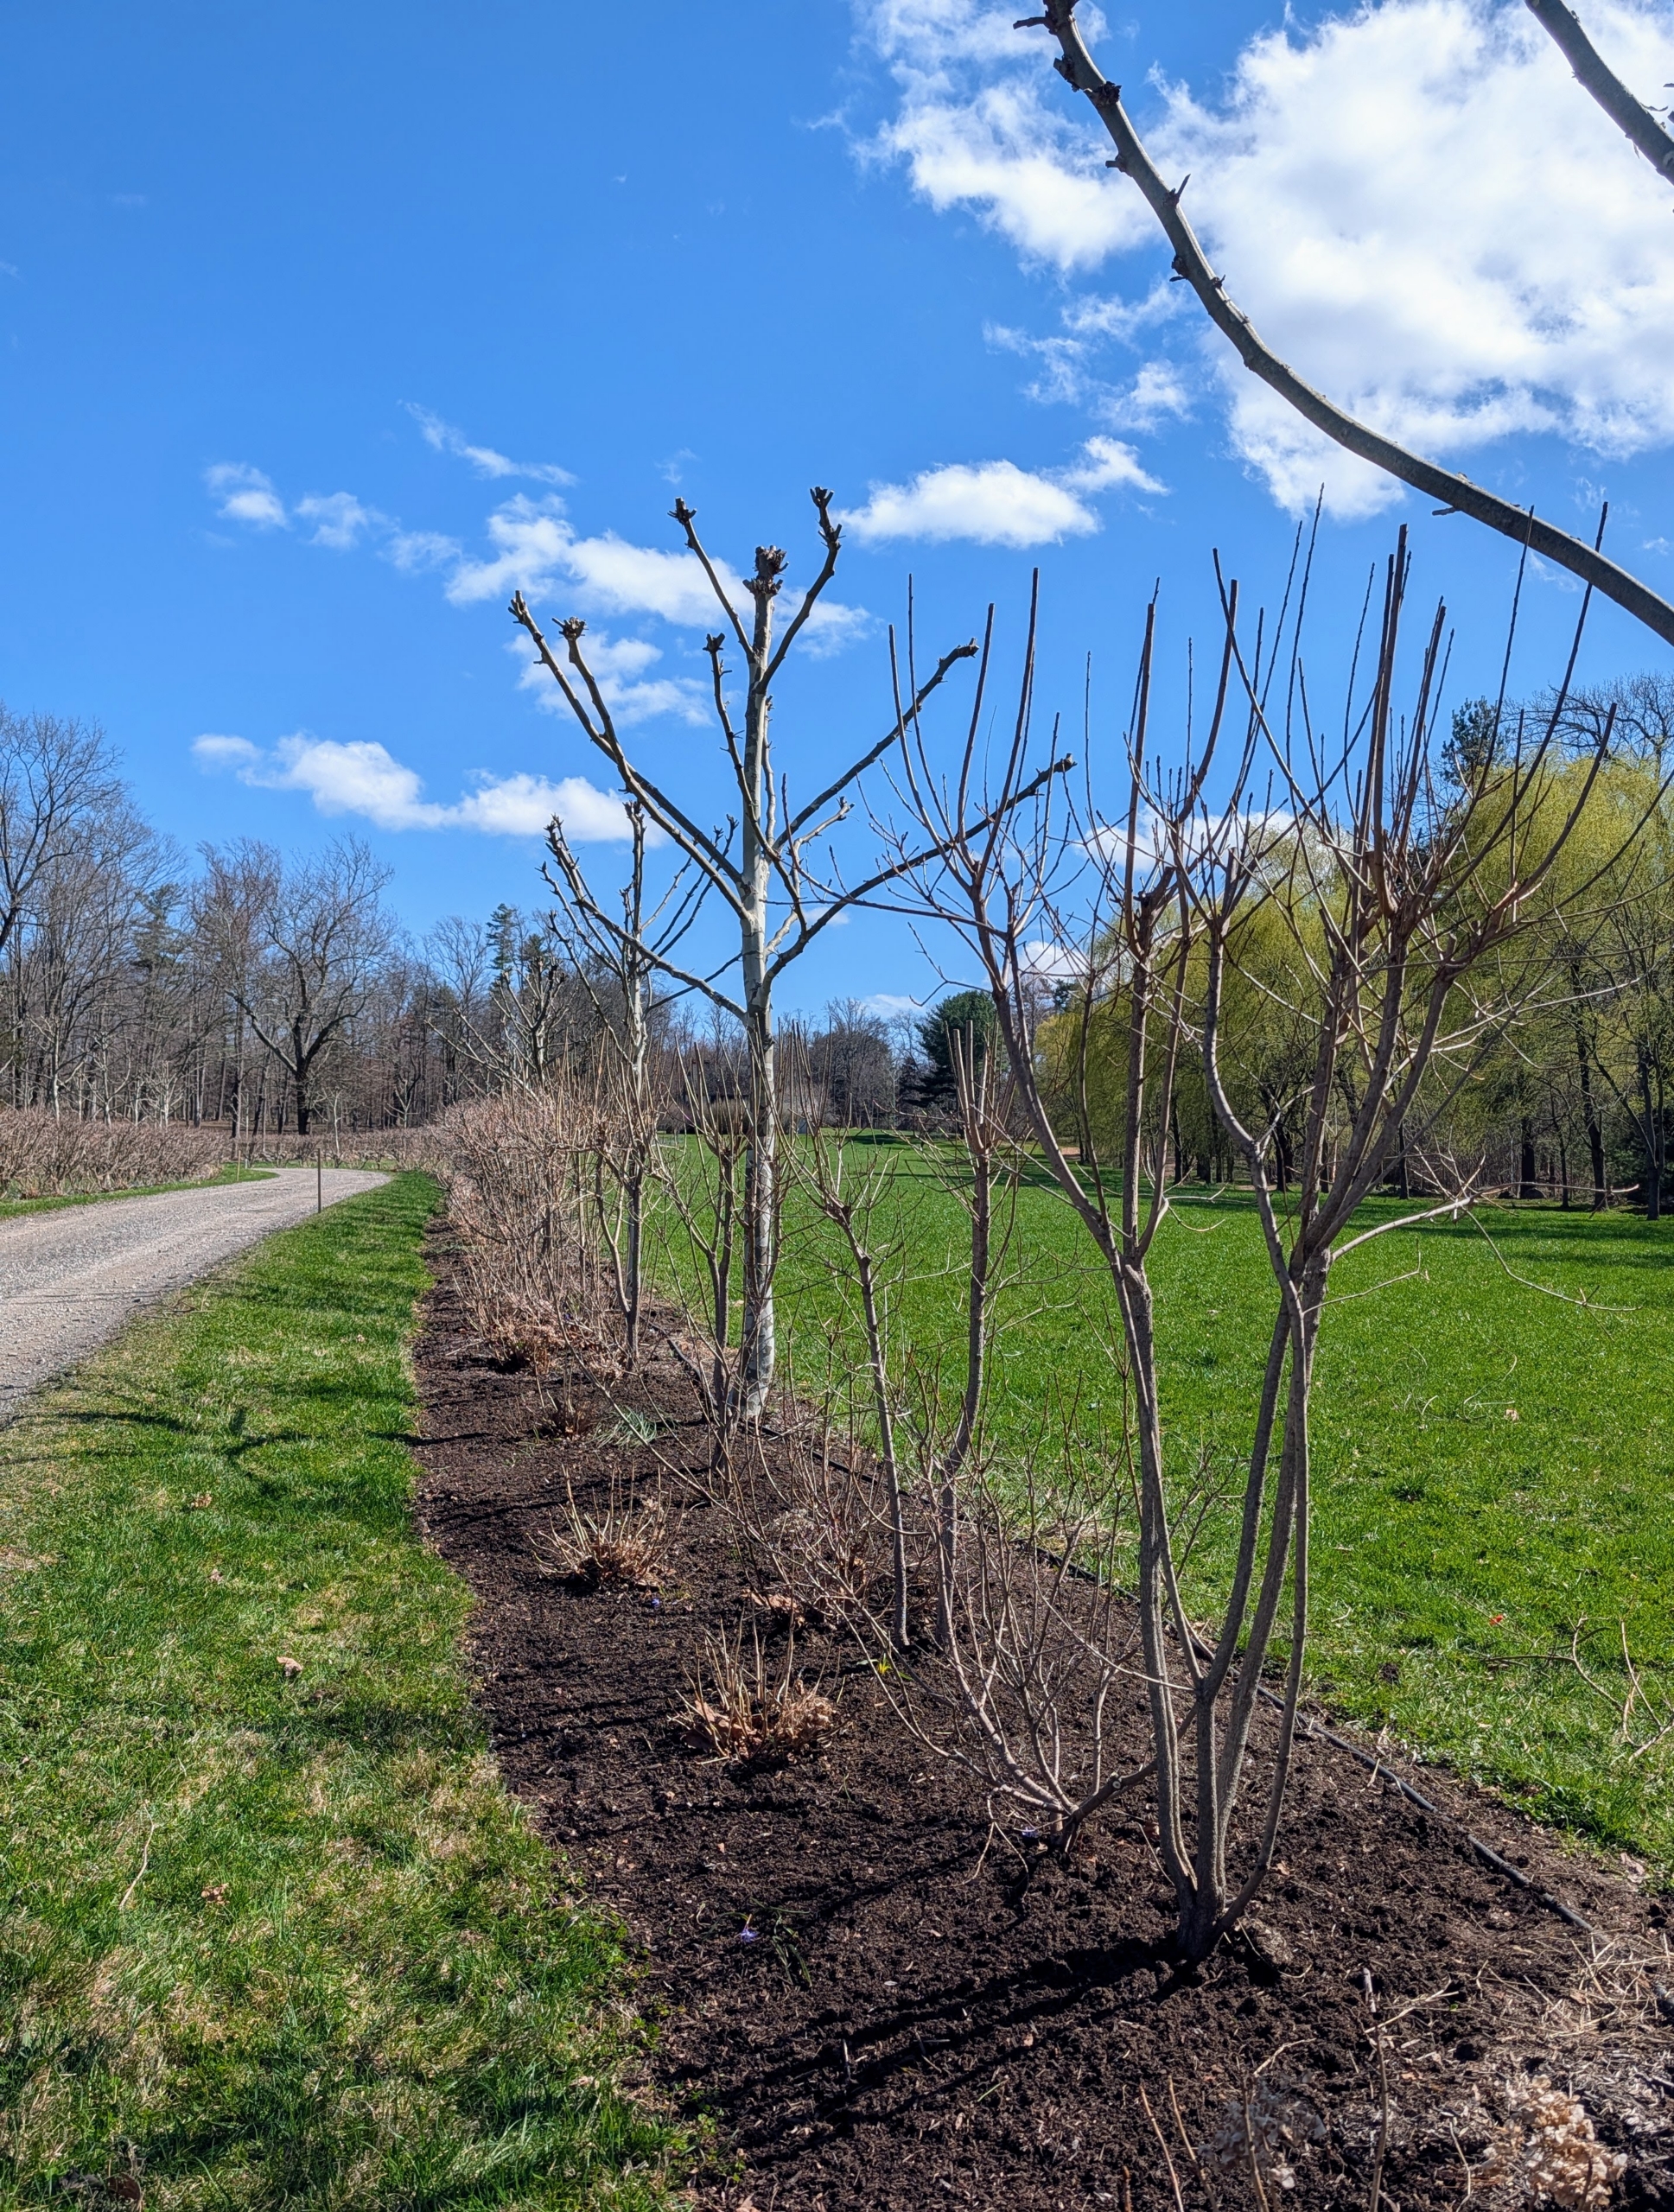
This allée of London plane trees and smoke bushes is doing well. They will look great when full of foliage.
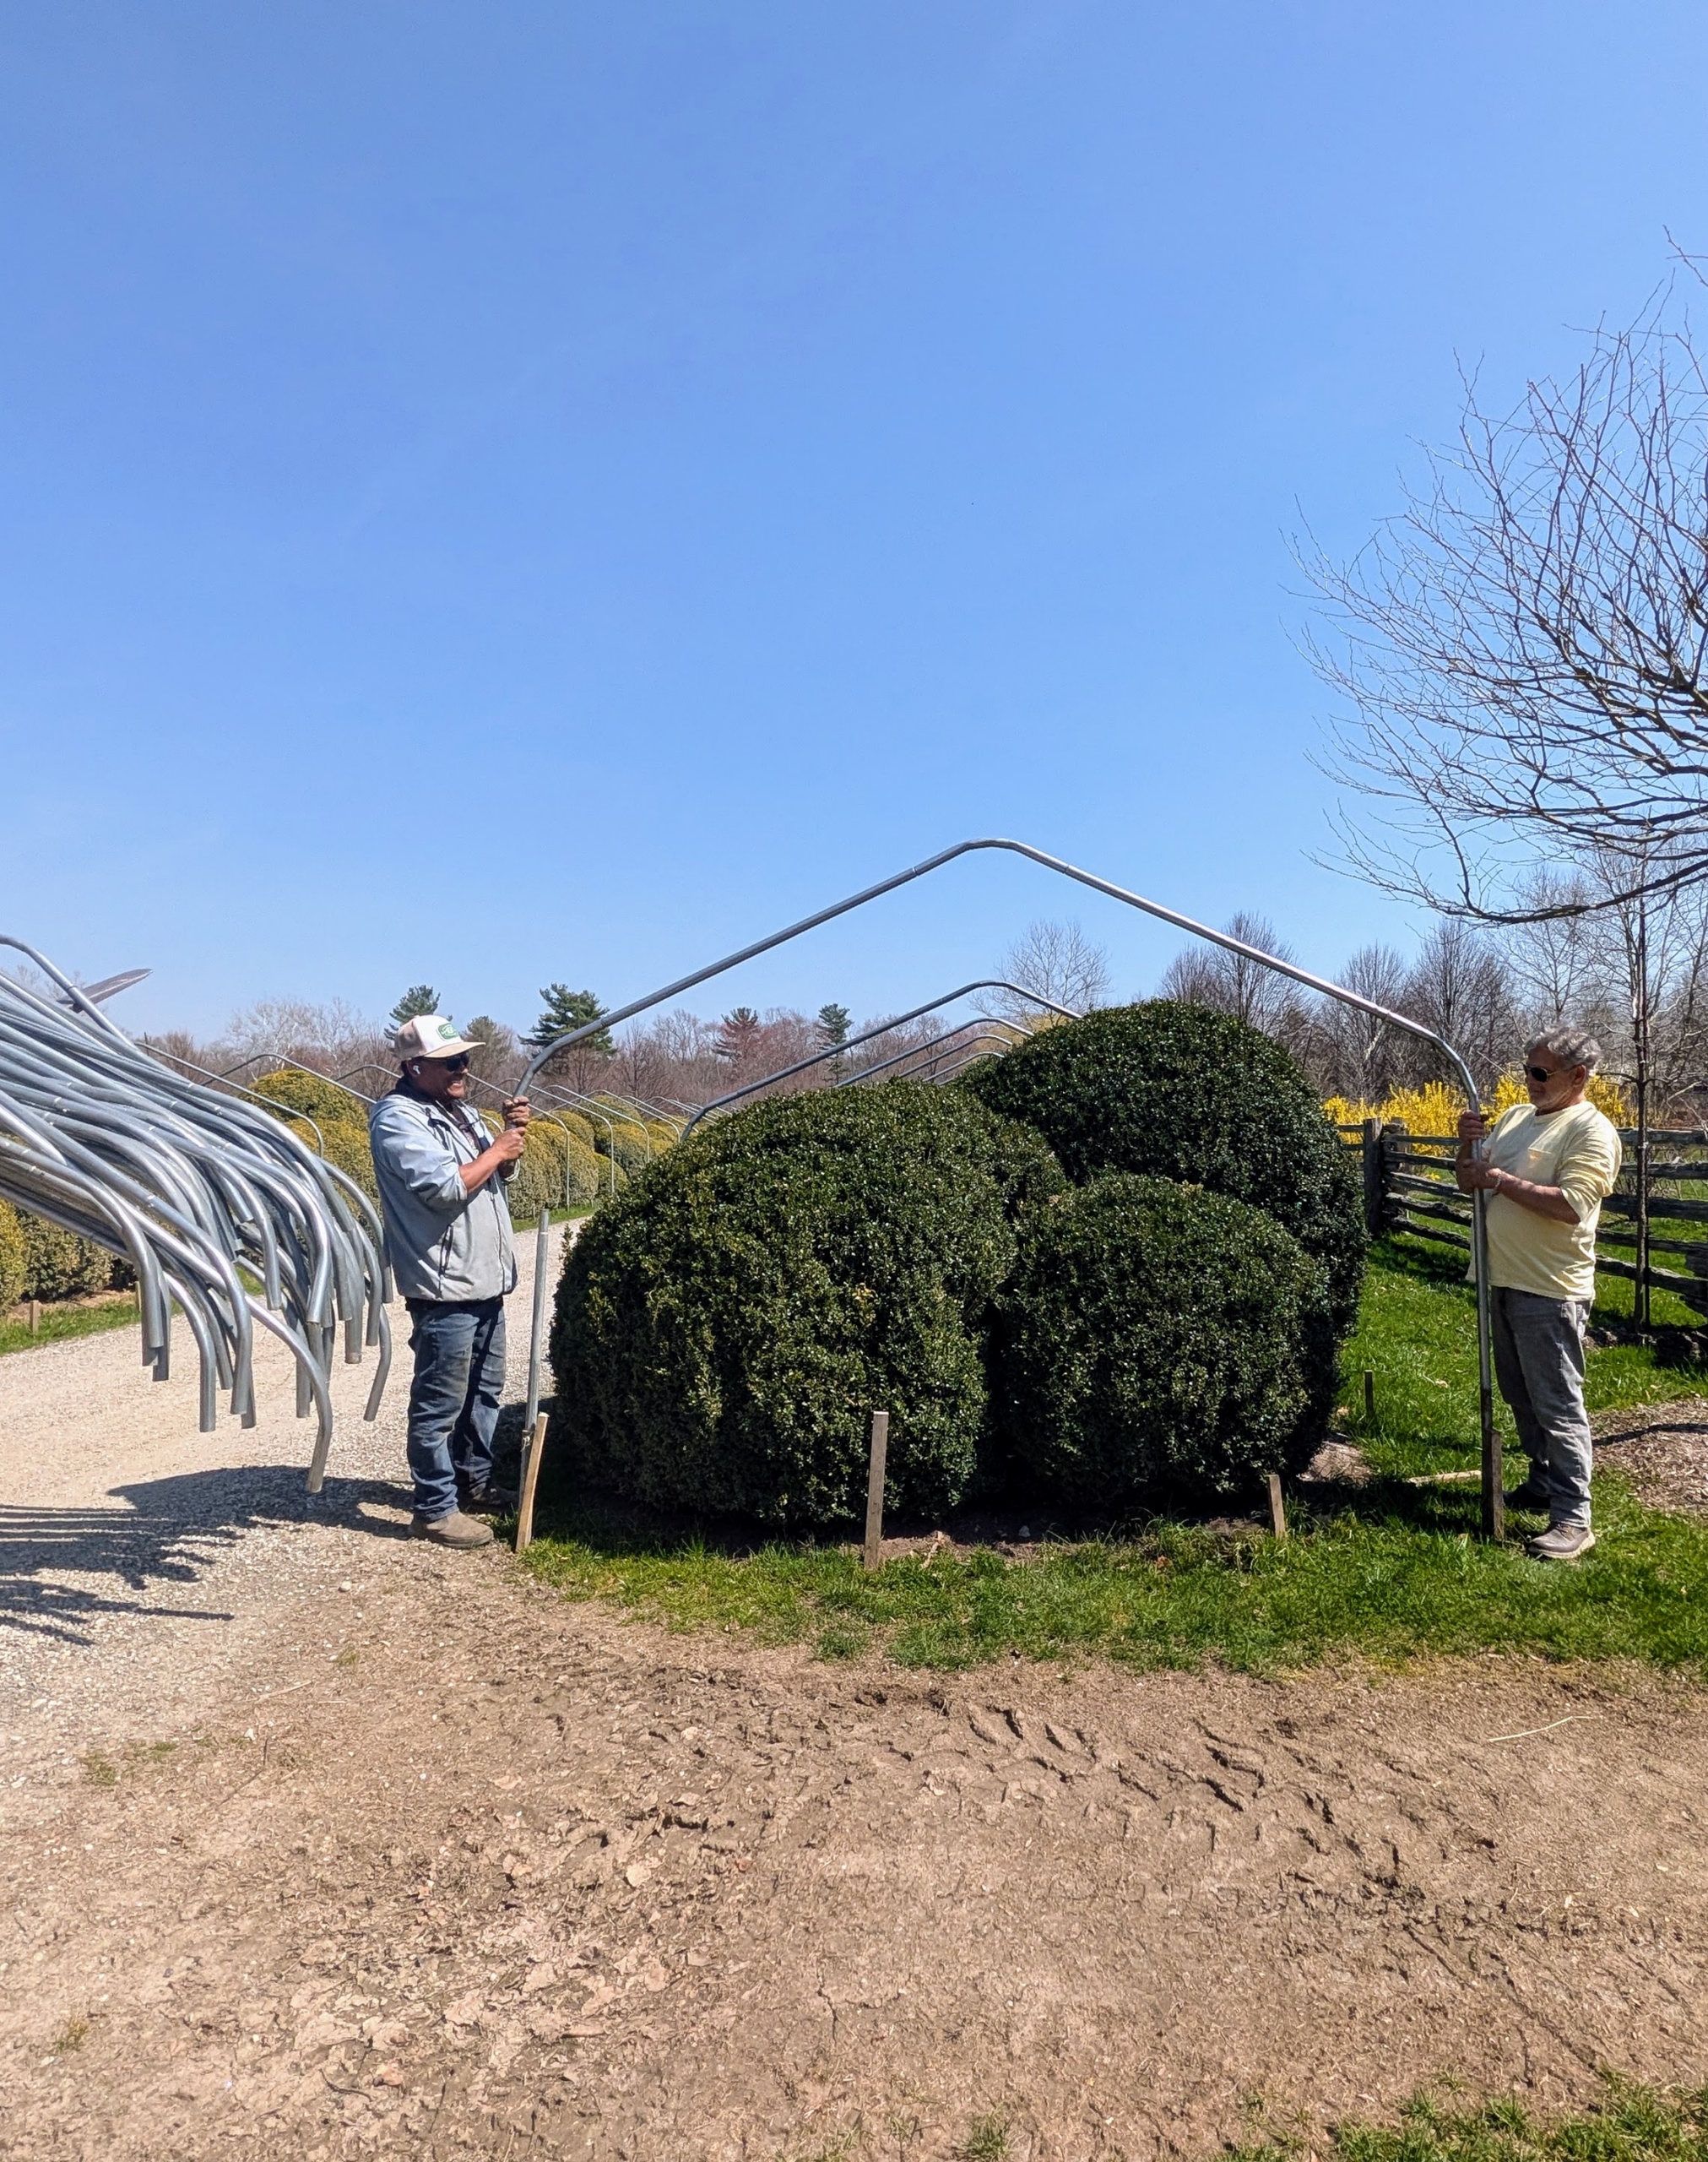
Another one of our time consuming spring tasks is the removal of all the burlap and metal framing surrounding the boxwood. The burlap fabric was removed a few weeks ago to expose the plantings to the sun, but now the metal framing and wooden supports are dismantled and stored for the season.
Pete uses our trusted Hi-Lo to hold and move the metal arches.
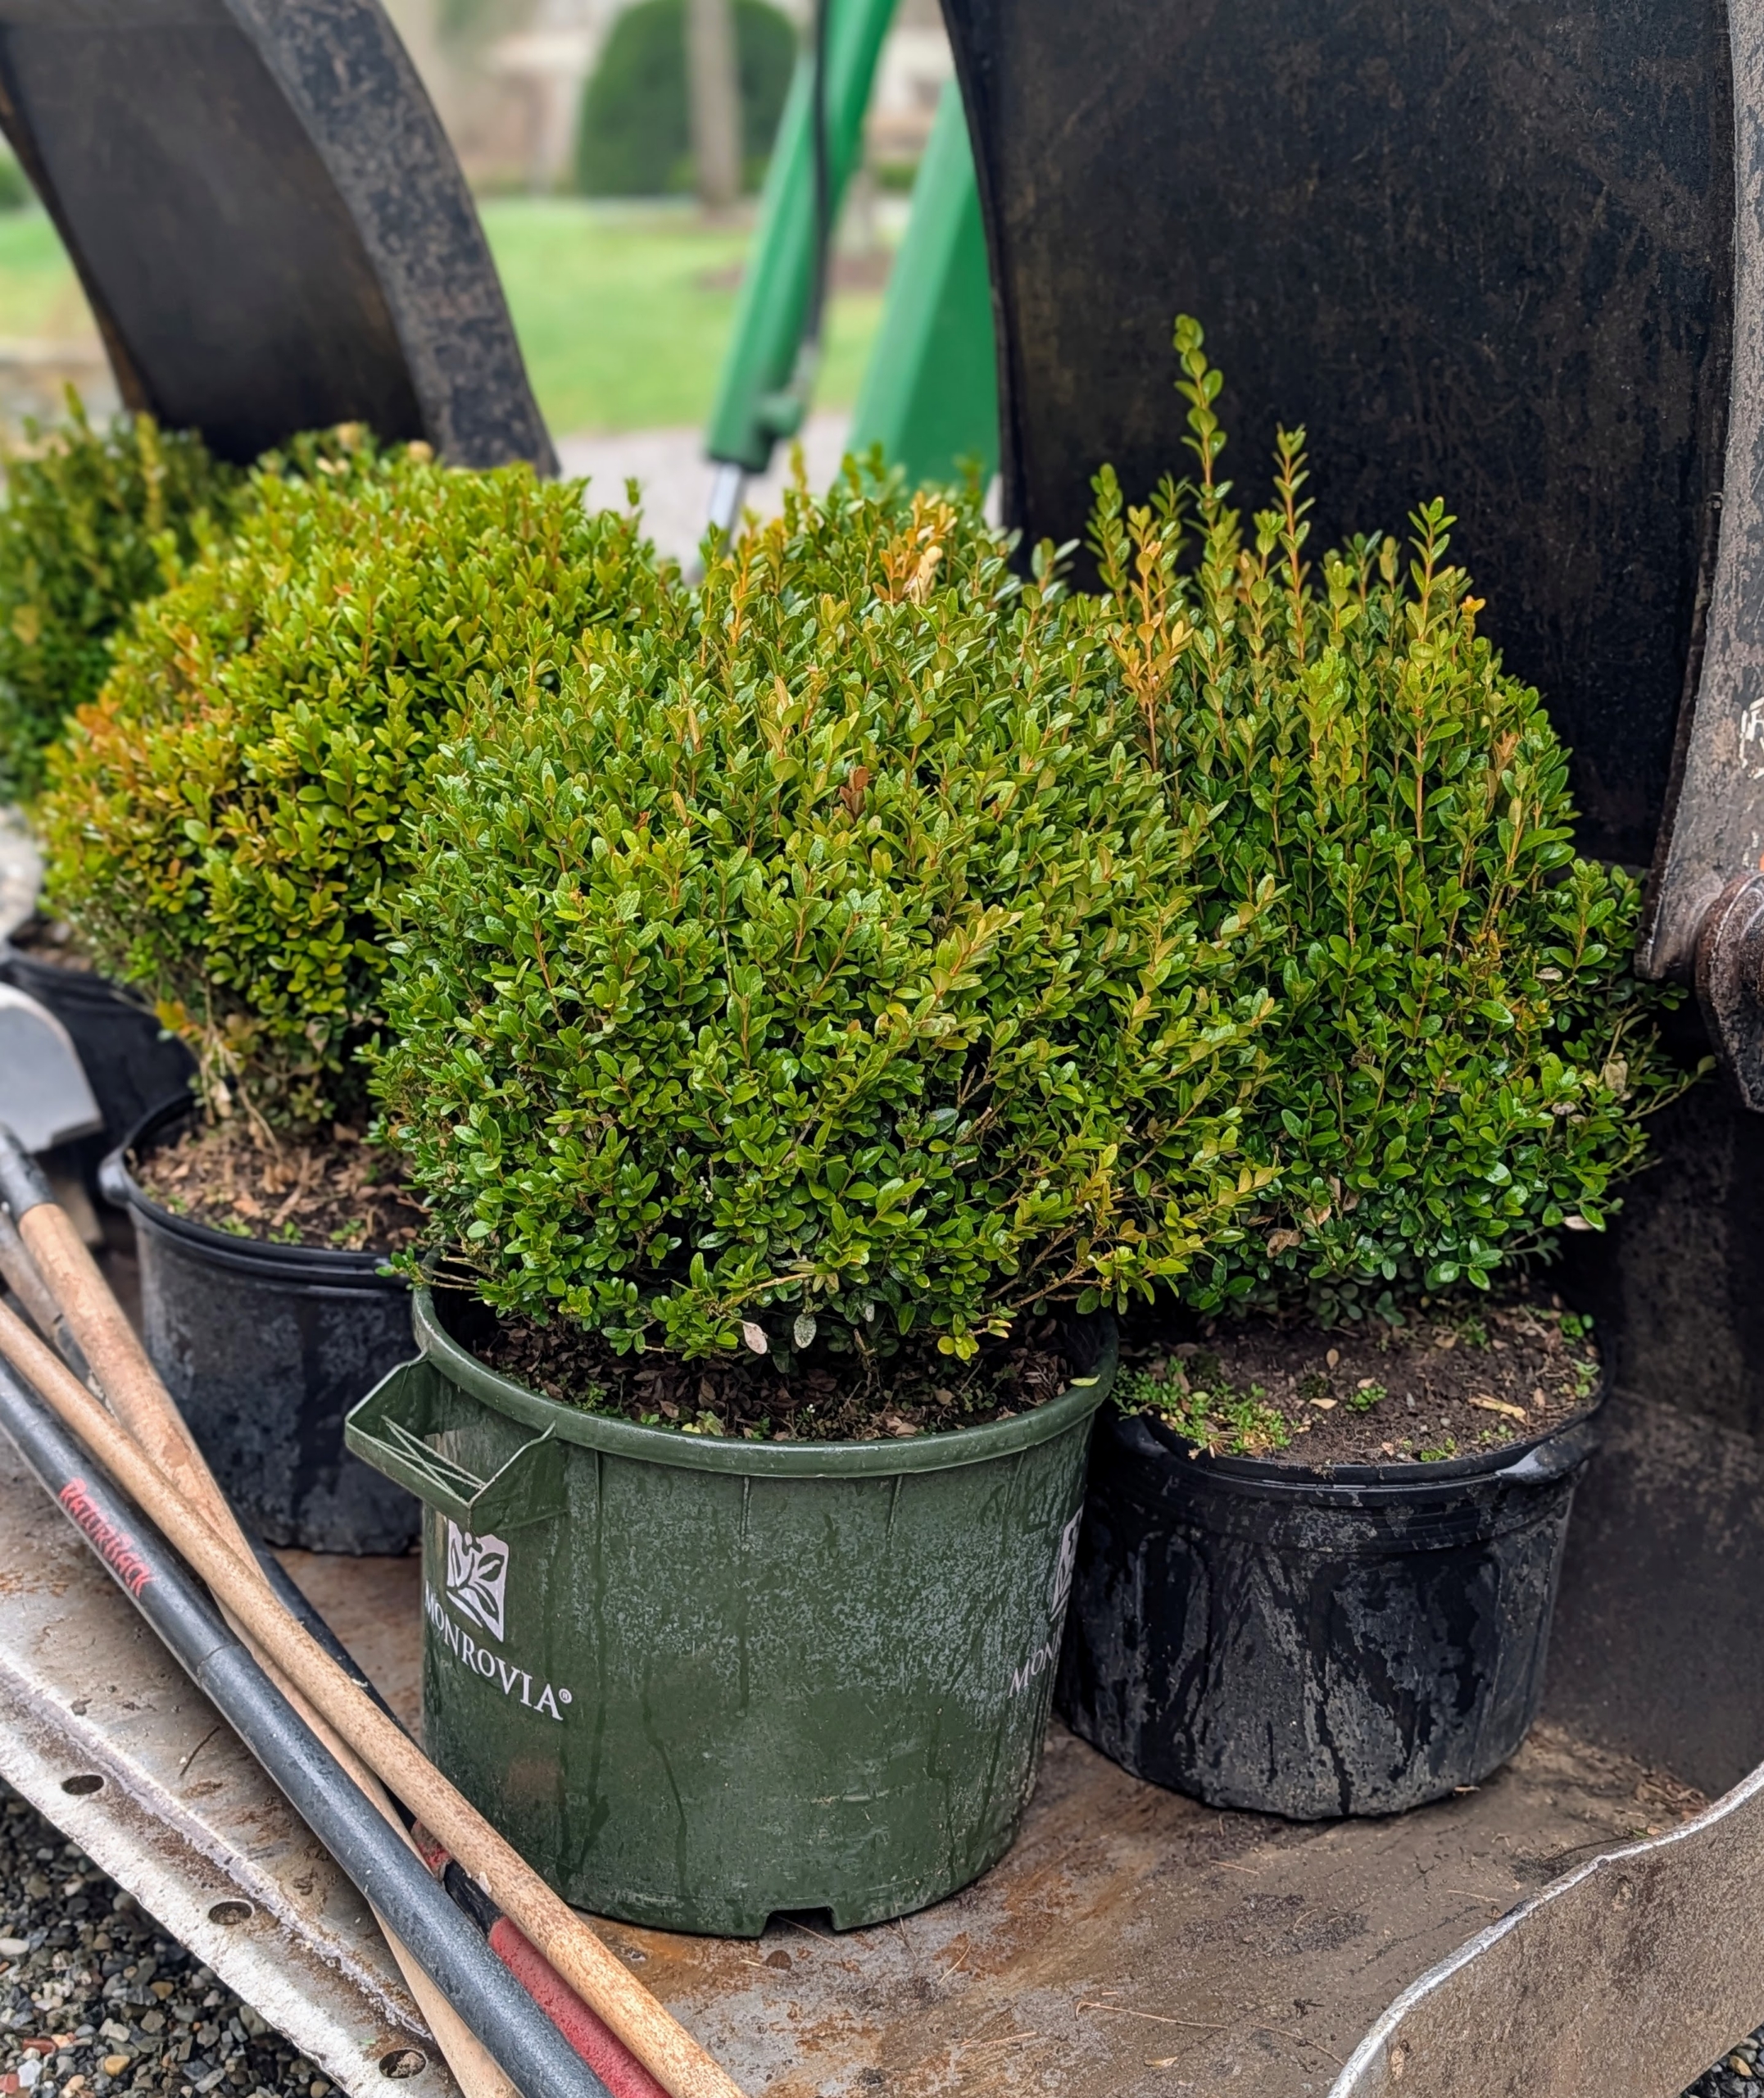
These young boxwood shrubs were nurtured right here at the farm. I grow them from bare-root cuttings and they all develop so nicely. Now it’s time to plant them in the gardens.
I decided to plant them here in front of my main greenhouse where they will border two garden beds.
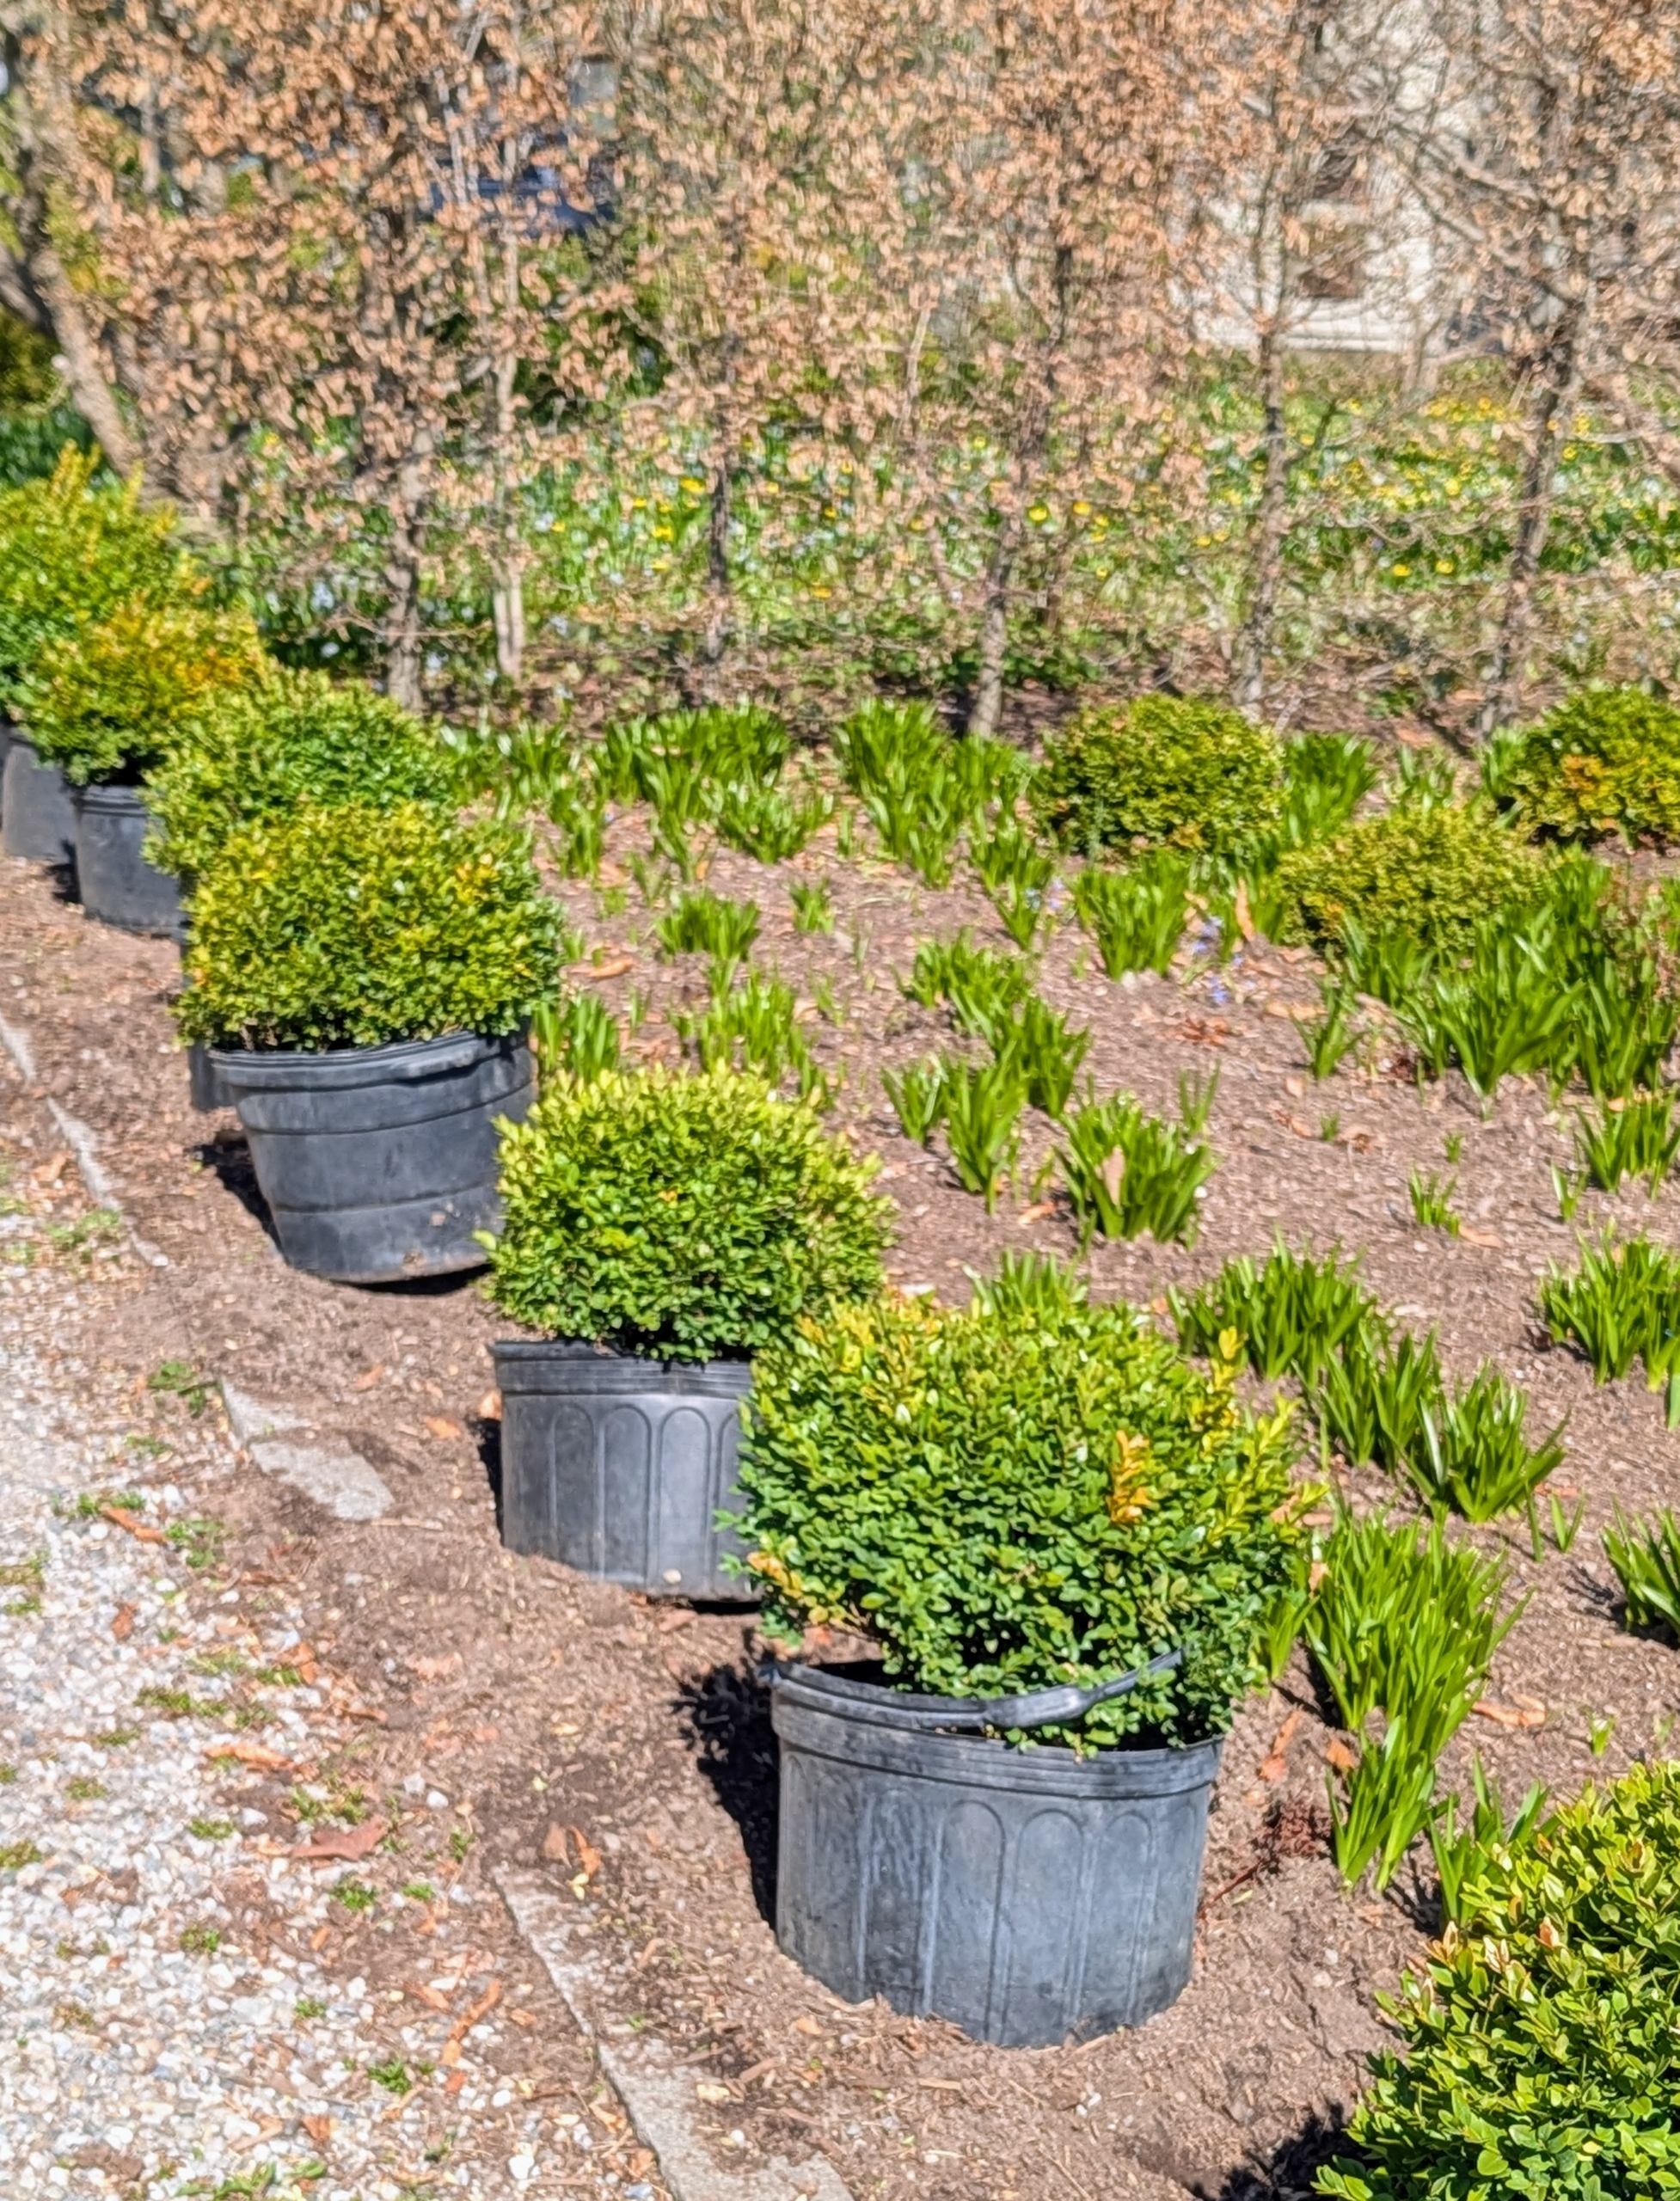
Phurba plants them carefully – measuring their distance from each other with thought and precision.
Behind my vegetable greenhouse, Chhiring maneuvers the Kubota tractor bucket to carefully remove the compost that has been protecting the dahlias all winter.
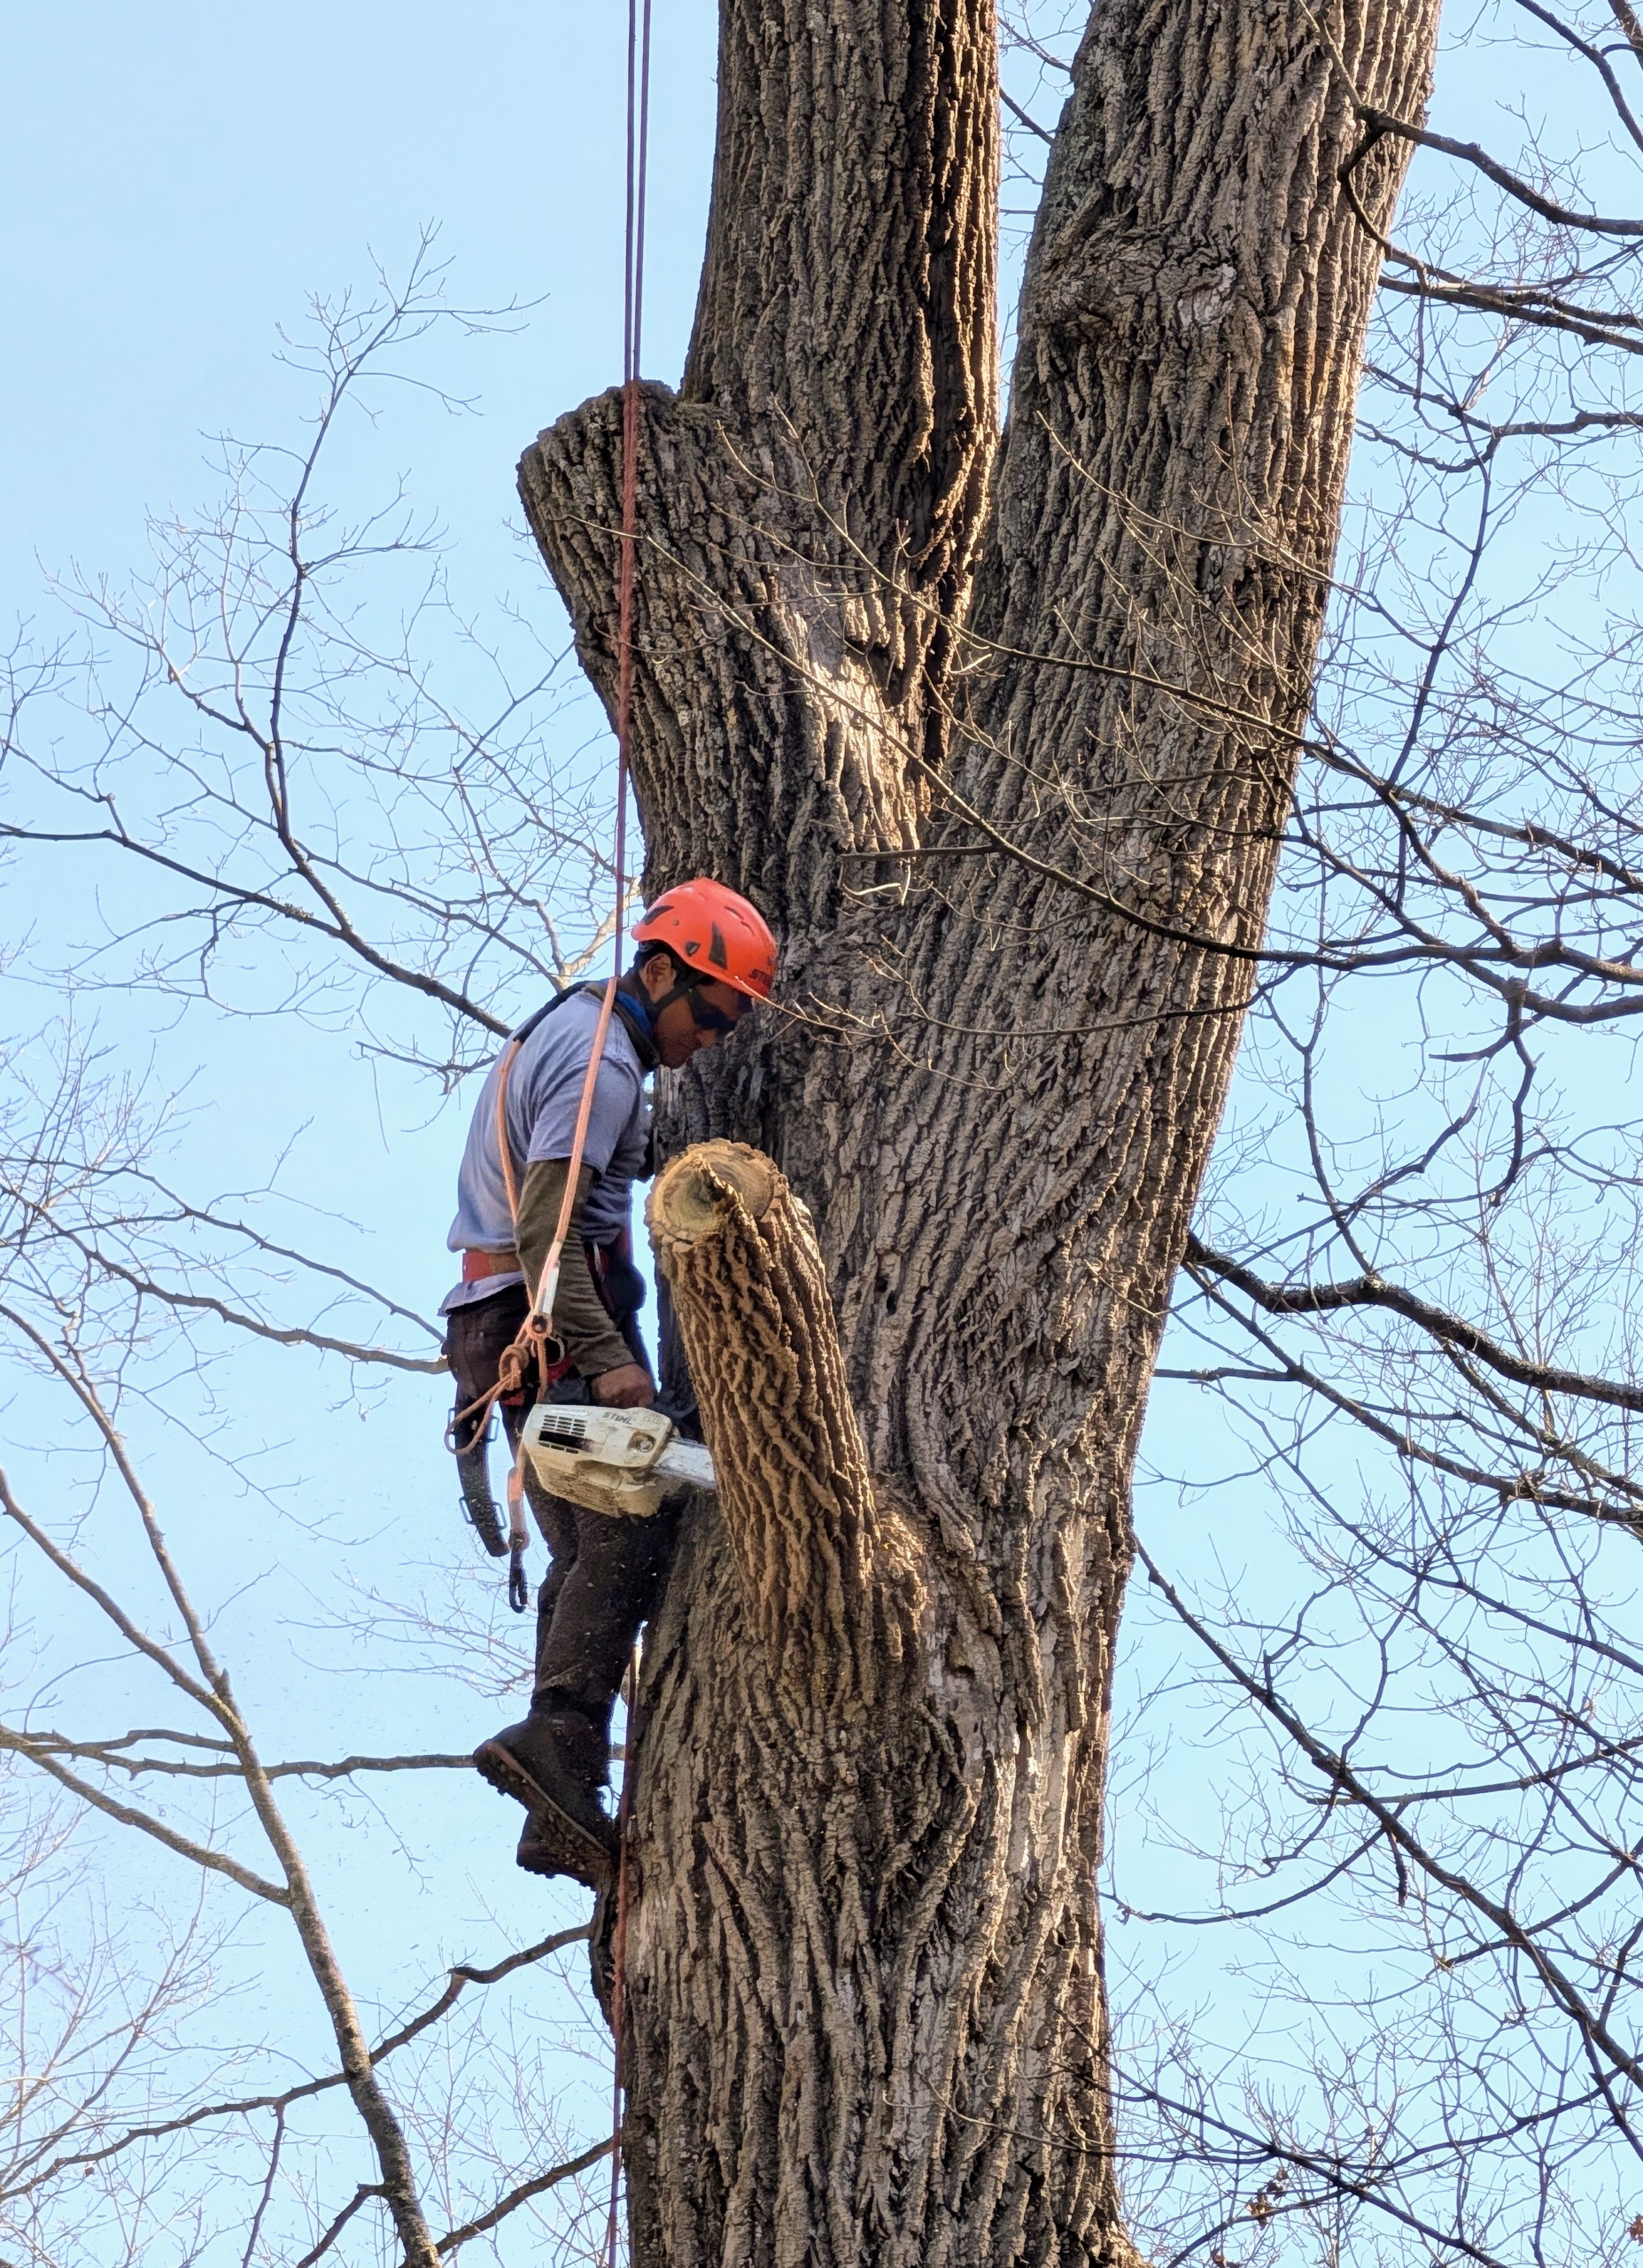
Back in the woodland, Pasang works carefully to cut dead limbs from the trees.
Weeding has also begun in the gardens. Here, spring weeds are pulled from the perimeter of the vegetable garden.
And in another area, sod is removed in preparation for a new garden. I can’t wait to show you what I am doing in this space. The sod is transplanted in the the chicken yard.
Here is where the sod was removed.
The area is then rototilled, which is the process of tilling the soil with a gas-powered machine equipped with tines that cultivate the soil in preparation for planting.
And here’s Adan. He’s aerated all the lawns and is now starting the mowing. Spring is in full swing!