The cold, snowy, icy days do not have to be spent indoors. In fact, here at my Bedford, New York farm, we get a good portion of outdoor work done this time of year. My outdoor grounds crew is very busy with woodland maintenance - we call it "cleaning the woods."
These tasks are best done during winter when the trees are bare. The team is able to cut dead or broken trees, knock down weeds, brambles, and thorny barberry bushes, and pick up the many fallen branches. Everything is gathered and placed into neat piles along the carriage roads, so at the end all the organic debris can be chipped and spread right back into the woods. Any desirable tree trunks are set aside and cut up for lumbering, and rotten or irregular trunks are reserved for the tub grinder - everything is always put to good use.
Here are some photos, enjoy.
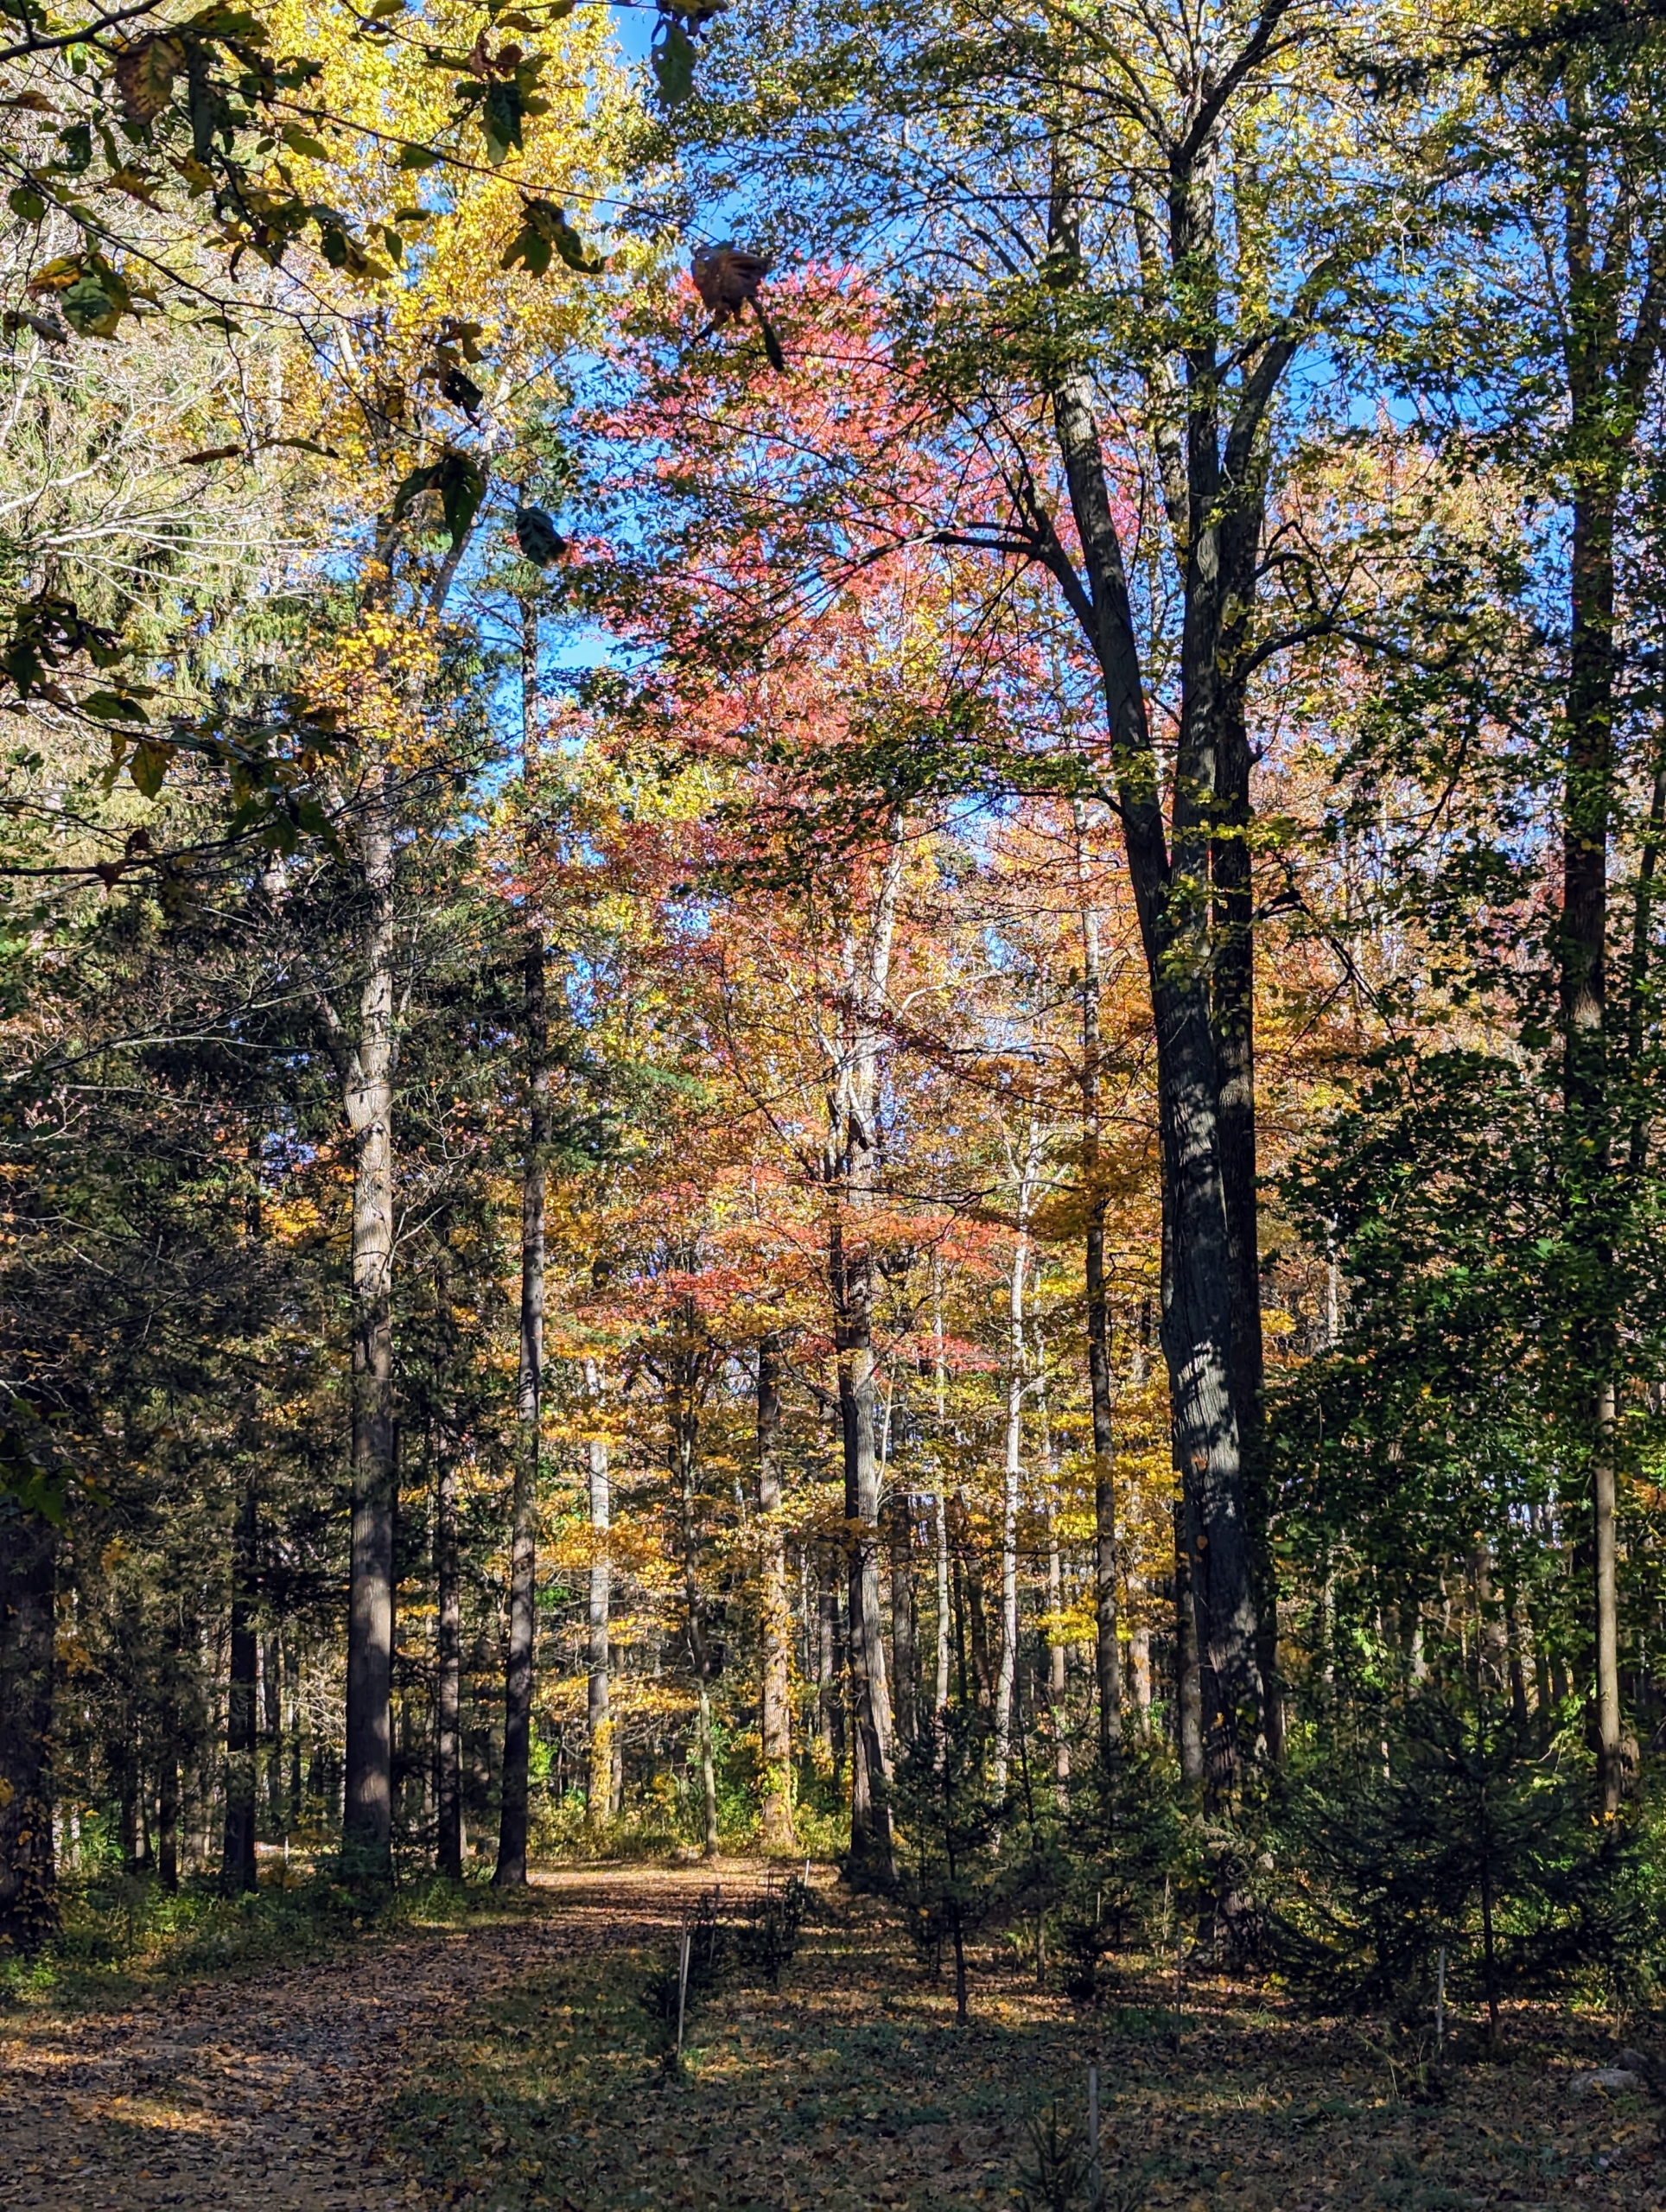
When I moved to my farm, I created carriage roads through the entire property, so I could drive or ride around on horseback and see the gorgeous landscape. This carriage road takes one through the woodland under tall, majestic trees.
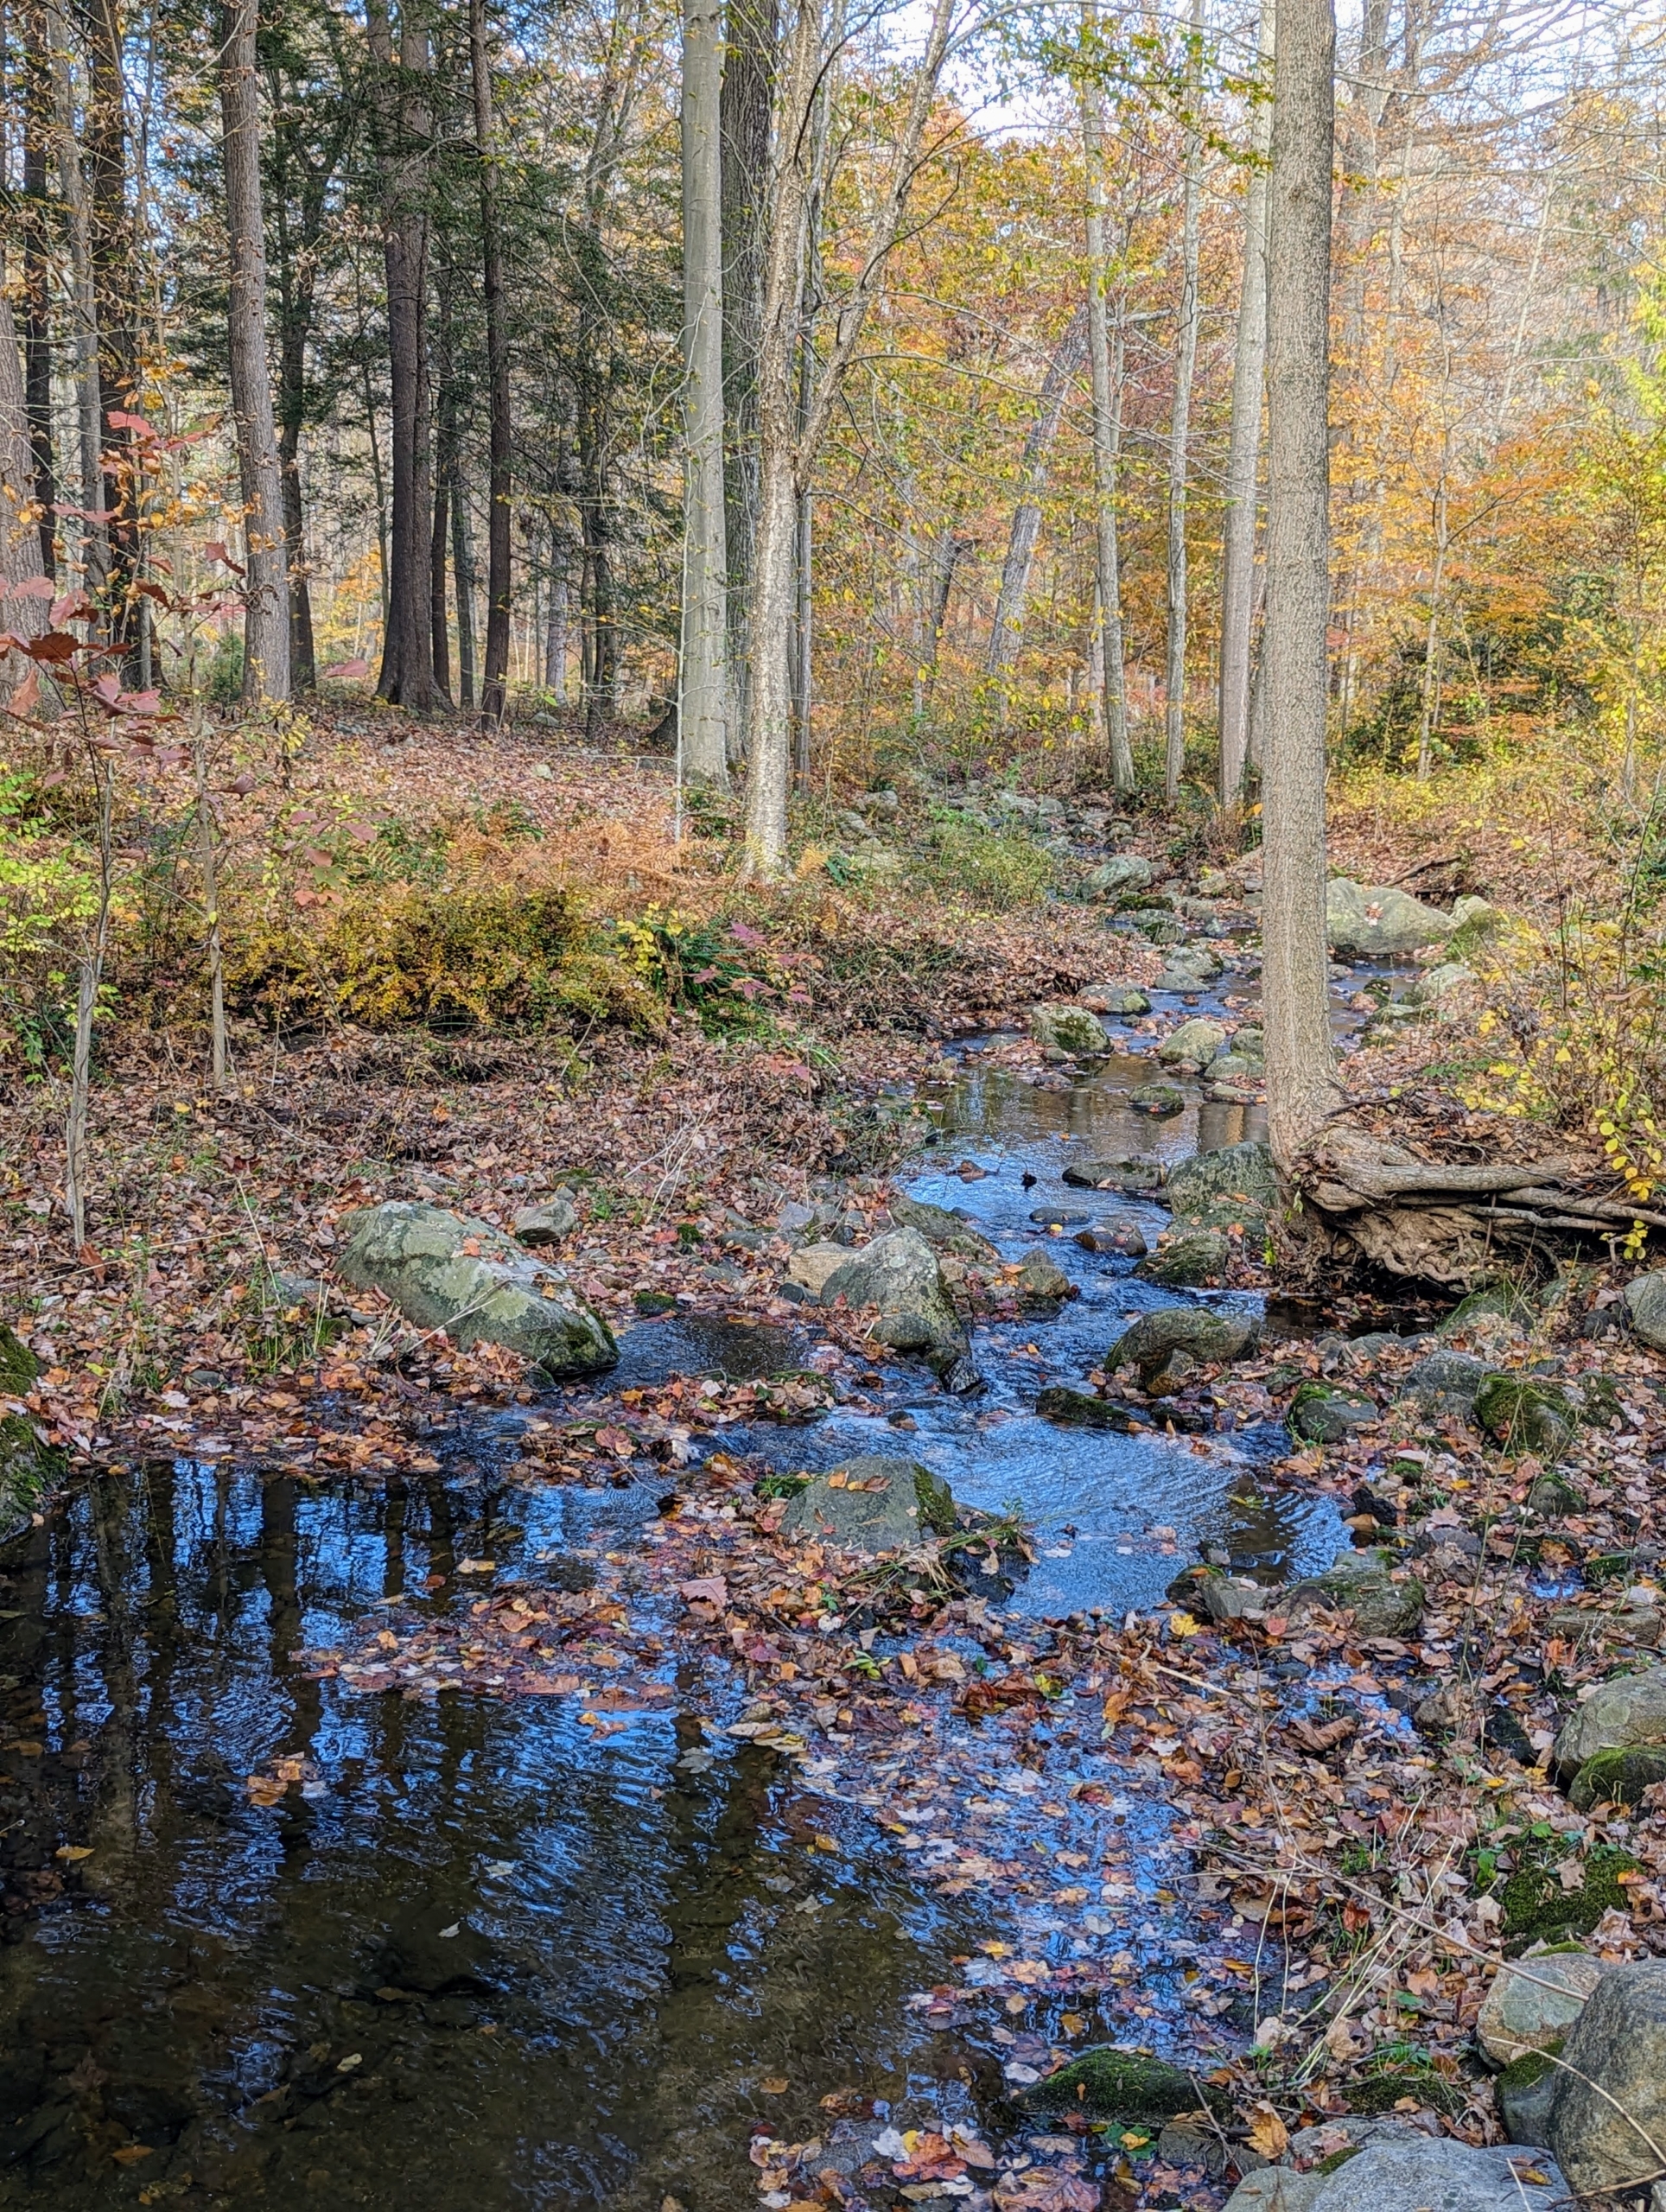
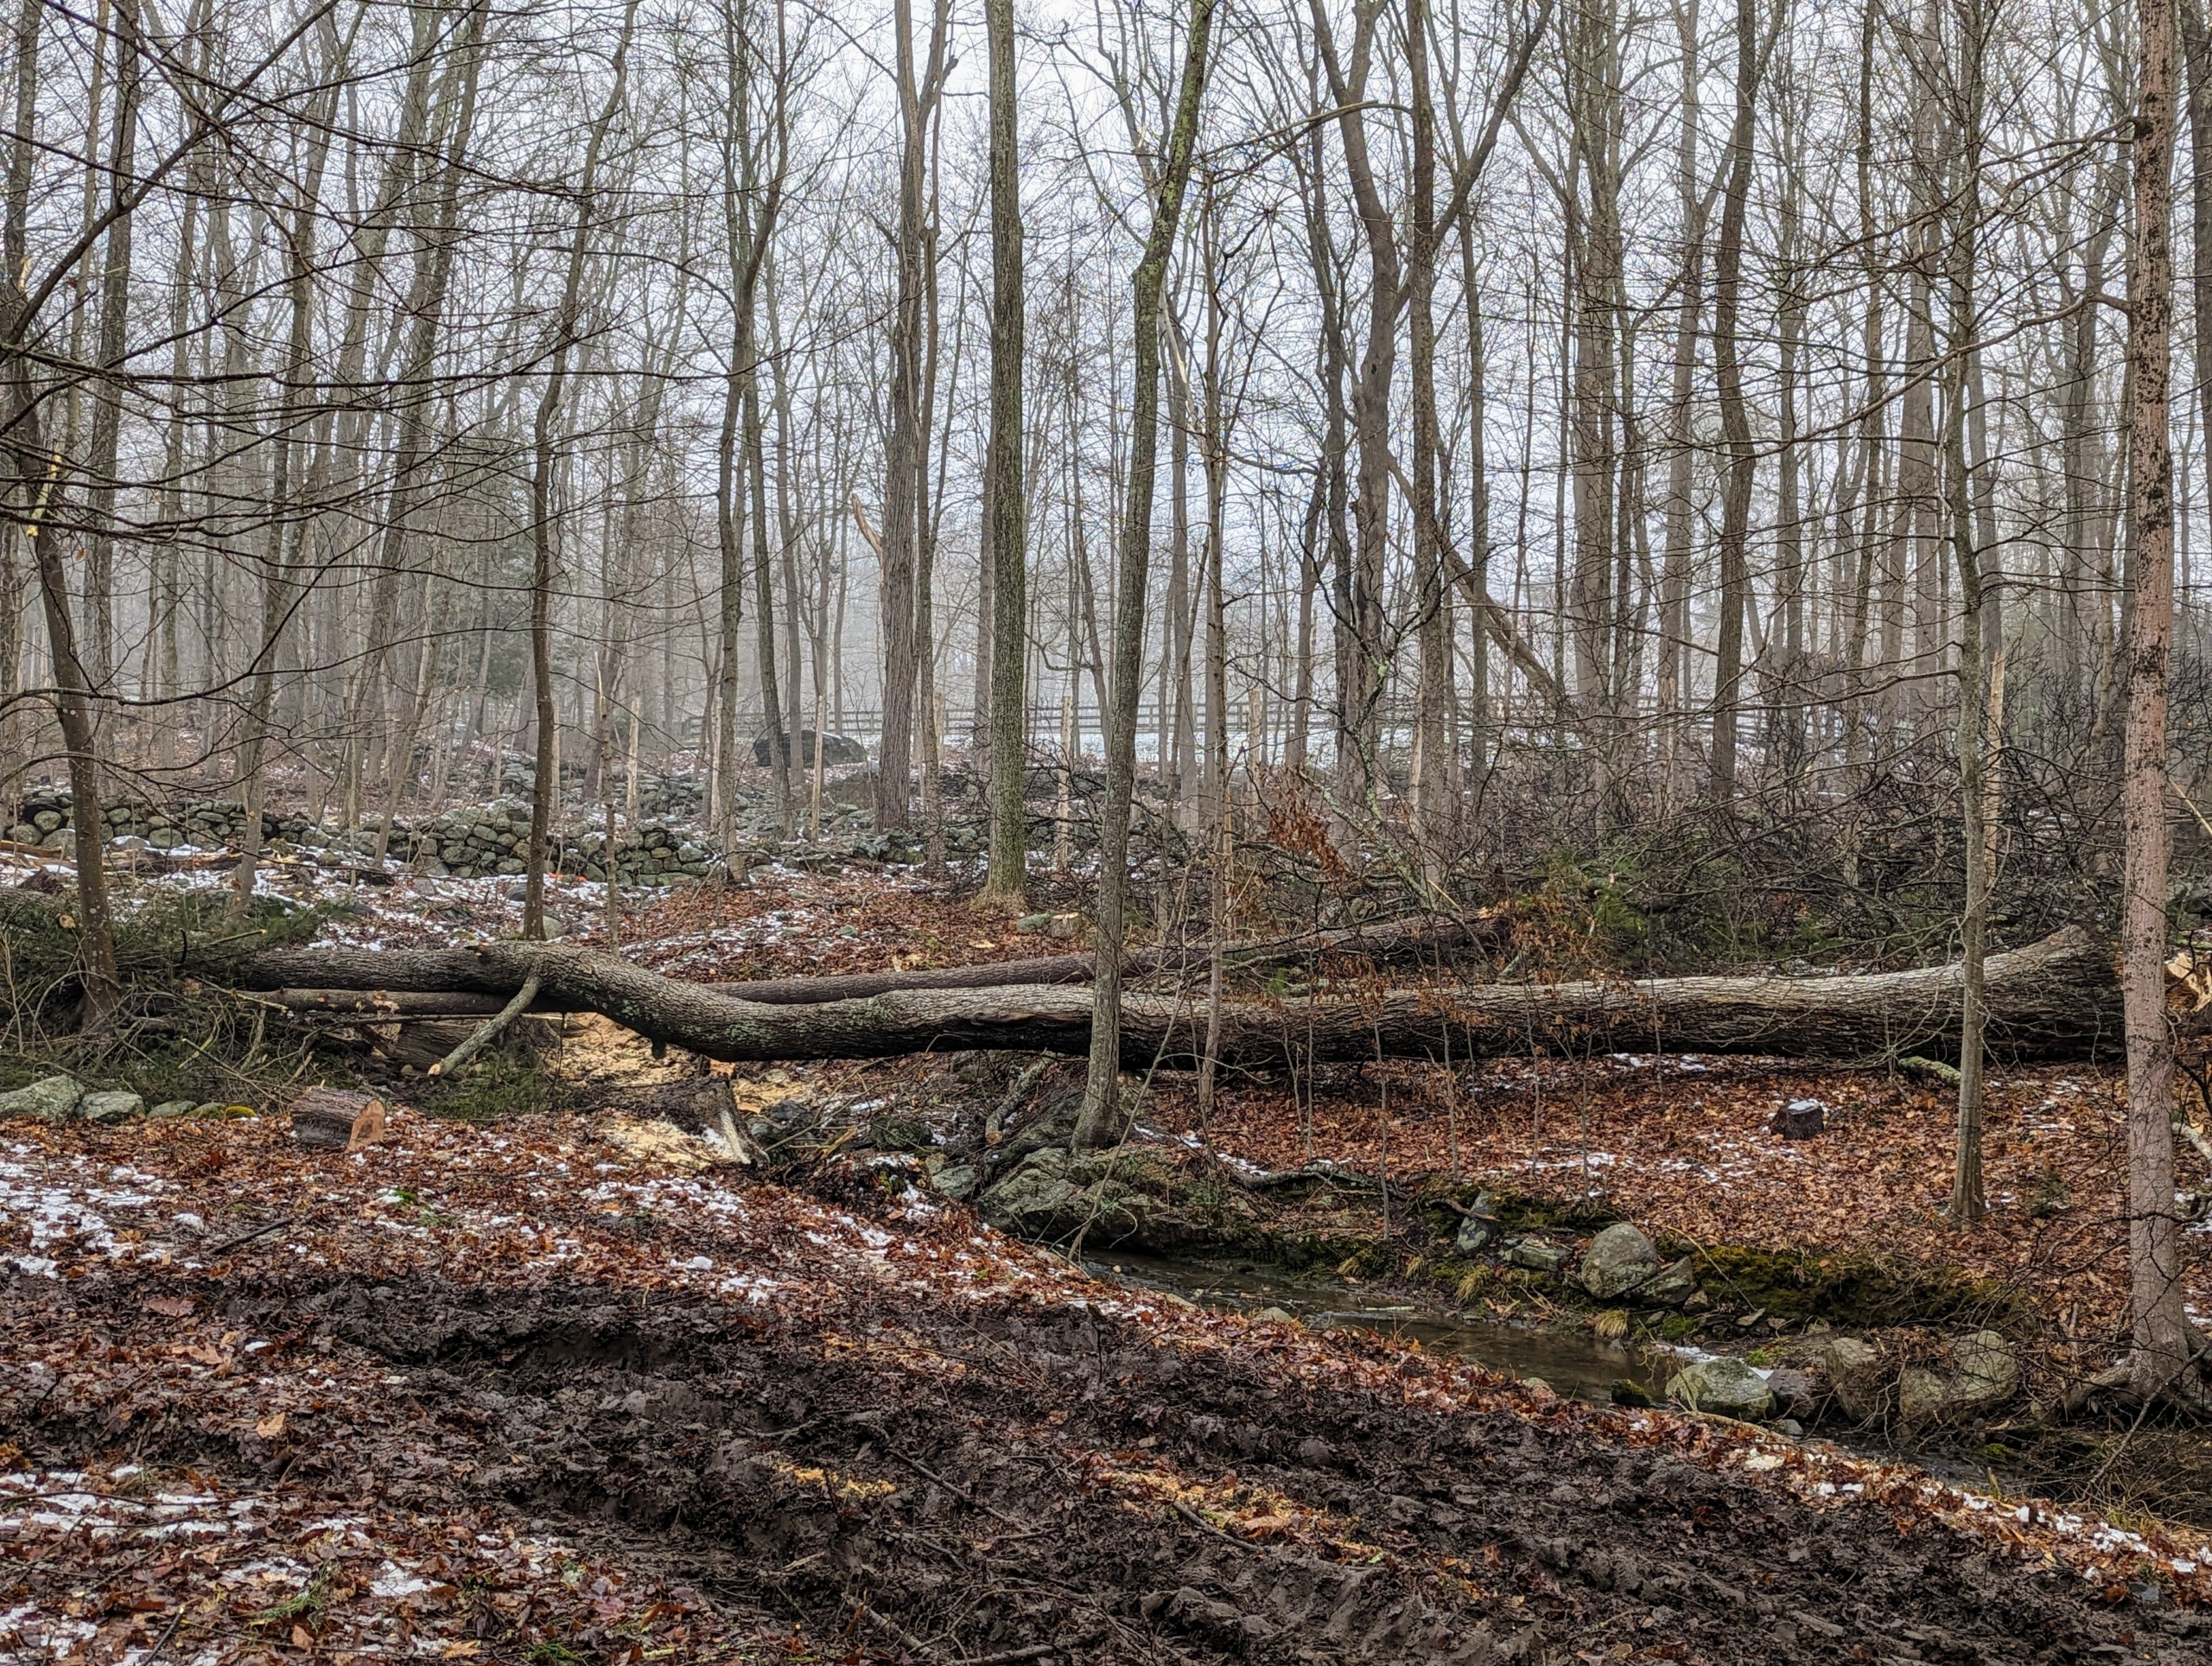
The roads also pass over streams like this one – full of clean, running water for all the woodland creatures that visit.
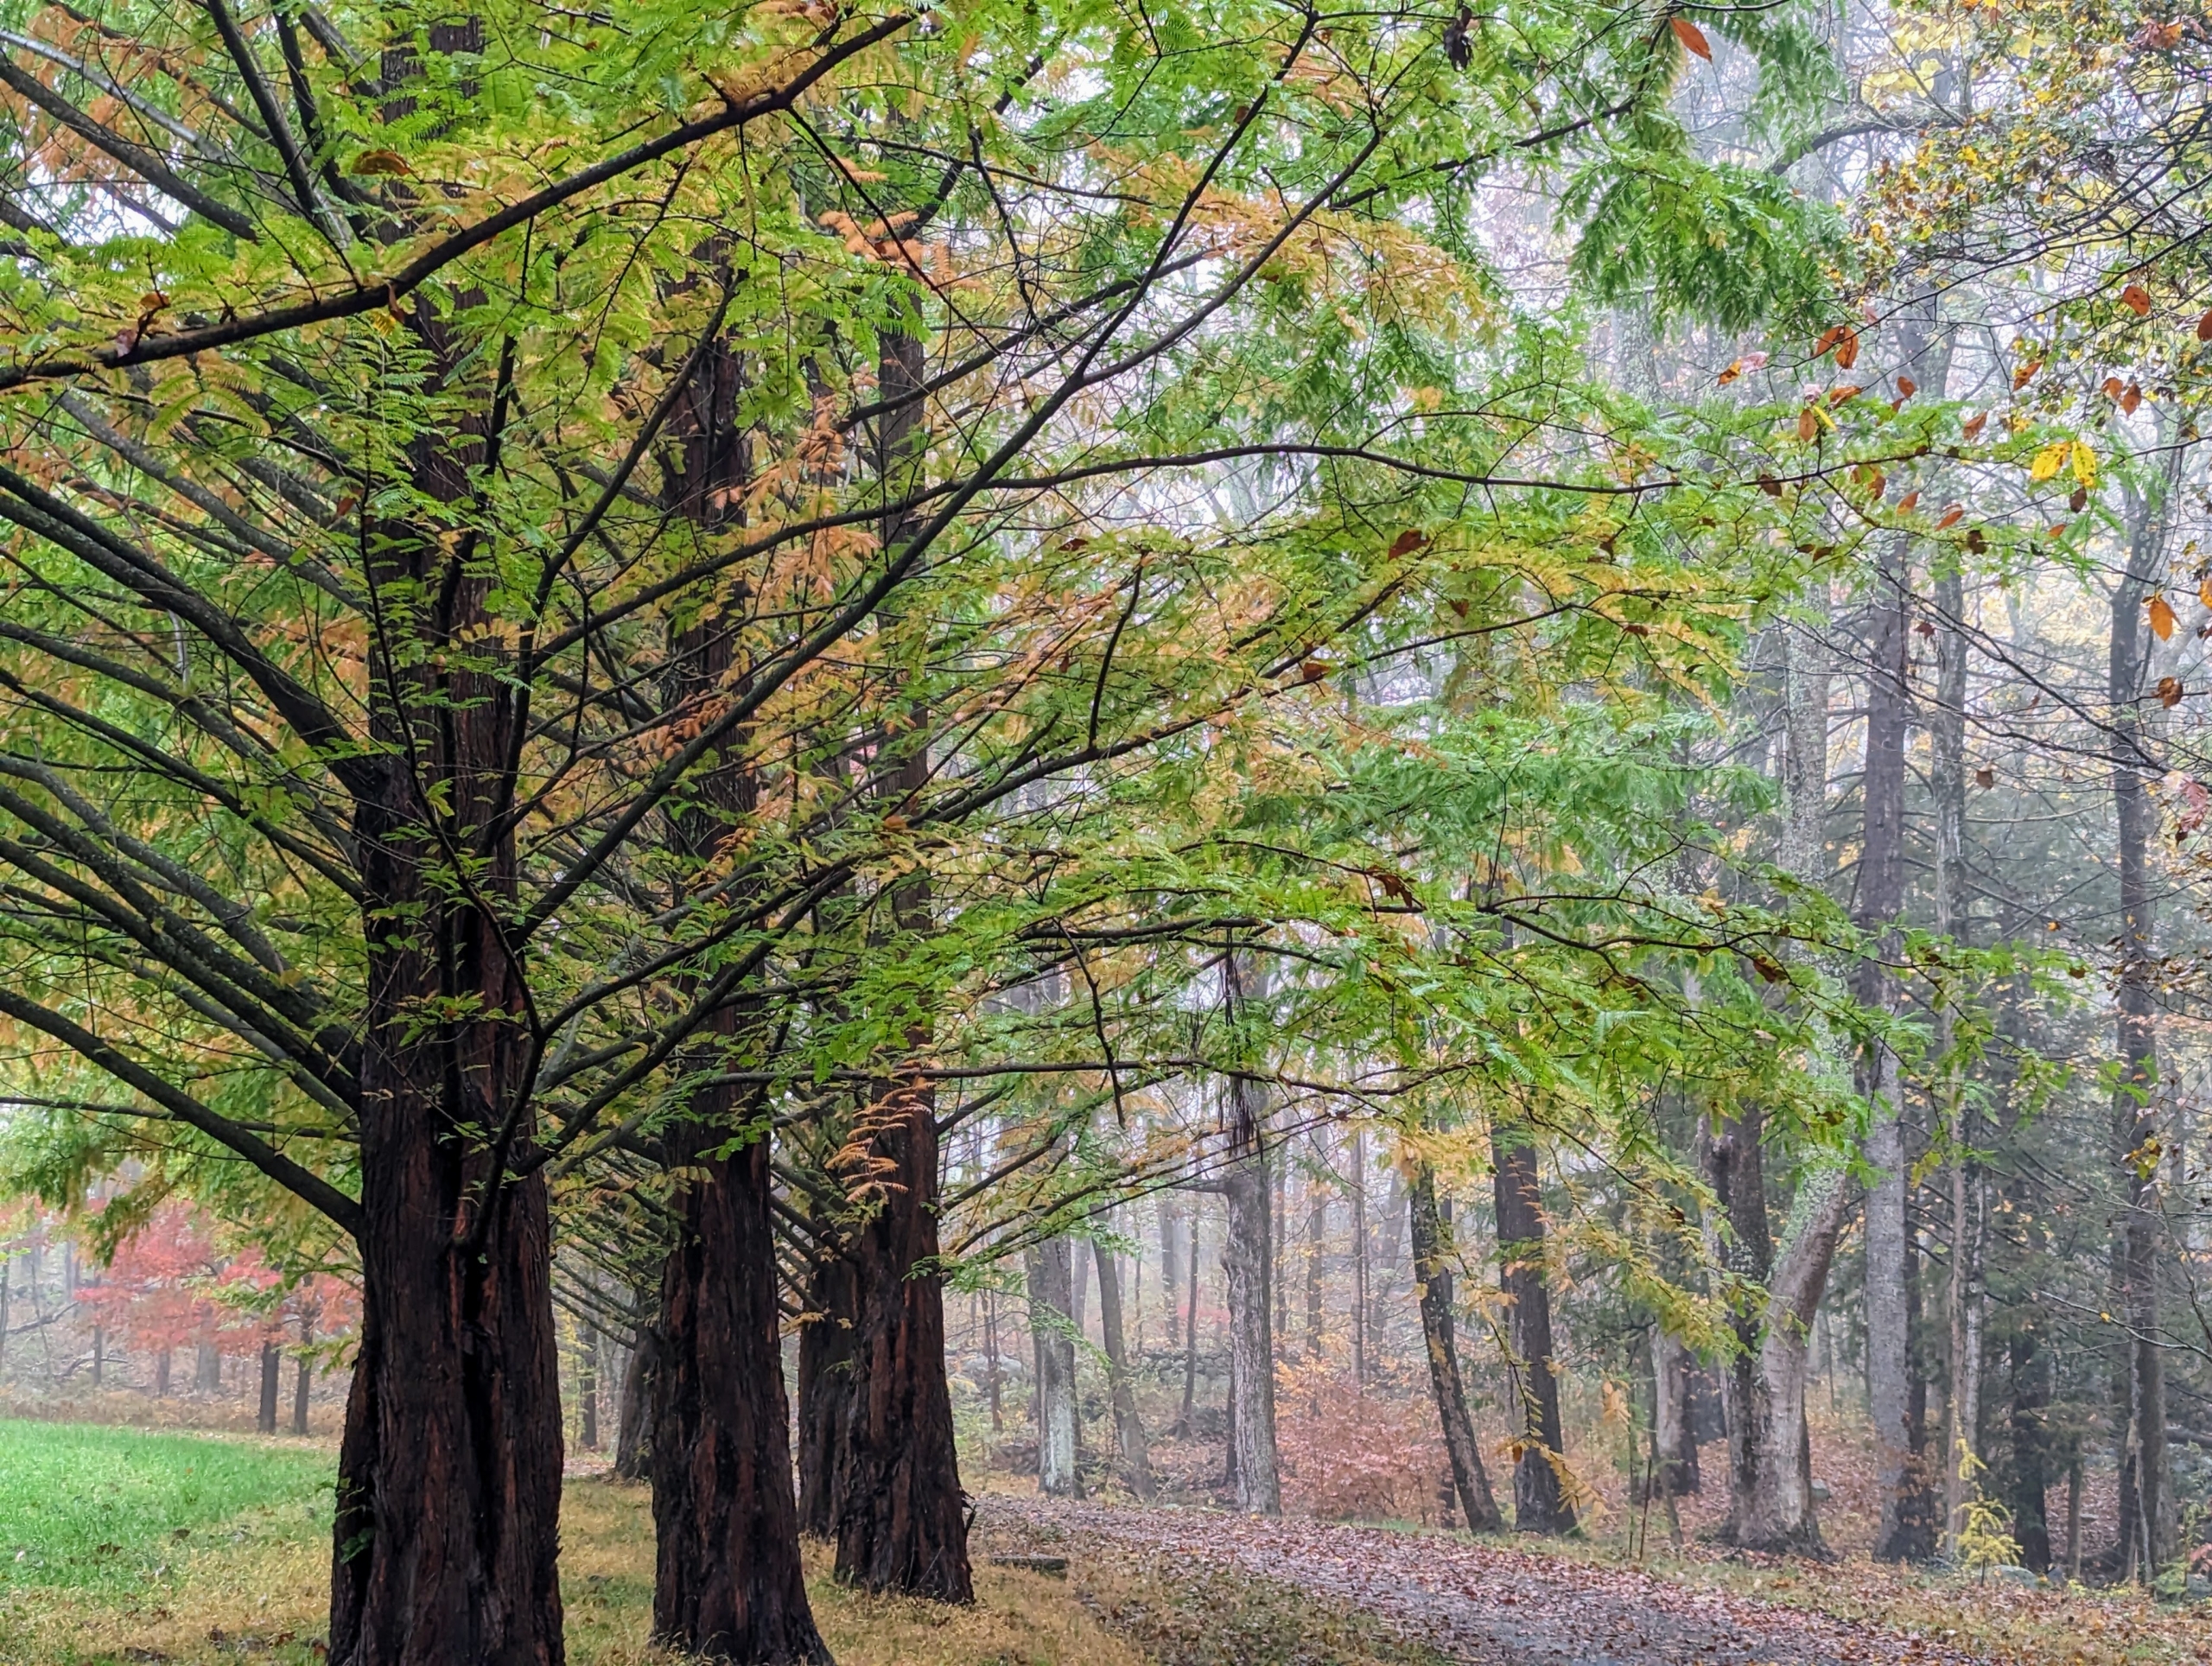
This part of the woodland is in the back field. The trees on the left are dawn redwoods, Metasequoia – fast growing deciduous conifers I planted years ago. This photo was taken in the fall before the fine feathery needles dropped for the season.
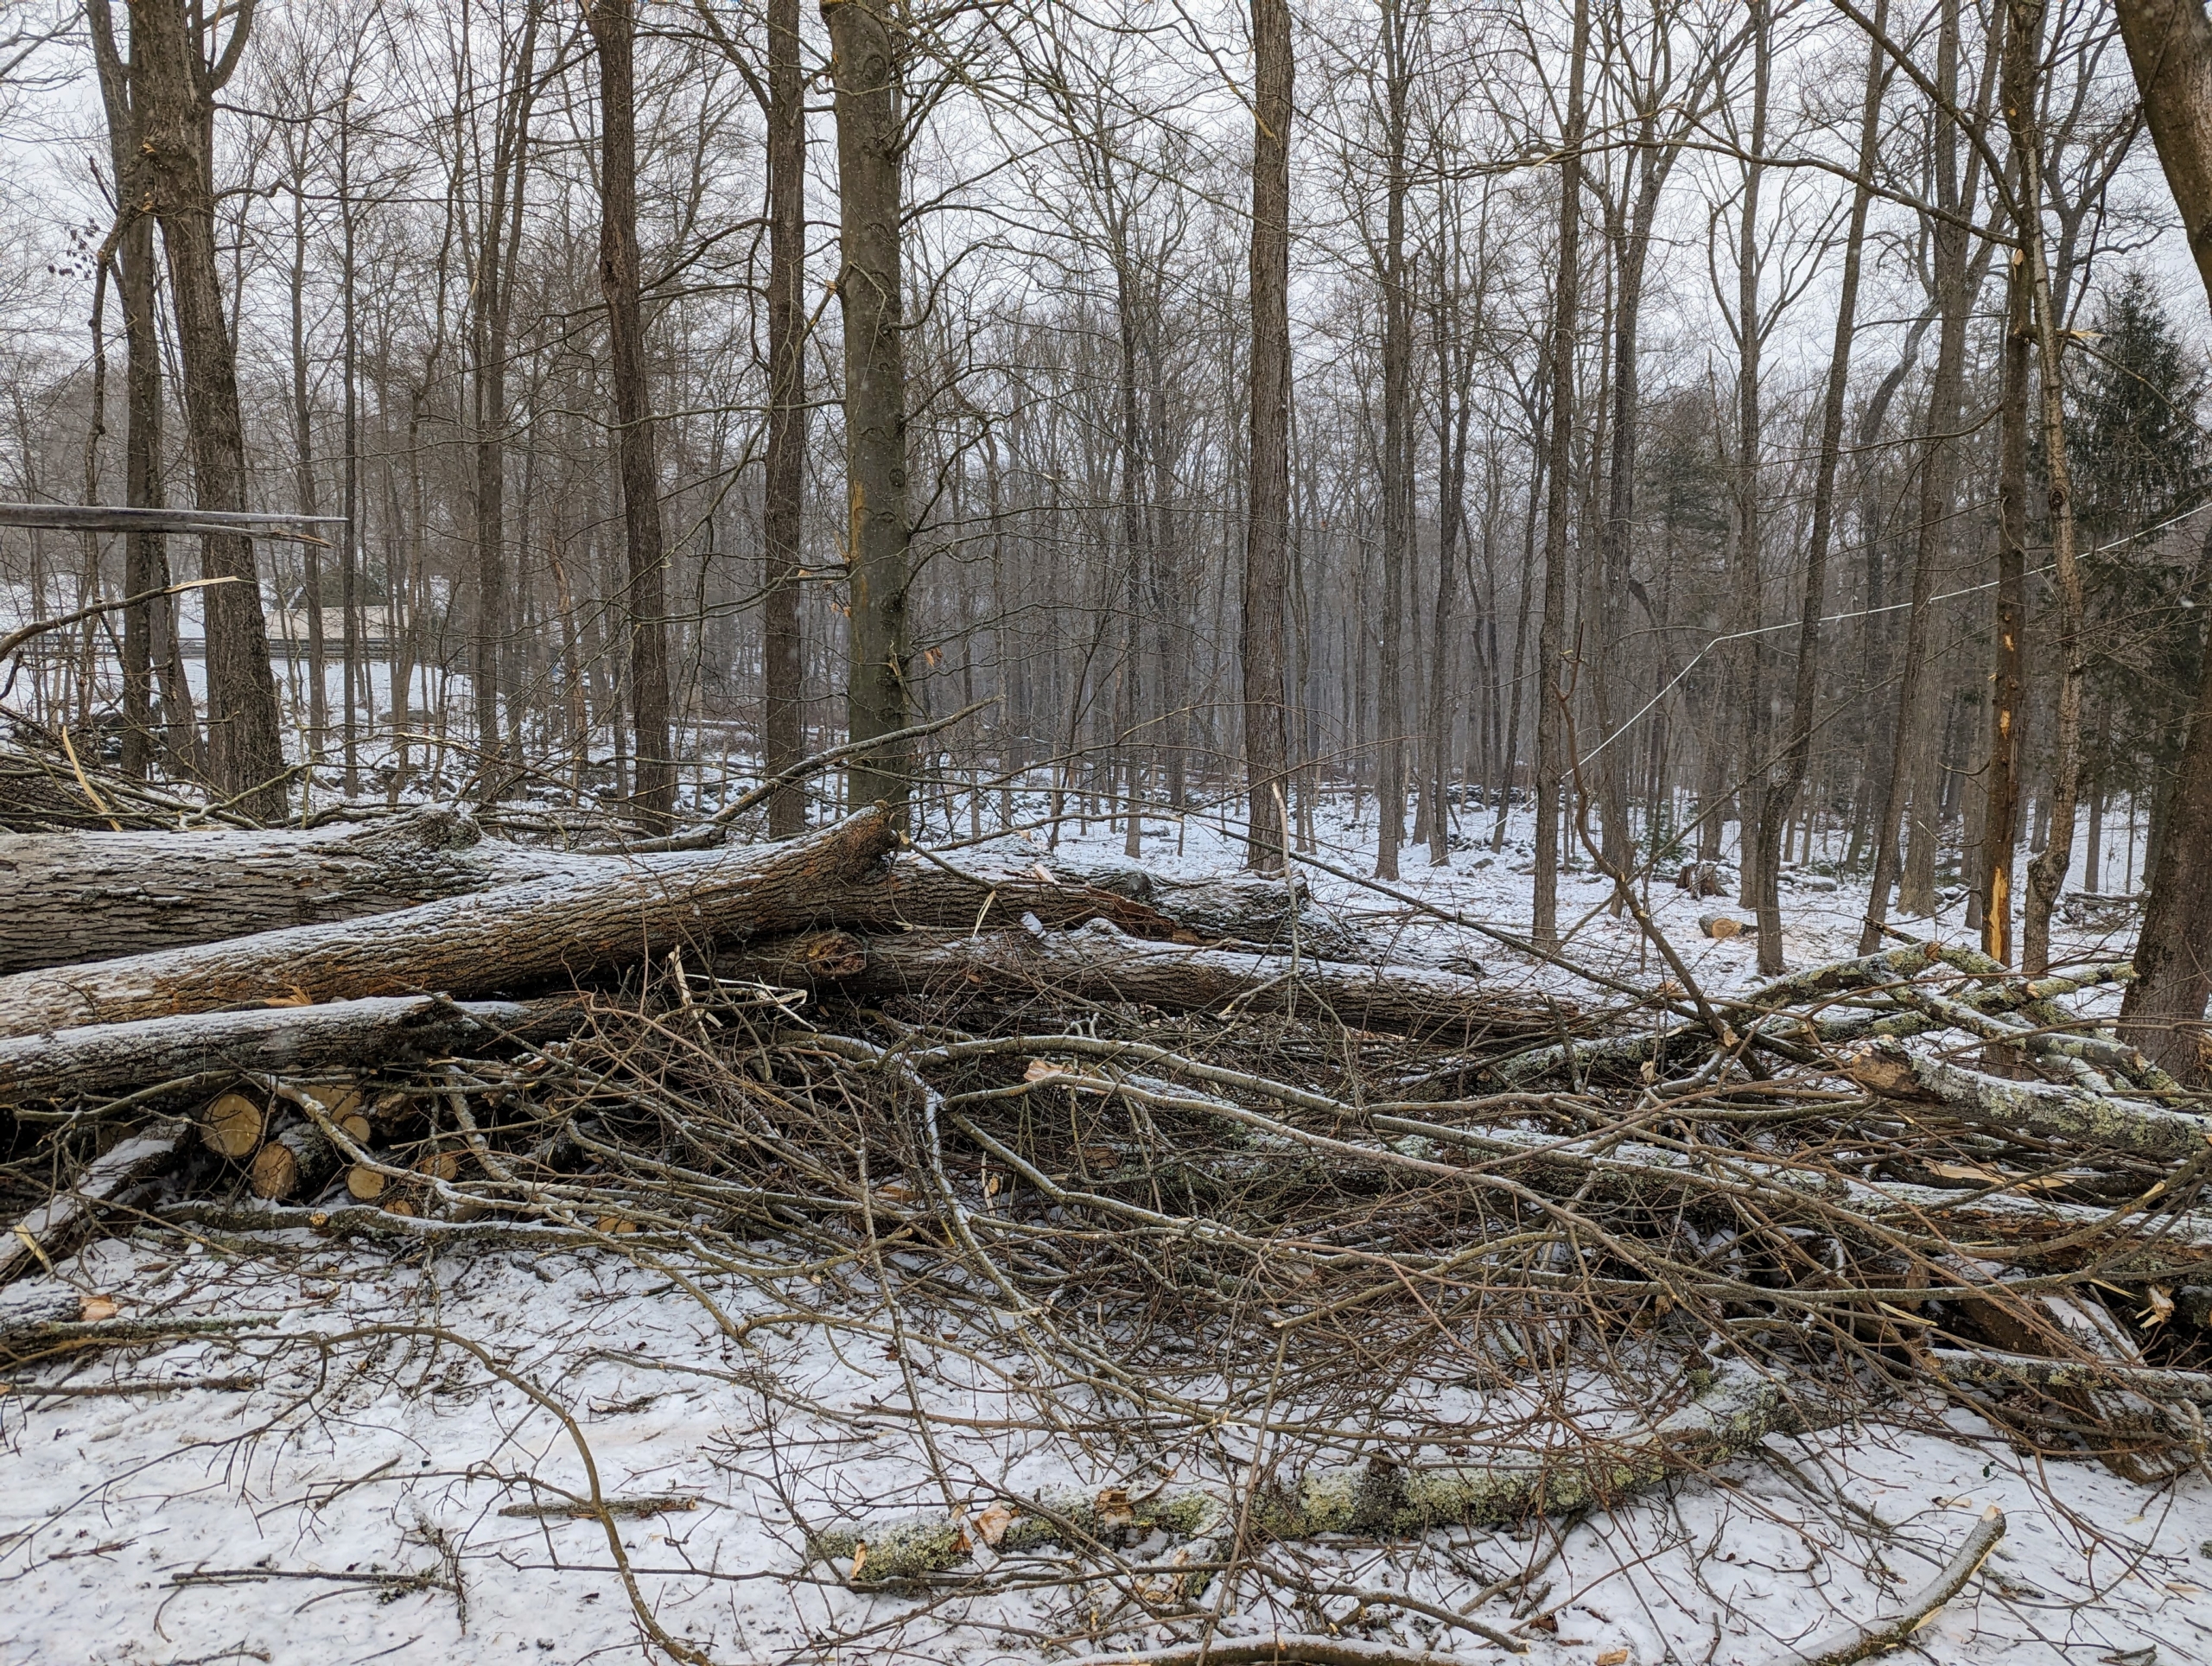
But none of the views would be possible without regularly scheduled general maintenance work. Every winter, my outdoor grounds crew spends several weeks “cleaning” the woods. “Cleaning” the woods allows us to reuse and repurpose a lot of natural materials – and it makes the area much prettier. This is a pile of branches brought out from the woodland and piled neatly – many of these fell during various storms.
These are larger trees taken down because they were dead, damaged, or diseased. Many trees are ash trees infested and killed by the dangerous emerald ash borer.
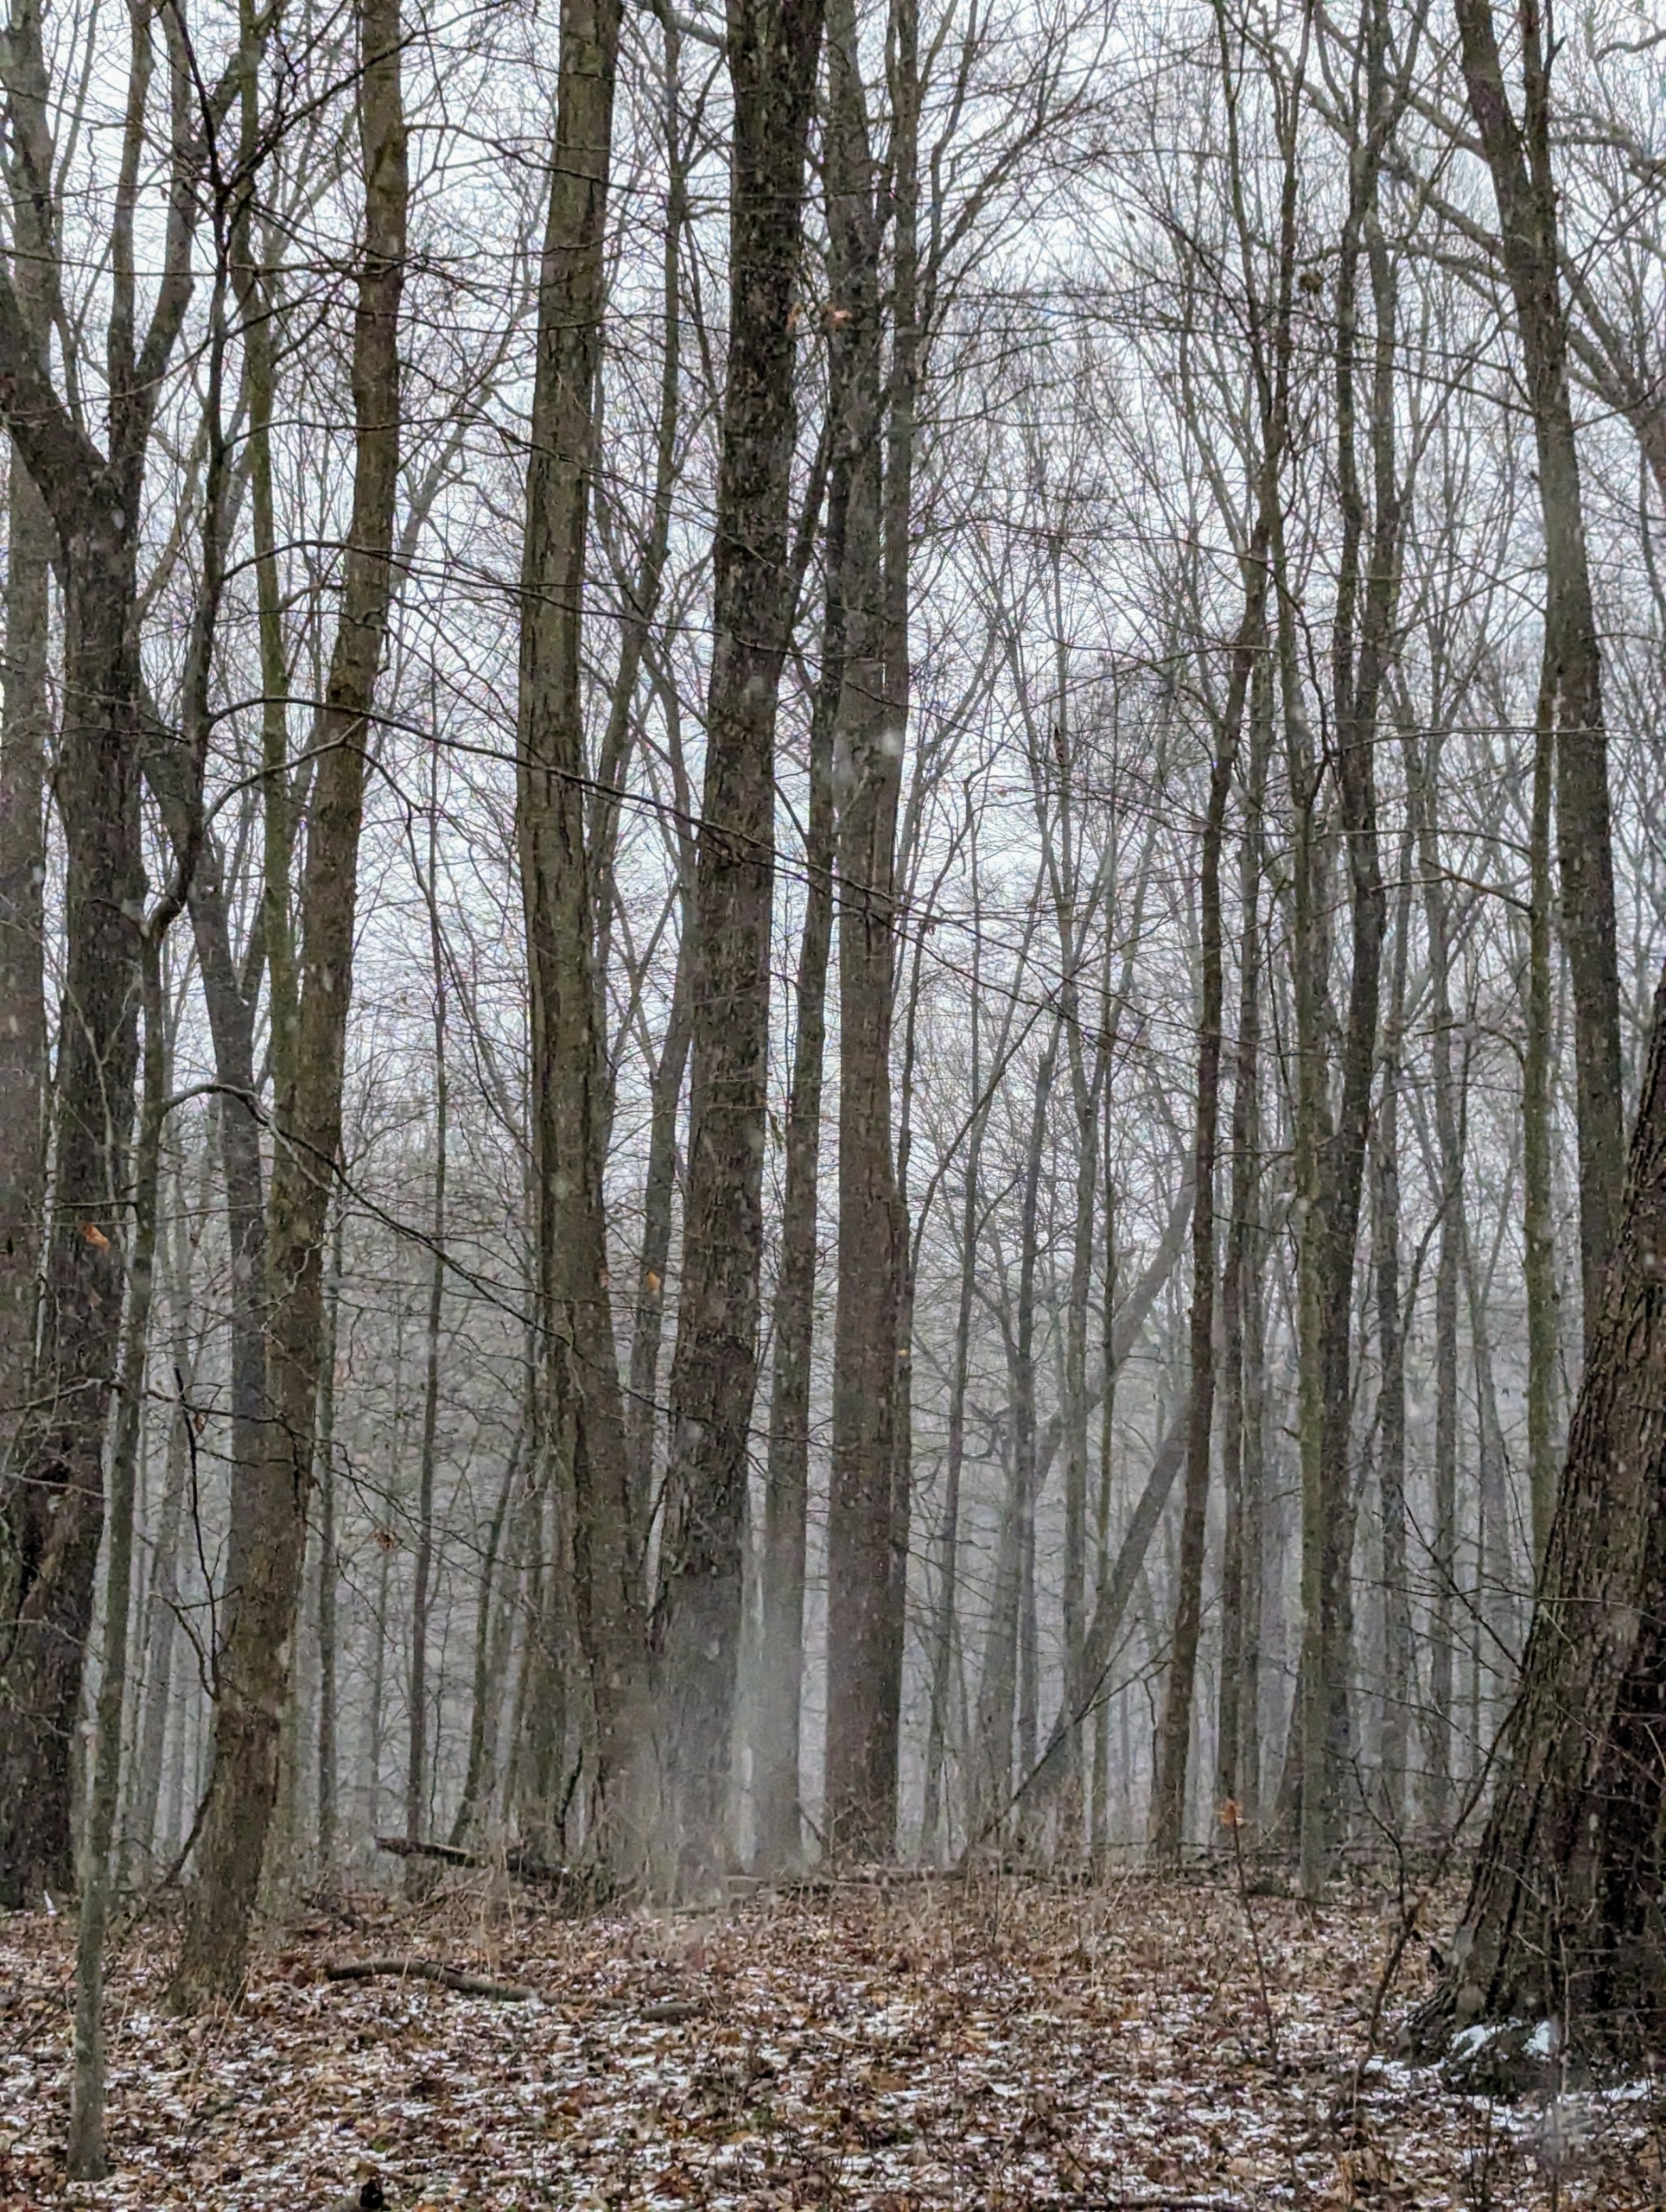
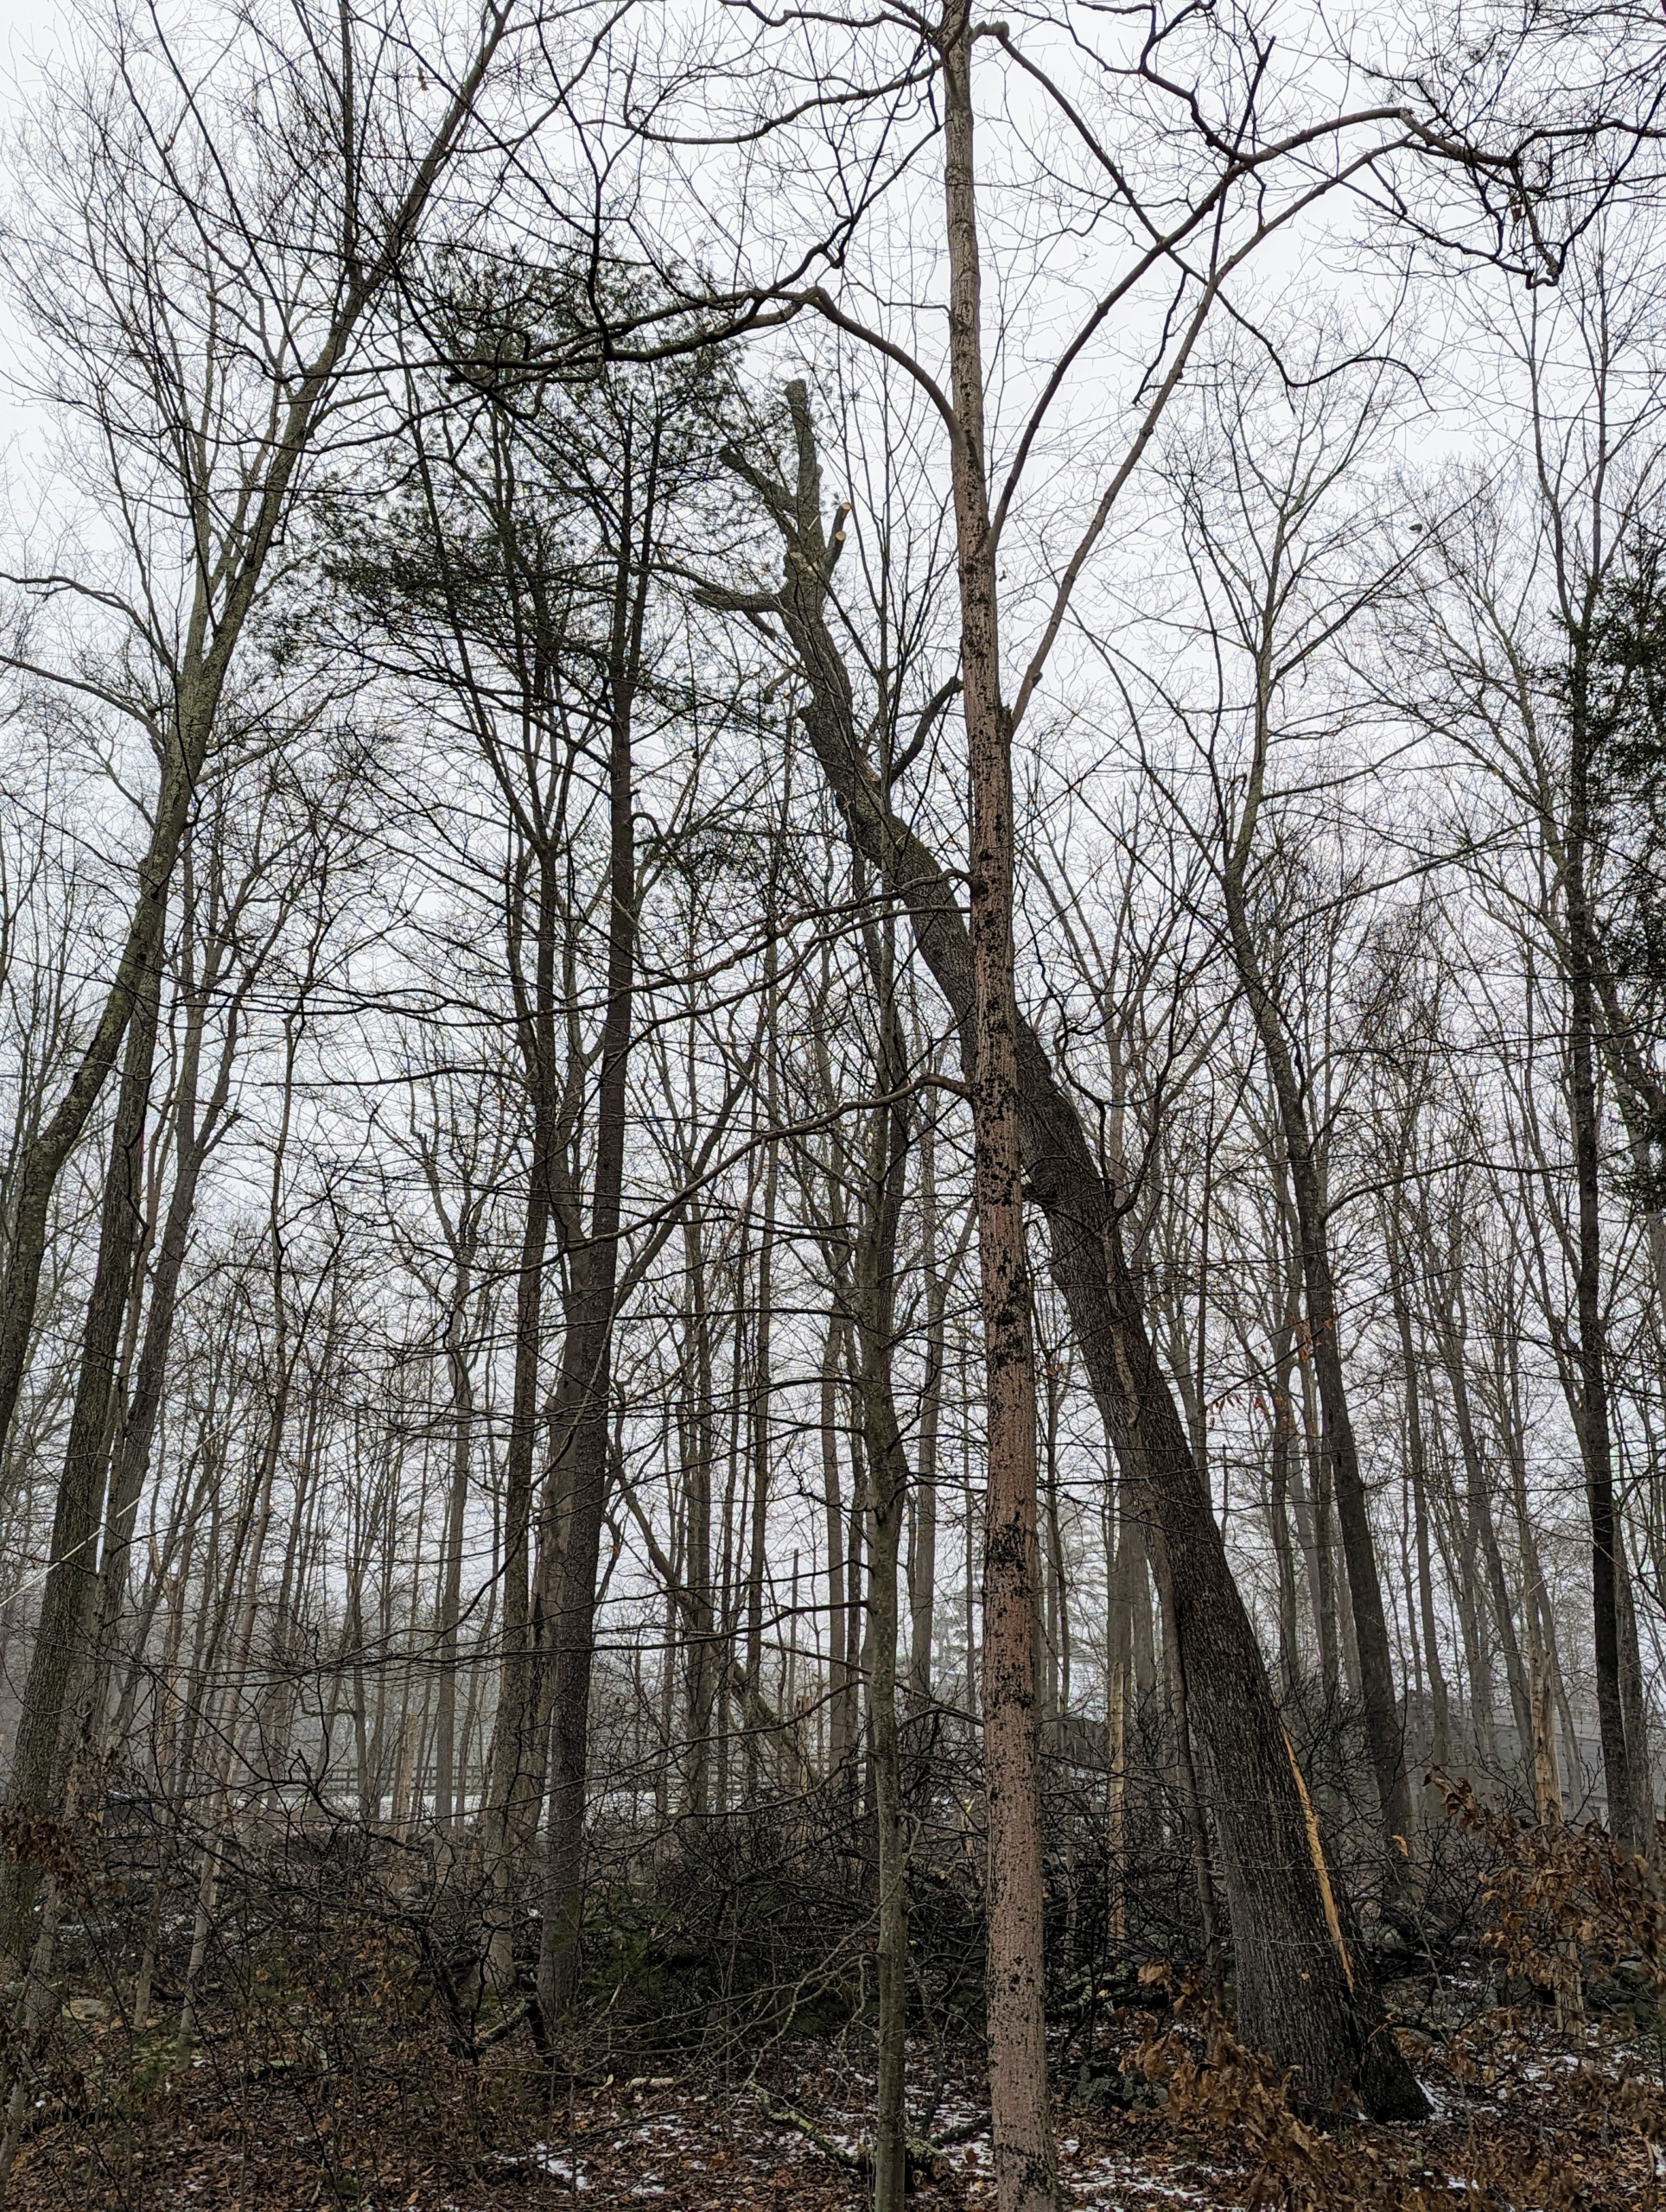
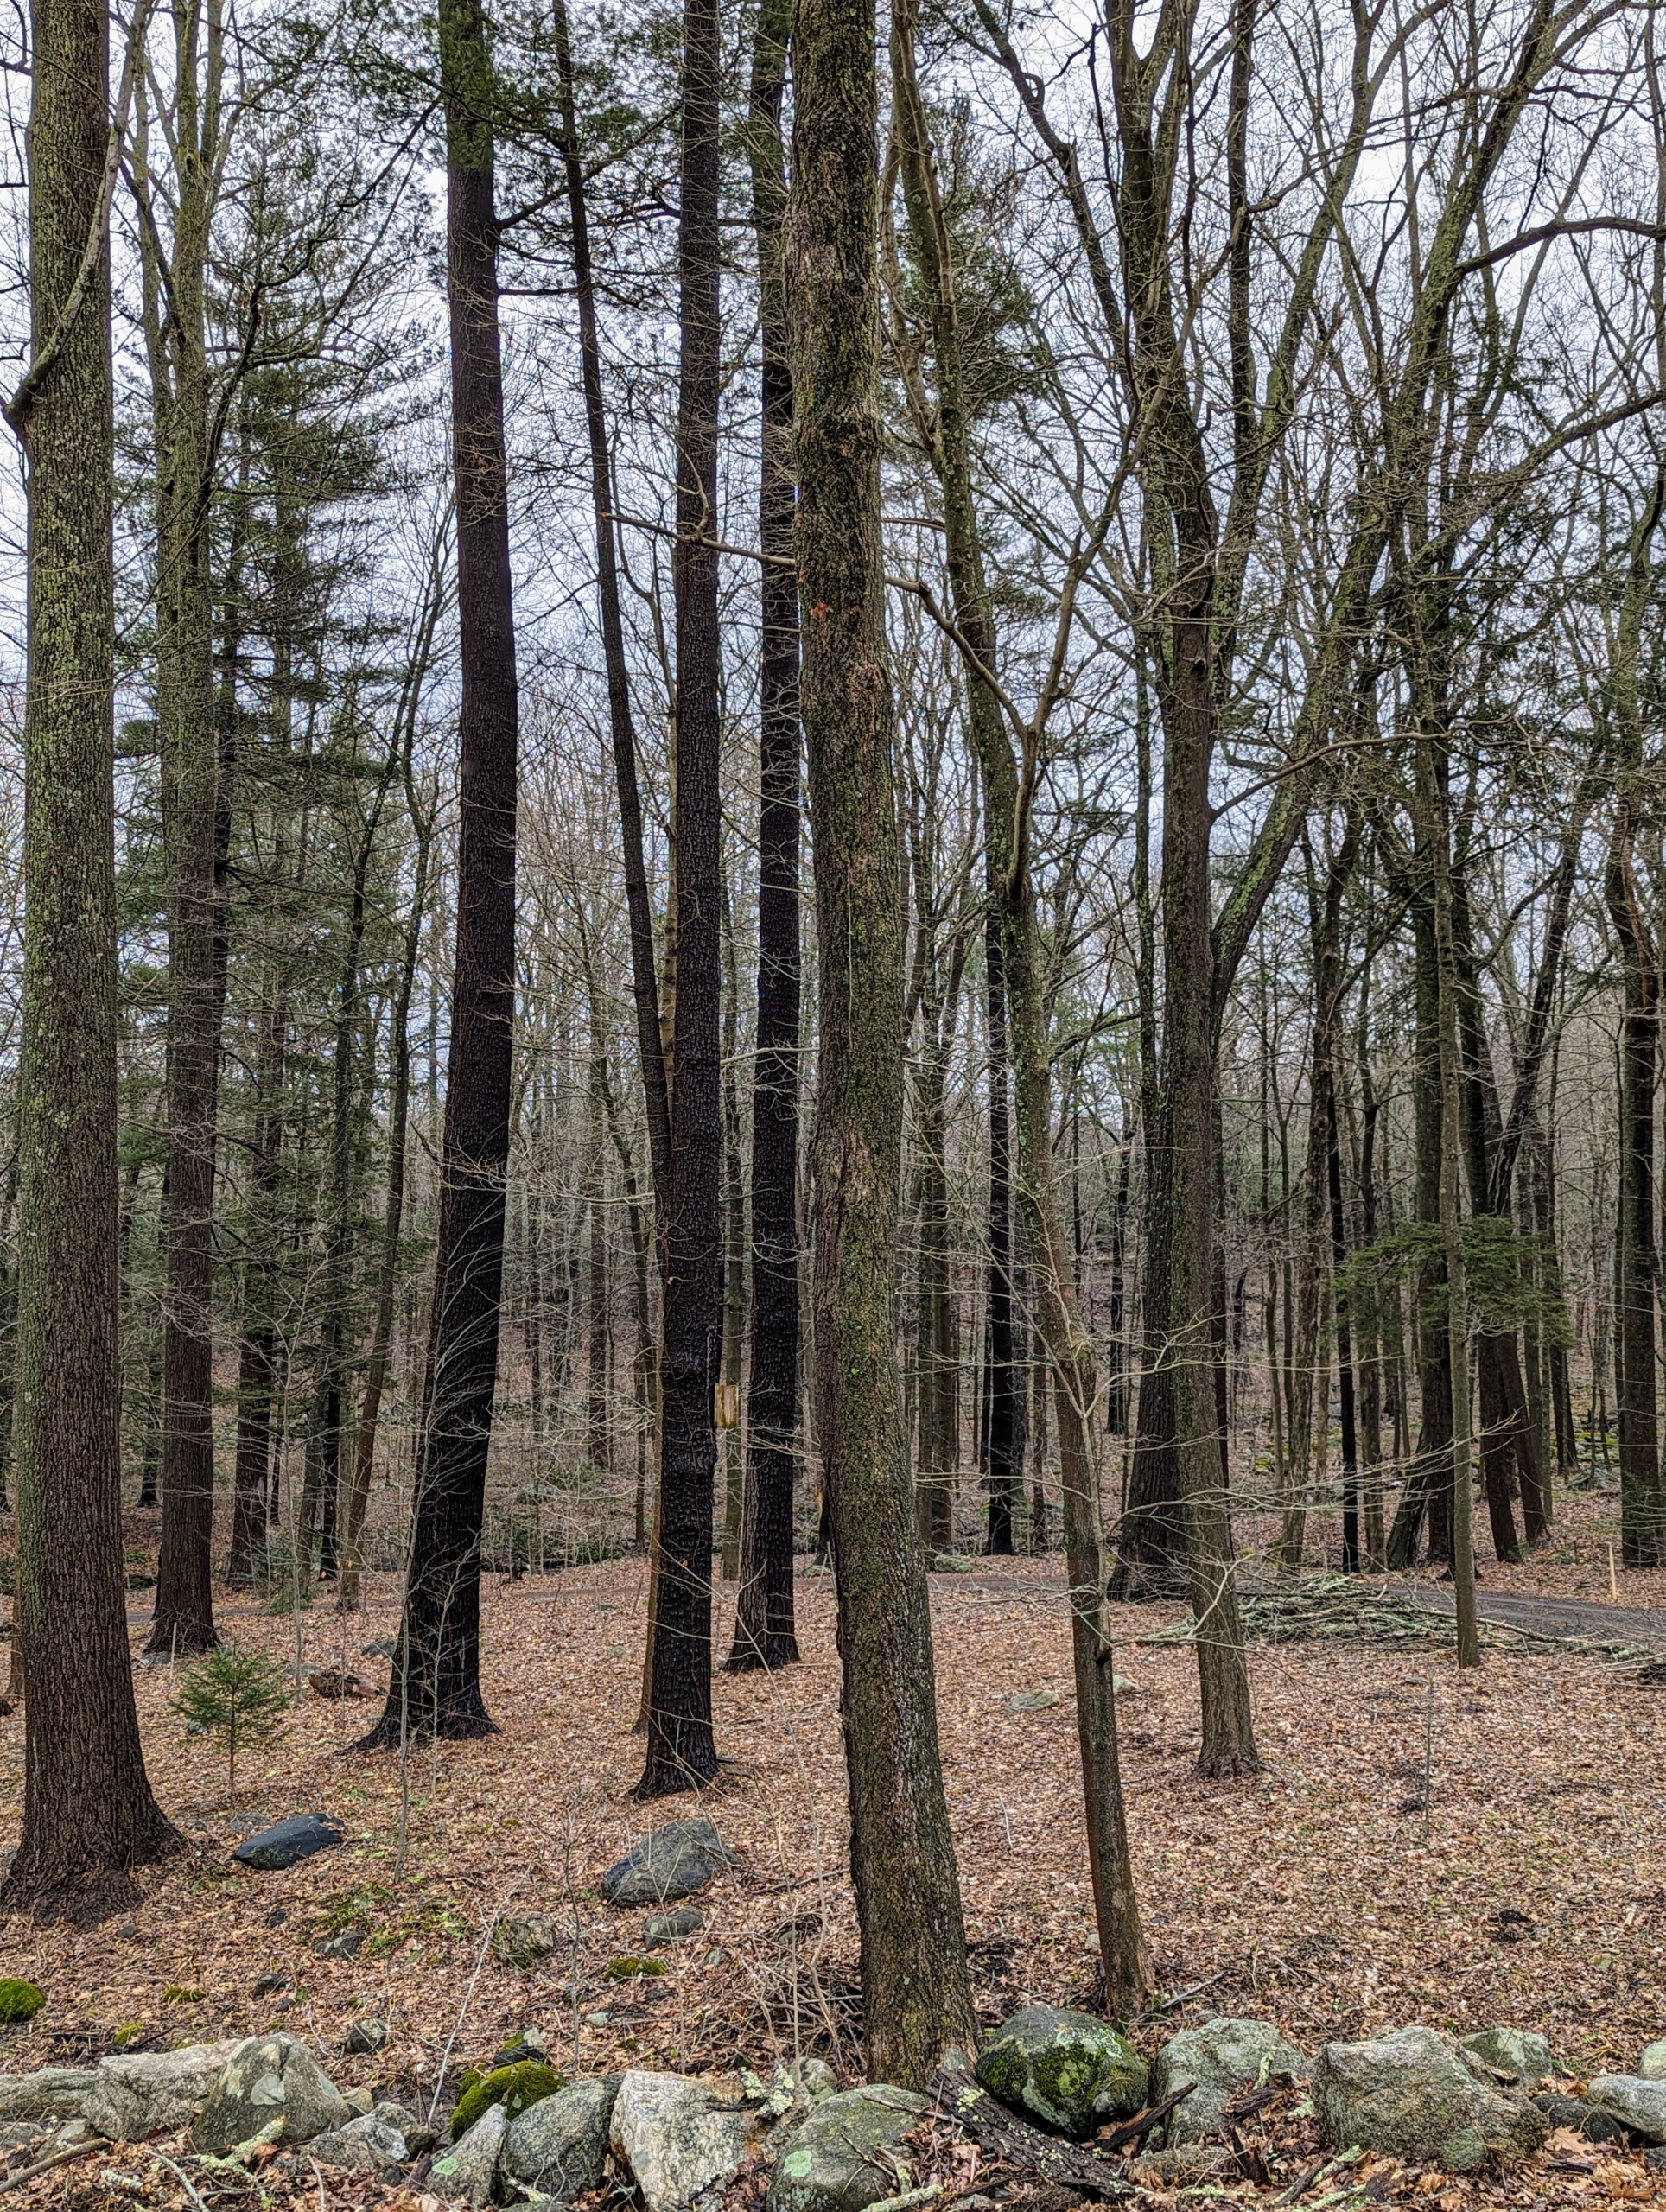
This is a section of the woodland where the trees are dense. At some point, some will be taken down to make room for younger specimens.
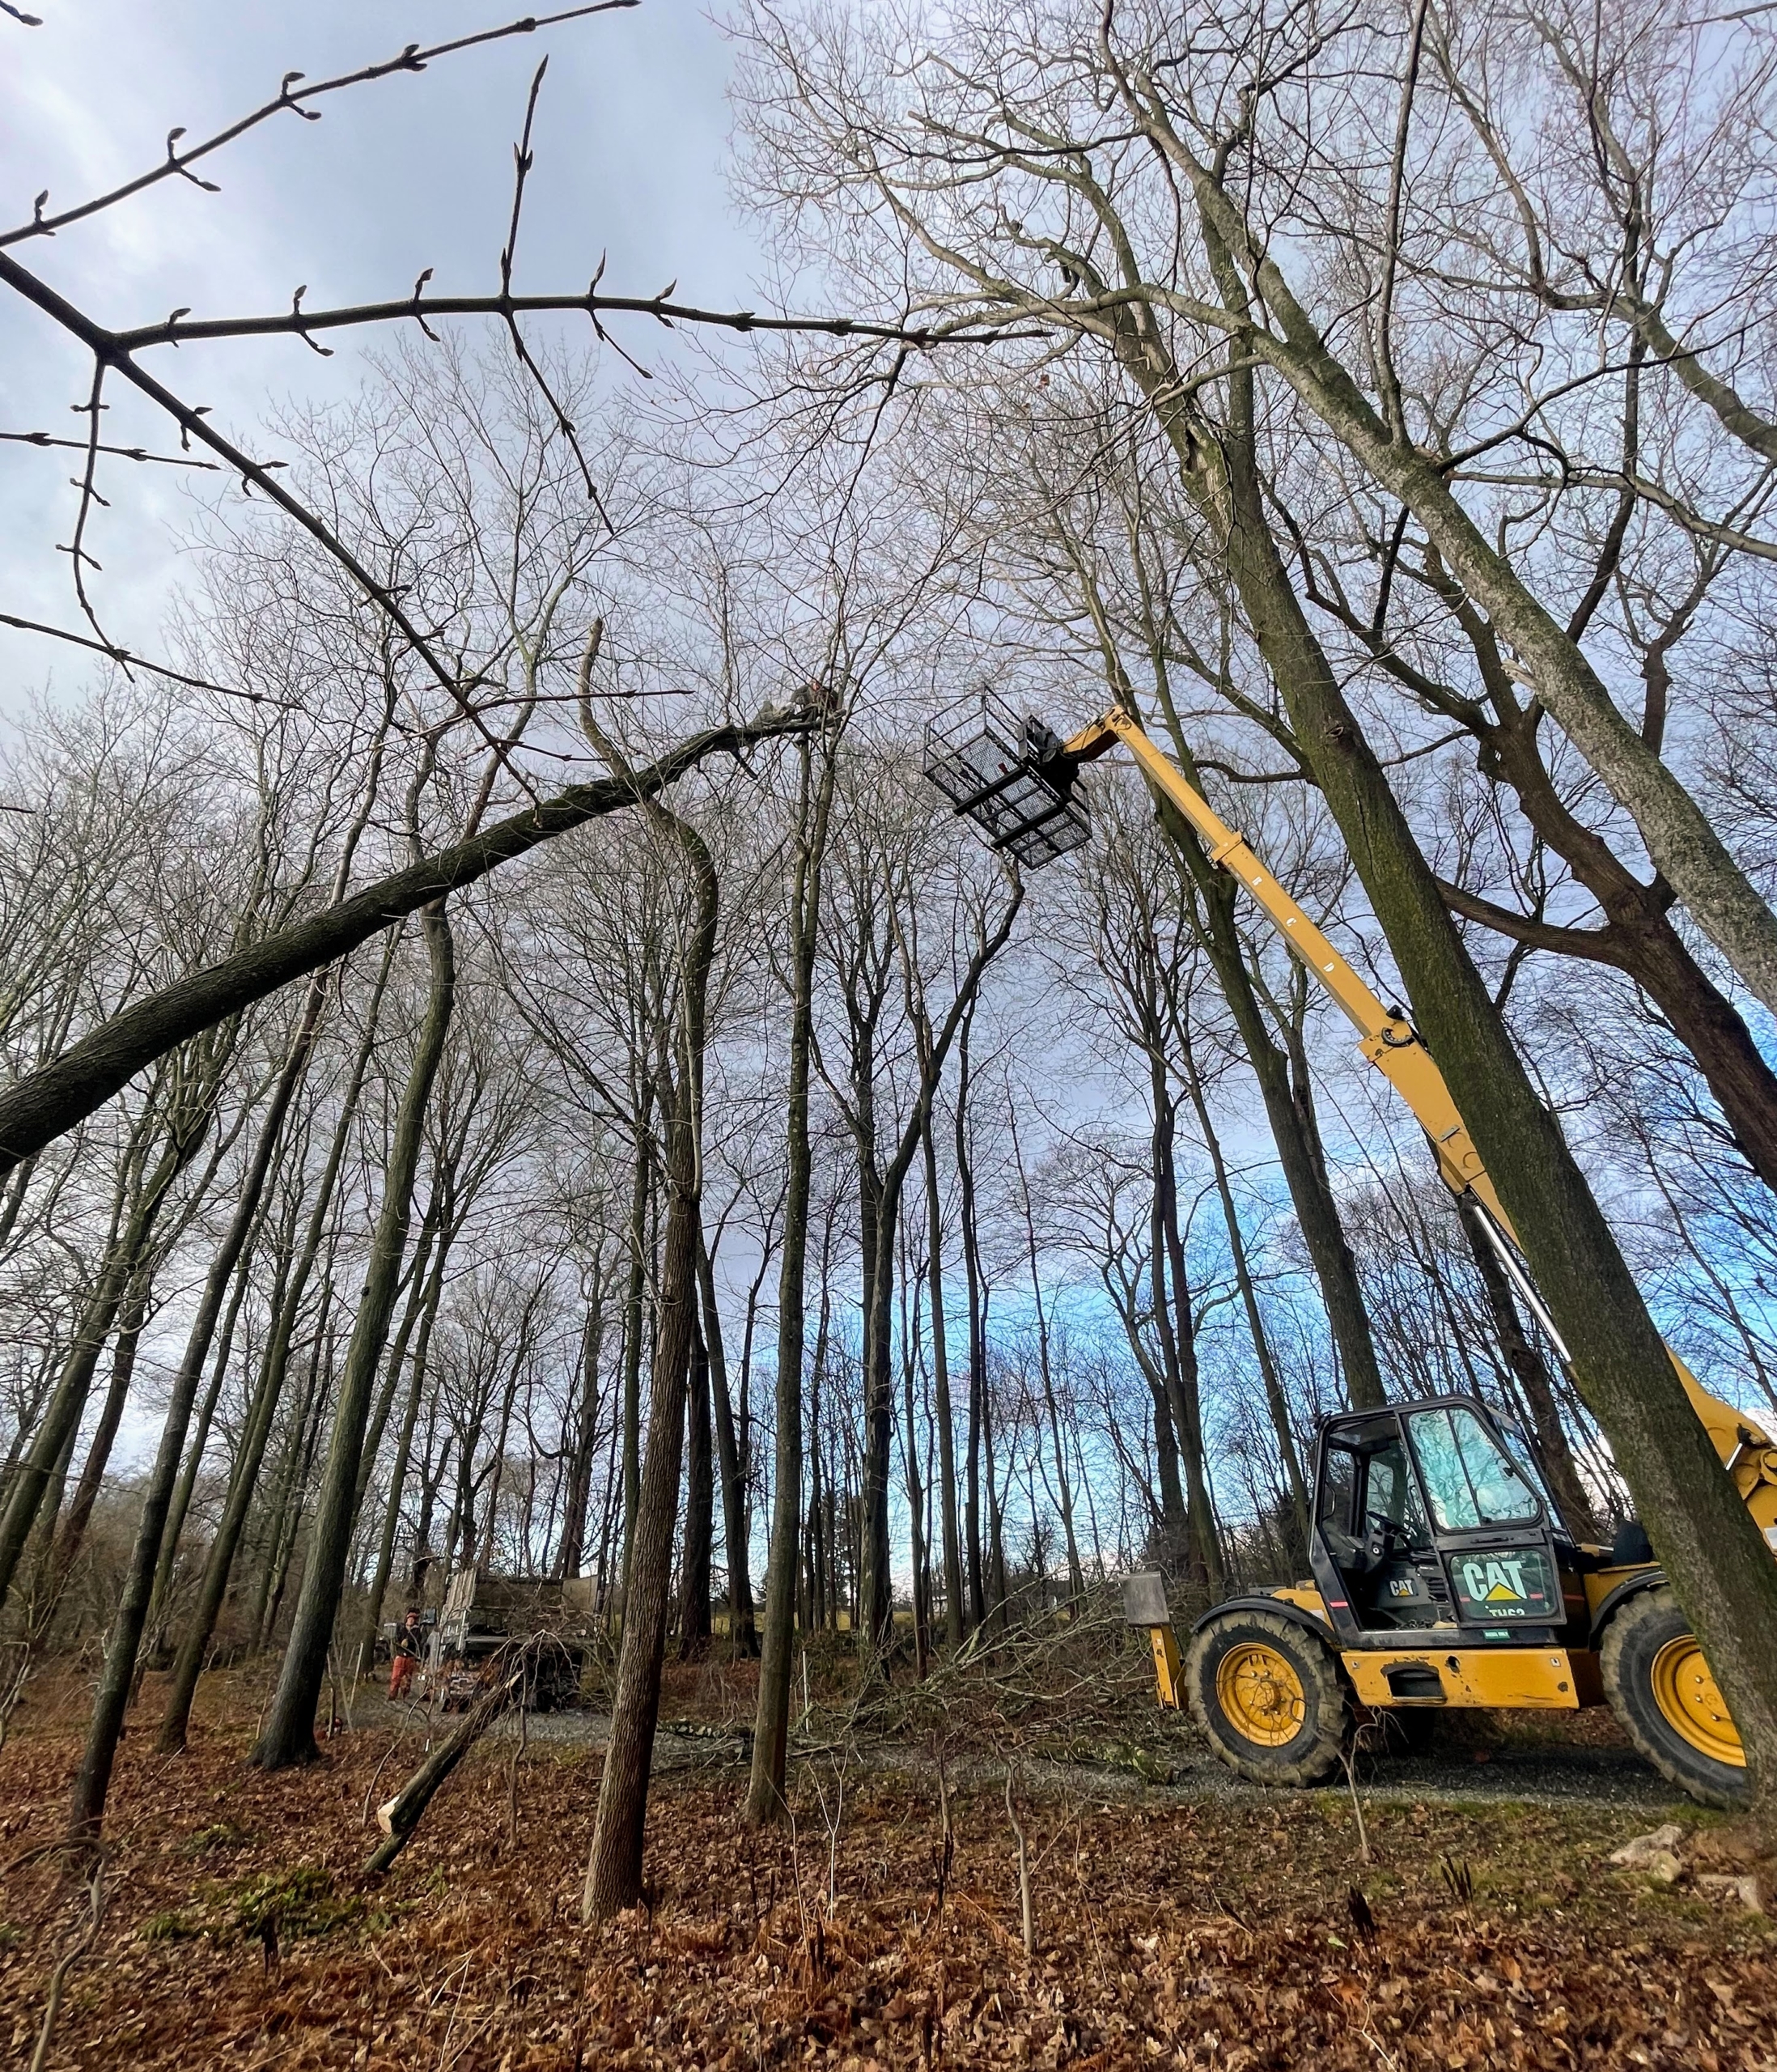
Before the tree trunks are felled, smaller limbs and branches are removed first, so the tree is easier to take down with less of a chance to damage other plantings in the process.
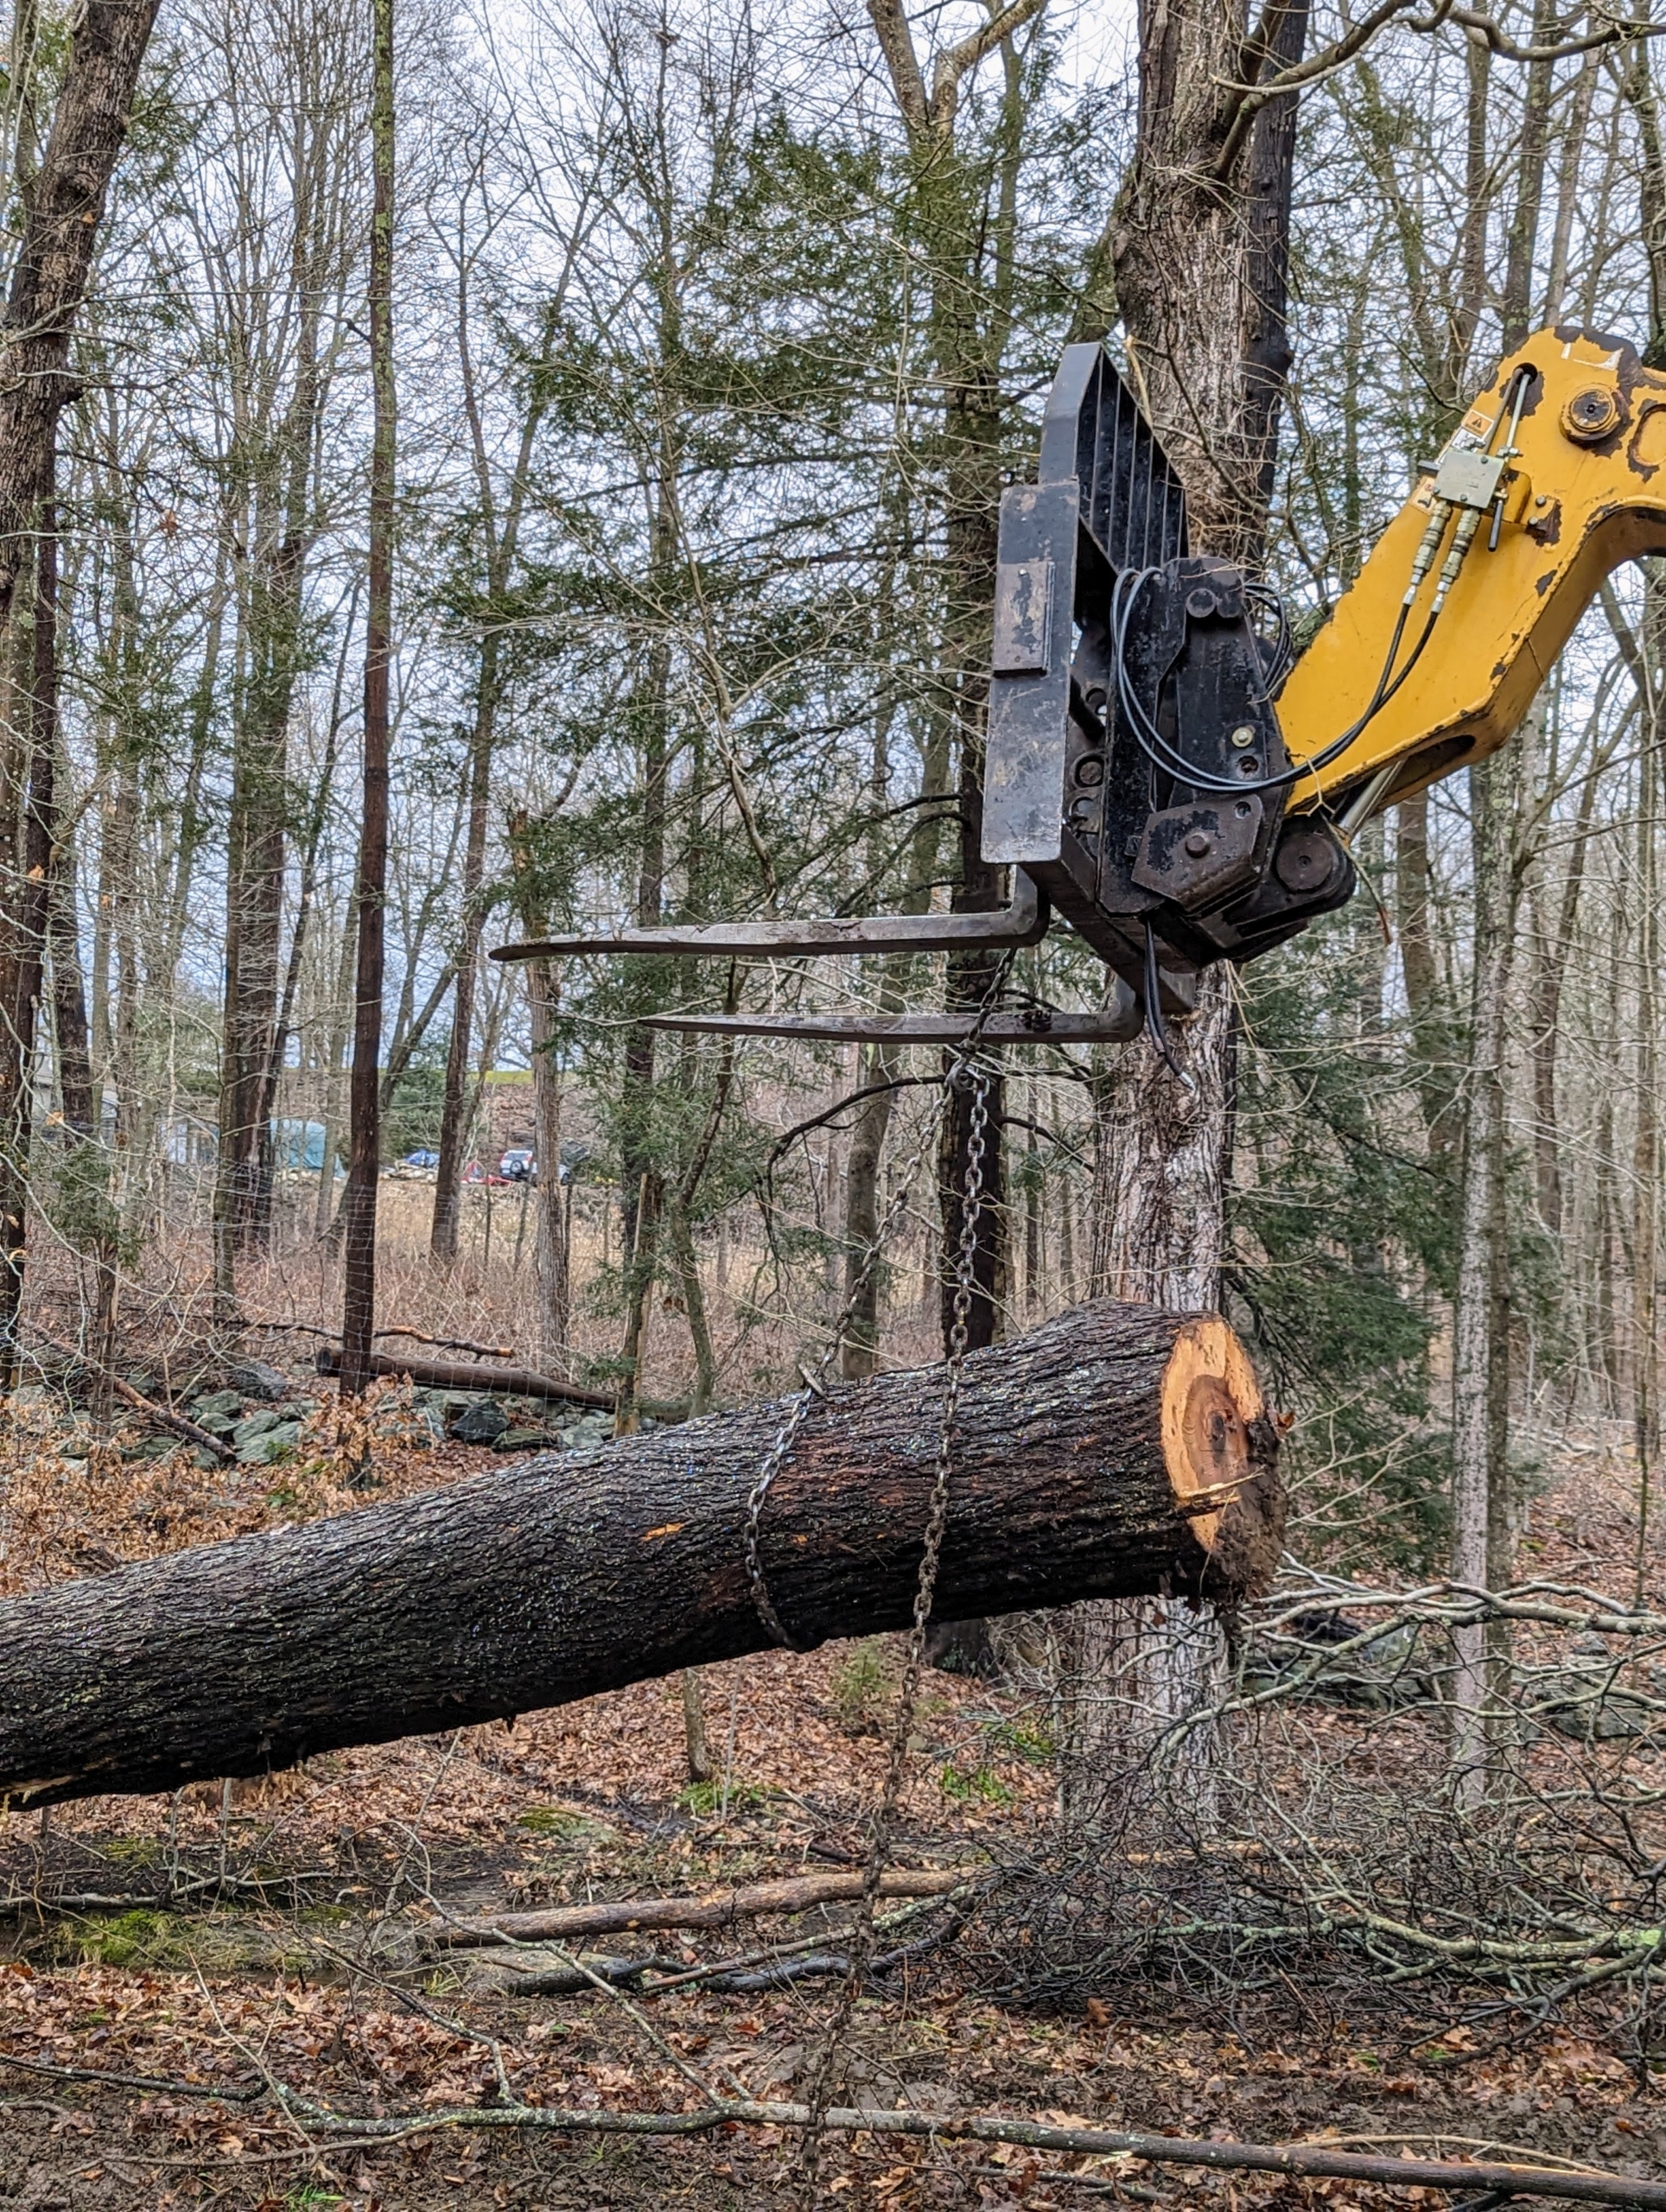
Here is a tree getting pulled out and placed into a pile by the carriage road.
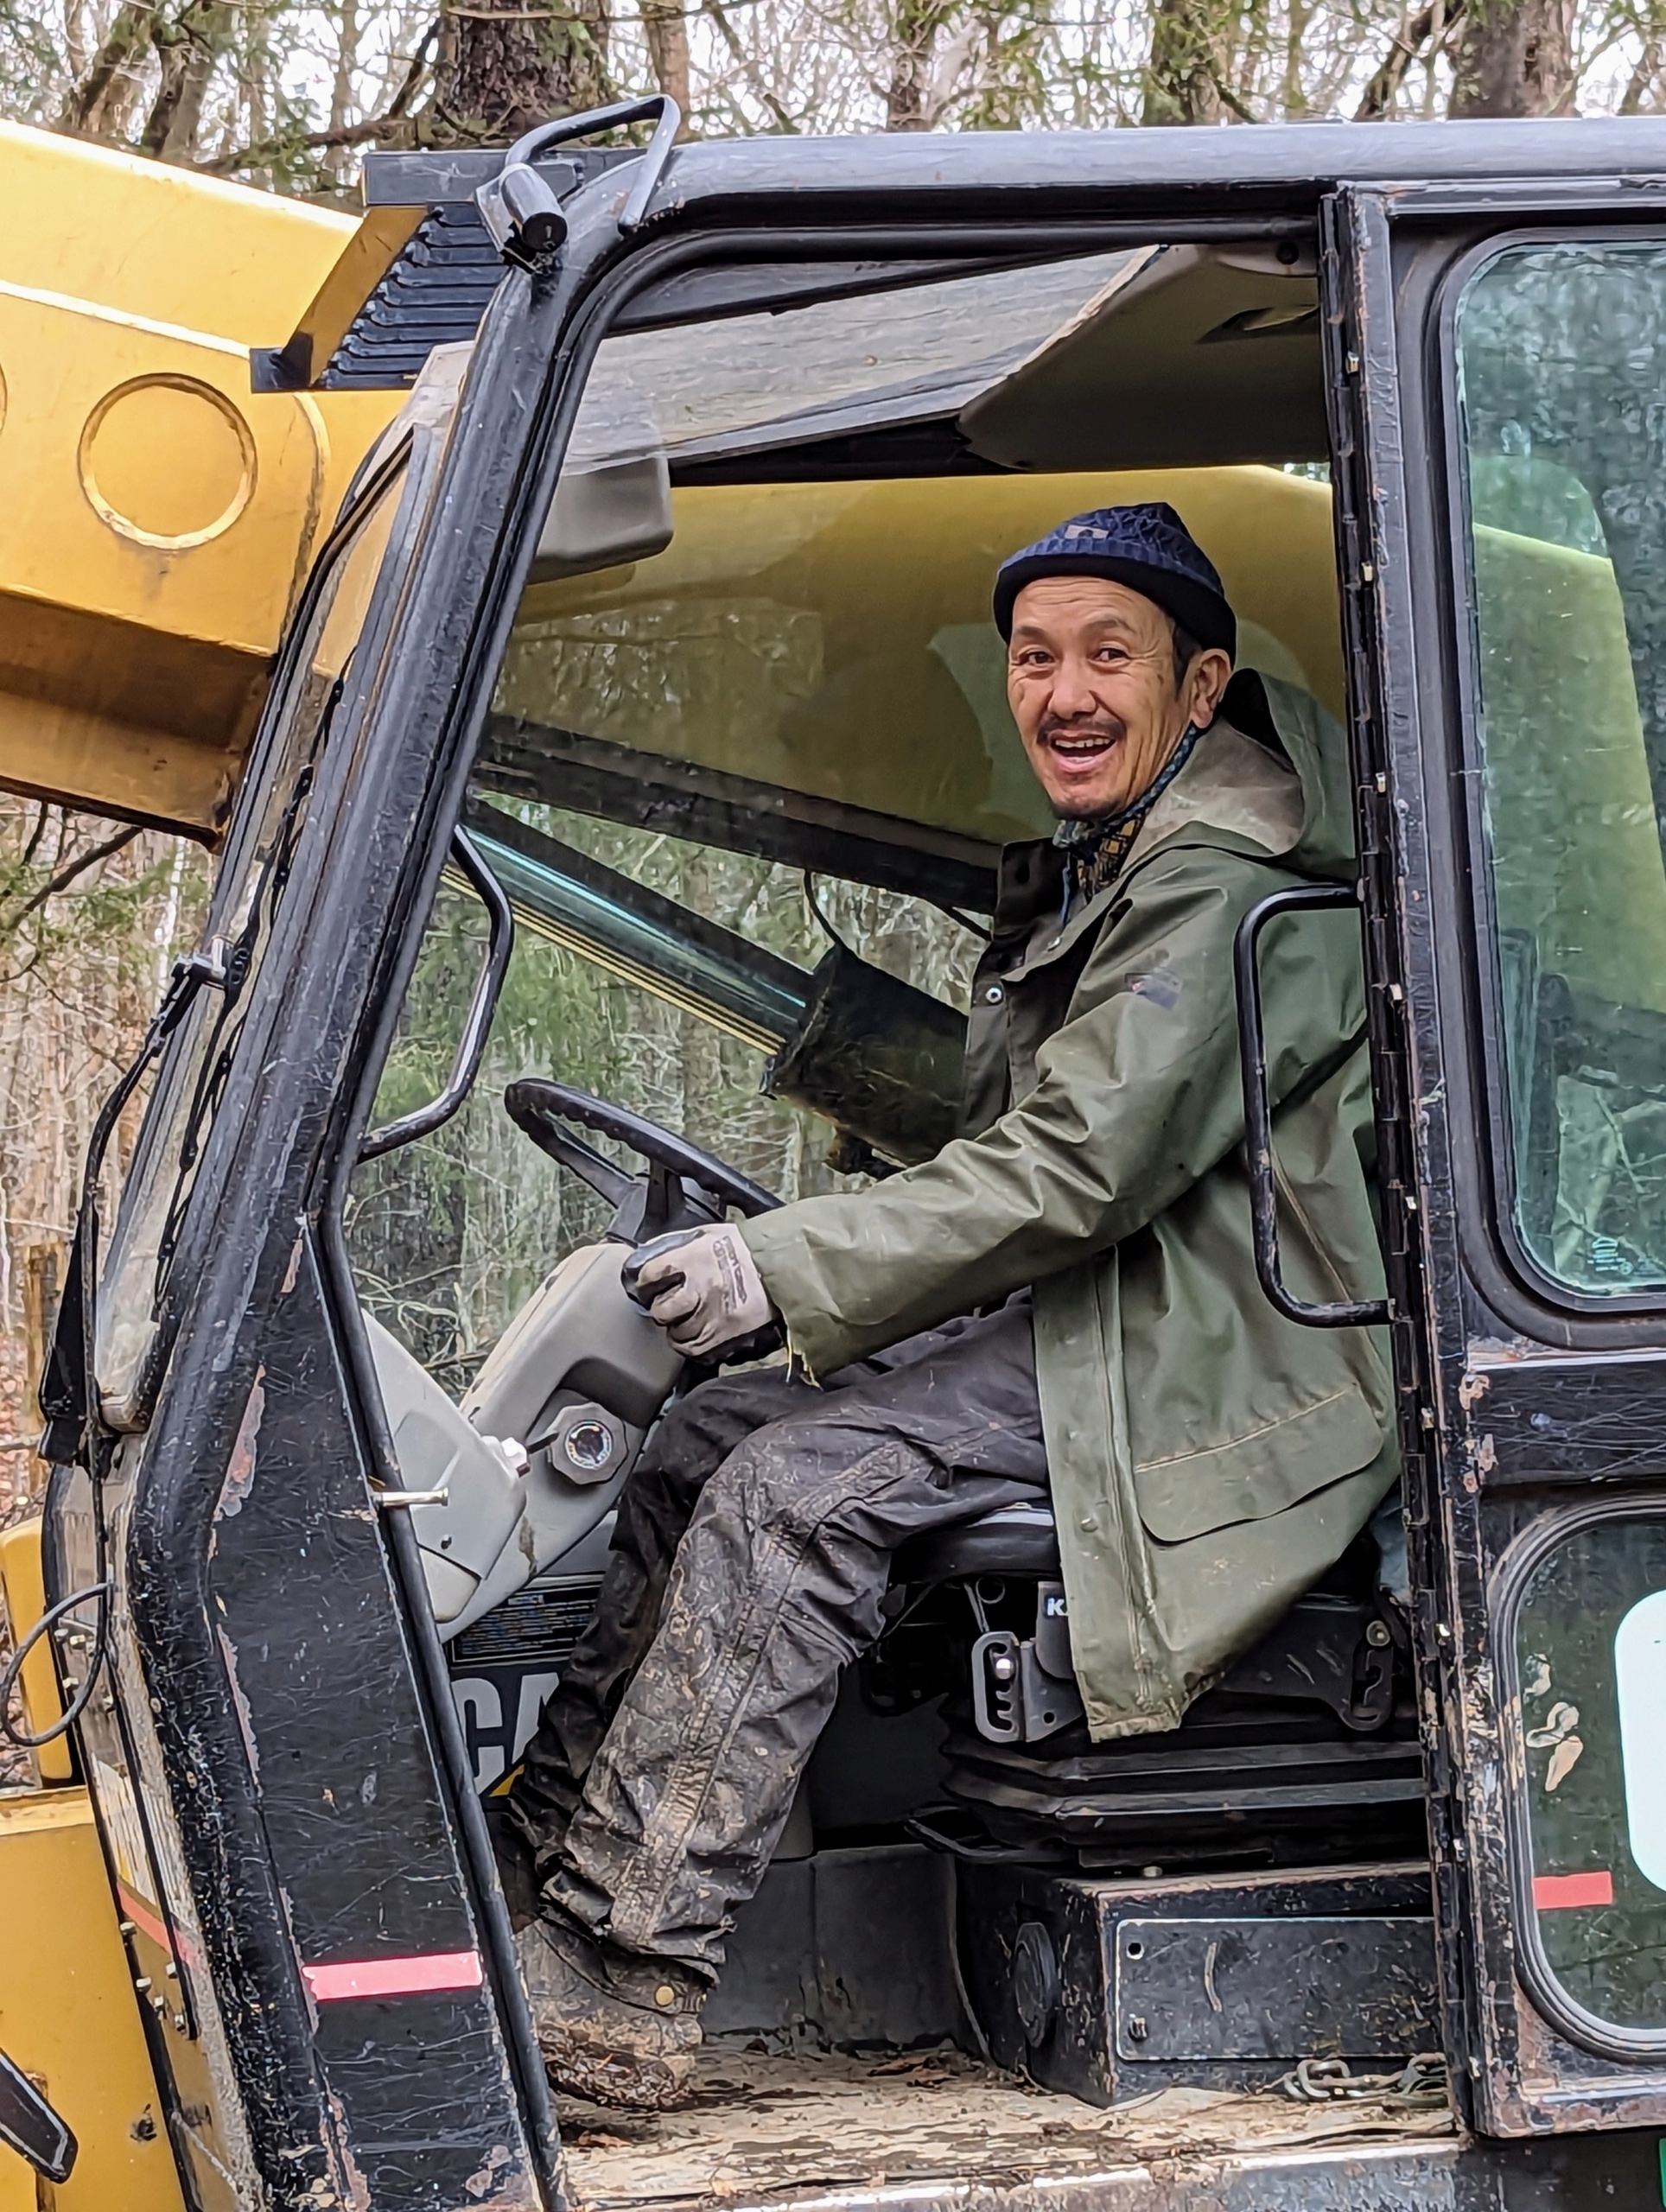
My outdoor grounds crew foreman, Chhiring, carefully maneuvers the trusted Hi-Lo and oversees all the work making sure everyone takes all the necessary safety precautions.
Phurba is securing another line to this huge stump, so it can be removed from the stream. Fortunately the weather has been very mild these last few days. All the snow and ice from the most recent storm has melted allowing the crew to work more safely and efficiently.
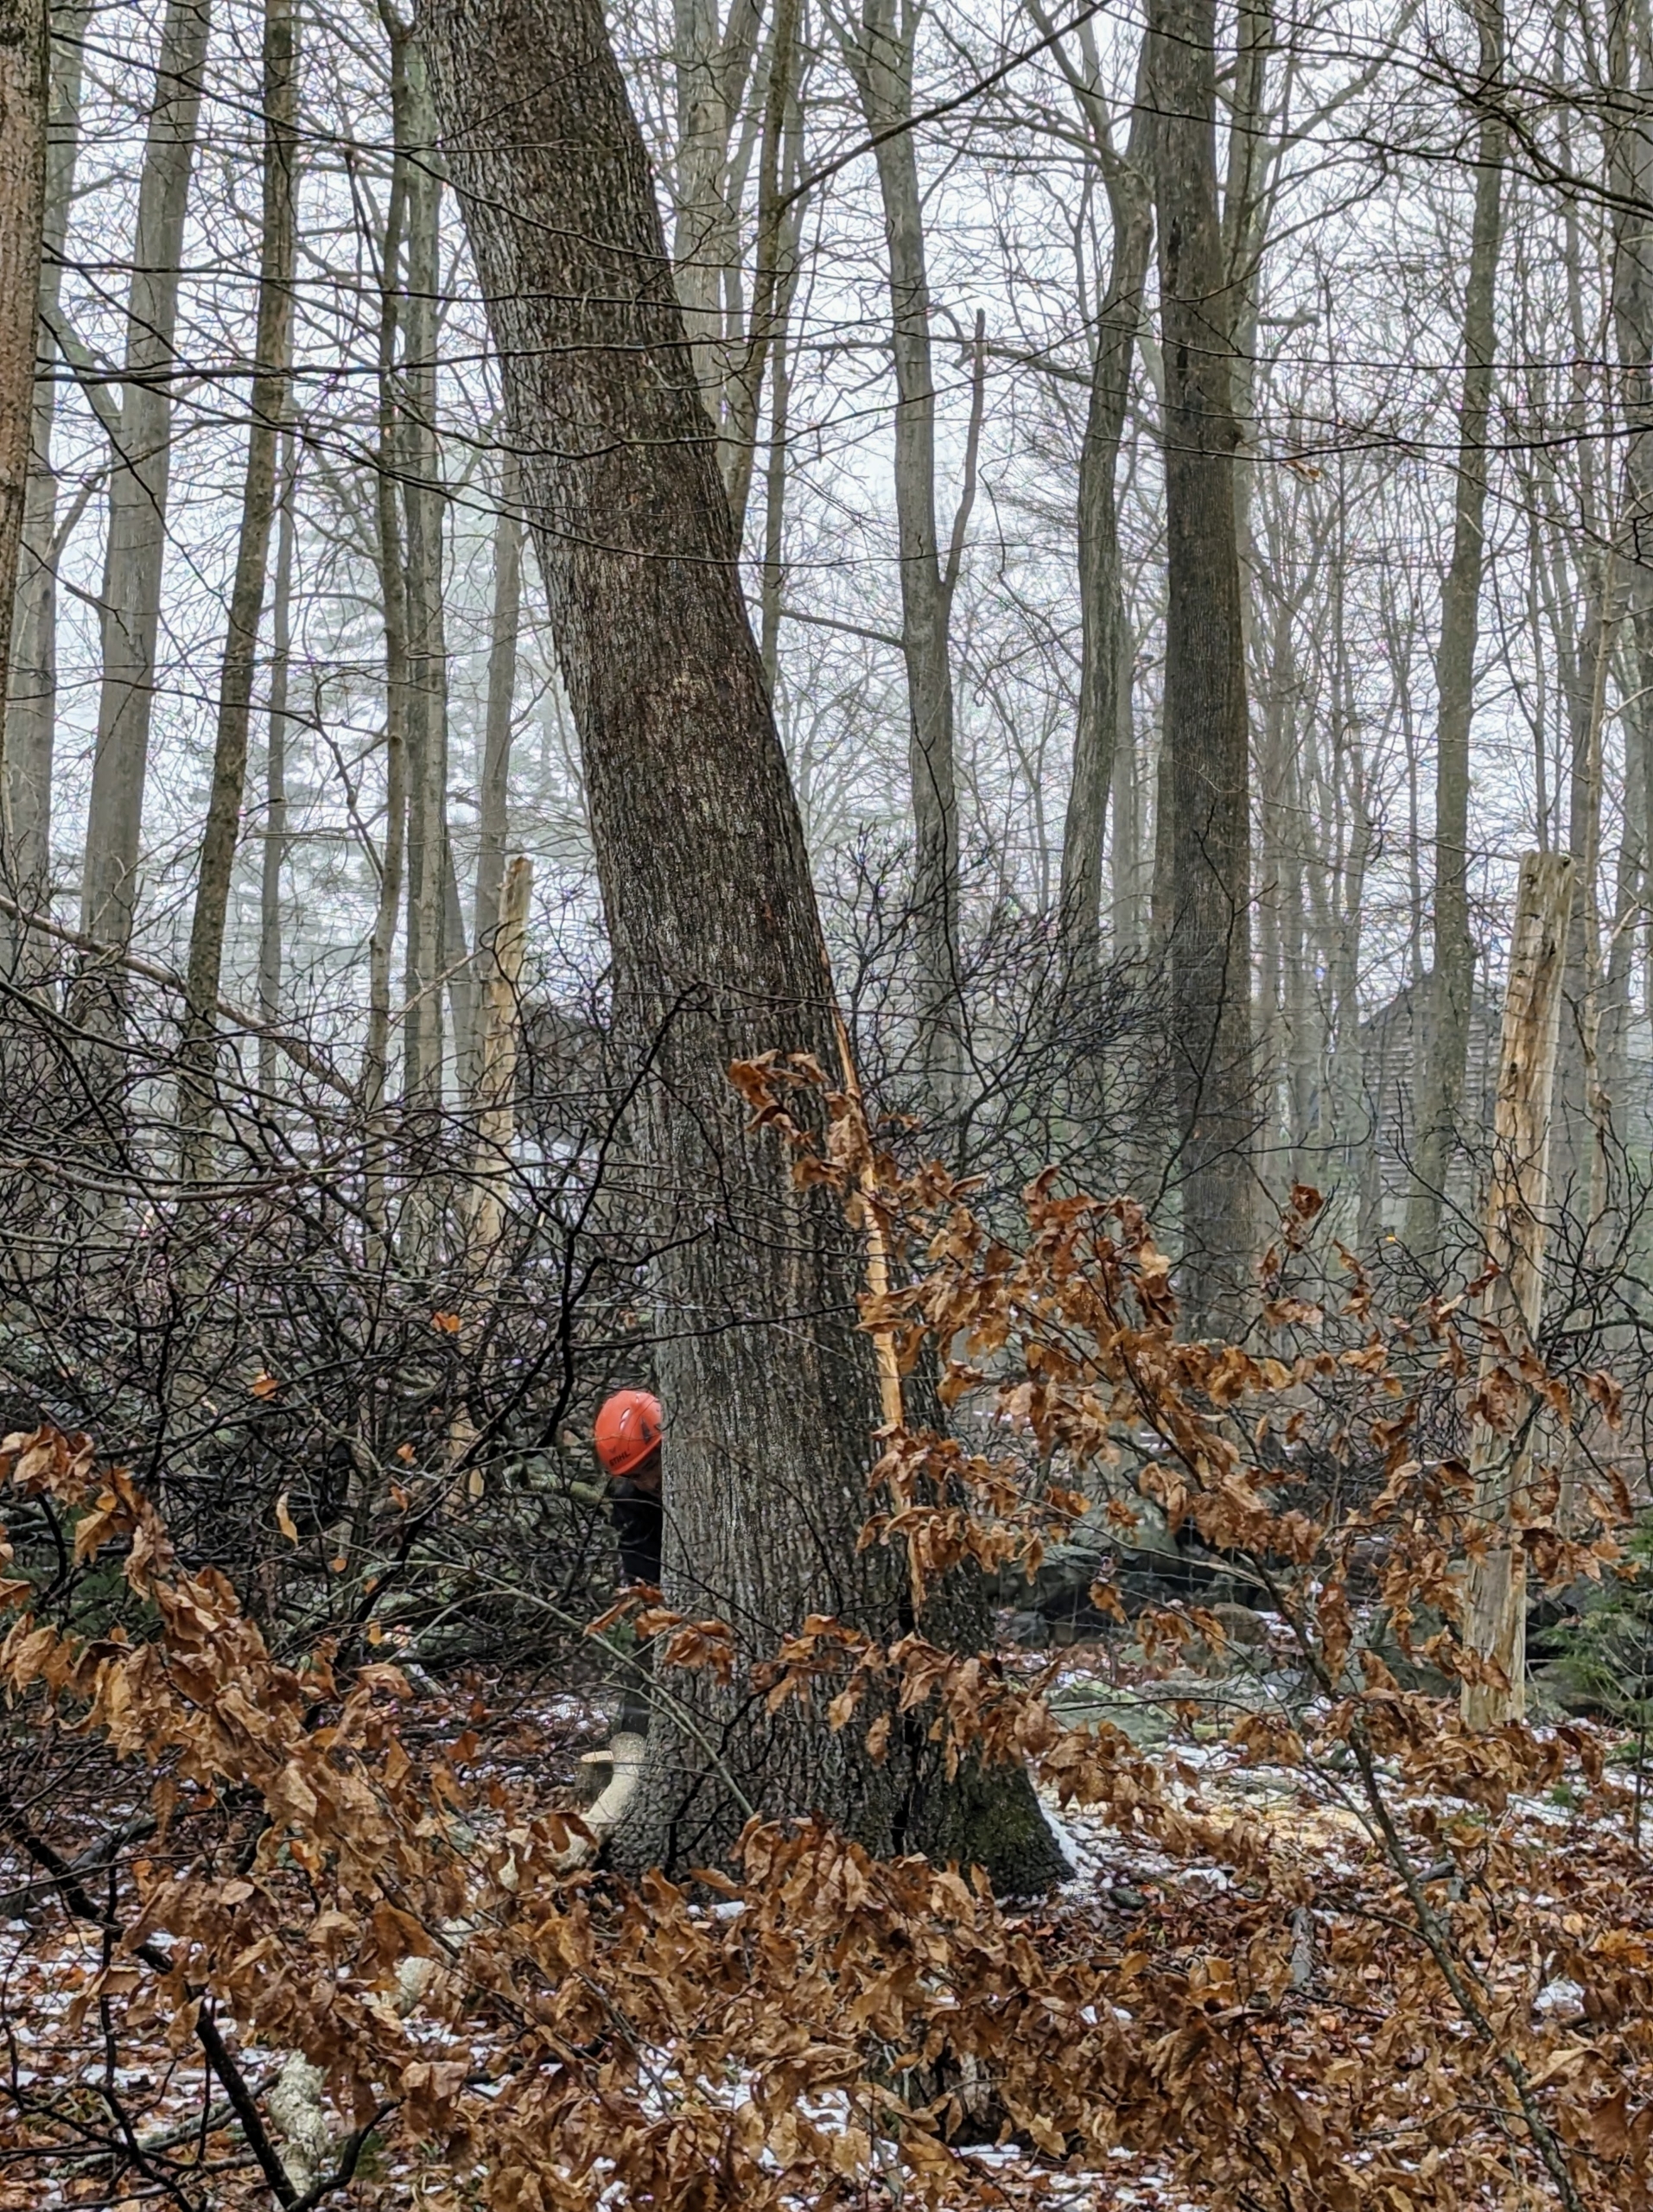
For this oak tree and various other light trees, the crew is able to use a strong rope to help direct where the tree will fall once it is cut.
Meanwhile, Pasang, who is our resident tree expert, carefully makes his felling cuts at the base of the tree.
And in just a few minutes, the tree is safely brought down.
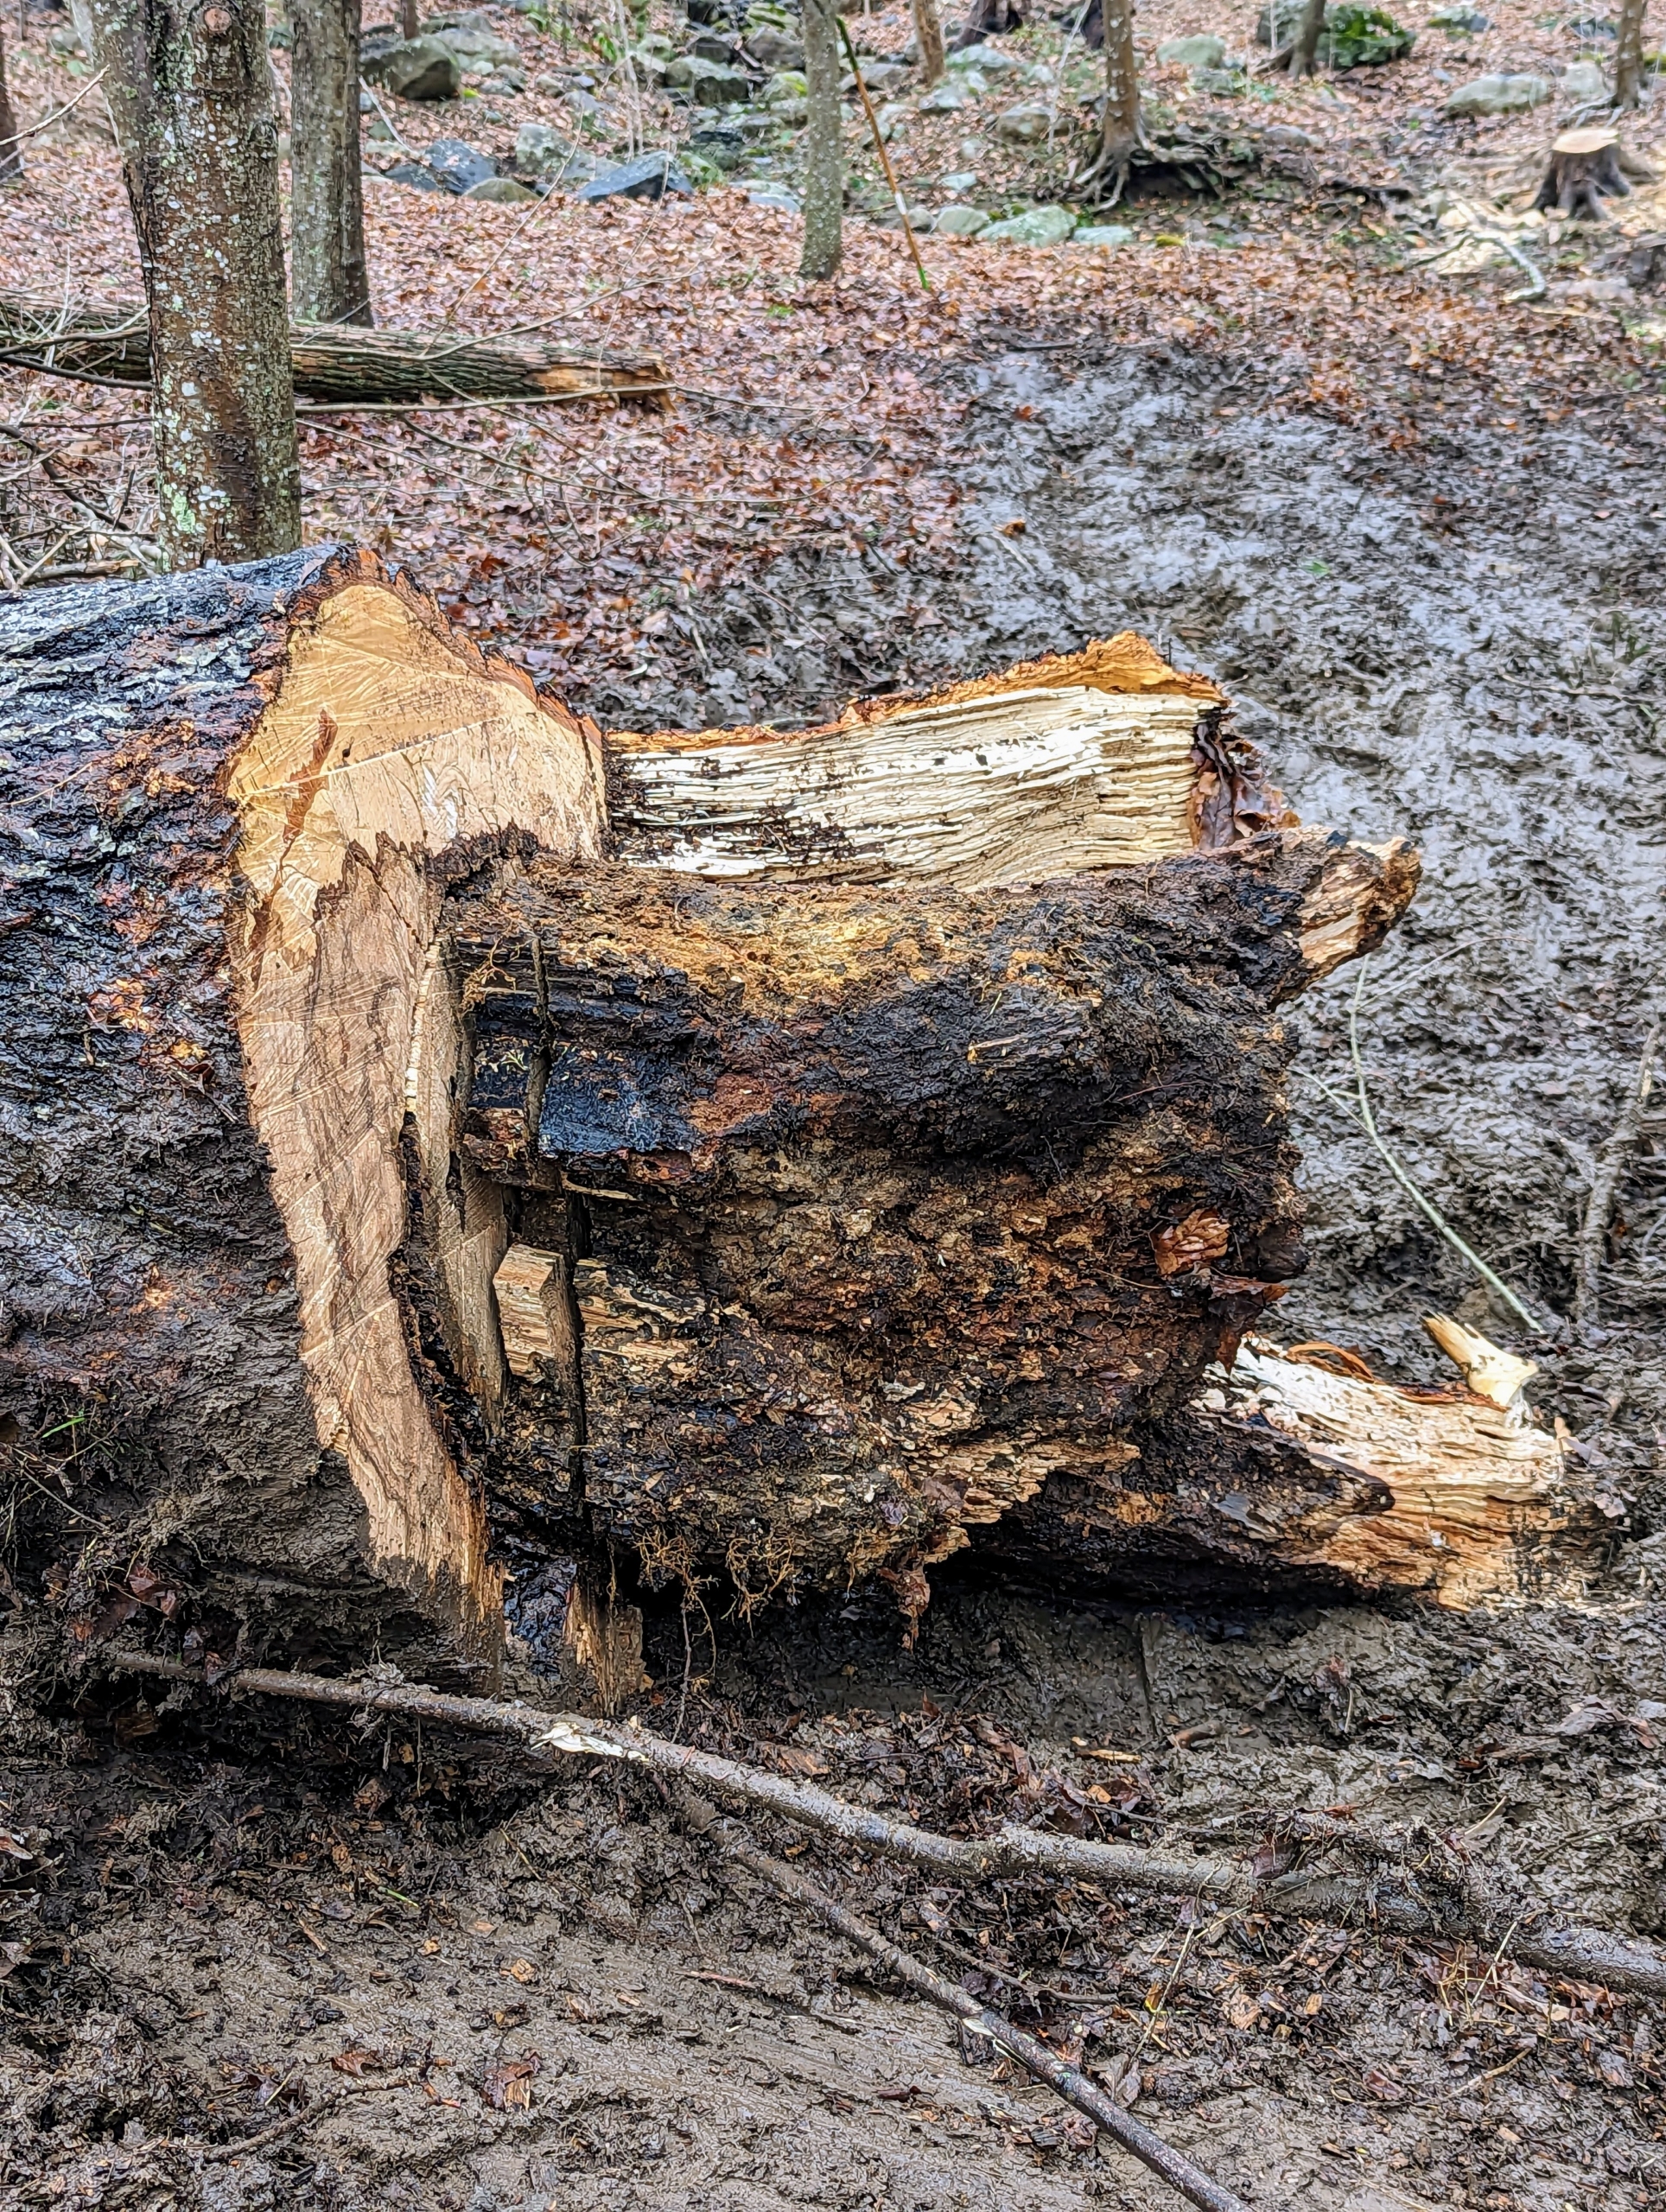
The tree may have looked nice from afar, but its base was actually rotting. This tree could have eventually fallen and caused damage to nearby fences or other healthy trees. It was the right decision to bring it down.
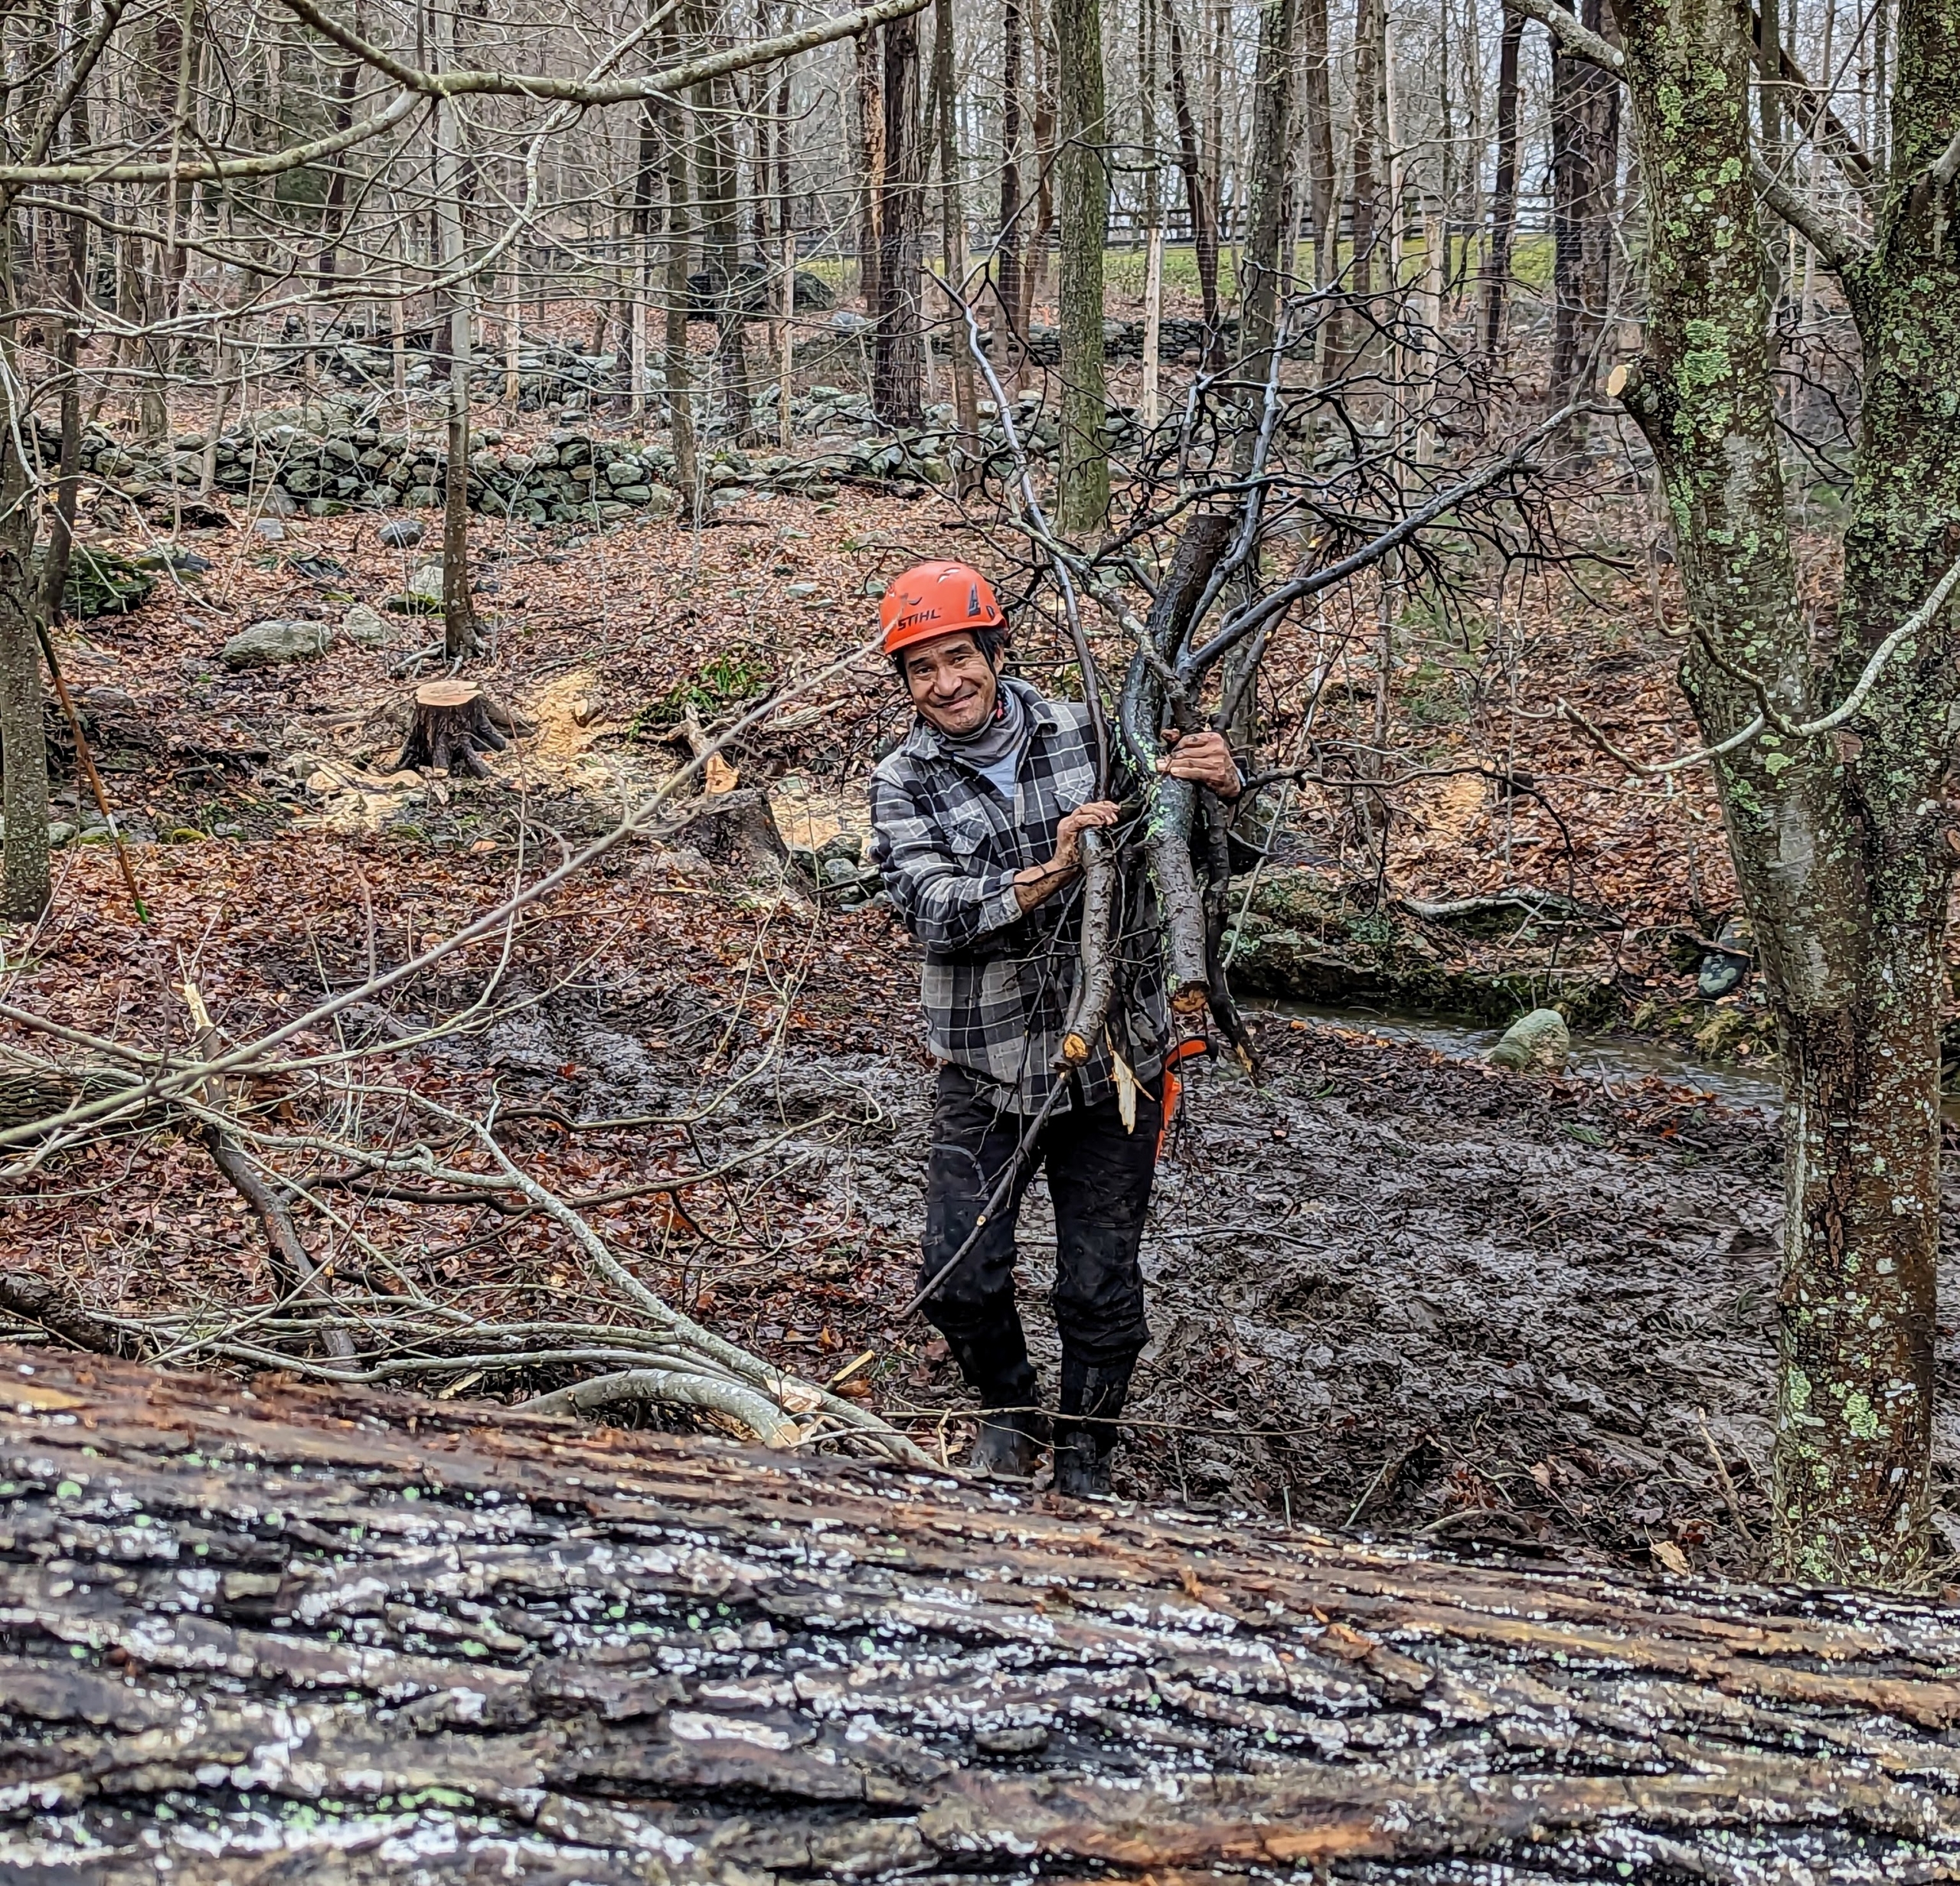
Here, Pasang starts picking up the more manageable branches and adds them to the pile.
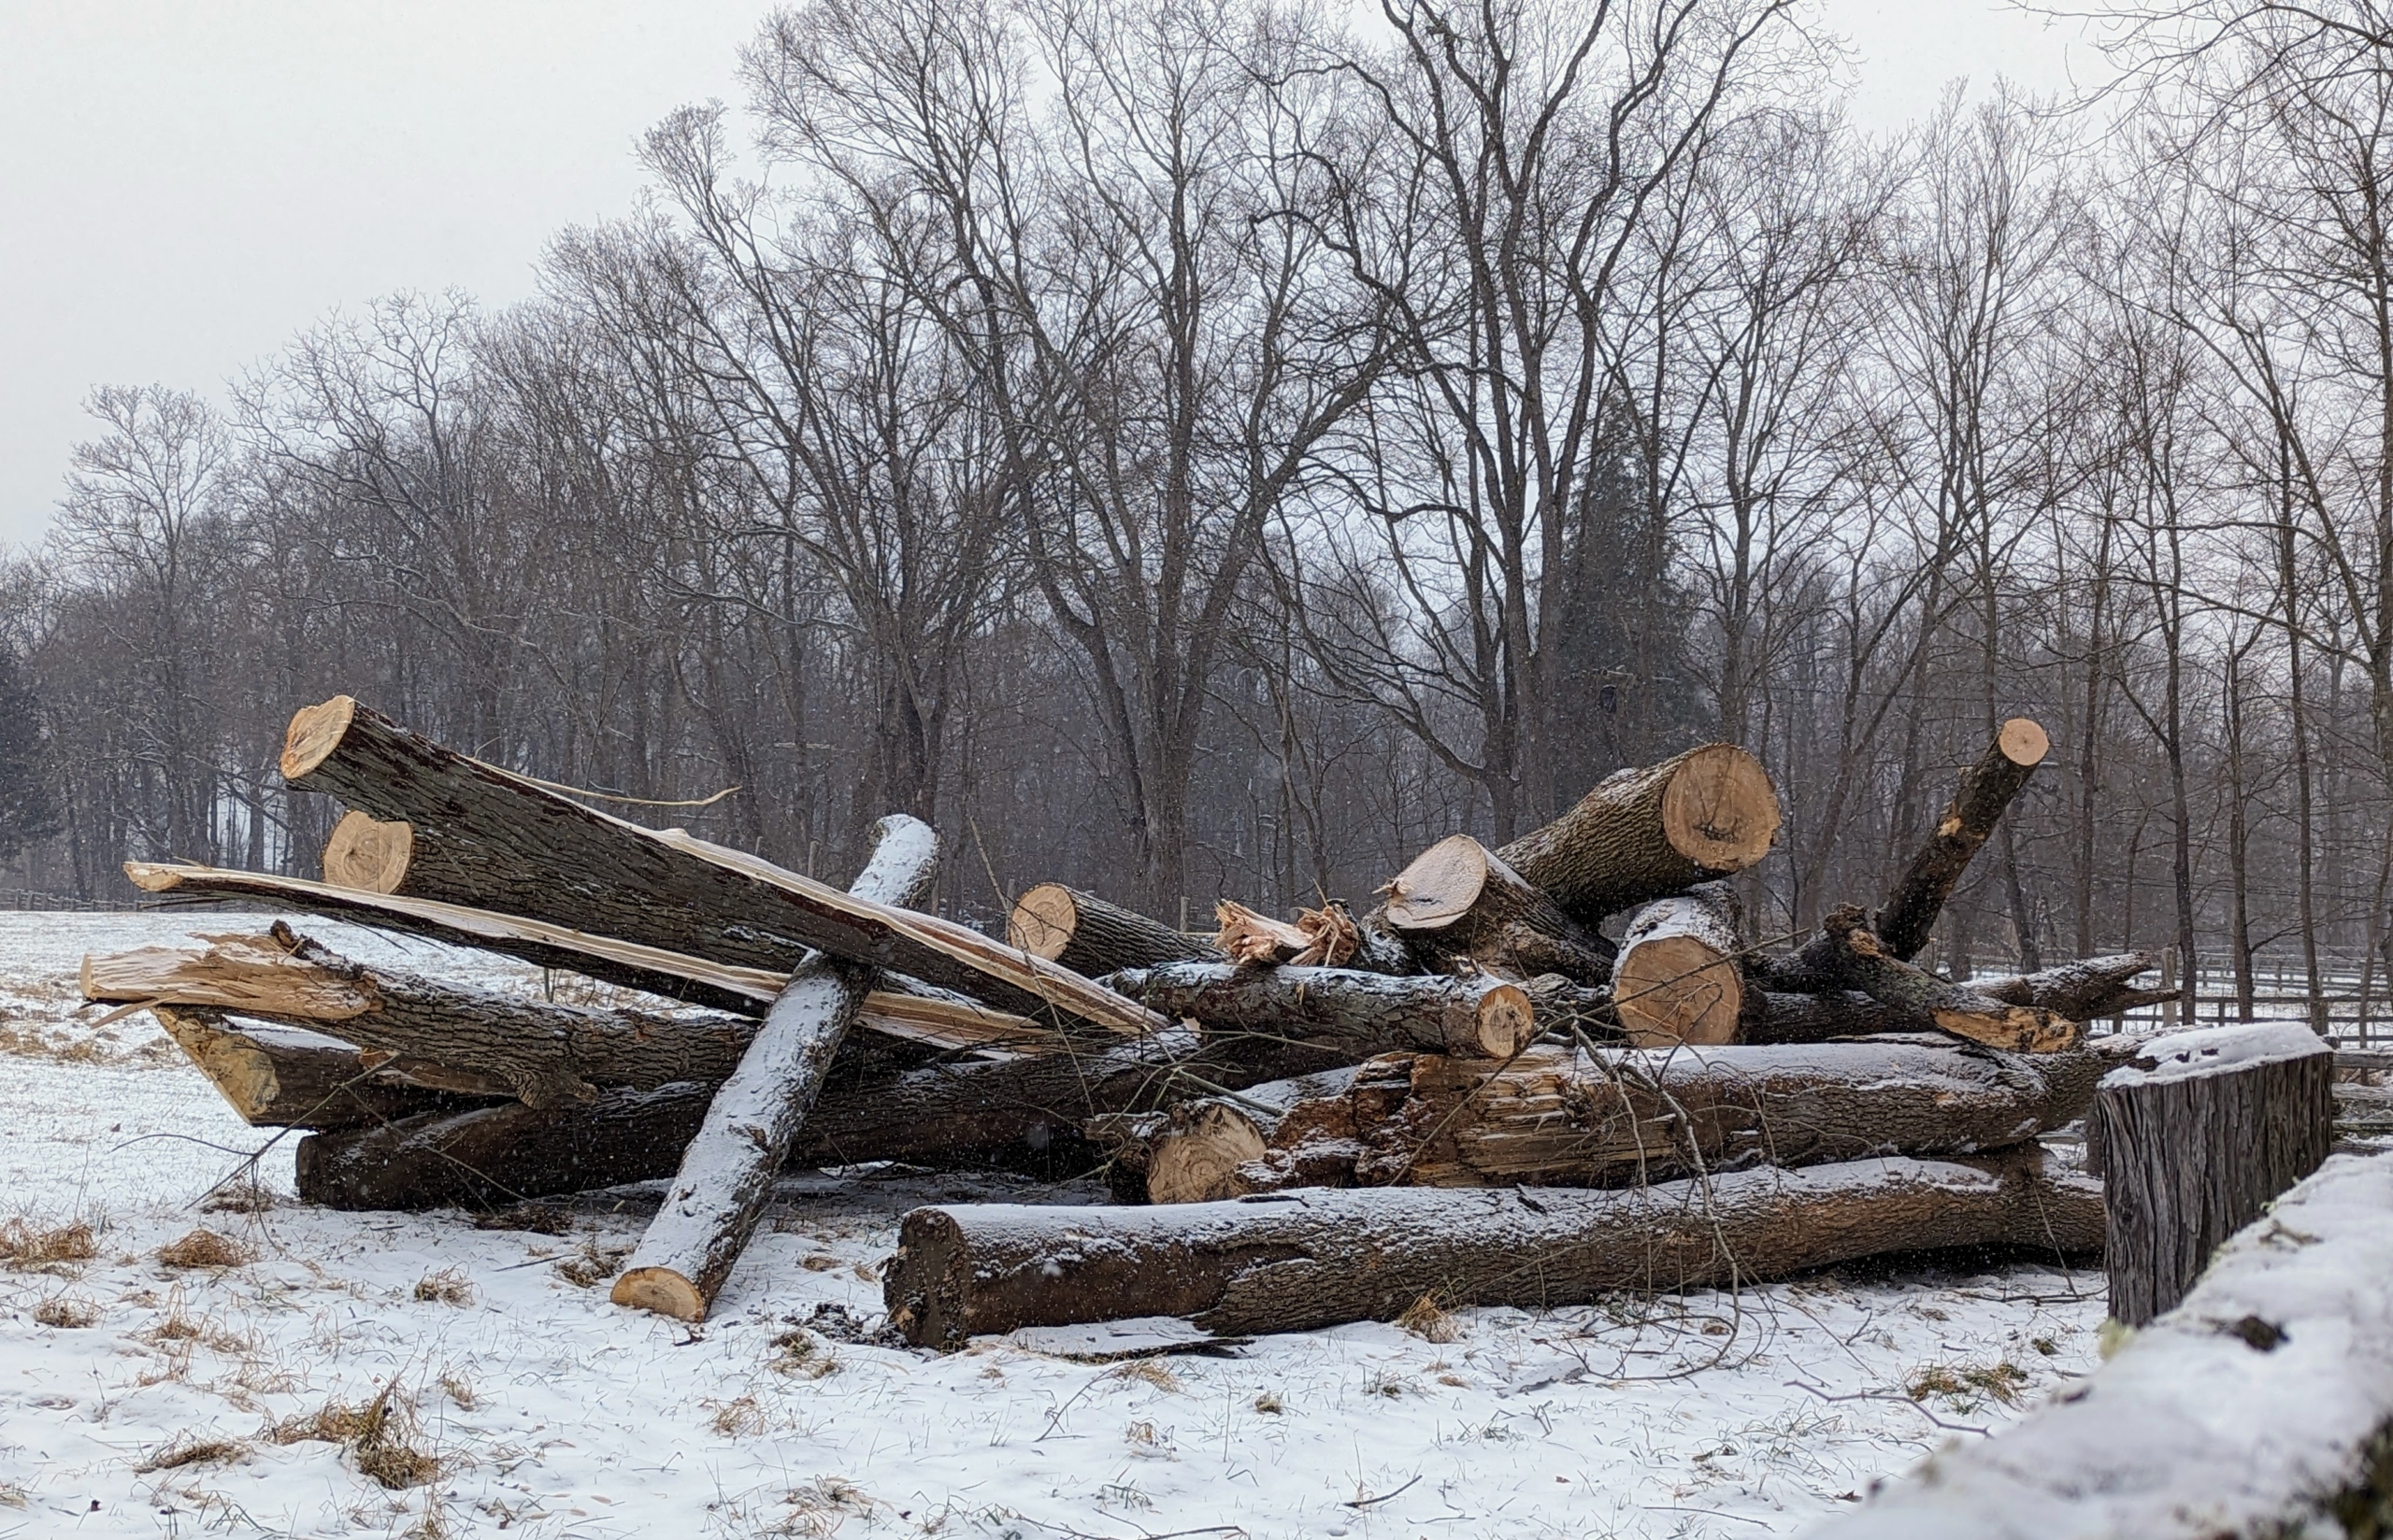
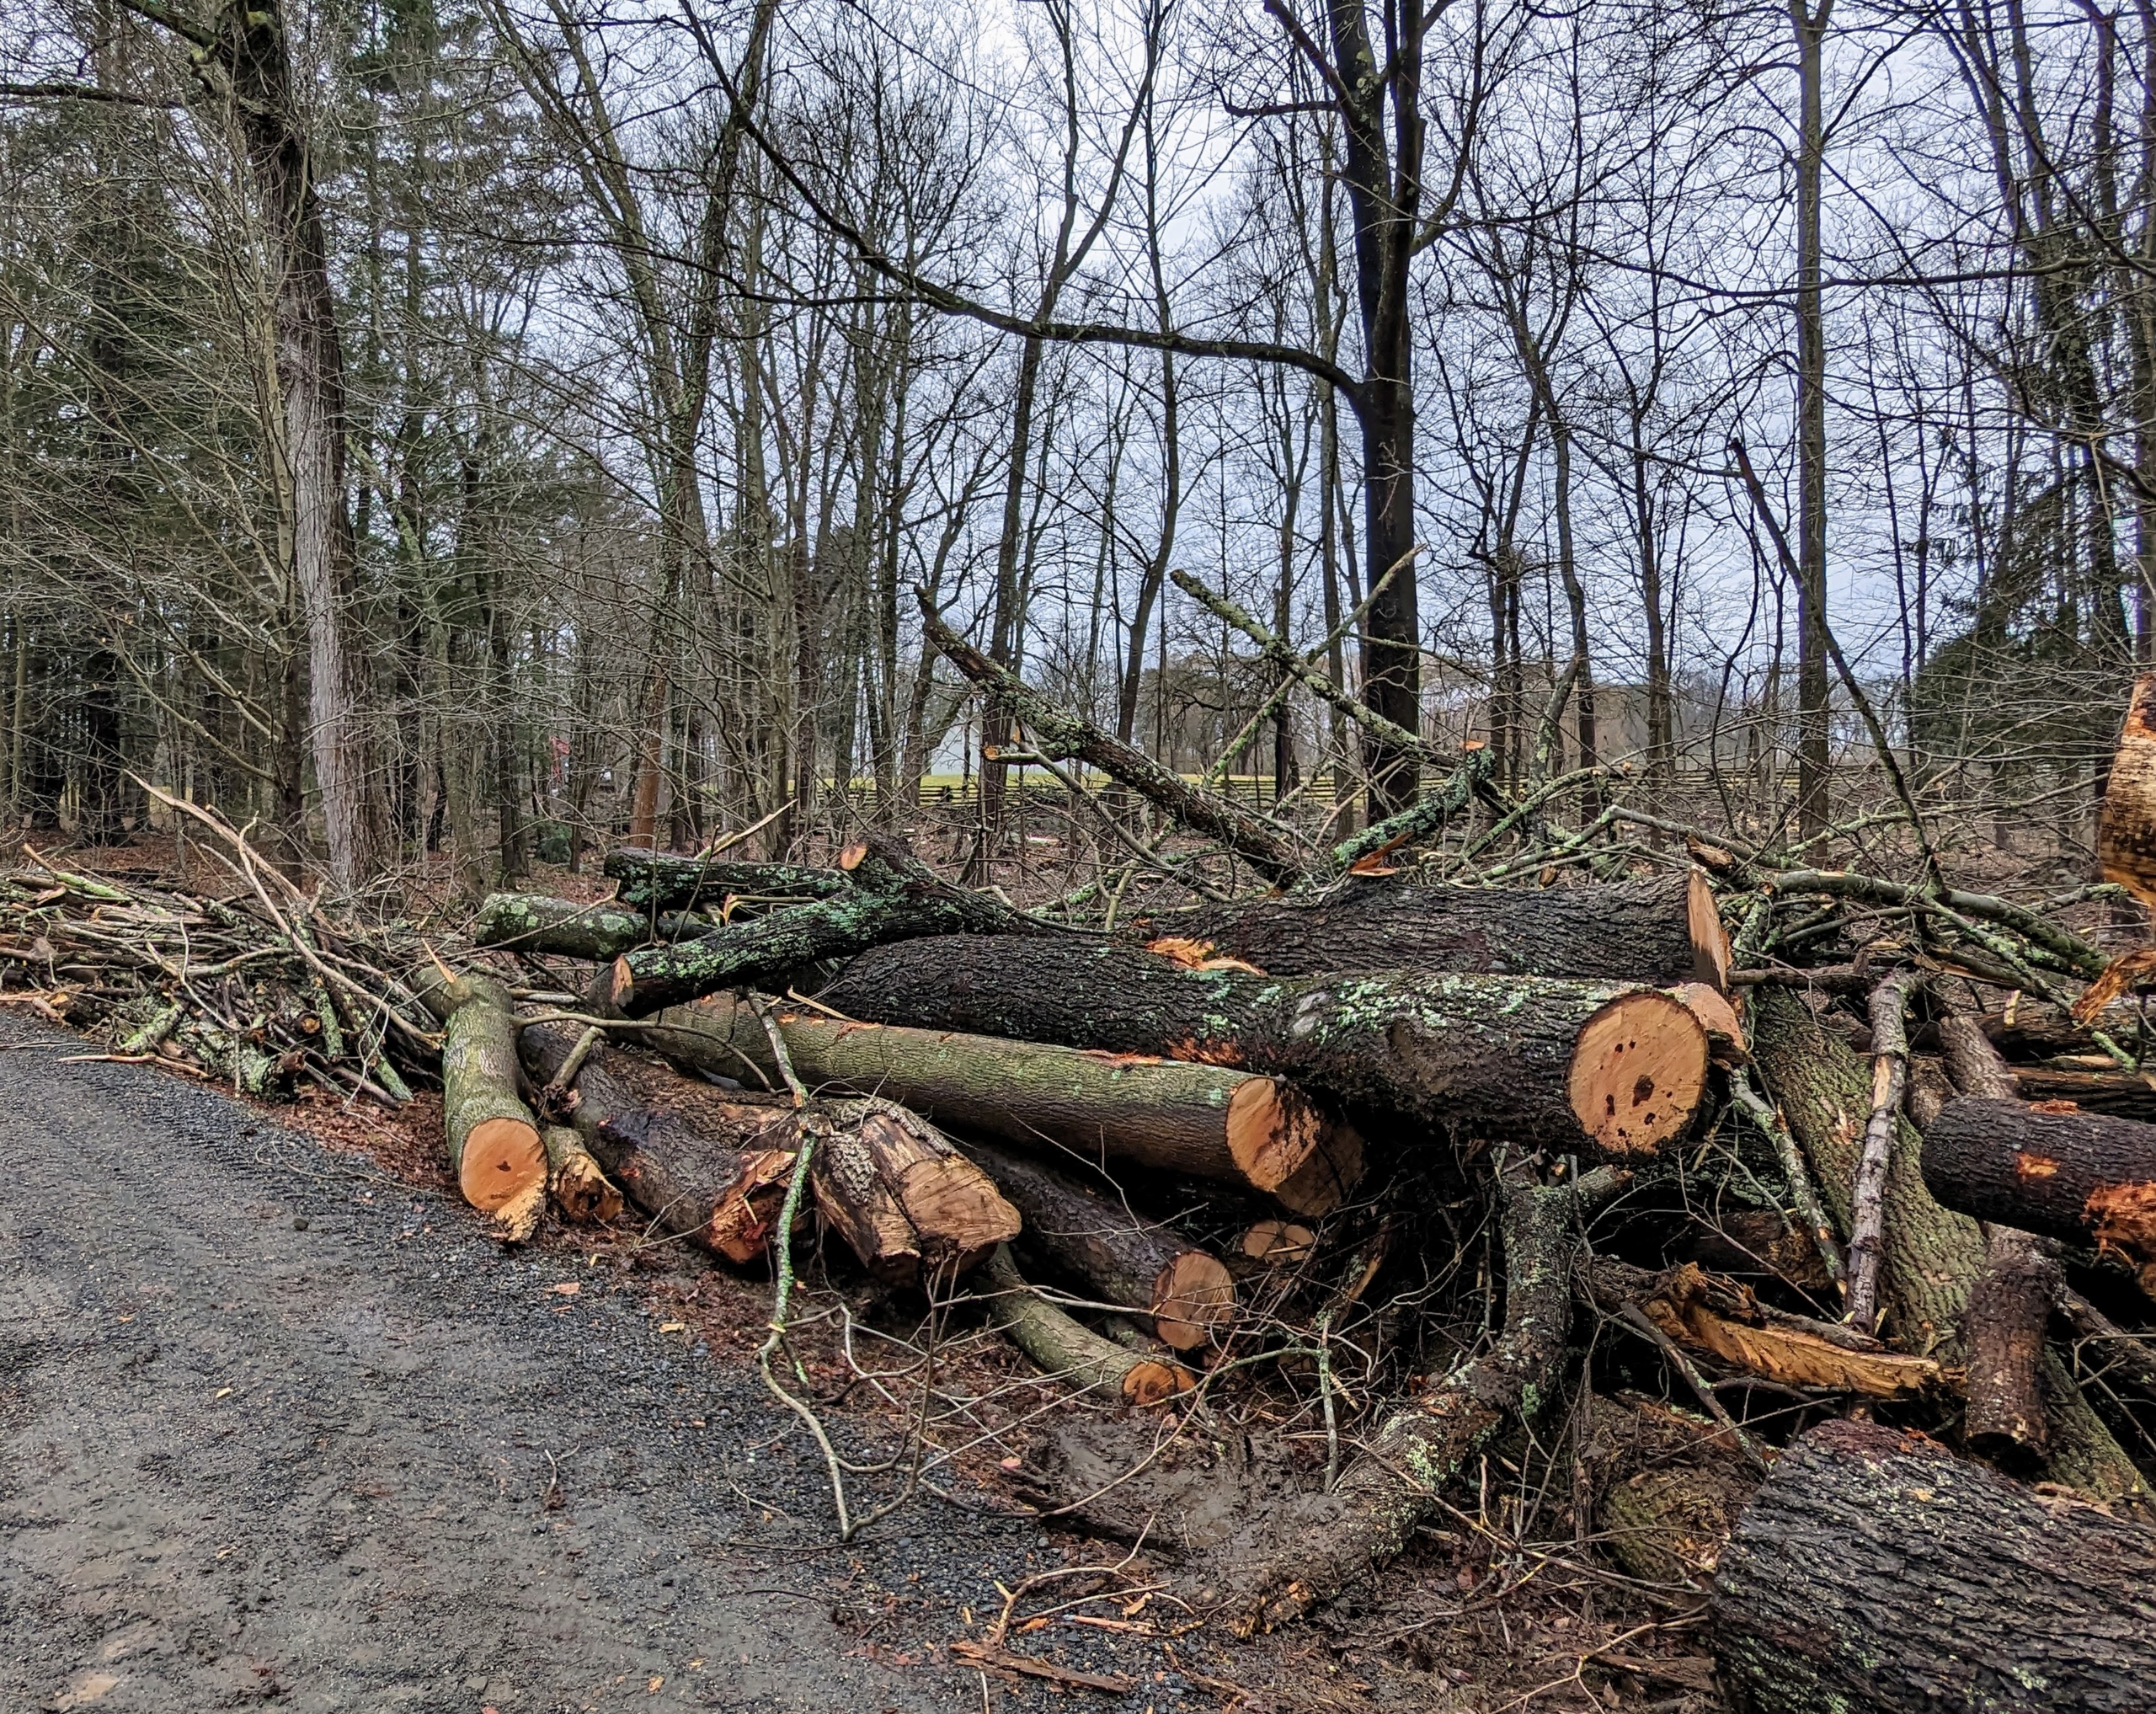
In another area of carriage road, stacks of trees sit ready to be hauled to the compost yard and the tub grinder.
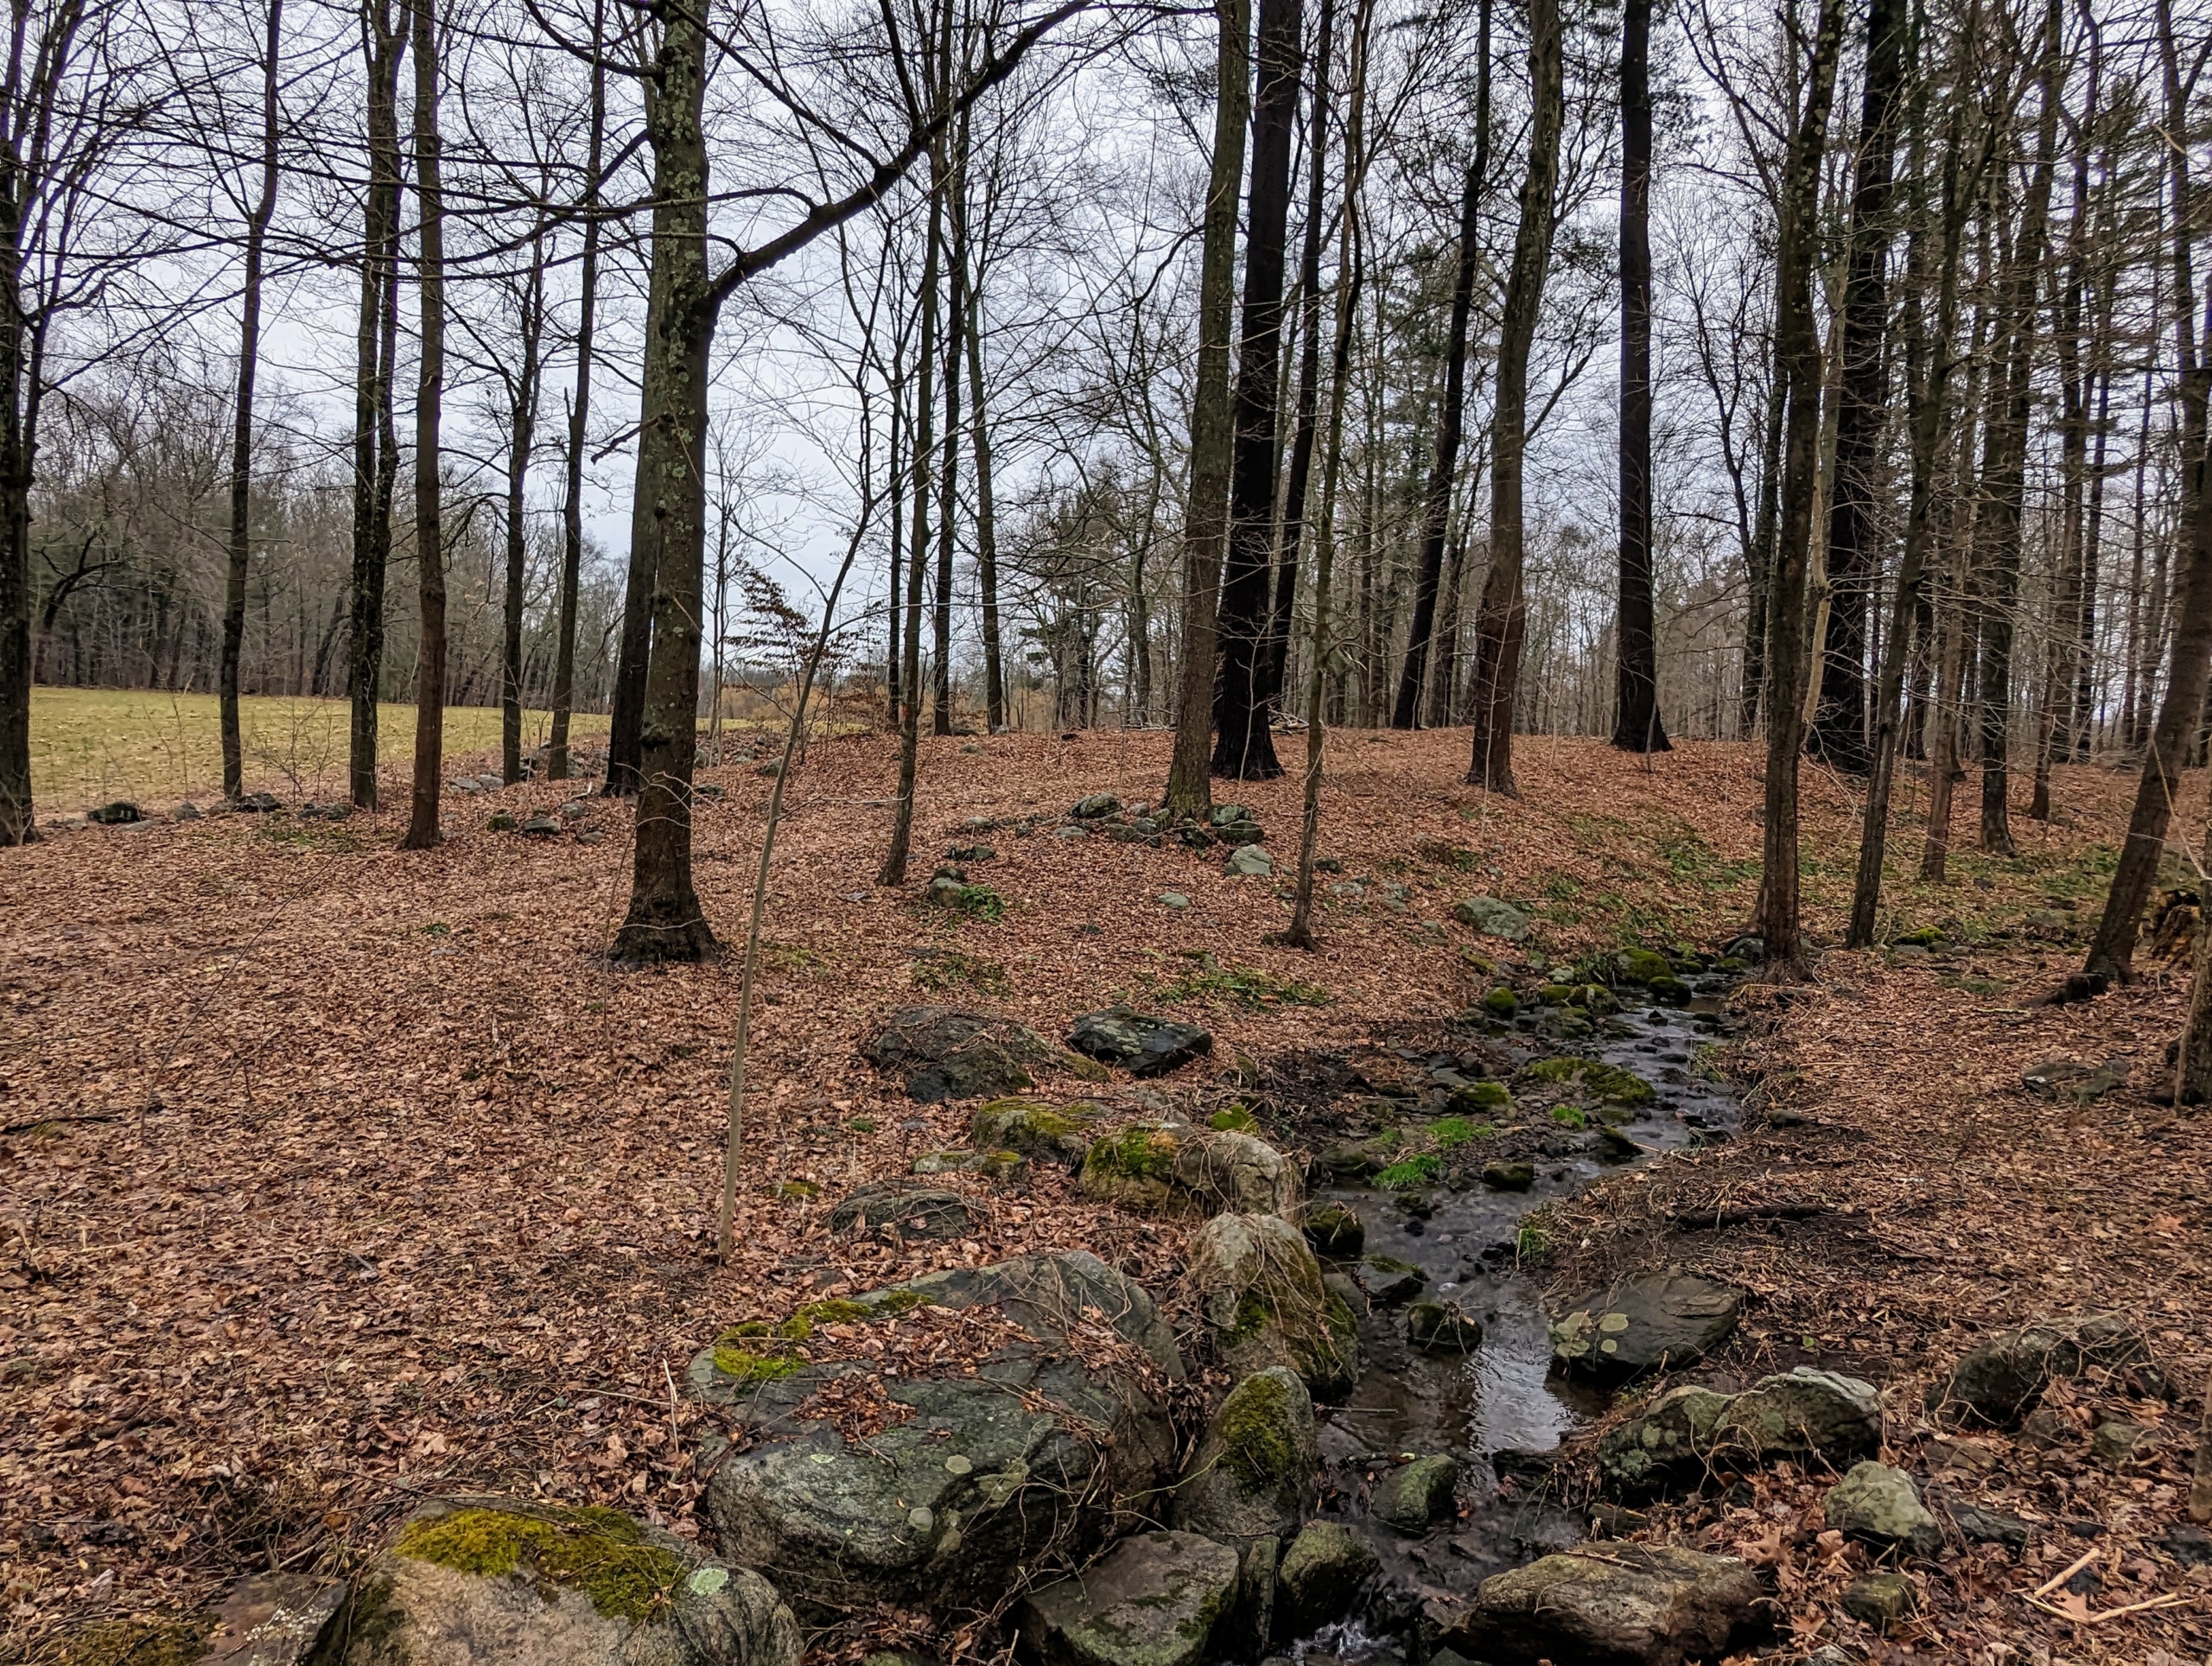
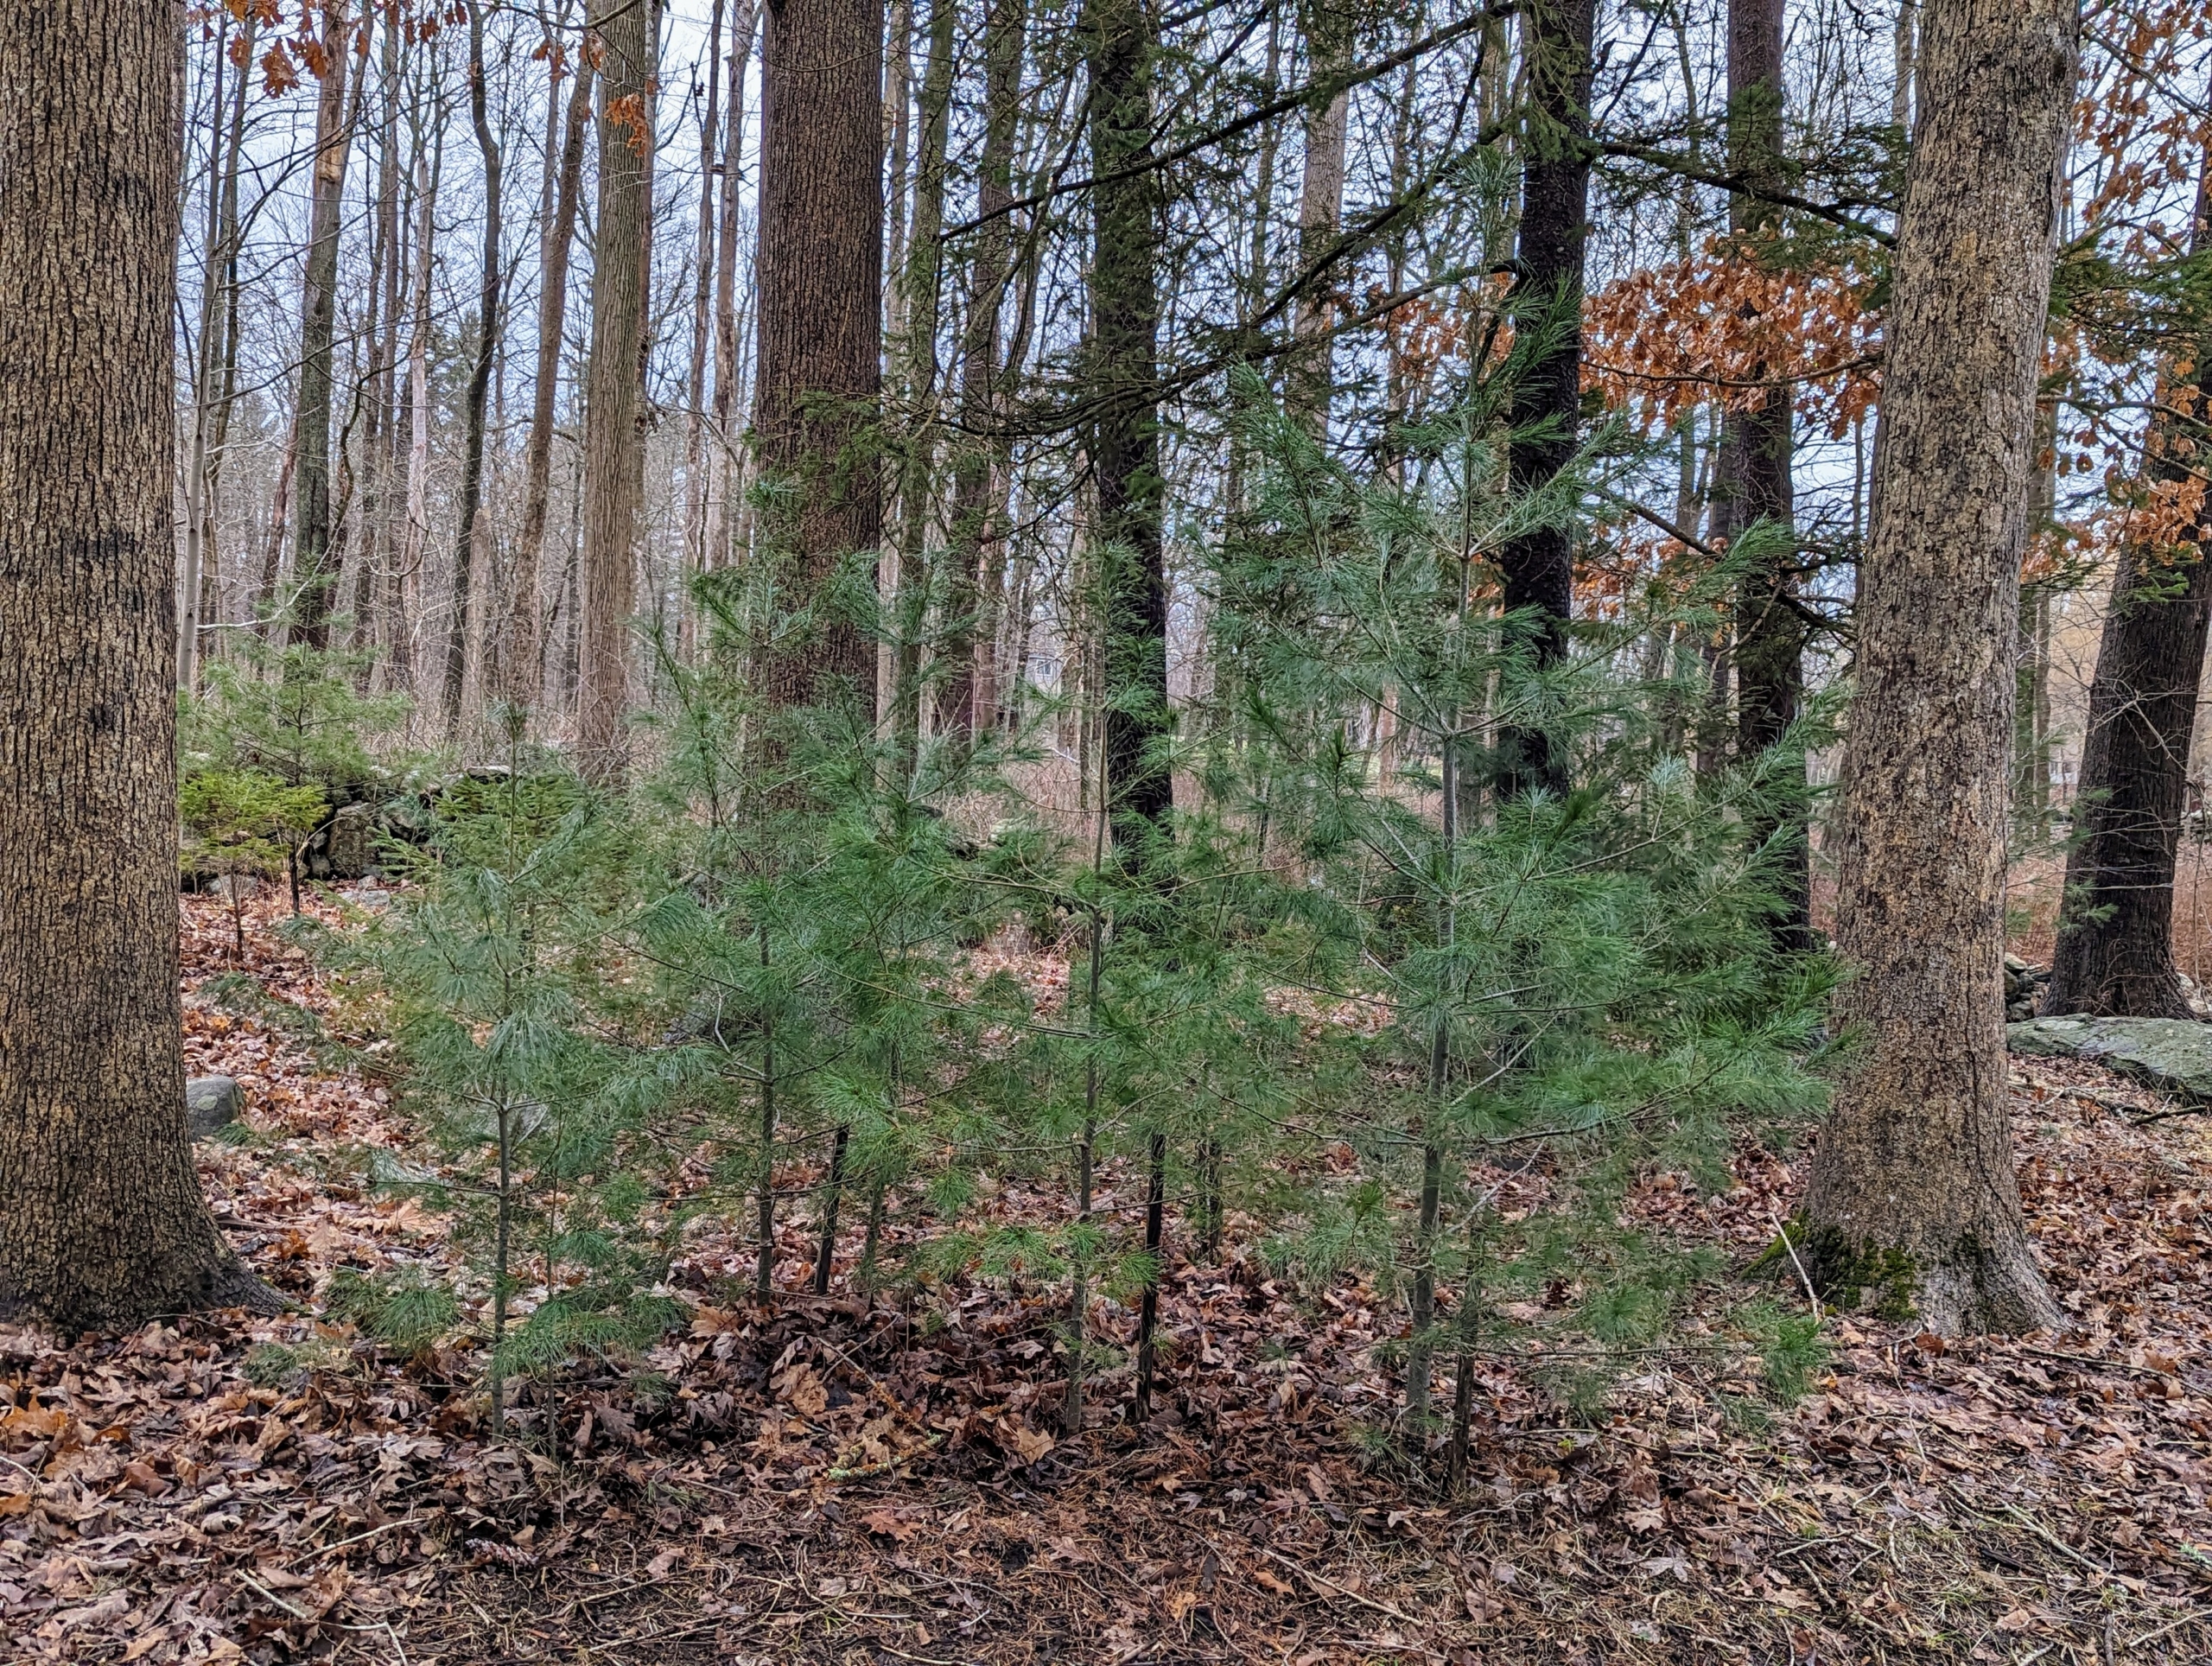
But nearby, this is a vew of “cleaned woods.” It is so nice to be able to see through the woods to the field beyond.
One can really see the beauty of the landscape. Clearing out dead or overgrown vegetation will also allow remaining plants to receive better access to water, sunlight, and other nutrients necessary to thrive.
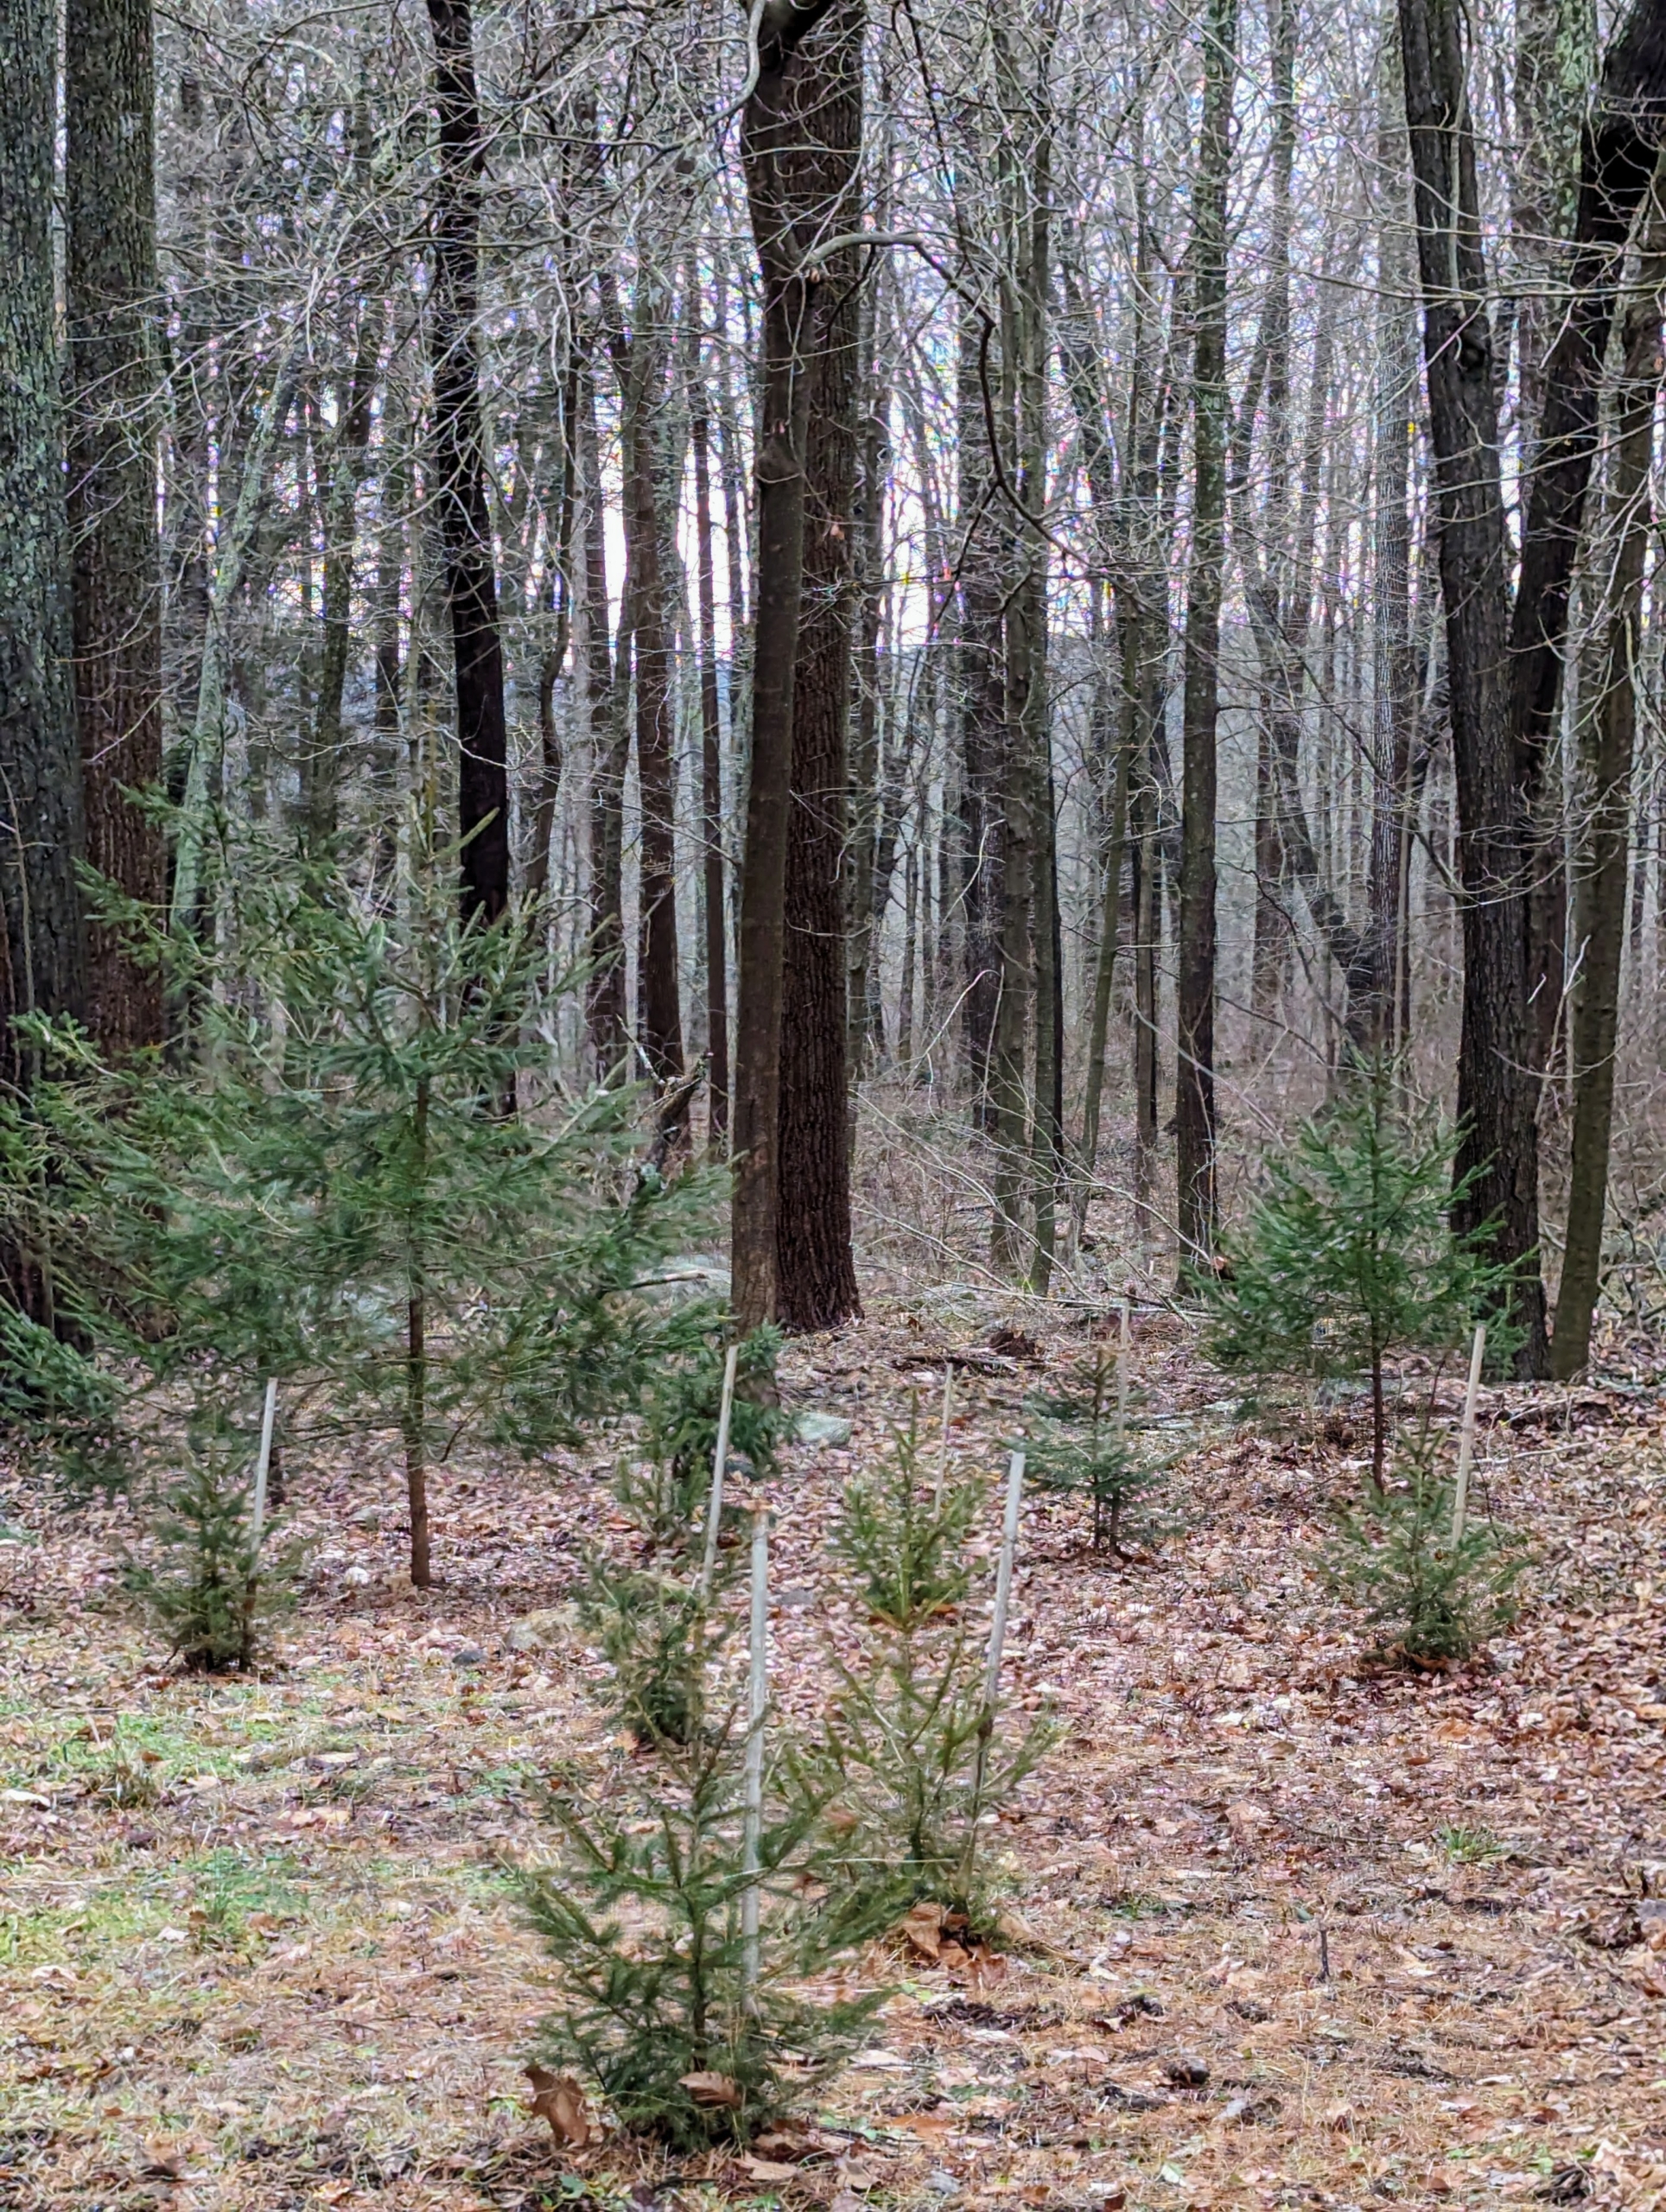
And then young, strong seedlings are planted again. Trees are so important – they provide habitat and food for birds and other animals, they absorb carbon dioxide and potentially harmful gasses, and they release oxygen.
Keeping the woodland “clean” is one way I can give back to the Earth and help create a more sustainable planet for my grandchildren, and for everyone. What outdoor chores are you doing this weekend?
Wintertime pruning continues at my Bedford, New York farm - this week, the orchard trees.
If you grow fruit trees, the best time to prune them is now - in winter - or in very early spring before any new growth begins. Pruning not only helps to develop proper shape and form, but also encourages new growth, promotes high fruit yield, and maintains good tree health. My gardener, Brian O'Kelly, has been busy pruning many of the apple trees, so they continue to produce bounties of delicious, juicy fruits.
Enjoy these photos.
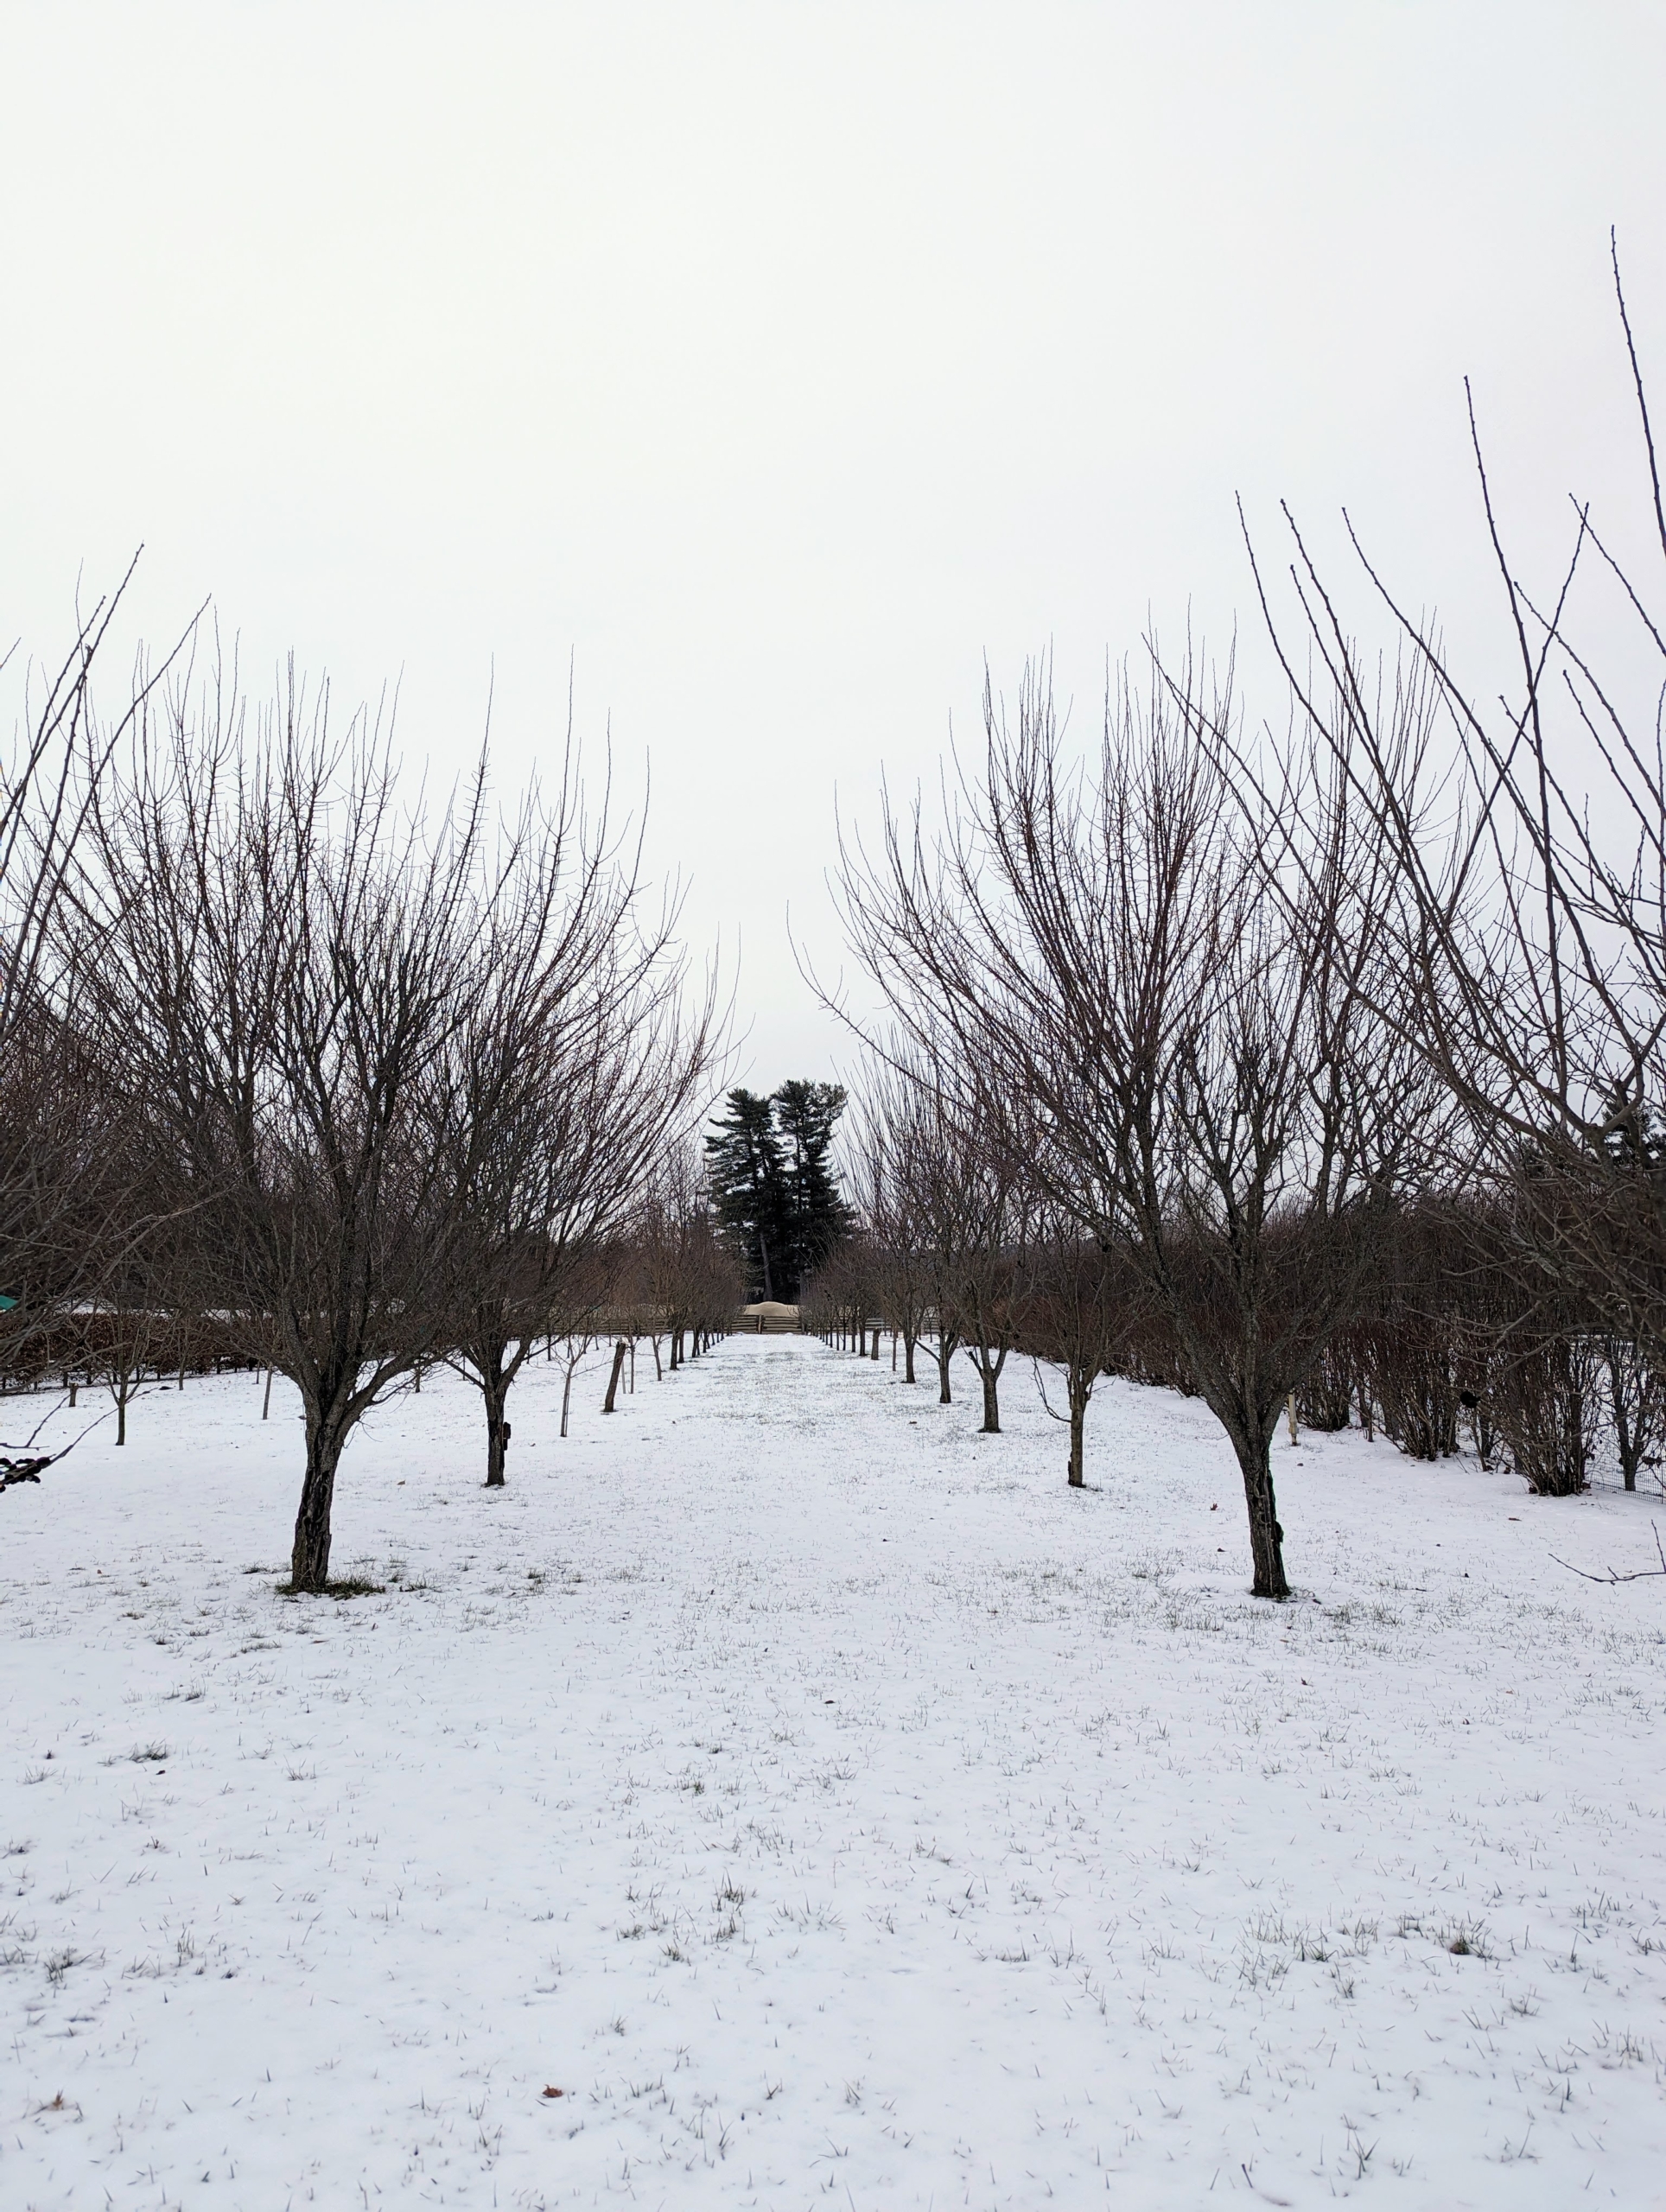
Fresh fruit is one of nature’s most delicious products. I have an orchard around my pool filled with more than 200 different fruit trees.
While I have many fruit trees around the farm, this orchard contains an organized selection of apple trees, plum trees, cherry trees, peach, pear, medlar, and quince trees. Many were bare-root cuttings when they arrived and now they’re beautiful mature specimens.
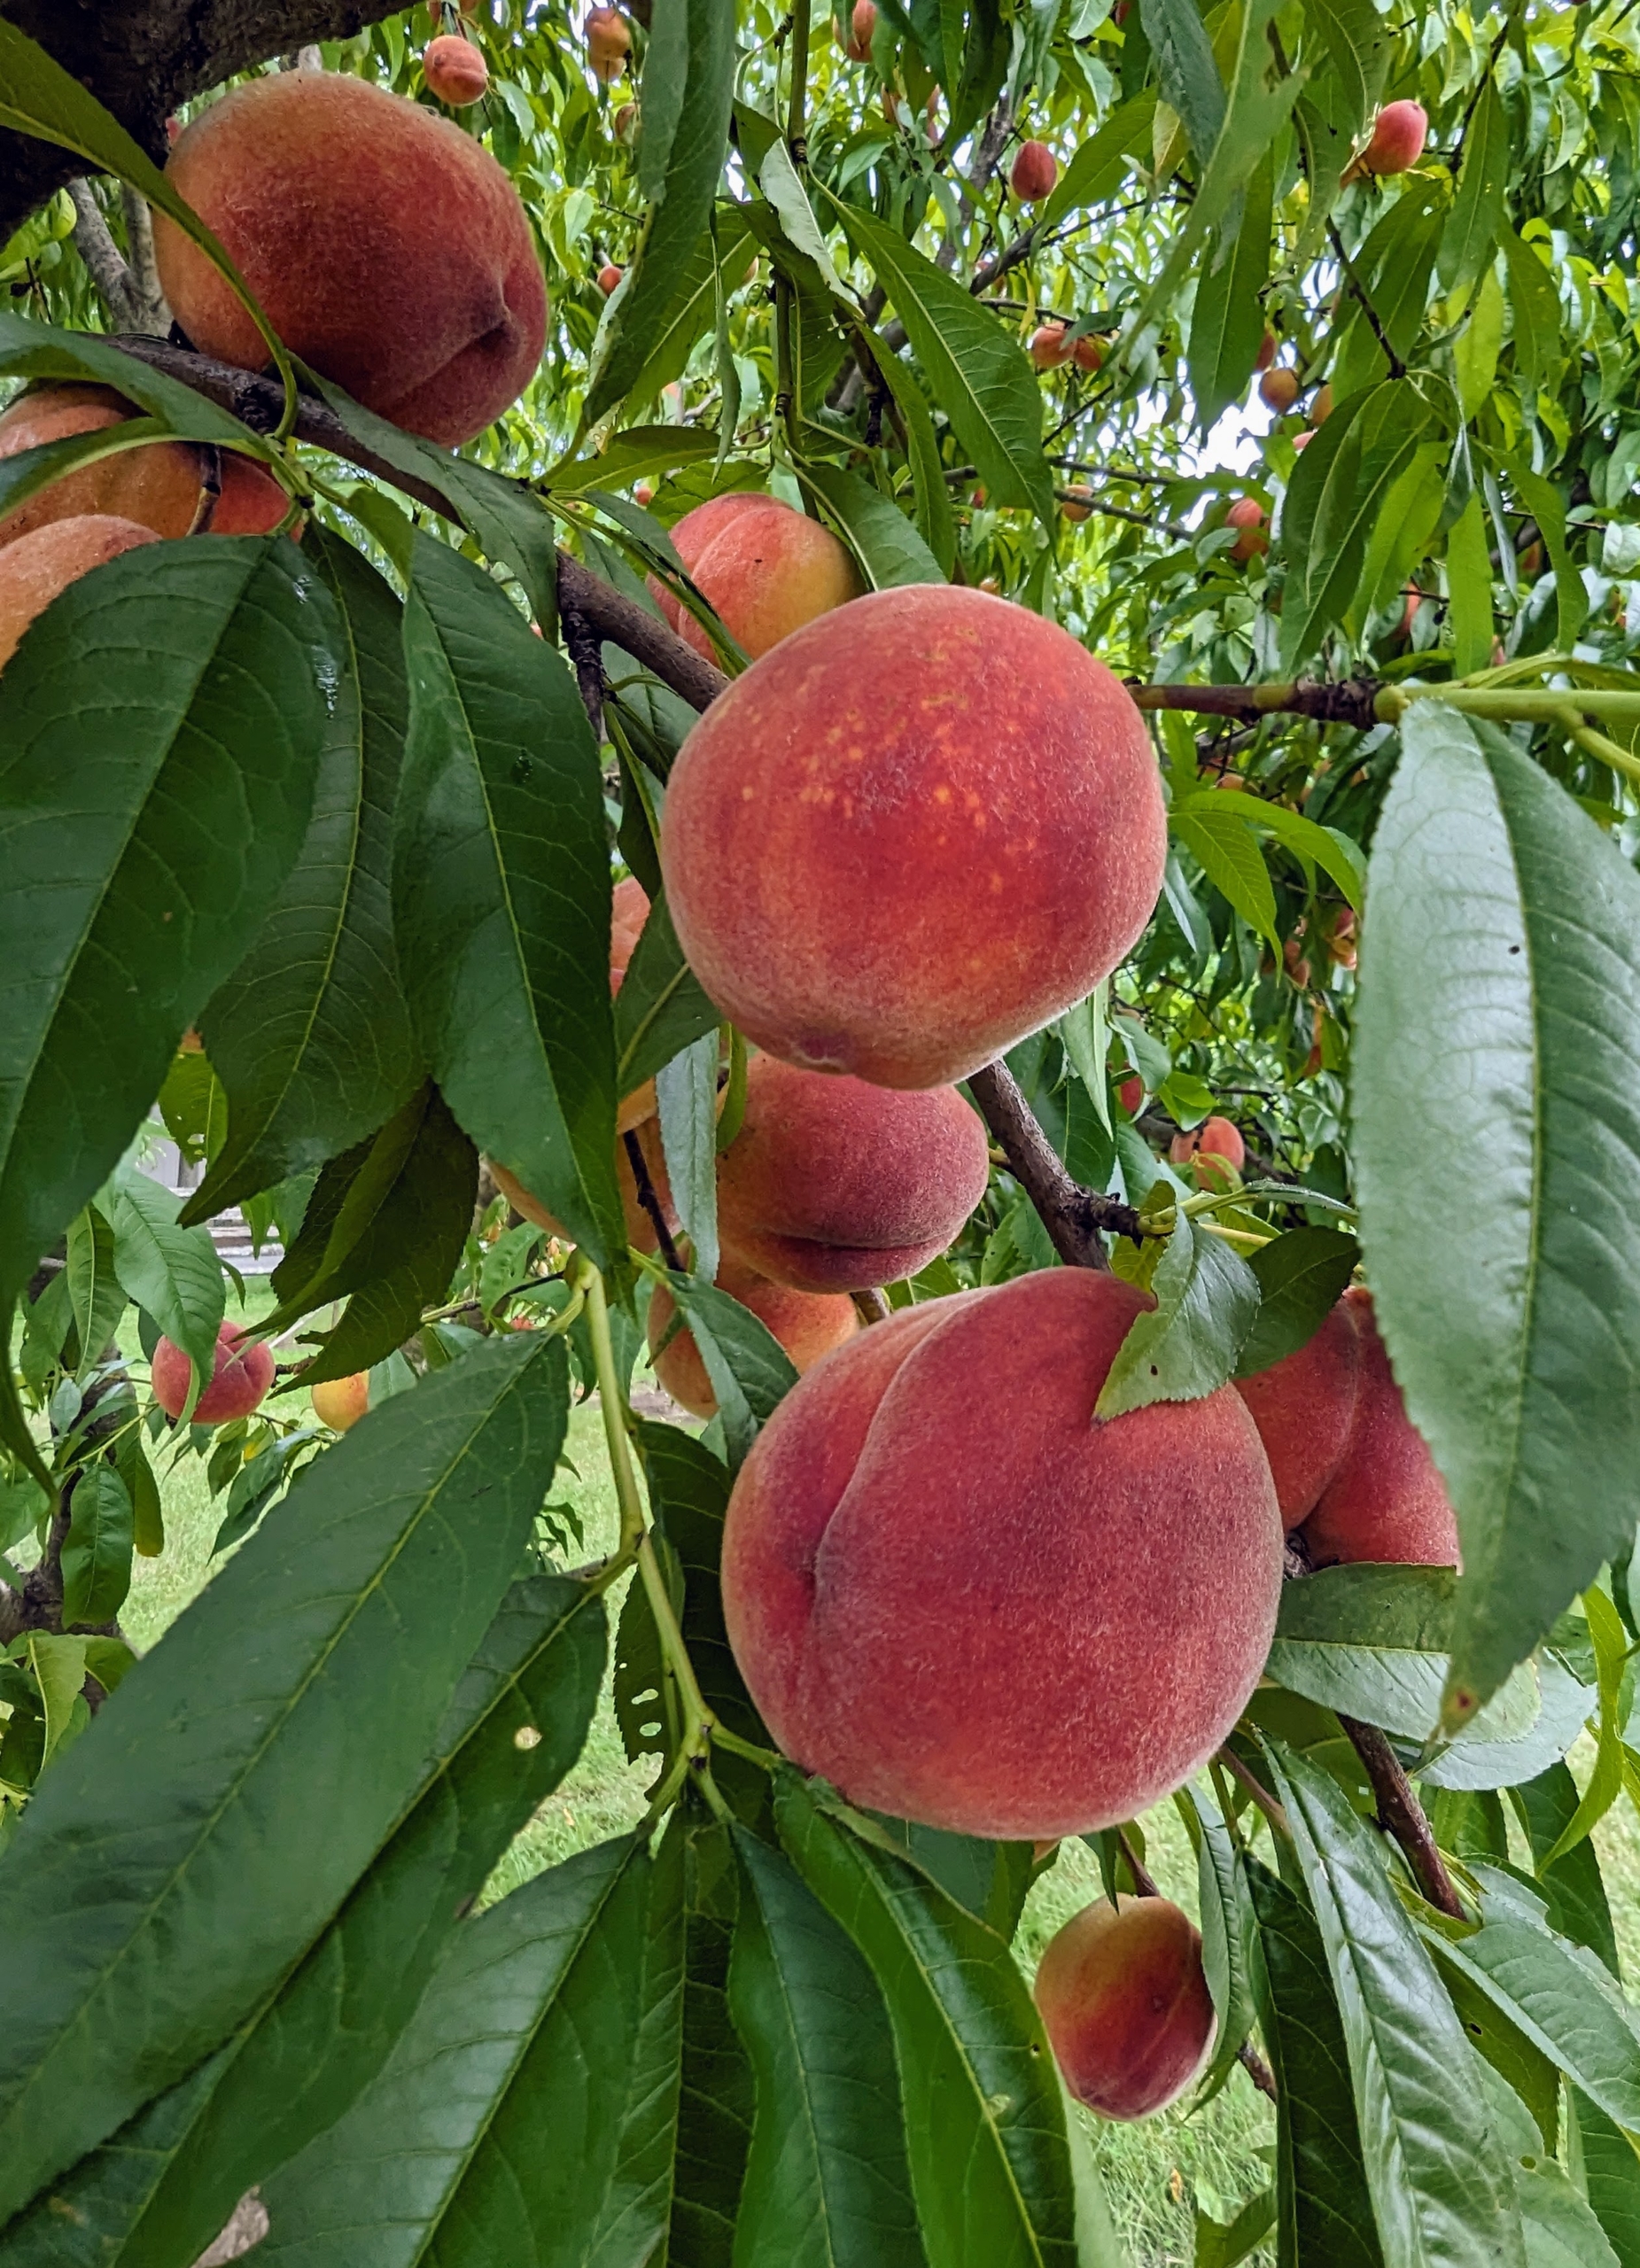
These last few years have brought an abundance of fruit. We’ve had bounties of peaches – everyone here at the farm gets so excited for the peaches.
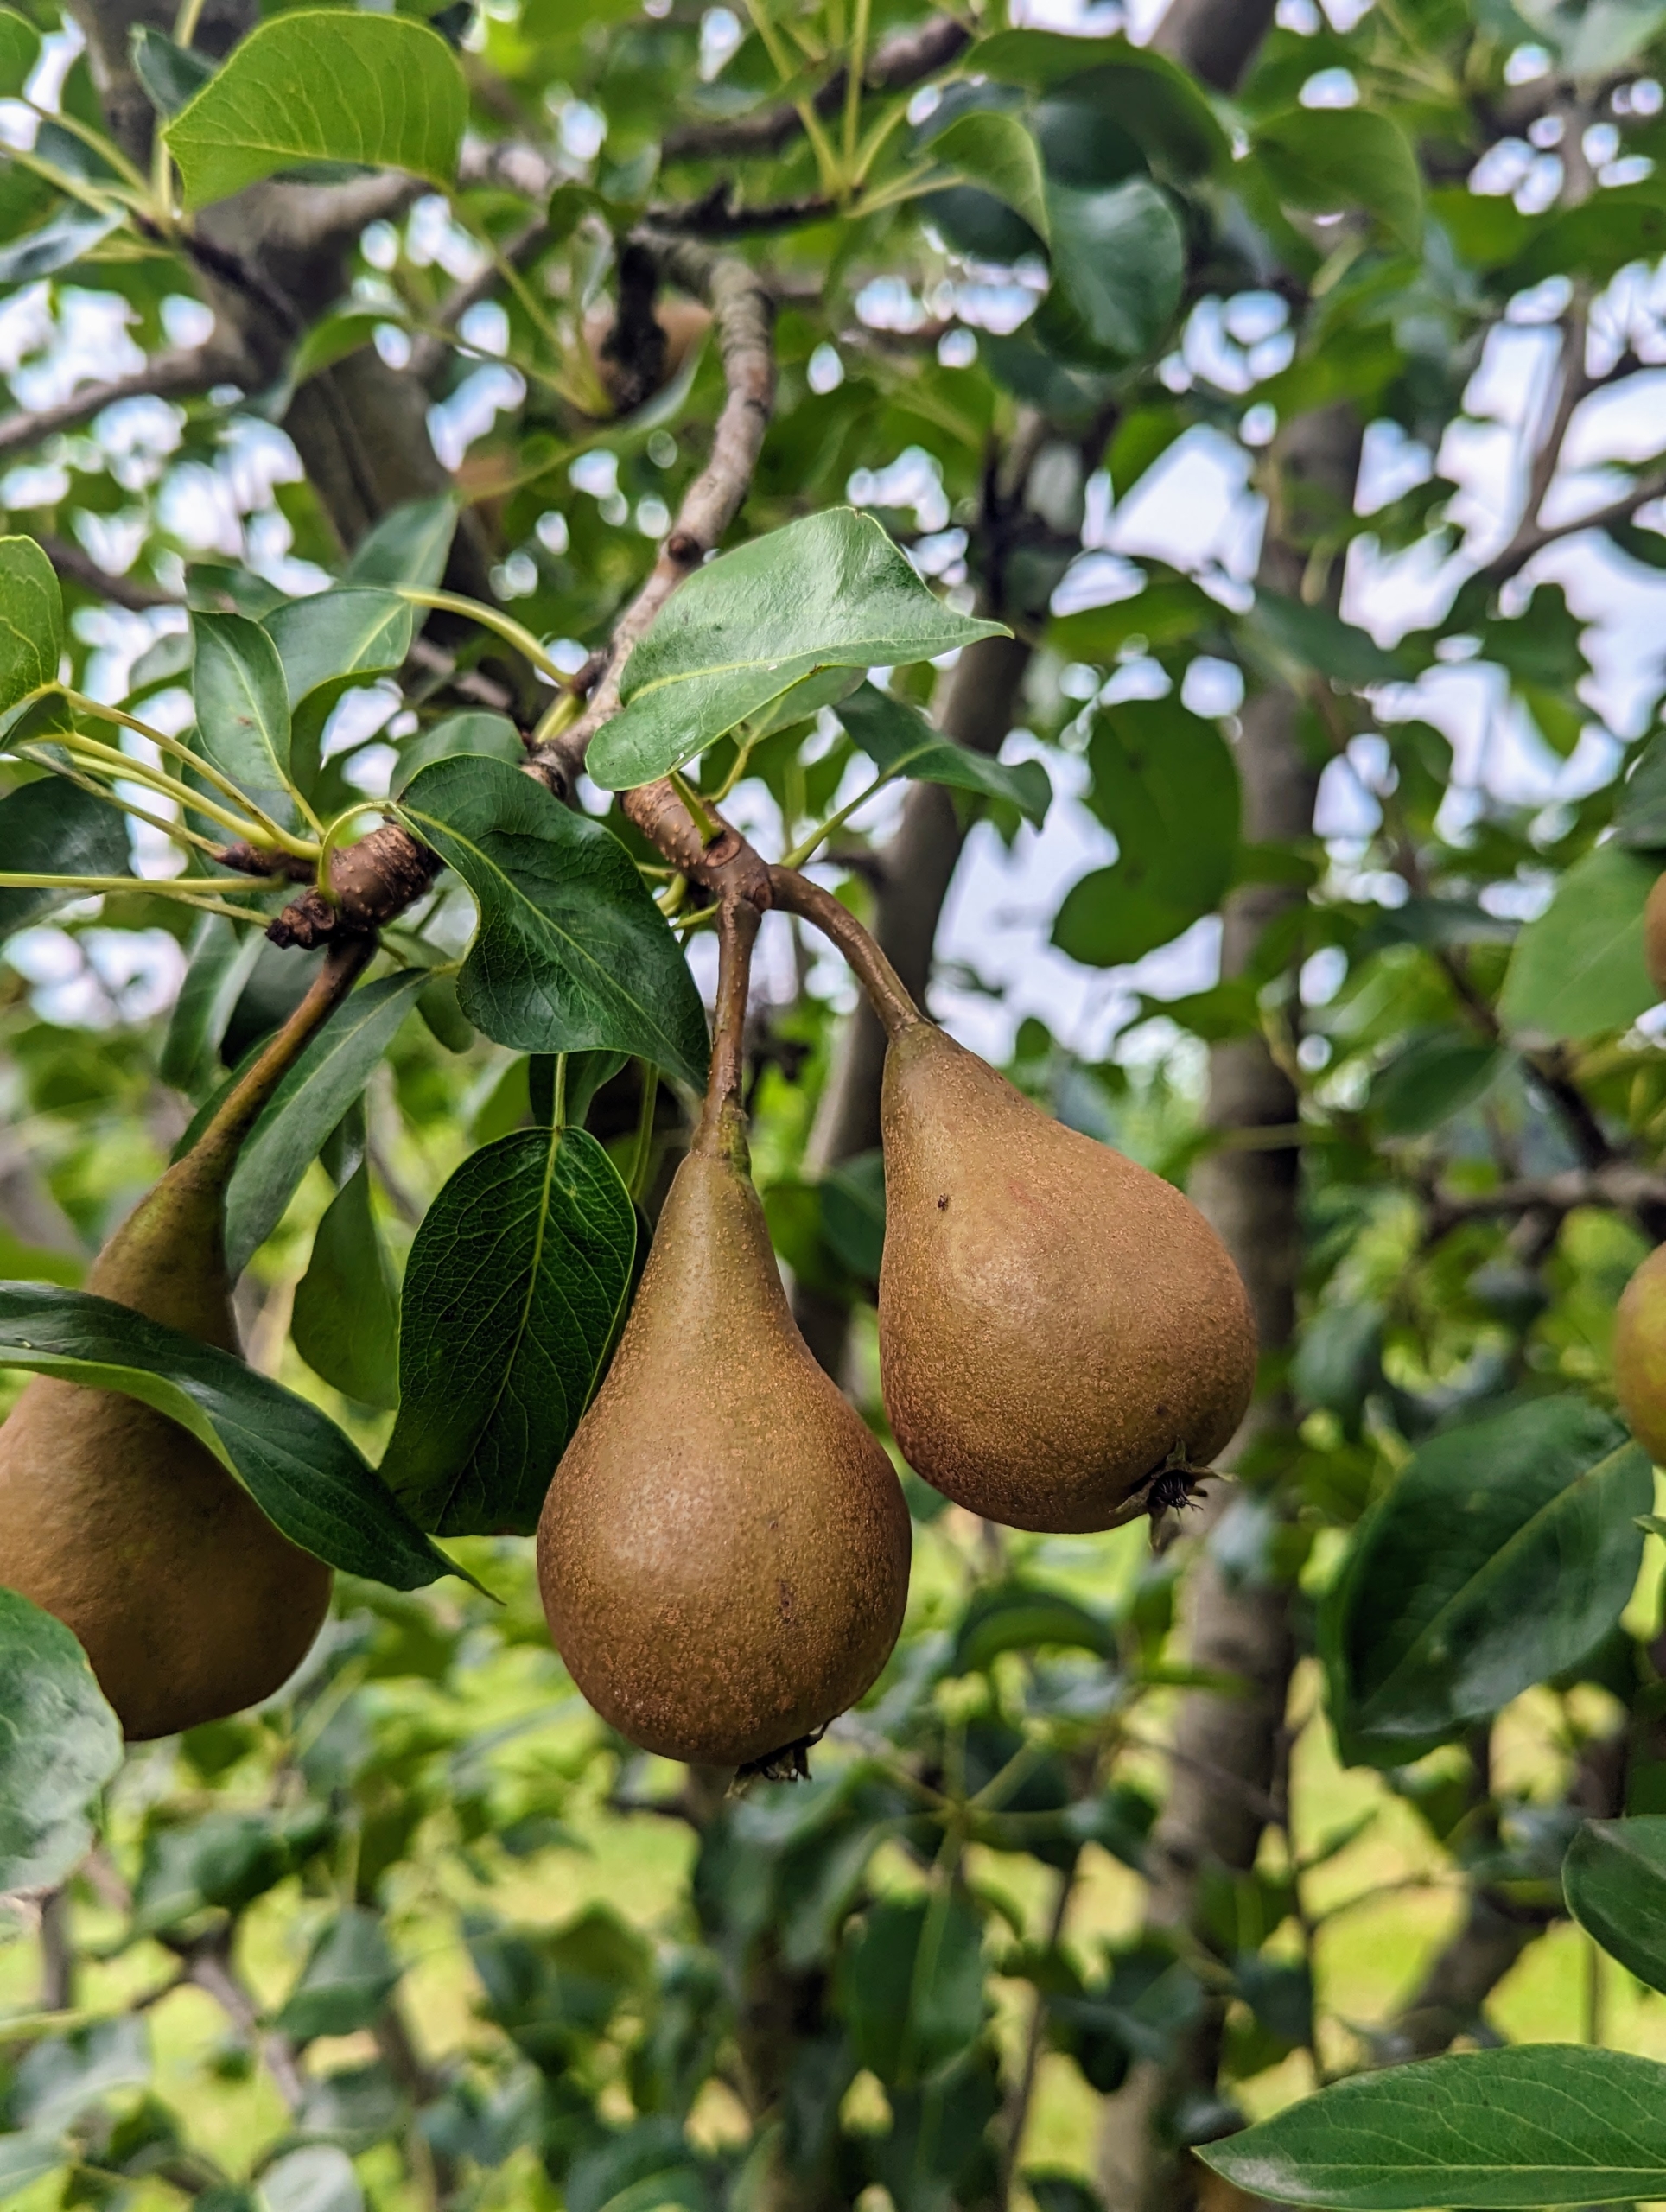
This past season, we also had plenty of pears. I planted many types of Asian pear, Pyrus pyrifolia, which is native to East Asia.
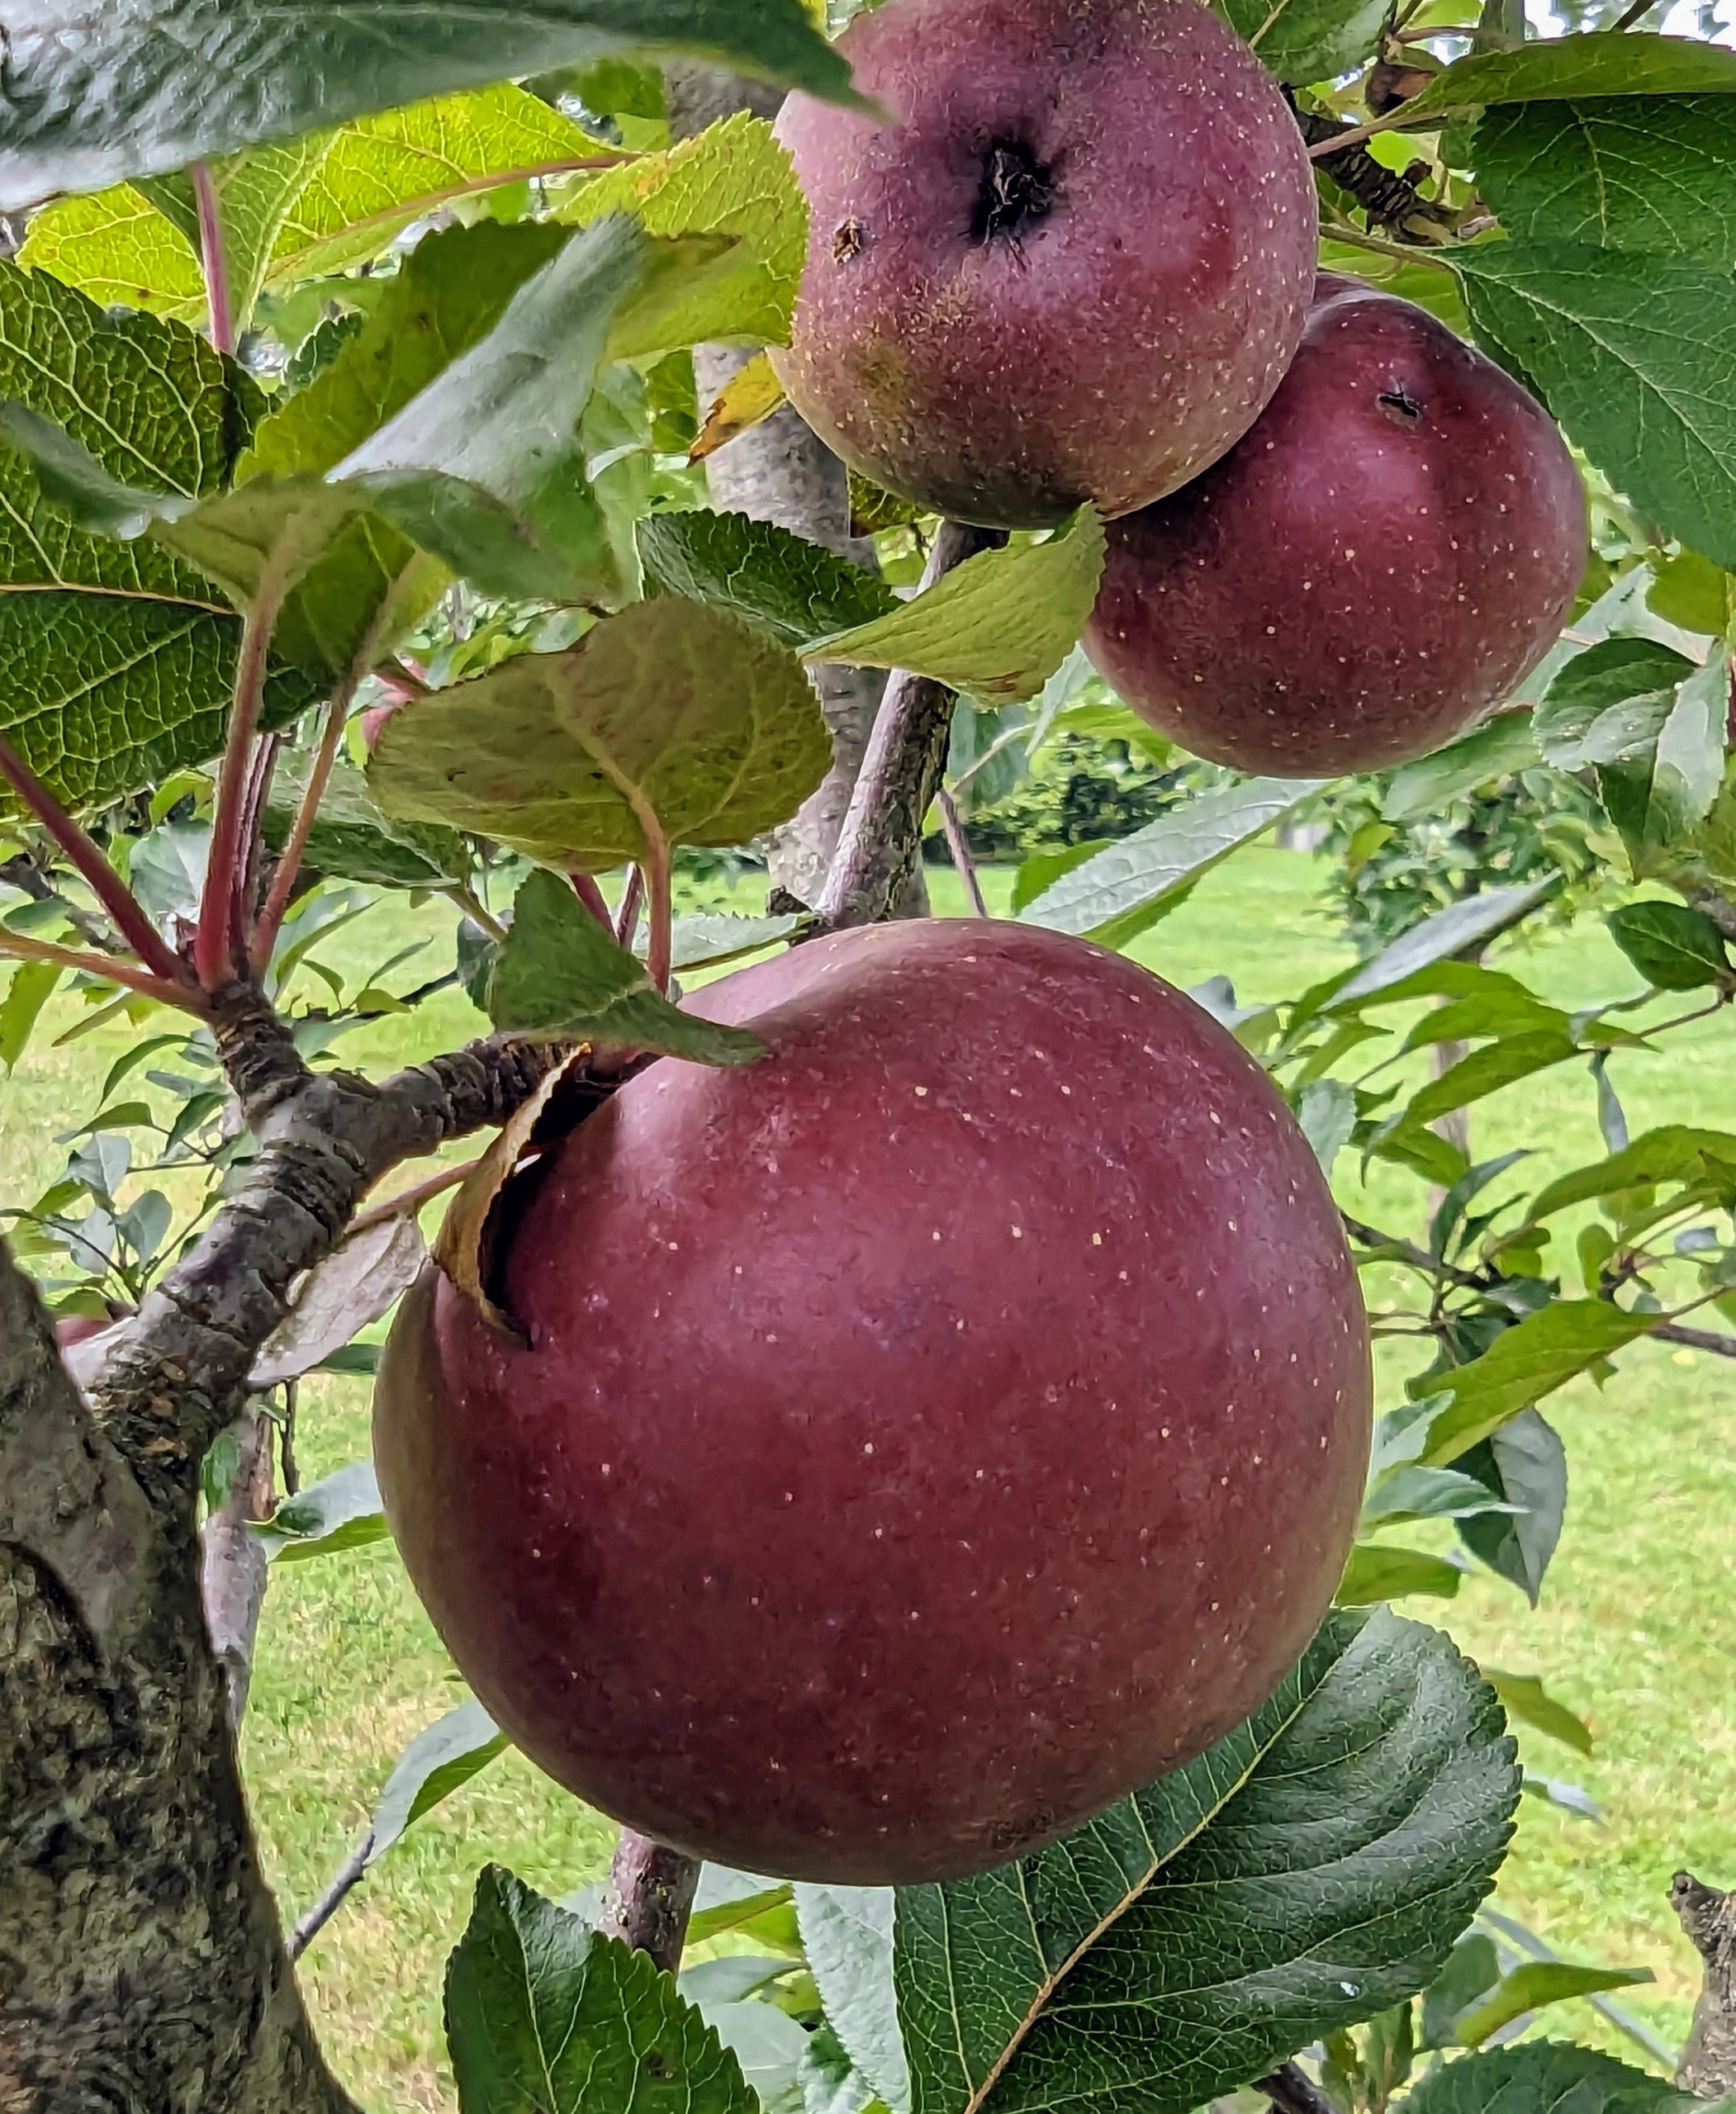
And of course, so many apples.
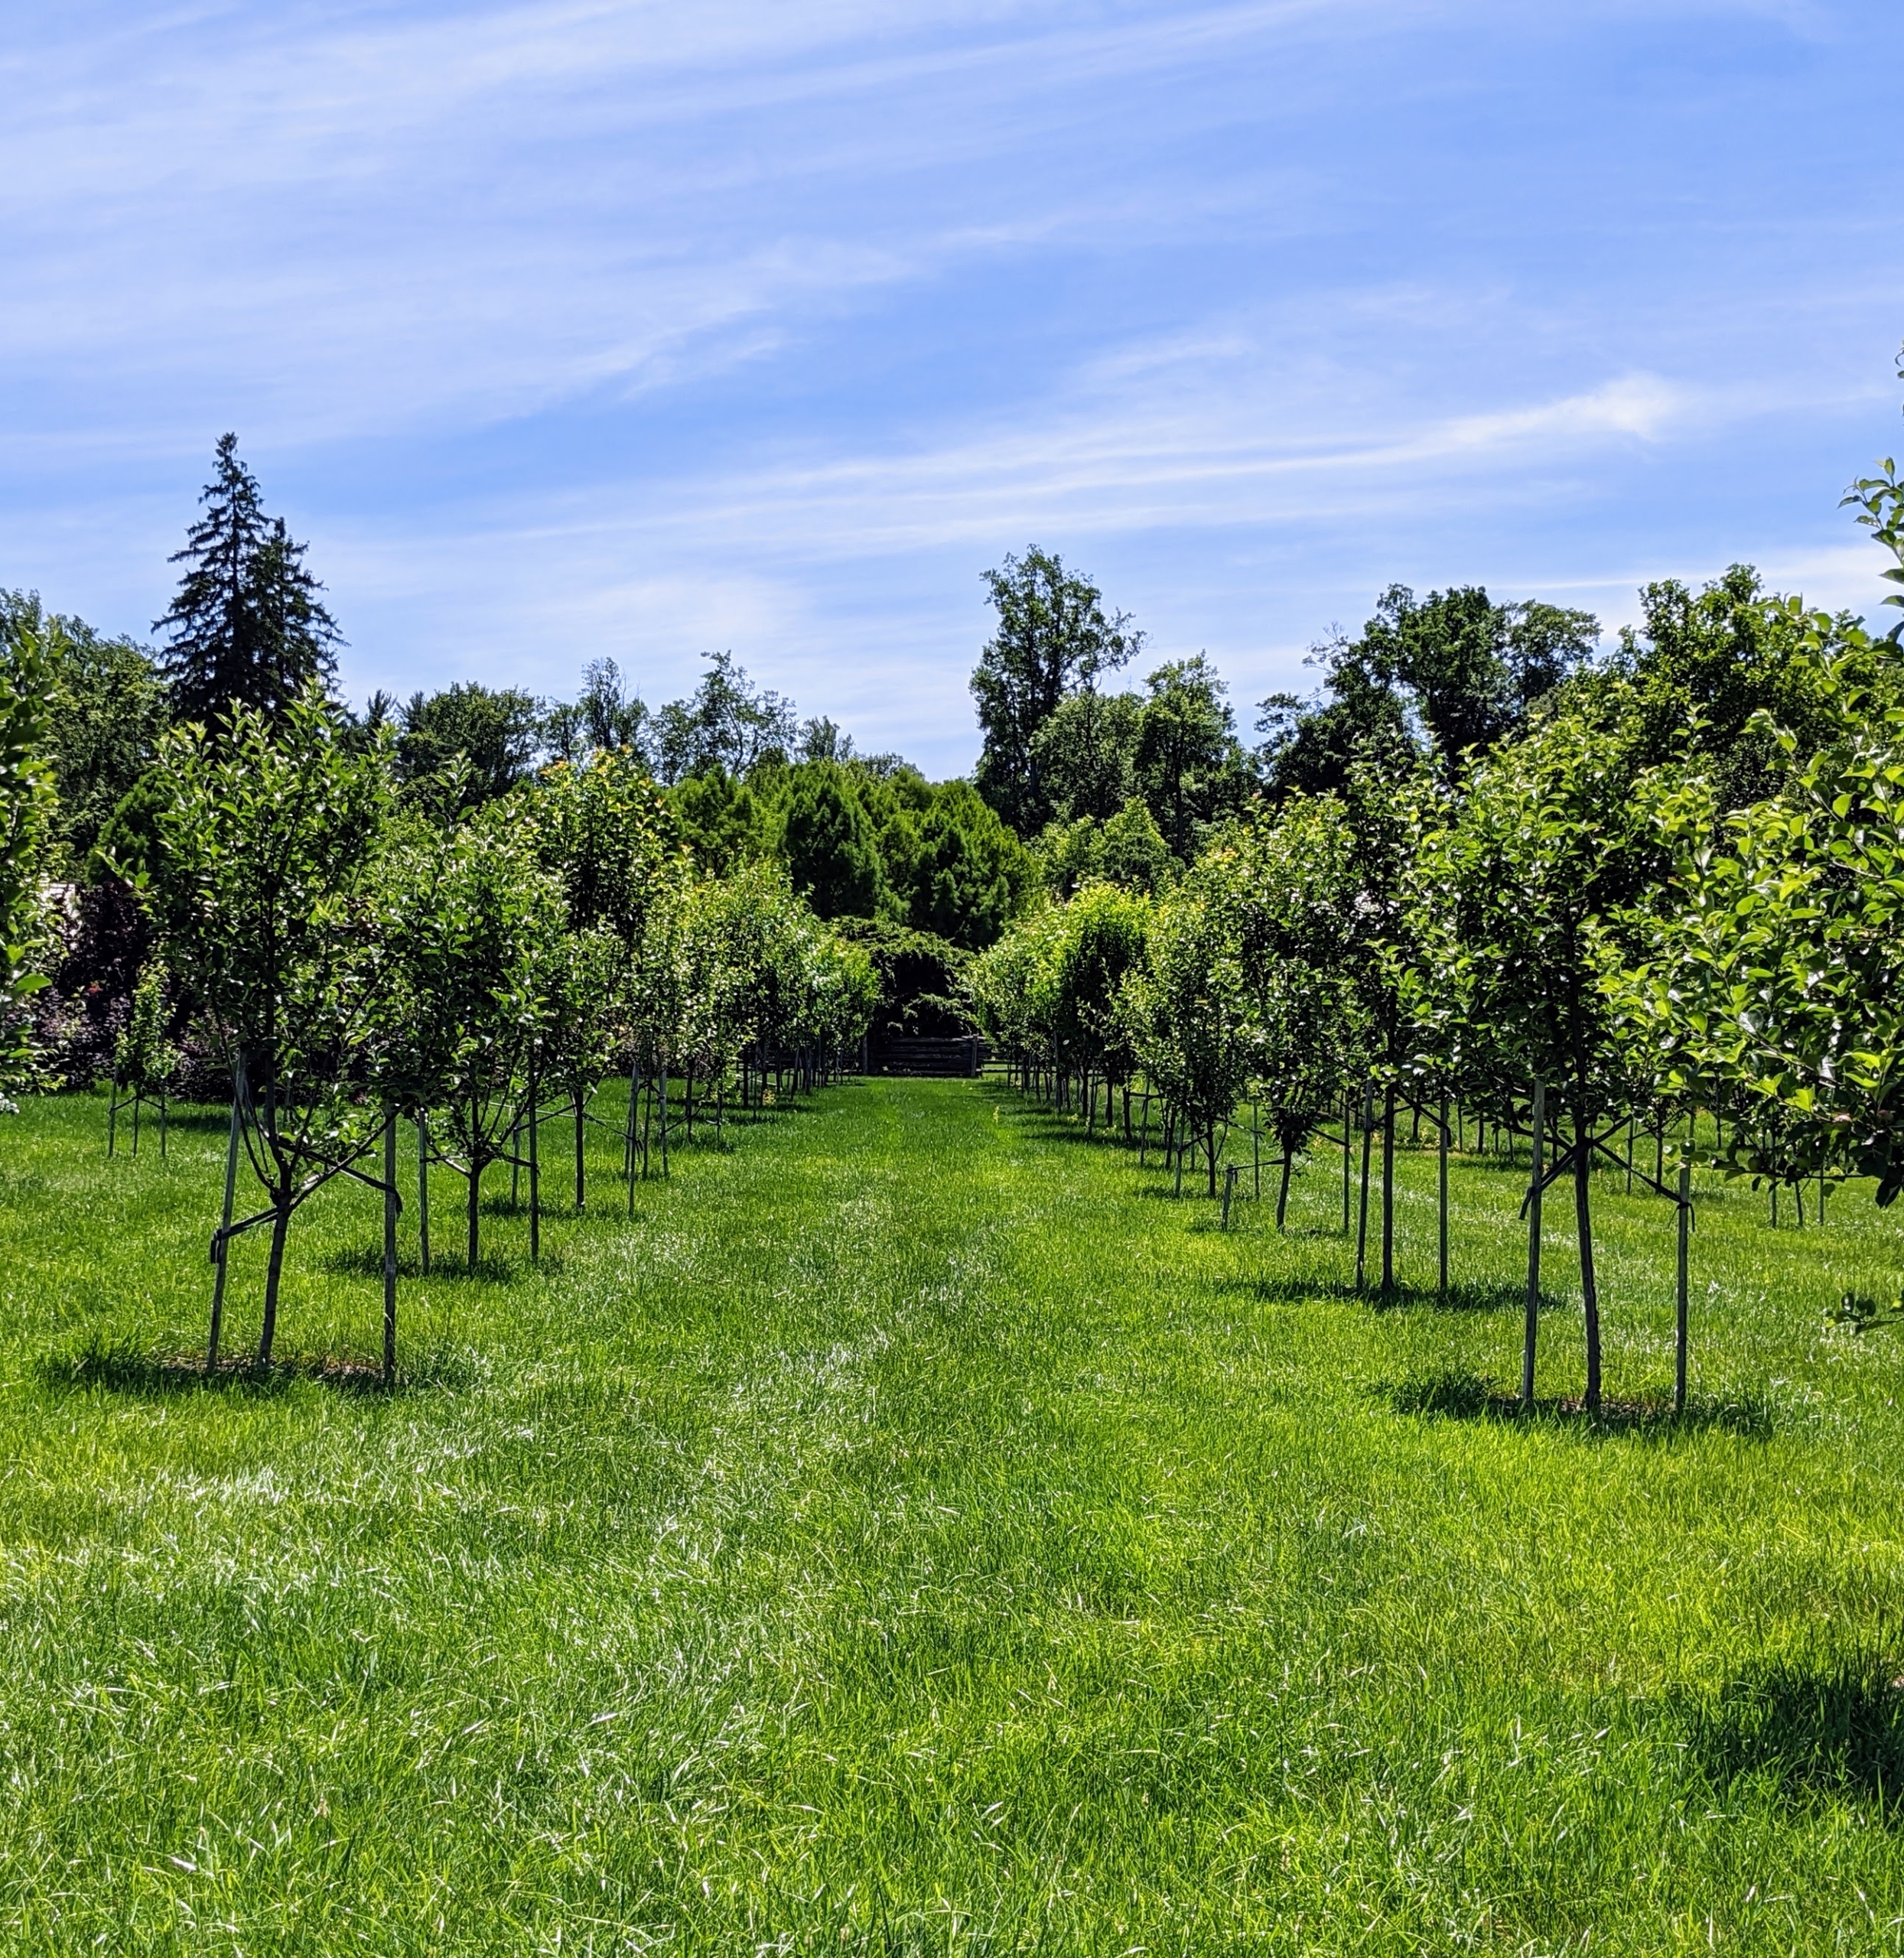
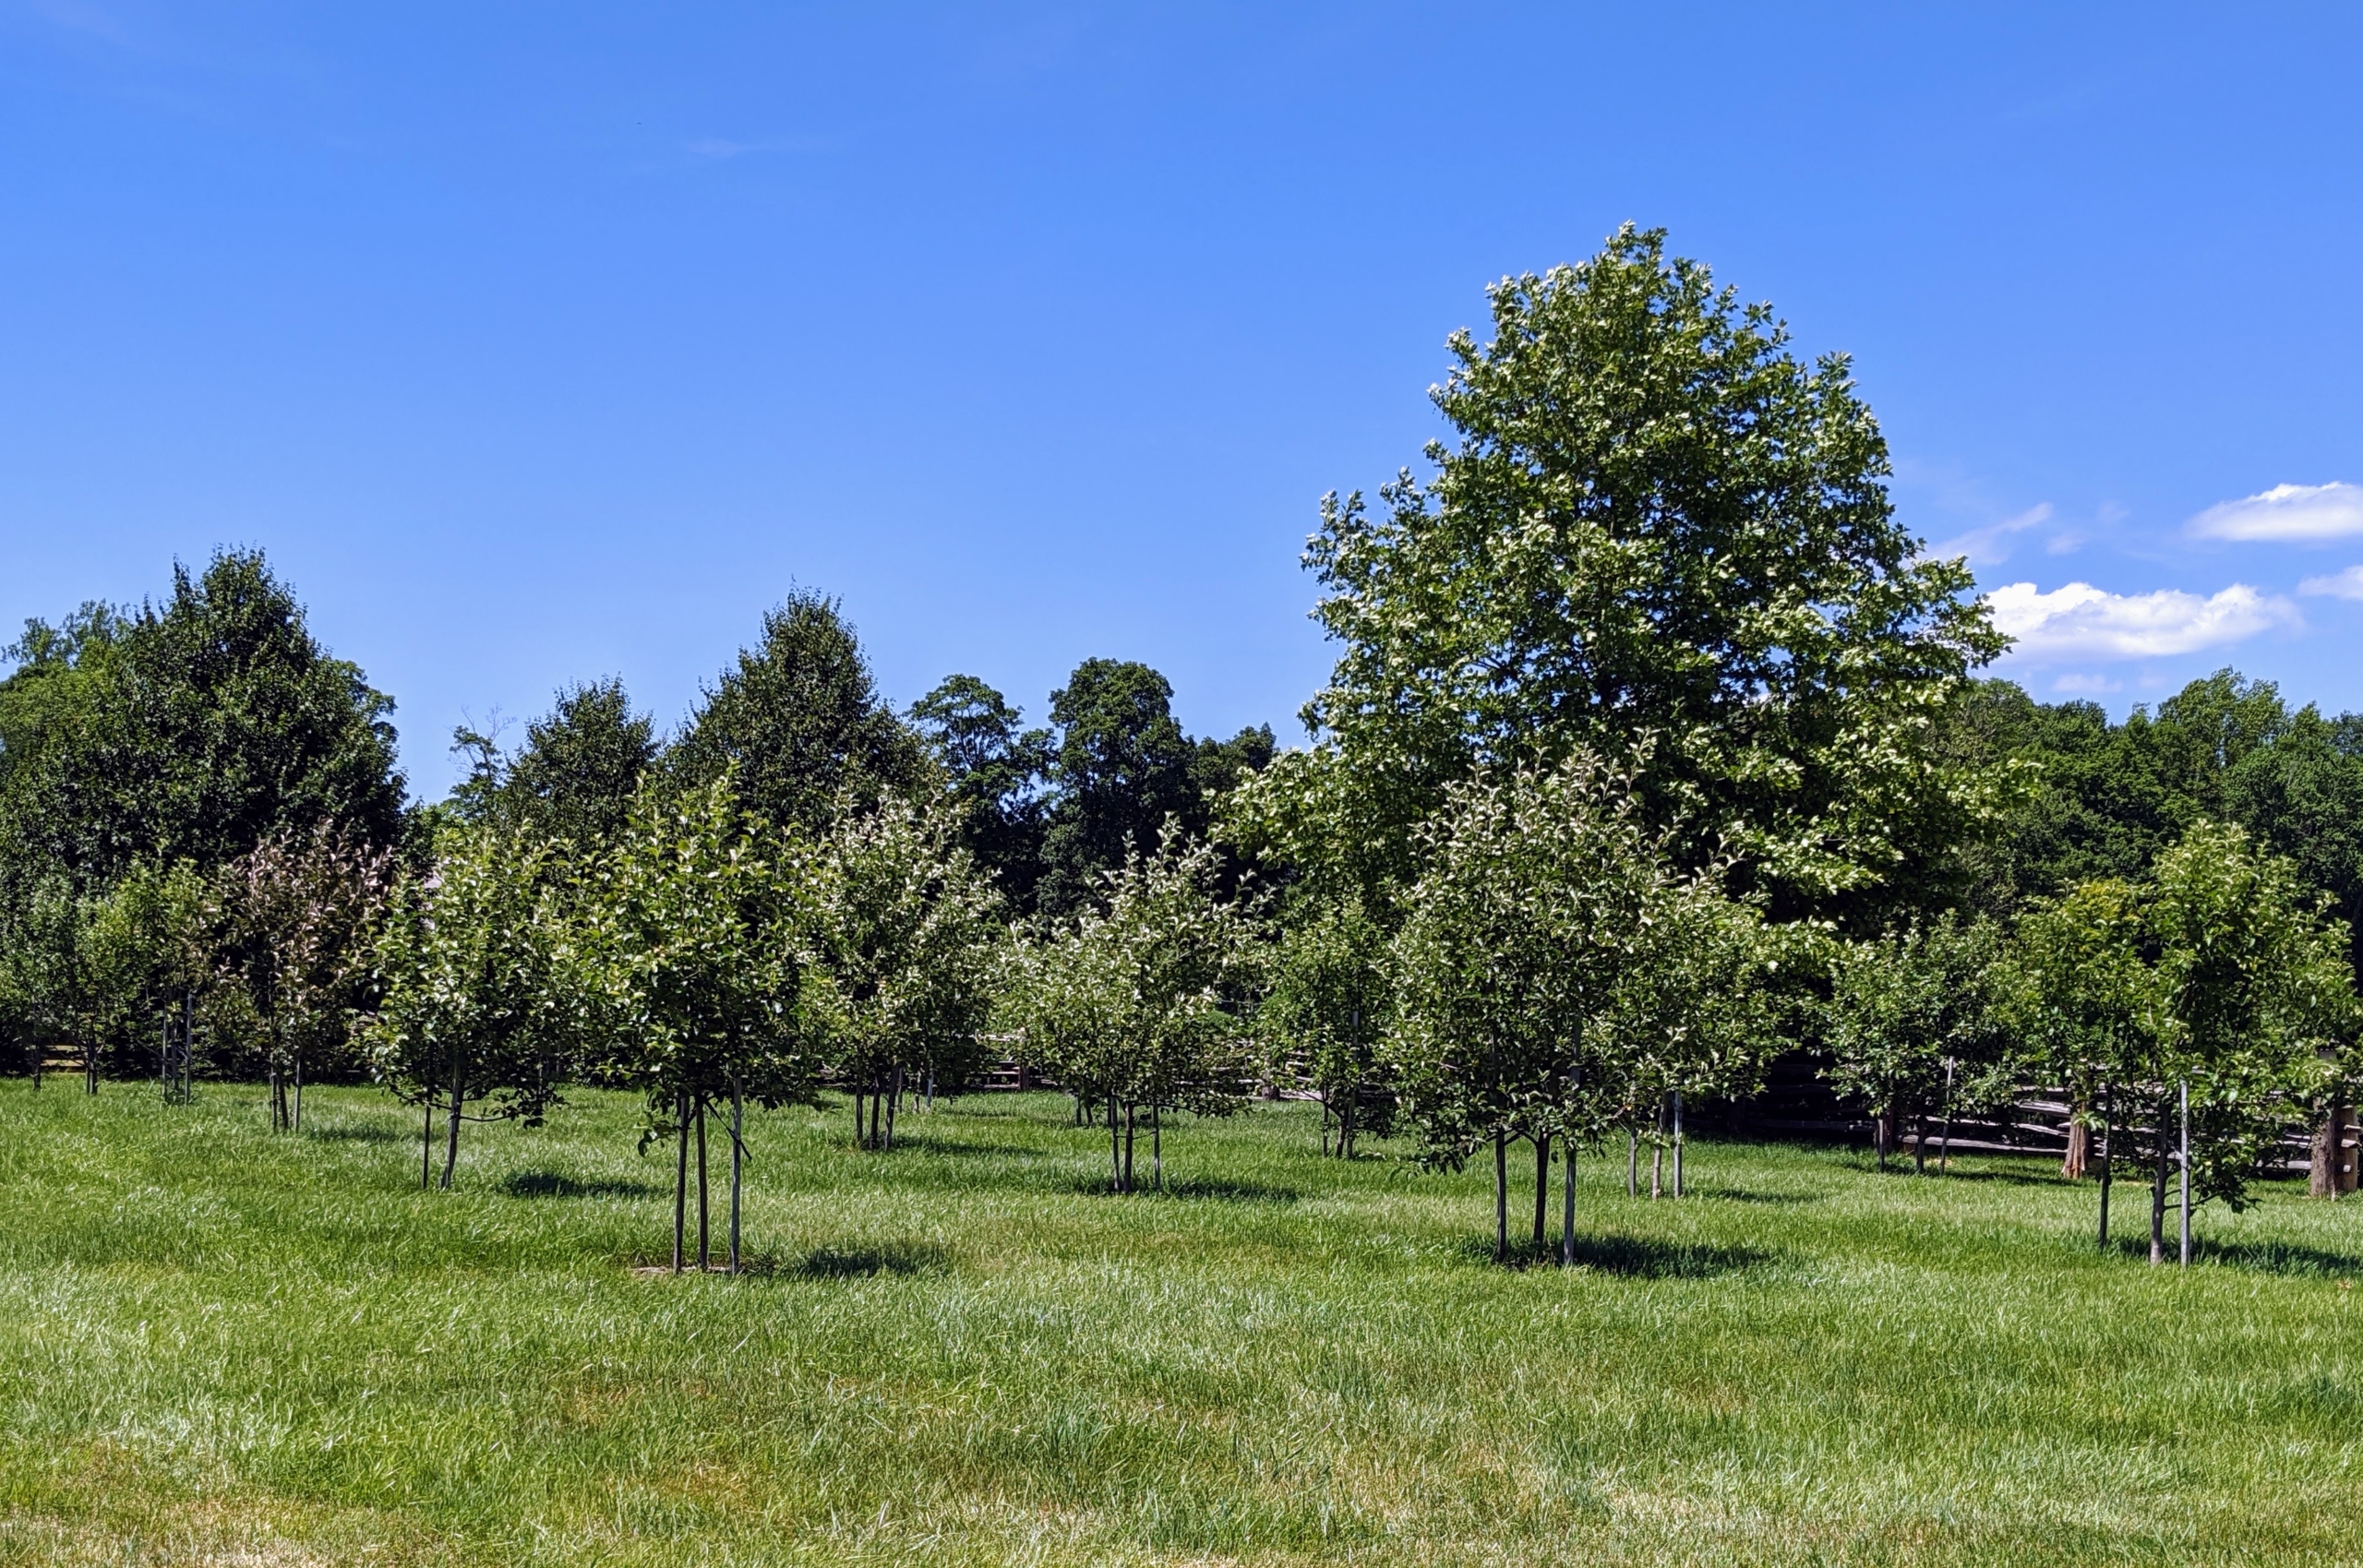
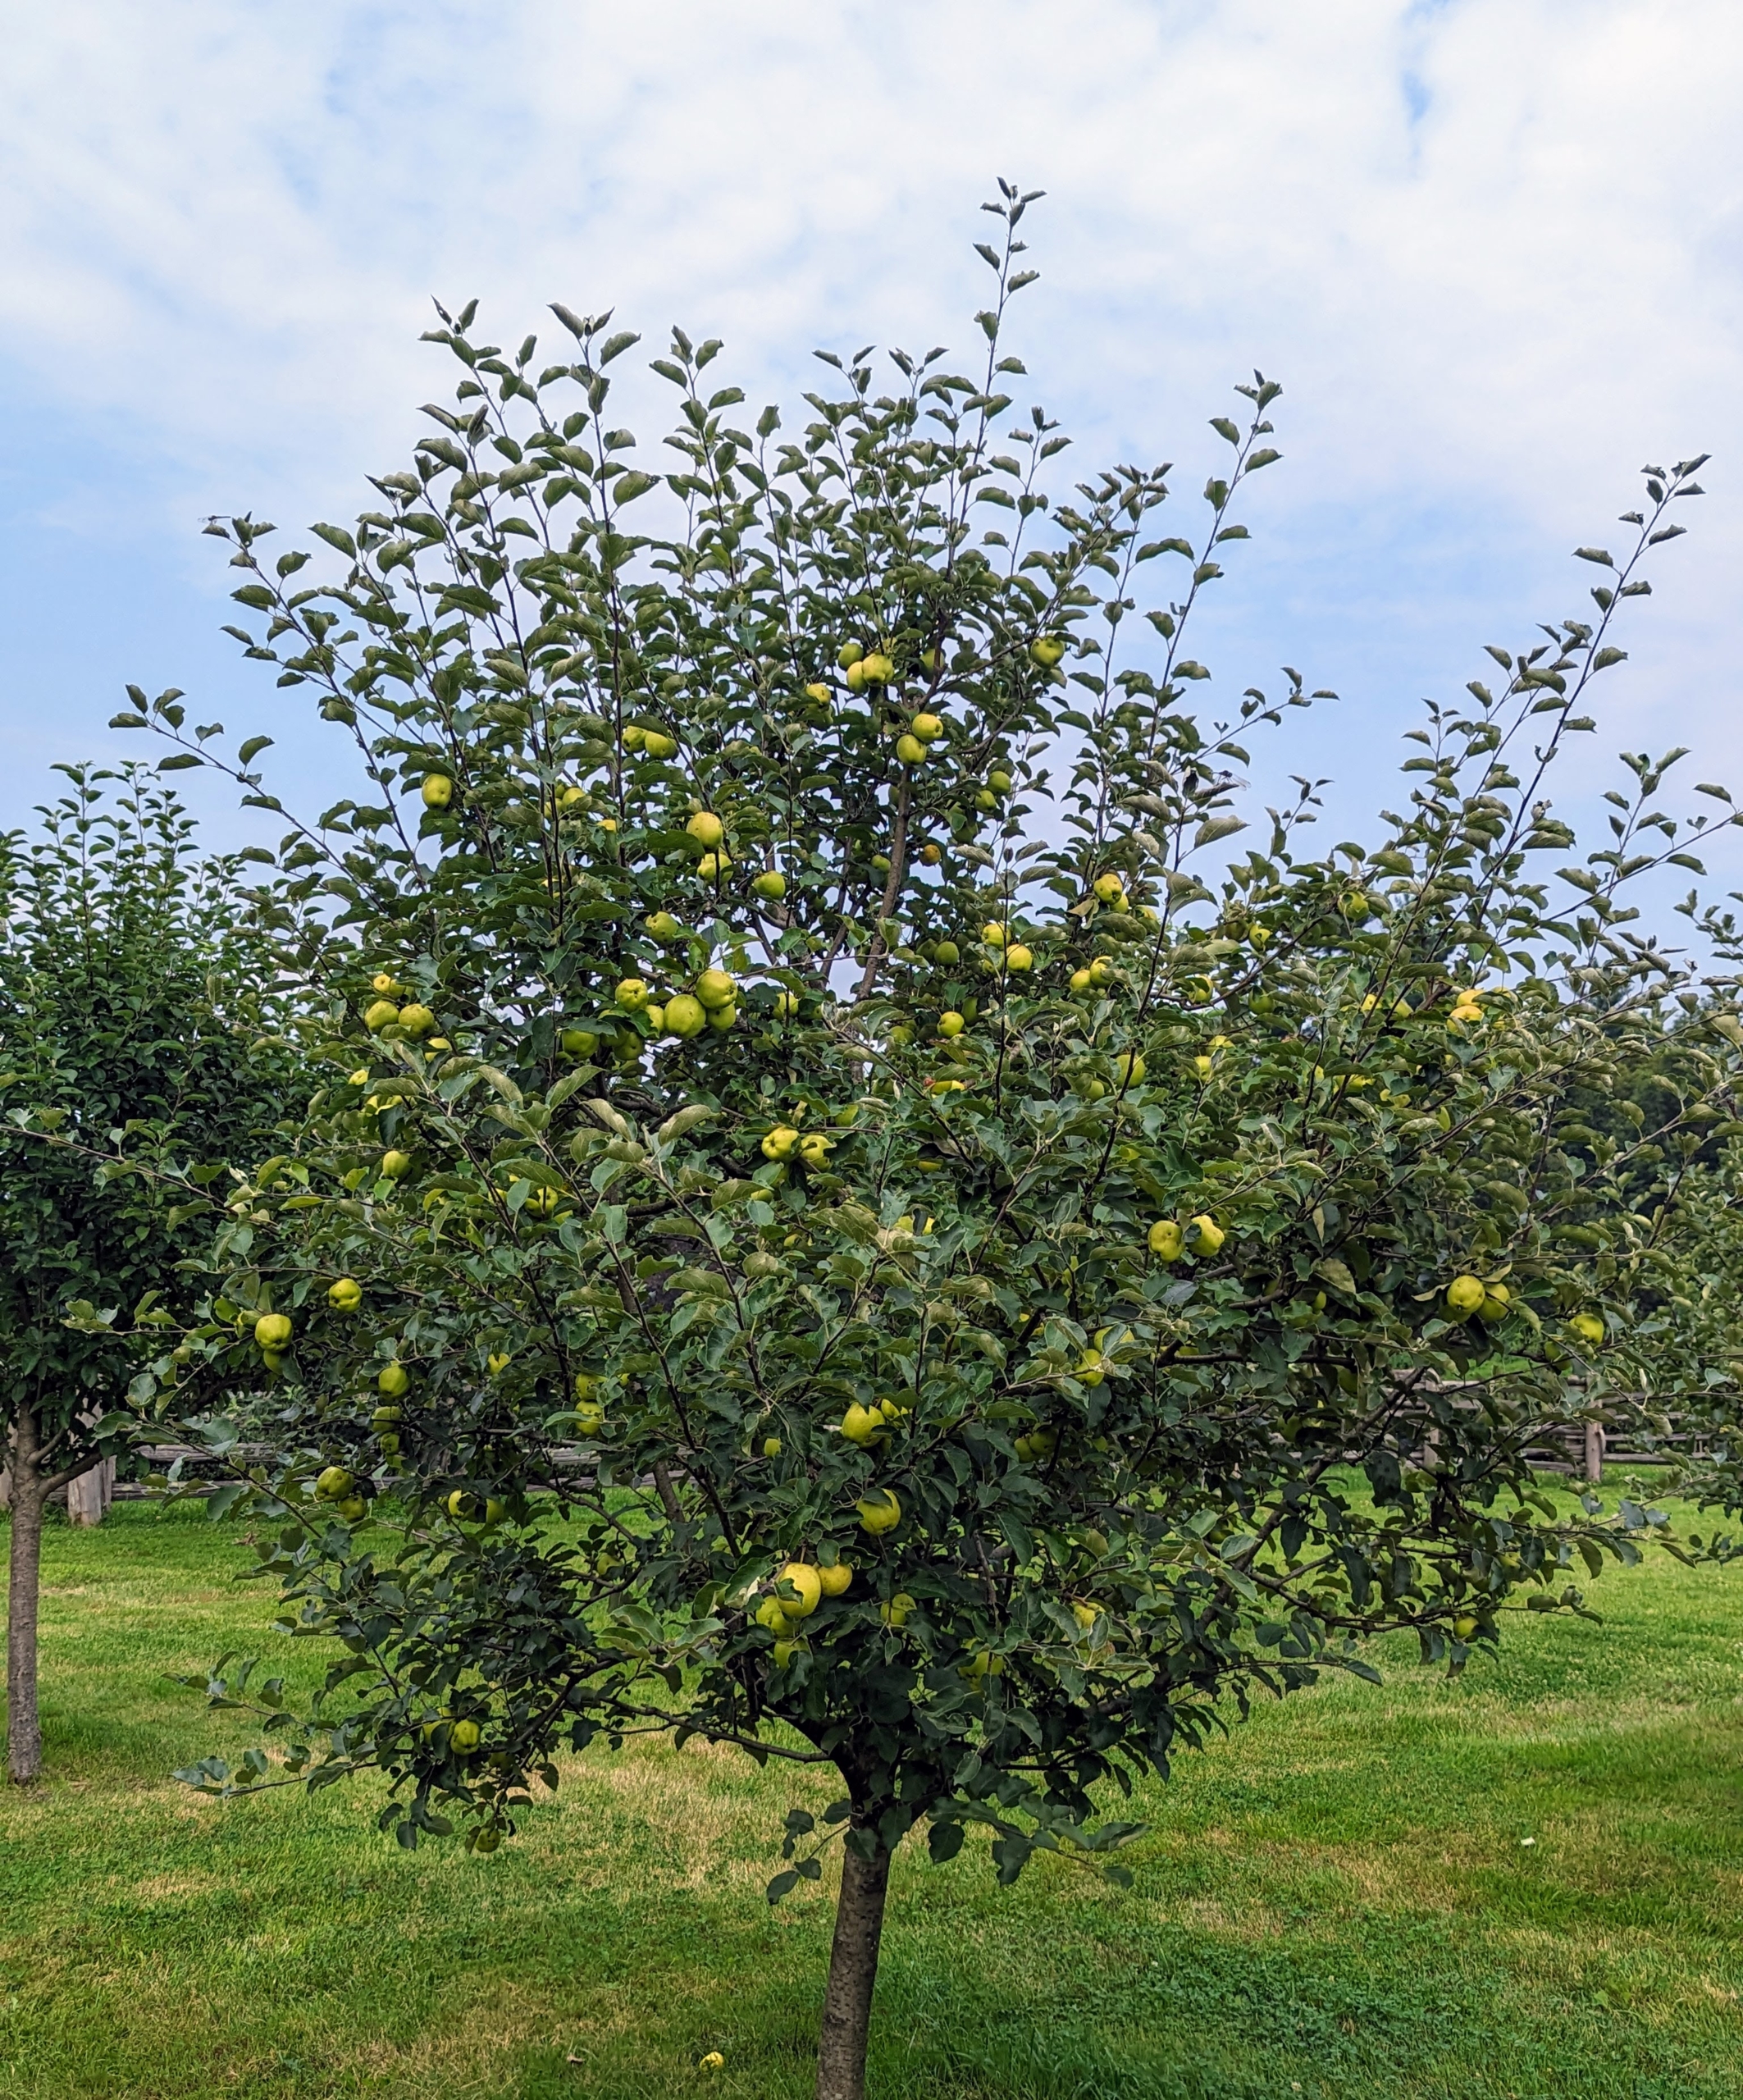
I already grow hundreds of apple trees here at the farm – some that were here when I acquired the property and others I planted soon after moving here. These orchard apple trees include Baldwin, Black Oxford, Cortland, Cox’s Orange Pippin, Esopus Spitzenburg, Fuji, Golden Russet, Grimes Golden, Honeycrisp, Liberty, Redfield, Roxbury Russet, Windham Russet, and more. This photo was taken in summer.
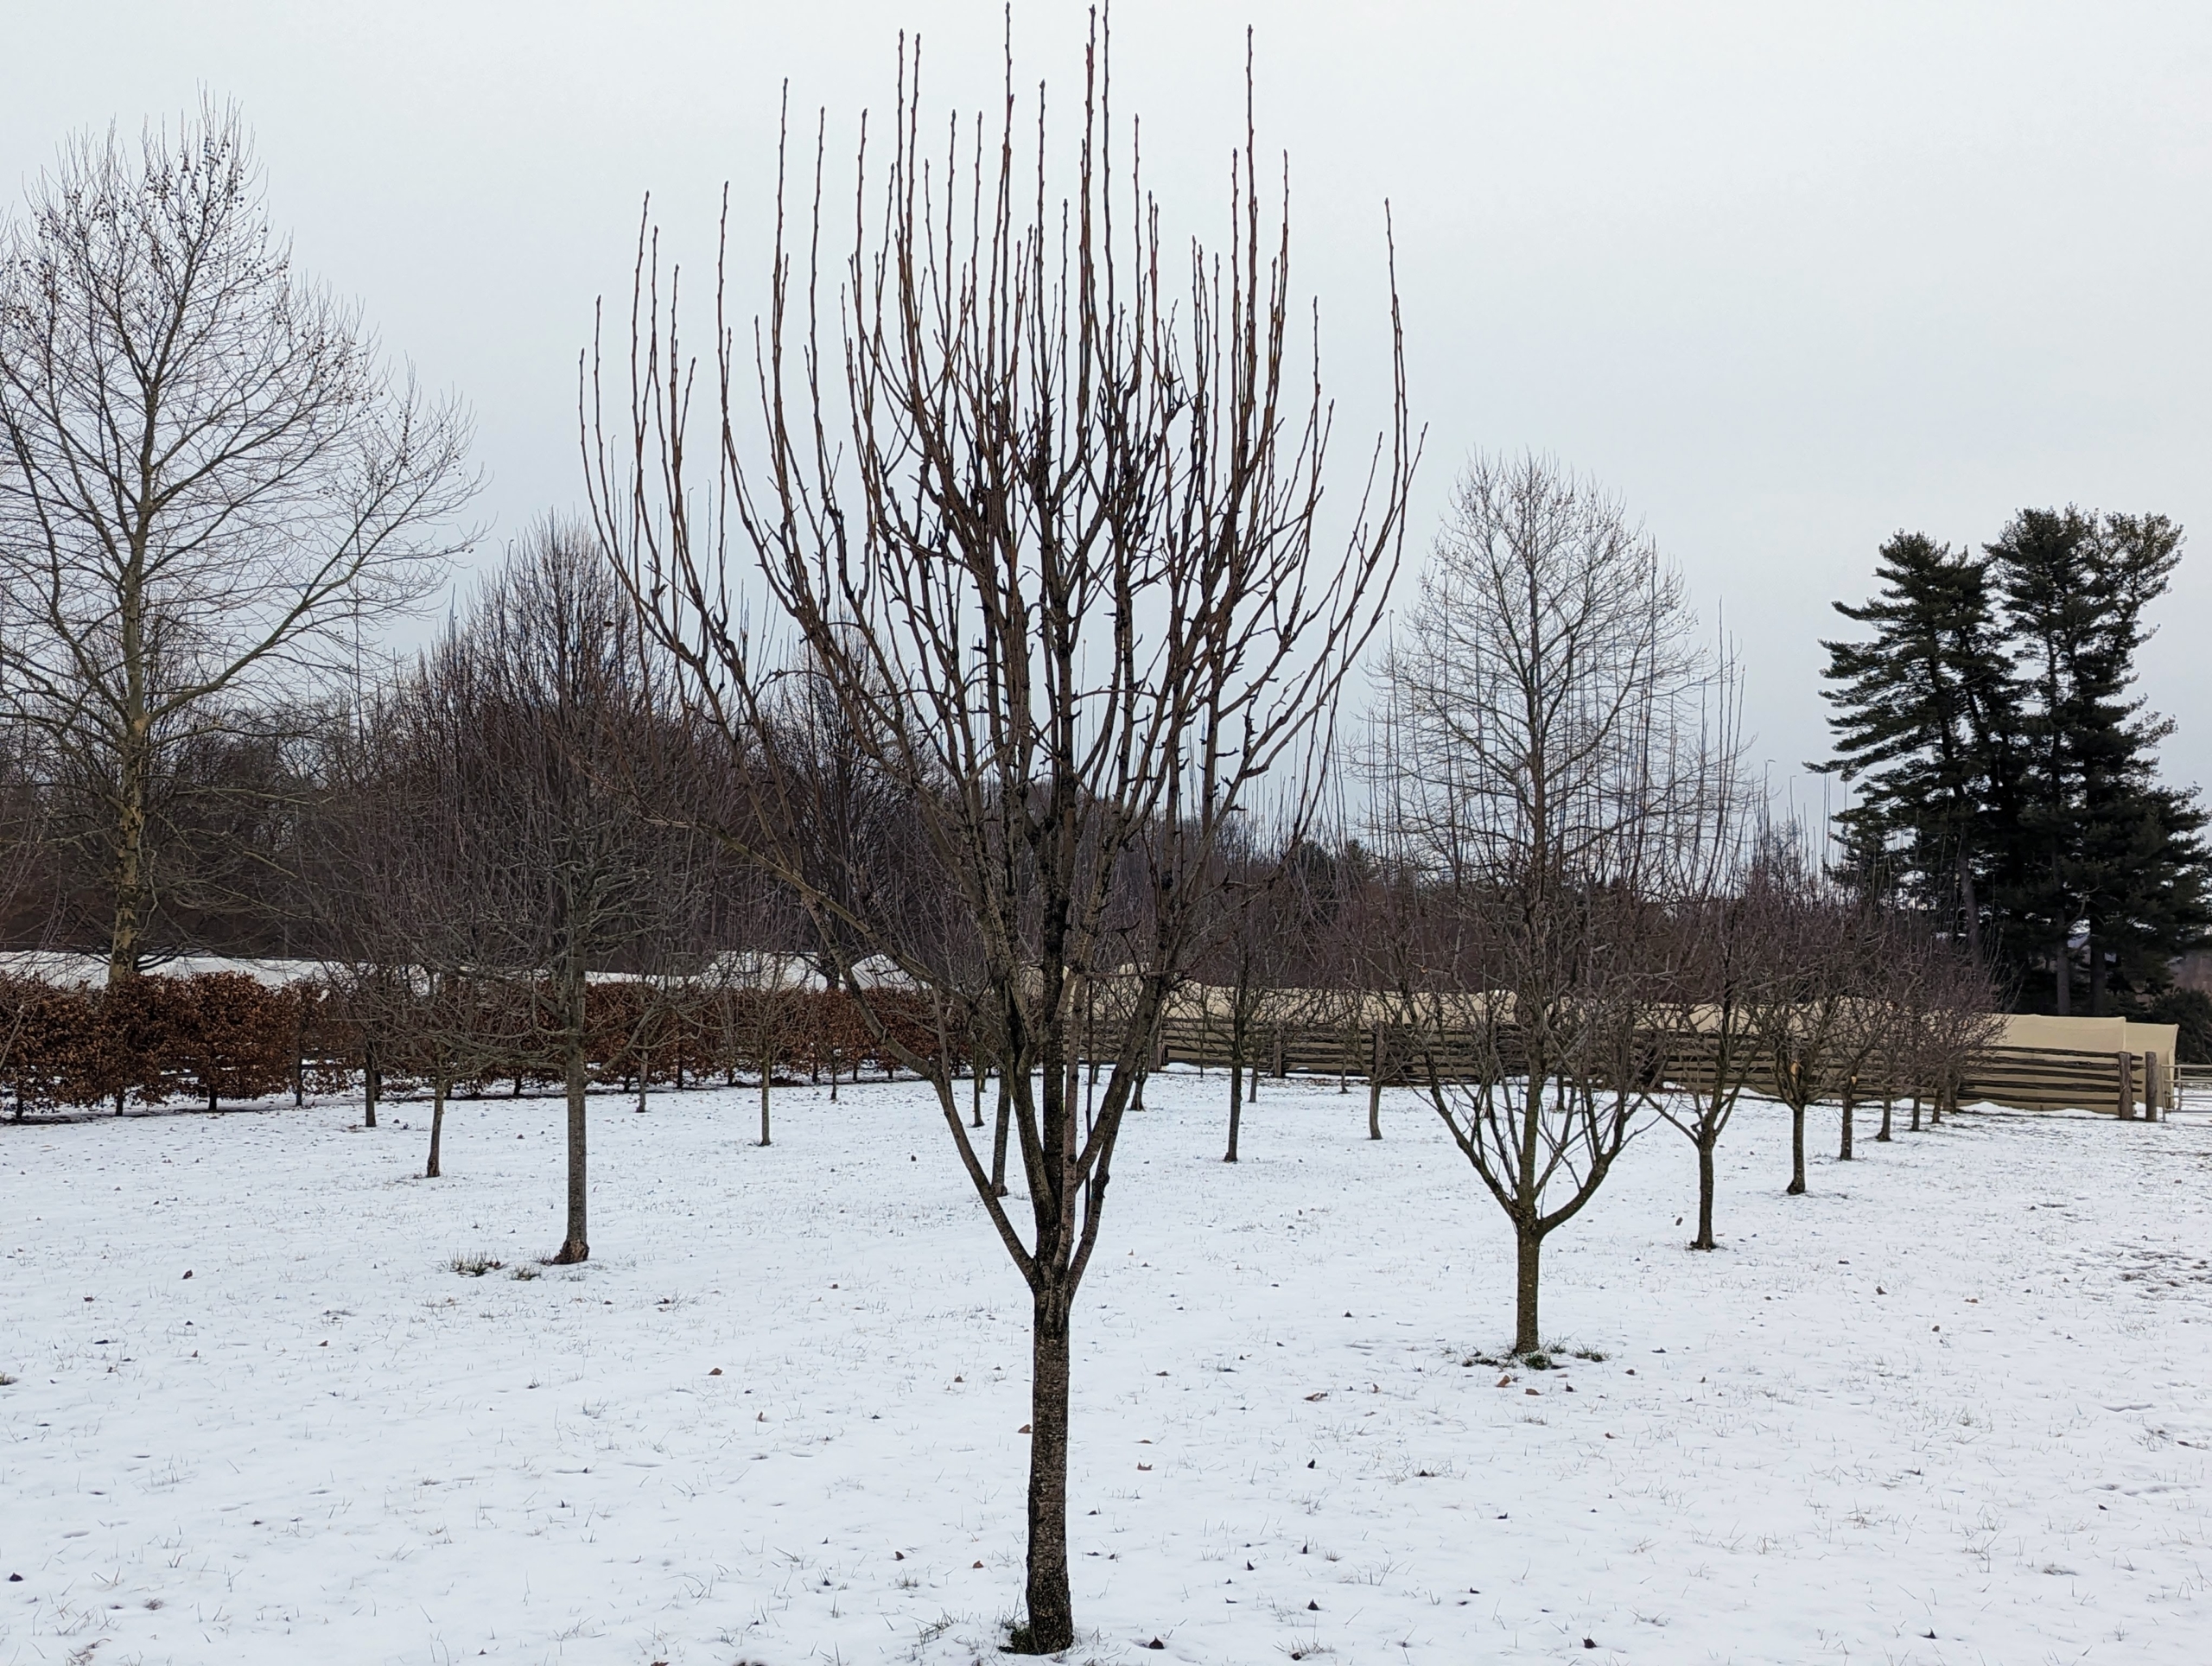
And this is the orchard now. The fruit trees are extremely healthy, in part because of all the care and maintenance that is done to keep them doing well. Here is a section of apple trees that need to be pruned.
One can see all the growth that has occurred in the last year.
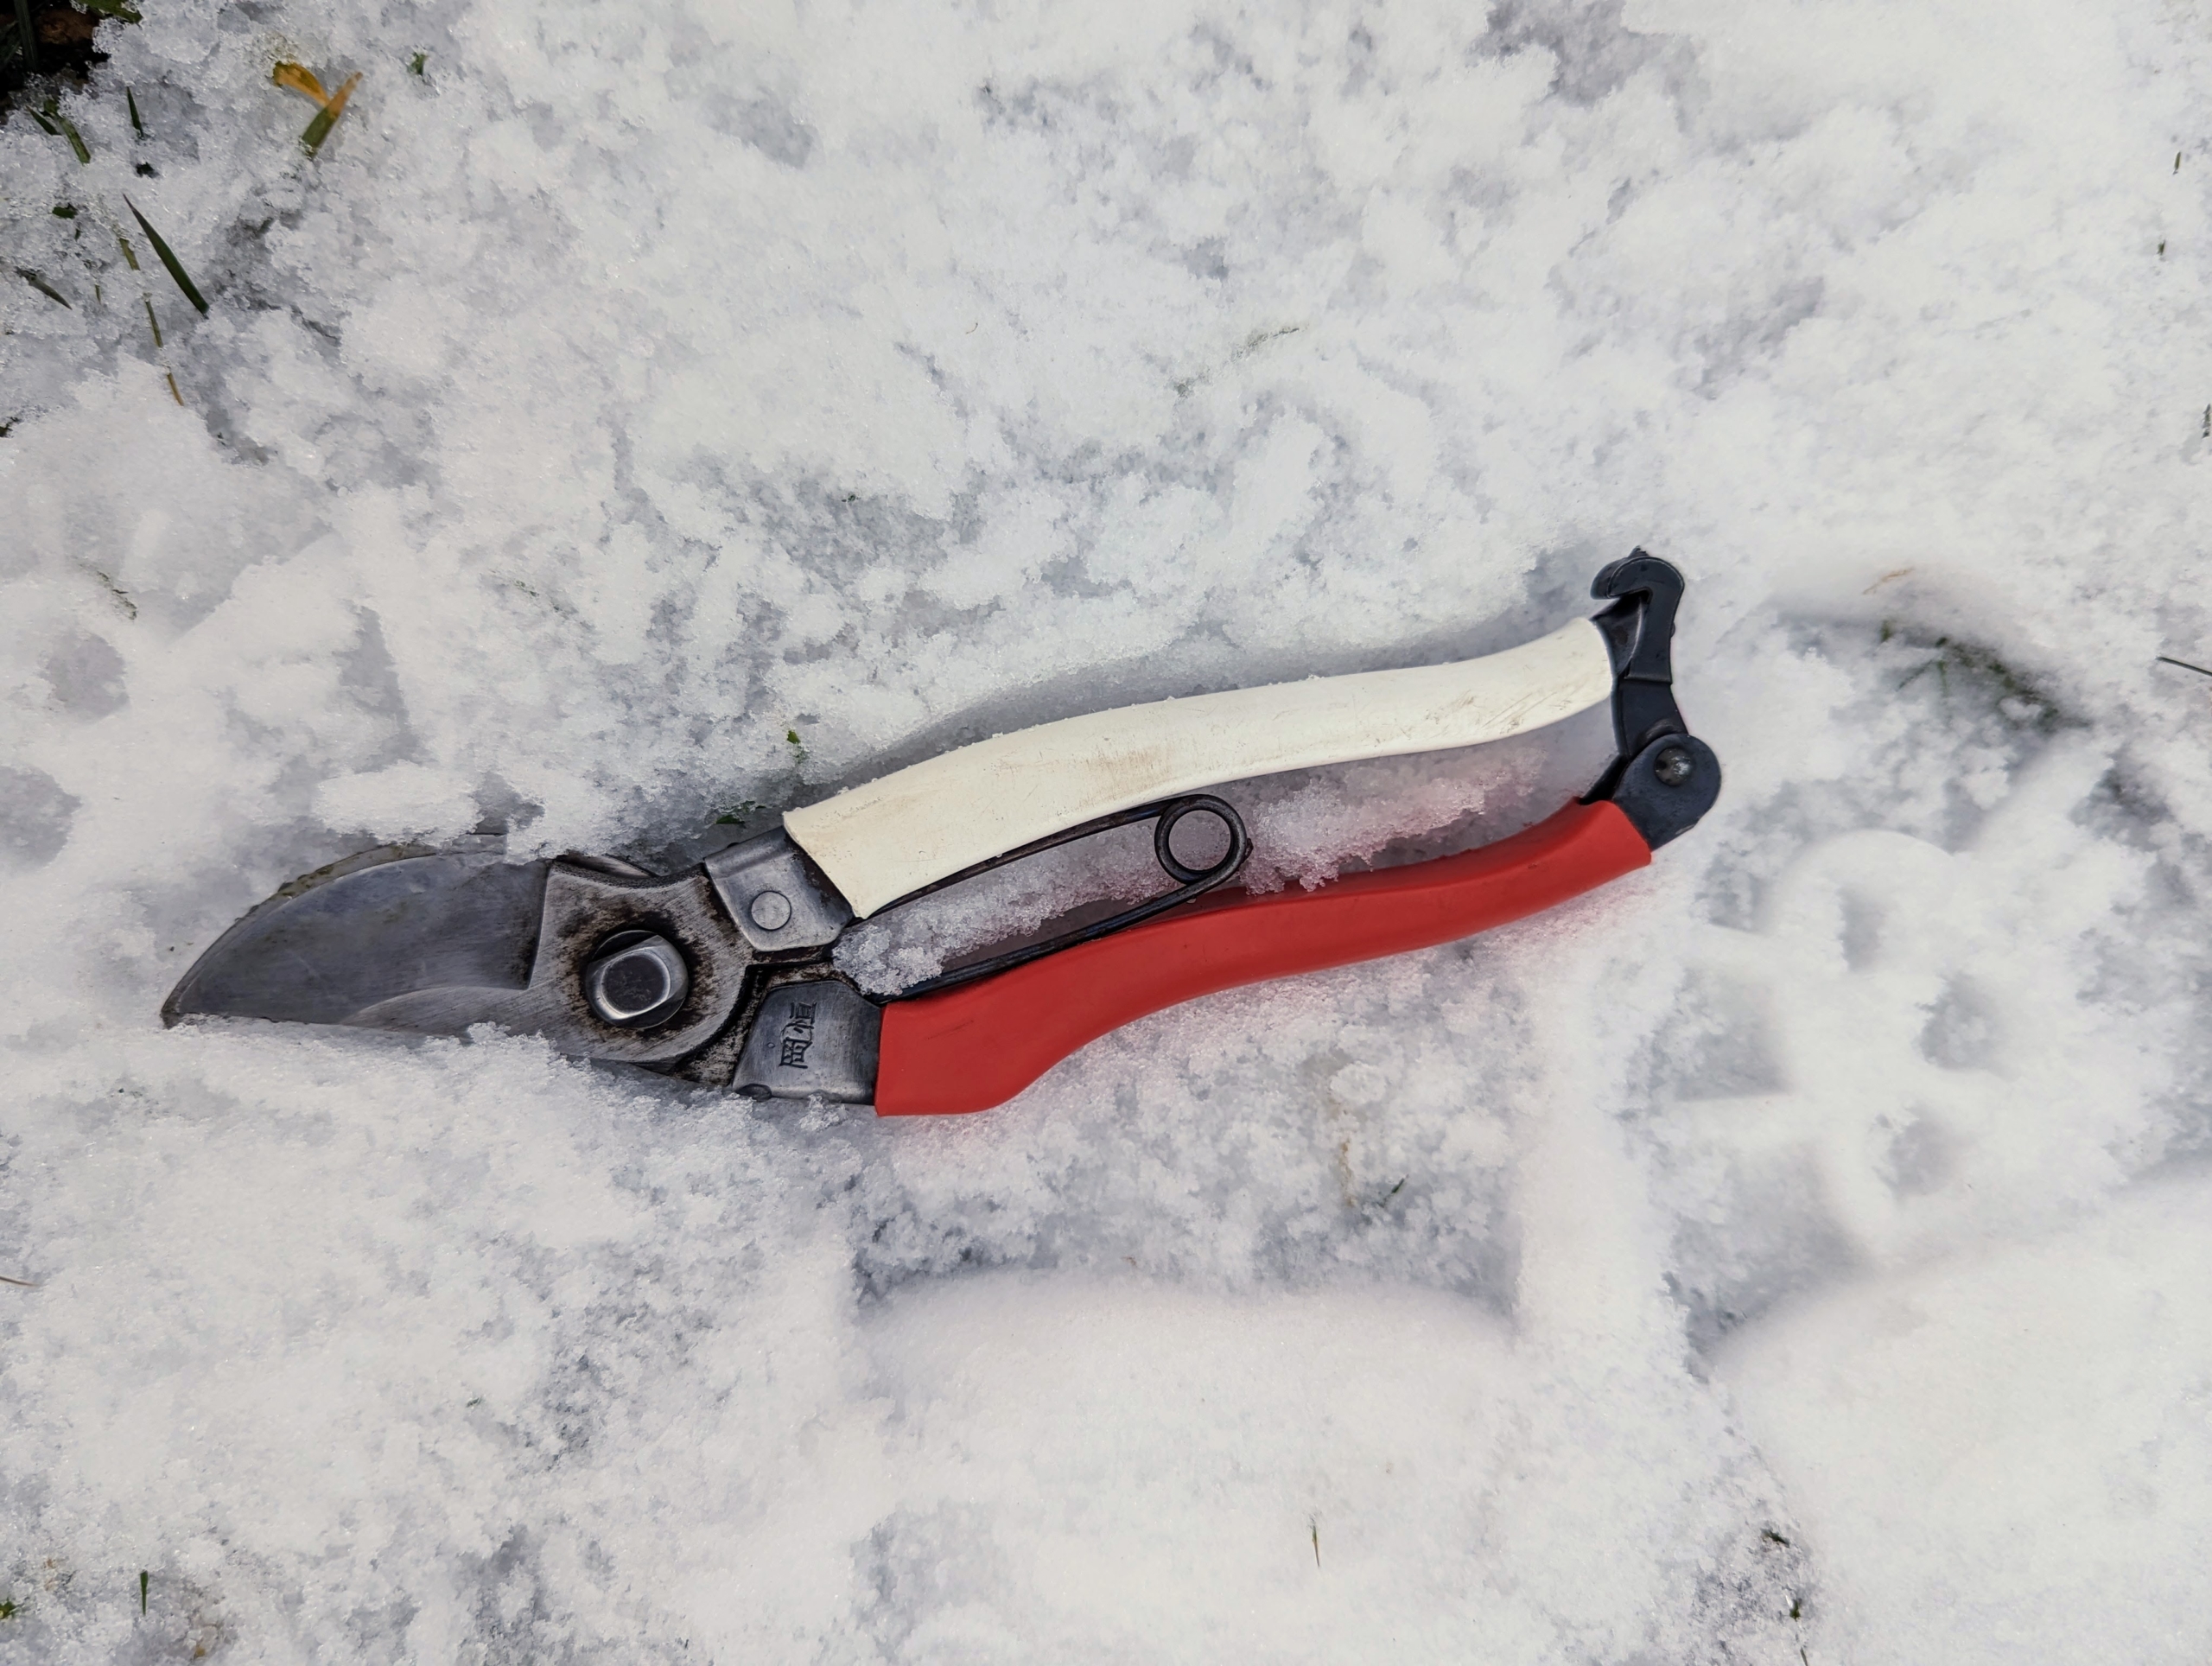
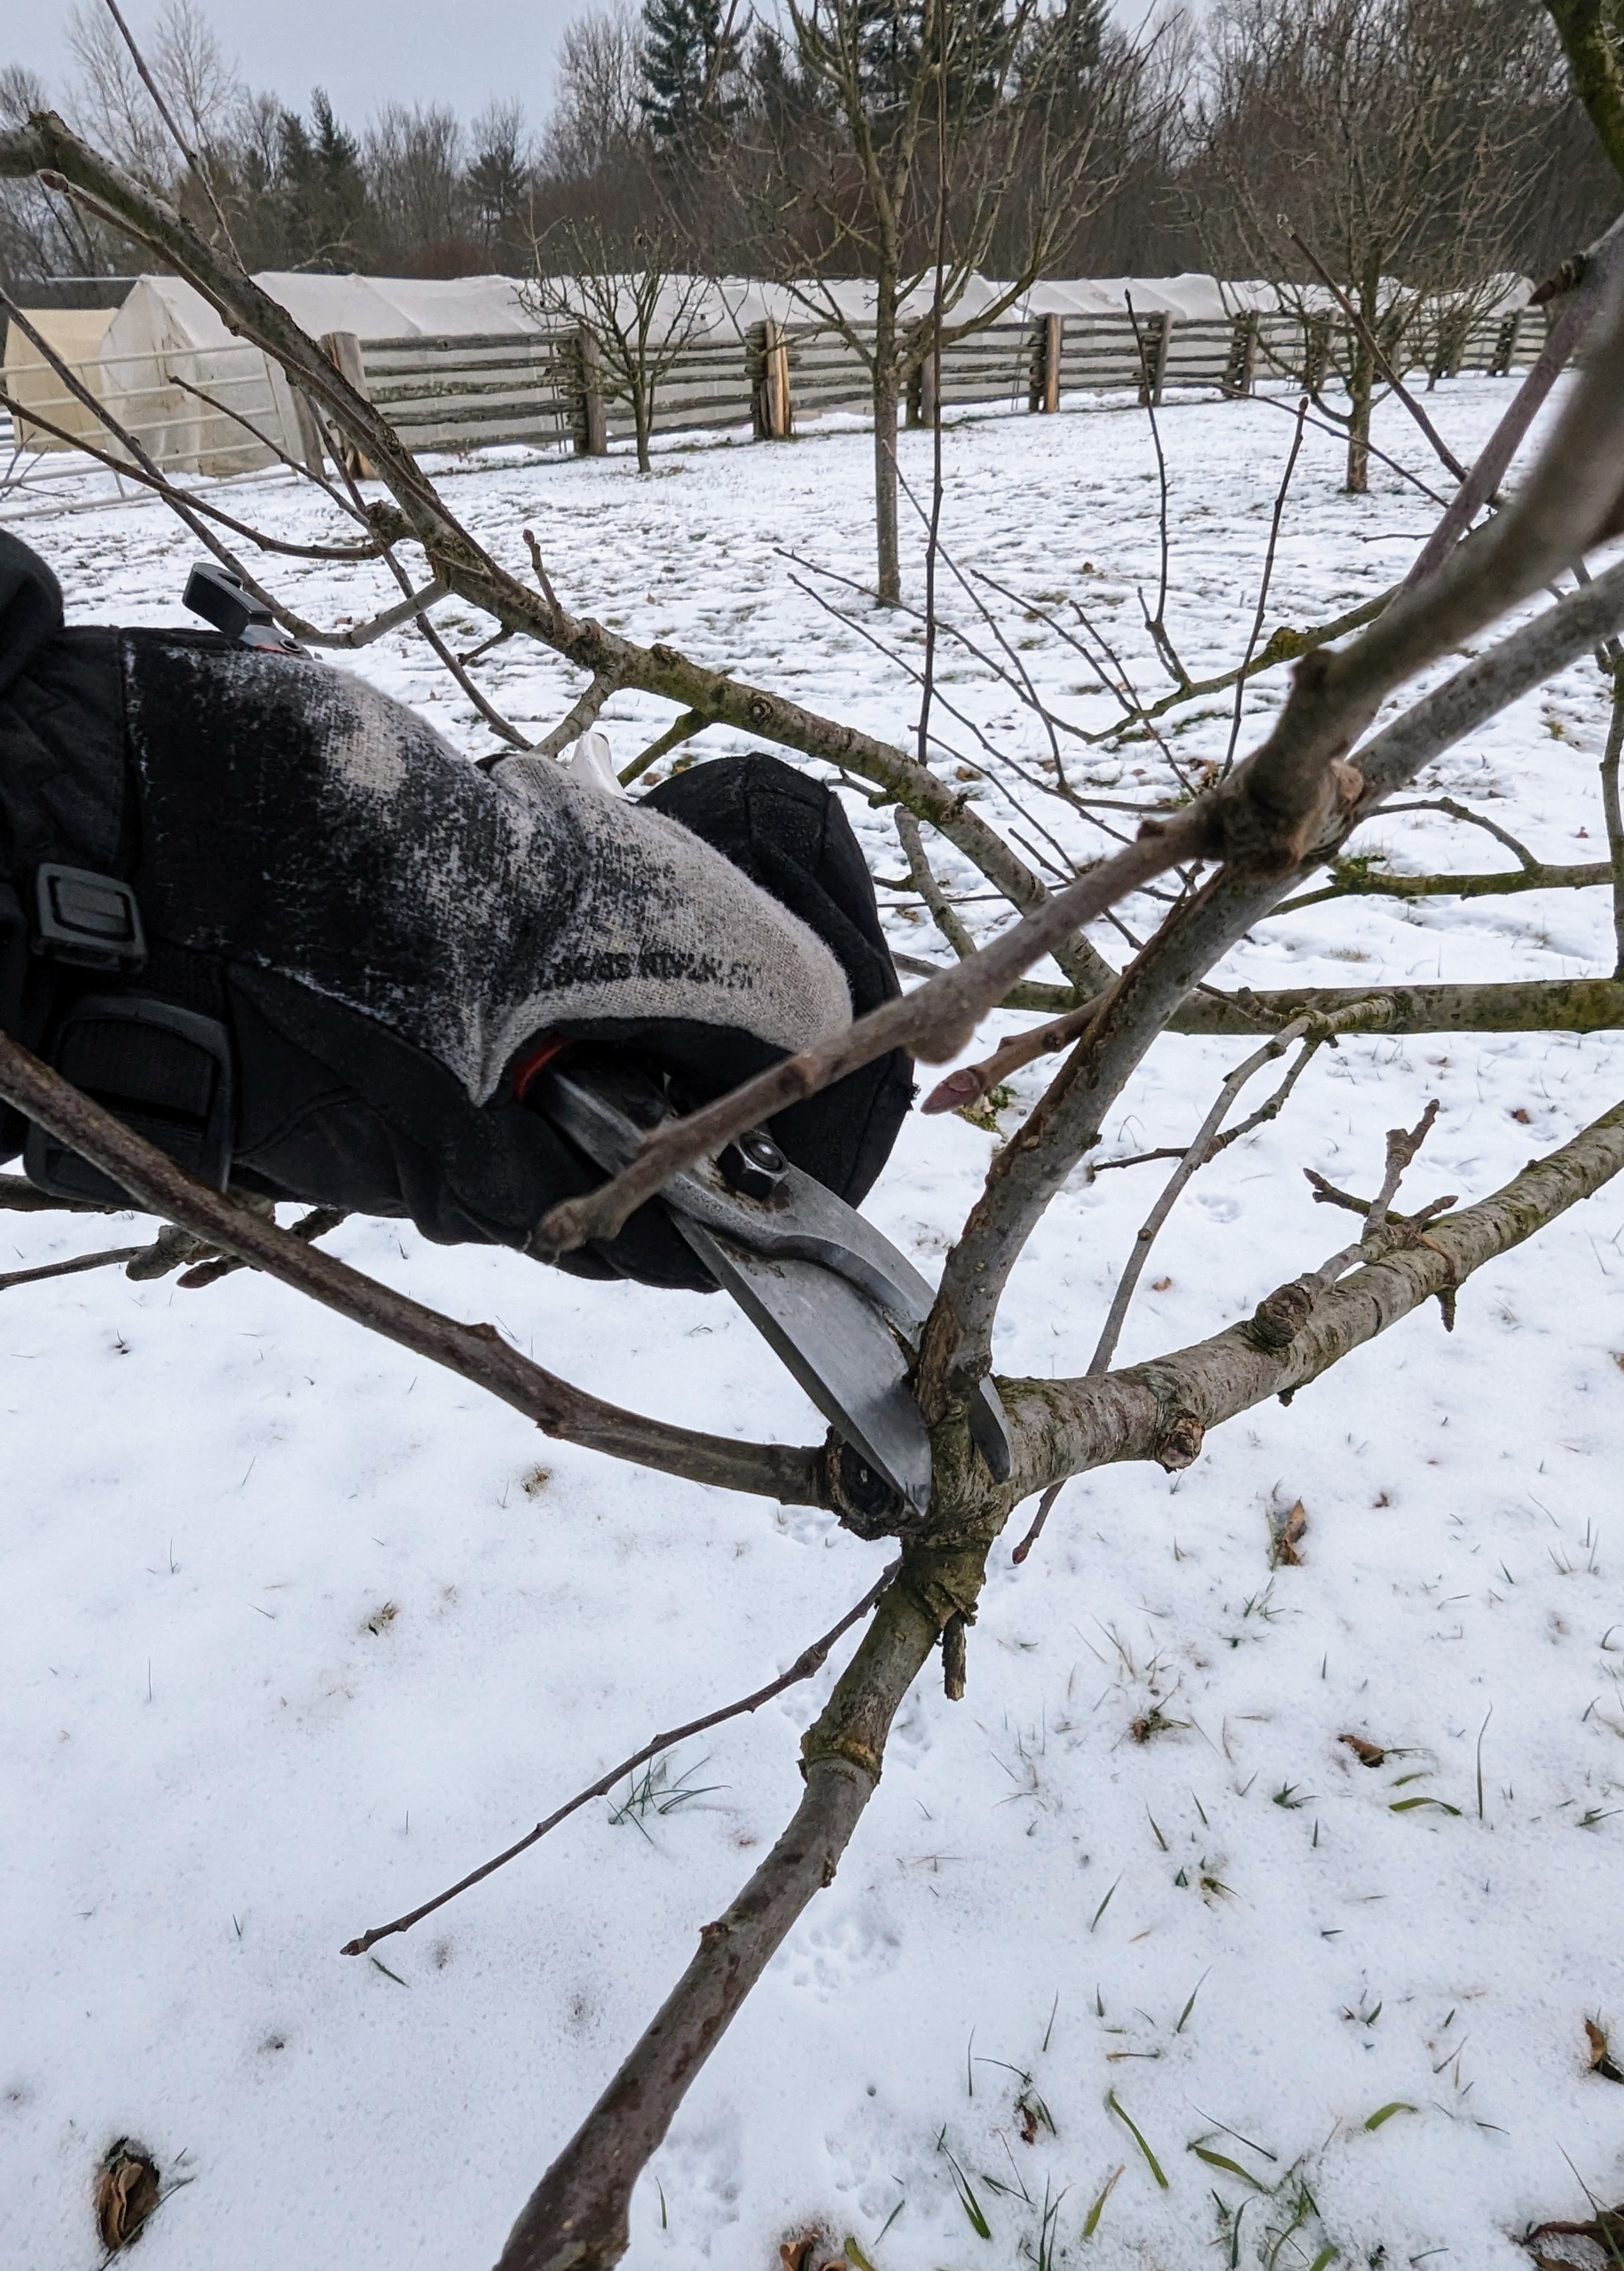
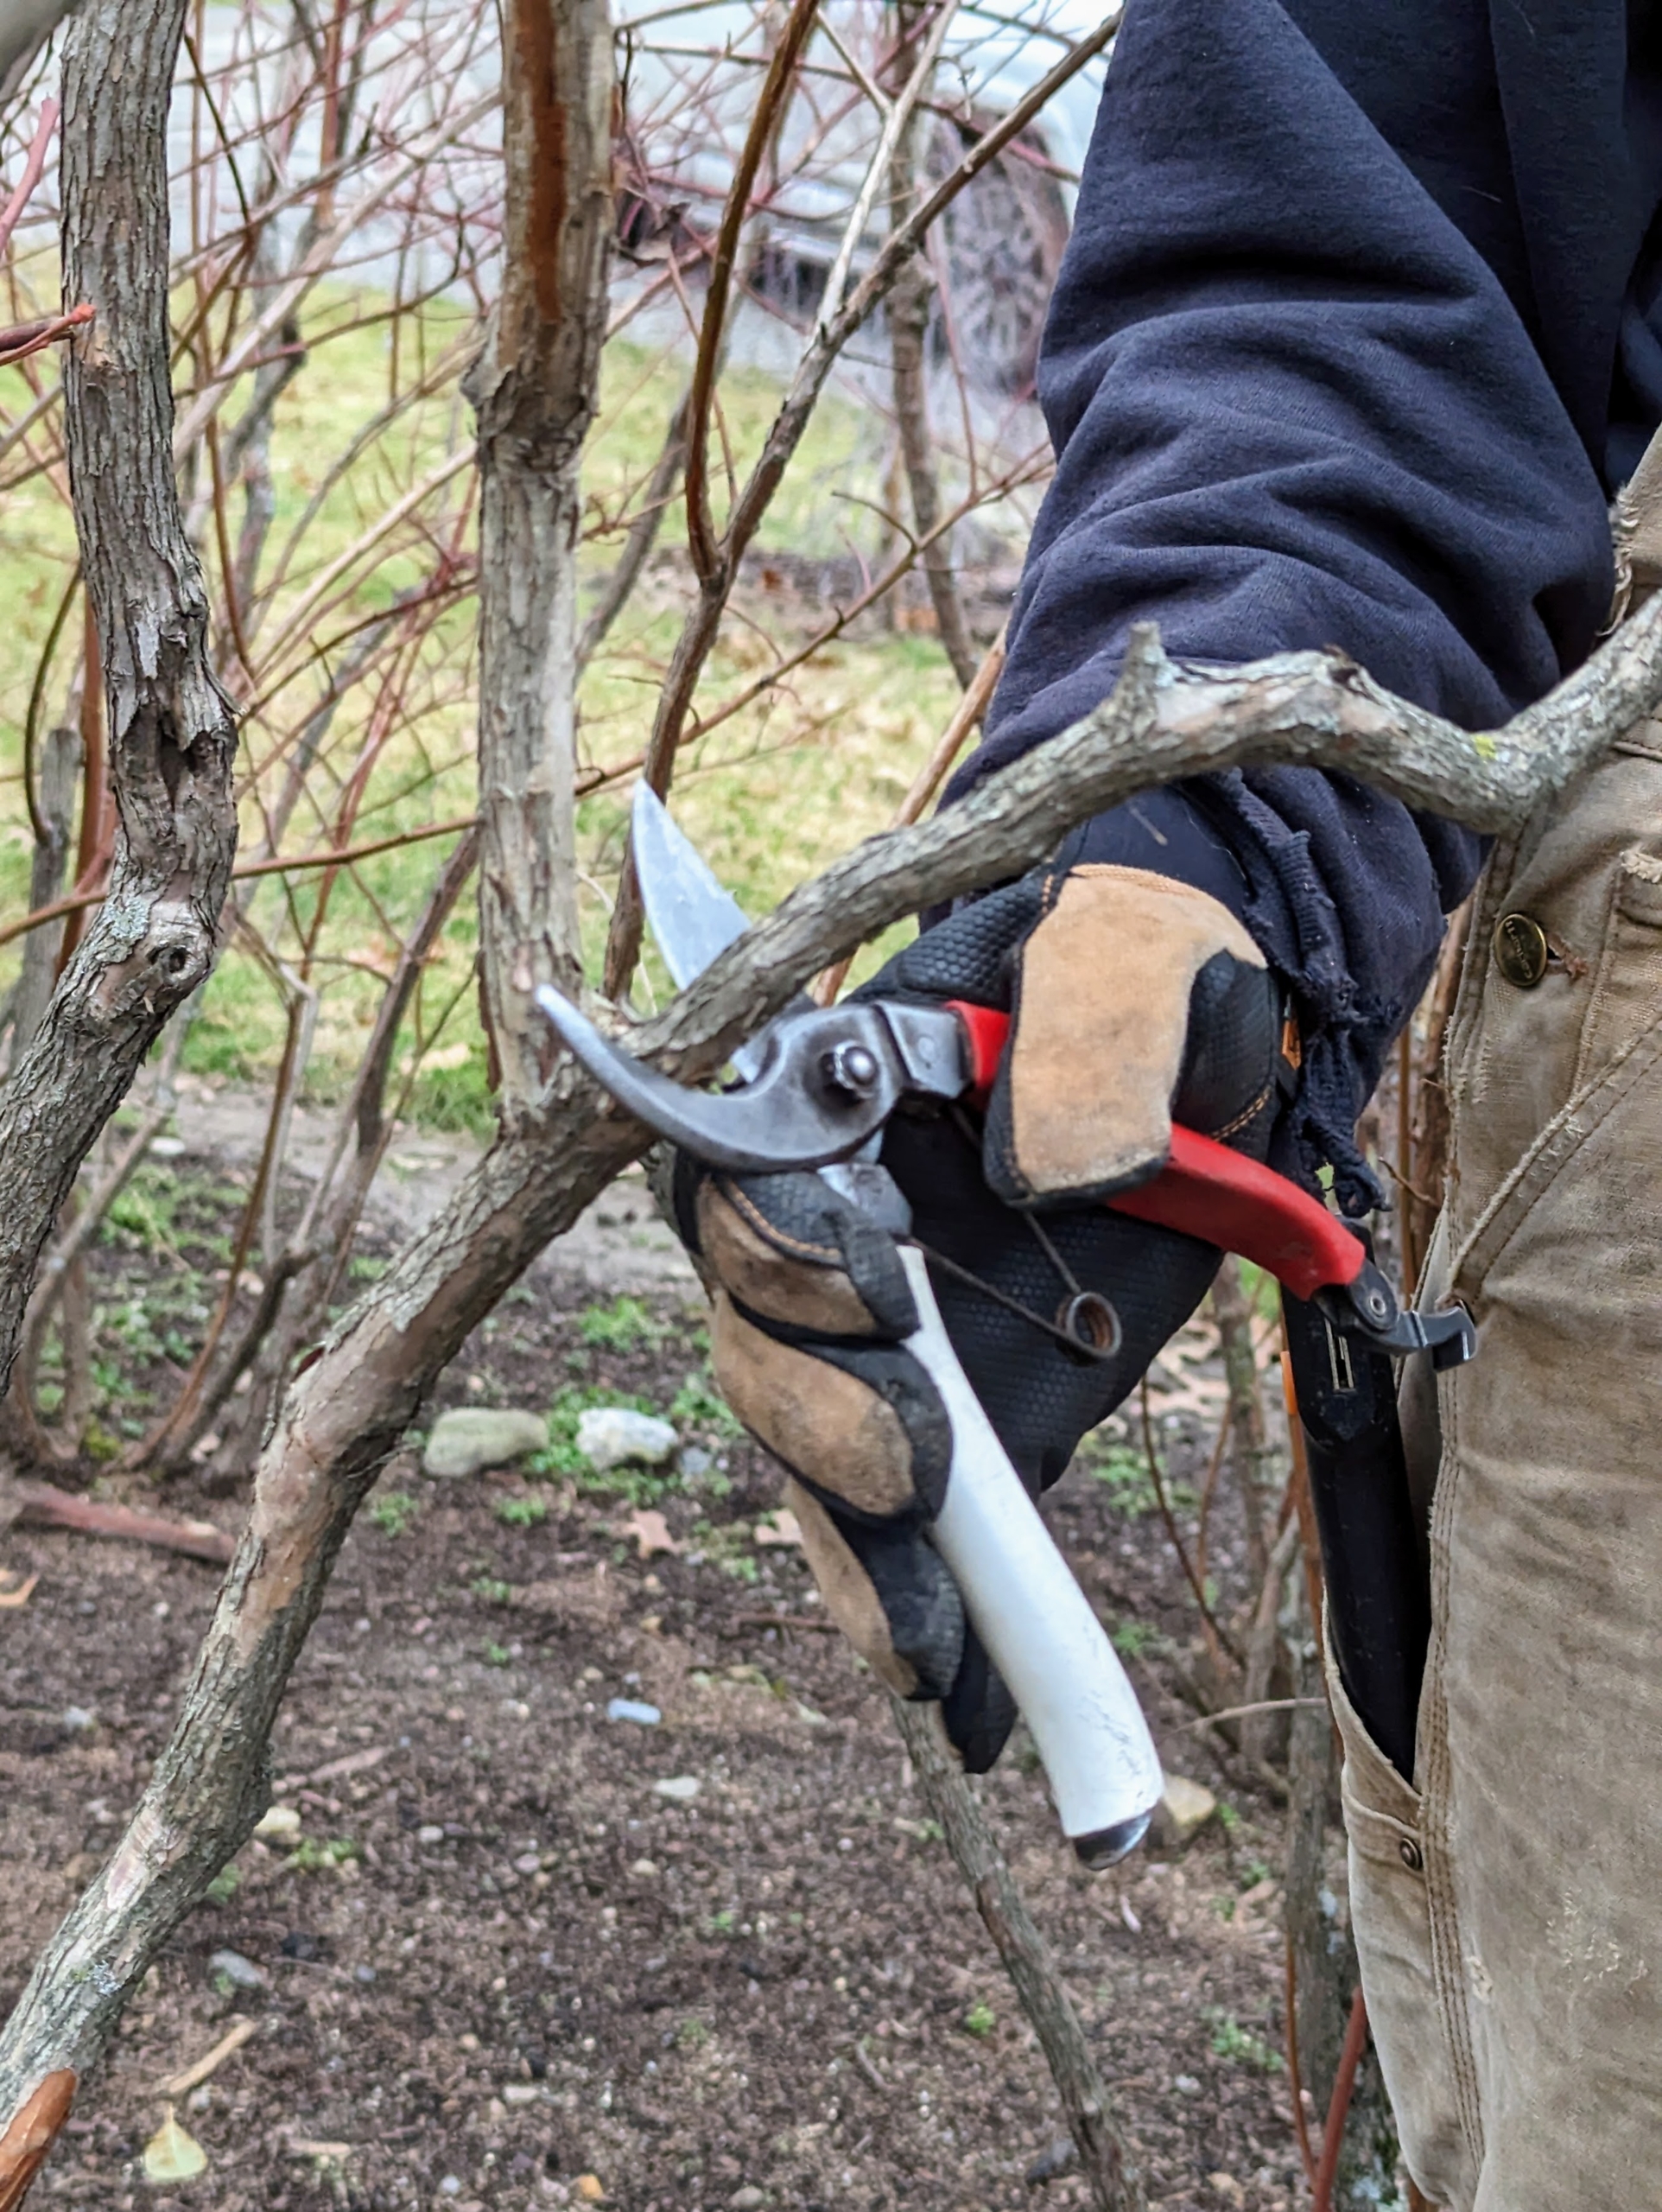
The proper tools for this job include these trusted pruners. If you follow my blog regularly, you may have read my tool sharpening post yesterday. These Okatsune bypass pruners are very sharp and ready for work.
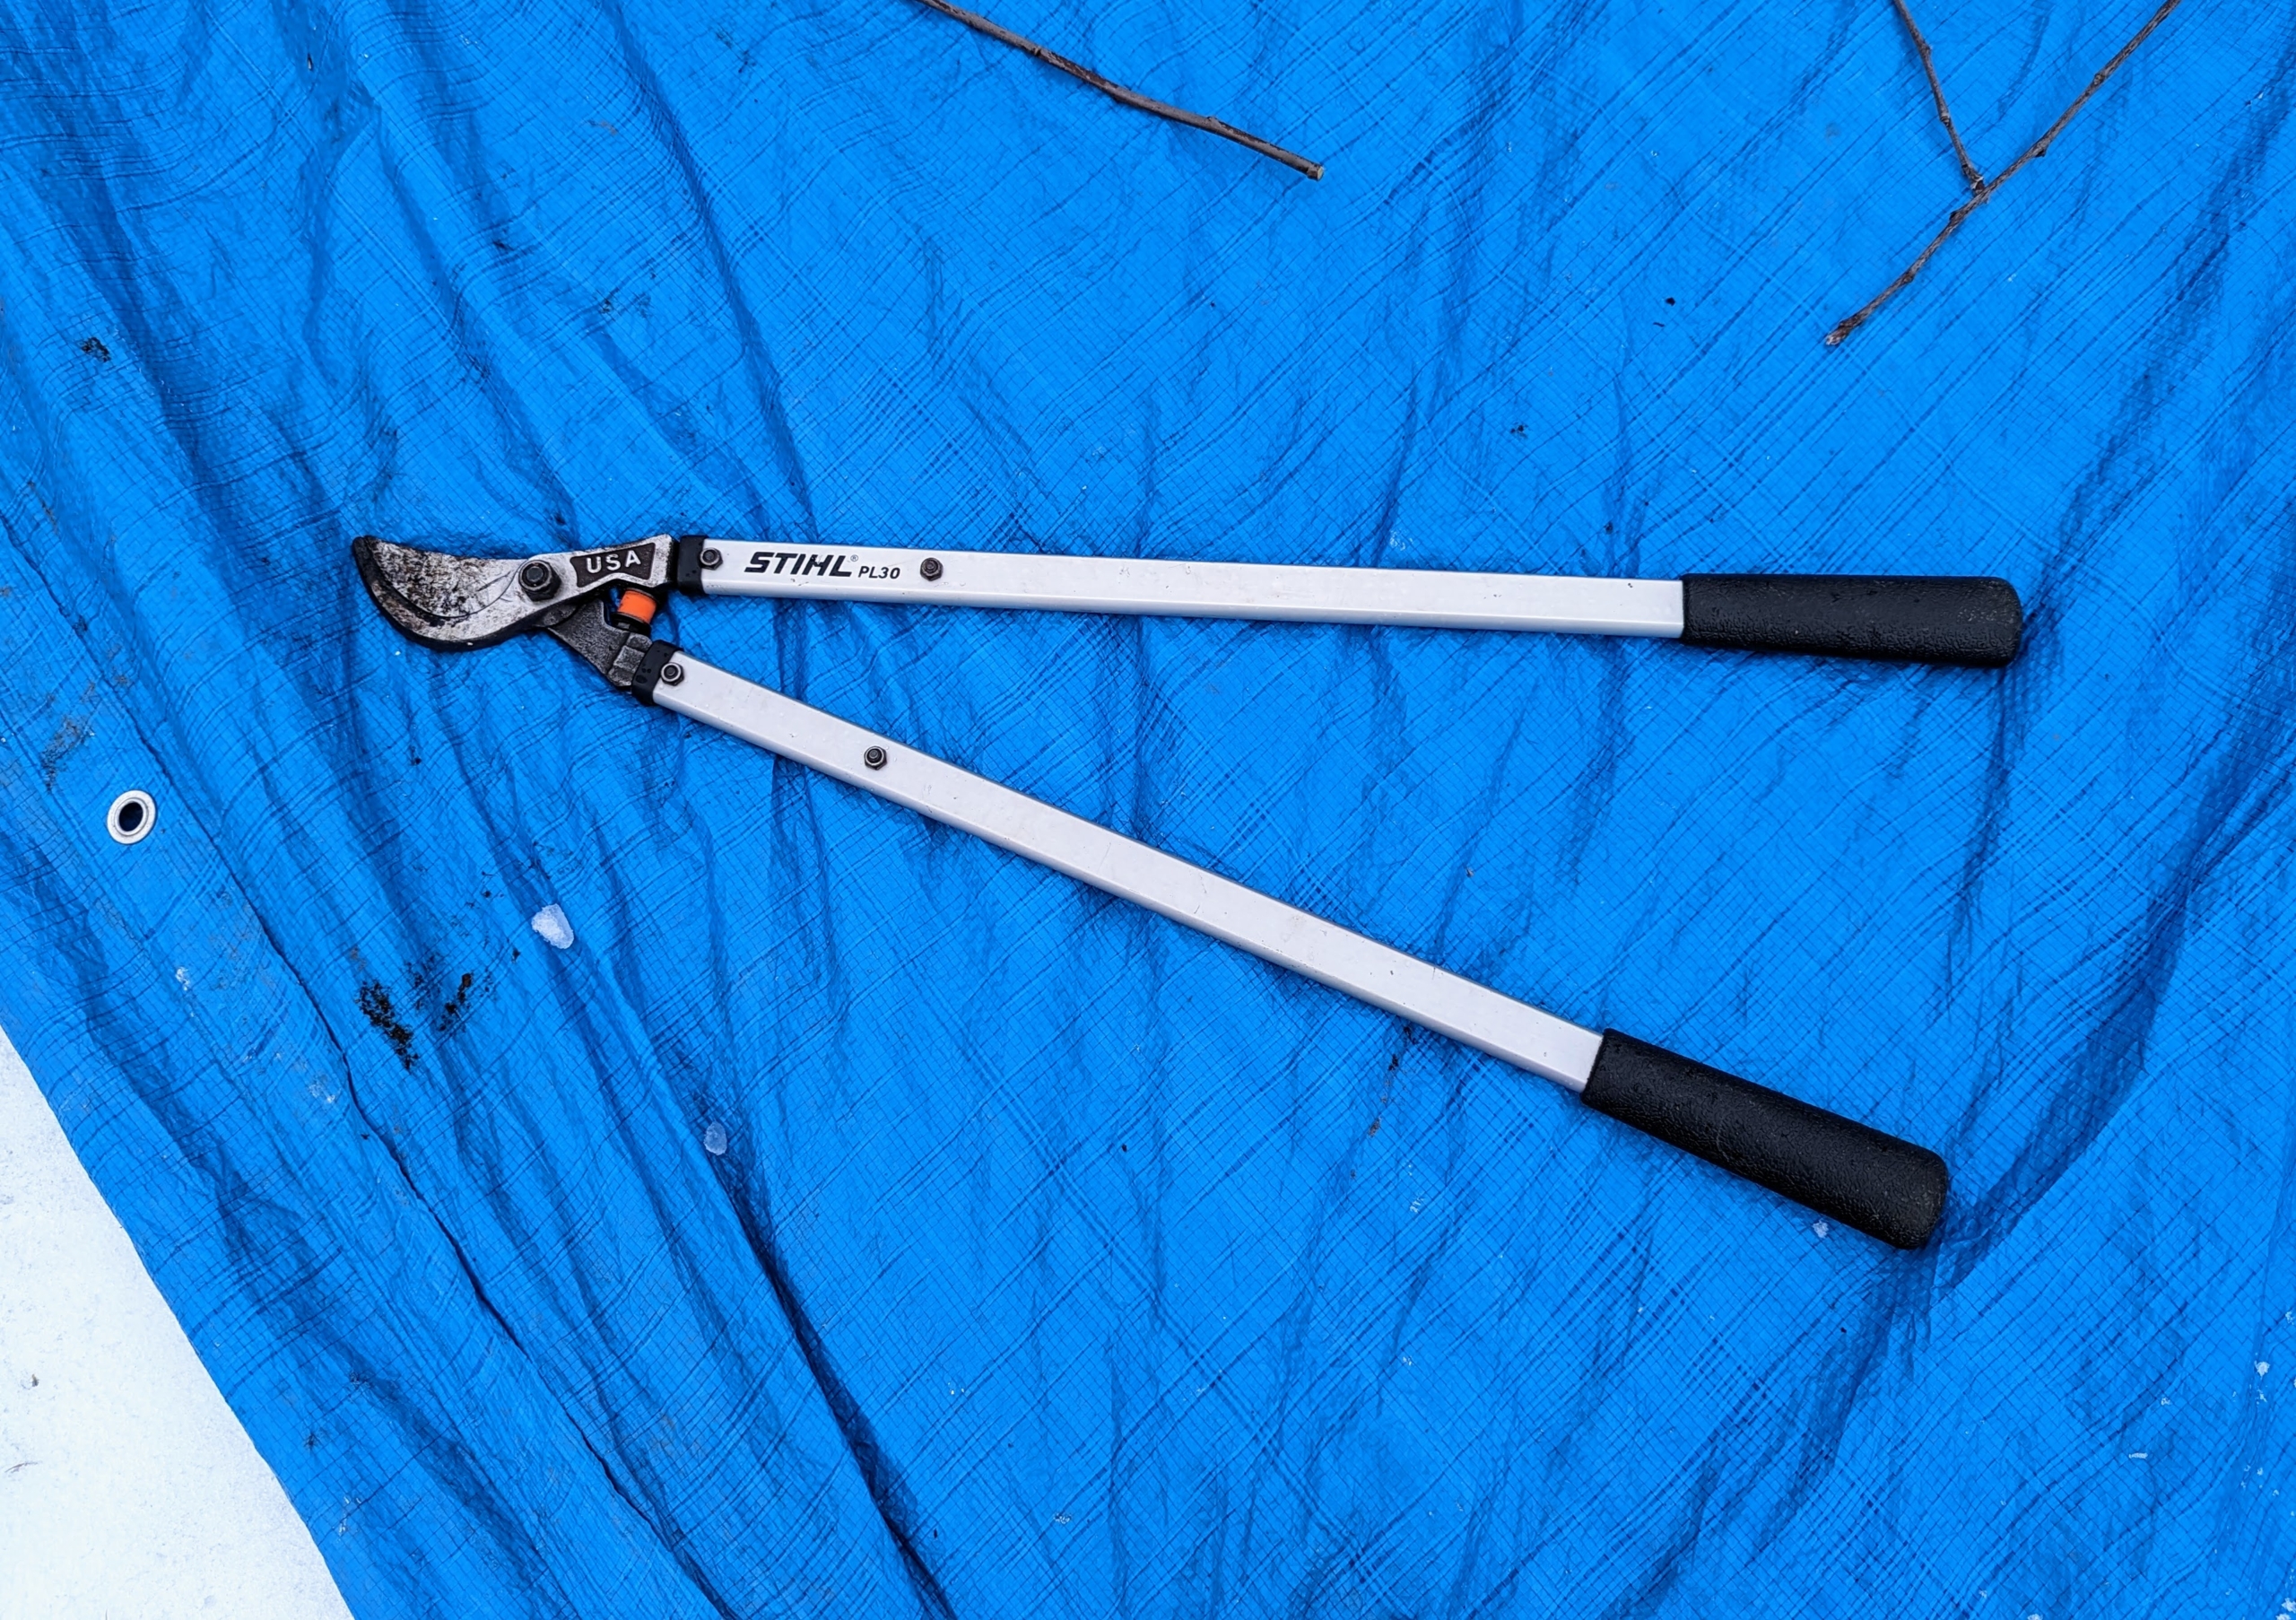
For slightly larger branches up to two-inches in diameter, Brian uses his STIHL bypass loppers.
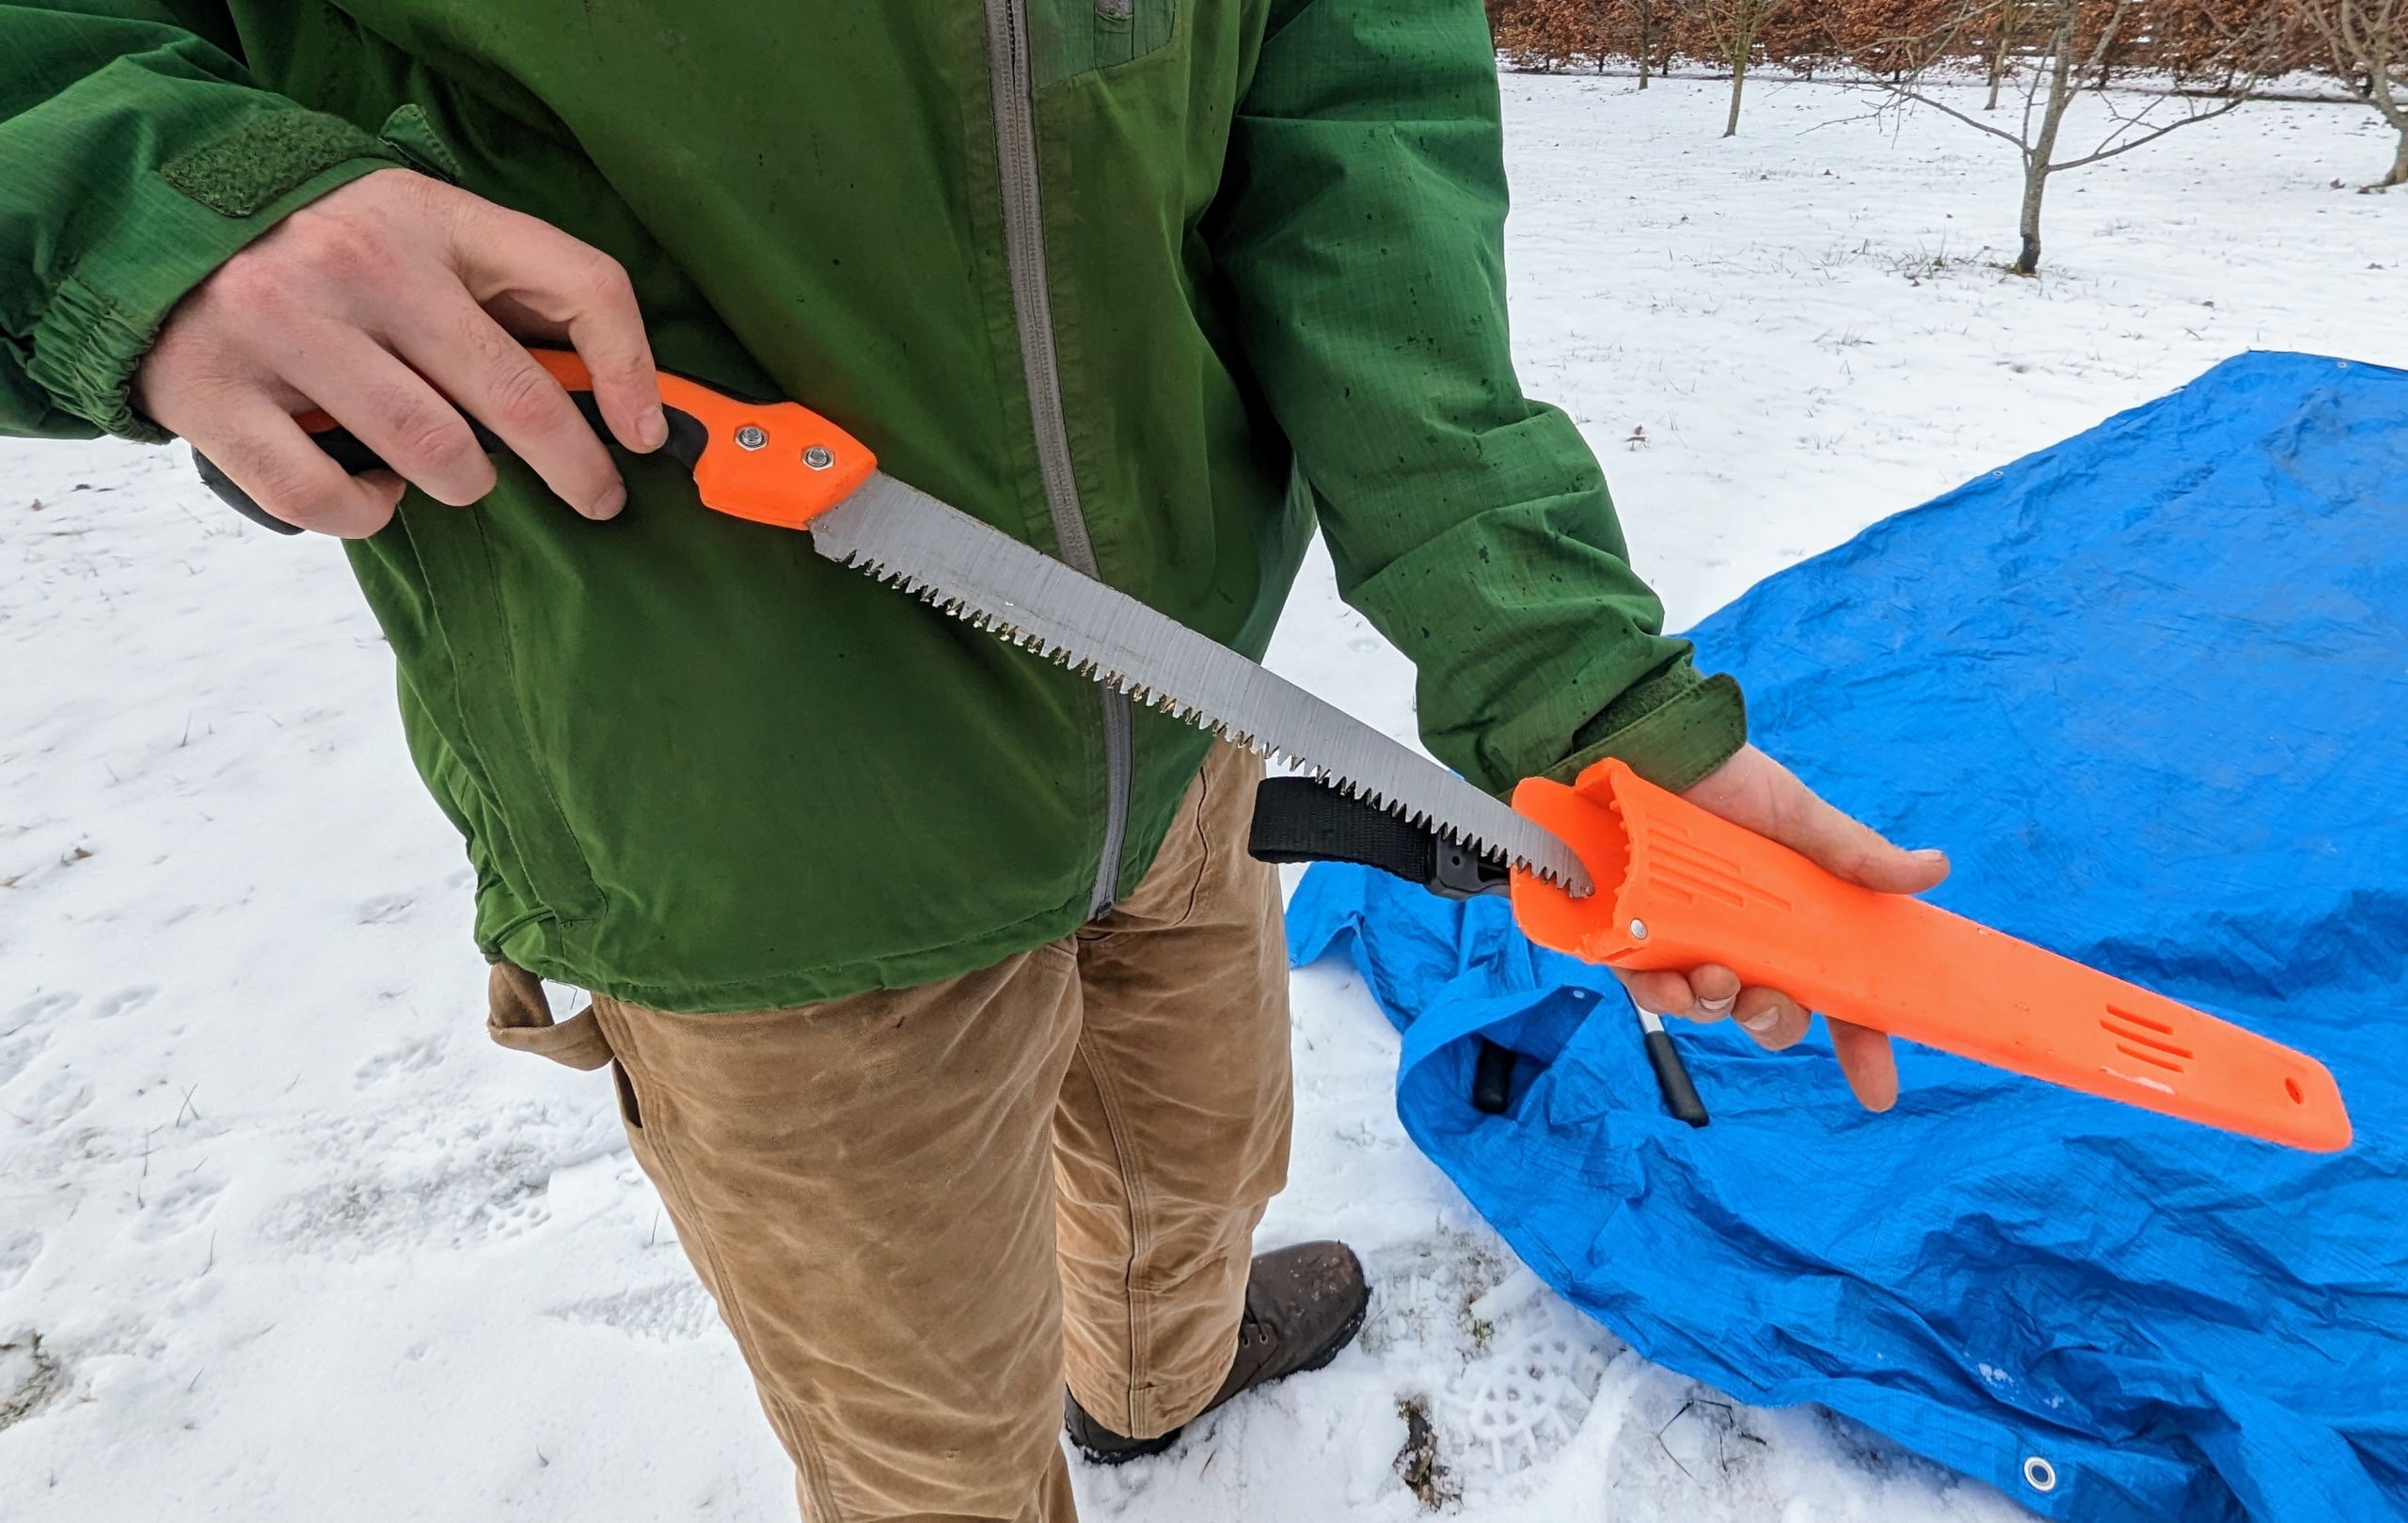
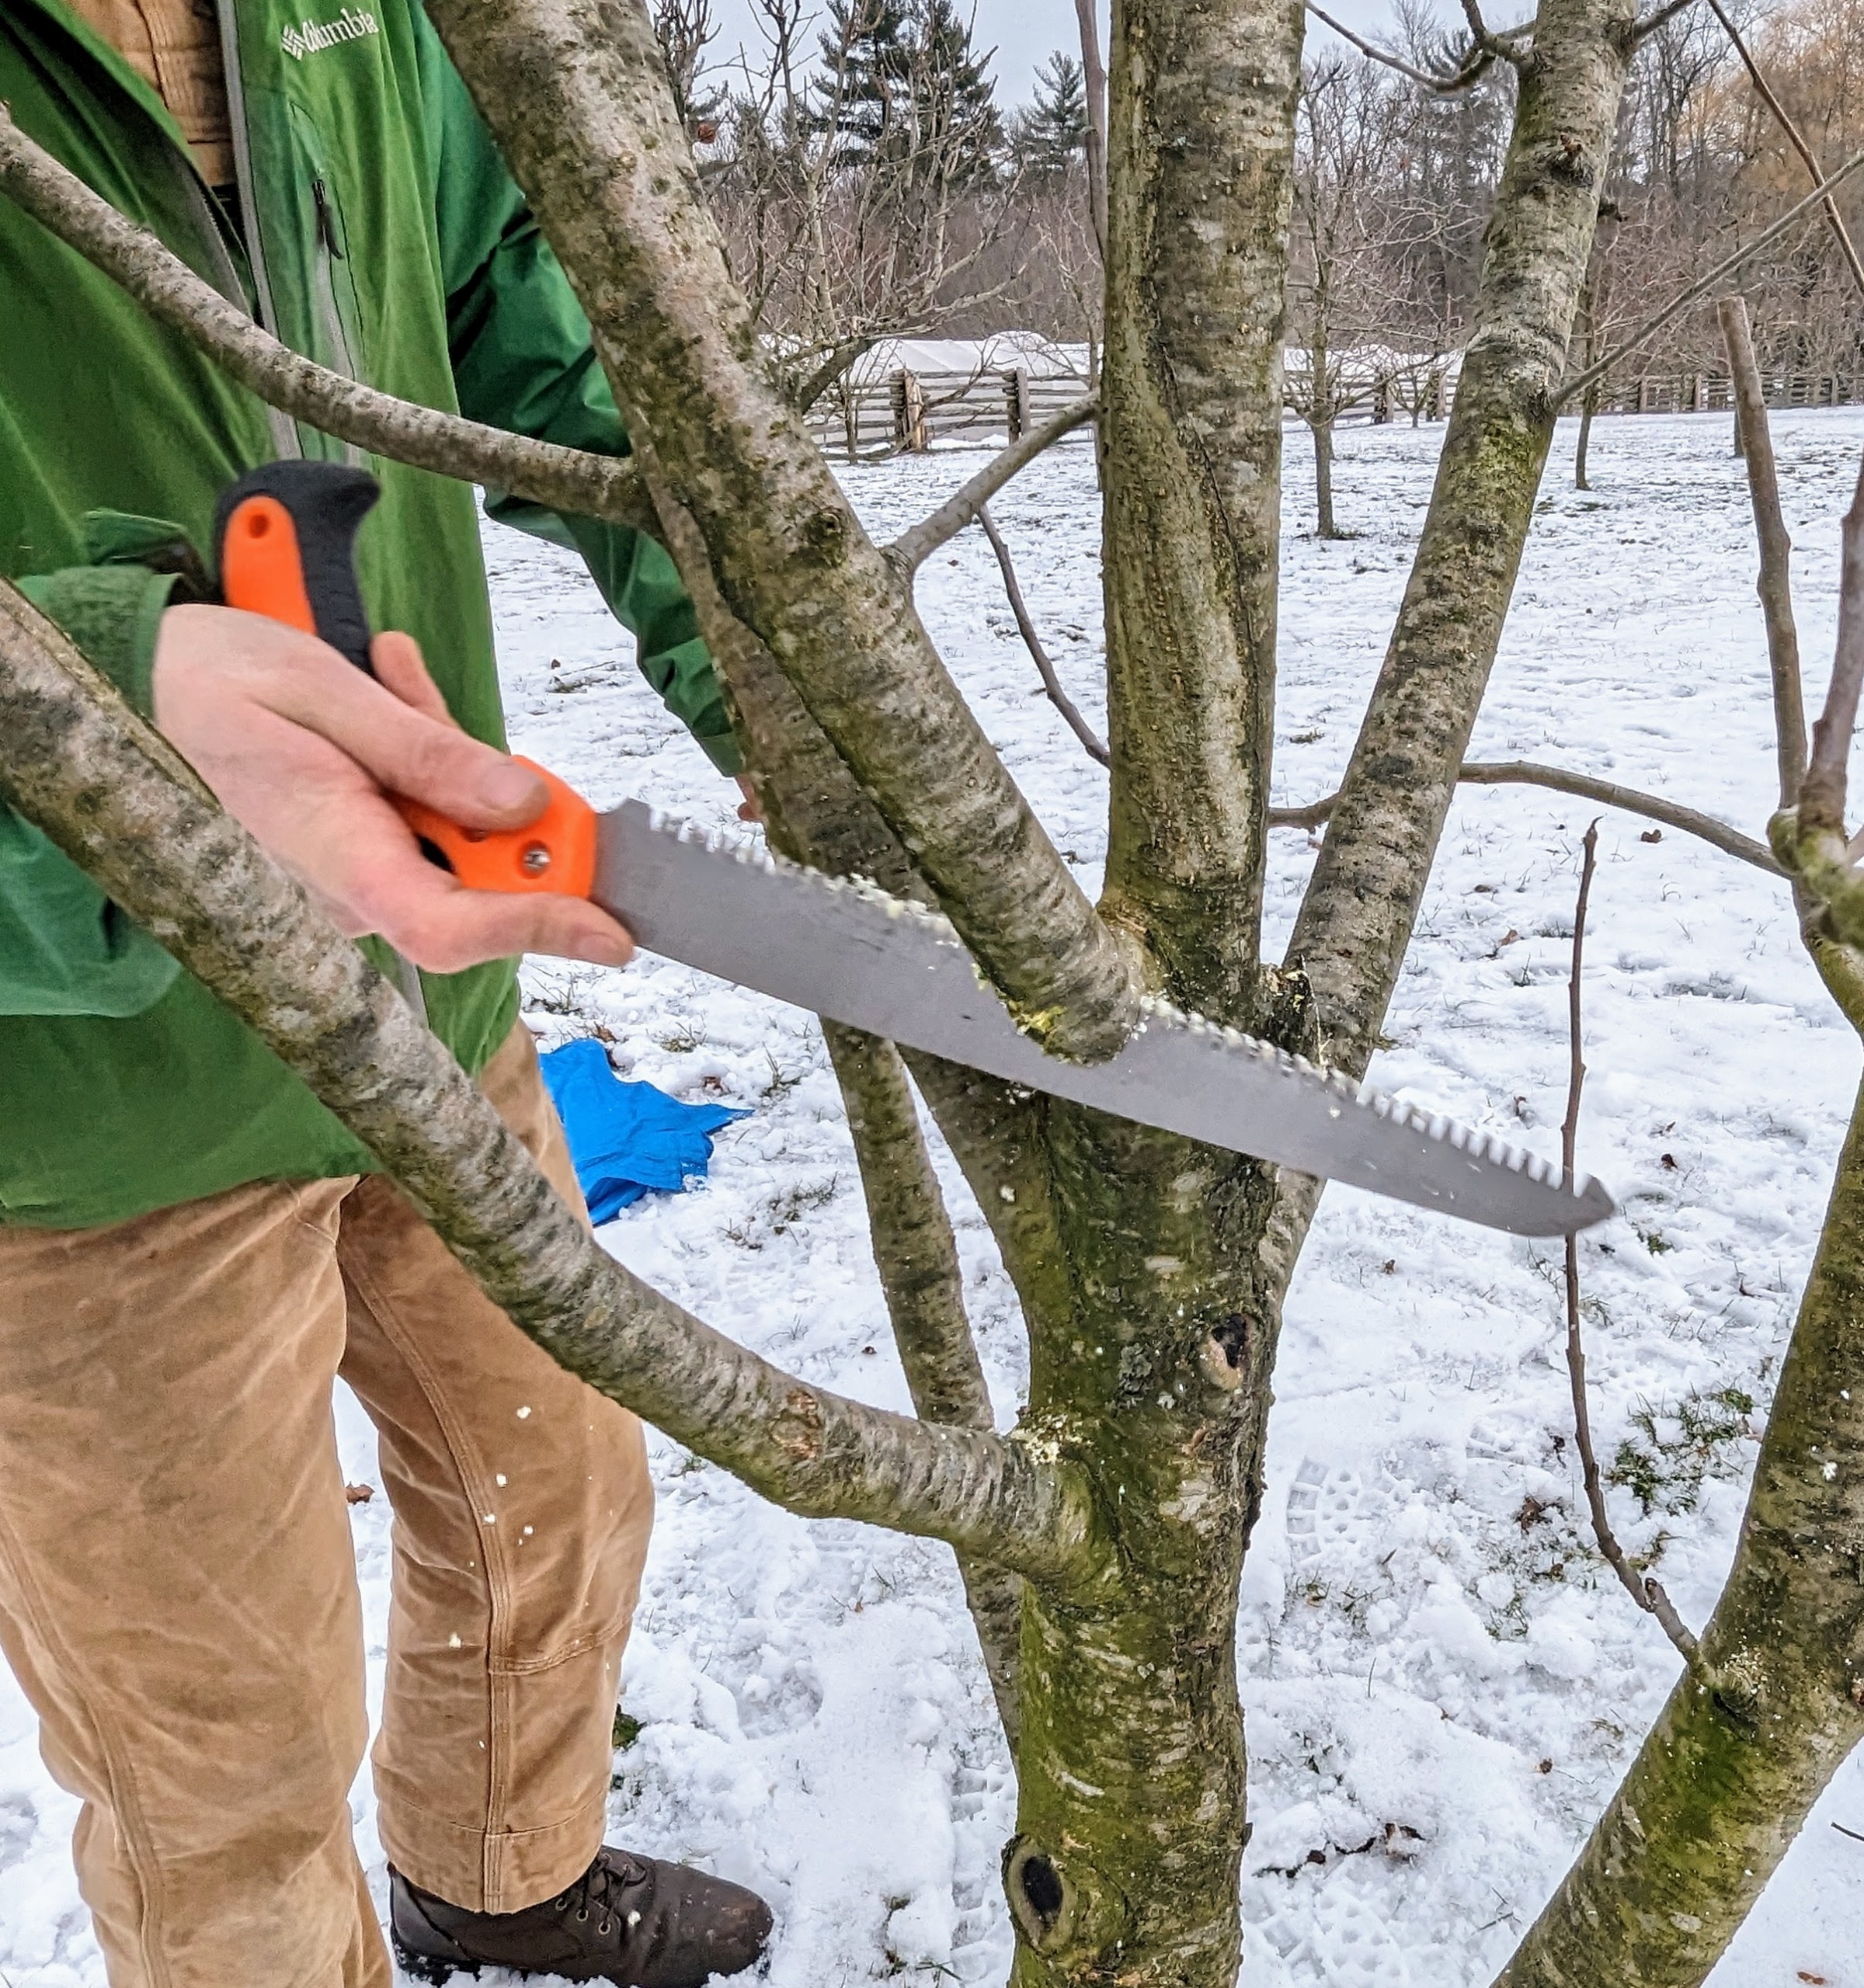
Brian also brought out his pruning saw. A bow saw, or pruning saw, cuts on both the fore stroke and back stroke and is designed for cutting thicker branches.
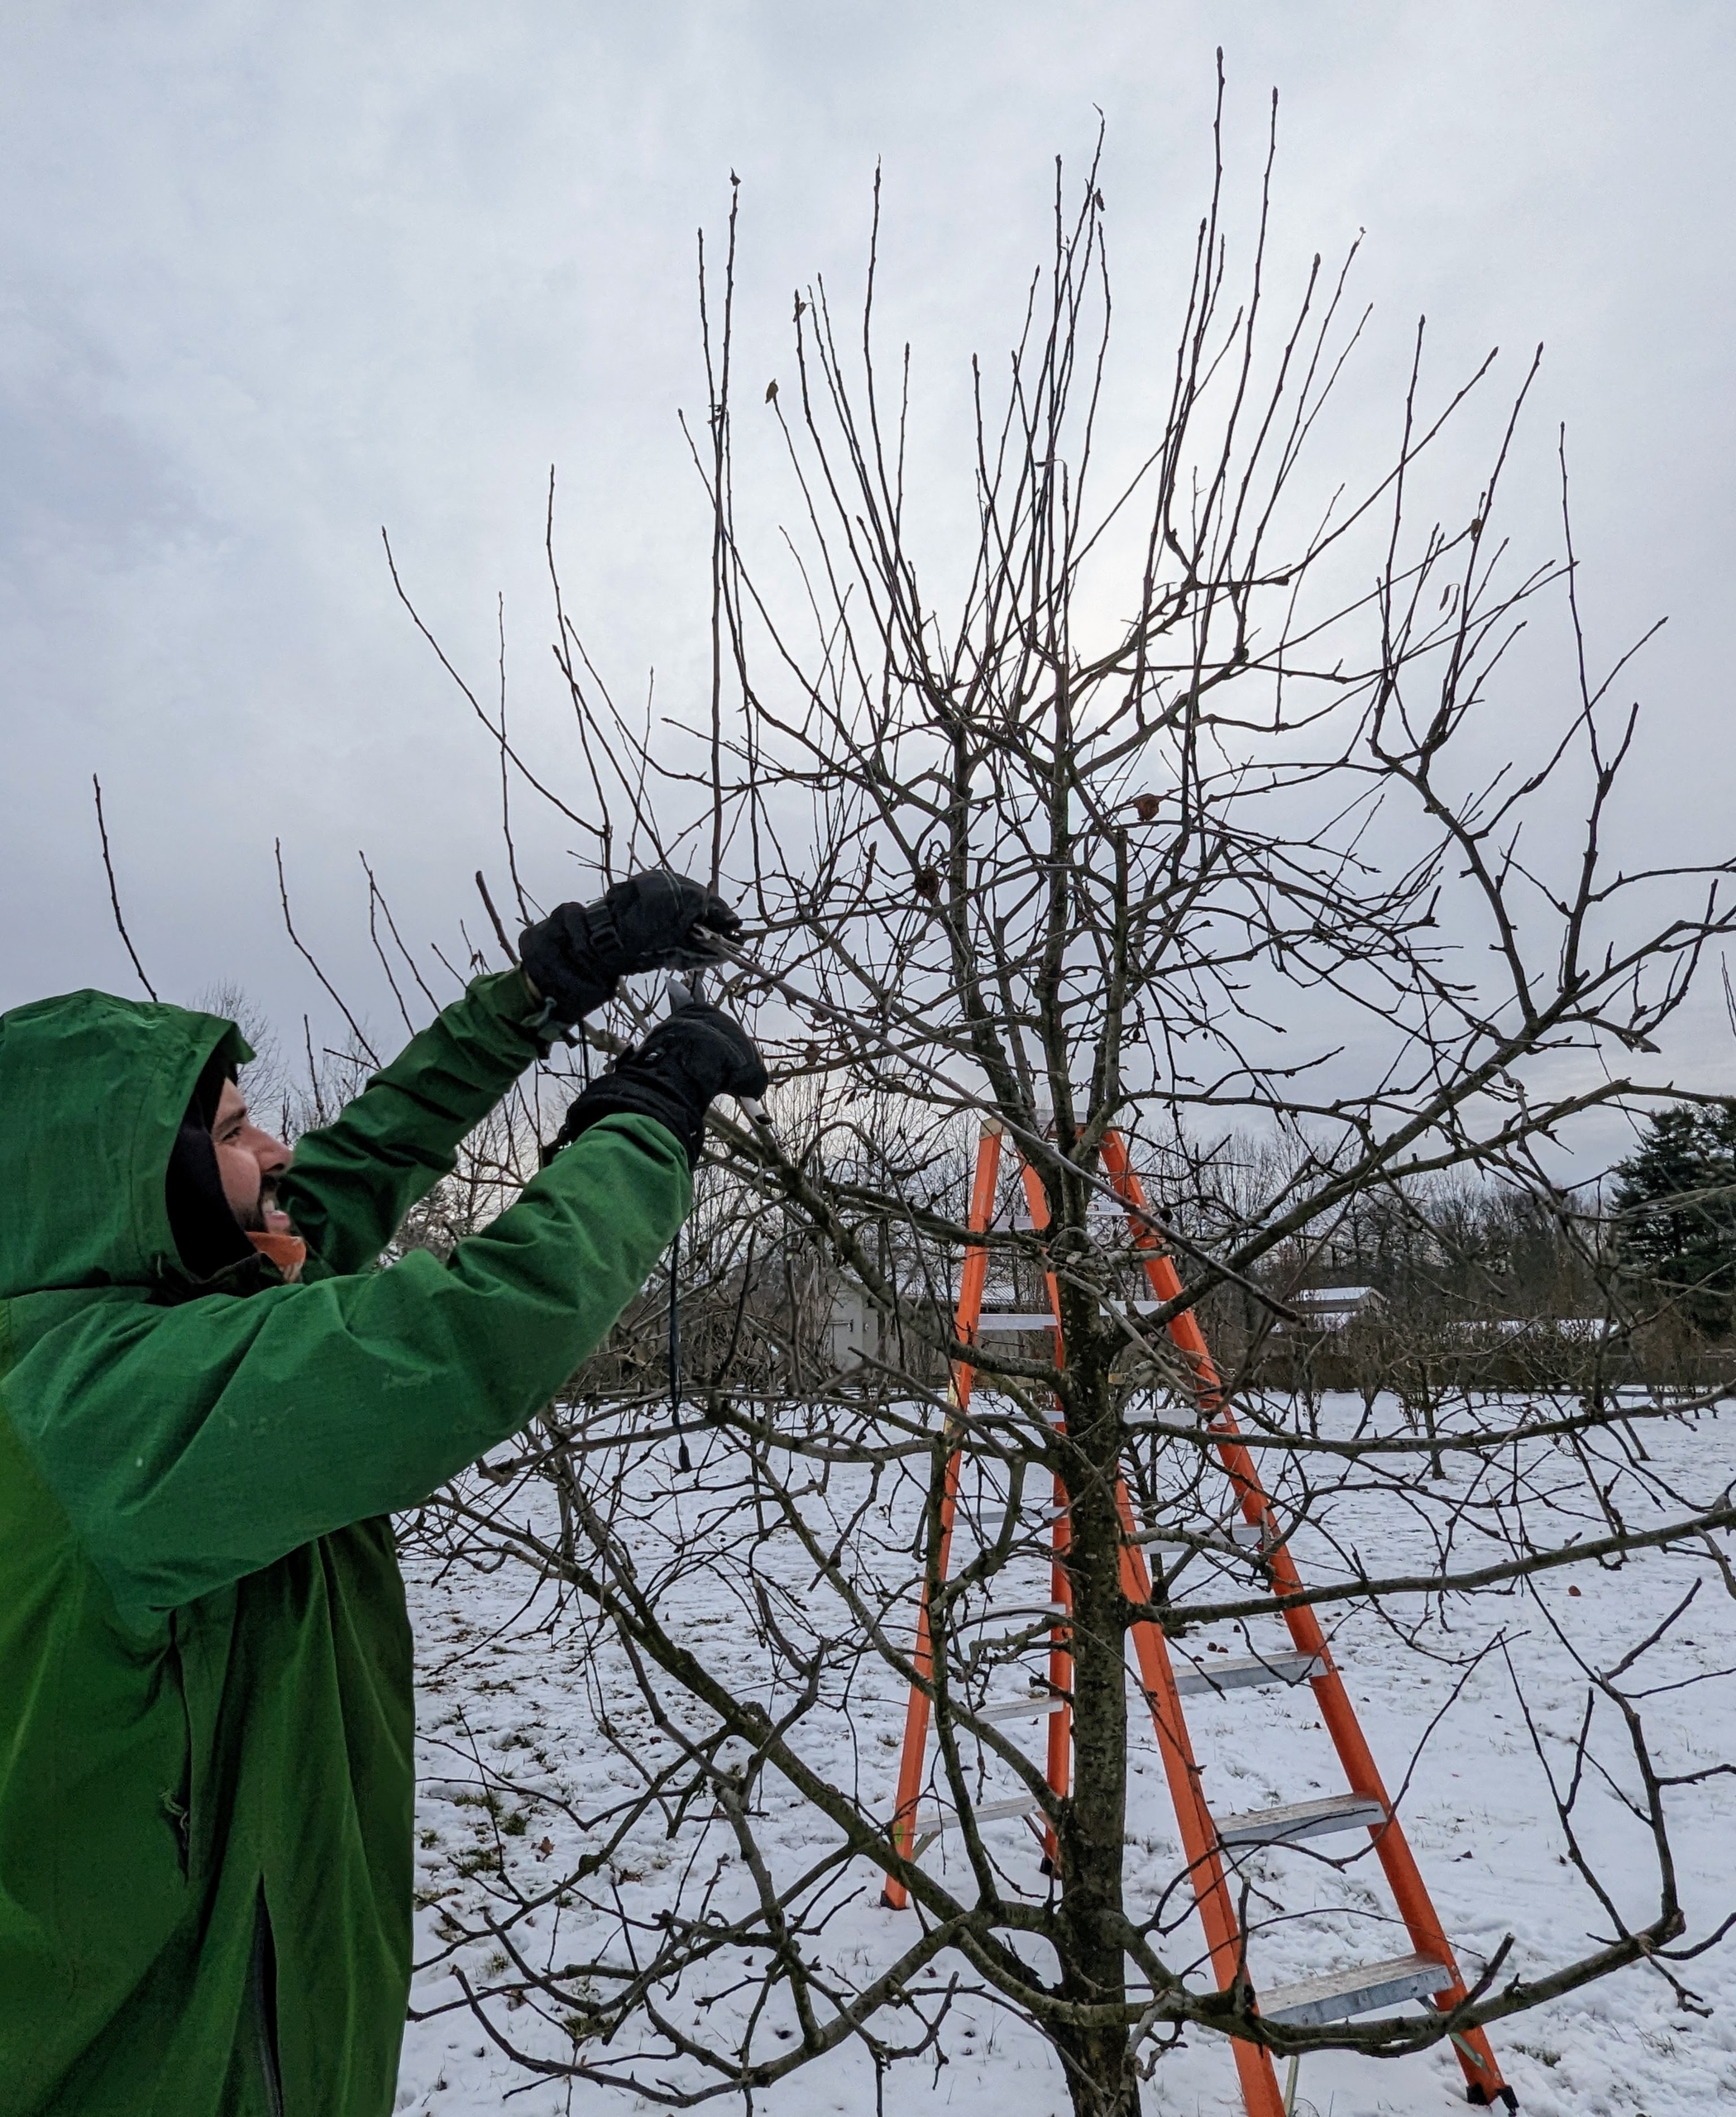
I prefer much of the work be done by hand. Cutting by hand gives my trees a more natural appearance and shape.
Brian removes the water sprouts. Water sprouts are thin branches which normally grow straight up from lateral branches and do not bear fruit.
Dead branches, or those without any signs of new growth, are also cut, so the energy is directed to the branches with fruiting buds.
Tree fruit have two types of buds, terminal and lateral buds. Apples flower and fruit on terminal buds. A terminal, or apical bud, is located at the tip of a shoot. A lateral bud develops along the developing shoot at the base of the leaf blade.
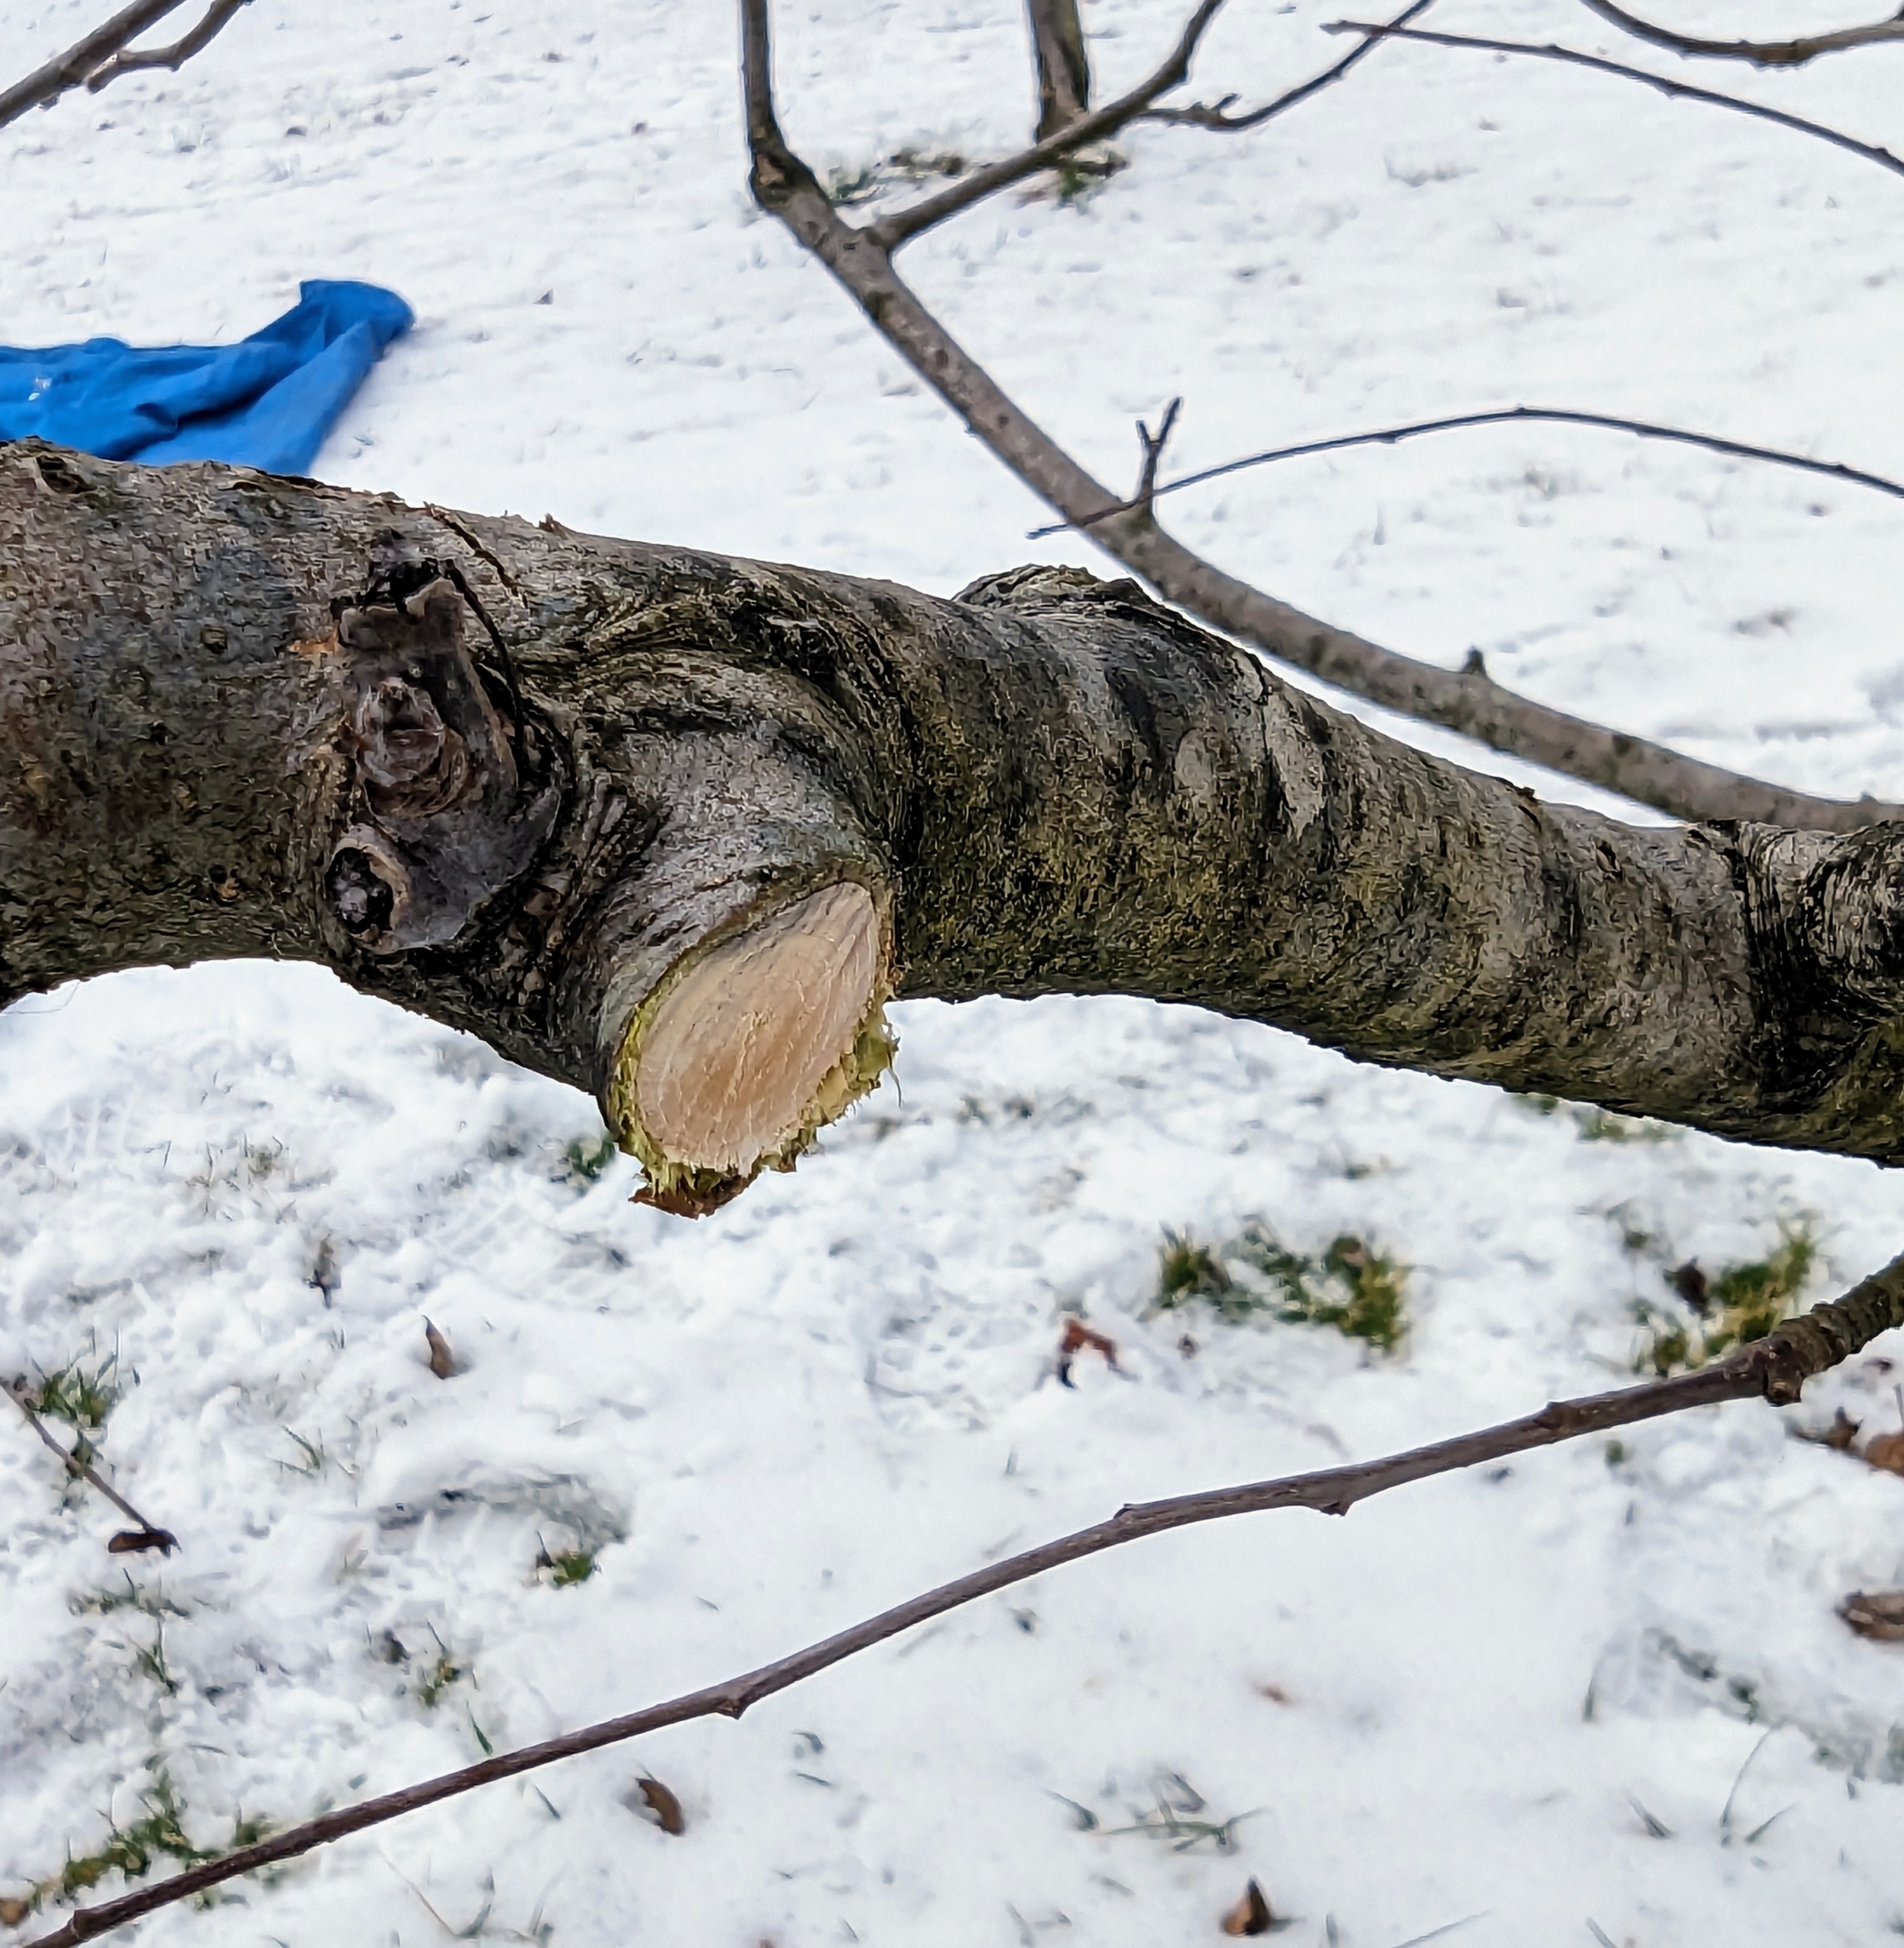
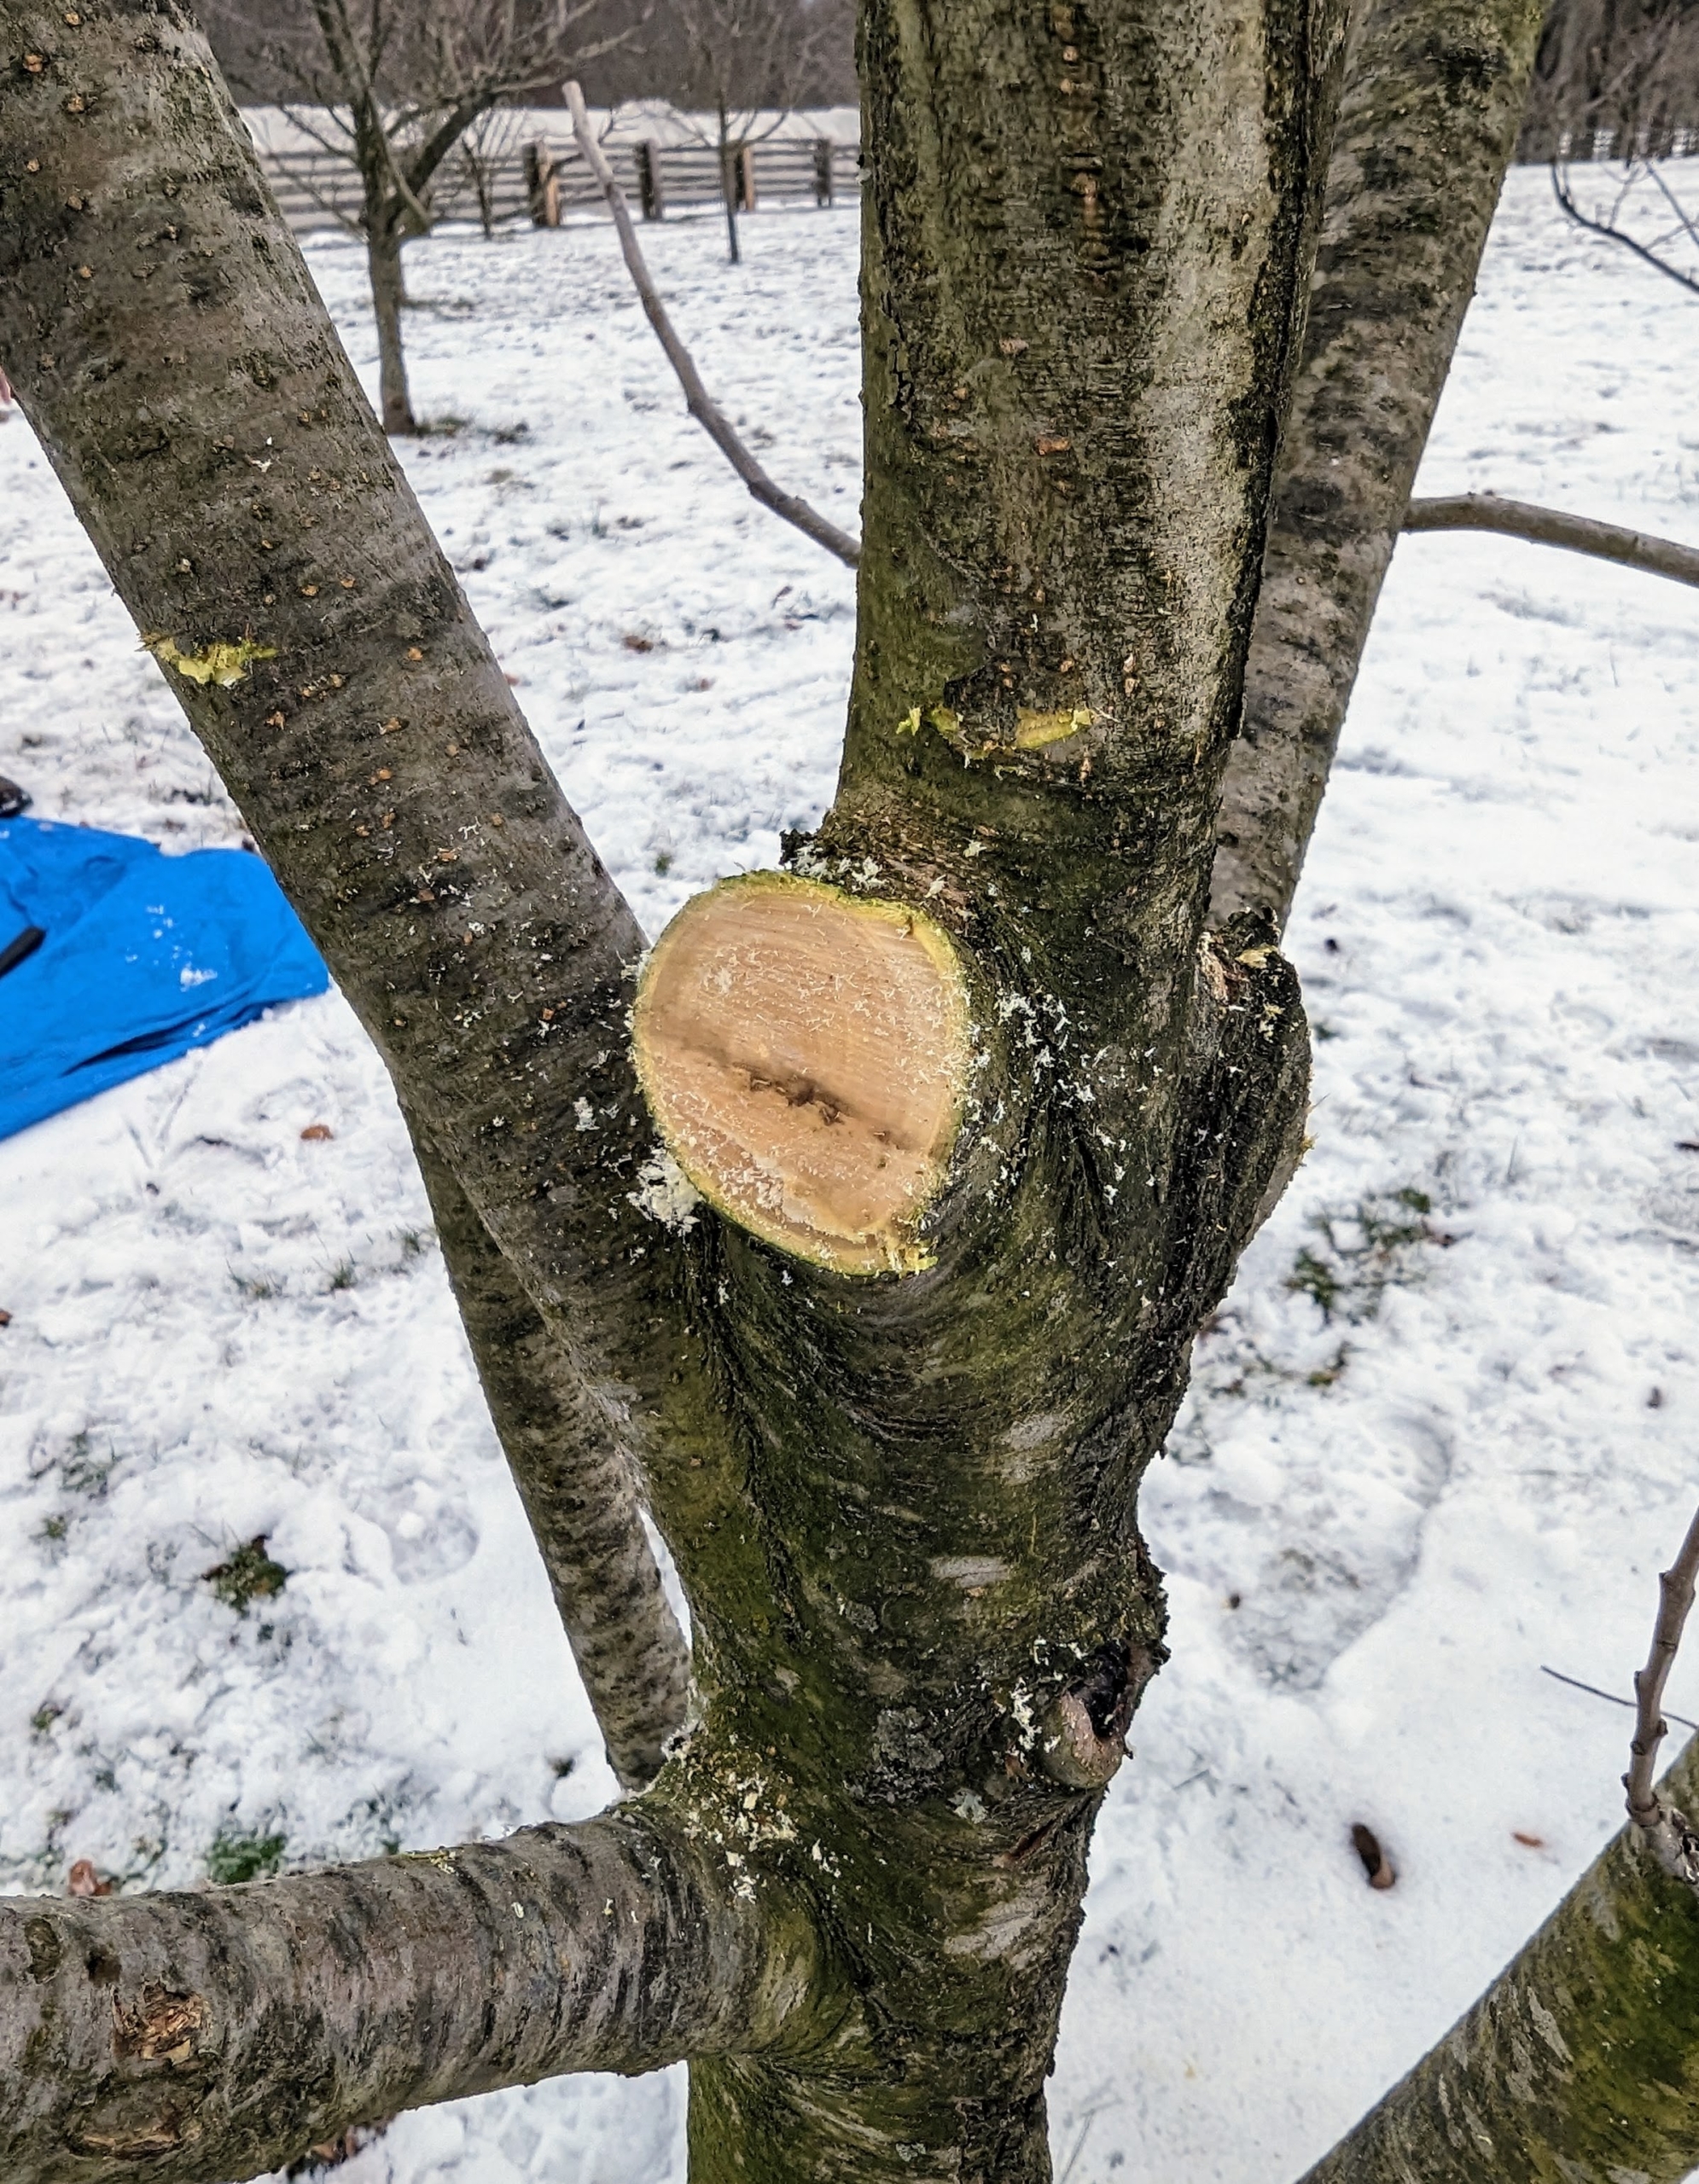
Pruning cuts should be made fairly flush to the branch from which it grew. The idea is to leave slight stubs. By removing any more, the remaining branch has too much of an opening for disease to enter. Here, one can see where a cut was made.
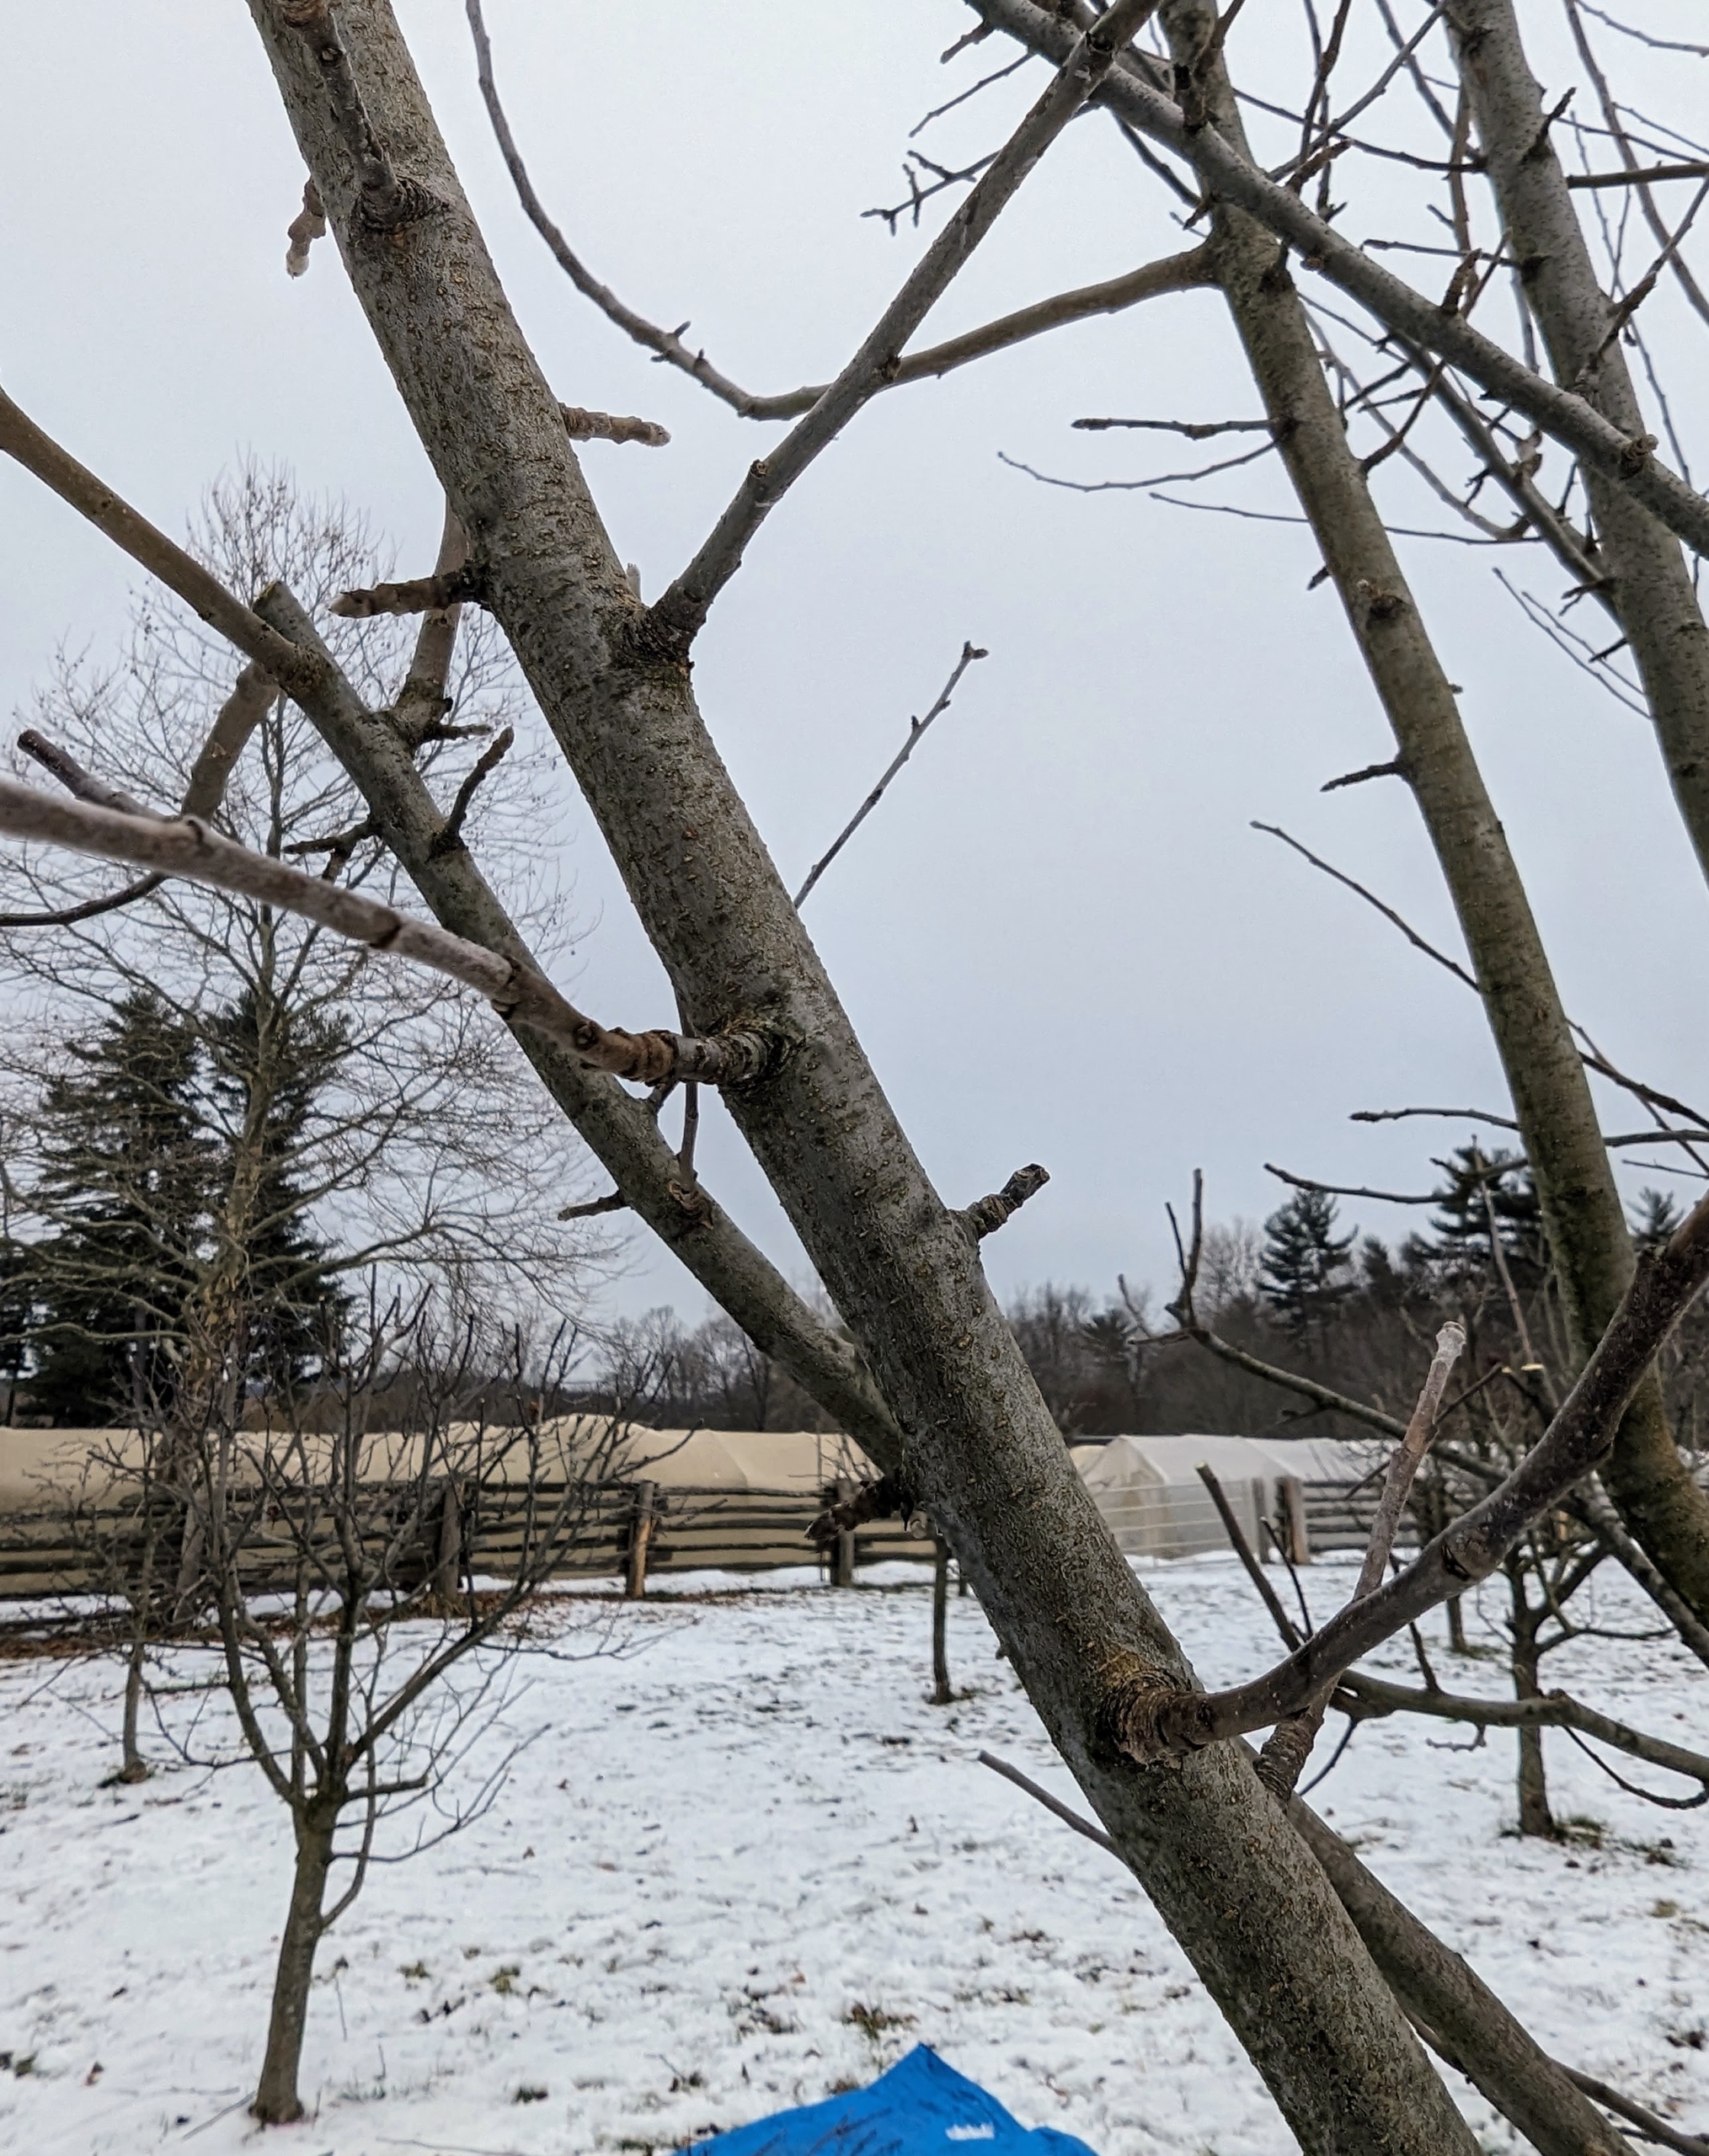
Brian cuts branches that are rubbing or crisscrossing each other, preventing any healthy new growth. Basically, the goal is to create a tree with well spaced lateral branches. Any branches which interfere with the tree’s shape or create a dense framework should be removed.
And every so often he steps back to assess his work. A well pruned tree should have a balanced shape. I instruct the crew to cut about a third of the new growth.
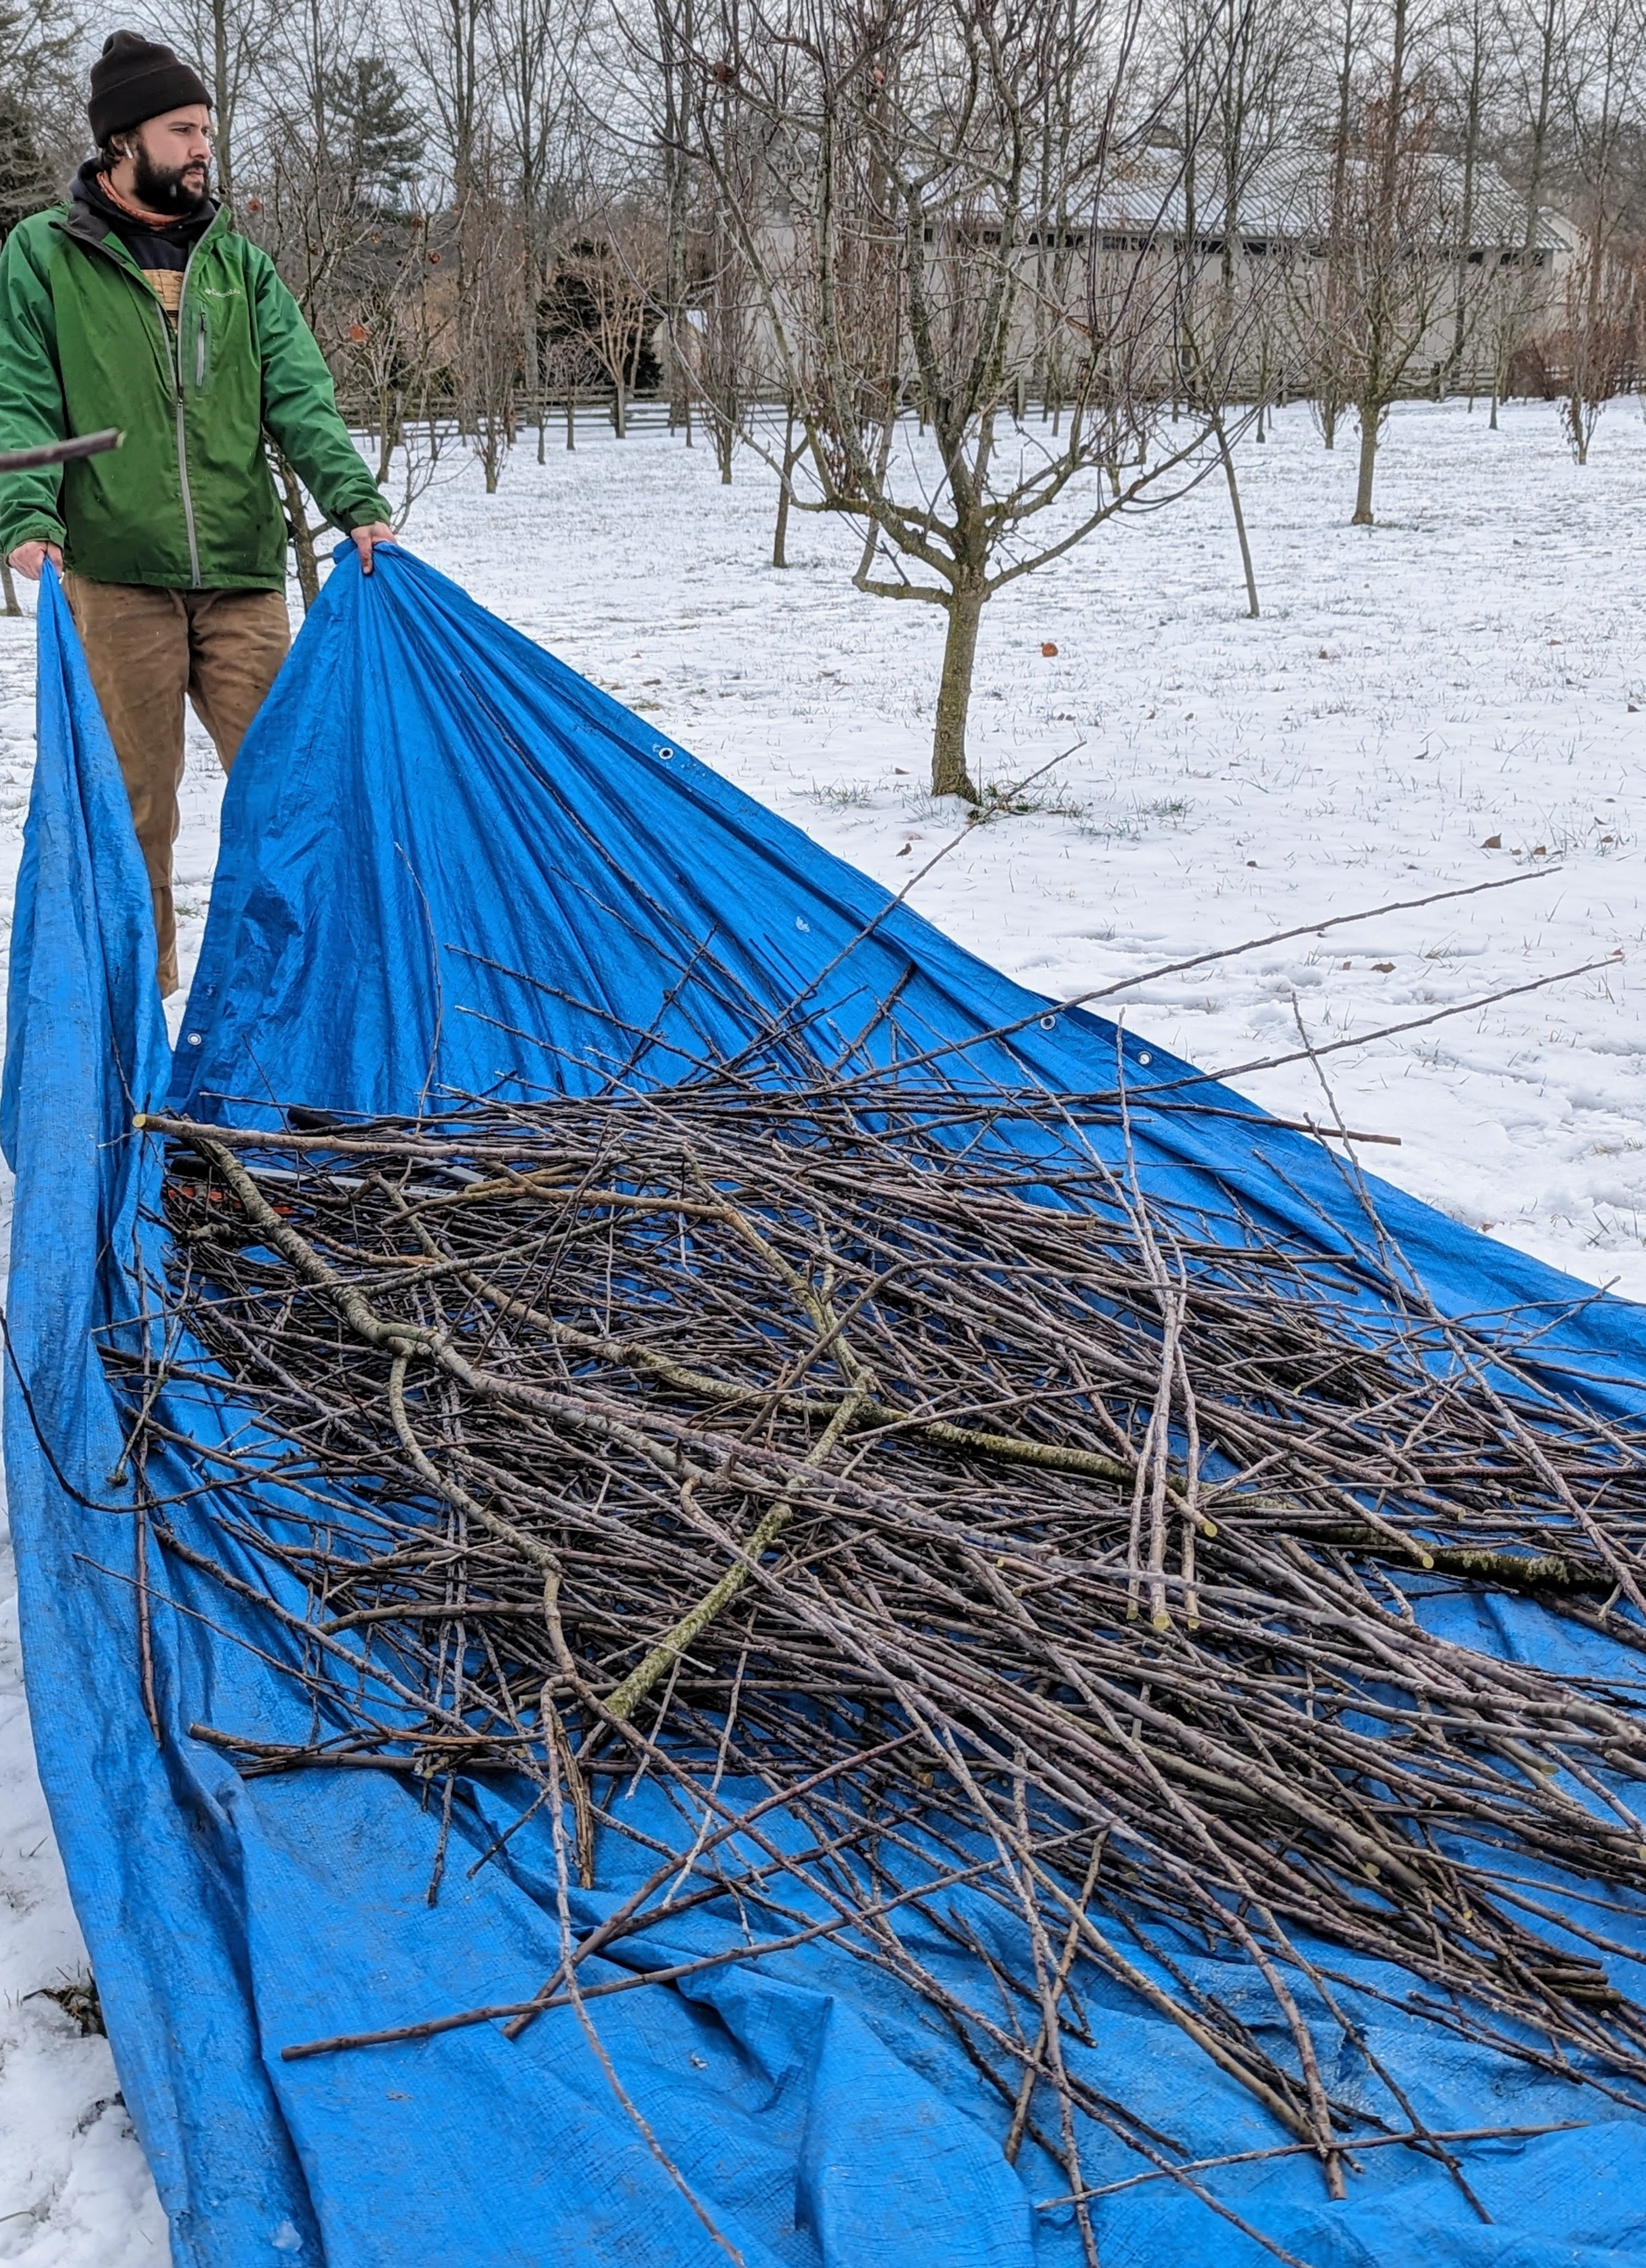
One tip – prune with a tarp nearby for cut branches. After the branches are cut, they are gathered, neatly piled, and then either saved for kindling or processed through a wood chipper to make mulch.
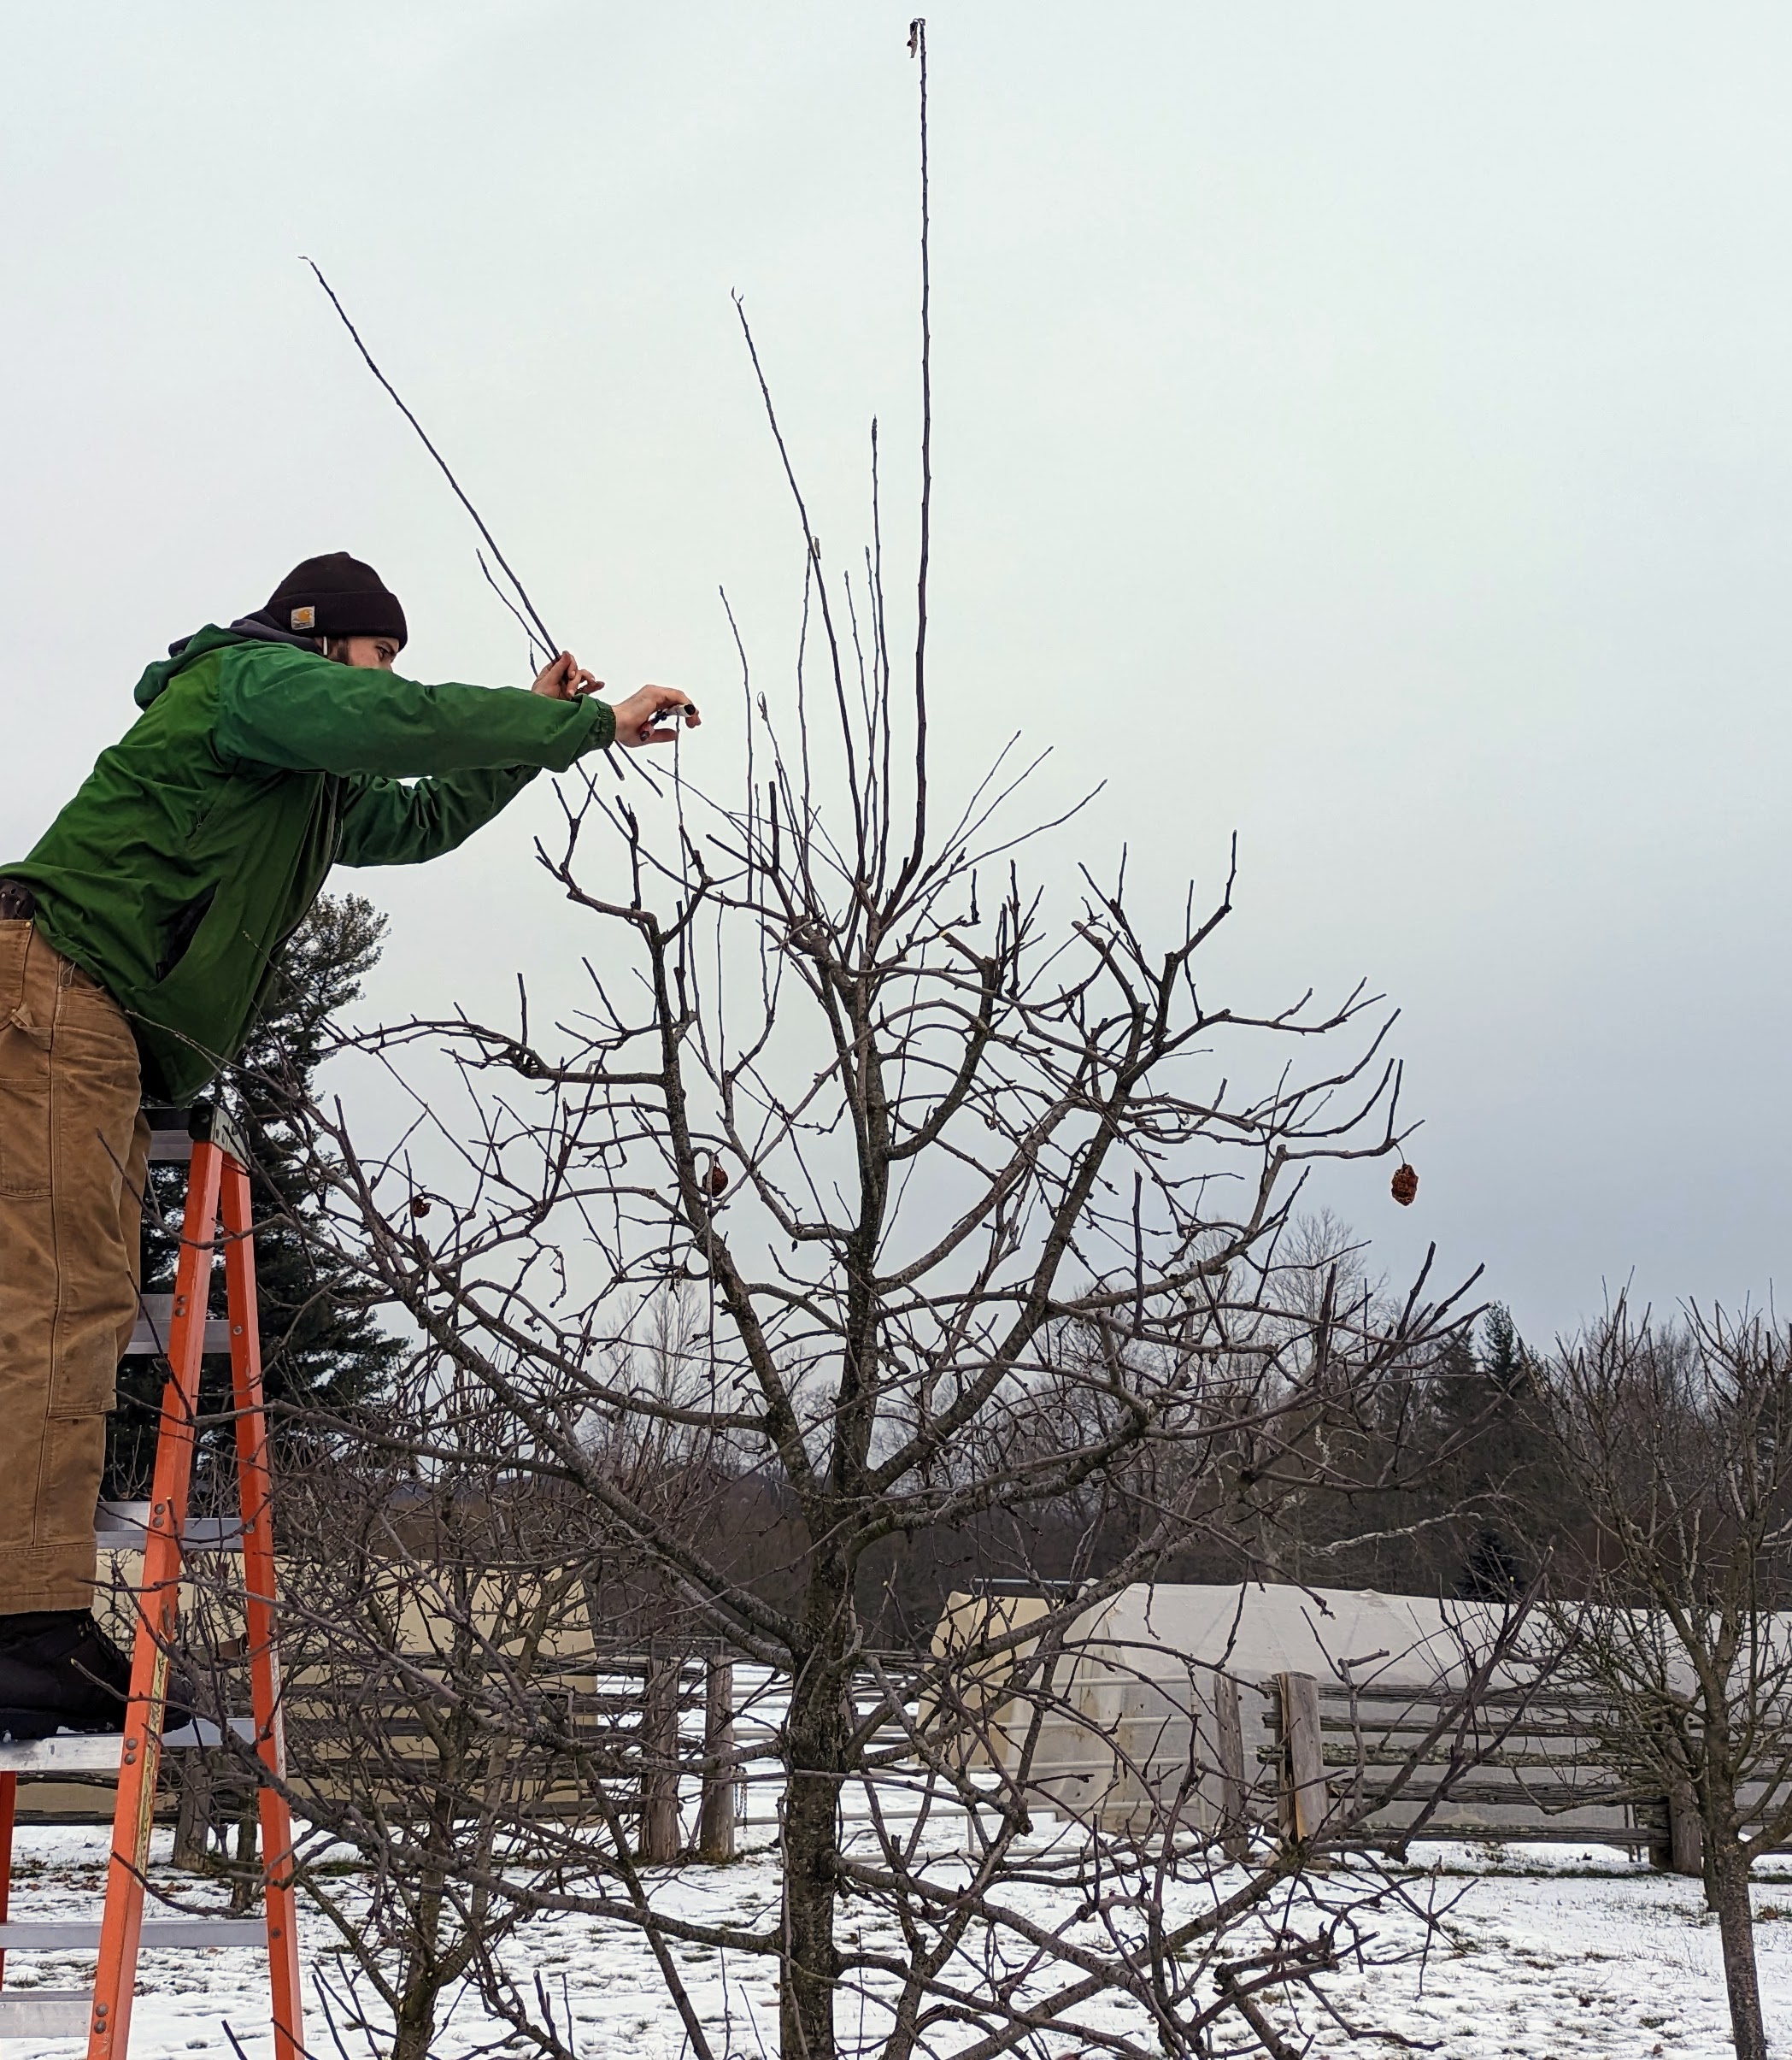
Here, Brian removes crowded branches to help let in light and promote good air circulation. Brian is also mindful of the leader. A leader is the dominant trunk of a tree. He defines which one it is and creates a good shape around it.
And cuts should be clean – something that can only be done with good, sharp tools.
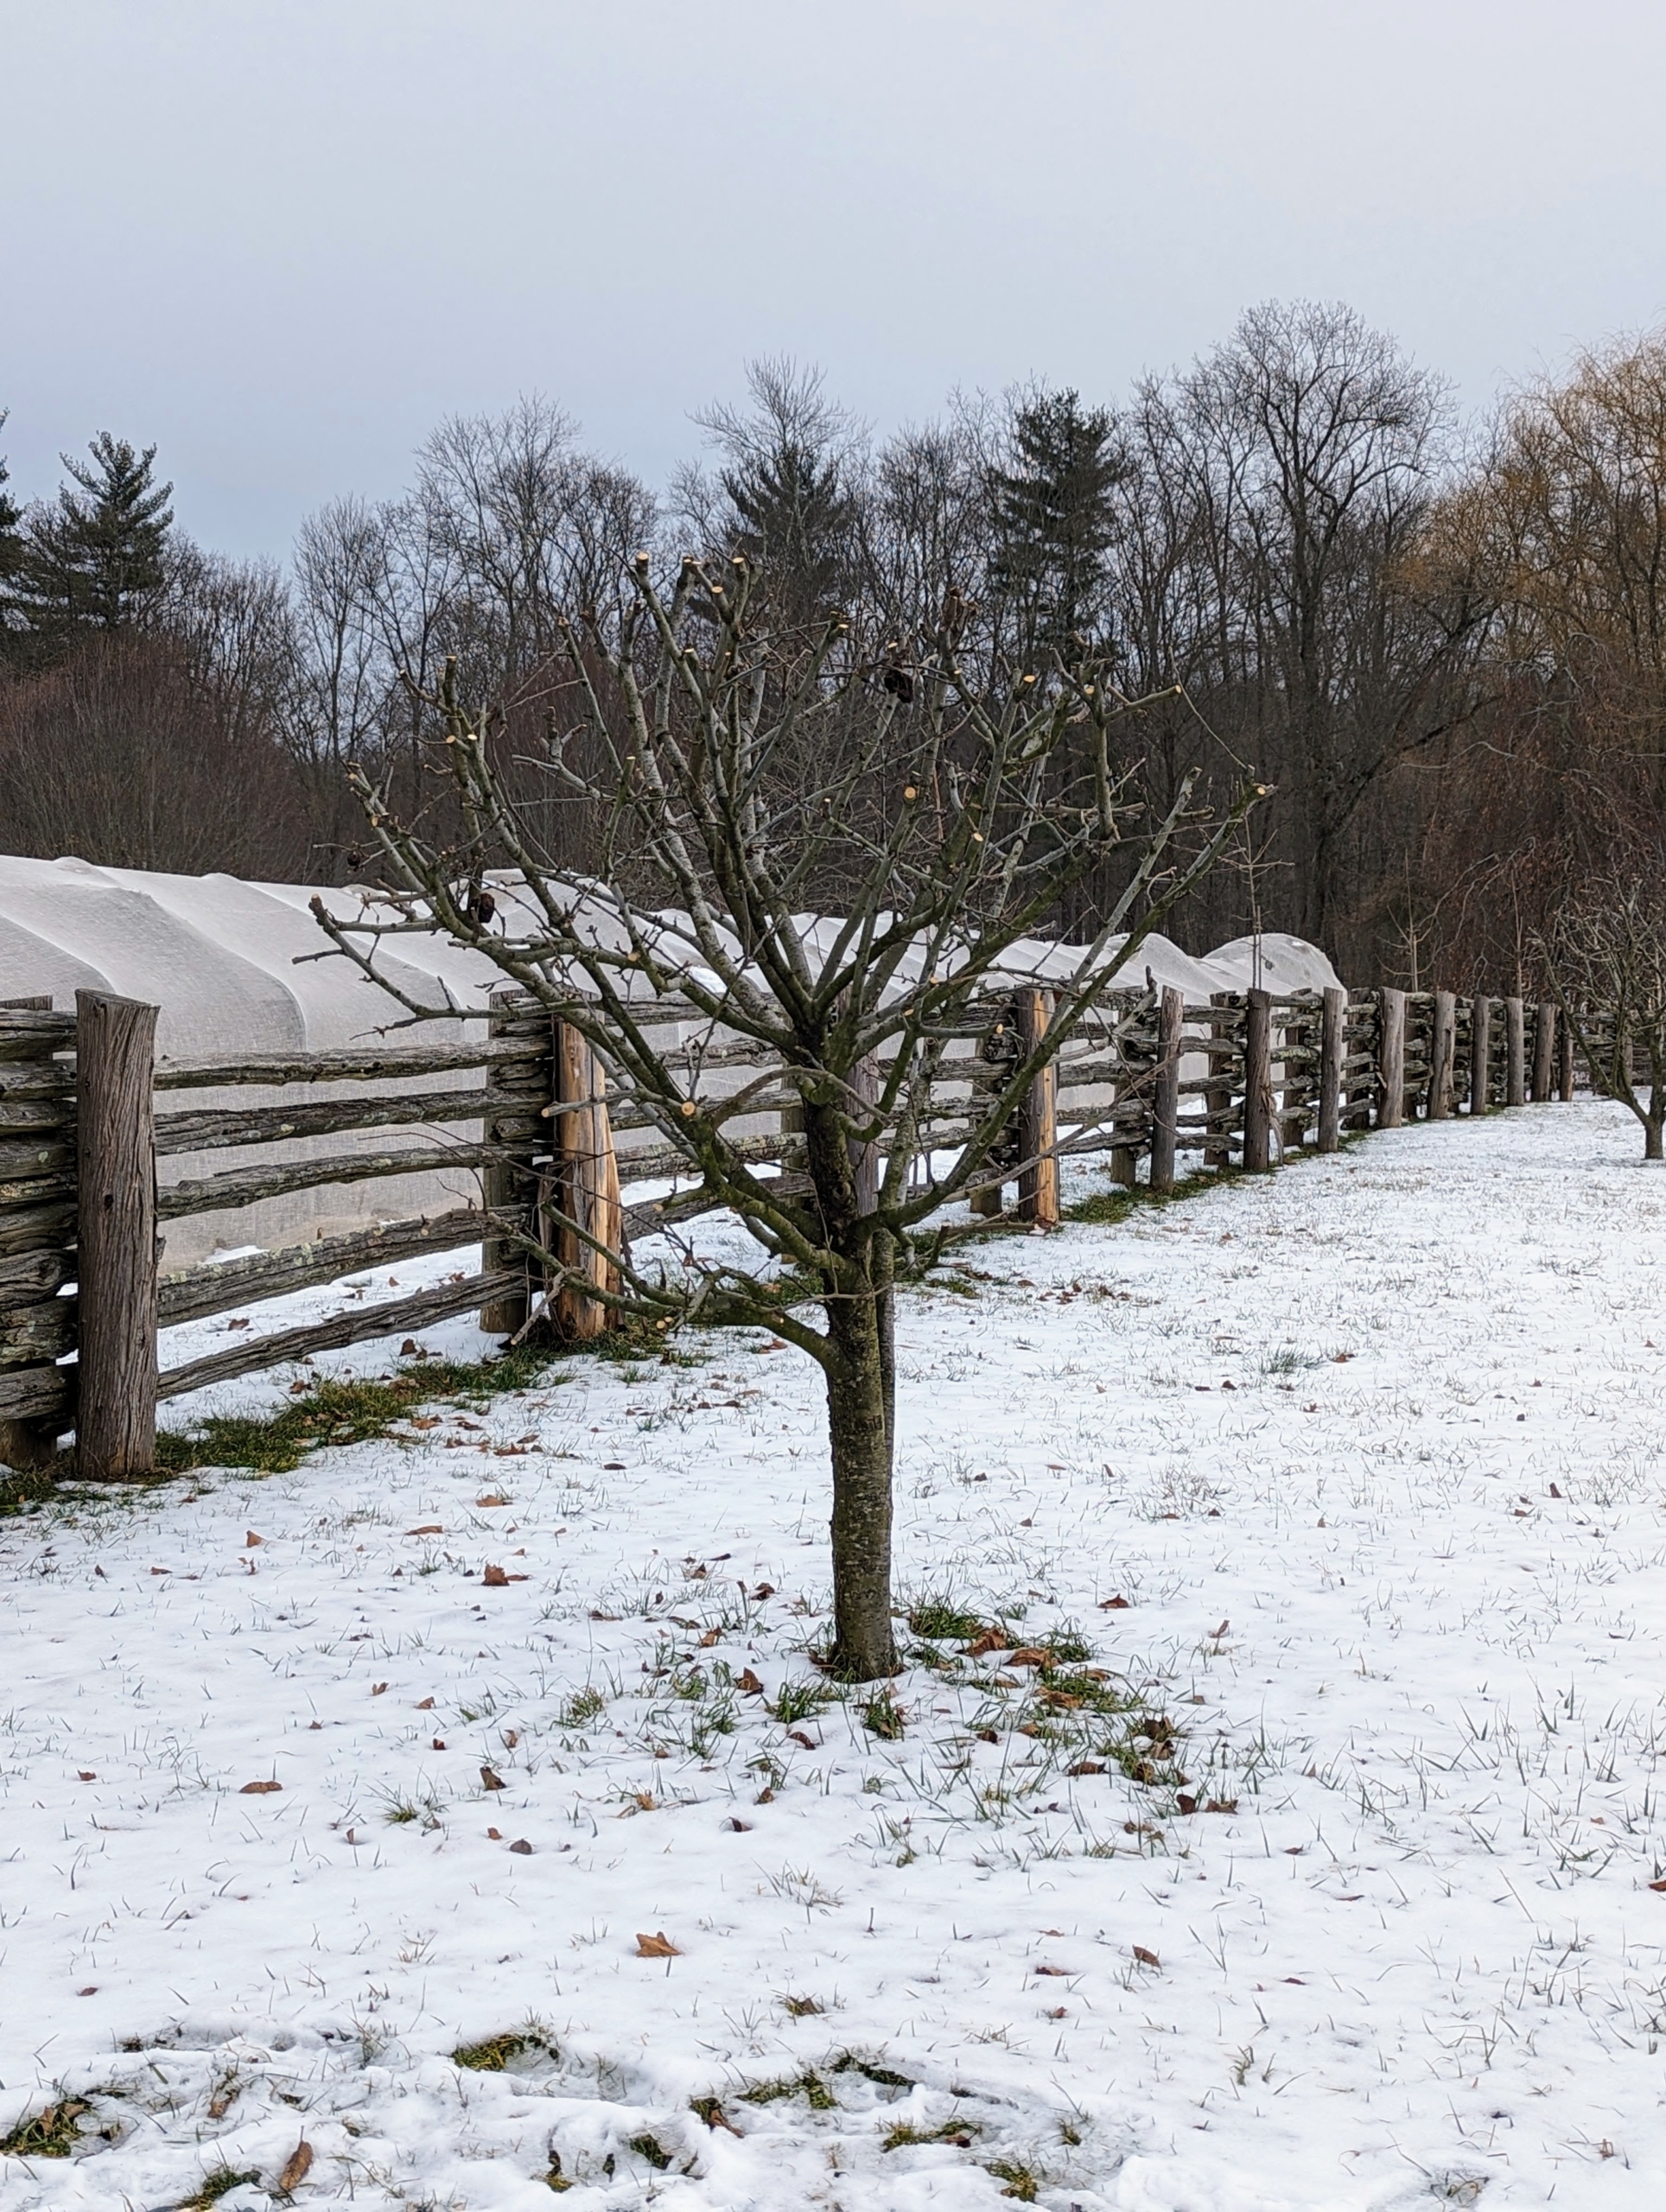
By late afternoon, many of the trees are done. This apple tree looks great after pruning. I am looking forward to many lustrous green trees heavy with fruits come summer. There are still a few more to go – keep up the good pruning, Brian.
I always like things clean, organized, and in good working condition - it's a standard I try to impress upon everyone who works with me at my farm, especially when it comes to our valuable tools.
Sharp pruning tools not only make chores easier to complete, but they also make cleaner cuts, which allow plants to heal faster. Making clean cuts also exposes them to less damage from diseases, insects, fungi, and weather extremes. My gardeners and outdoor grounds crew use their tools all year long, so it is important to keep them well maintained. Each member cleans, sharpens, and conditions their pruners, snips, and shears regularly. The process only takes a few minutes, and it keeps these gardening implements in proper working order.
Here are some photos, enjoy.
Pruners are among the most essential tools here at my Bedford, New York farm. Pruners, or secateurs, are used for grooming all the garden specimens. Their primary purpose is to remove dead, diseased, or damaged stems, and branches from plants and bushes.
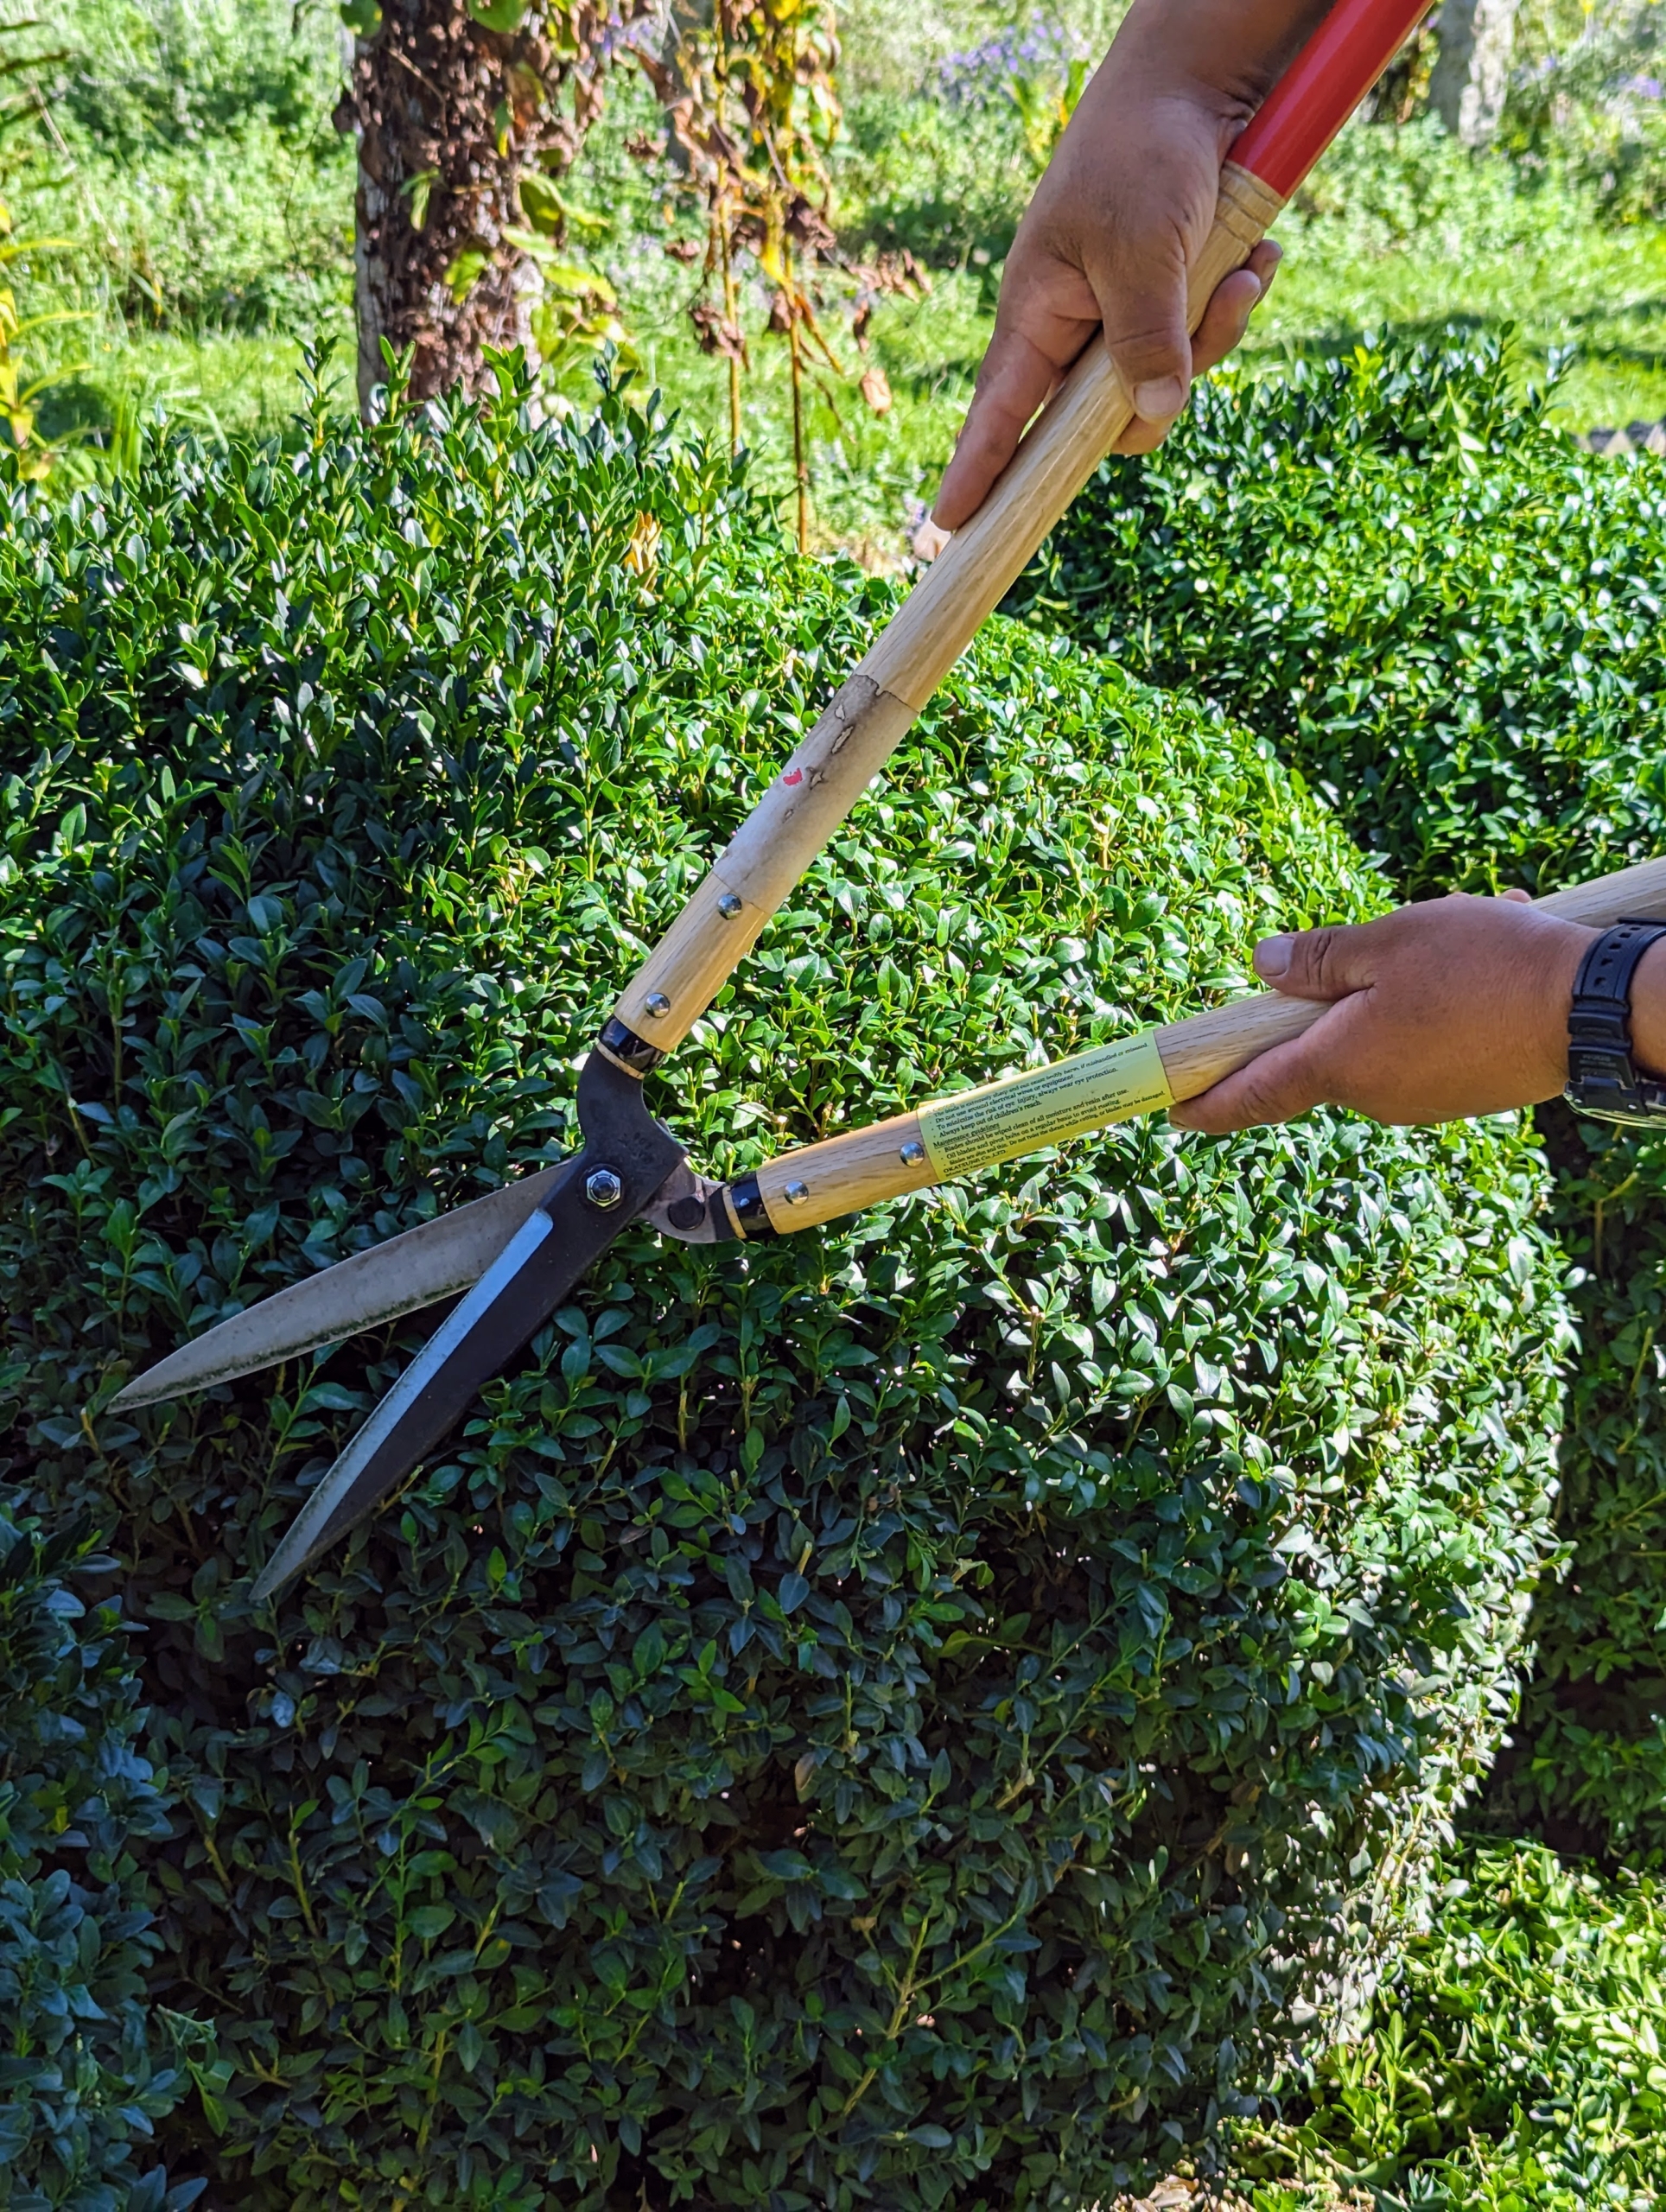
Here, Phurba uses Japanese hedge shears to groom the boxwood shrubs. I prefer hand held tools – it’s a slower process, but they make cleaner, neater, more detailed cuts compared to powered versions.
And here is Pasang pruning and grooming the European beech trees, Fagus sylvatica, that line both the east and west sides of the South Paddock as well as the west side of what I call the Southeast Paddock.
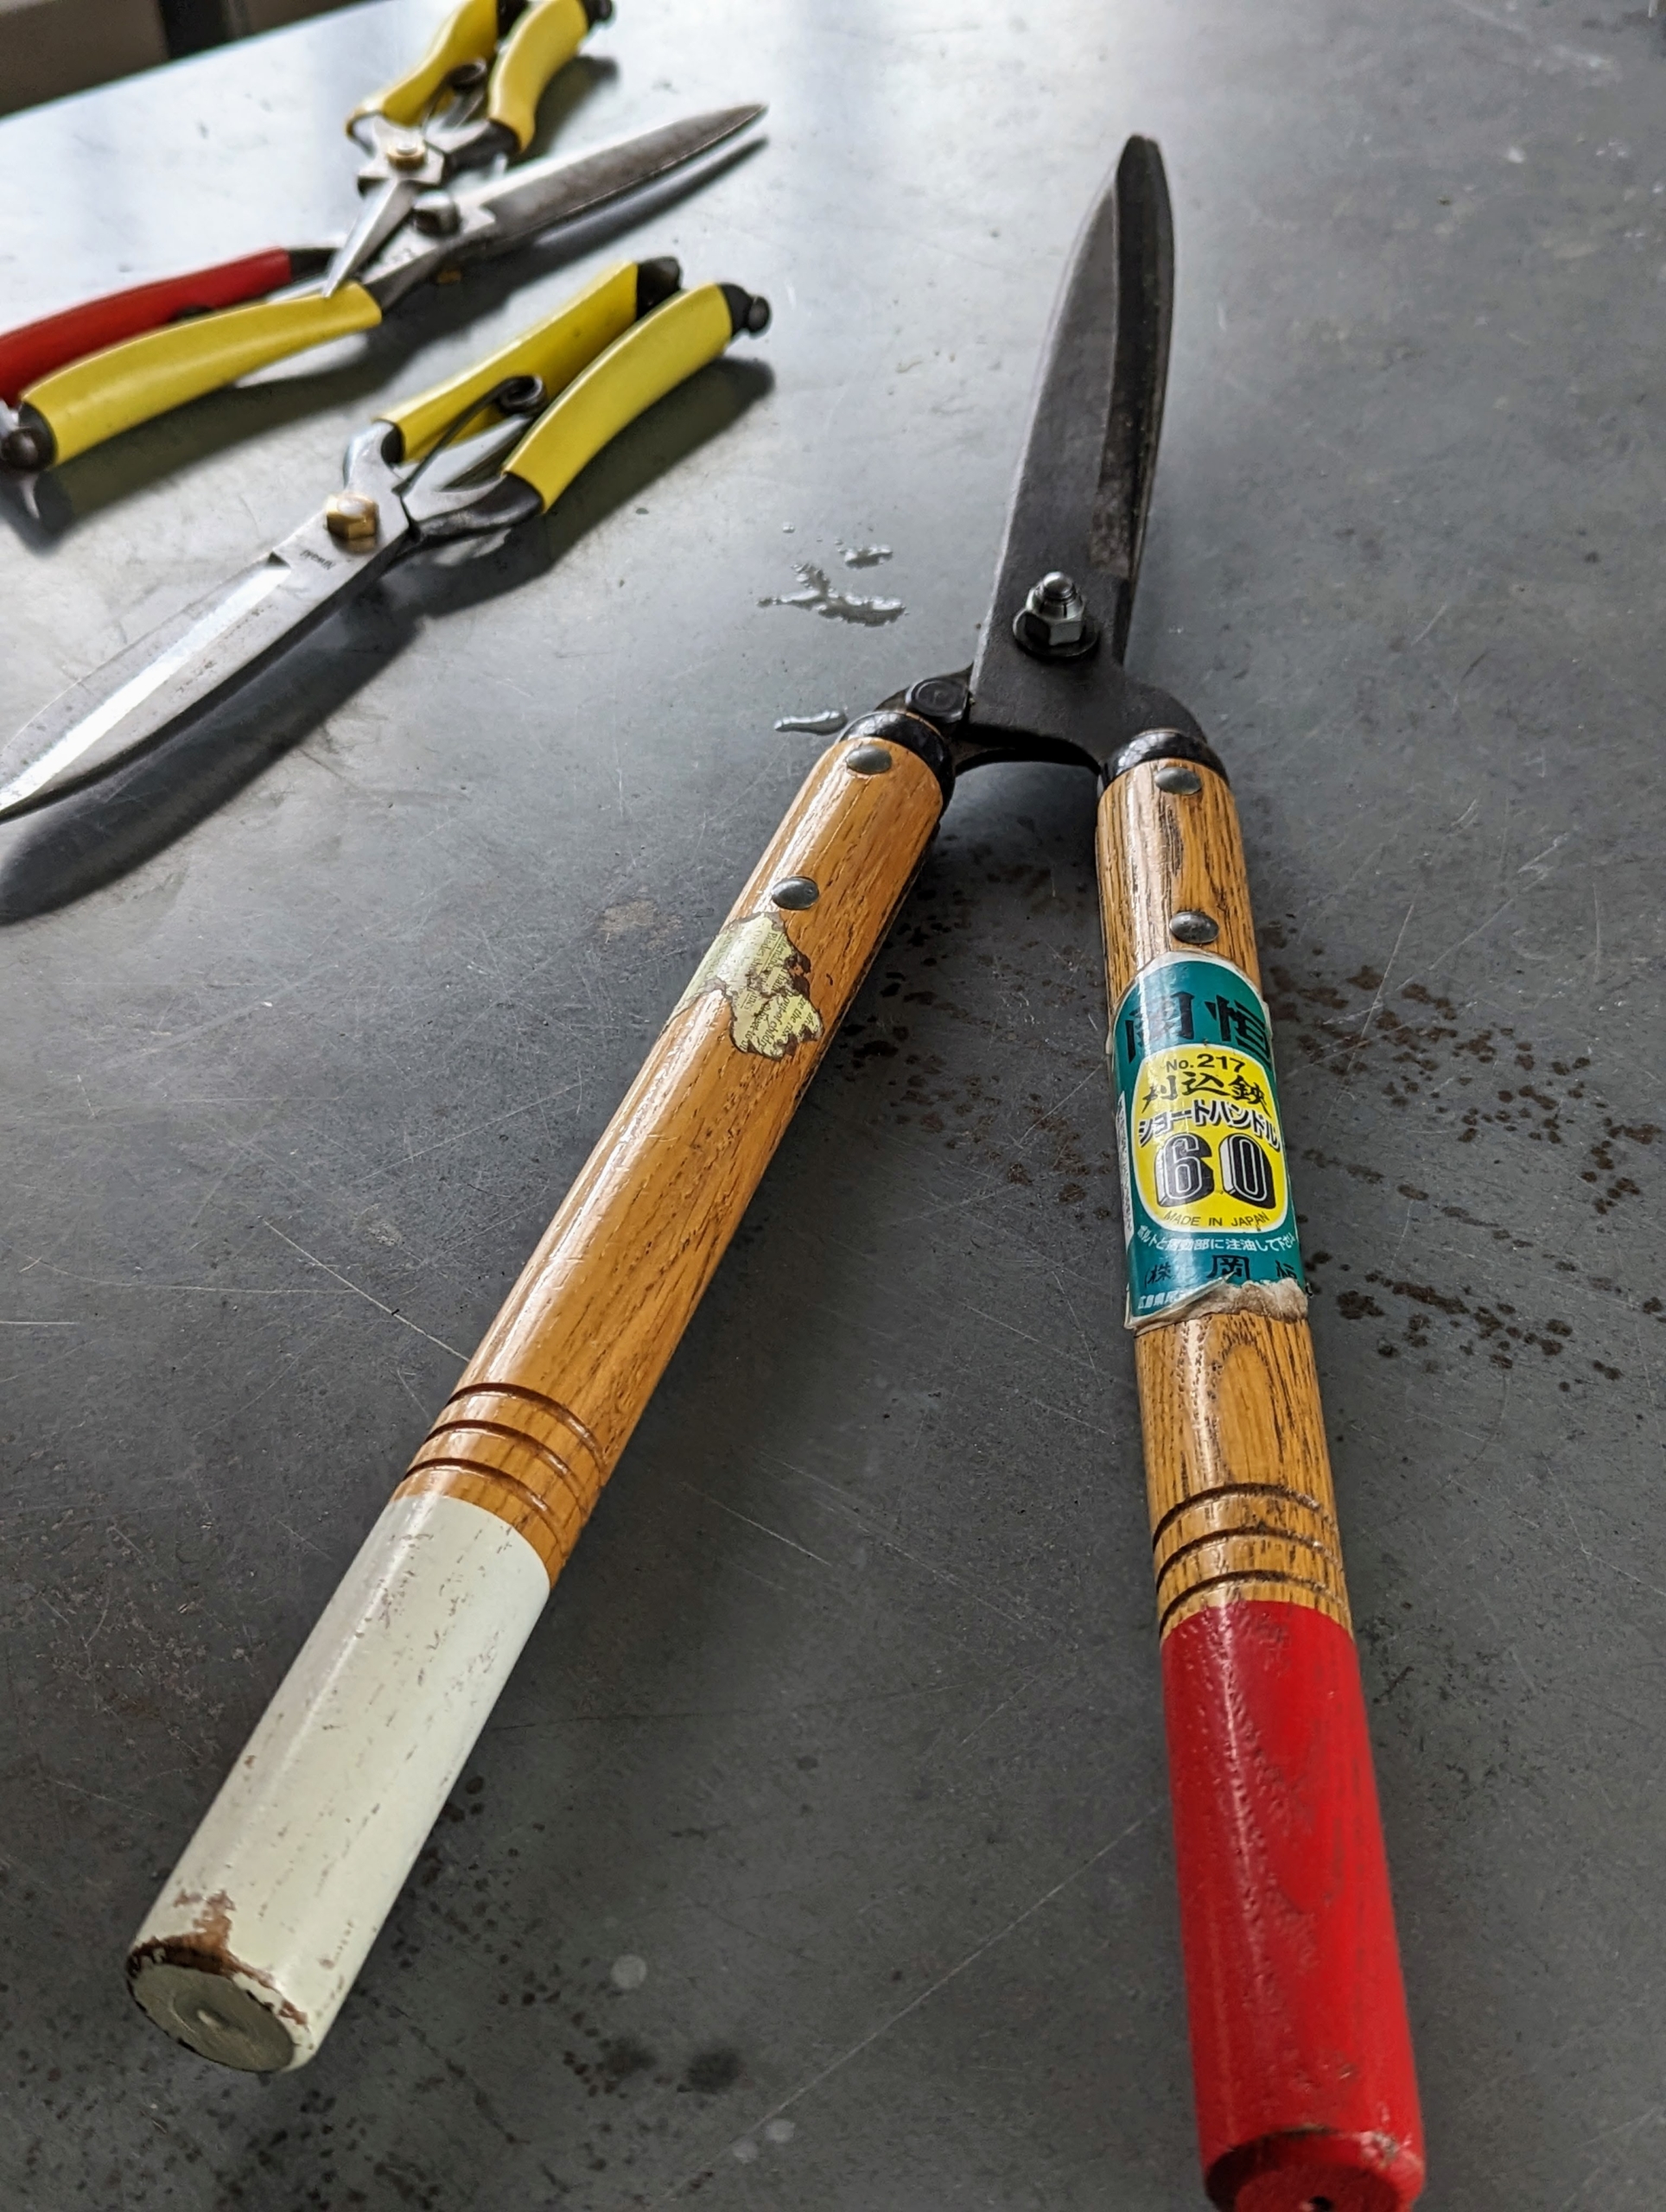
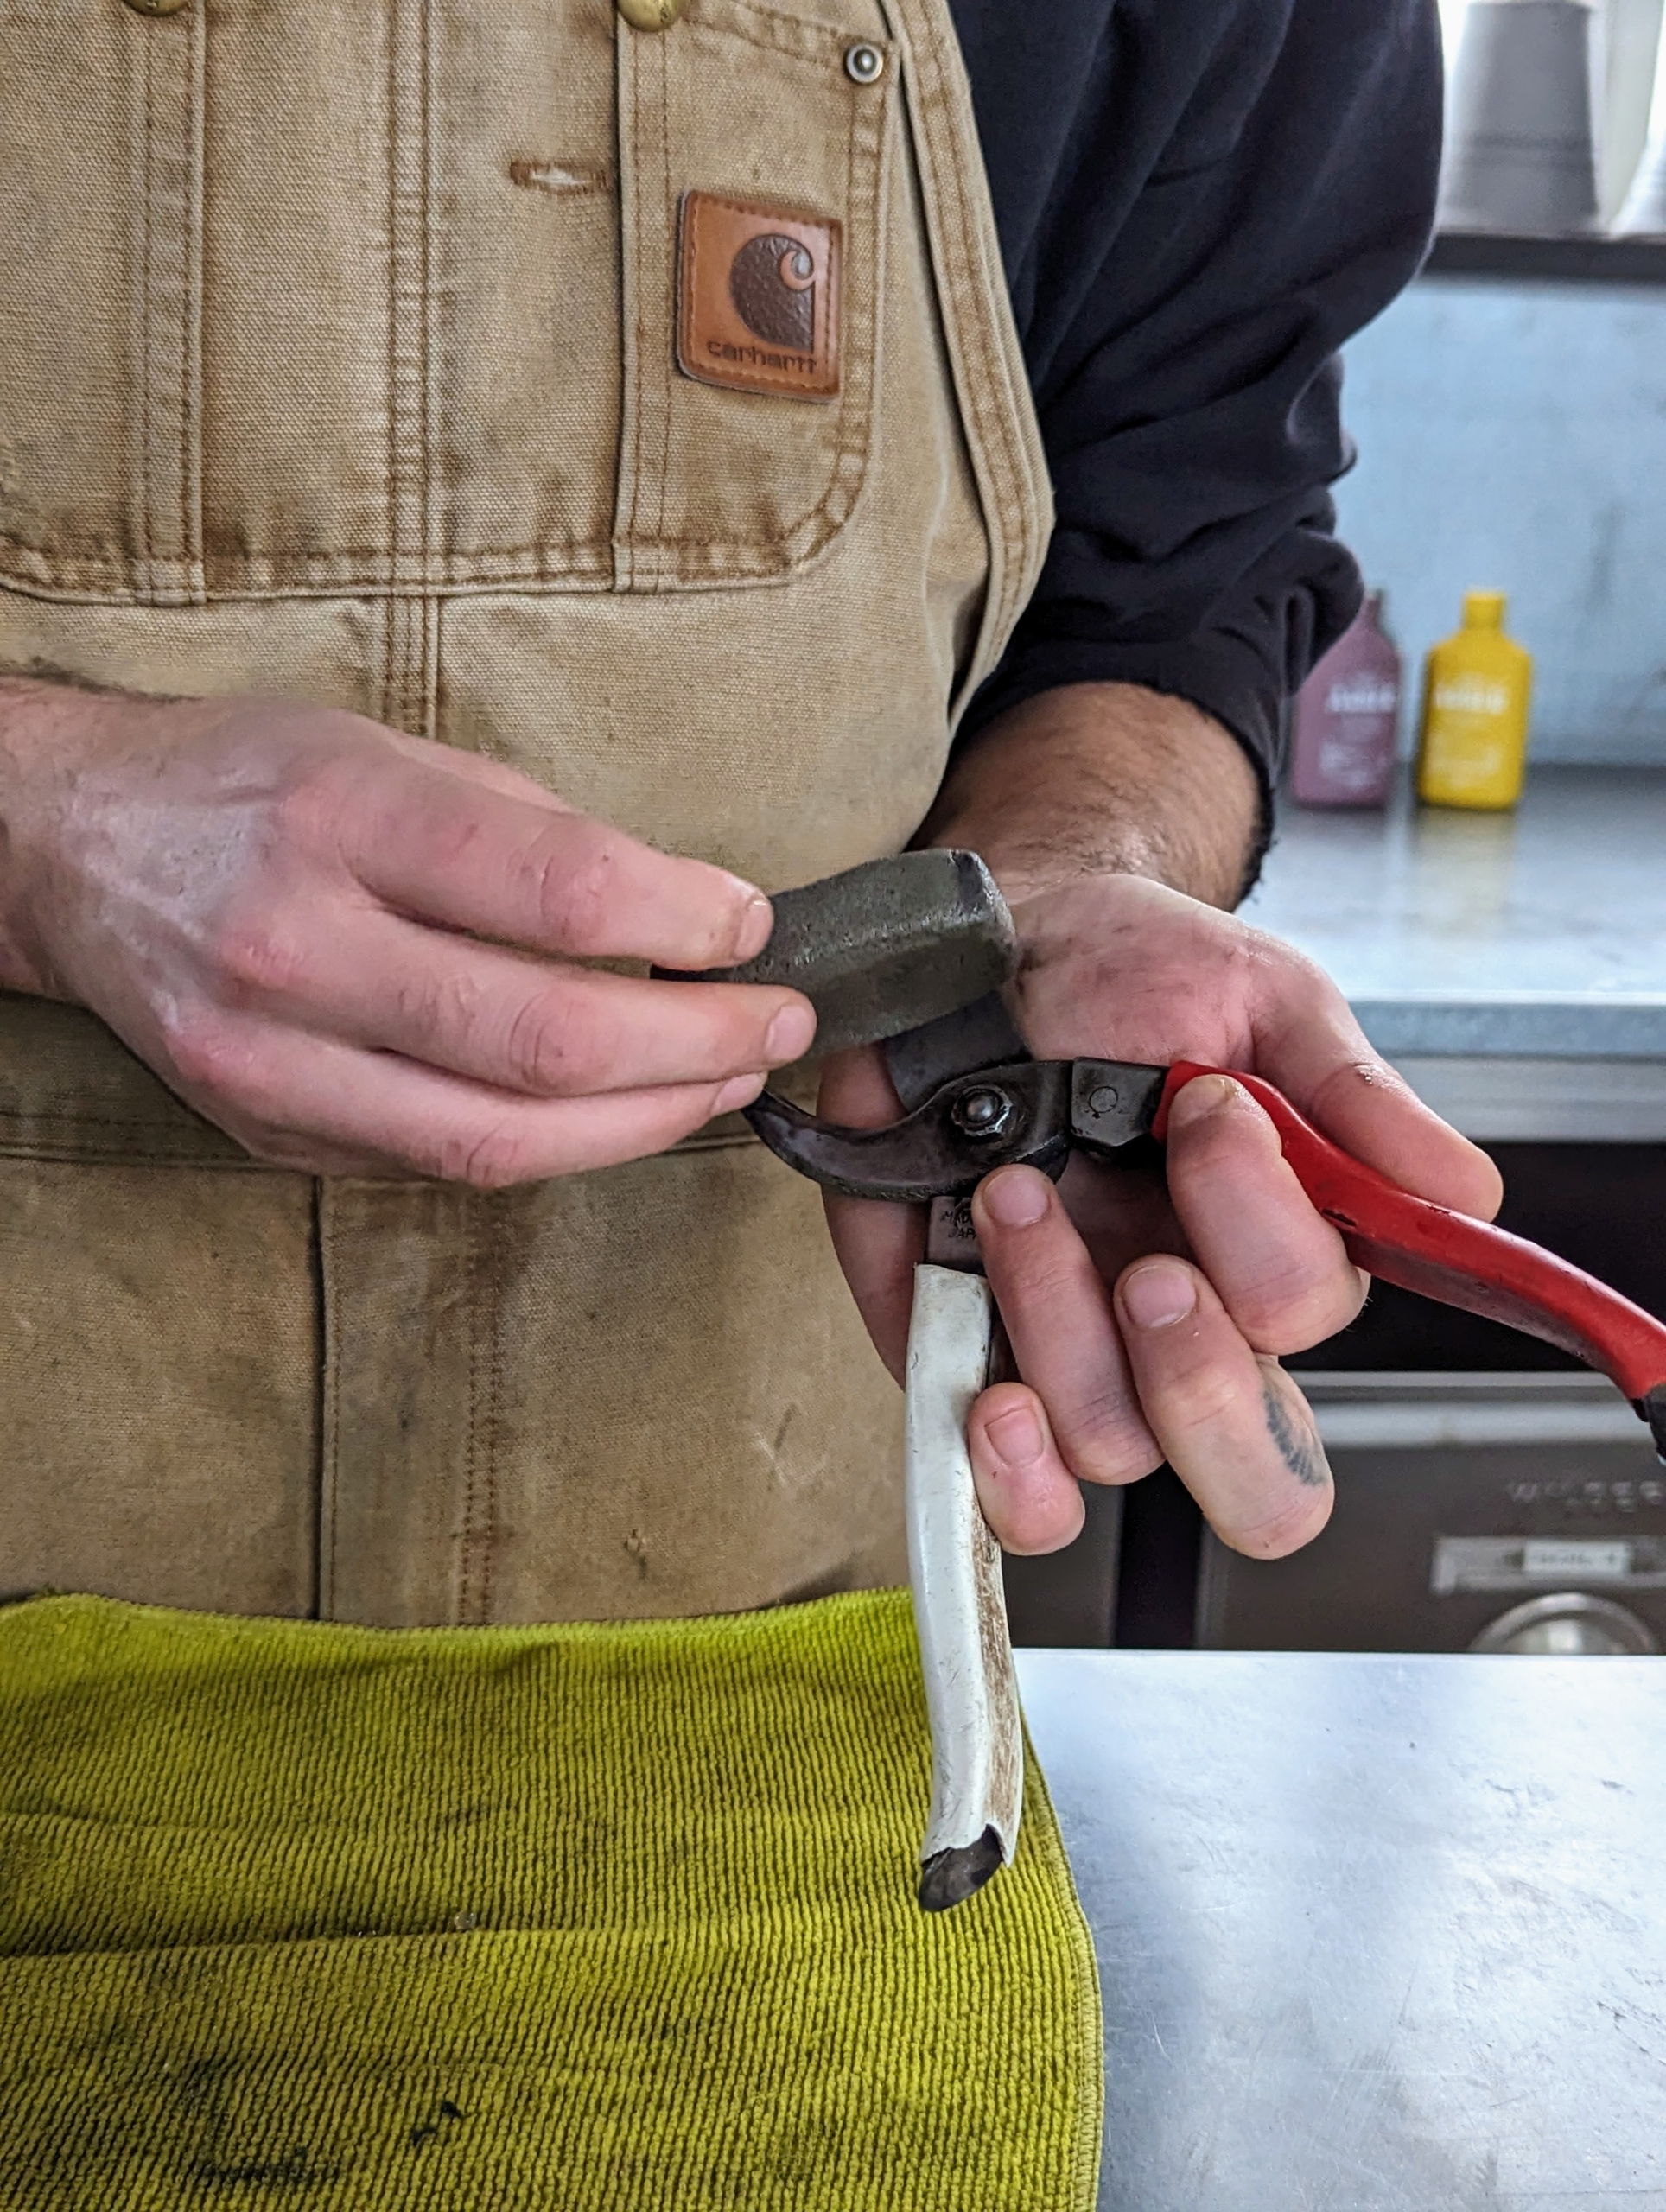
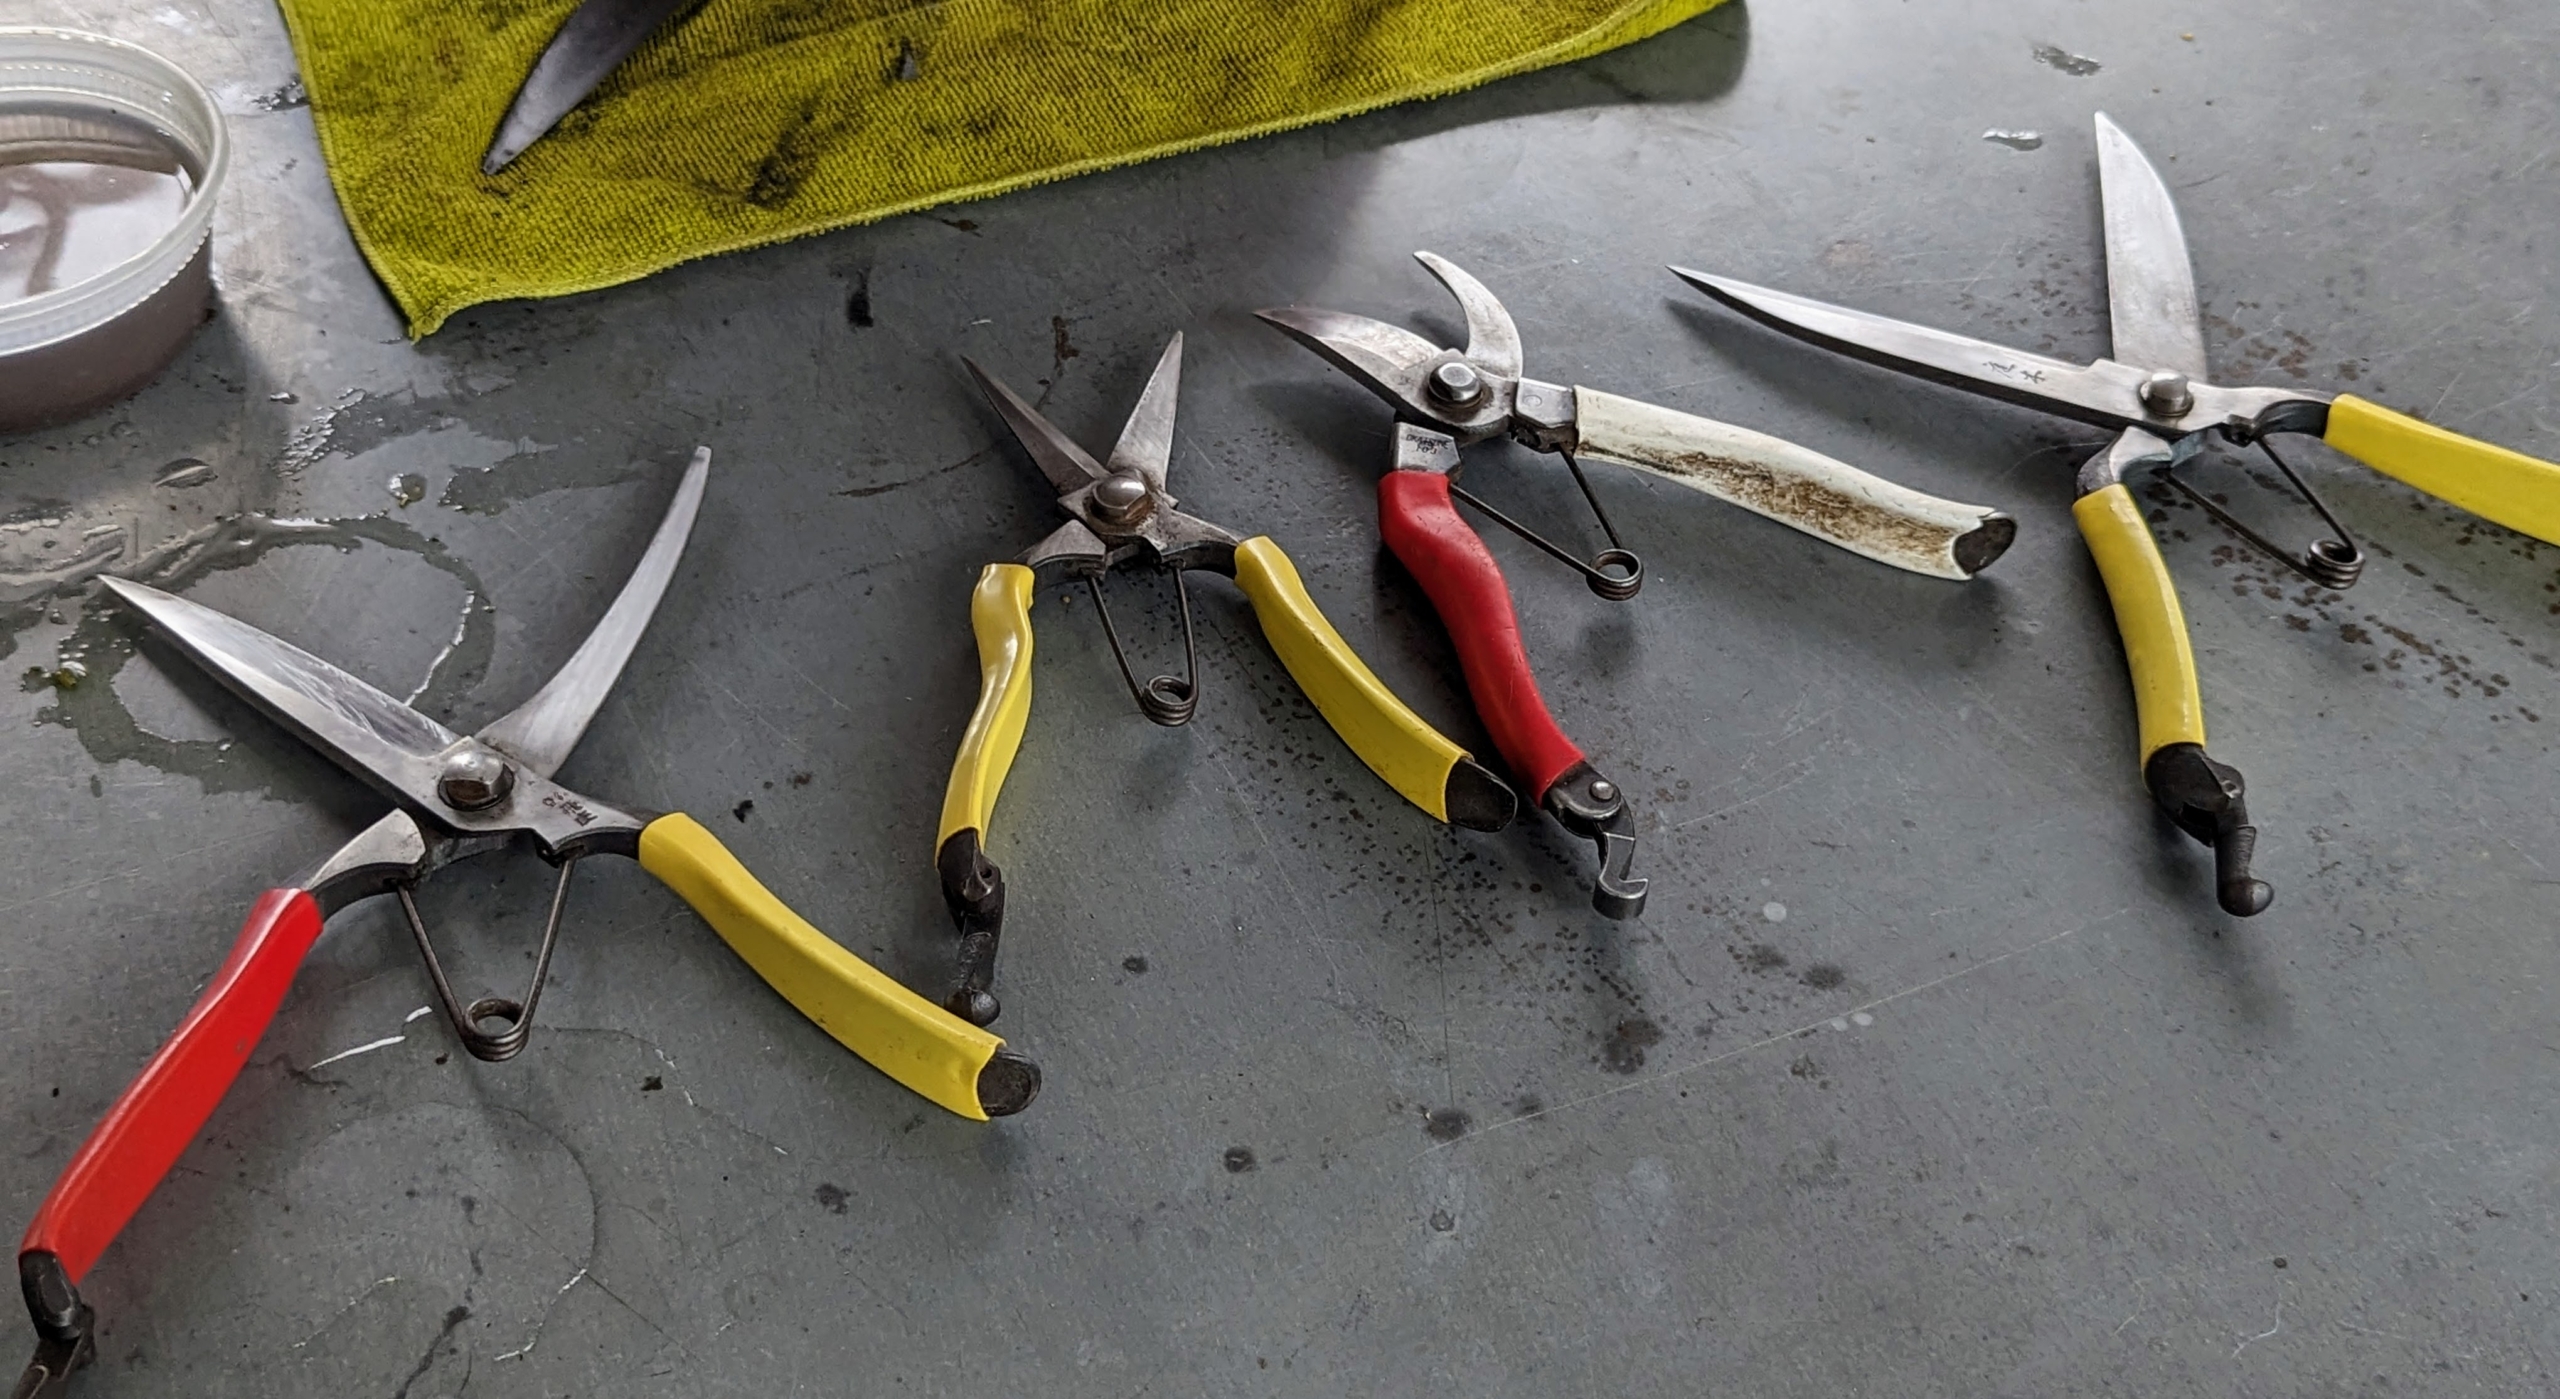
In order to do the jobs best, it is important to keep all our shears and various snips as sharp as can be. Every few days my gardeners take stock of their cutting tools and clean and sharpen whatever is needed. Here, Brian shows the tools before they are cleaned and sharpened.
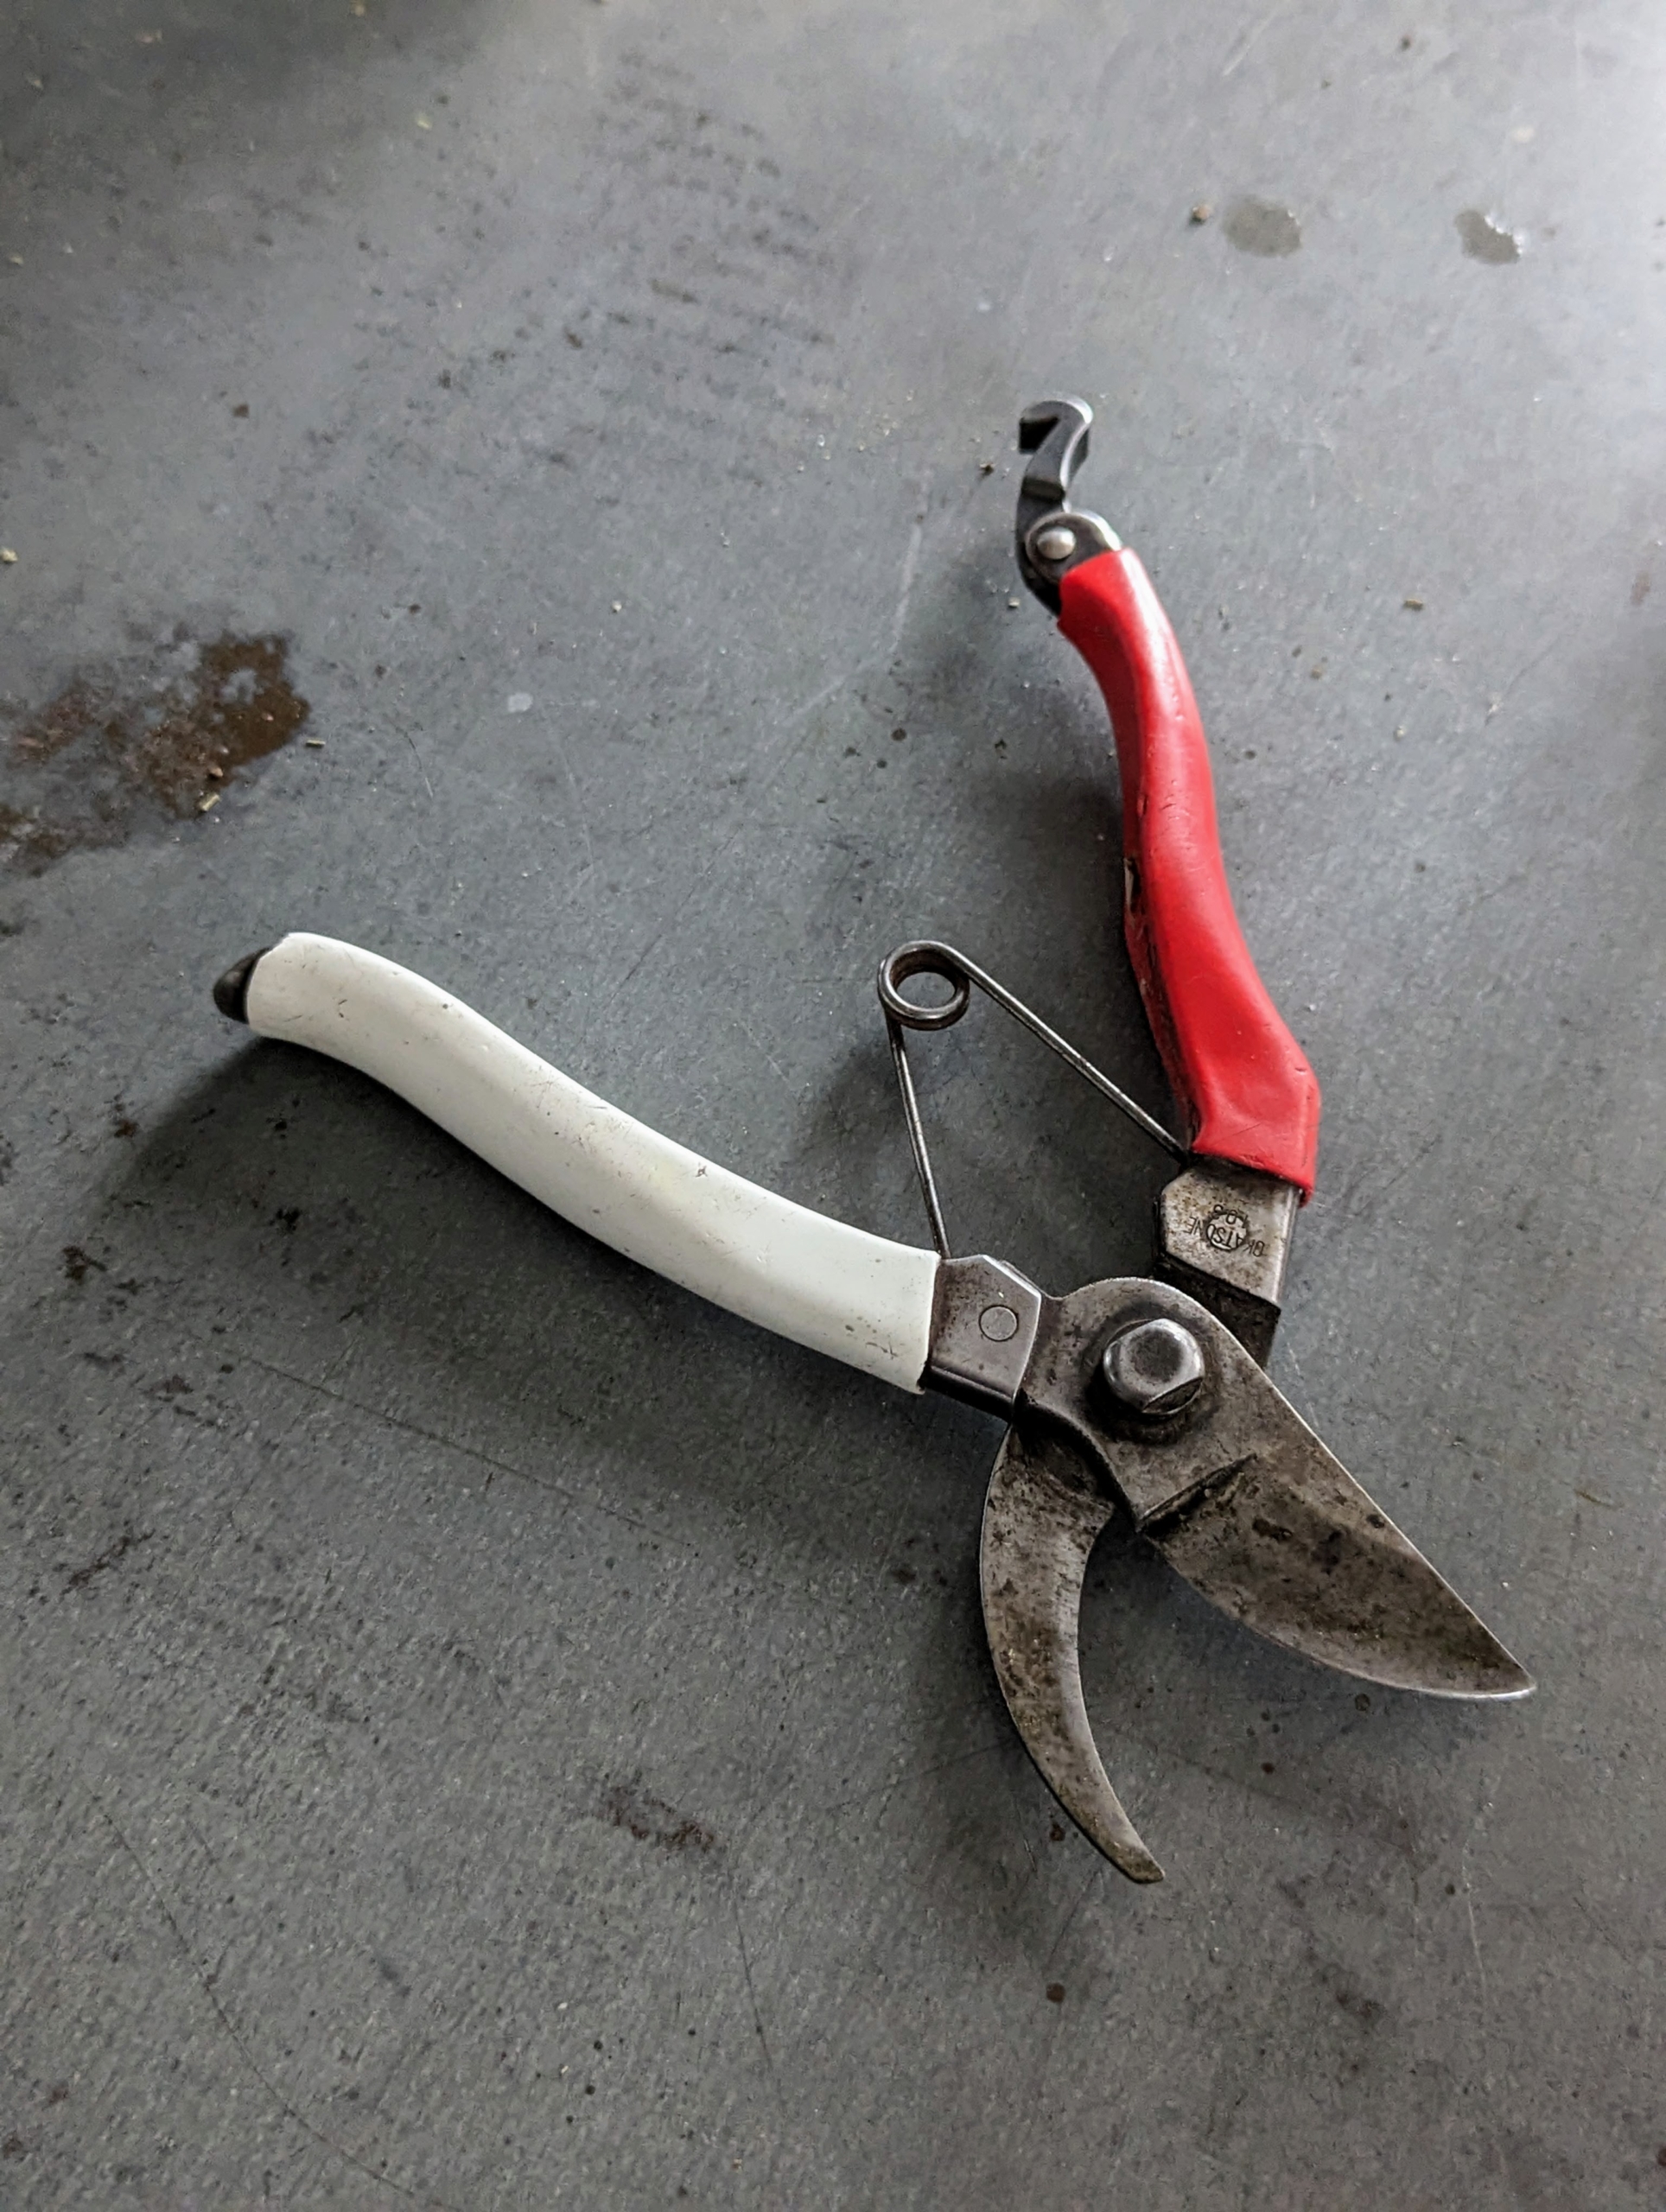
We all like to use Okatsune secateurs. Bypass garden pruners such as these make nice, clean cuts using two curved blades that bypass each other in the same manner as a pair of scissors. One blade is sharpened on the outside edge and slips by a thicker unsharpened blade. Pruners can cut branches and twigs up to ¾ of an inch thick.
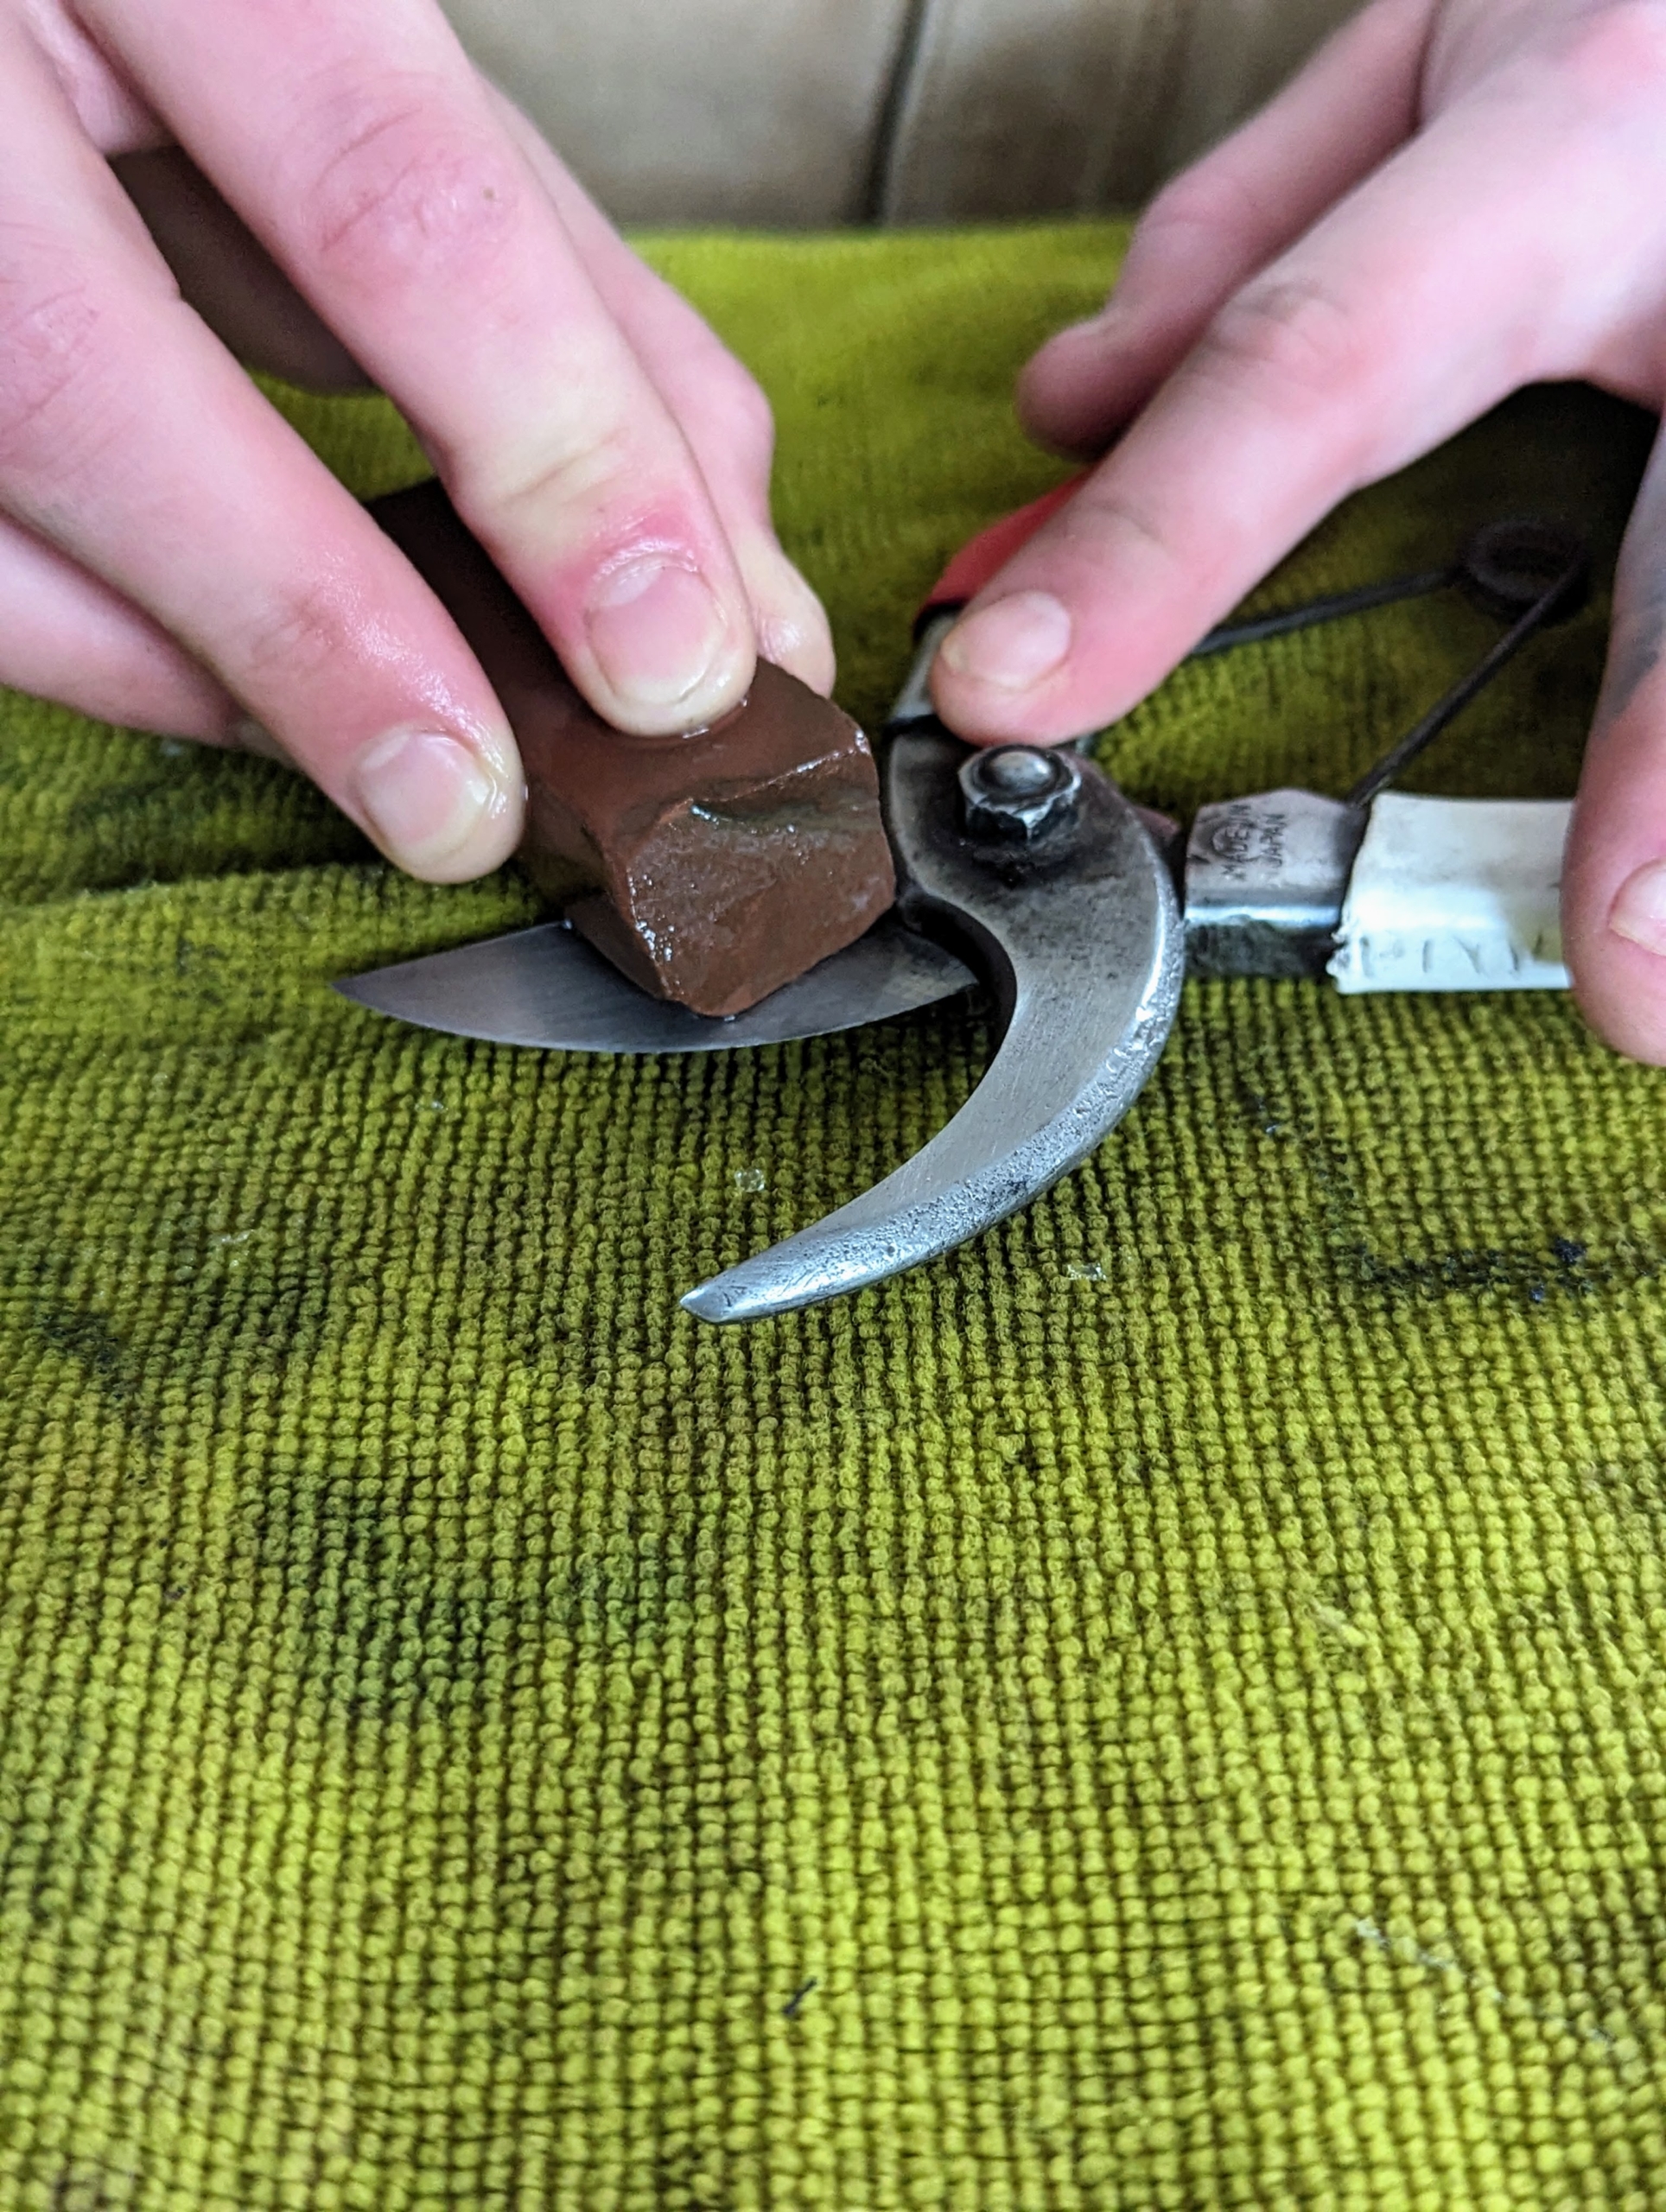
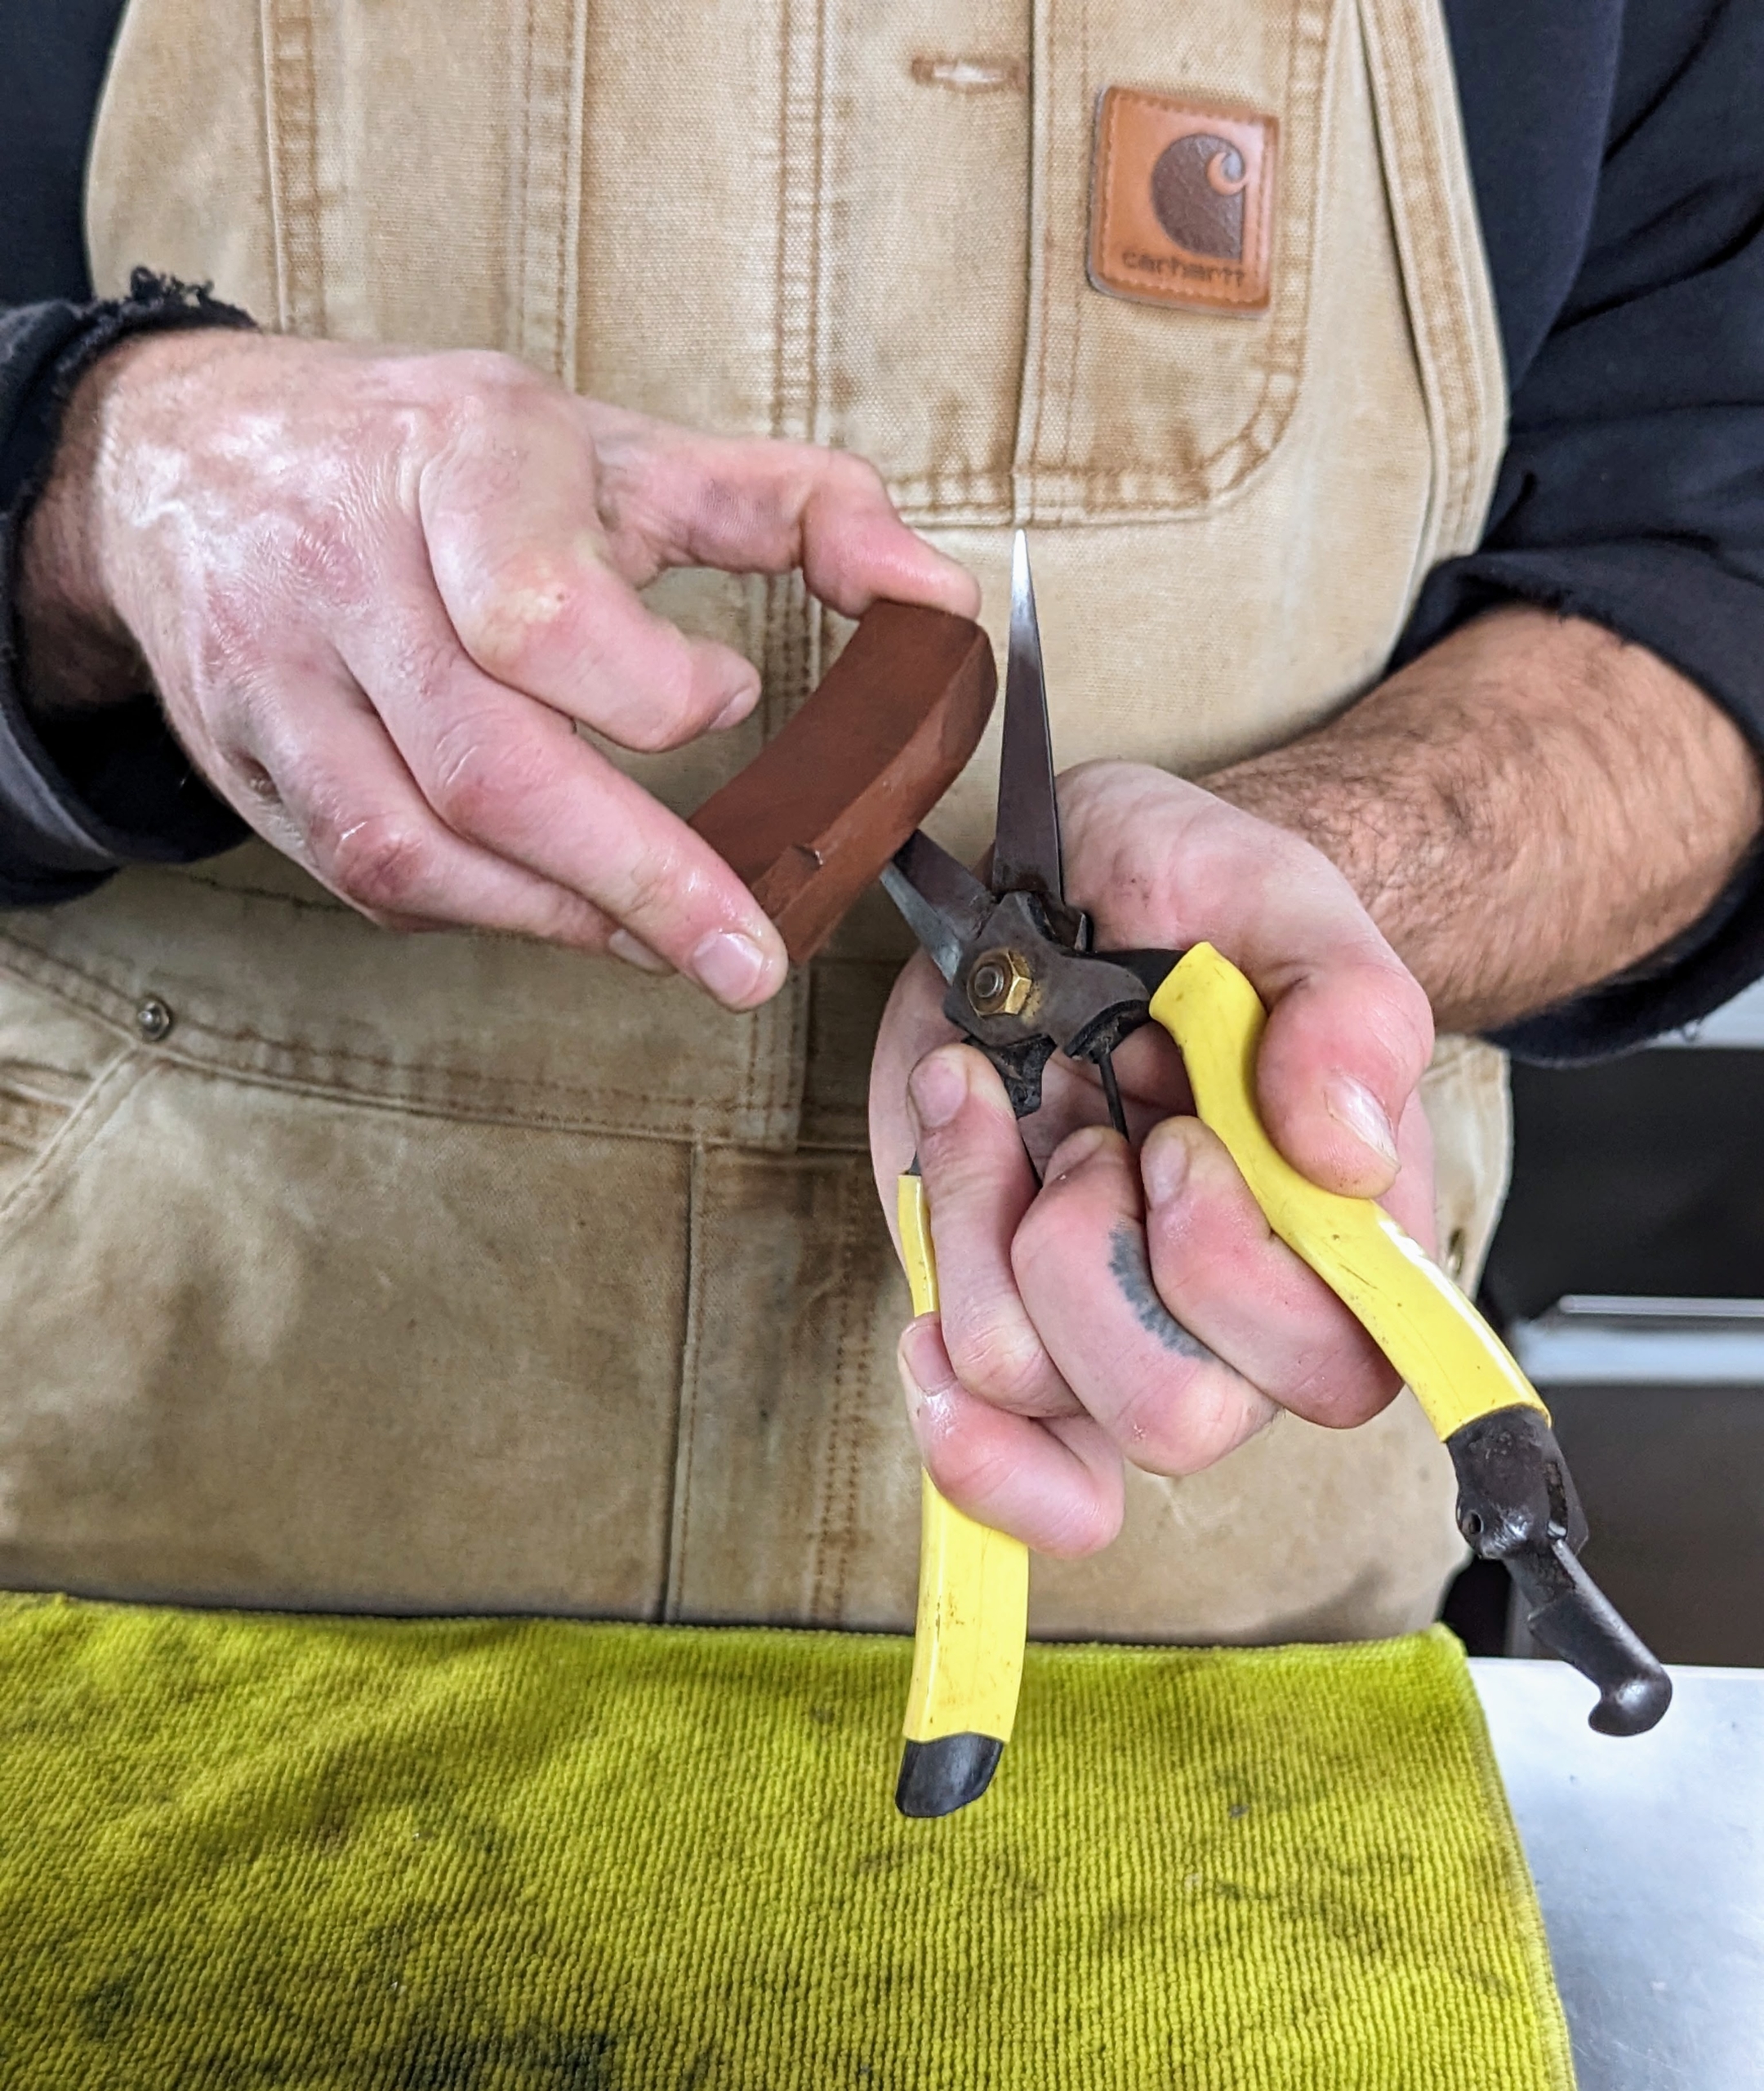
For this task, Brian uses a coarse cleaning block and a whetstone. Both are soaked in water for about 10-minutes before using. This makes both blocks work more efficiently. A whetstone will help keep the pores of the stone clean, dissipate frictional heat, and ensures smooth sharpening.
This larger block is also soaking in tepid water. This piece is helpful for longer blades.
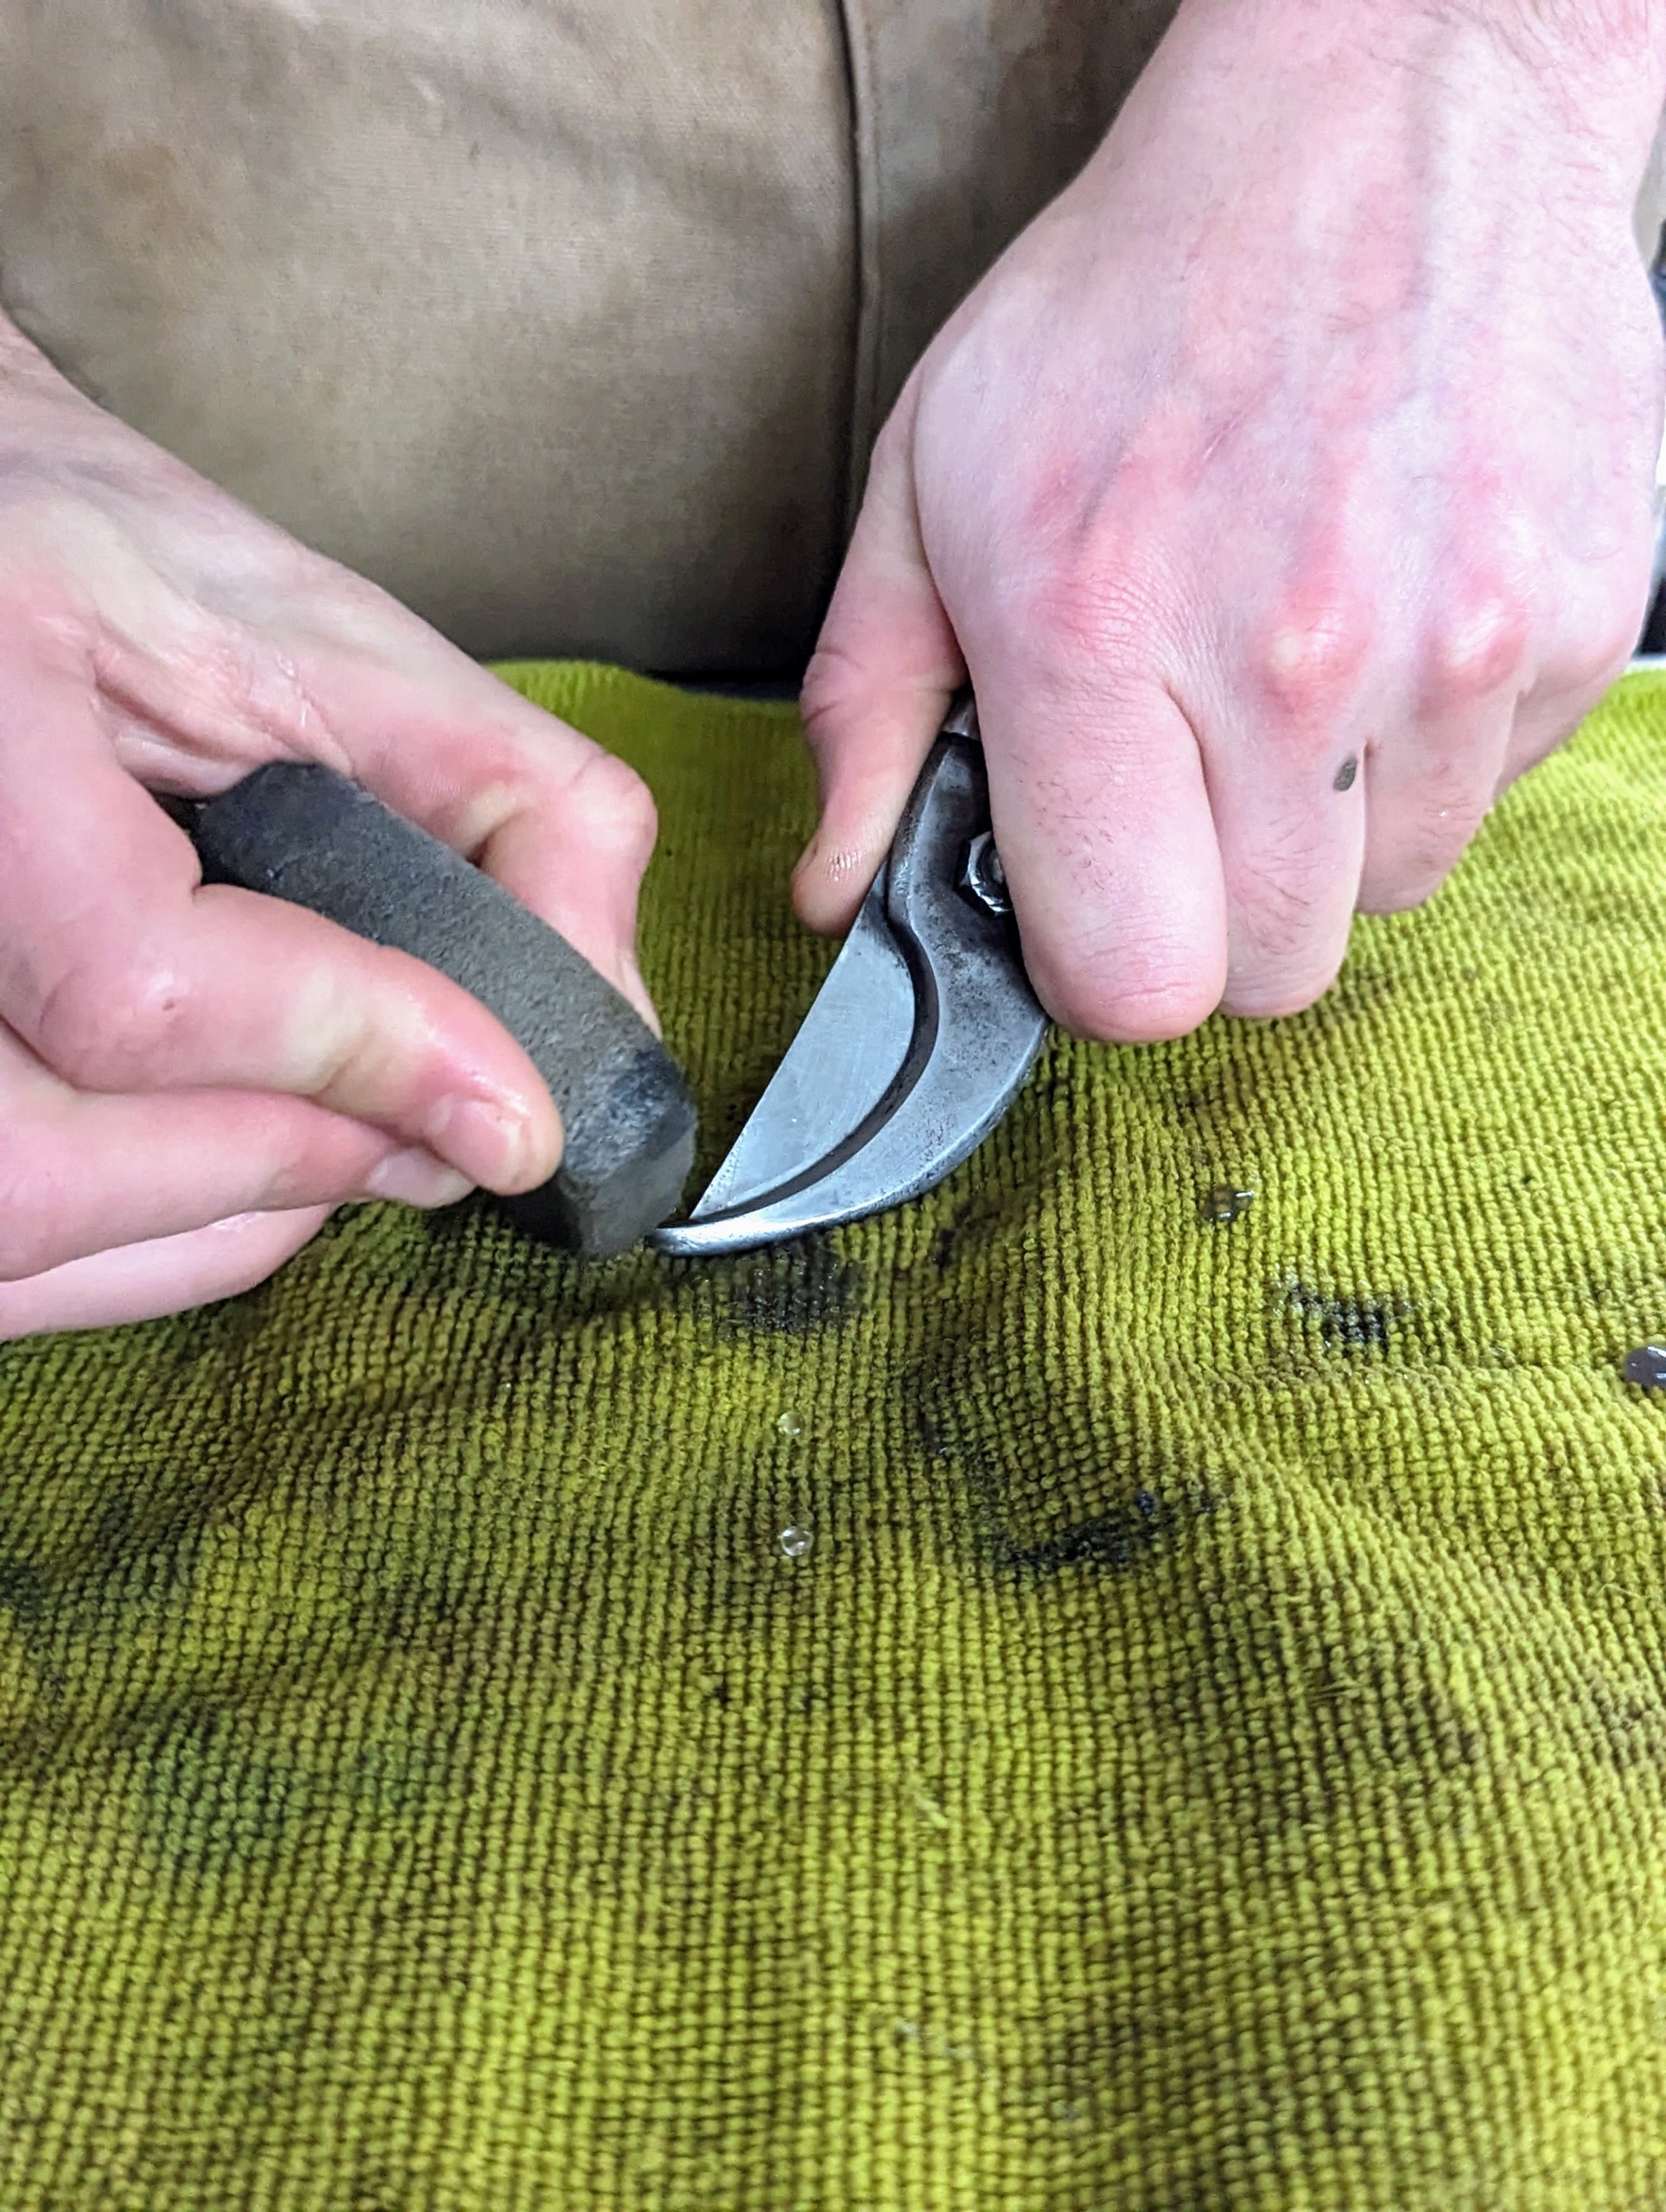
Brian uses the cleaning block to remove any dirt, sap, etc.. This cleaning block has a slightly rough texture for removing grime from the blades. Cleaning blocks are great for removing rust and other debris. They’re made of a semi flexible rubber compound with abrasive grits for scouring. Brian goes over every part of both blades. One can also use a medium grit sandpaper.
It is important to also get all the dirt off the metal parts – anything left on tools can attract and hold moisture and cause rust.
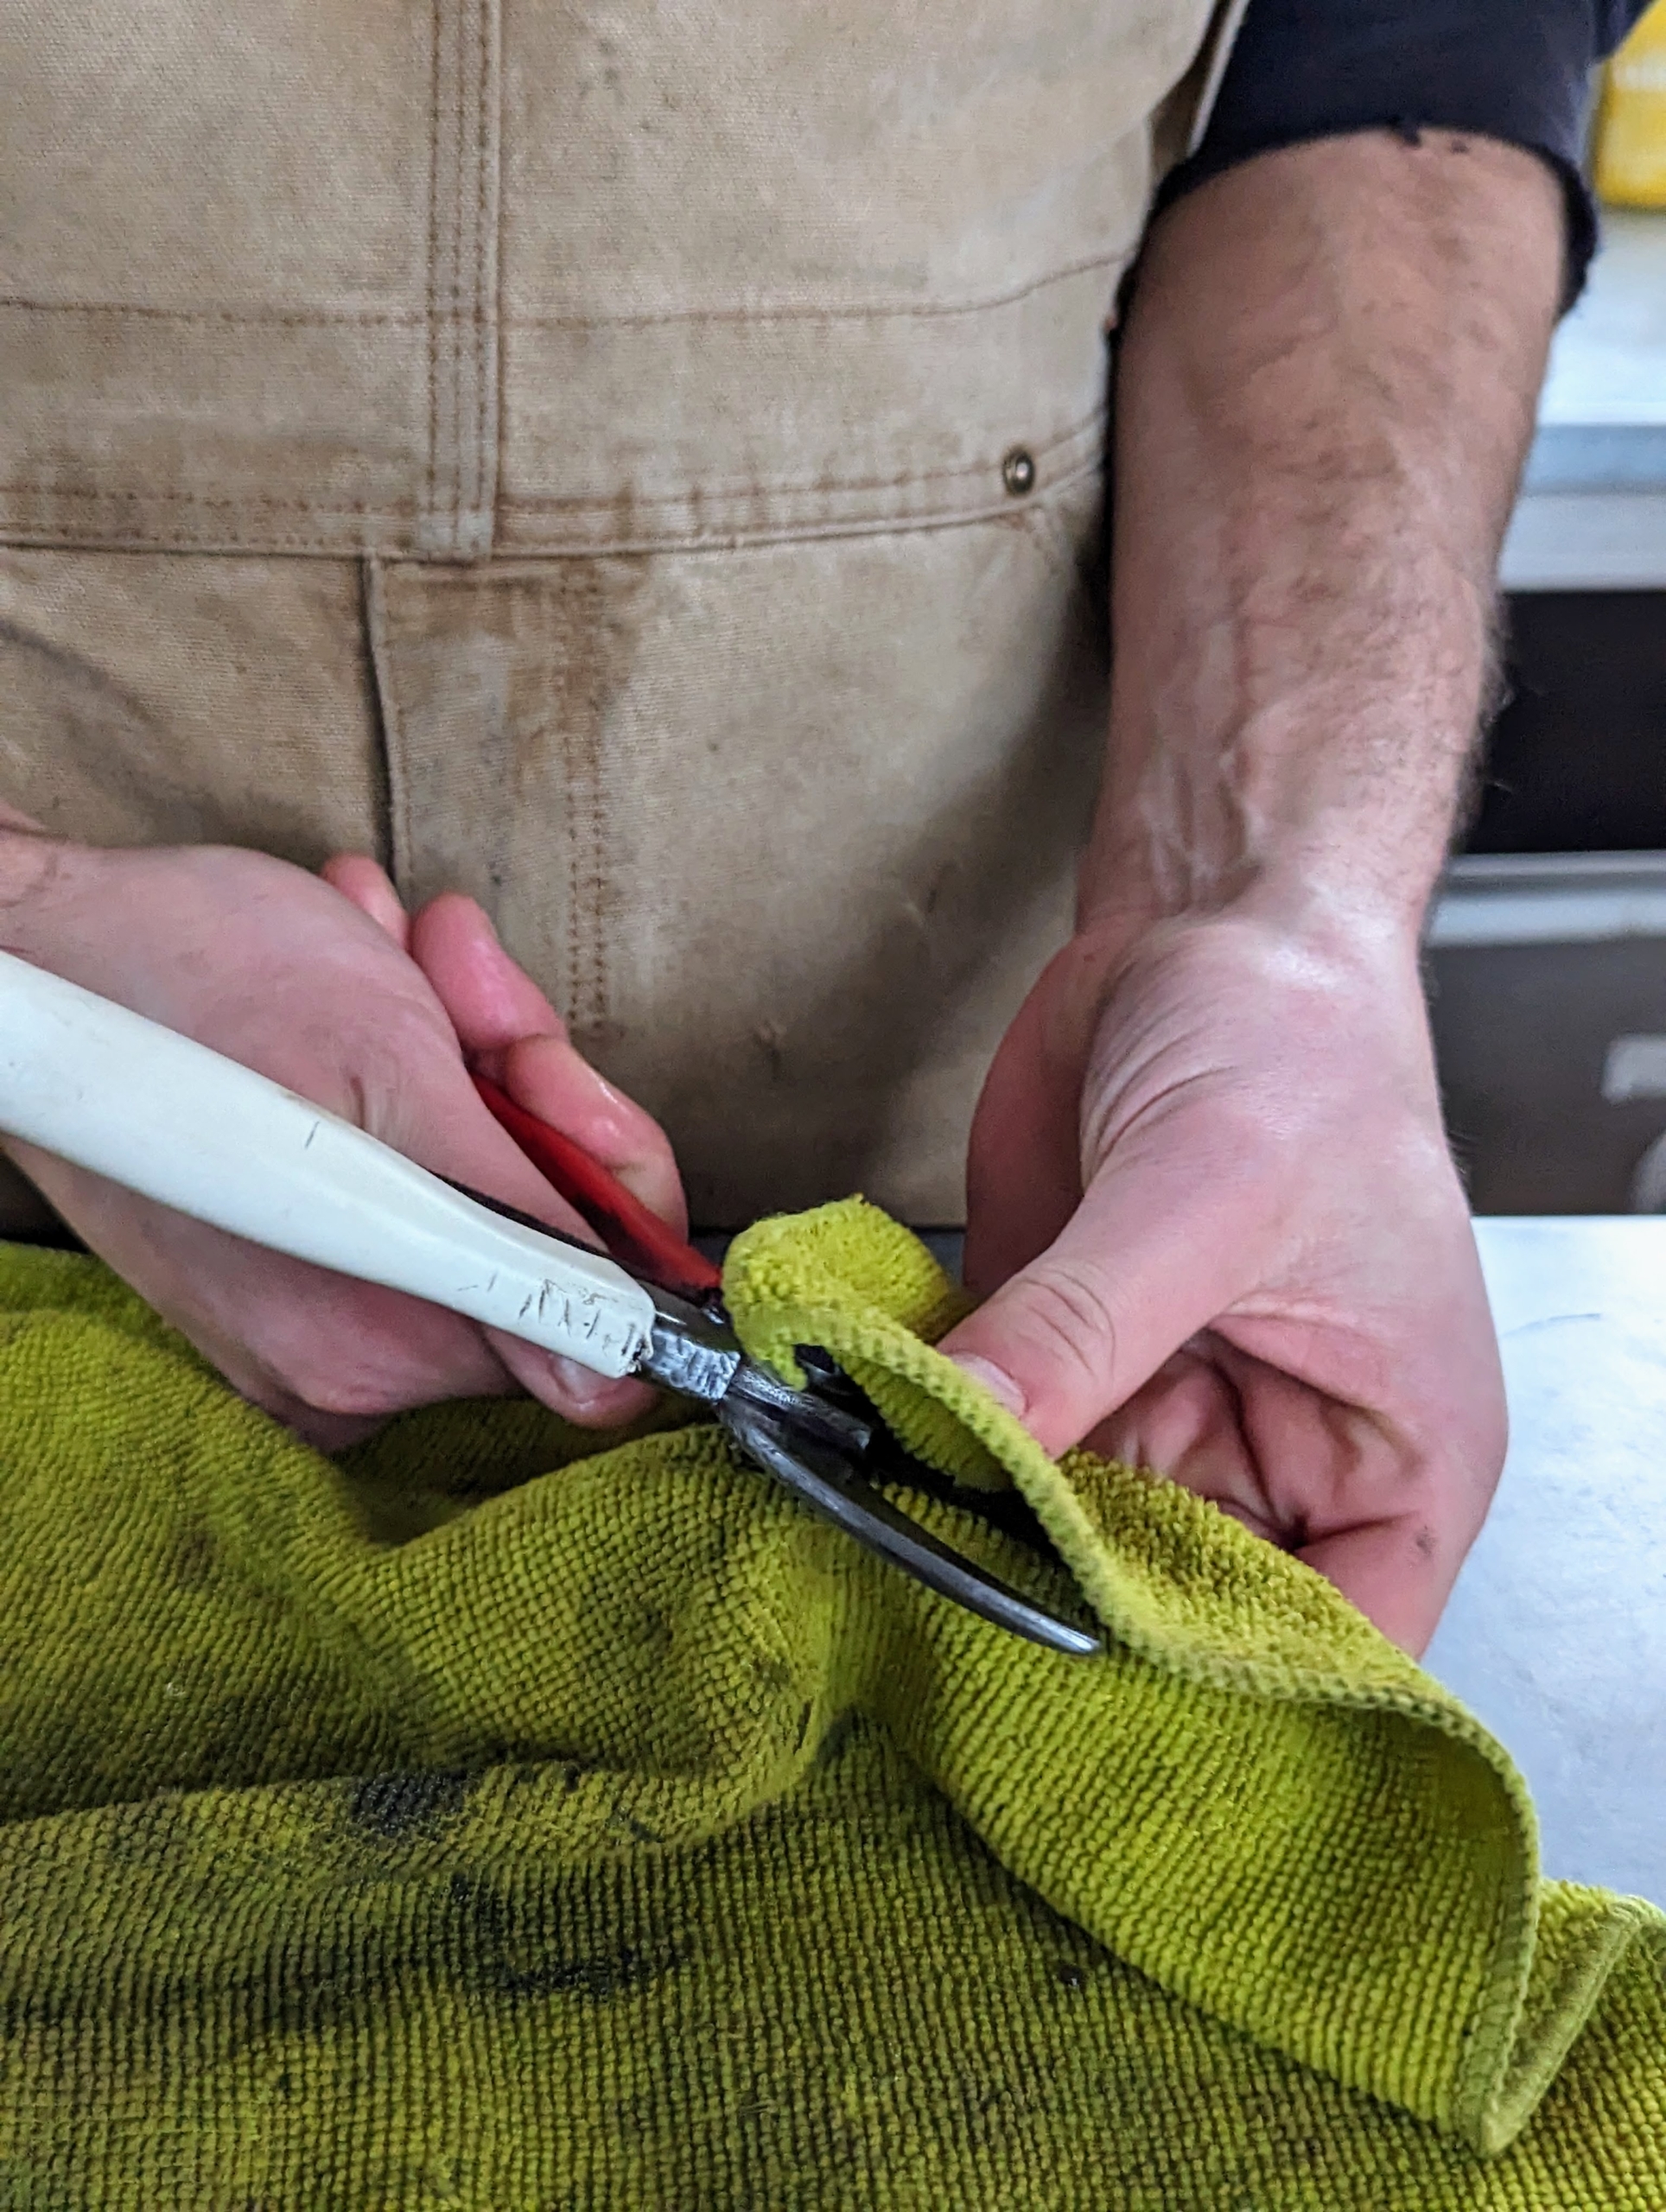
Brian closes the pruners and goes over the blades again.
Brian stops to wipe the blades dry every so often. This allows him to inspect the cleaning he has done and to see how much more is needed.
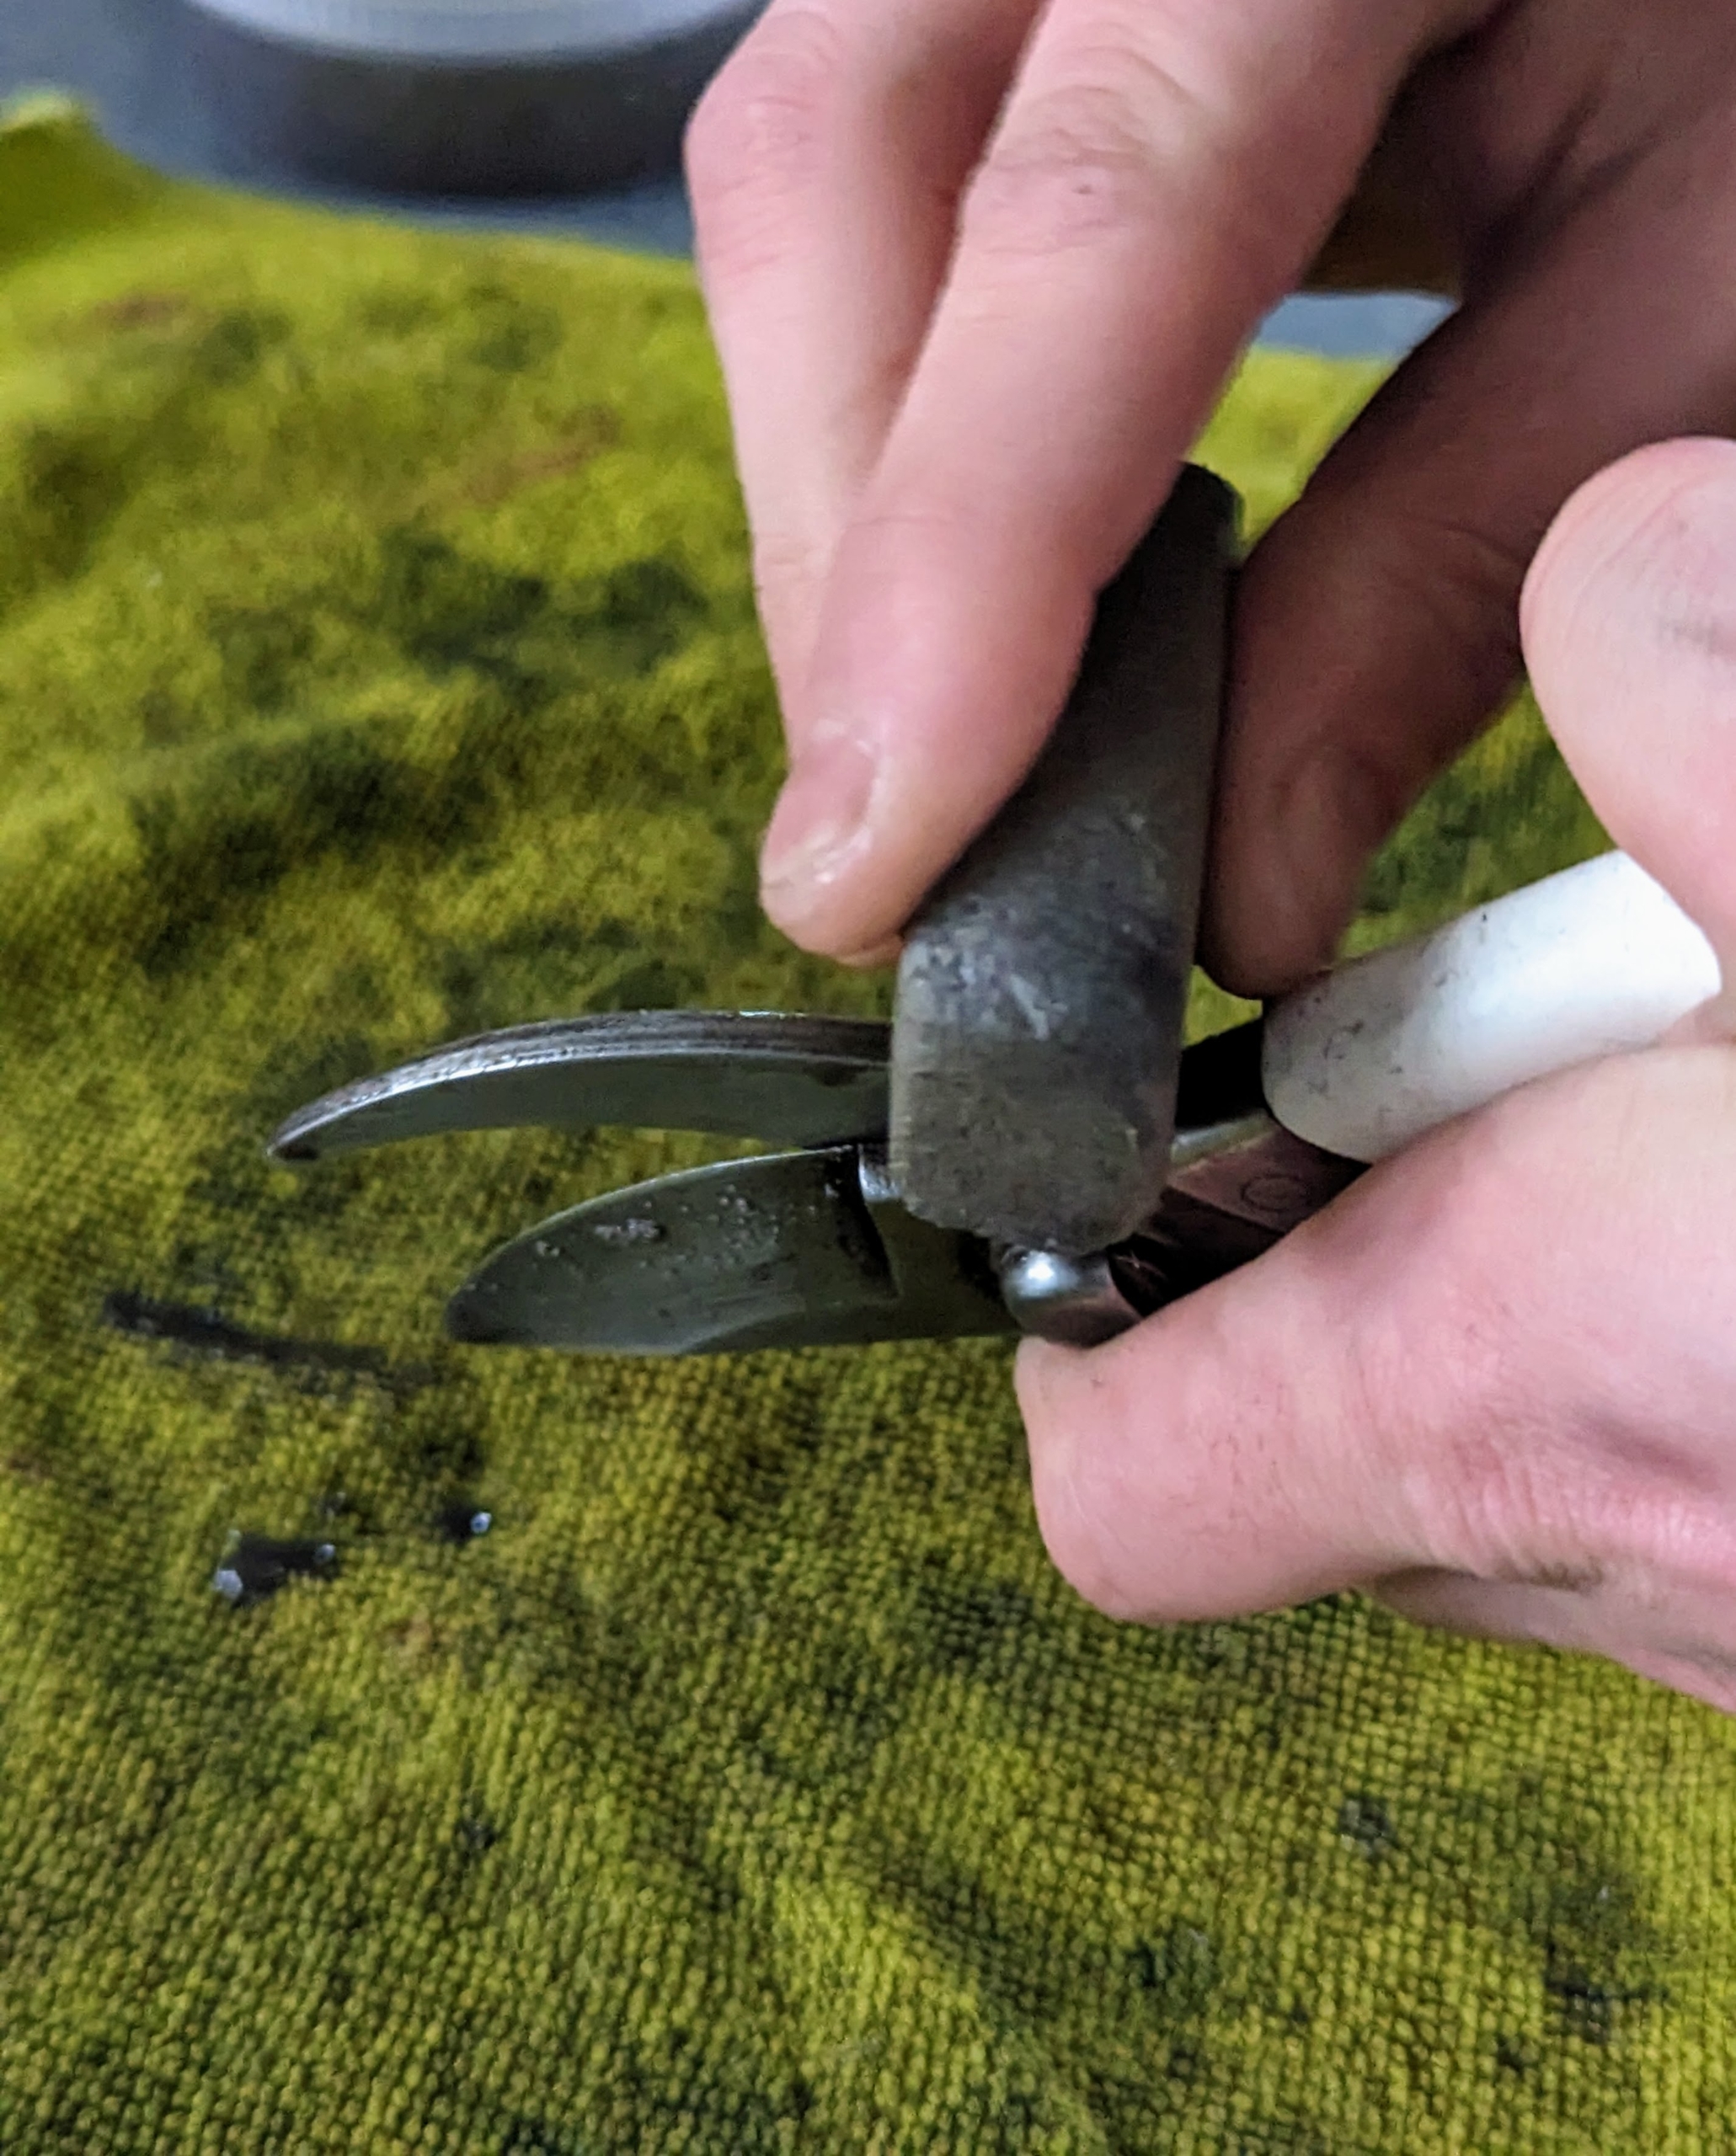
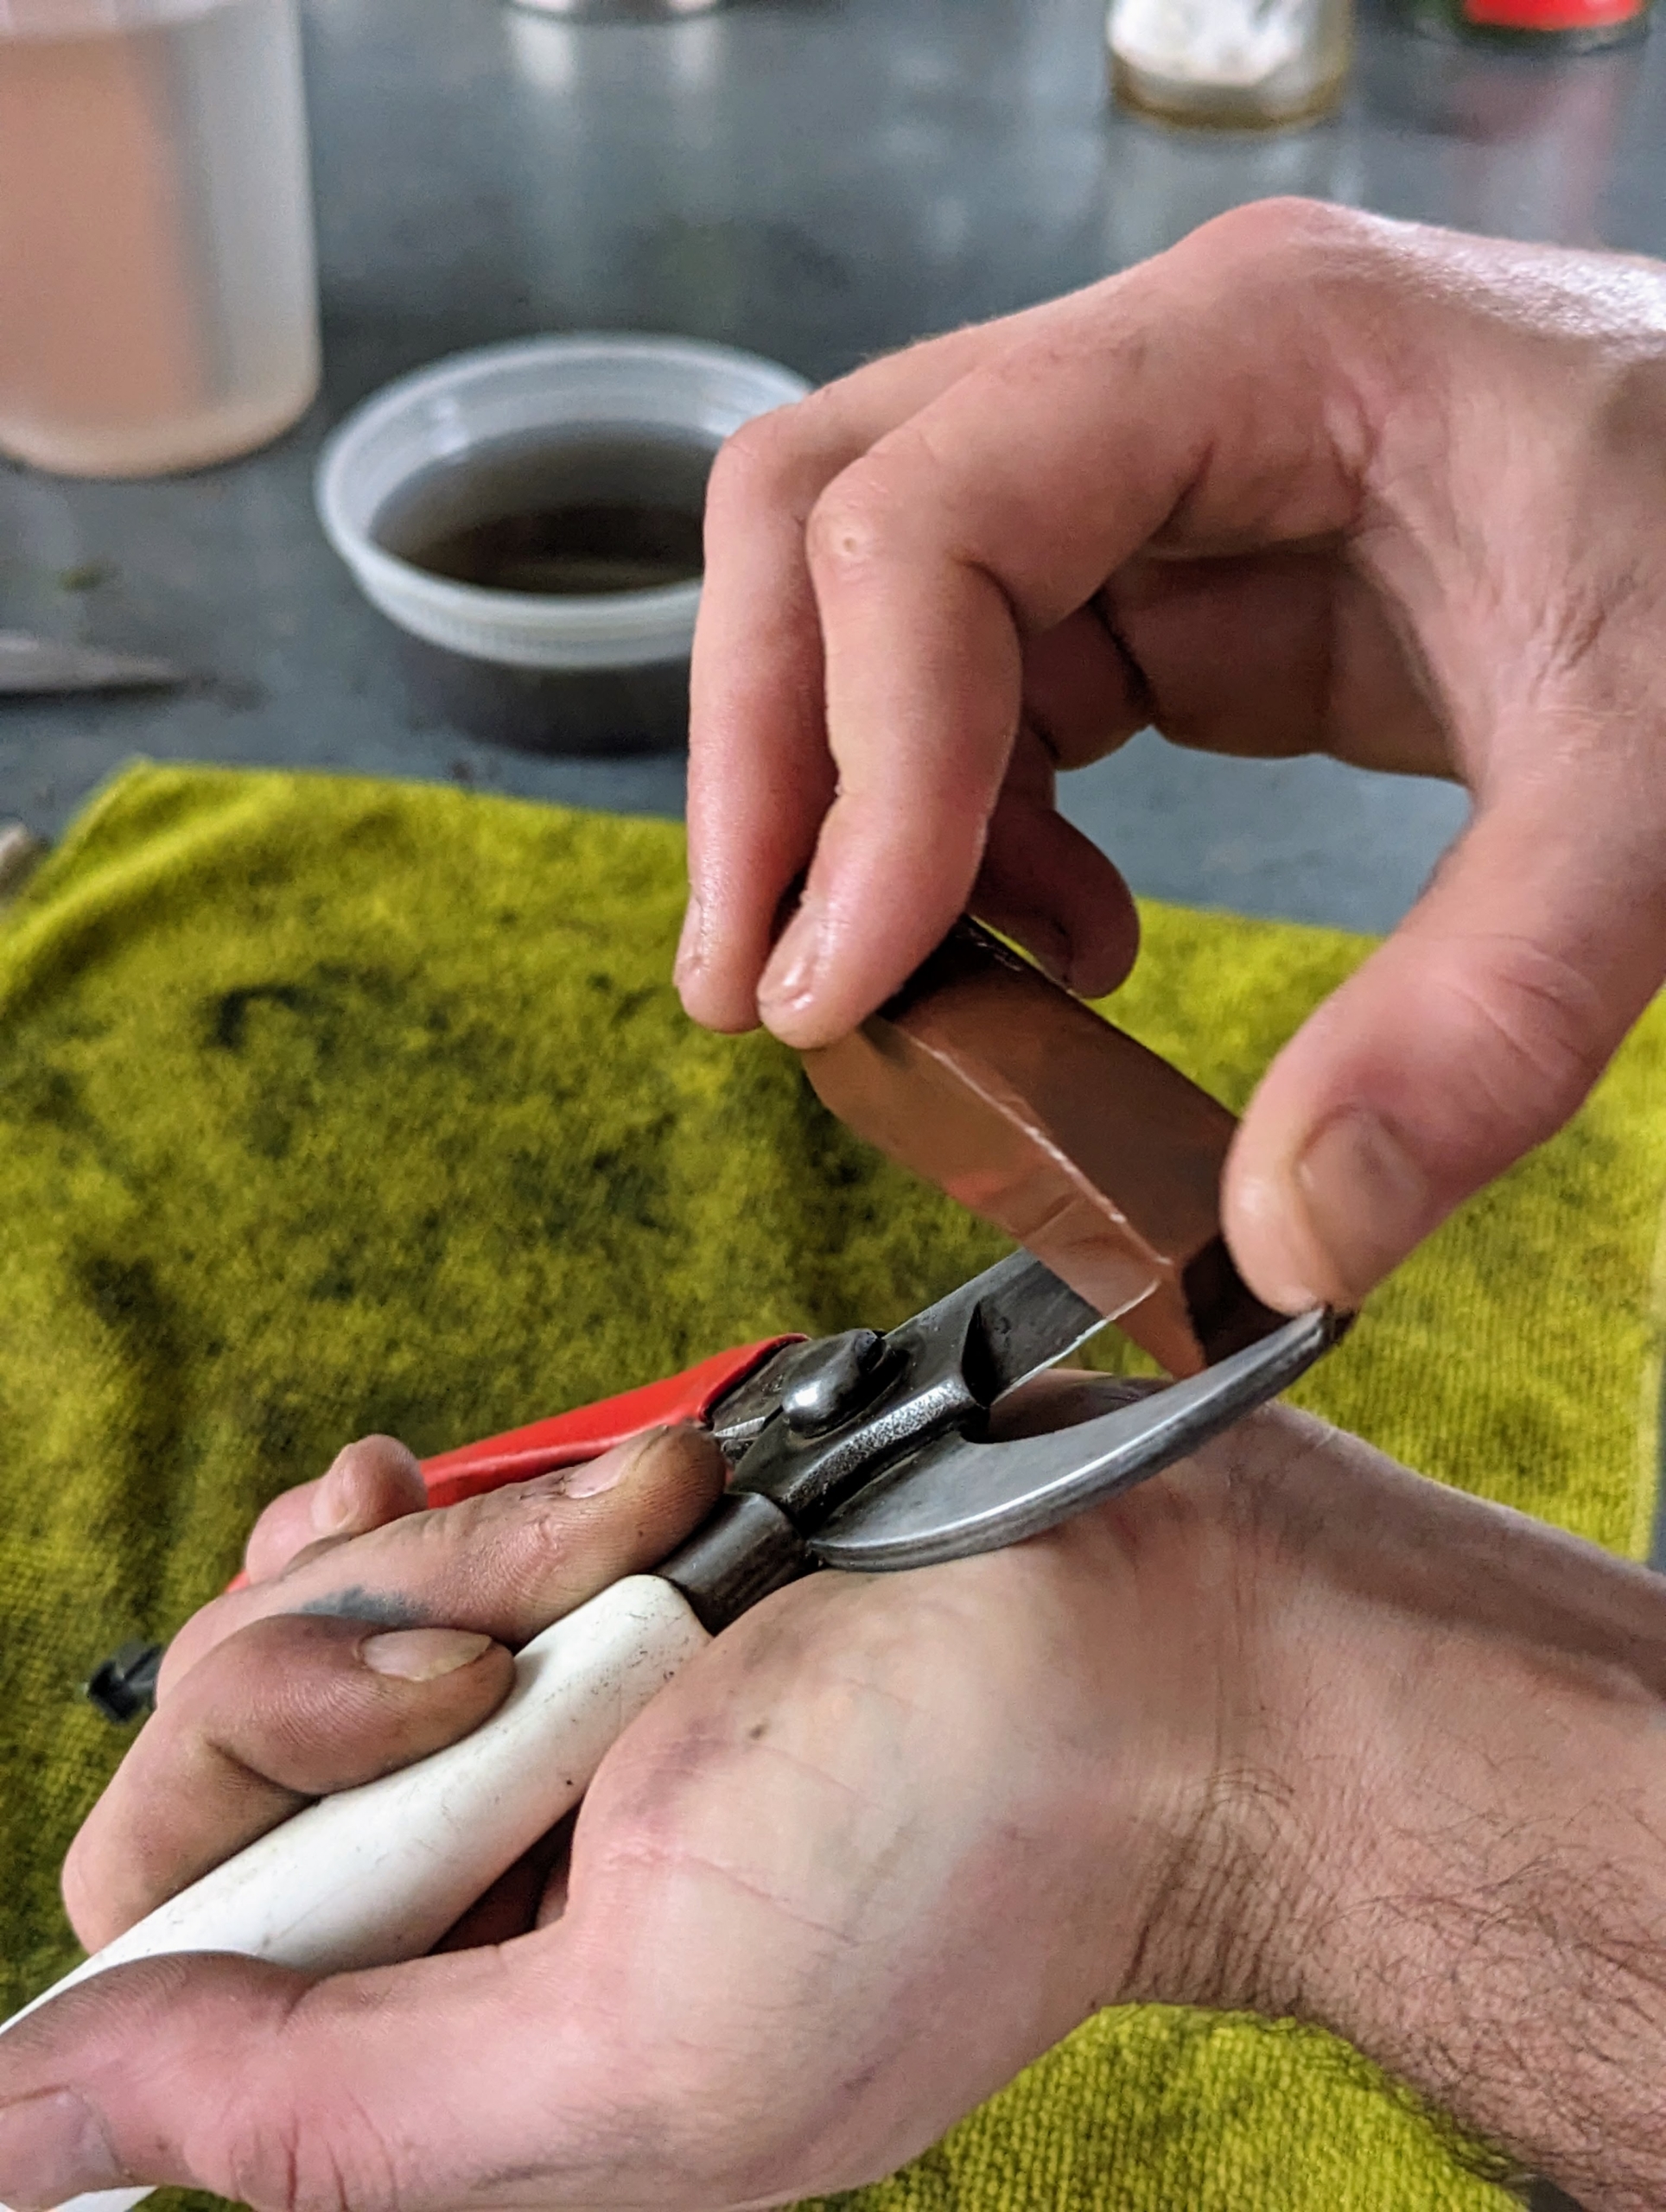
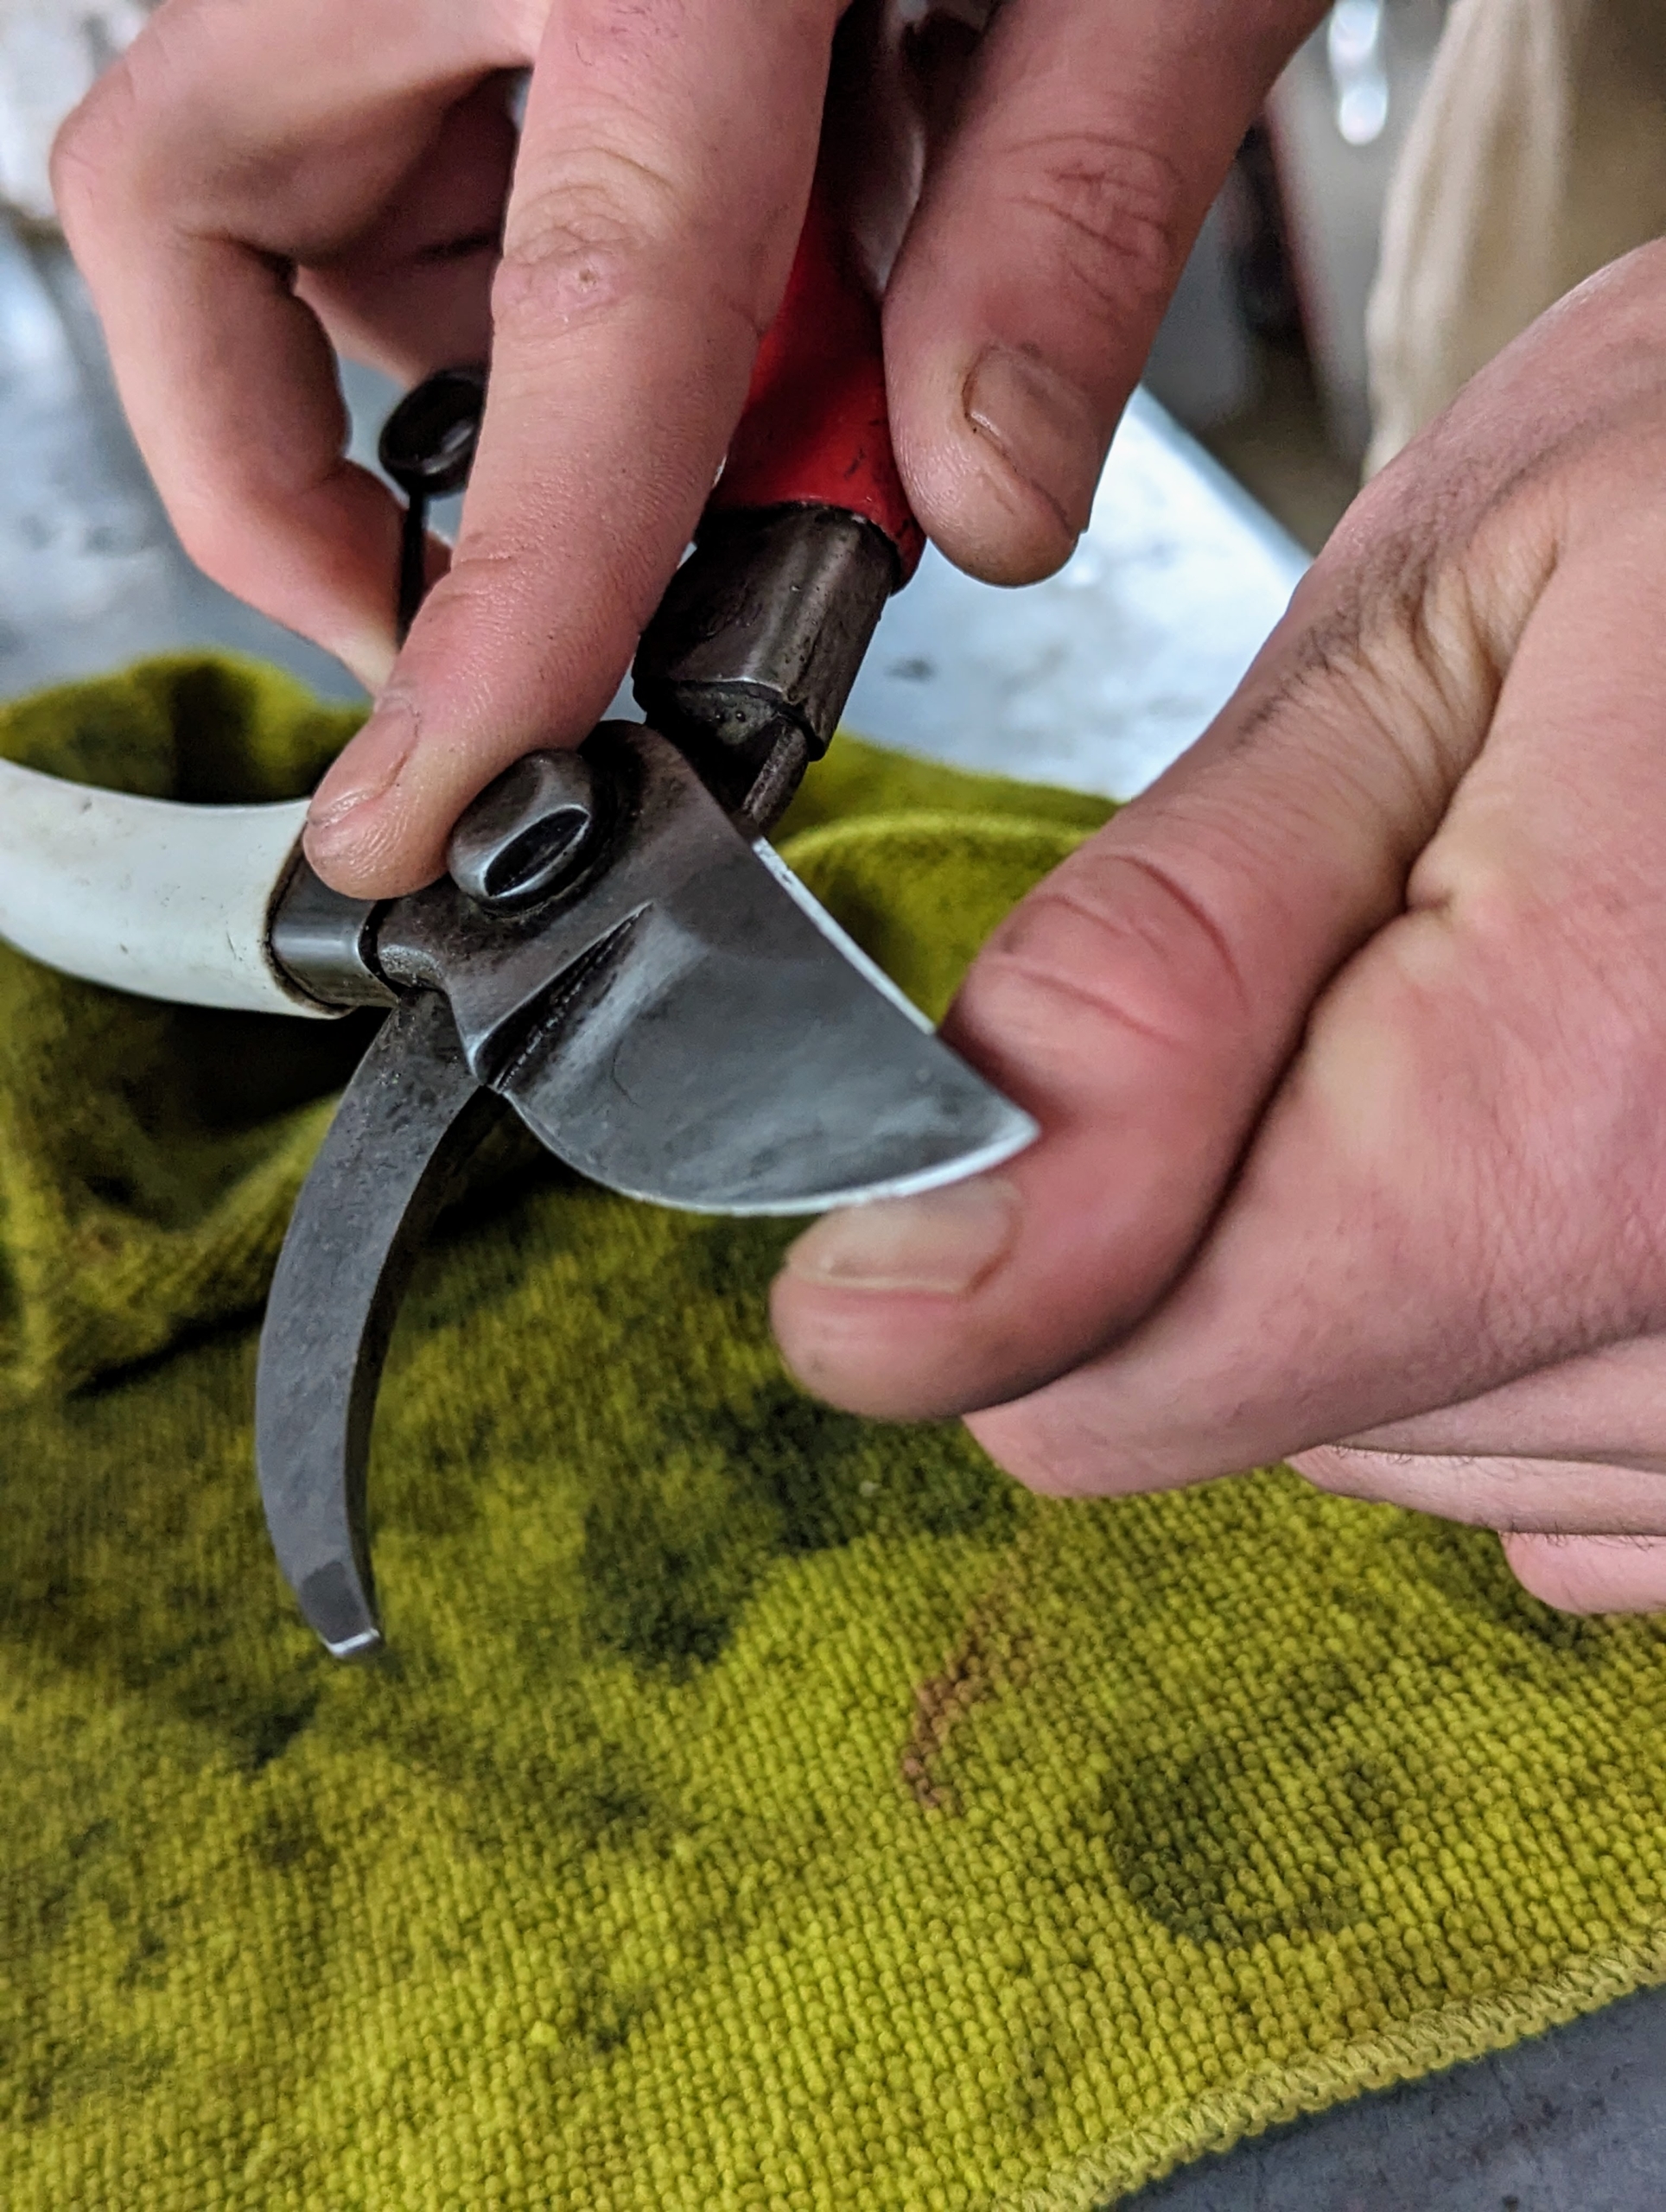
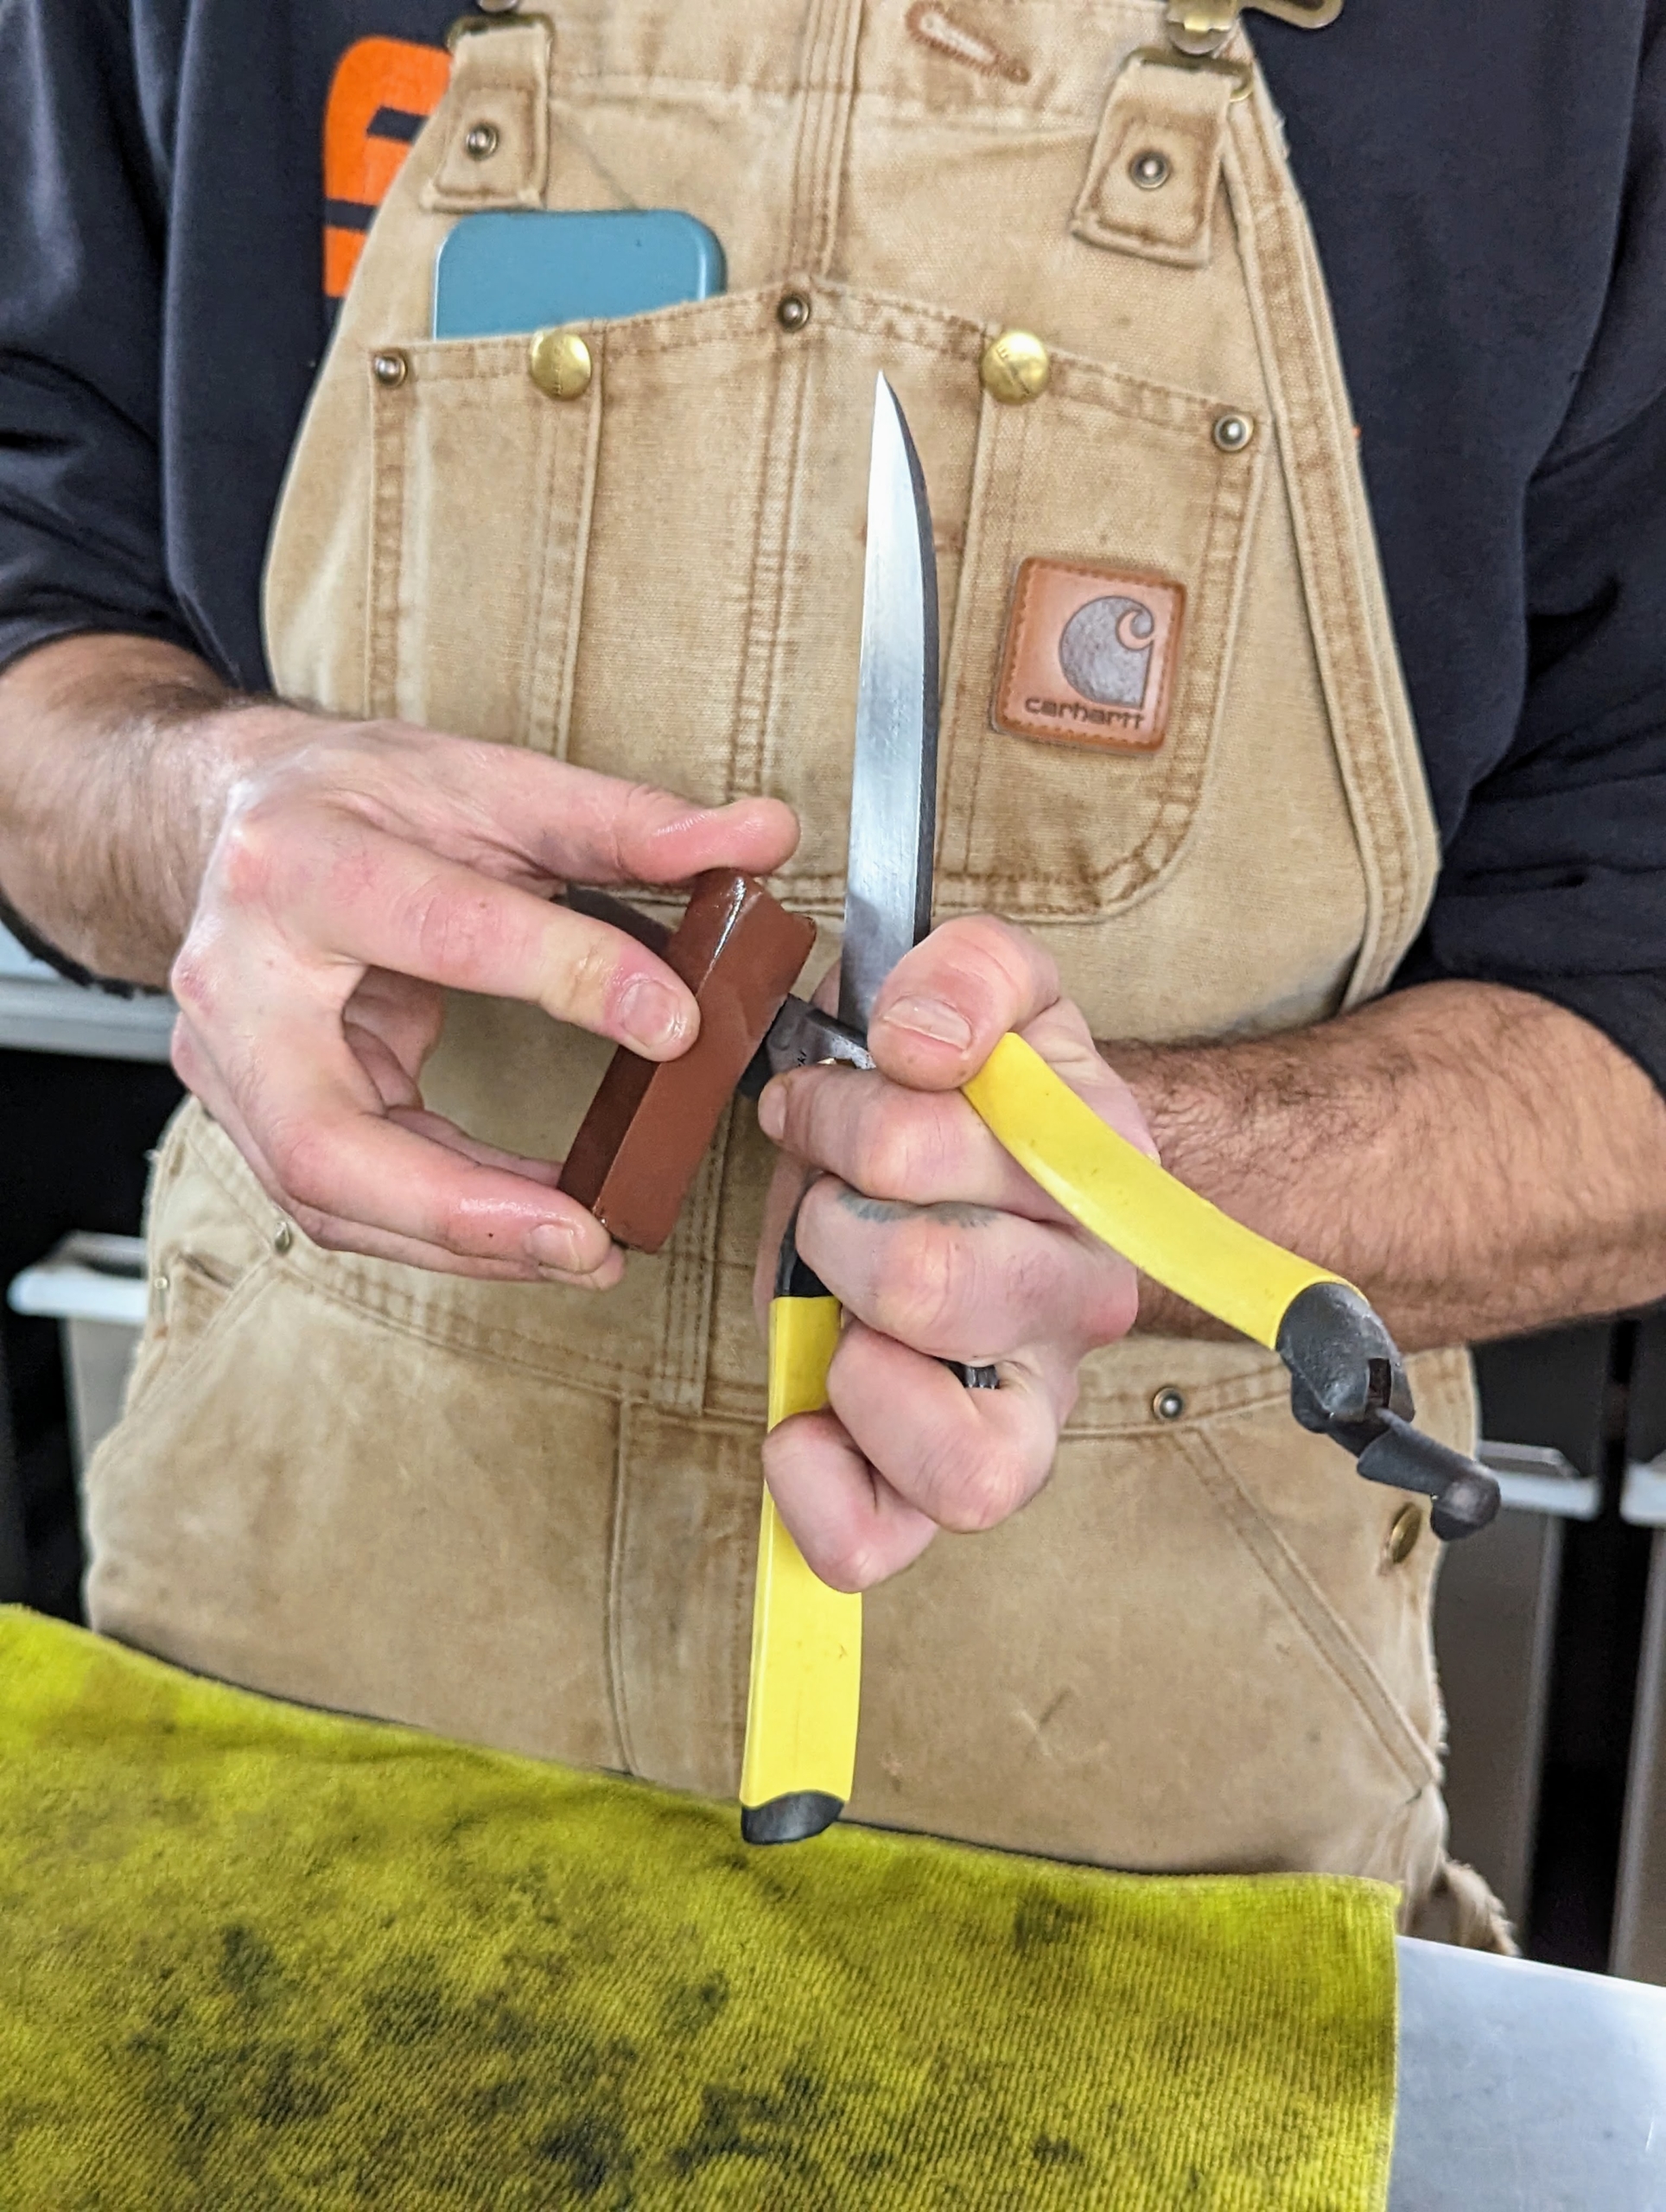
Next, Brian uses the whetstone to sharpen the blade. Brian holds the pruners firmly and places an even and gentle pressure drawing the stone along the blade from hilt to tip.
Here’s another view. Most secateurs are single bevelled – Brian sharpens the outside, and then smooths off the inside, going slightly over the edge.
These blades are now very sharp. To test, Brian carefully rubs the blade against his nail. If it bites in, it is sharp. One can also use the side of a pen or pencil.
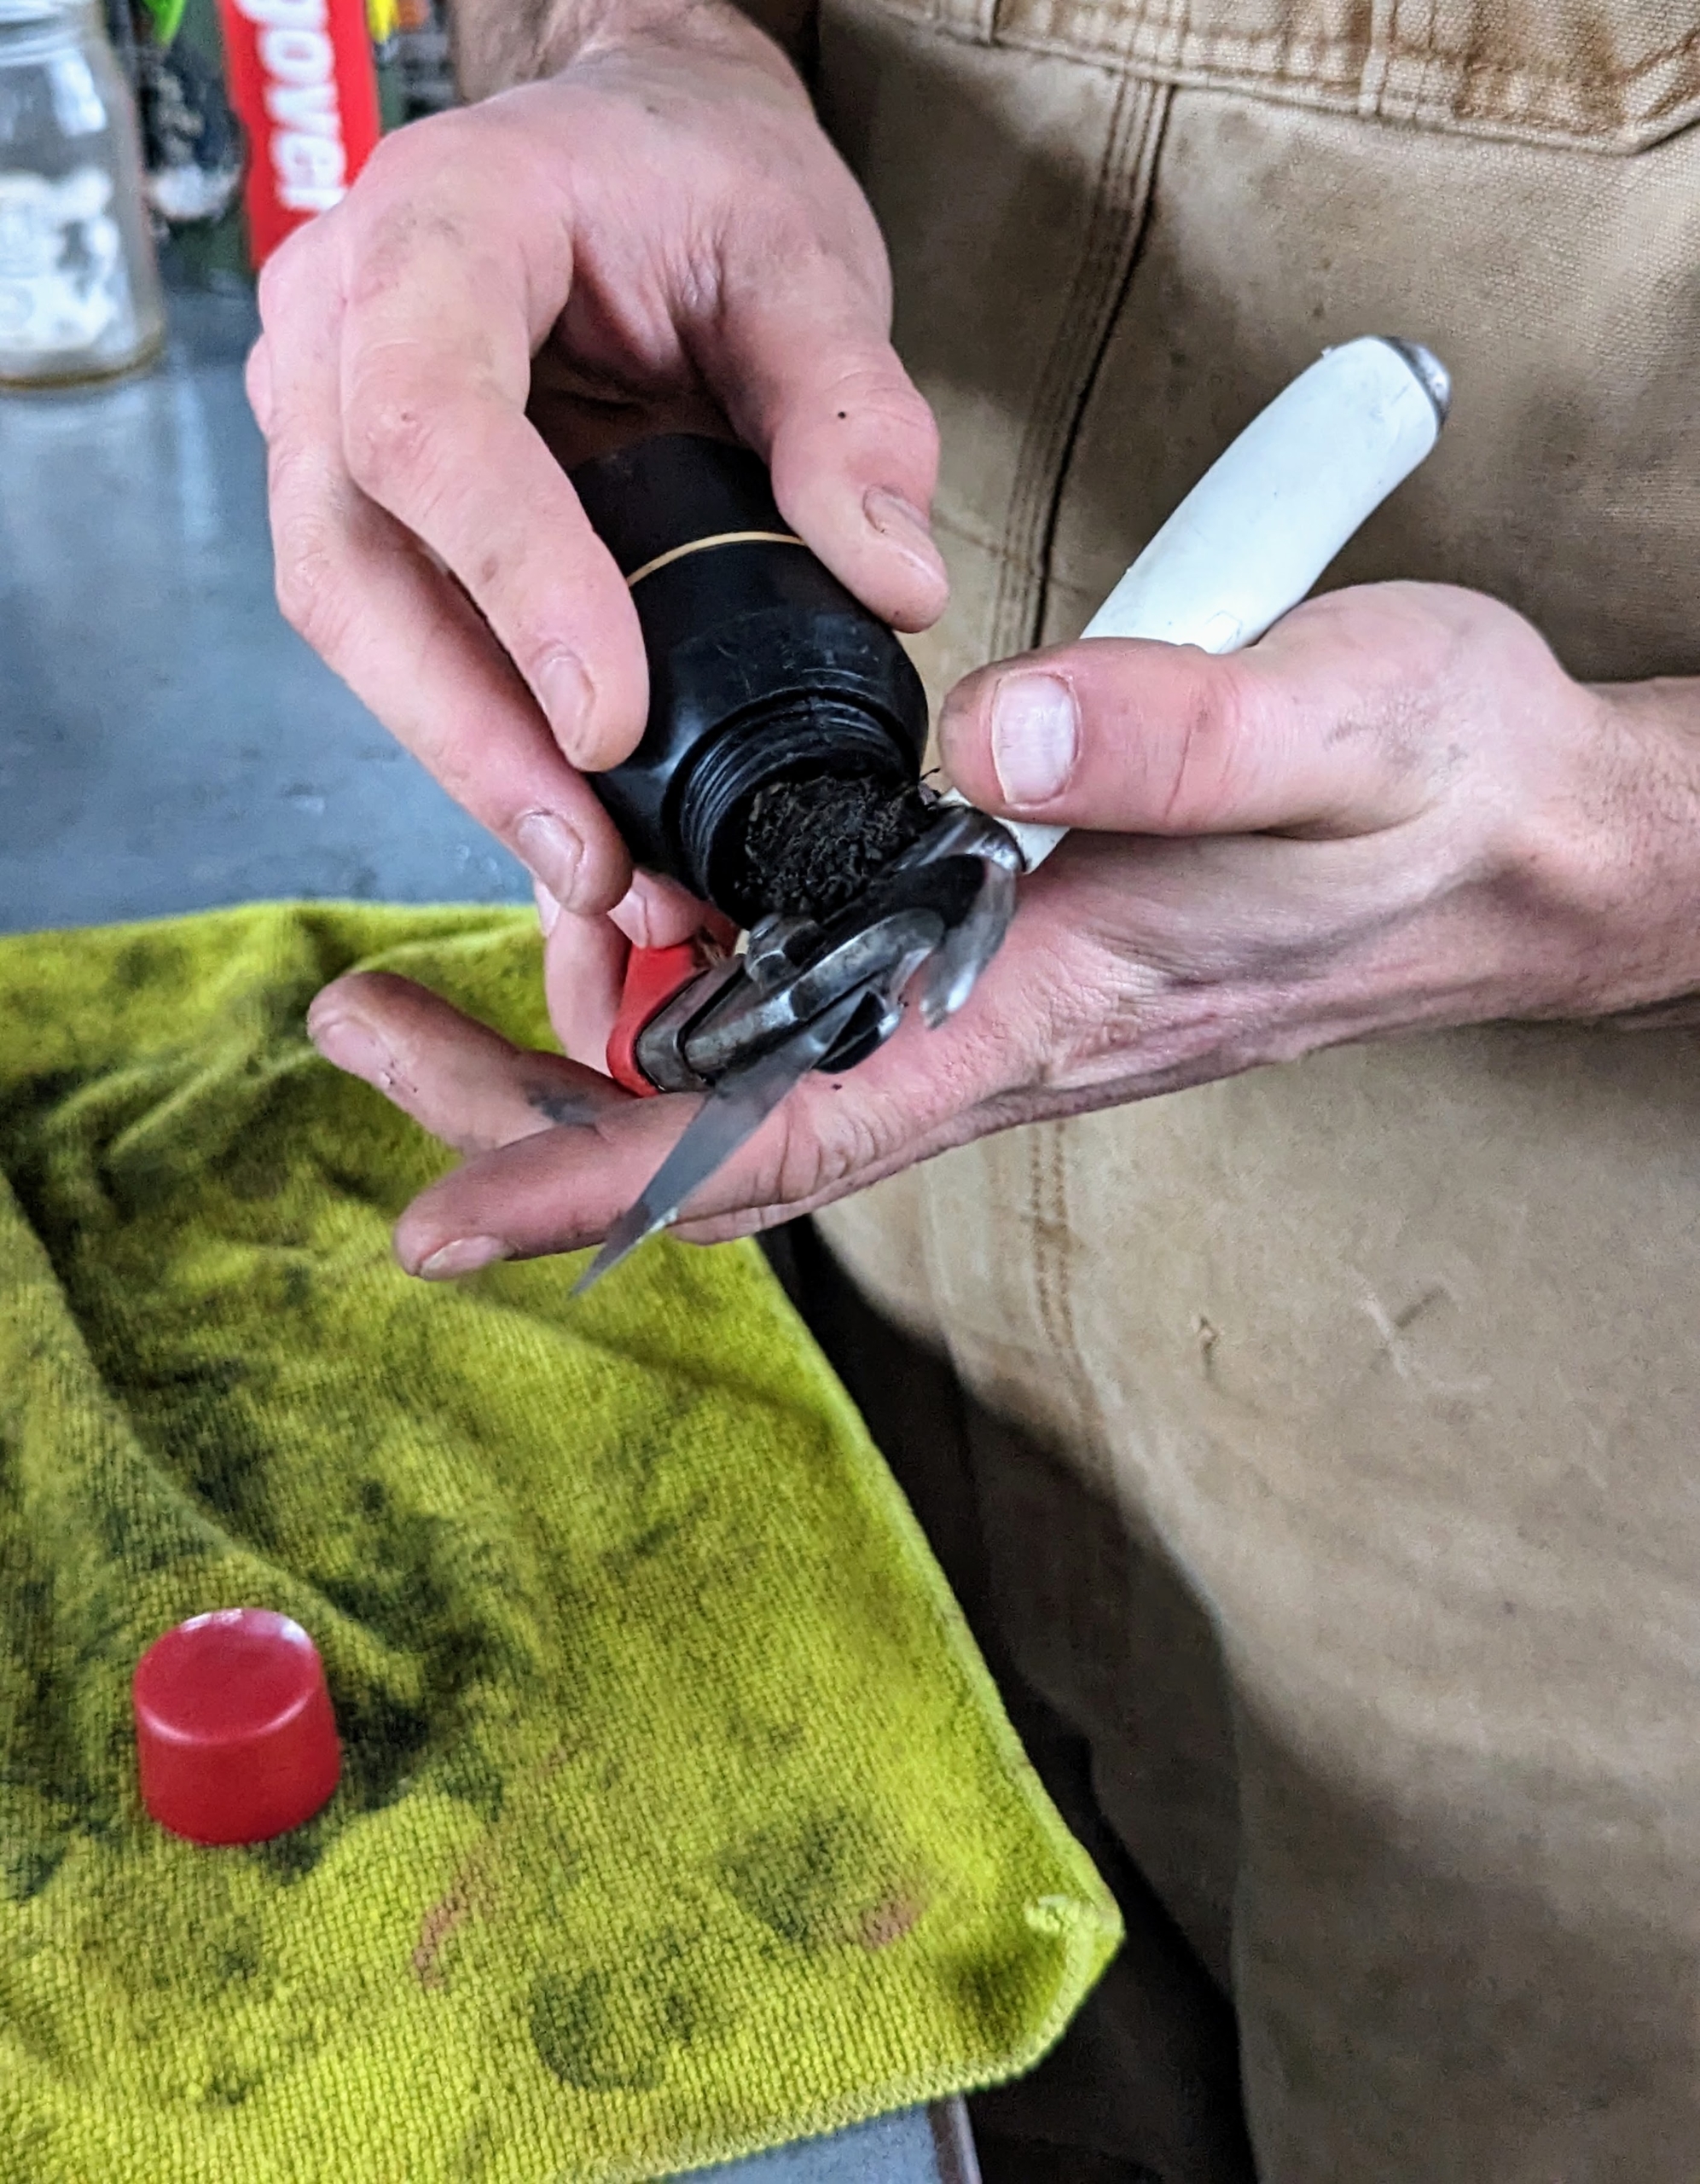
Next, Brian lightly lubricates all the clean, sharpened metal parts. Oil will help the pruners perform more smoothly. One can use multi-purpose oil from the hardware store. Brian uses oil from the seeds of Camellia oleifera. This oil is the traditional Japanese choice for protecting tools from rust. This oil leaves a deep, non-oily, and odorless finish. It is available online or at various gardening shops.
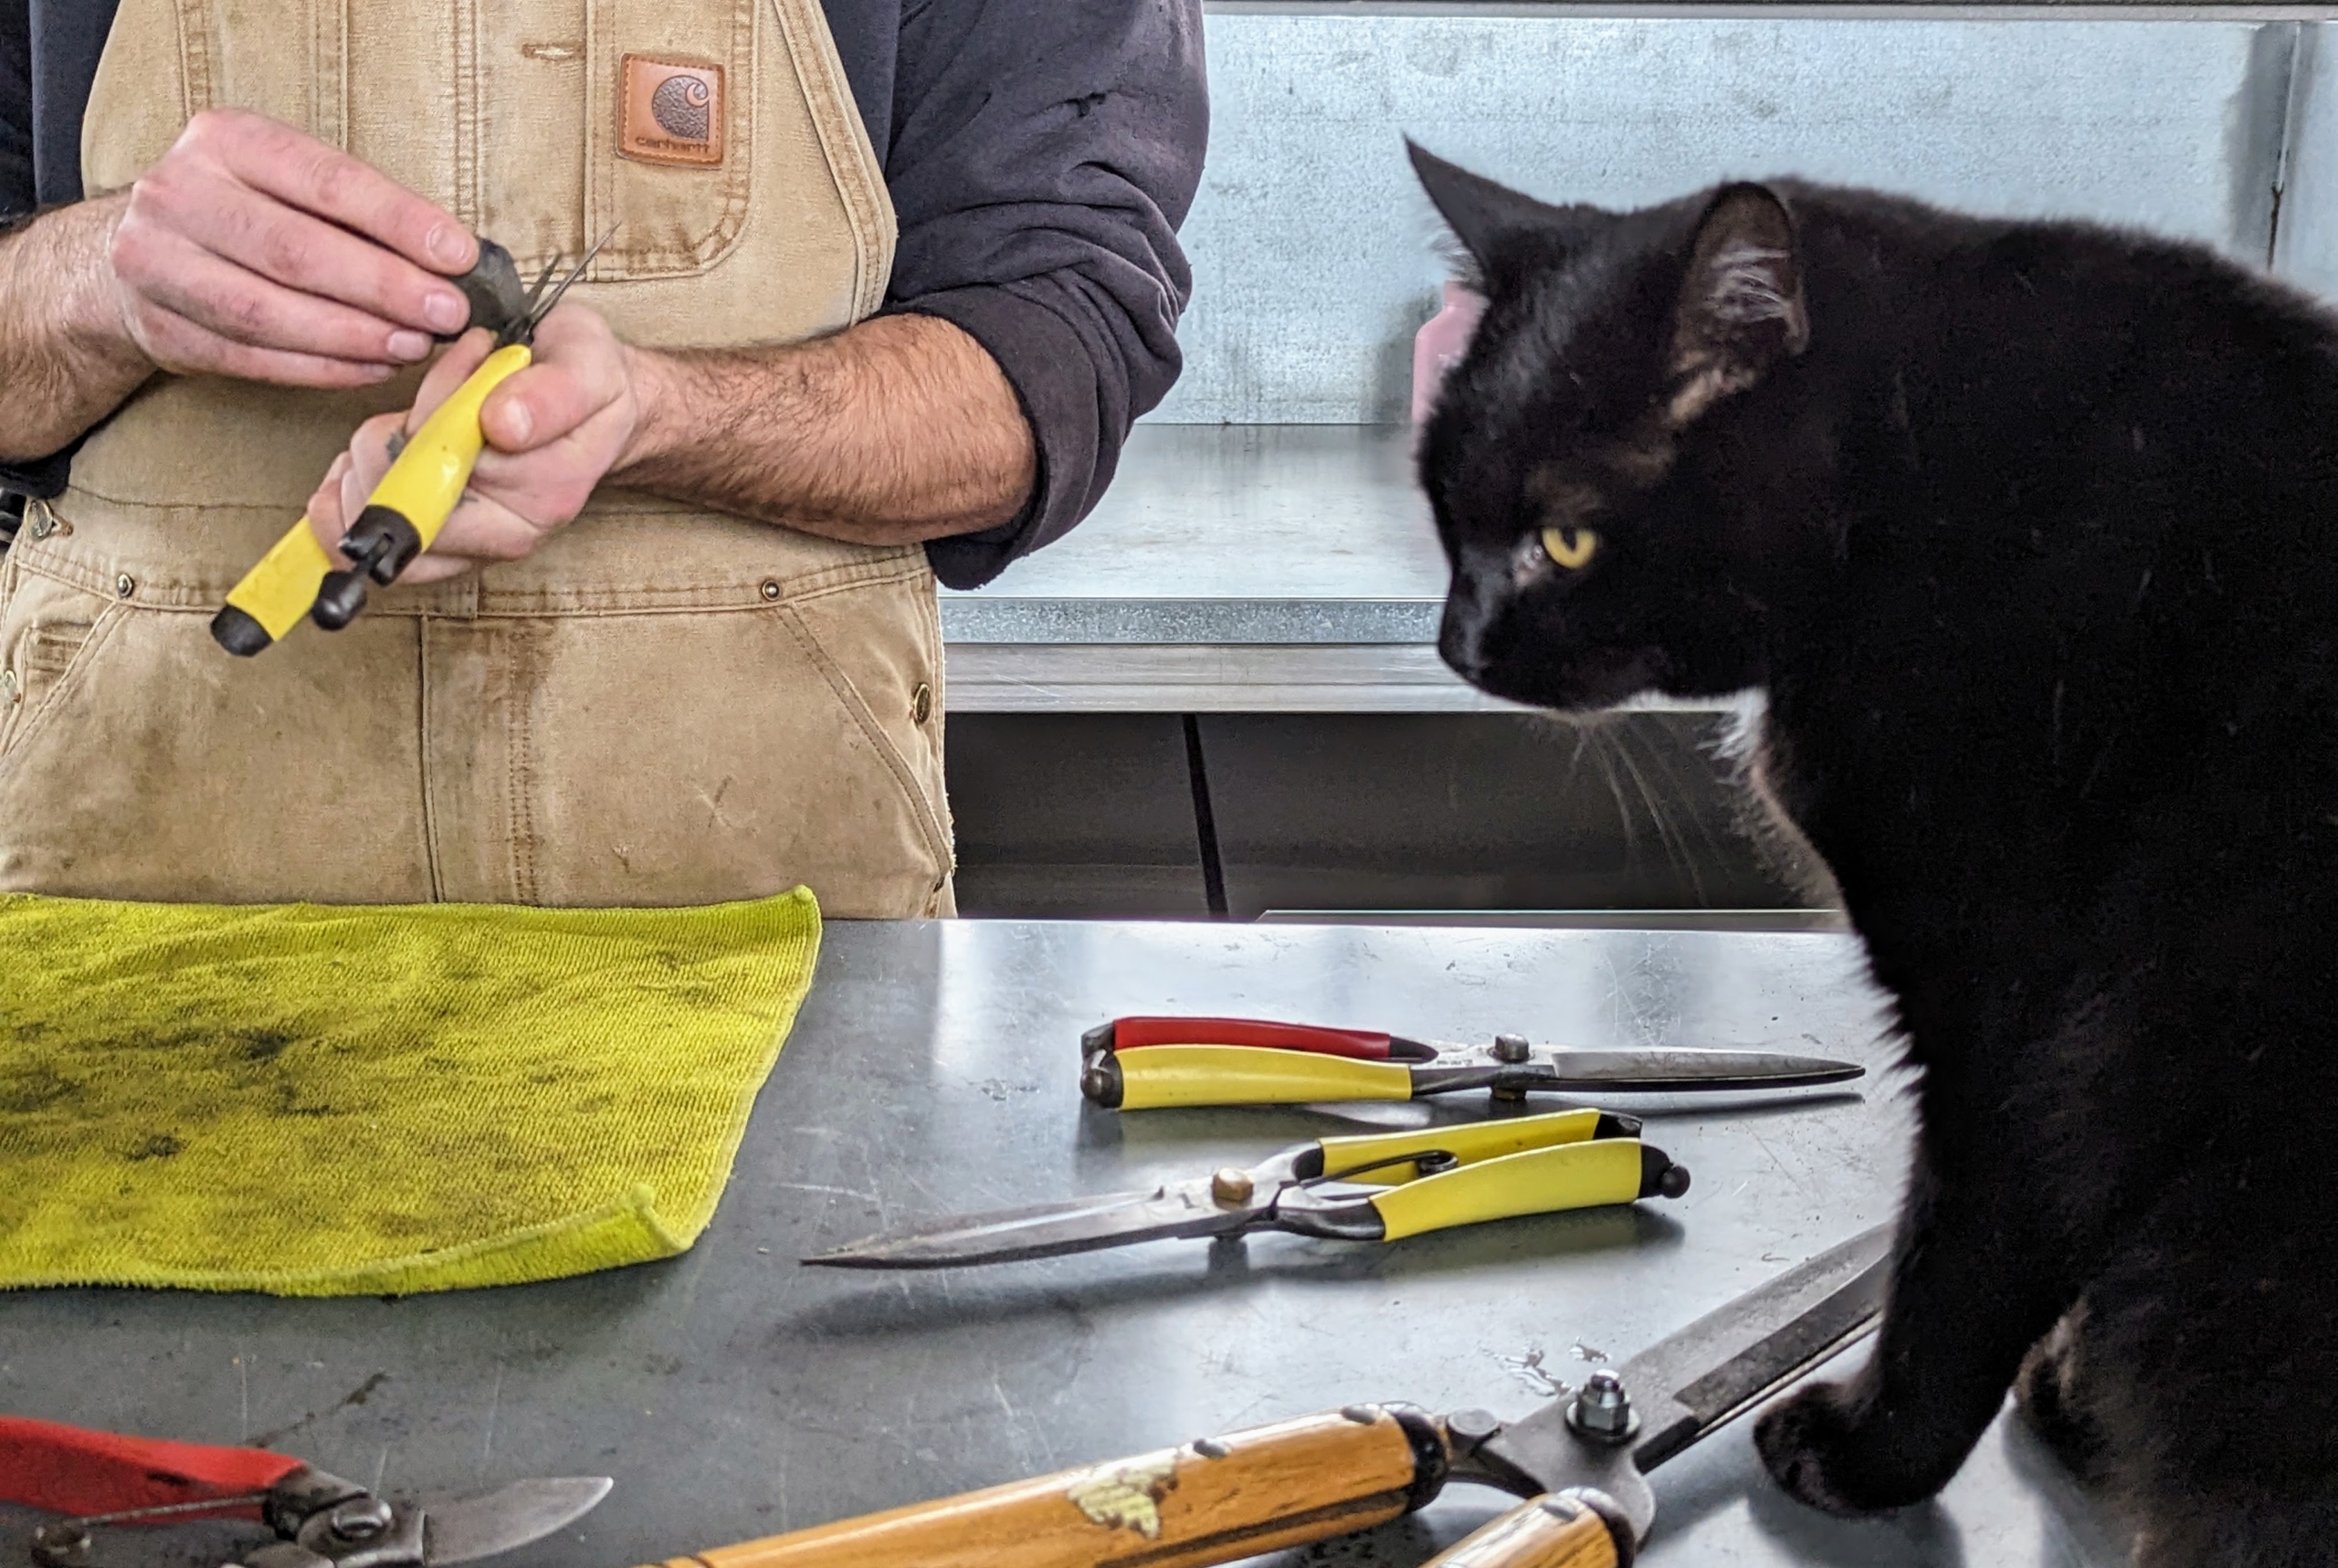
Brian does the same process for this pair – first, he uses the cleaning block… My greenhouse cat, Blackie, is always curious and loves to sit close and watch.
… then the whetstone…
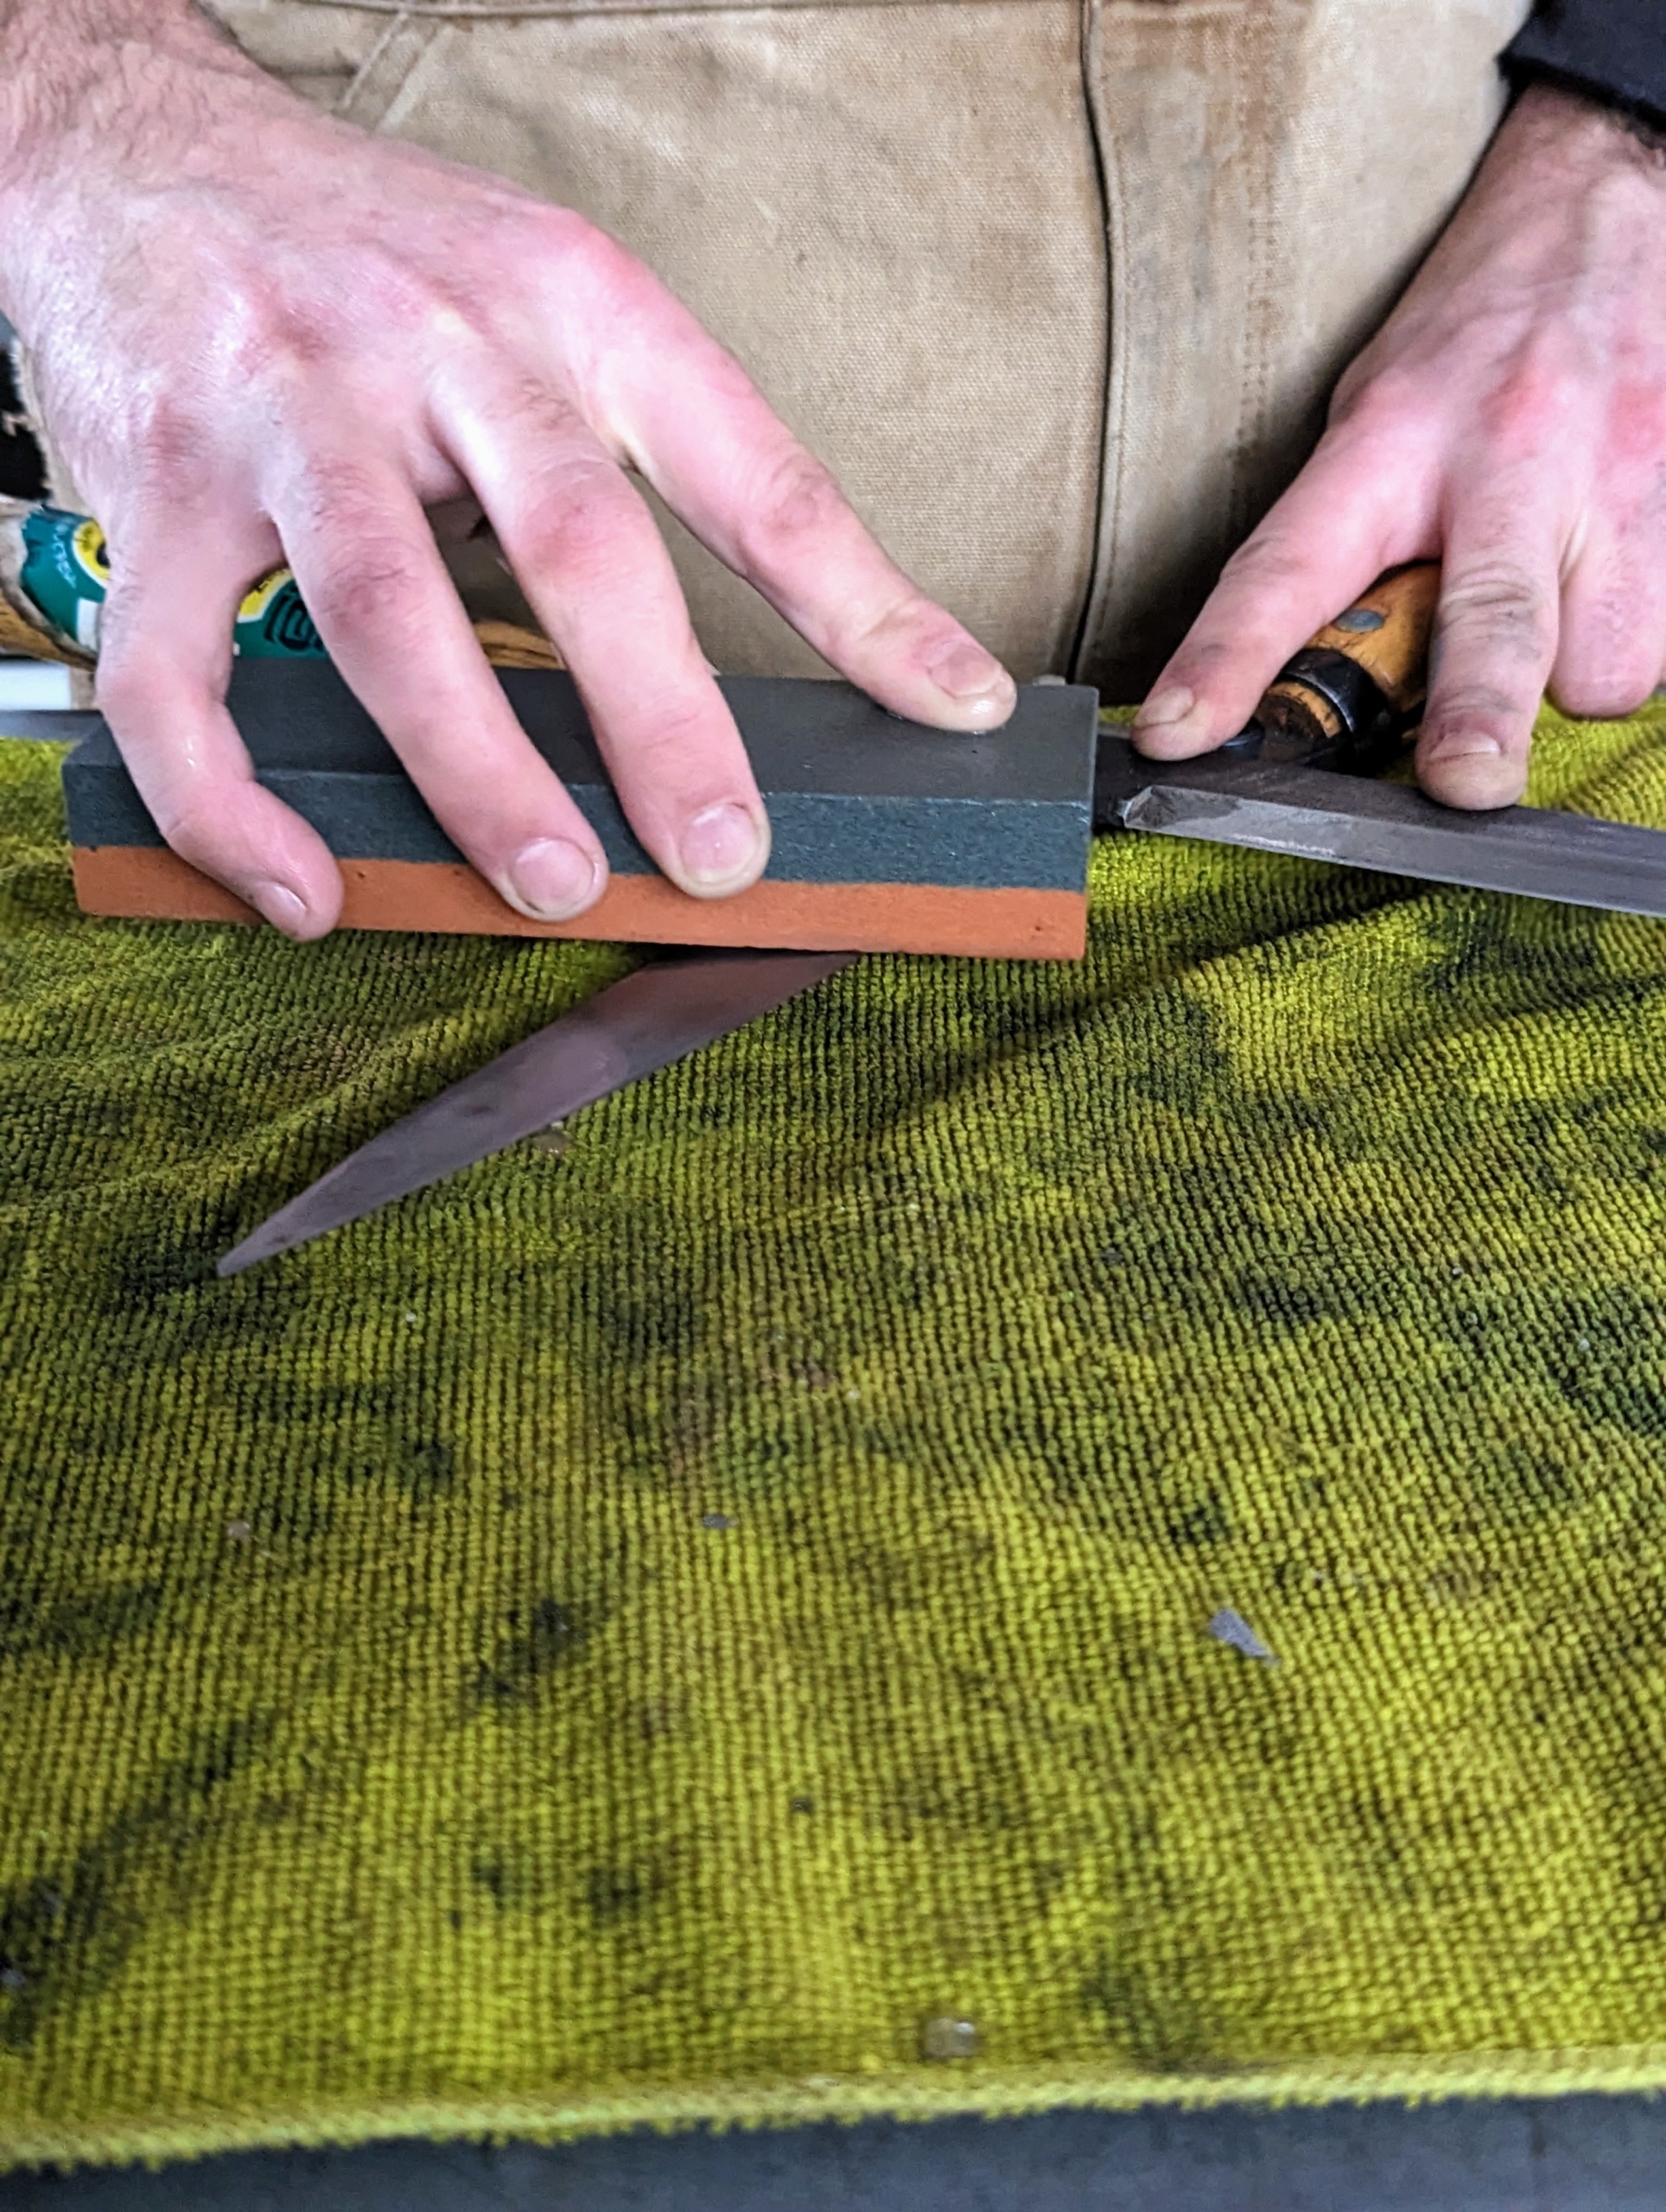
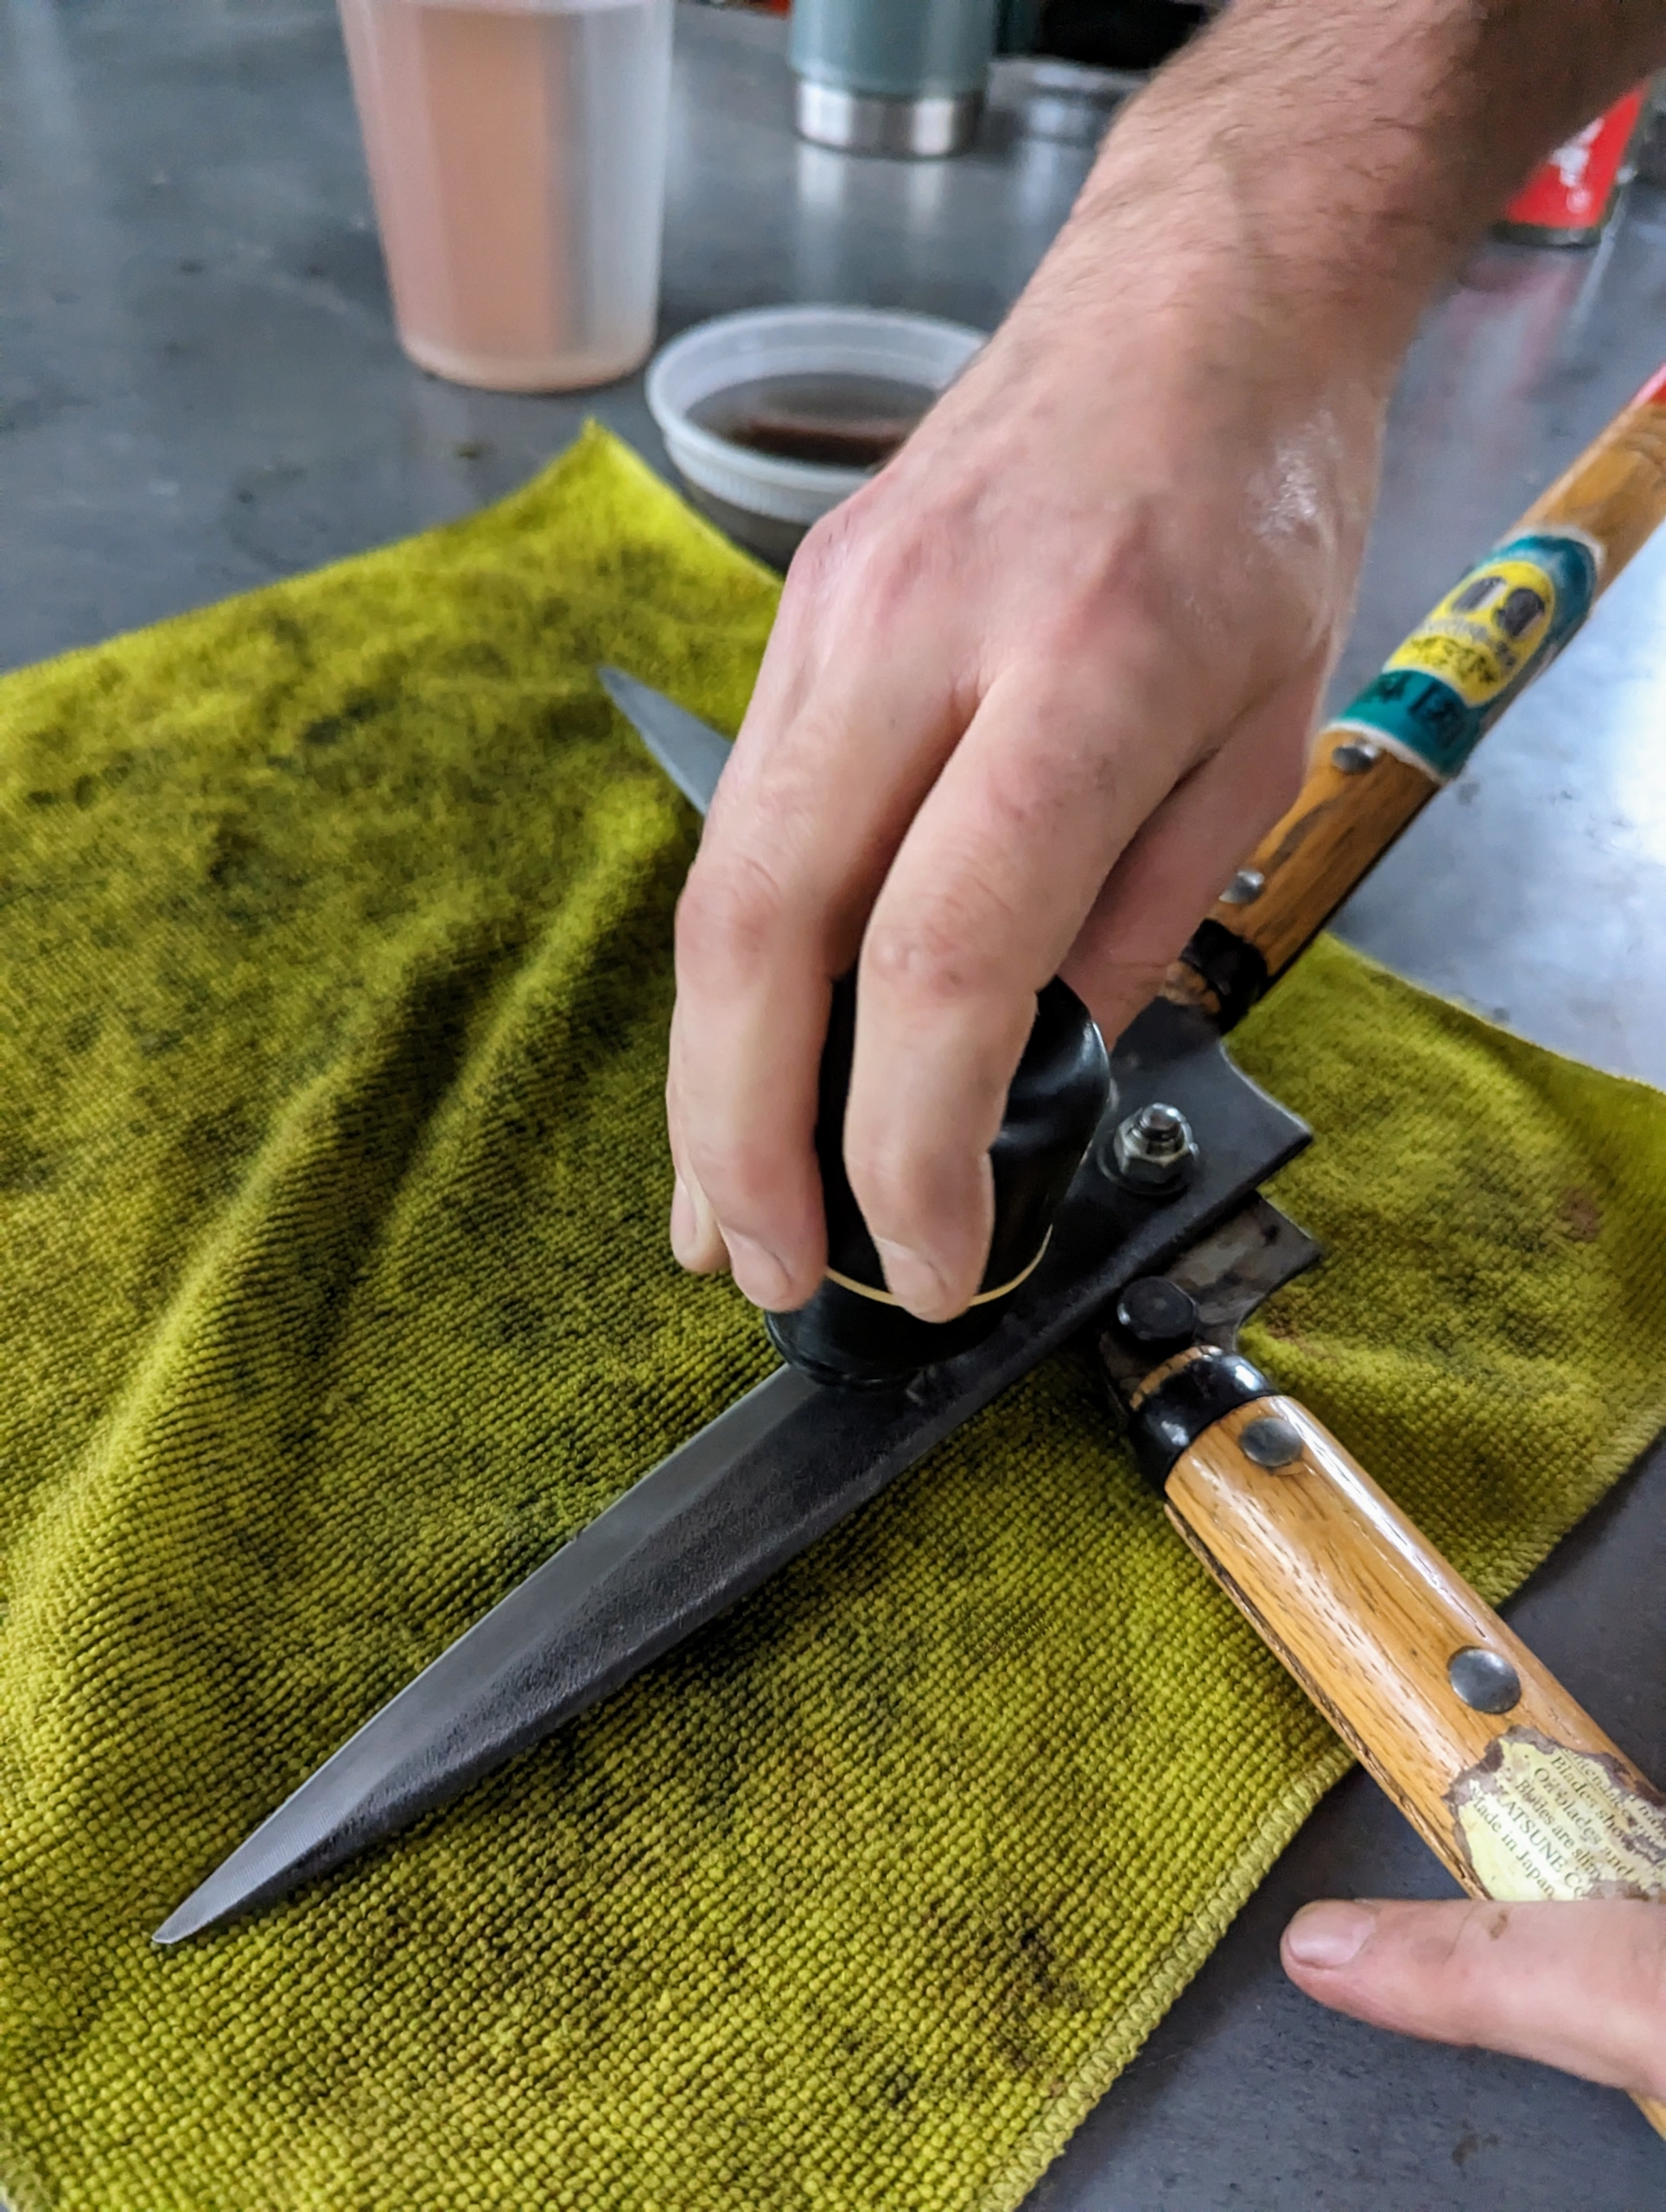
Brian holds the whetstone at an angle to sharpen the edges and maintain the bevel. The bevel is what makes a tool sharp. The blades are factory ground to a precise angle that’s just right for each tool.
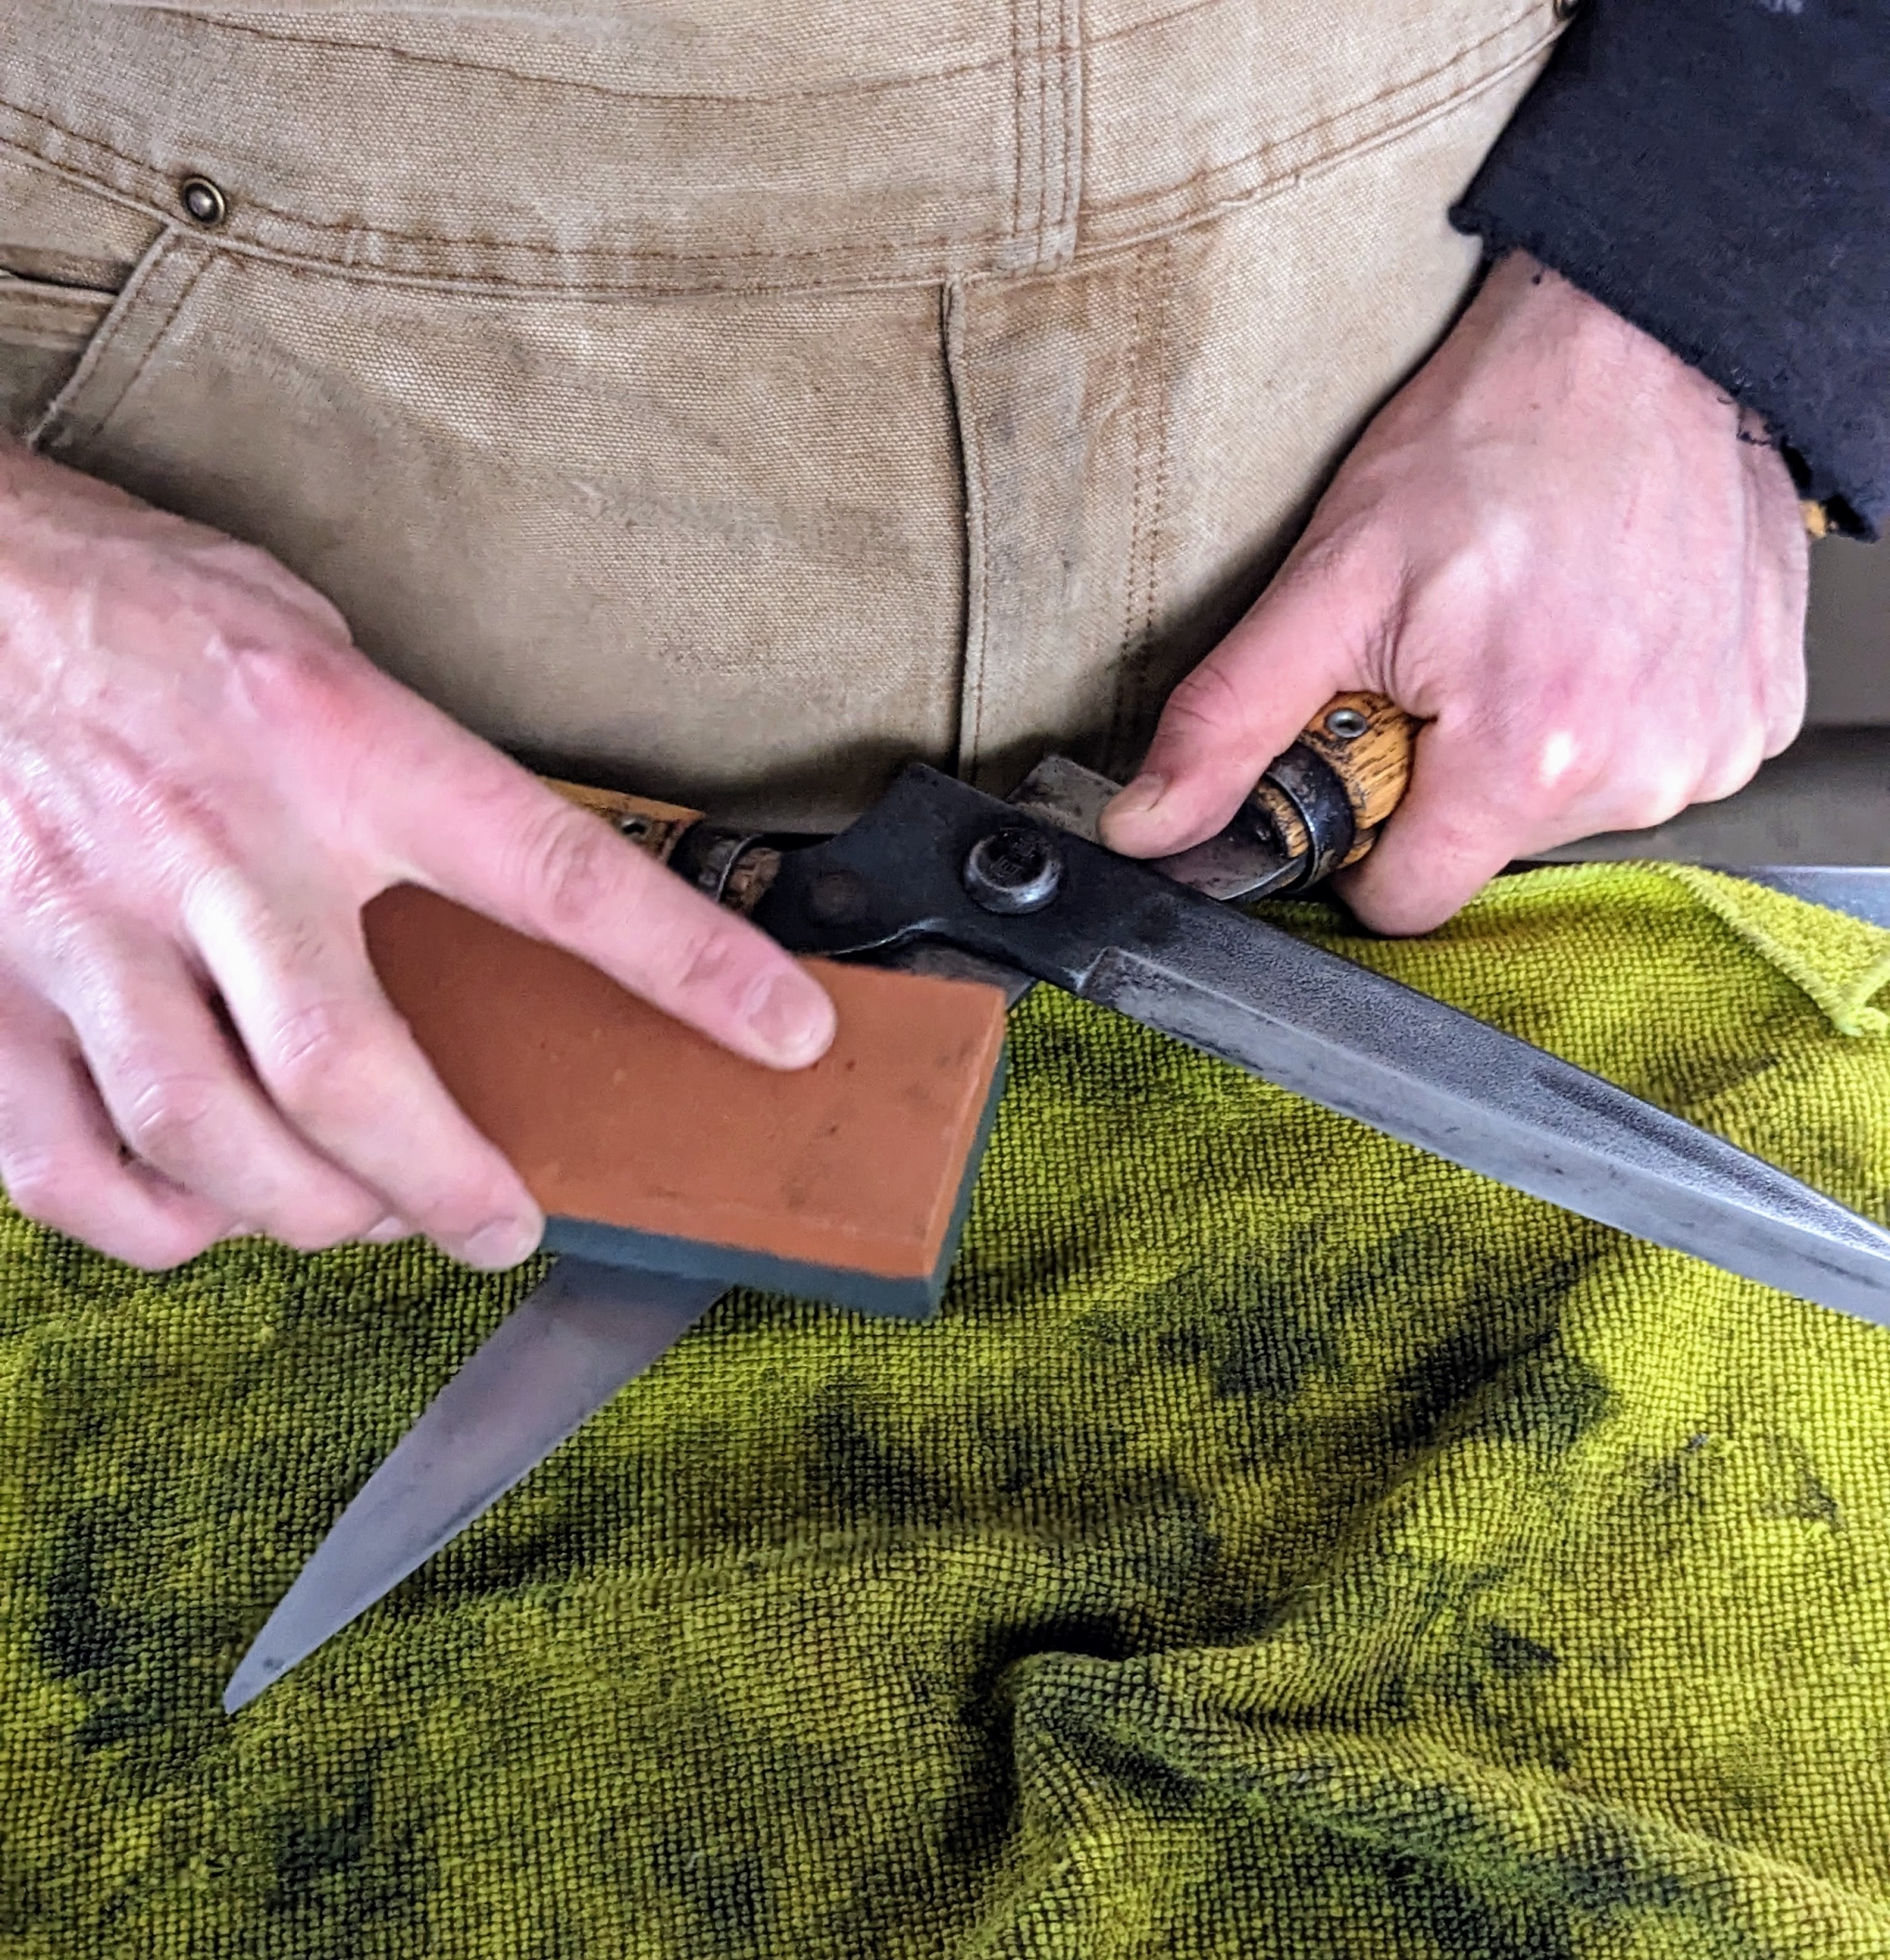
For these snips, Brian uses the larger block, which can cover more blade surface with less strokes.
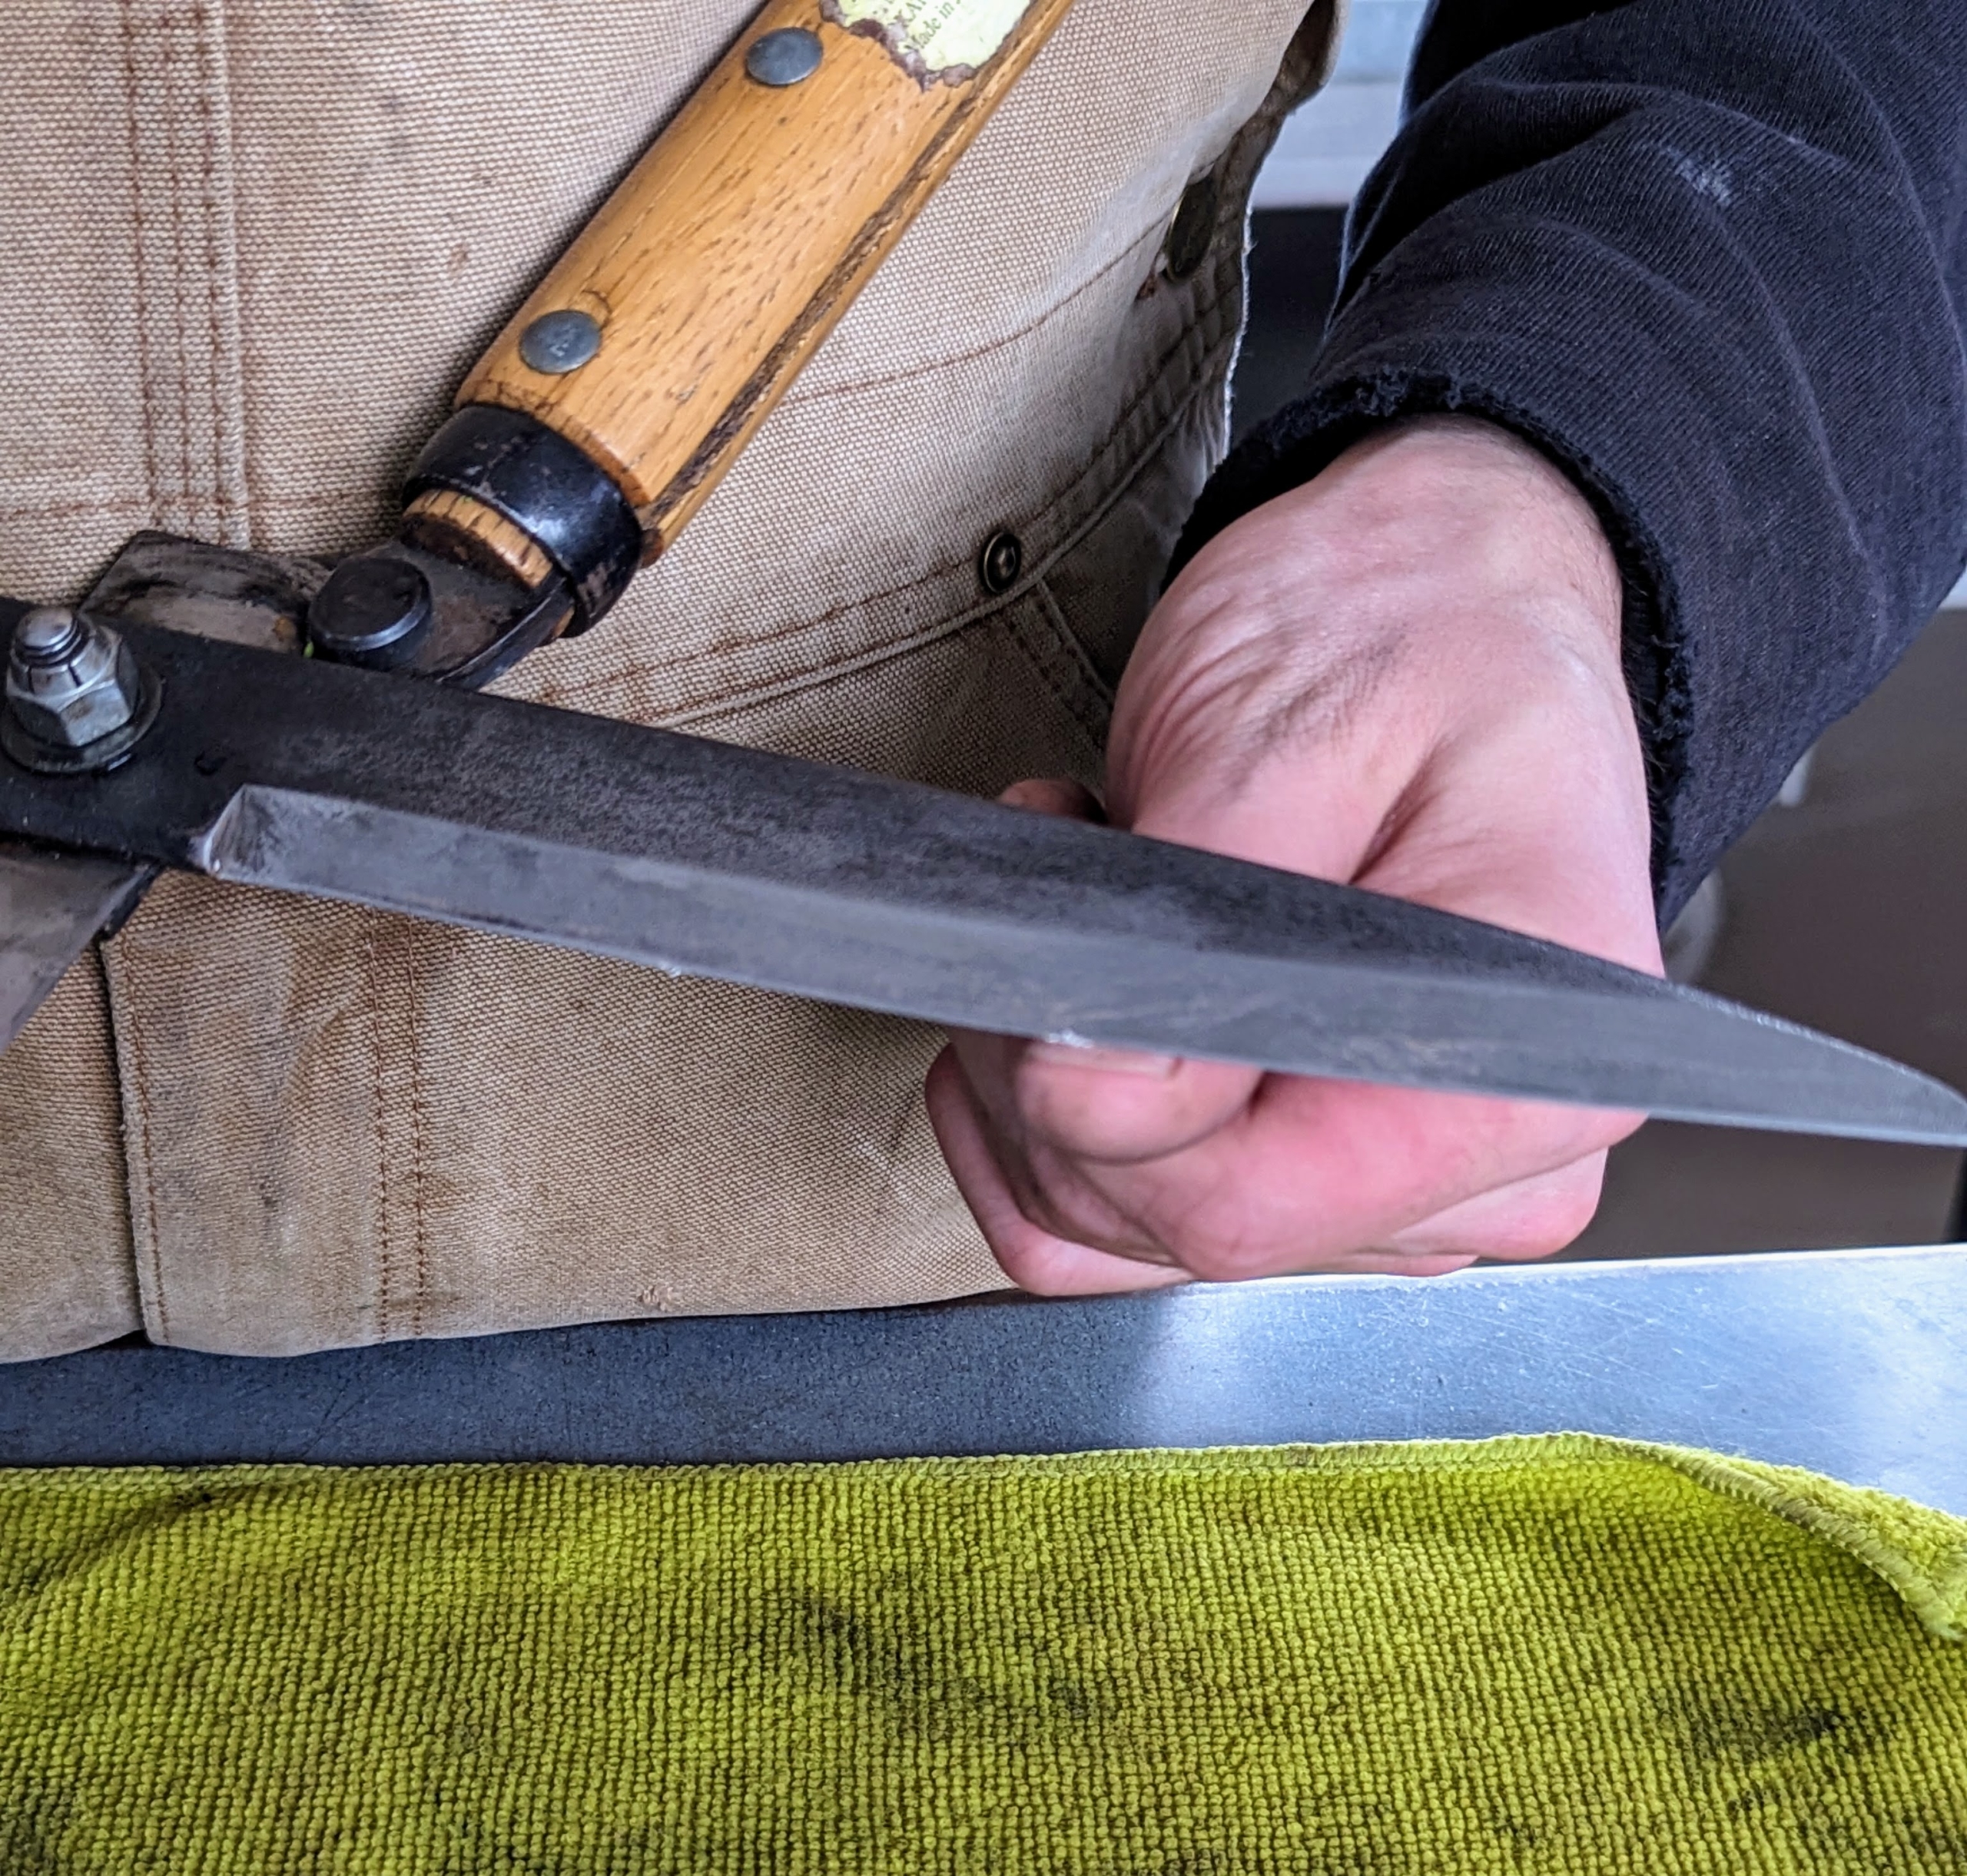
And he also uses it for the long hedge shears.
This block is one piece, with the darker cleaning section on one side and the sharpening whetstone on the other. Cleaning and sharpening supplies are available at many garden shops and online.
Once again, Brian tests the sharpness of the blade against his nail.
And then oils the entire piece. Here, he also oils the joint where the two sides meet. After oiling, it is a good idea to open and close the pruners to hear how the parts move together – they should work smoothly, quietly, and evenly.
All the tools are now ready to head back out to the gardens. It is crucial to keep these garden tools sharp at all times. Sharp pruners for working in the gardens… it’s a very safe, efficient, “good thing.”