No better time like the start of a new year to get everything around the farm in good order.
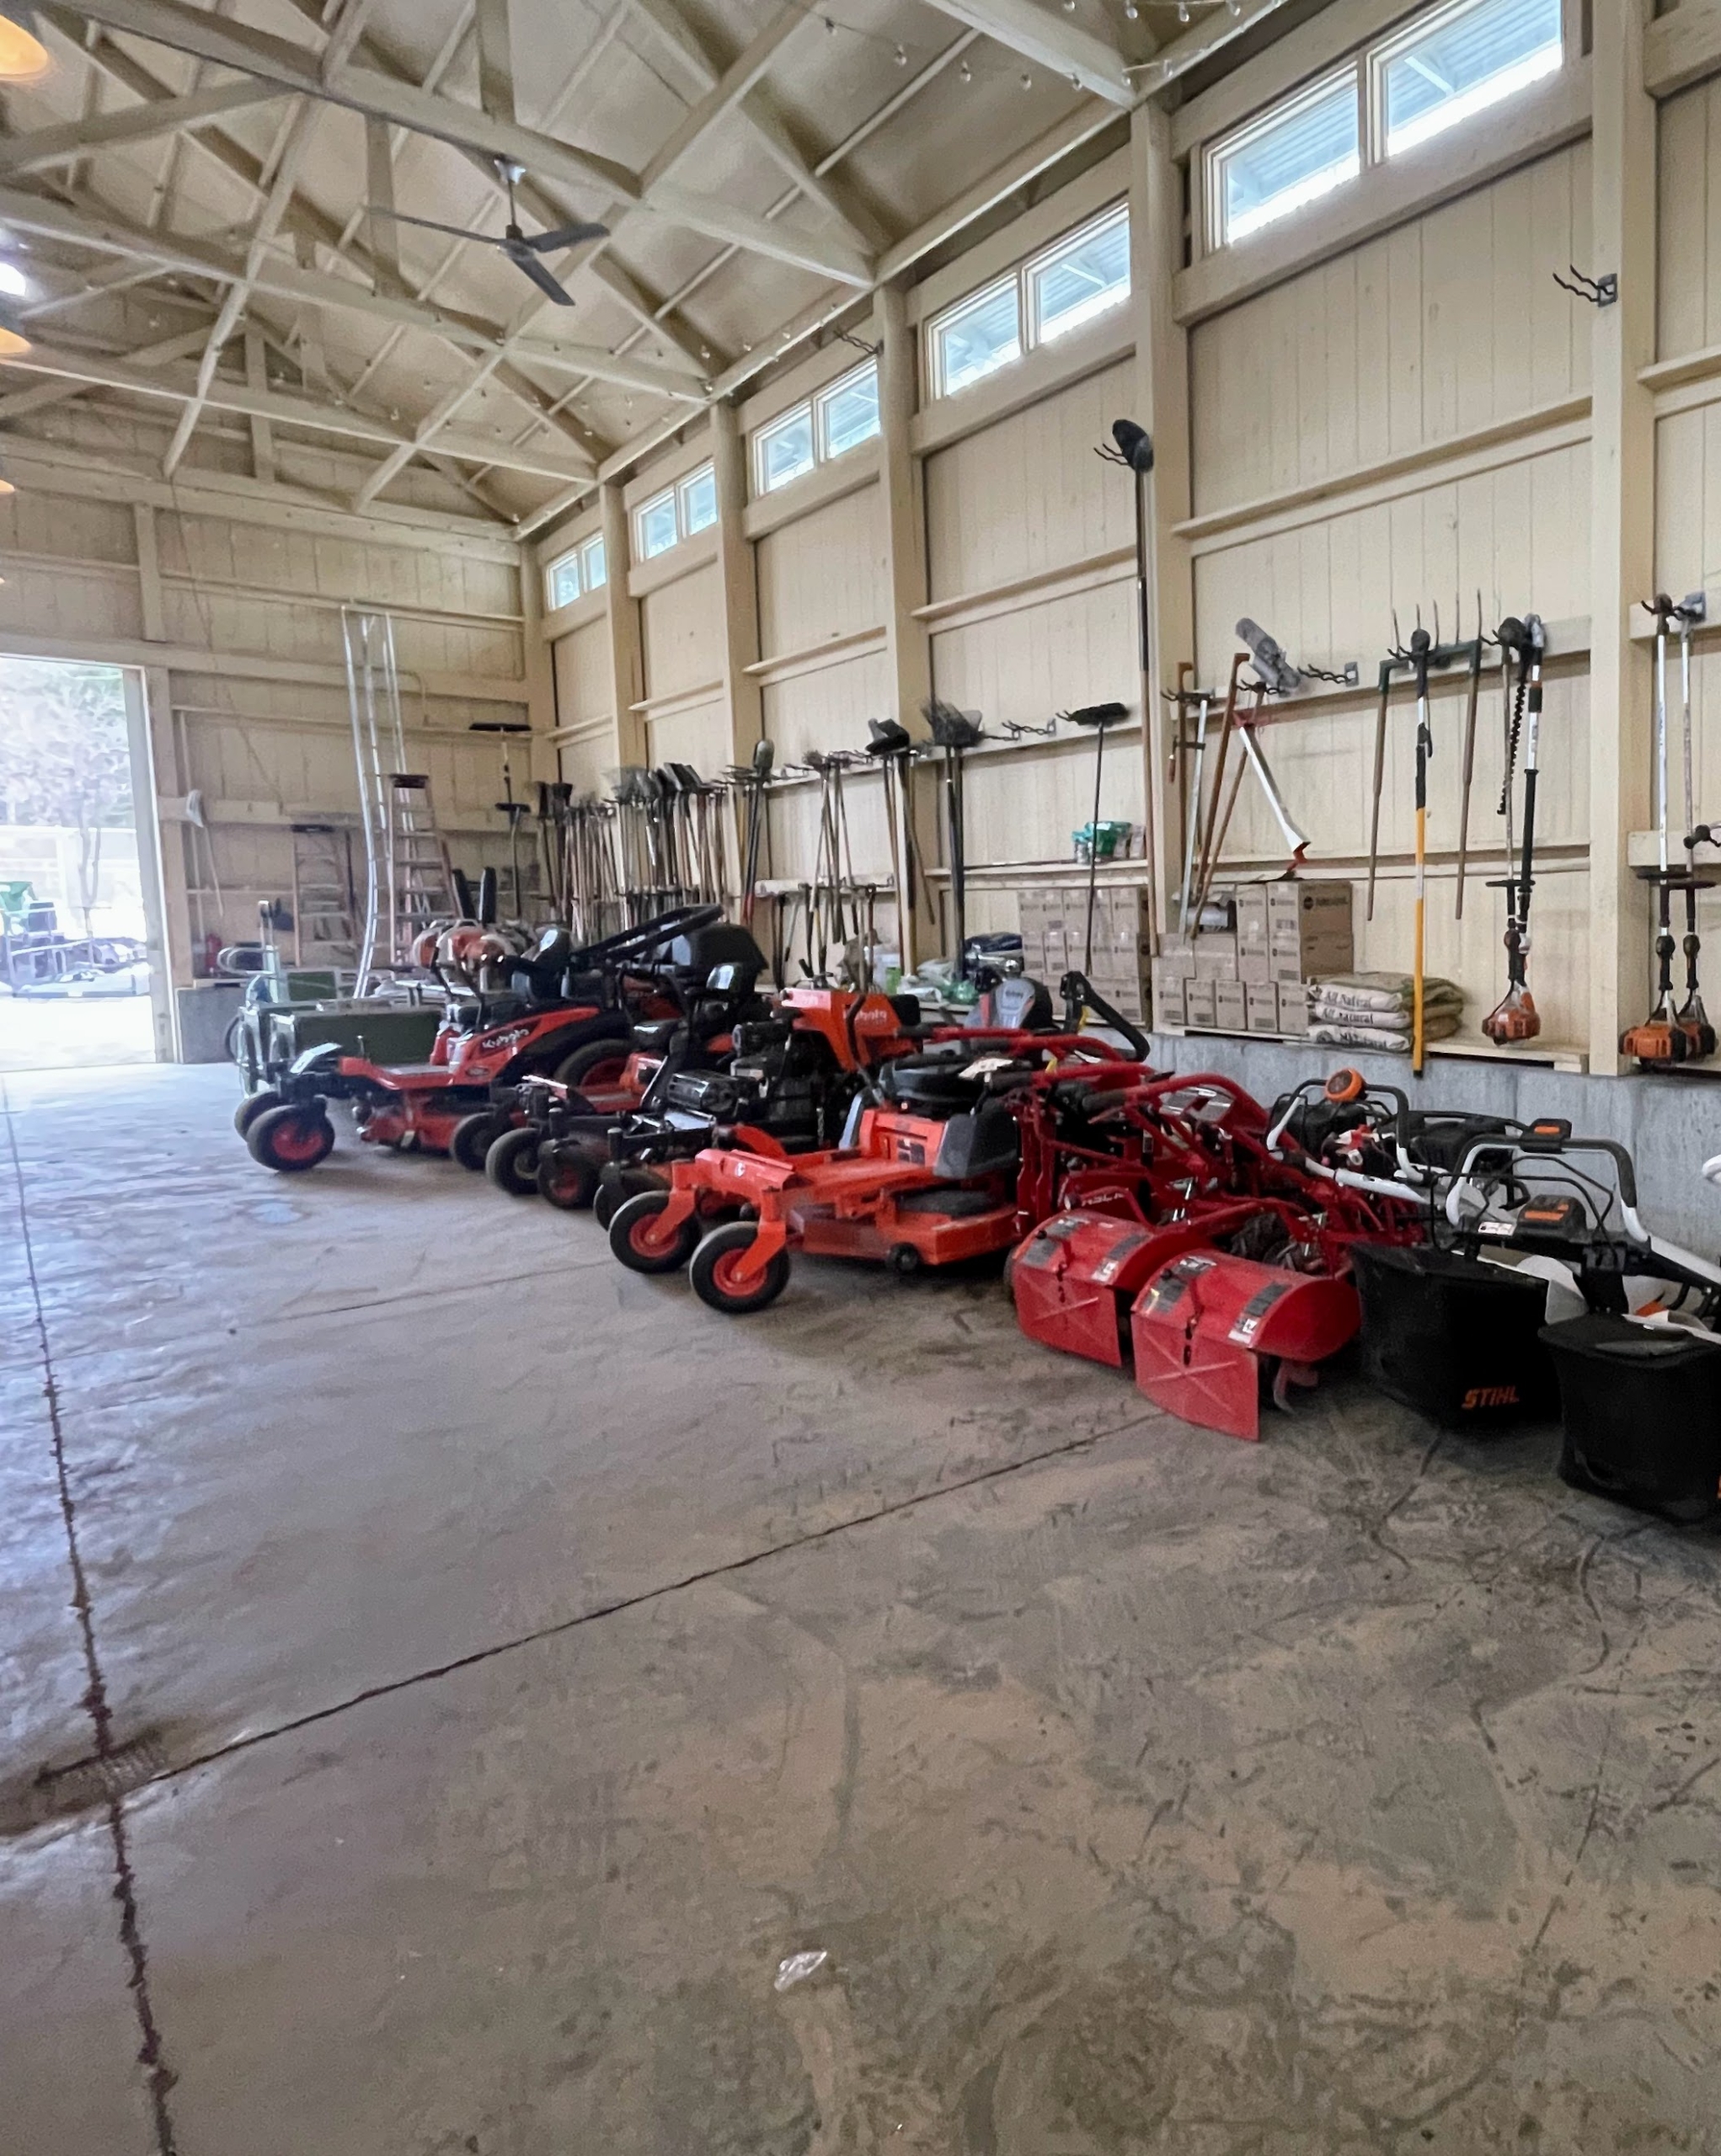
Whenever it's cold outside and my outdoor grounds crew is unable to work in the woods or gardens, I encourage them to take stock of the equipment, clean everything, and then organize all the tools and supplies. My Equipment Barn is about 40 by 120 feet, with a substantial amount of height. It is where I keep my mowers, blowers, tractors, and other pieces of important machinery. Recently, my team cleared the space and then inspected and organized everything. Keeping things well maintained and properly stored will always save time in the long run.
Here are some photos, enjoy.
I wanted this Equipment Barn to be an attractive structure in an easy-to-access location. This building is just off the carriage road next to my Pin Oak Allée, hay barn, and vegetable greenhouse.
I built this structure shortly after purchasing the farm. A couple times a year when schedules allow, I like the space to be cleaned and organized.
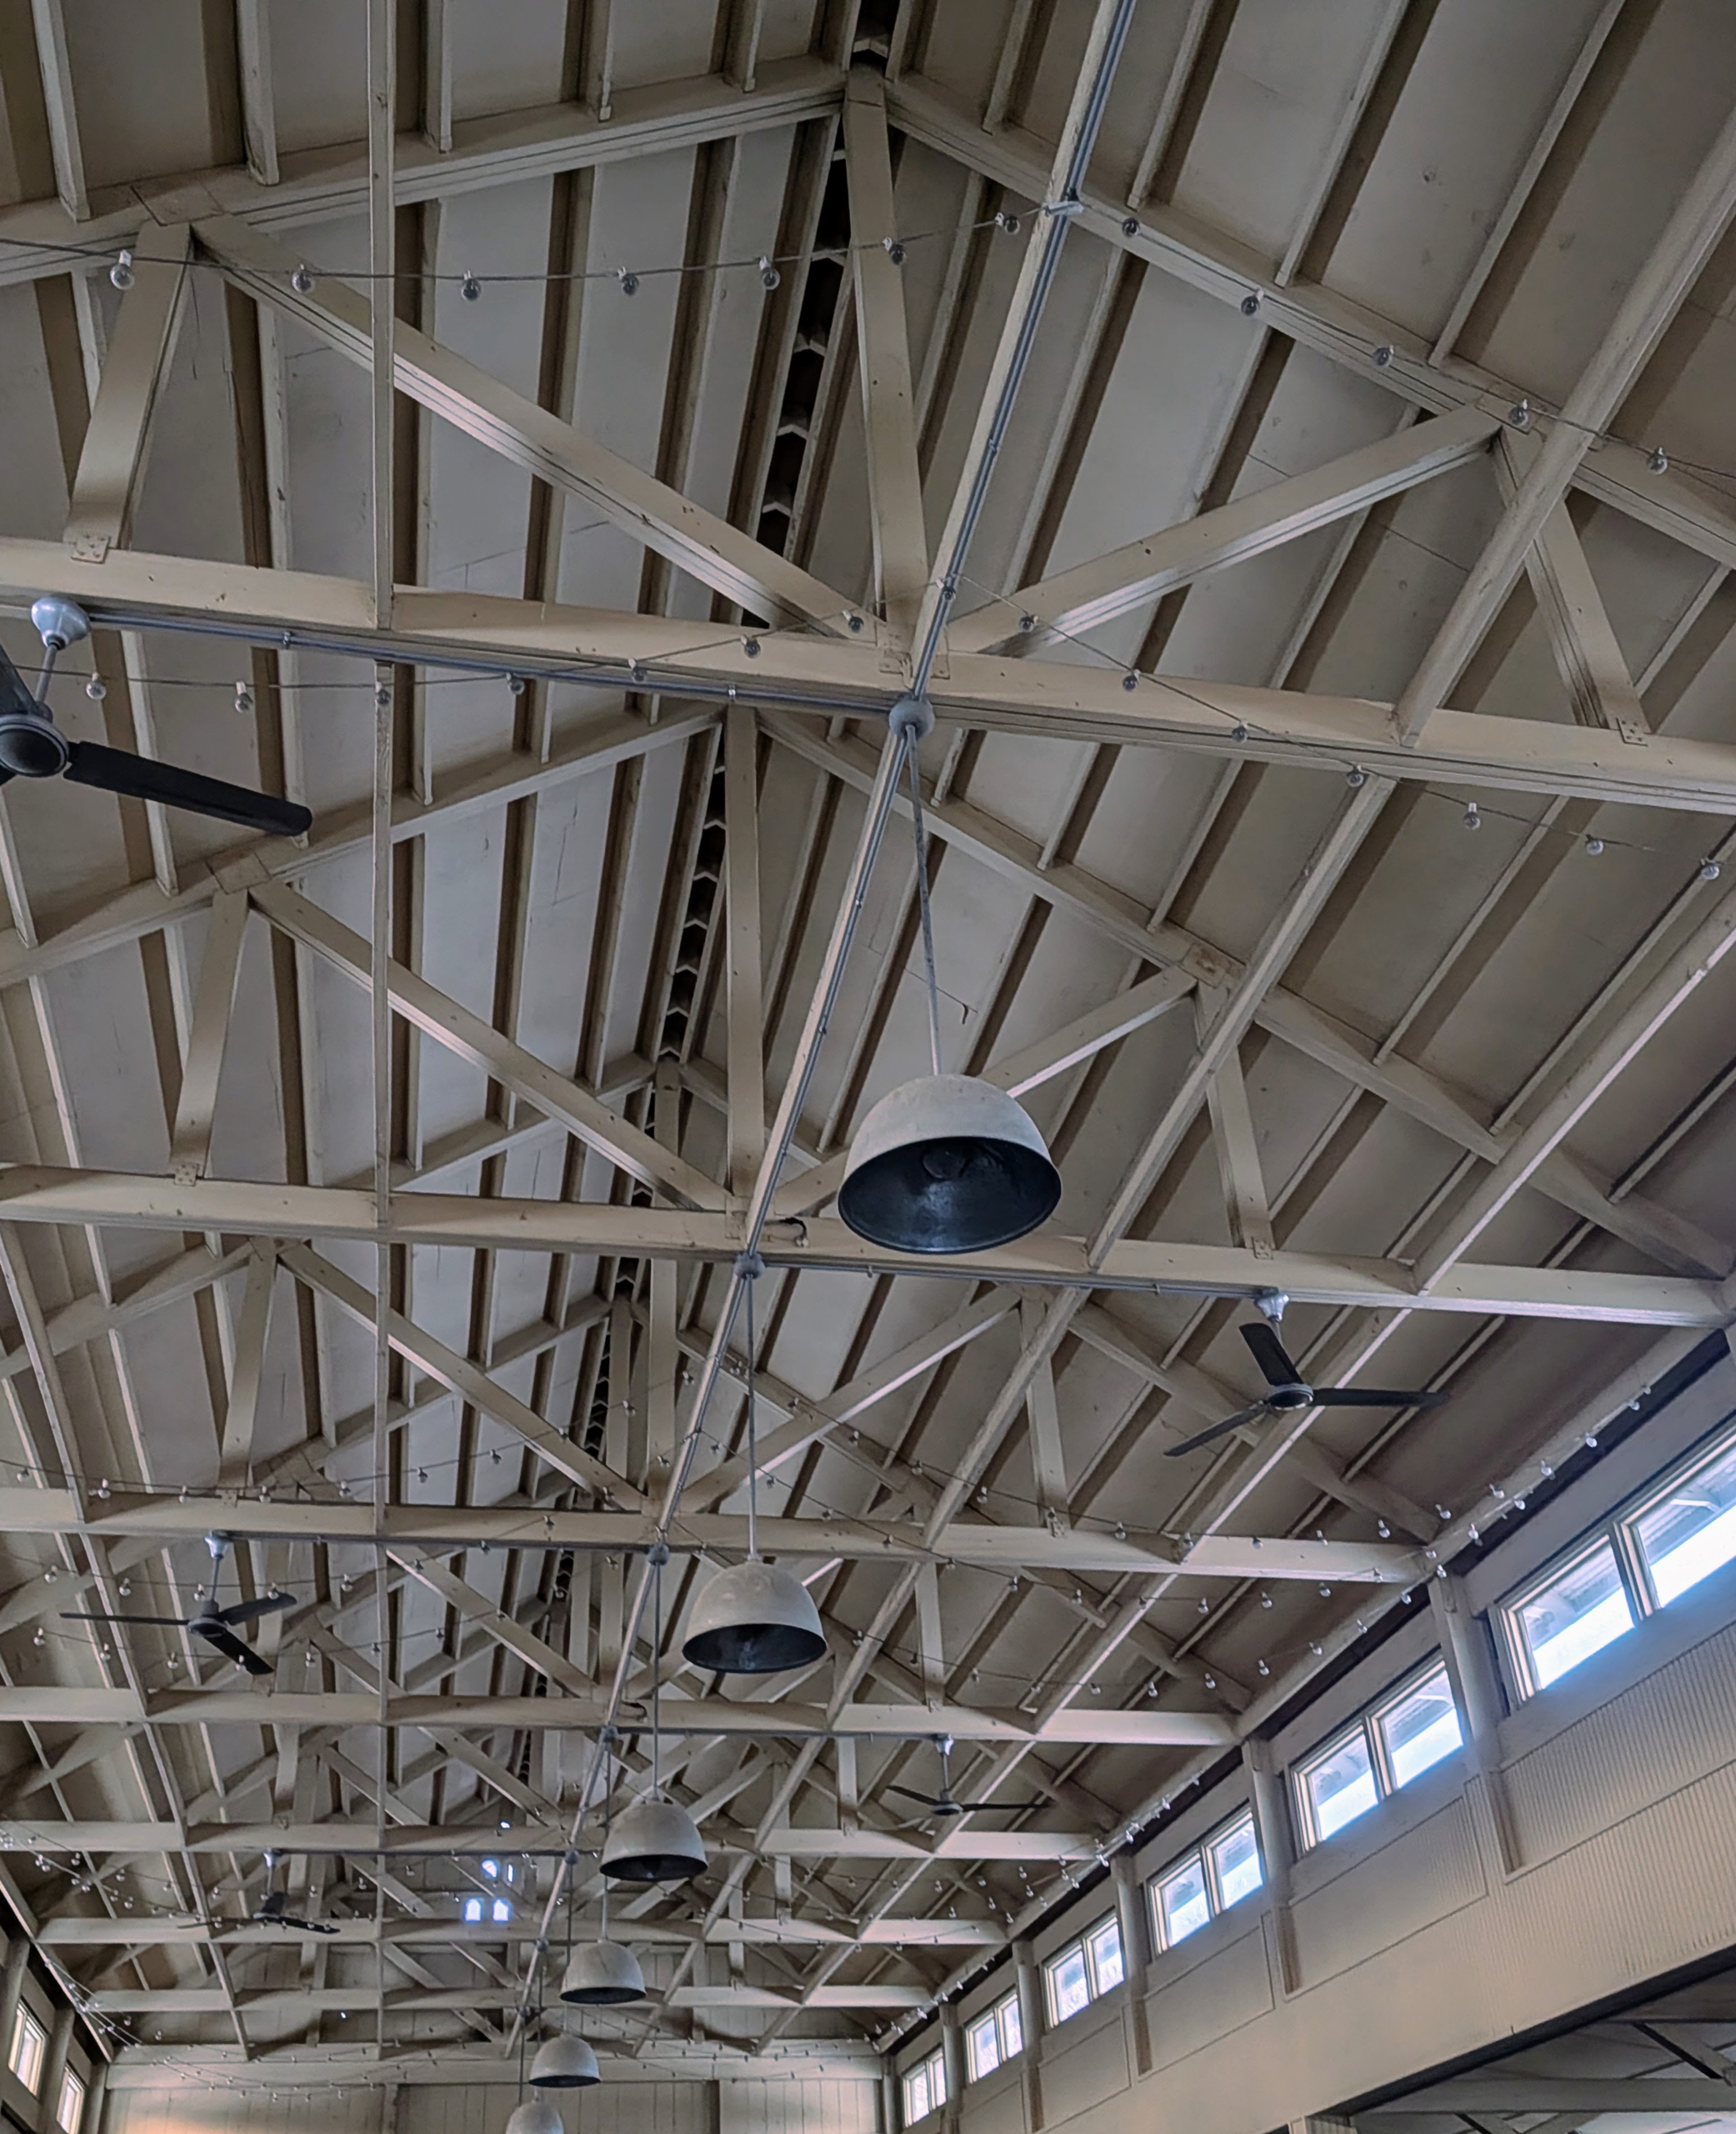
The Equipment Barn is well lit with these big overhead lamps. I use very utilitarian lighting where I can on the farm.
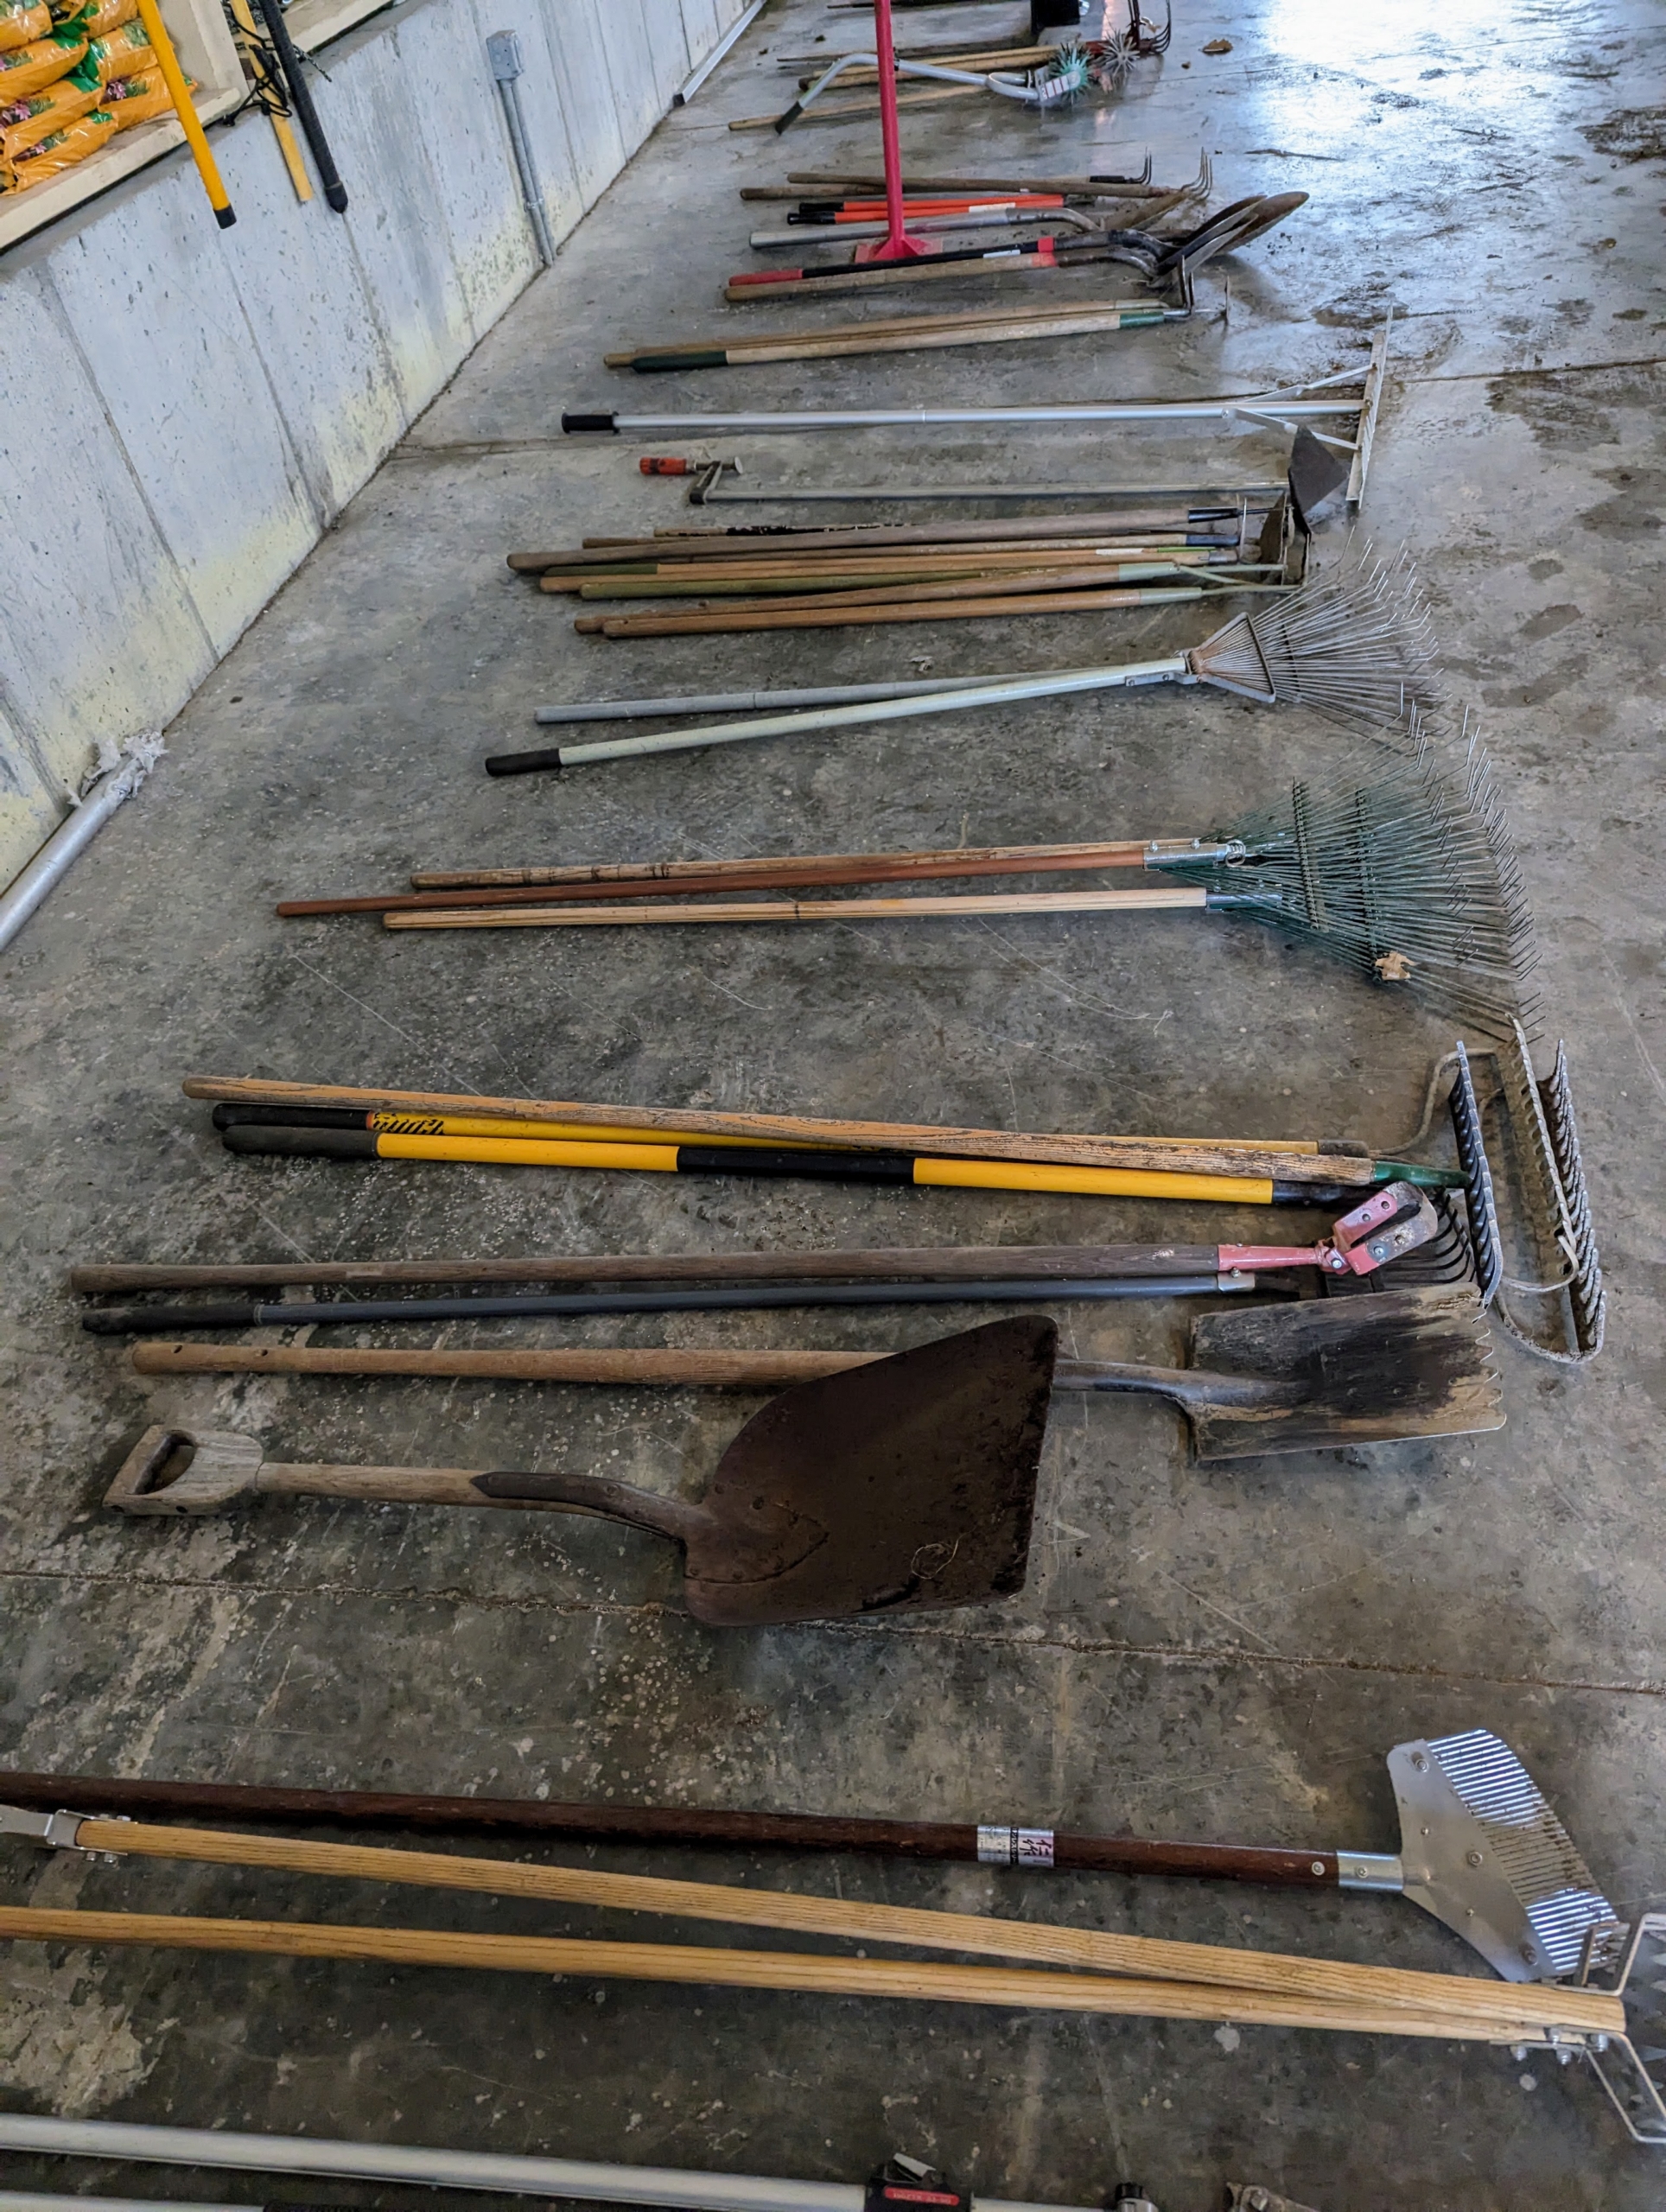
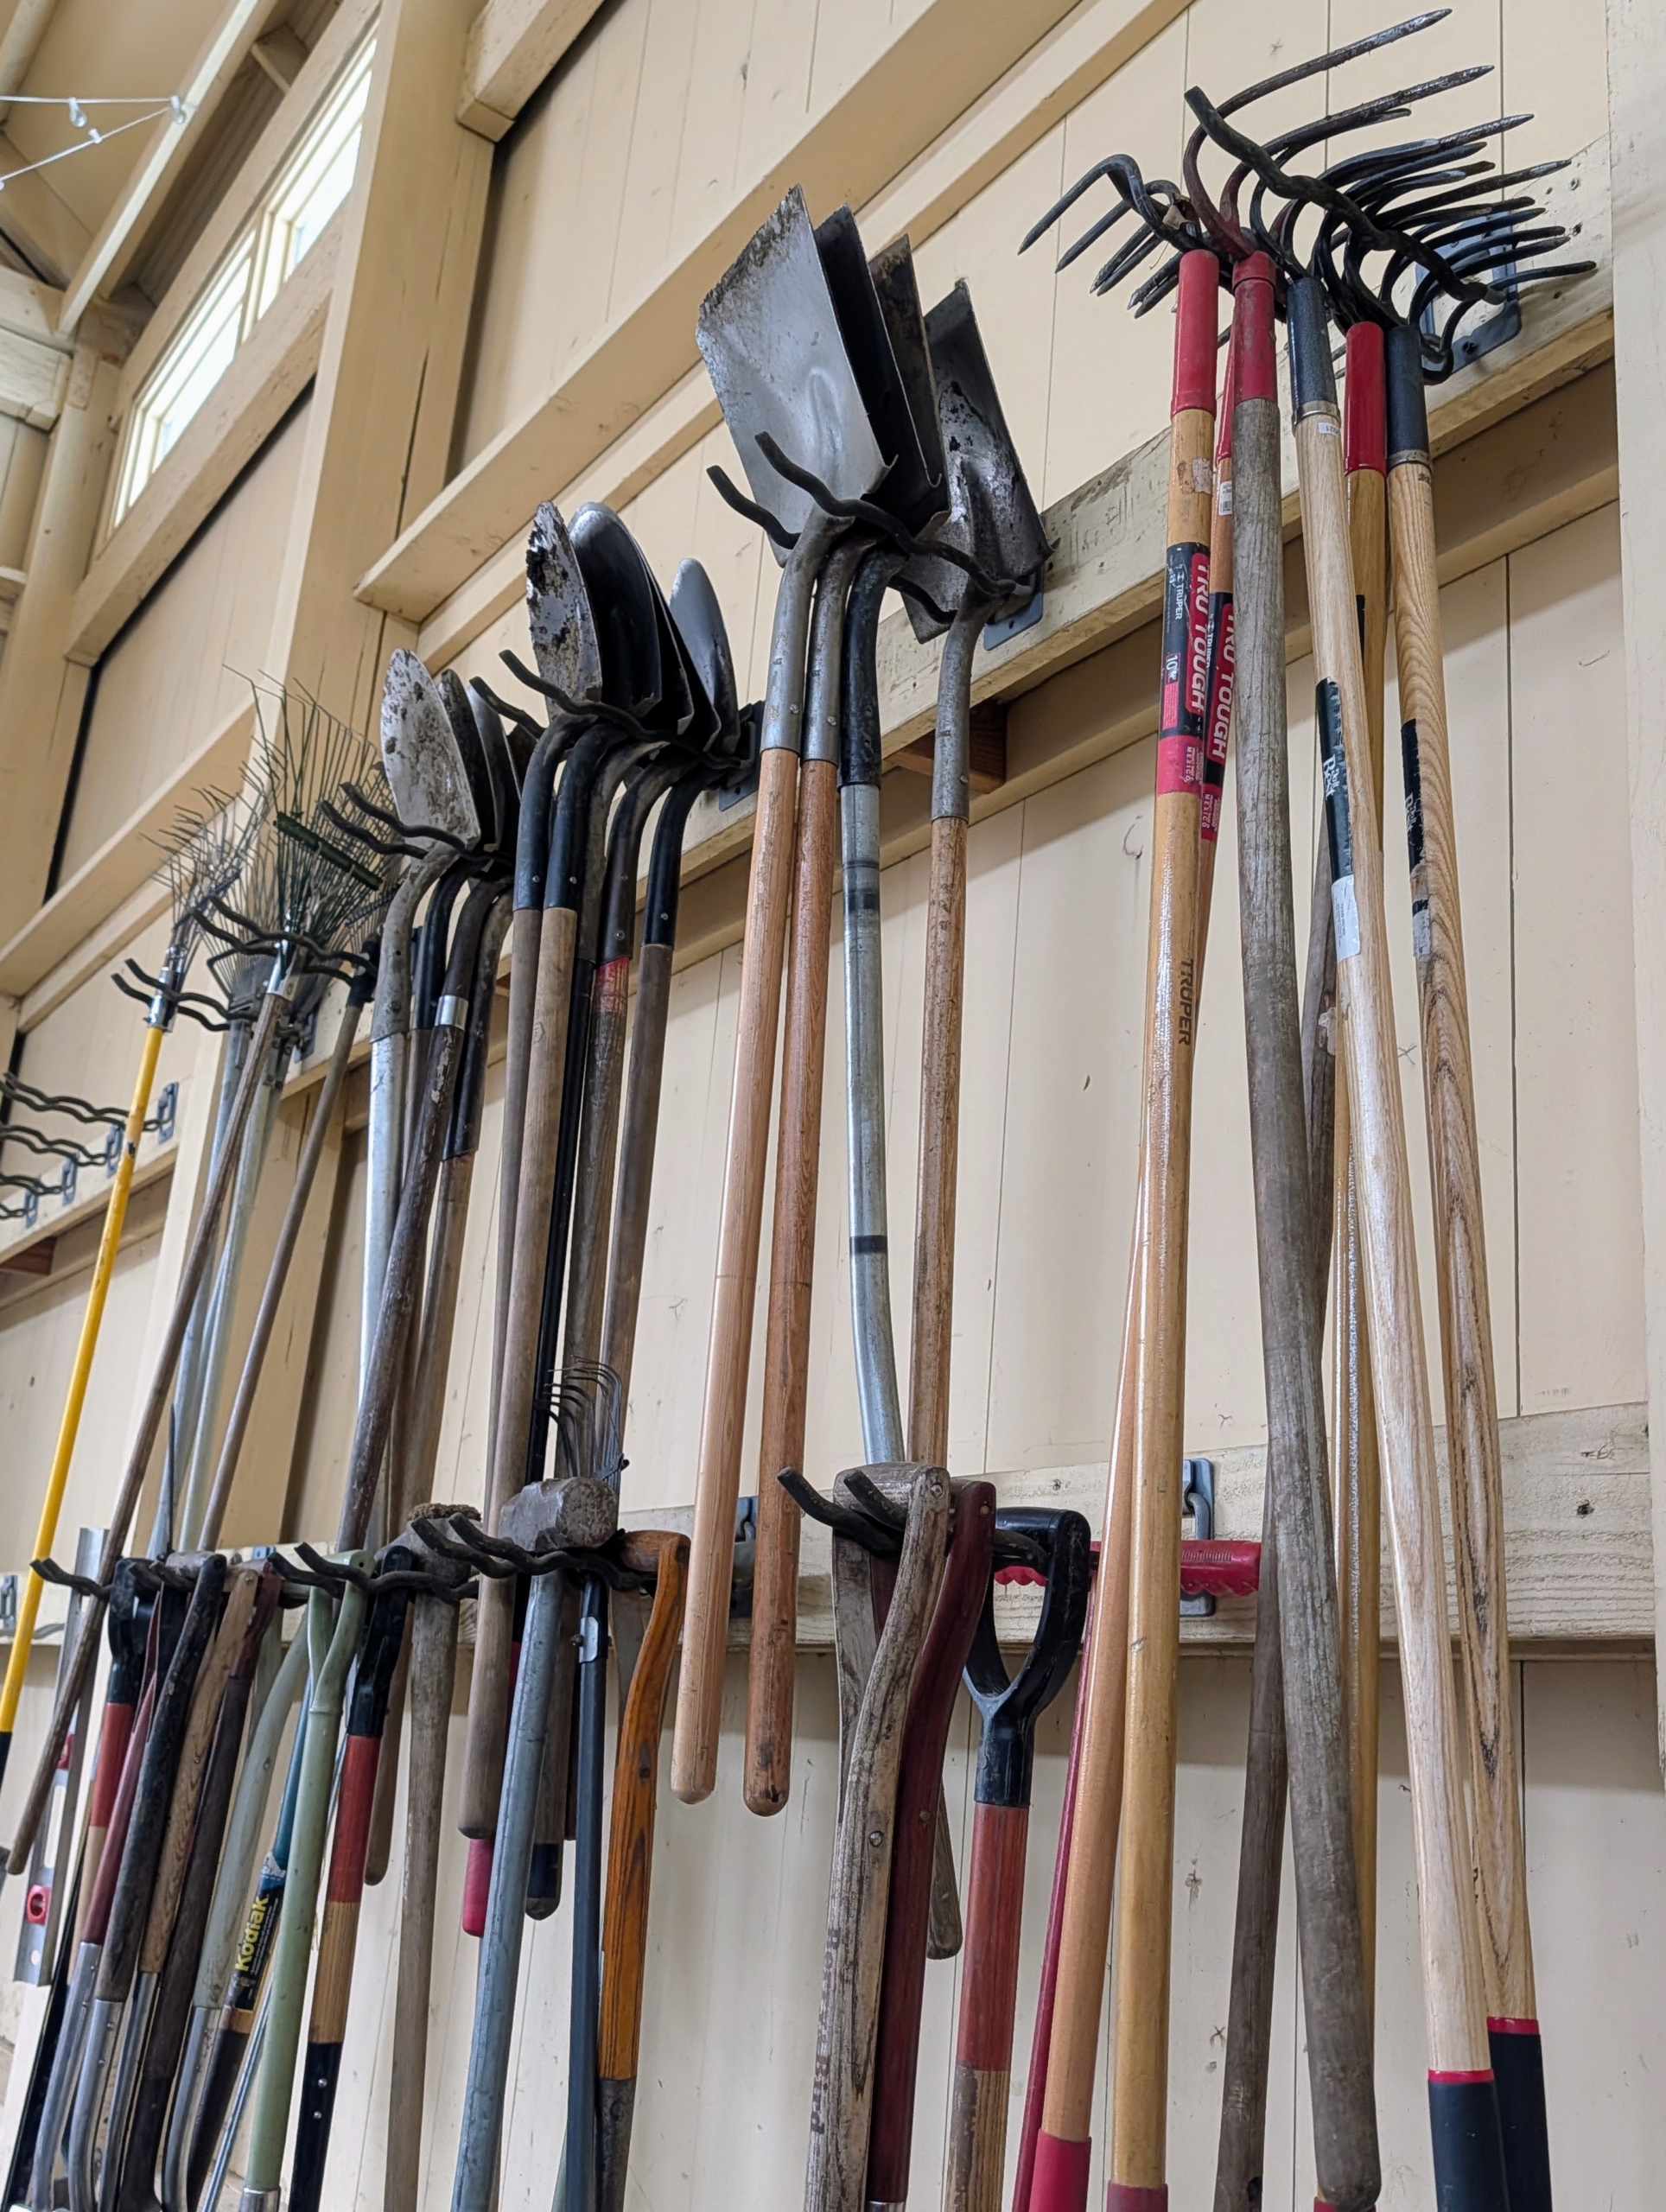
The hand tools are taken off their hooks, inspected, and grouped with other like pieces.
Spreading them all out is a good way to know what is in good shape and how many of each tool we have in supply.
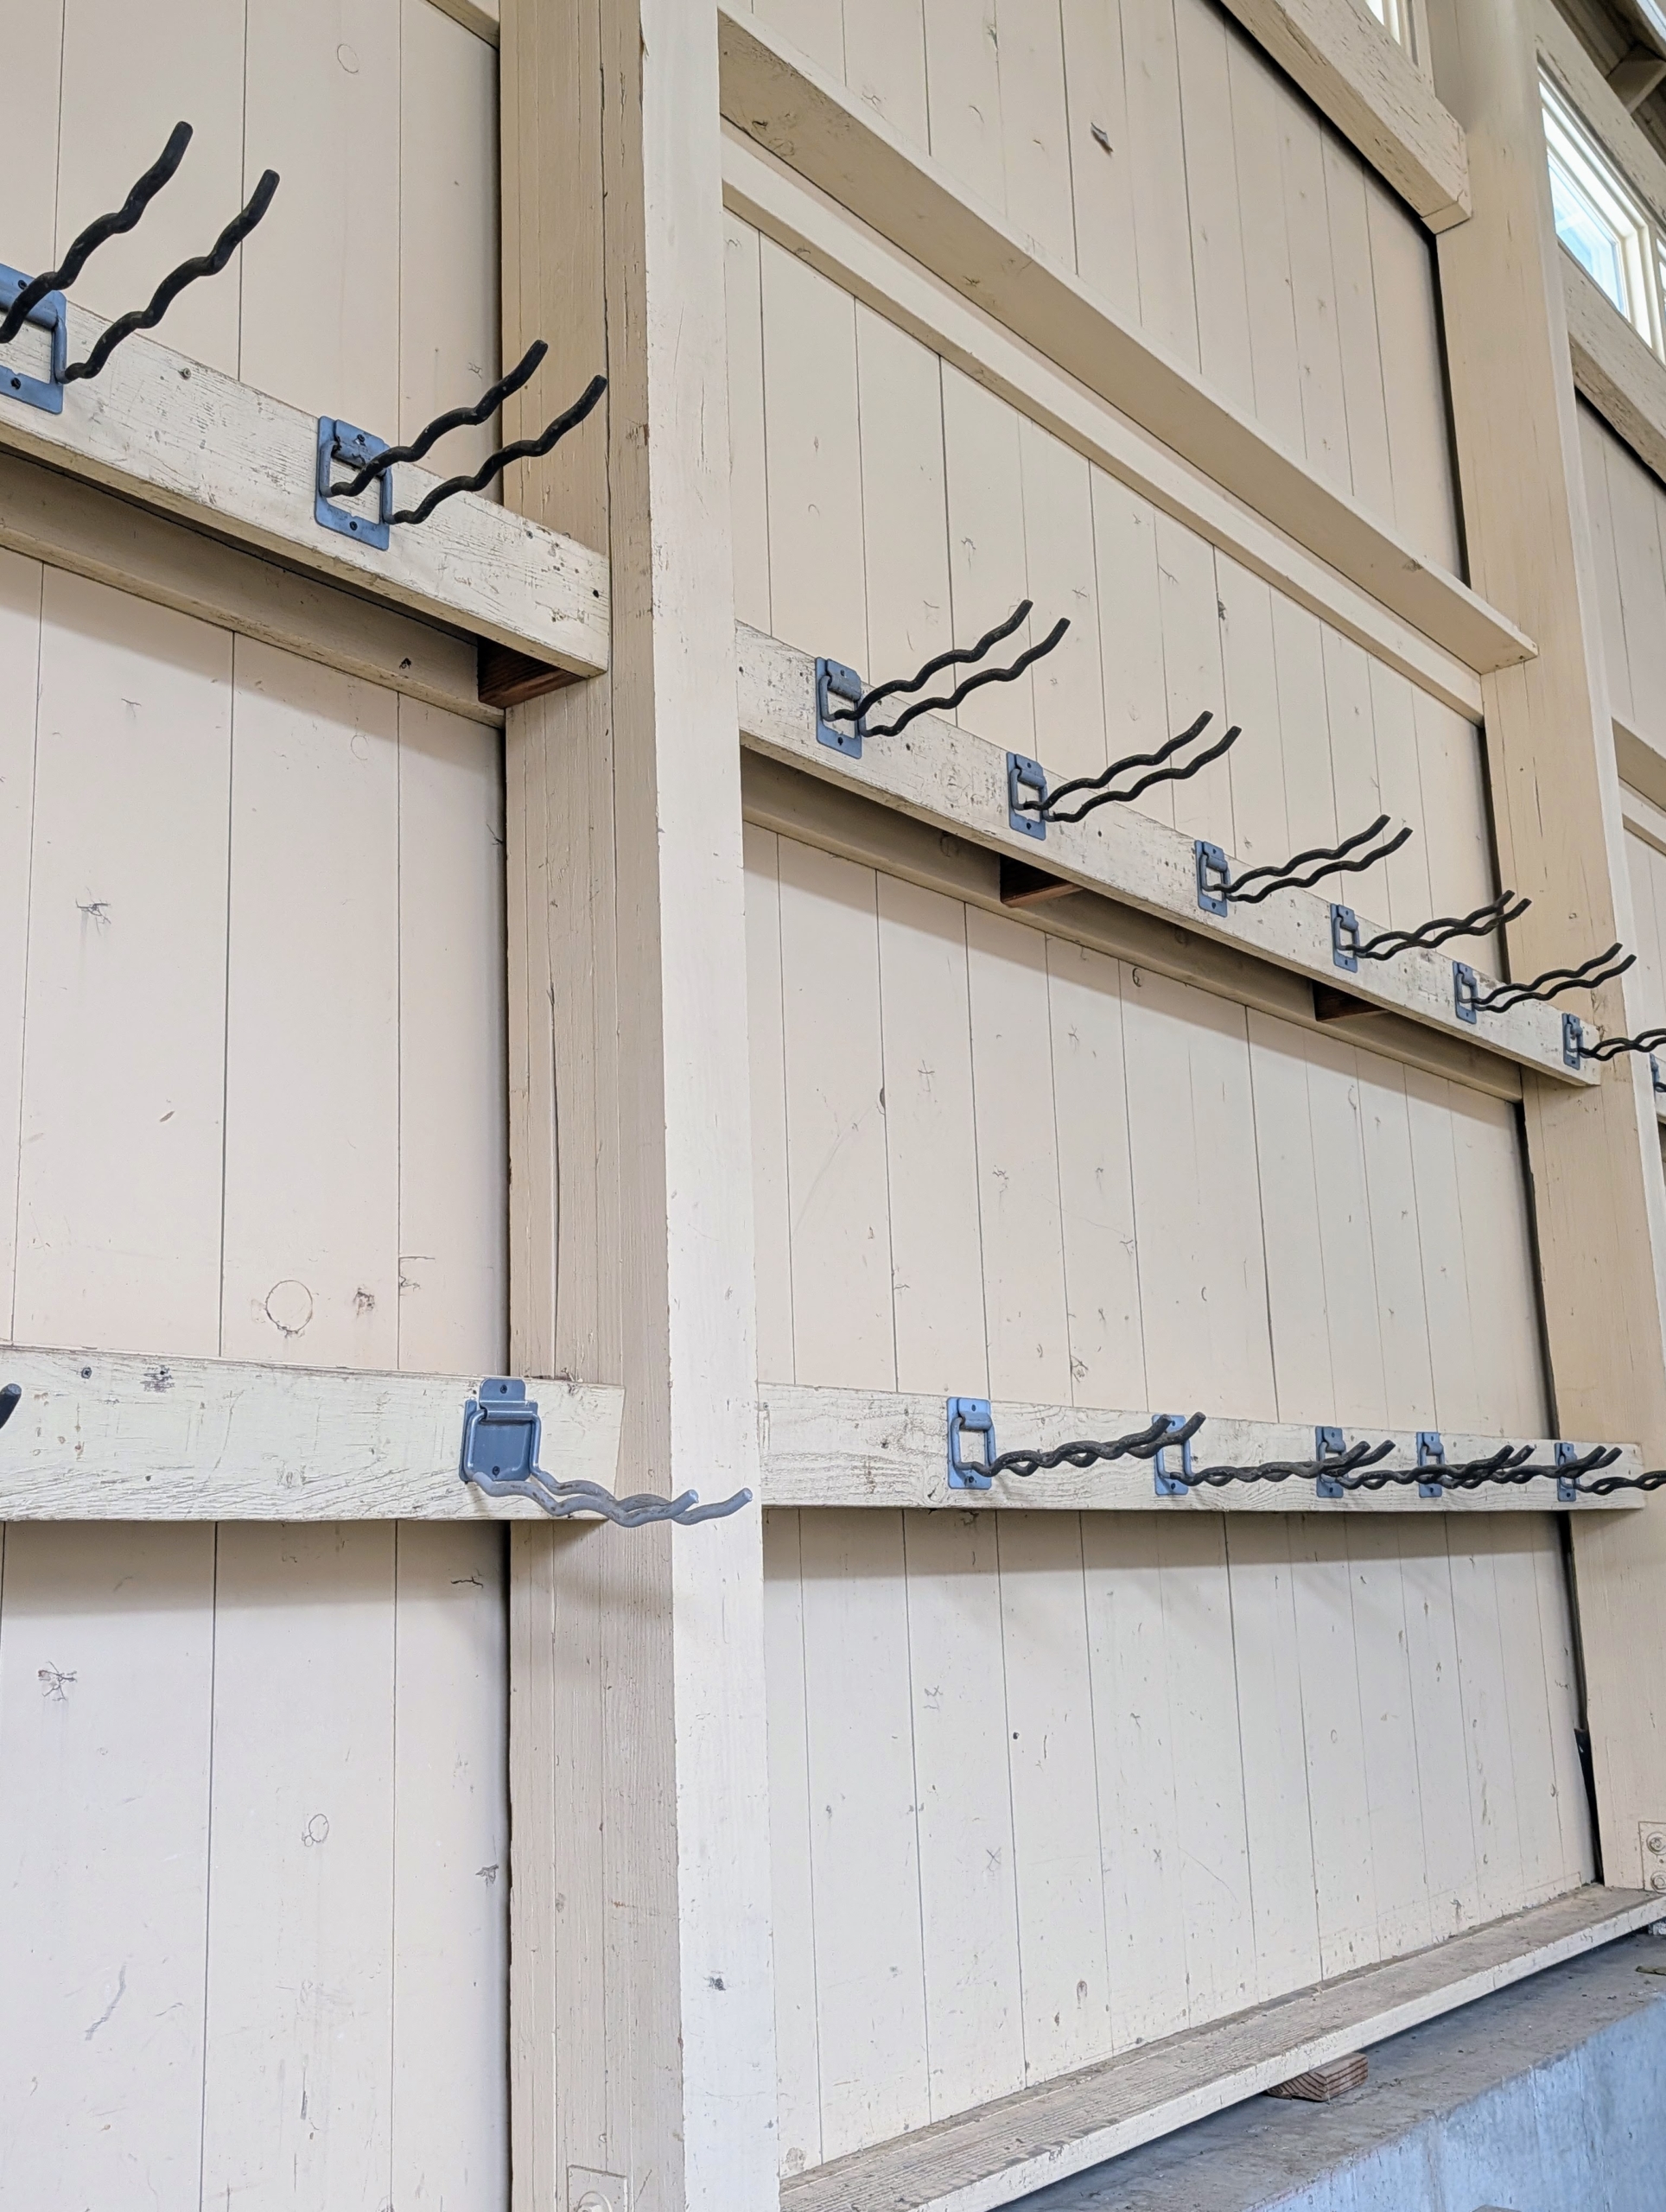
Once emptied, the walls are blown and power washed. We use industrial hooks that can hold up to 50-pounds each.
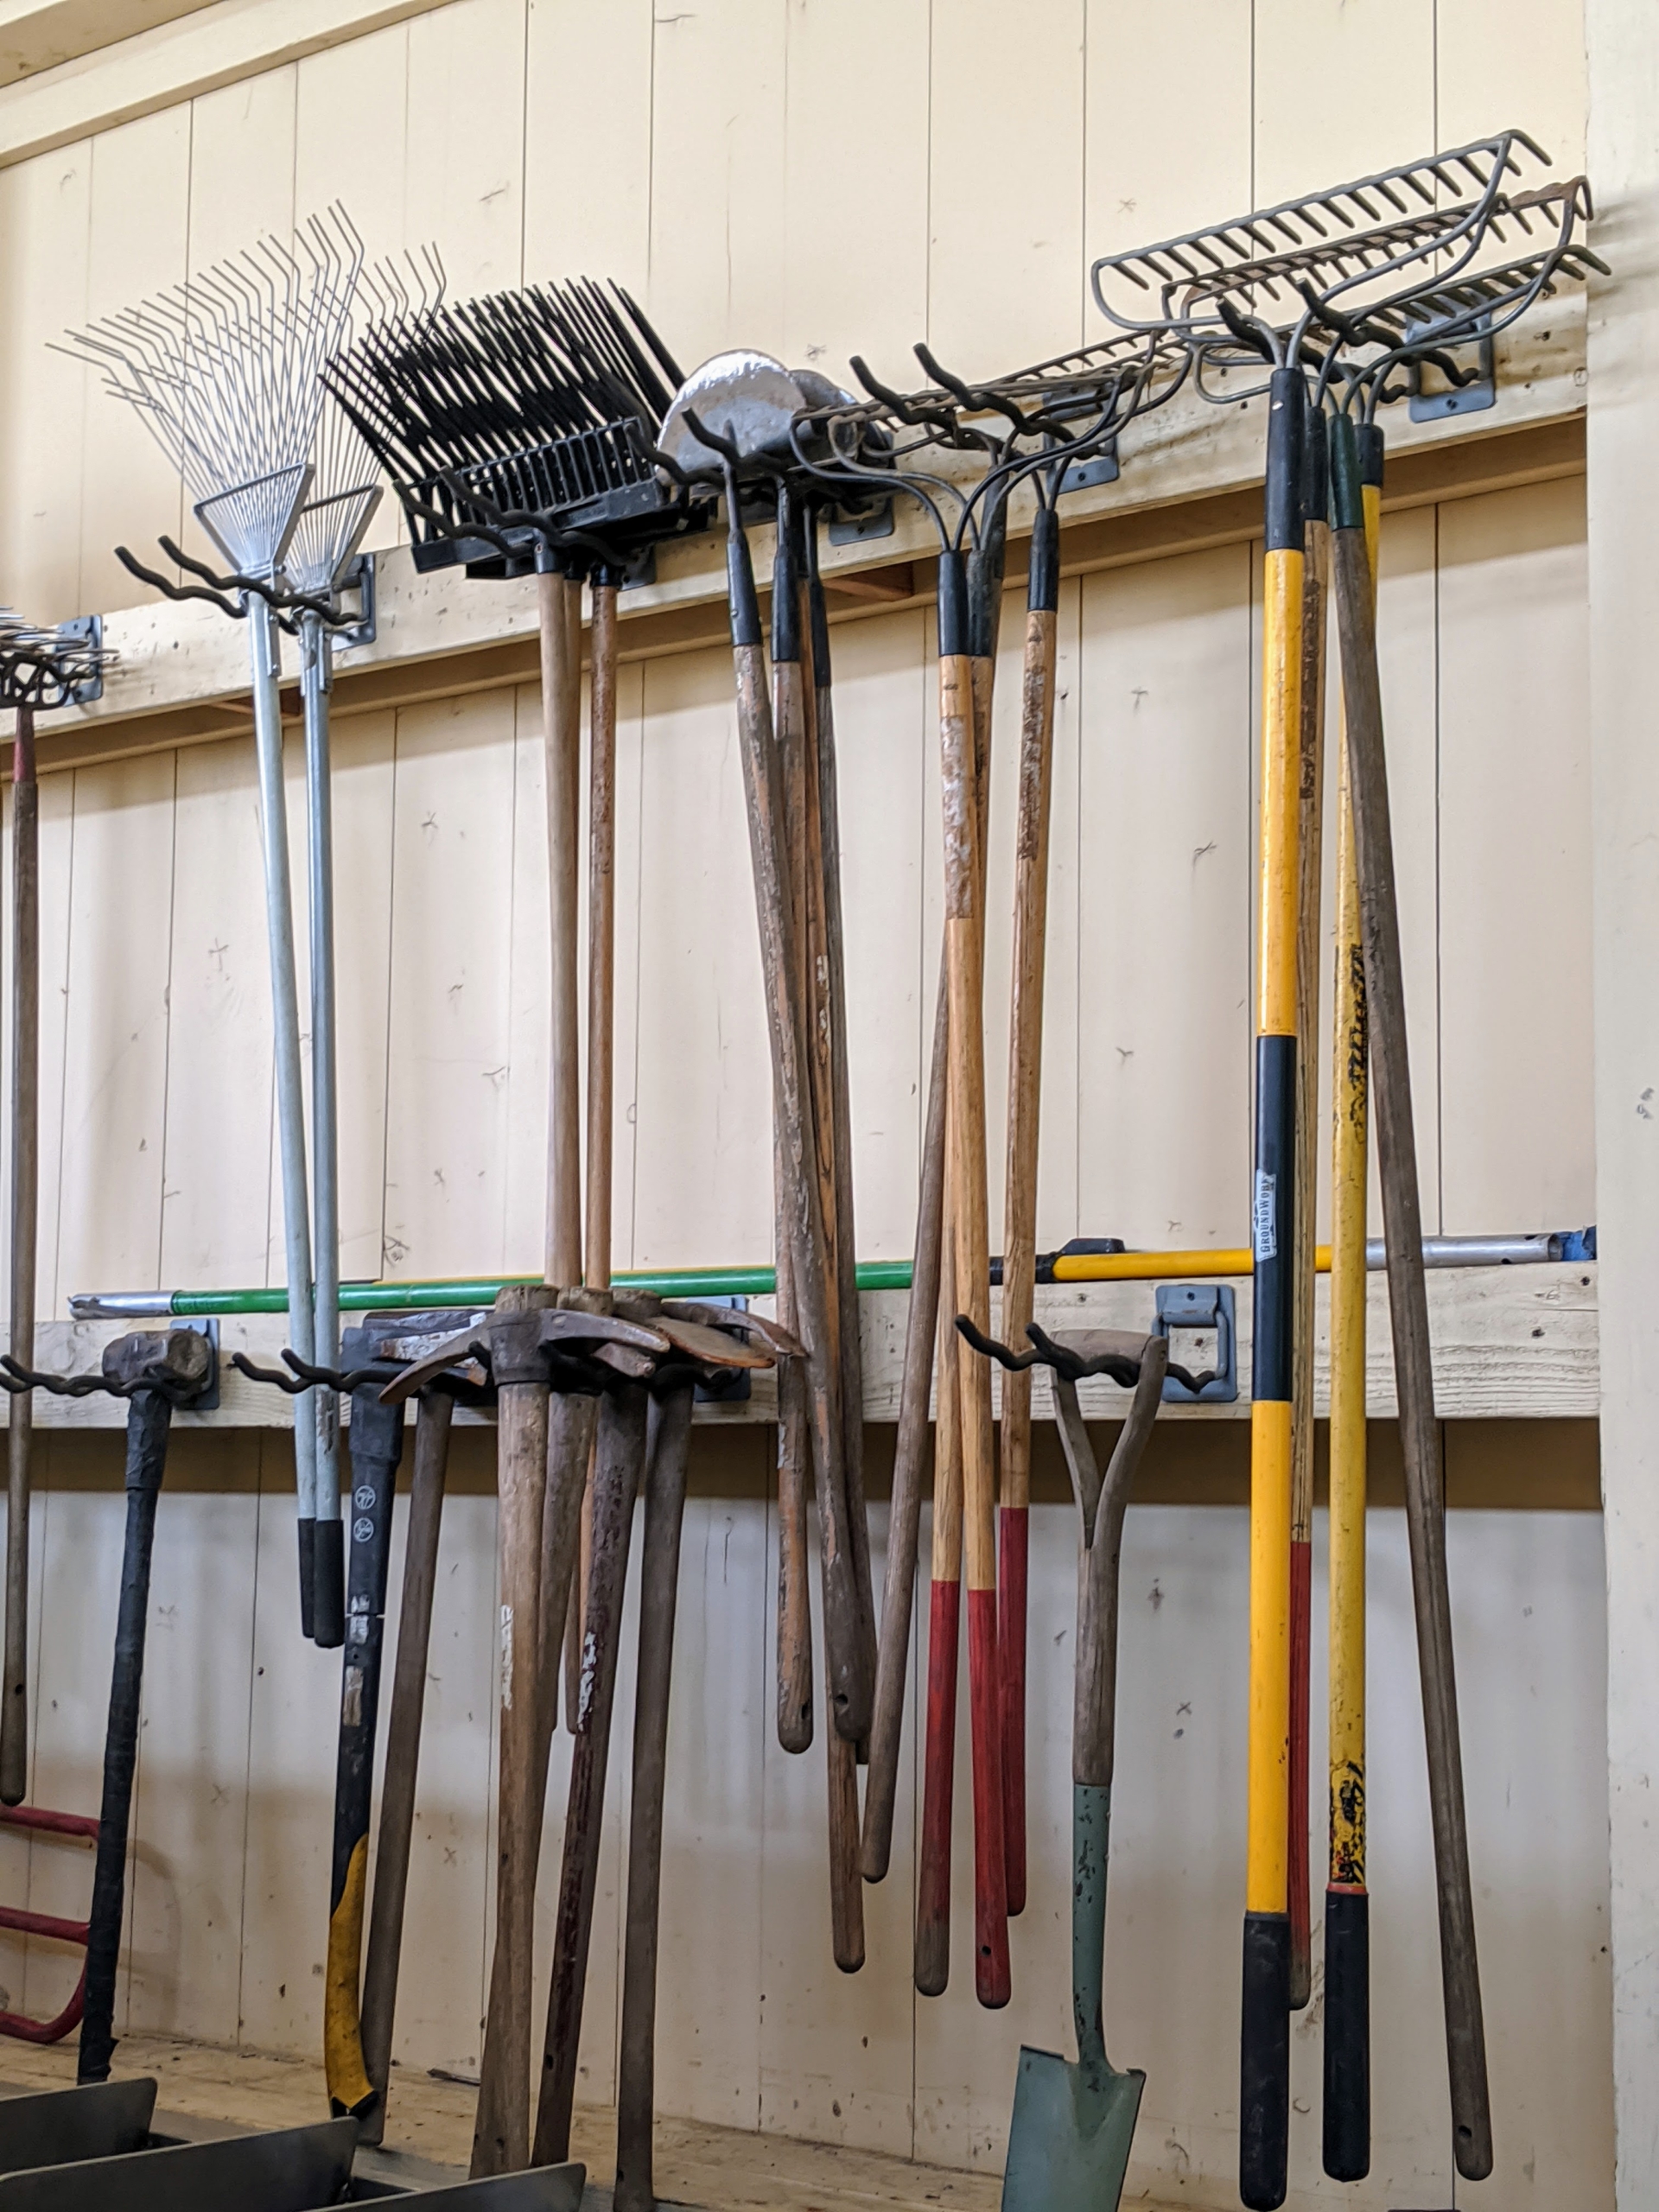
Then they are all returned to their designated hooks. Do you know the difference between a shovel and a spade? A shovel is longer, angled, and its blade is curved into more of a scoop with a pointed tip. Shovels are better for digging up, breaking apart, and lifting soil as well as for scooping and moving loose materials. A spade has a relatively flat blade with straight edges and the blade tends to be in line with the shaft, rather than angled forward. Spades are good for edging and cutting.
These are hard bow rakes and soft rakes. Bow rakes have a number of other names as well, including level heads, soil rakes, and ground rakes. These rakes consist of a long head that is straight with stiff, short tines that are very rigid and don’t bend or flex. They are ideal for making planting rows and breaking up hard clumps of soil. We also use them to shape our raised garden beds. A soft rake or leaf rake is a lightweight rake that is shaped like a fan with flat, springy tines radiating outward. This type of rake is designed to be light enough to glide over grass without damaging it.
Ladders of various sizes rest against one wall close to one set of large barn doors.
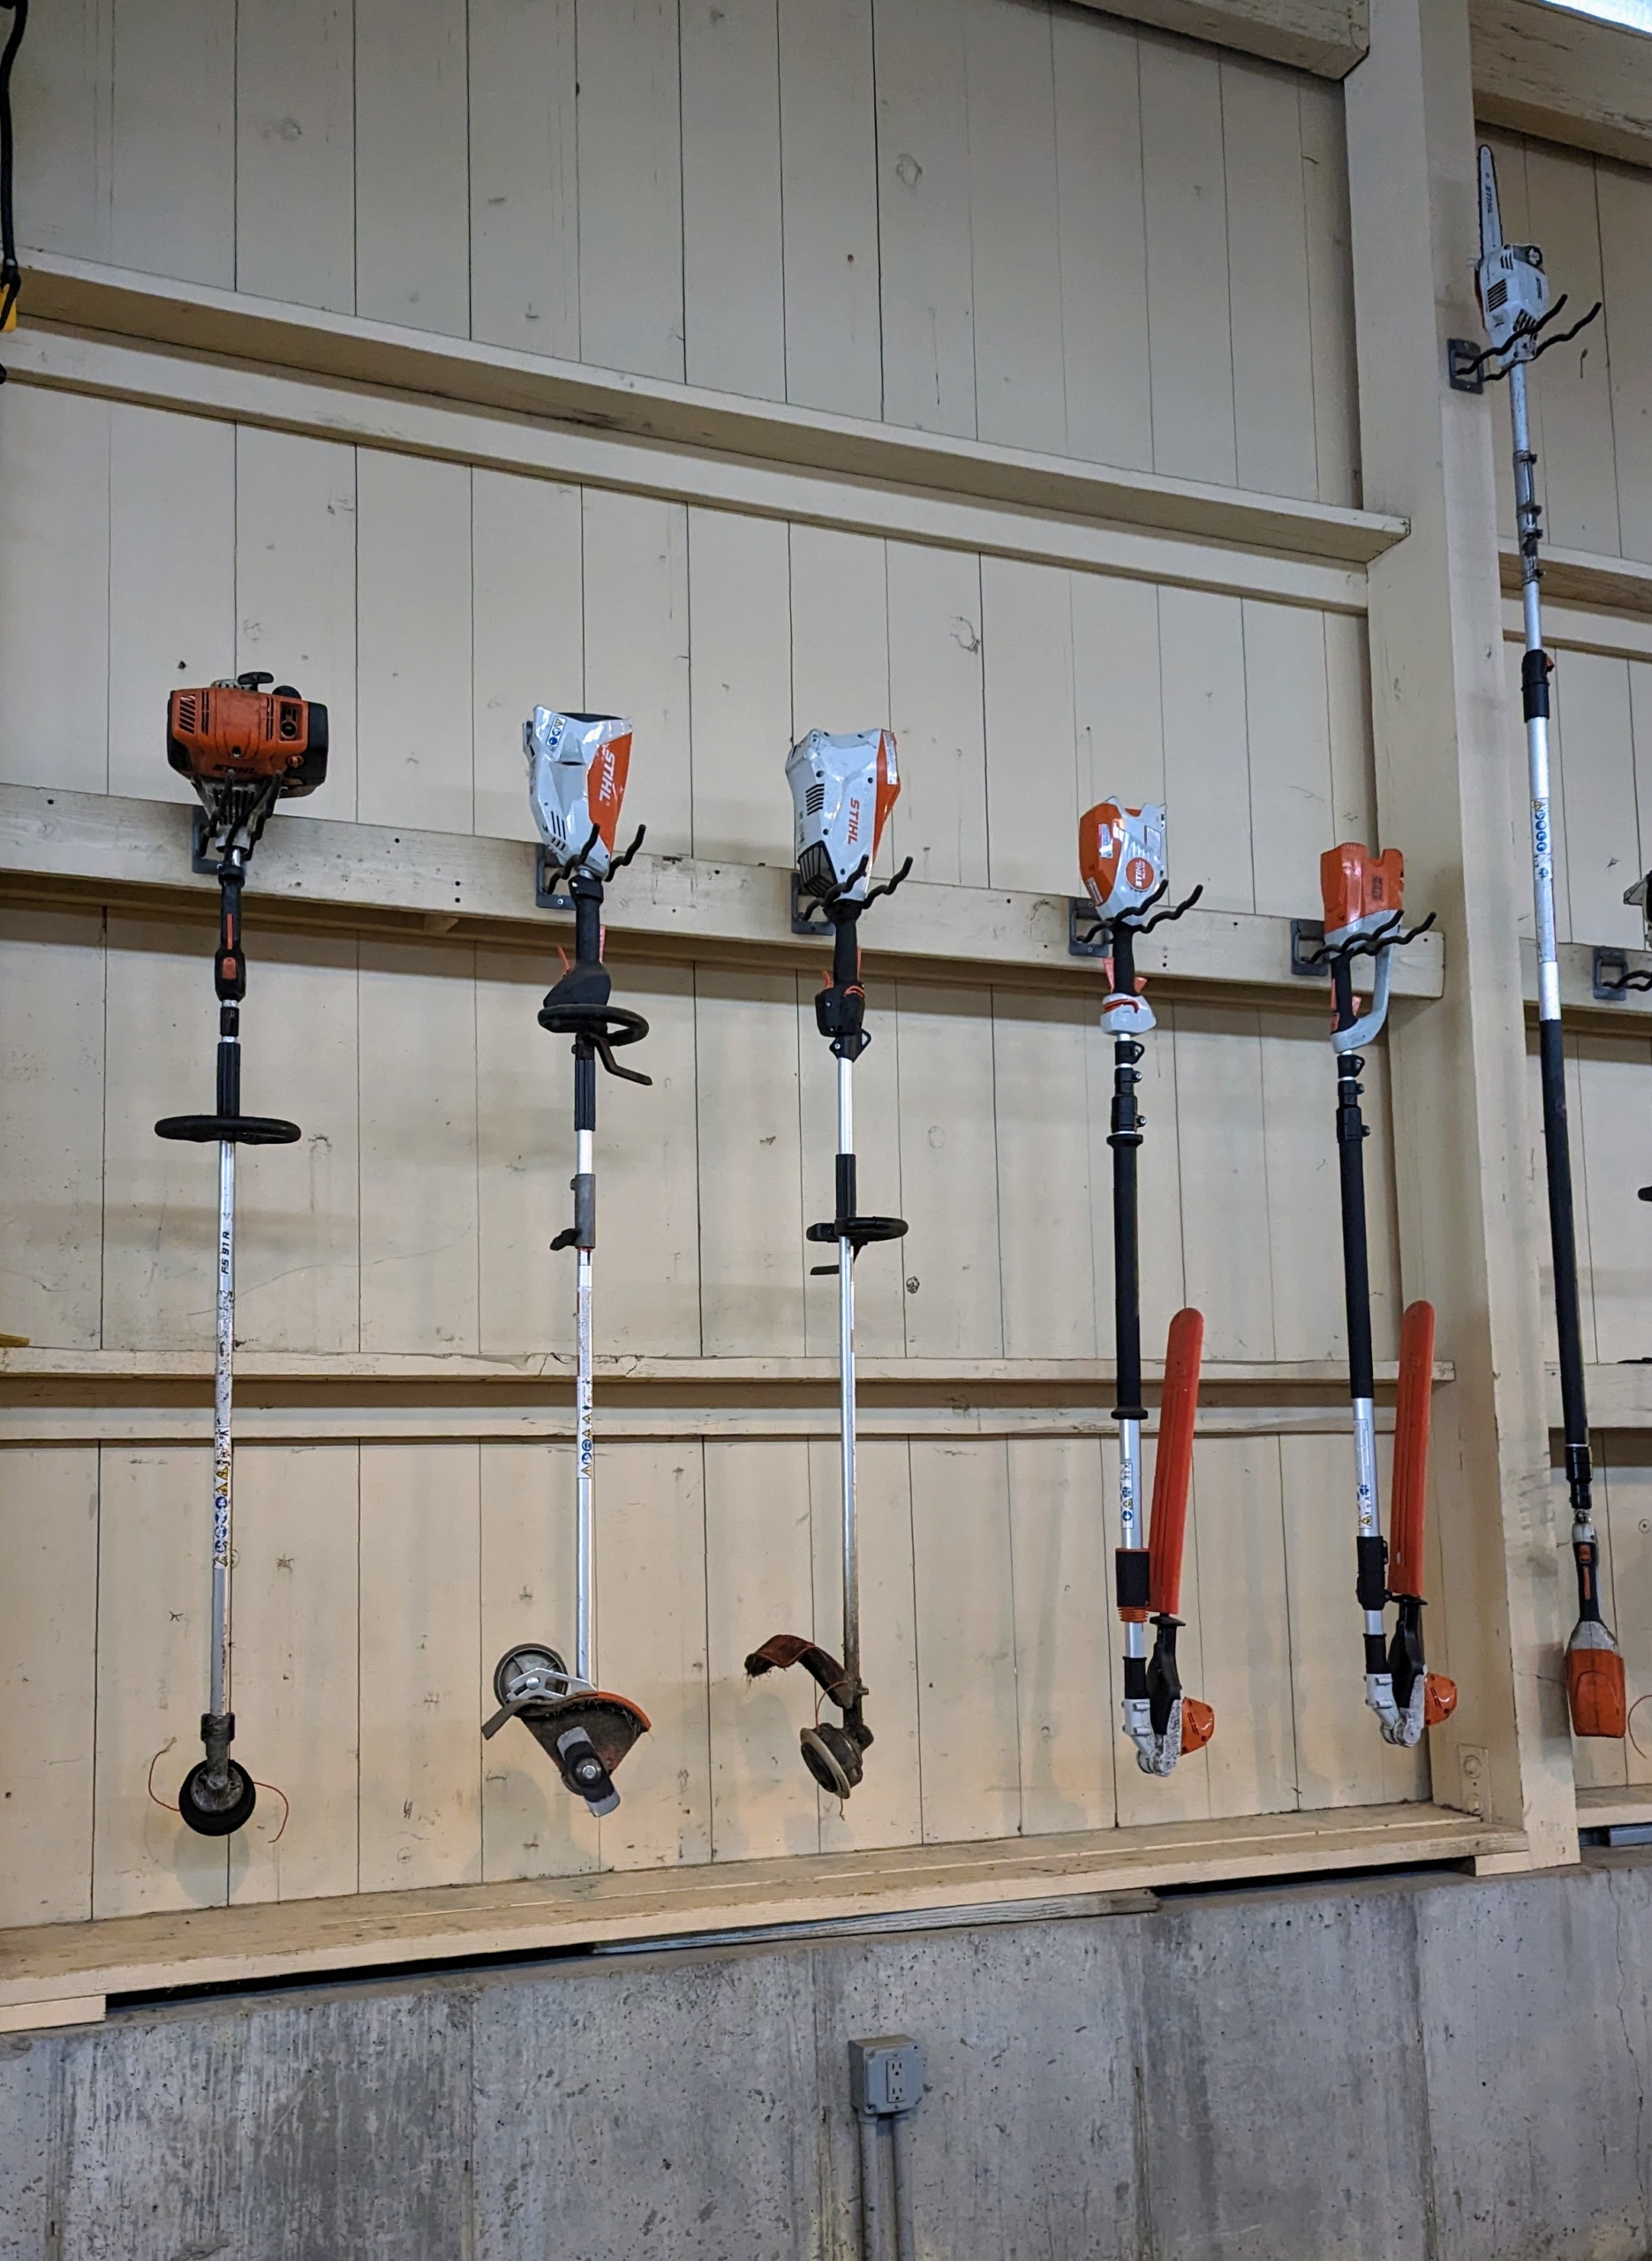
Among the power tools we use and depend on all year long are those from STIHL. This company is a global leader in outdoor power equipment and offers more than 80 different tools including professional-grade chainsaws, blowers, string trimmers, hedge trimmers, brush cutters, pruners, saws, and so much more. All of our STIHL long handled hedge trimmers, and weed-whackers are hung in this section, ready to use.
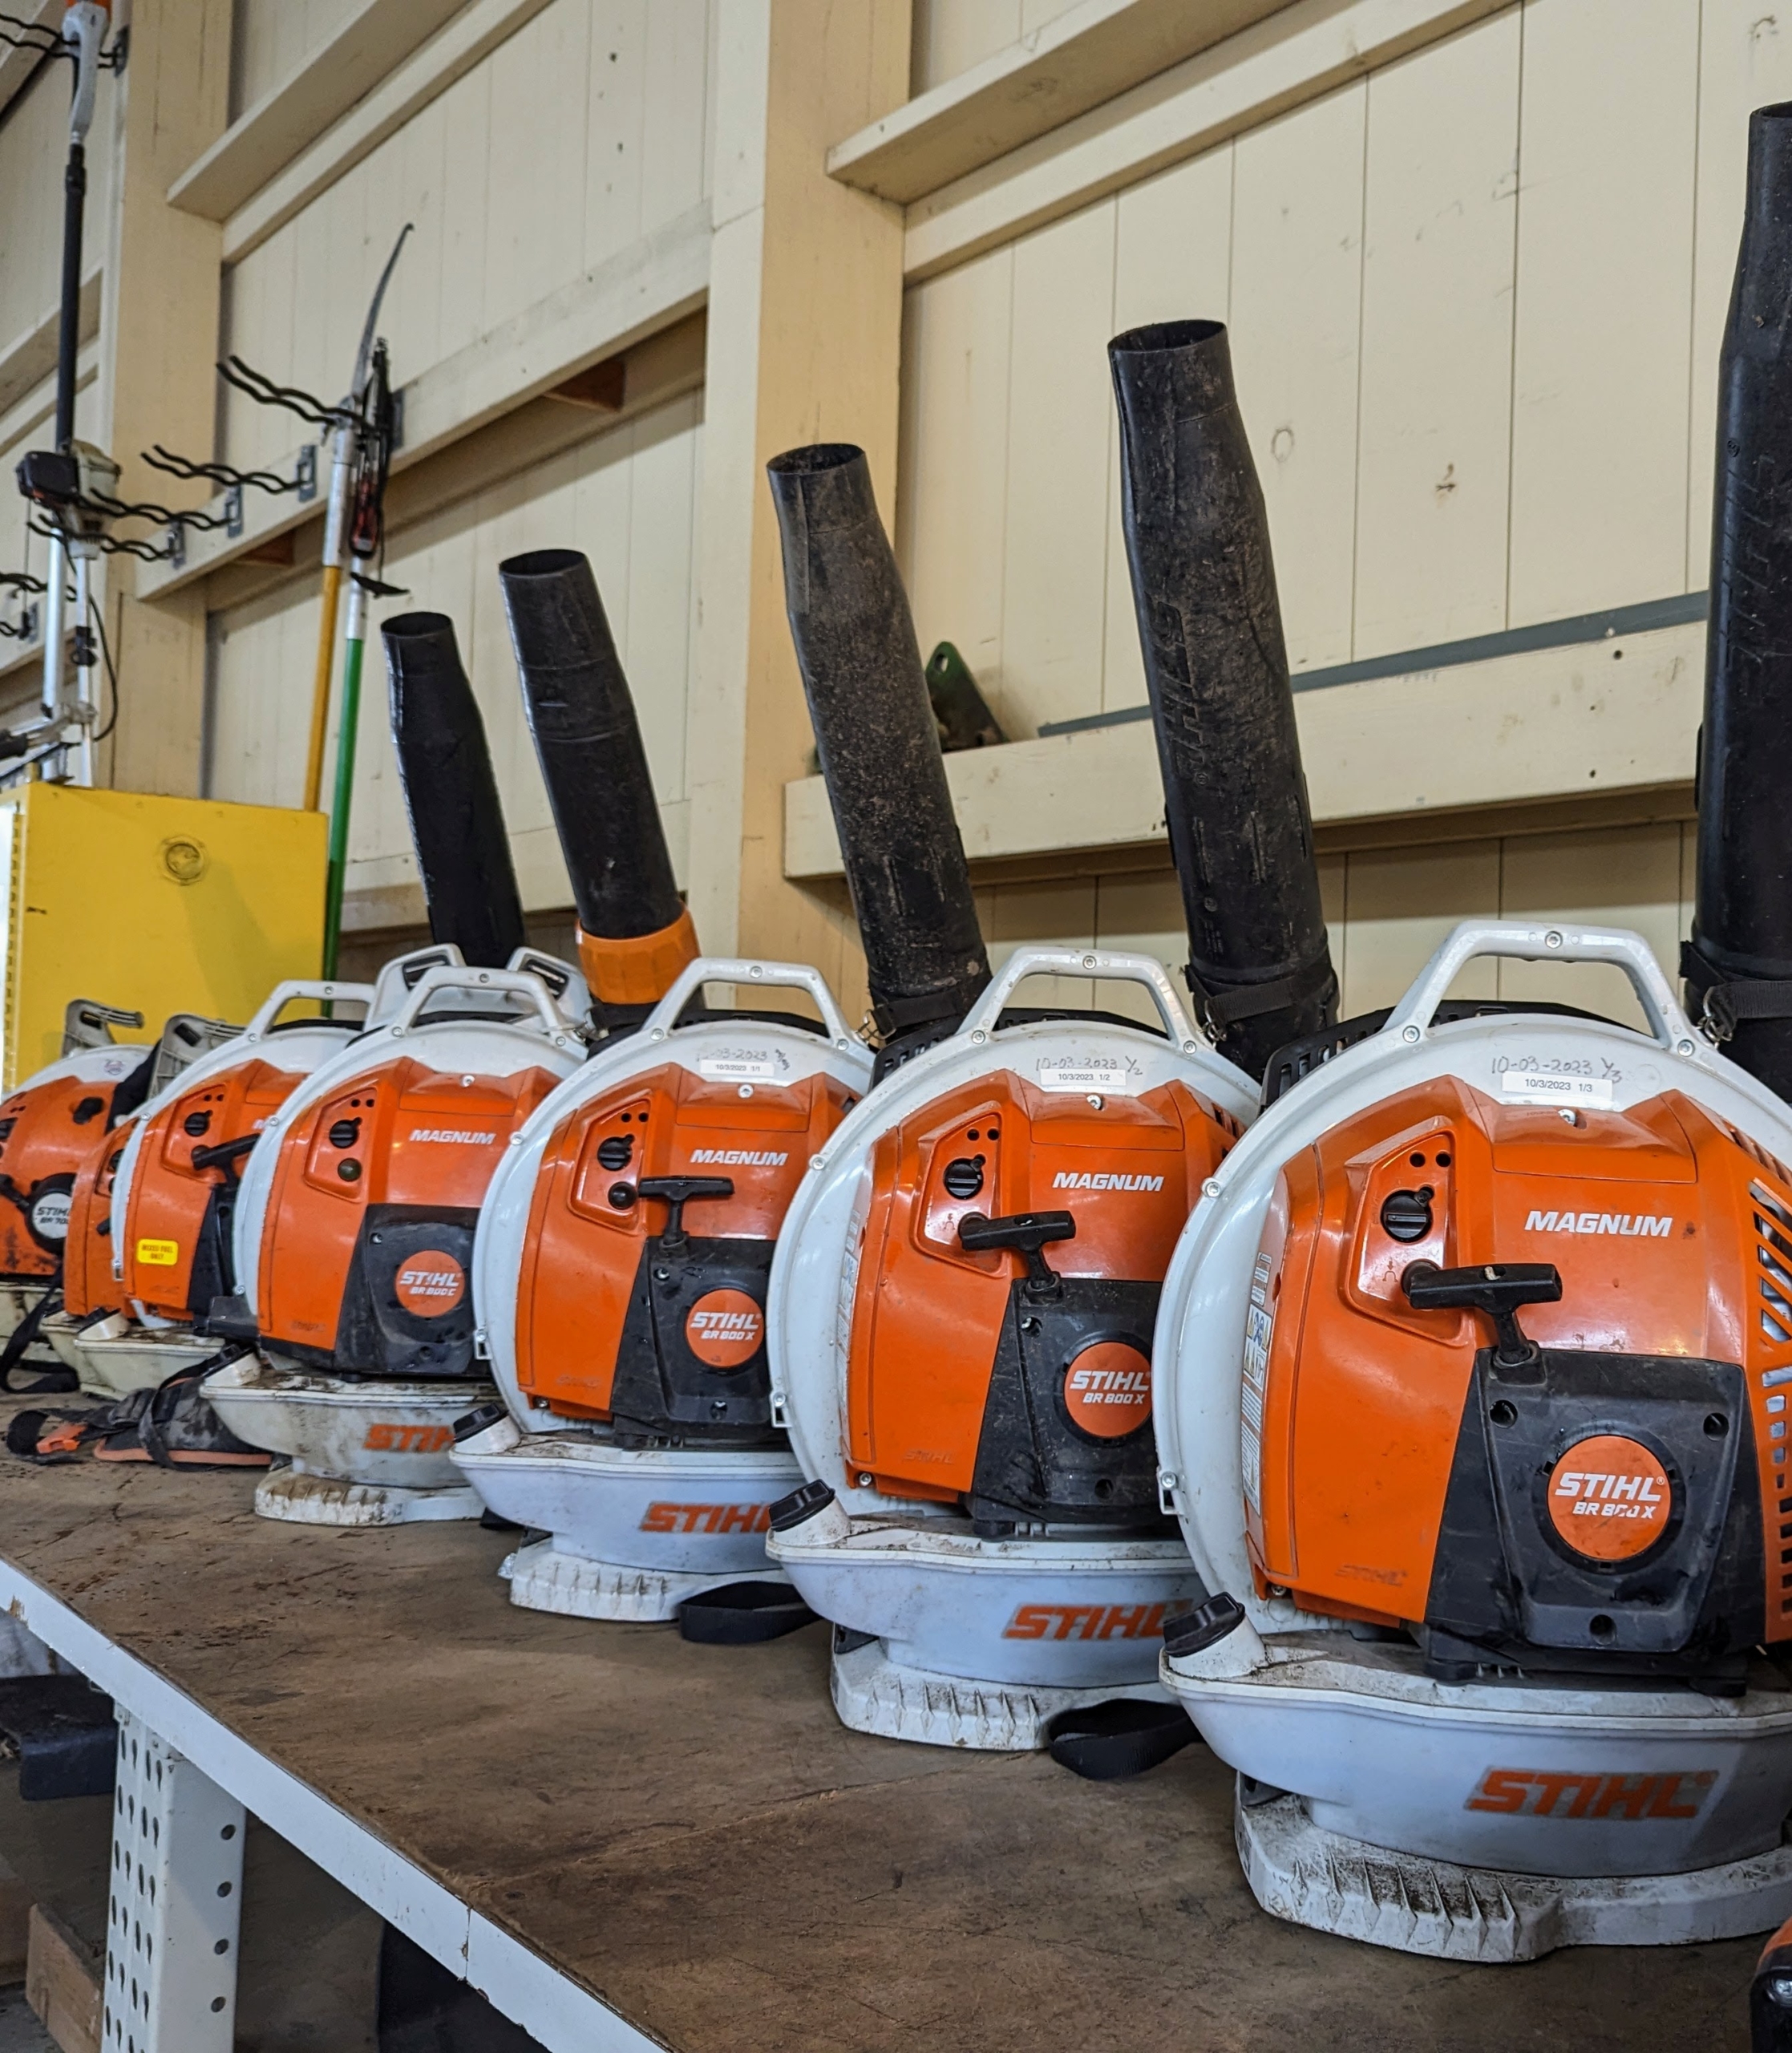
Nearby are the STIHL blowers. These blowers are powerful, easy to handle, and fuel-efficient.
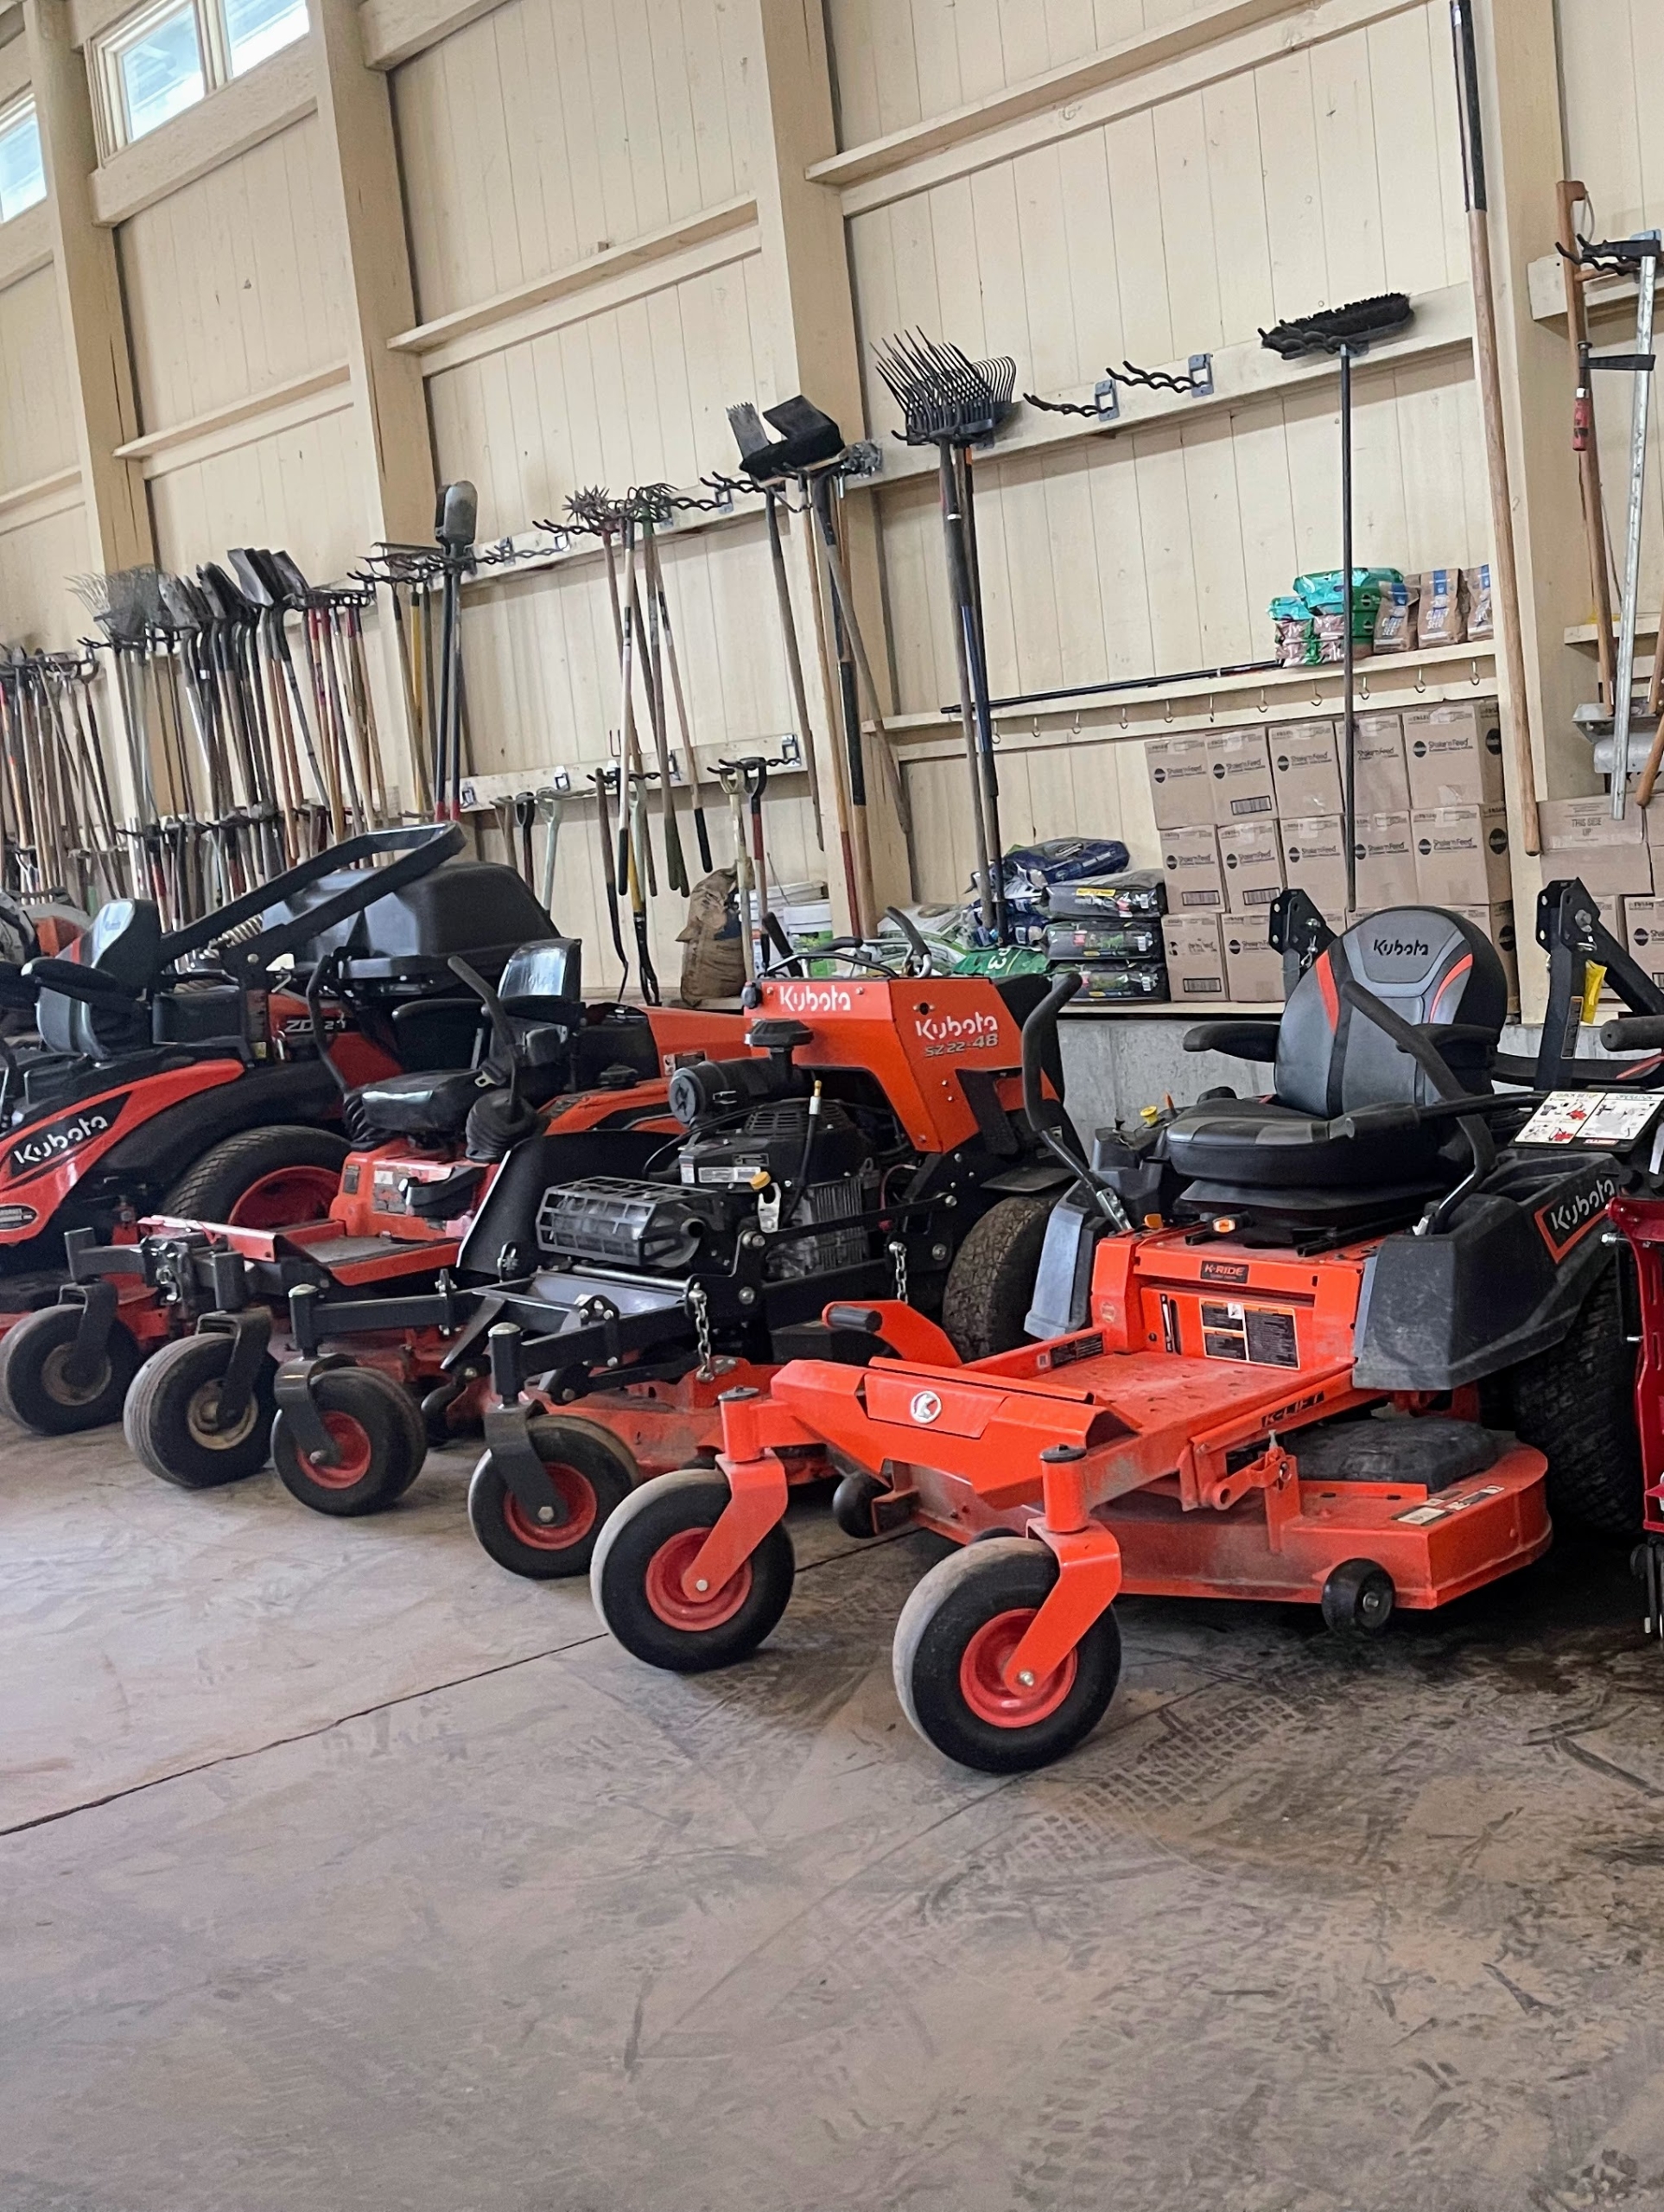
We have my fleet of Kubota mowers. They are used almost daily during the warmer months. Here, they are parked in a designated spot, where they can easily be driven out when needed.
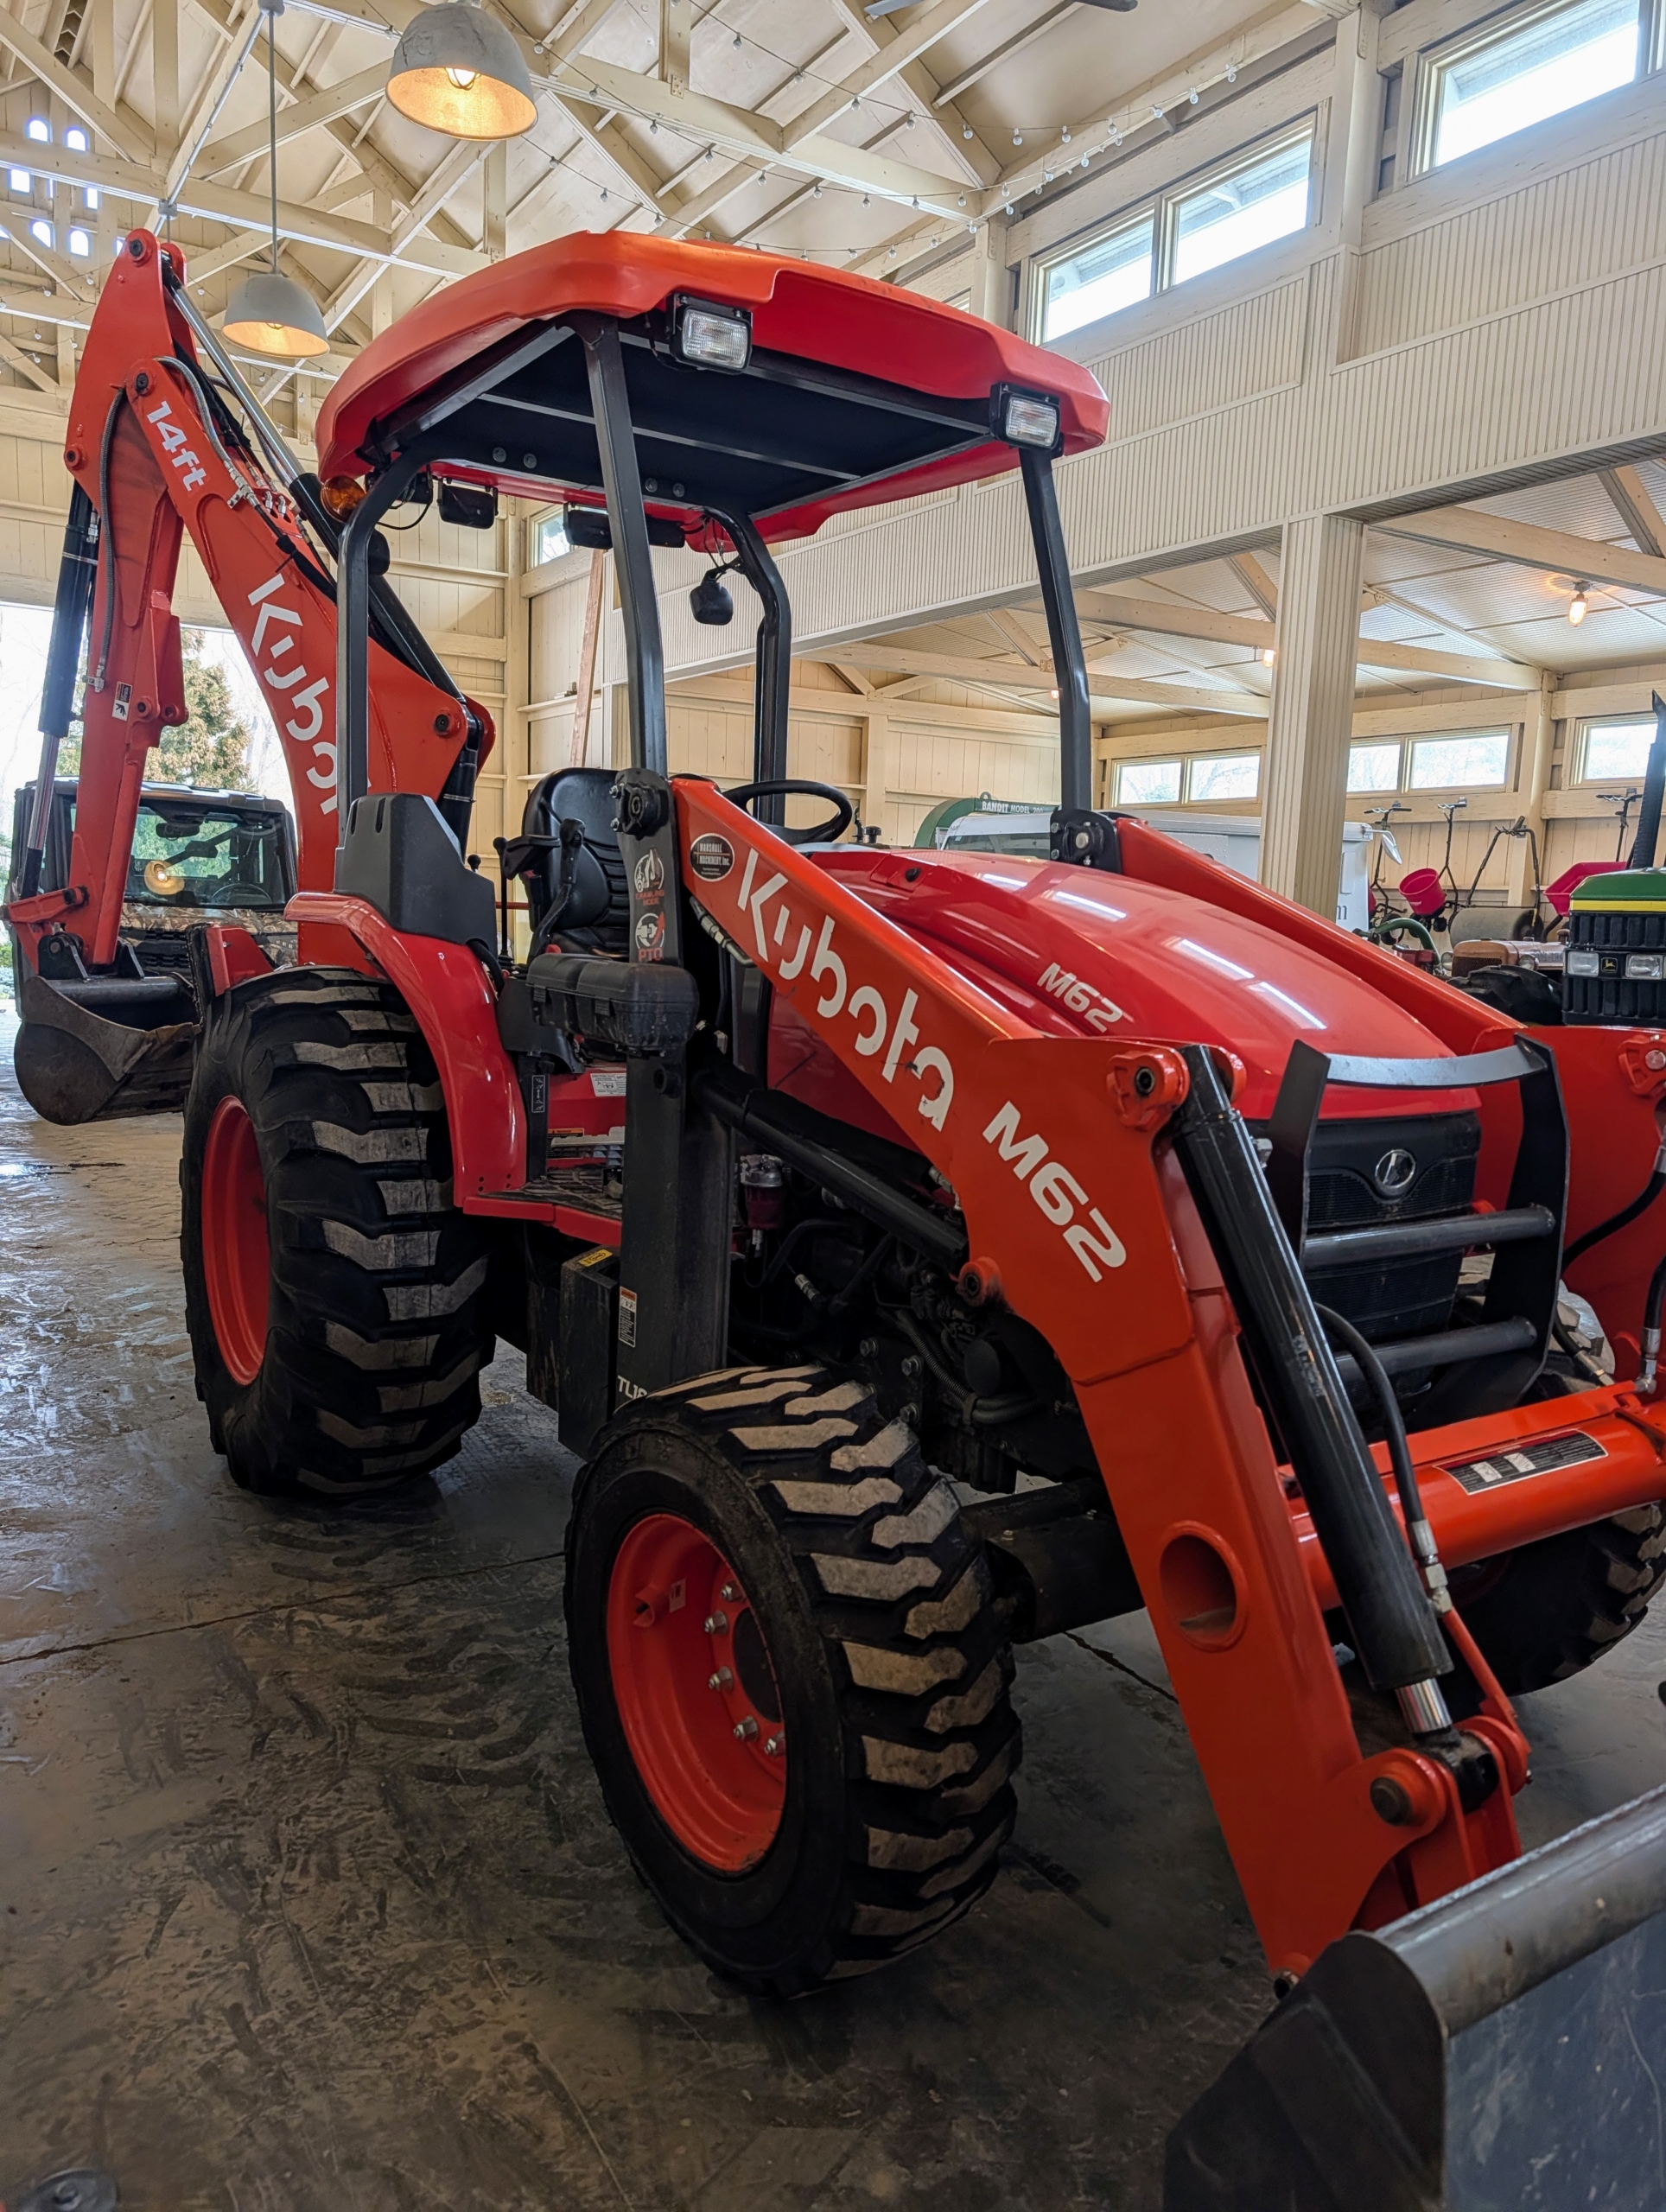
This barn also accommodates my large farm vehicles. The tractors and trucks are parked neatly inside at the end of each day.
In this corner, I have a bank of lockers for the crew. Everyone has their own set of lockers where they can store safety equipment, extra shoes, clothing, and other personal items.
I removed some unused lockers along this wall and replaced them with long tables and bins for things found or things needing to be returned to their rightful locations.
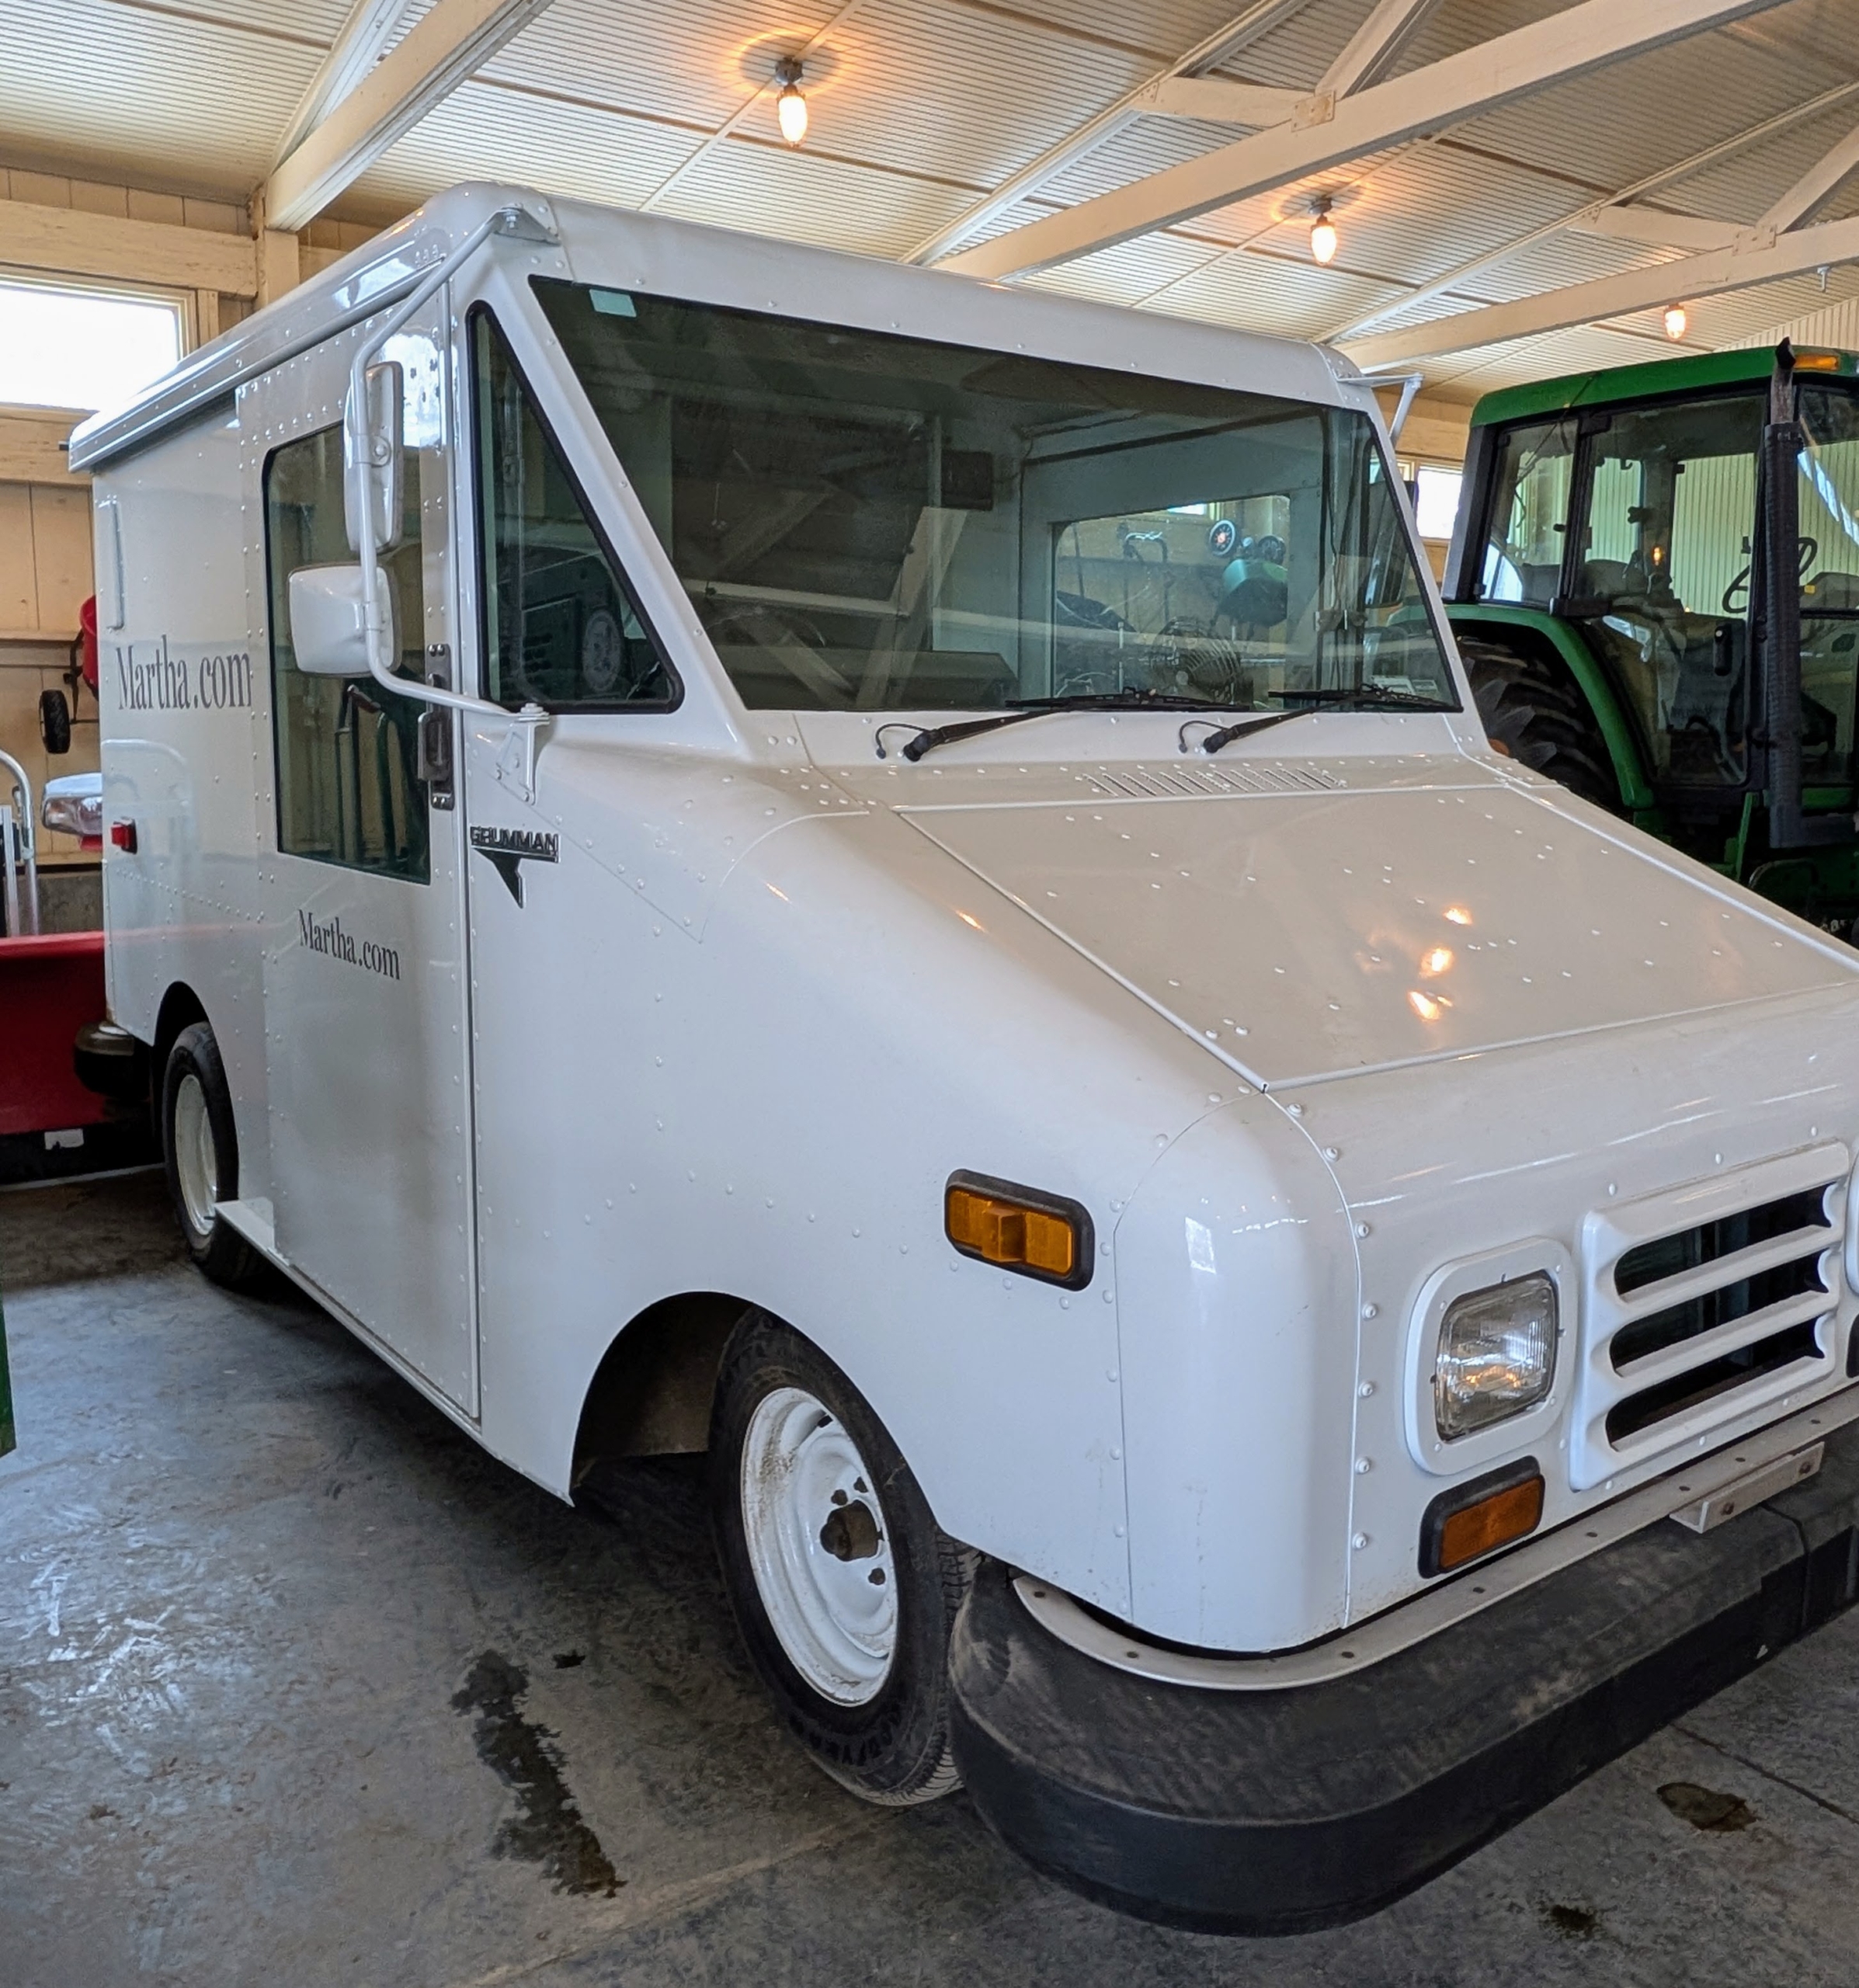
Do you recognize this? It was my old Martha by Mail truck that was repainted a few years ago to be our Martha.com truck. It originally was a postal delivery truck from the 80s, which I bought years ago.
Hung on these hooks are spreaders for seed and fertilizer.
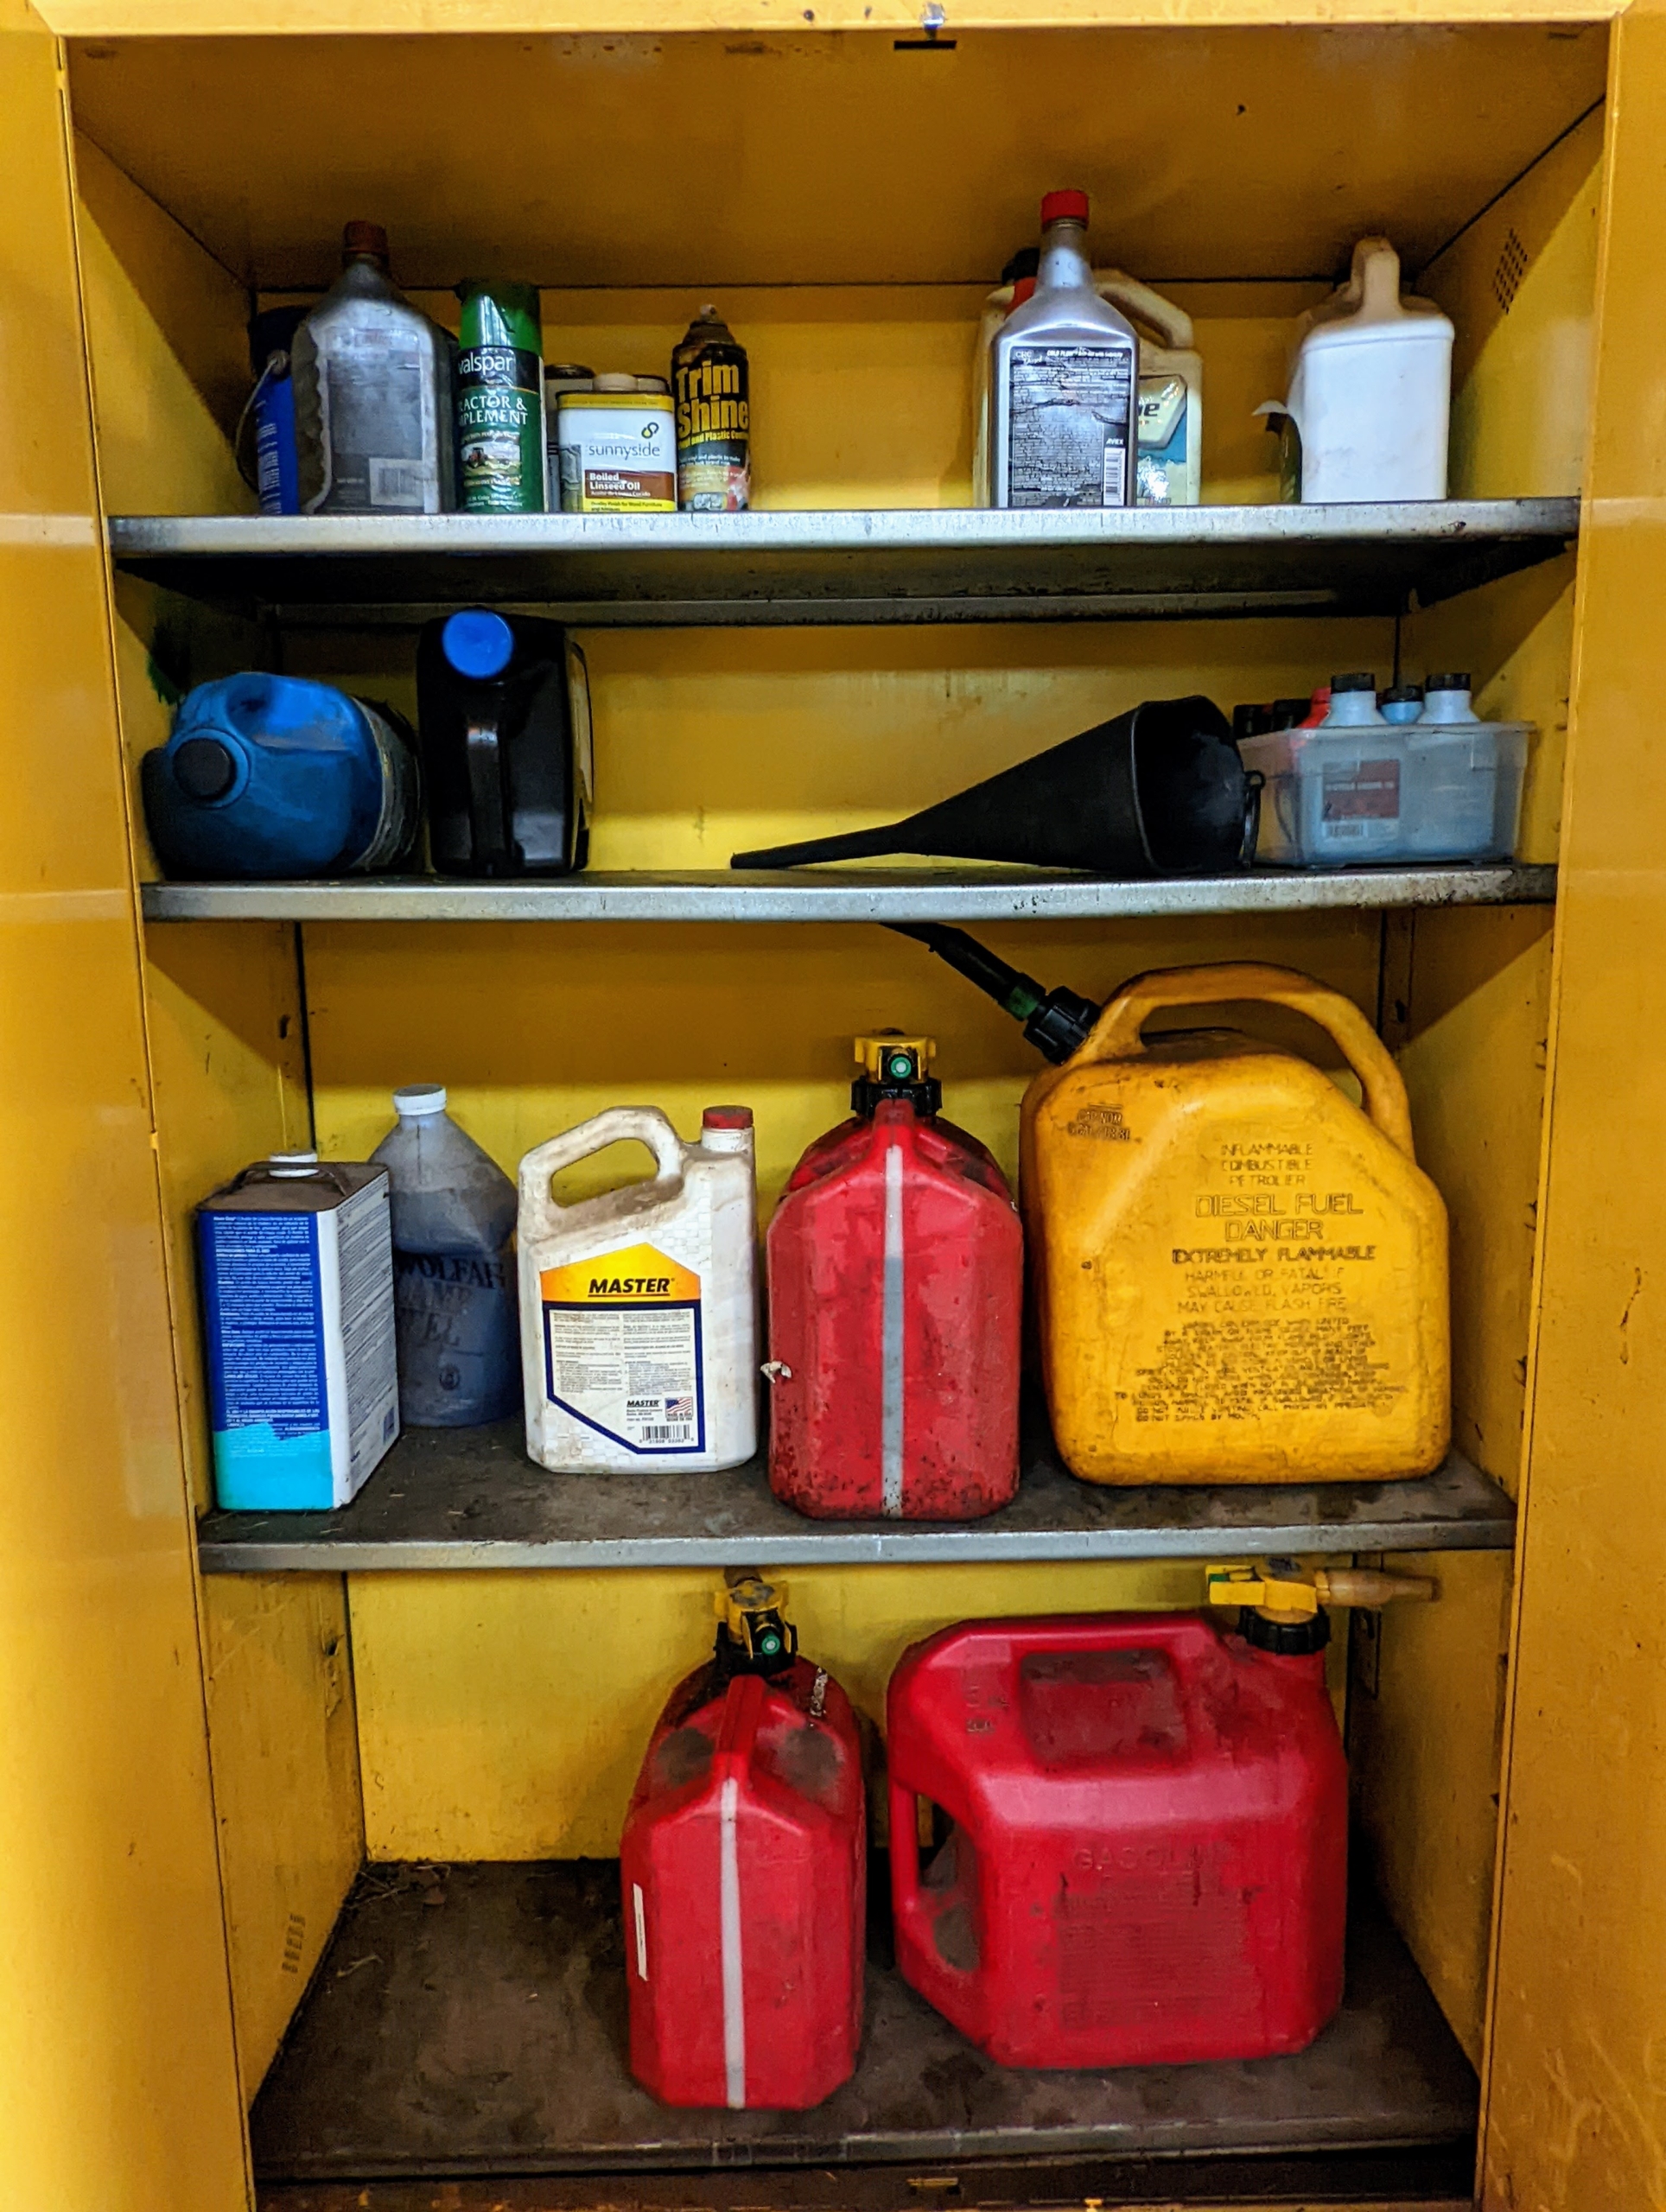
Chemicals and oils are always kept in this storage cabinet specifically designed for flammables.
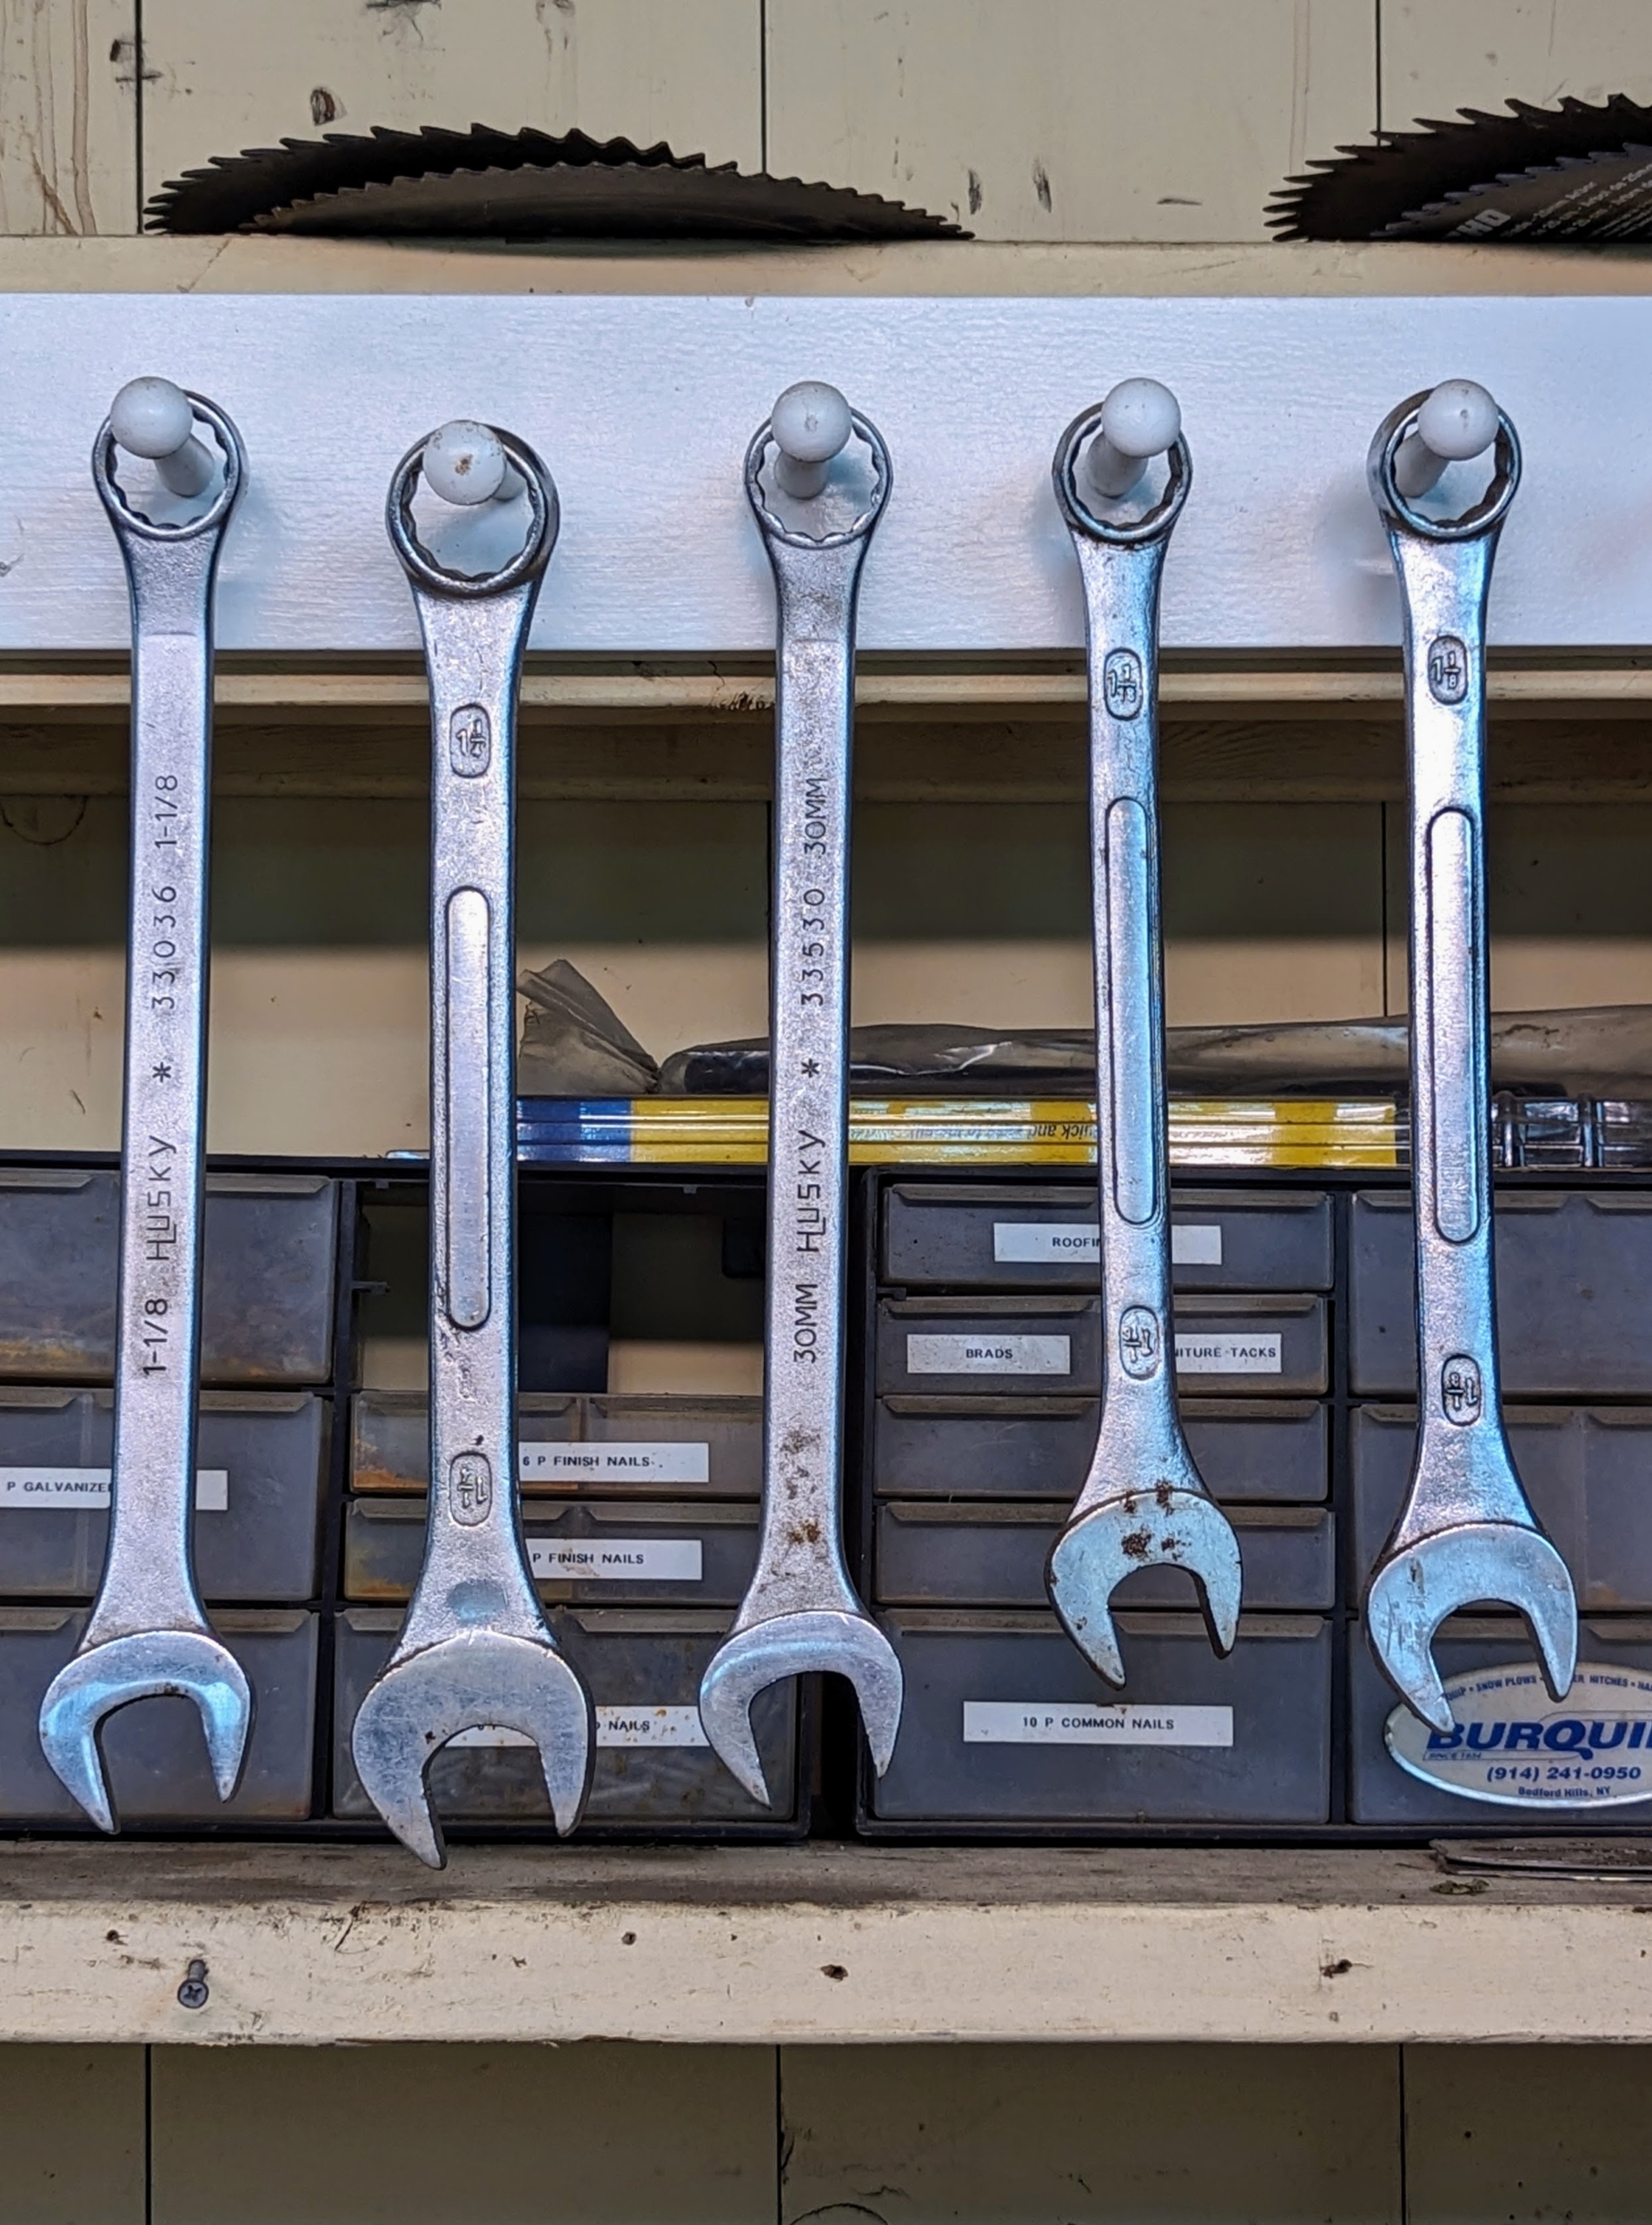
All the smaller tools, such as these large combination wrenches are also organized and hung over the workbench.
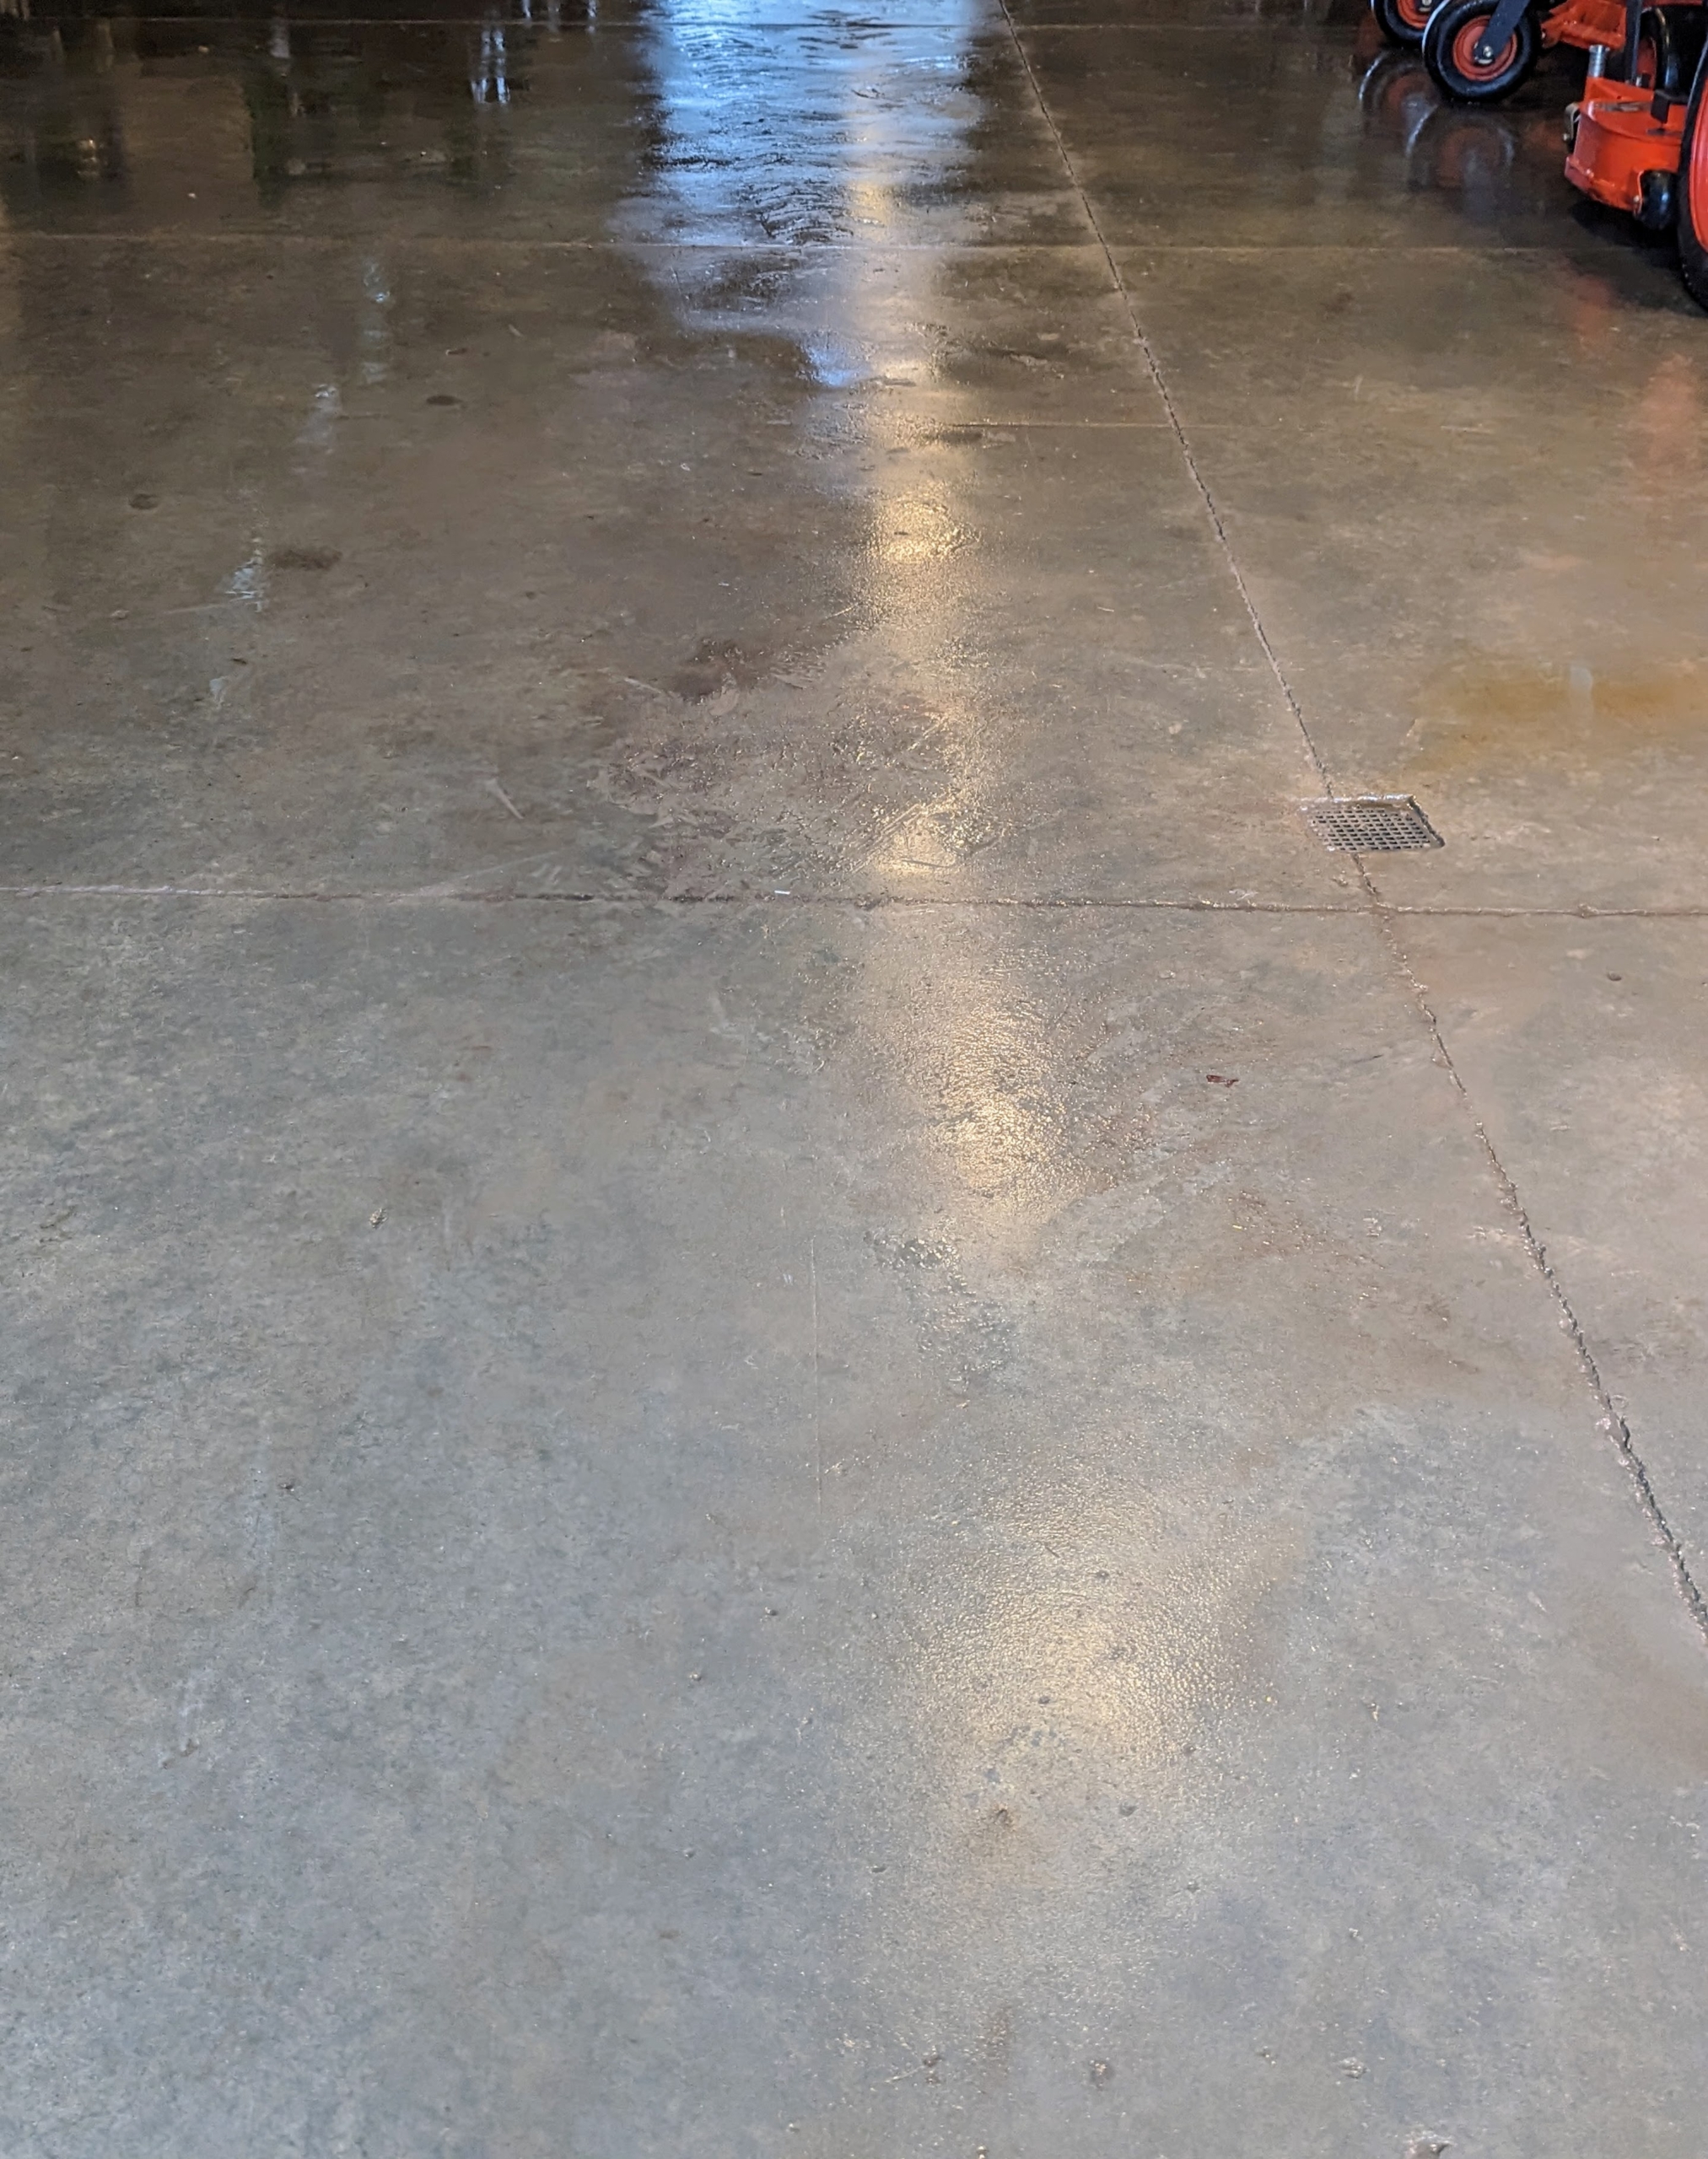
Lastly, the floors are blown, power washed, and left bare to dry for several hours.
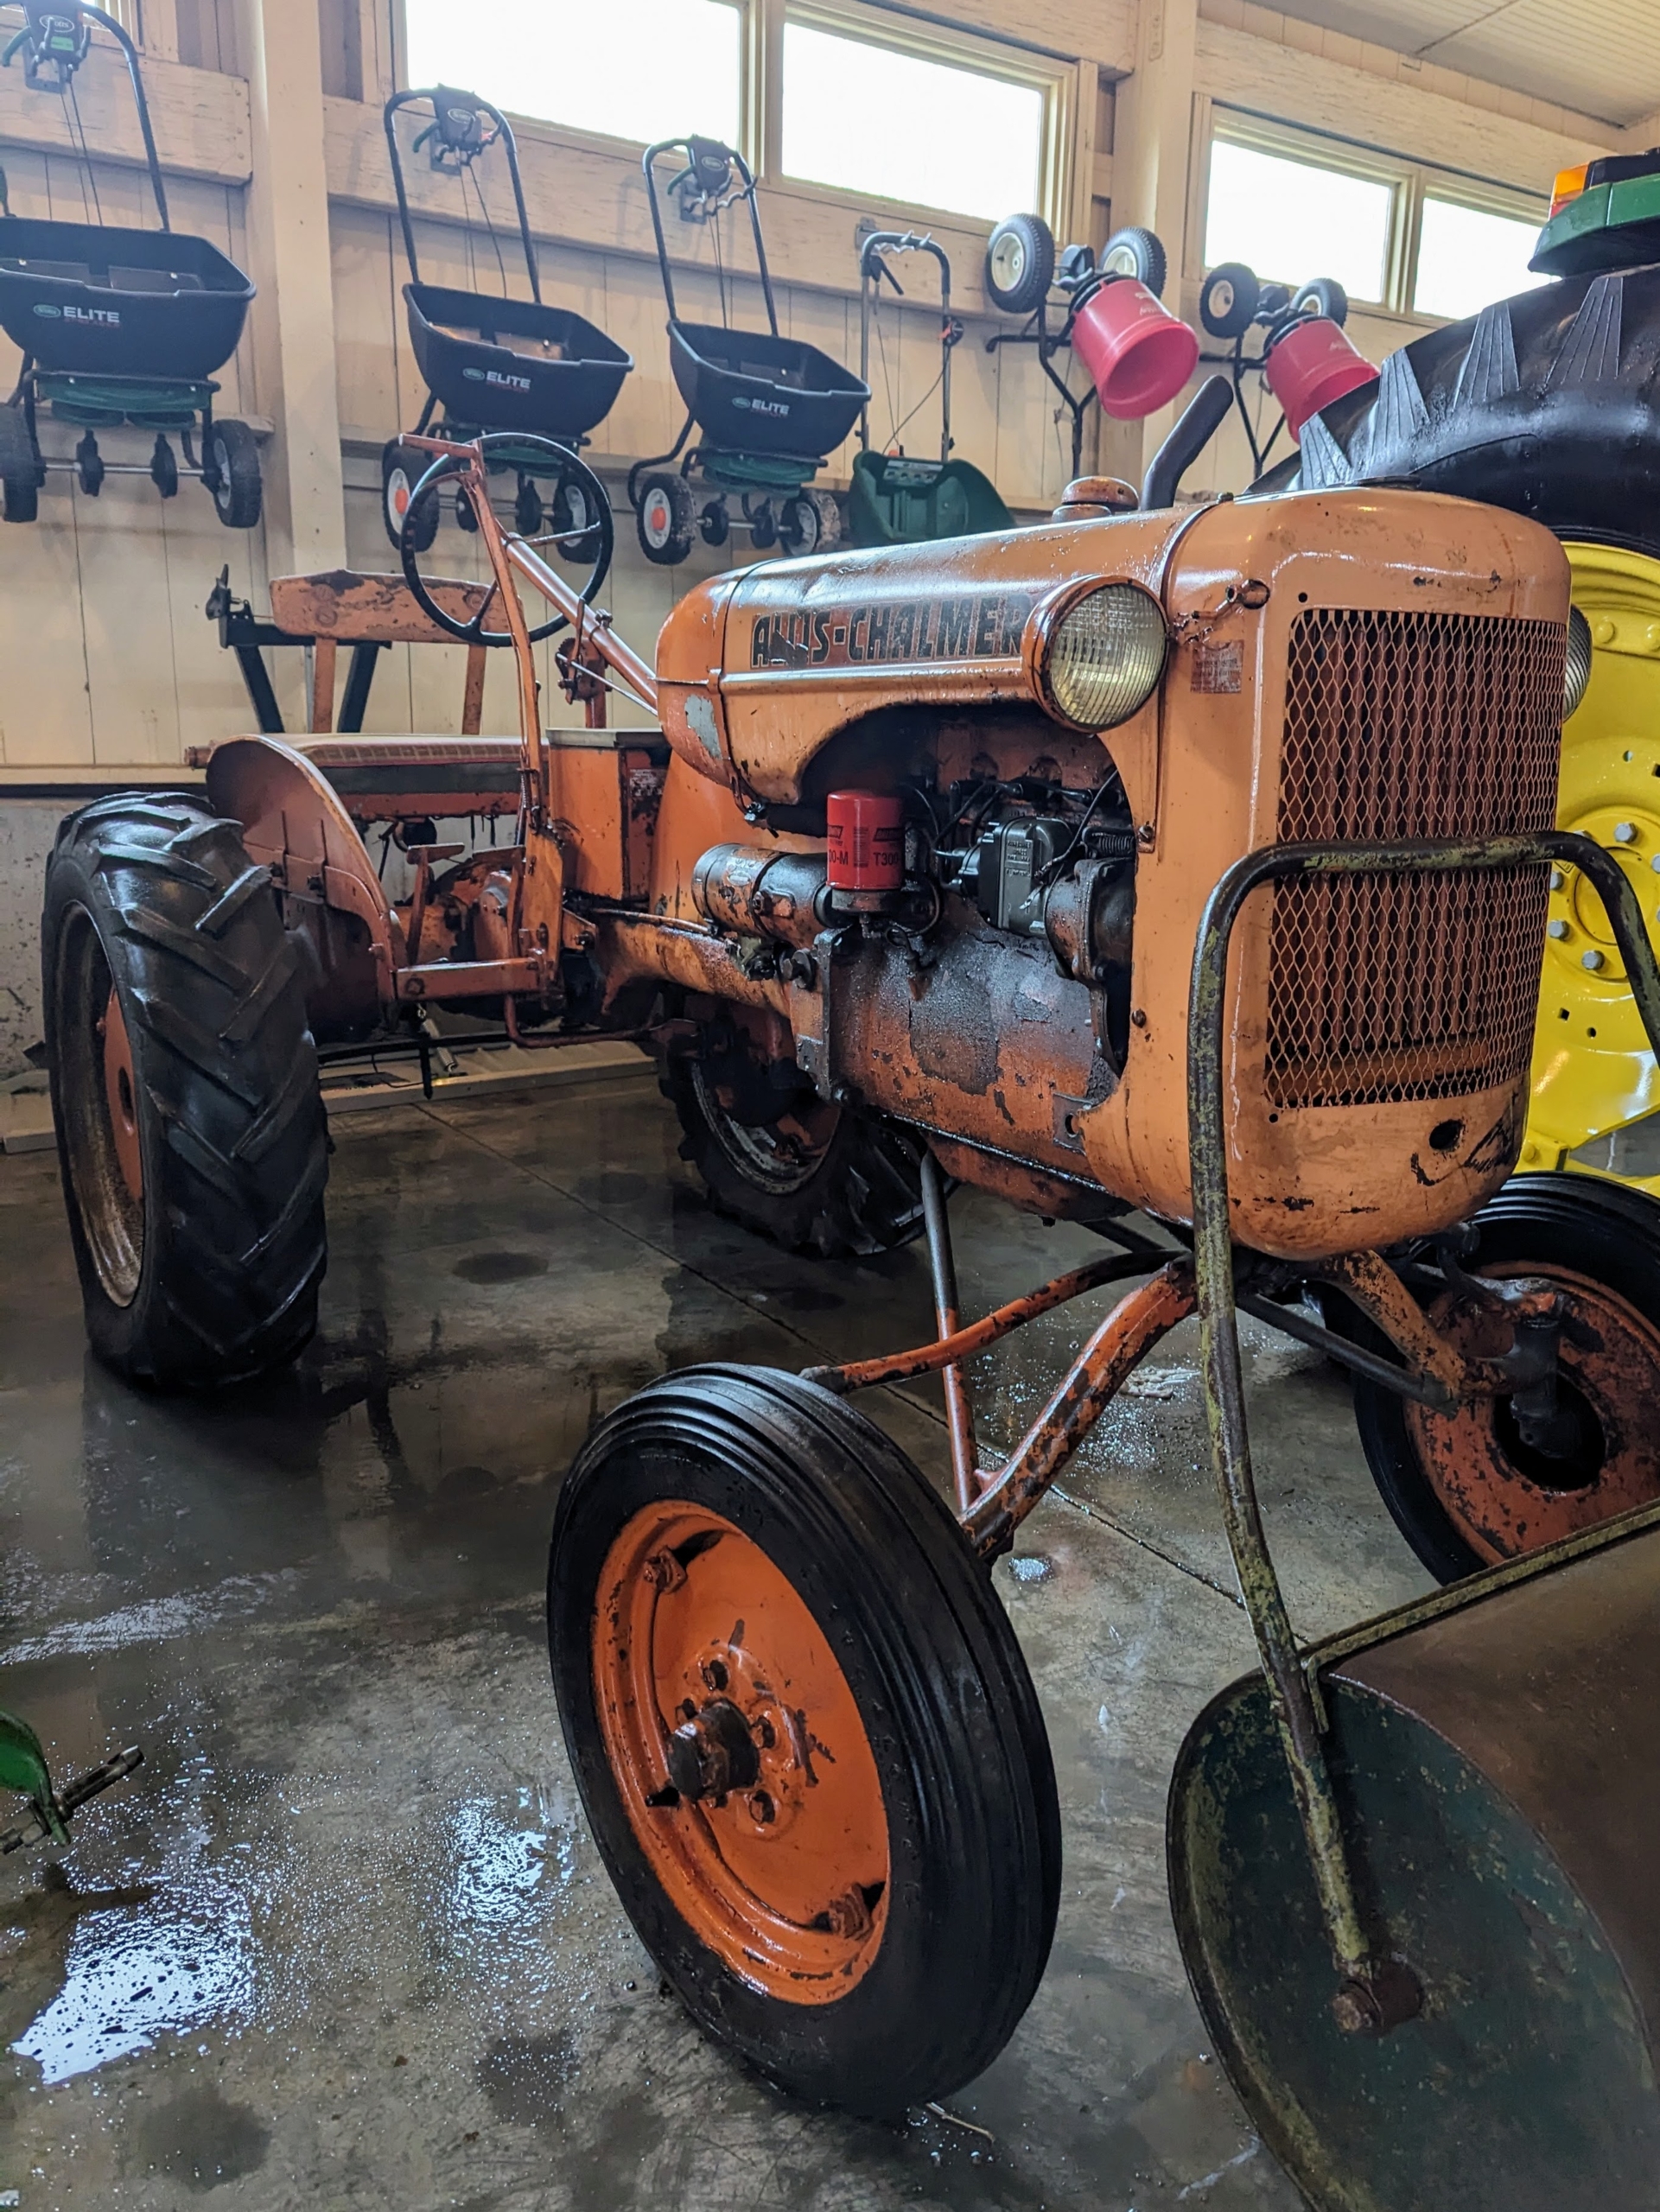
And this is a vintage Allis-Chalmers tractor from the 1940s. It reminds us all how much these farm pieces have evolved over the years. At the end of a day, it’s always very refreshing to see a clean and well-organized space.
Winter is such a good time to tackle those indoor houseplant chores.
I love container plants, and over the years I have amassed quite a collection of potted specimens. To keep them looking their best, it is important to check their condition regularly, feed and water according to their needs, and repot those that have outgrown their current vessels. My head gardener, Ryan McCallister, has been repotting a group of Chinese money plants, Pilea peperomioides - low-maintenance perennials with interesting coin-shaped foliage.
Here are some photos, enjoy.
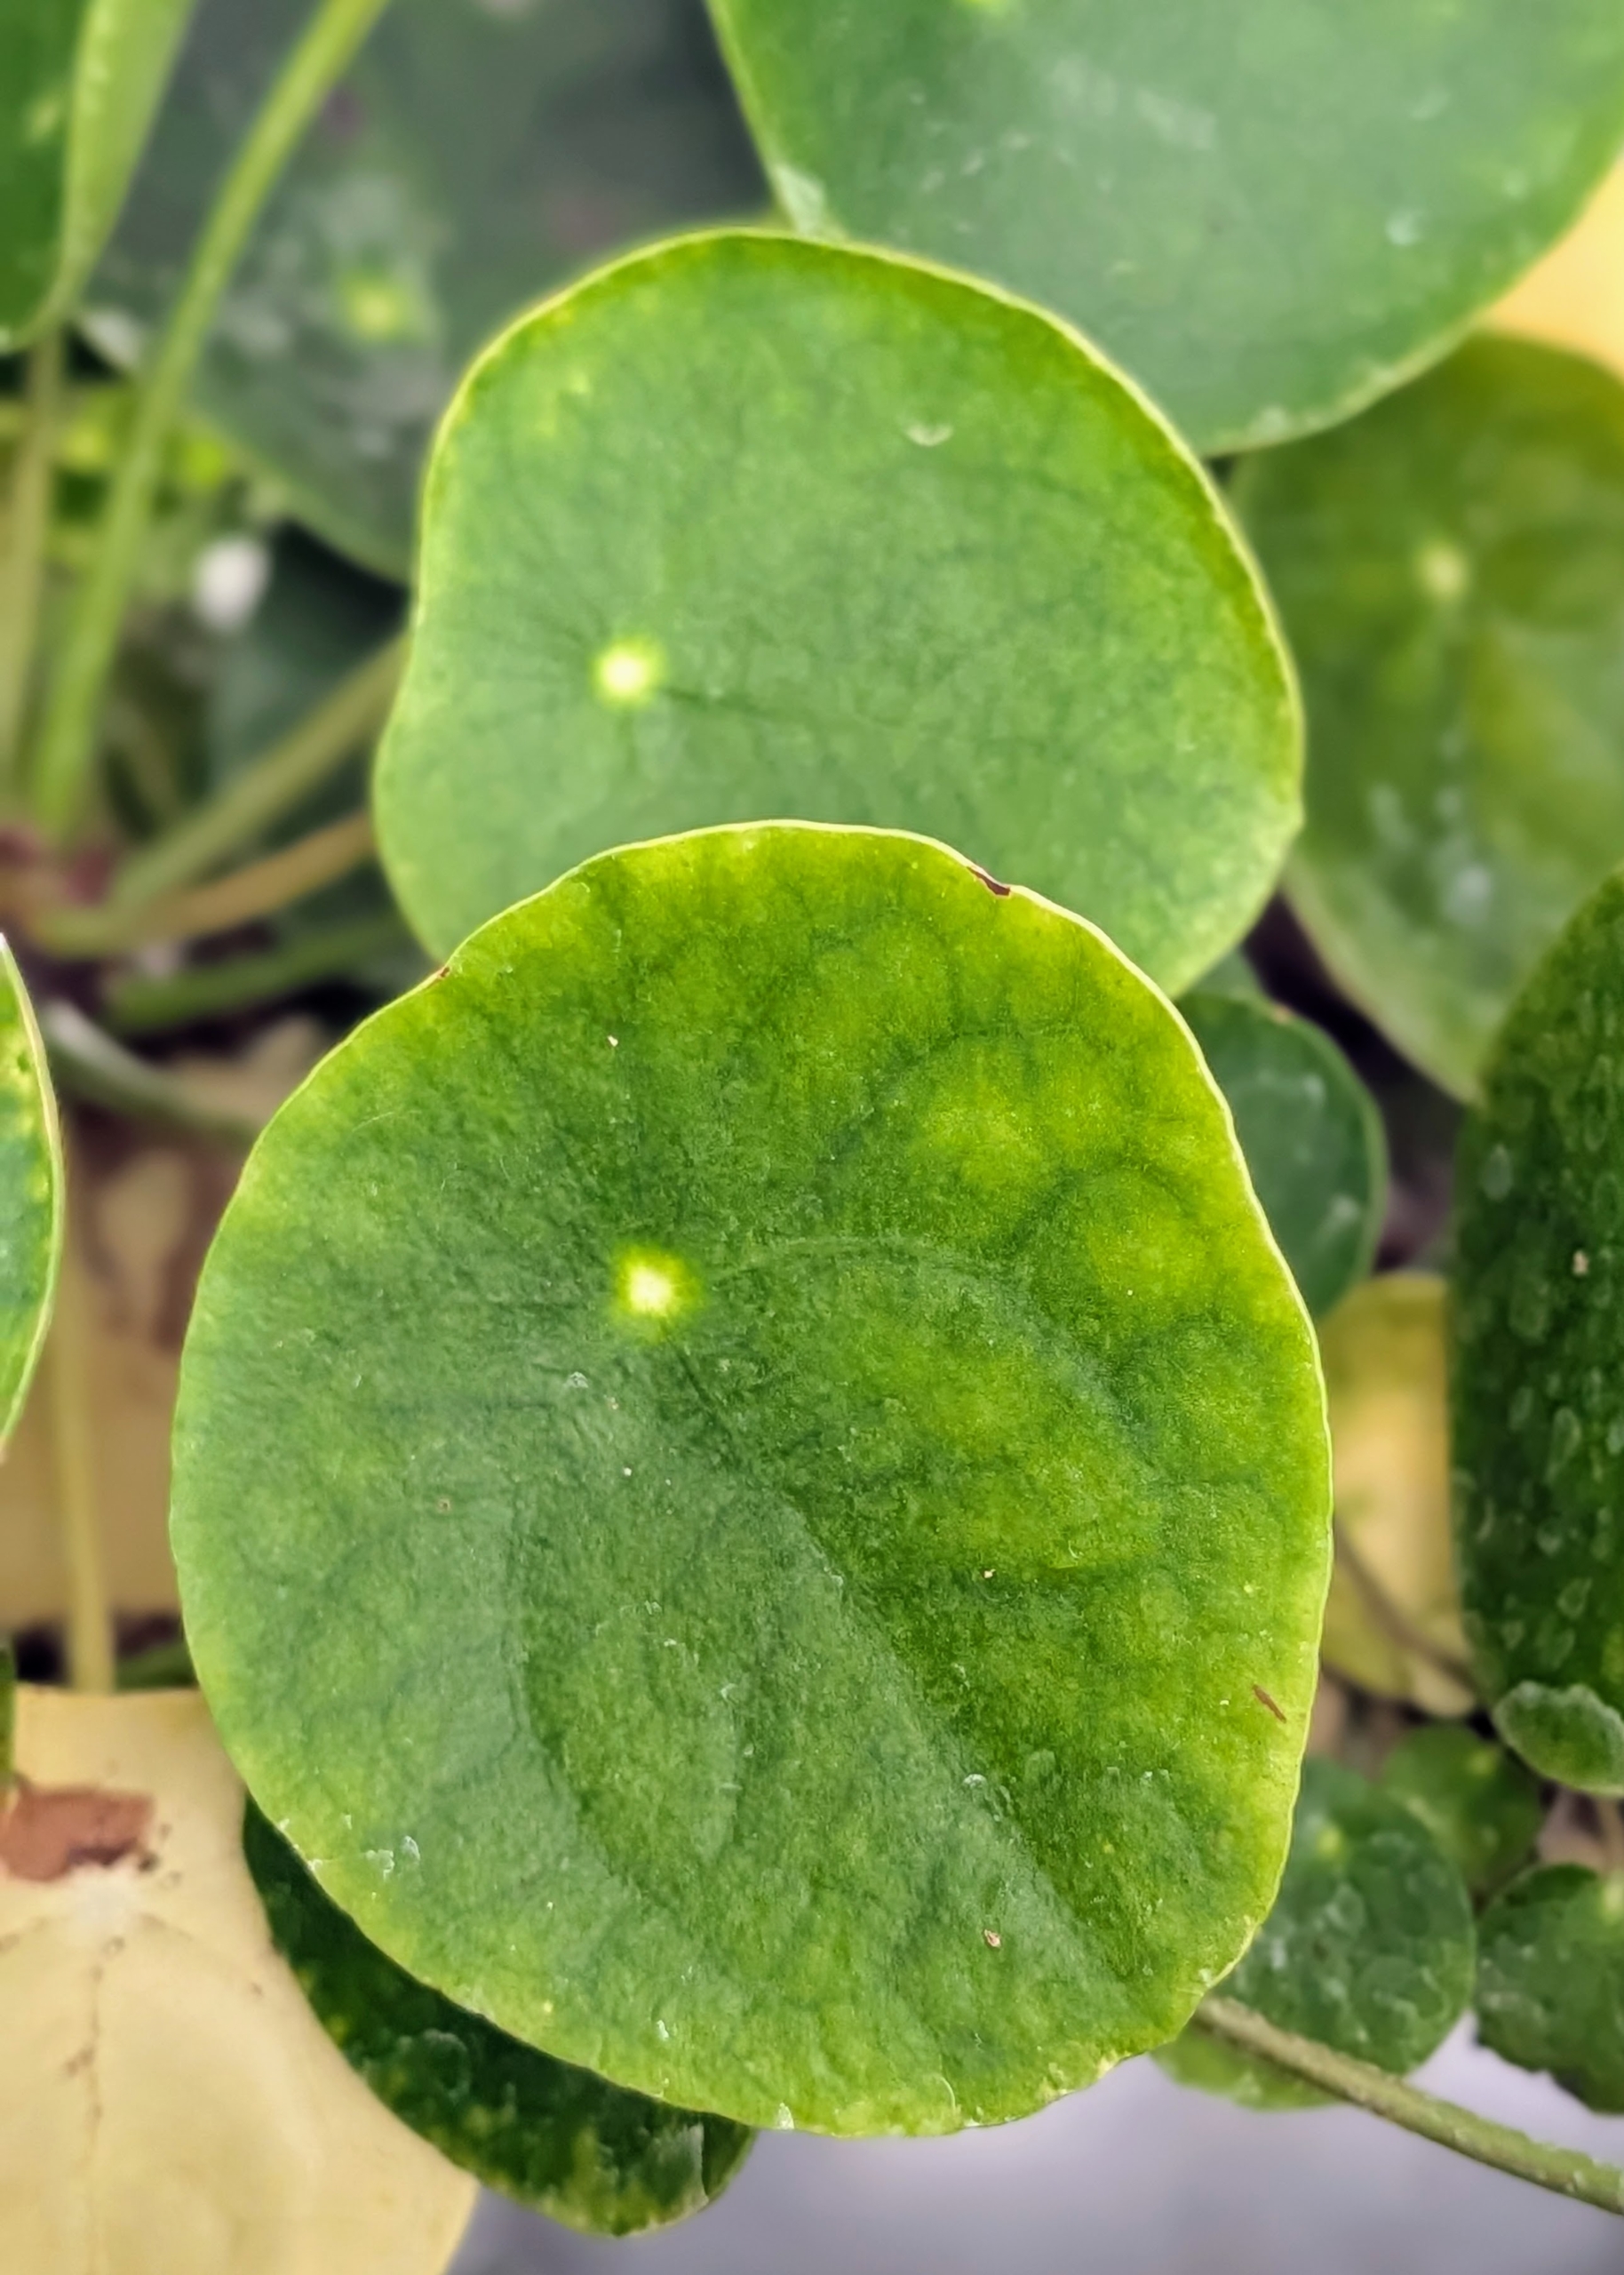
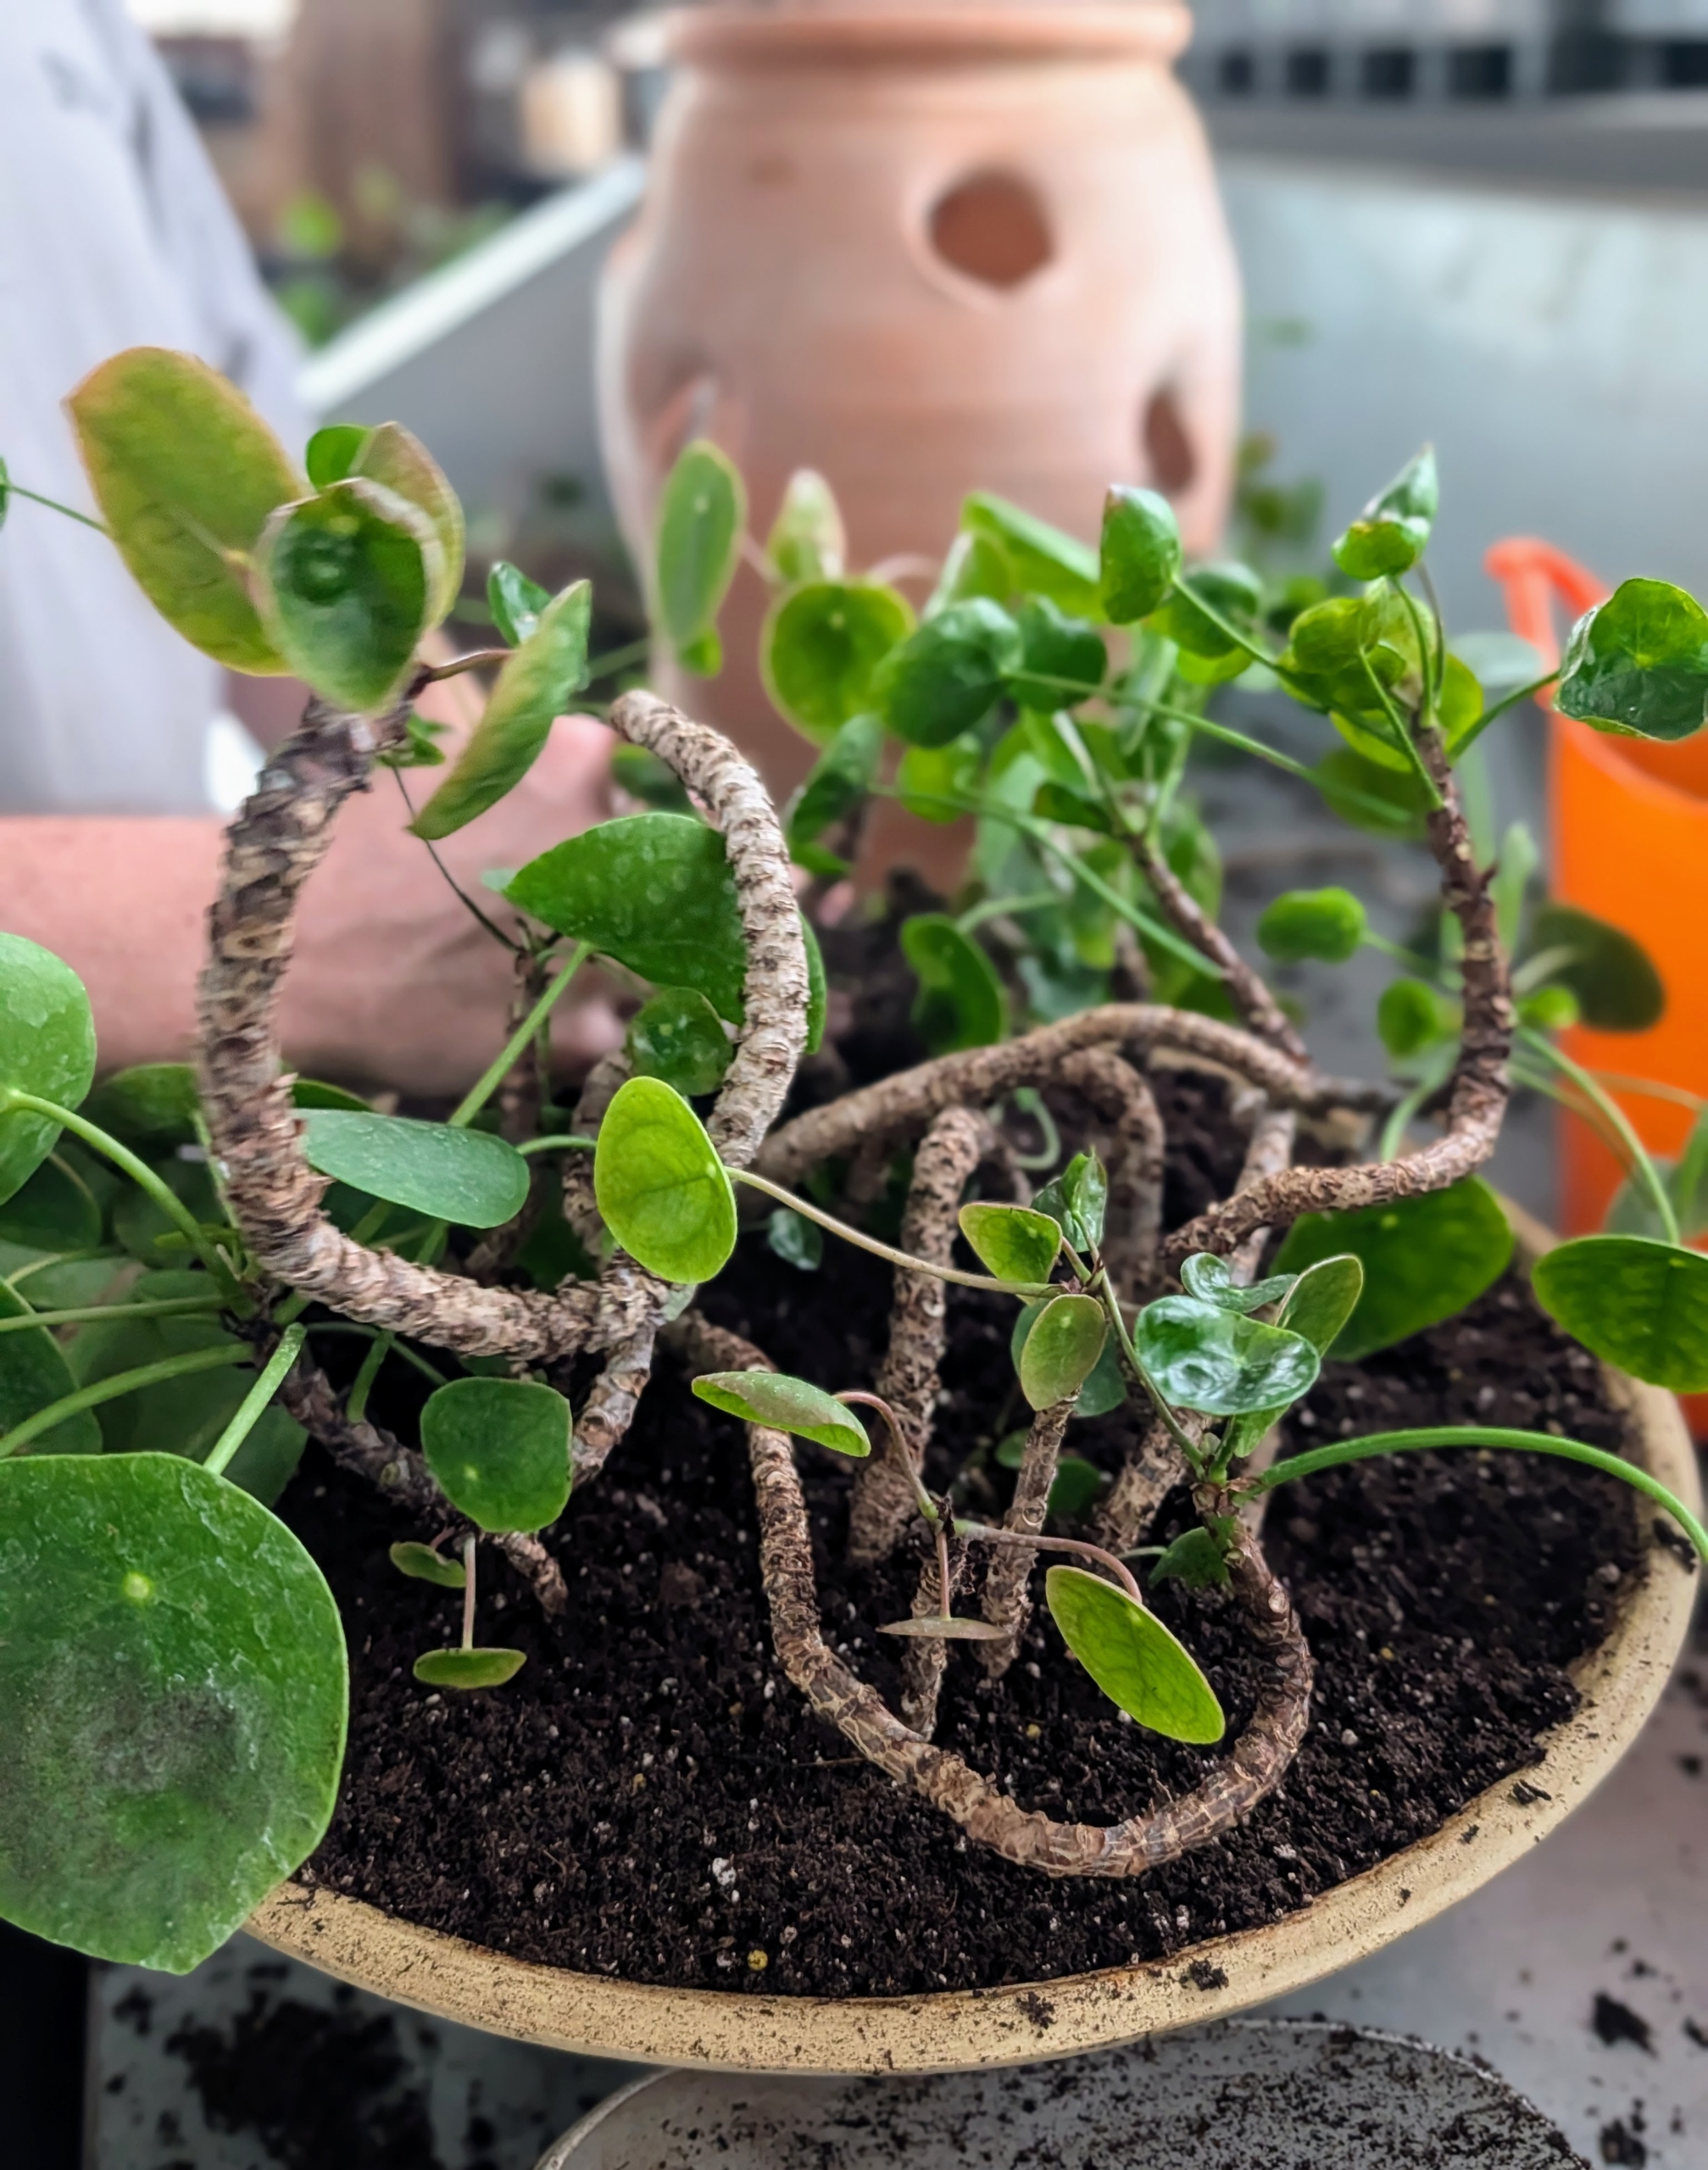
These are the interesting leaves of the Chinese money plant, Pilea peperomioides. The round leaves can grow up to four inches in diameter, with the plant itself capable of reaching up to 15 inches wide.
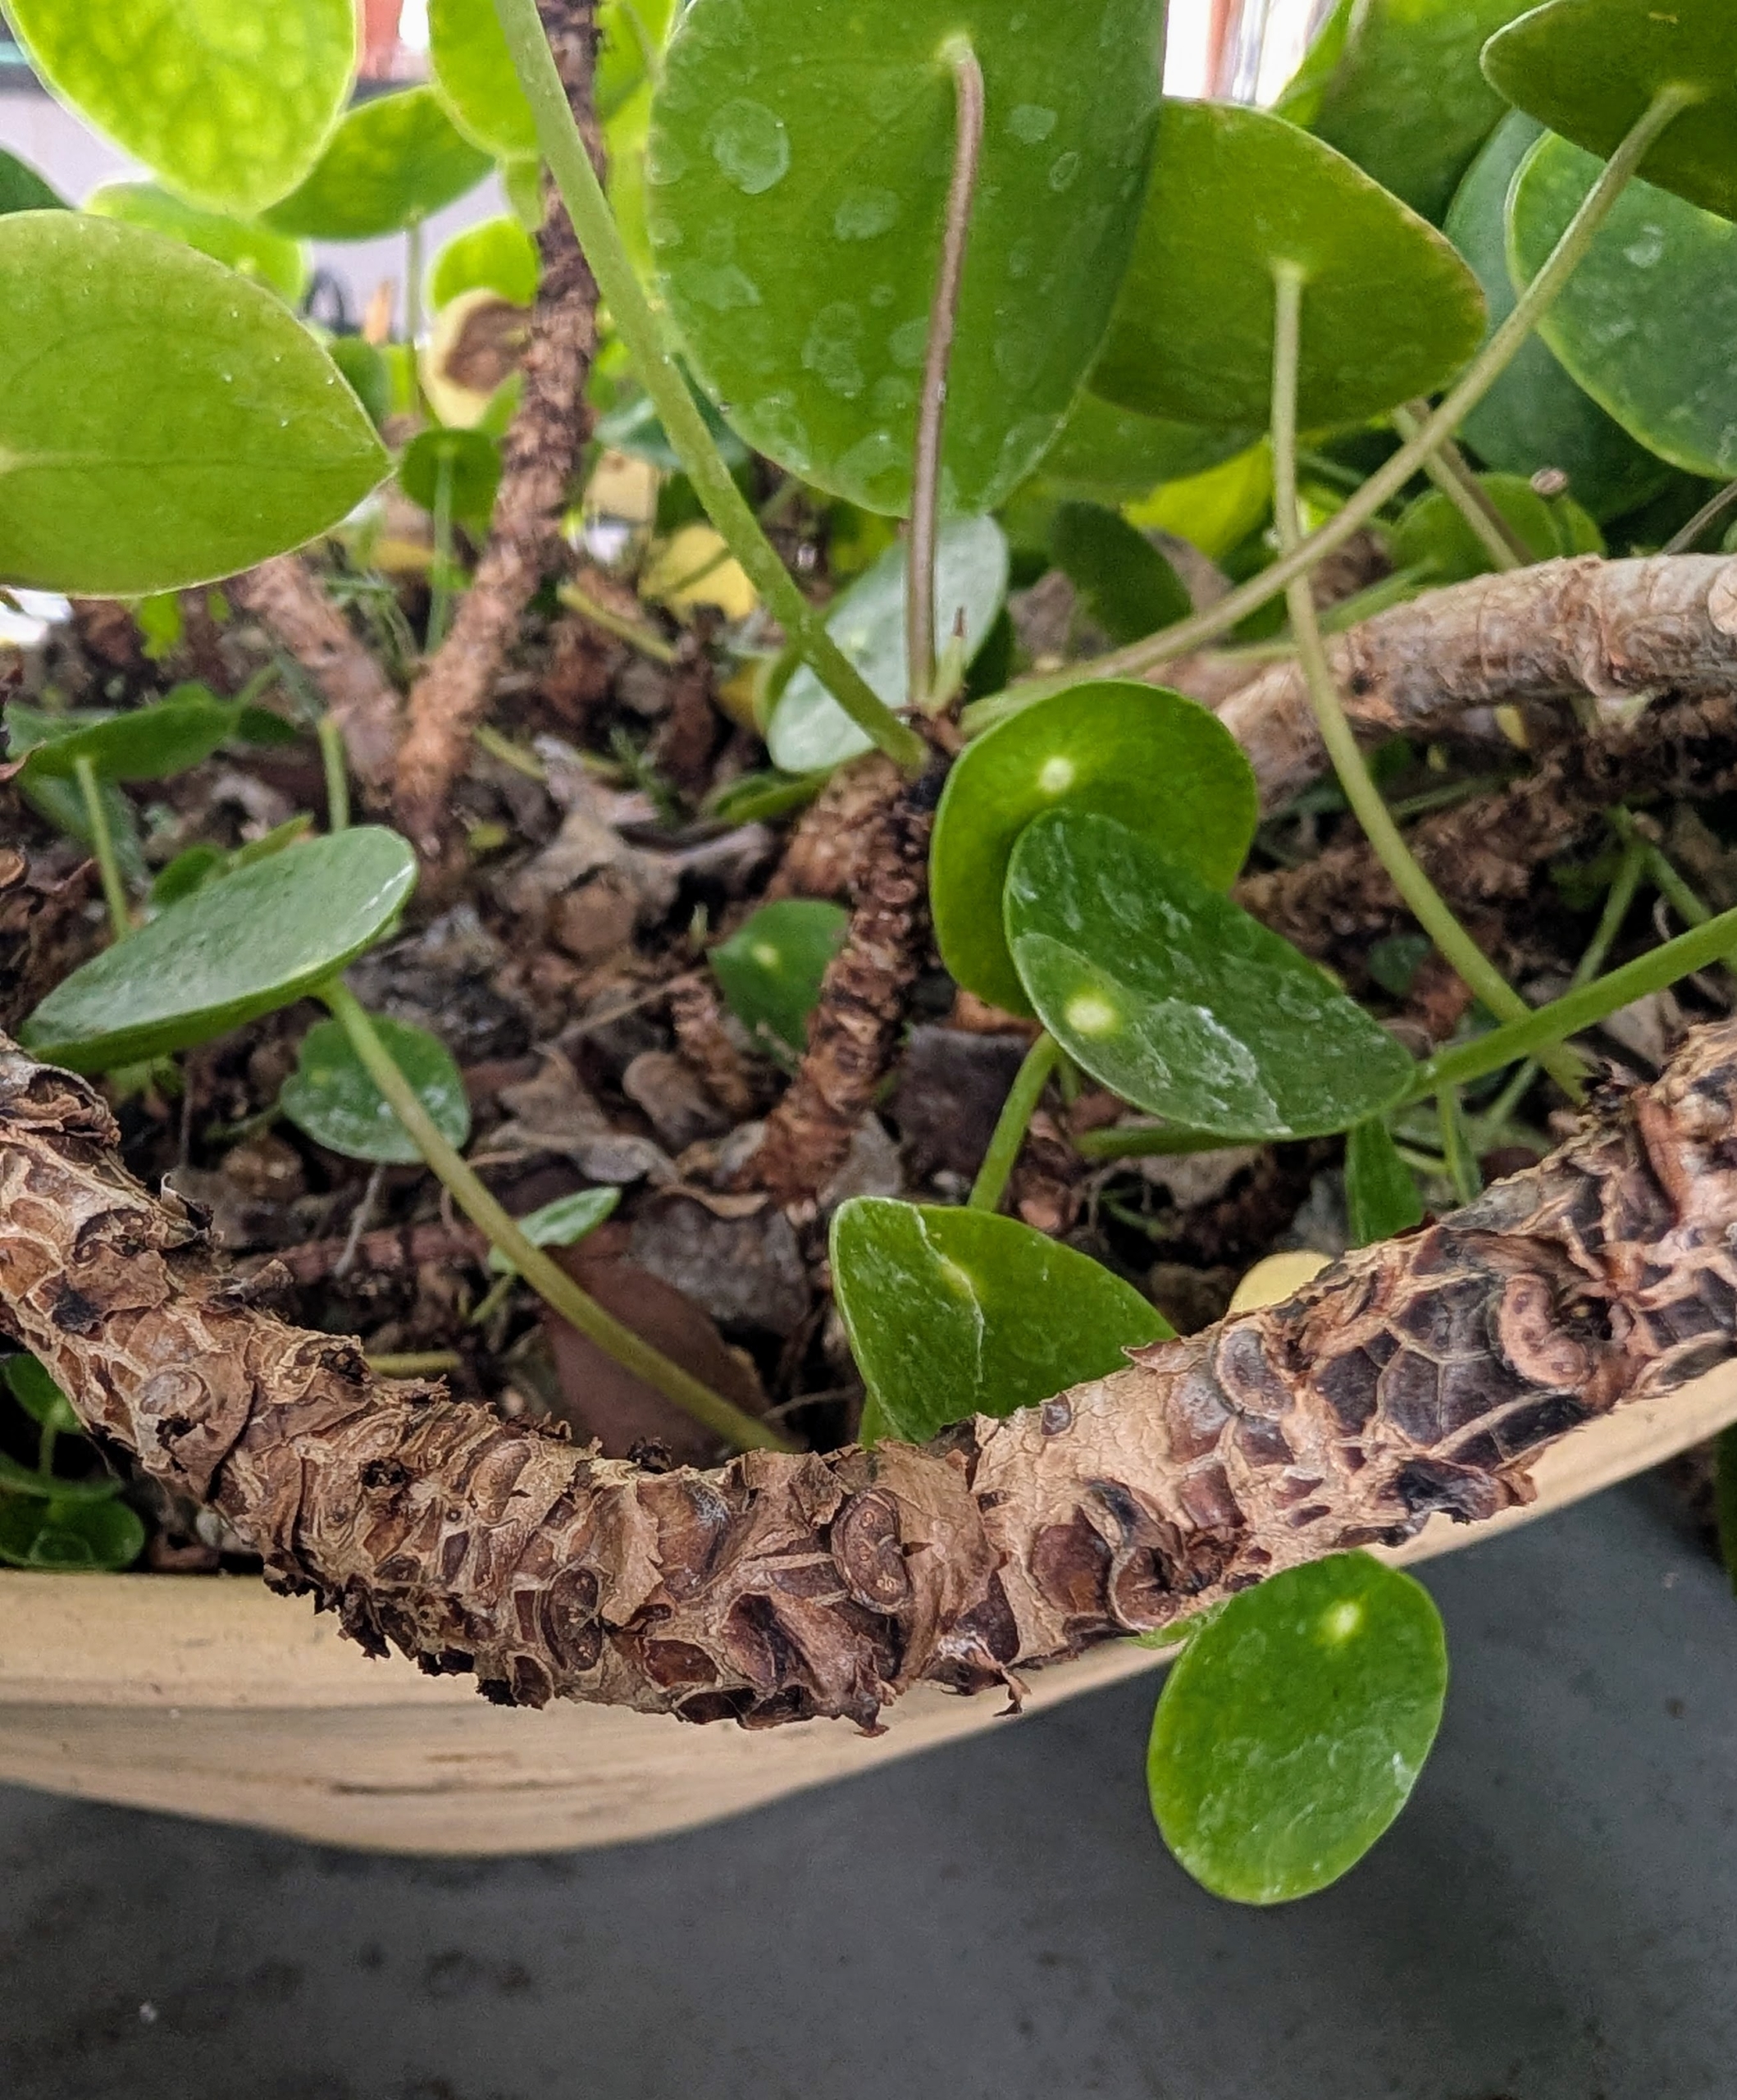
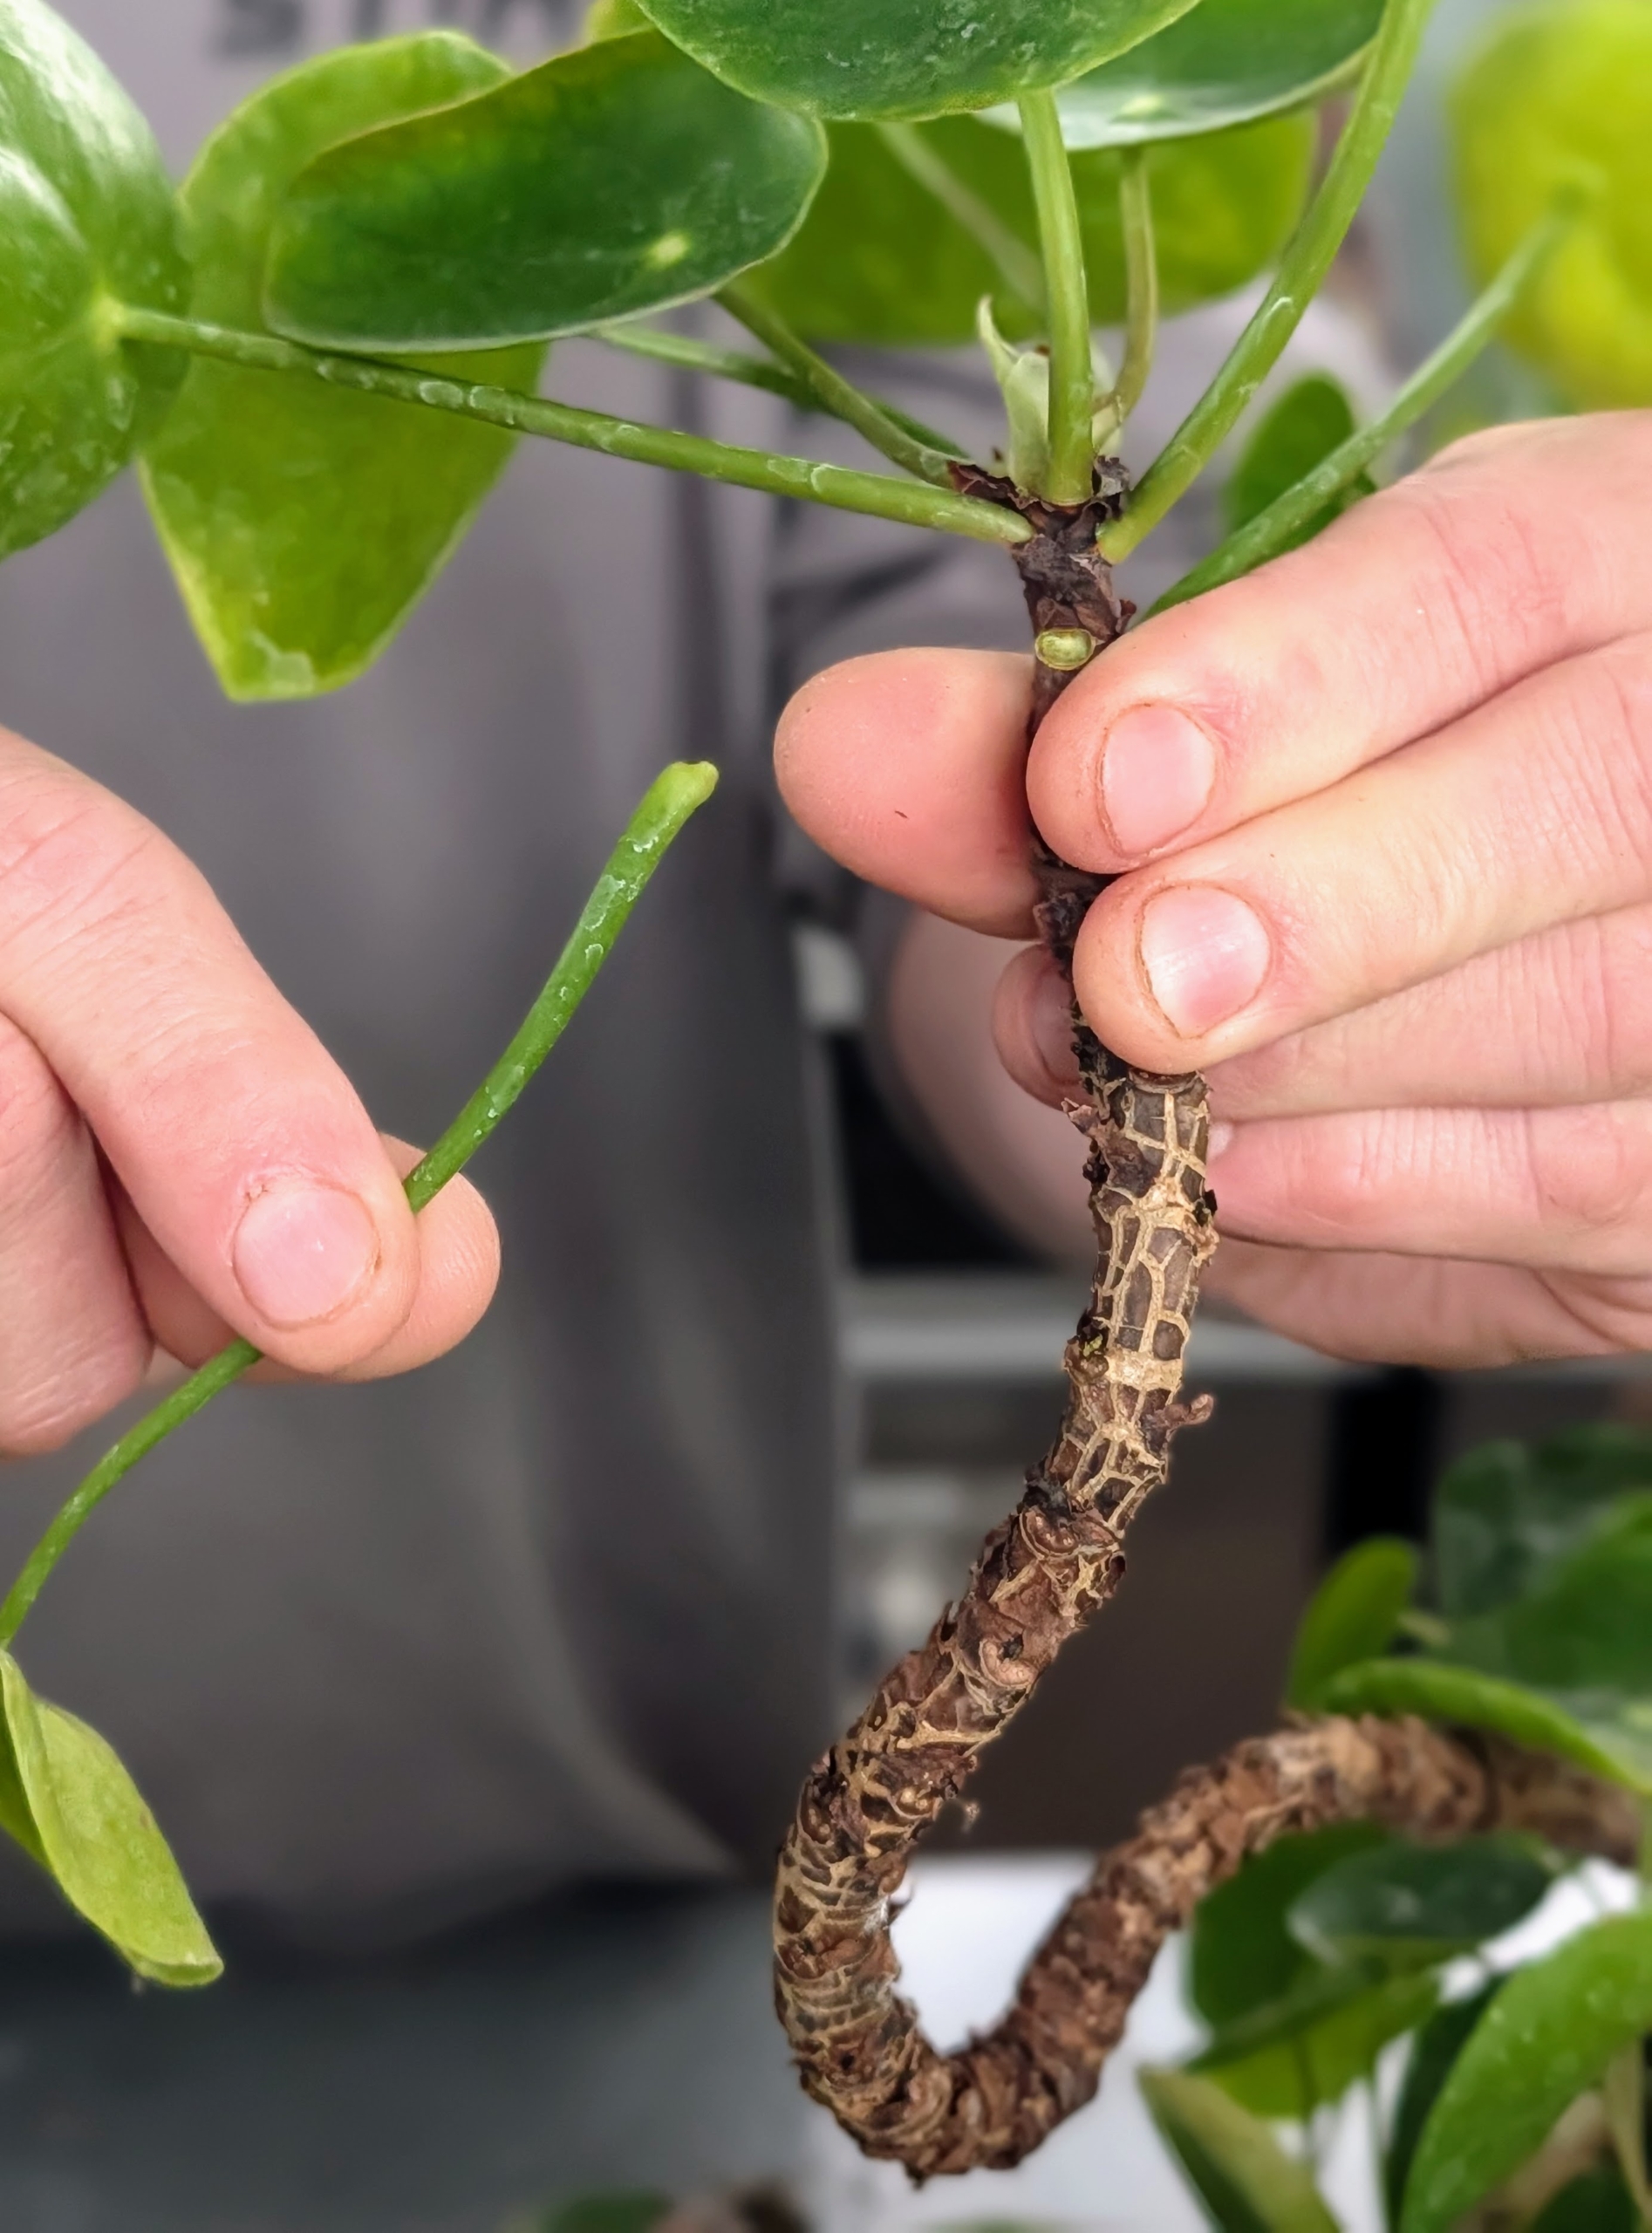
The main woody stems of Pilea peperomioides are thick with an upright growth habit. They show nodes where leaves, buds, and branches emerge, and internodes which are the spaces between these nodes.
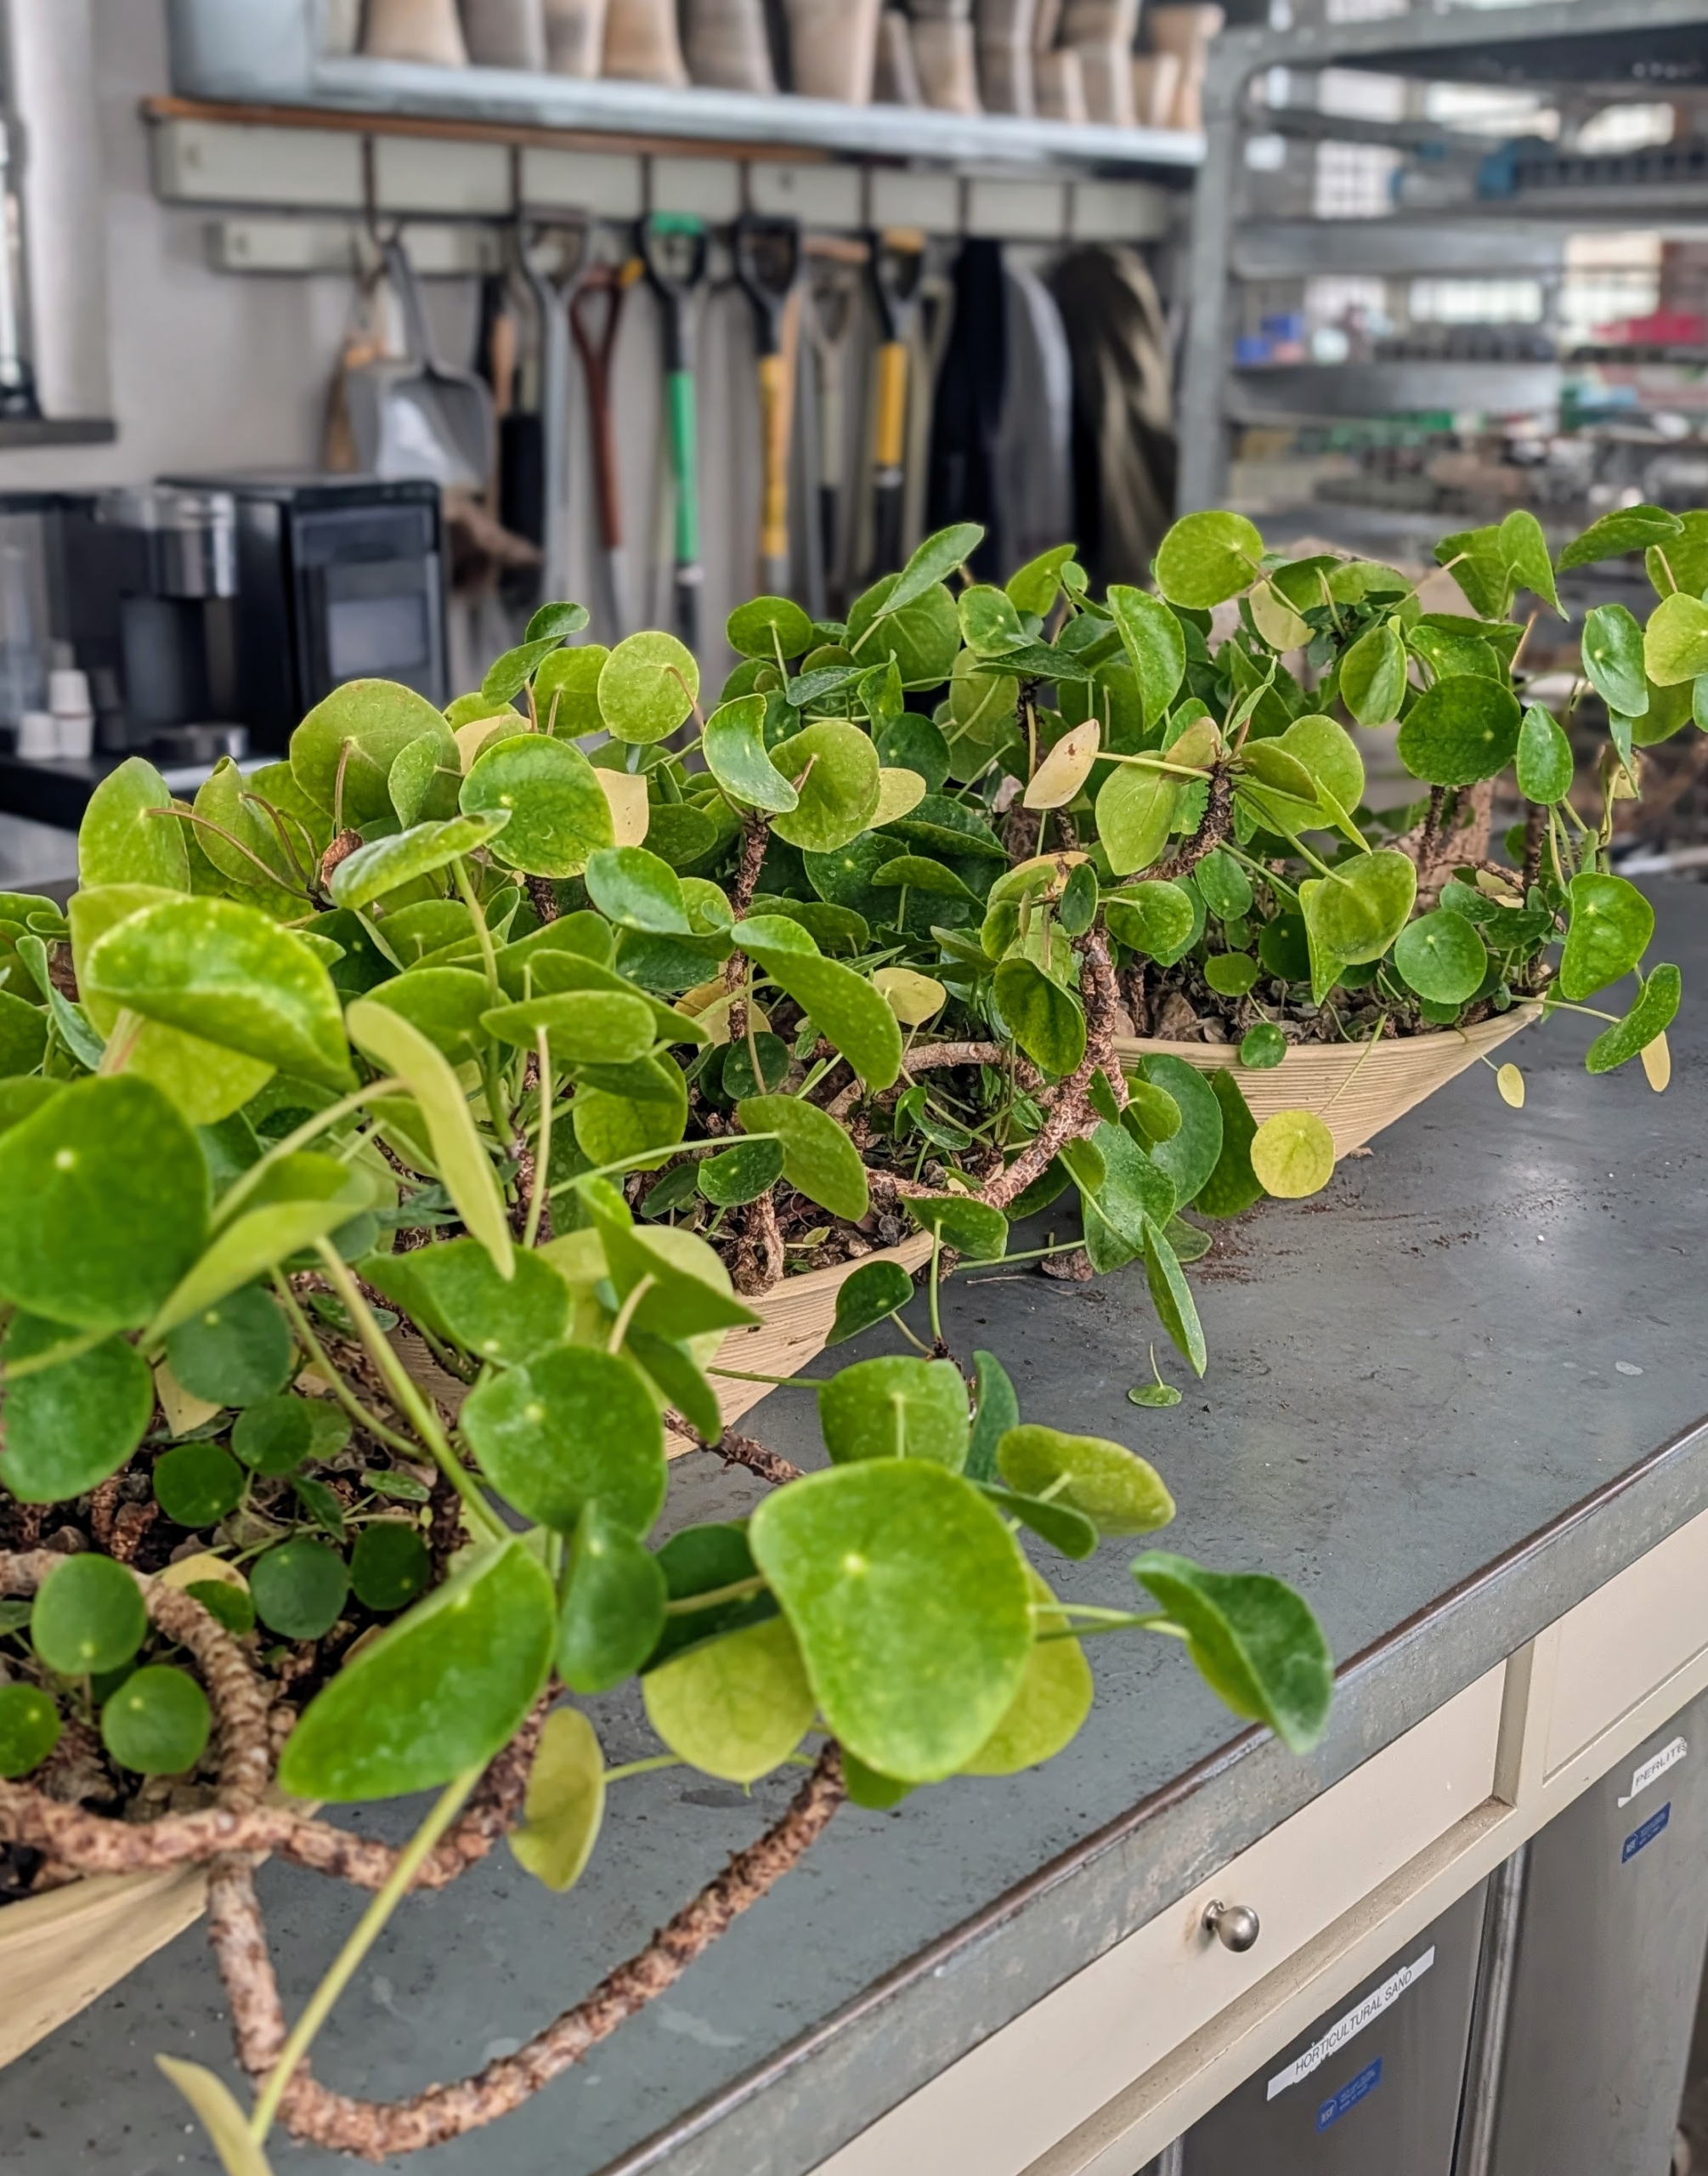
I have many Pilea peperomioides plants in my greenhouse. These plants are grown primarily for their interesting foliage and easy-to-care-for nature. With proper lighting, it can also double in size within a year. These plants were potted up a few years ago and need repotting to give the plants more room to thrive.
Ryan inspects the plant and removes any dead or yellowing leaves.
Removing leaves is easy – just snap off close to the main stem.
The leaf and stem will quickly disconnect from the plant.
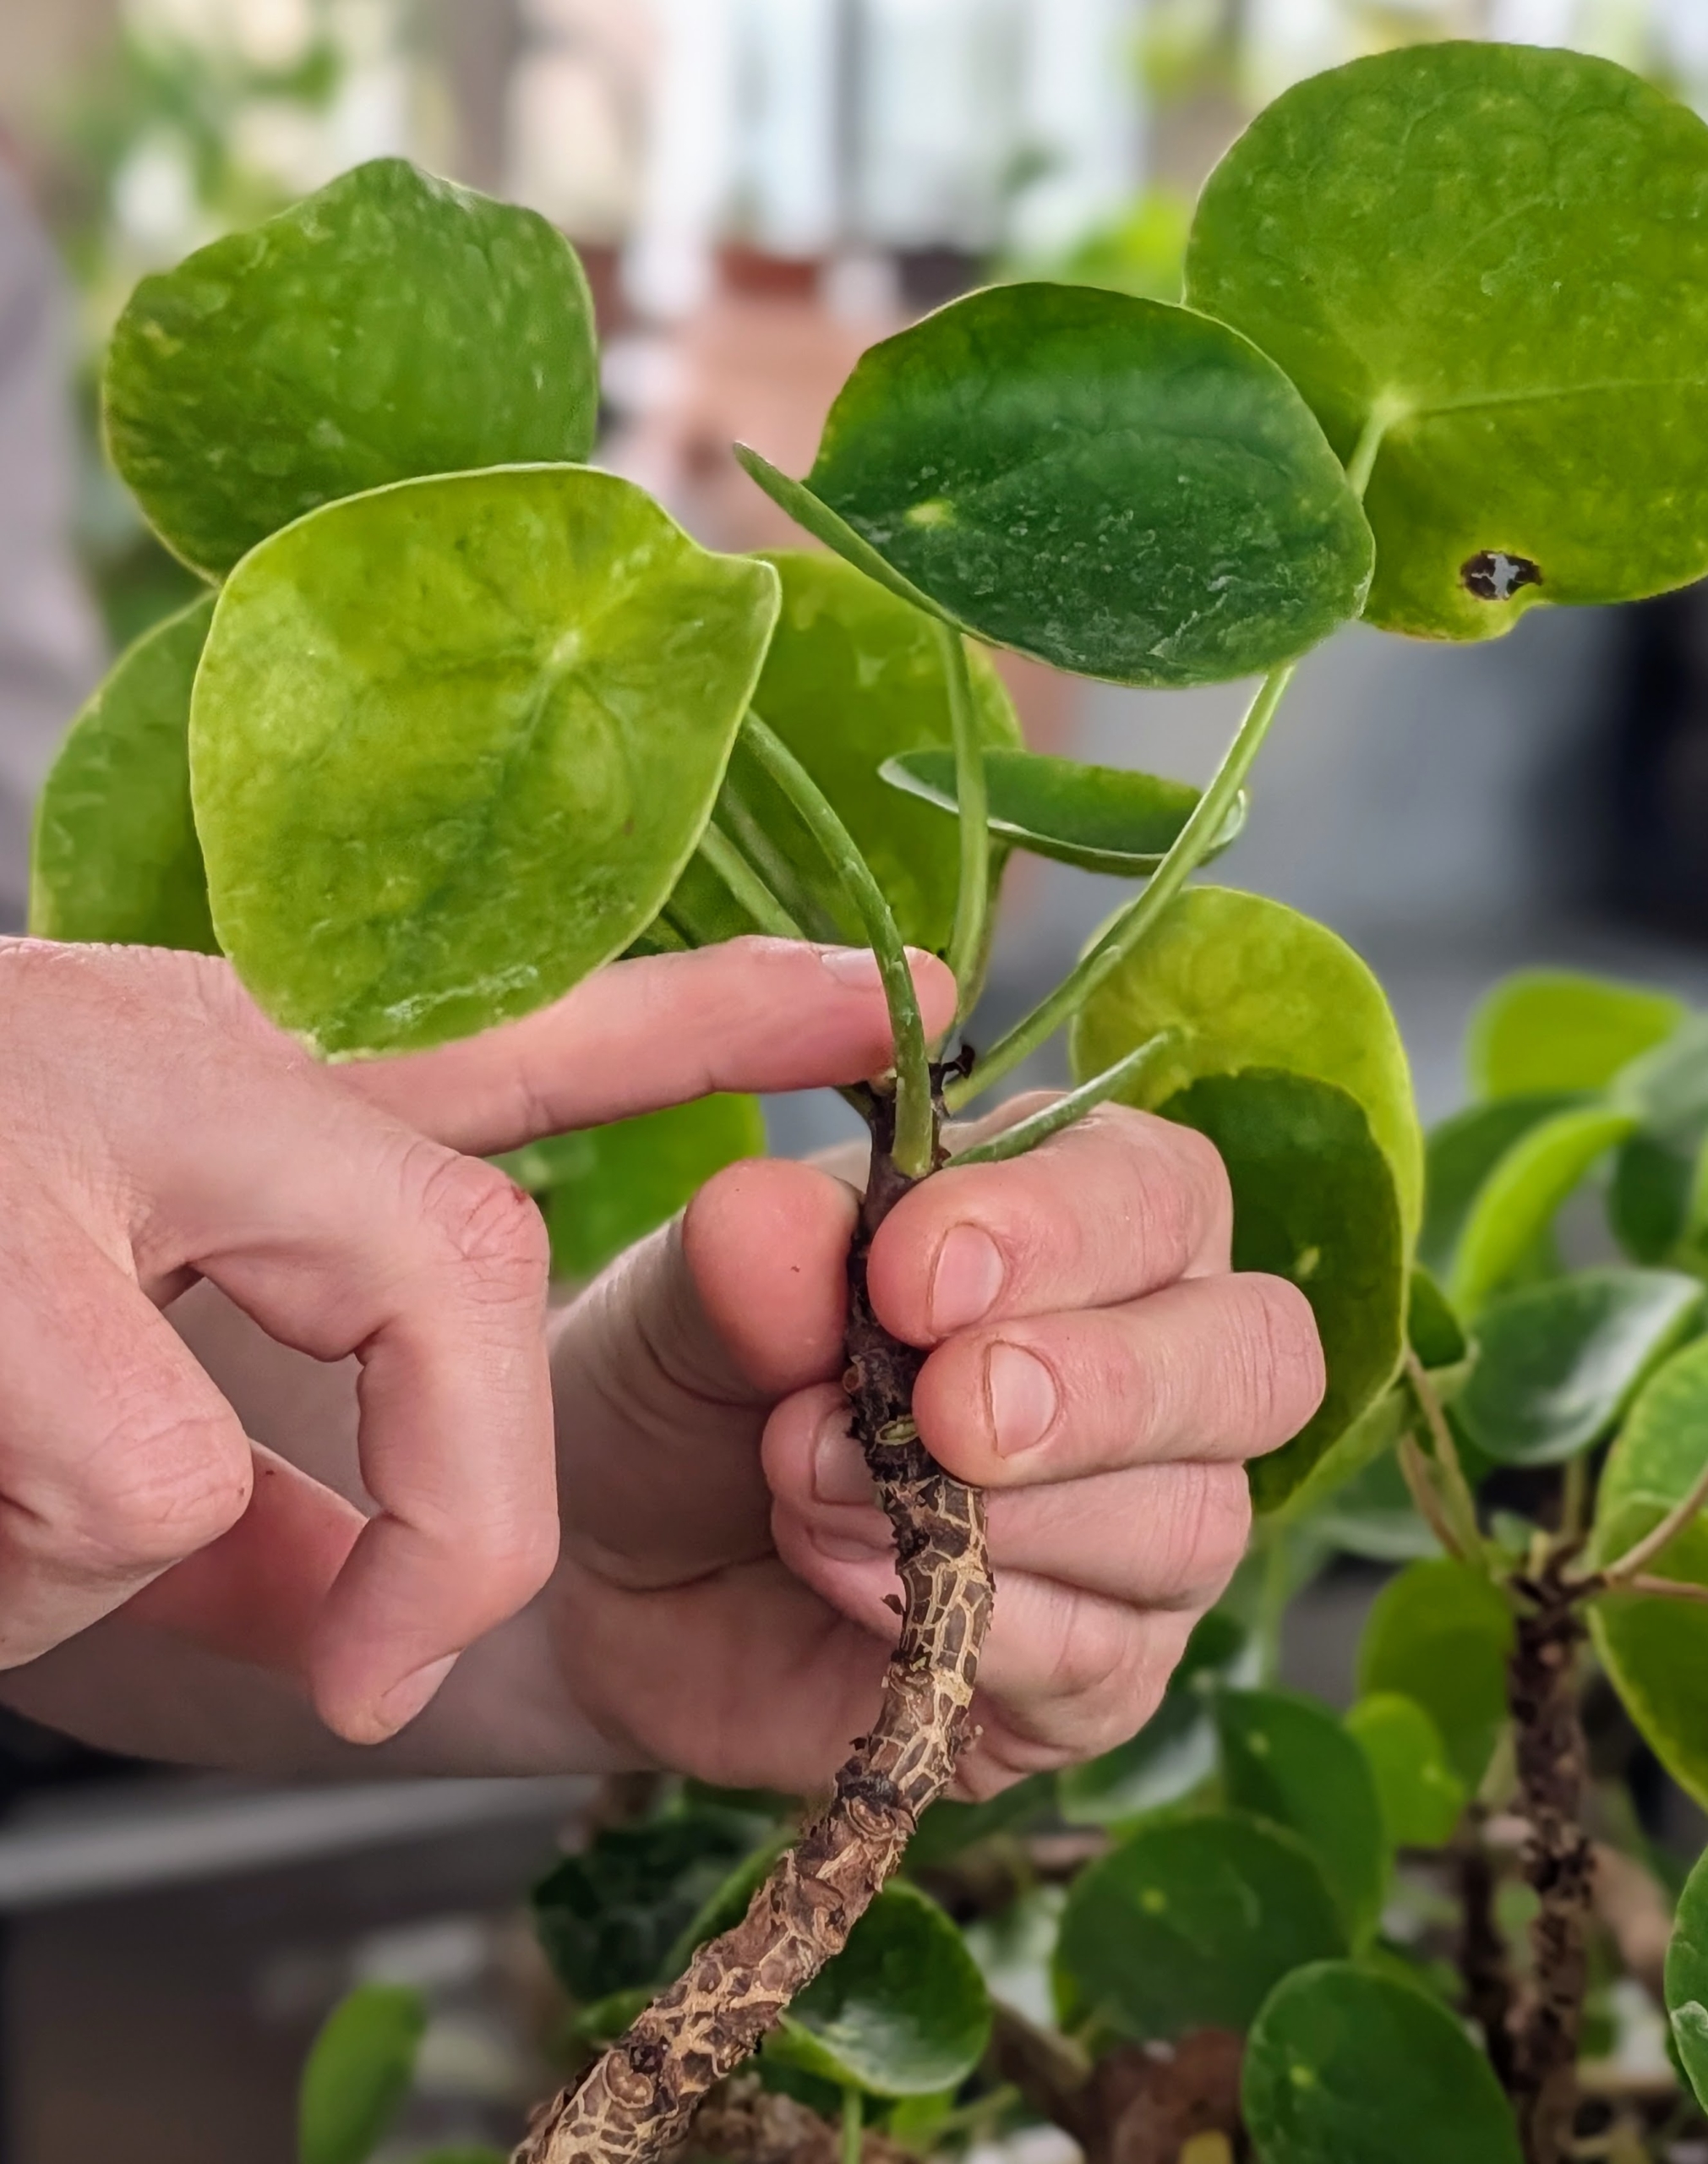
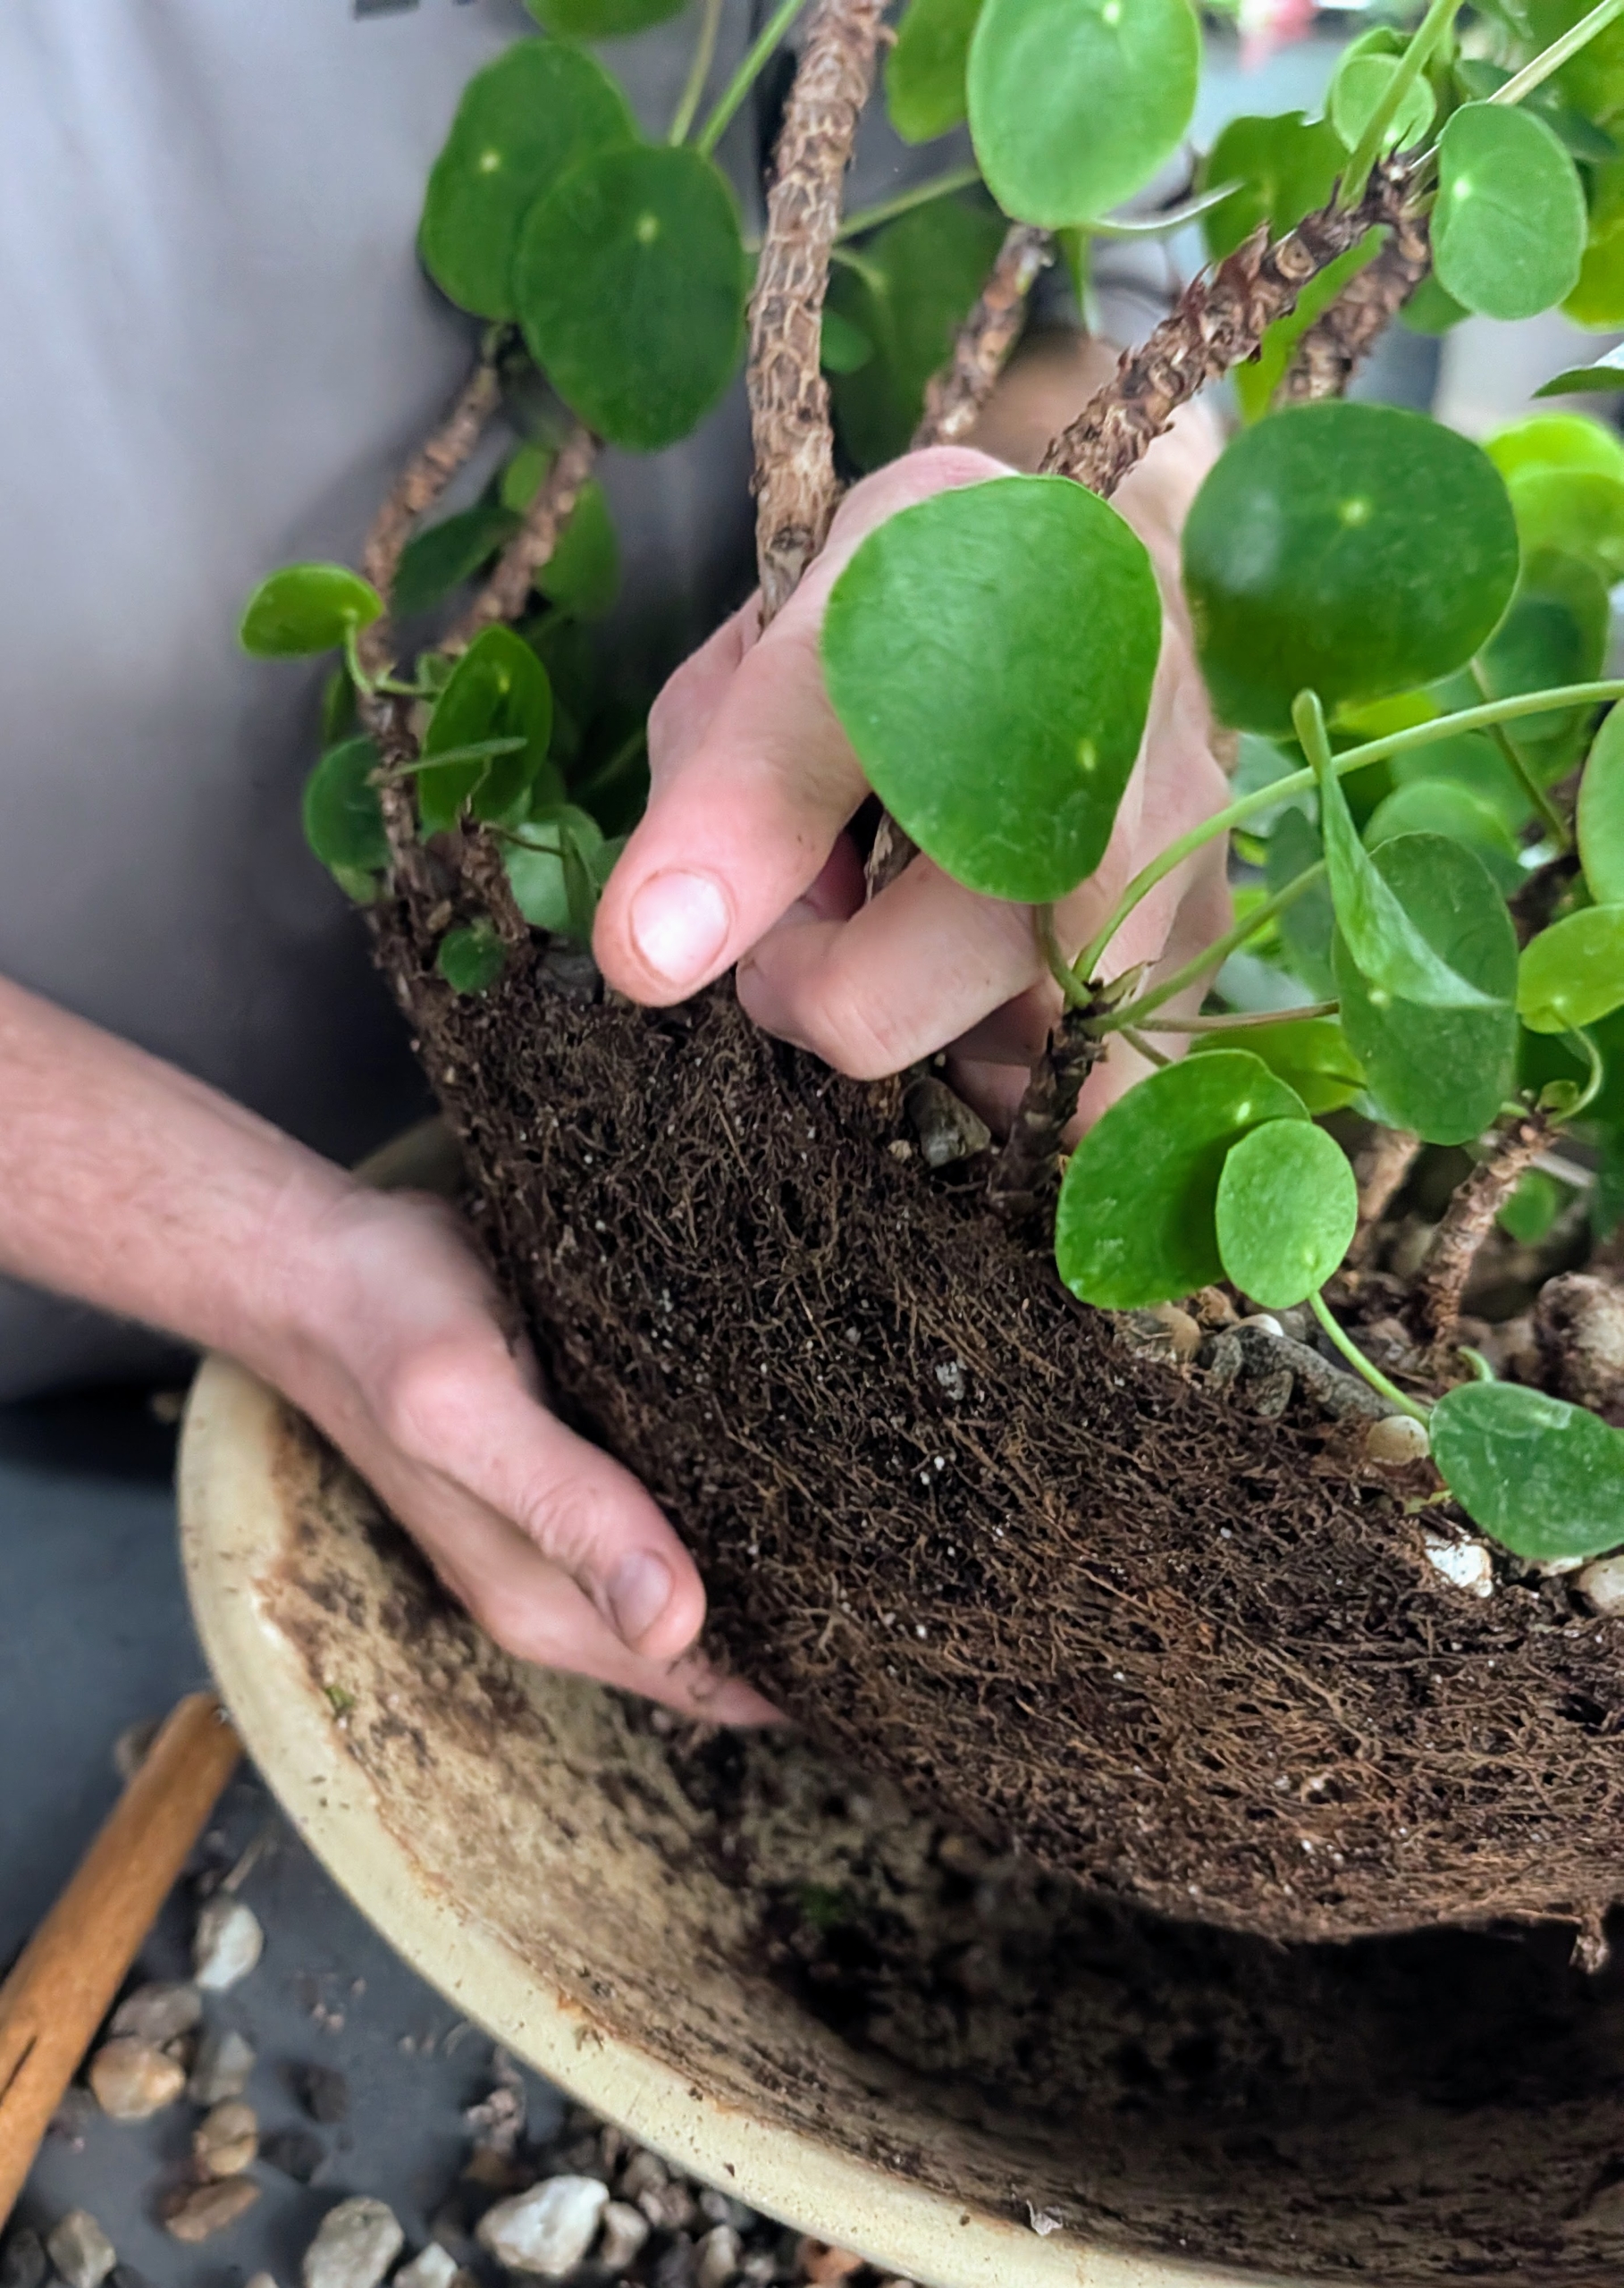
Next, Ryan carefully removes the plant from the pot.
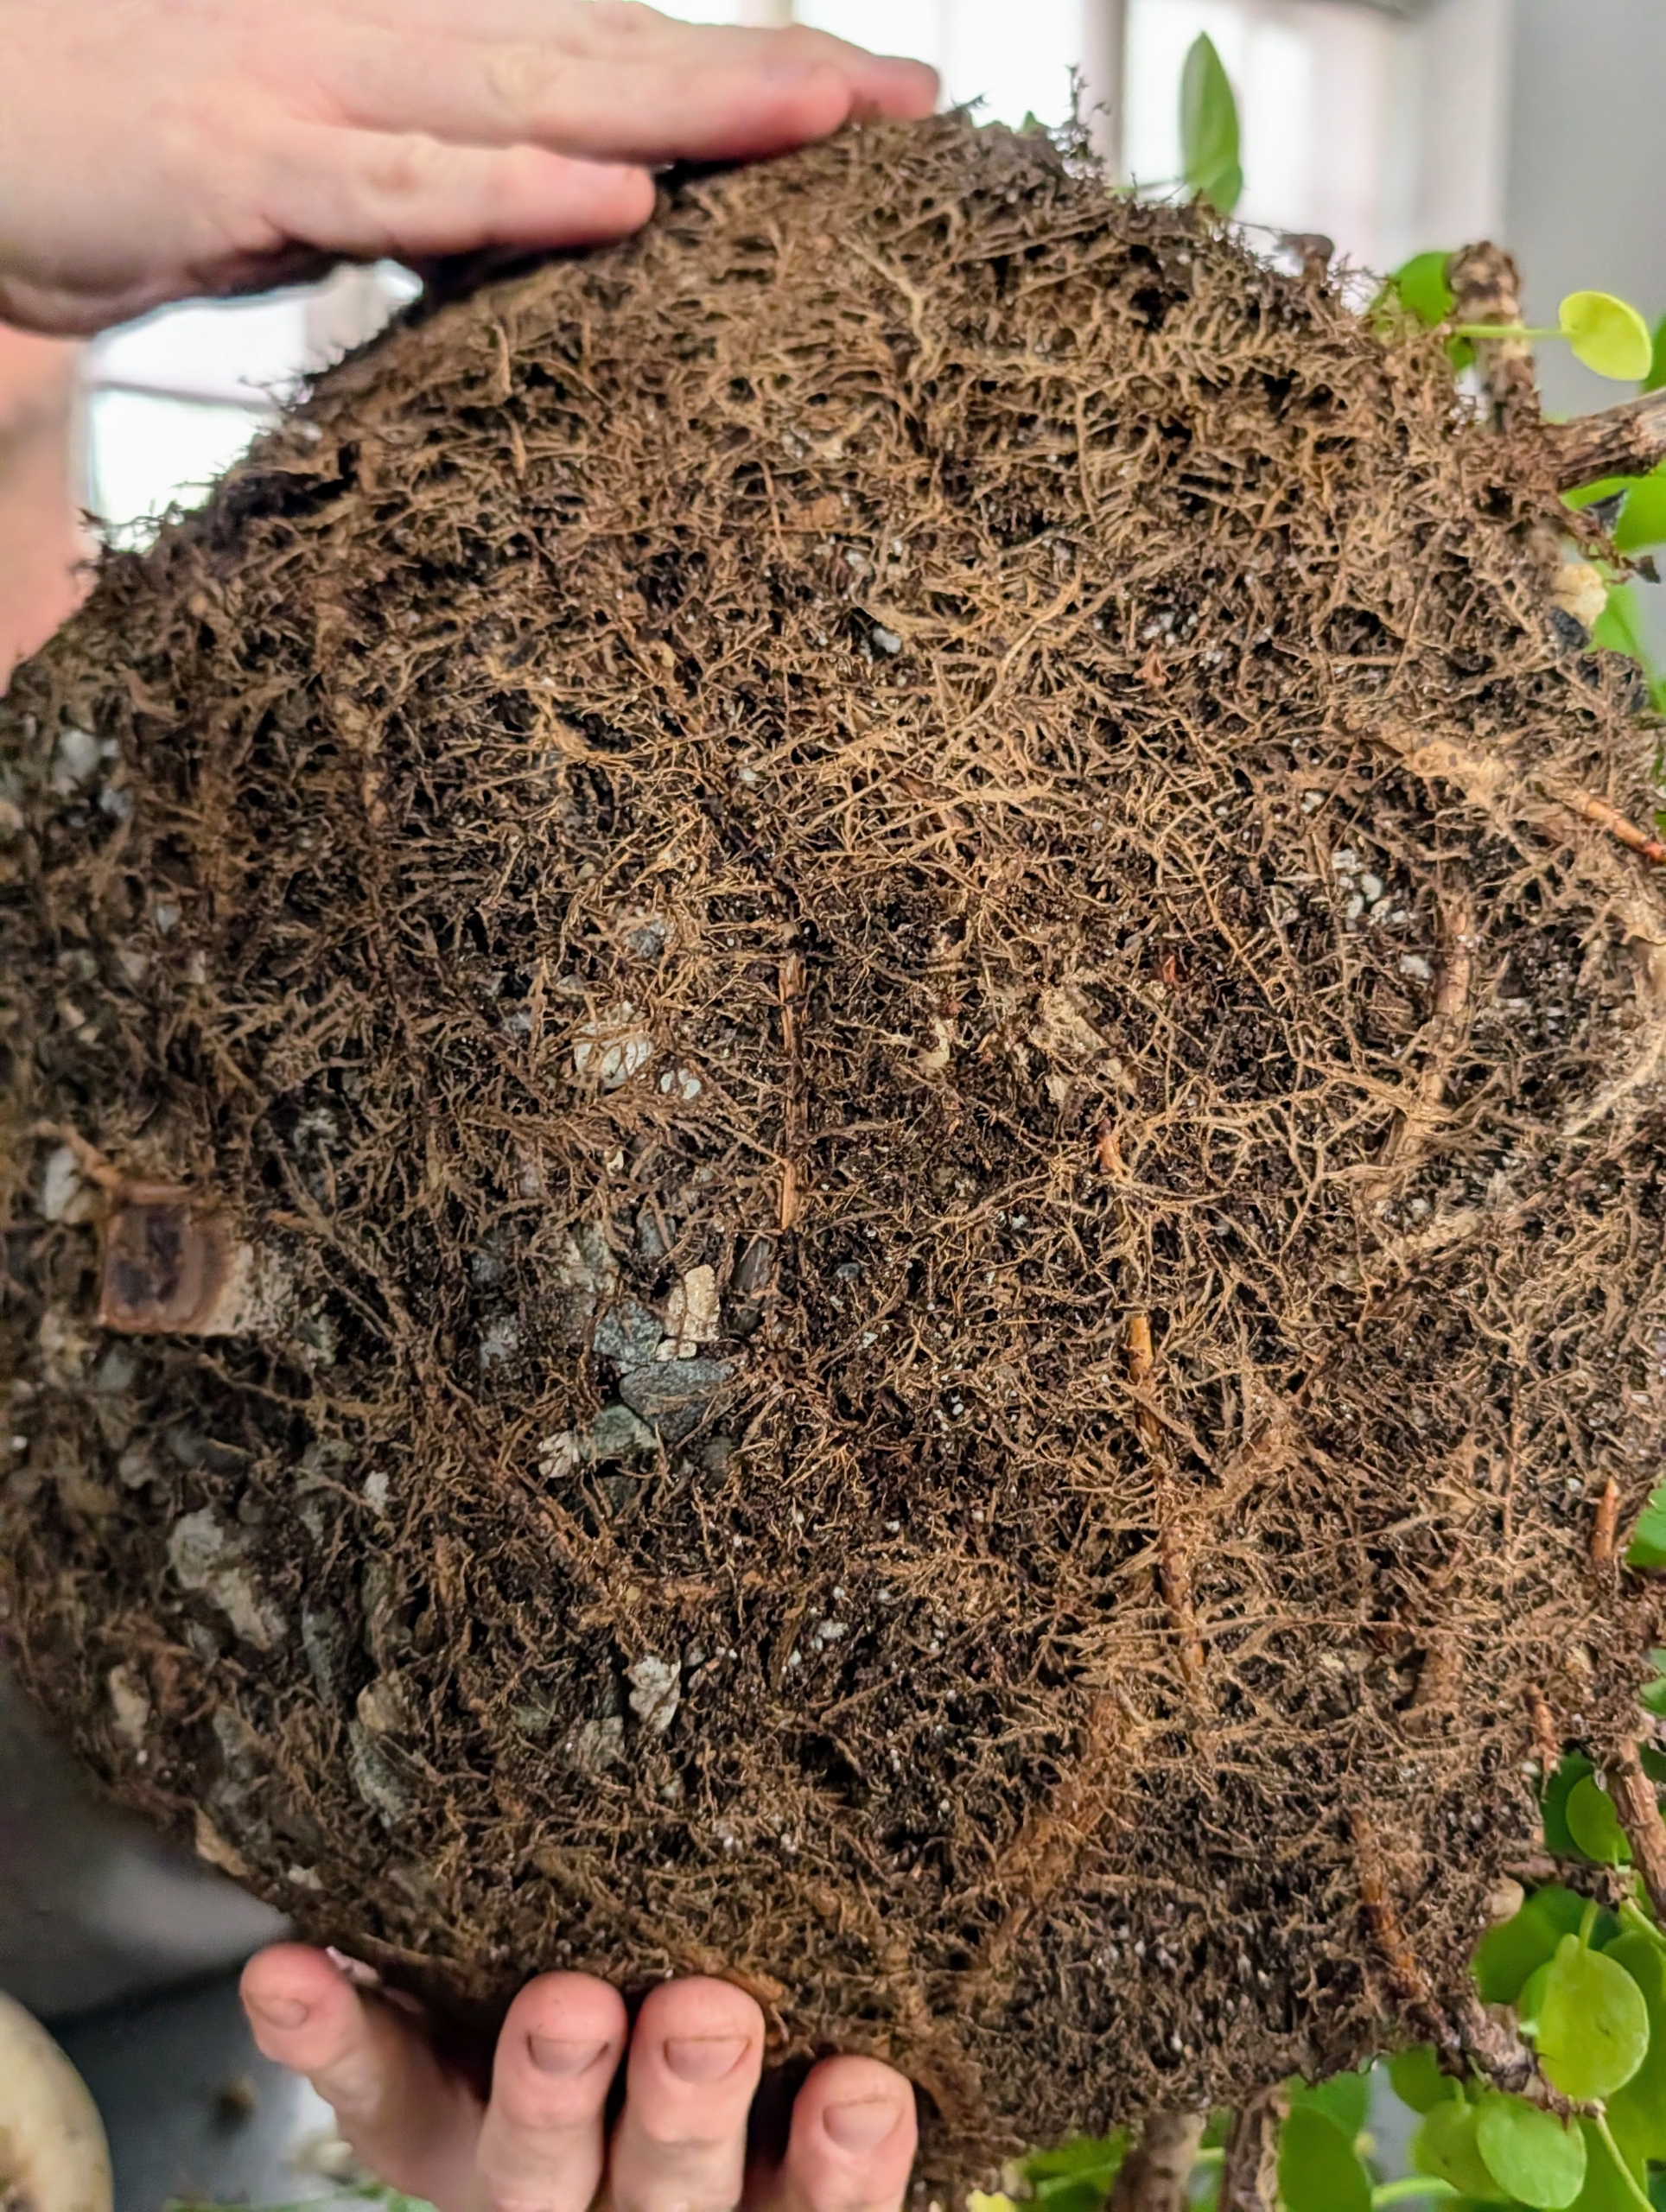
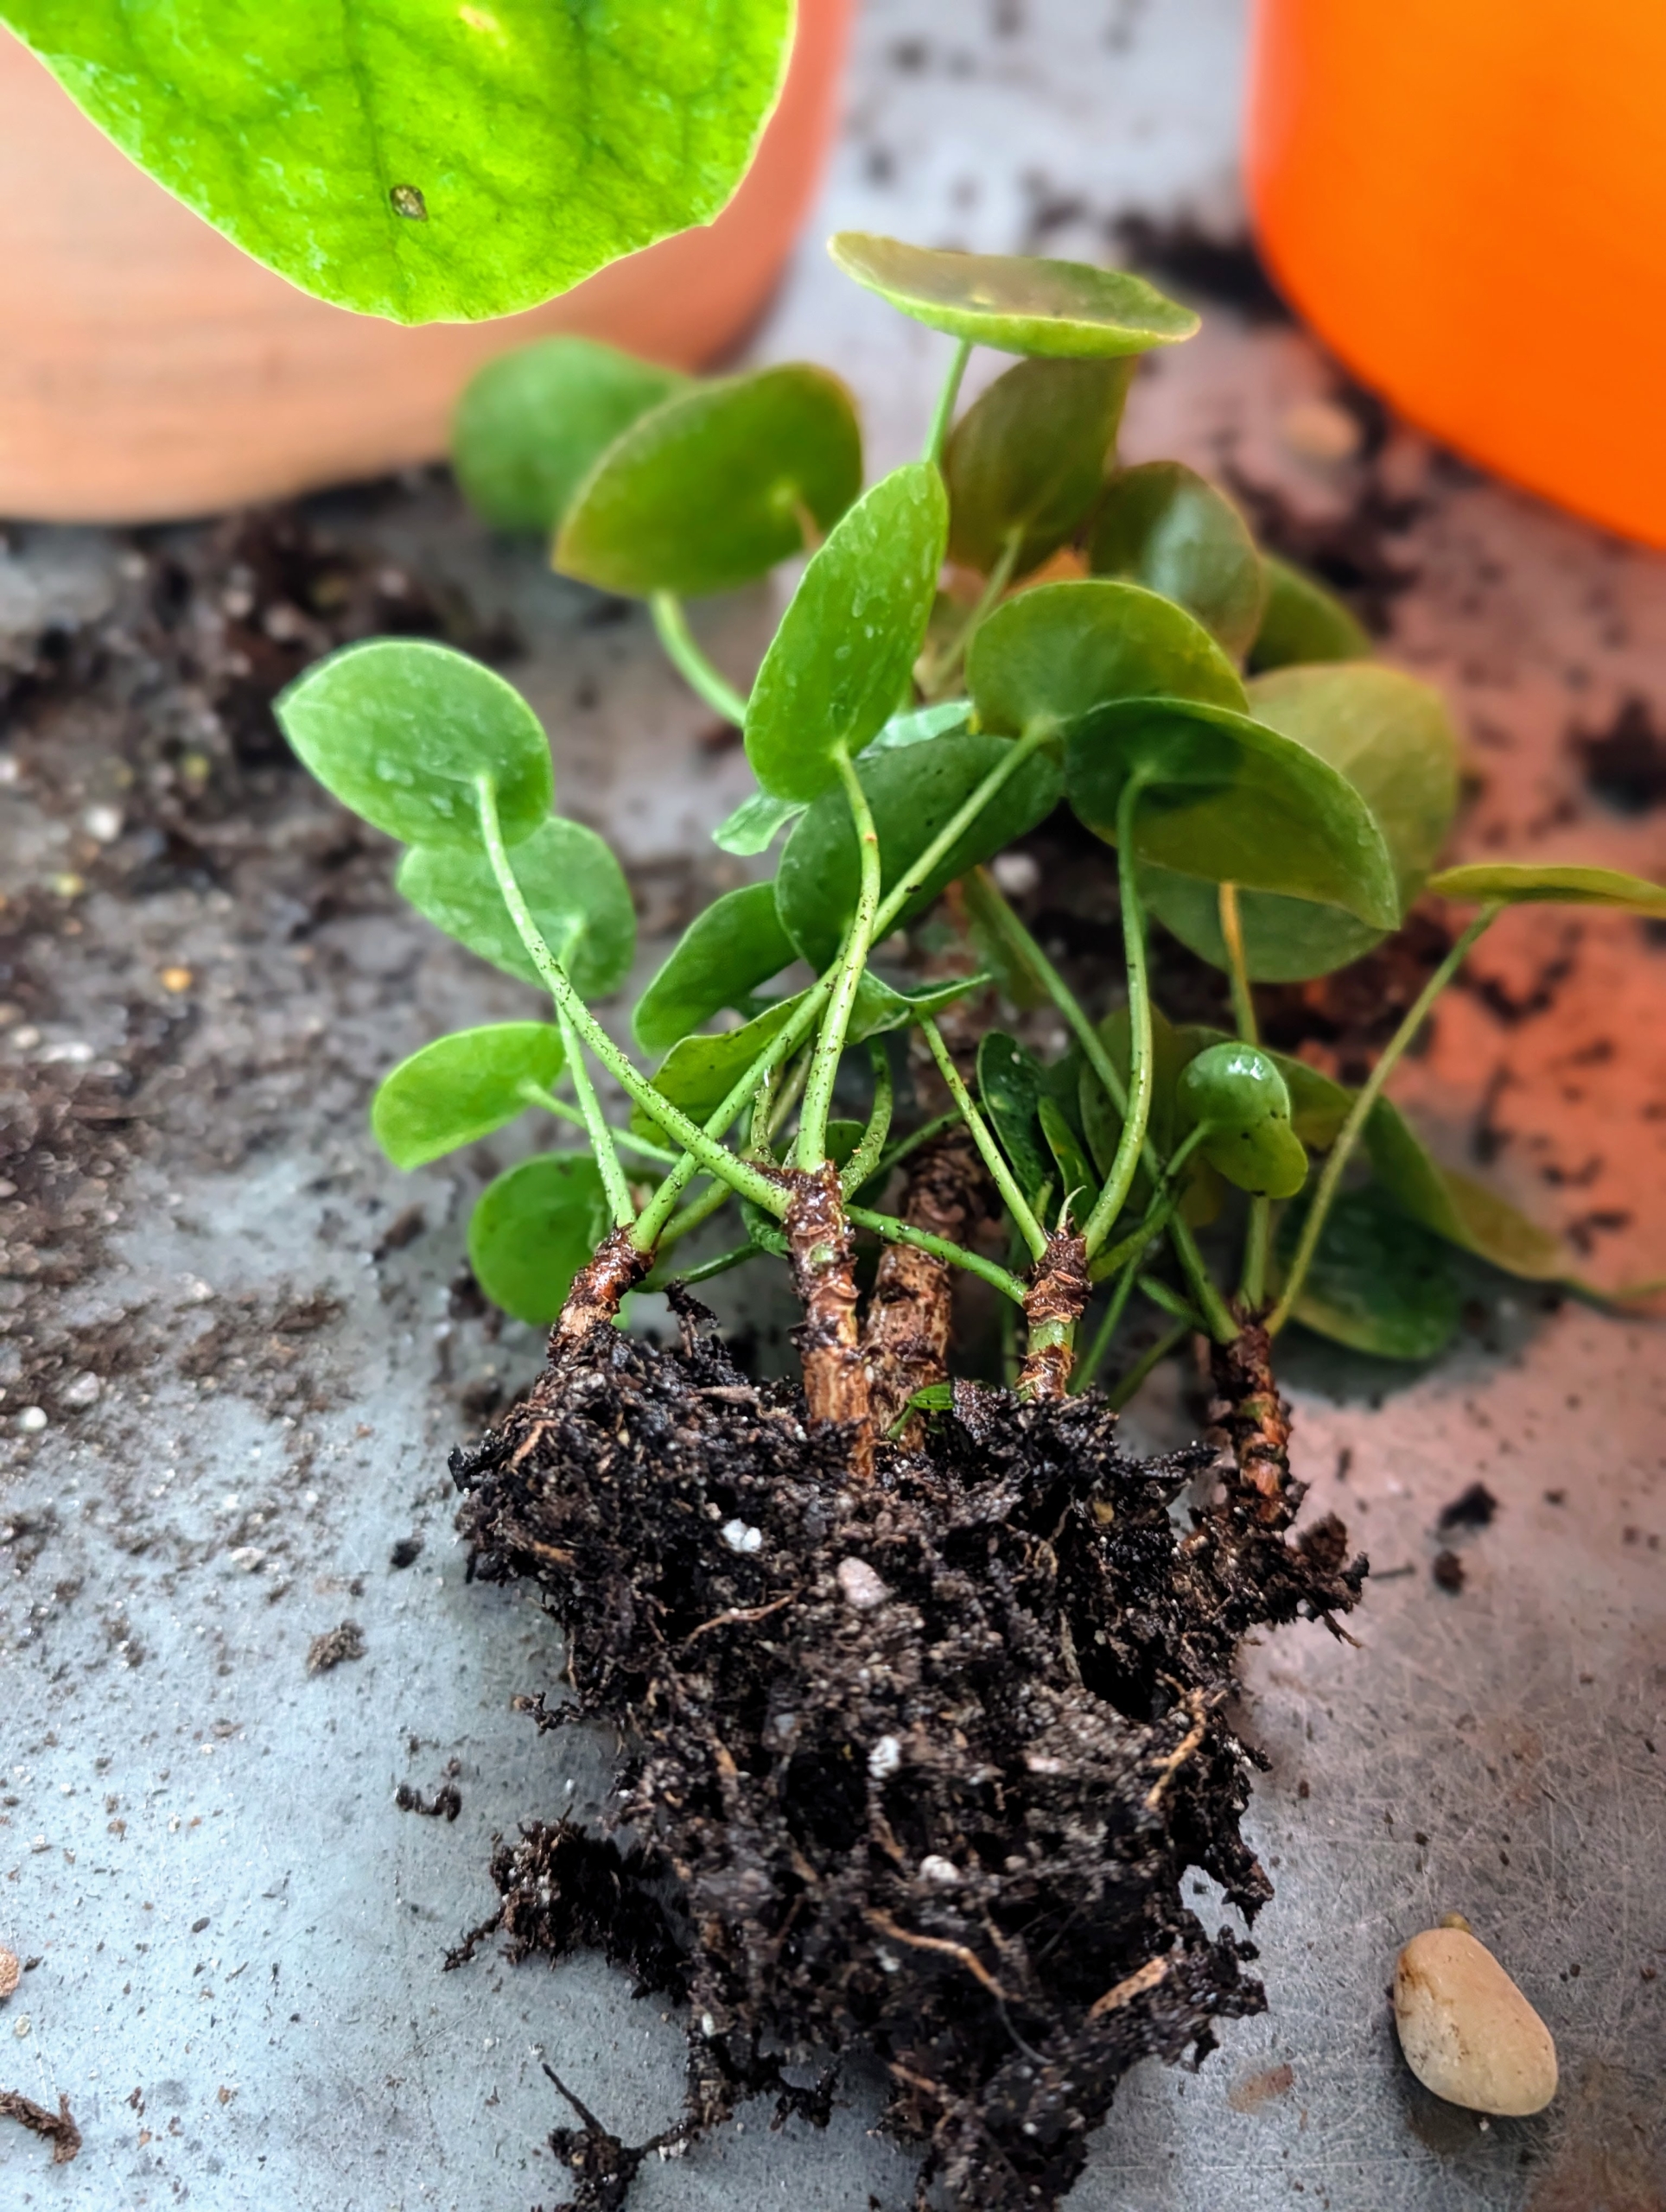
Look at all the roots surrounding the root ball. When roots become tightly packed and confined within the container, it is called root bound – a condition that hinders the plant’s ability to grow and expand.
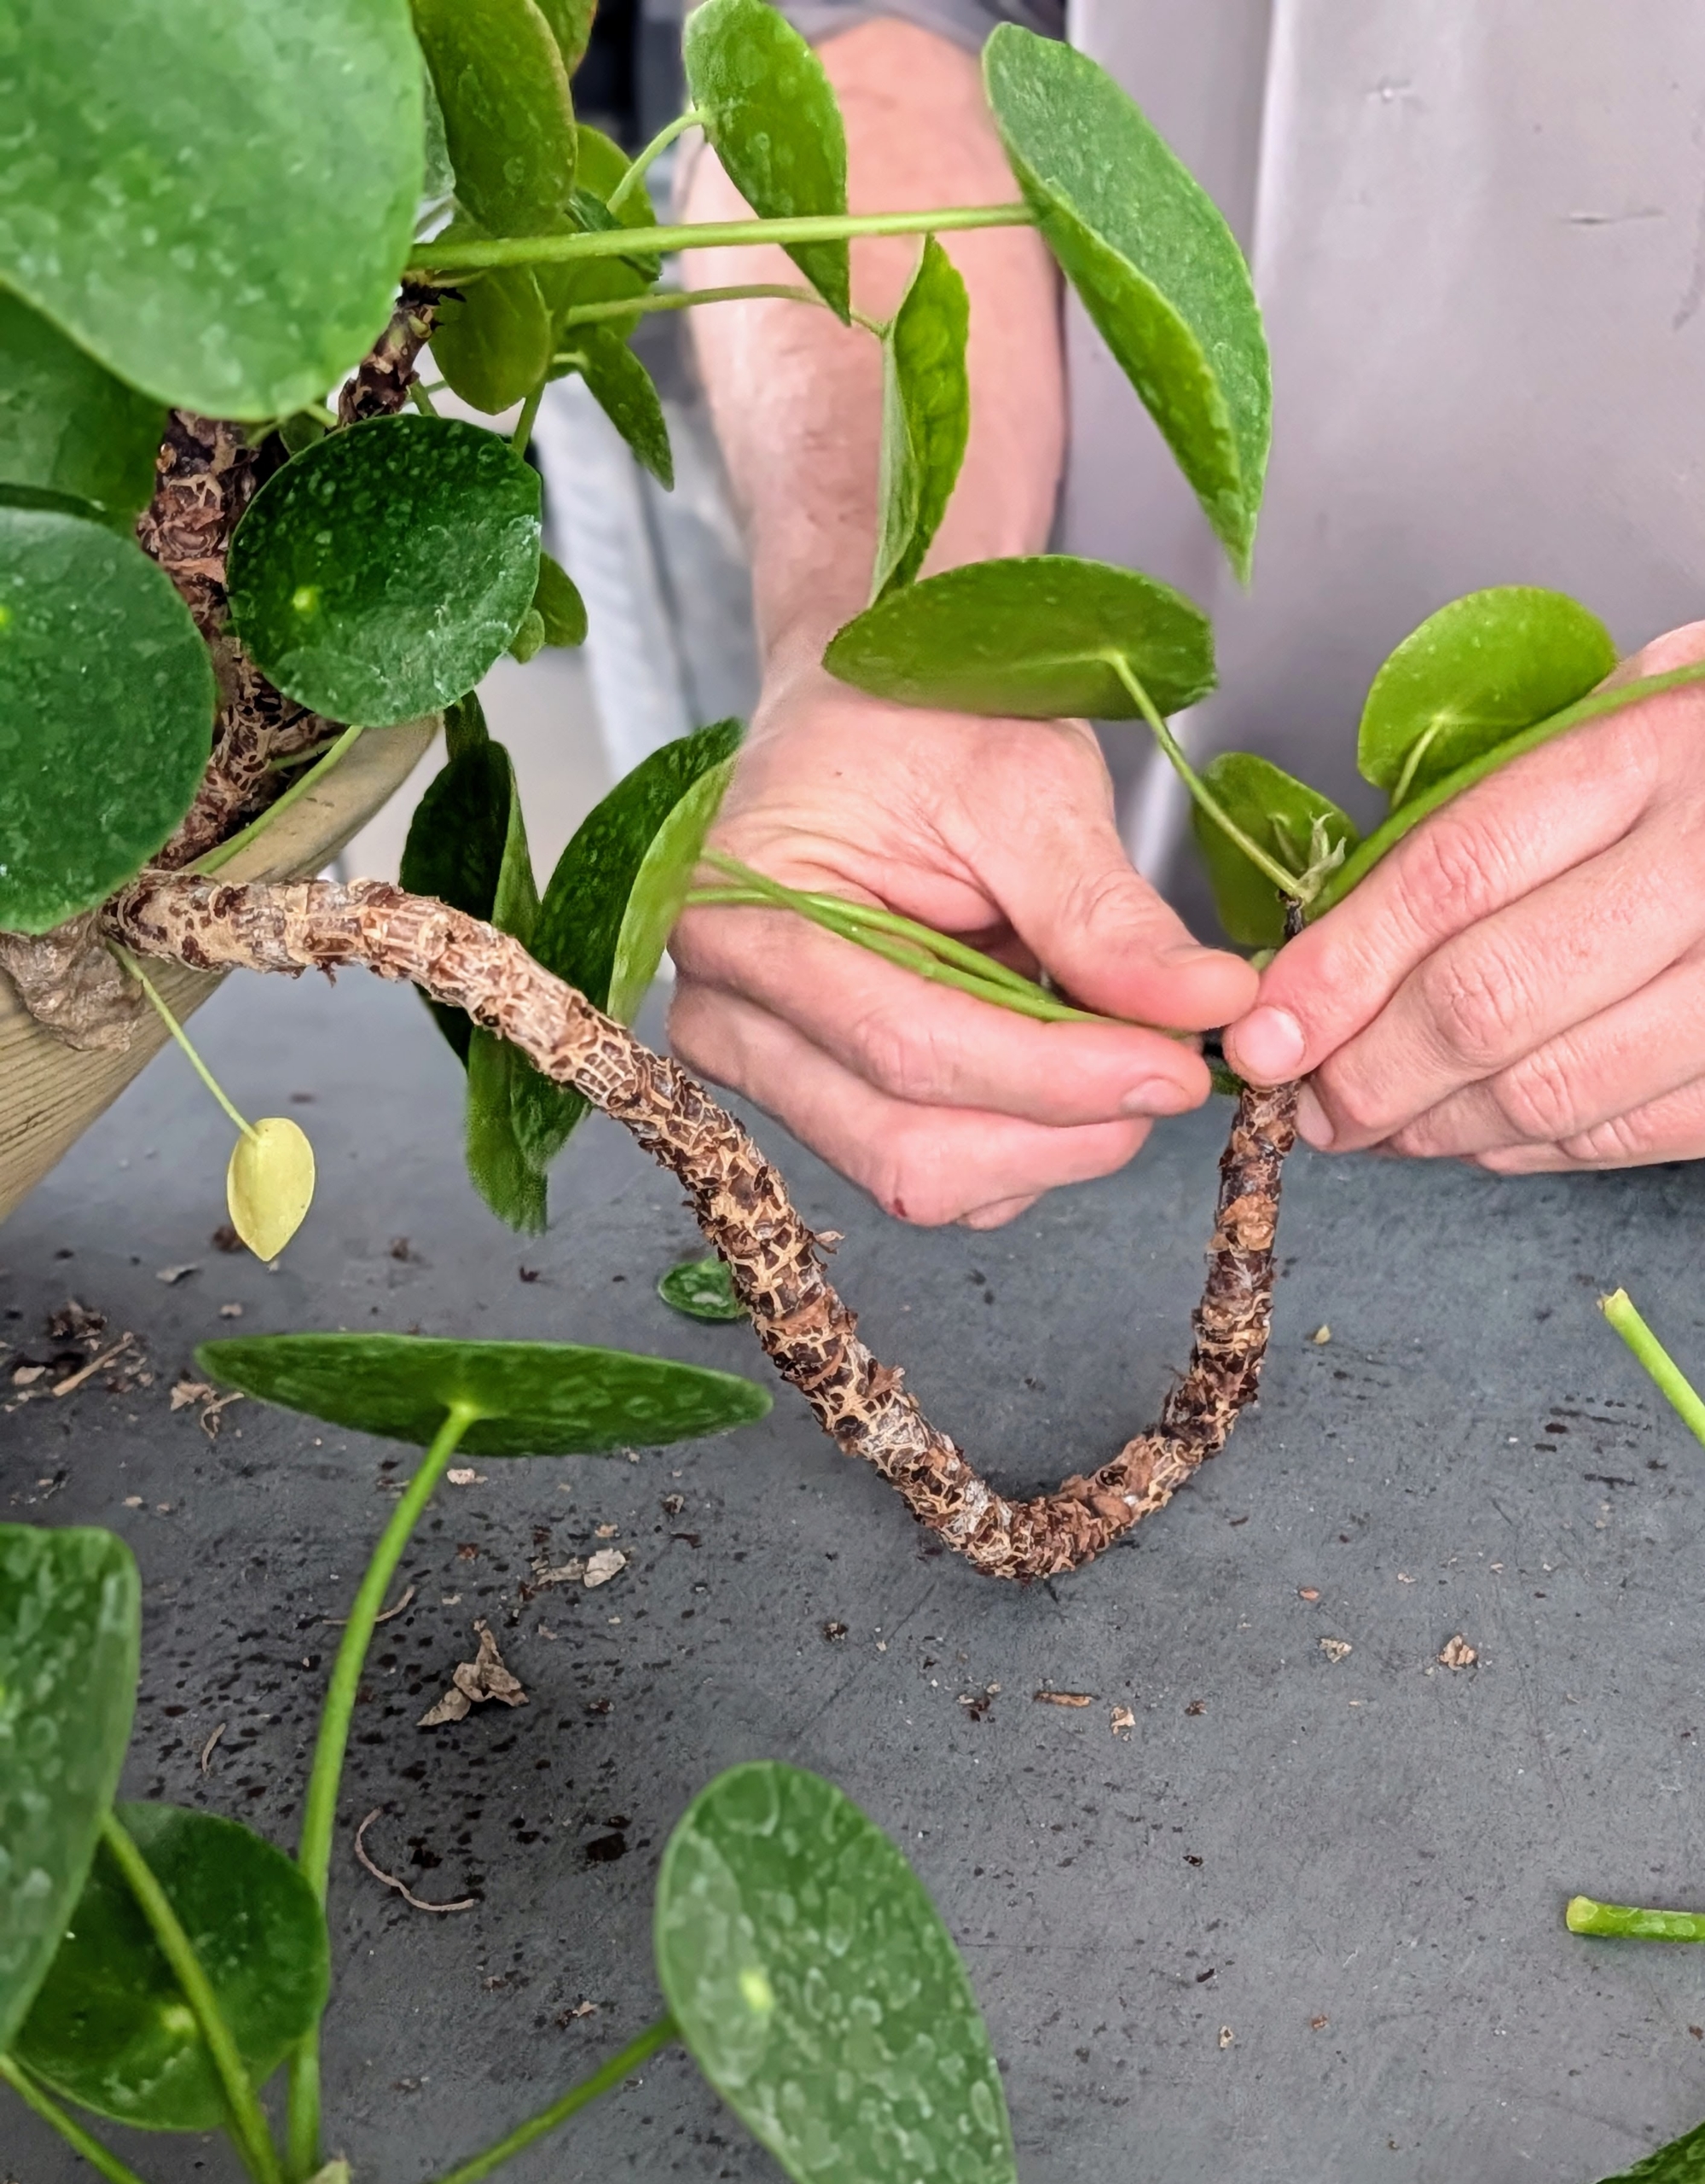
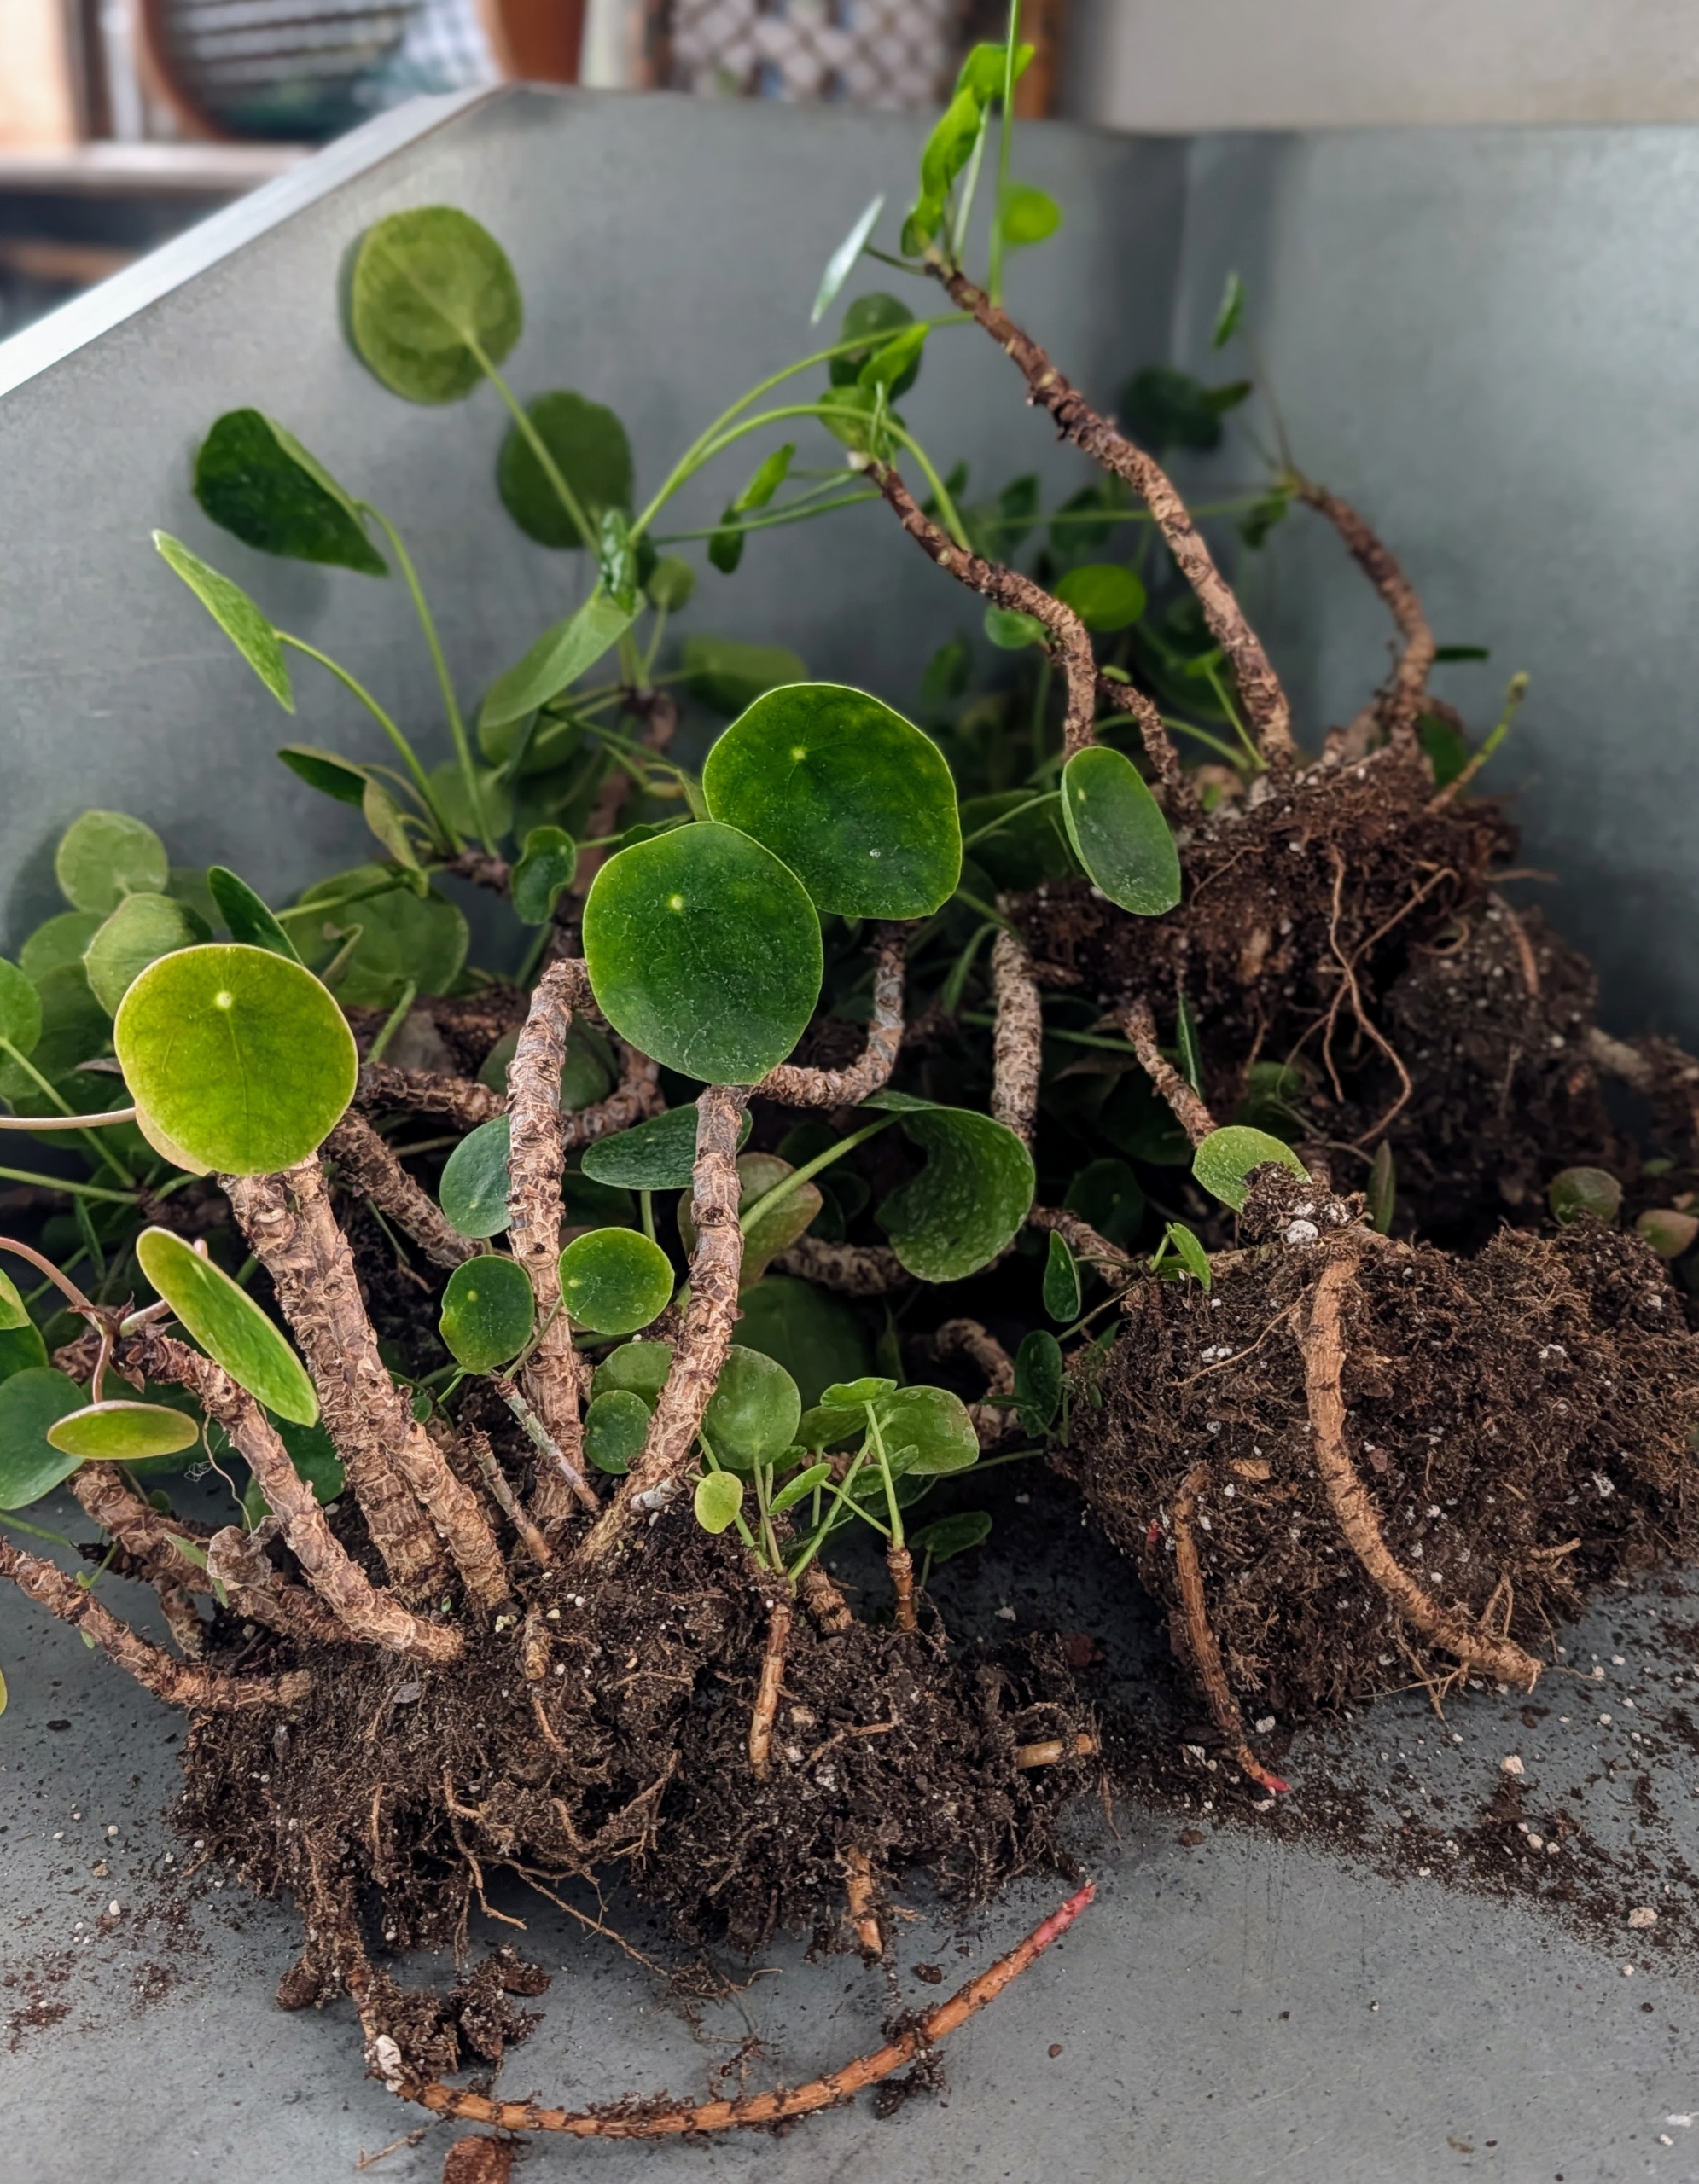
Ryan divides the plants so they could be repotted. This is a good time to check for any signs of disease, rot, or pest infestation.
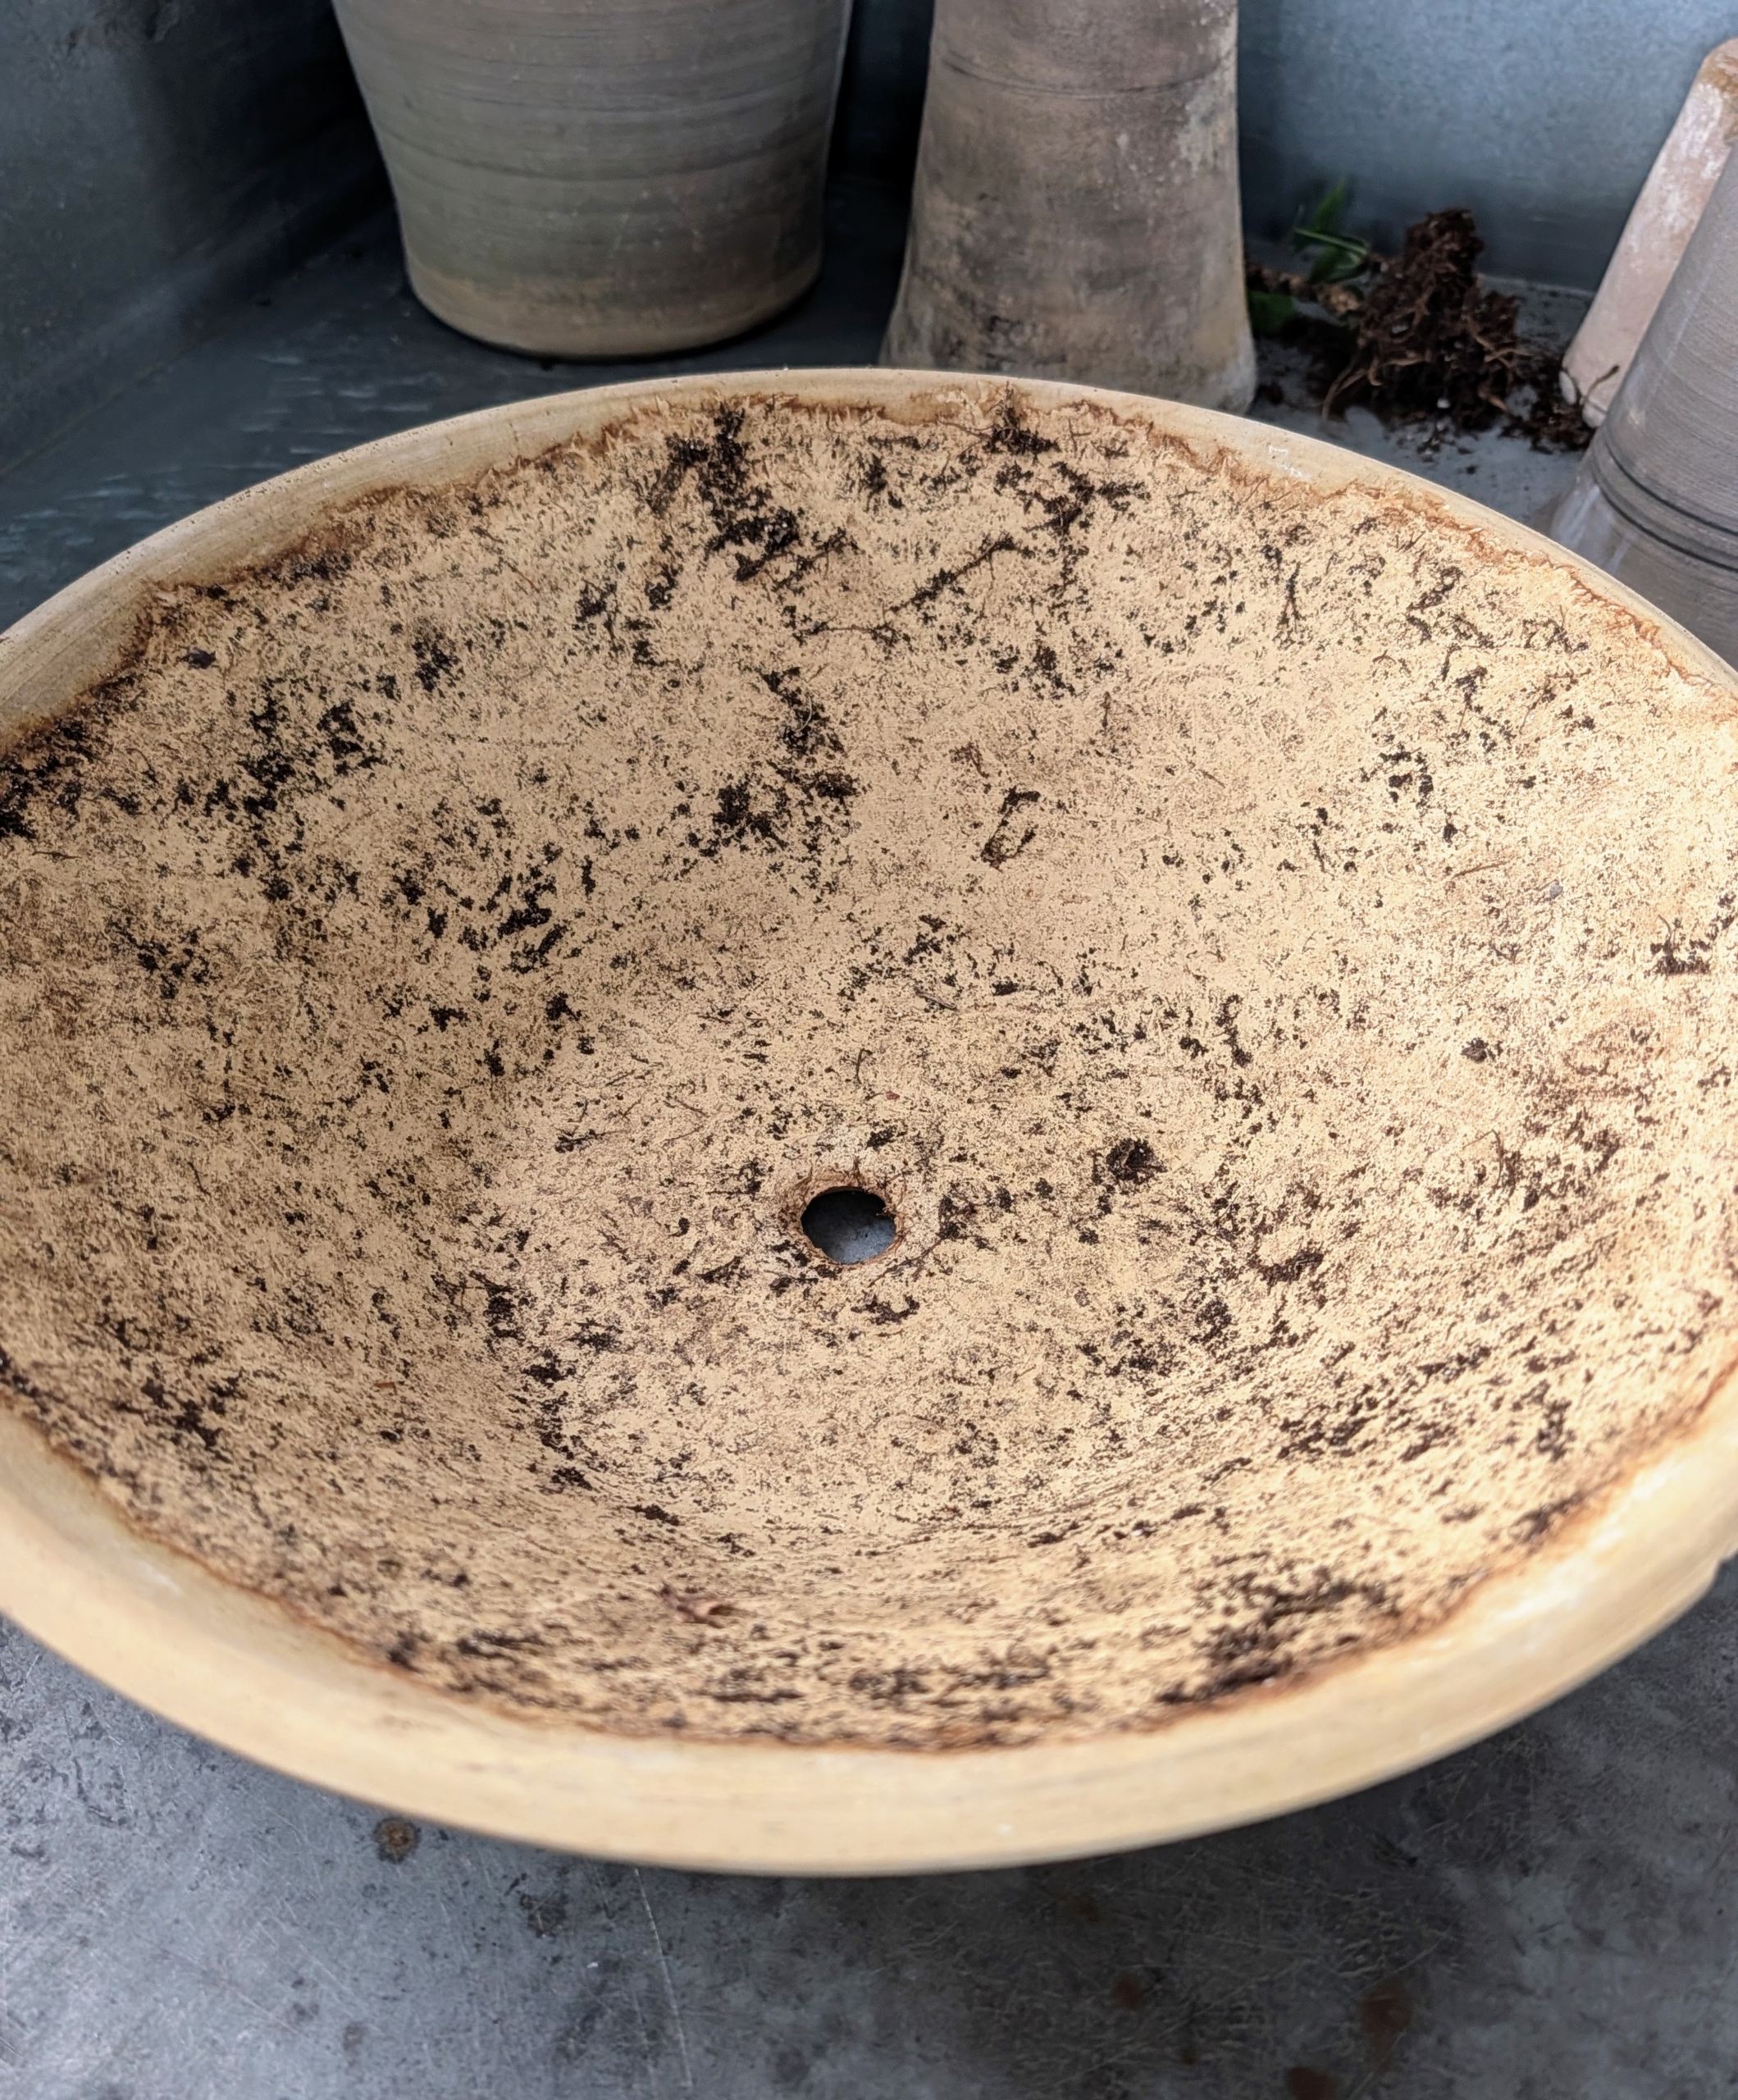
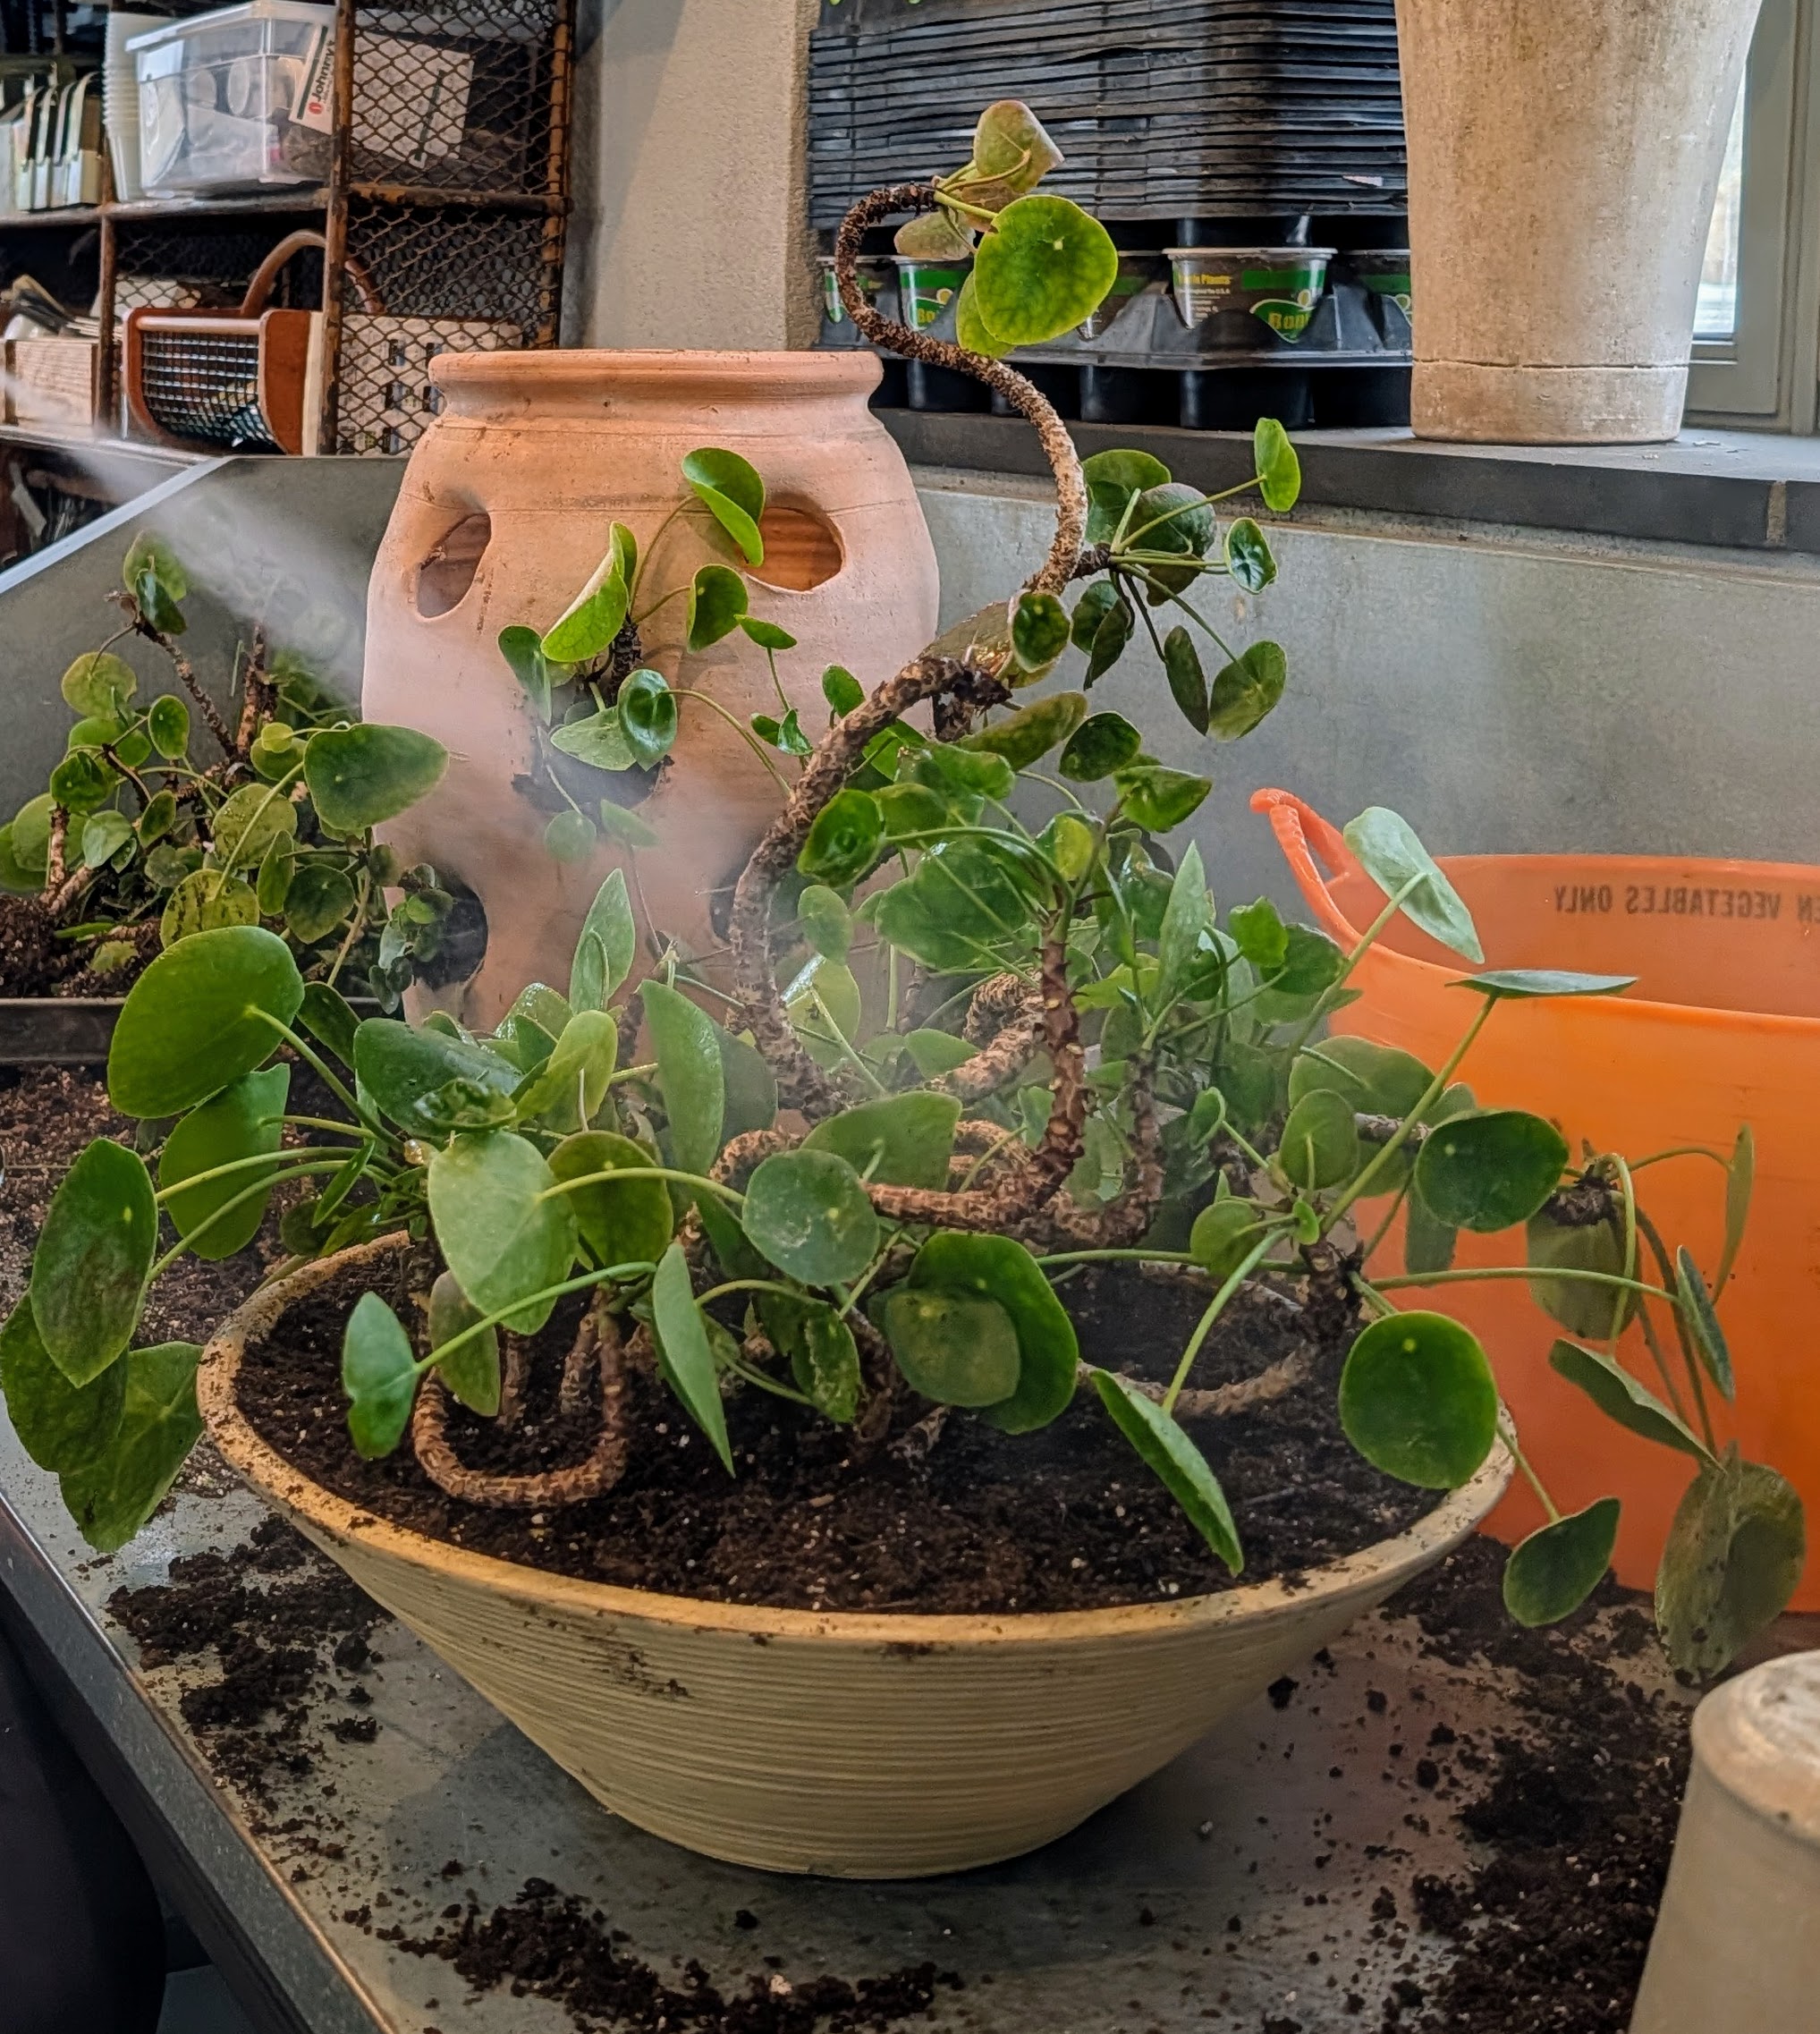
Some of the money plants will be repotted in the same vessel, but with much more room to grow.
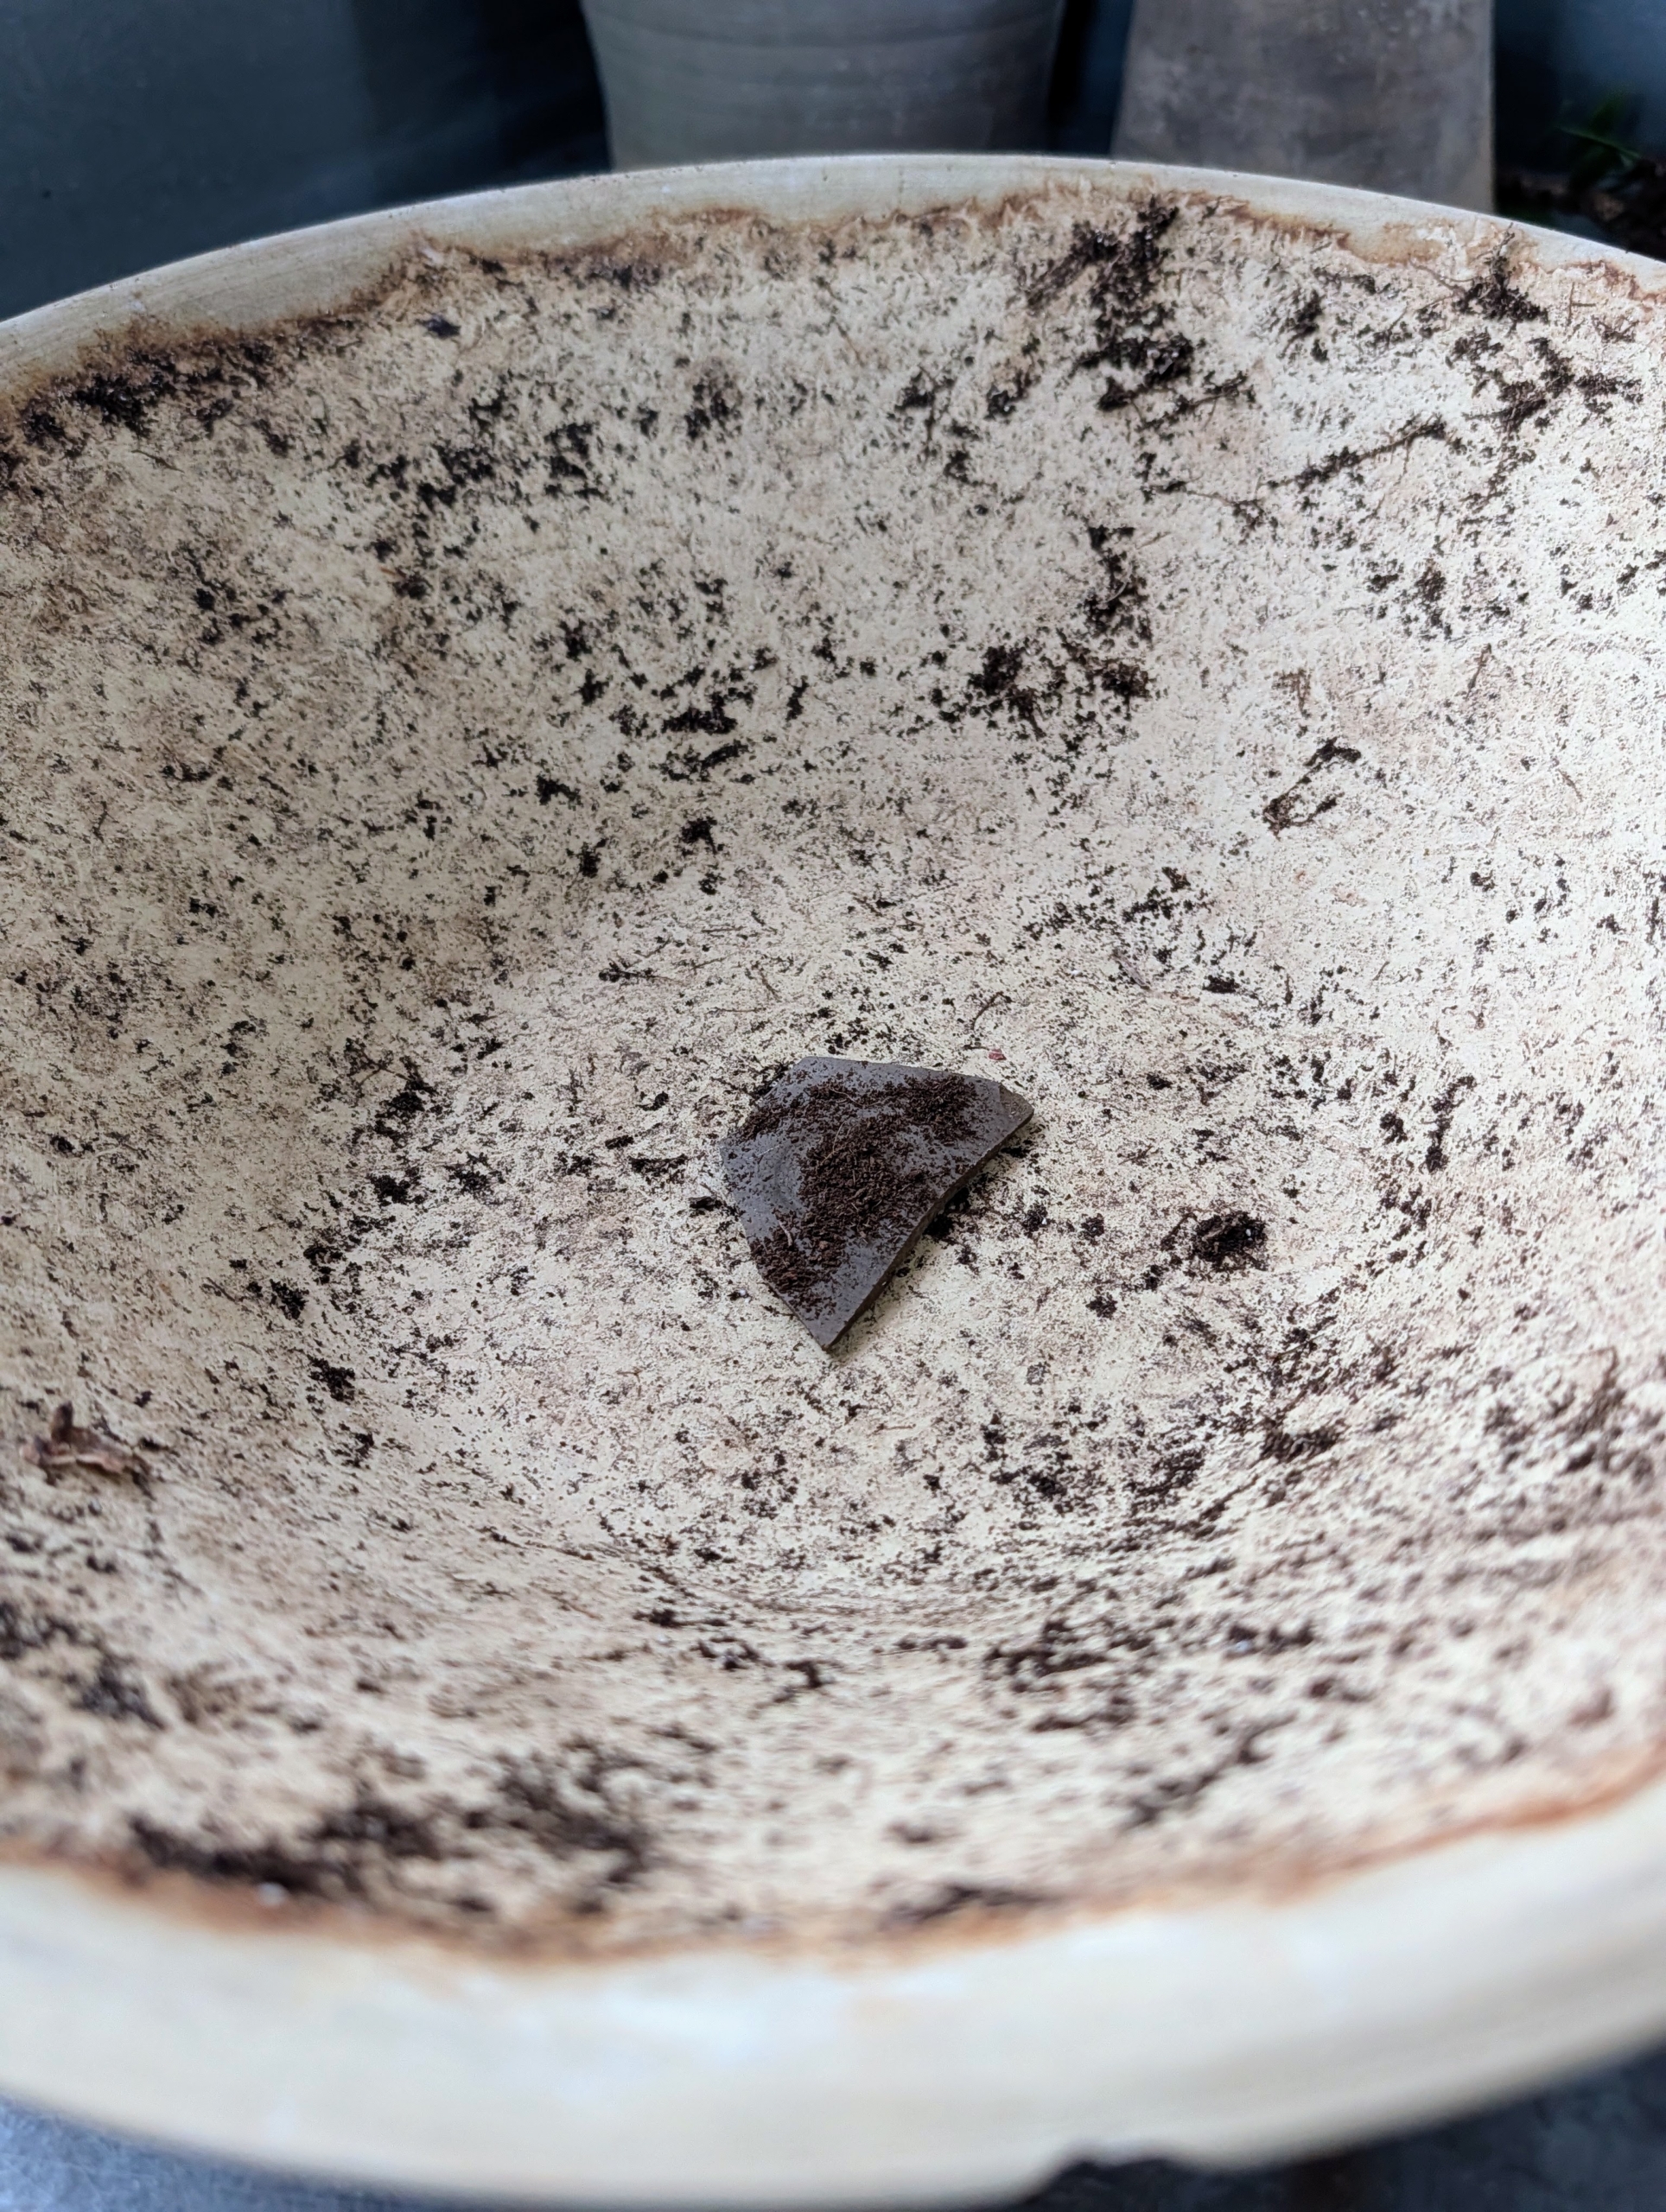
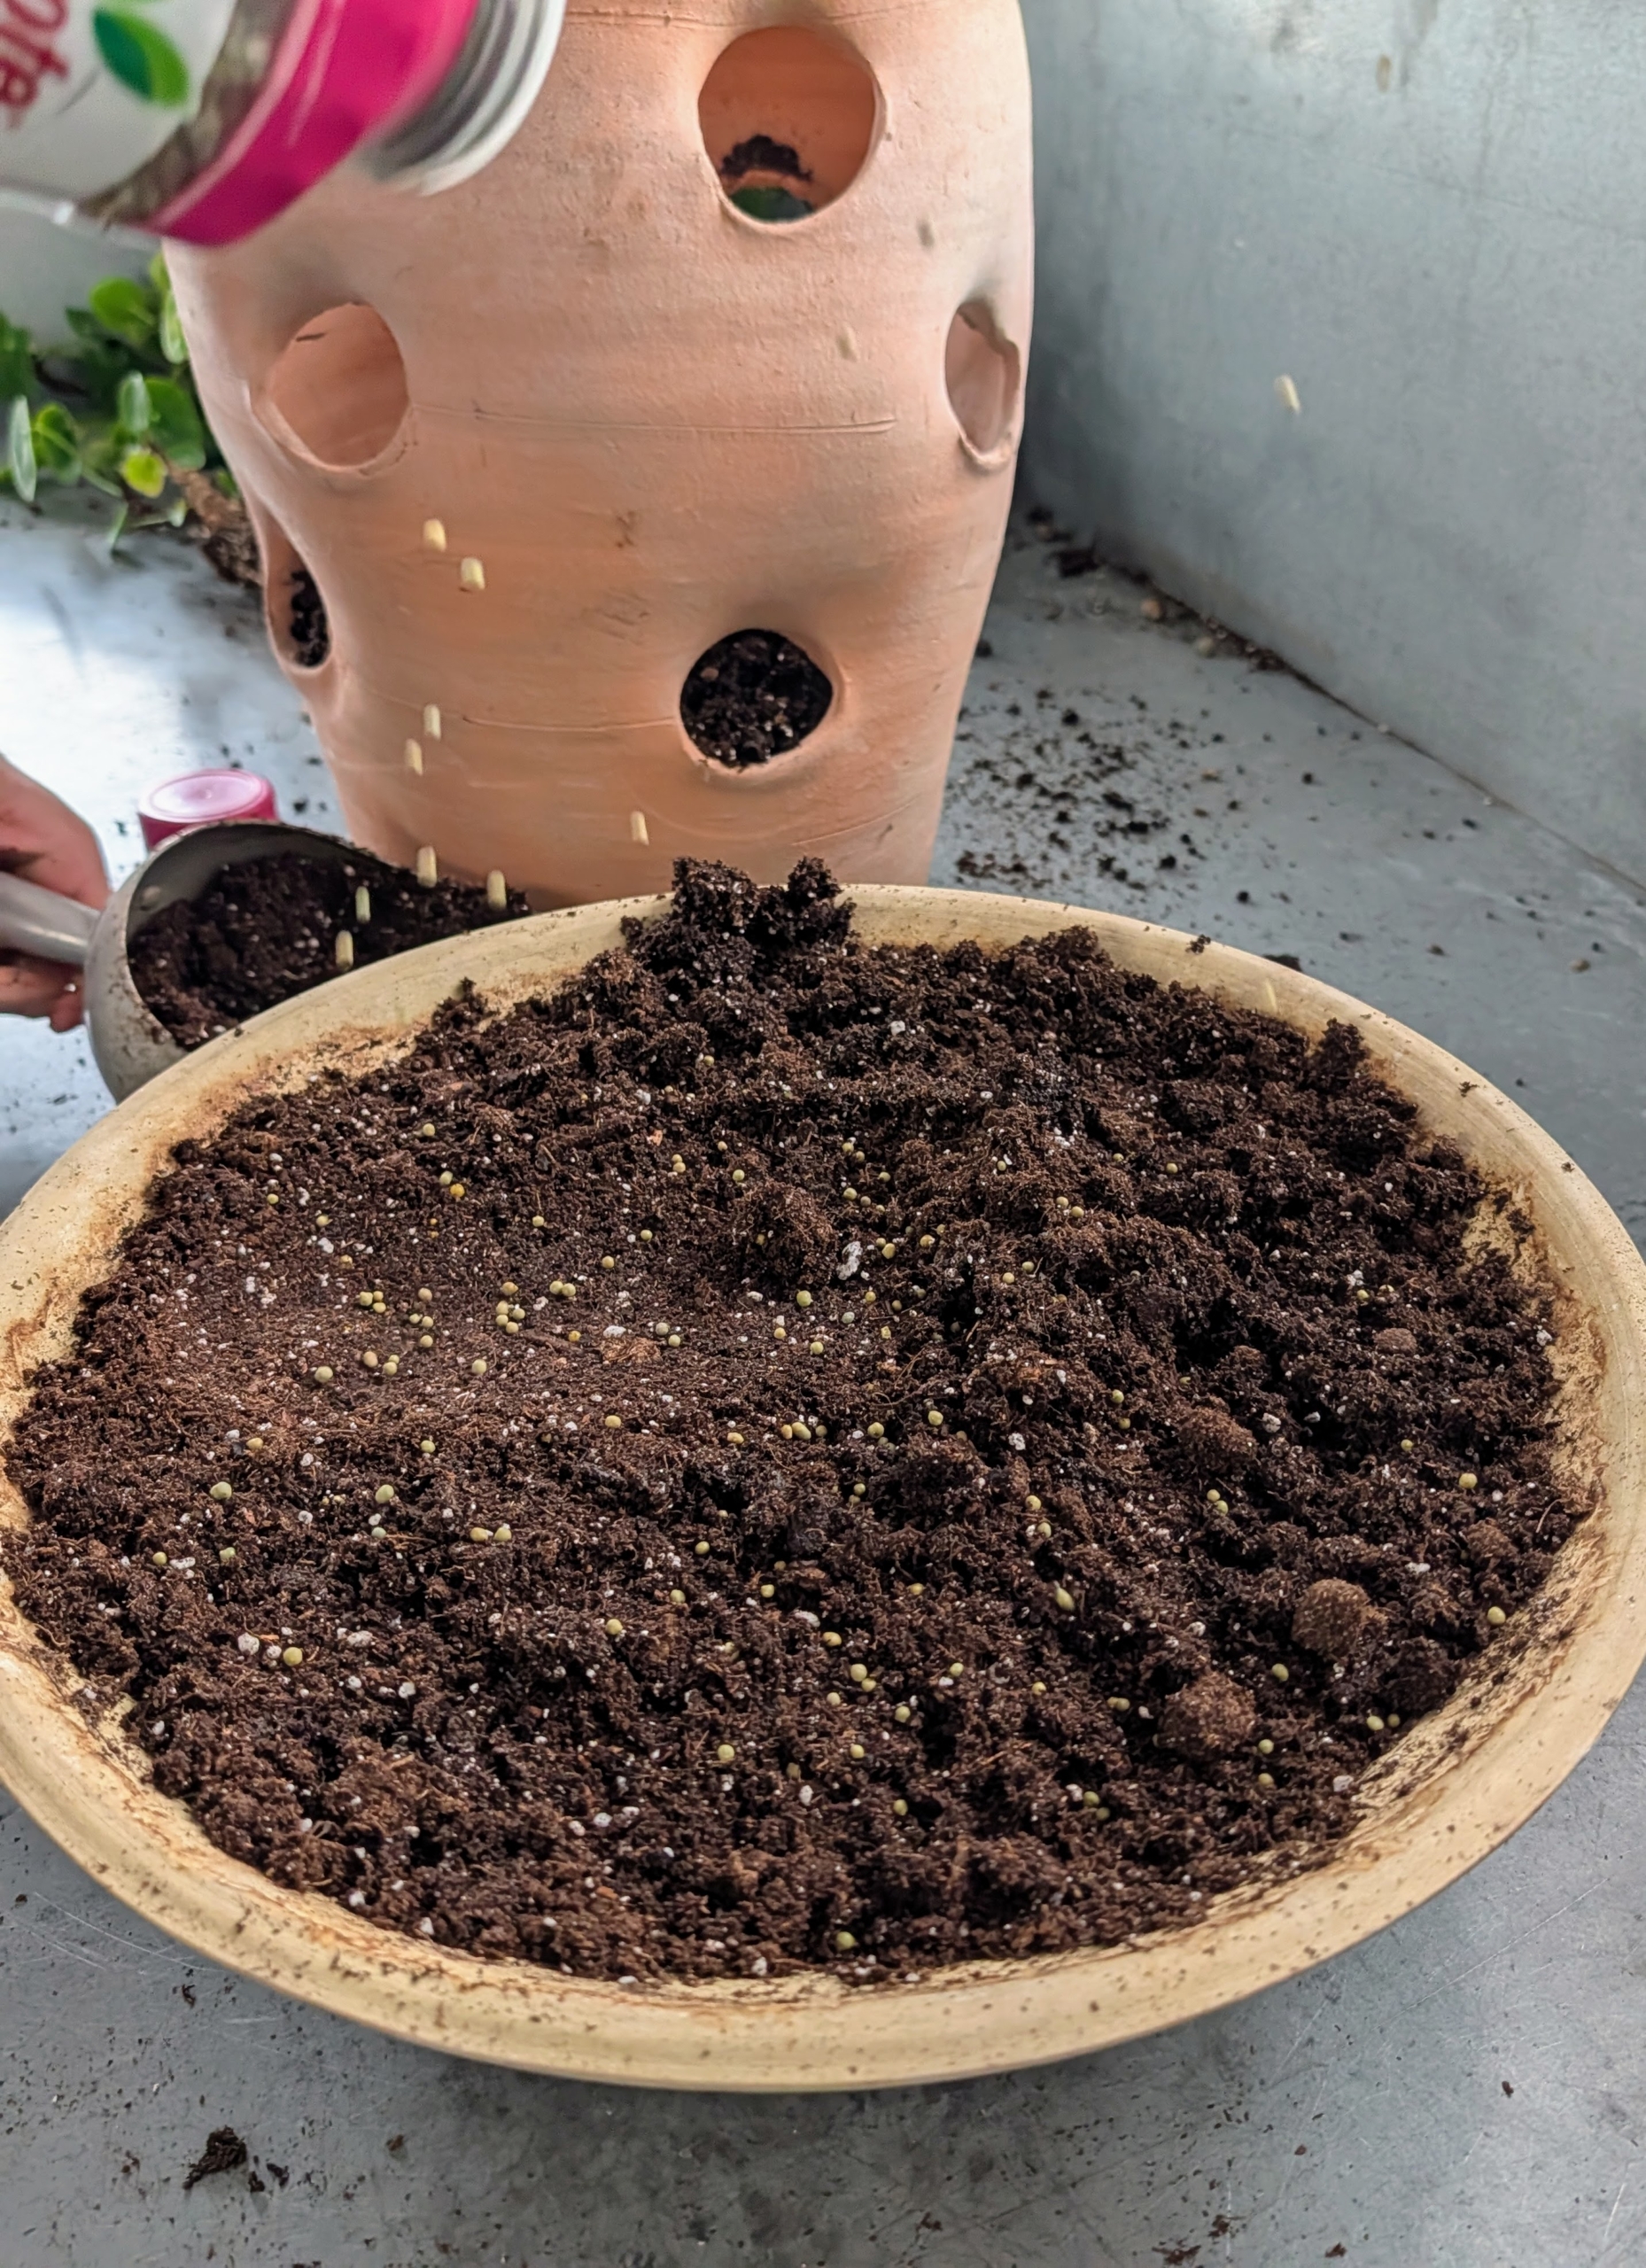
Ryan places a clay shard over the drainage hole in the bottom of the pot to help with drainage and to prevent any soil from falling out.
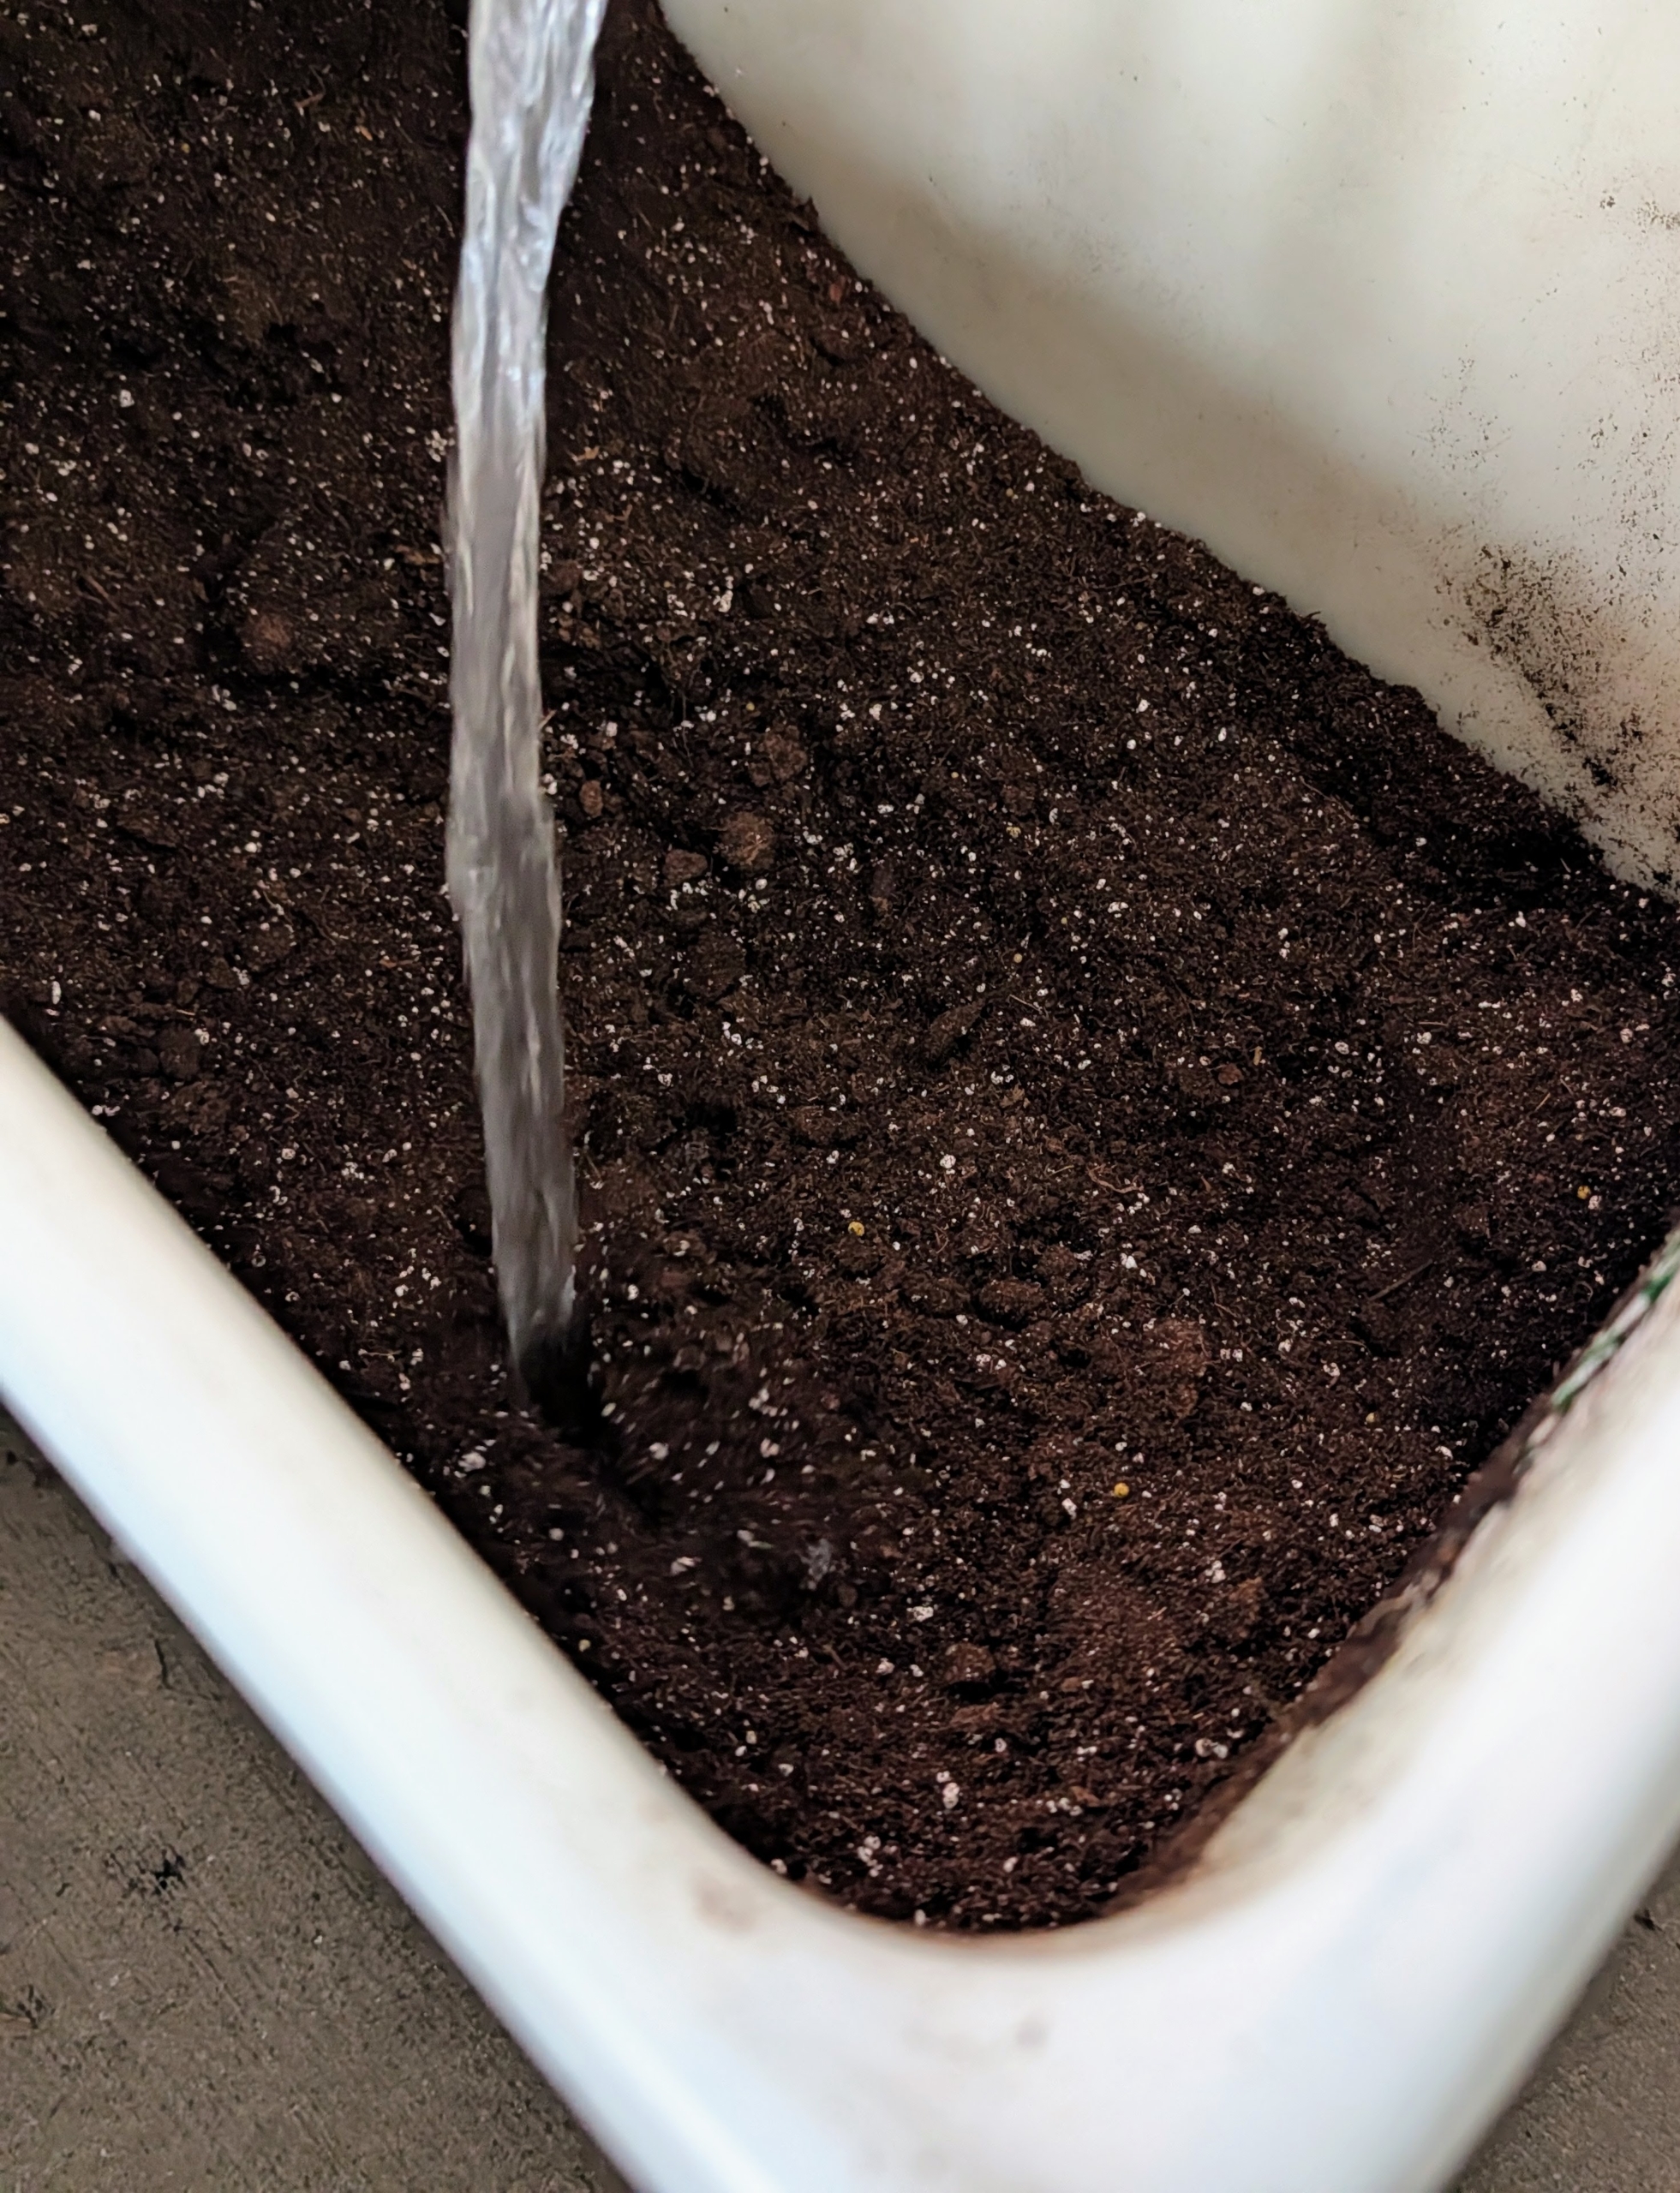
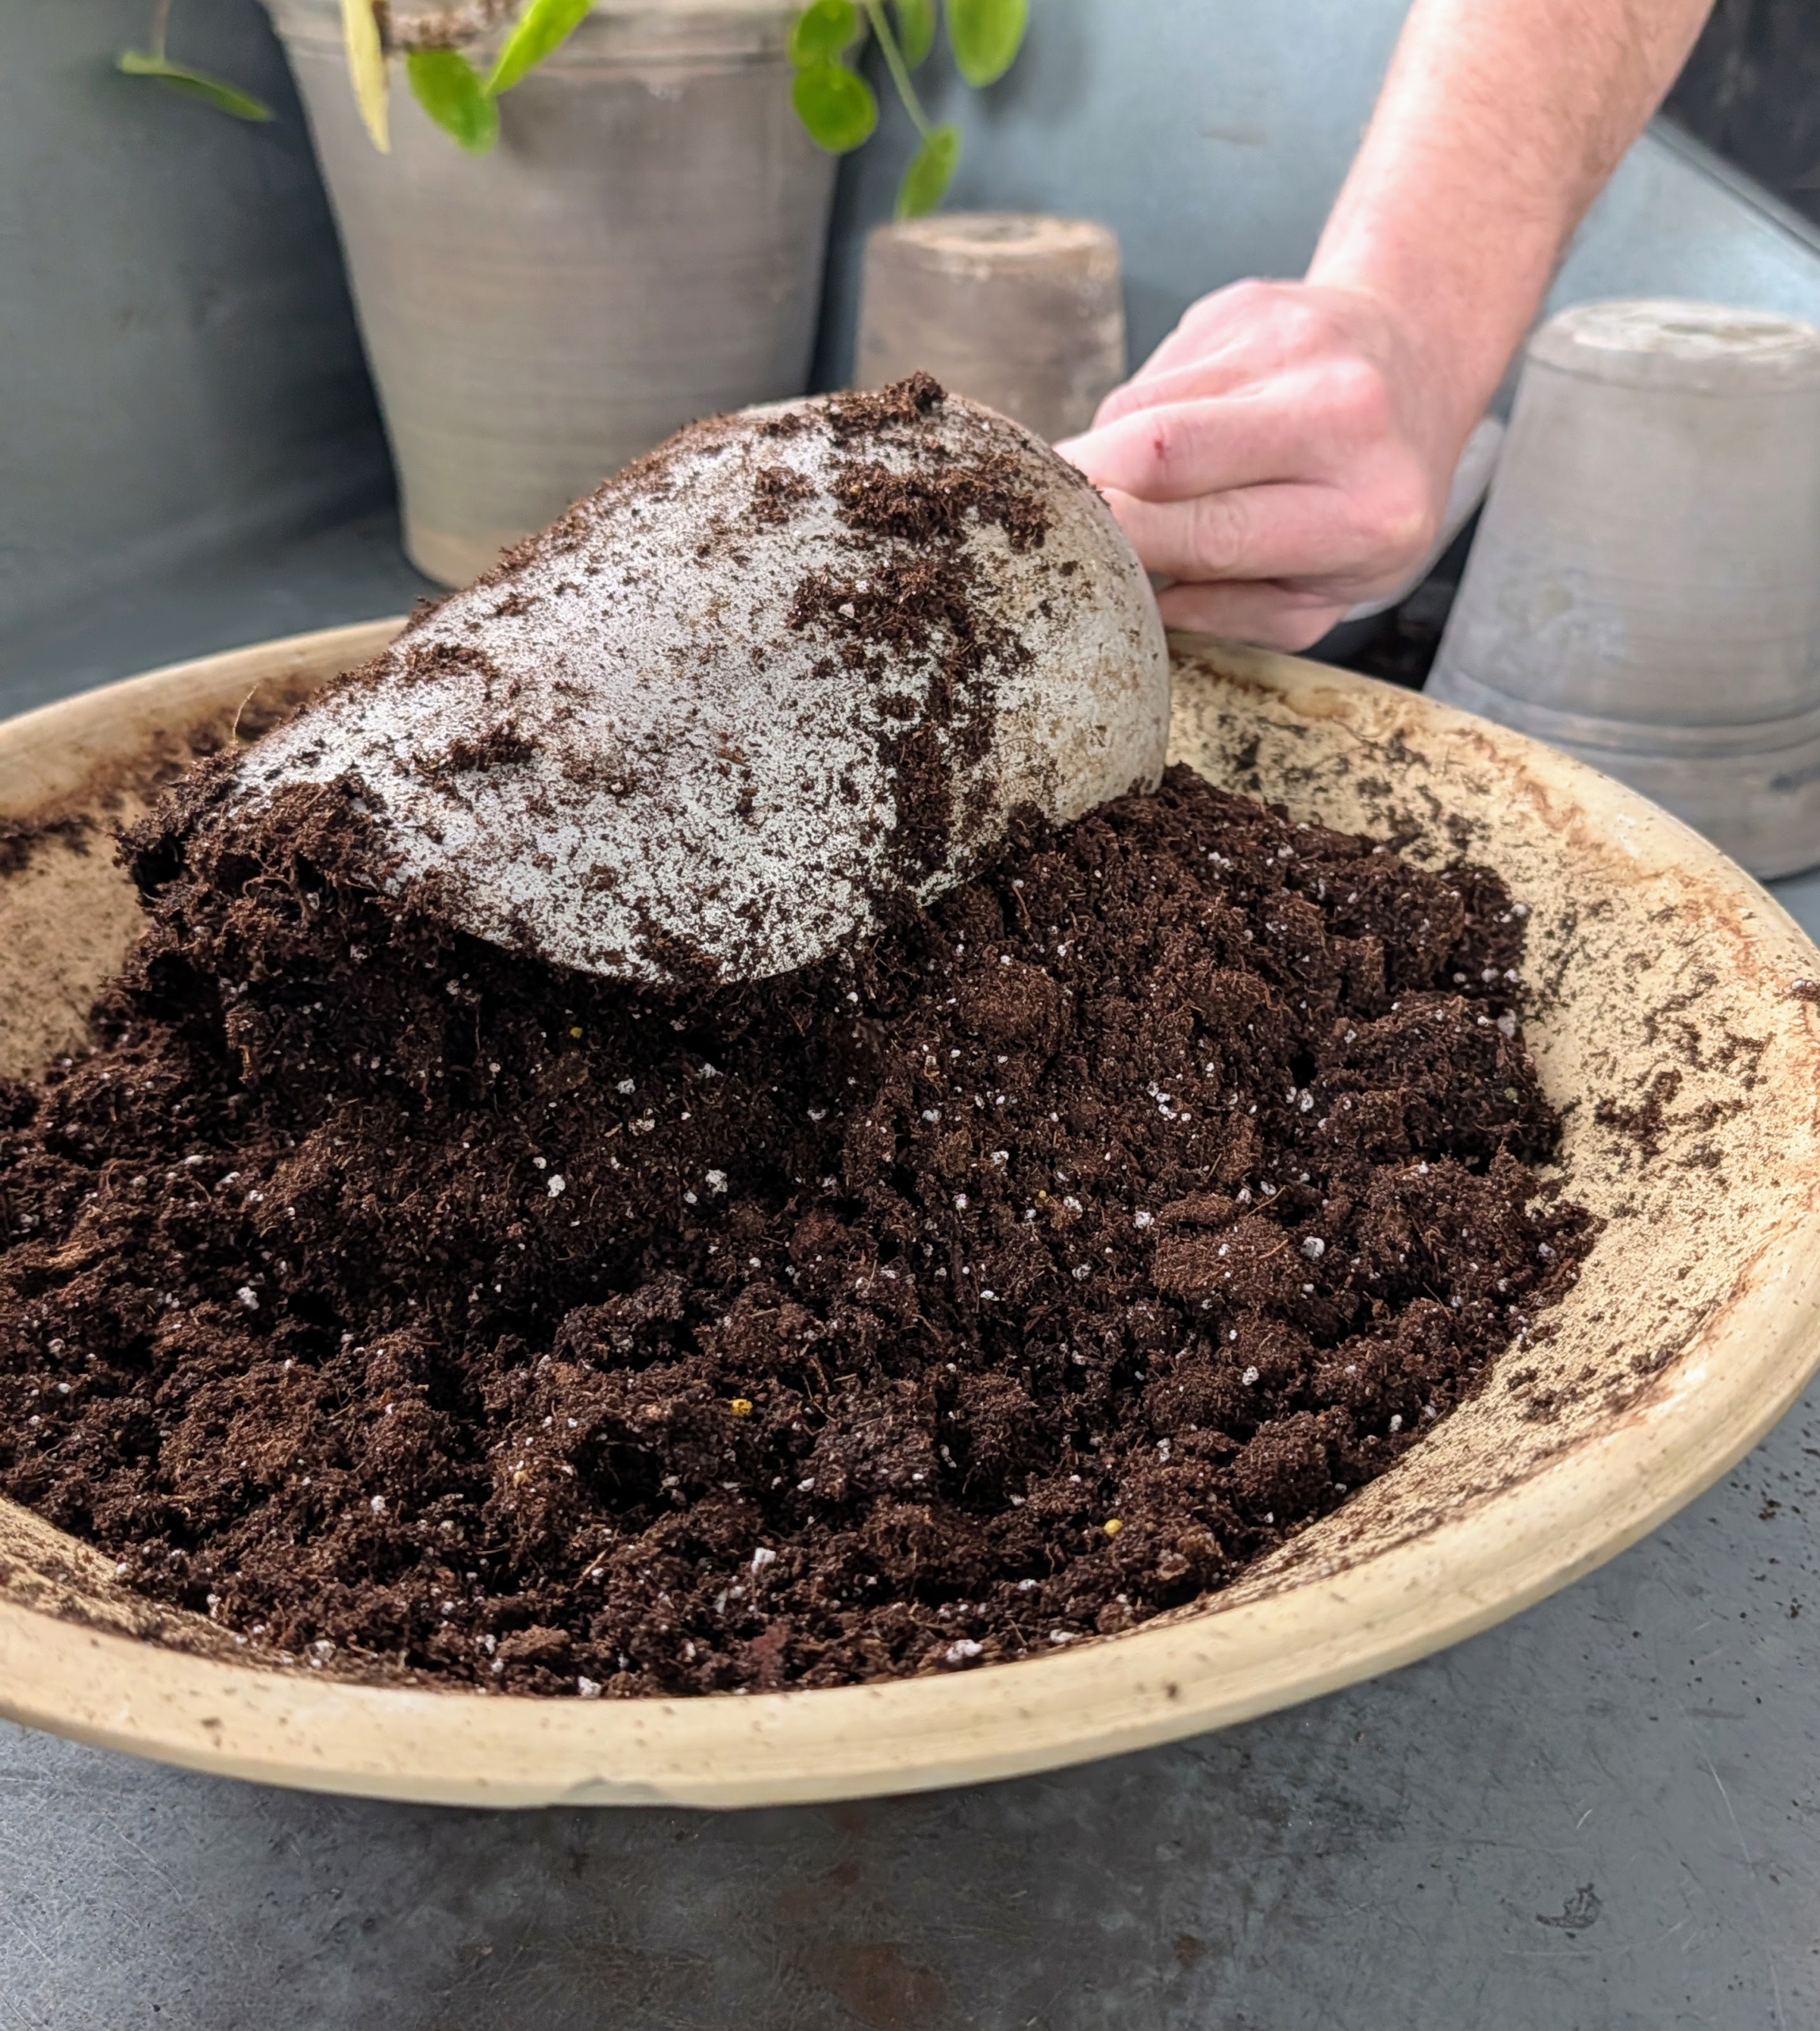
For repotting, Ryan uses Miracle-Gro Tropical Potting Mix. It is packed with nutrients that feed for up to six months and includes lava rock for added drainage that tropical plants and the Pilea peperomioides need. He wets it down first so it is more supportive for the plants.
He fills the pot to just under the rim.
And then adds some fertilizer. I use Osmocote. The beige shell on each prill coats a core of nitrogen, phosphorus and potassium.
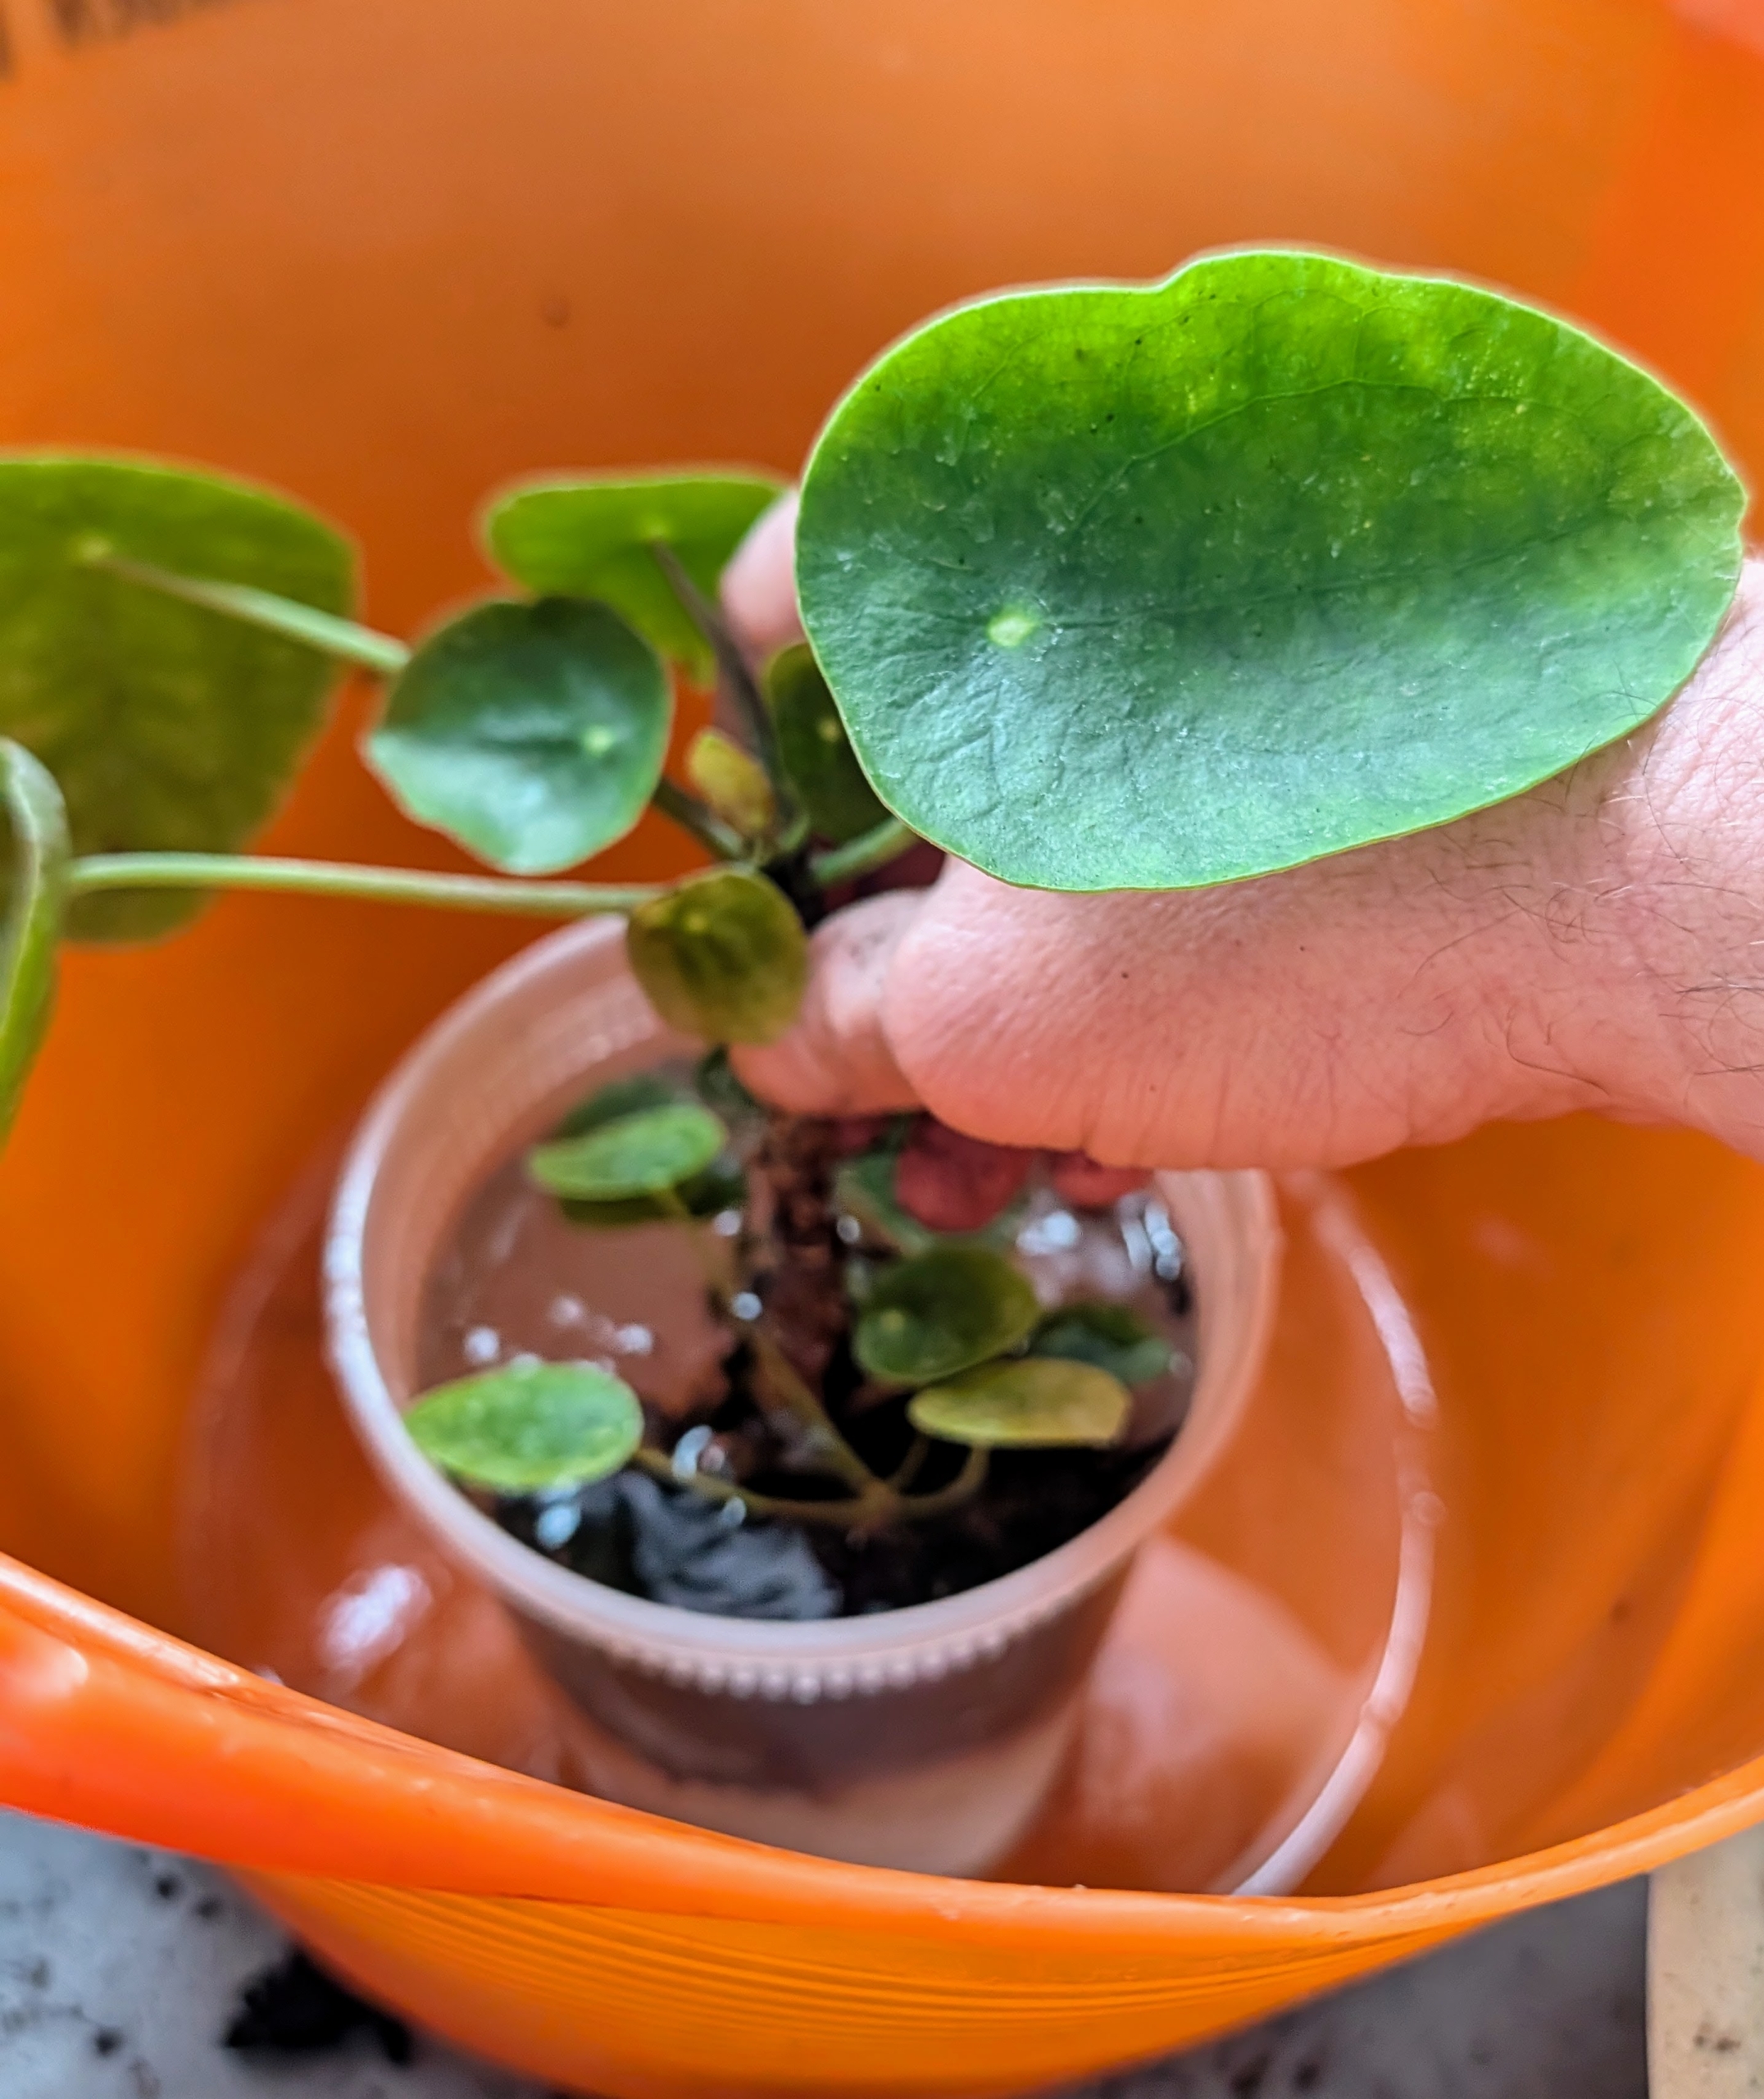
Next, Ryan dips the divided plant into some water, so it is well-hydrated.
Dipping the root ball at this stage allows the roots to absorb water and nutrients and become more resilient and better prepared for its new environment.
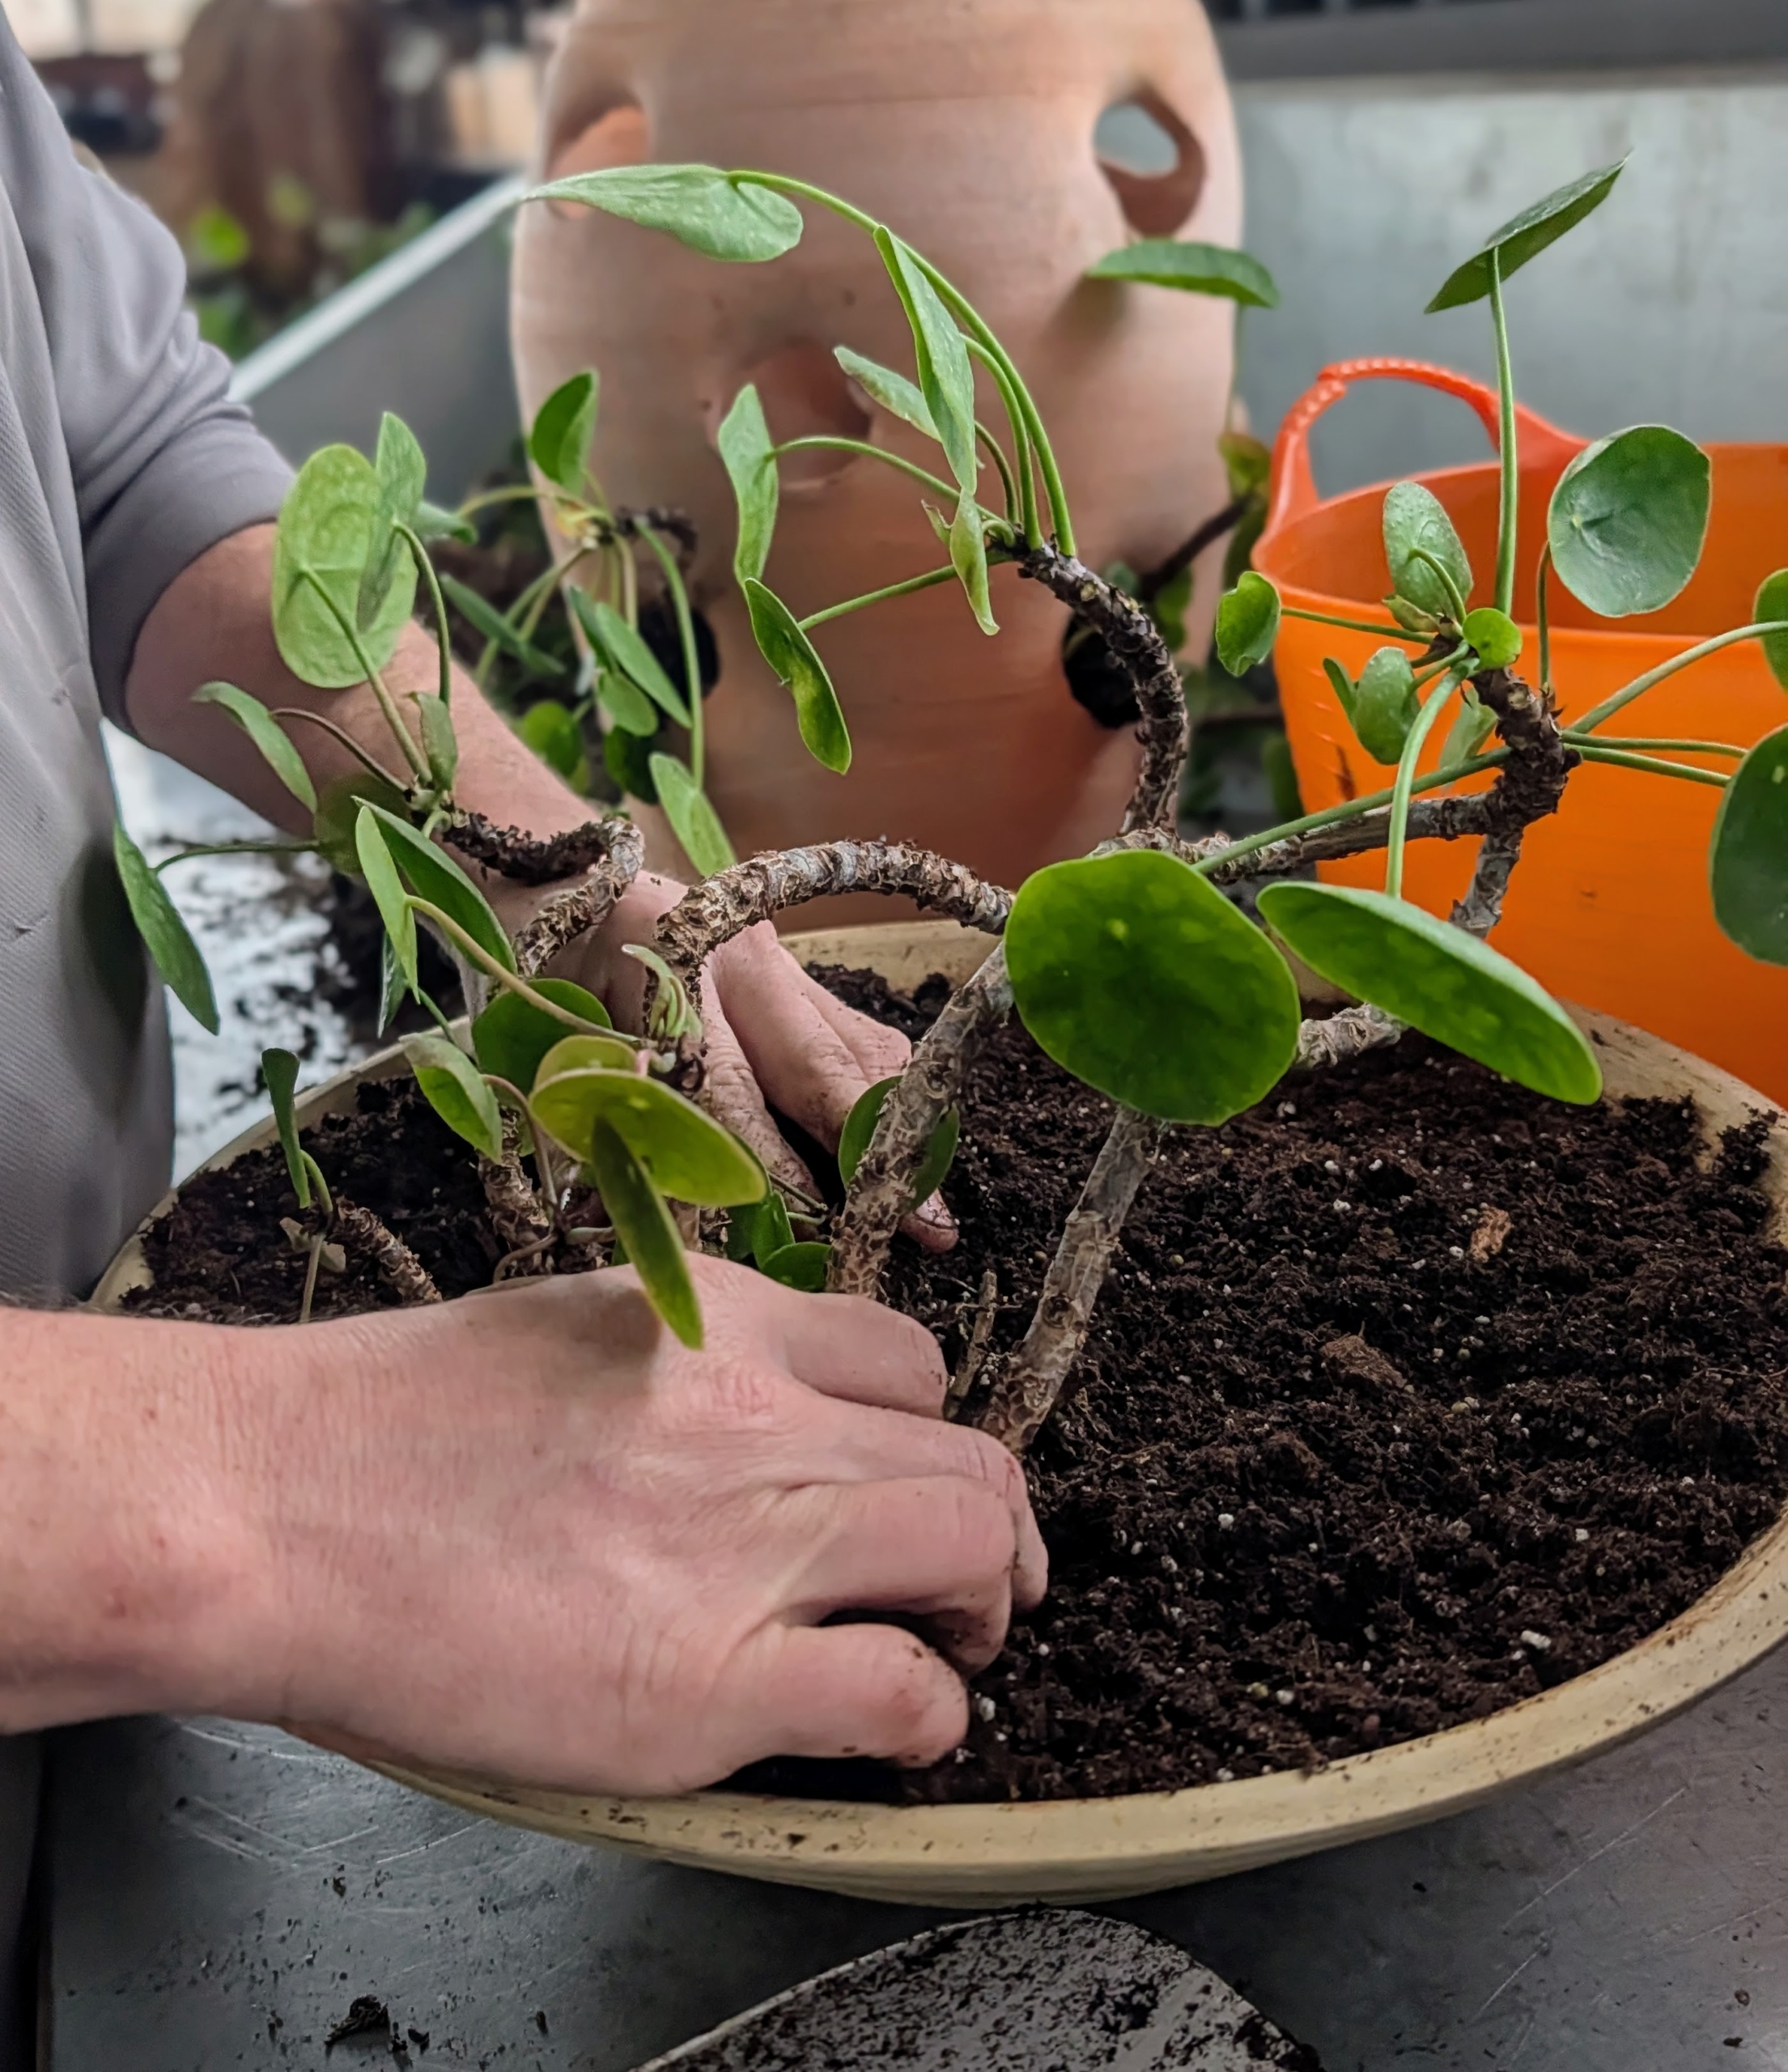
Ryan places the plant in the pot at the same height it was previously.
In this shallow container, it is easy to give the plants some needed space. Ryan makes sure the arrangement is balanced and attractive.
Here, Ryan sprays the leaves with some leaf shine, which livens up any dull foliage.
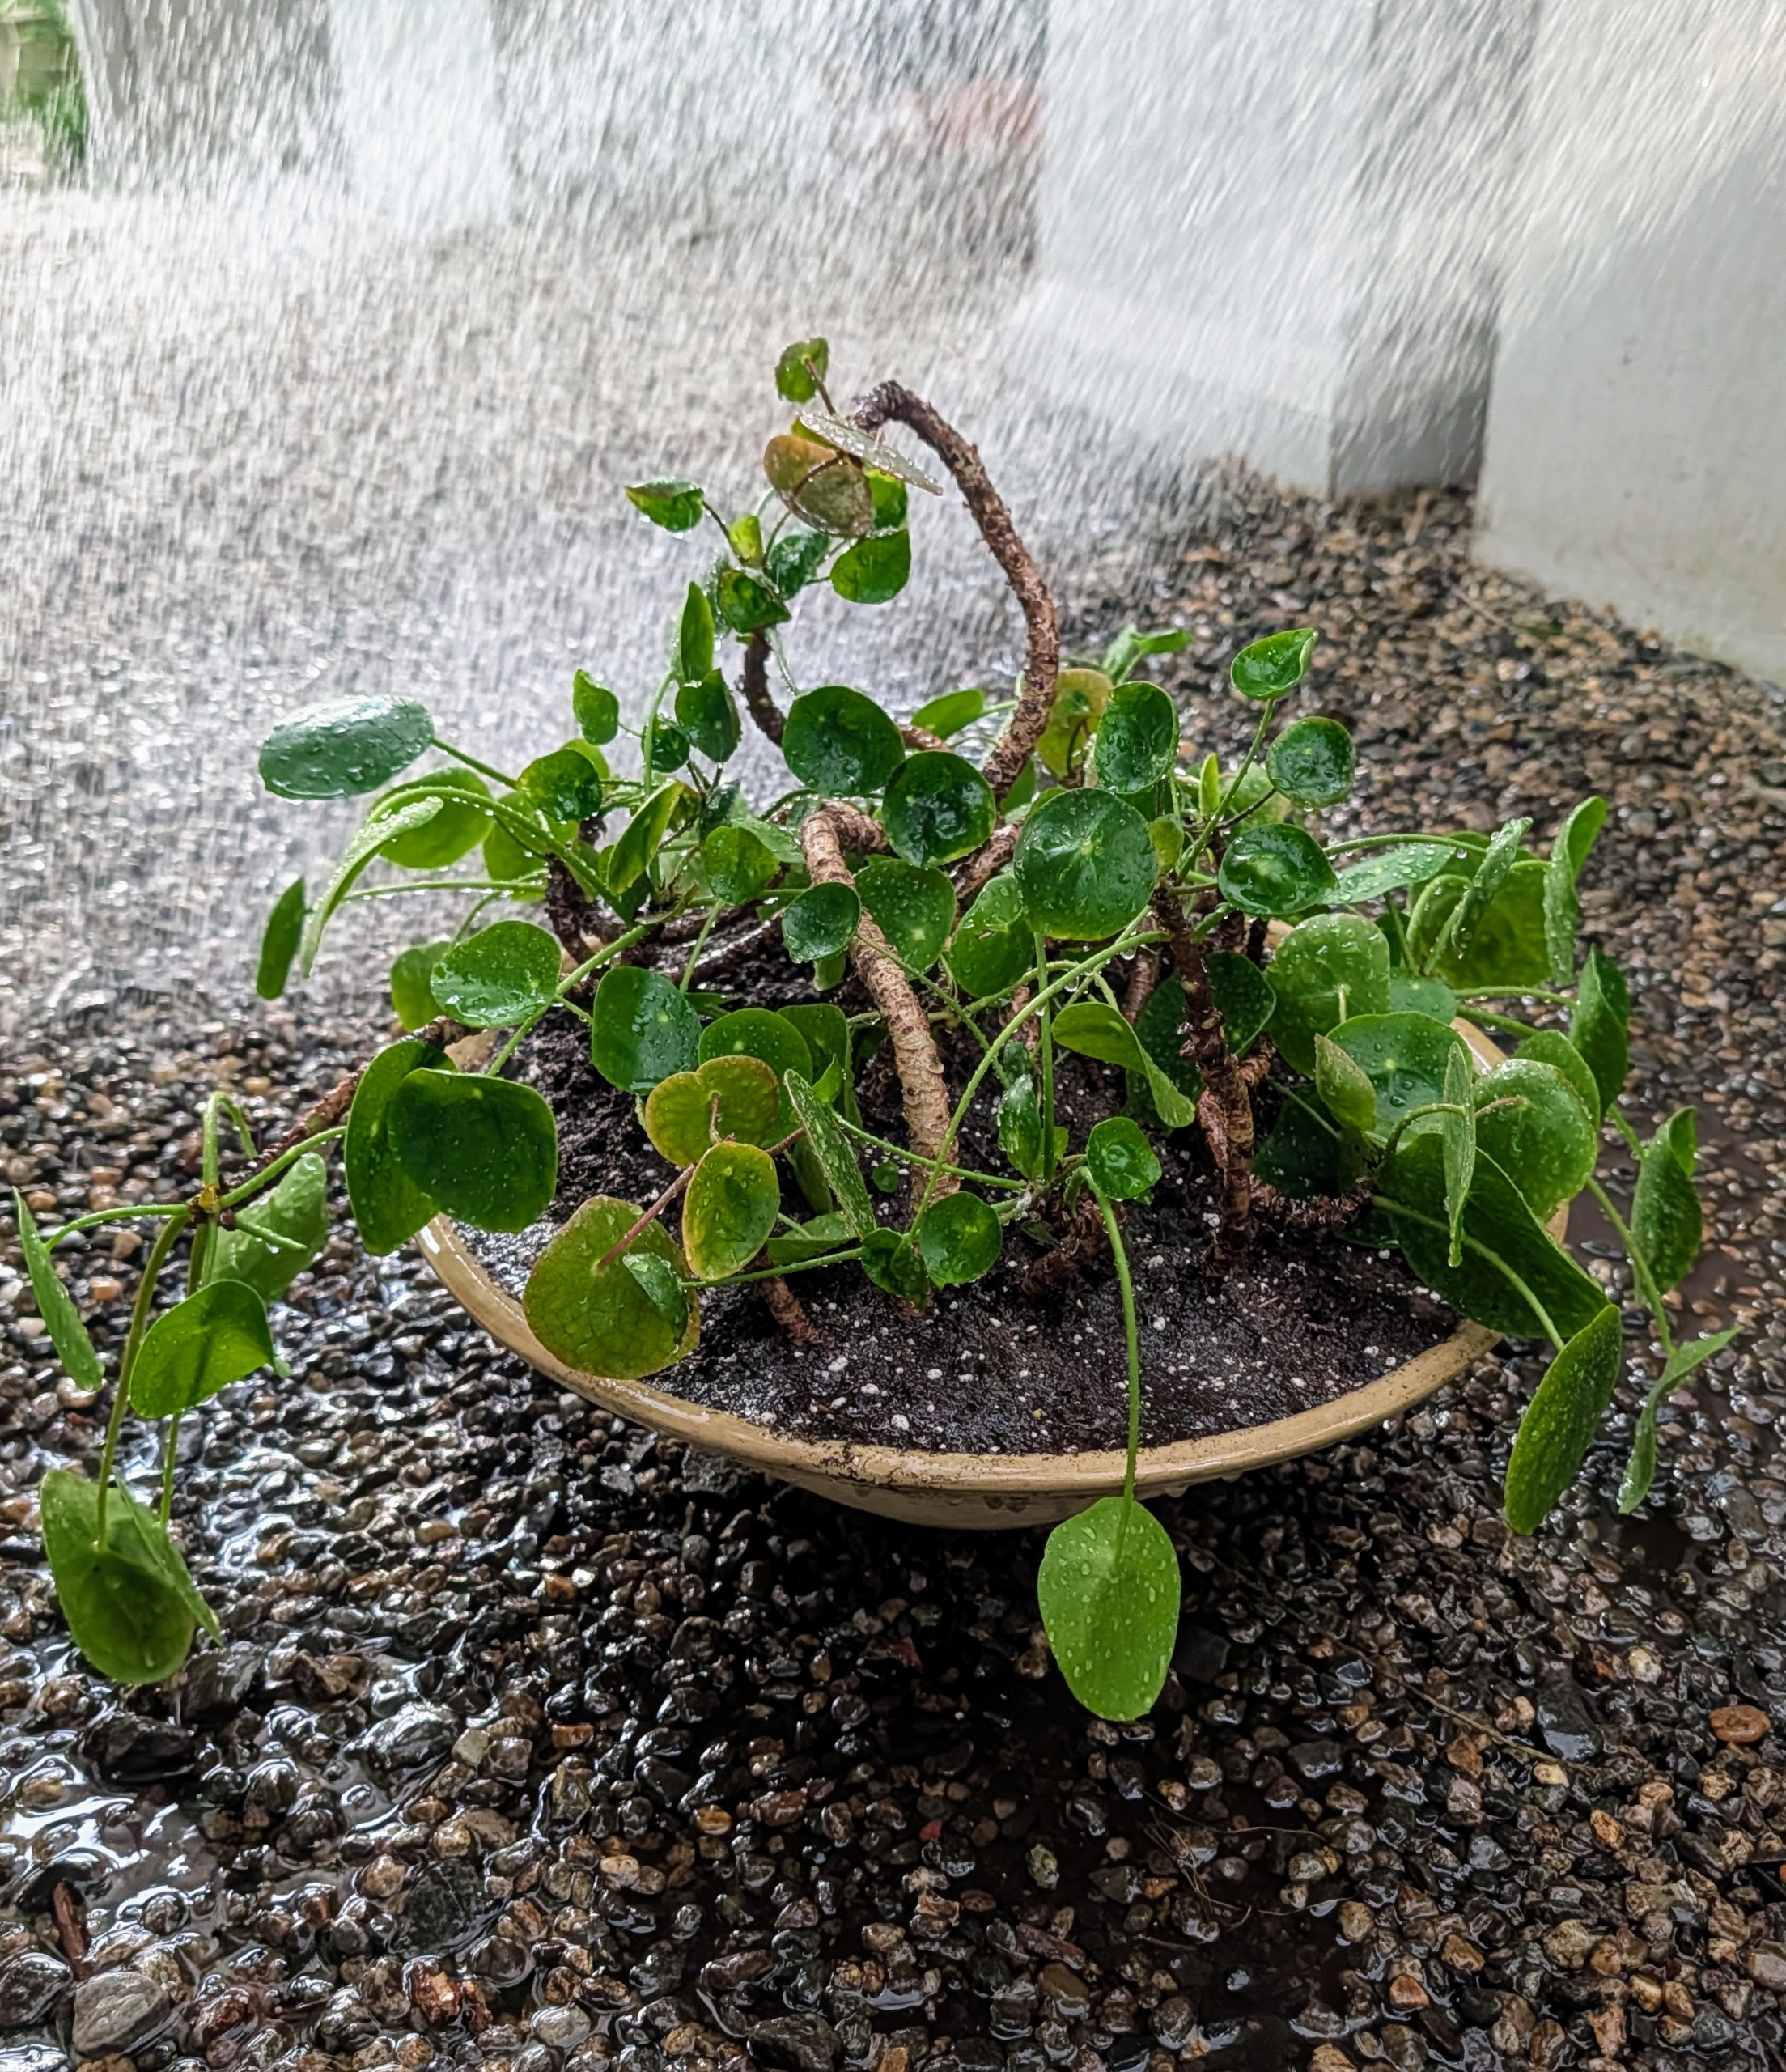
Finally, Ryan brings the plant into the greenhouse for a good drink of water. Allow money plants to almost dry out between waterings and then water well. The leaves will droop slightly when dry. Newly repotted, this plant will continue to flourish.
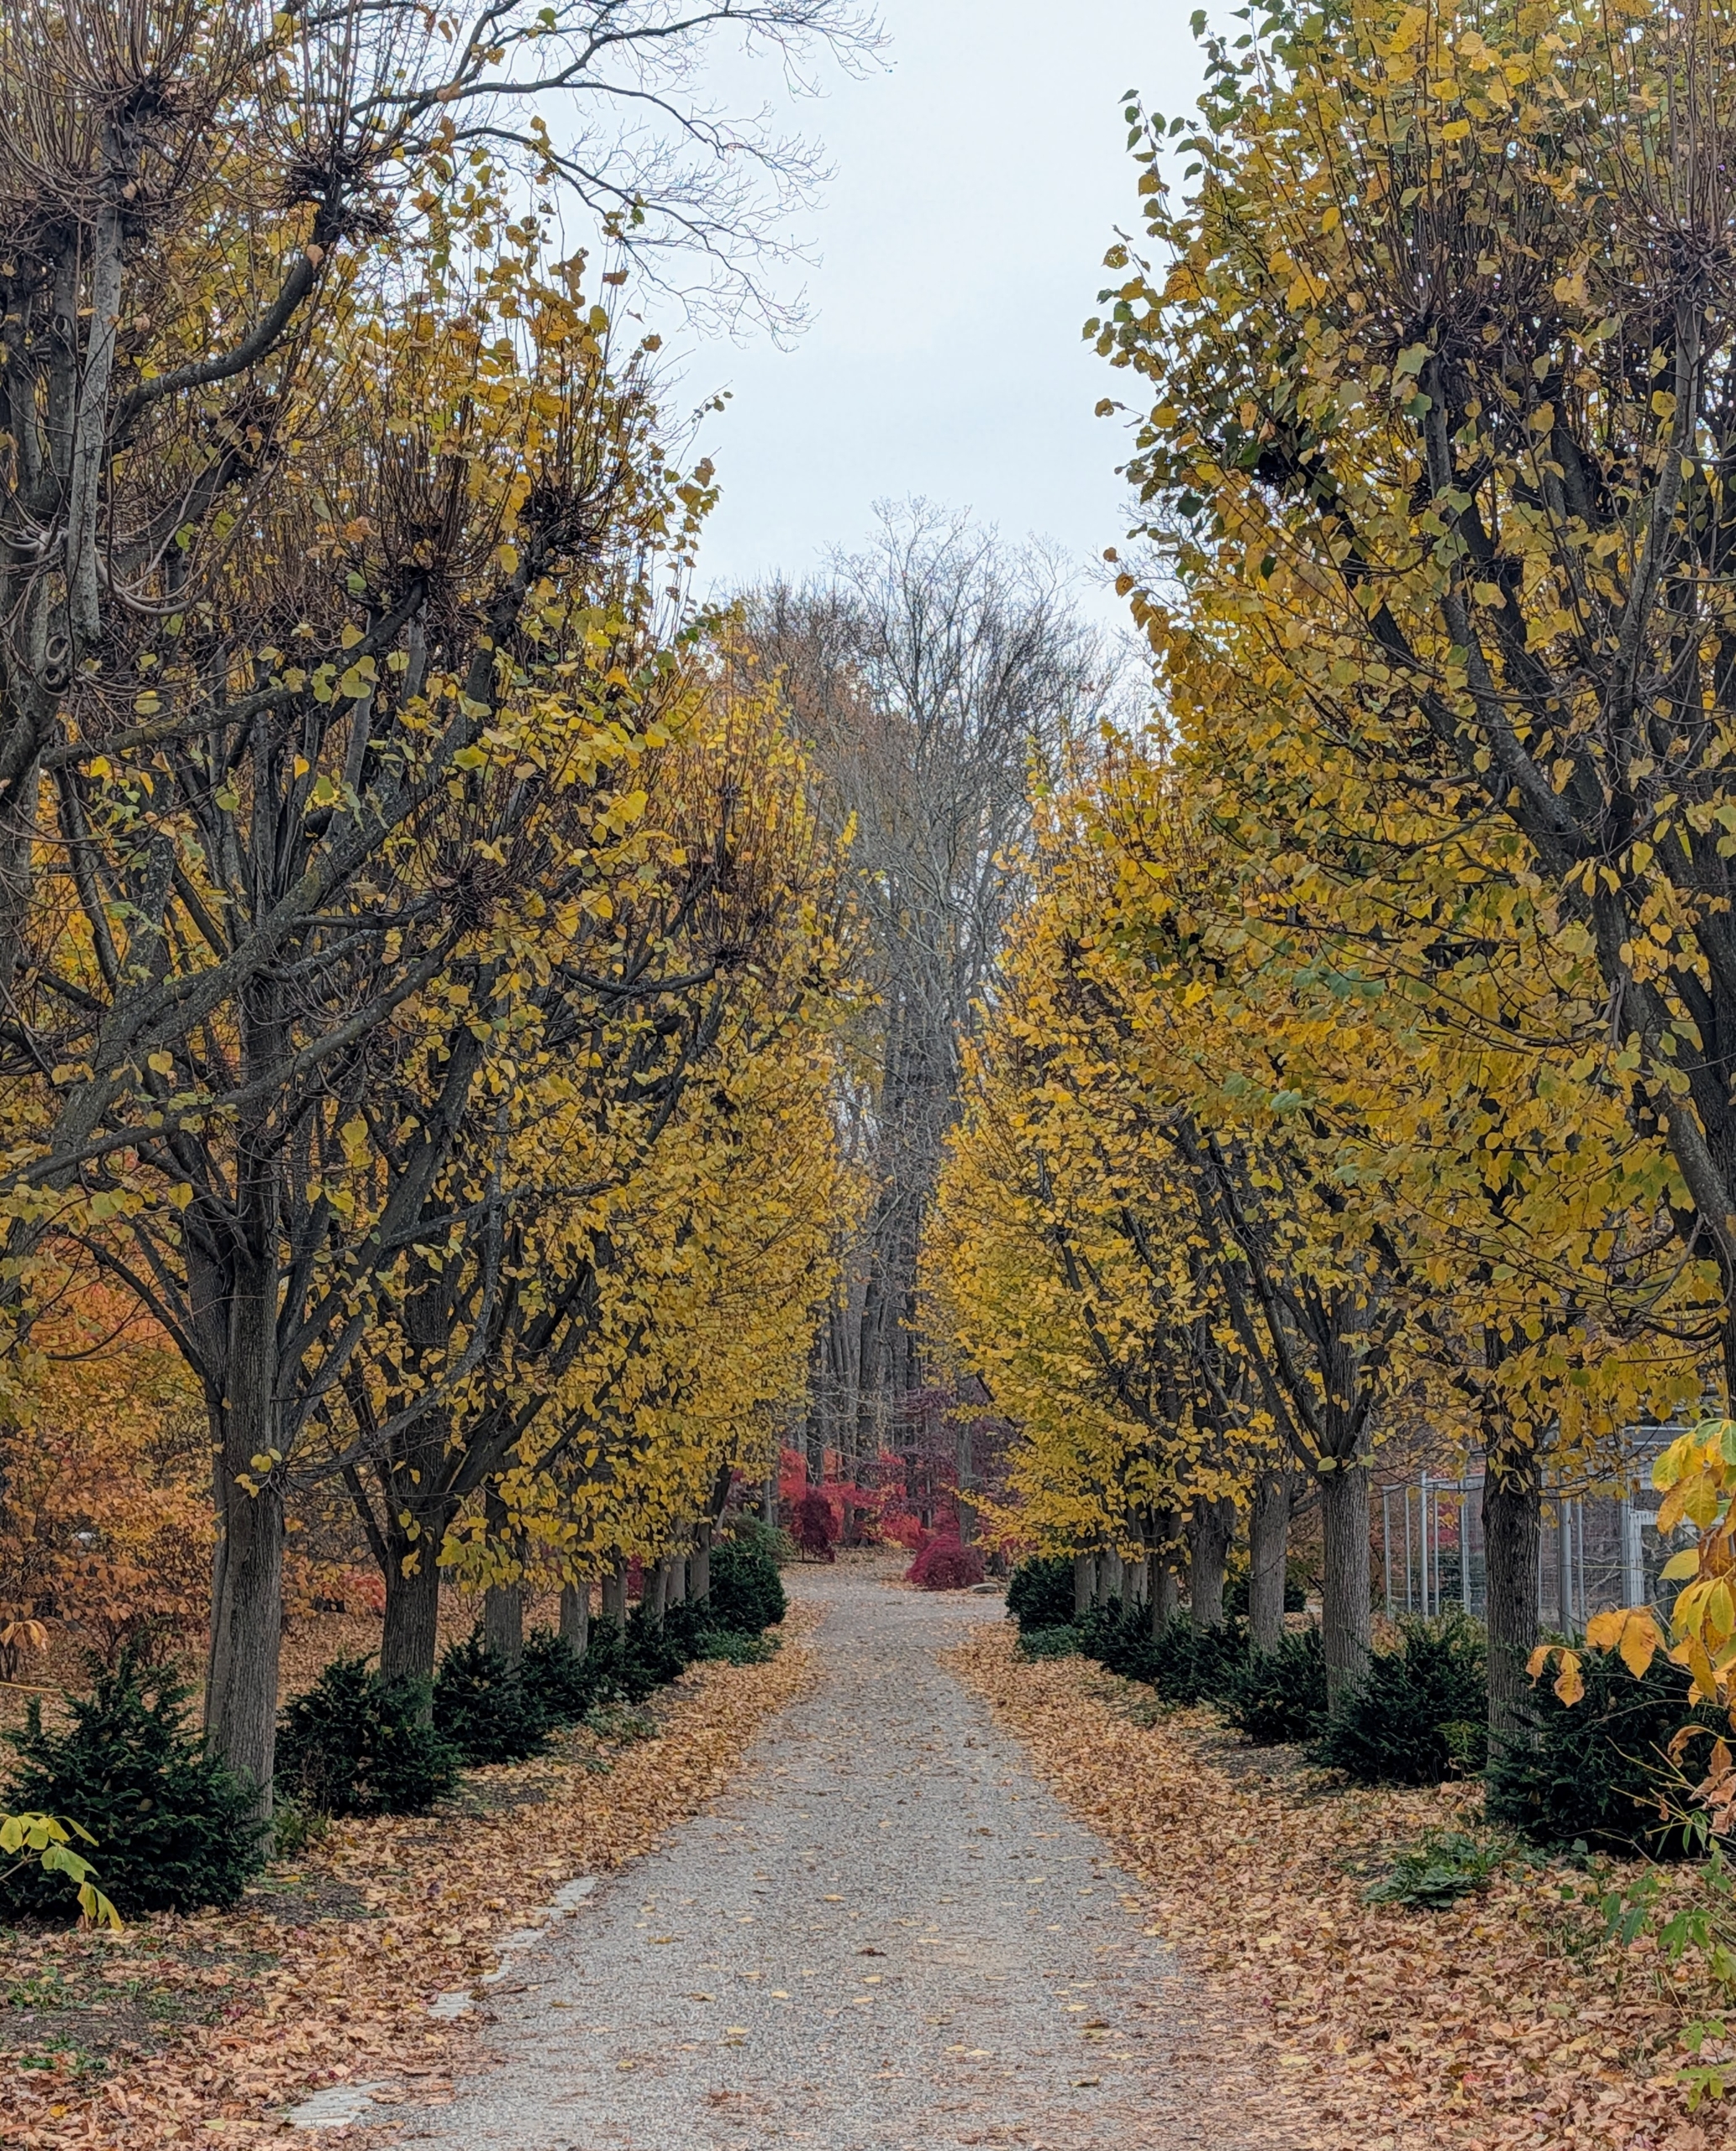
In order to keep my farm and all its gardens, allées, and groves as beautiful as possible, I pay lots of attention to the maintenance and care of all my trees. This time of year, my outdoor grounds crew is busy pruning many of the trees, including my allée of lindens.
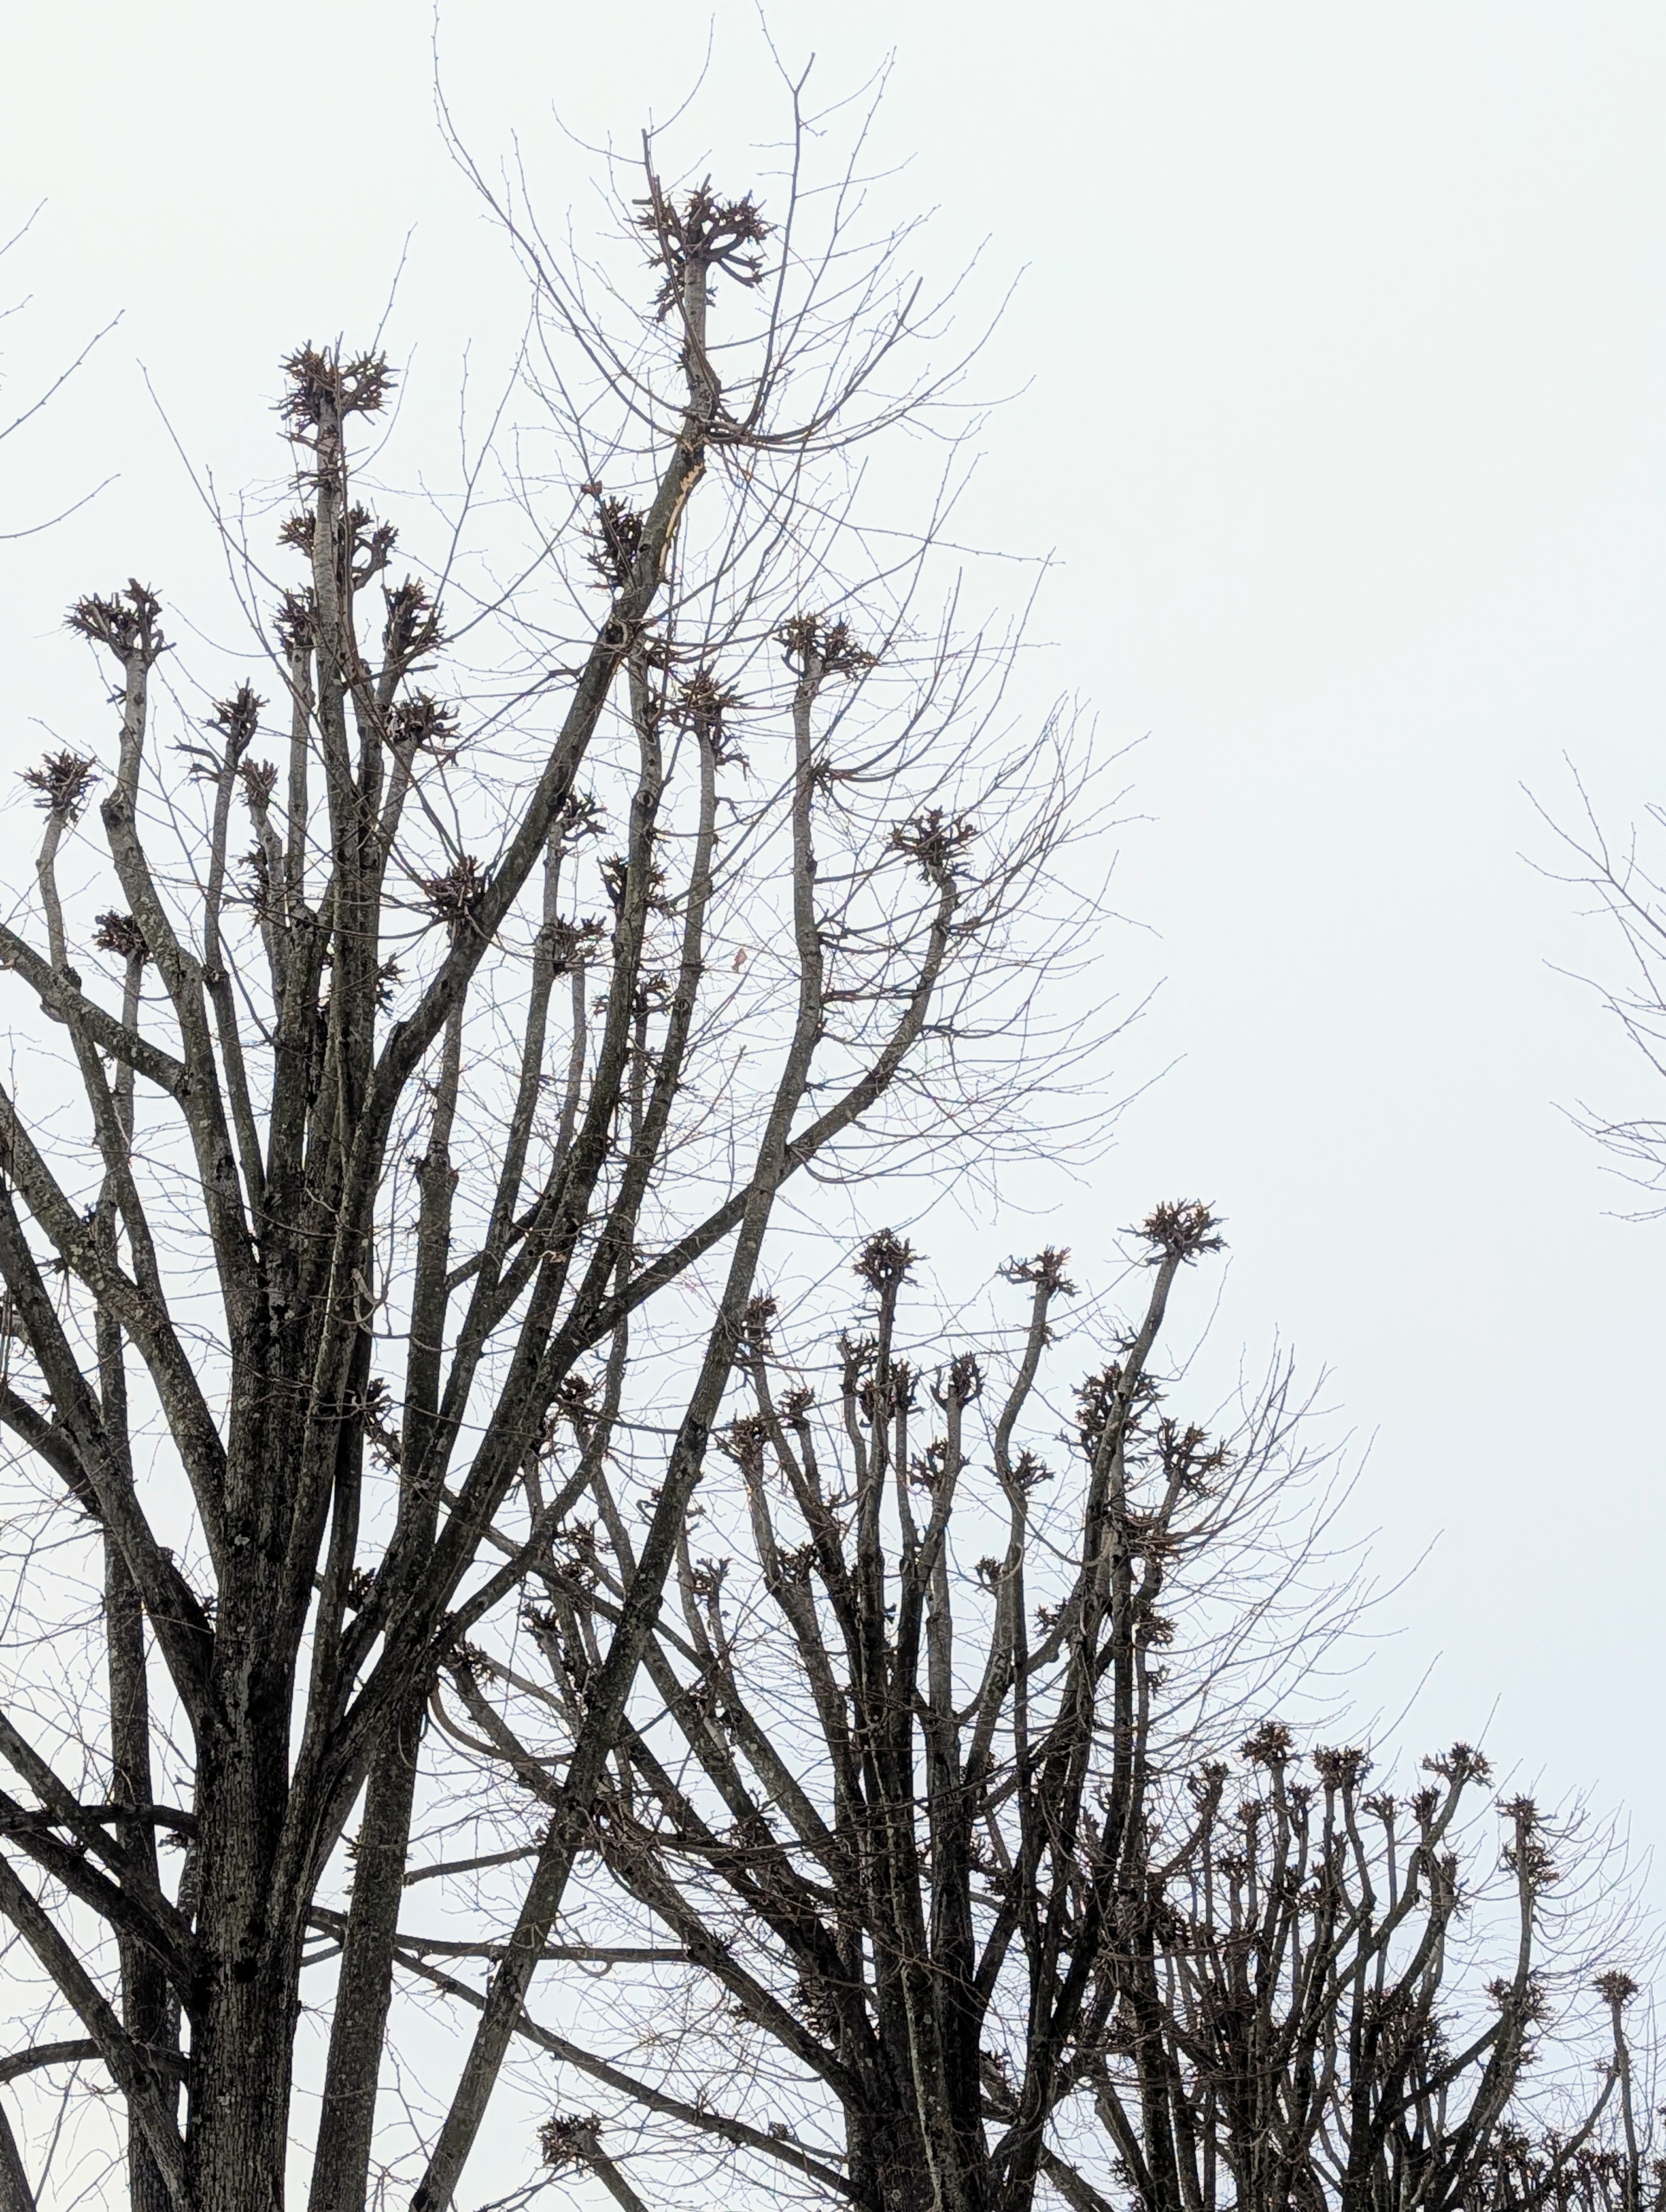
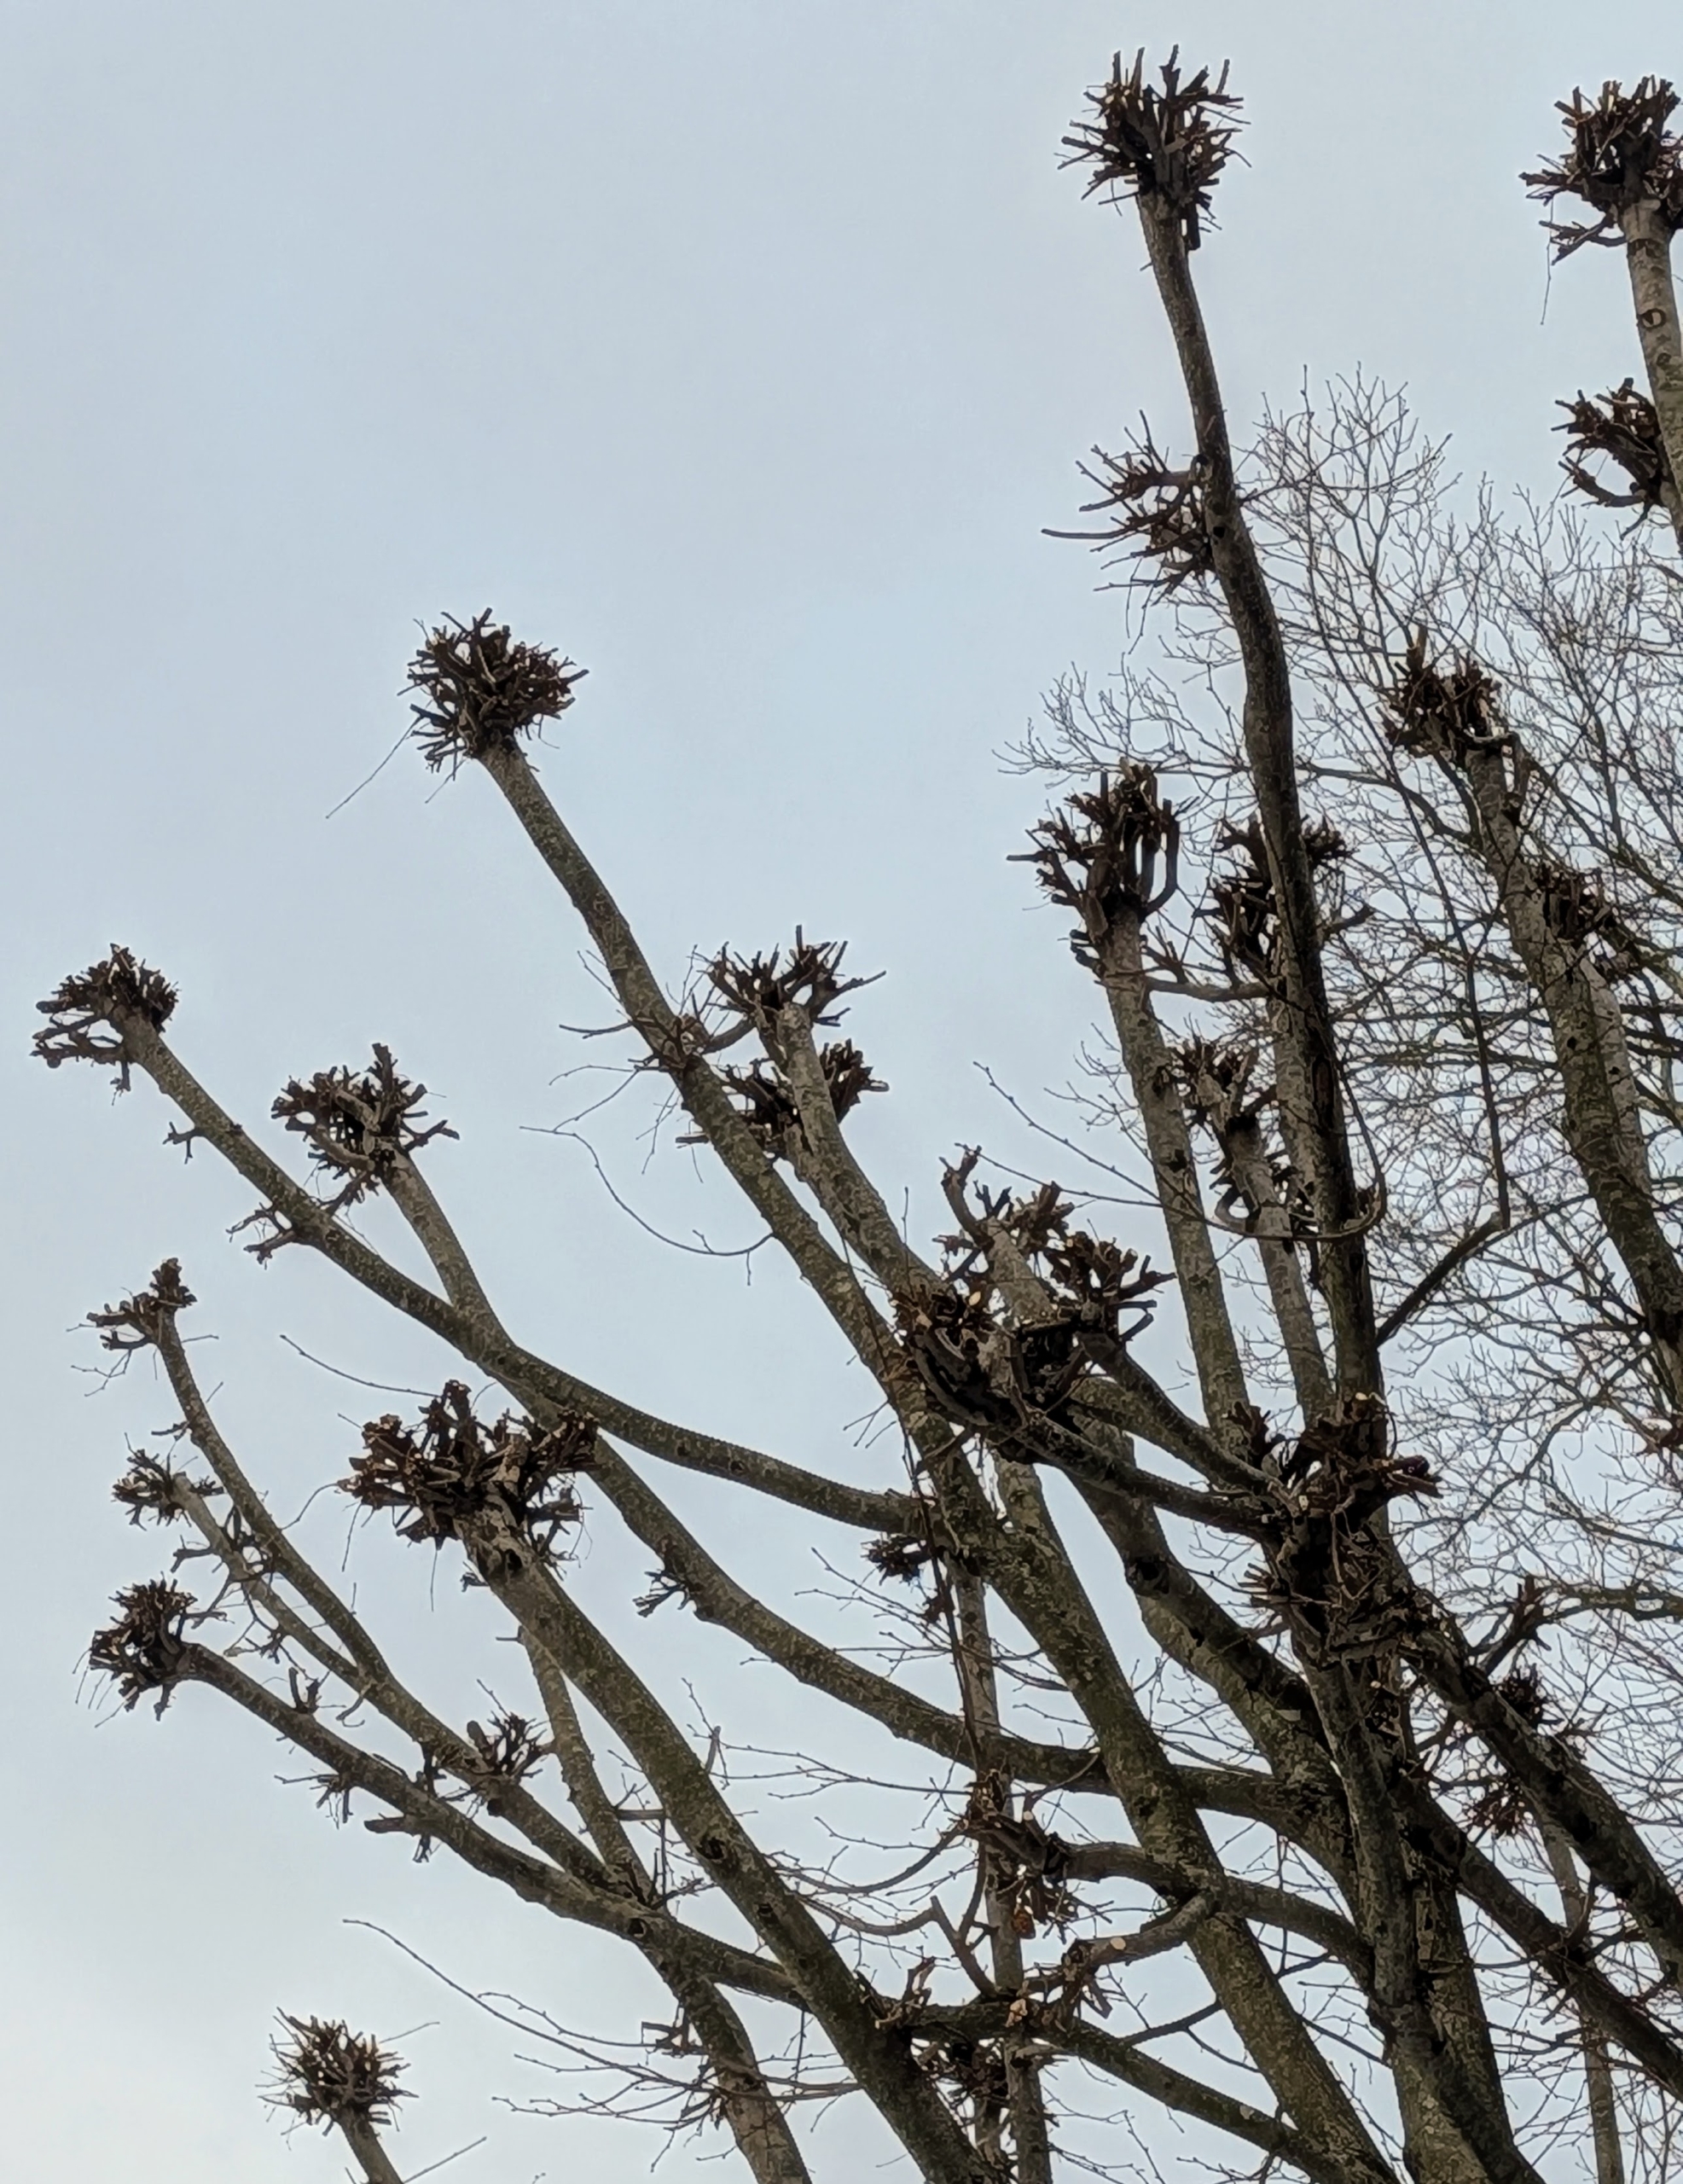
Lindens, Tilia, are medium to large sized shade trees that are easy to maintain and attractive in any landscape. I have two linden tree allées - one that runs from the old corn crib all the way down to the chicken coops and the other slightly older allée near my stable. These trees, with their pyramidal shape and slow growth, are excellent specimens for the type of pruning called pollarding, a very severe method that involves cutting the branches back either to the trunk, or even all the way down to the top of the trunk to promote the growth of club-headed stems and dense new foliage and branches. Pollarding should be done annually. We started pollarding these lindens regularly in 2021, and we've noticed good development in the years since.
Here are some photos, enjoy.
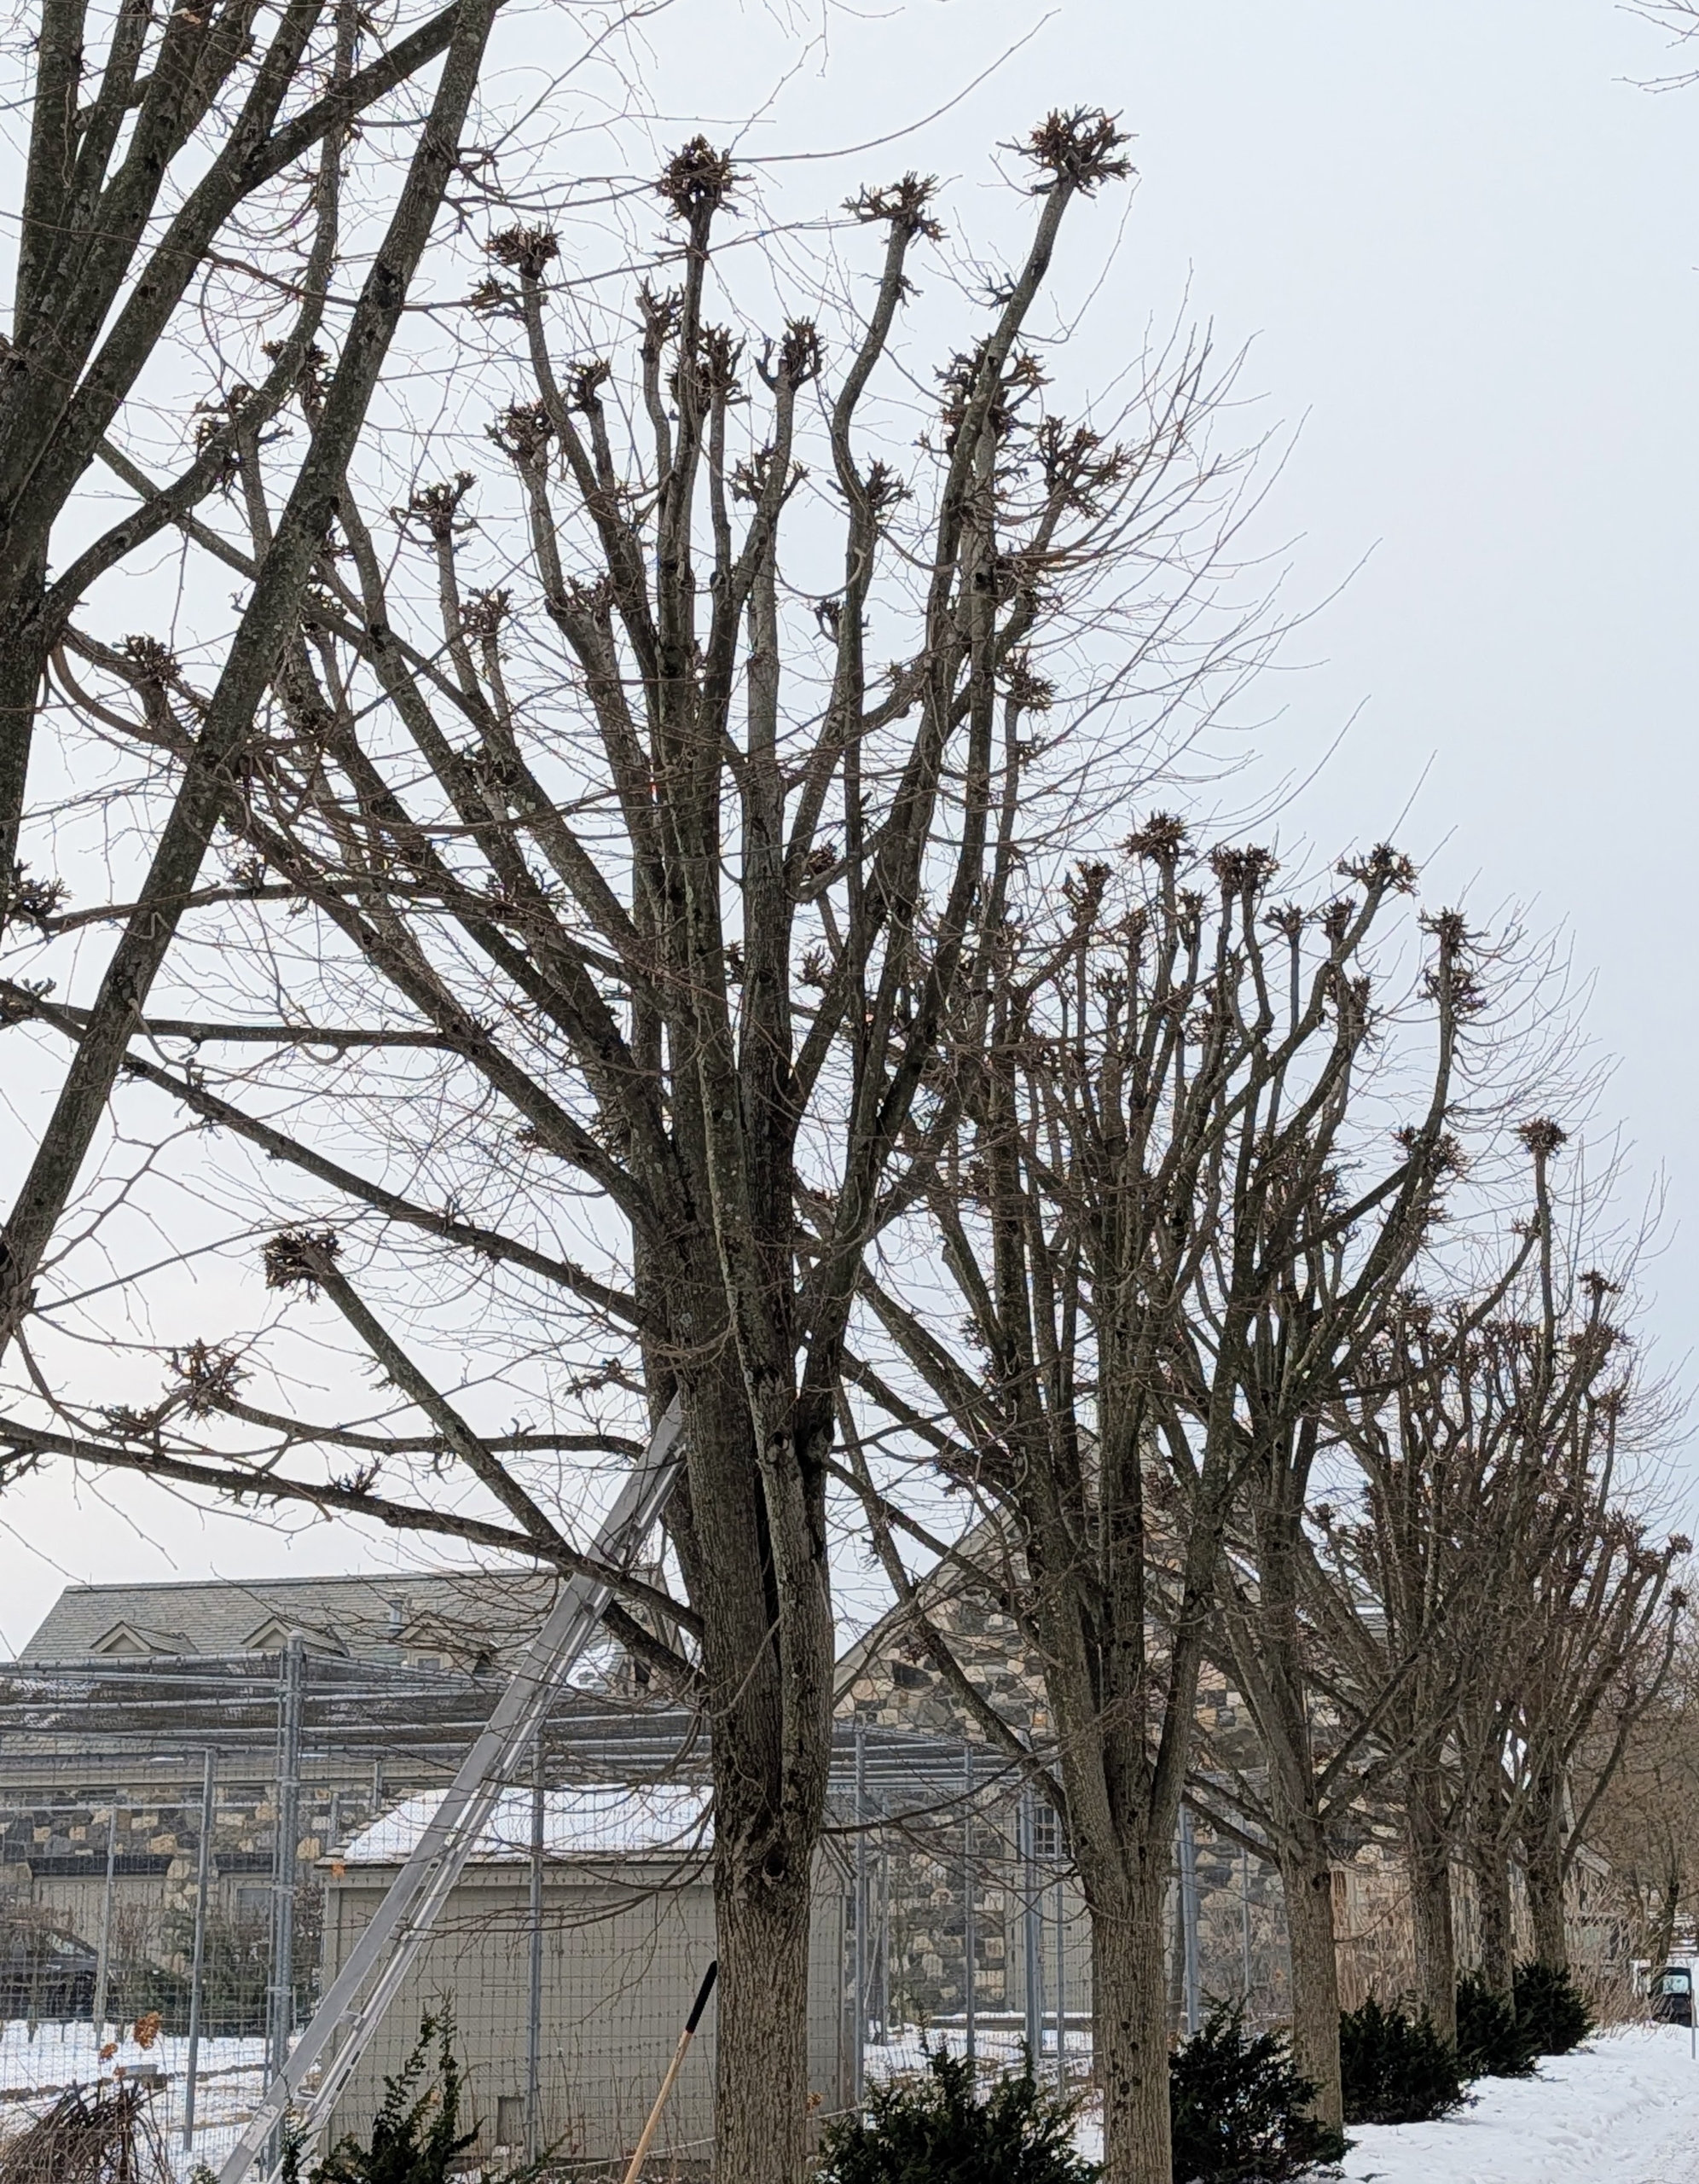
The last few days have been cold, but clear and not too windy so it’s a perfect time for some high tree work on my linden trees.
Here they are last autumn. Linden leaves are green in summer and take on a beautiful golden hue in fall before dropping. These trees are easy to care for and ideal for urban landscapes because they tolerate a wide range of adverse conditions, including pollution.
More thought and planning goes into pollarding than regular topping, and lopping. Pollarding is similar to coppicing but plants are cut back to a stump, rather than down to the ground. Pleaching involves training trees or shrubs to grow in a flat, formal shape, often used for creating hedges and topiaries. All these pruning techniques encourage new growth and can enhance the aesthetic appeal of the landscape.
Some of the other types of trees that can benefit from pollarding include beech trees, black locust trees, catalpa trees, hornbeams, horse chestnuts, London planetrees, mulberry trees, redbuds, and willows.
Below these trees, I planted Fernspray Hinoki cypress bushes.
Here is a closer look at the upward growth that is being pollarded. This year, I asked the crew to focus on these branches and leave more of the insides, so the trees leaf out wide and full.
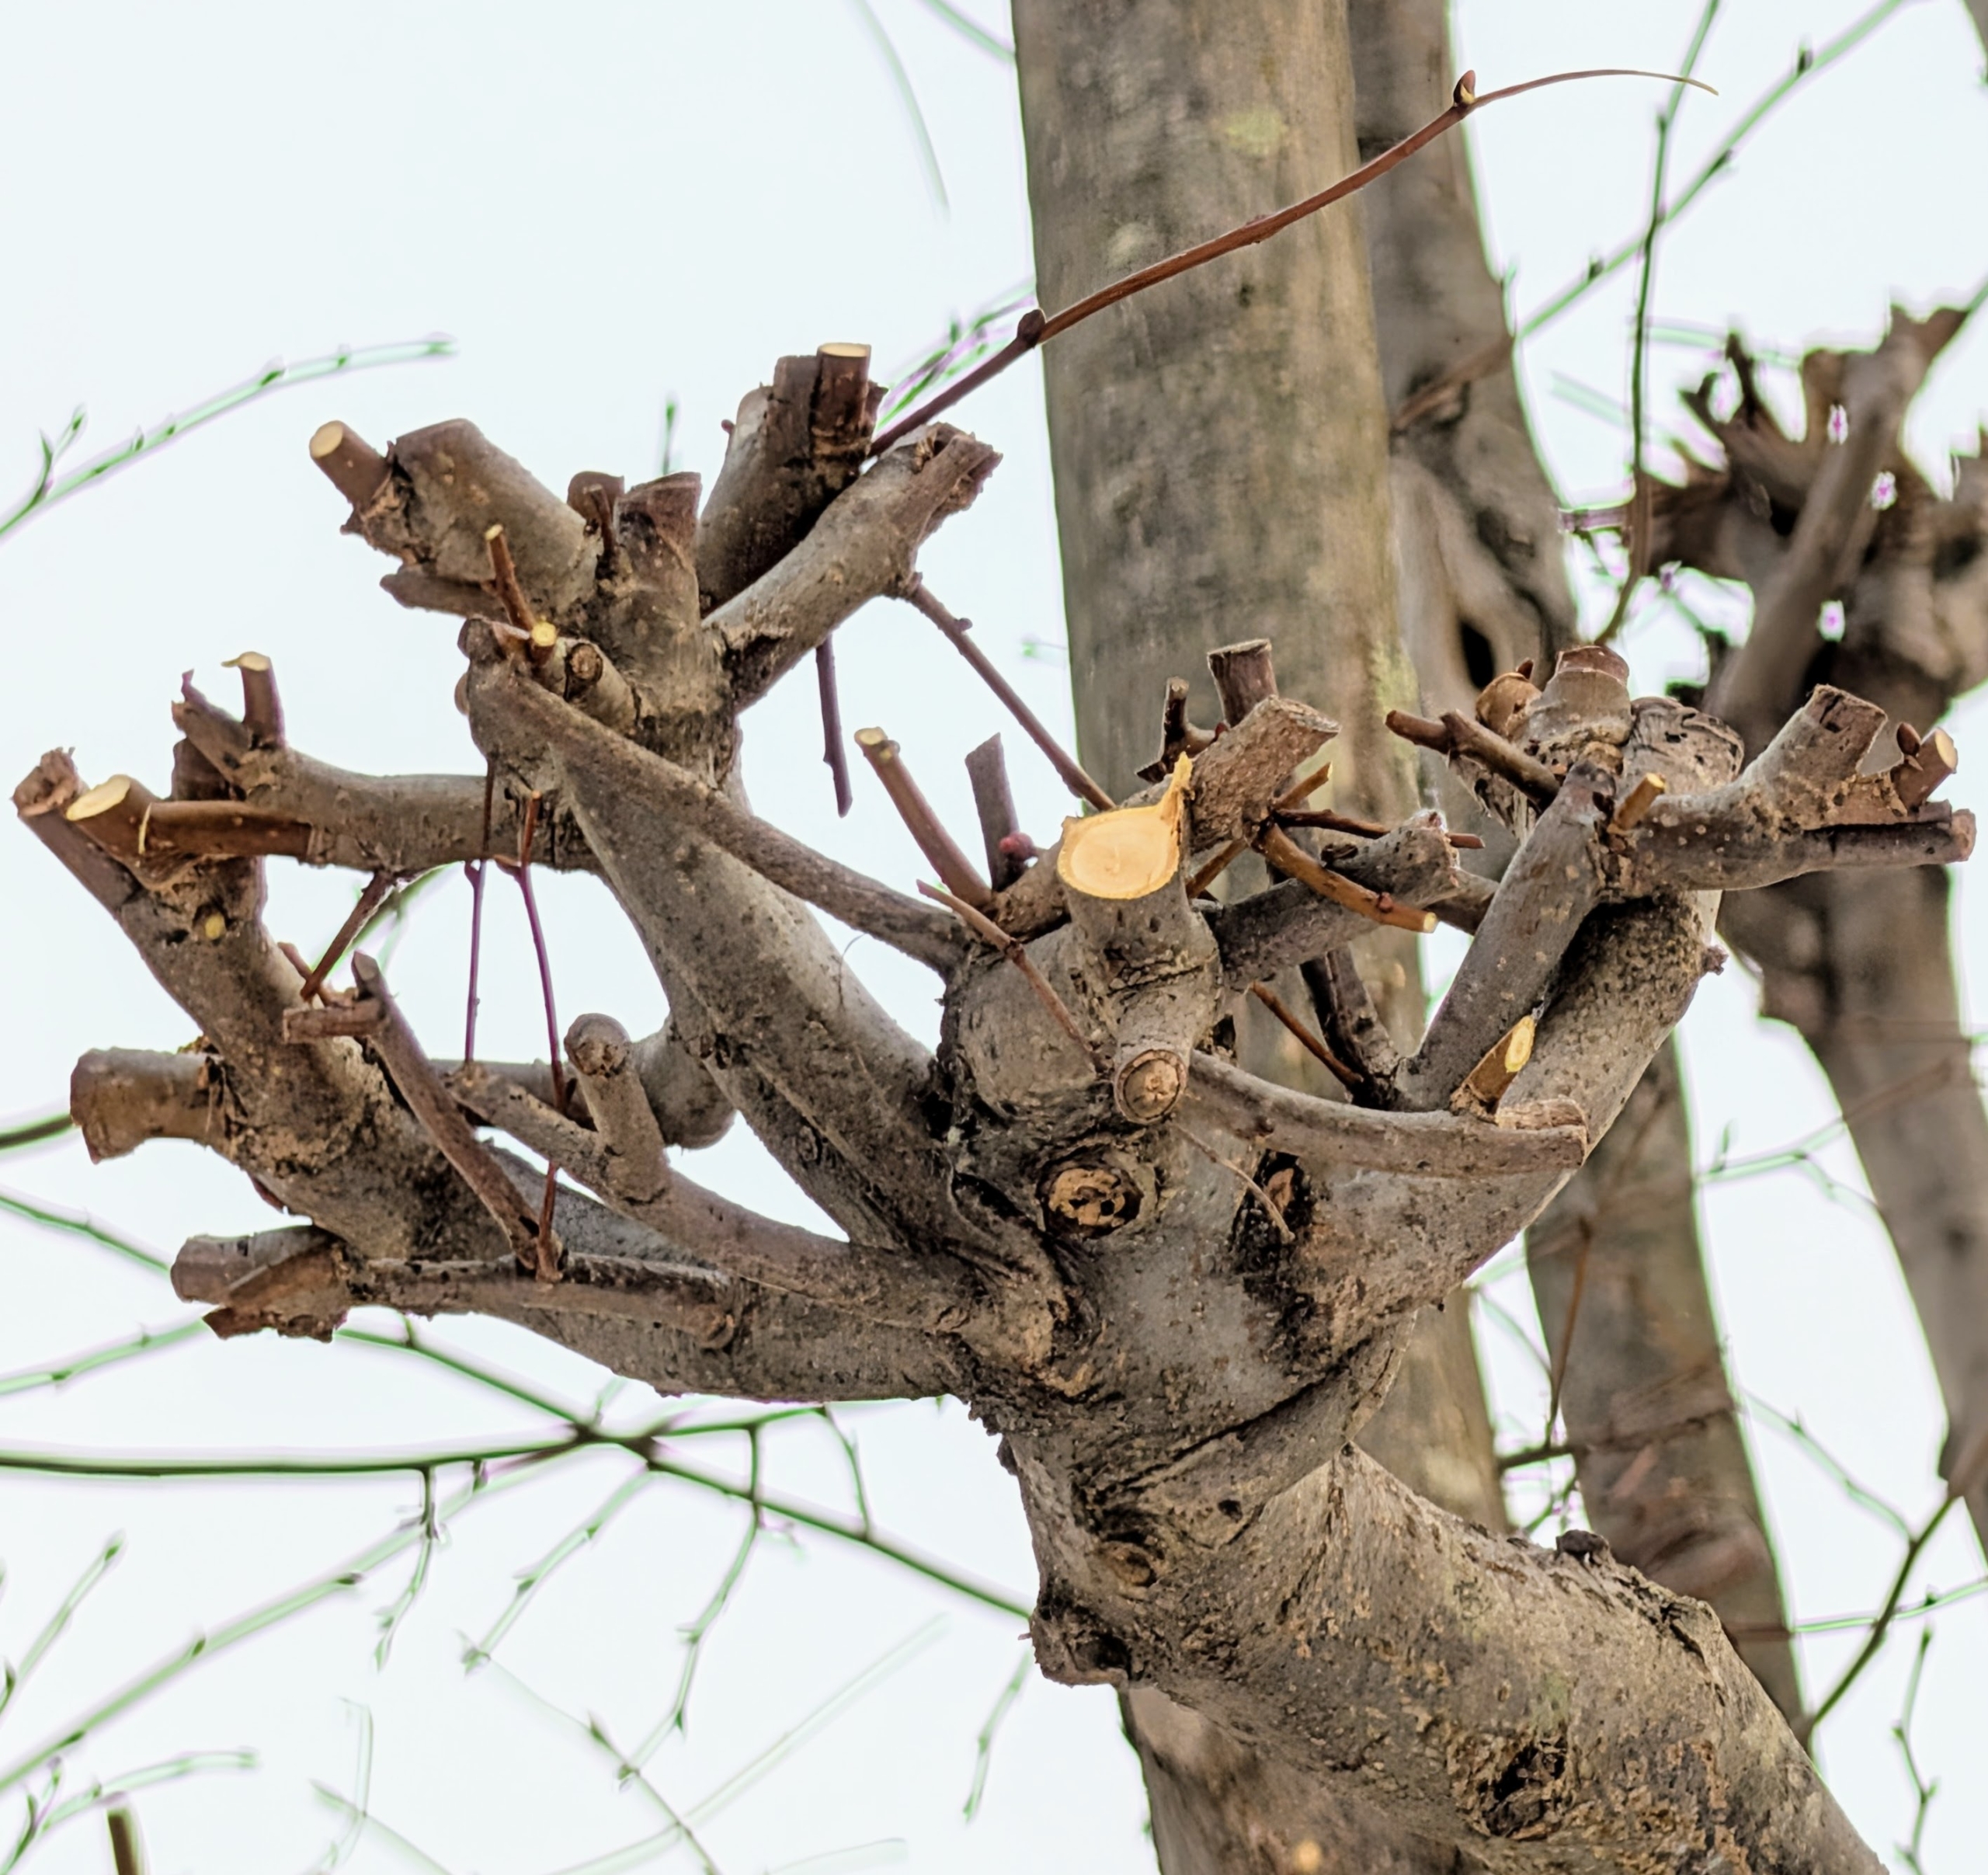
And here is one area done – notice the tops are developing “nubs” or “knuckles” – these will look even better year after year.
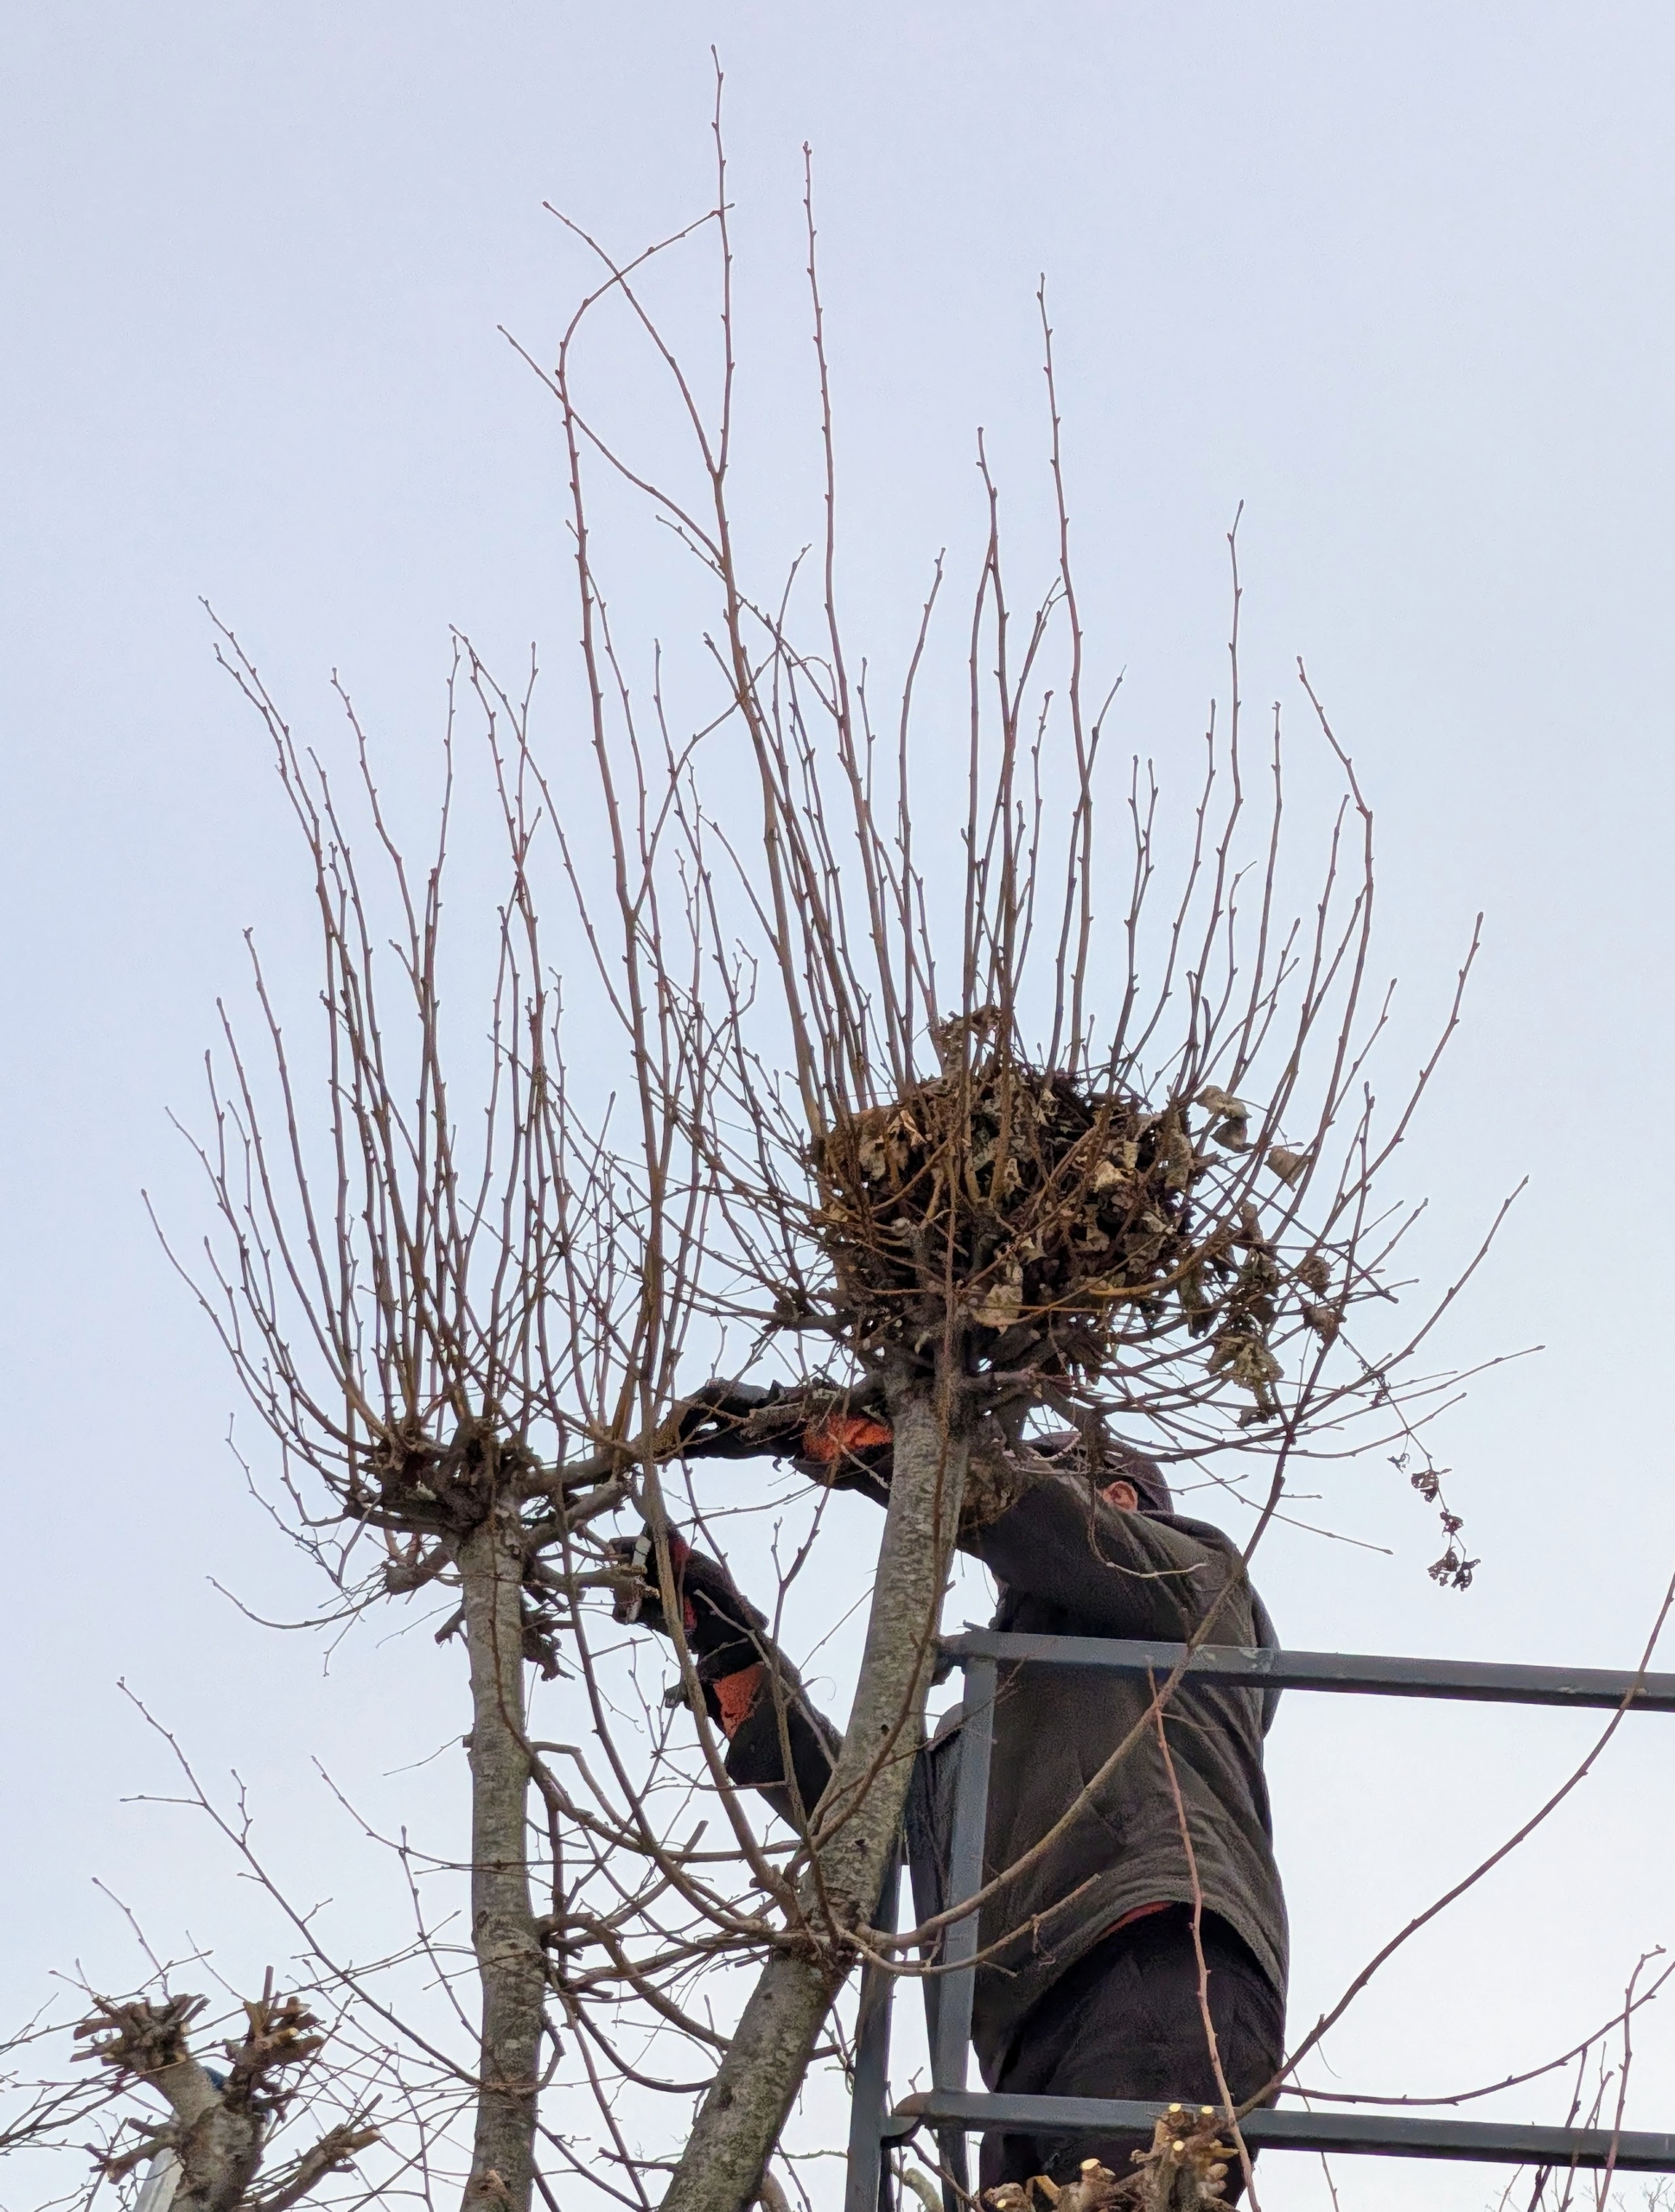
And here is a new cut – always made outside the branch collar at a 45 to 60 degree angle to the branch bark ridge.
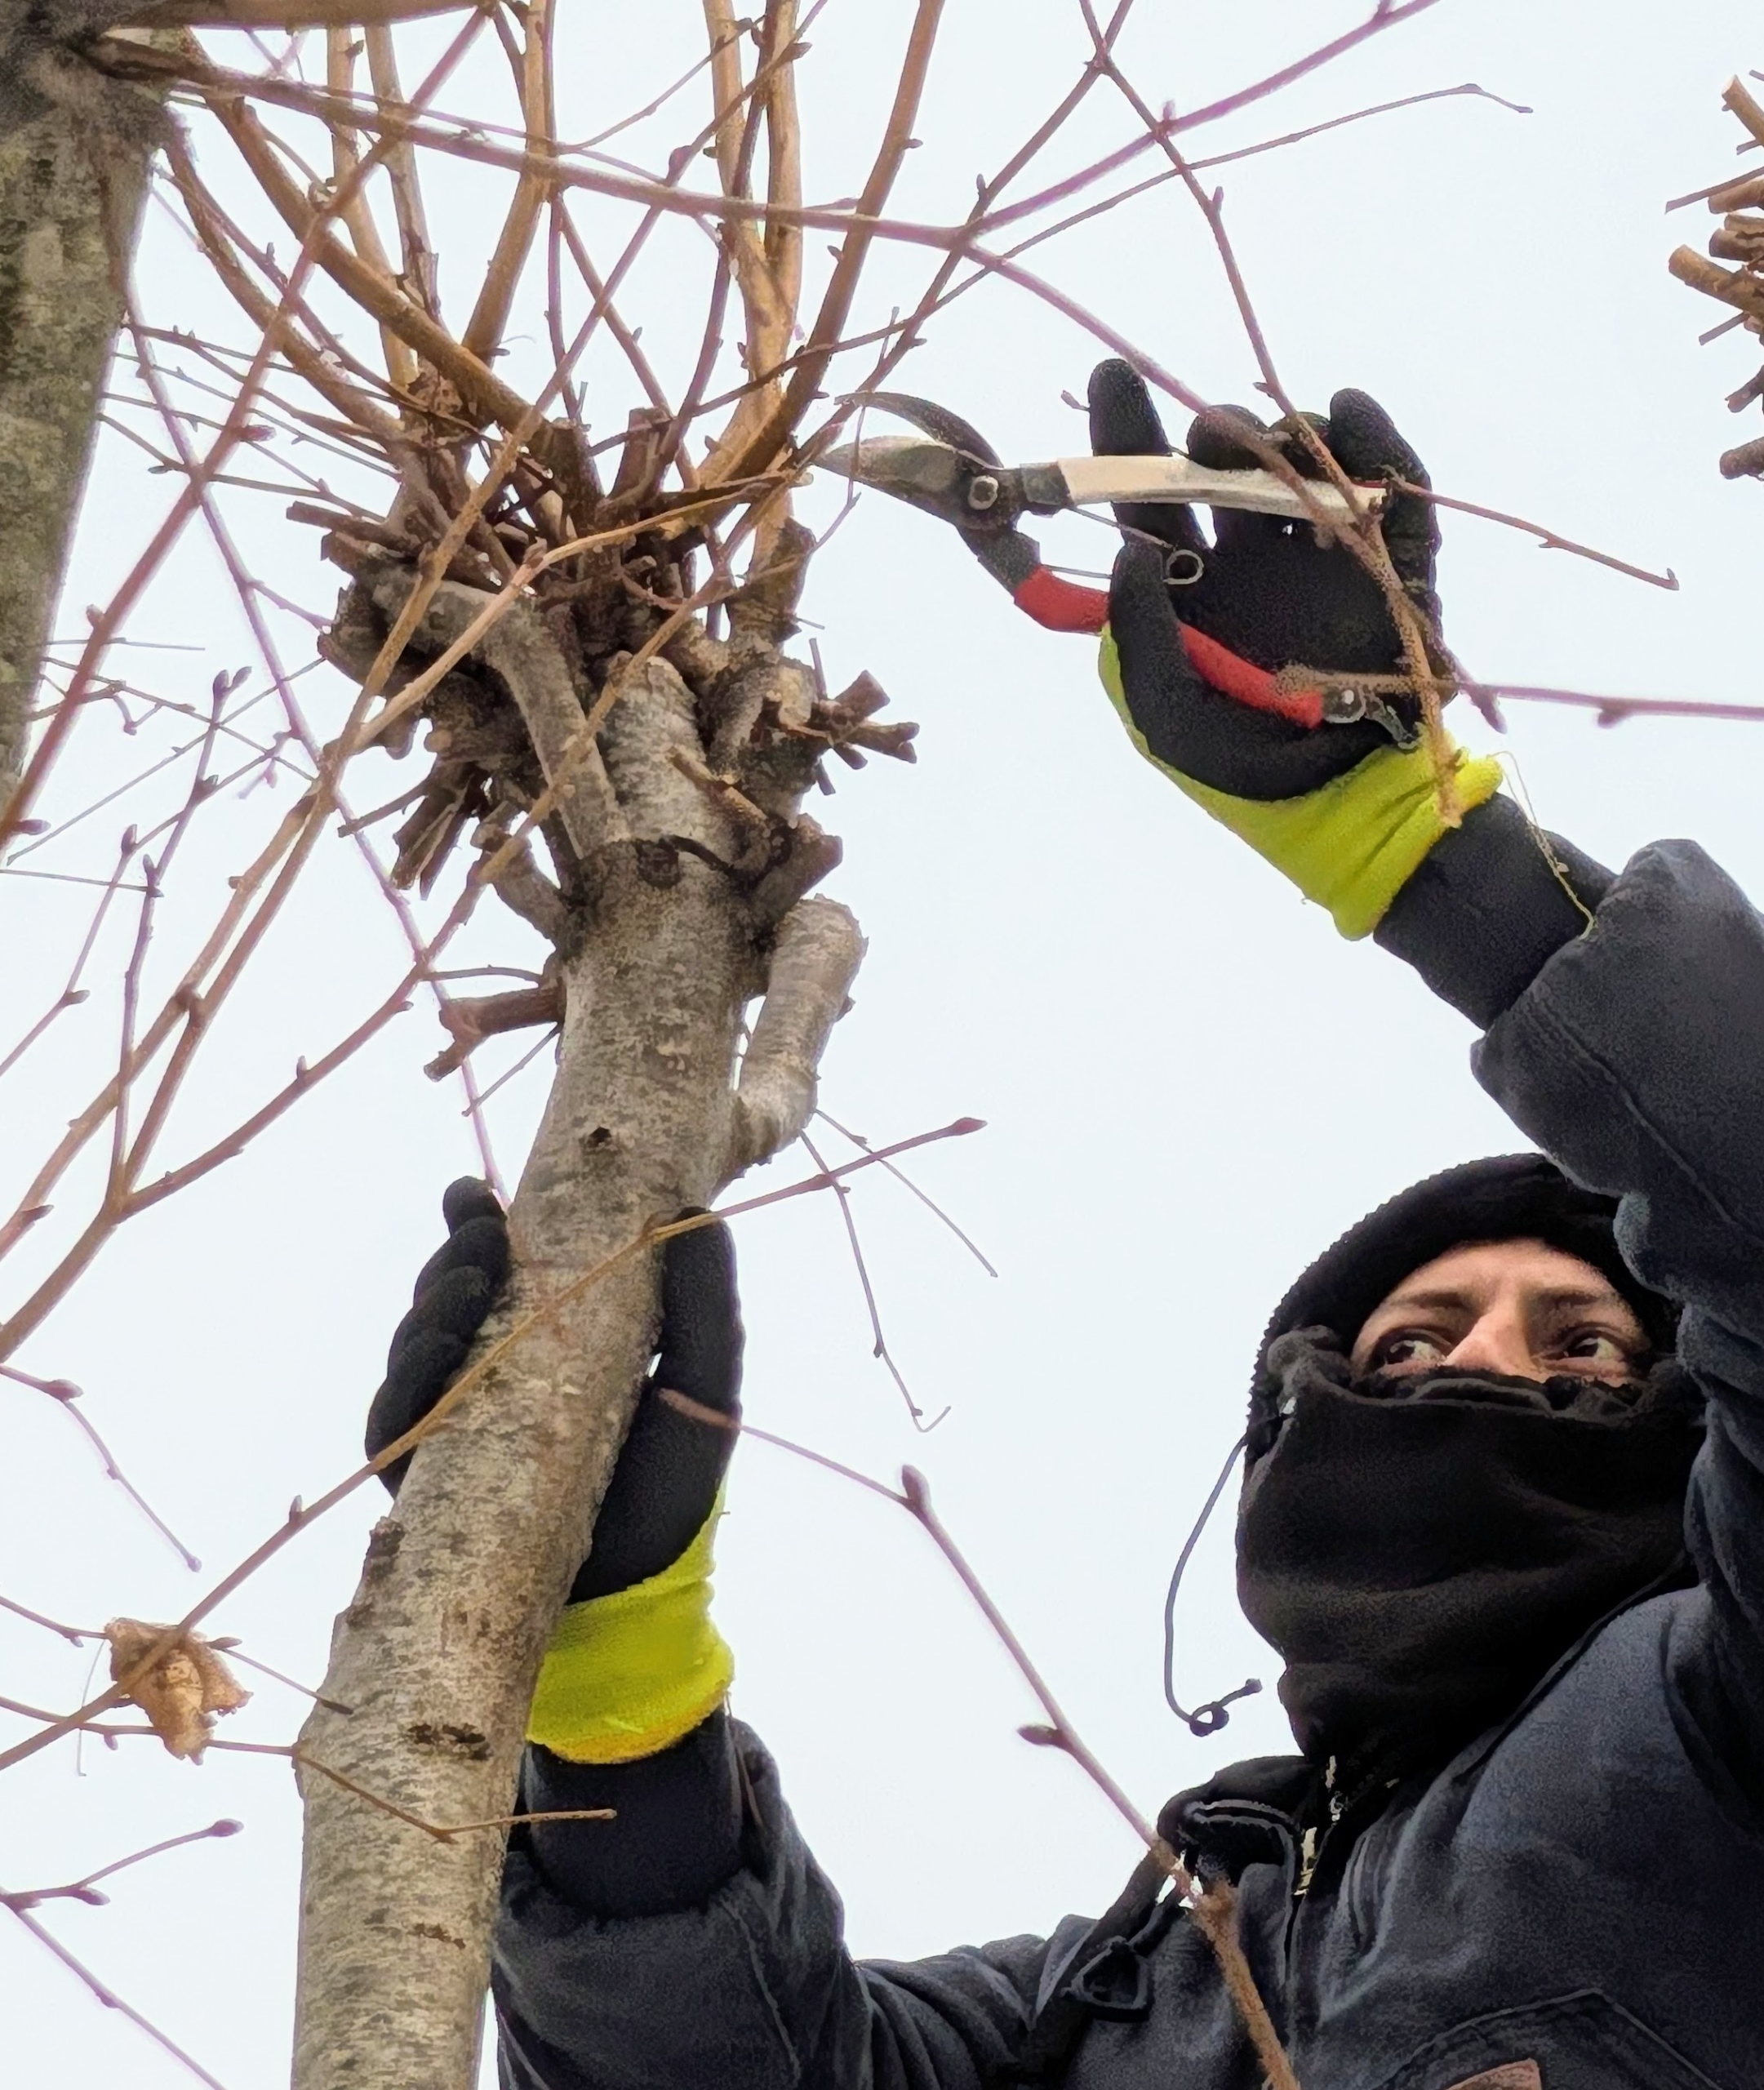
Everyone on the crew uses sharp bypass pruners. Remember, a sharp tool always cuts clean, and helps the plant to recover better. Dull cutting tools rip and shred the plant tissue.
Pollarding can help make trees live longer by maintaining them in a partially juvenile state and by reducing the weight and windage of the top part of the tree.
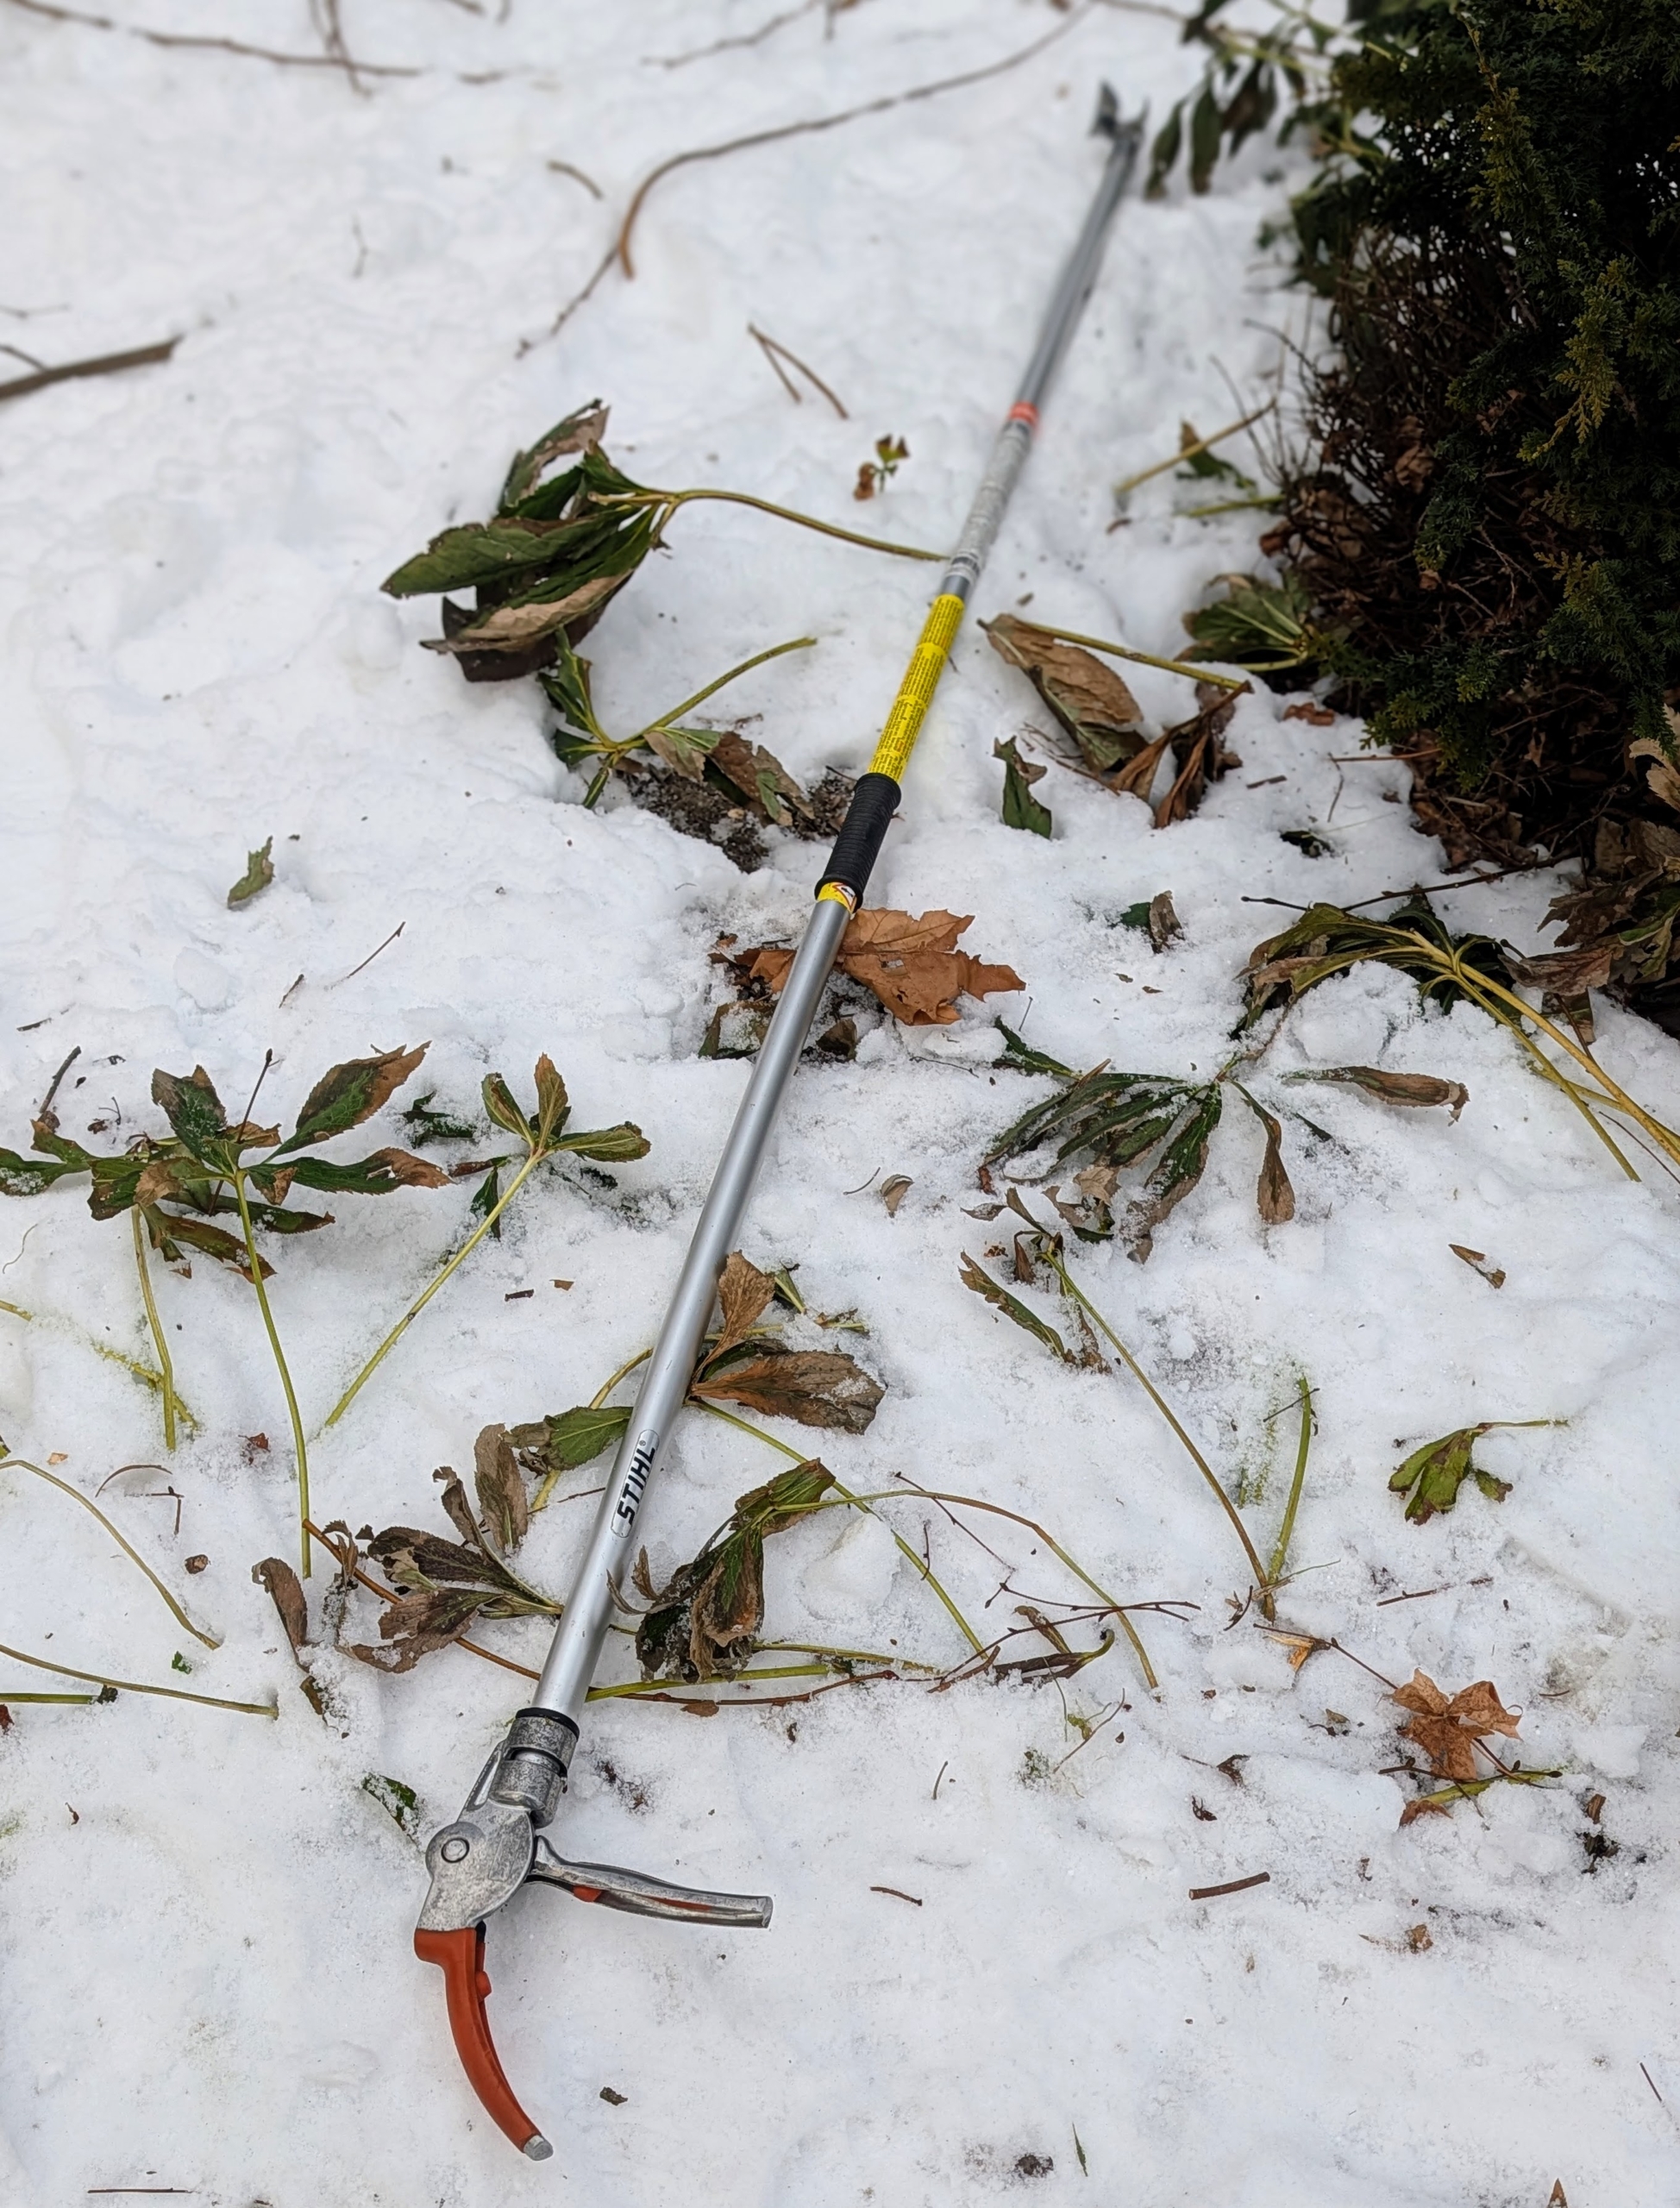
For hard to reach branches, the team uses telescoping pole pruners. This STIHL tool is lightweight and has a very sharp blade for making smooth cuts. It is ideal for pruning higher branches that are not too thick.
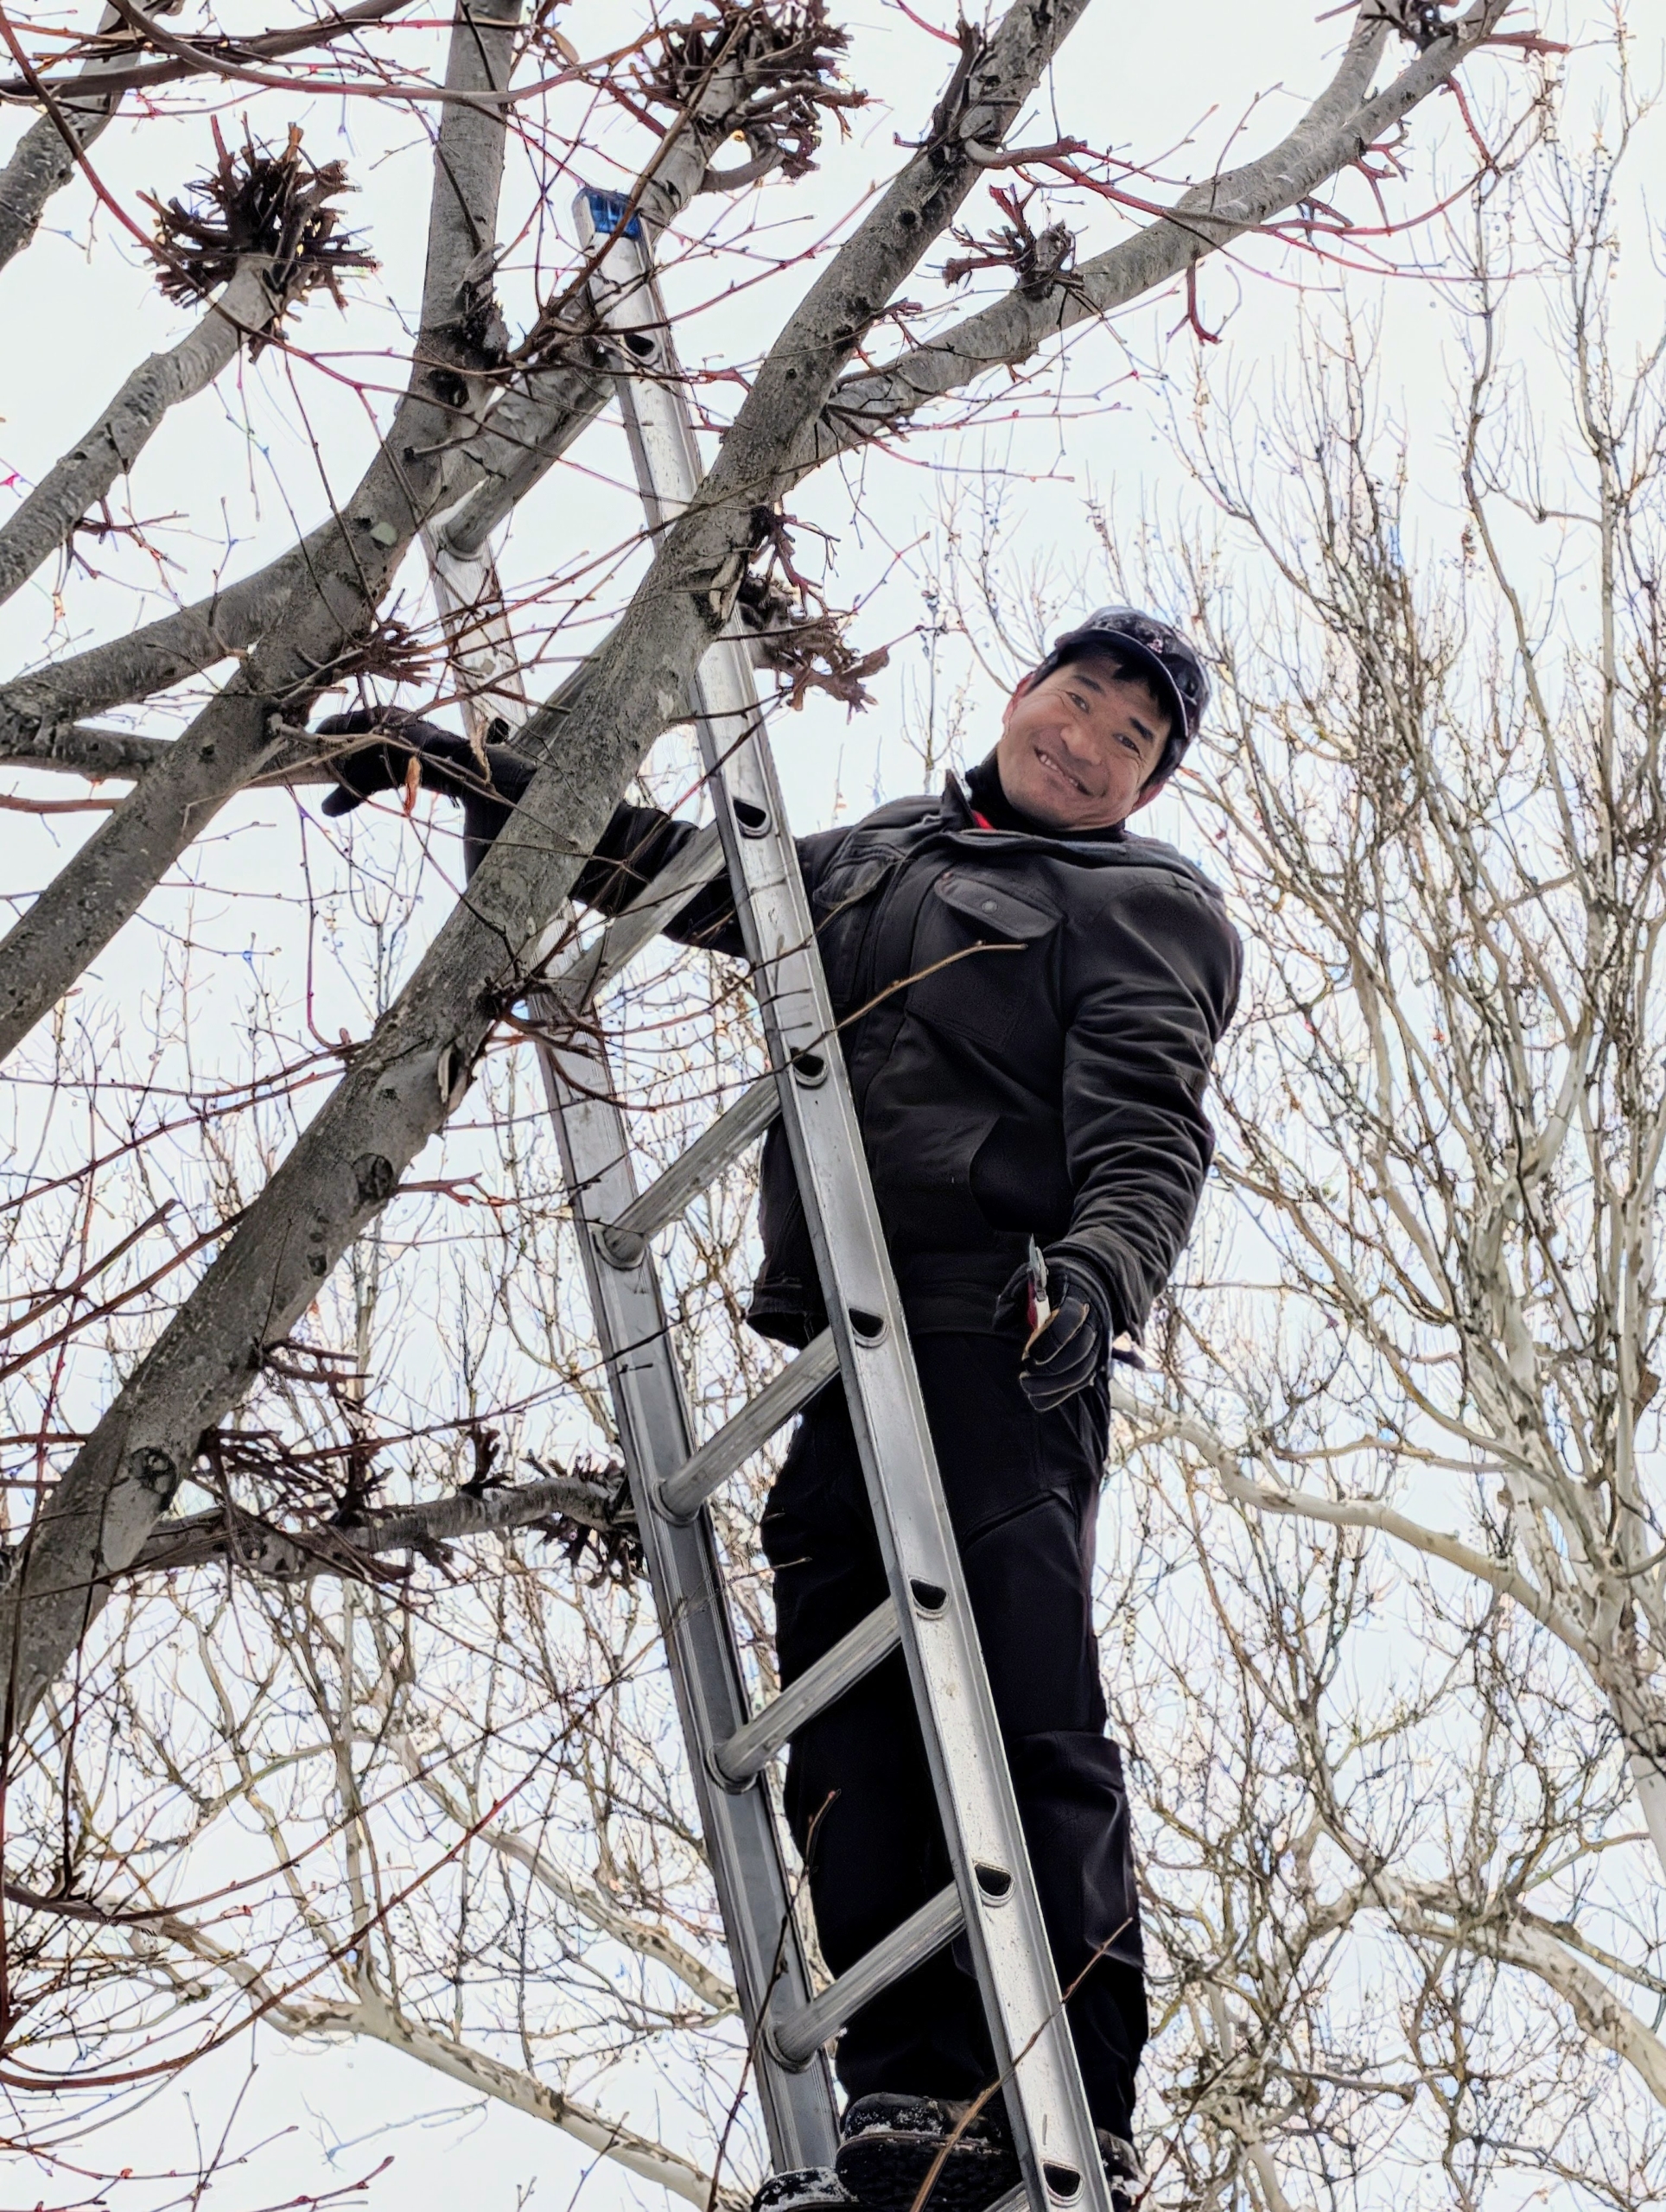
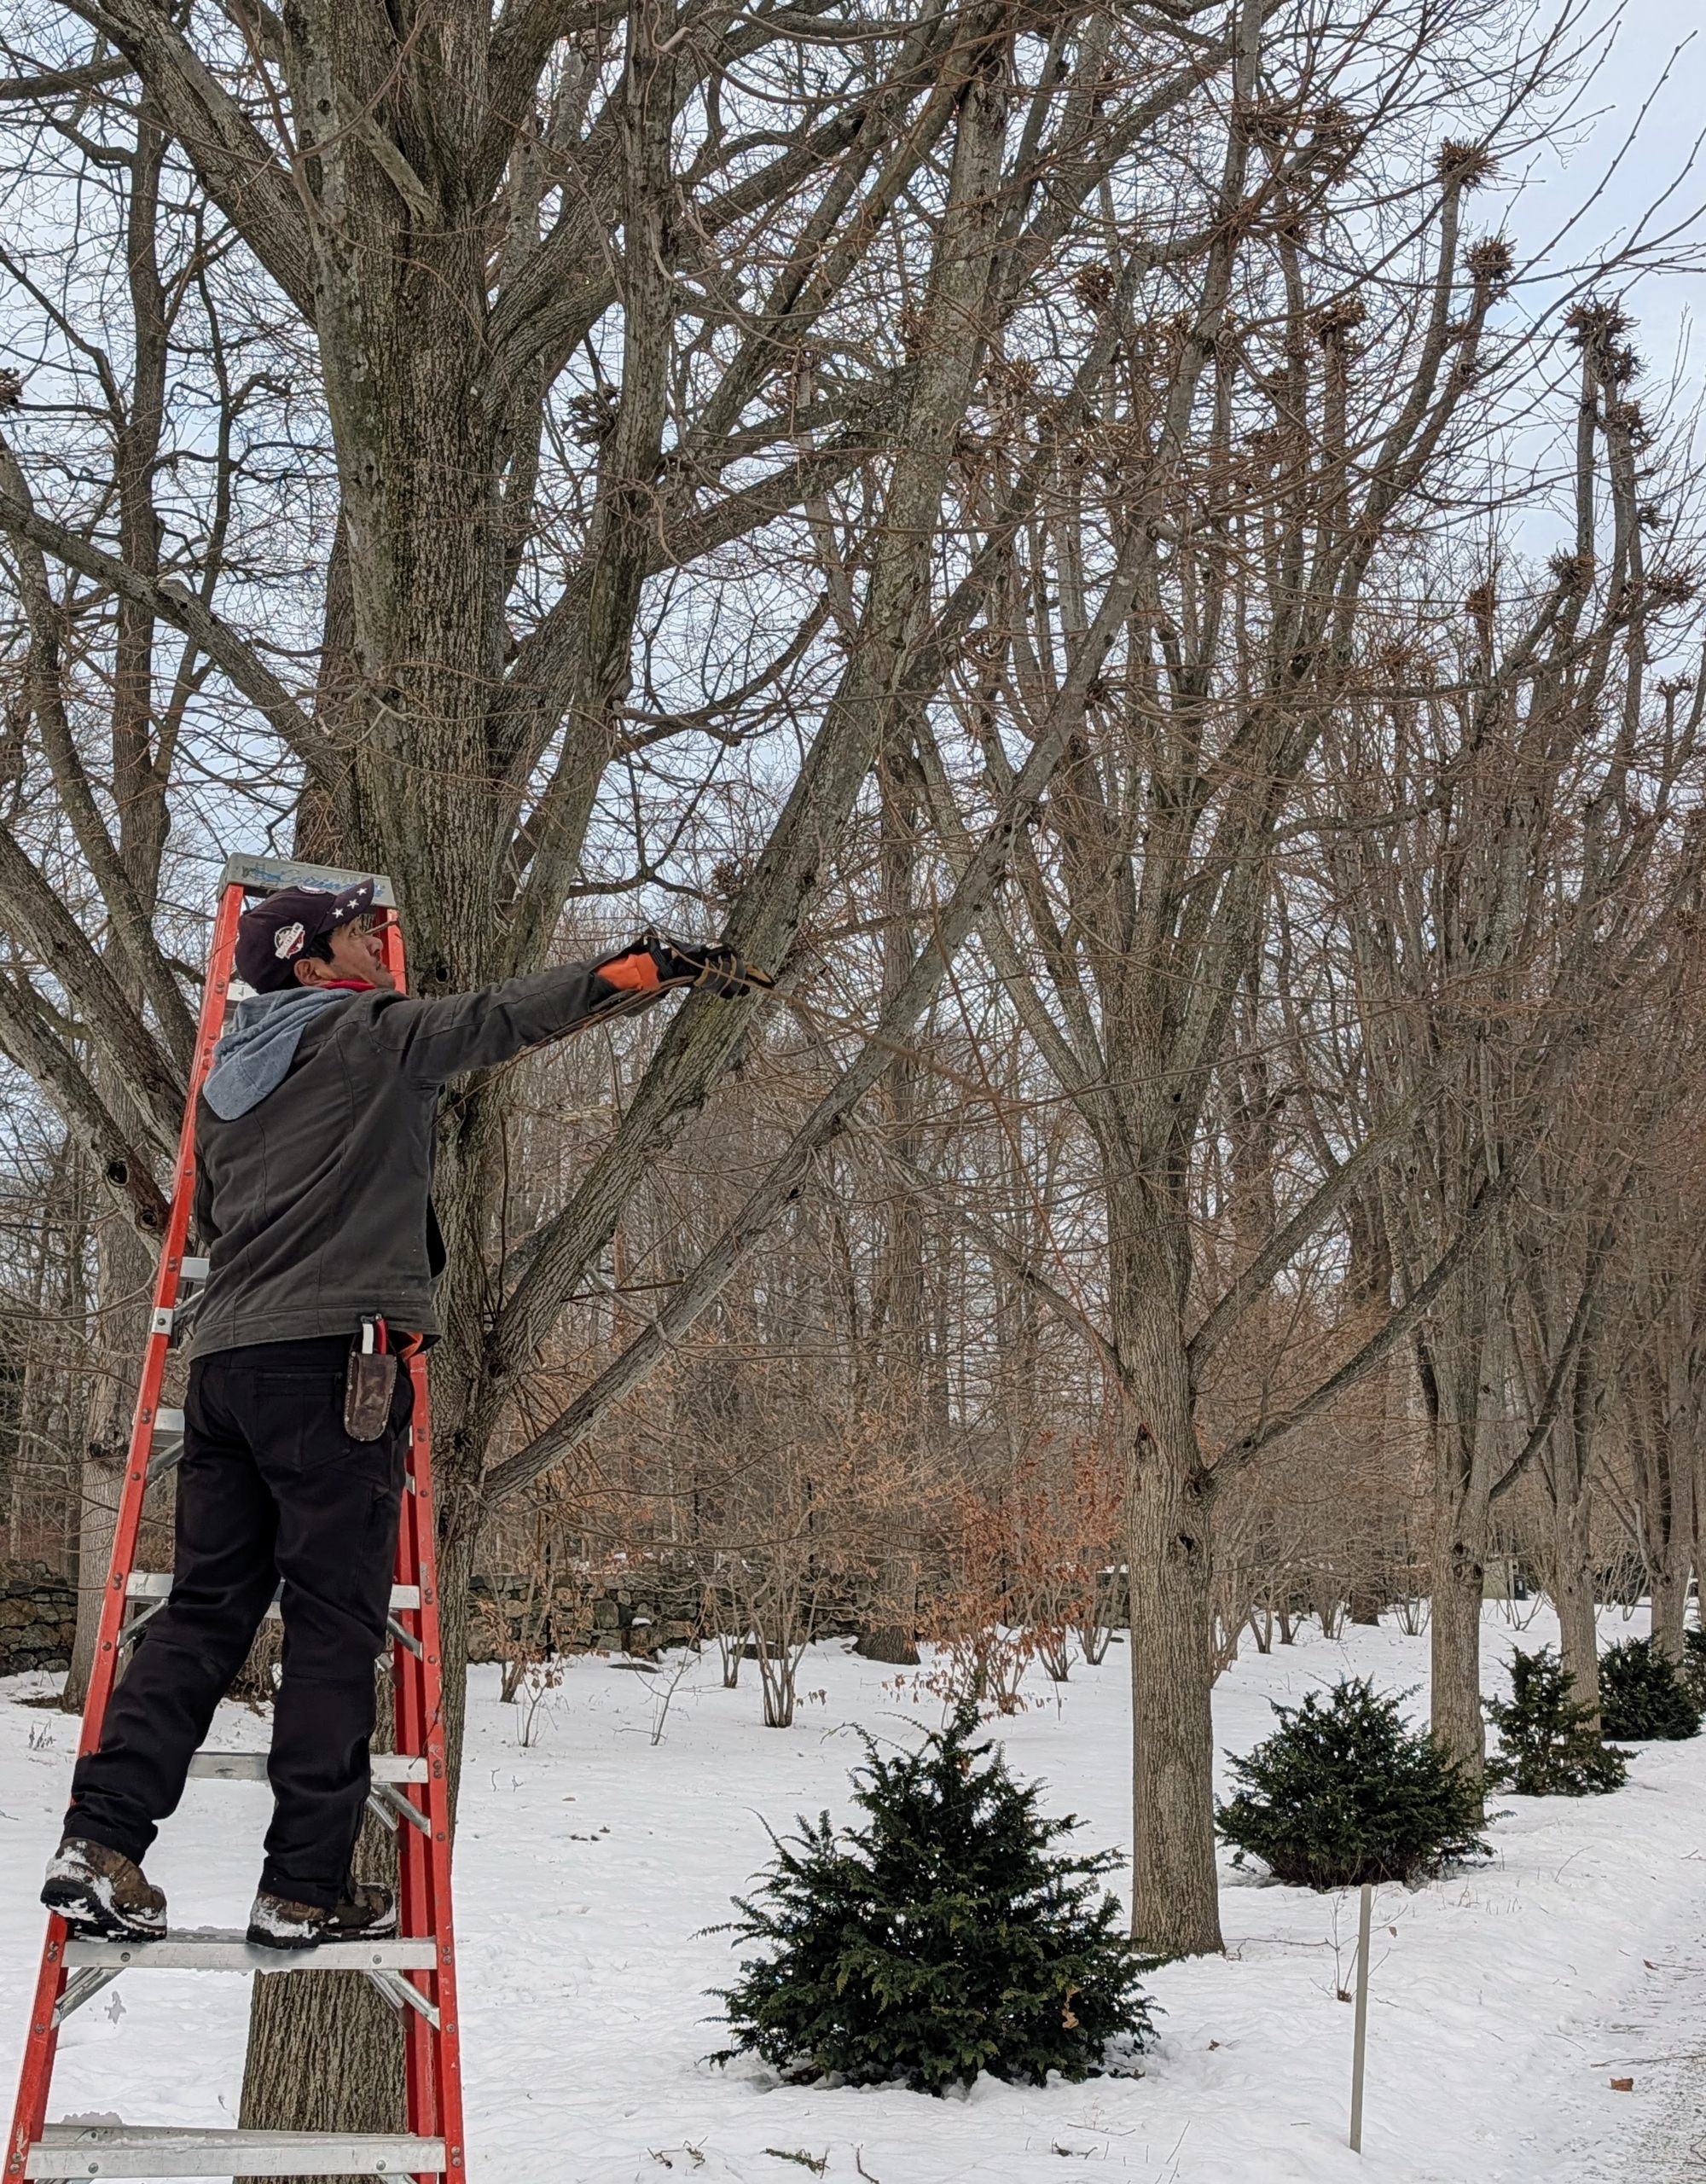
Here’s Pasang, my resident tree pruning expert. Along with pollarding for shape and strong growth, Pasang also looks out for the Ds – dead, damaged, diseased, deranged or defective – these branches are also removed.
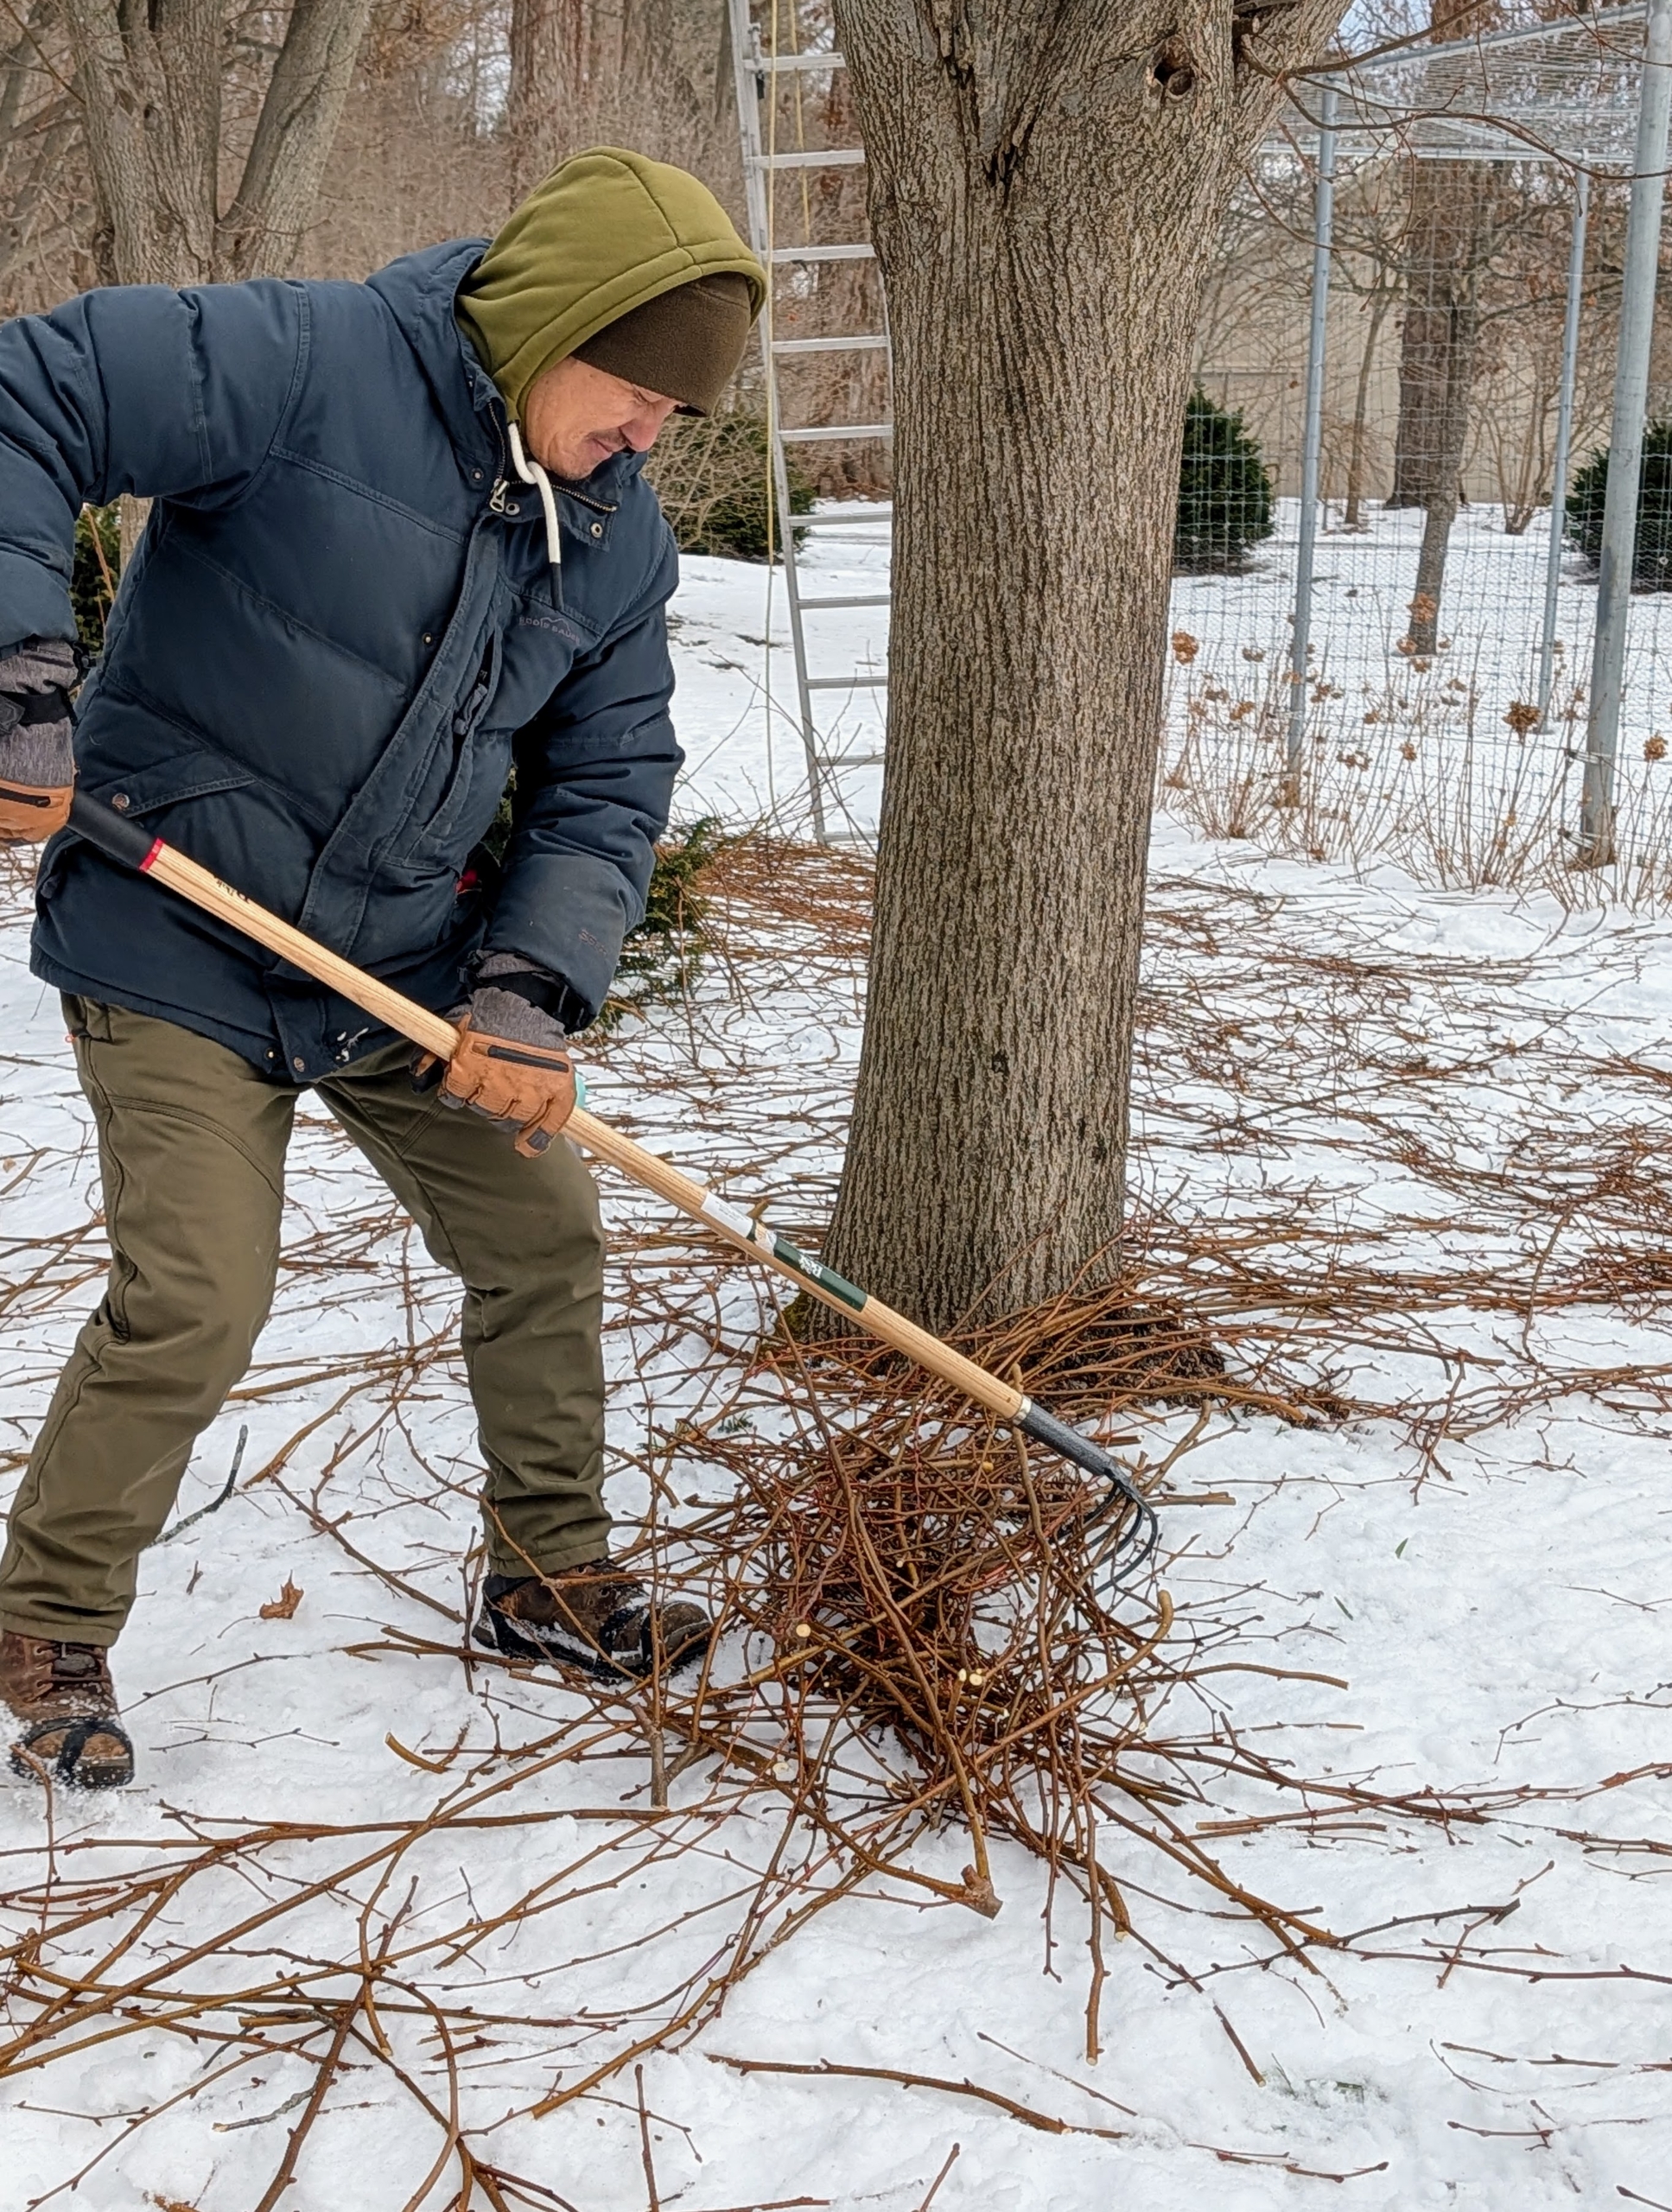
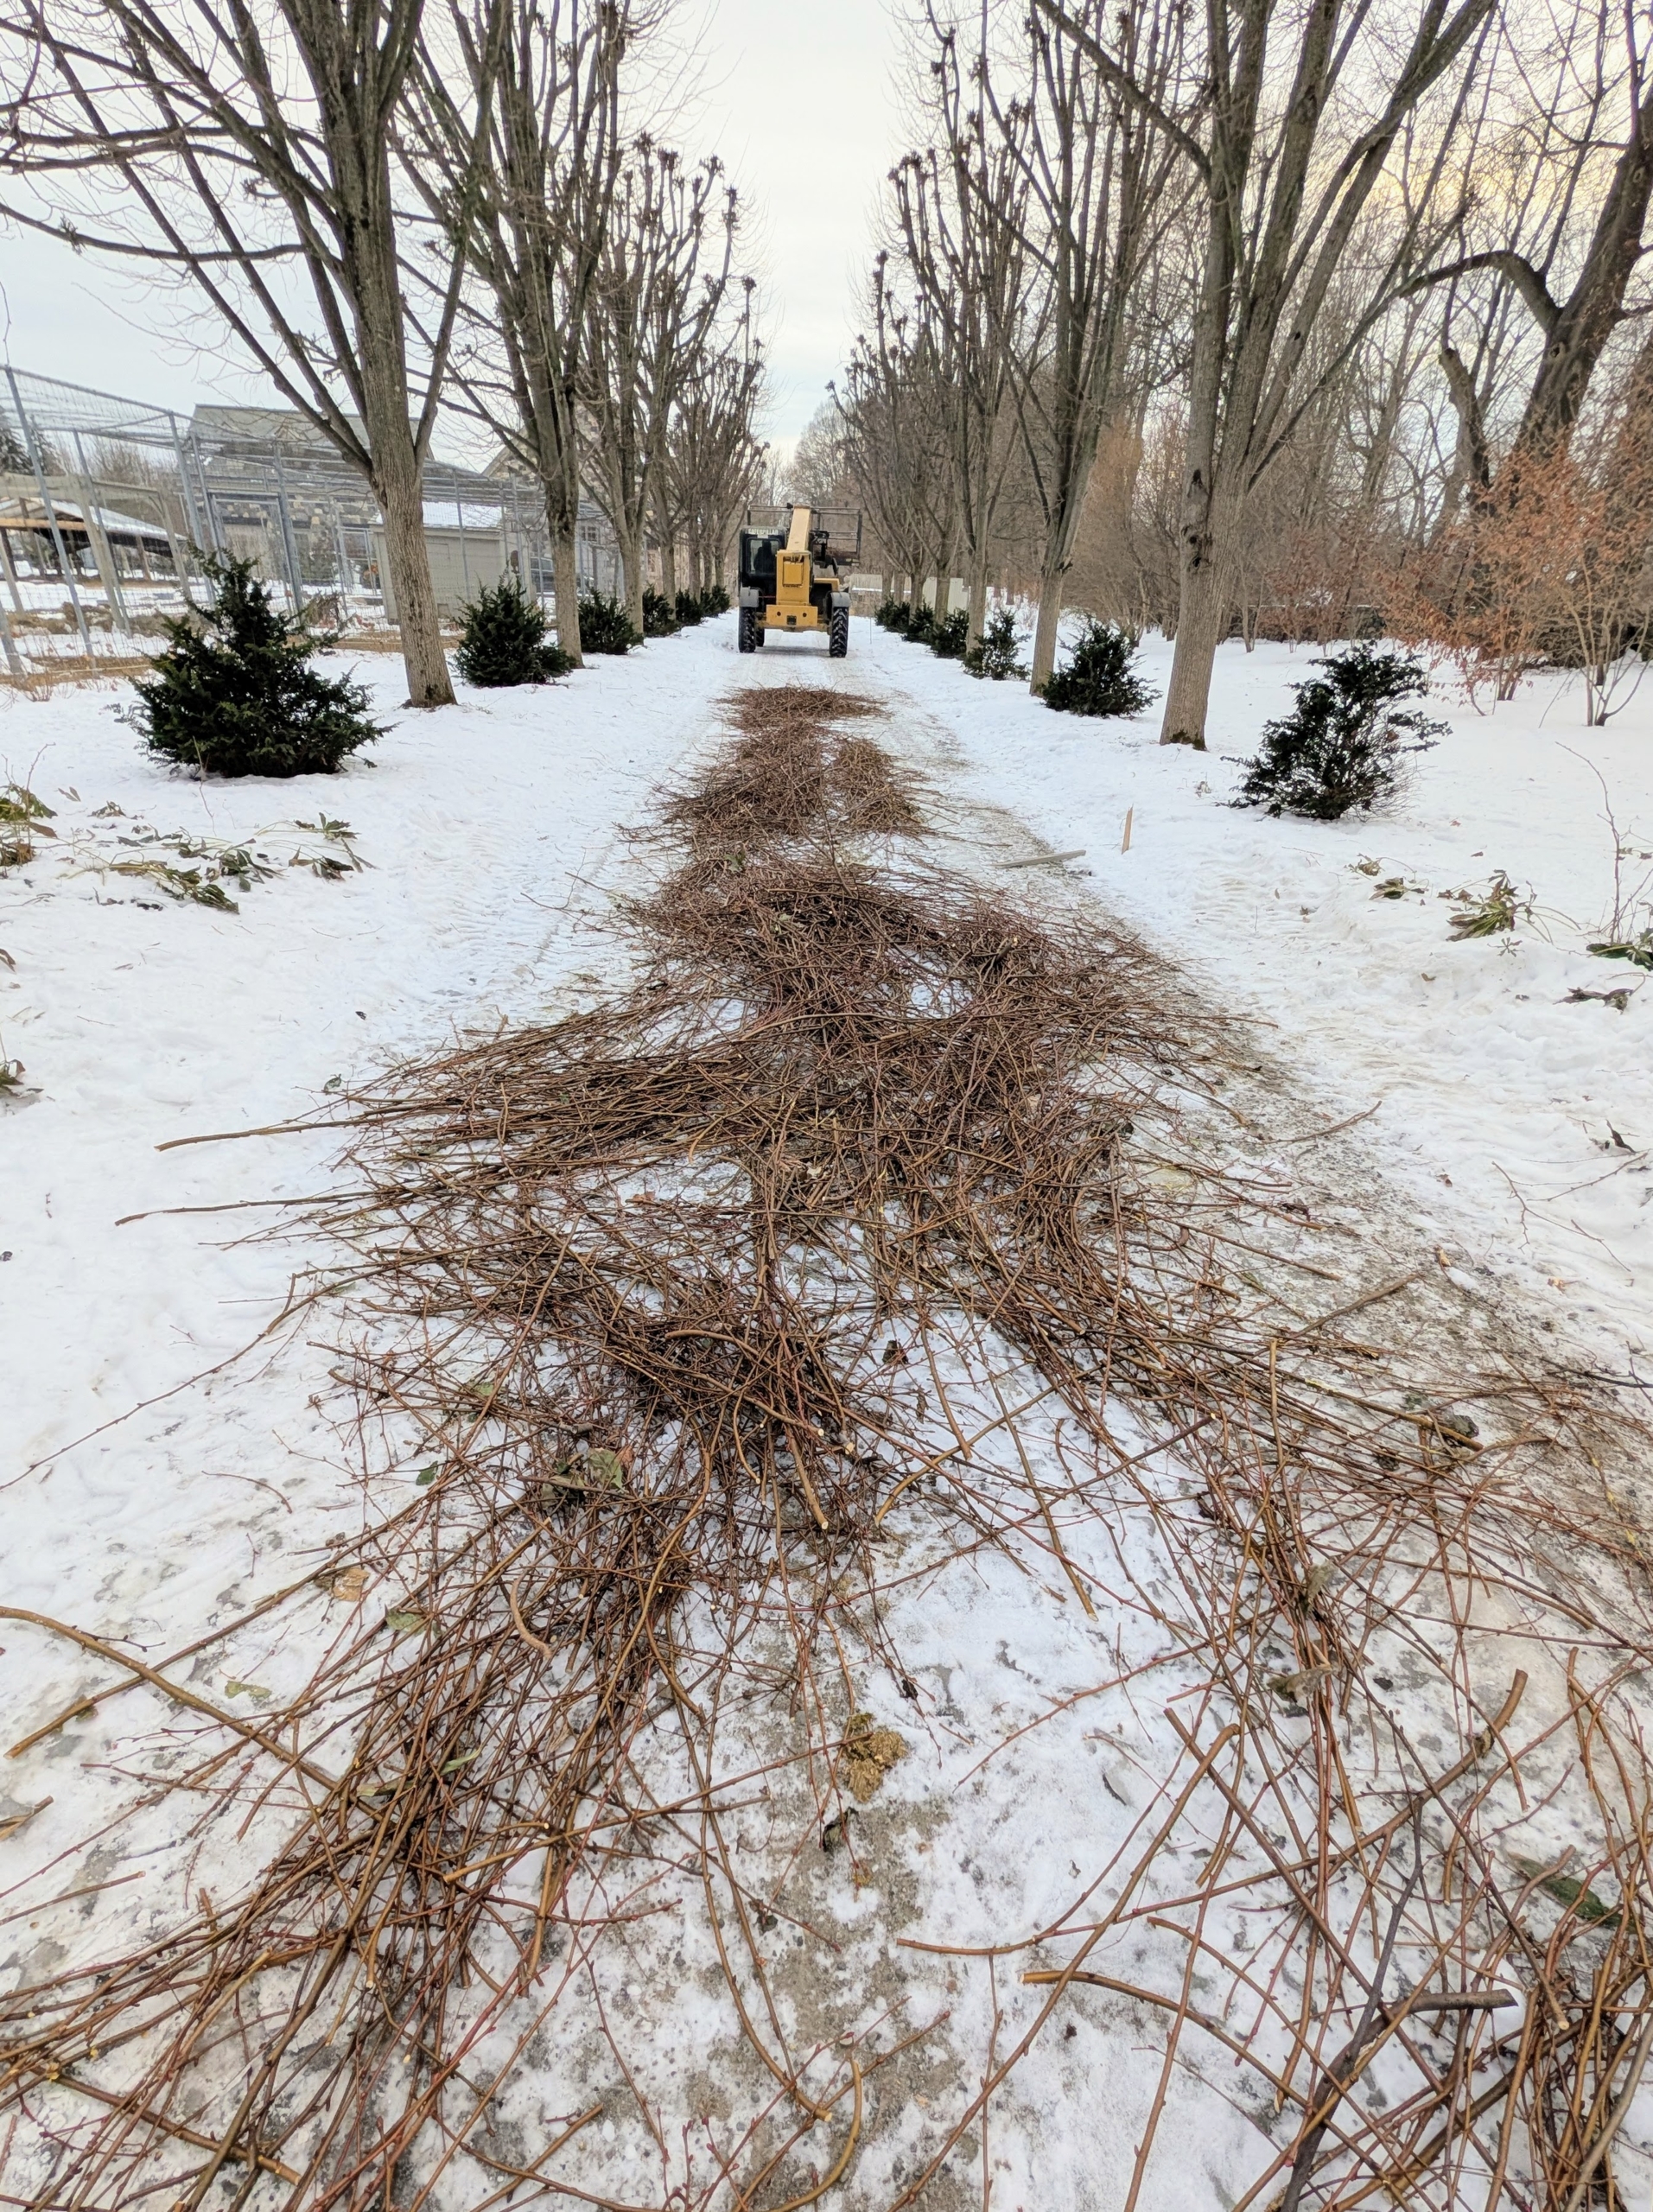
Chhiring stays on the ground raking up the fallen branches and watching everyone from below.
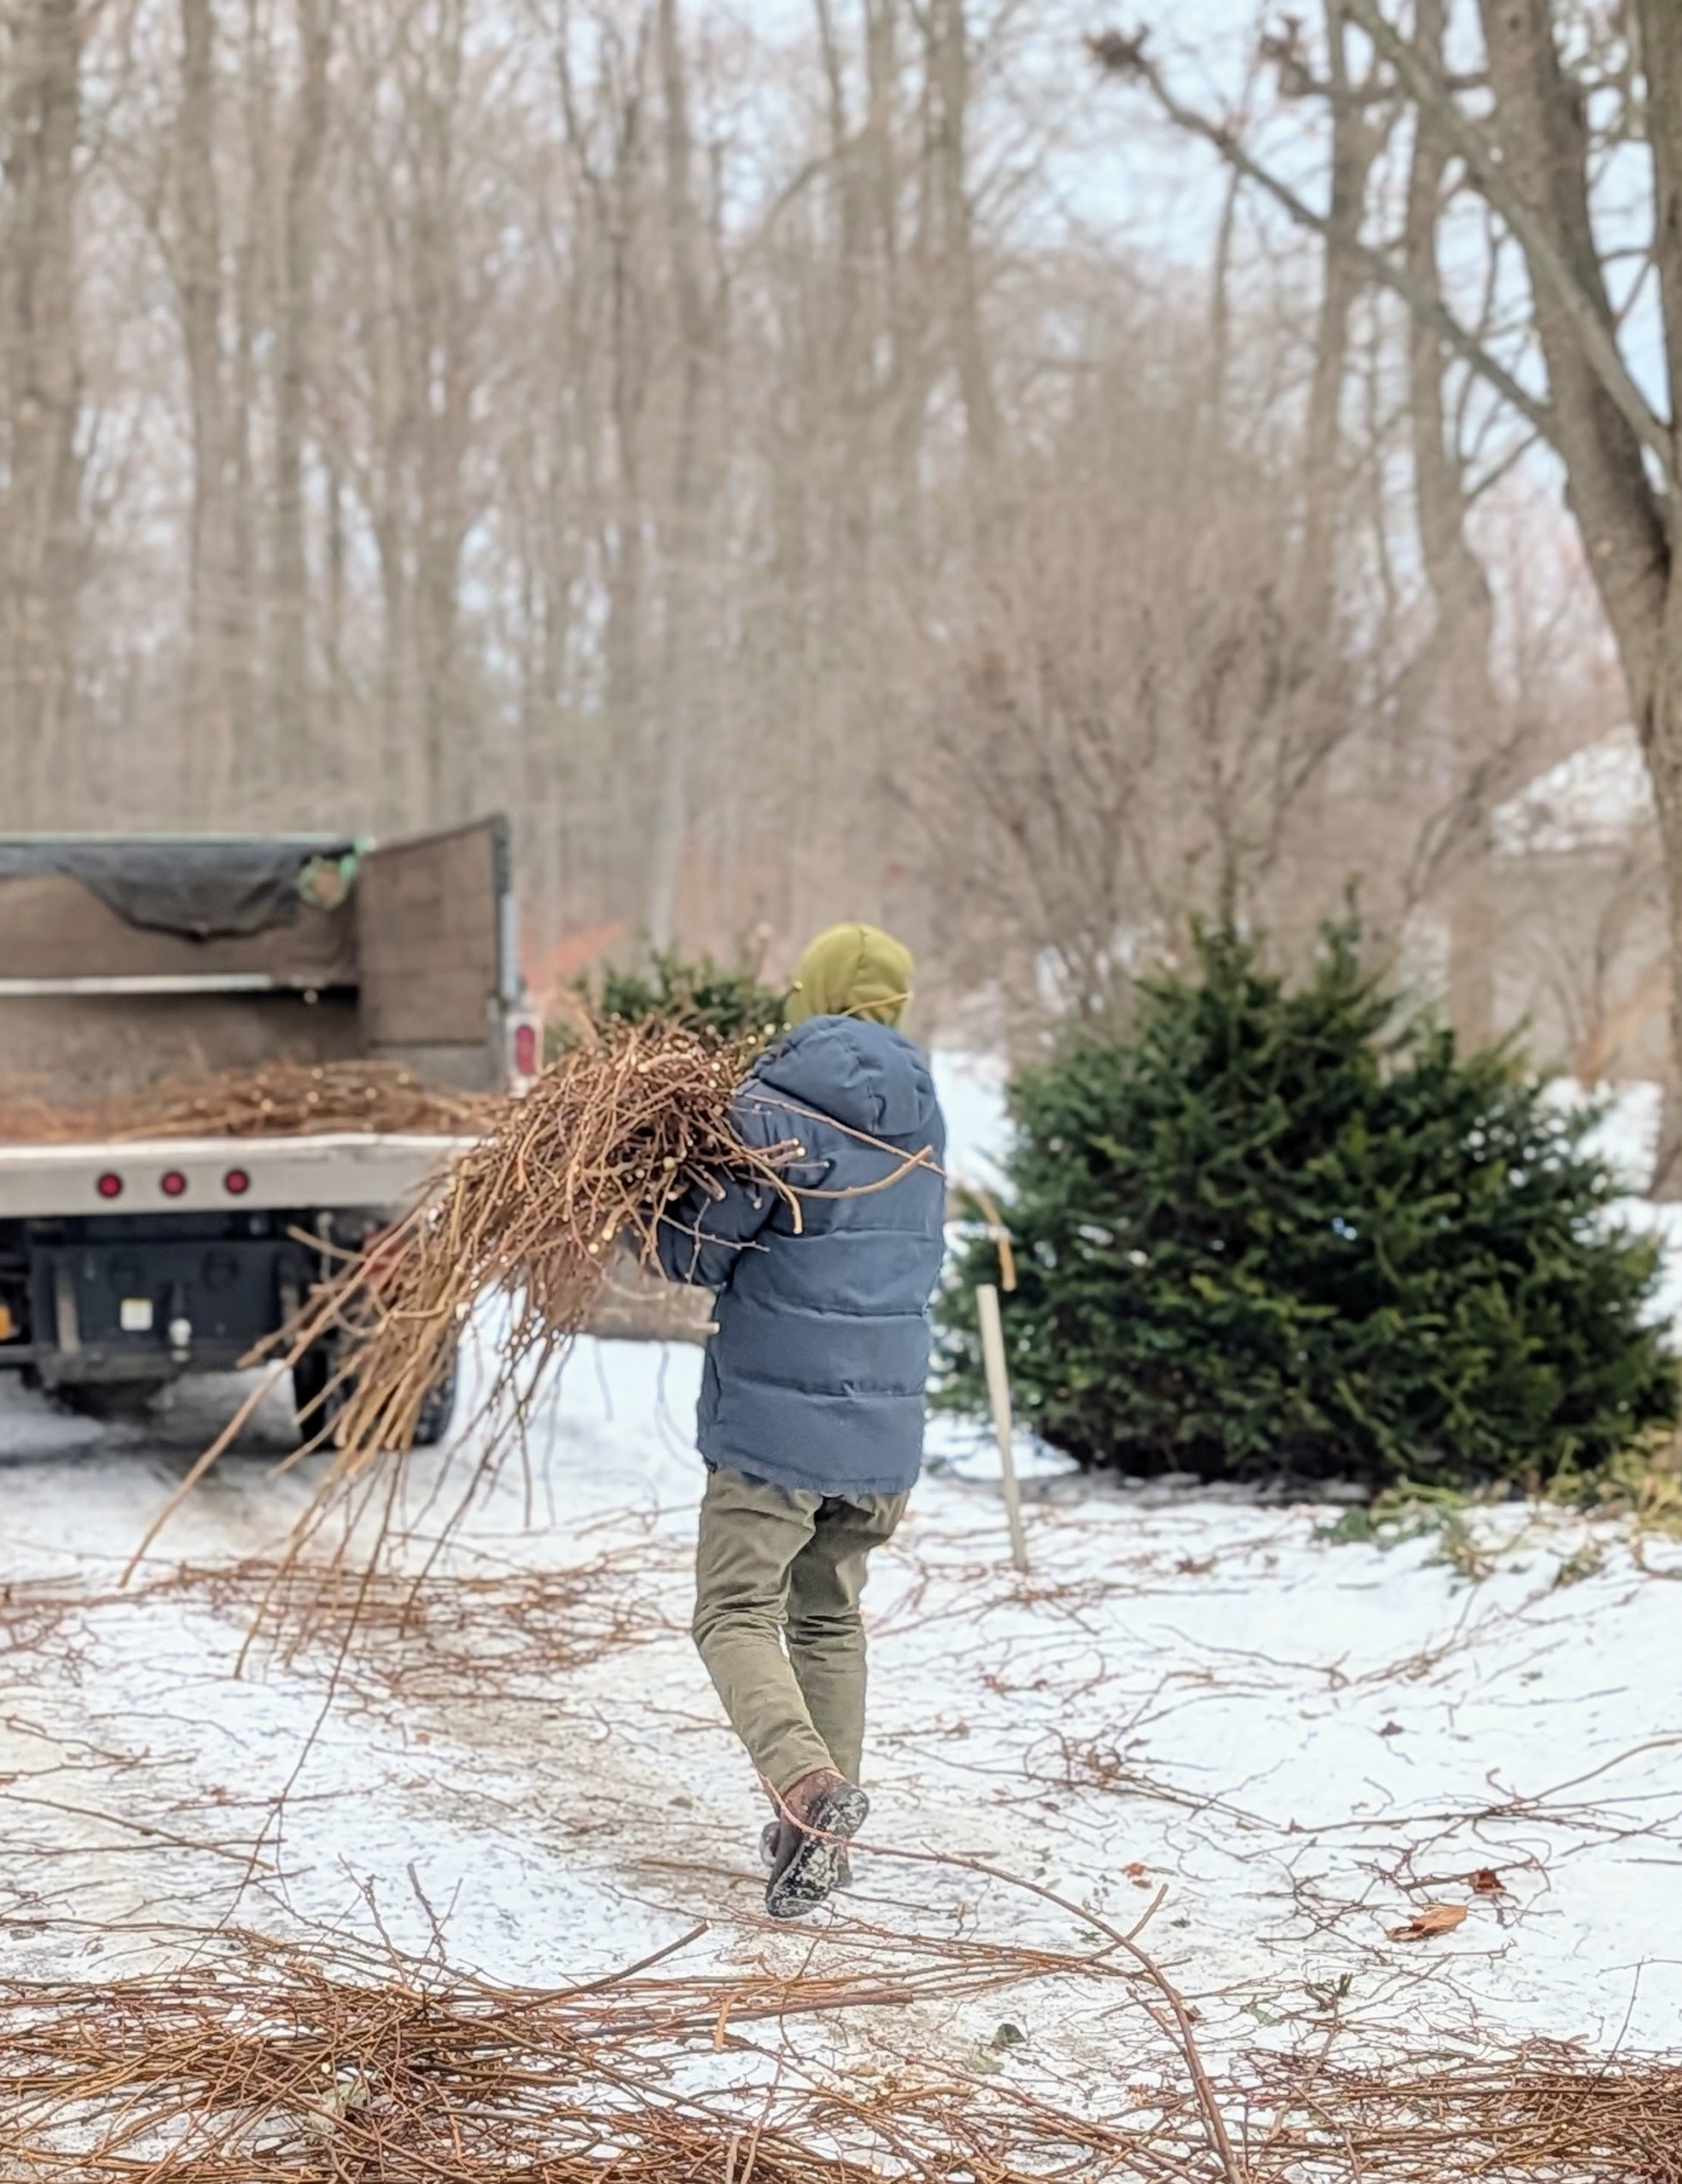
The branches are gathered and then loaded onto the dump truck and taken to a designated pile for the wood chipper.
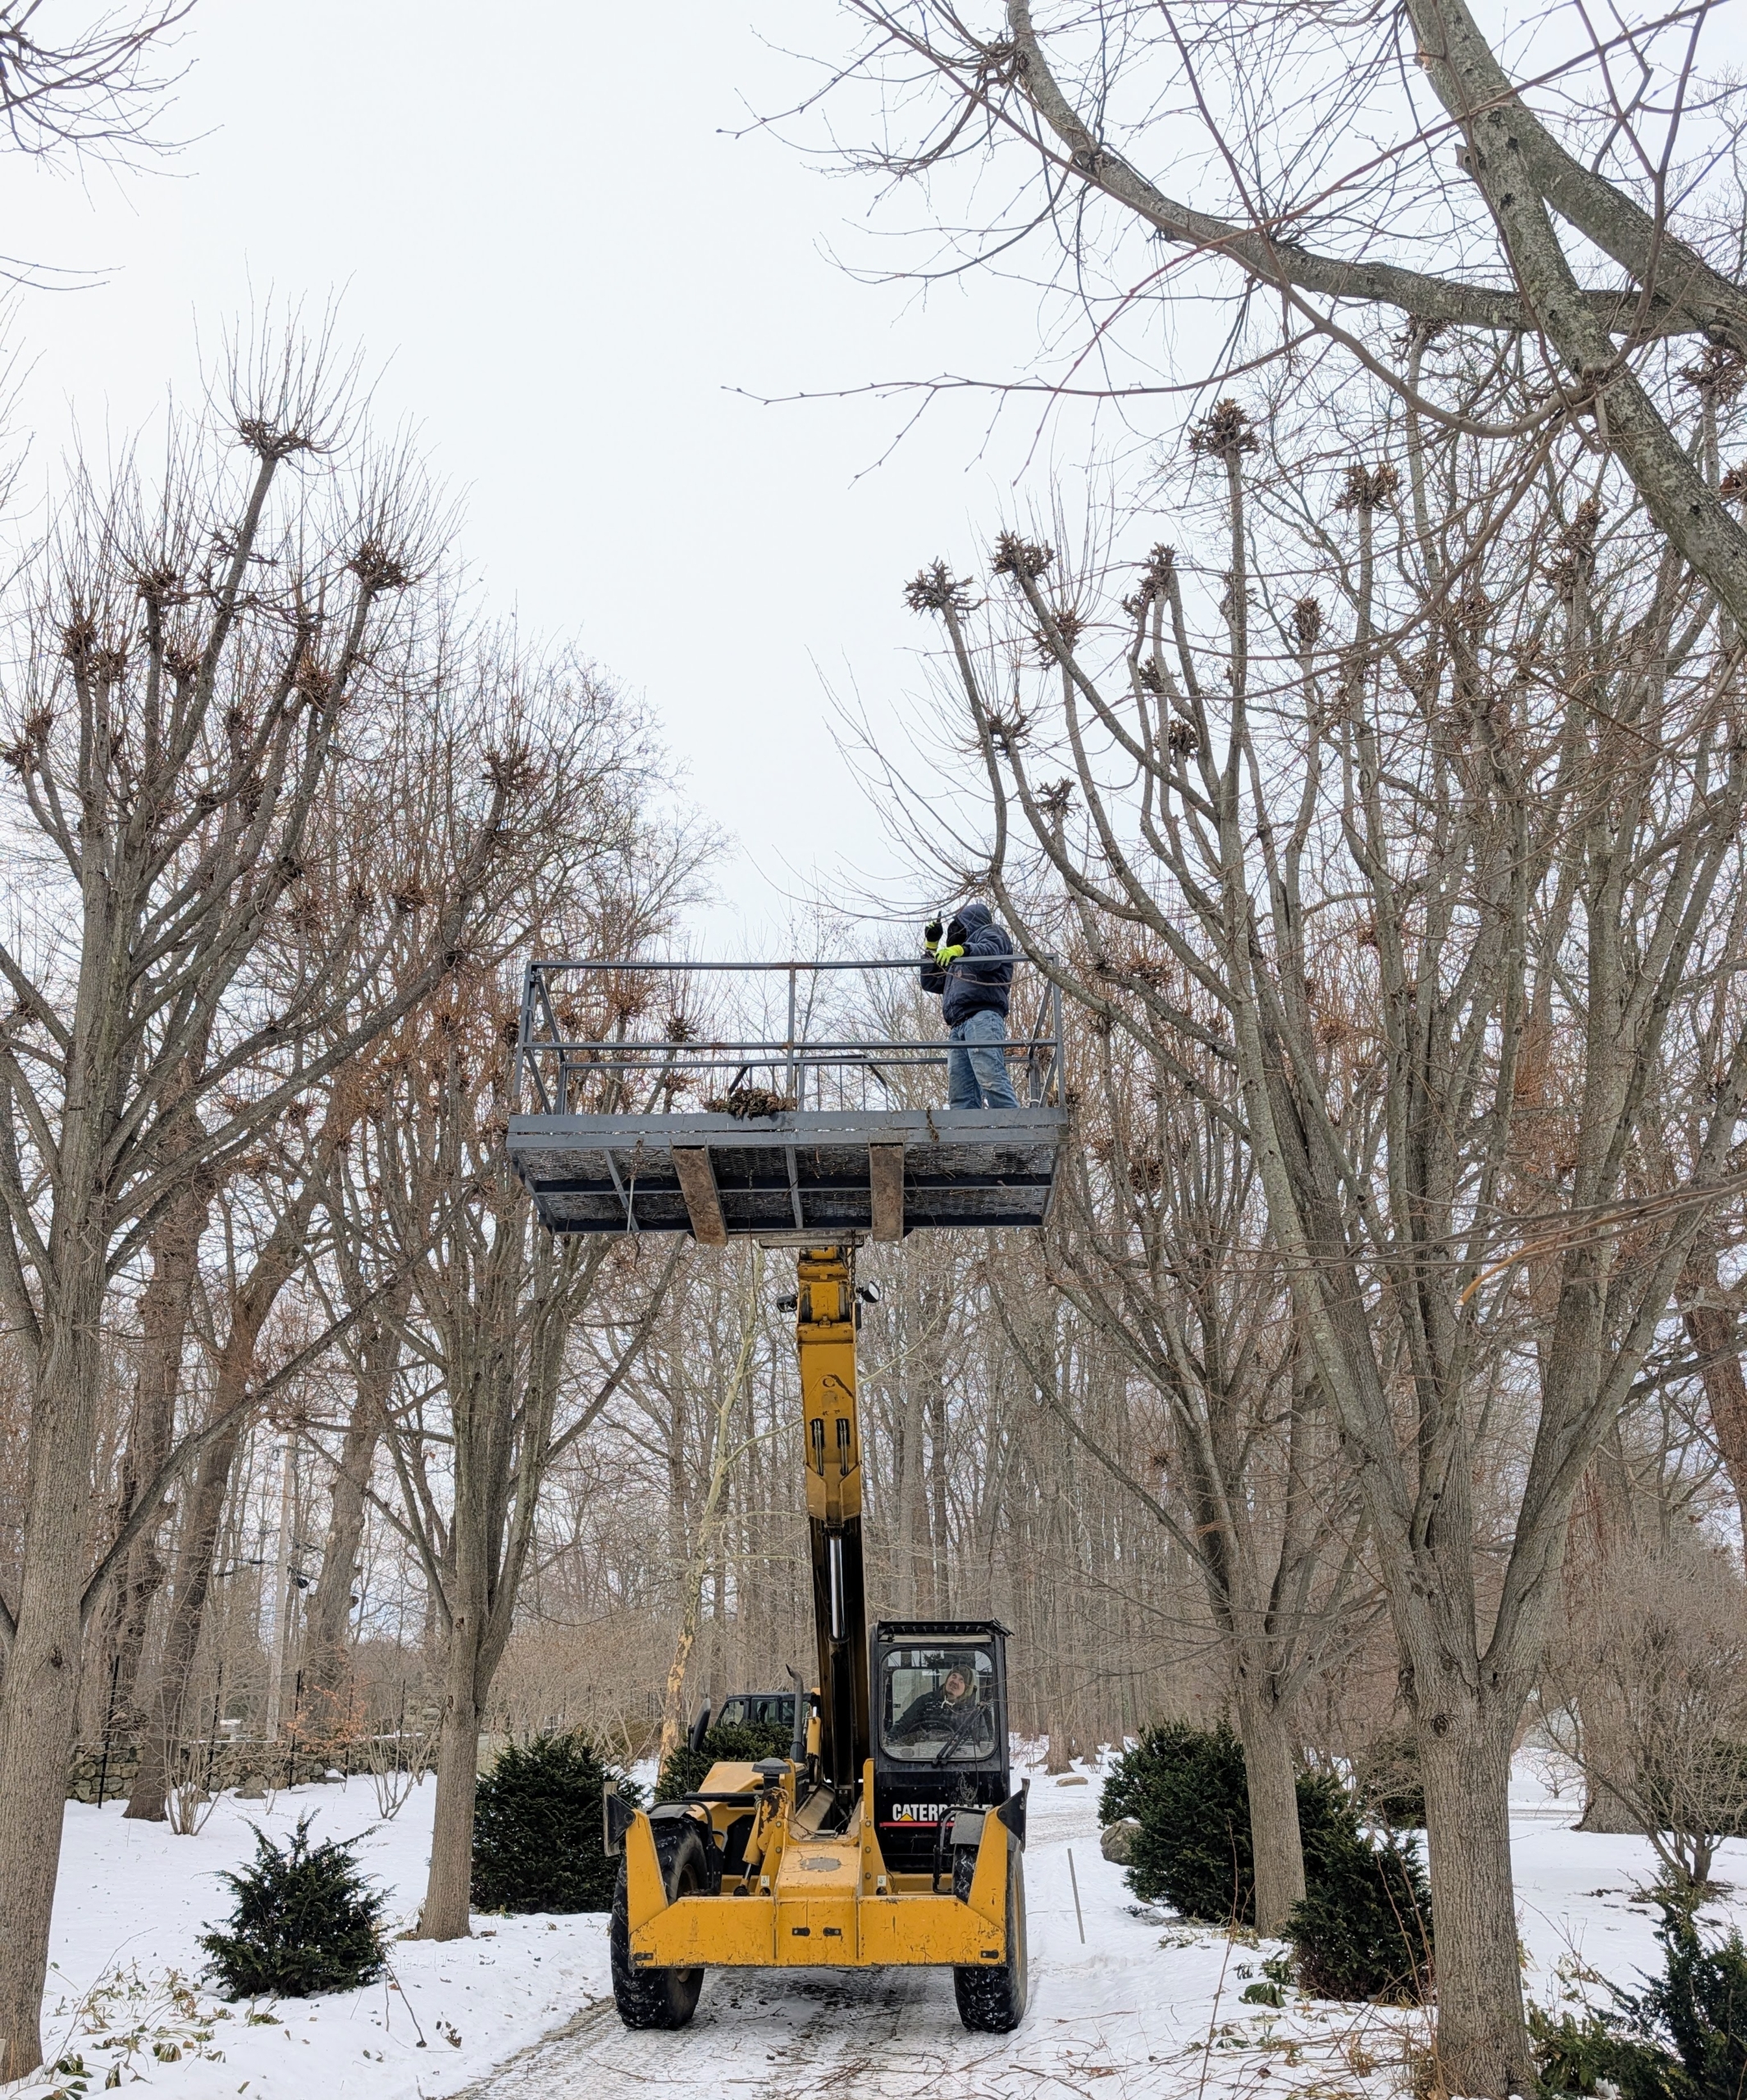
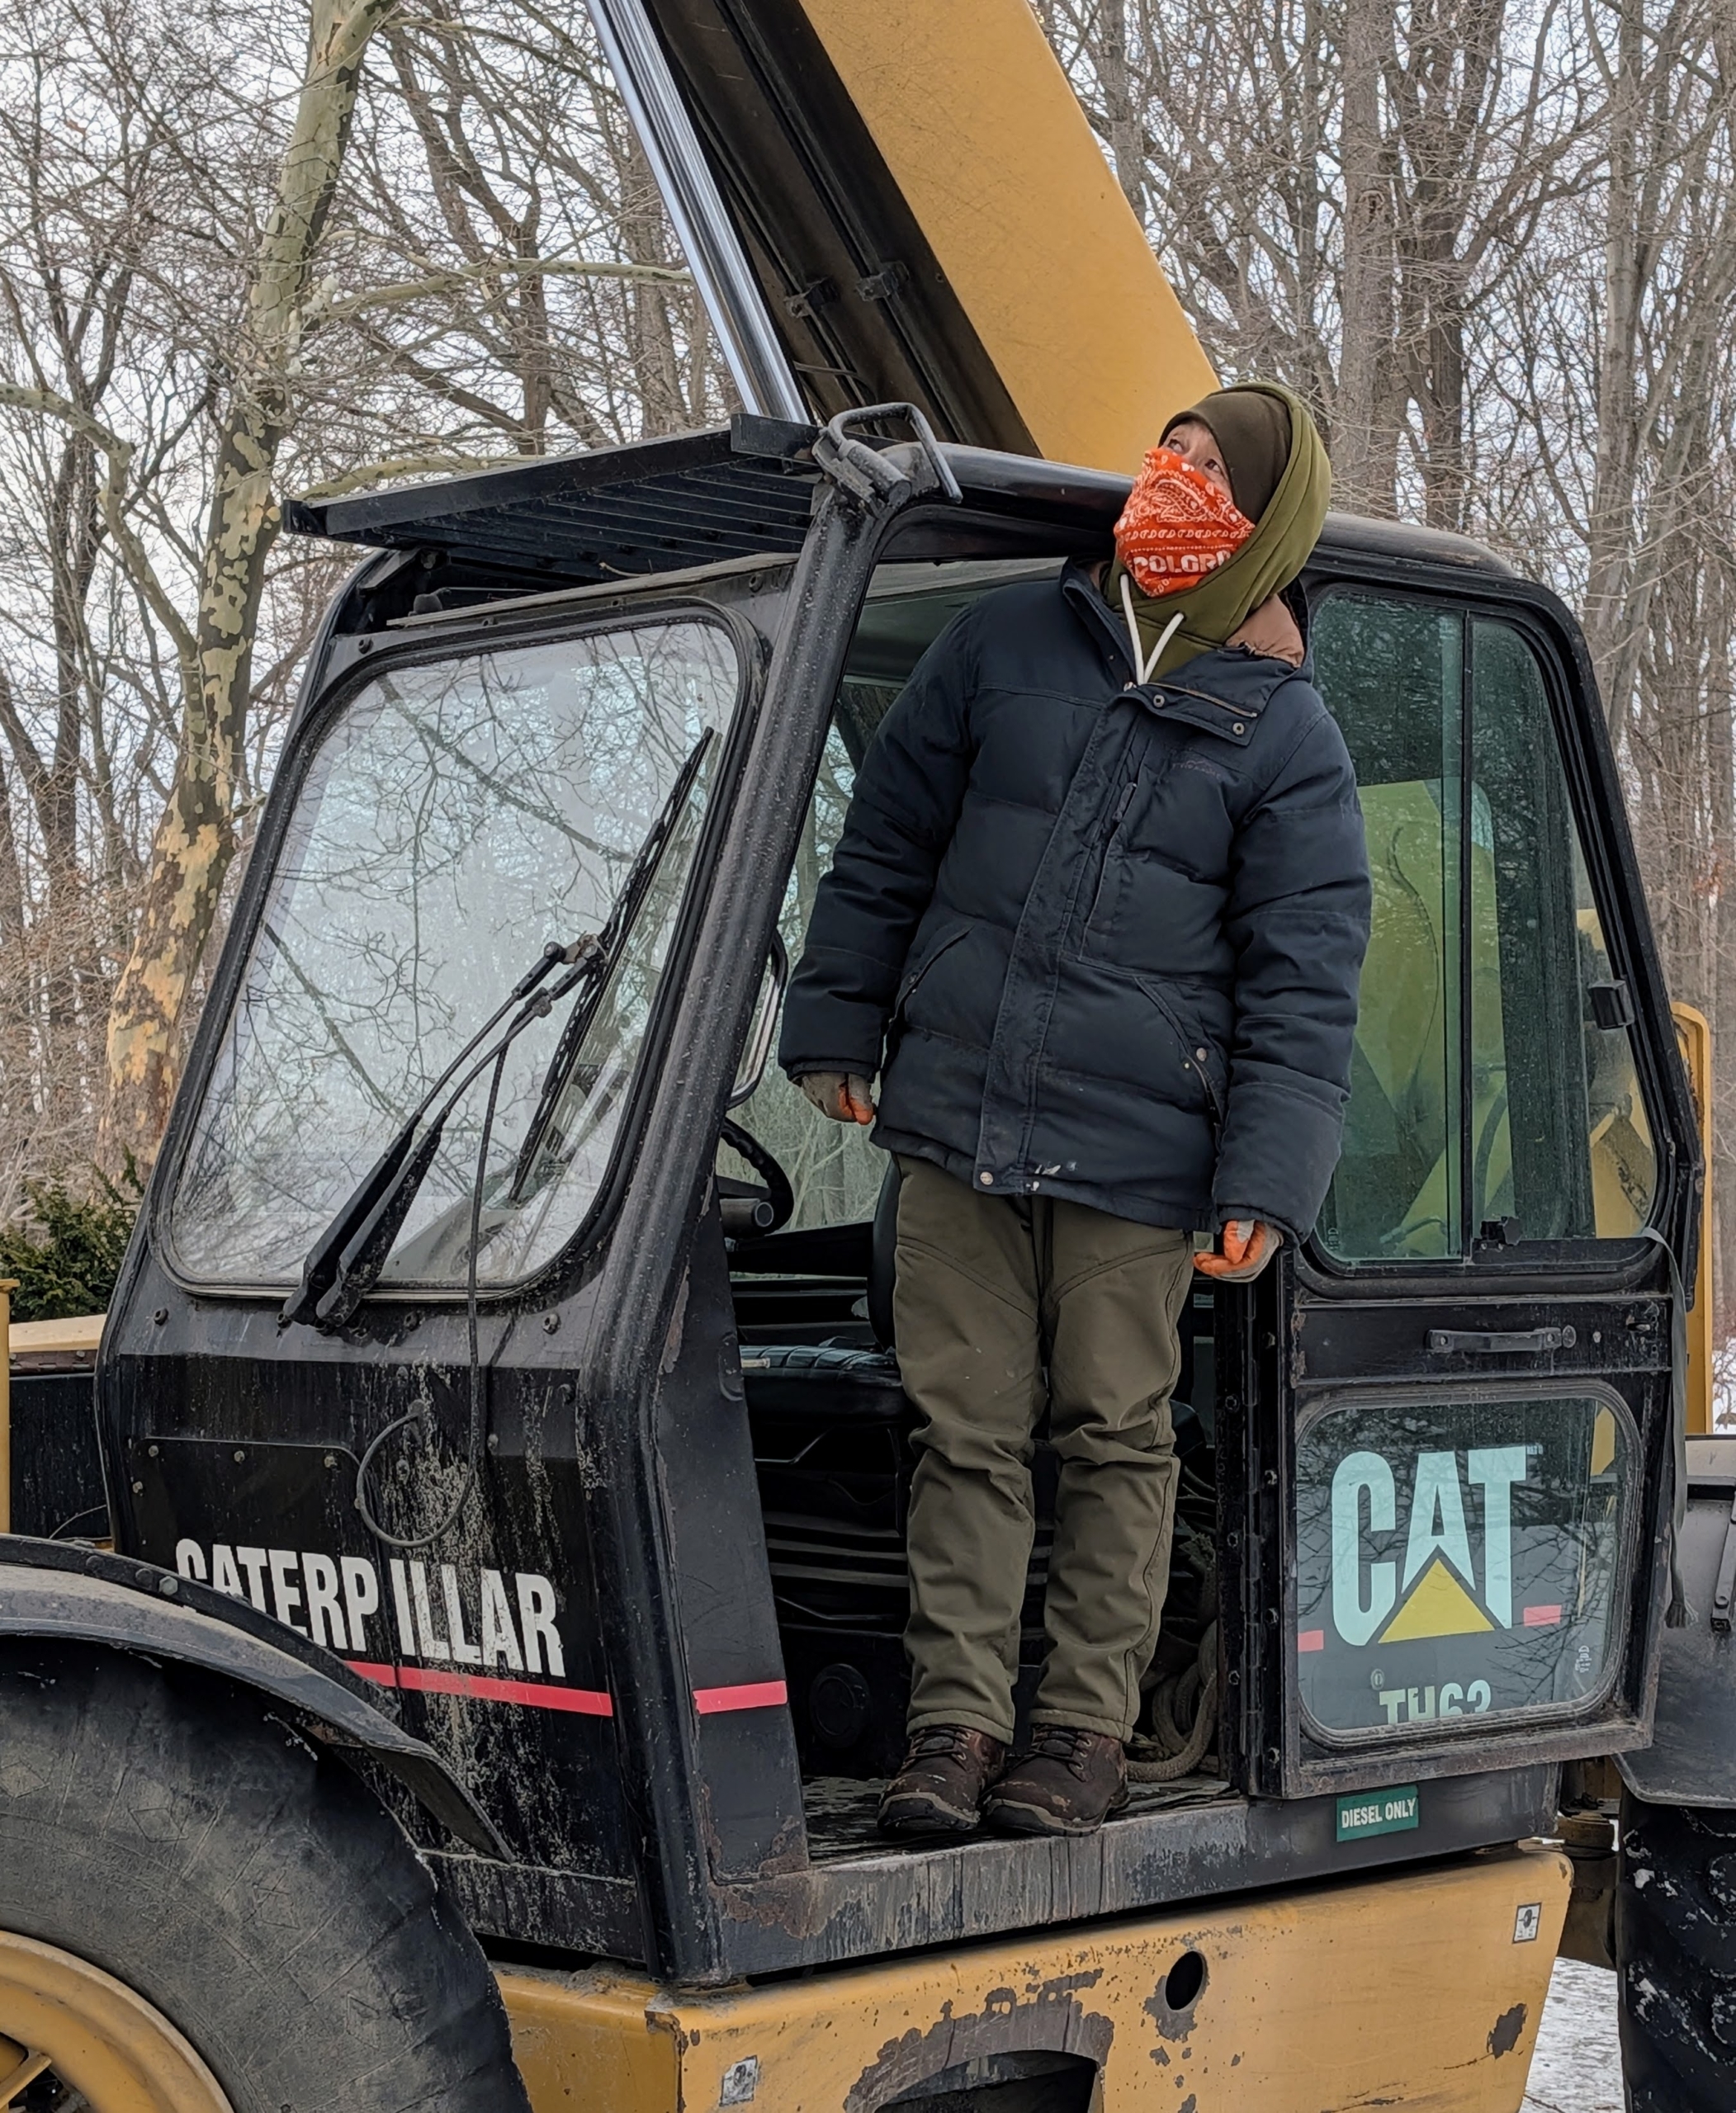
At times, the crew works from the workers’ cage of my Hi-Lo tractor.
When anyone is up in the Hi-Lo, Chhiring always has his eye on them – it’s important to have someone on the ground watching out for the safety of the crew.
Here are two of my peacocks also watching the activity. They’re in the adjacent pen. The layer of hay keeps them warm when they want to lounge outside of their coop.
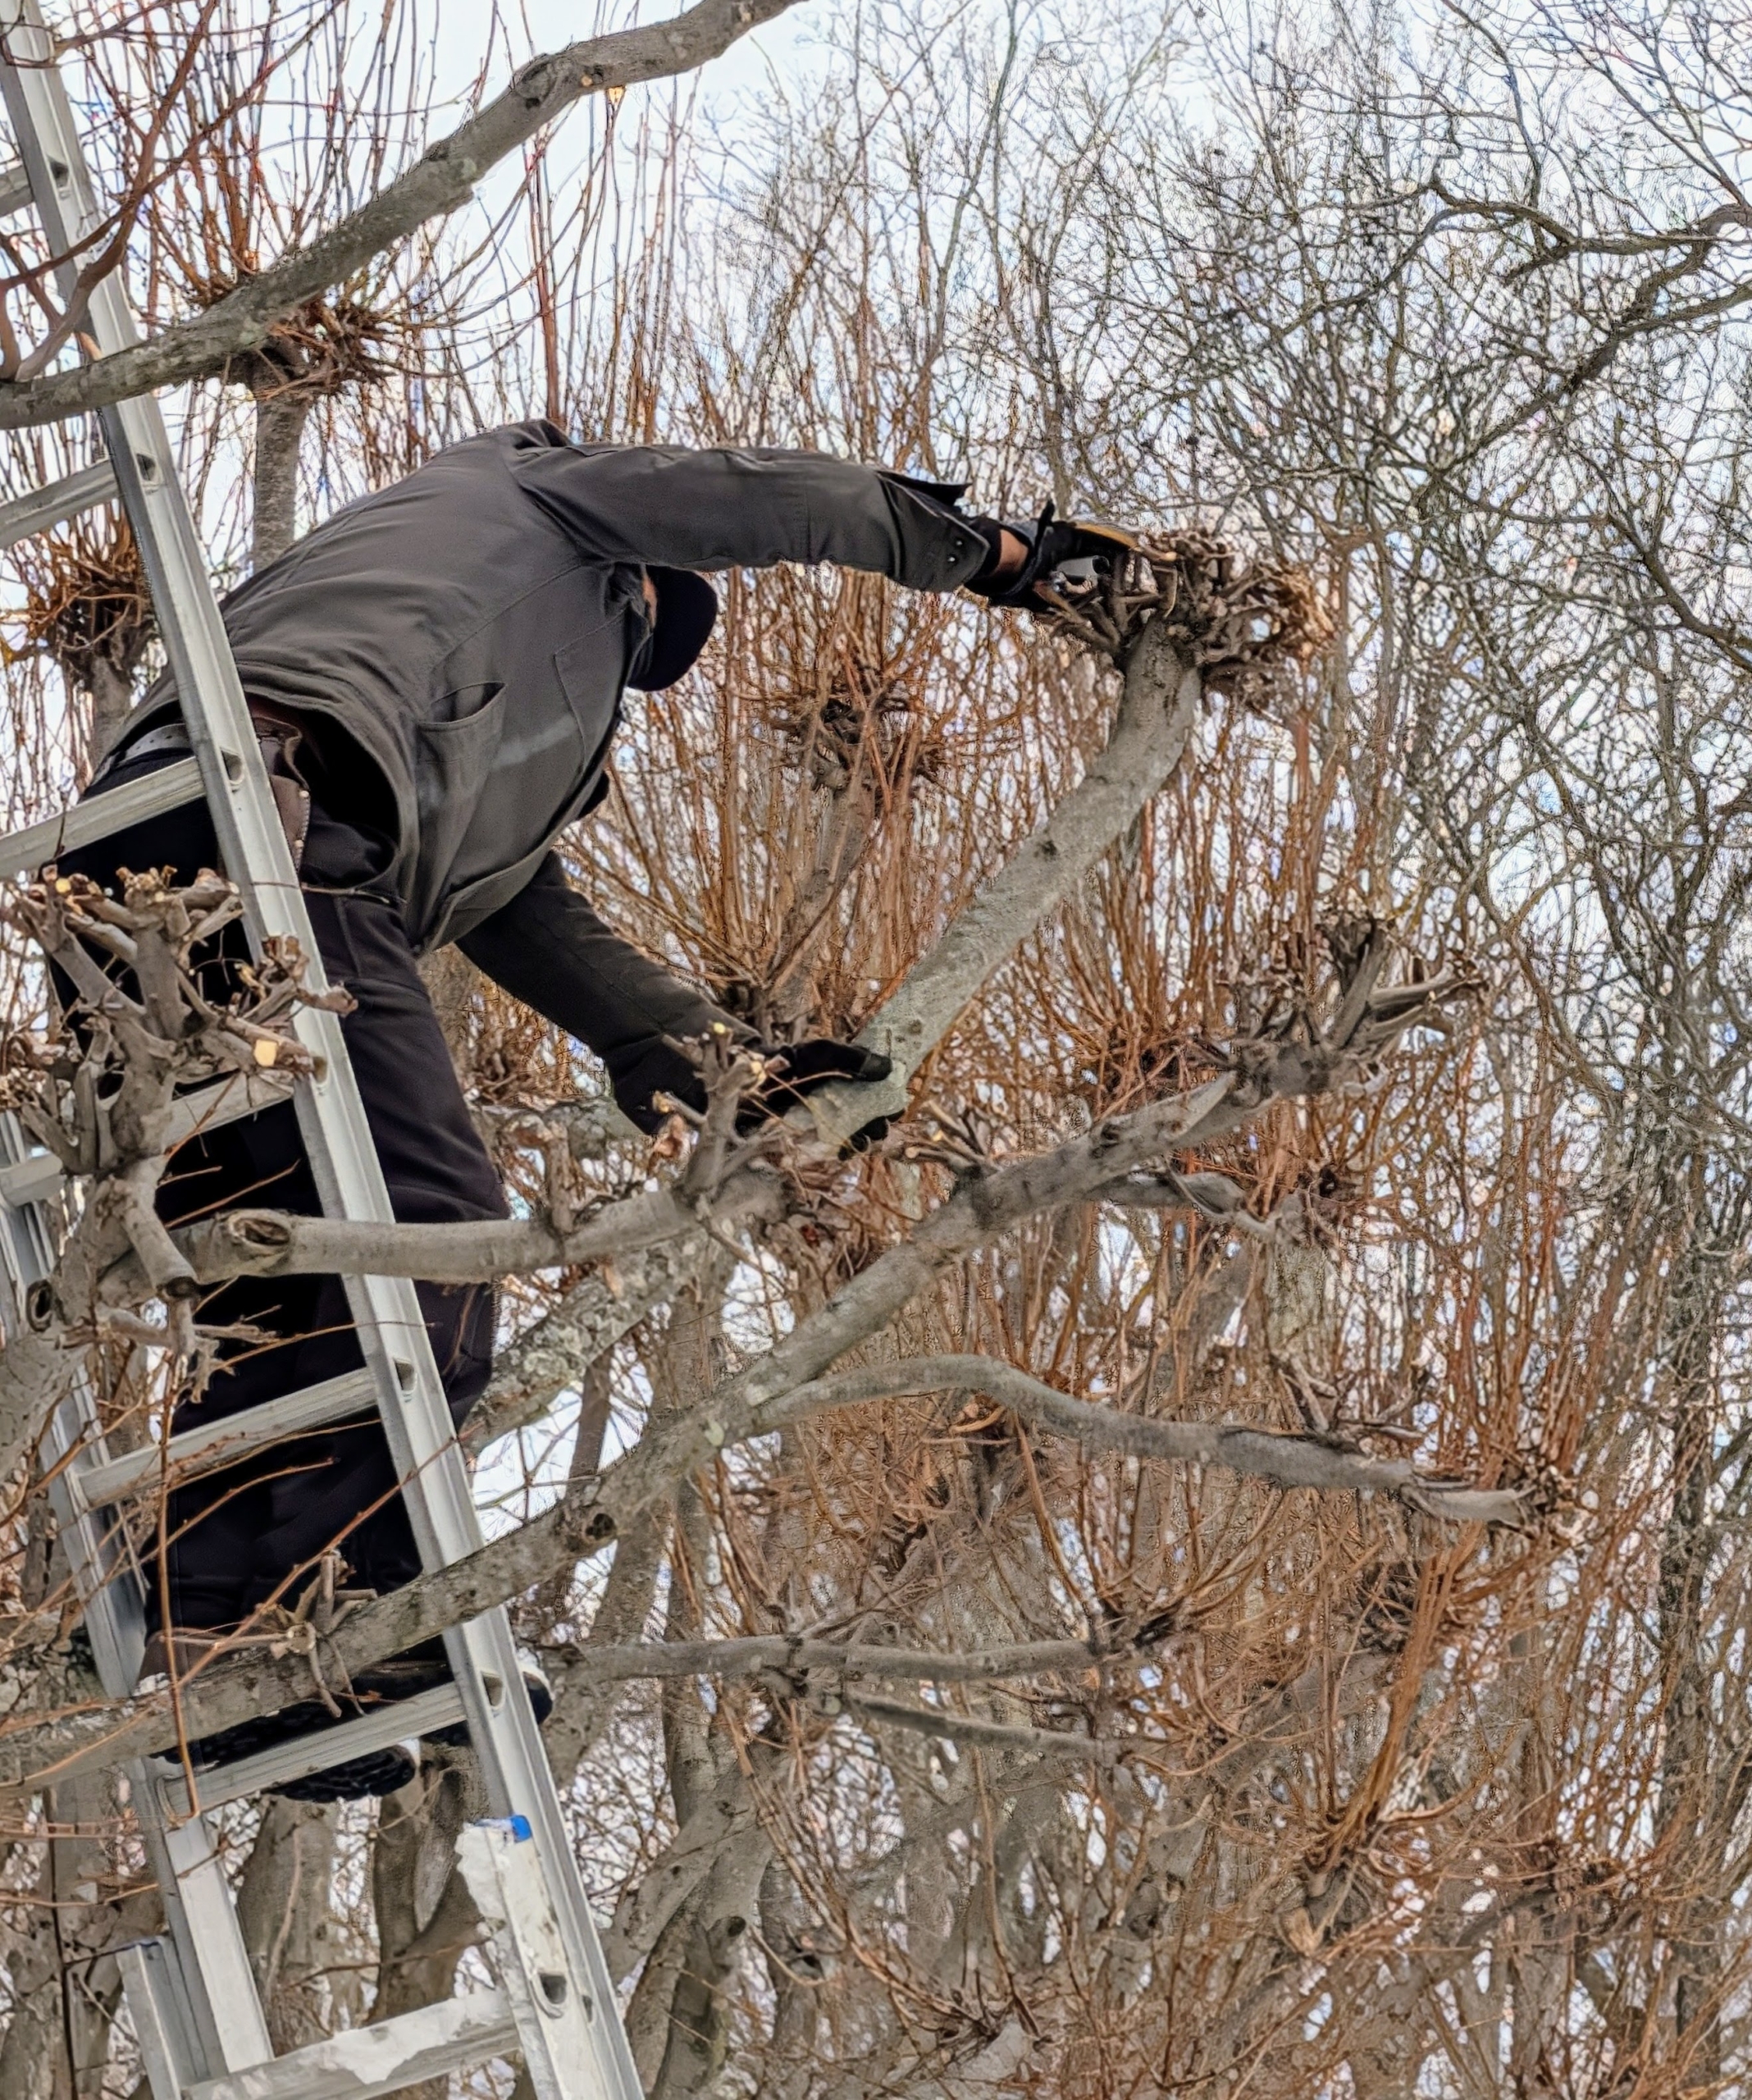
Here’s Pasang pruning some lower branches to keep the tree nicely shaped.
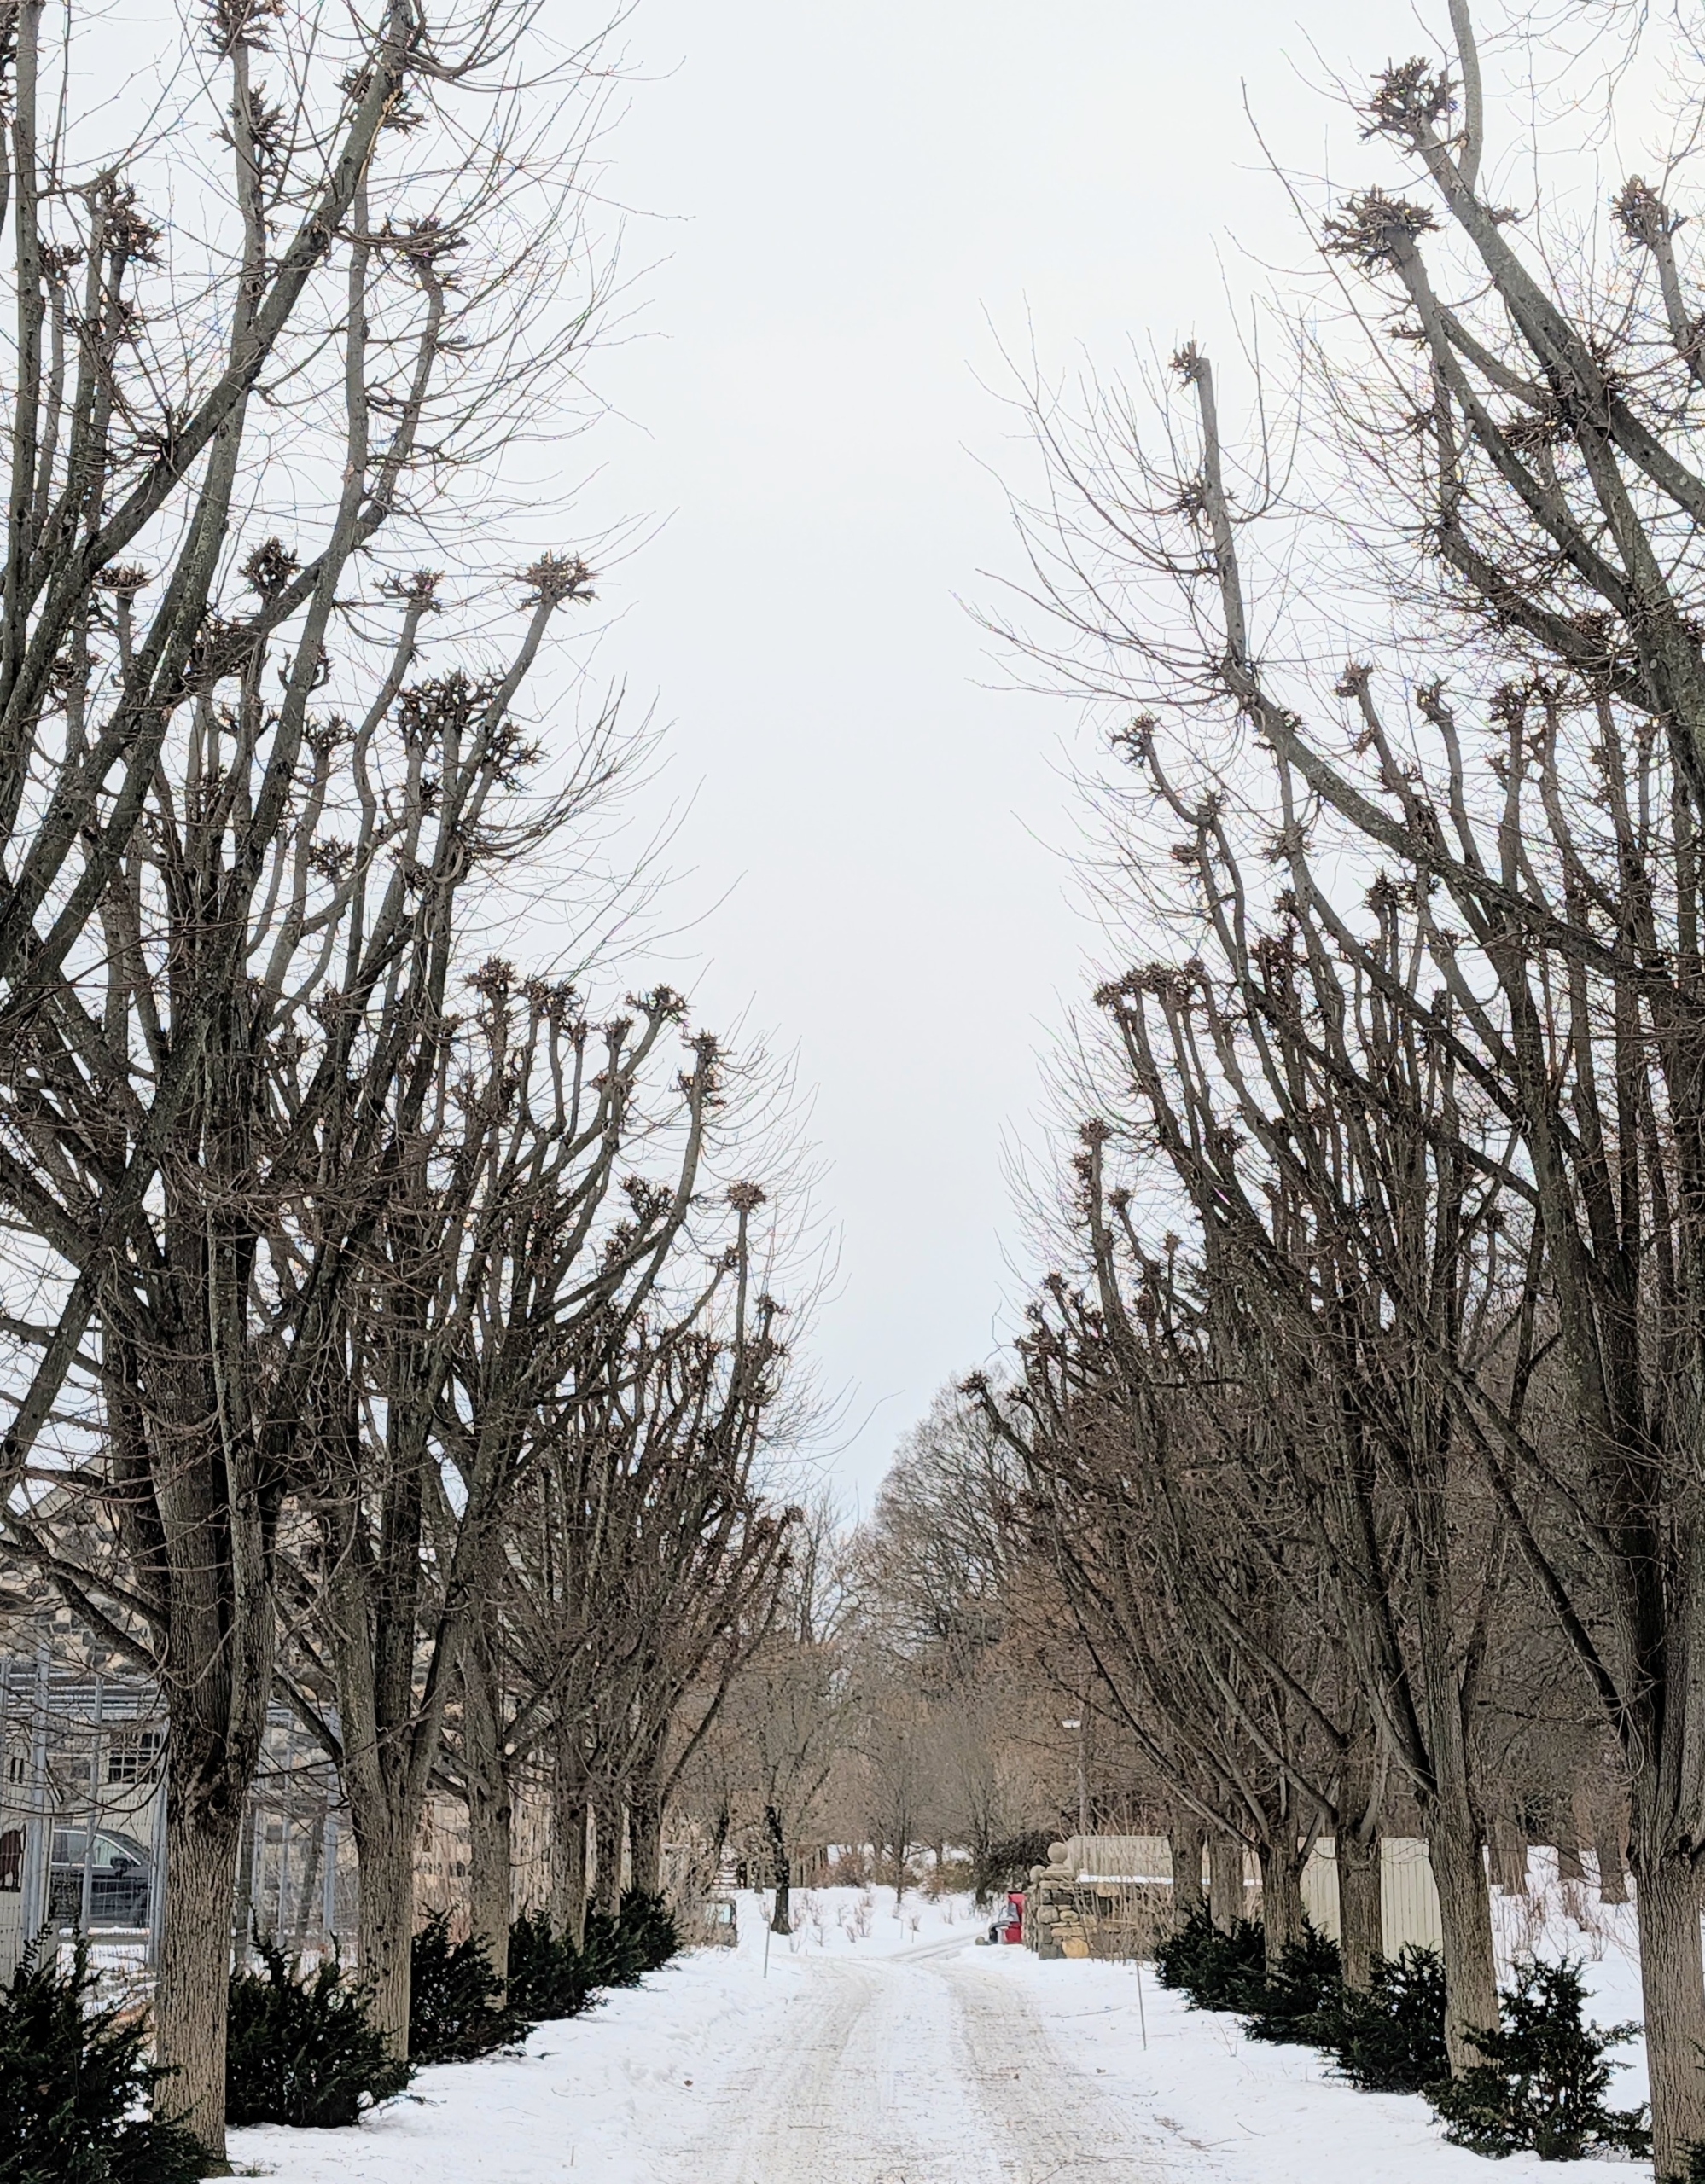
It takes two full days to pollard this allée of lindens. The crew does the entire allée by hand.
Here’s the allée pollarded. Each year the long slender shoots that grow below the cuts will be removed, and a set of new shoots will develop creating a gnarled appearance. This linden allée is so beautiful. It’s exciting to see these trees grow and evolve over time.