It may be a little late in the season, but we're finally seeing some snow here at my Bedford, New York farm. We're expecting snow and rain showers throughout most of today.
Yesterday, my outdoor grounds crew, gardeners, and stable staff worked hard to prepare the farm for the storm - making sure the greenhouses were well-secured and that all the heaters were in good working order, checking that the road and catch basin stakes were in place, and readying any equipment that would be needed for the cleanup process once the storm ended. It's very important to be prepared for any storm system - big or small. One never knows what could happen. Additional tips include: knowing where all the flashlights are kept and making sure they are equipped with fresh batteries, stocking the first aid kit, and checking that all vehicles are filled with gas - a full tank will keep the fuel line from freezing.
Here are some photos.
Early in the morning, it didn’t look like snow was on its way – the skies were blue and temperatures were in the high 30s Fahrenheit, but we were all listening to the weather reports, so we could all be properly prepared. We were expecting five to eight inches of snow in this region.
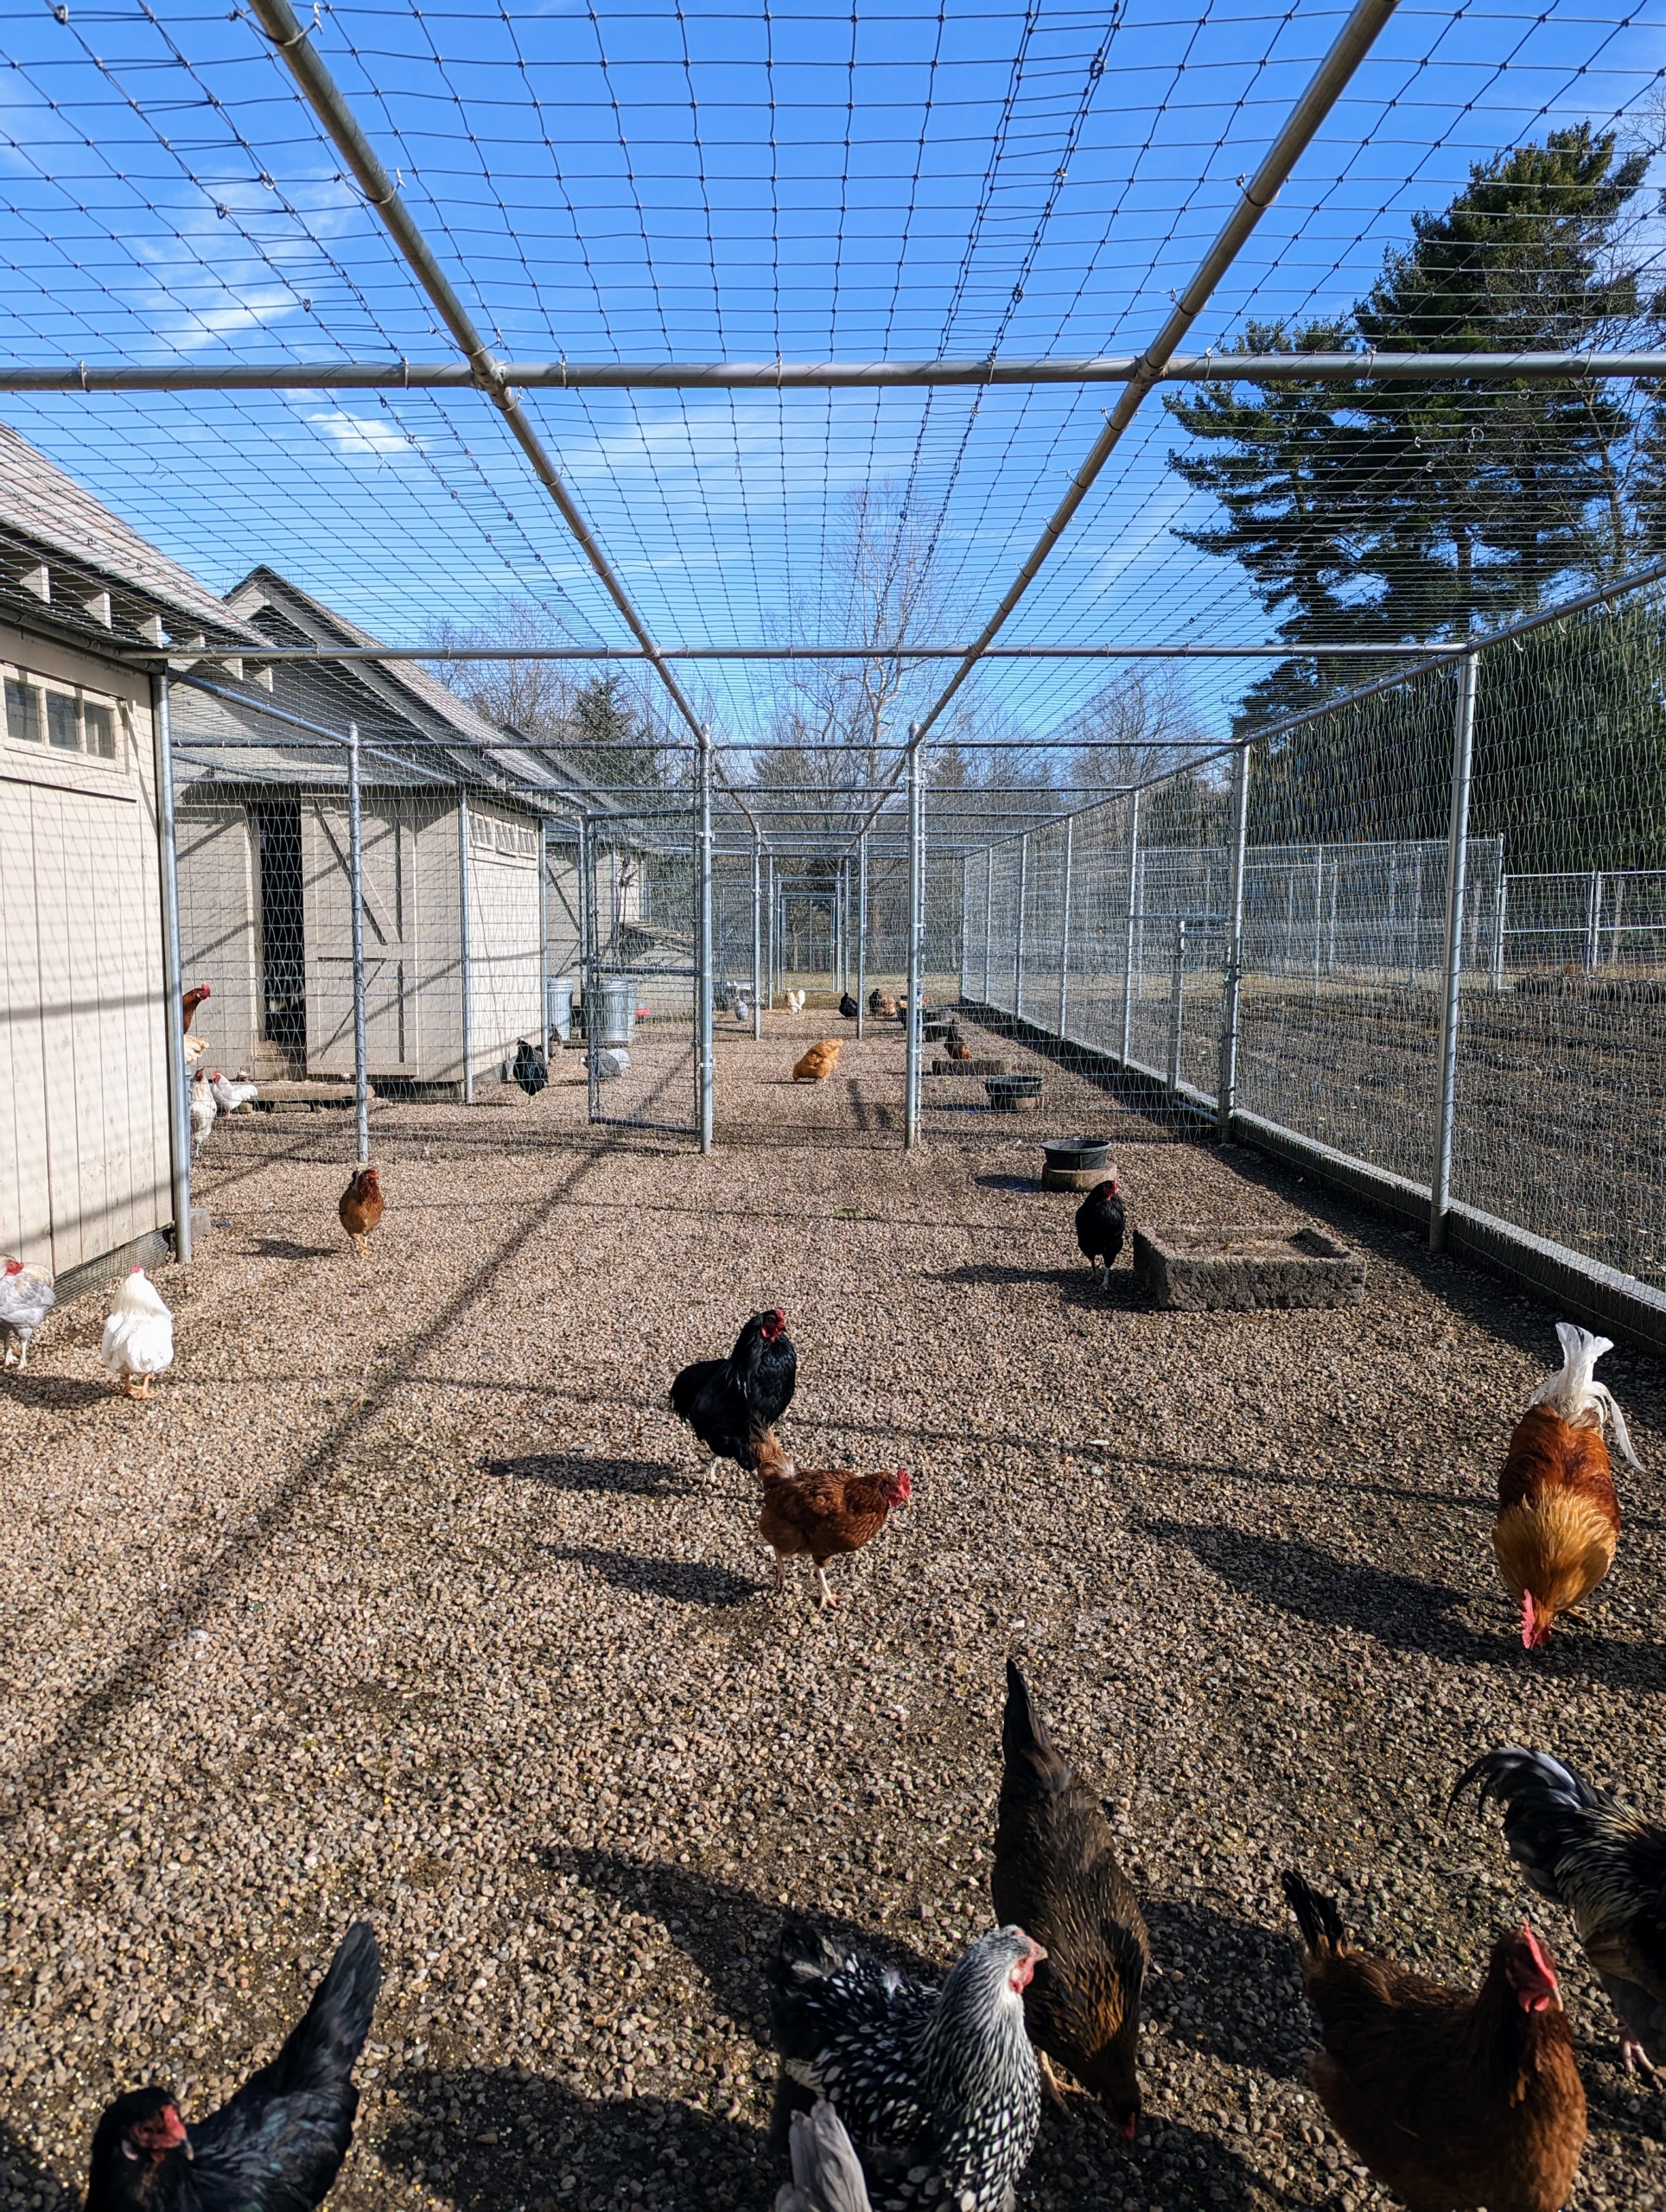
One of the first tasks is to make sure all the animals are safe and sound in their enclosures. Phurba makes sure the chicken yard is clean, raked, and all the coops are equipped with heaters. The chickens will be checked again in the afternoon to ensure they are comfortable after they are put inside.
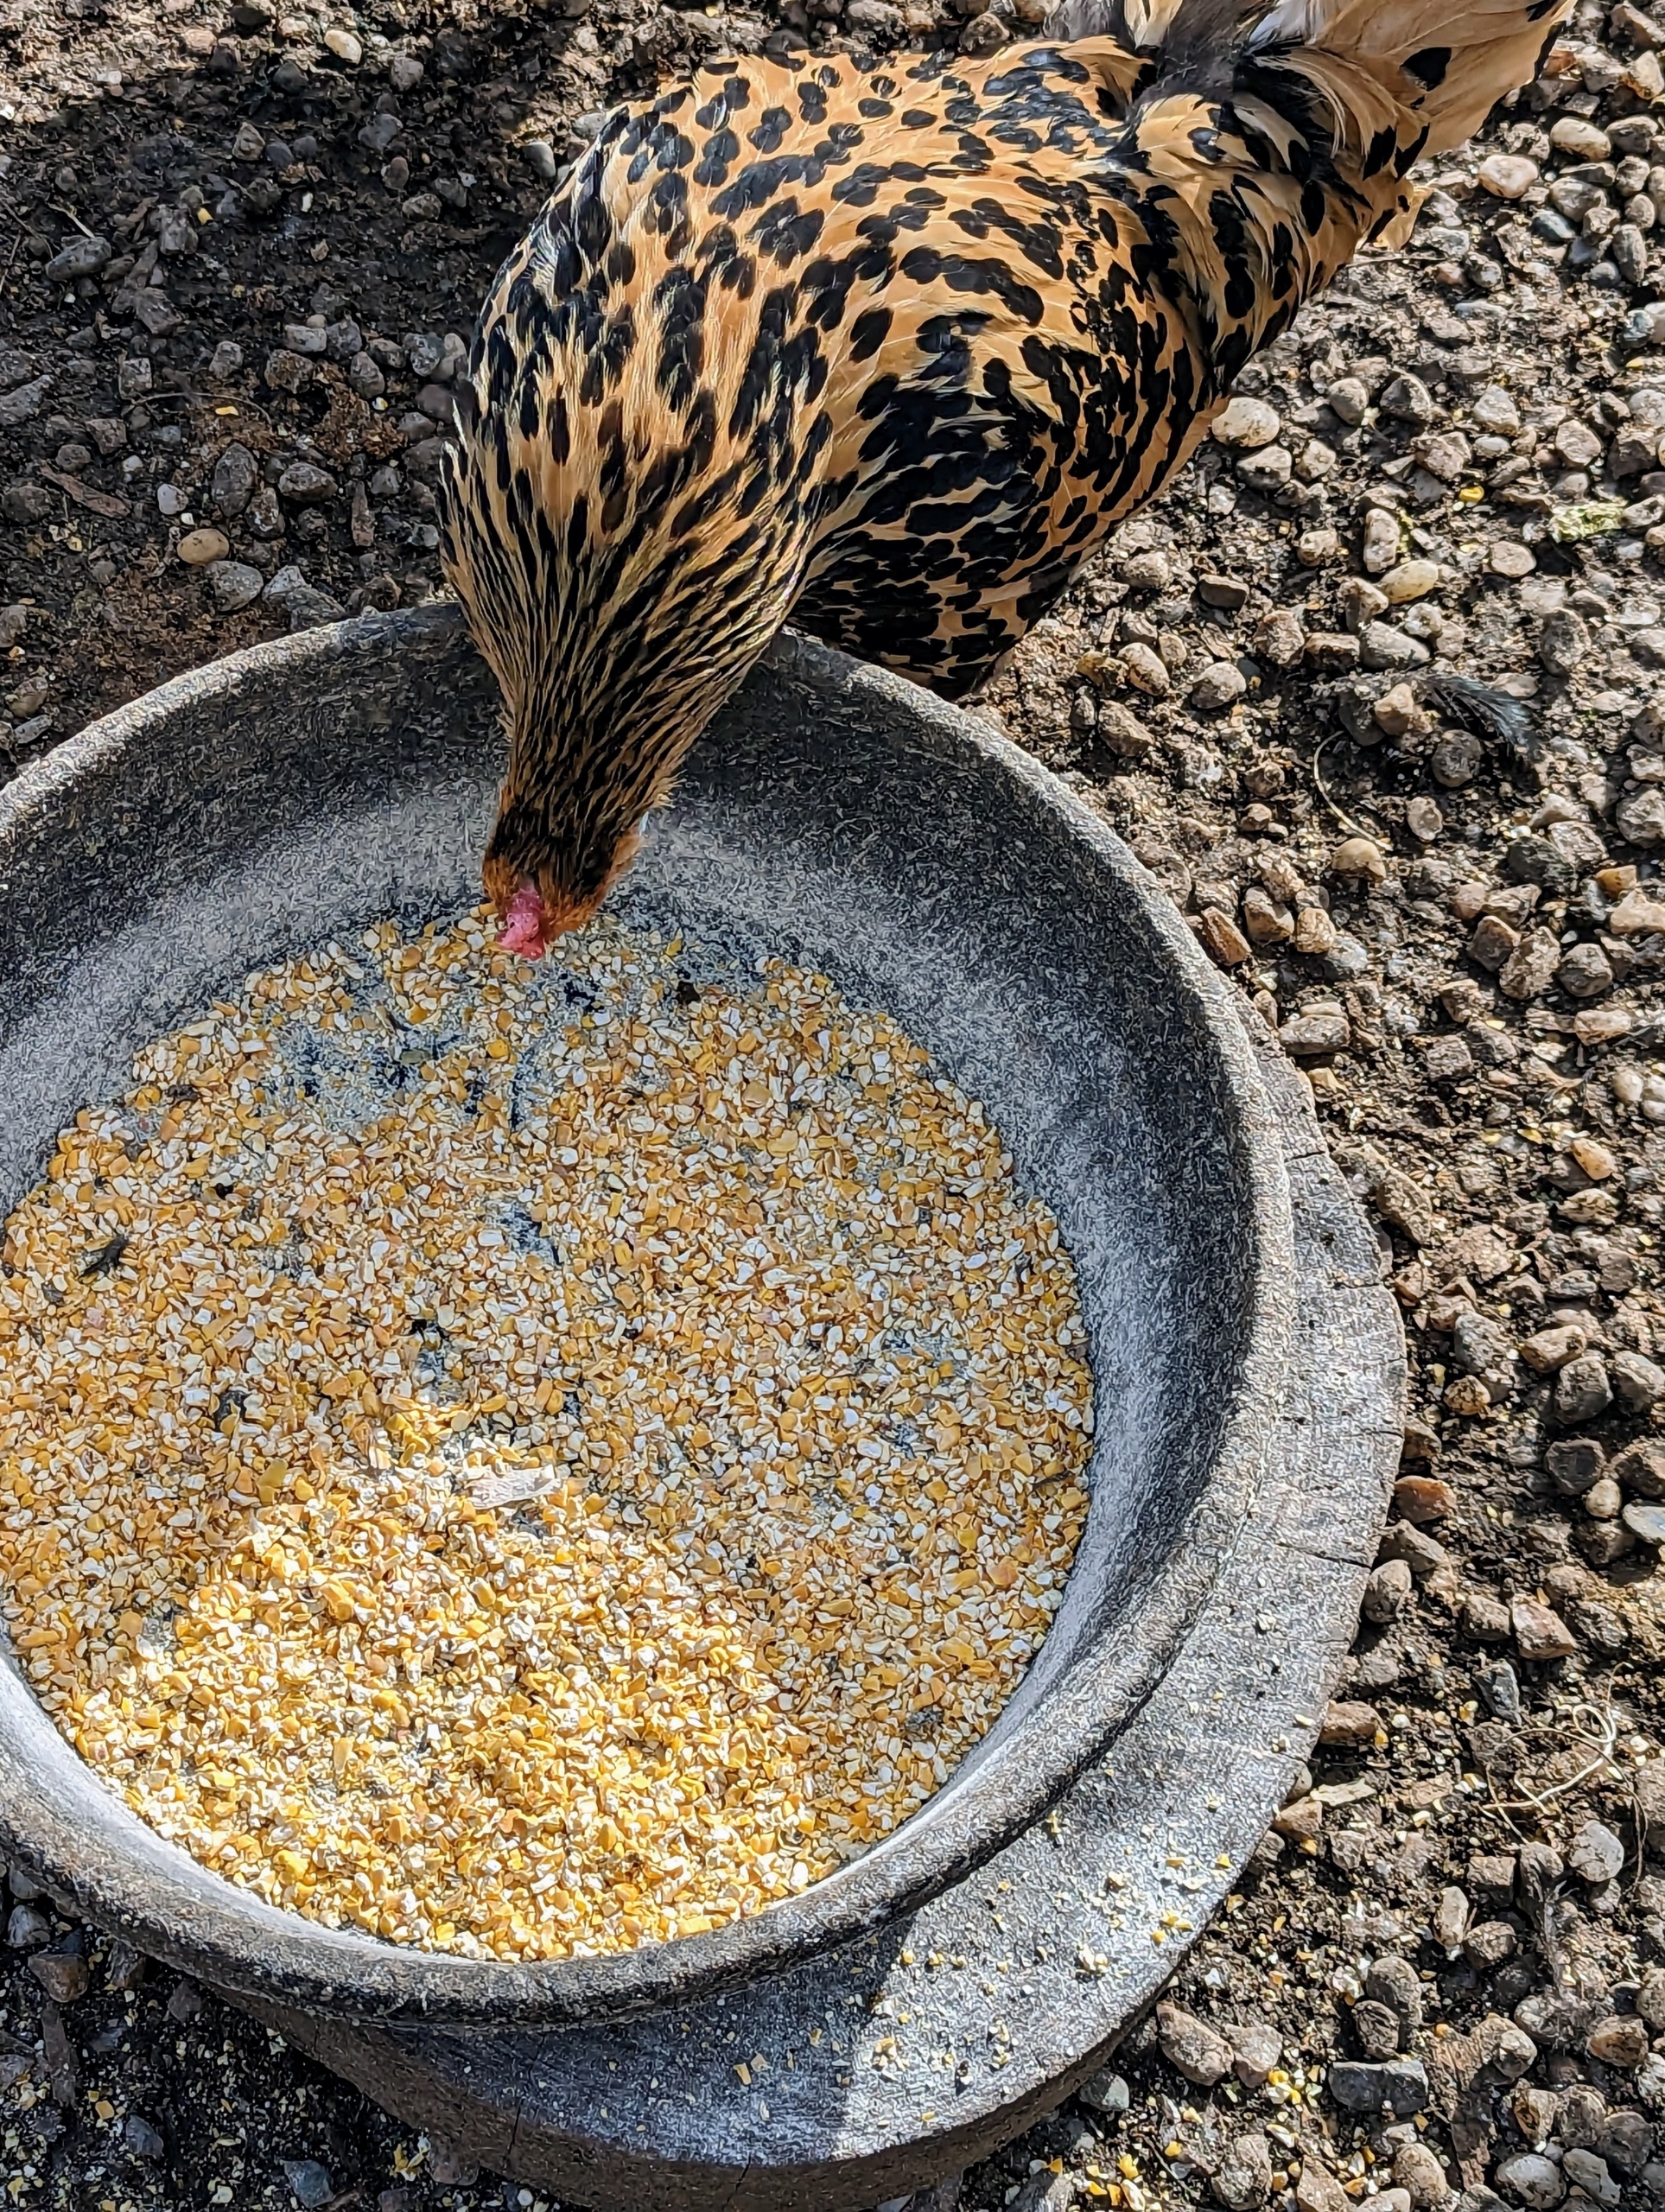
These chickens don’t seem too phased by the pending snow. They are all enjoying their cracked corn and the calm before the storm.
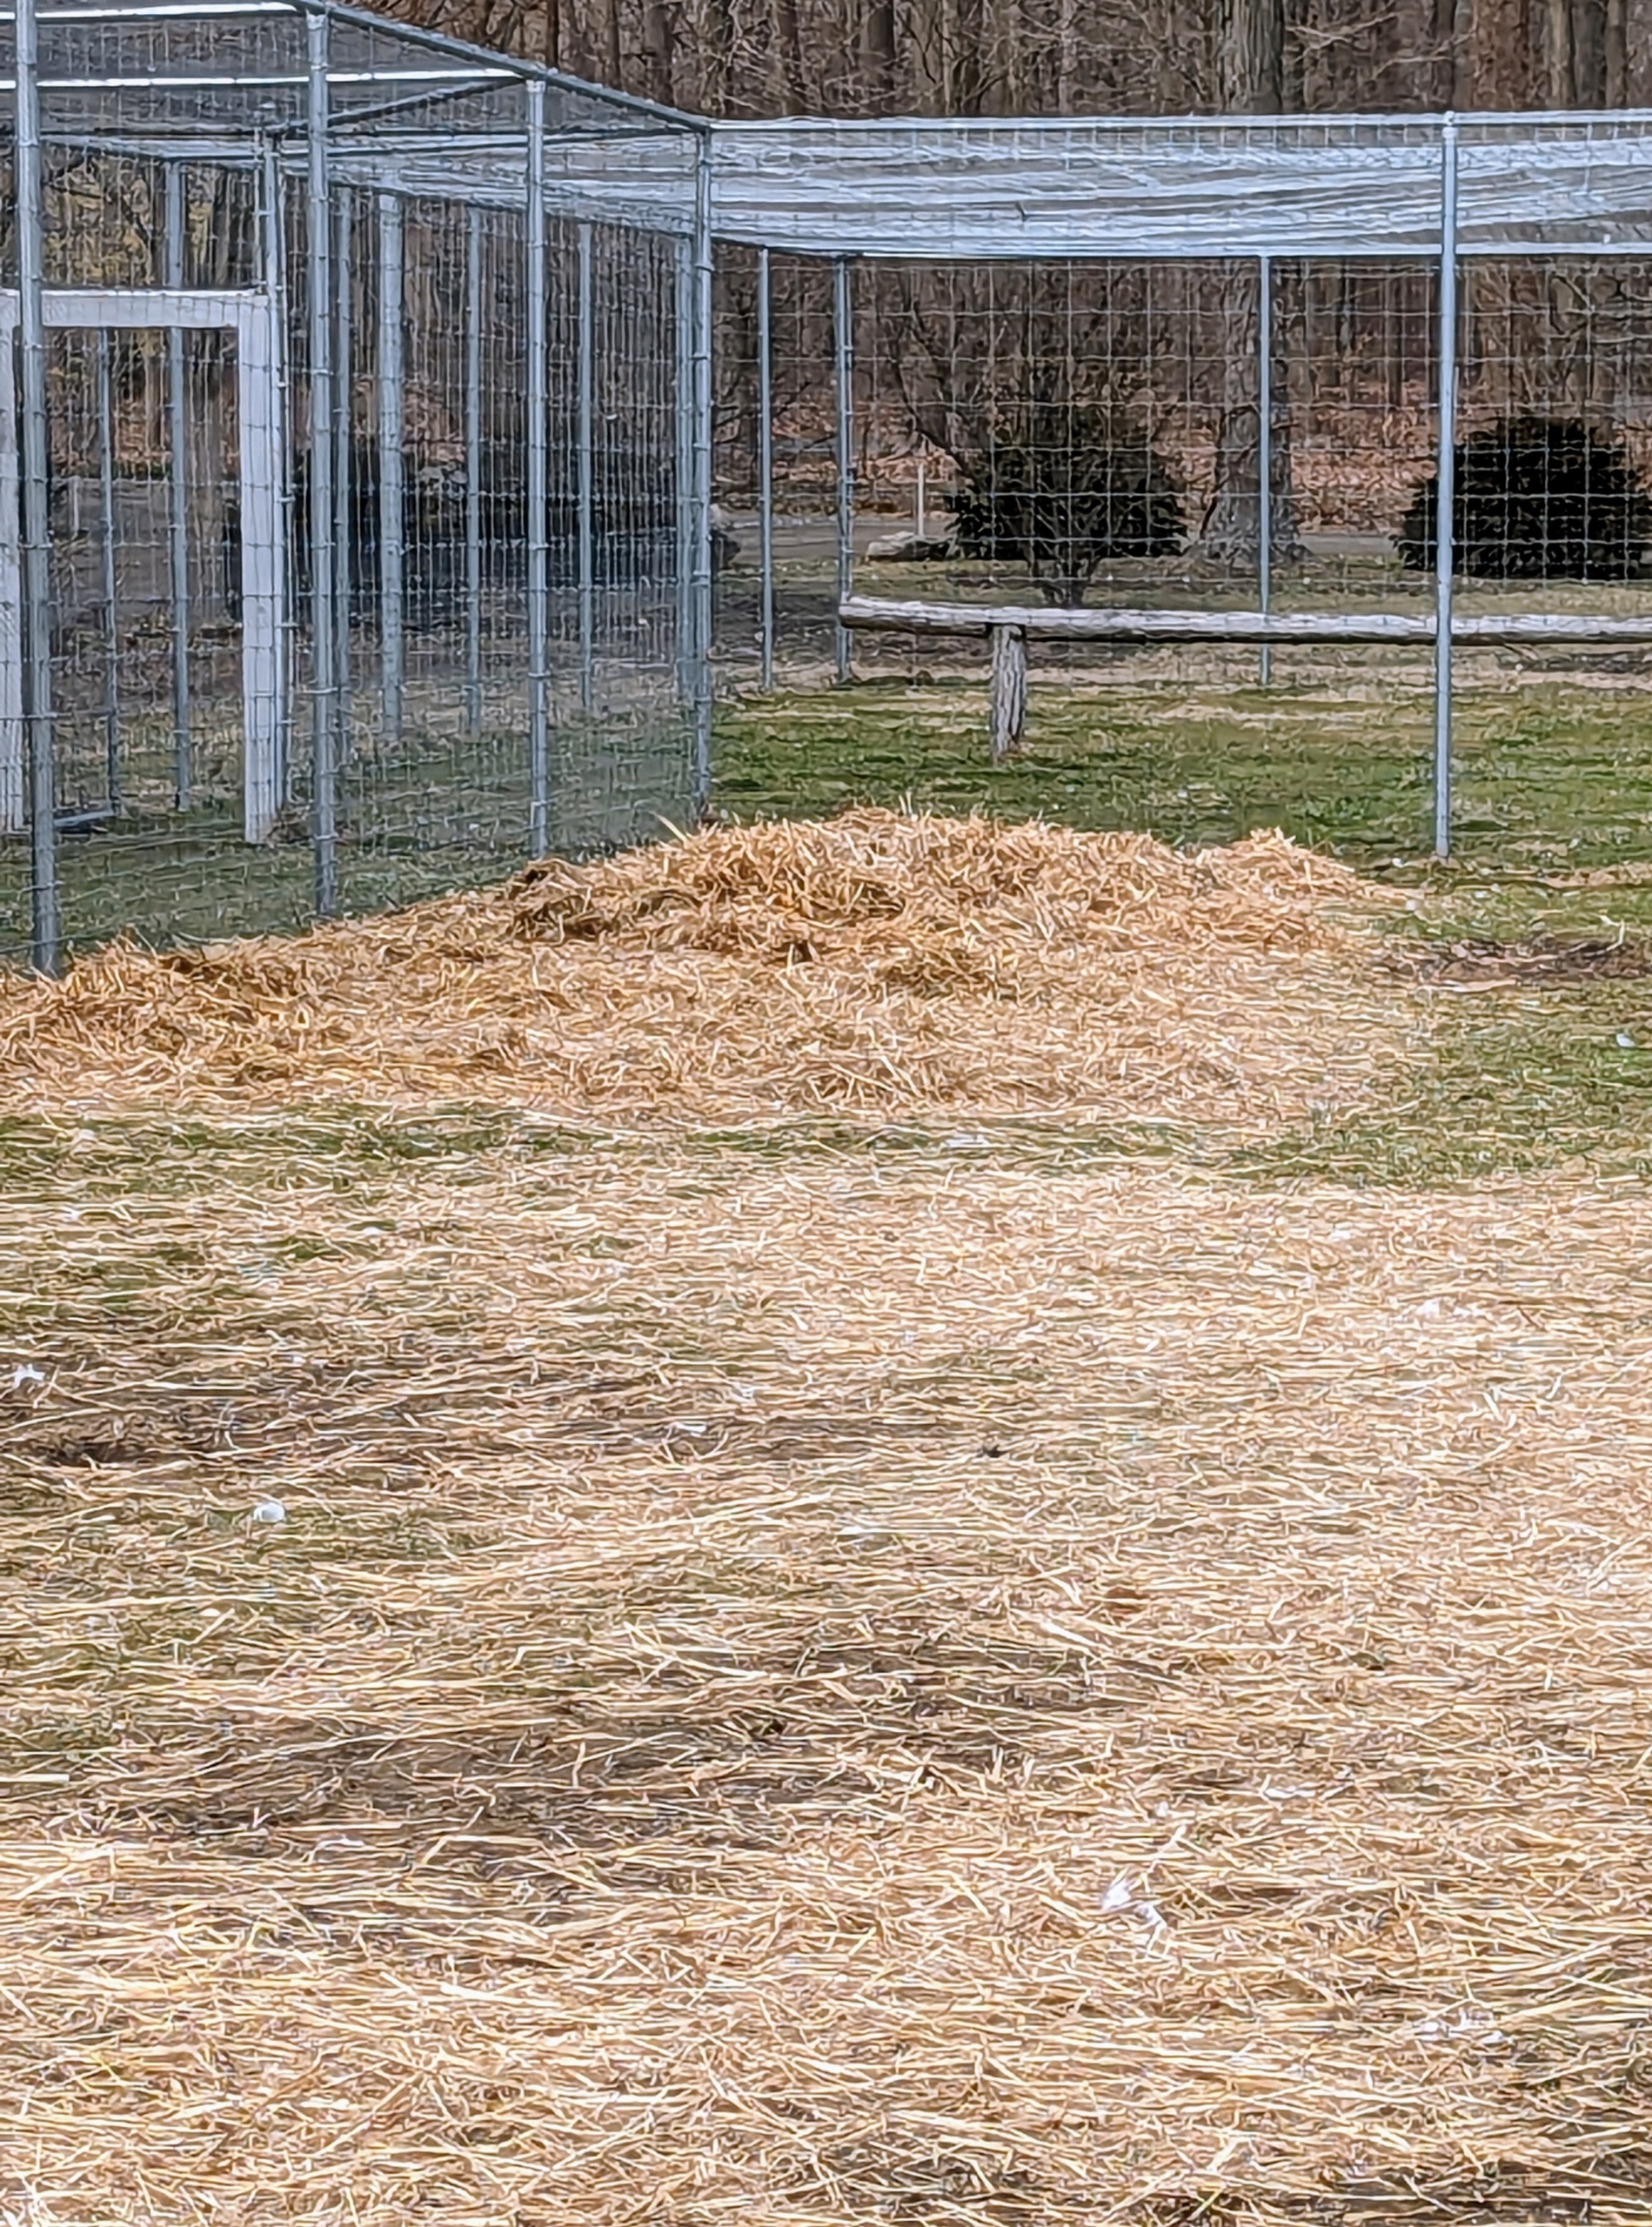
I do provide shelter for the geese, but they prefer to stay outside, so we lay down extra hay for their bedding. They will all huddle together in one large group to keep warm if needed.
High traffic areas of the goose pen are also covered with extra hay in case of freezing. The hay will prevent the birds from slipping and getting stuck to any ice.
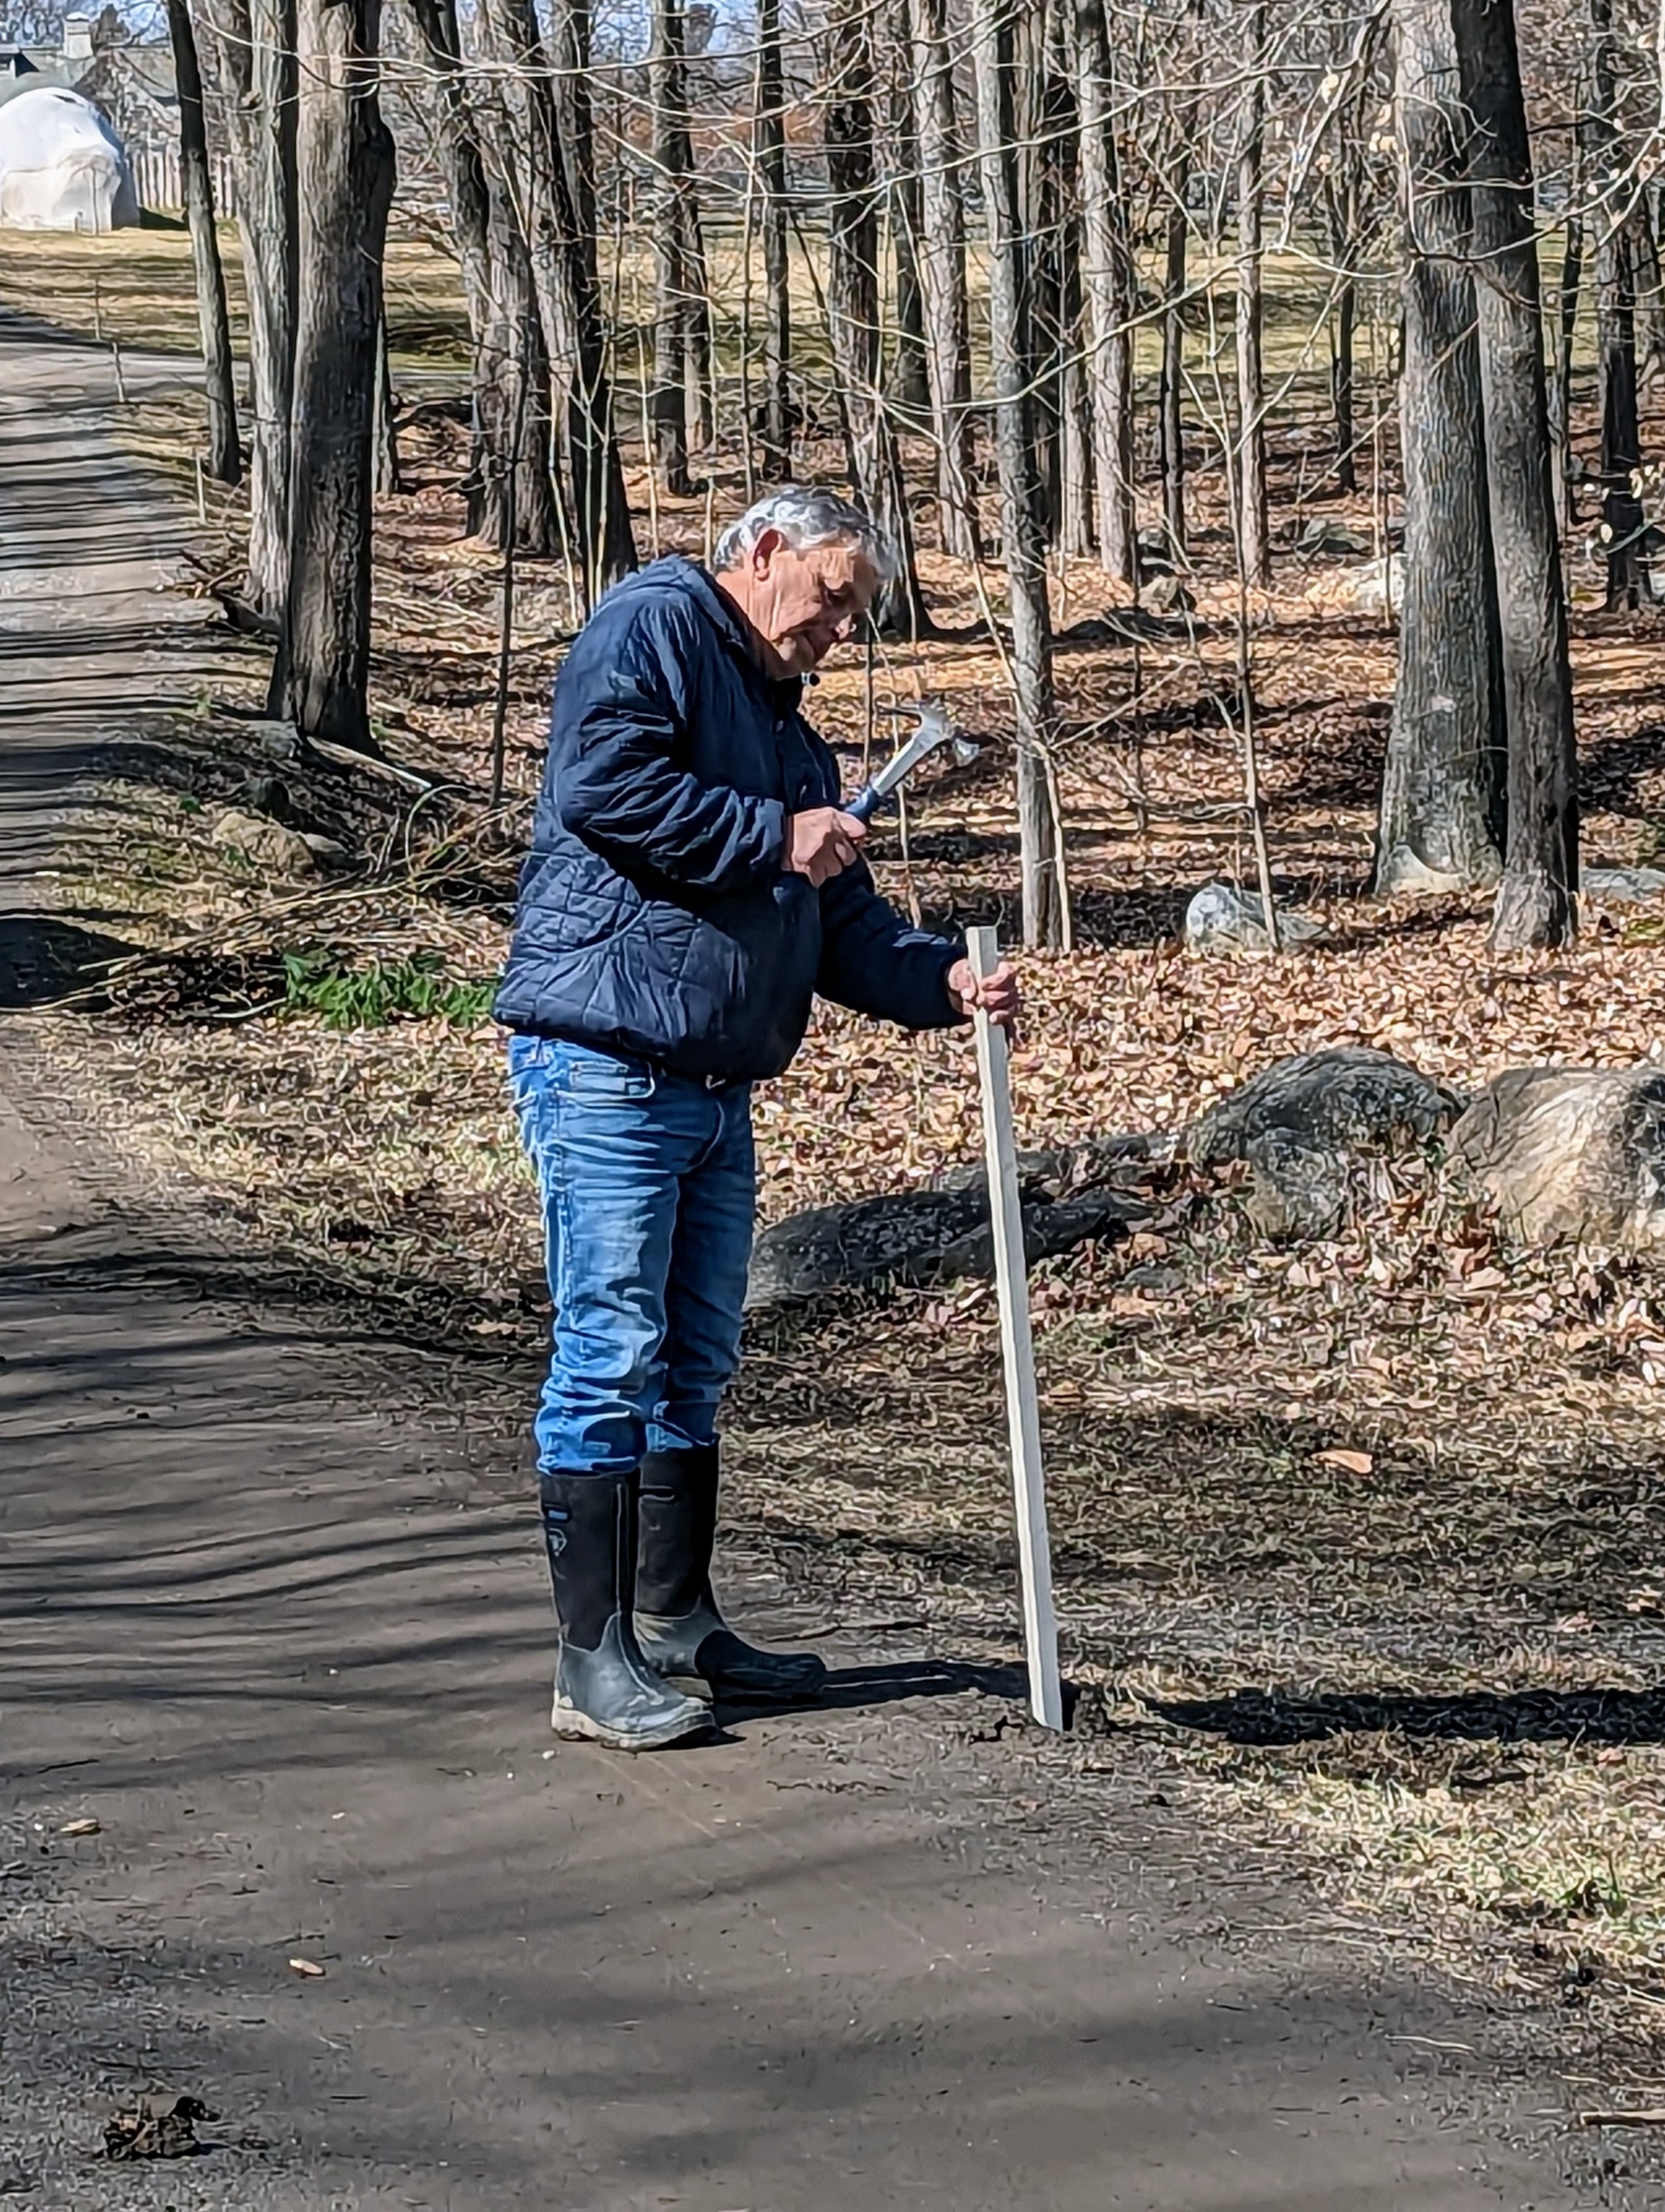
Fernando checks every stake along the carriage roads and secures any that have gotten dislodged from the soil.
These stakes are very important here at the farm – they mark where the roads meet the grassy lawns and garden beds.
Stakes that are tipped with black paint indicate where the catch basins are in case they need to be cleared during or after a storm.
By afternoon, the clouds started rolling in and the blue skies began to disappear. In the distance, one can see the long Boxwood Allée covered in protective burlap. If snow accumulates on top, the burlap will protect the plants from any splaying due to heavy wet snow.
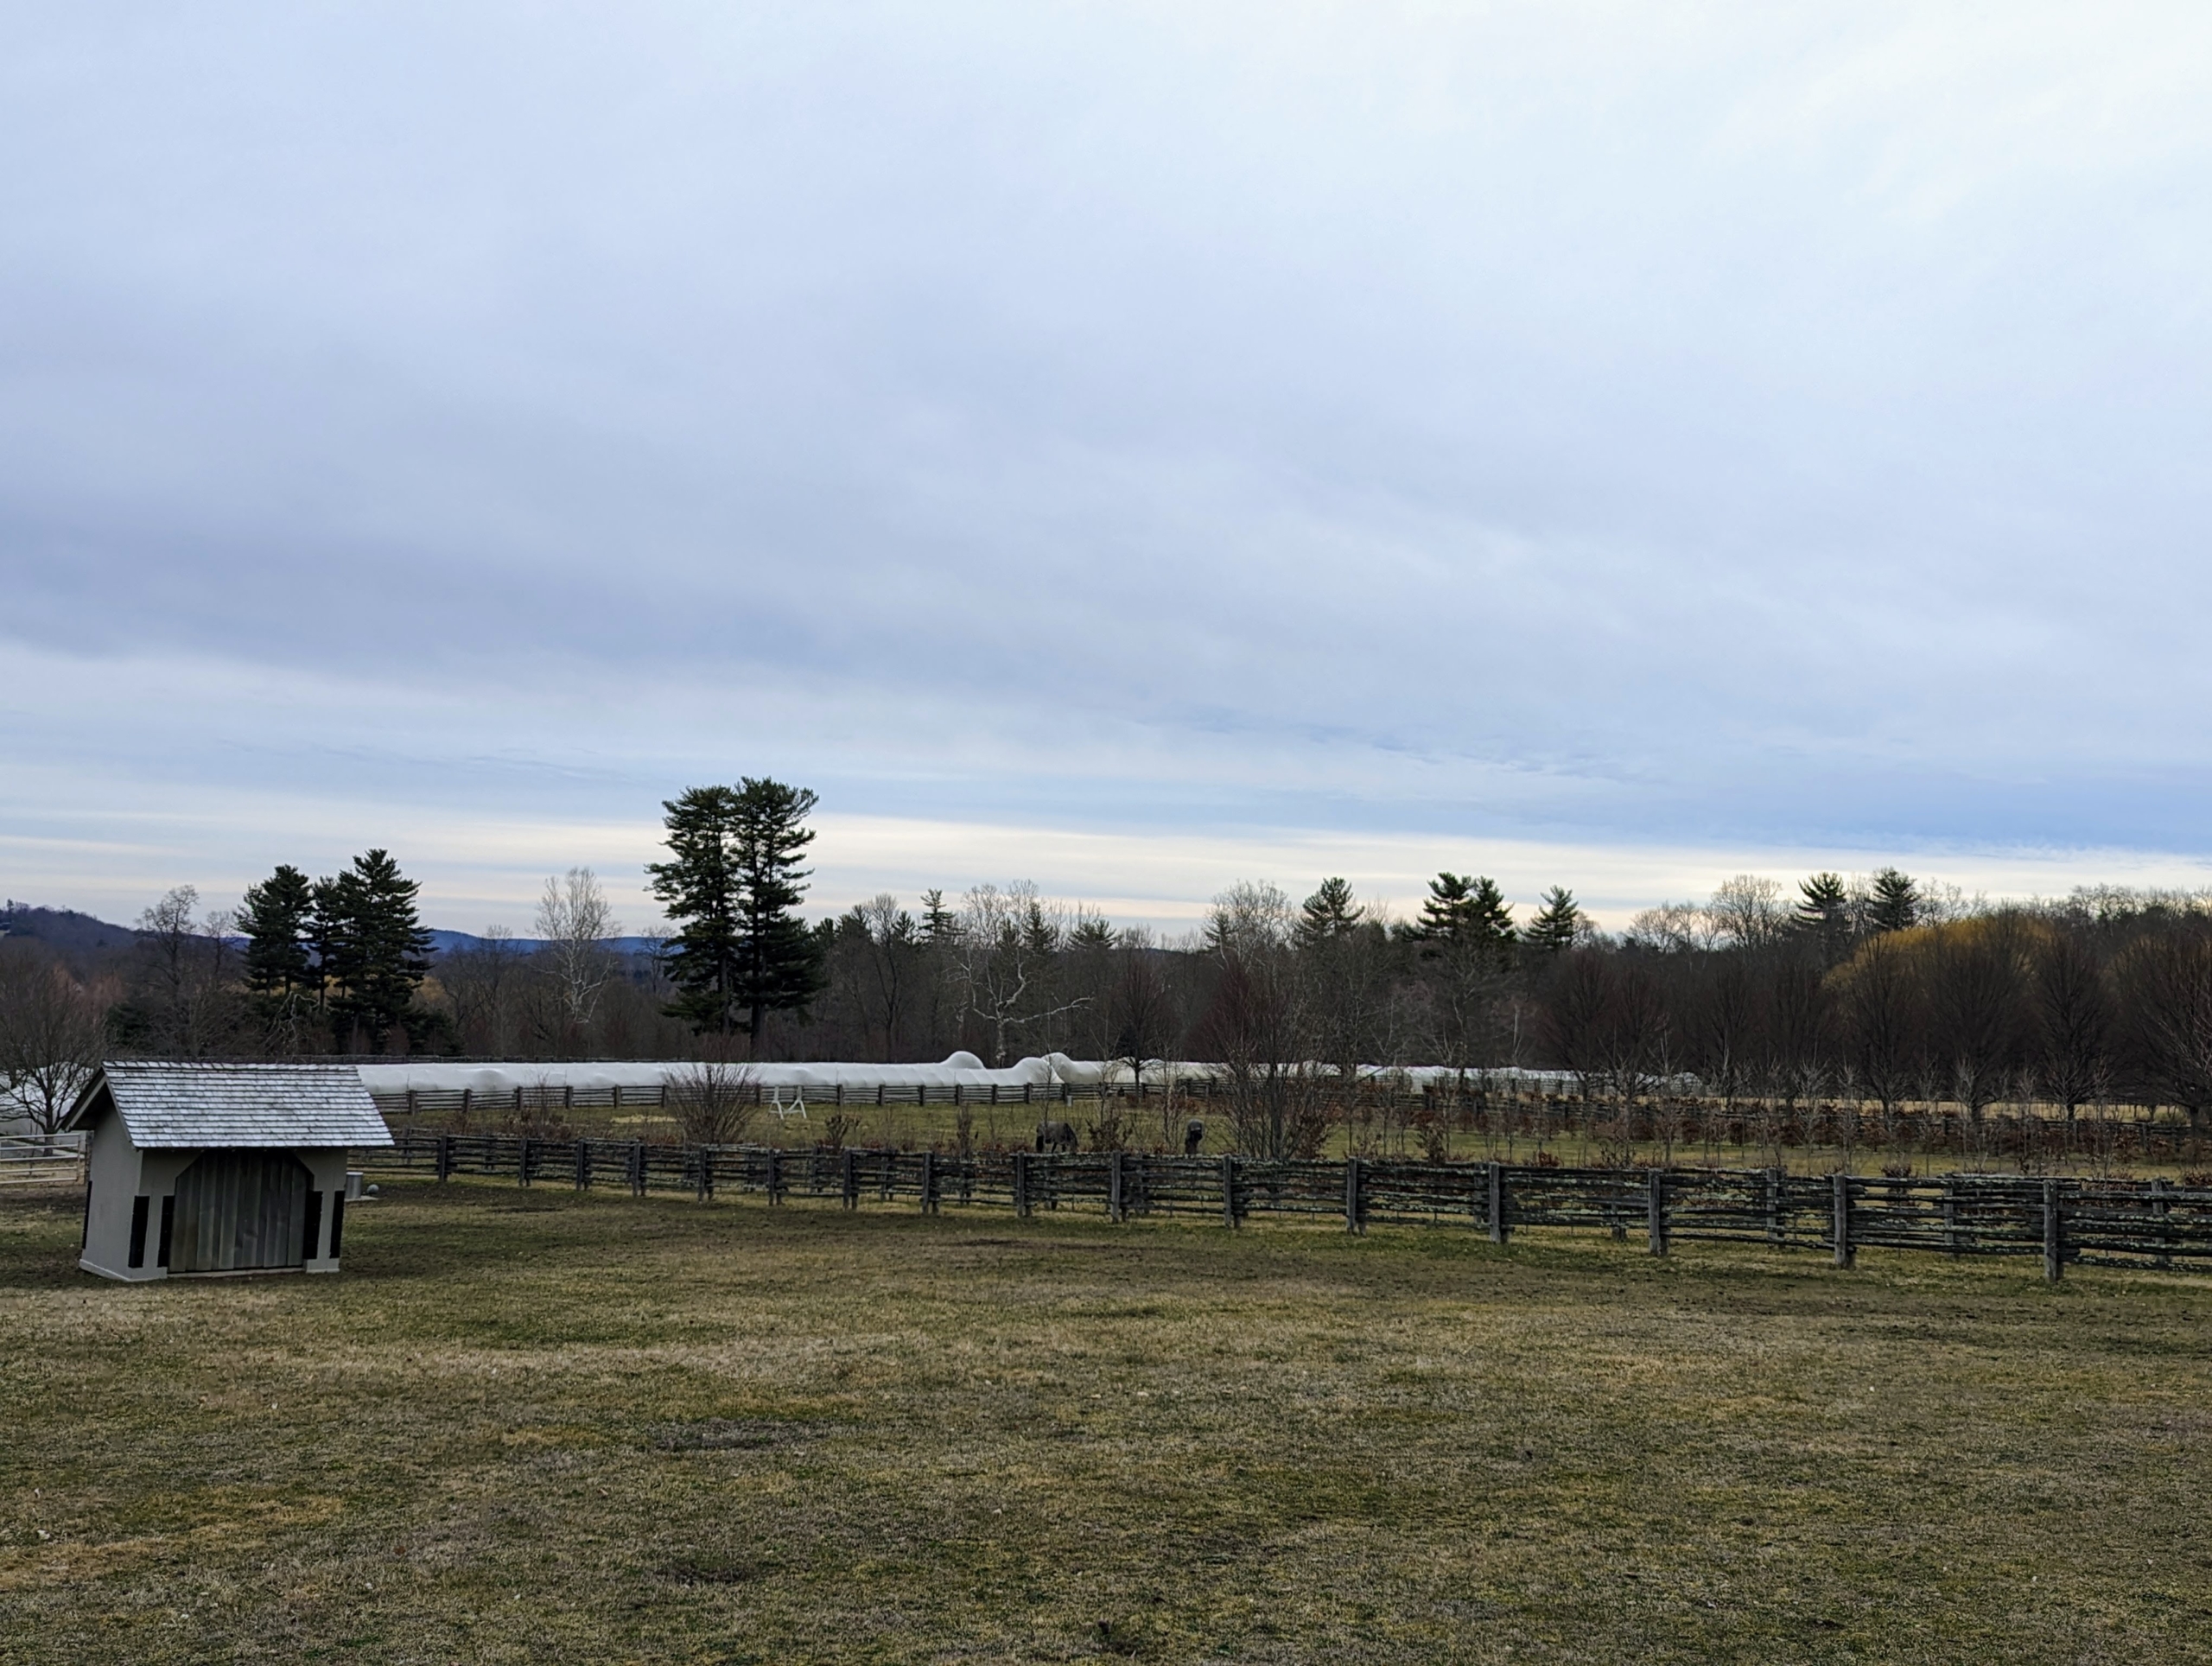
Here is the path between the paddocks with the old corn crib on the right and part of another covered boxwood shrub in the foreground. A little snow cover is actually good for the gardens – it’s just coming a little late this year.
All the hoop houses and greenhouses are checked to make sure they are all closed tightly and that there are no open areas around the perimeter where cold air could enter.
Here’s Juan cleaning one of our trusted Polaris vehicles, so it is clean and ready for all the chores after the storm.
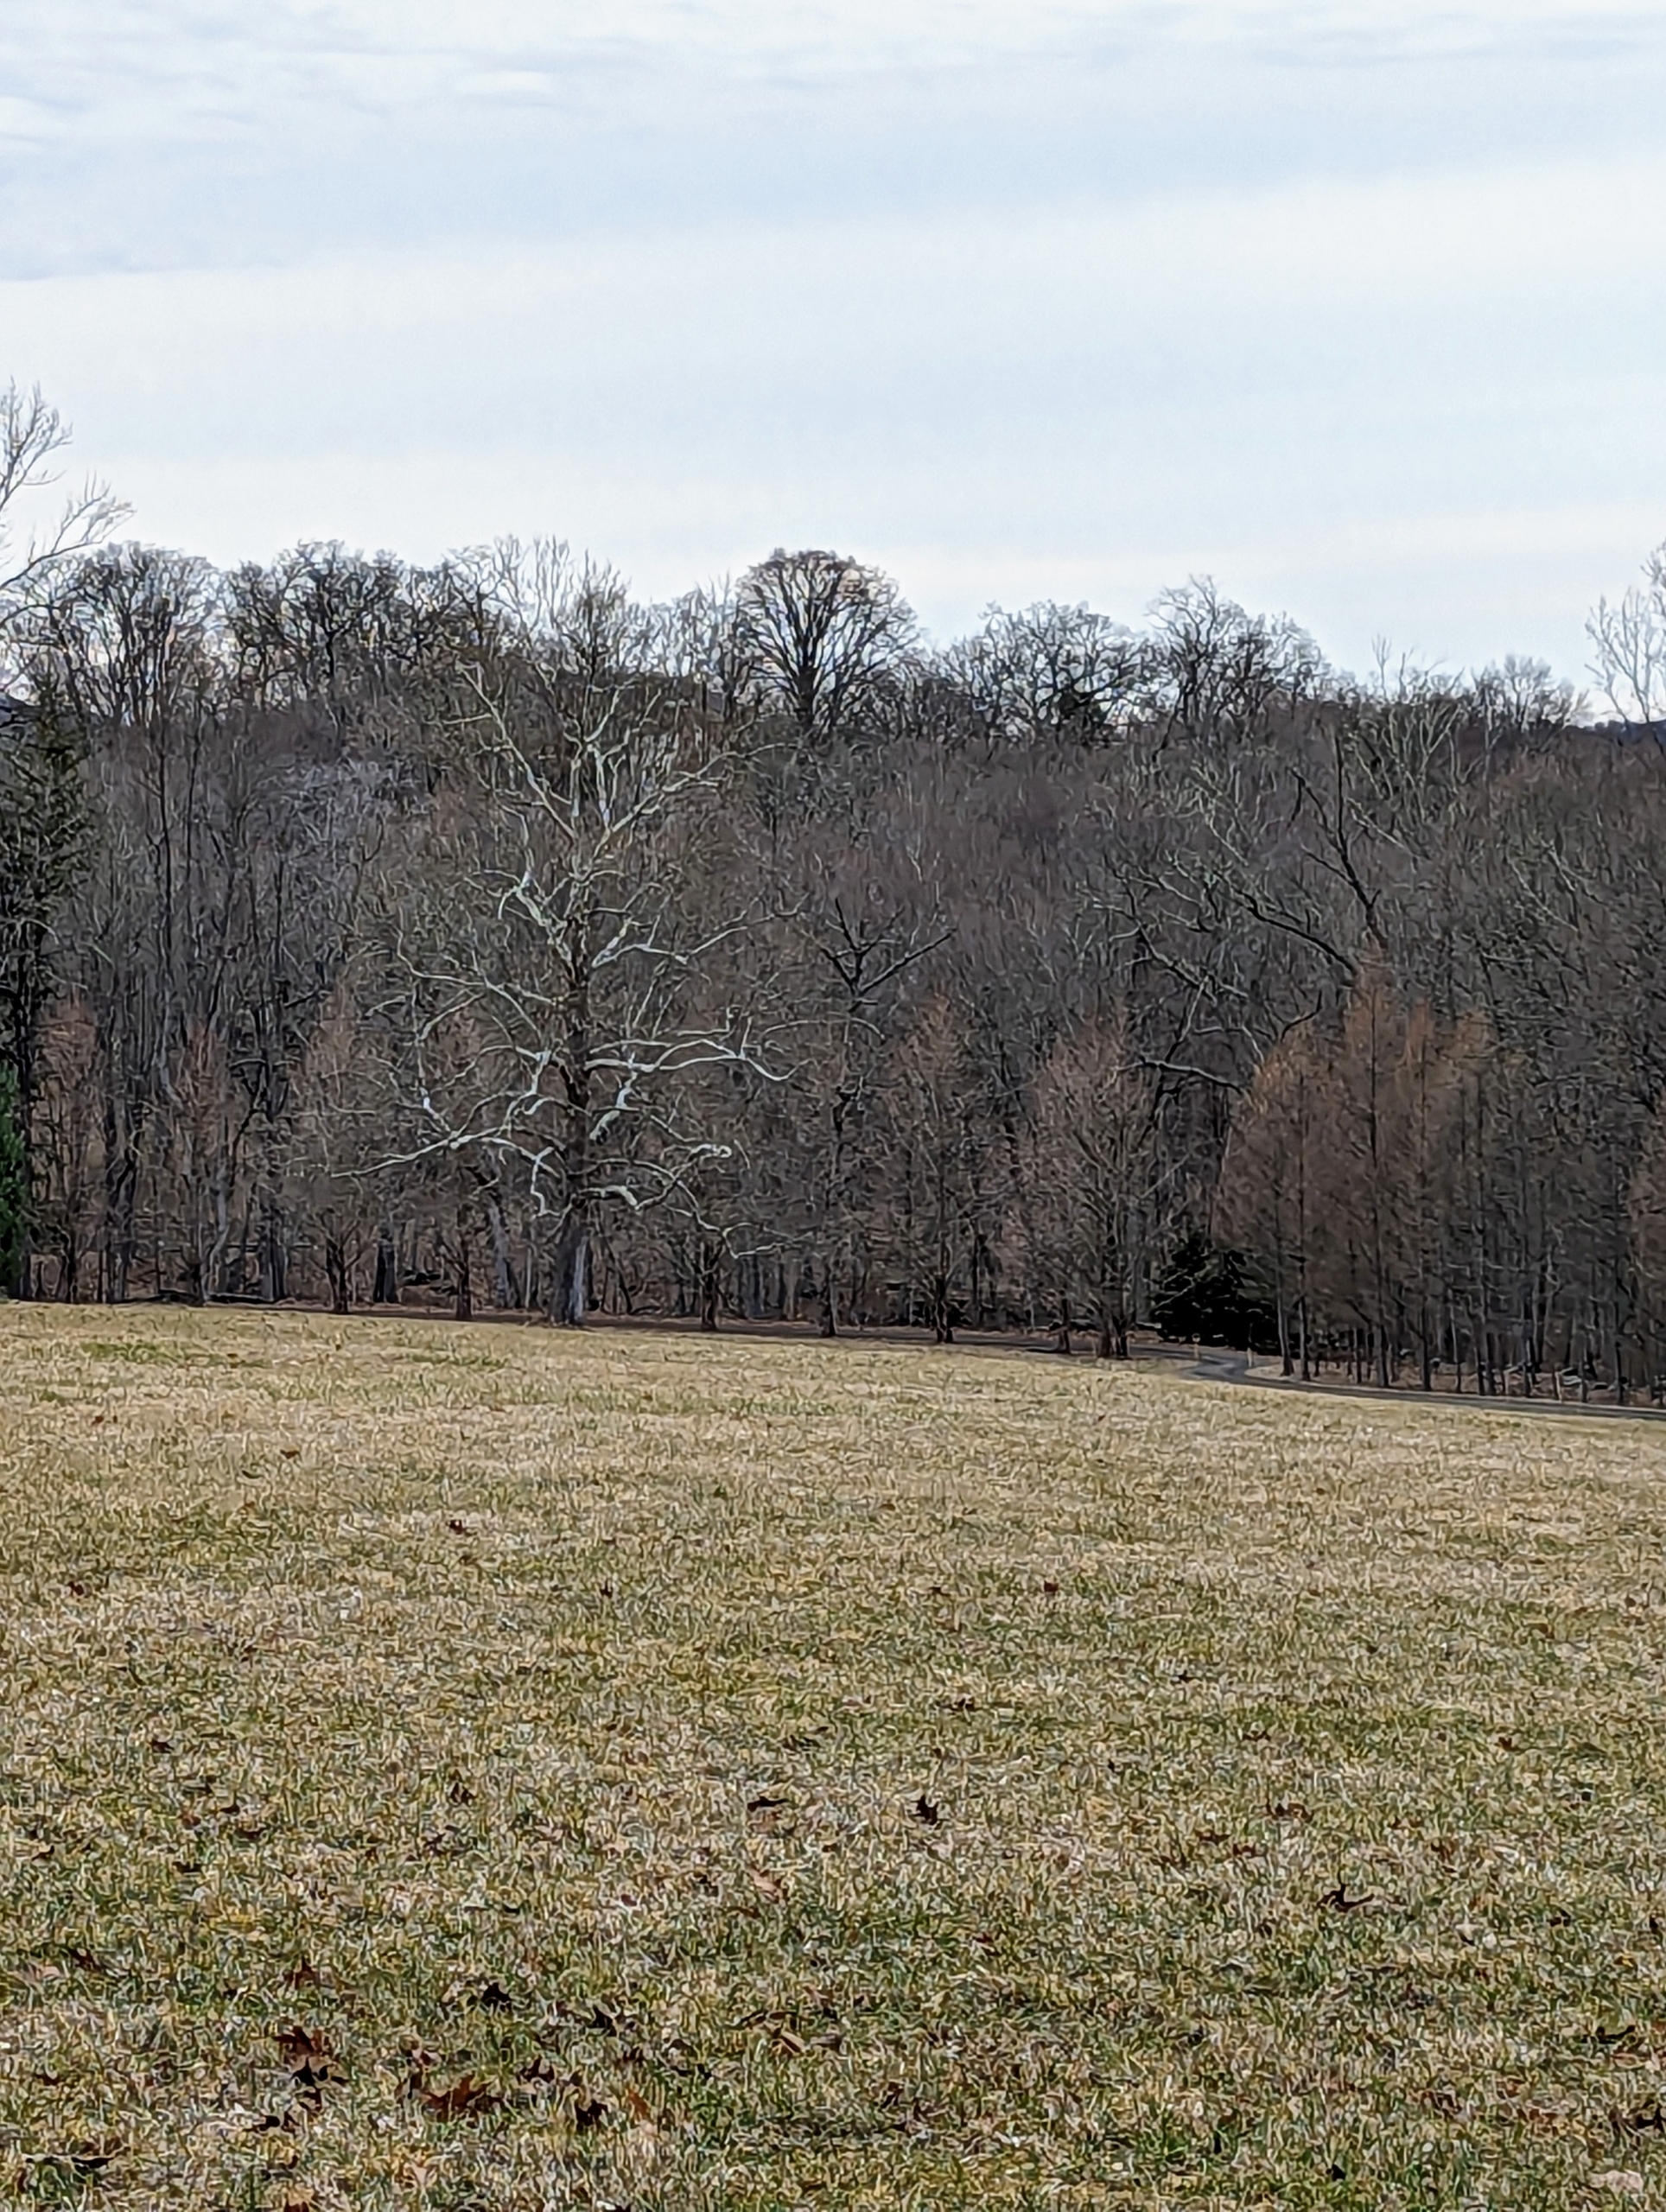
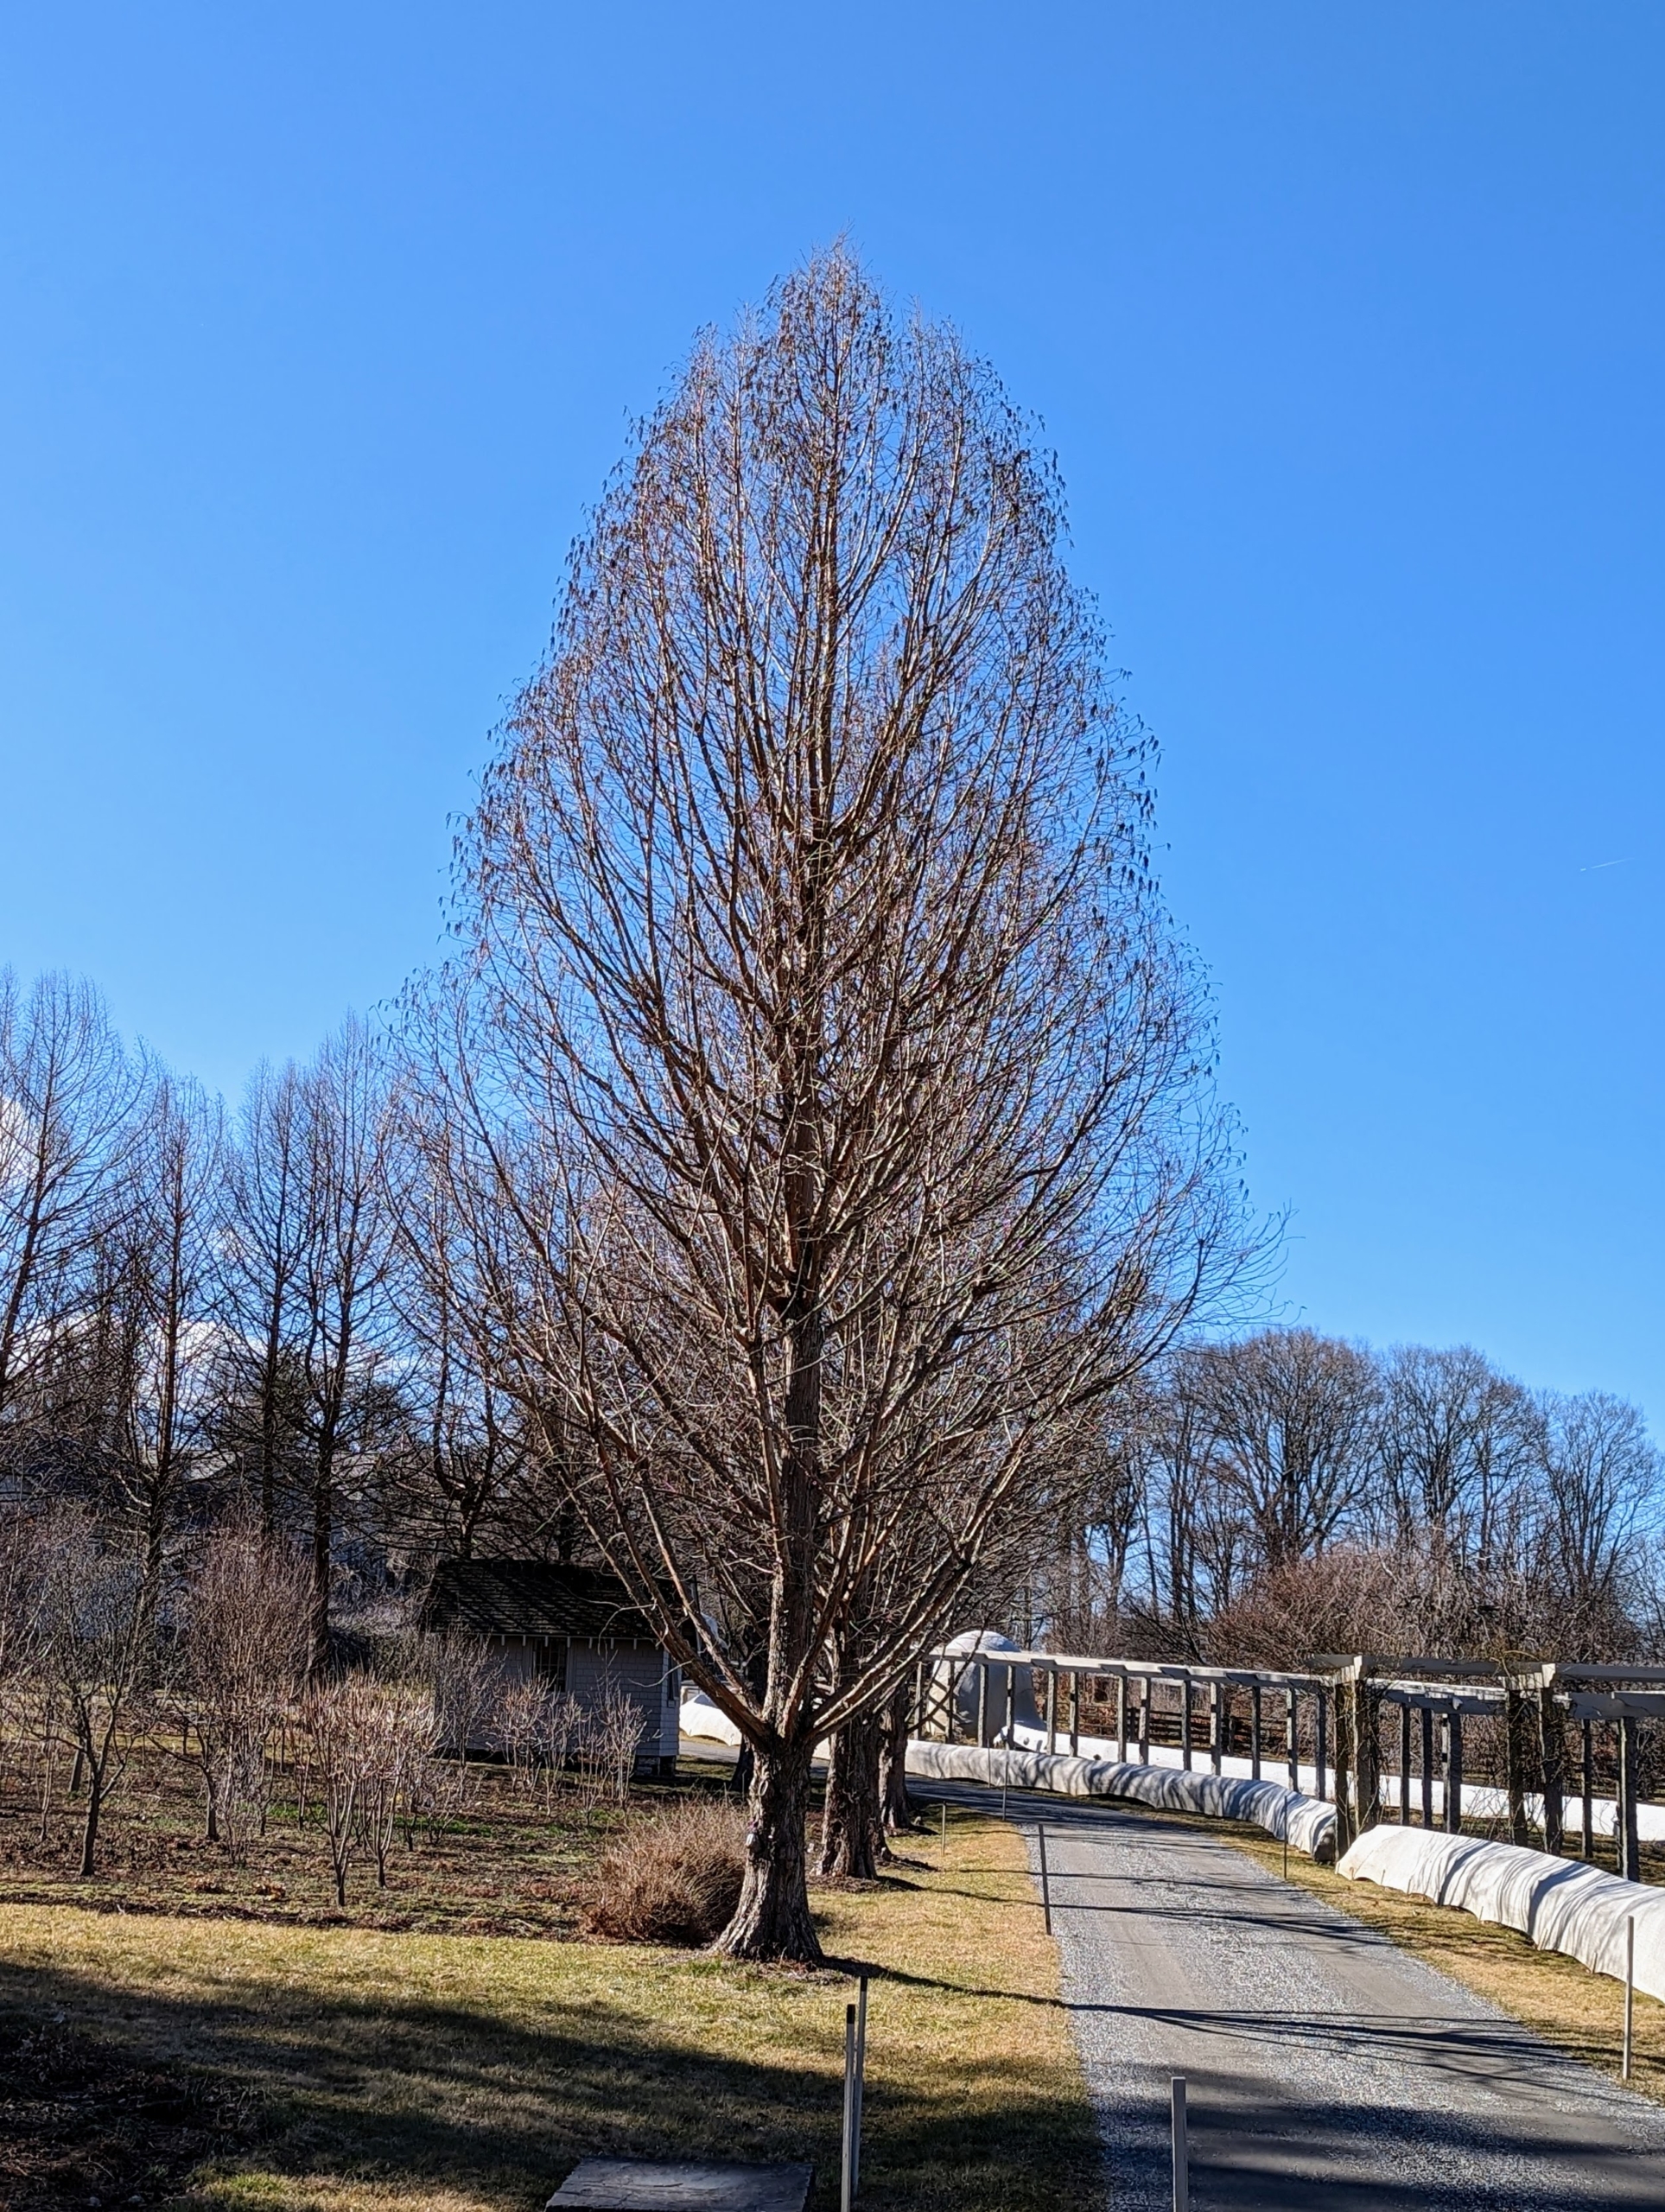
The crew drives around the entire farm to make sure nothing is amiss. This is the back hayfield with the great sycamore tree, the symbol of my farm, in the distance. There were no winds – it was very calm.
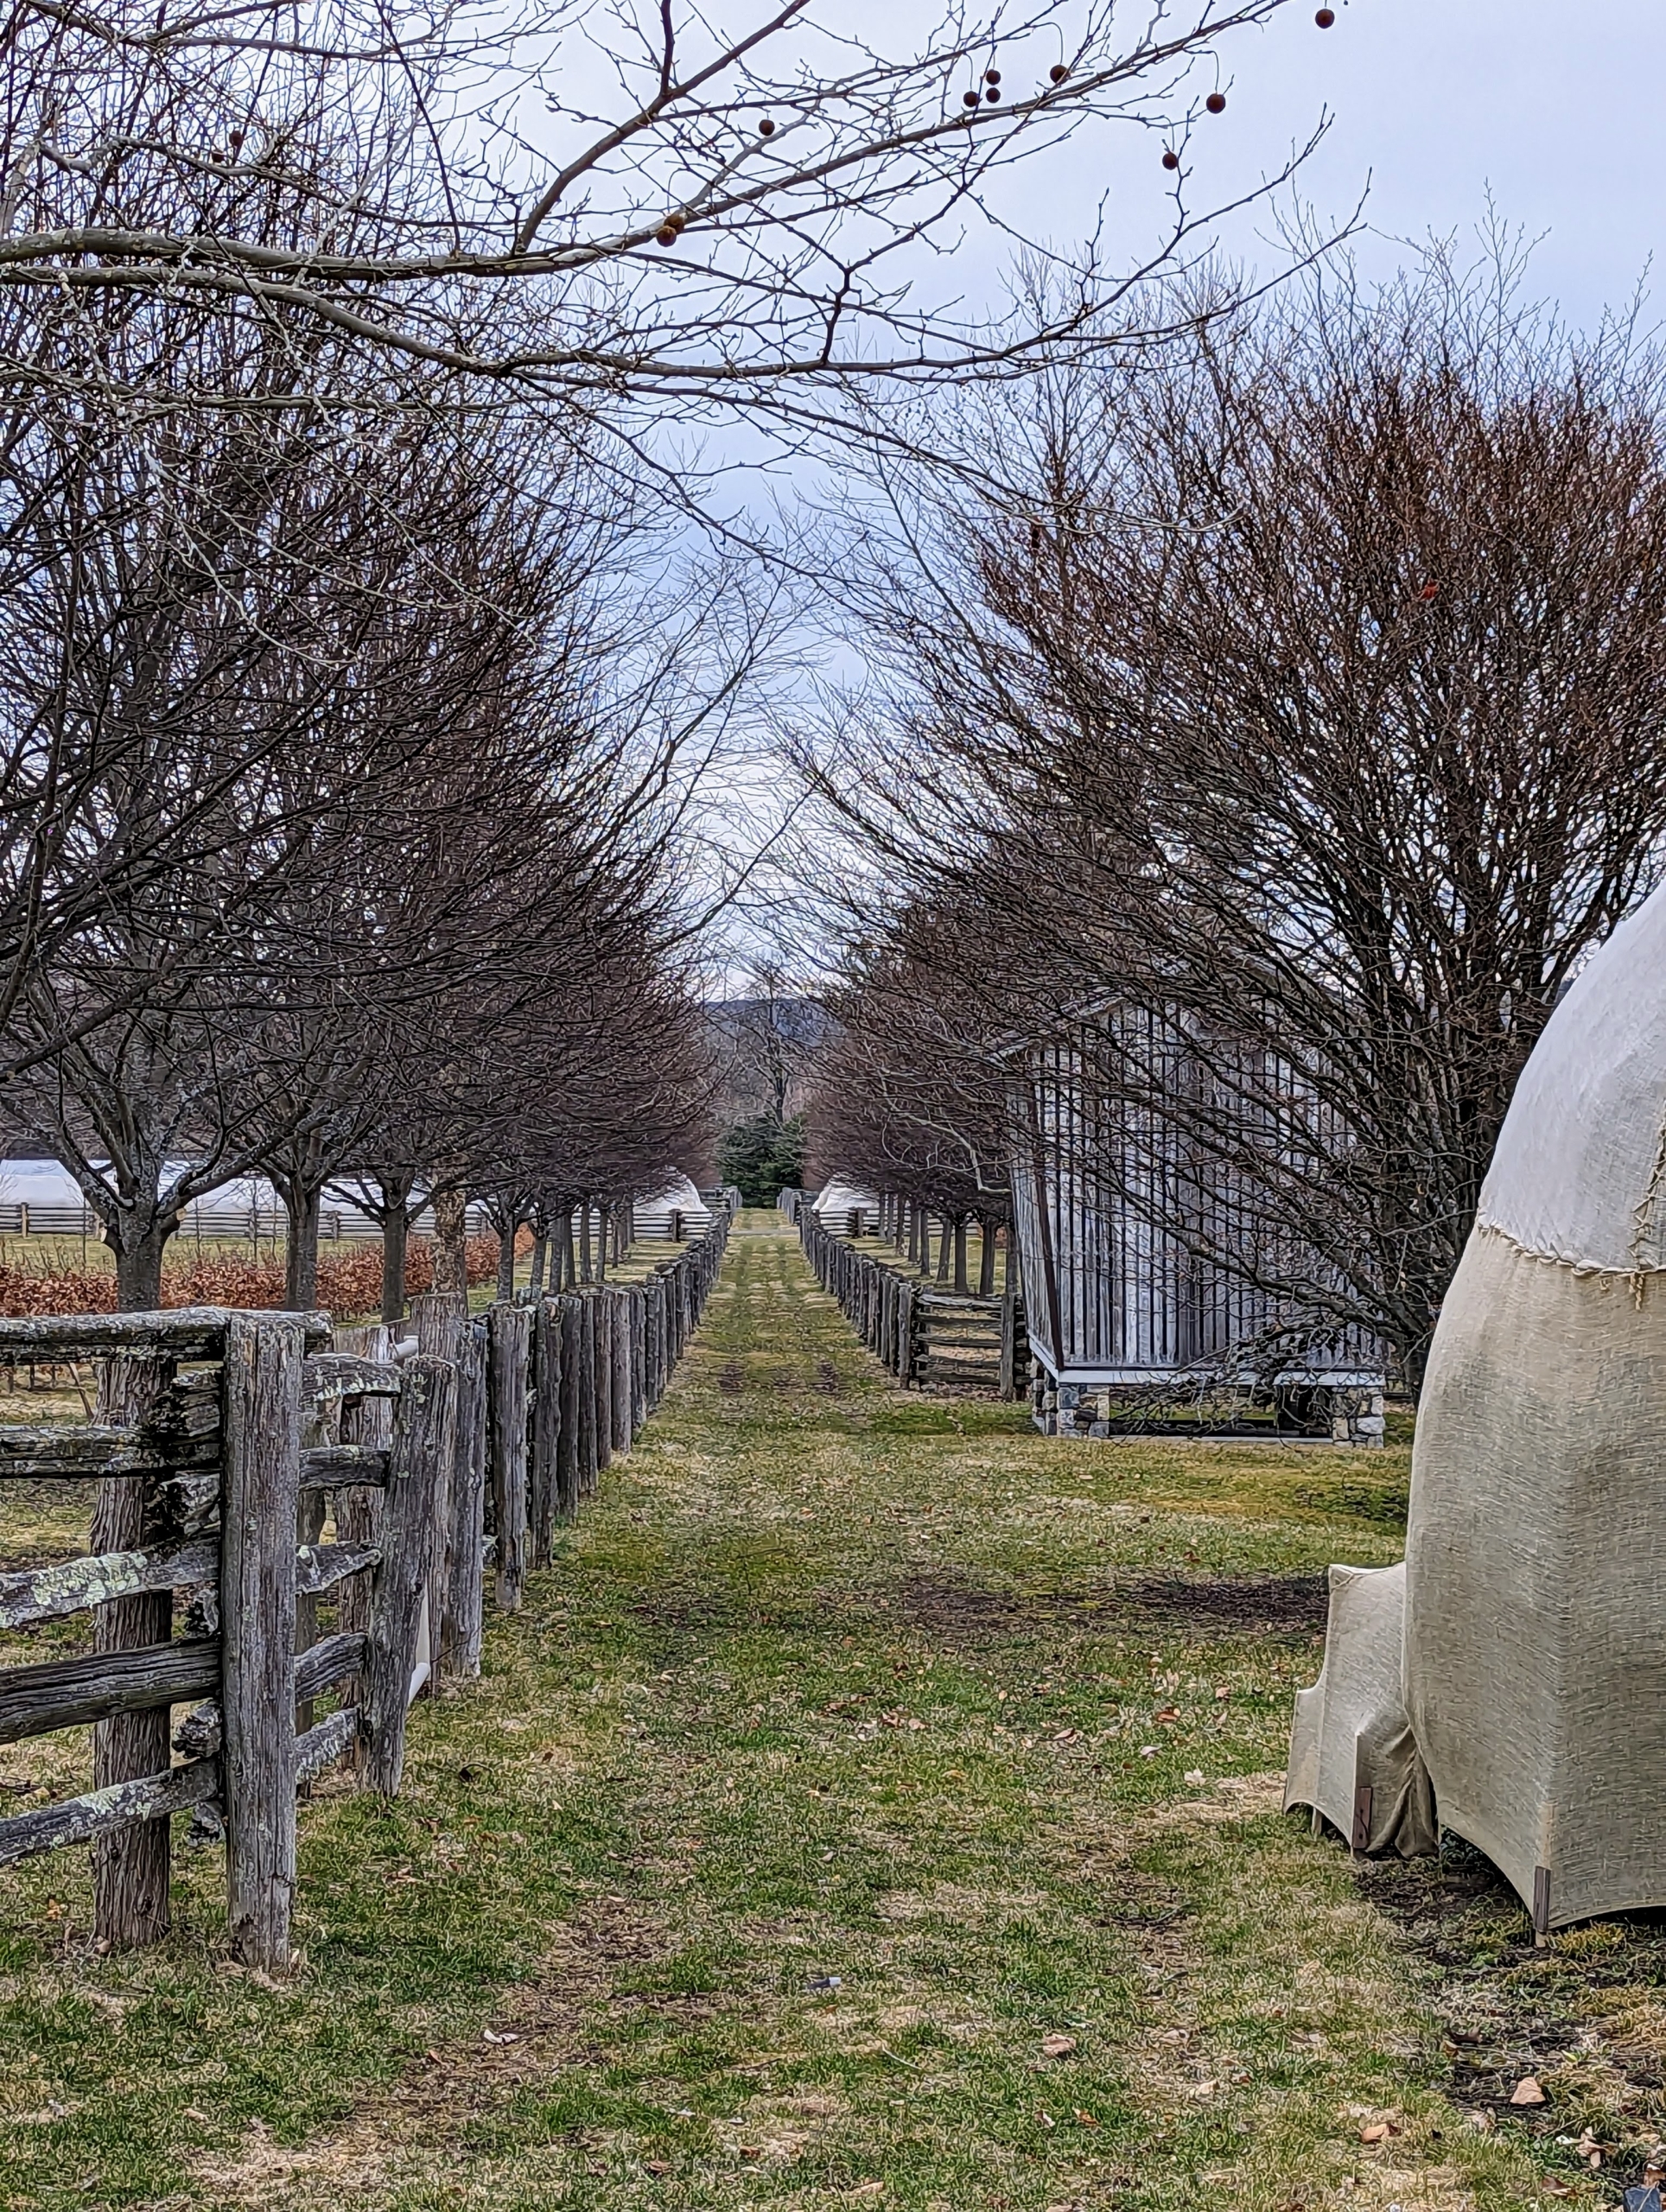
Pete has been working on filling the sides of the carriage roads where rain and snow may collect and pond. This area along a pin oak allée near what I call my “Contemporary House” is looking so much better.
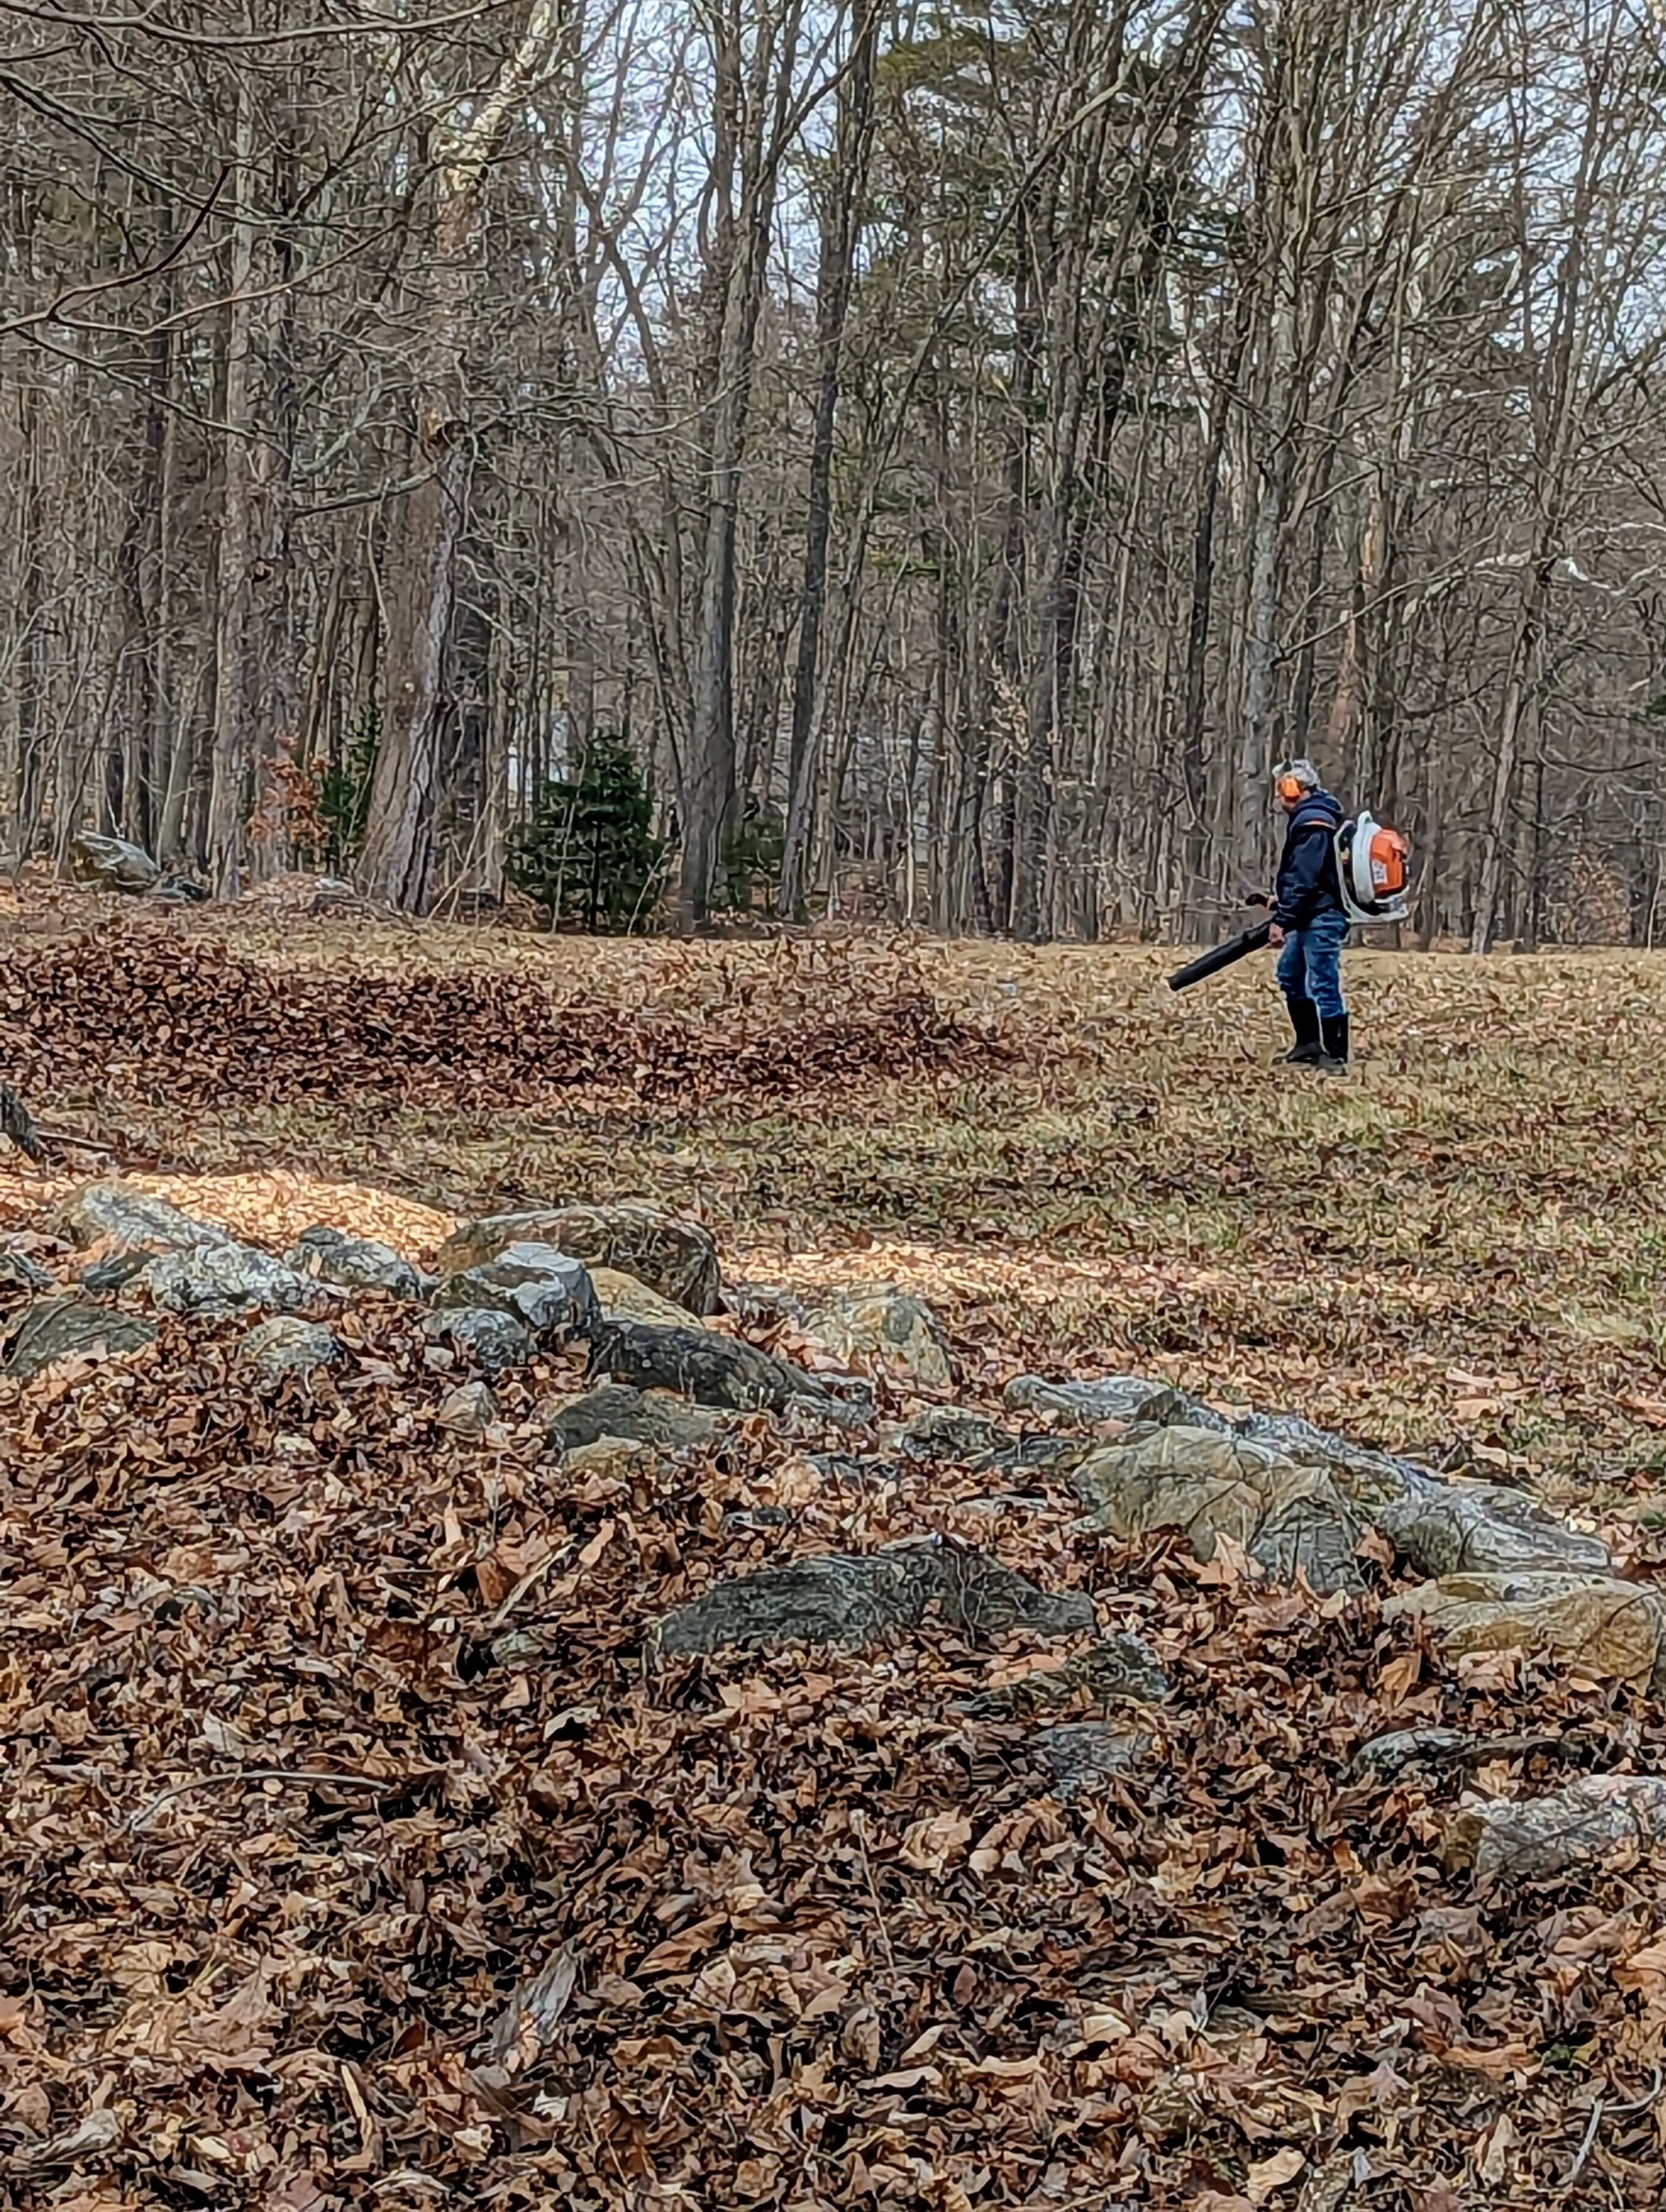
Here is Fernando blowing leaves and debris in the middle field – we are always doing work in the woodland to keep the farm looking its best.
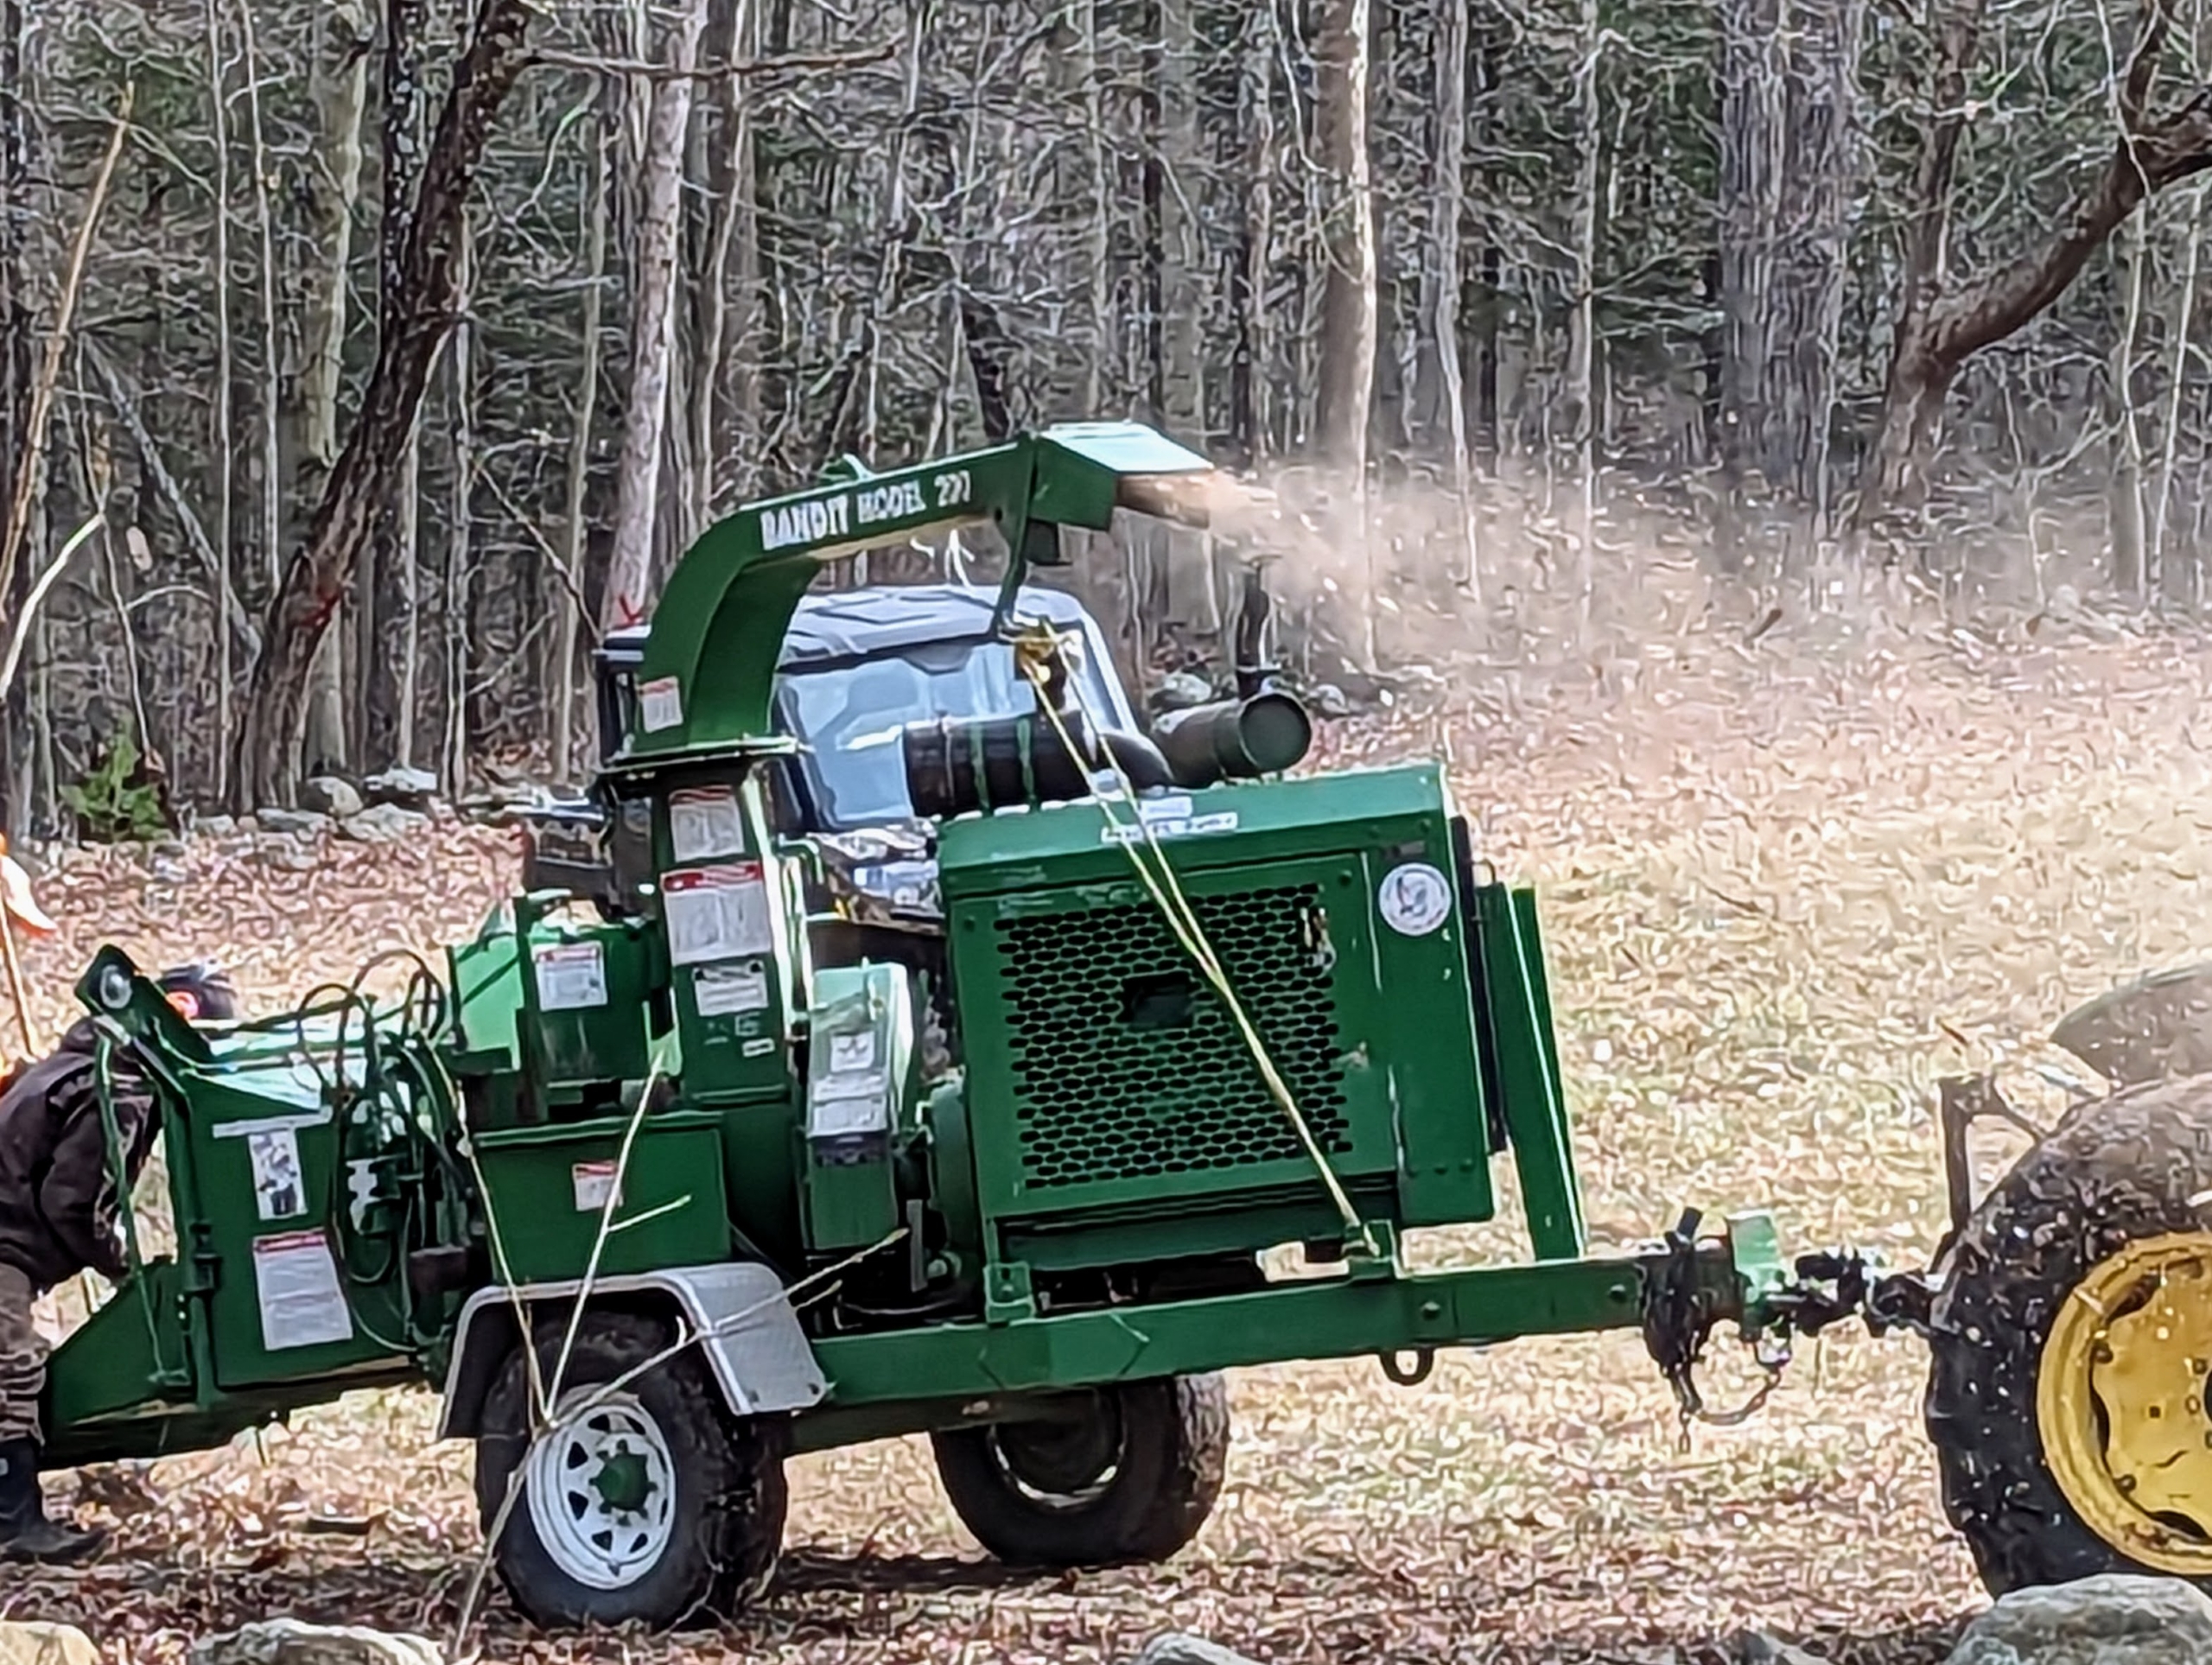
Chhiring and Pasang continue chipping the wood branches – it’s a race to get as much done as possible before the ground is covered with snow.
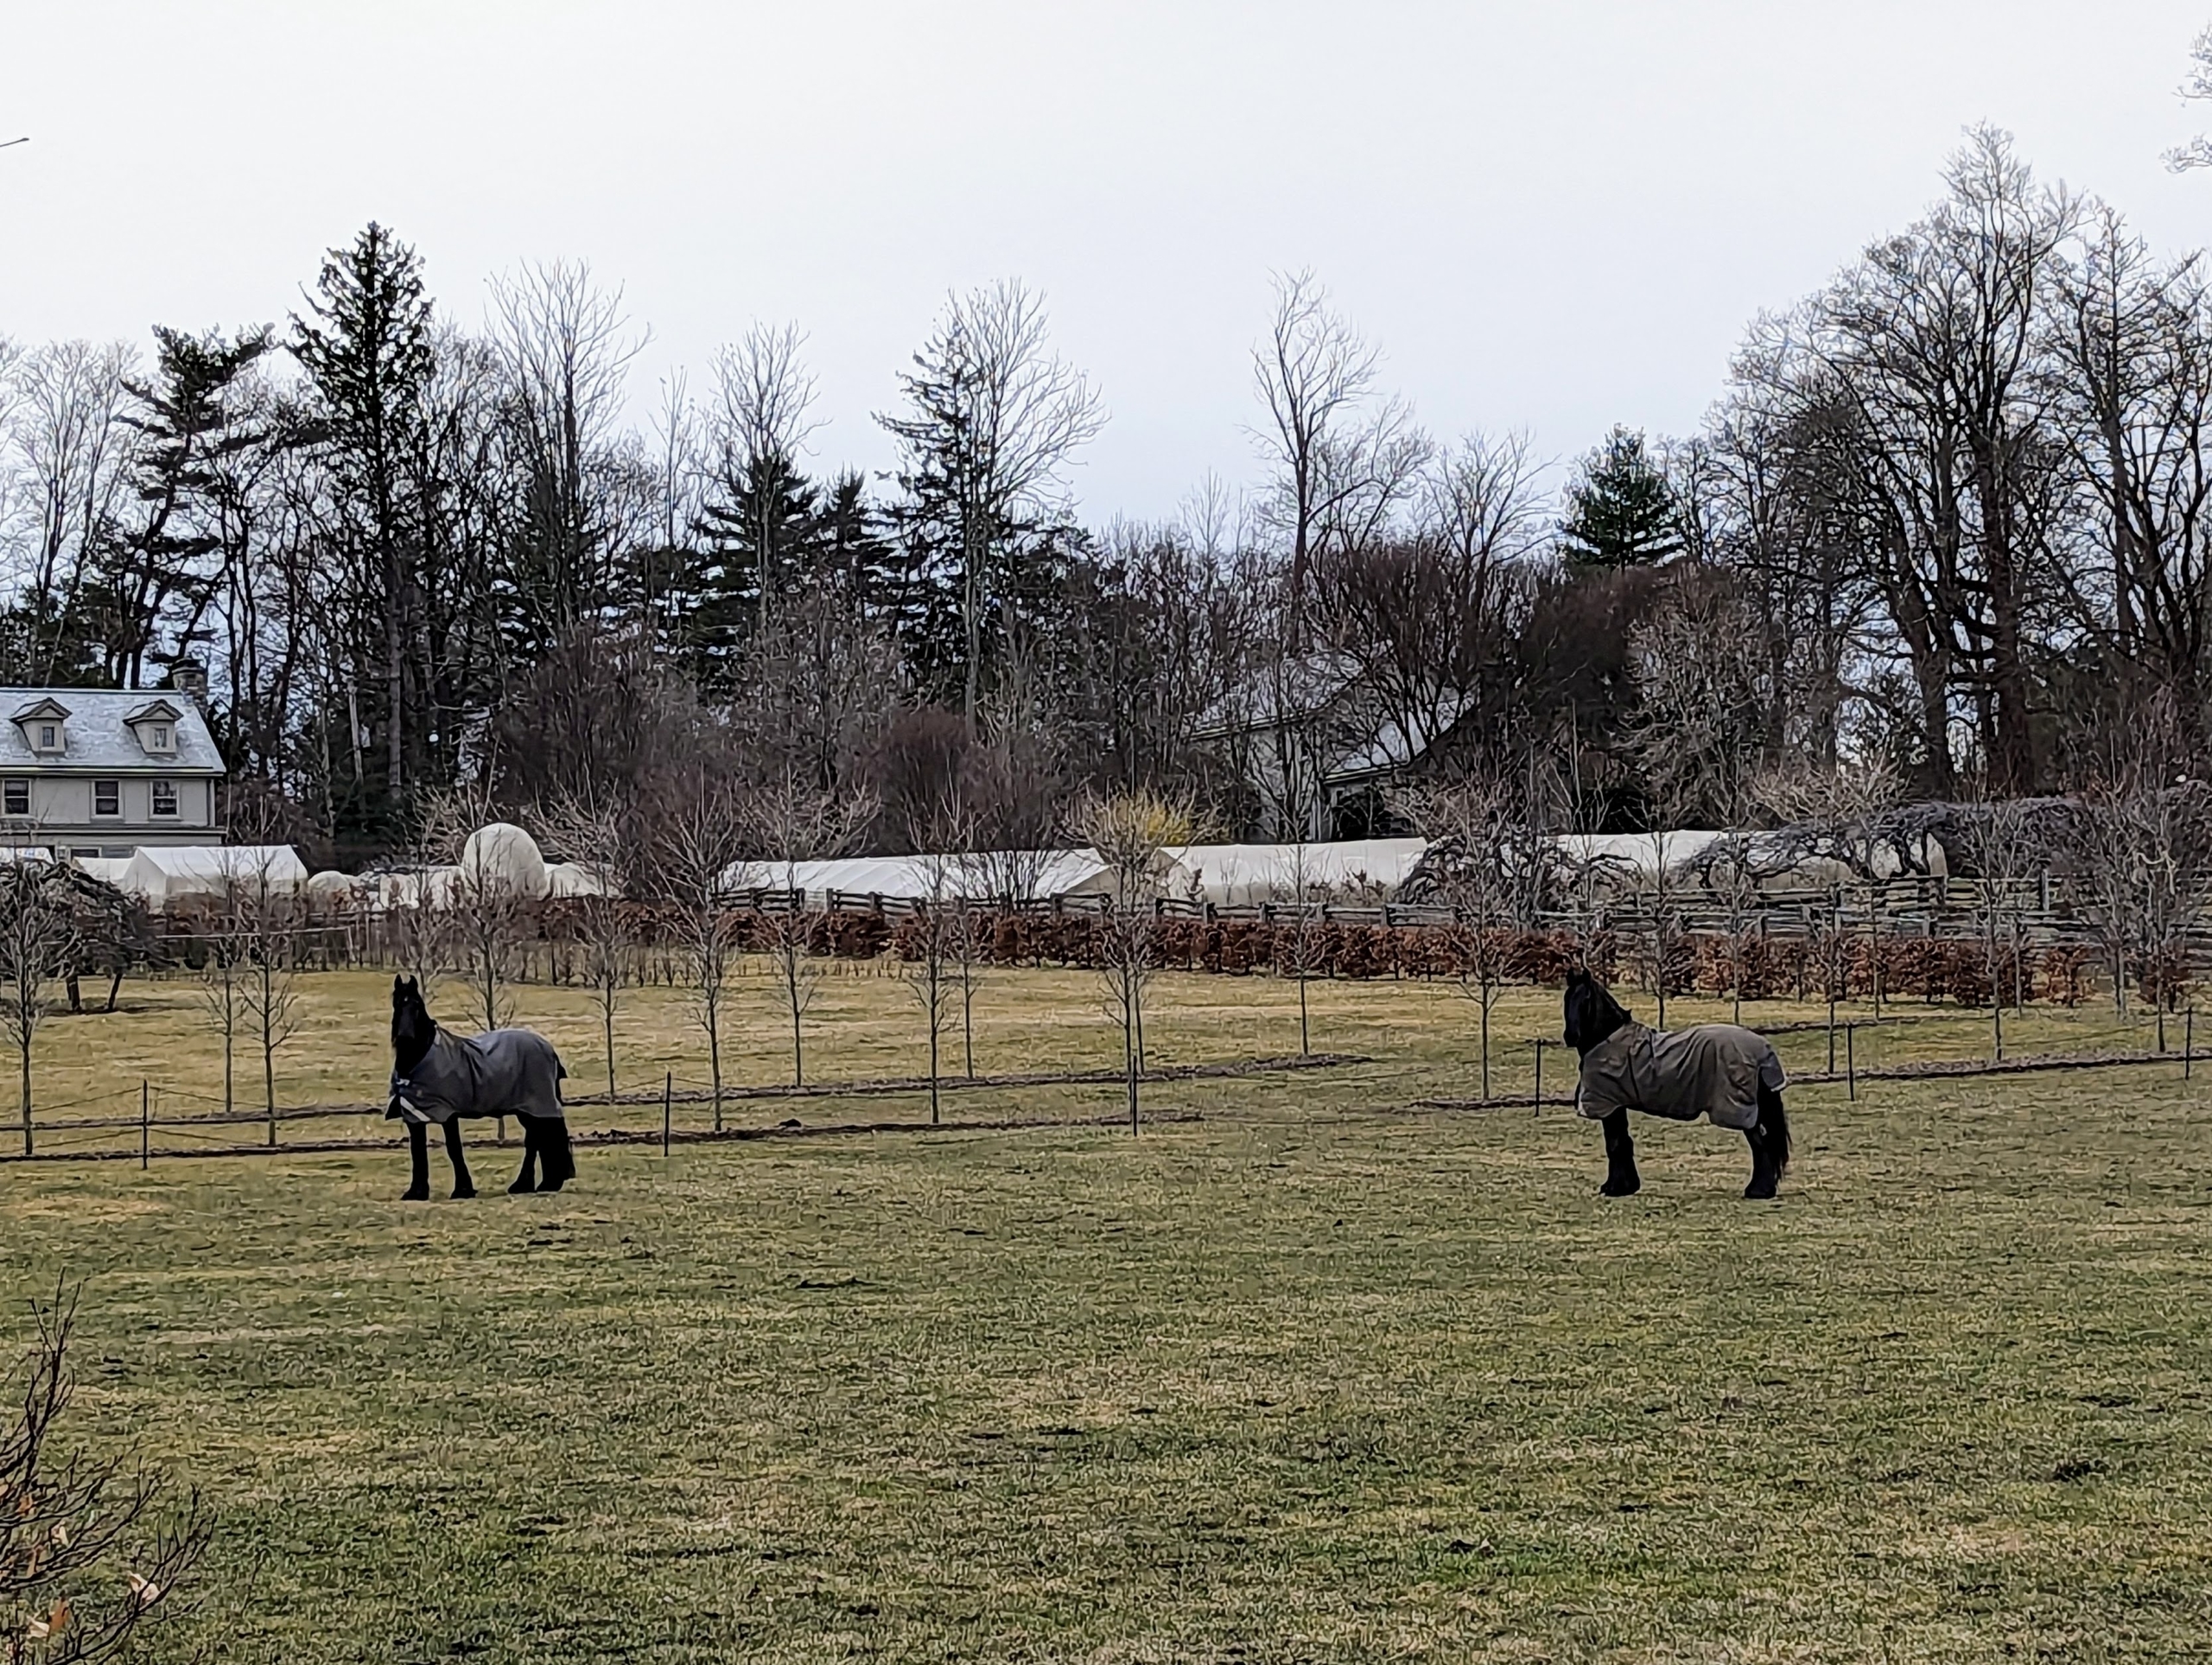
Hylke and Geert are out in their pasture during the day to exercise and get fresh air and then they’re brought indoors before the snow starts falling. I like my horses in their safe and secure stable during any inclement weather. Rinze, Bond, and my Fell Pony Banchunch are in the paddock across the road.
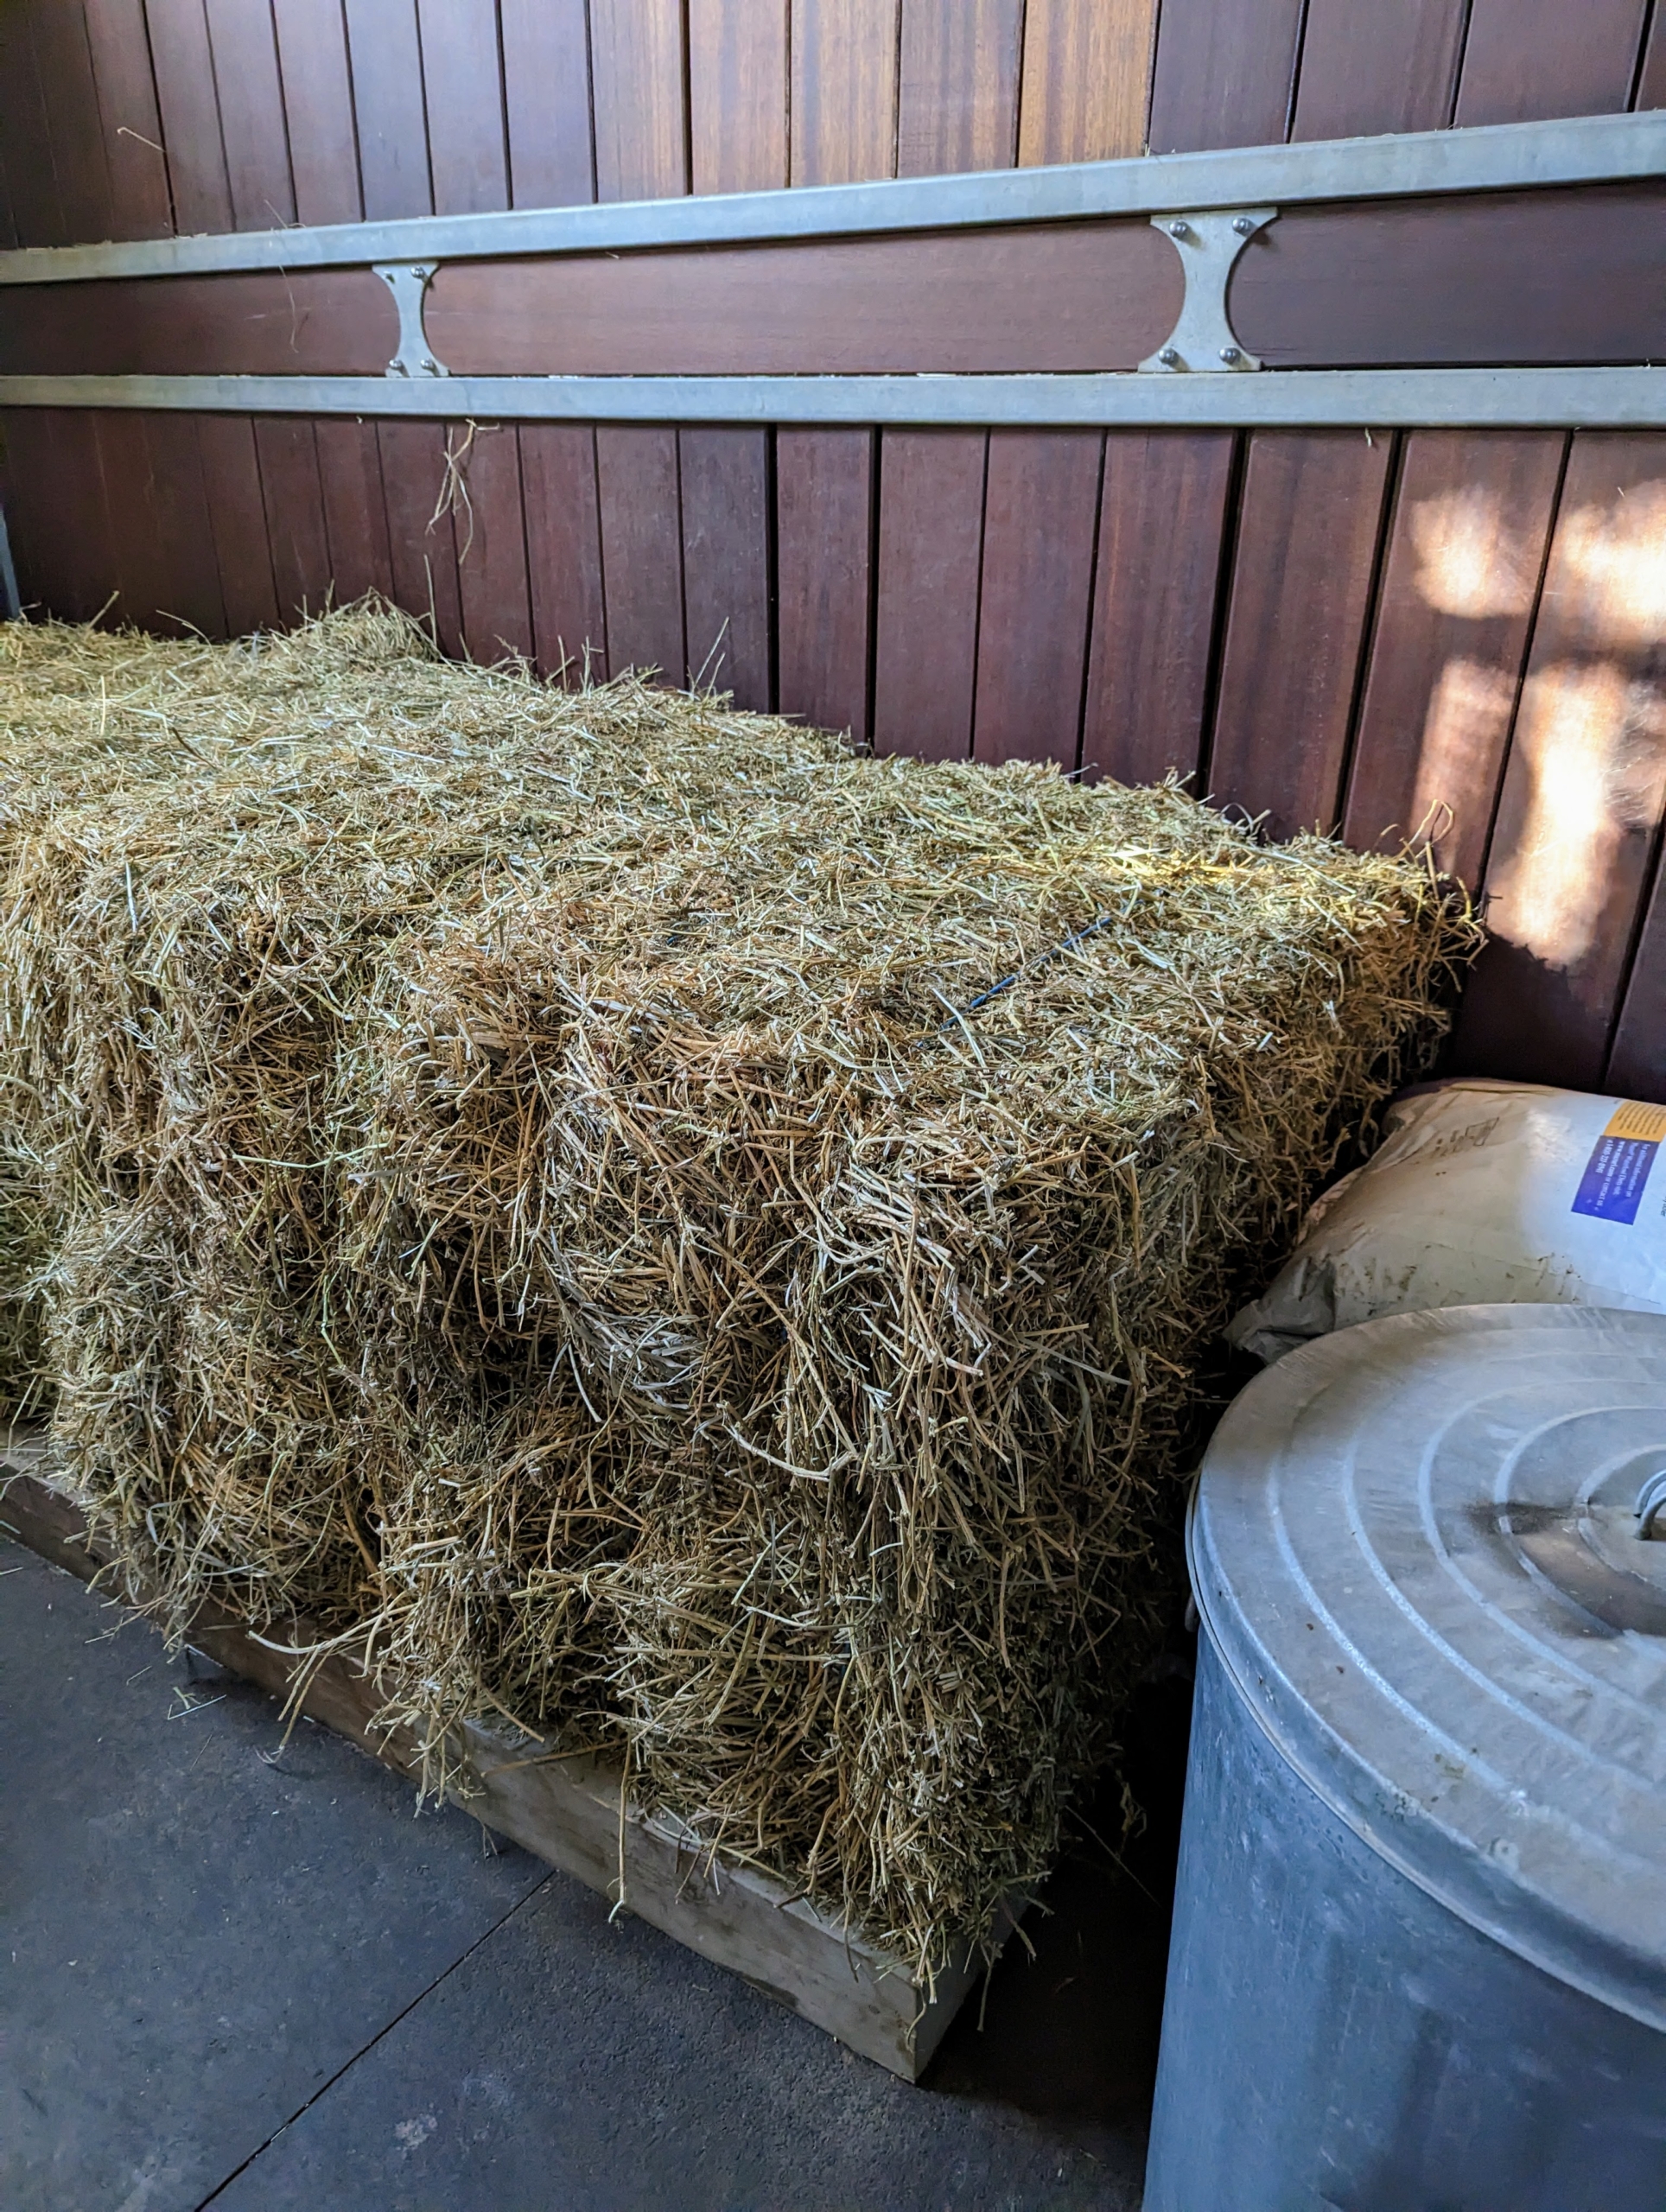
Extra hay is brought into the stable for all the equine residents.
And look at the peafowl – they don’t mind the weather at all. For them it is the beginning of breeding season. From late February until early August, the peacocks display their stunning and iridescent tail feathers, strut back and forth shaking their feathers and hindquarters to produce a rattling sound, and make loud calls to the females nearby. It’s always very interesting to watch these mating rituals up close – the “tail show” can be quite amazing.
By early evening, the skies were all gray. Here is a view of the cloud cover above my stable. Once all the horses are put inside, the giant barn doors are closed tight to keep the wind and snow out. The farm will look completely different after the snow. Check back tomorrow for more photos.
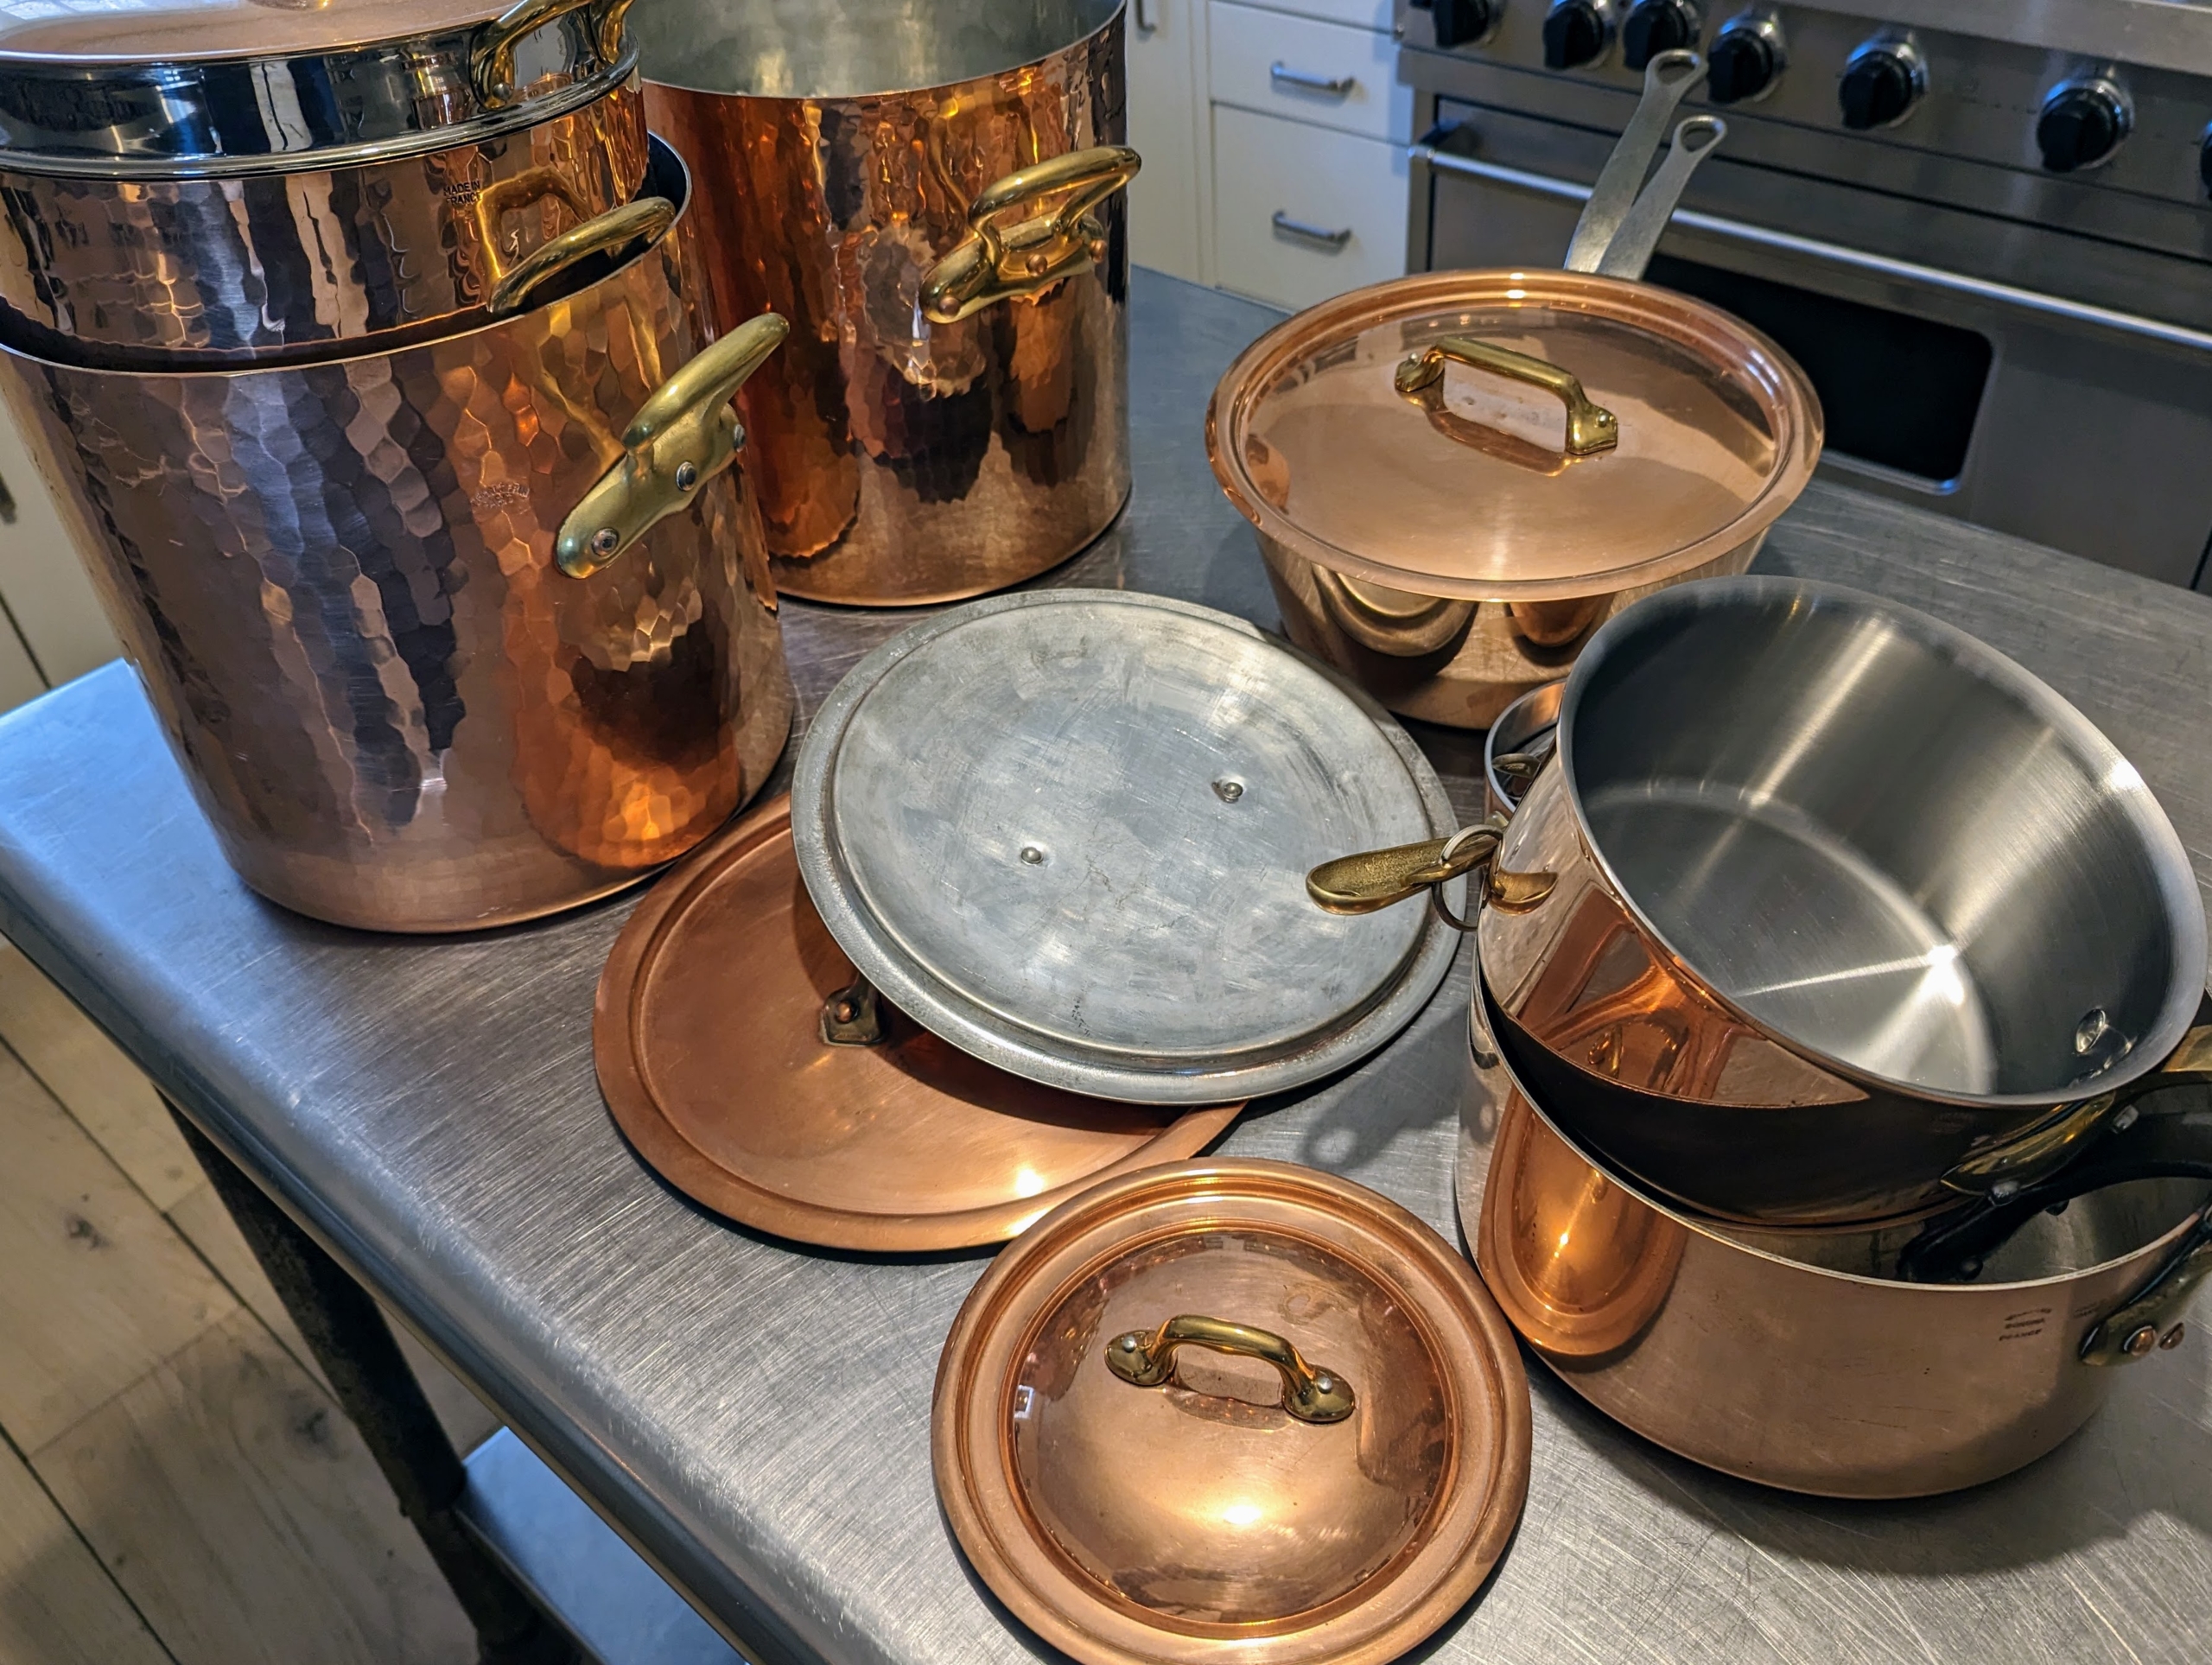
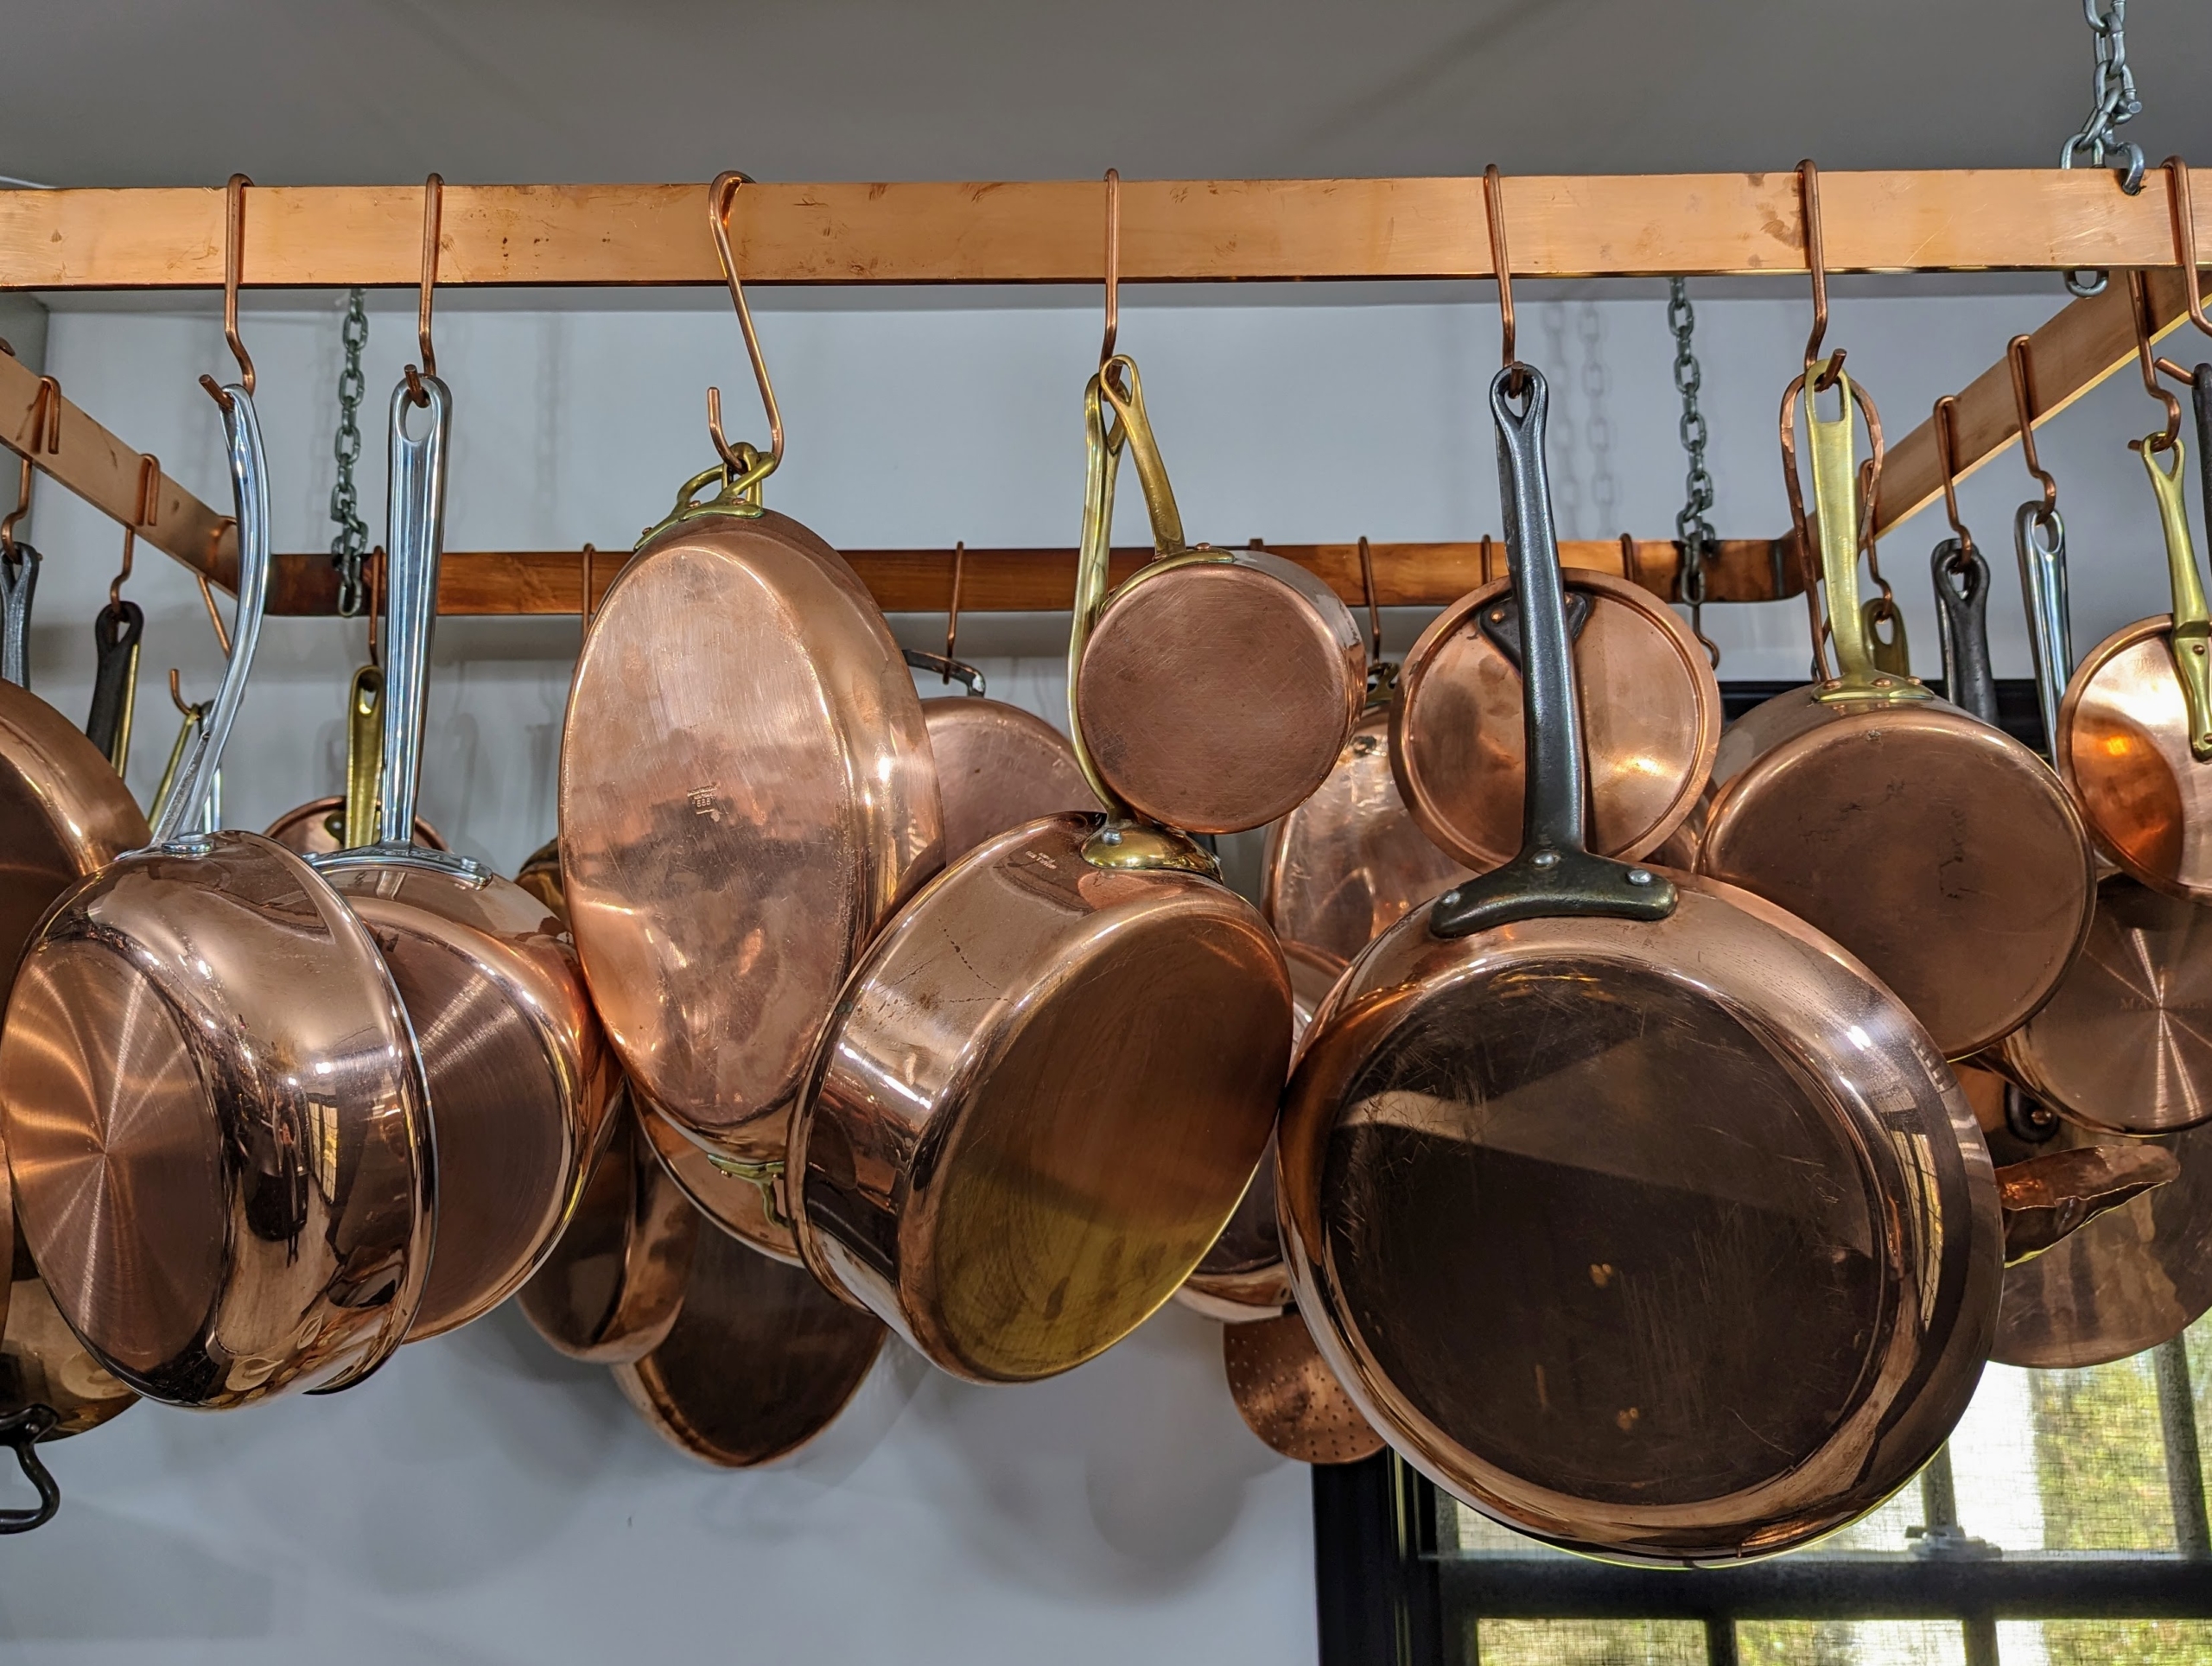
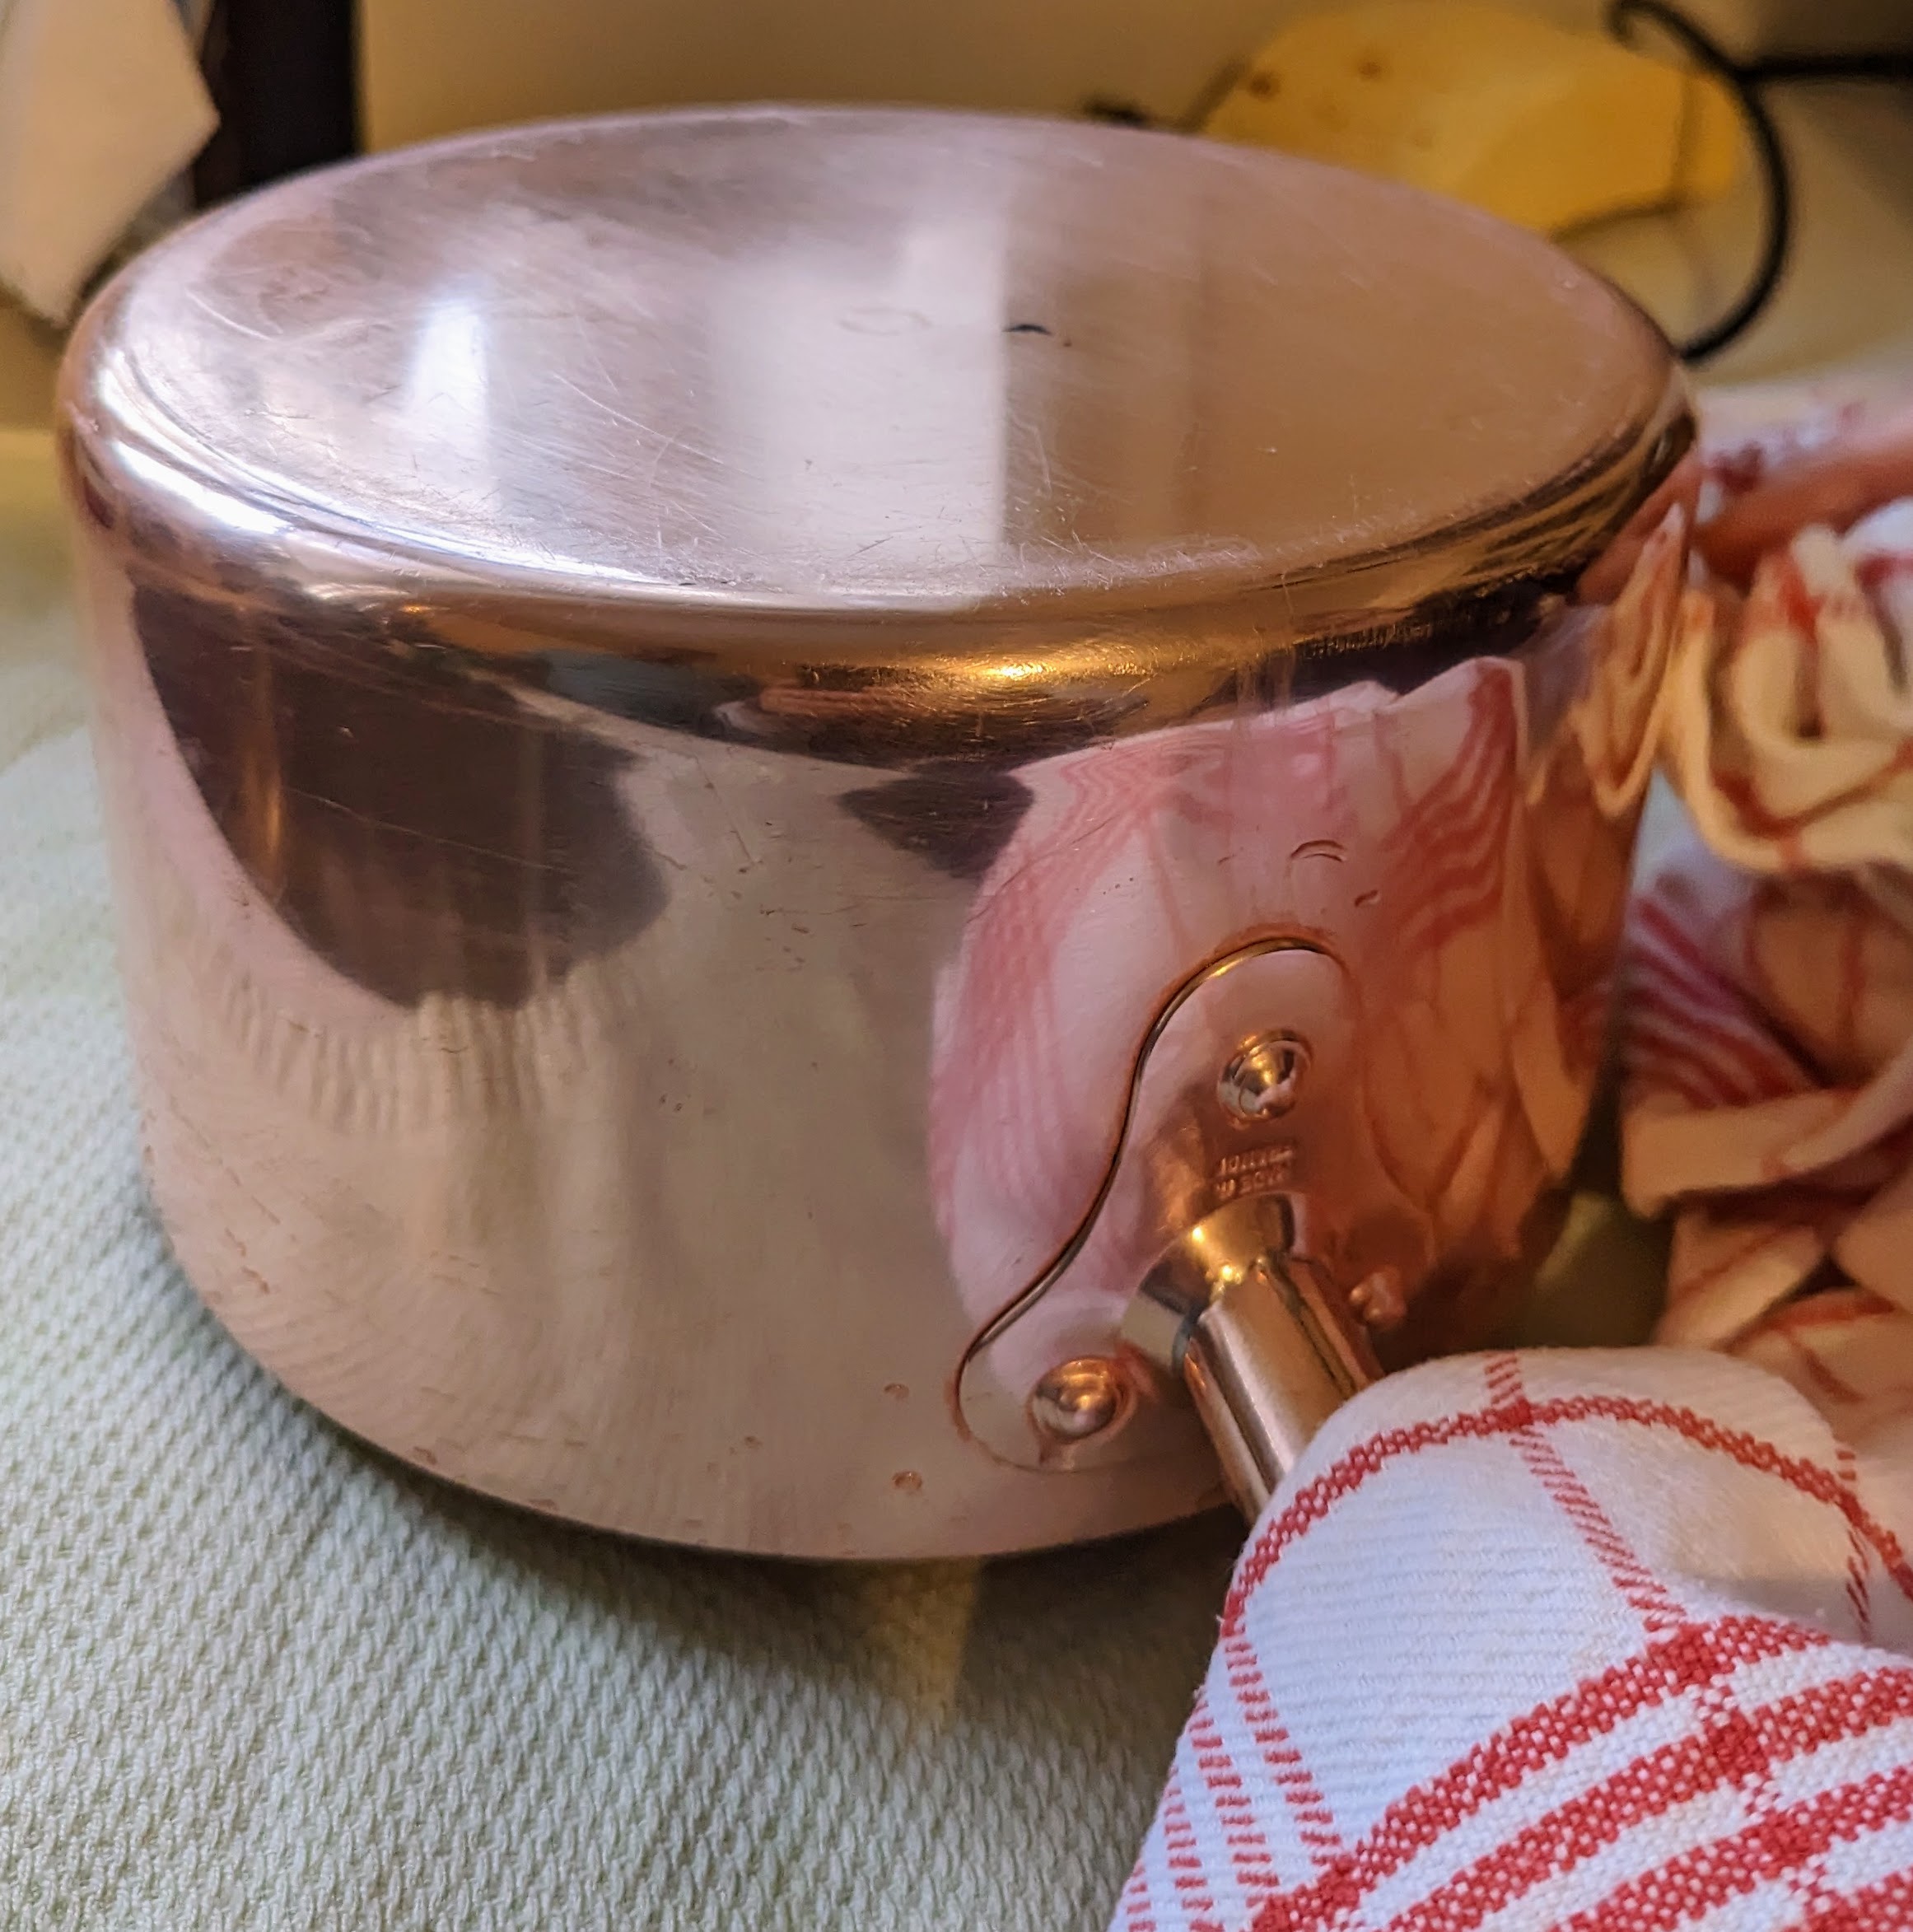
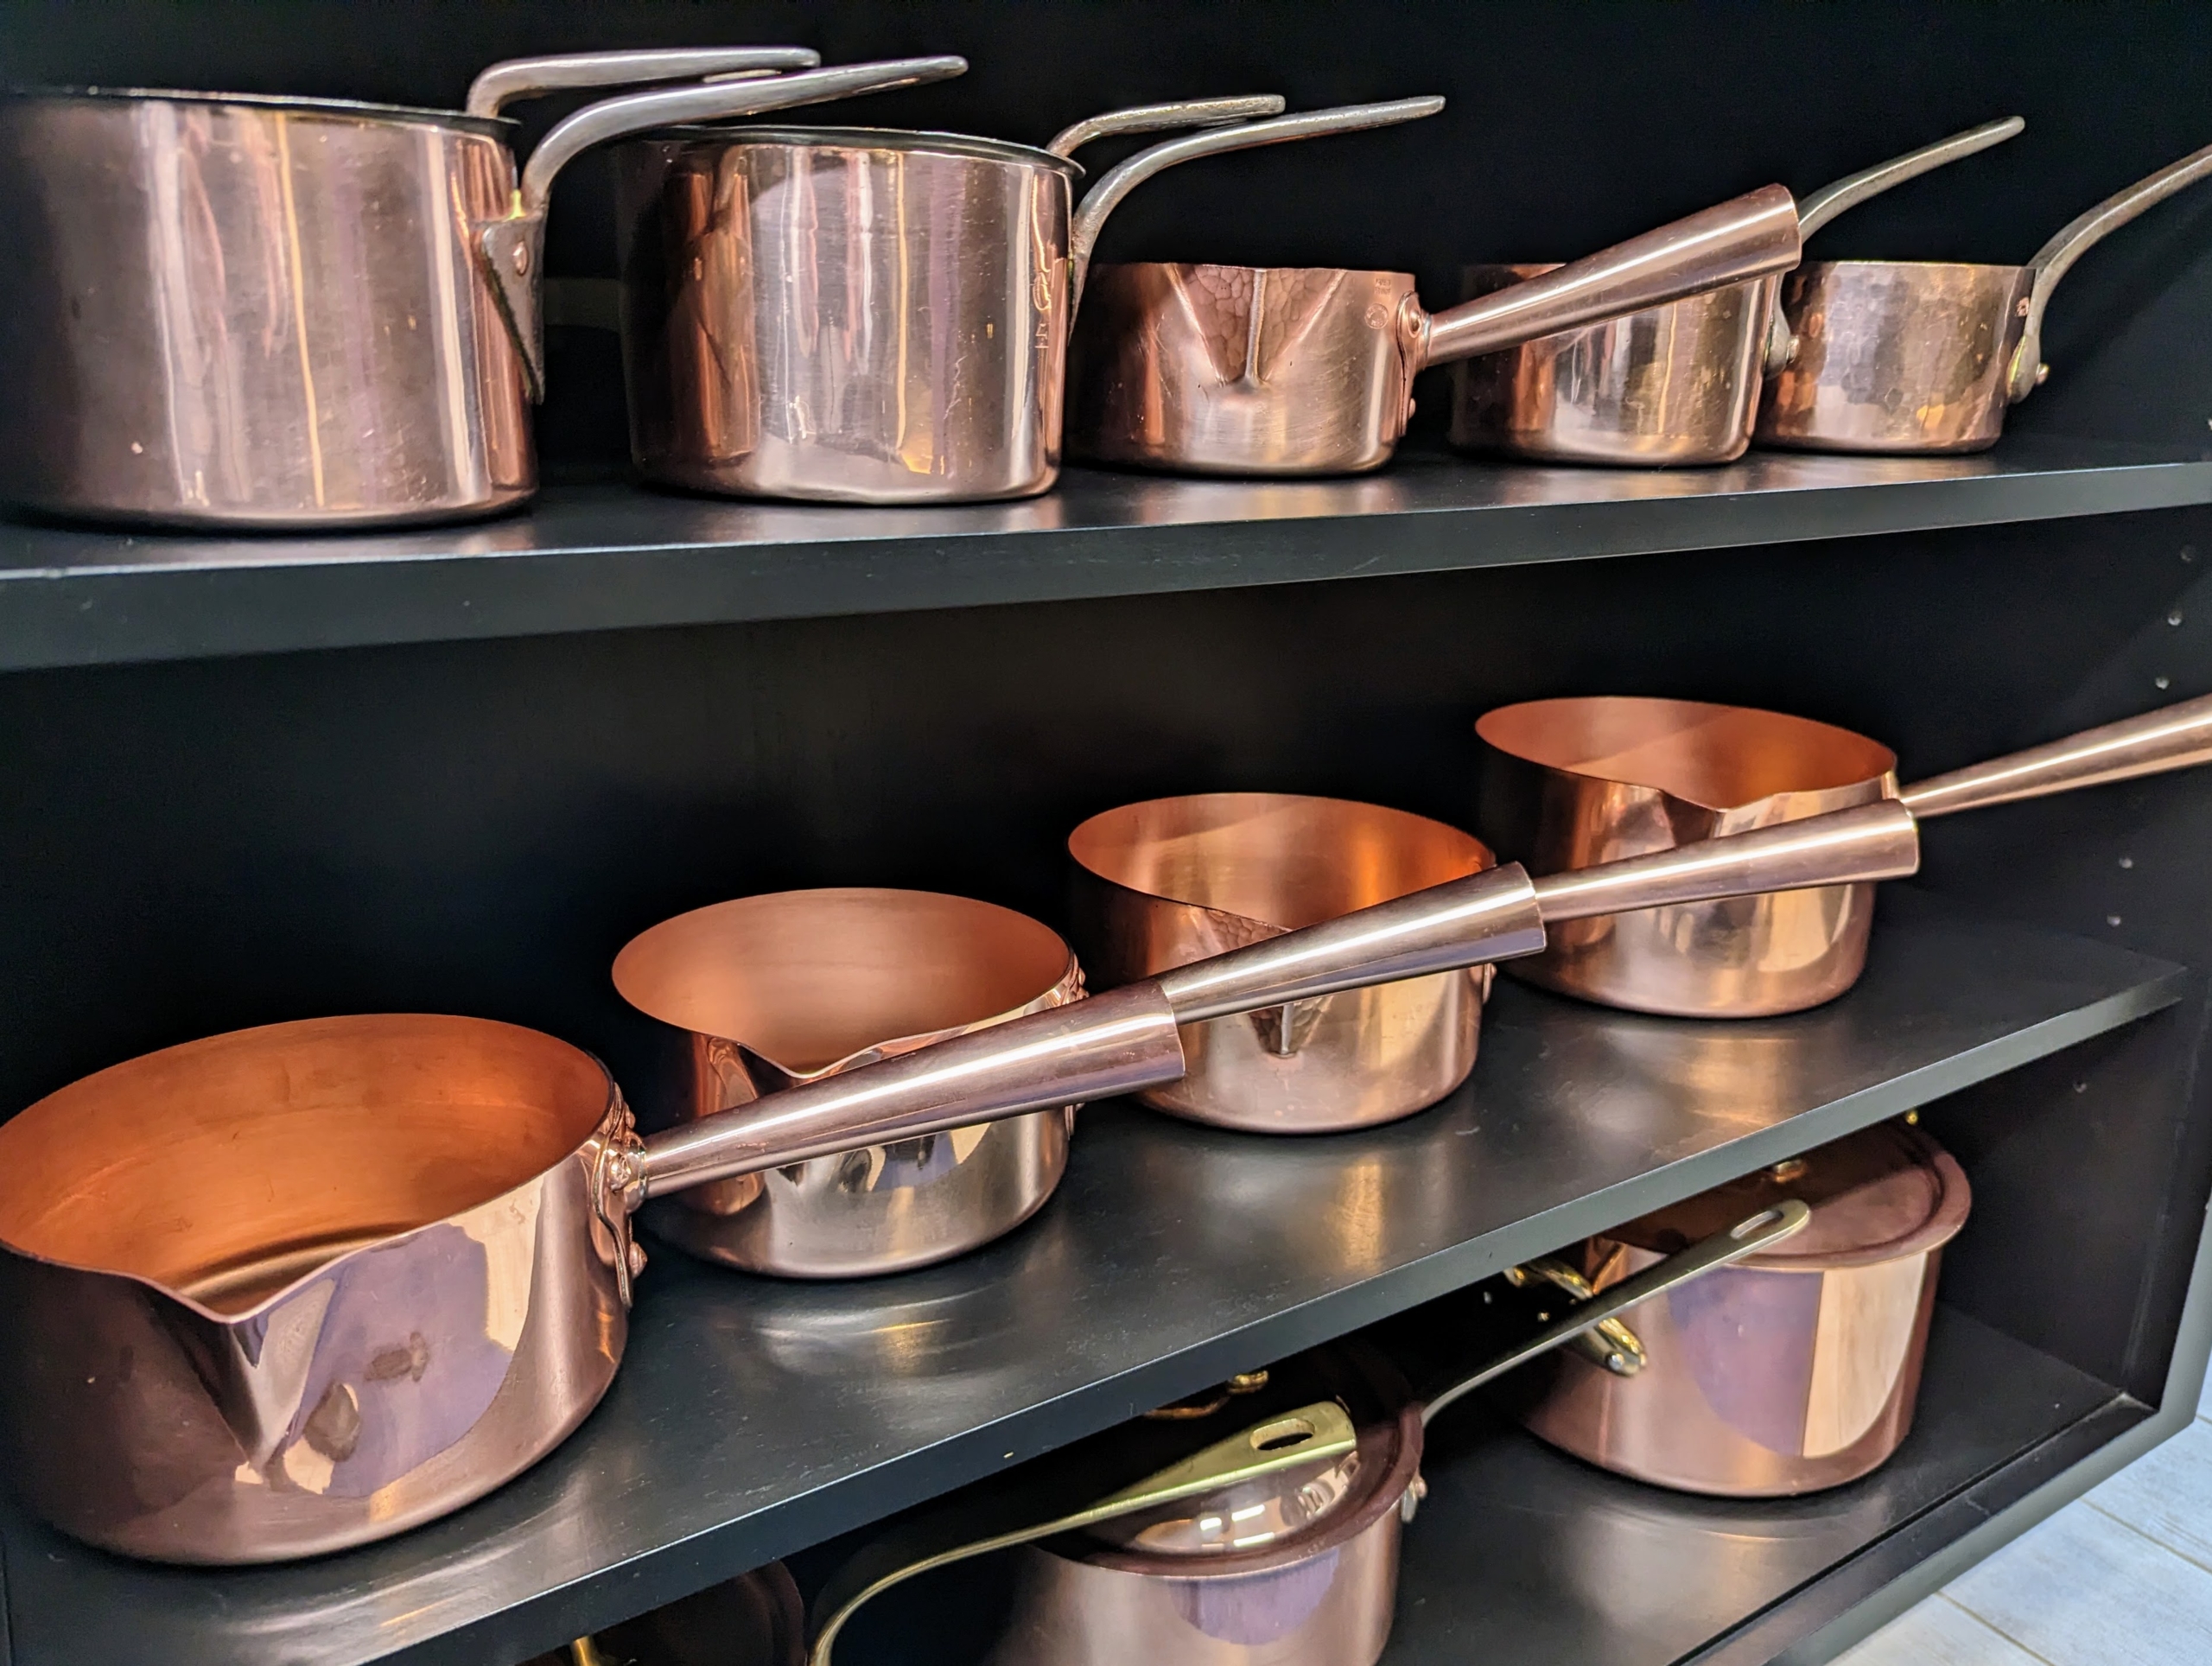
My collection of copper pots and pans, with its shiny rose-gold hue, always looks so beautiful after a good cleaning.
Last week, my housekeepers took on the task of cleaning and polishing many of the copper pieces that are displayed in my studio kitchen located in the guest house of my Bedford, New York farm. Copper is a soft, malleable, and ductile metal with a distinct pinkish-orange color. It's used as a conductor of heat and electricity, as a building material, and as a popular metal for cookware and other home decorating items. Over time, copper loses its luster and acquires a tarnish when exposed to air, so it is important to clean it regularly.
Here are some photos, enjoy.
A couple of times a year, we try to polish all the precious metals in my home. I have a large collection of copper that I like to display in my studio kitchen. These pieces were just removed from the shelves, so they could be cleaned. Copper was actually one of the first metals used by humans more than 10-thousand years ago, and it remains a common household material today. Polishing copper, silver, brass, or any other metal regularly is generally sufficient to keep it in good condition.
I like to keep a lot of my pots hanging on a rack where they are easy to reach.
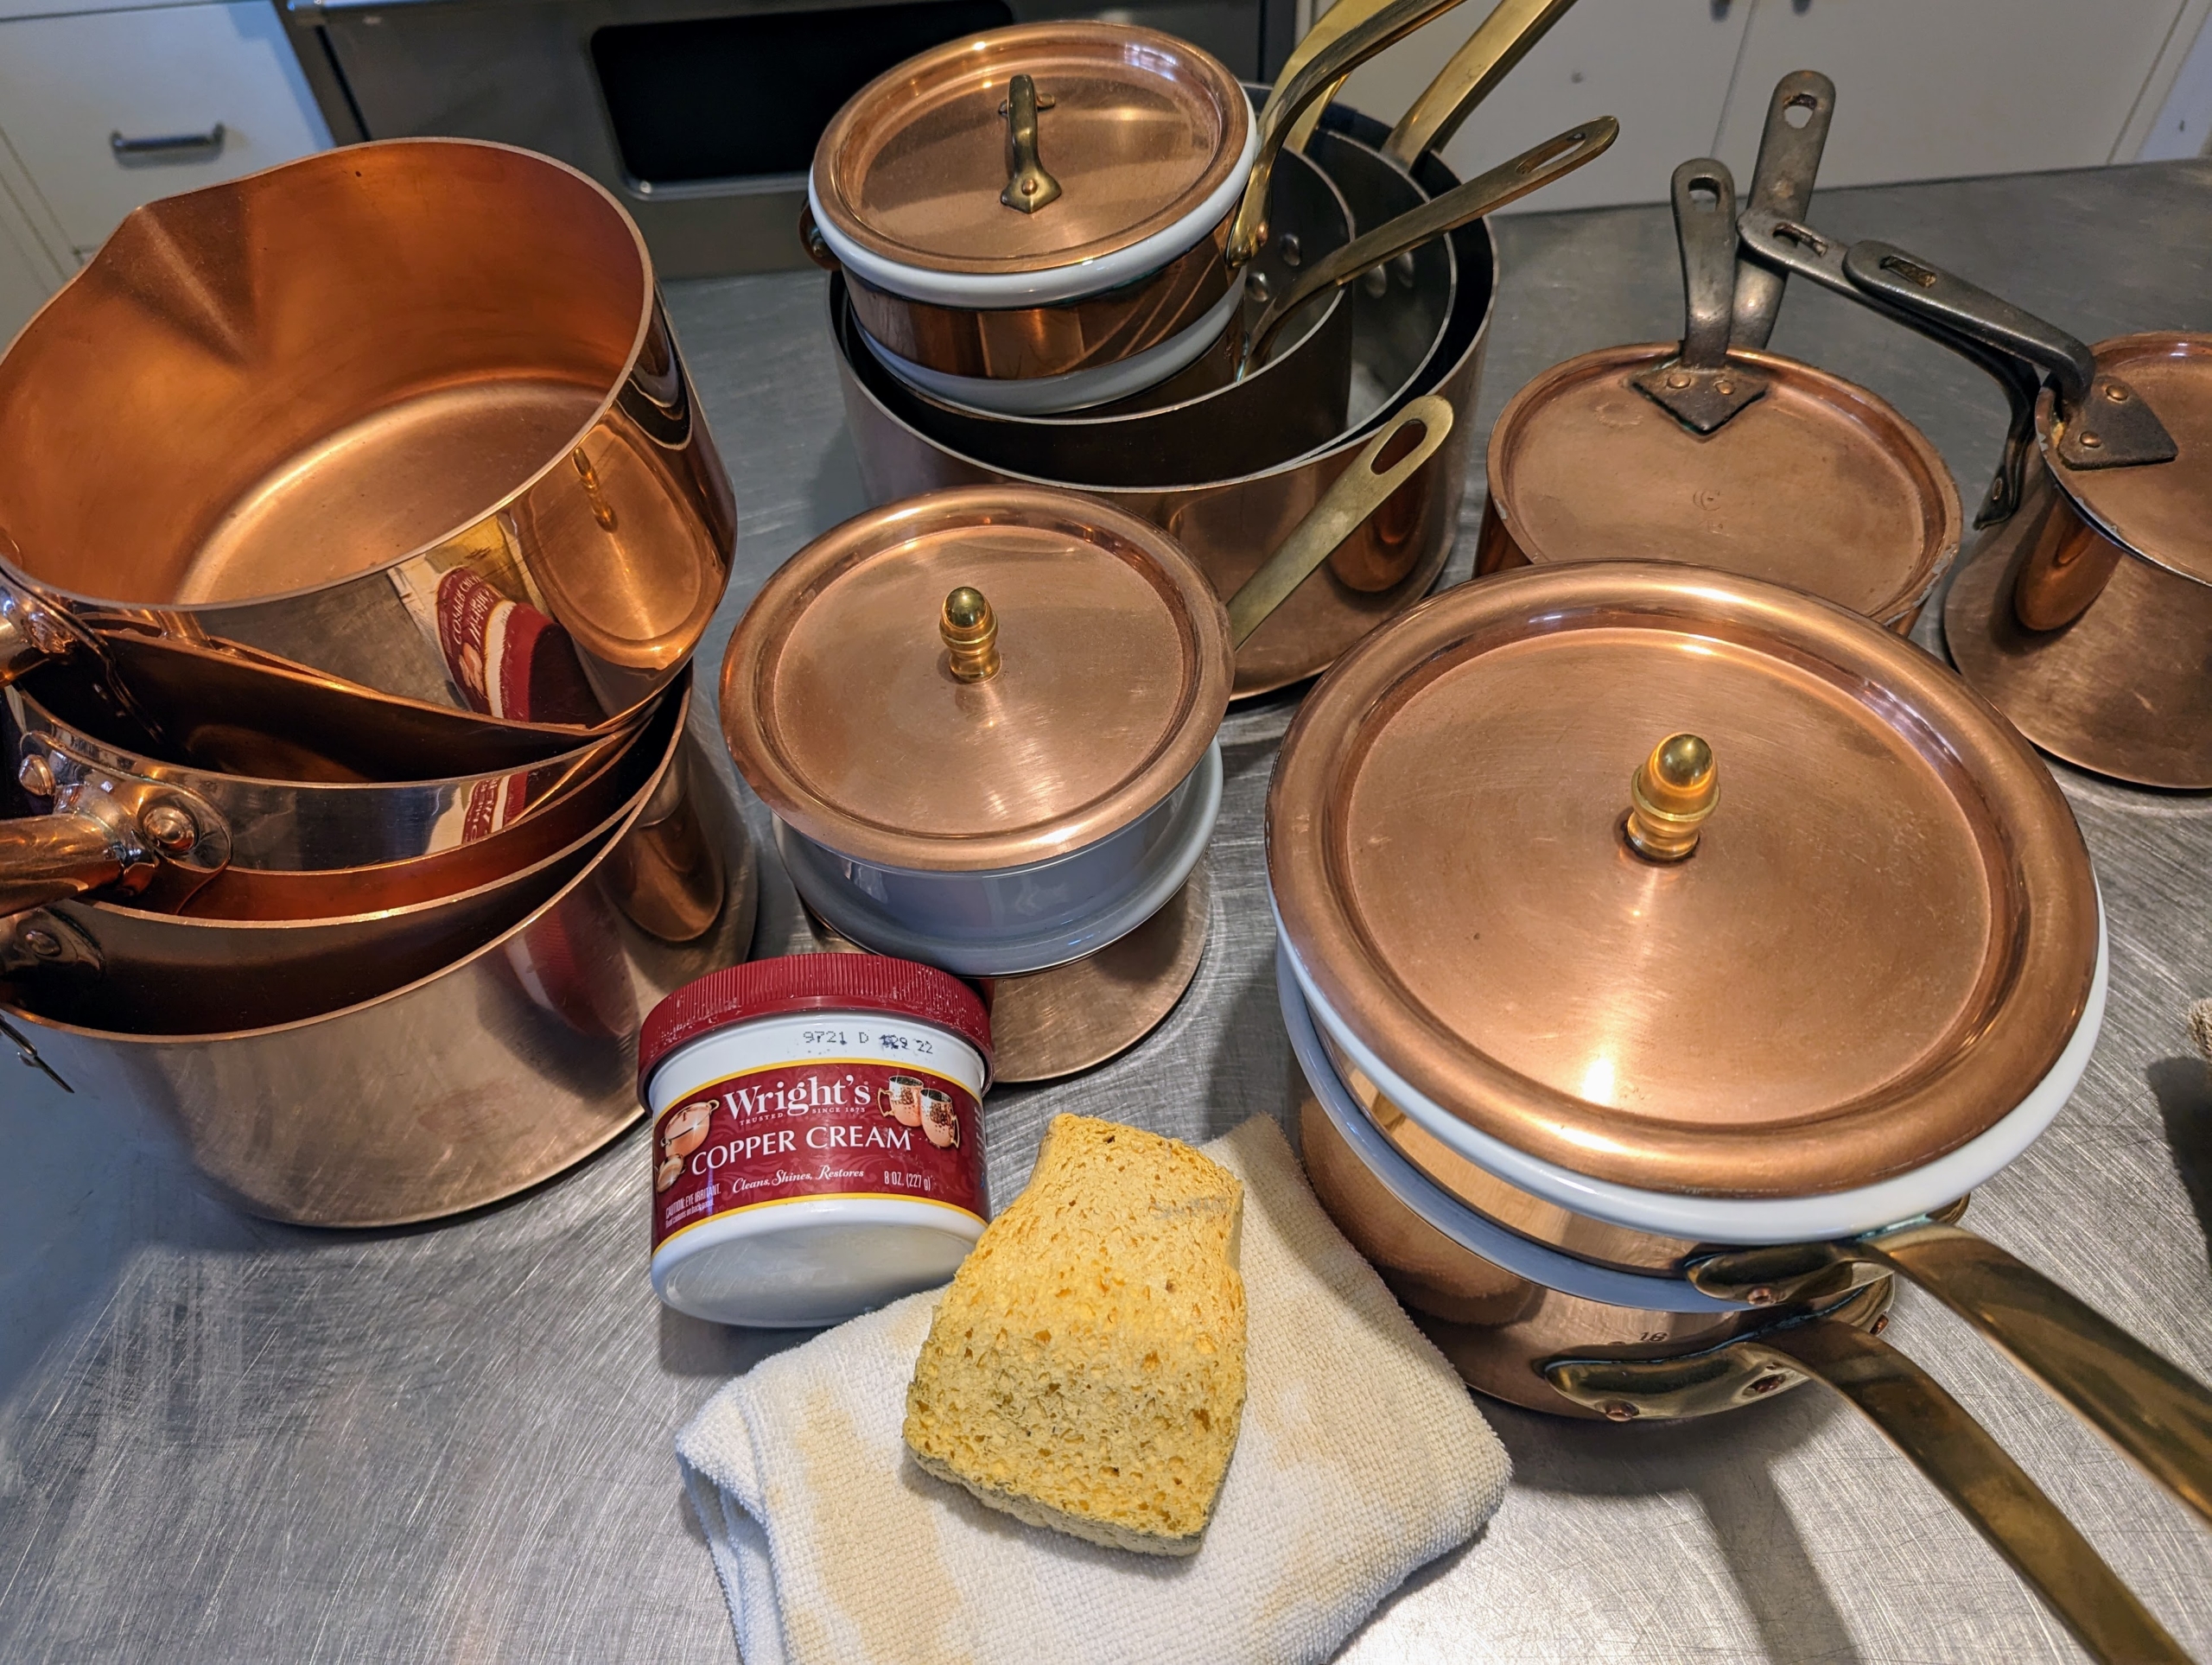
There are several ways to clean copper. Experts recommend using a good-quality, non-abrasive commercial copper polish. I’ve been using Wright’s metal creams for years. Wright’s Copper Cream is a gentle formula that cleans and shines – it’s also great for brass. Before starting, it’s also a good idea to get out any sponges and drying towels needed.
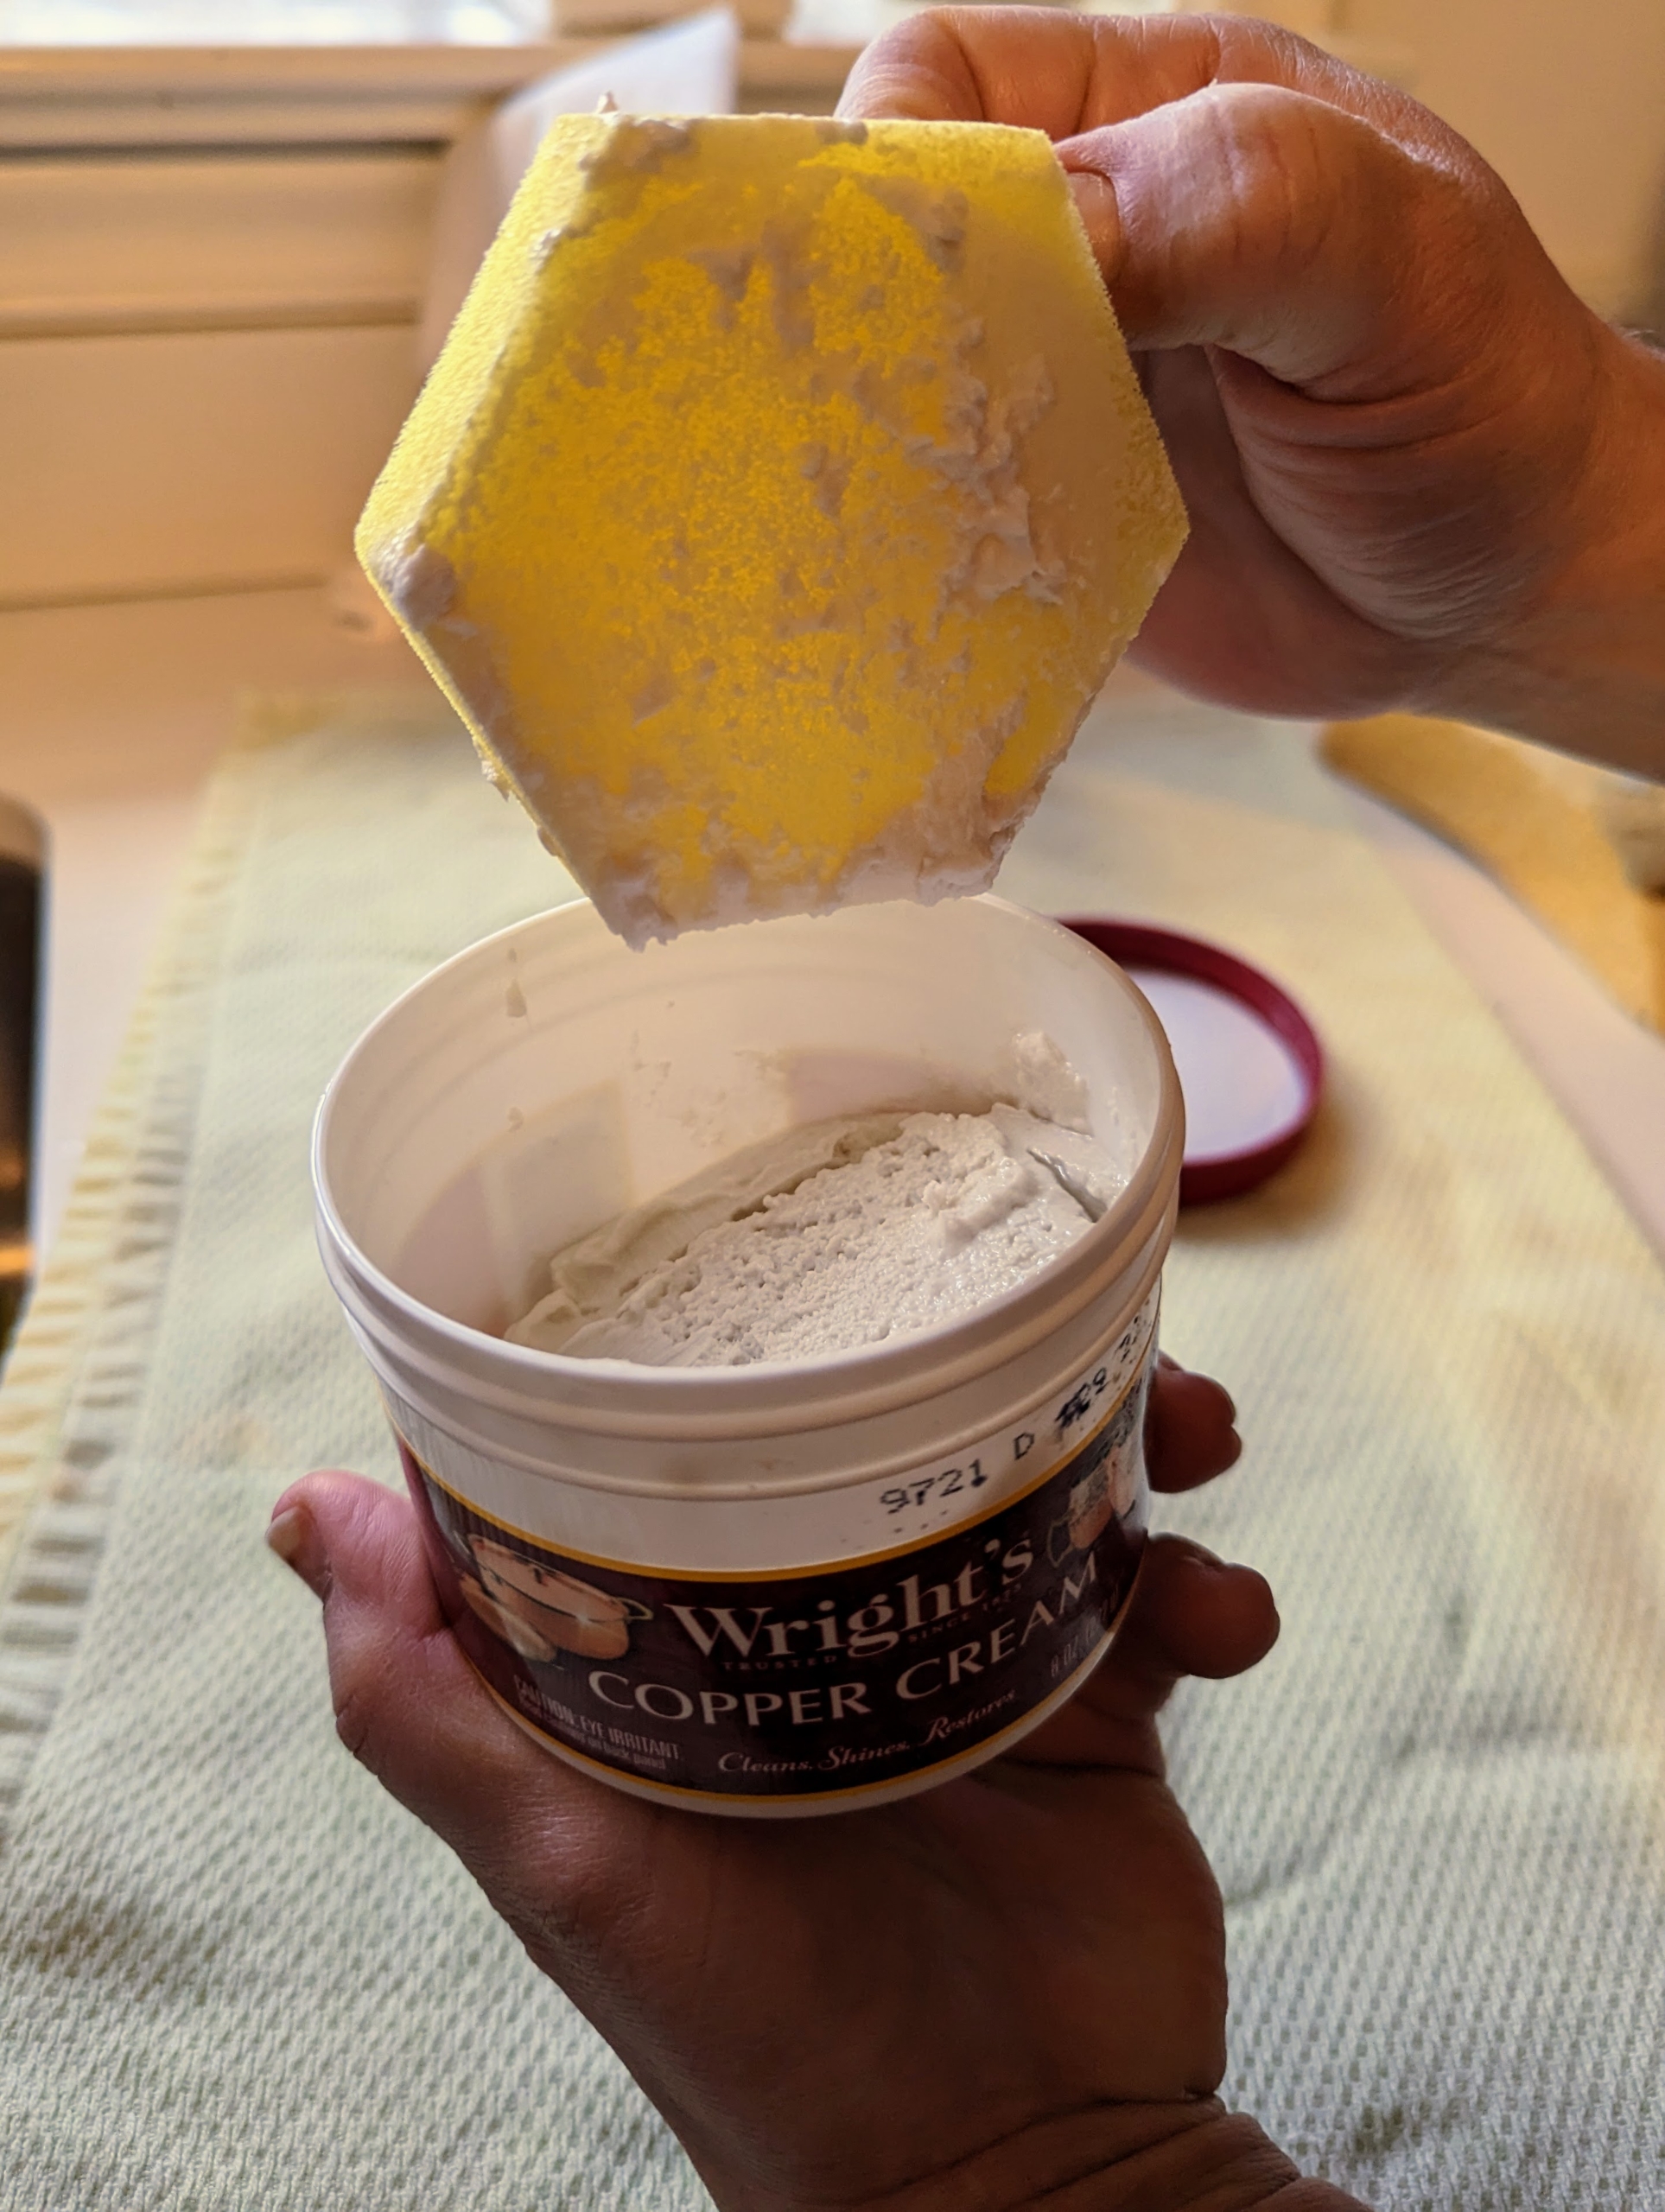
Wright’s Cream is also an anti-tarnish formula that leaves behind a protective coating to delay any tarnish from reforming. It is easy to use and comes in a creamy paste form with this application sponge.
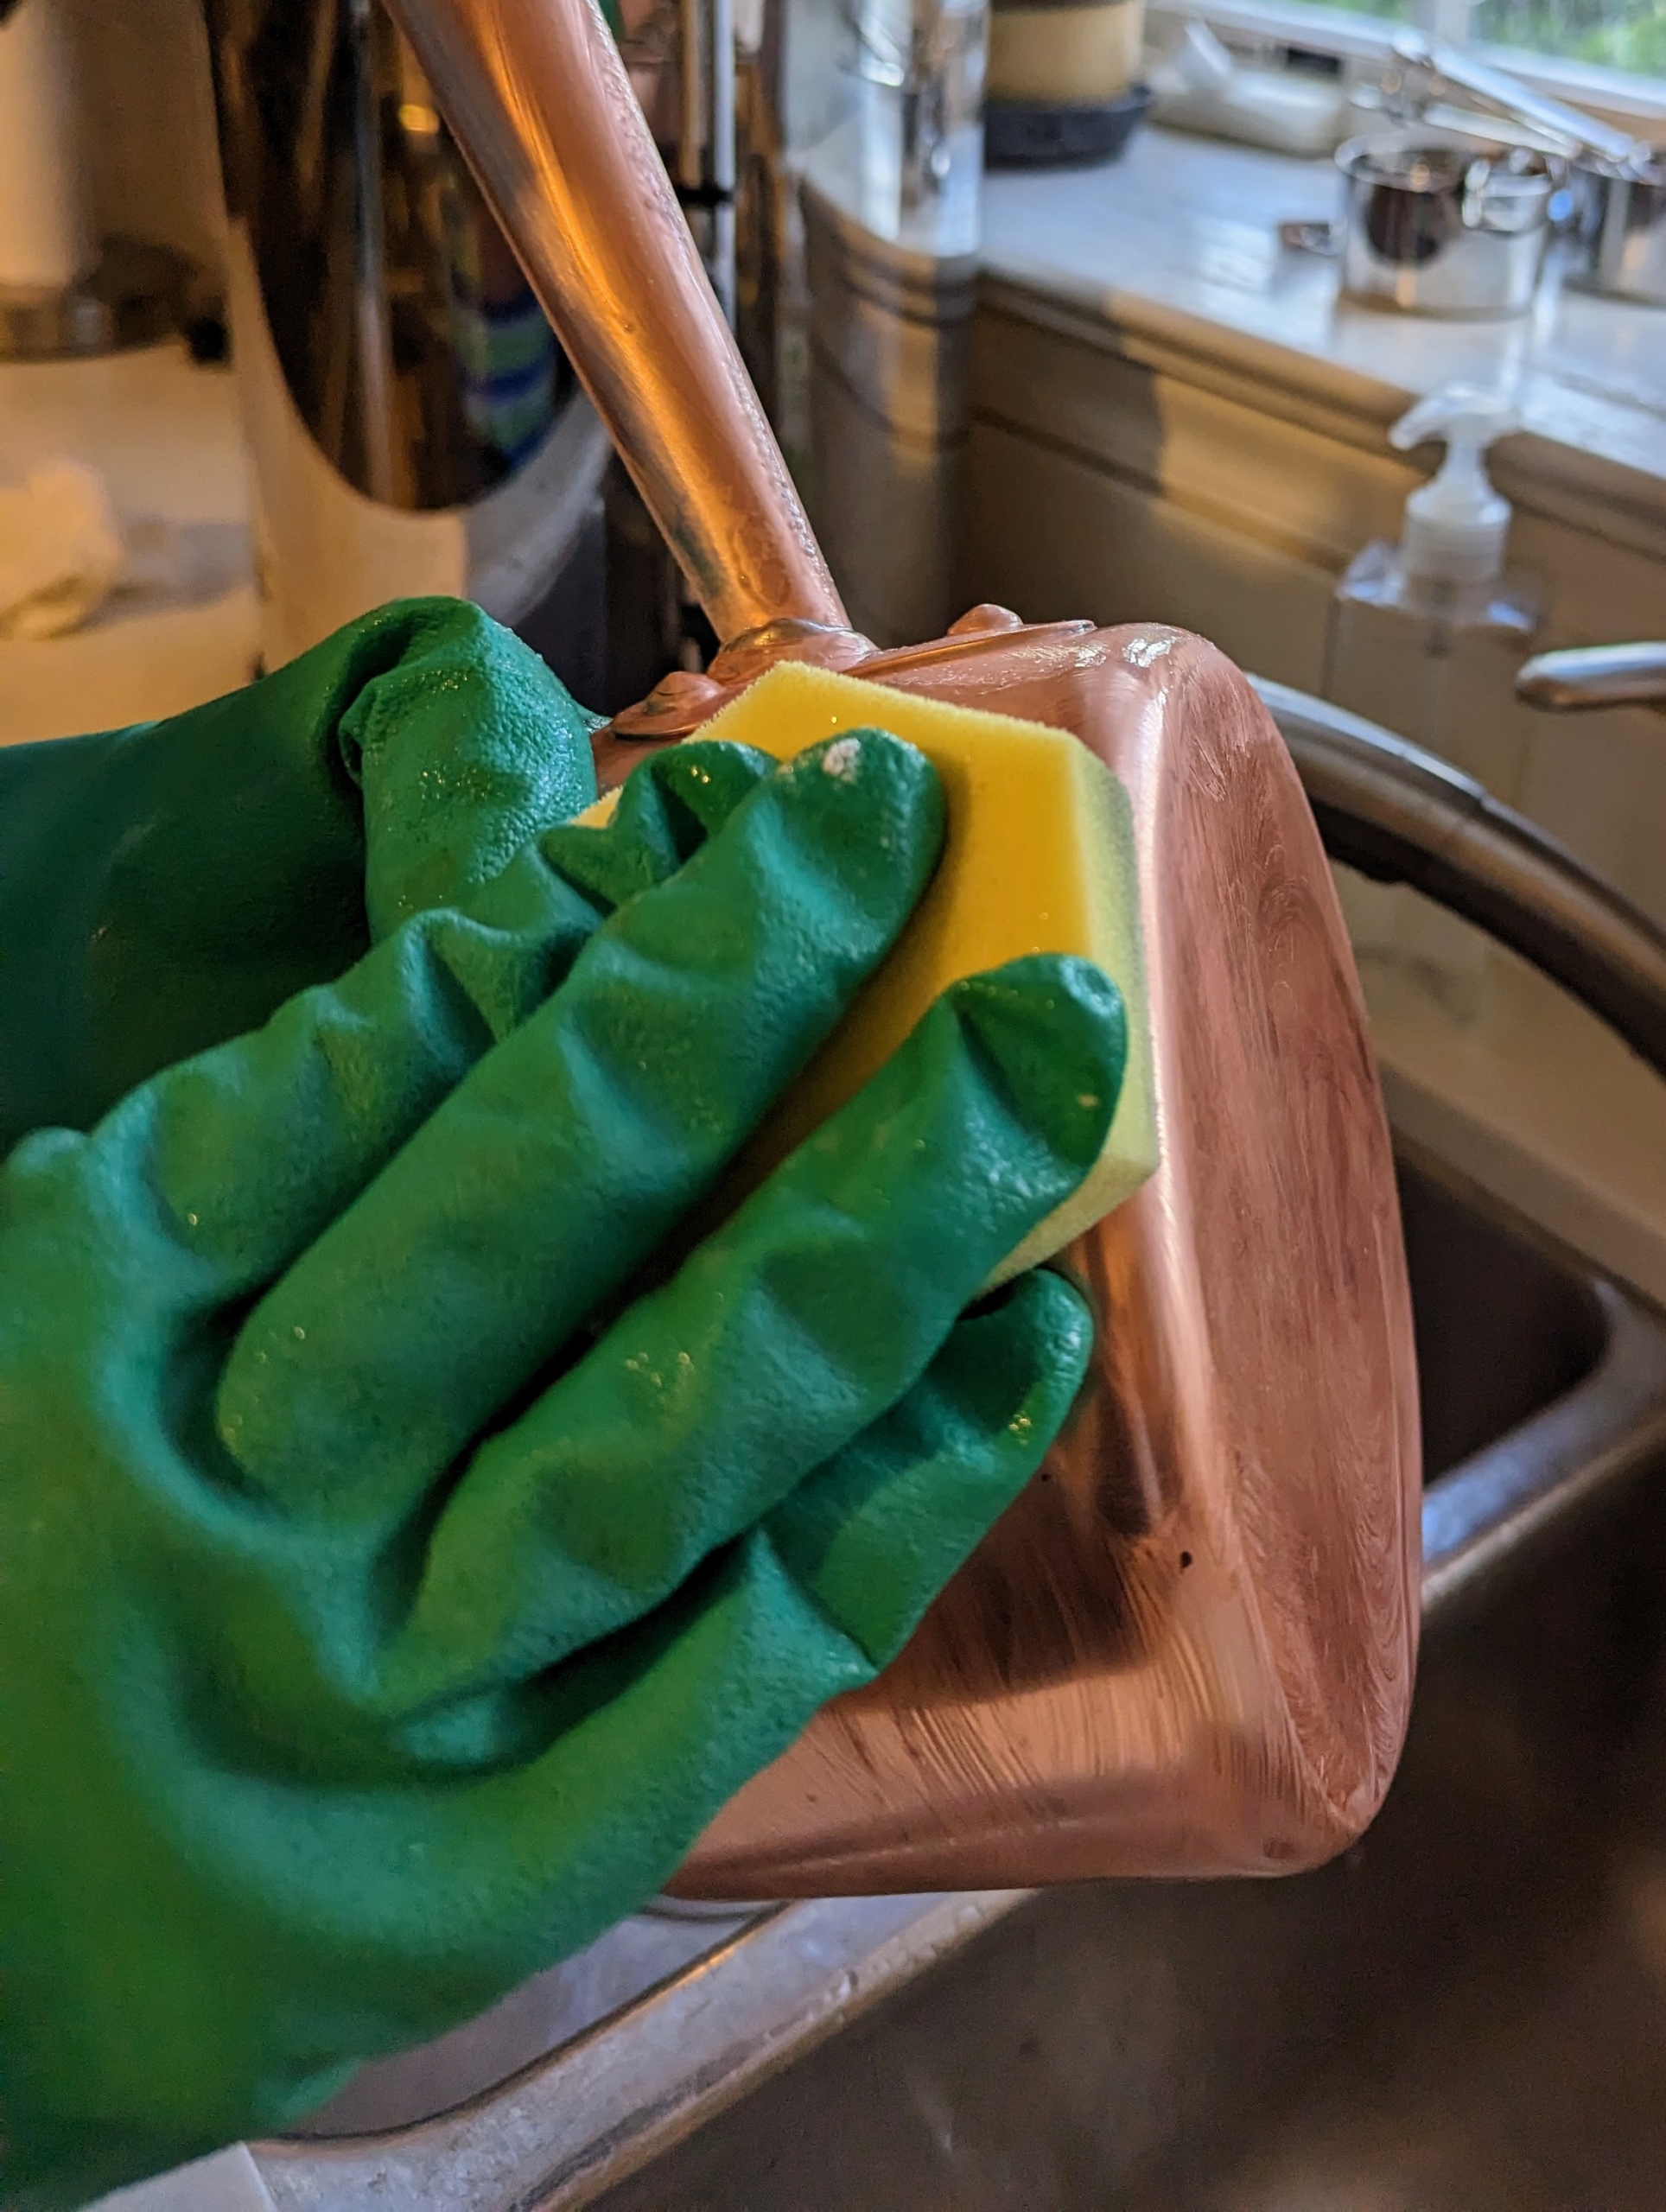
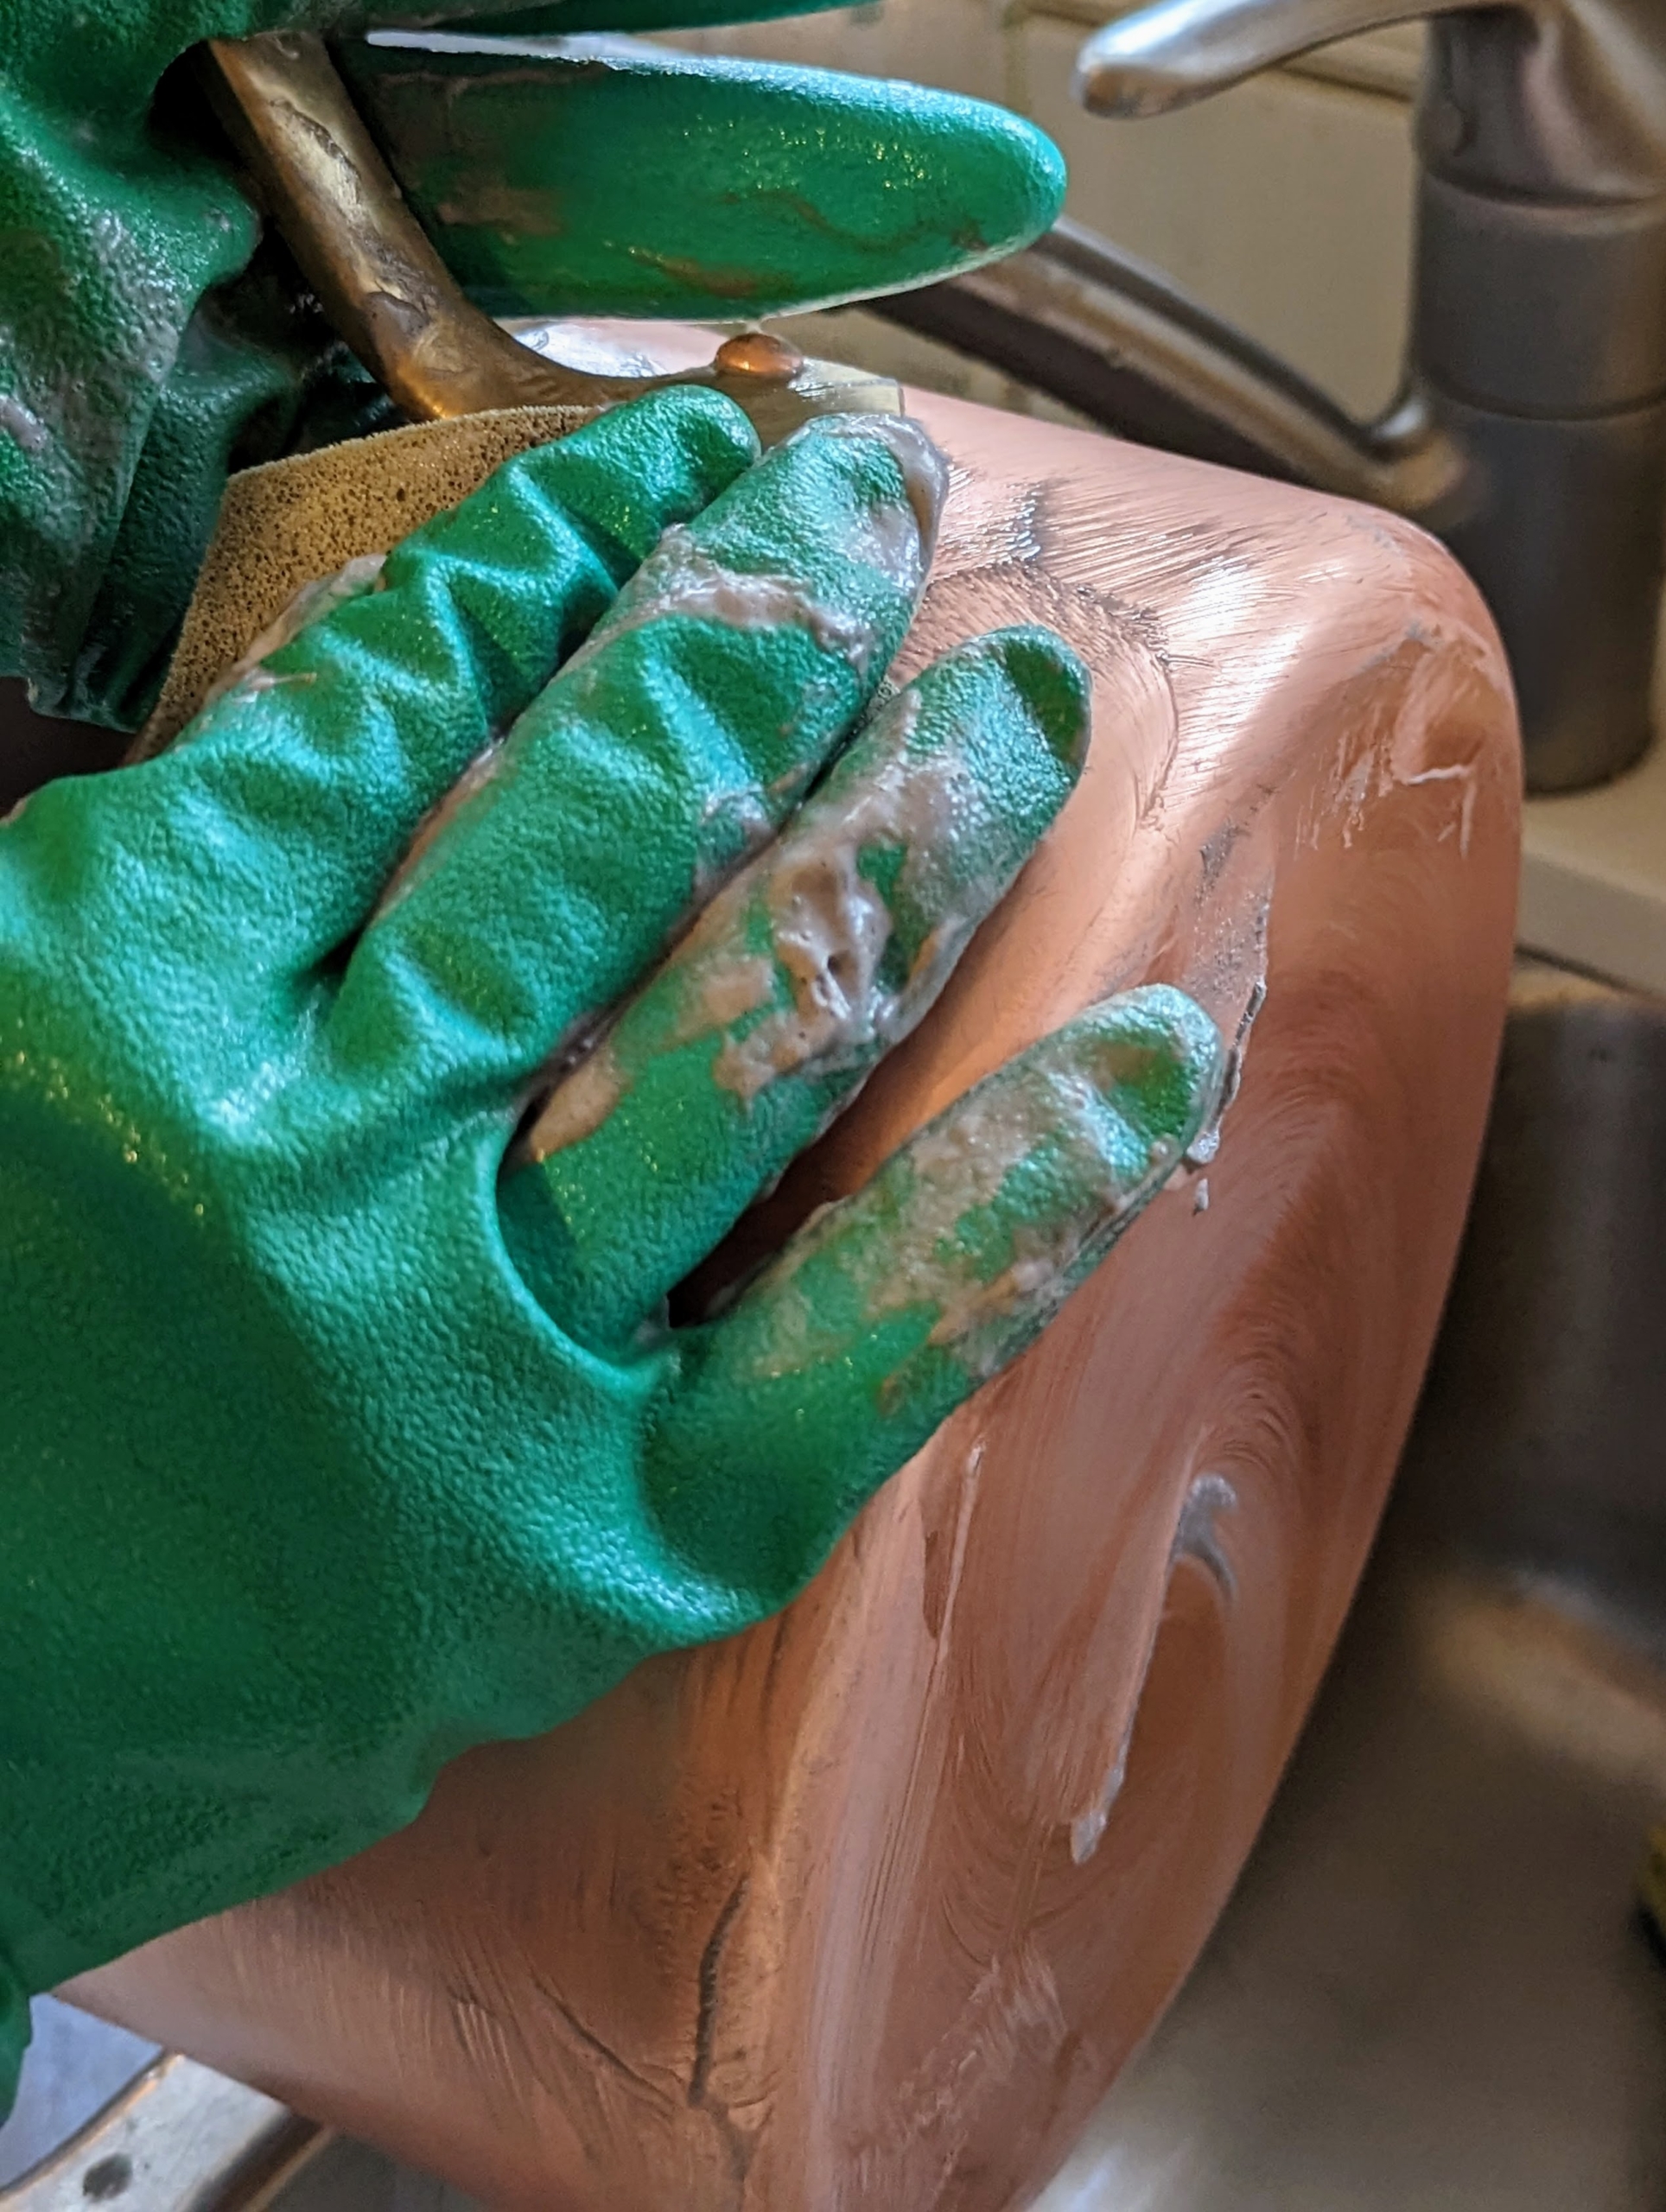
Whenever cleaning any precious metal, always use a soft moistened sponge. A soft cloth can also work well. And, for tight areas – a soft-bristled brush is good to have on hand. And always use polishes that are non-abrasive, and opt for formulas, such as creams and gels instead of sprays. Plus, it’s also a good idea to use gloves when taking on this task, so the cleaning cream does not come into contact with the skin.
Completely coat the piece with cream. The copper will start to brighten as it is rubbed. This task is time-consuming, but it is well-worth all the work and elbow grease. And remember to get into the cracks and crevices.
It may take a little longer when cleaning a piece with more intricate designs or indentations. Here, Carlos makes sure to clean the base of the handle, where dirt and crime can accumulate.
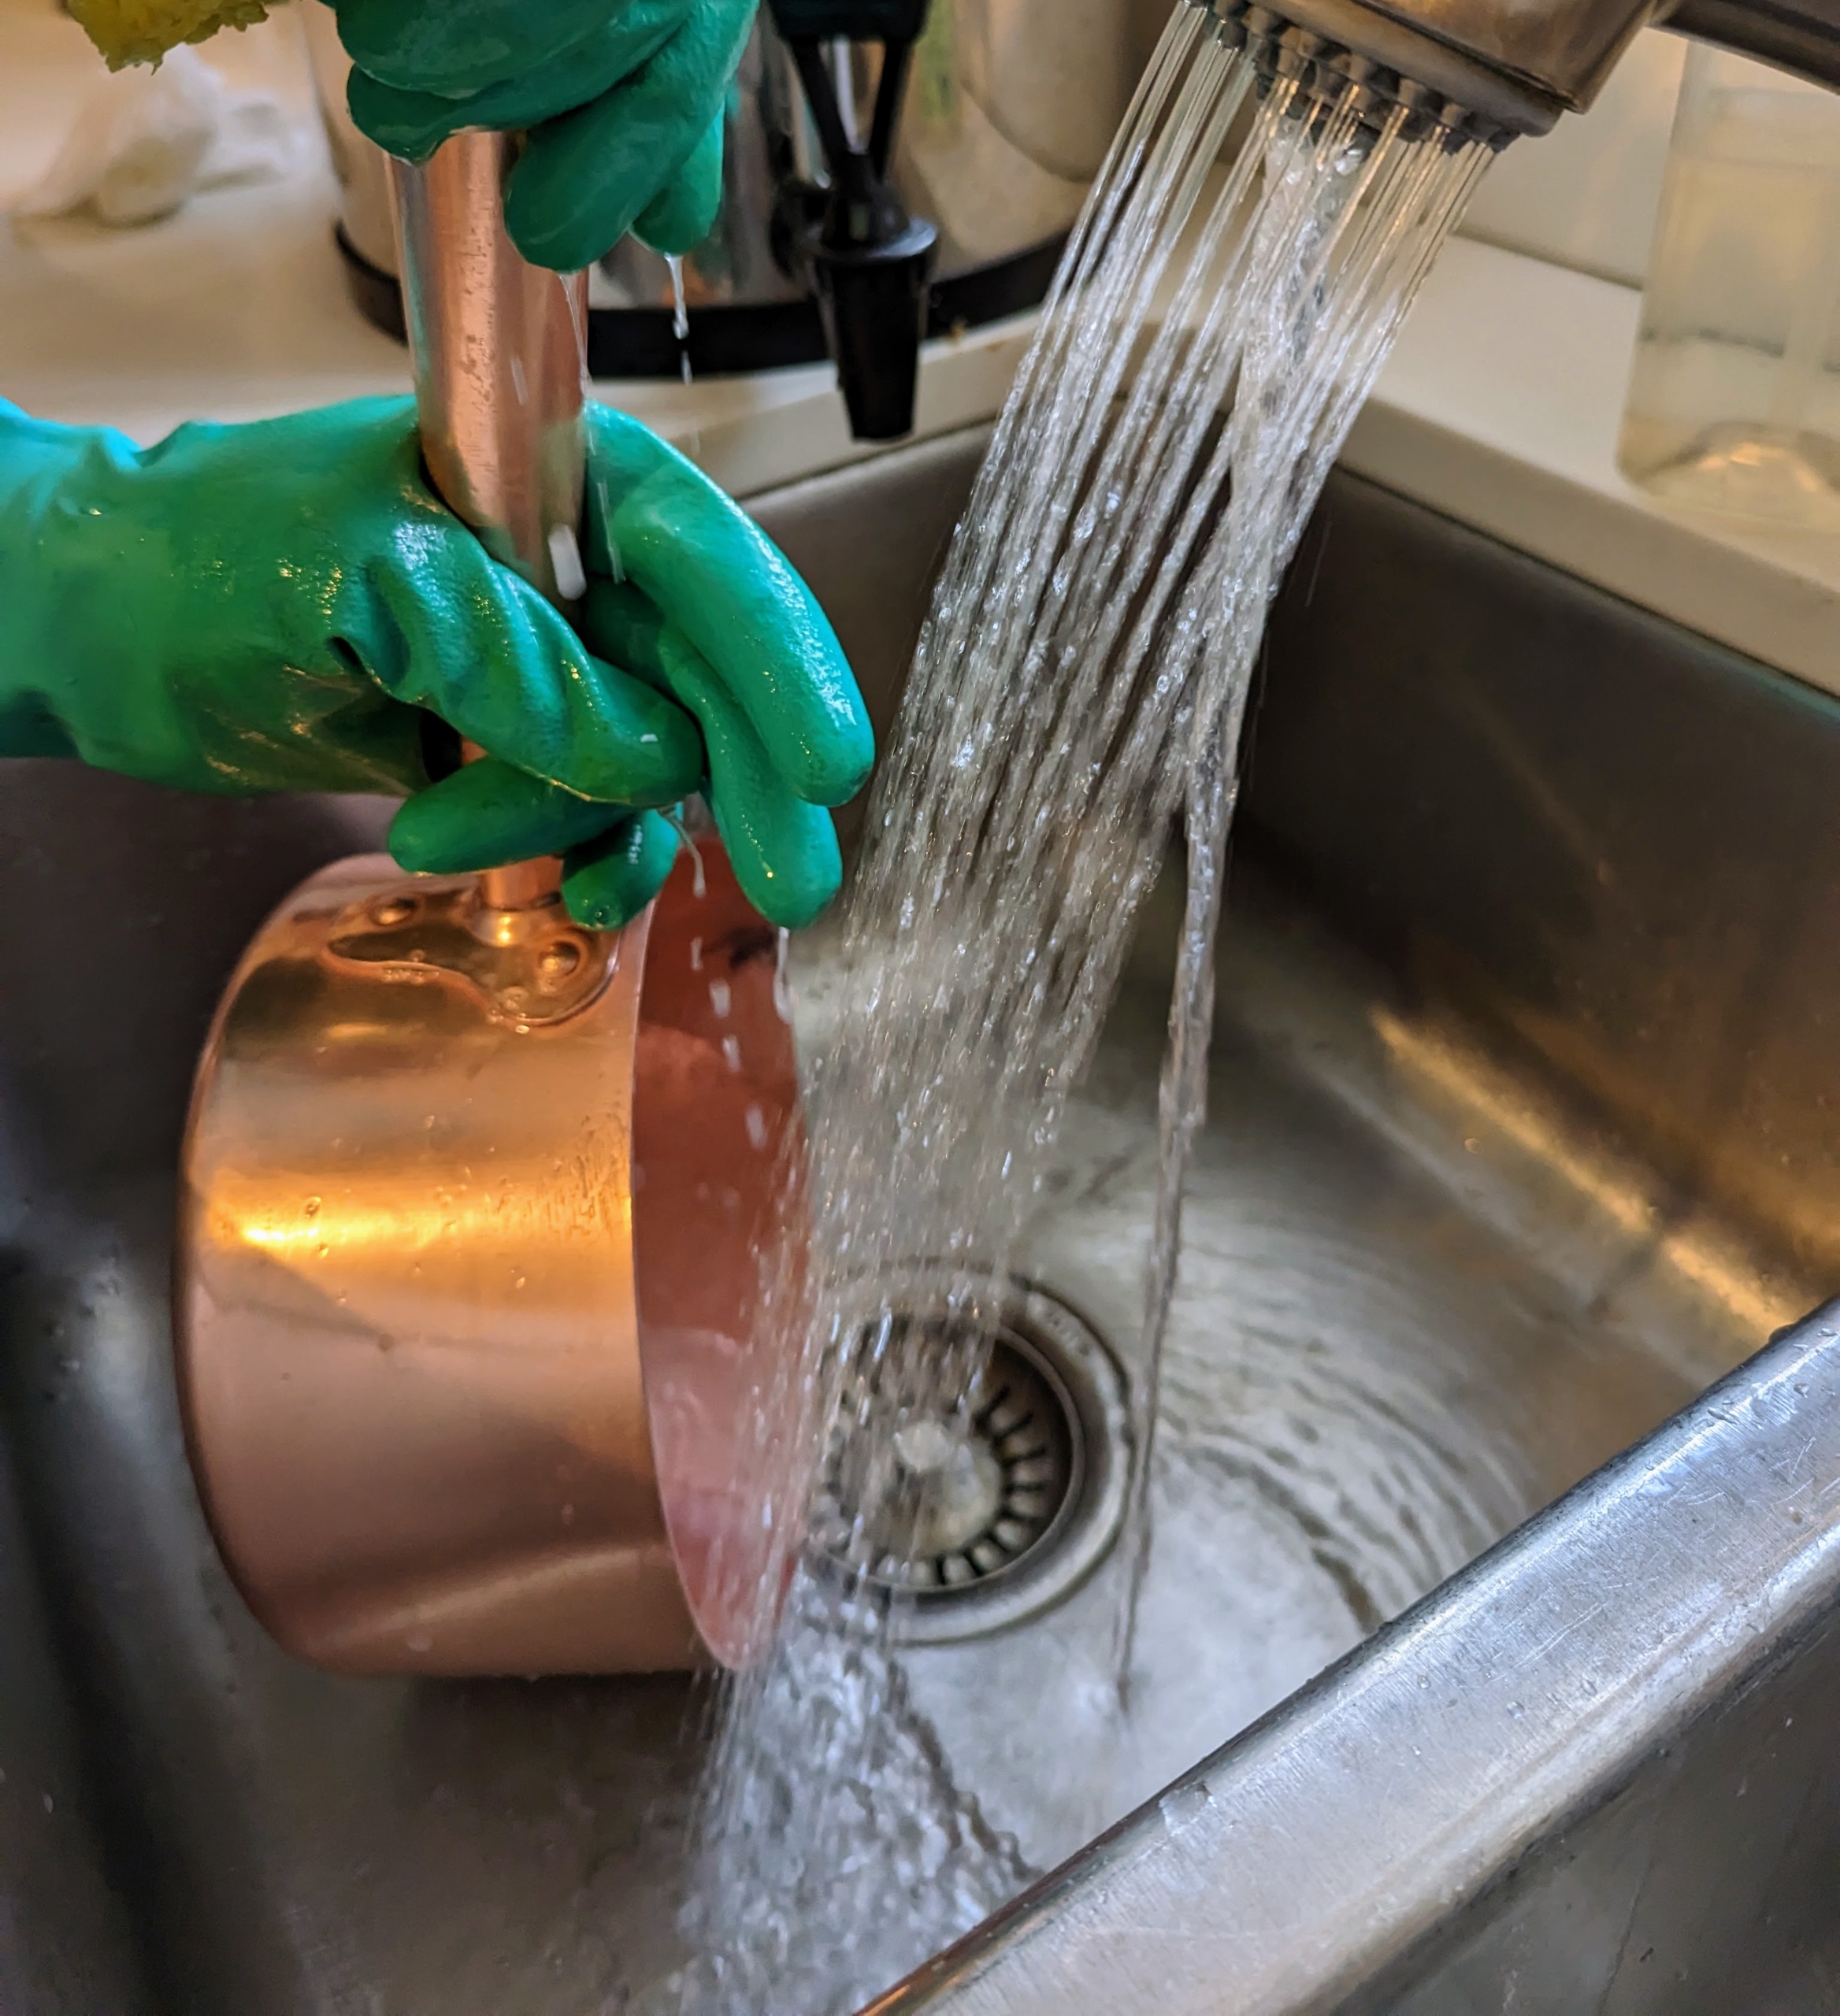
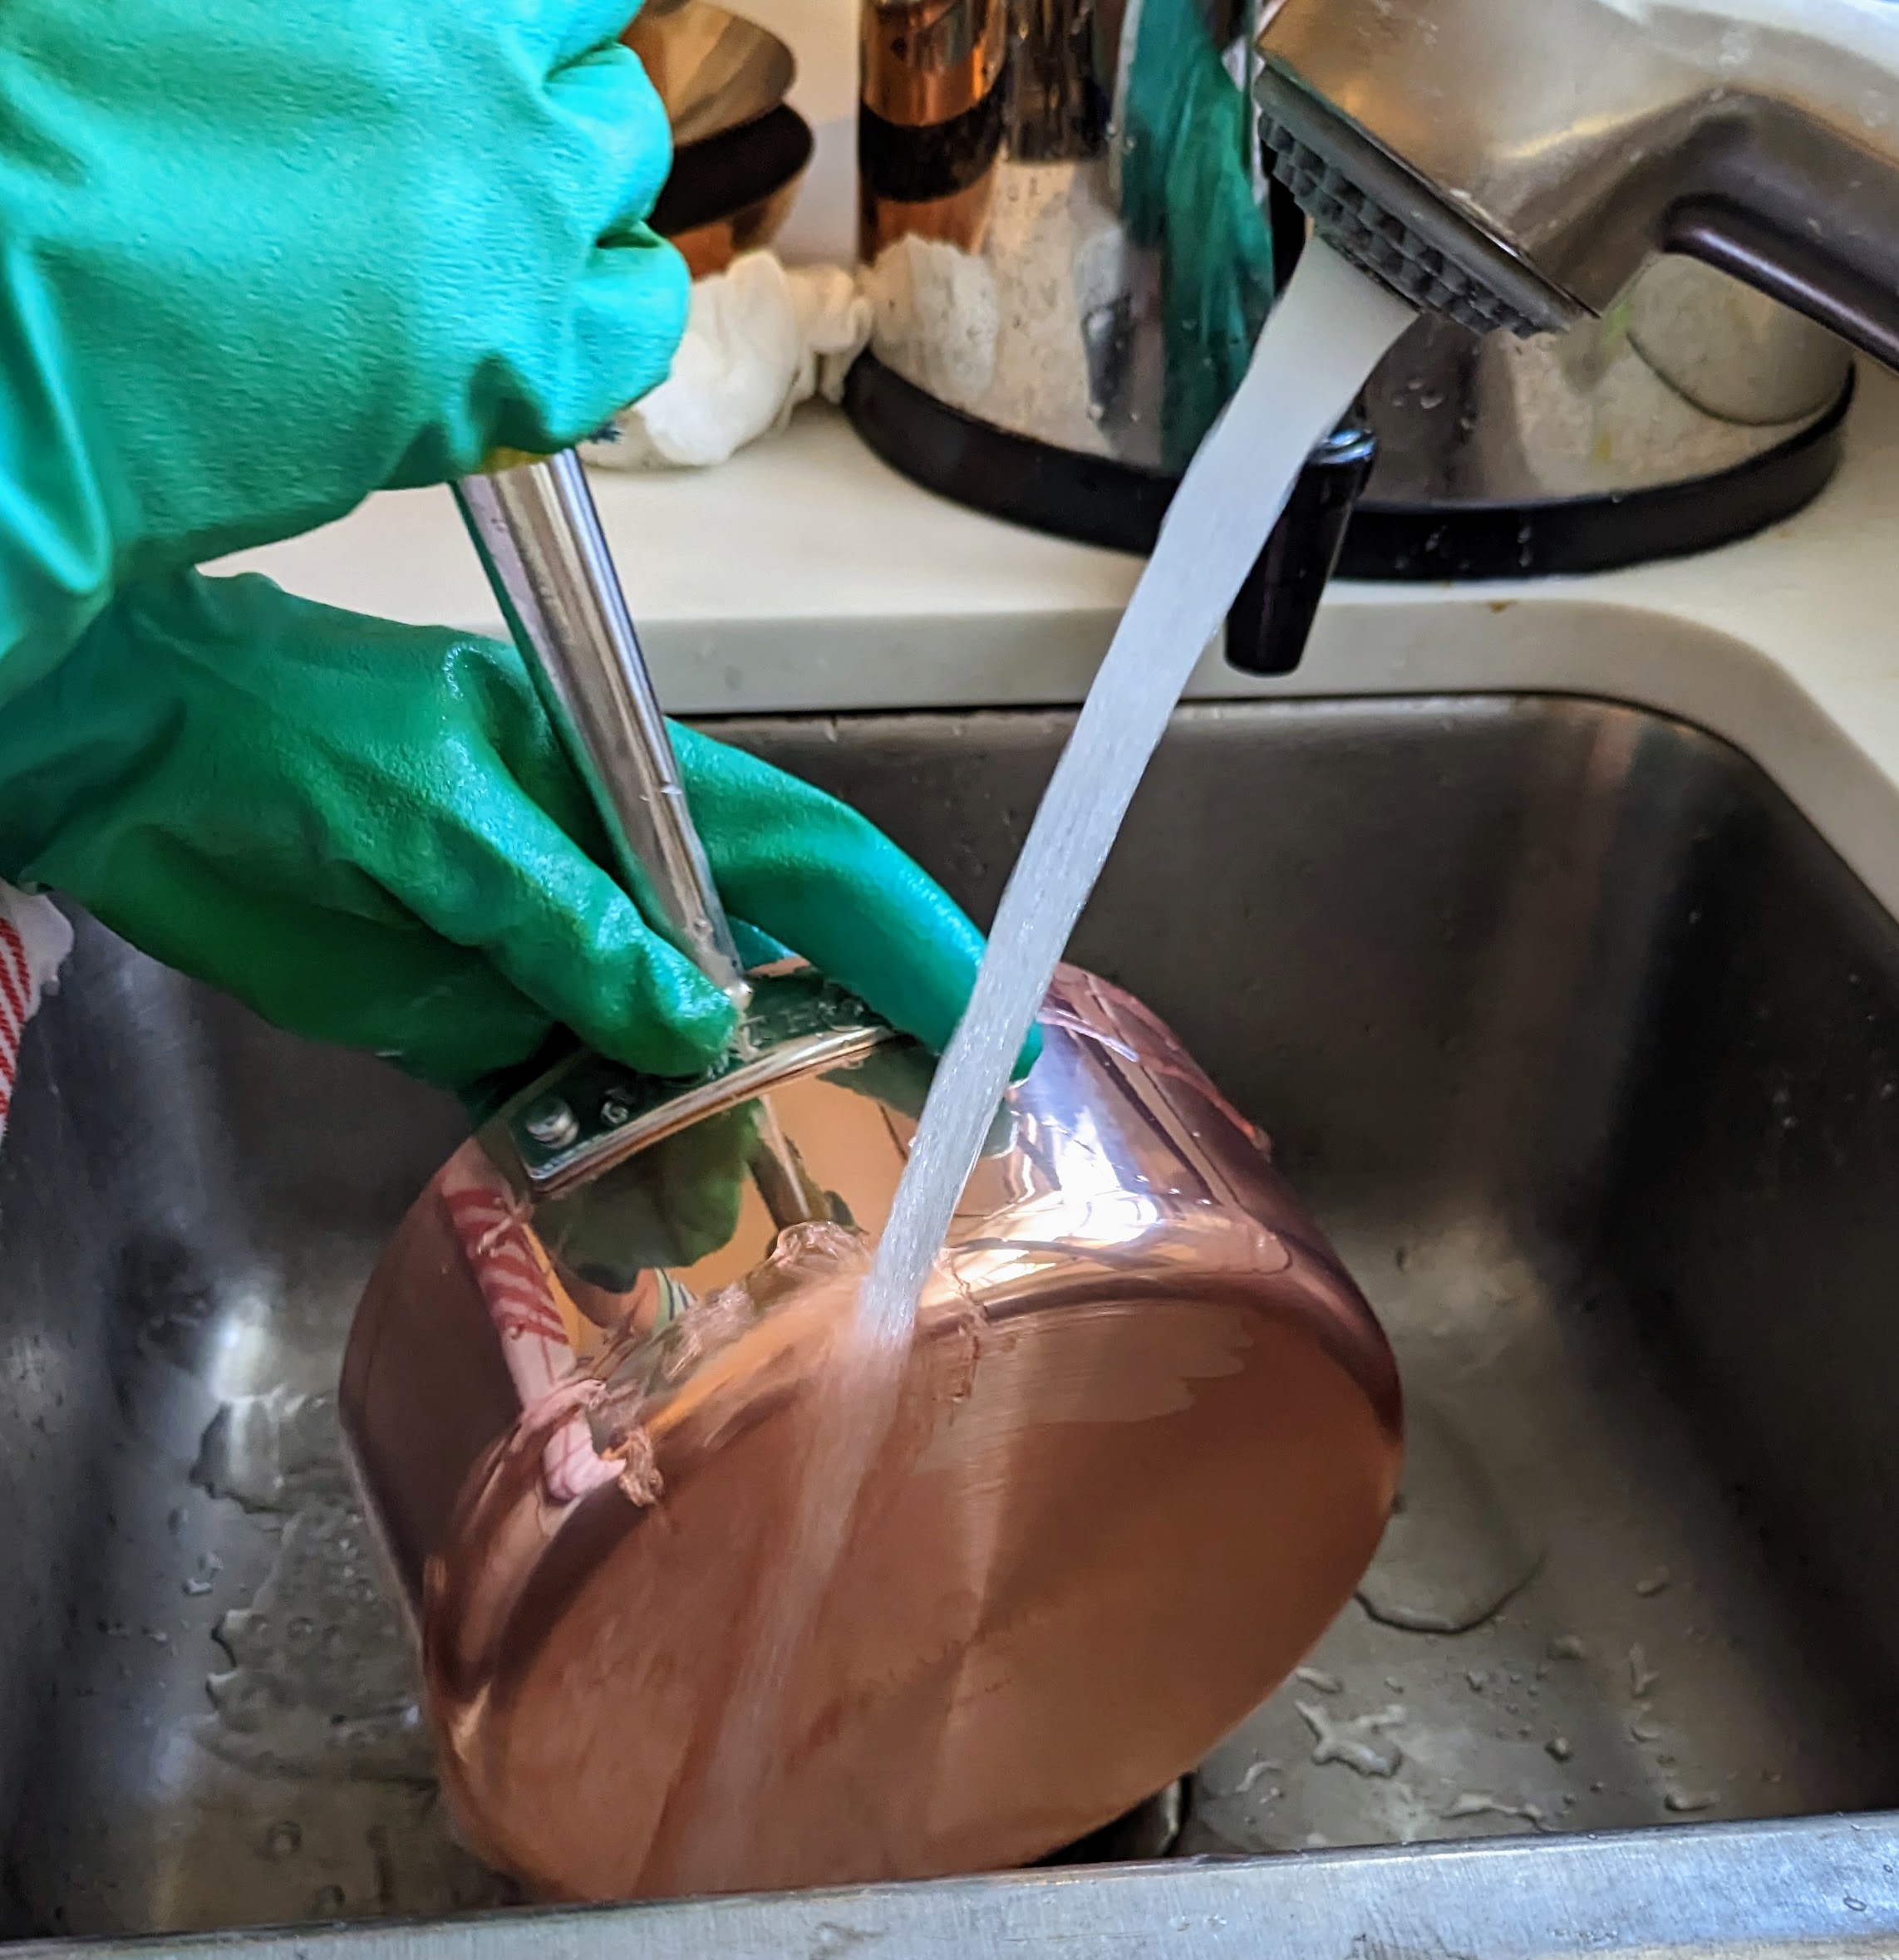
After rubbing the piece with cream, wash it with dish soap and water to ensure all the cream is removed.
And then give it a thorough rinse with tepid water.
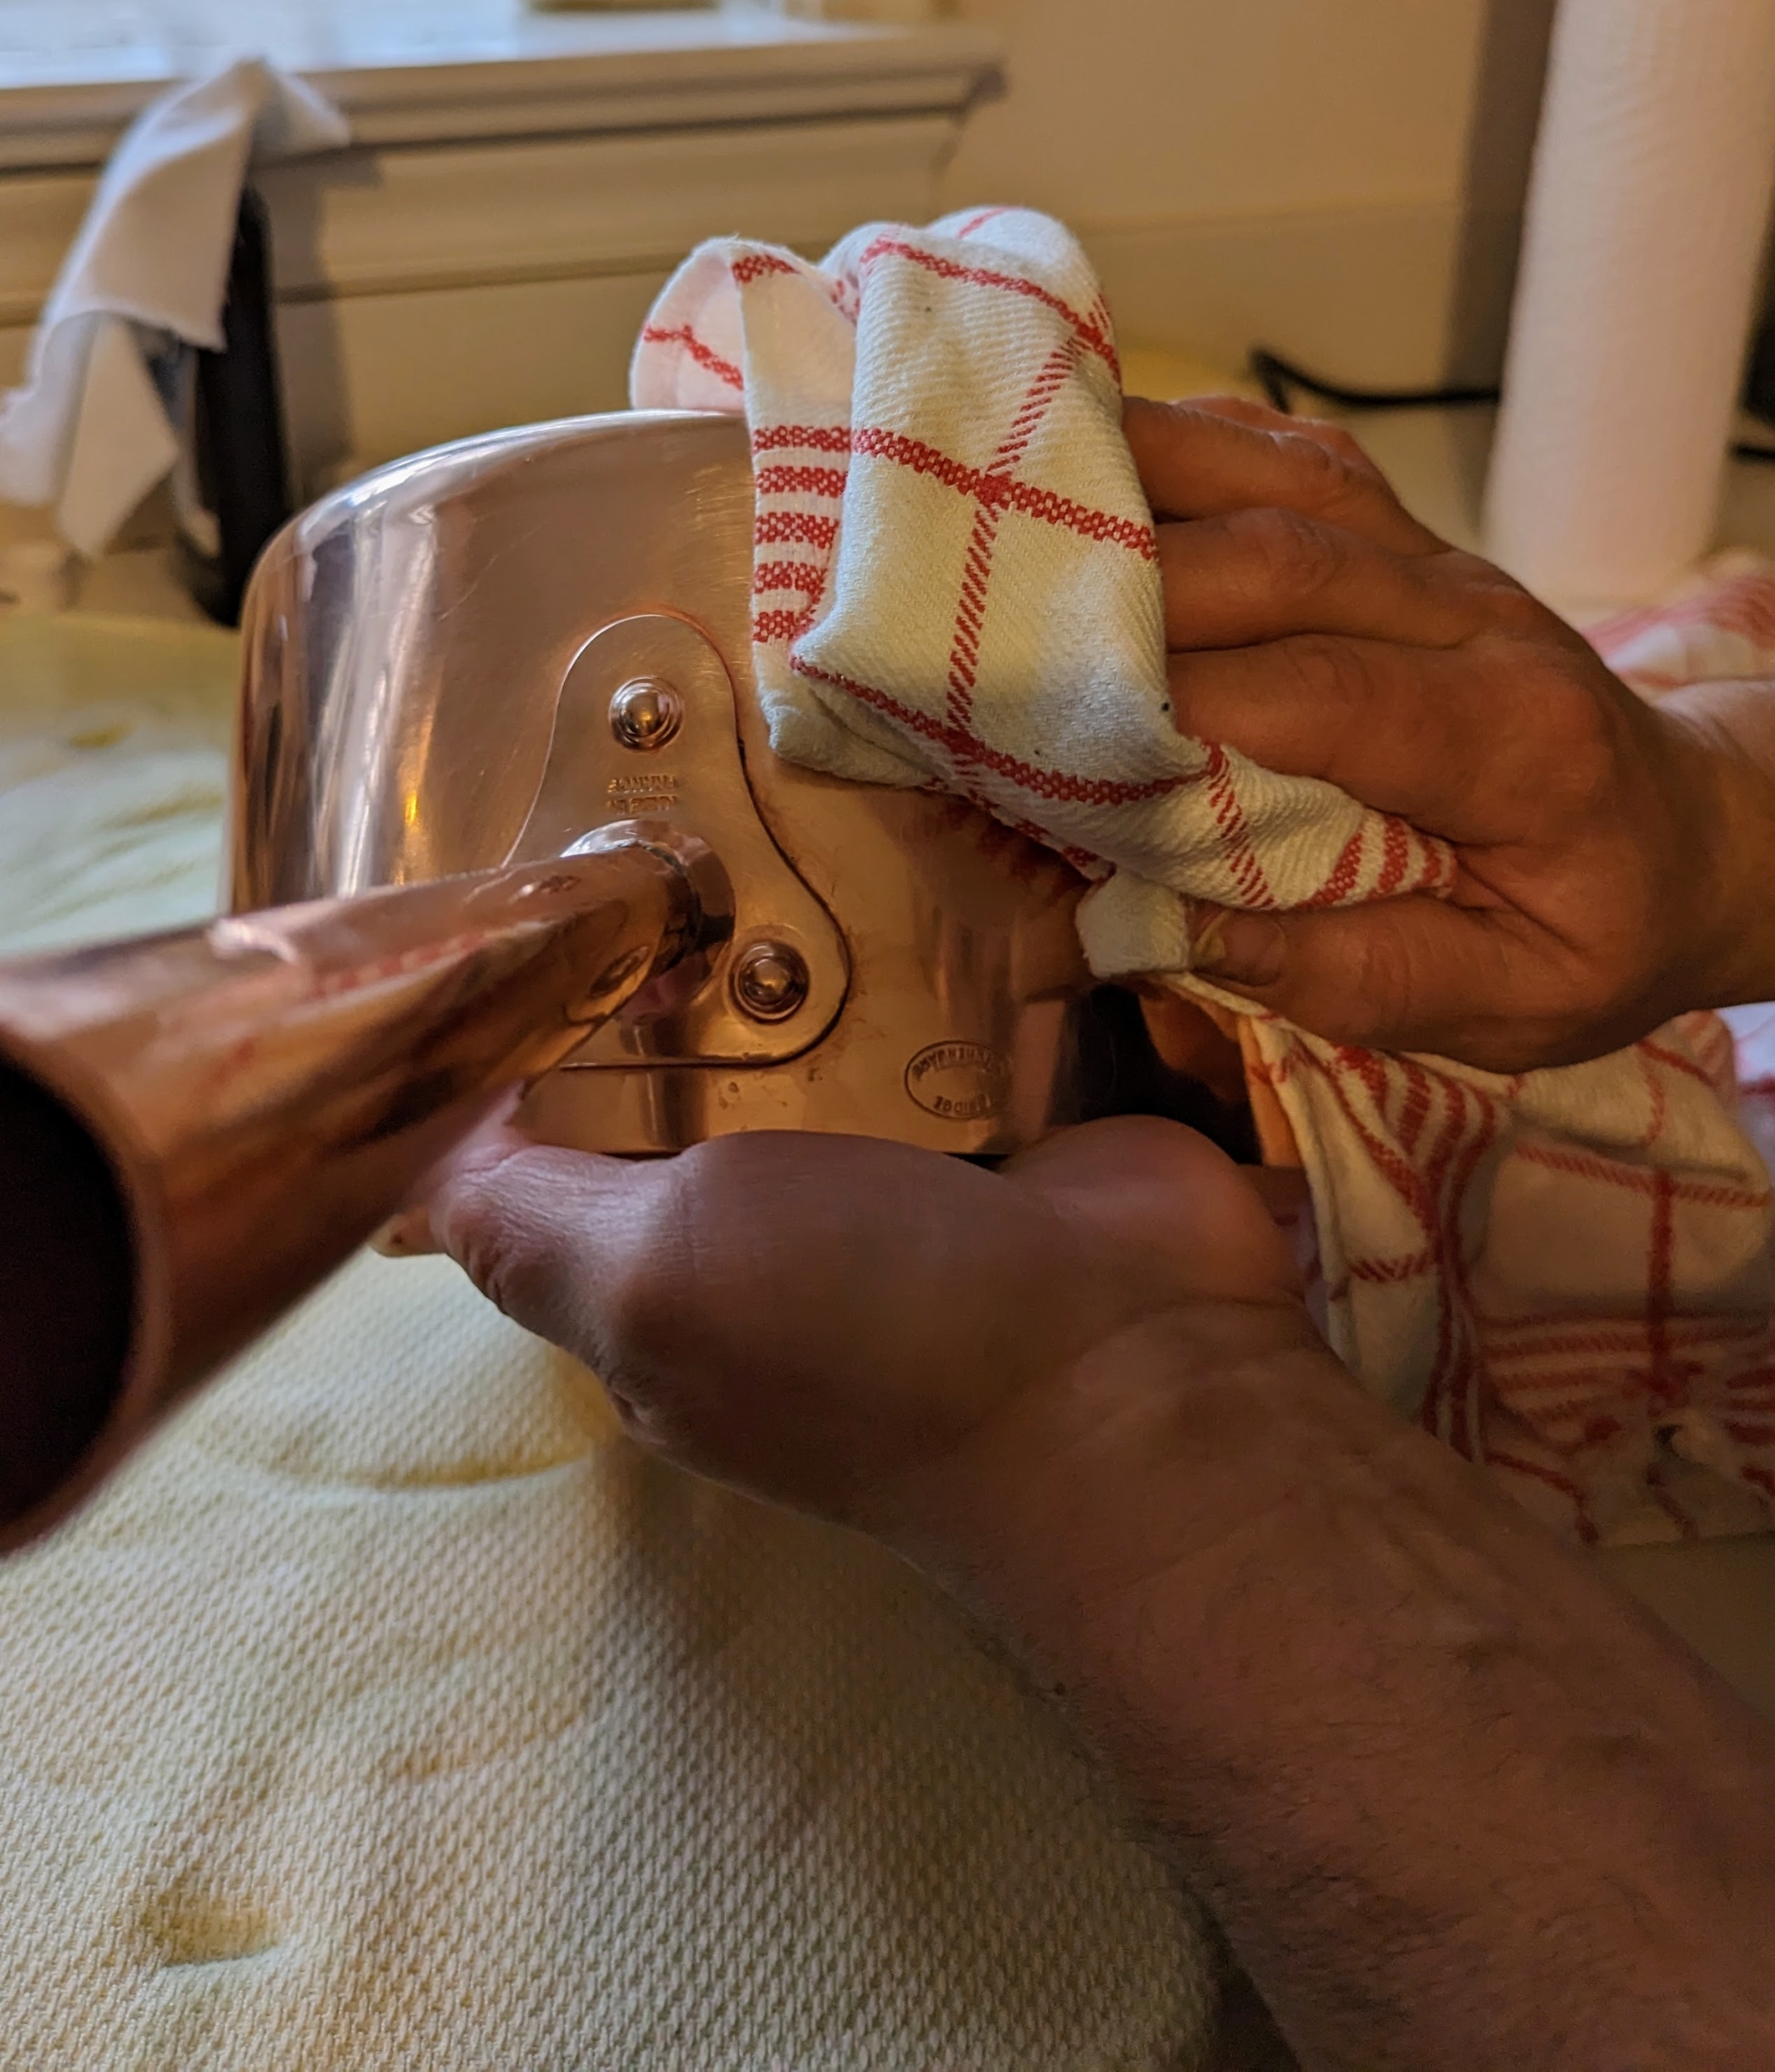
Enma is ready to dry the pieces as soon as they are done getting washed. Working in a production line fashion helps to get the job done quickly and efficiently.
Drying copper as soon as it is washed also helps prevent watermarks. And never place any copper in the dishwasher. The detergents’ aggressive chemicals, combined with the washer’s high cleaning temperature, will eventually cause any copper surfaces to dull, so hand-wash all copper mugs, pots, and pans instead.
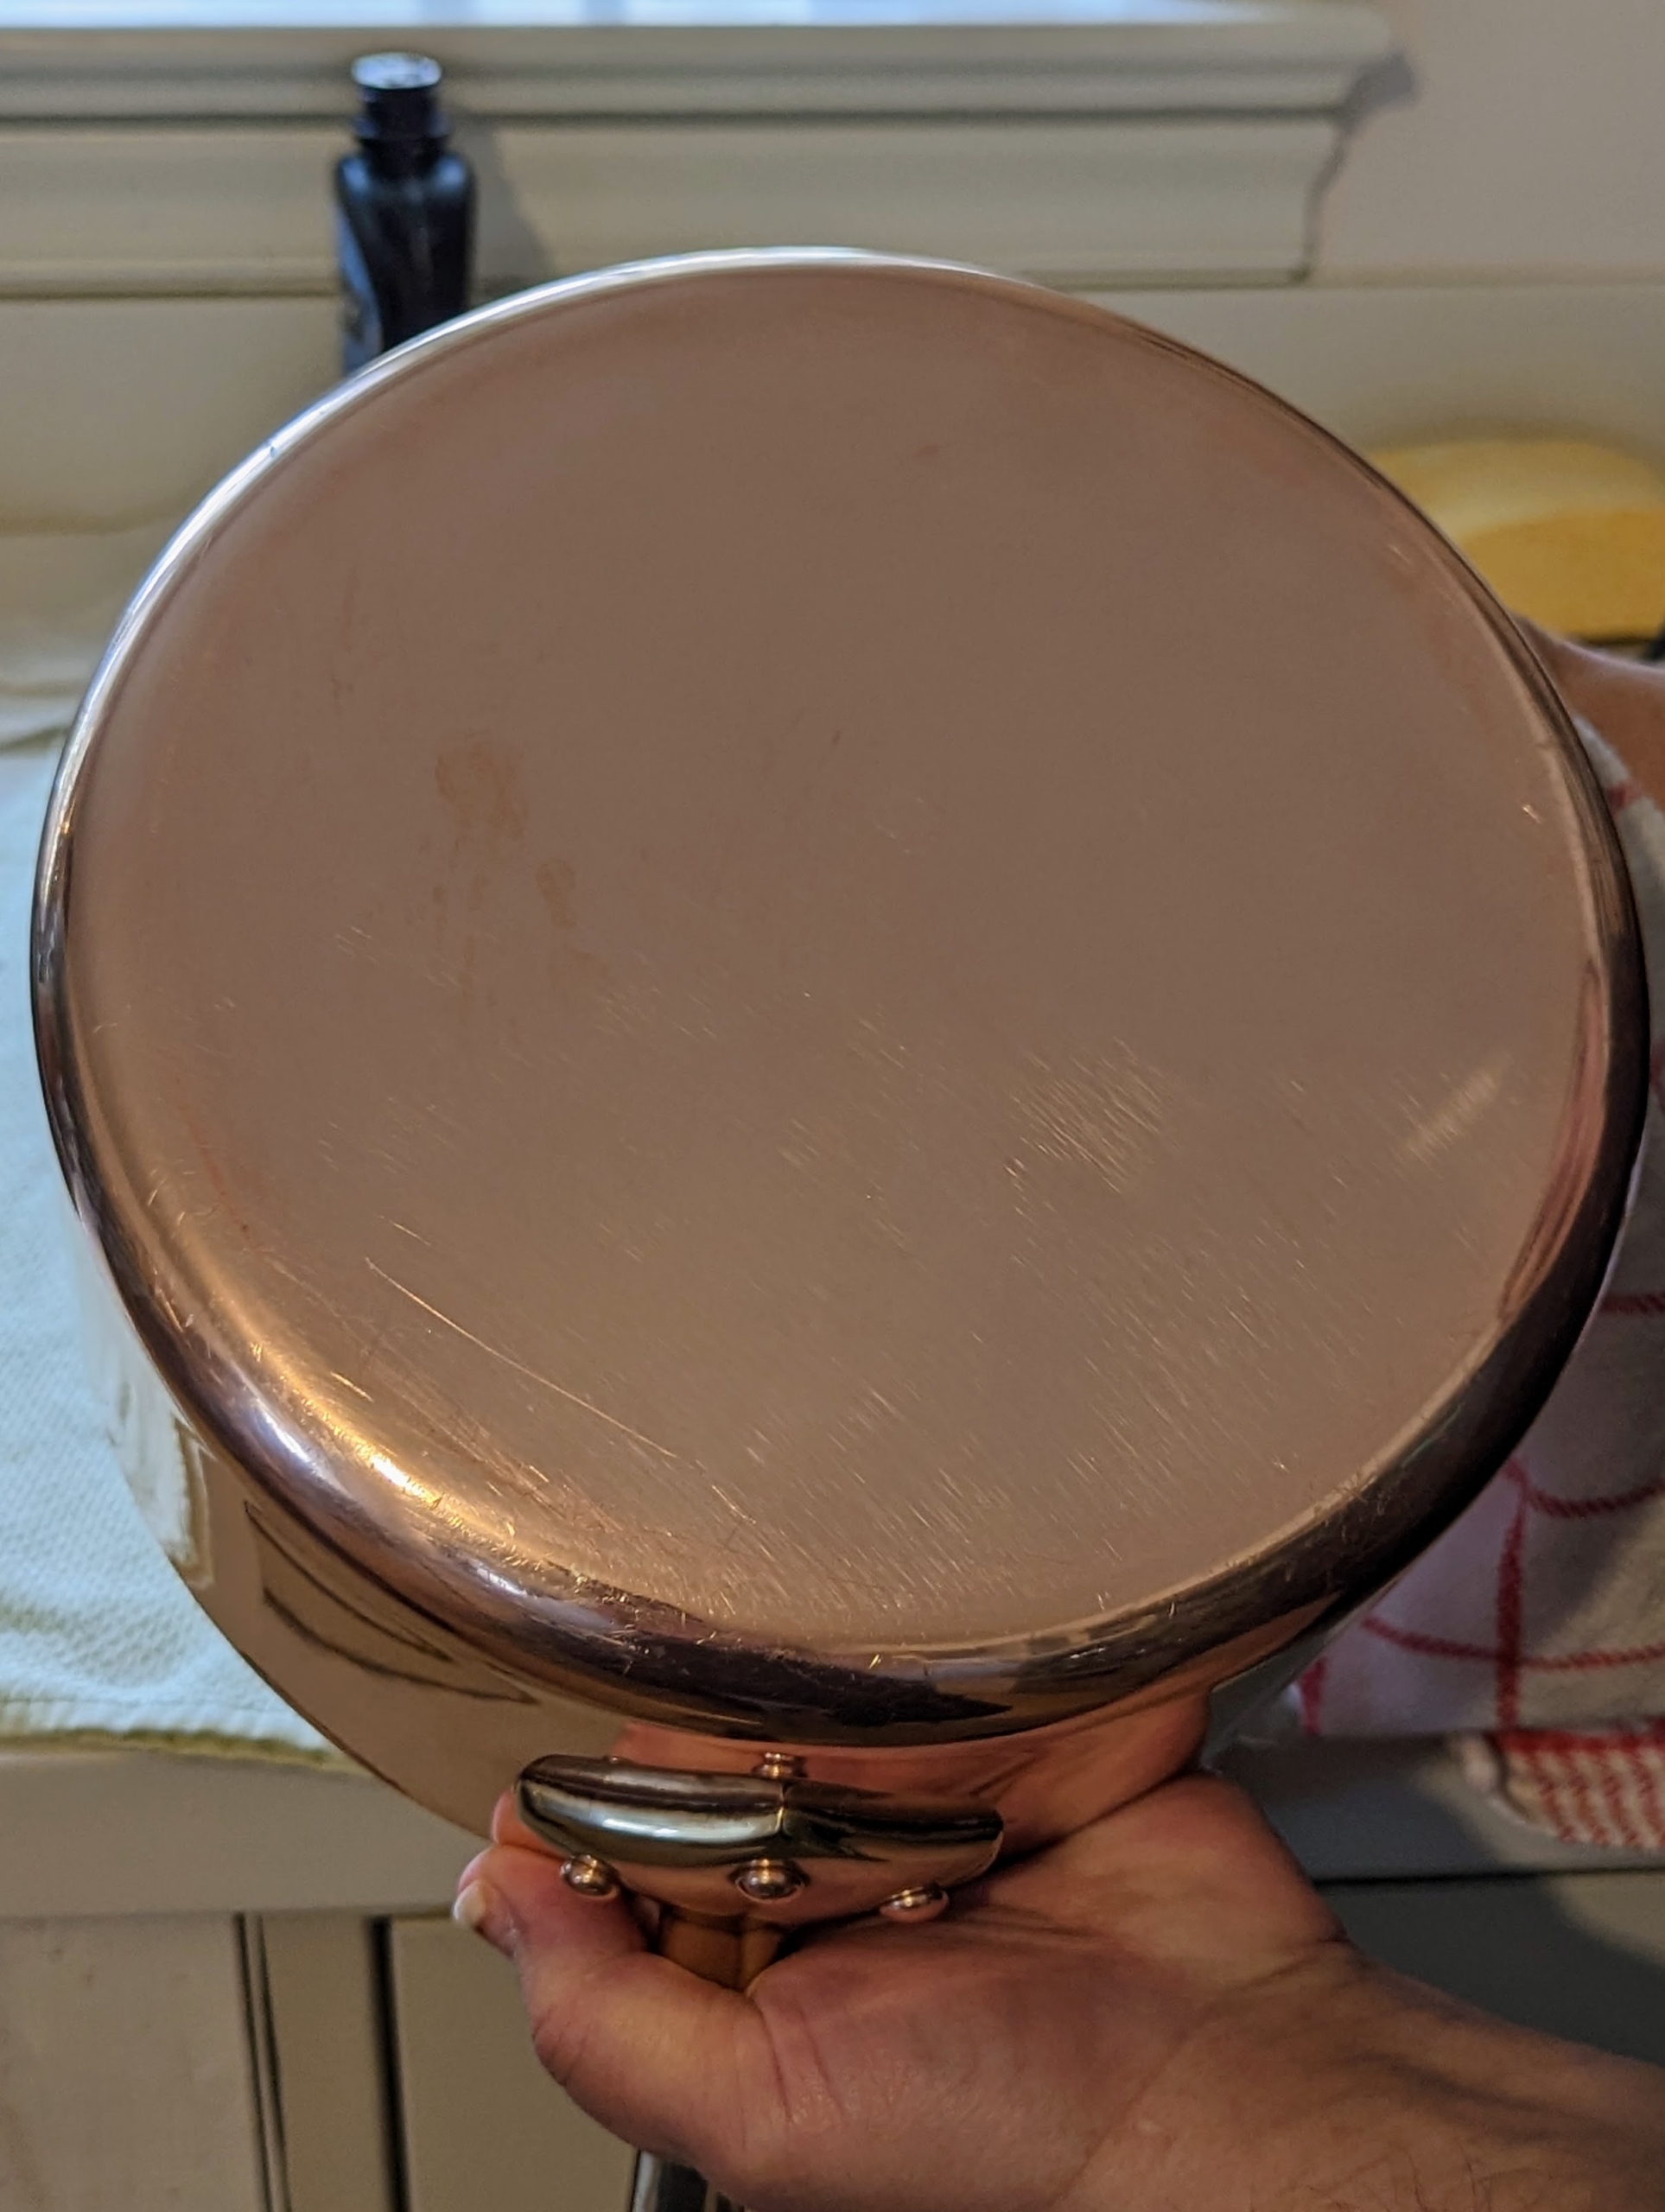
Look at the bottom of this pot – it looks like new.
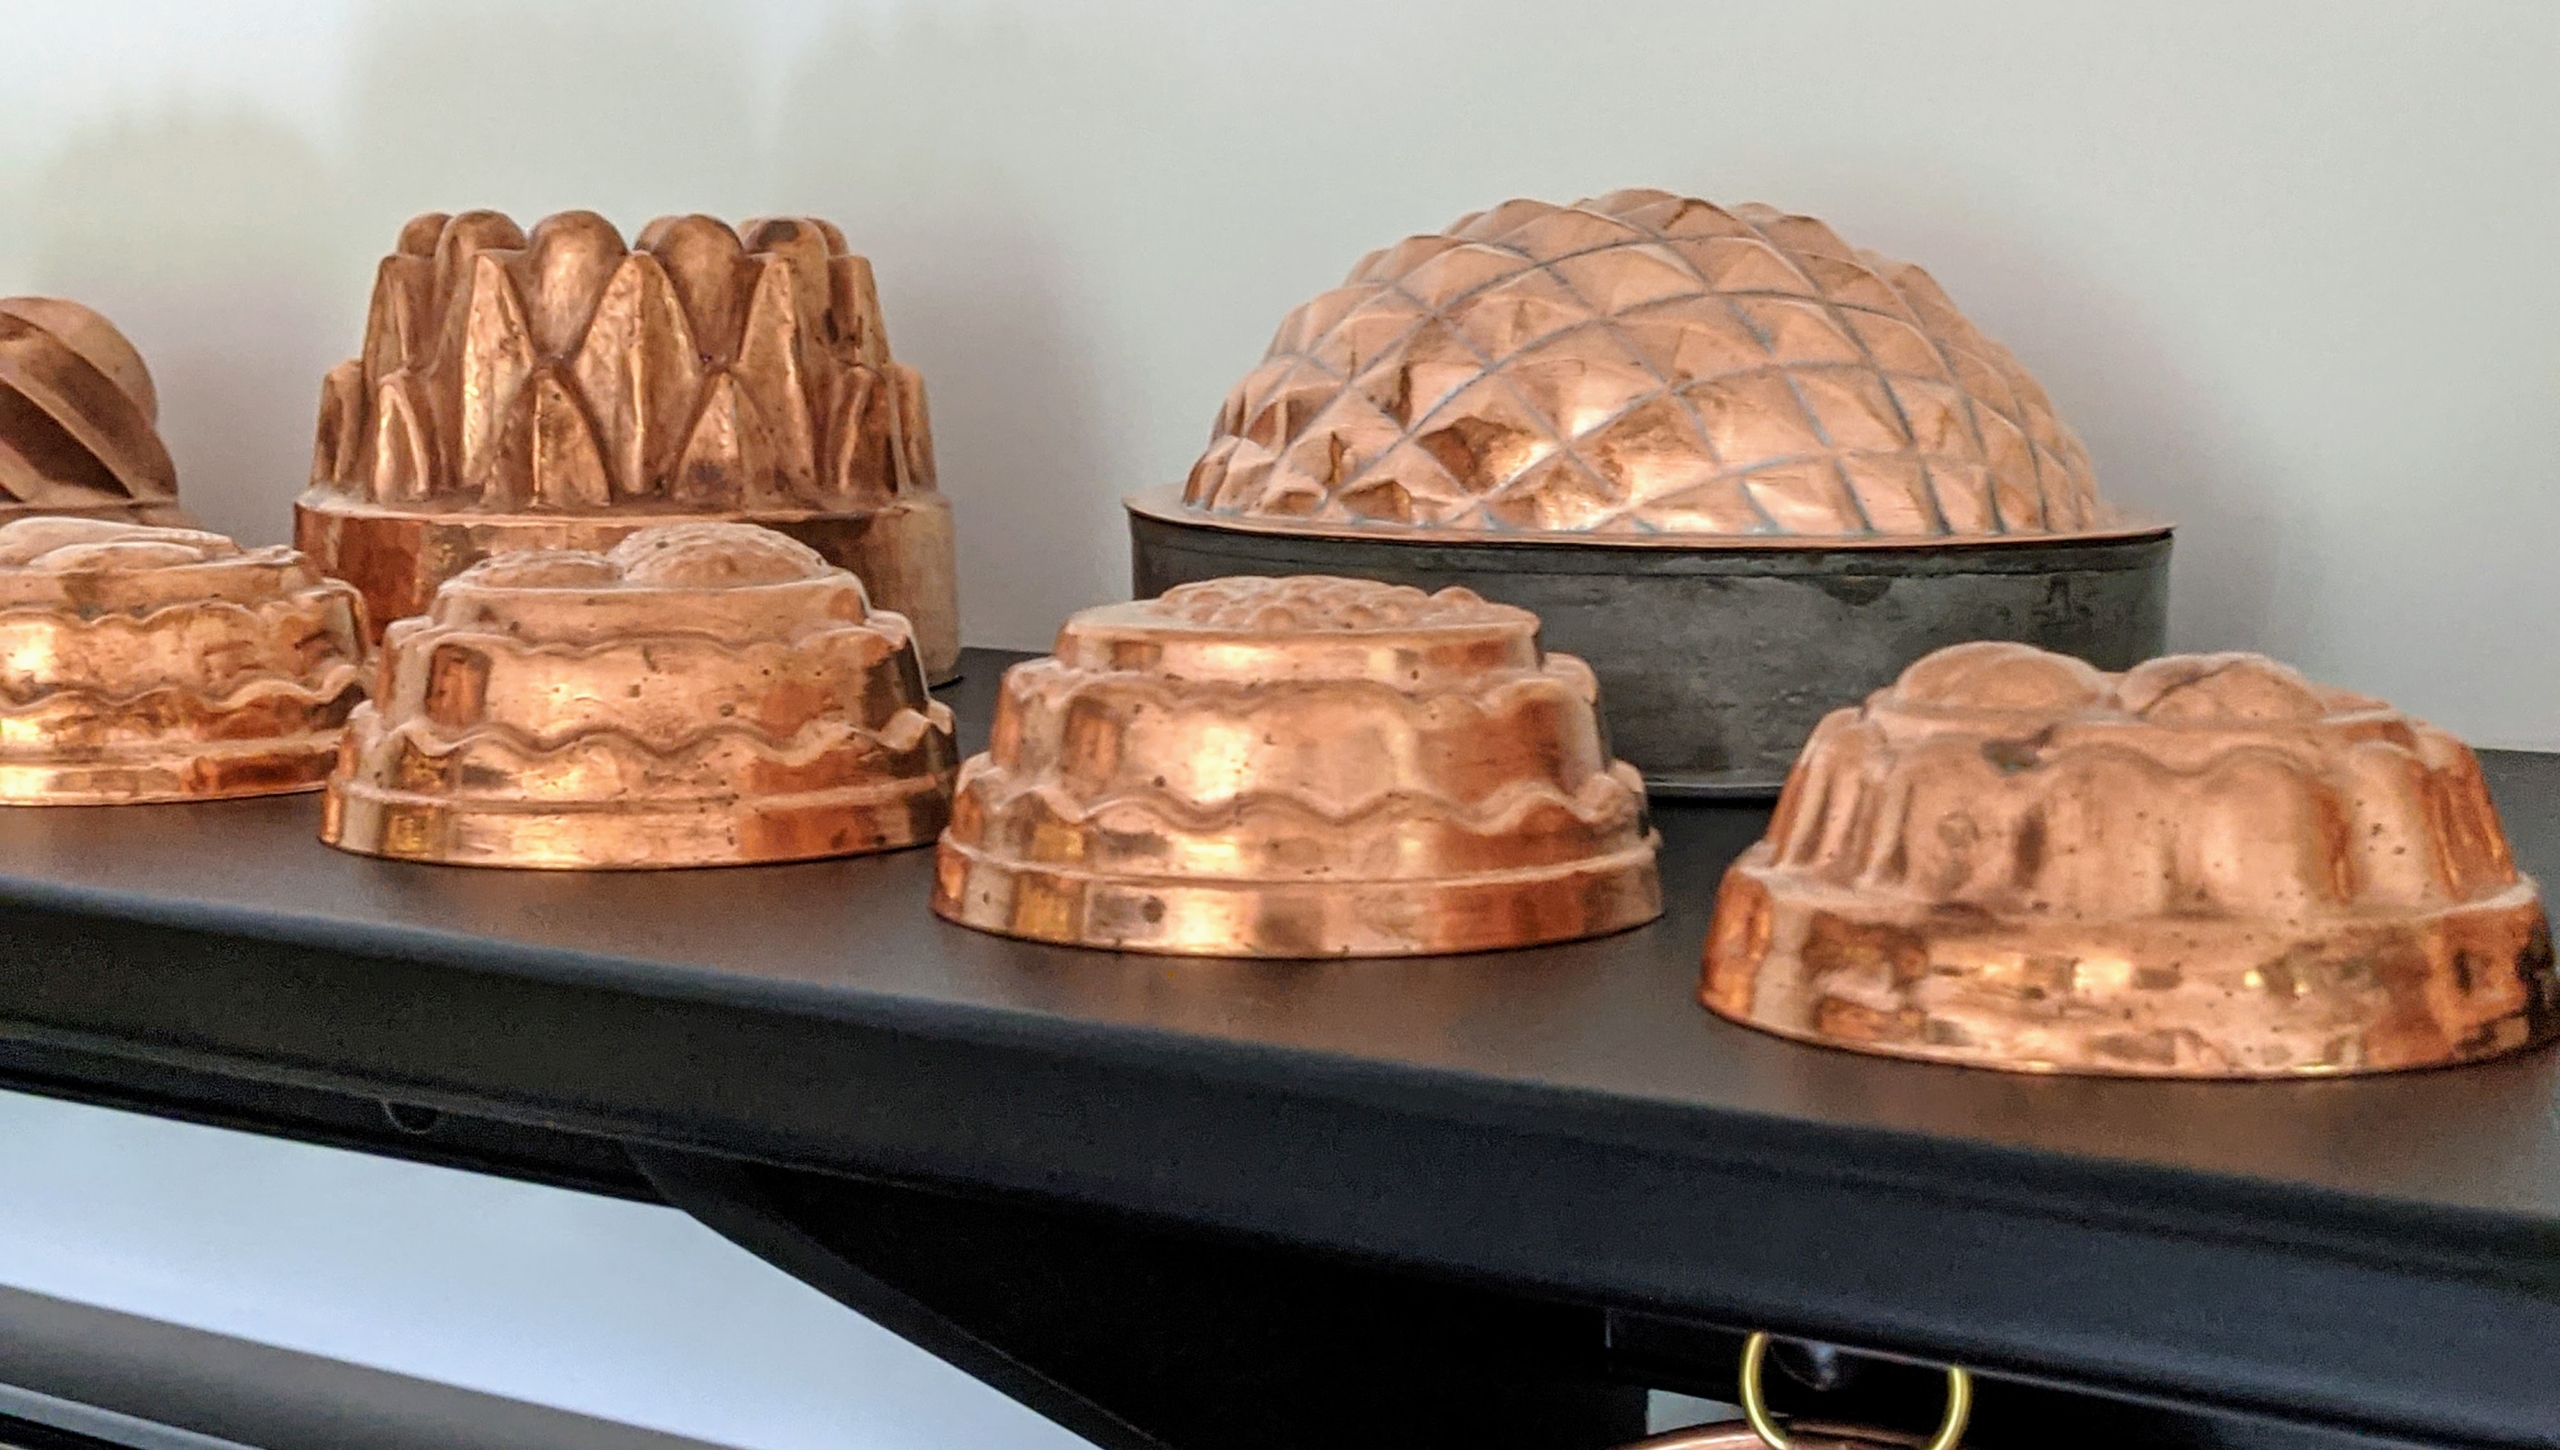
These molds show the difference between freshly polished and non-polished pieces. Notice the ones on the left are in the final soap and rinse stage – so shiny, while the darker piece on the right is waiting its turn.
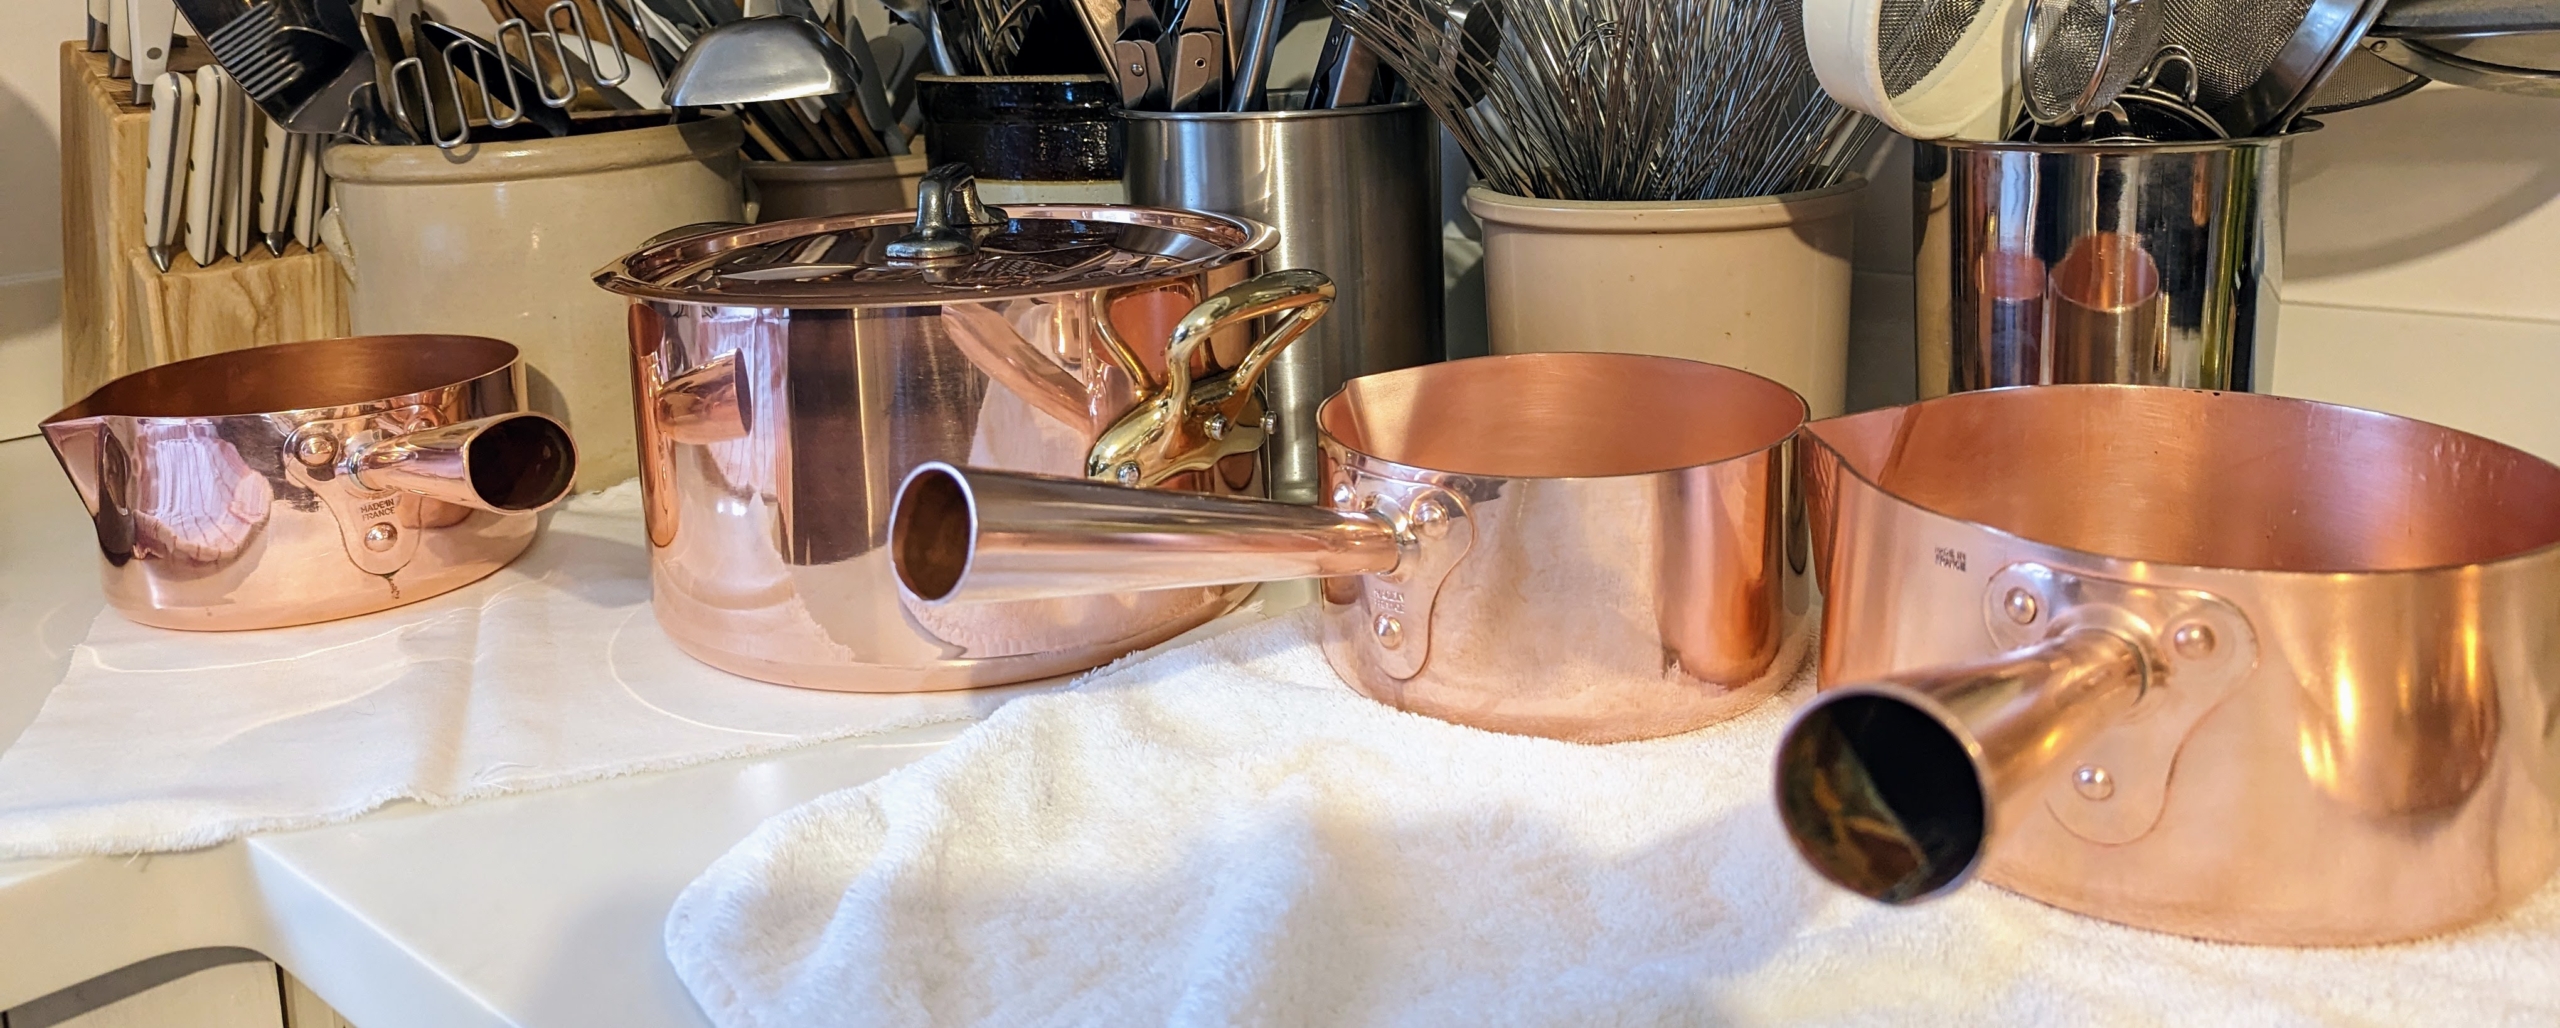
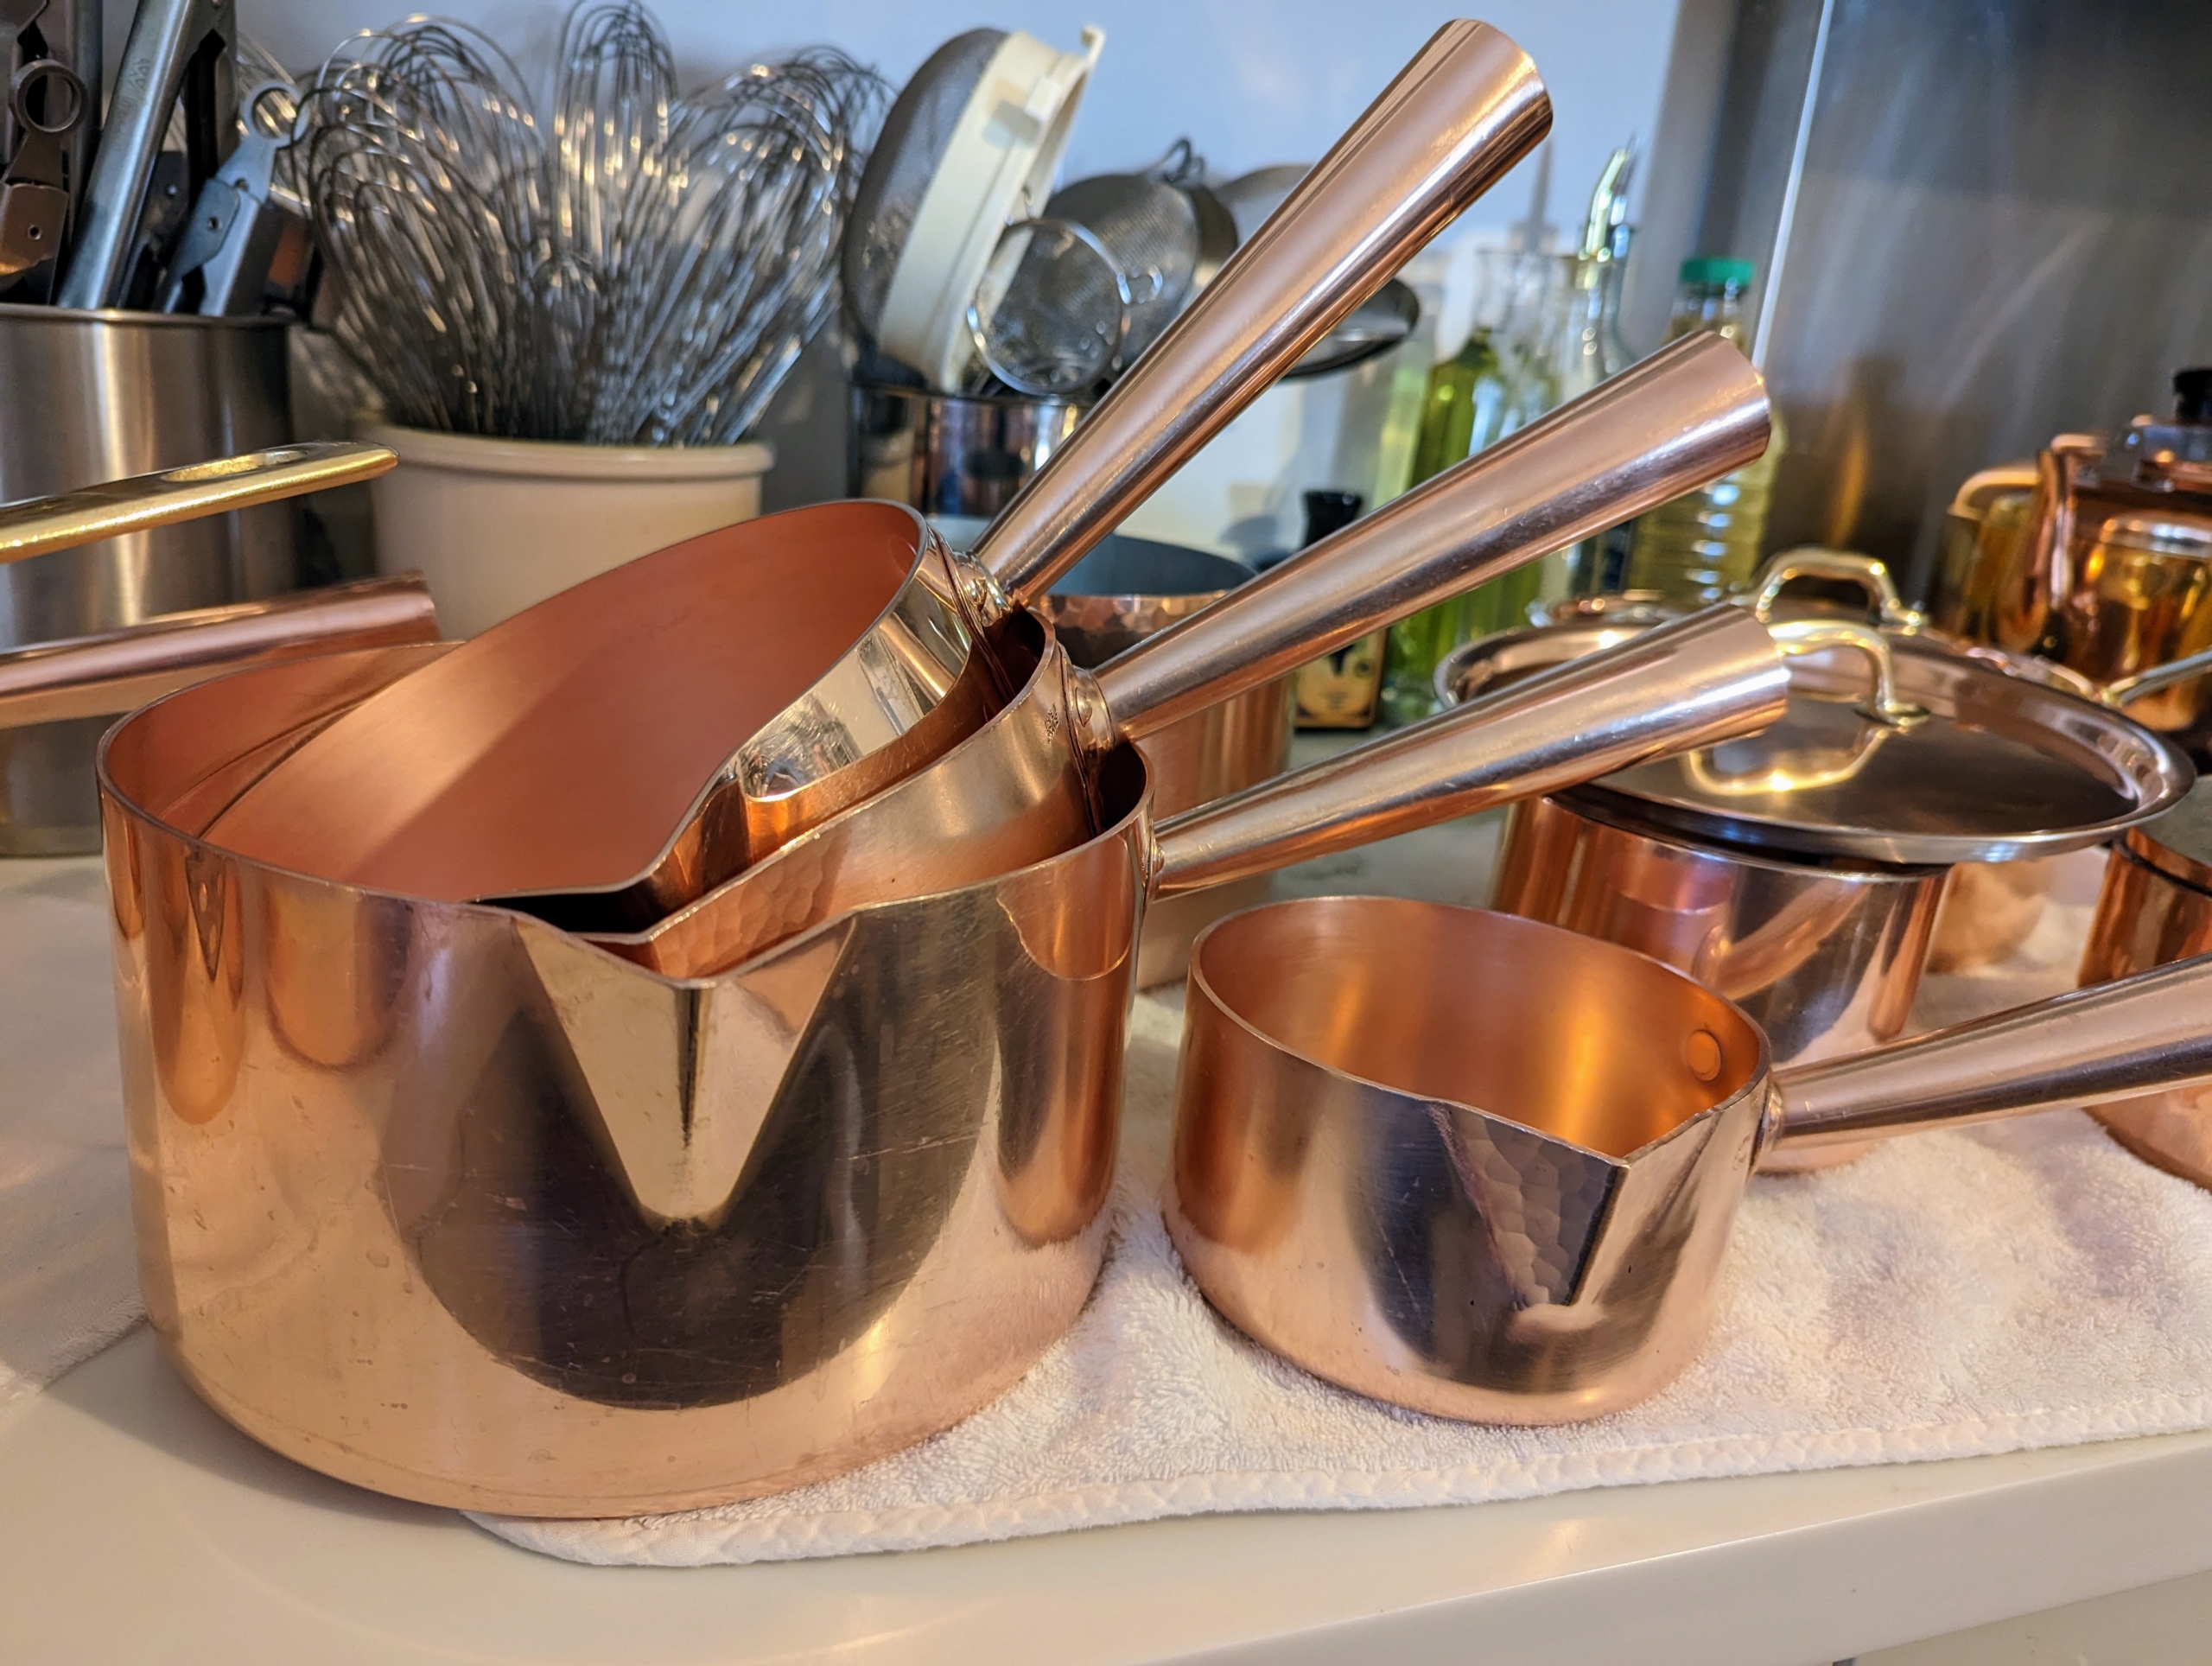
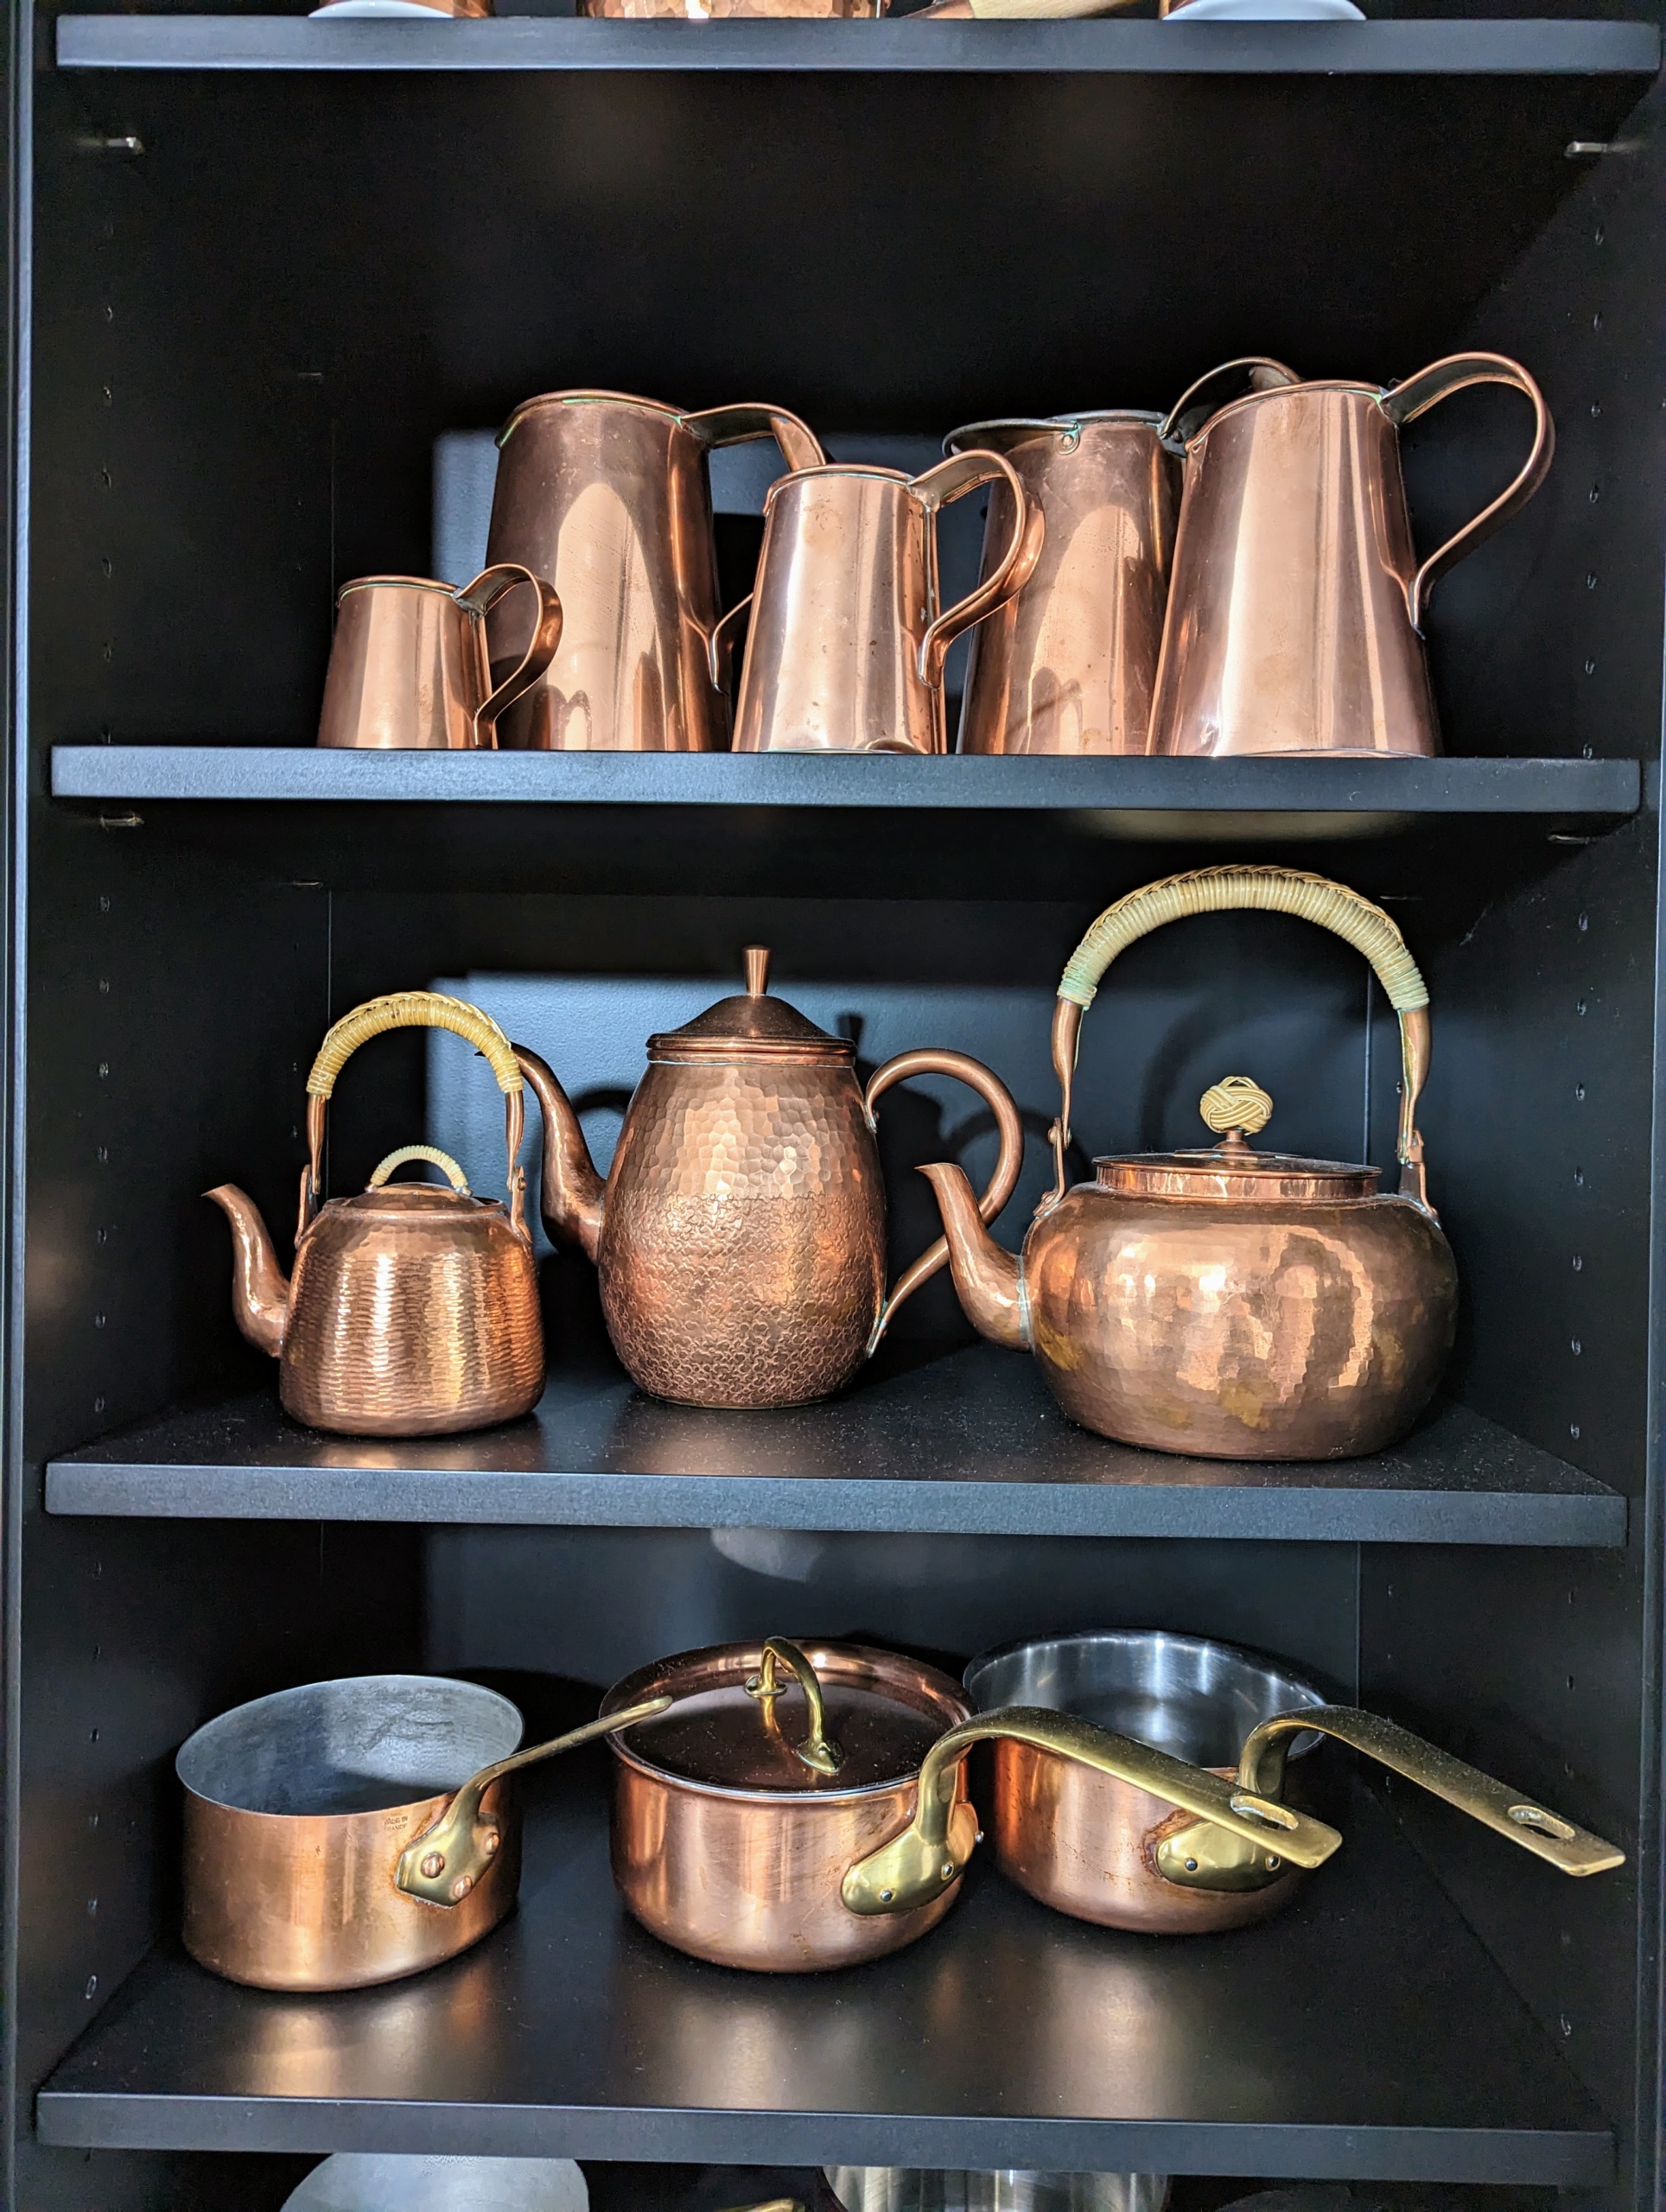
Here are some of the pots – also newly cleaned and polished.
The copper returns to its original luster very quickly.
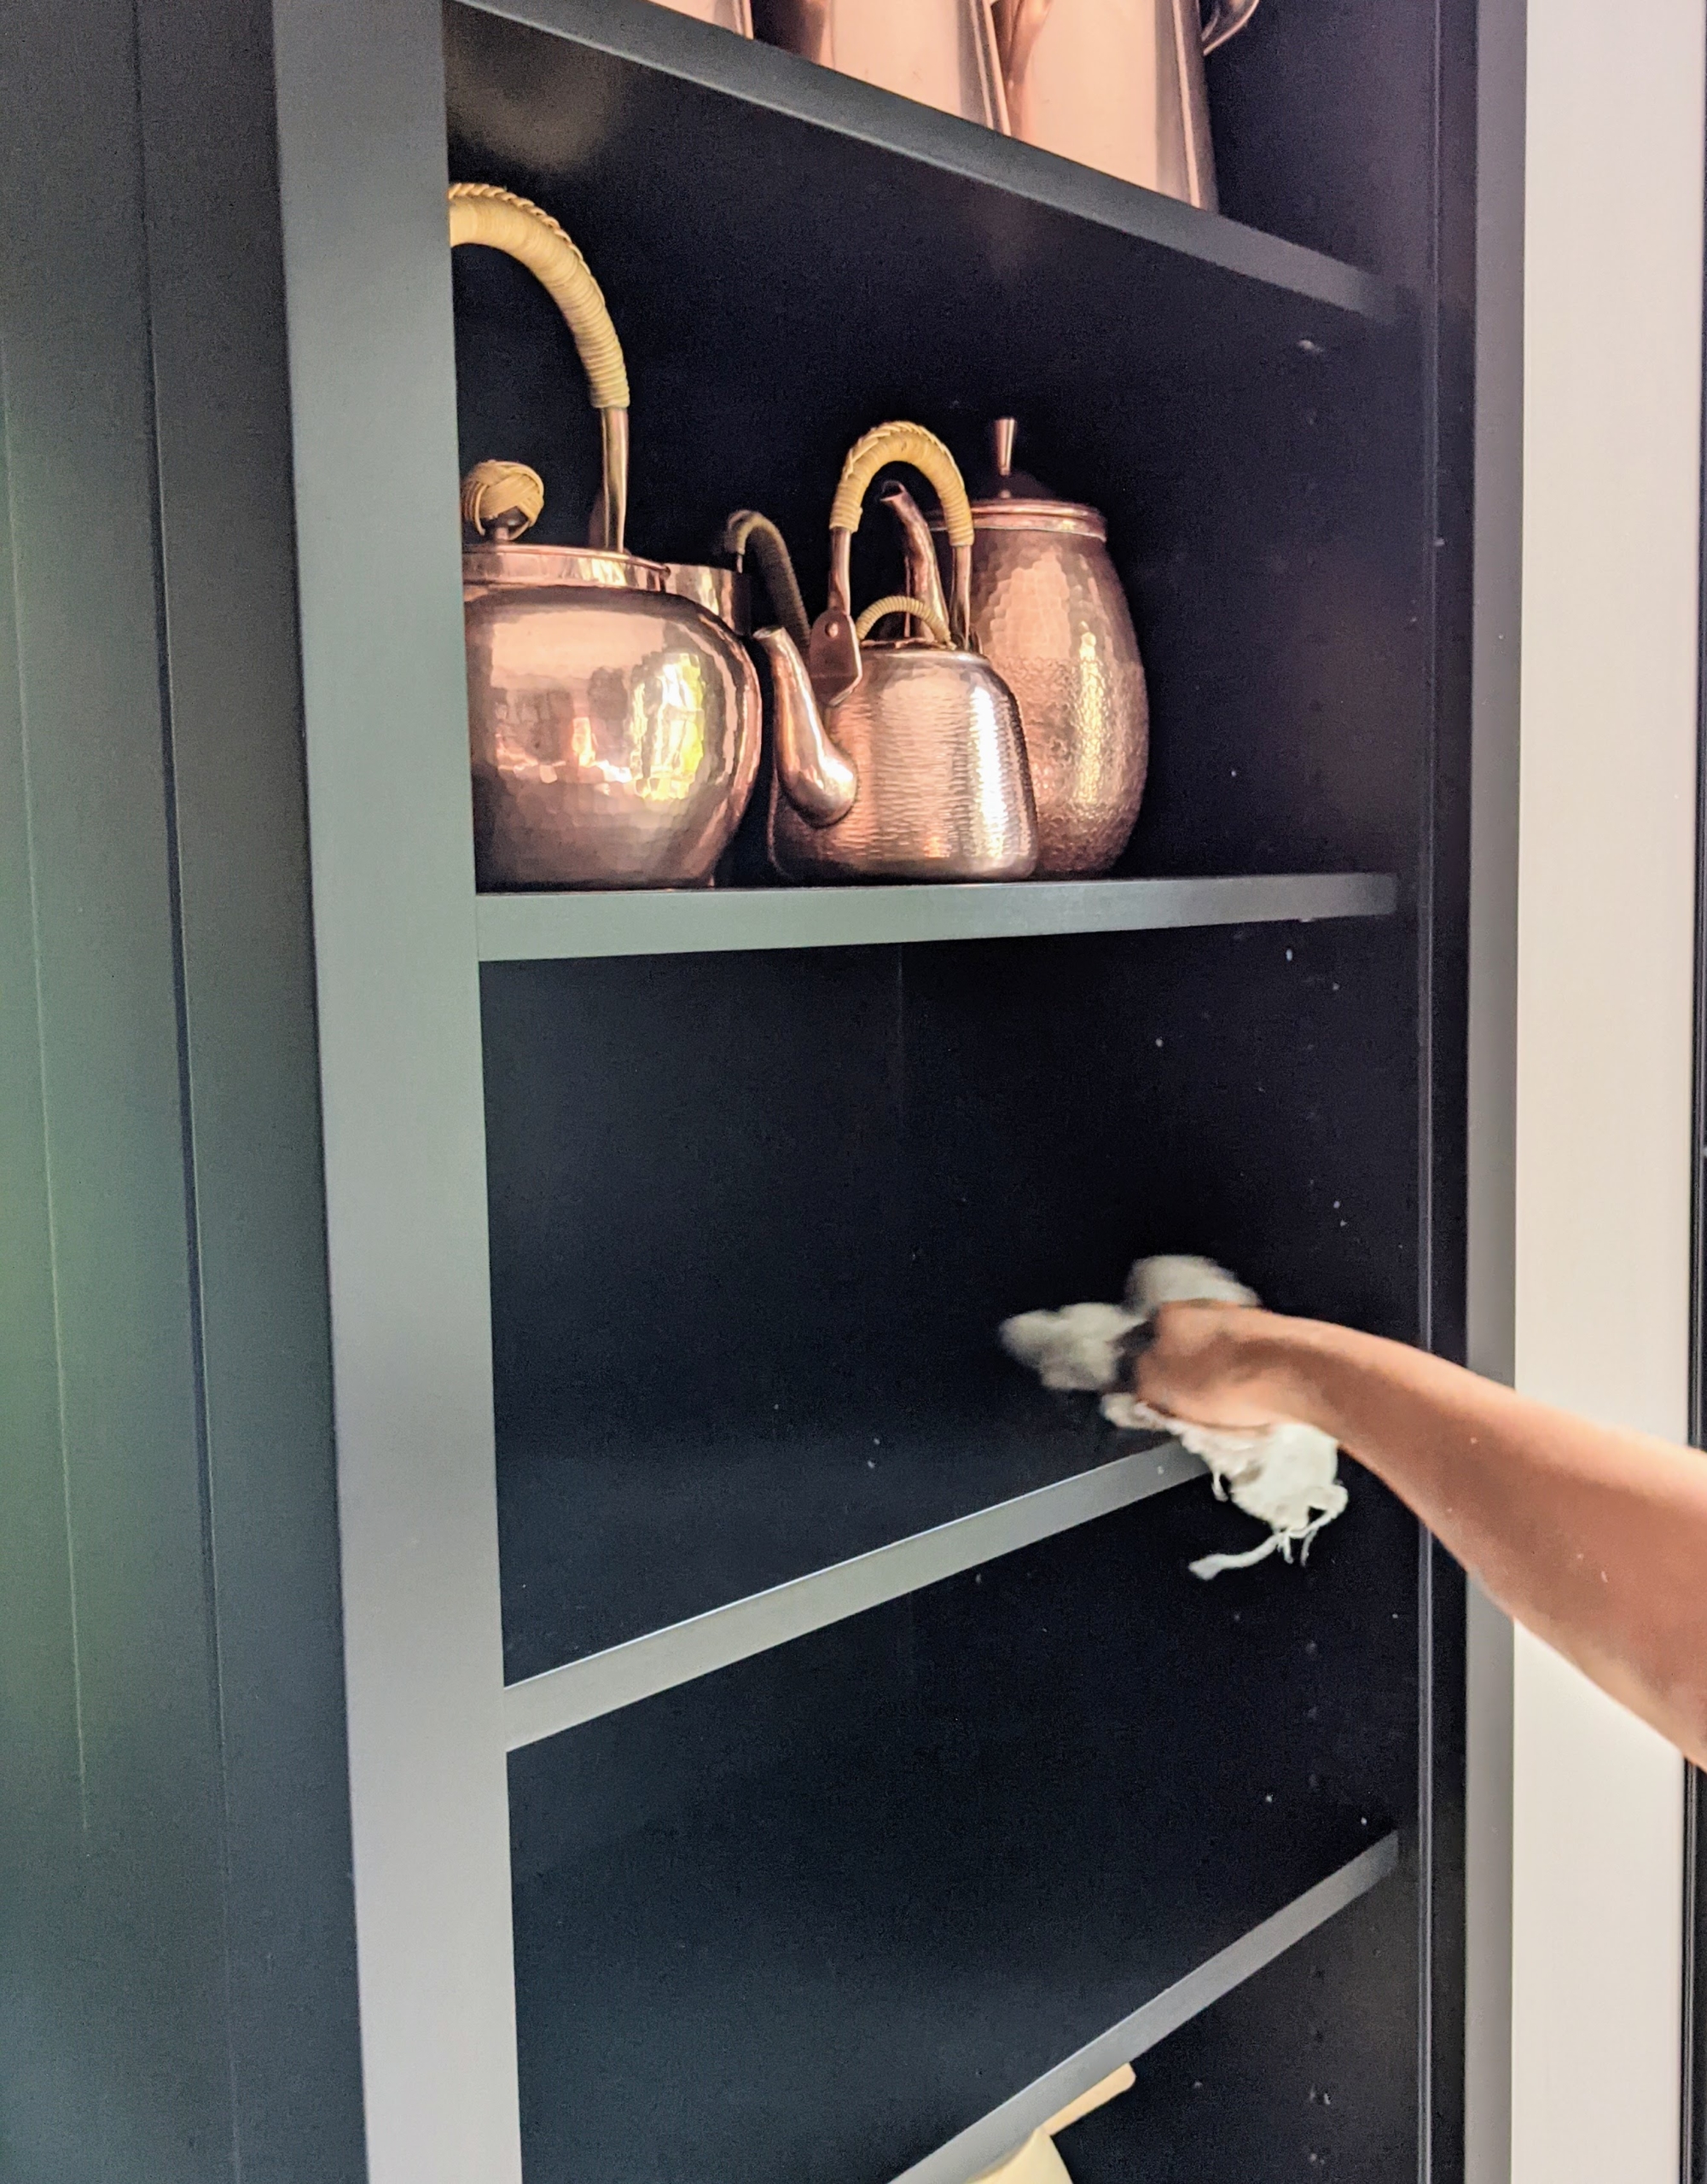
Before returning the pieces, the display shelves are wiped down with a dry cloth.
The copper looks so pretty gleaming on the shelves and hanging from the hooks. Another tip: if you like the way your displays are arranged, take a quick snapshot before you remove them, so you know exactly how they should be returned.
Many of my molds are on display on this shelf. Jello, or jelly, molds became popular during the Victorian era when cooks experimented with recipes such as meat-based aspic. Copper molds, as opposed to the more affordable tin alternatives, were a sign of wealth. And by the 1950s and 1960s, these pieces were used for other recipes, especially those well-loved jelly creations.
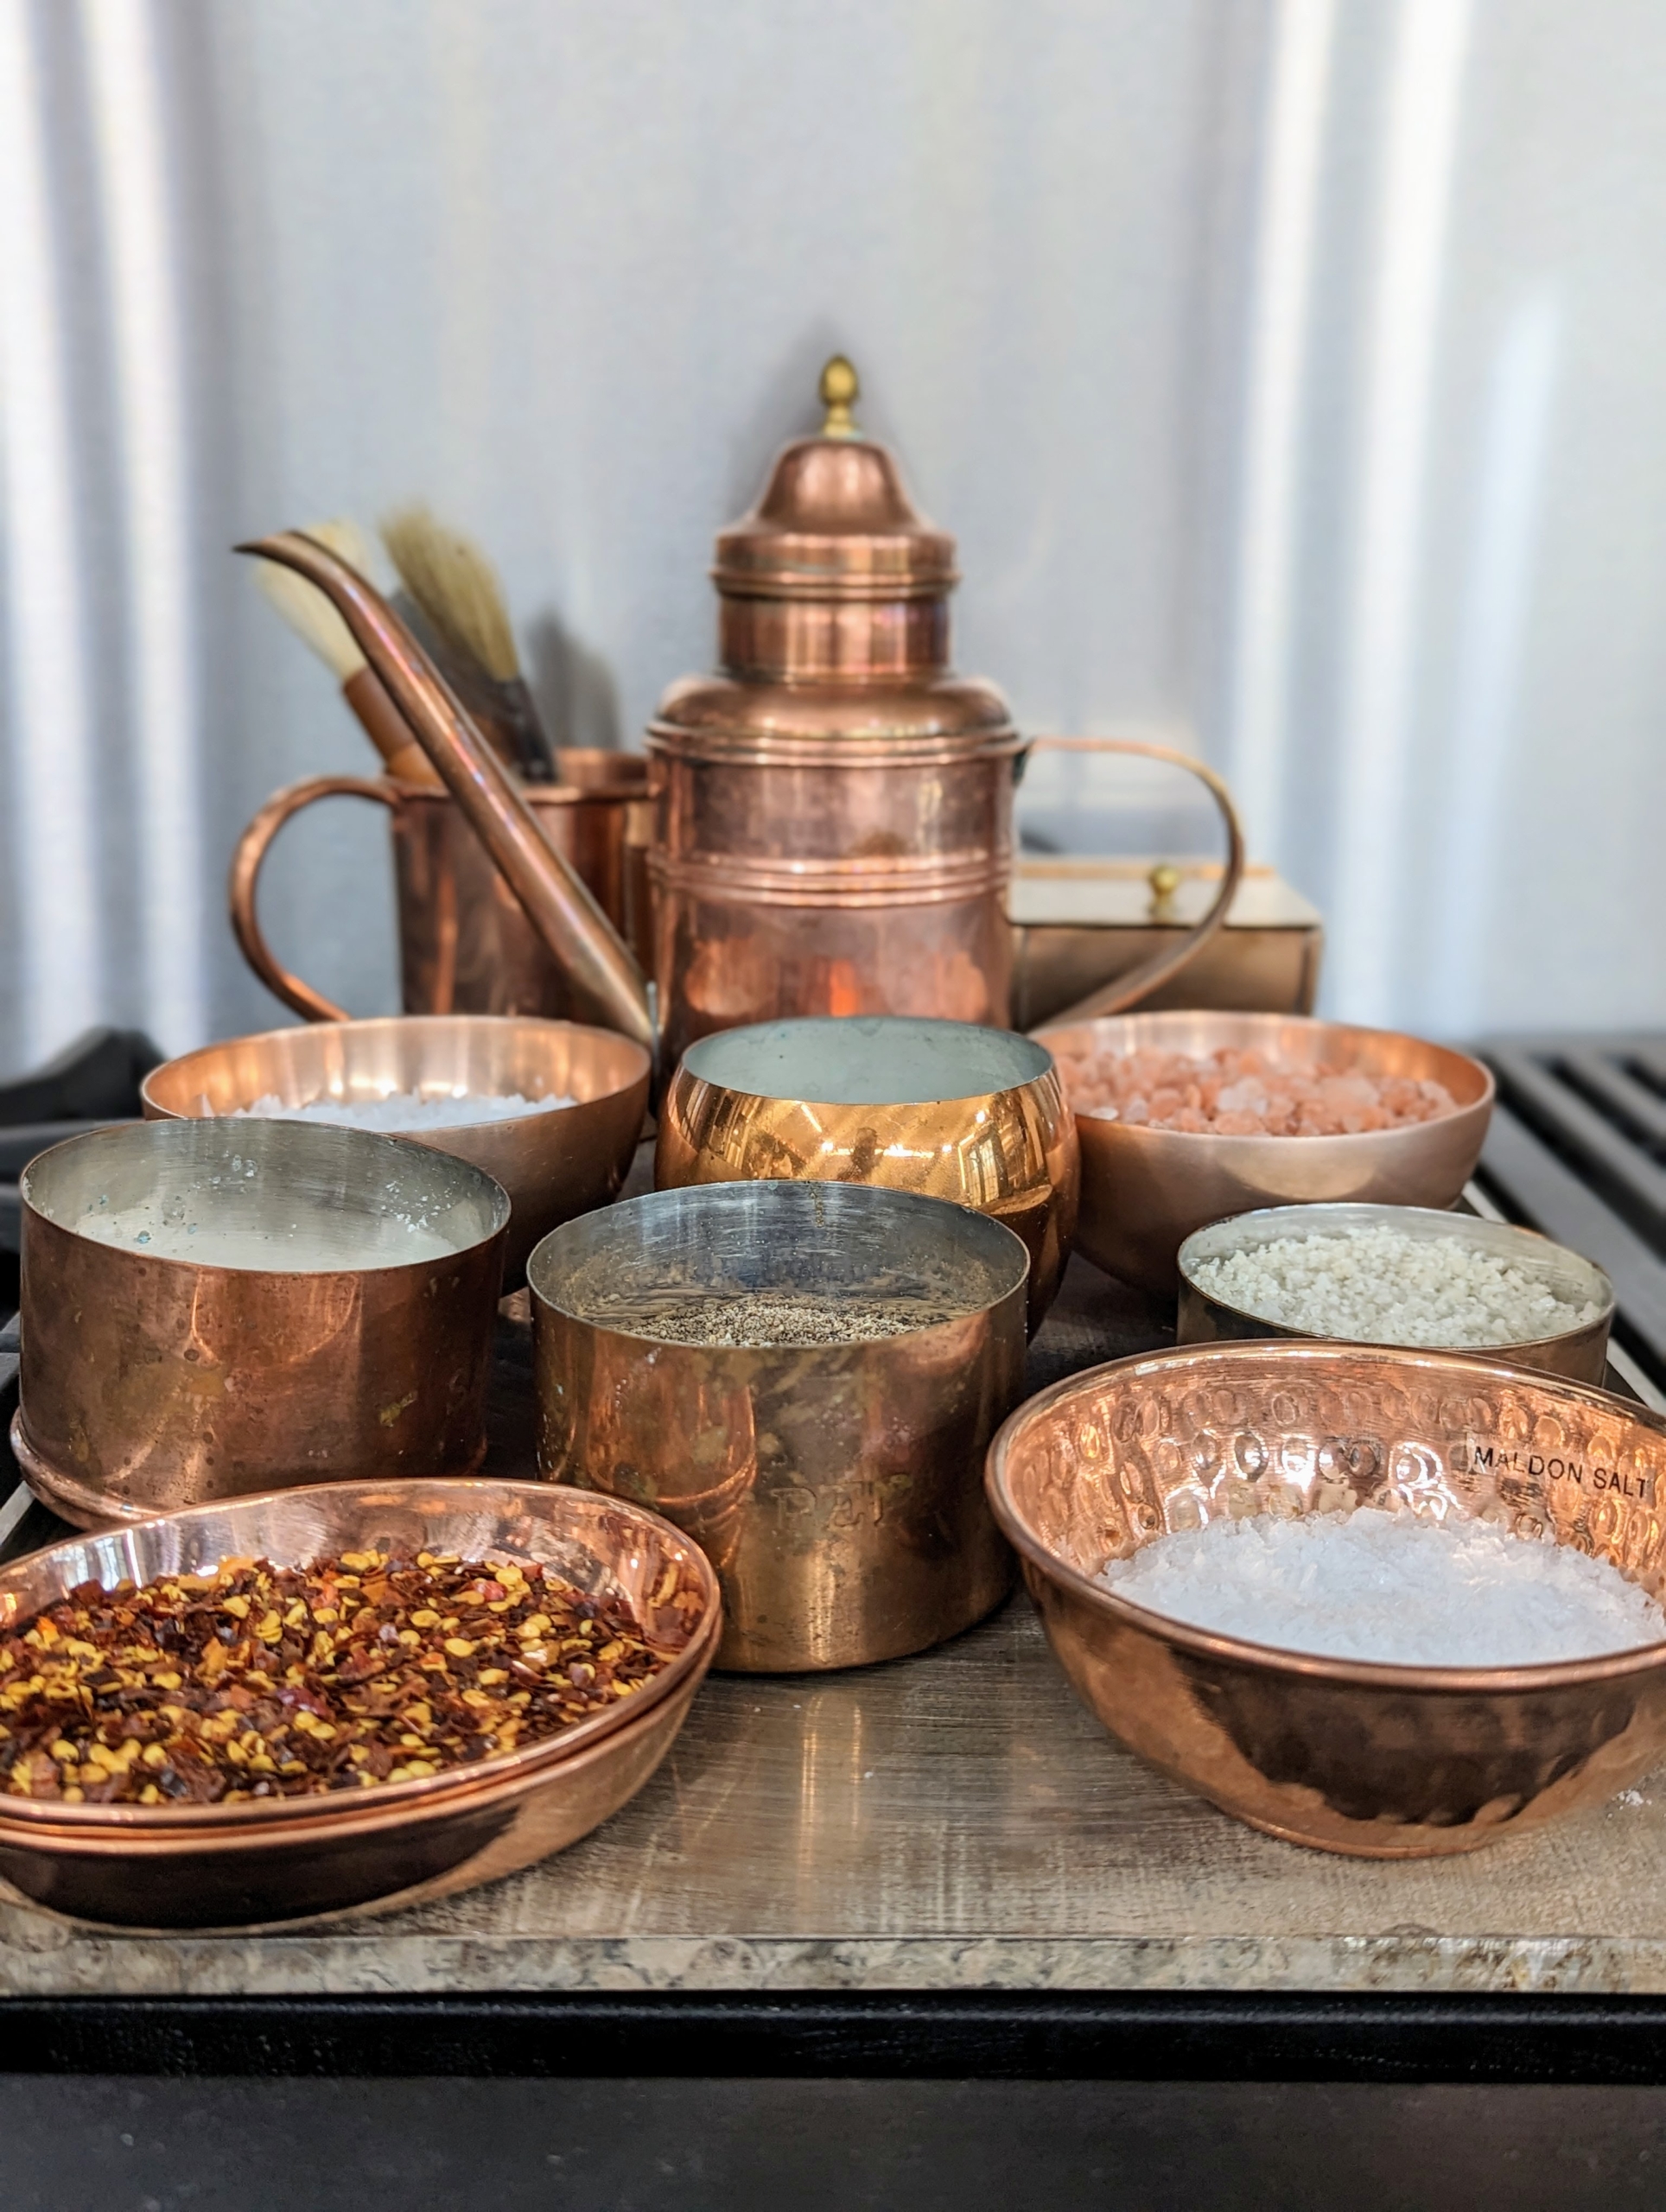
I use this kitchen a lot for television and various photo shoots and for other media appearances. I also use everything that is in the kitchen, so it’s important that everything is always clean and “camera-ready.” The smaller dishes are used to store salt and pepper near he cooktop.
These pots are placed with other like pieces on the black shelving underneath my large soapstone island. It’s always so satisfying to check off time-consuming cleaning chores. The copper is now ready for my next cooking shoot!
We're expecting cloudy skies and snow showers here in Bedford, New York this morning. Tomorrow, temperatures are expected to rise into the high 40s. It's been quite an erratic winter, and although we still have several more weeks of this cold season, the first blooms of spring are starting to emerge here at the farm.
Over the last few weeks, we've seen daffodils, crocuses, hellebores, and winter aconite pushing their way through the soil. The witch hazel is also blooming. It won’t be long before bursts of spring color cover every border, orchard, and allée.
Here are some photos showing the early spring activity, enjoy.
In the Northeast region, it is still very much a winter scene. Deciduous trees are still bare, and here at the farm, all my boxwood is still wrapped in protective burlap. Yesterday, the skies were bright blue, but the chill is in the air and snow is on its way.
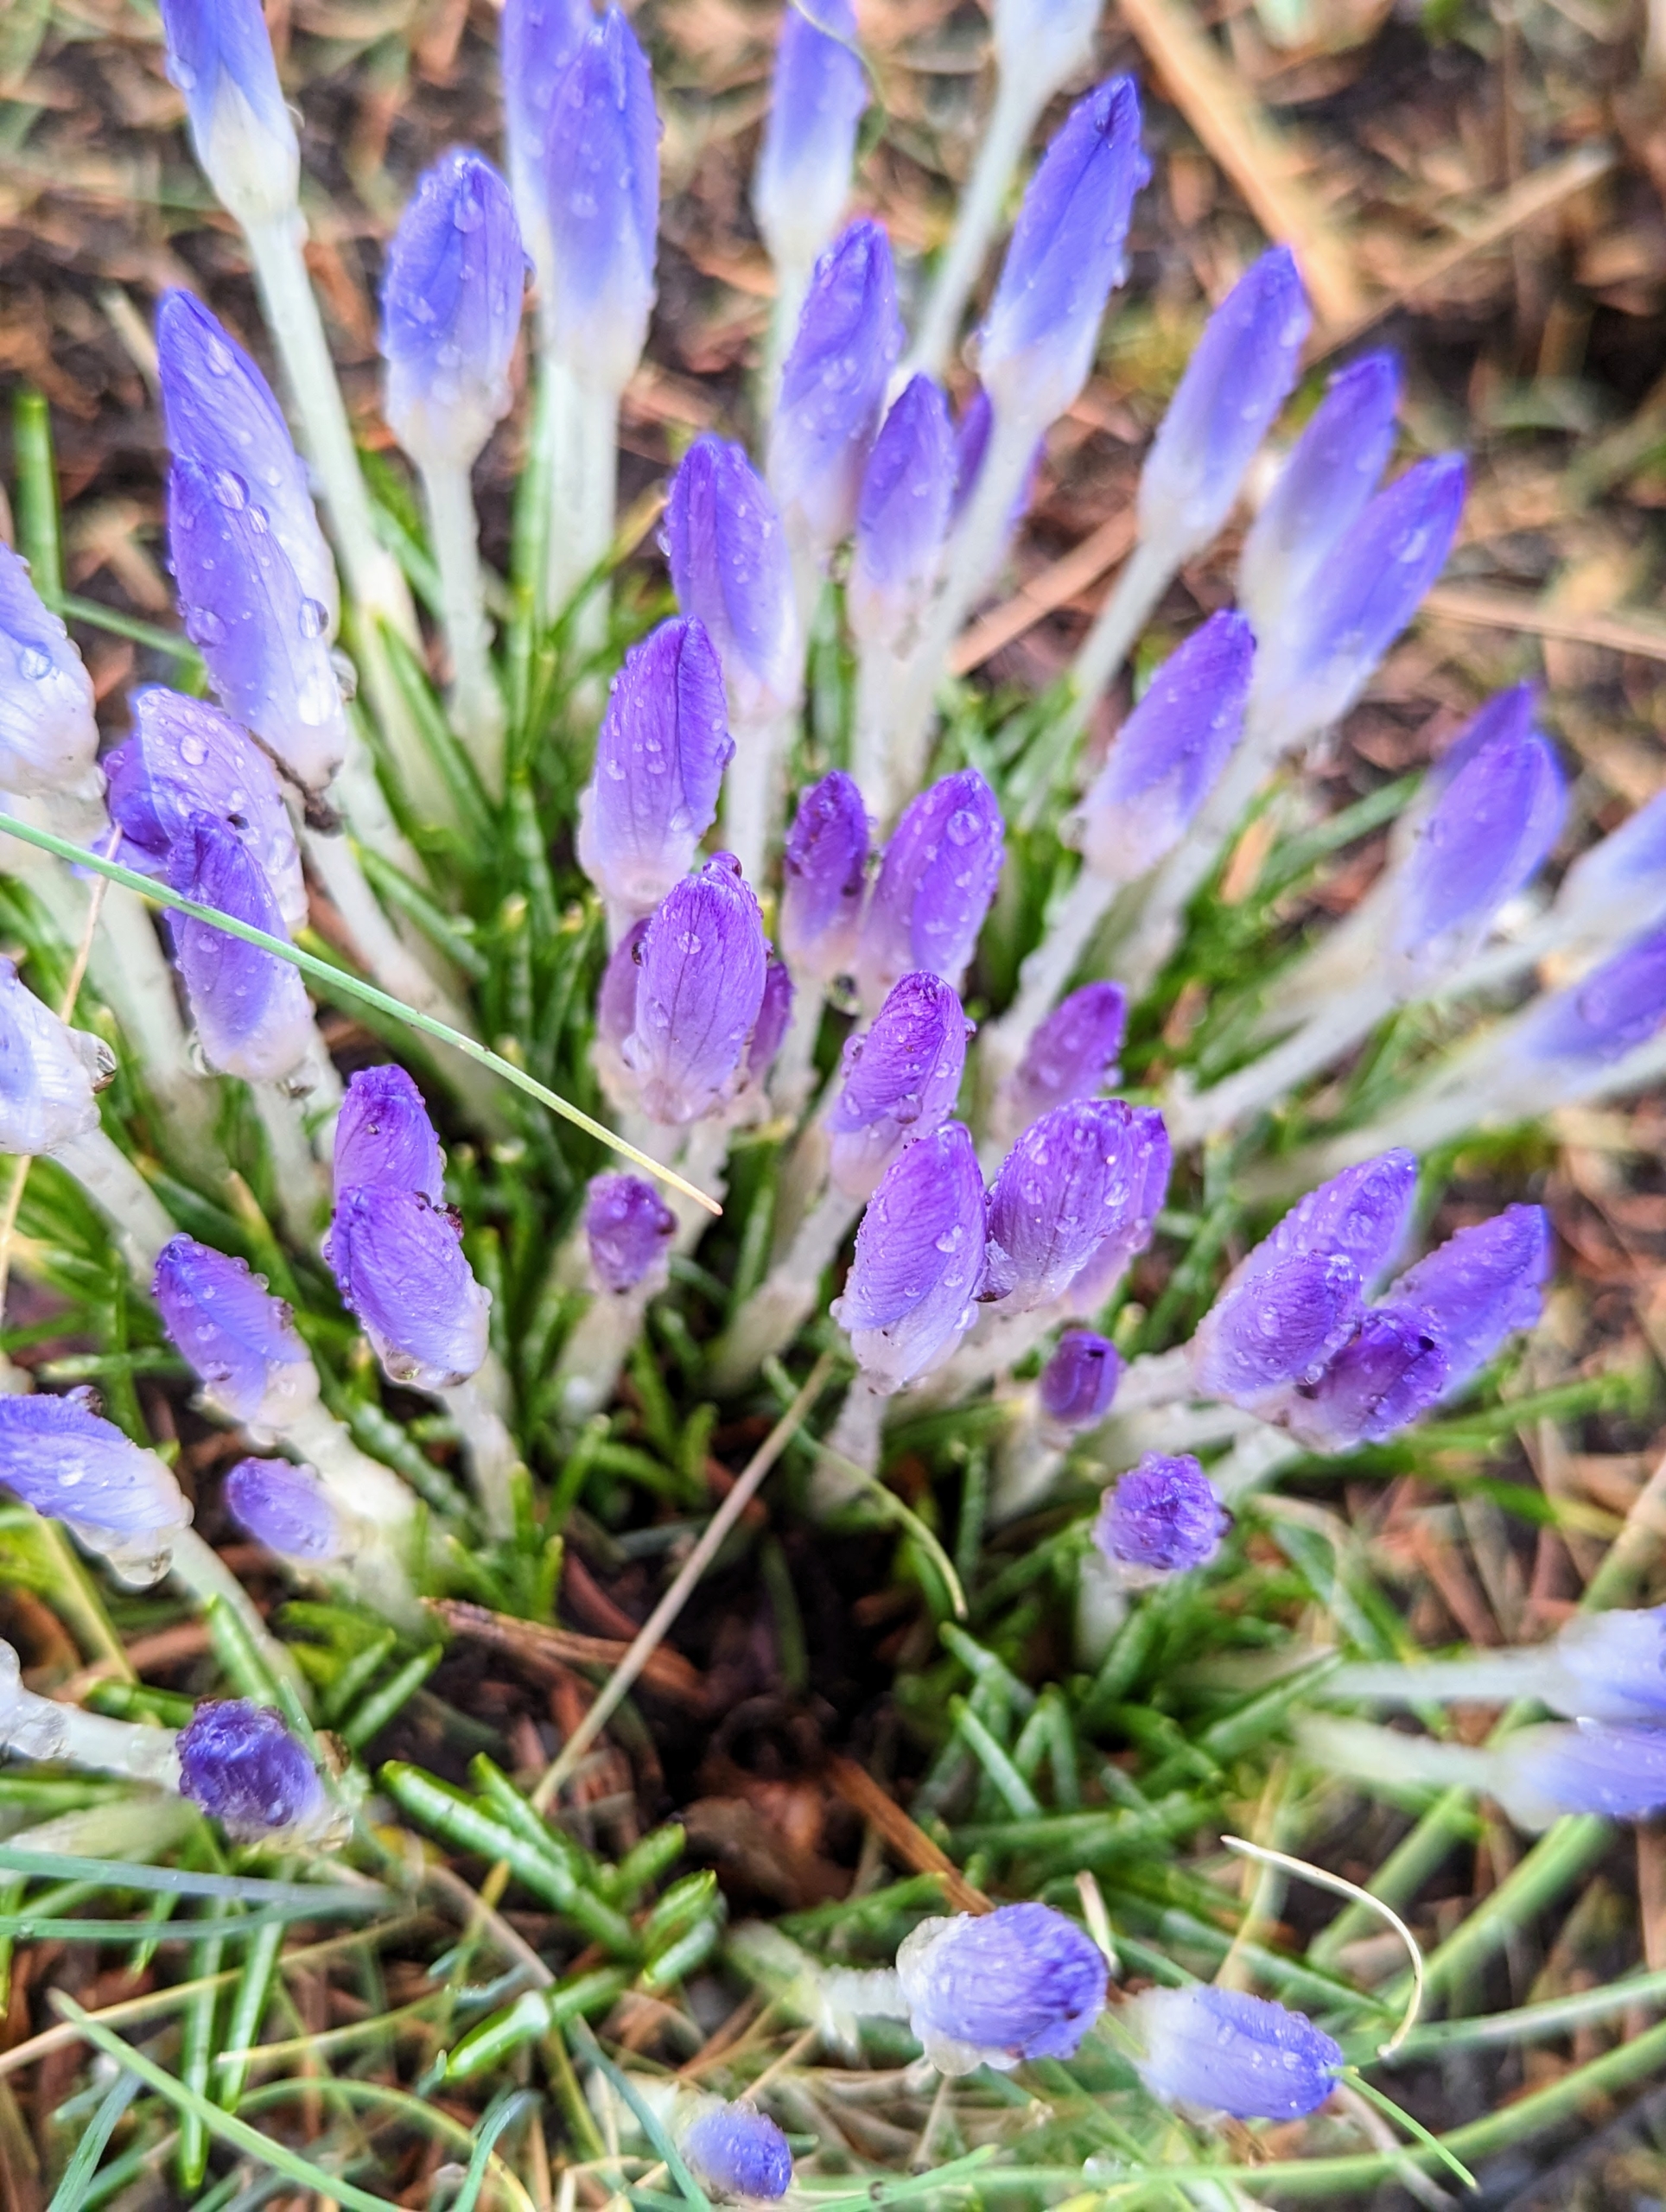
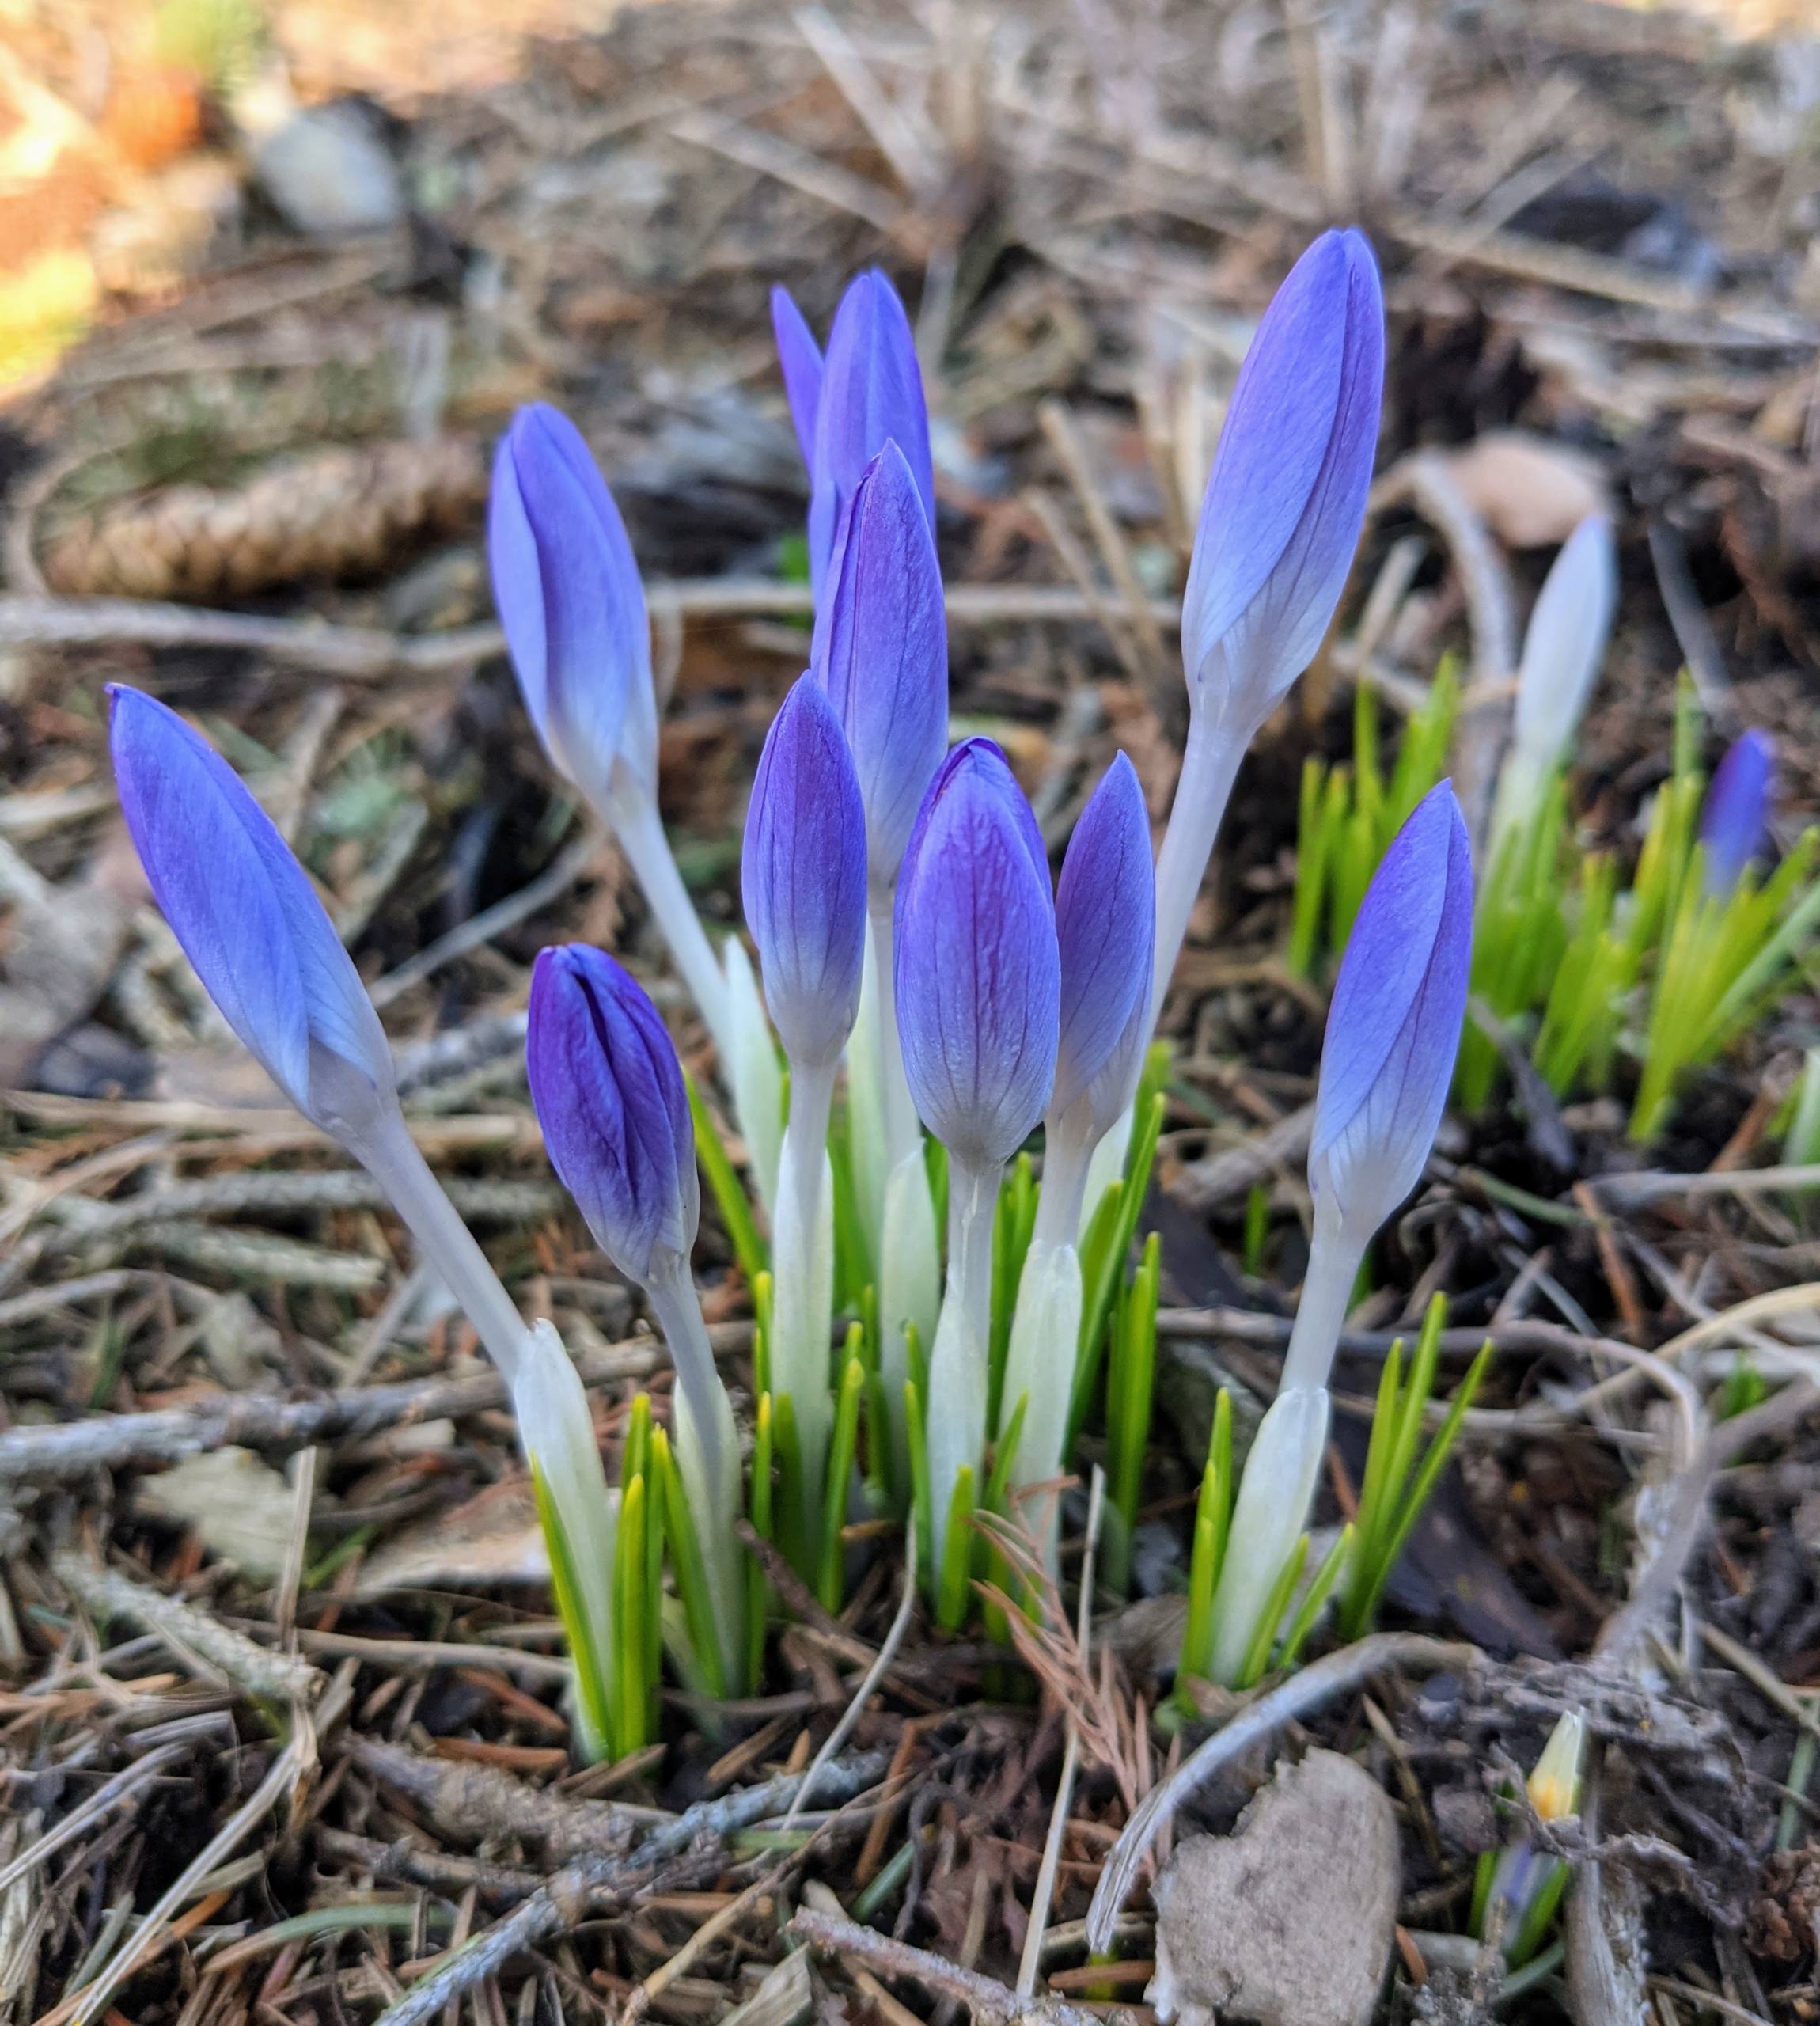
But there are signs of the warmer spring season ahead. Small patches of color are emerging from the soil. Crocus is among the first flowers to appear in spring, usually in shades of purple, yellow and white. This cluster is just outside my gym building.
These are darker purple croci. Crocus is a genus of seasonal flowering plants in the family Iridaceae comprising about 100 species of perennials growing from corms.
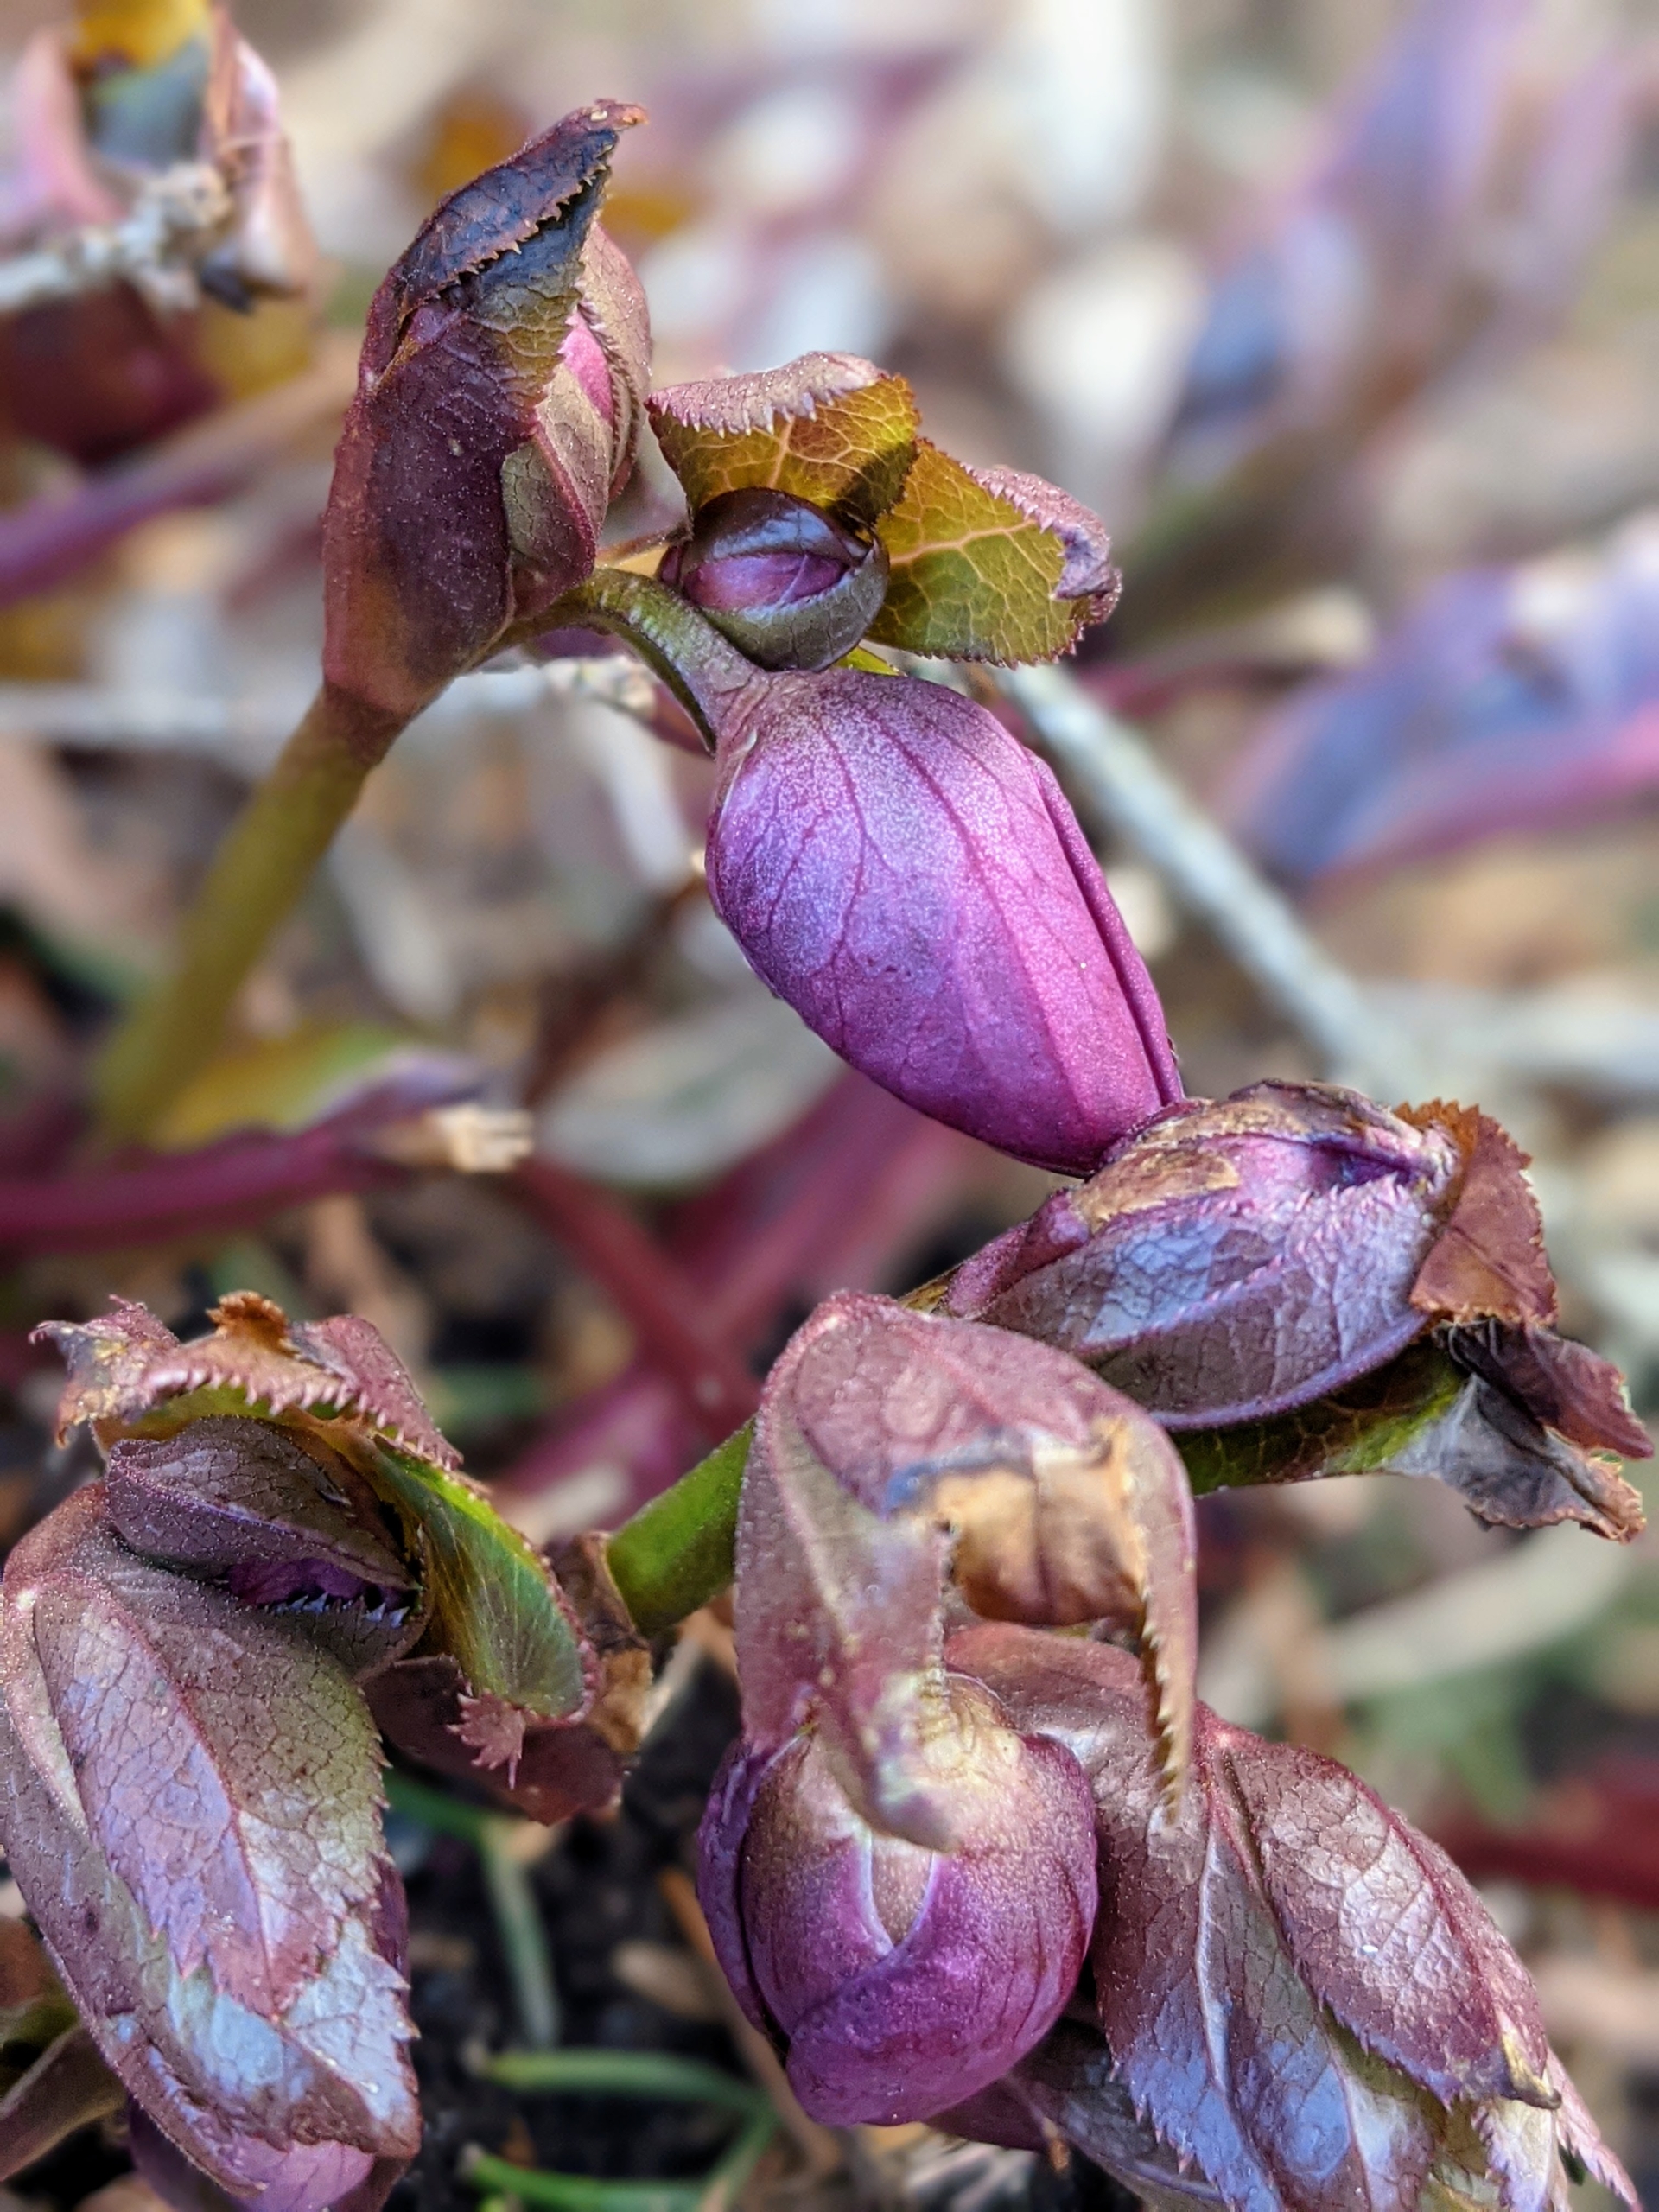
Here is a hellebore flower just beginning to open. Hellebores come in a variety of colors and have rose-like blossoms. It is common to plant them on slopes or in raised beds in order to see their flowers, which tend to nod. Hellebores are members of the Eurasian genus Helleborus – about 20 species of evergreen perennial flowering plants in the family Ranunculaceae.
Helleborus orientalis, or Lenten roses, get their ecclesiastical nickname from their growing season. It begins in winter and extends into spring.
These are the leaves of another hellebore – a stinking hellebore, Helleborus foetidus. It is an evergreen with its dark leaves, sprouting from a thick stem. Although ‘foetidus’ means fetid, or smelly, the plant does not smell too bad; however, the leaves, when crushed or bruised, give off a smell that many describe as unpleasant.
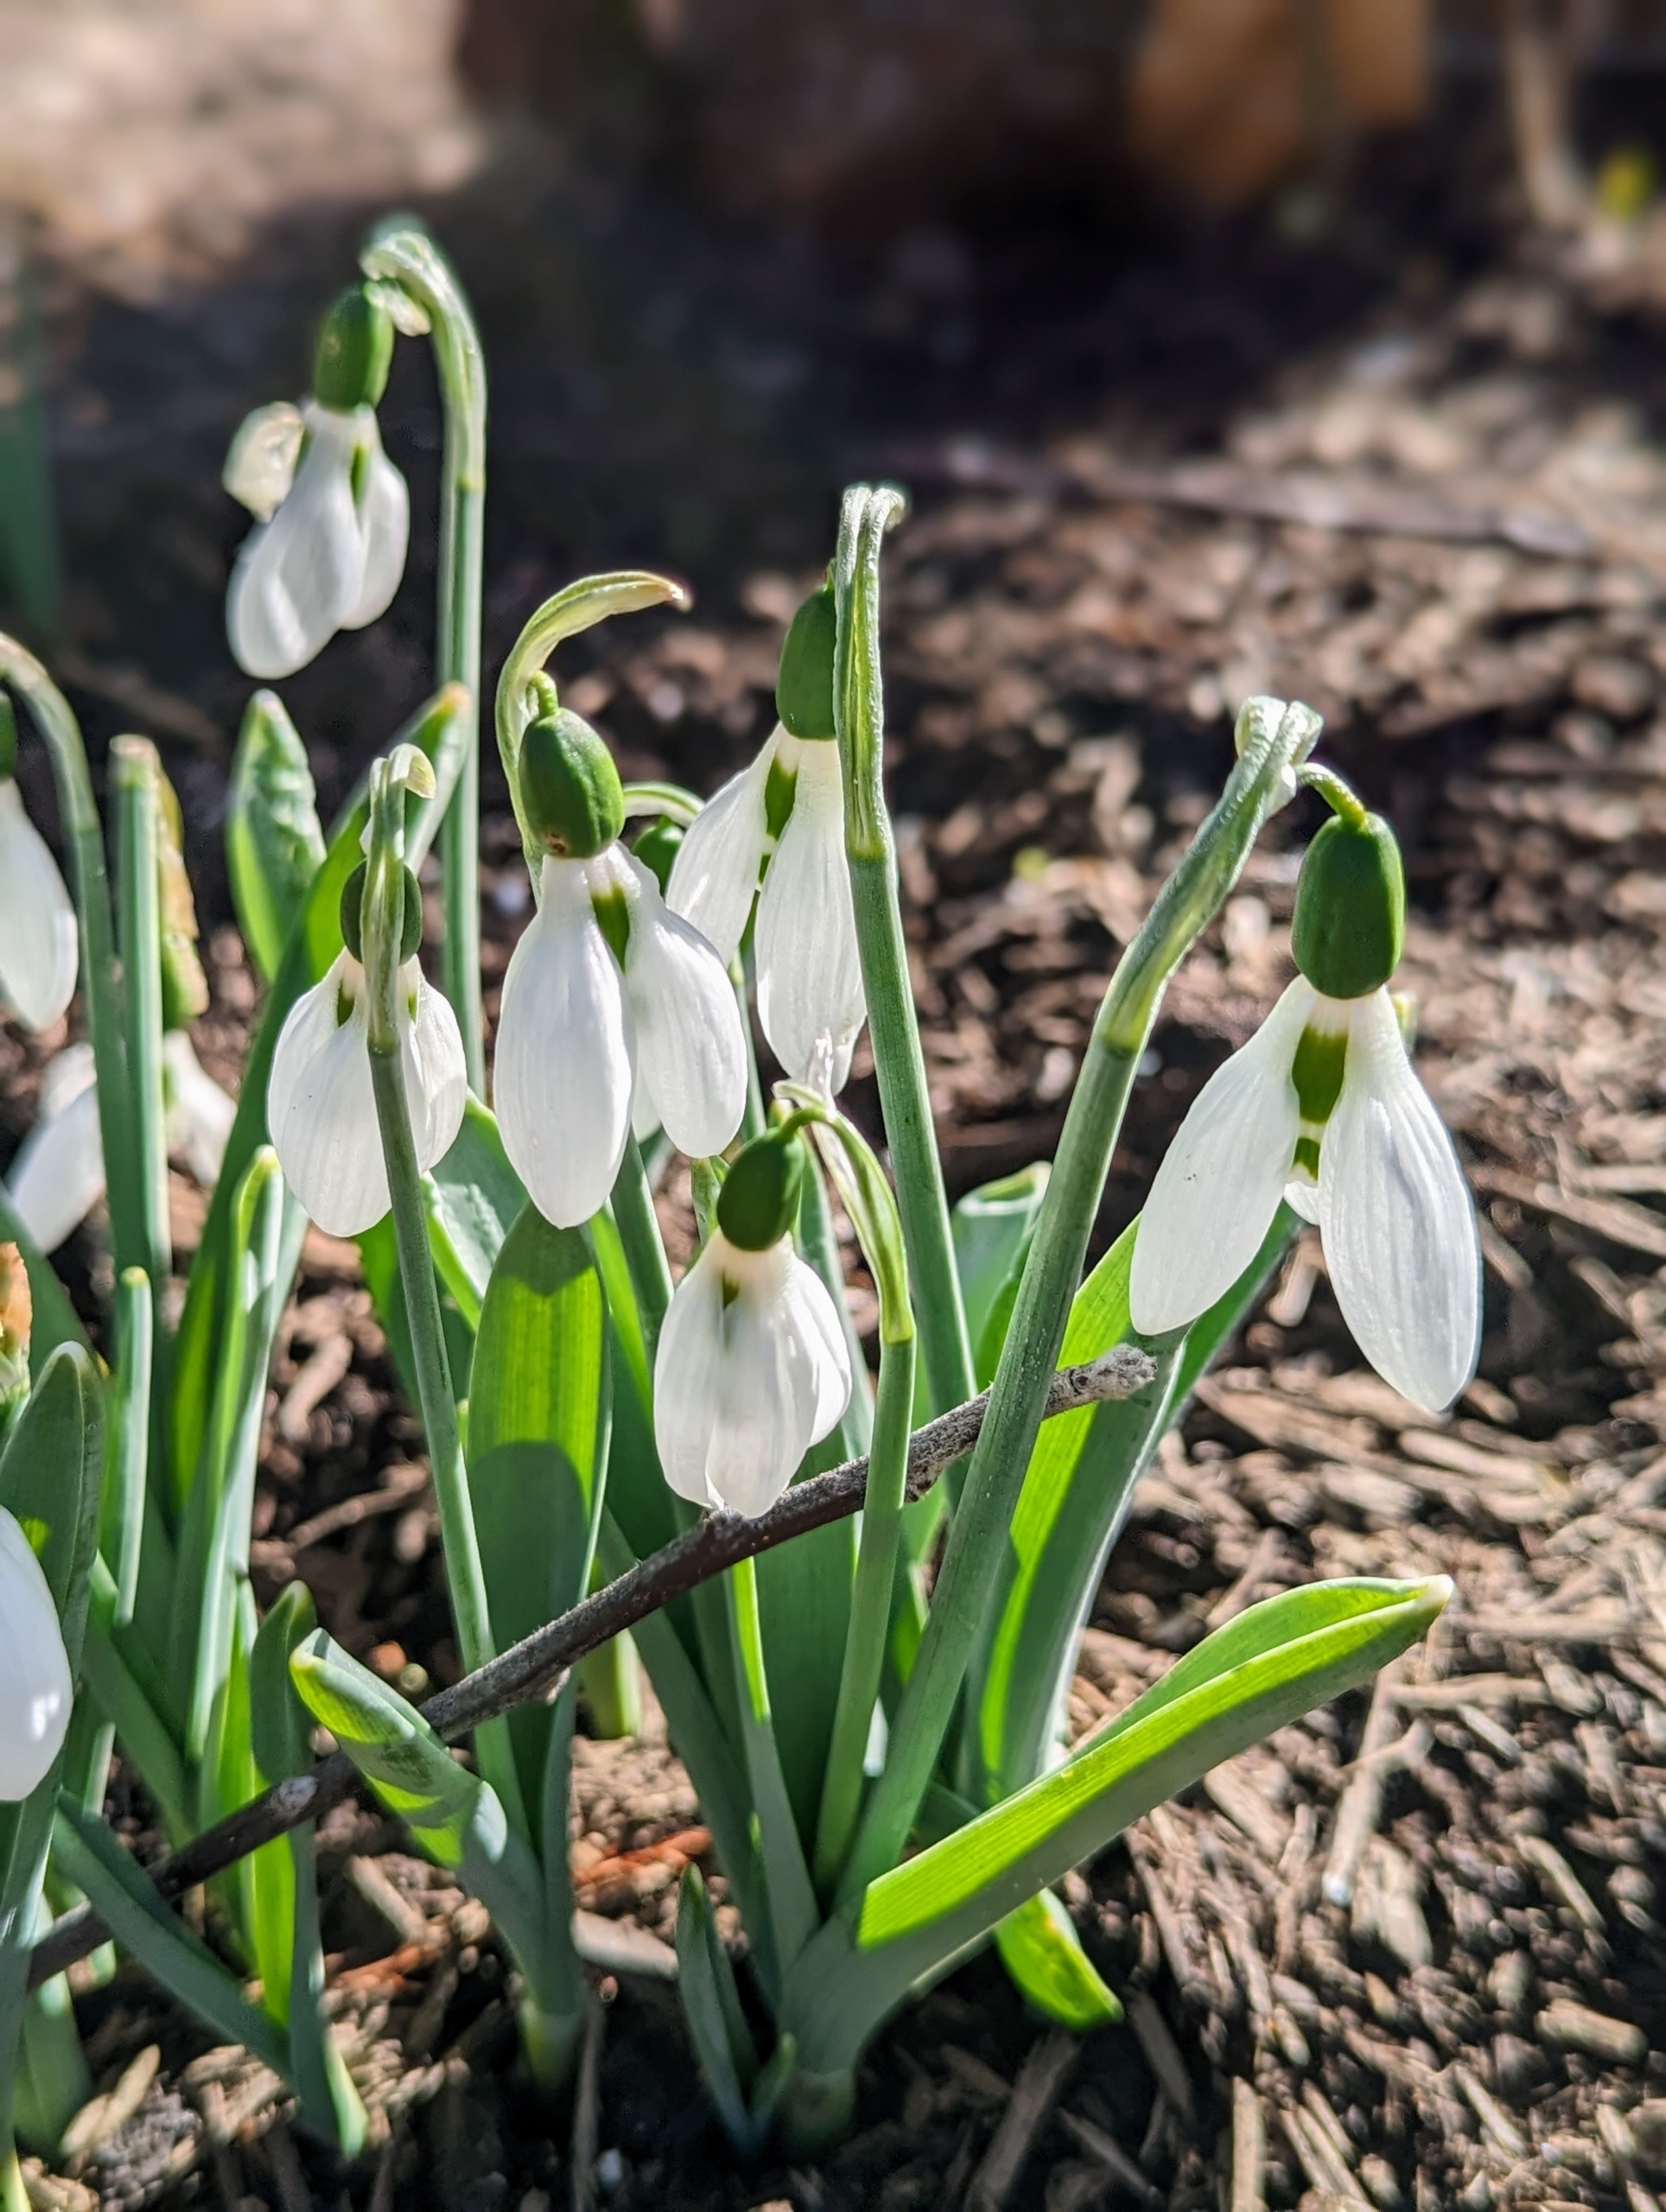
Snowdrops are another sure sign of spring. Snowdrops produce one very small, pendulous bell-shaped white flower which hangs off its stalk like a “drop” before opening.
There are bunches of snowdrops, Galanthus nivalis, in various beds around the farm. These flowers are perennial, herbaceous plants, which grow from bulbs. I love galanthus and plant many bulbs every autumn. I will share lots of our snowdrops in an upcoming blog.
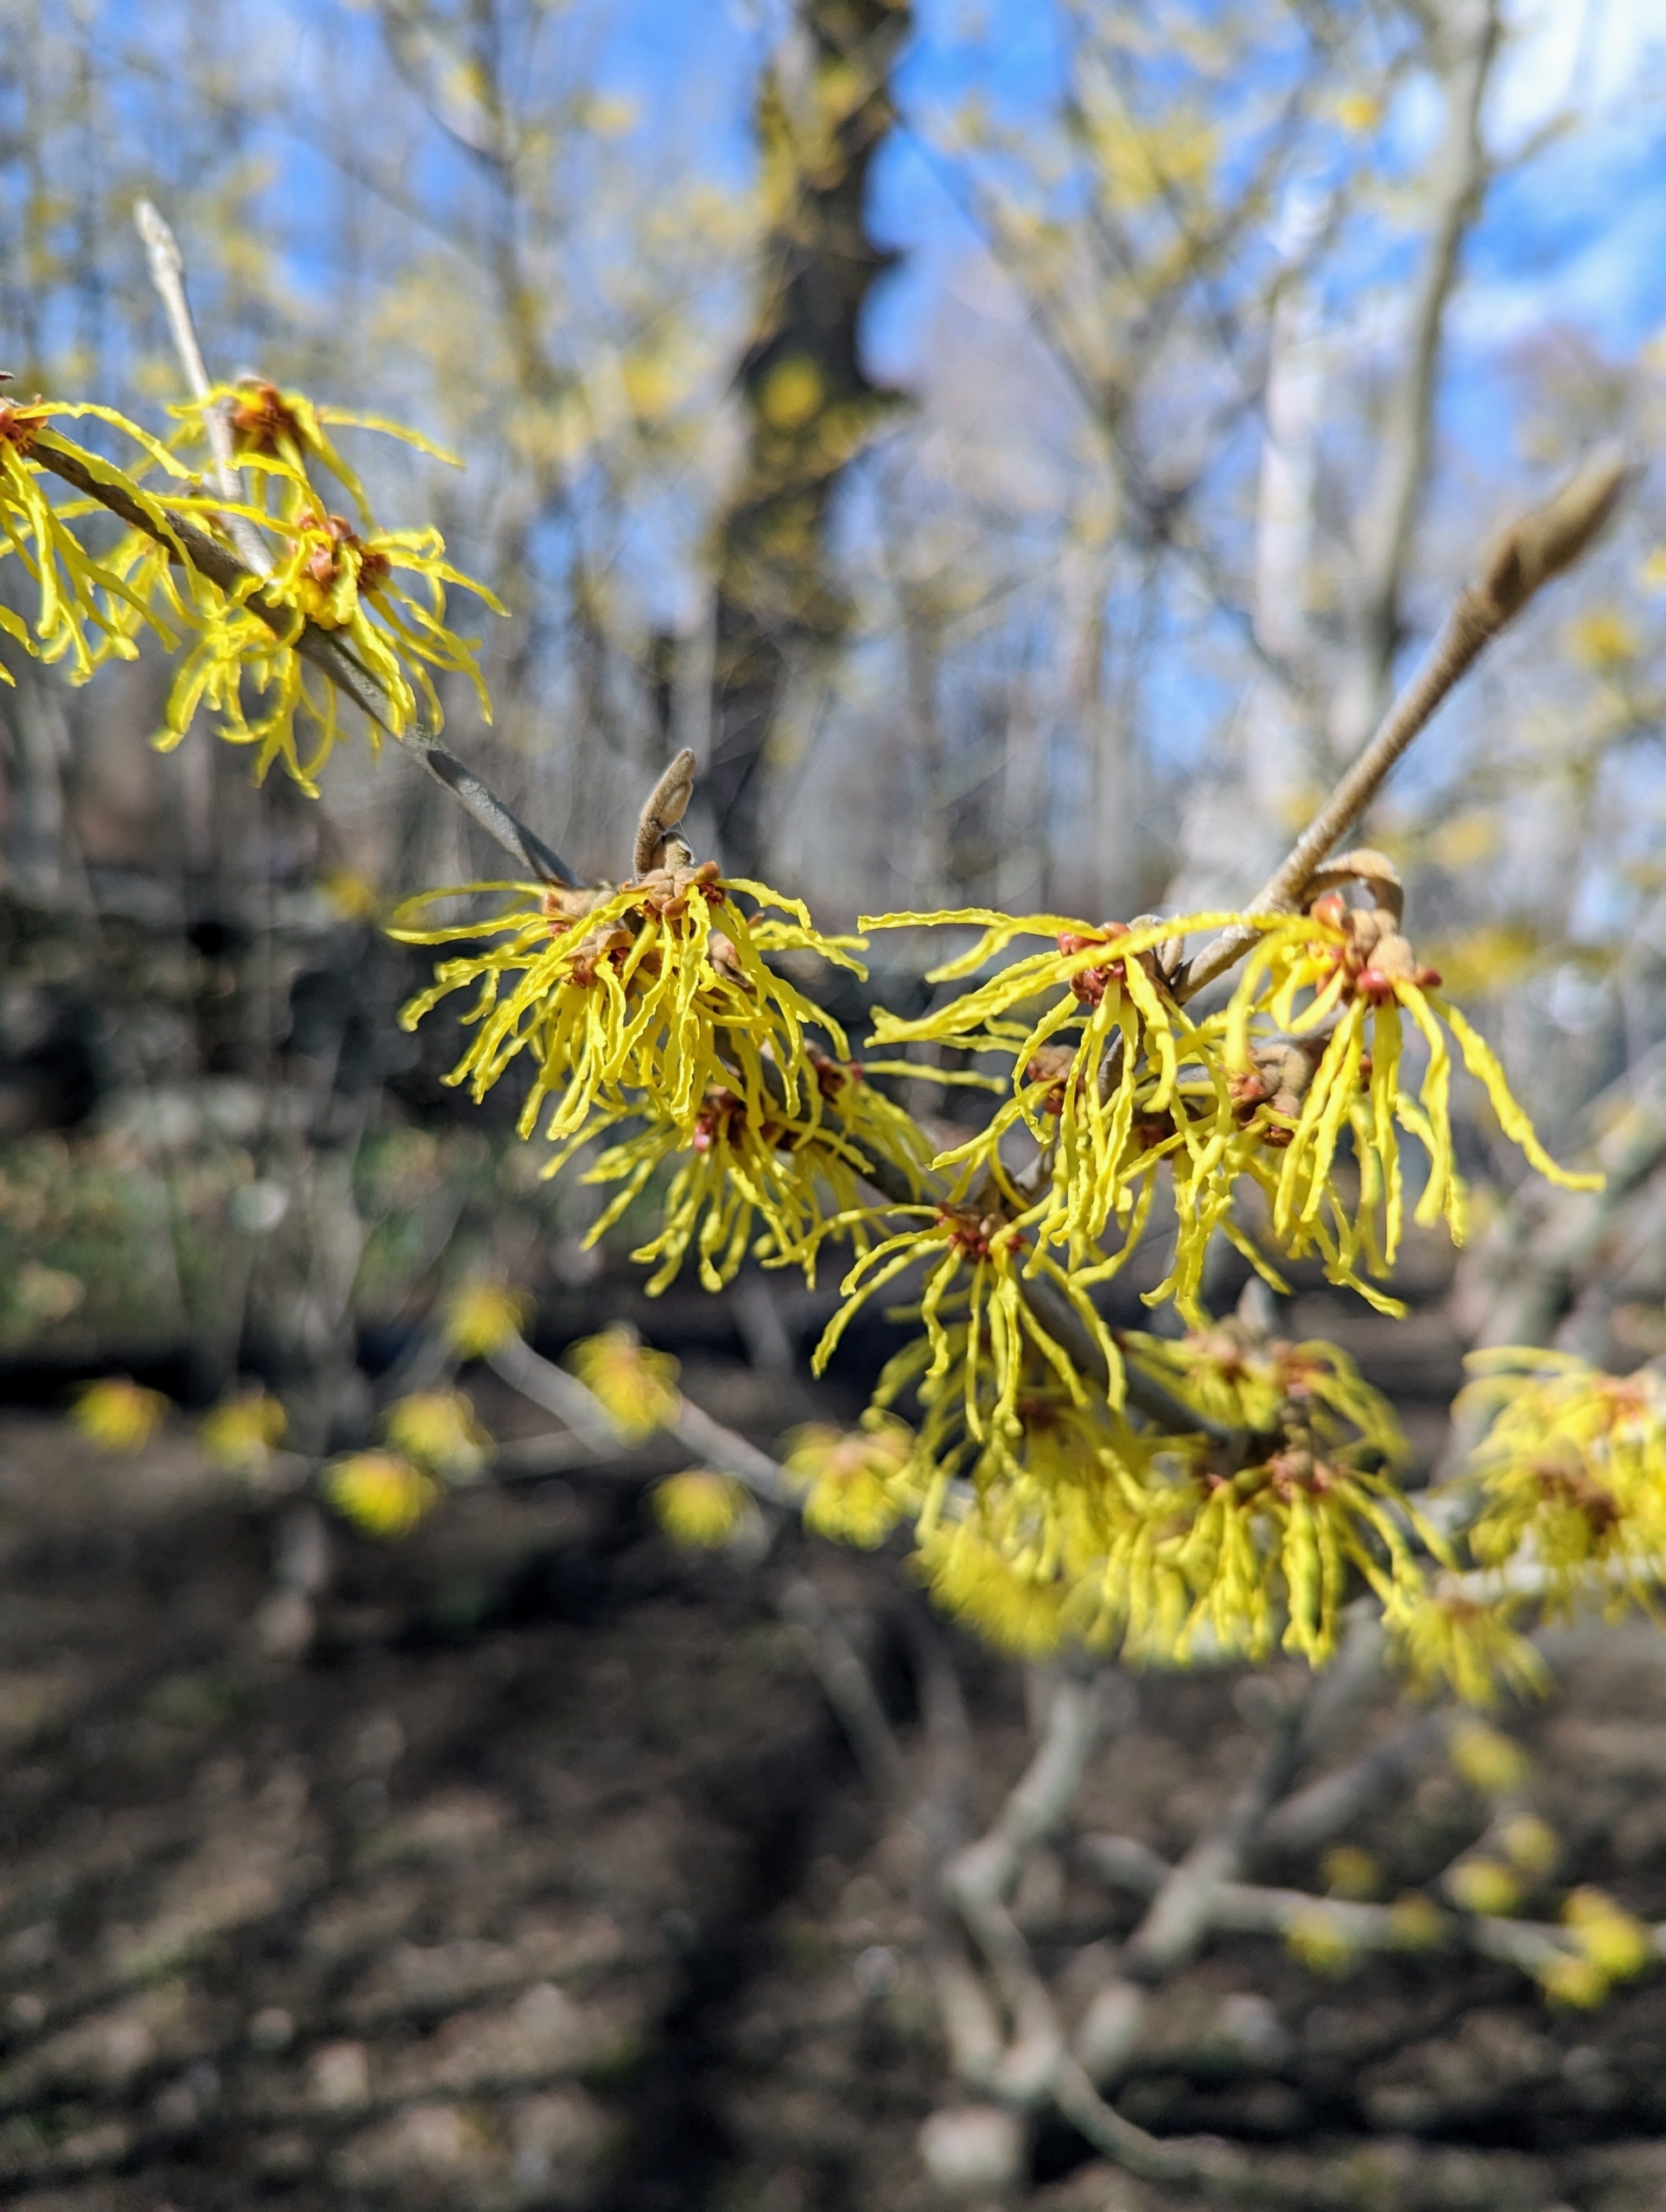
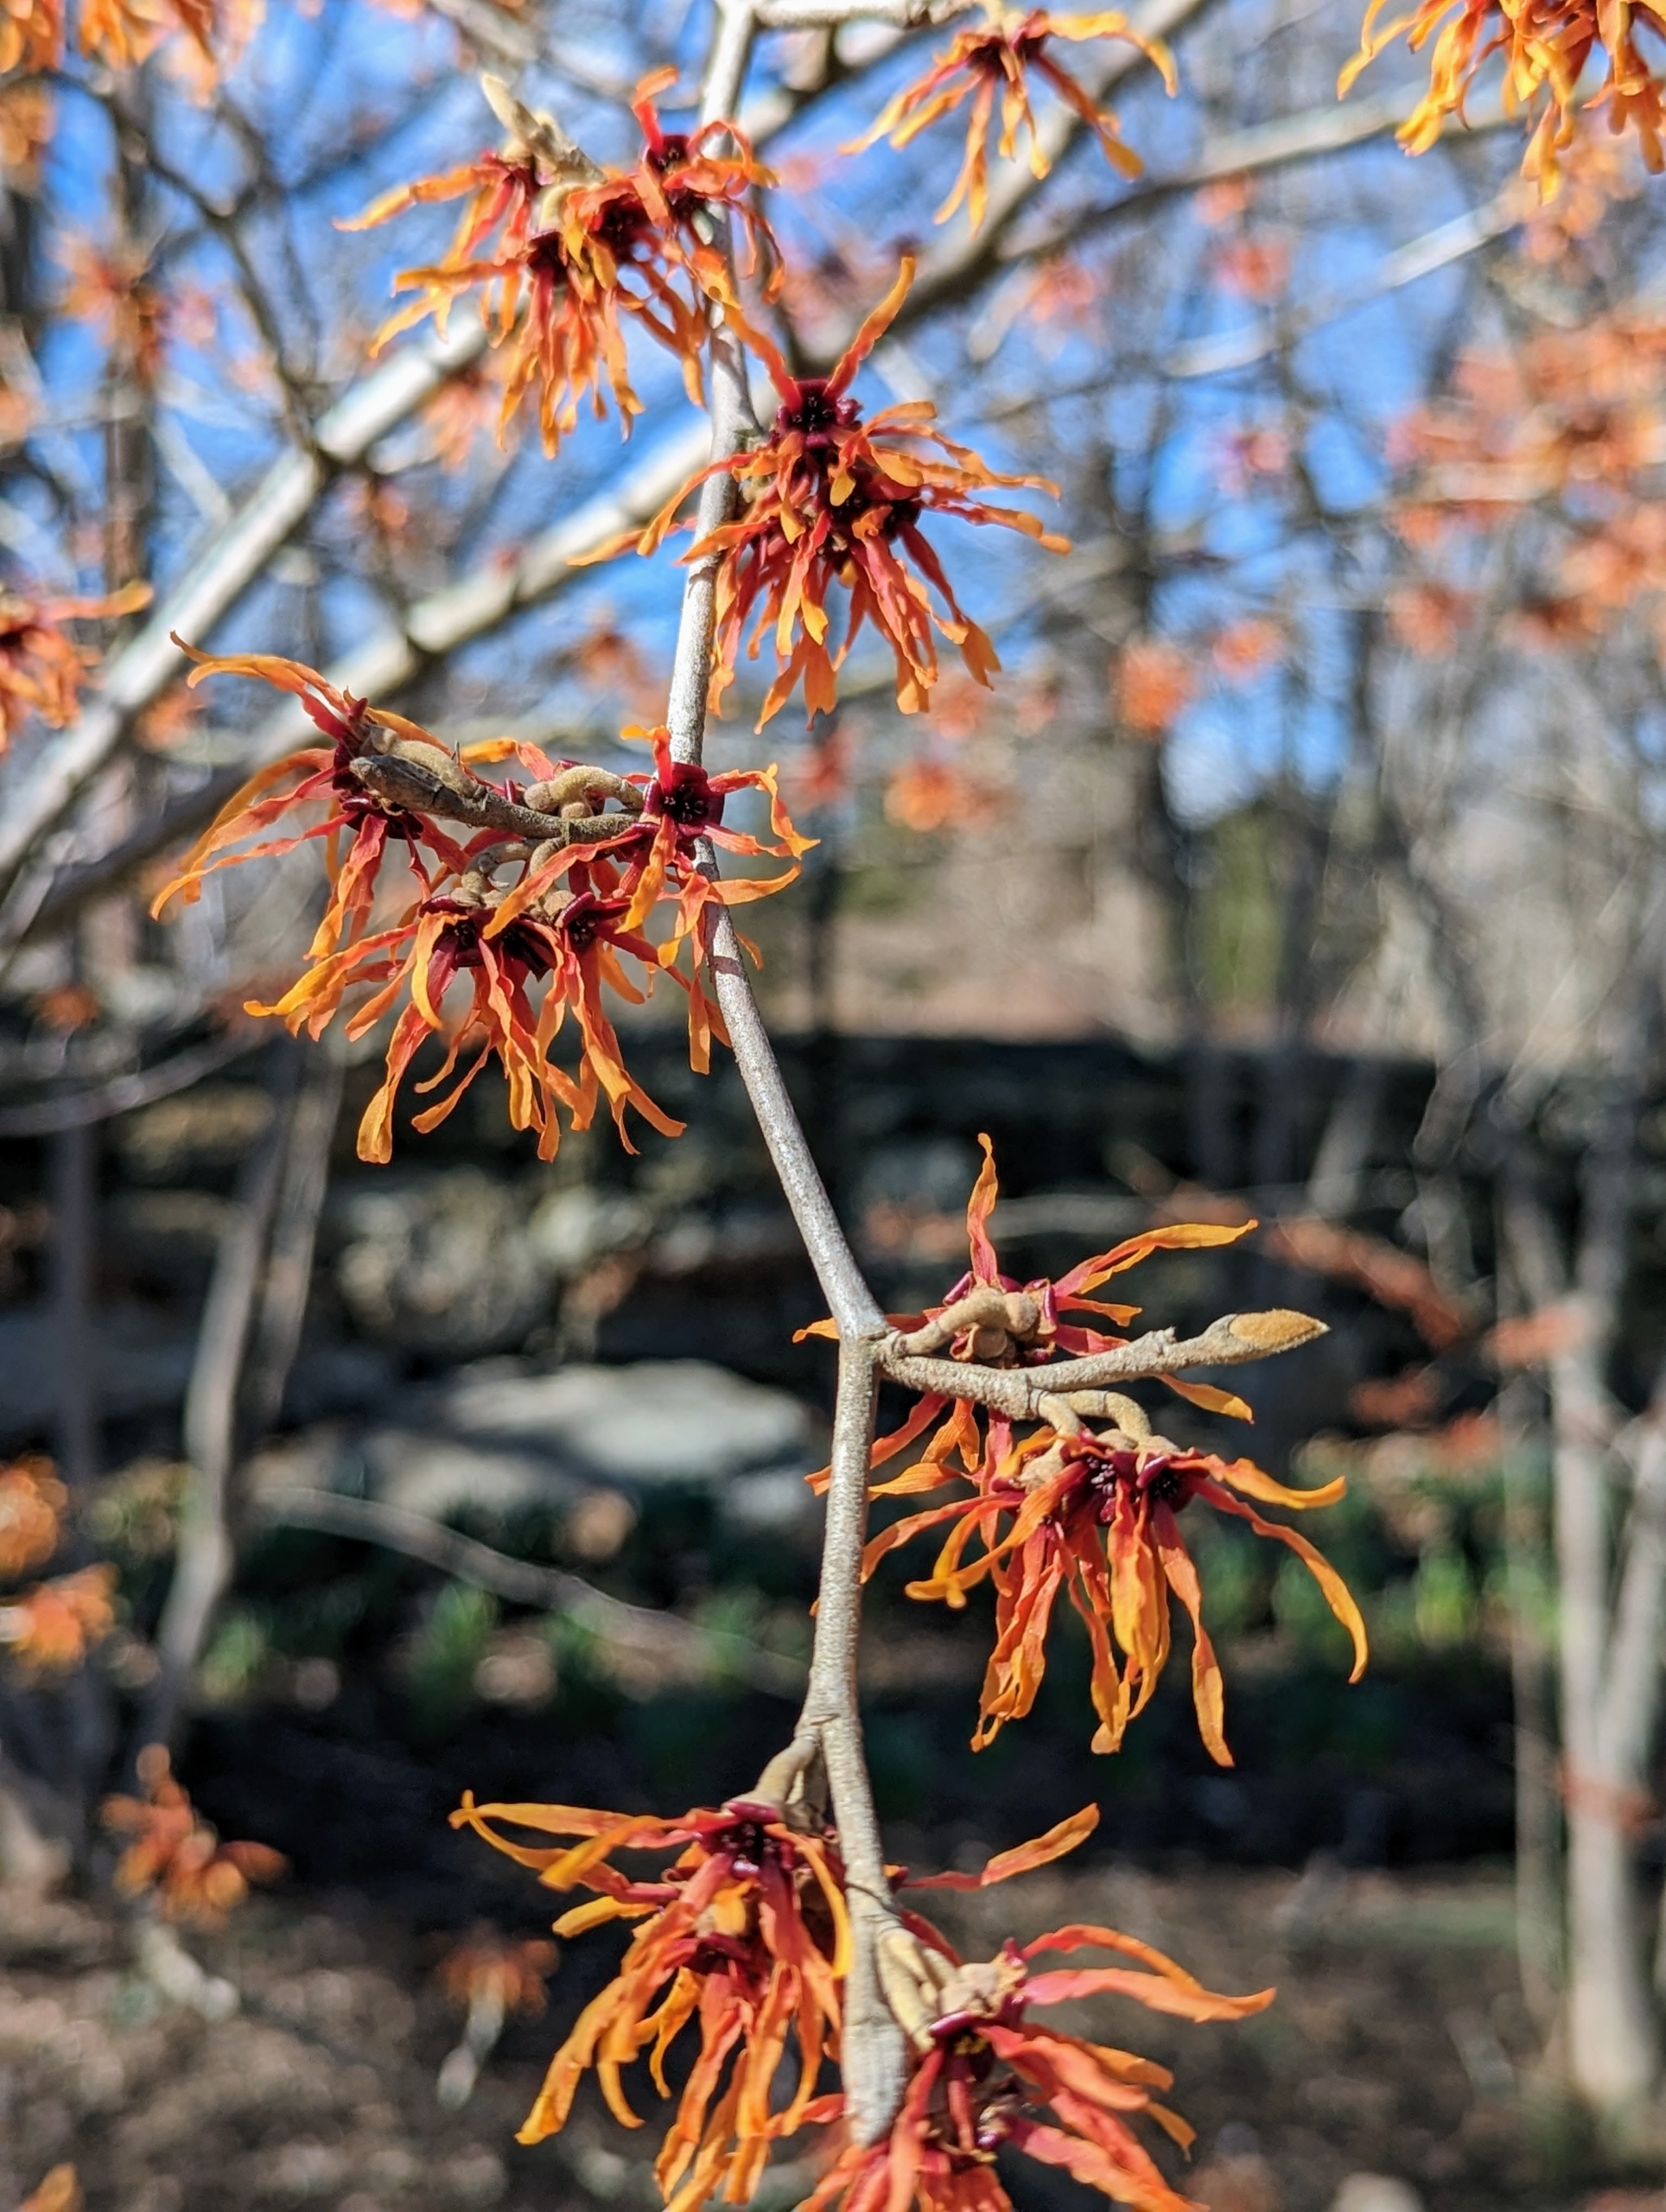
The witch hazel is also blooming nicely. It grows as small trees or shrubs with clusters of rich yellow to orange-red flowers. Witch hazel flowers consist of four, strap-like petals that are able to curl inward to protect the inner structures from freezing during the winter.
Witch hazel is great for splashes of winter color. They’re very hardy and are not prone to a lot of diseases.
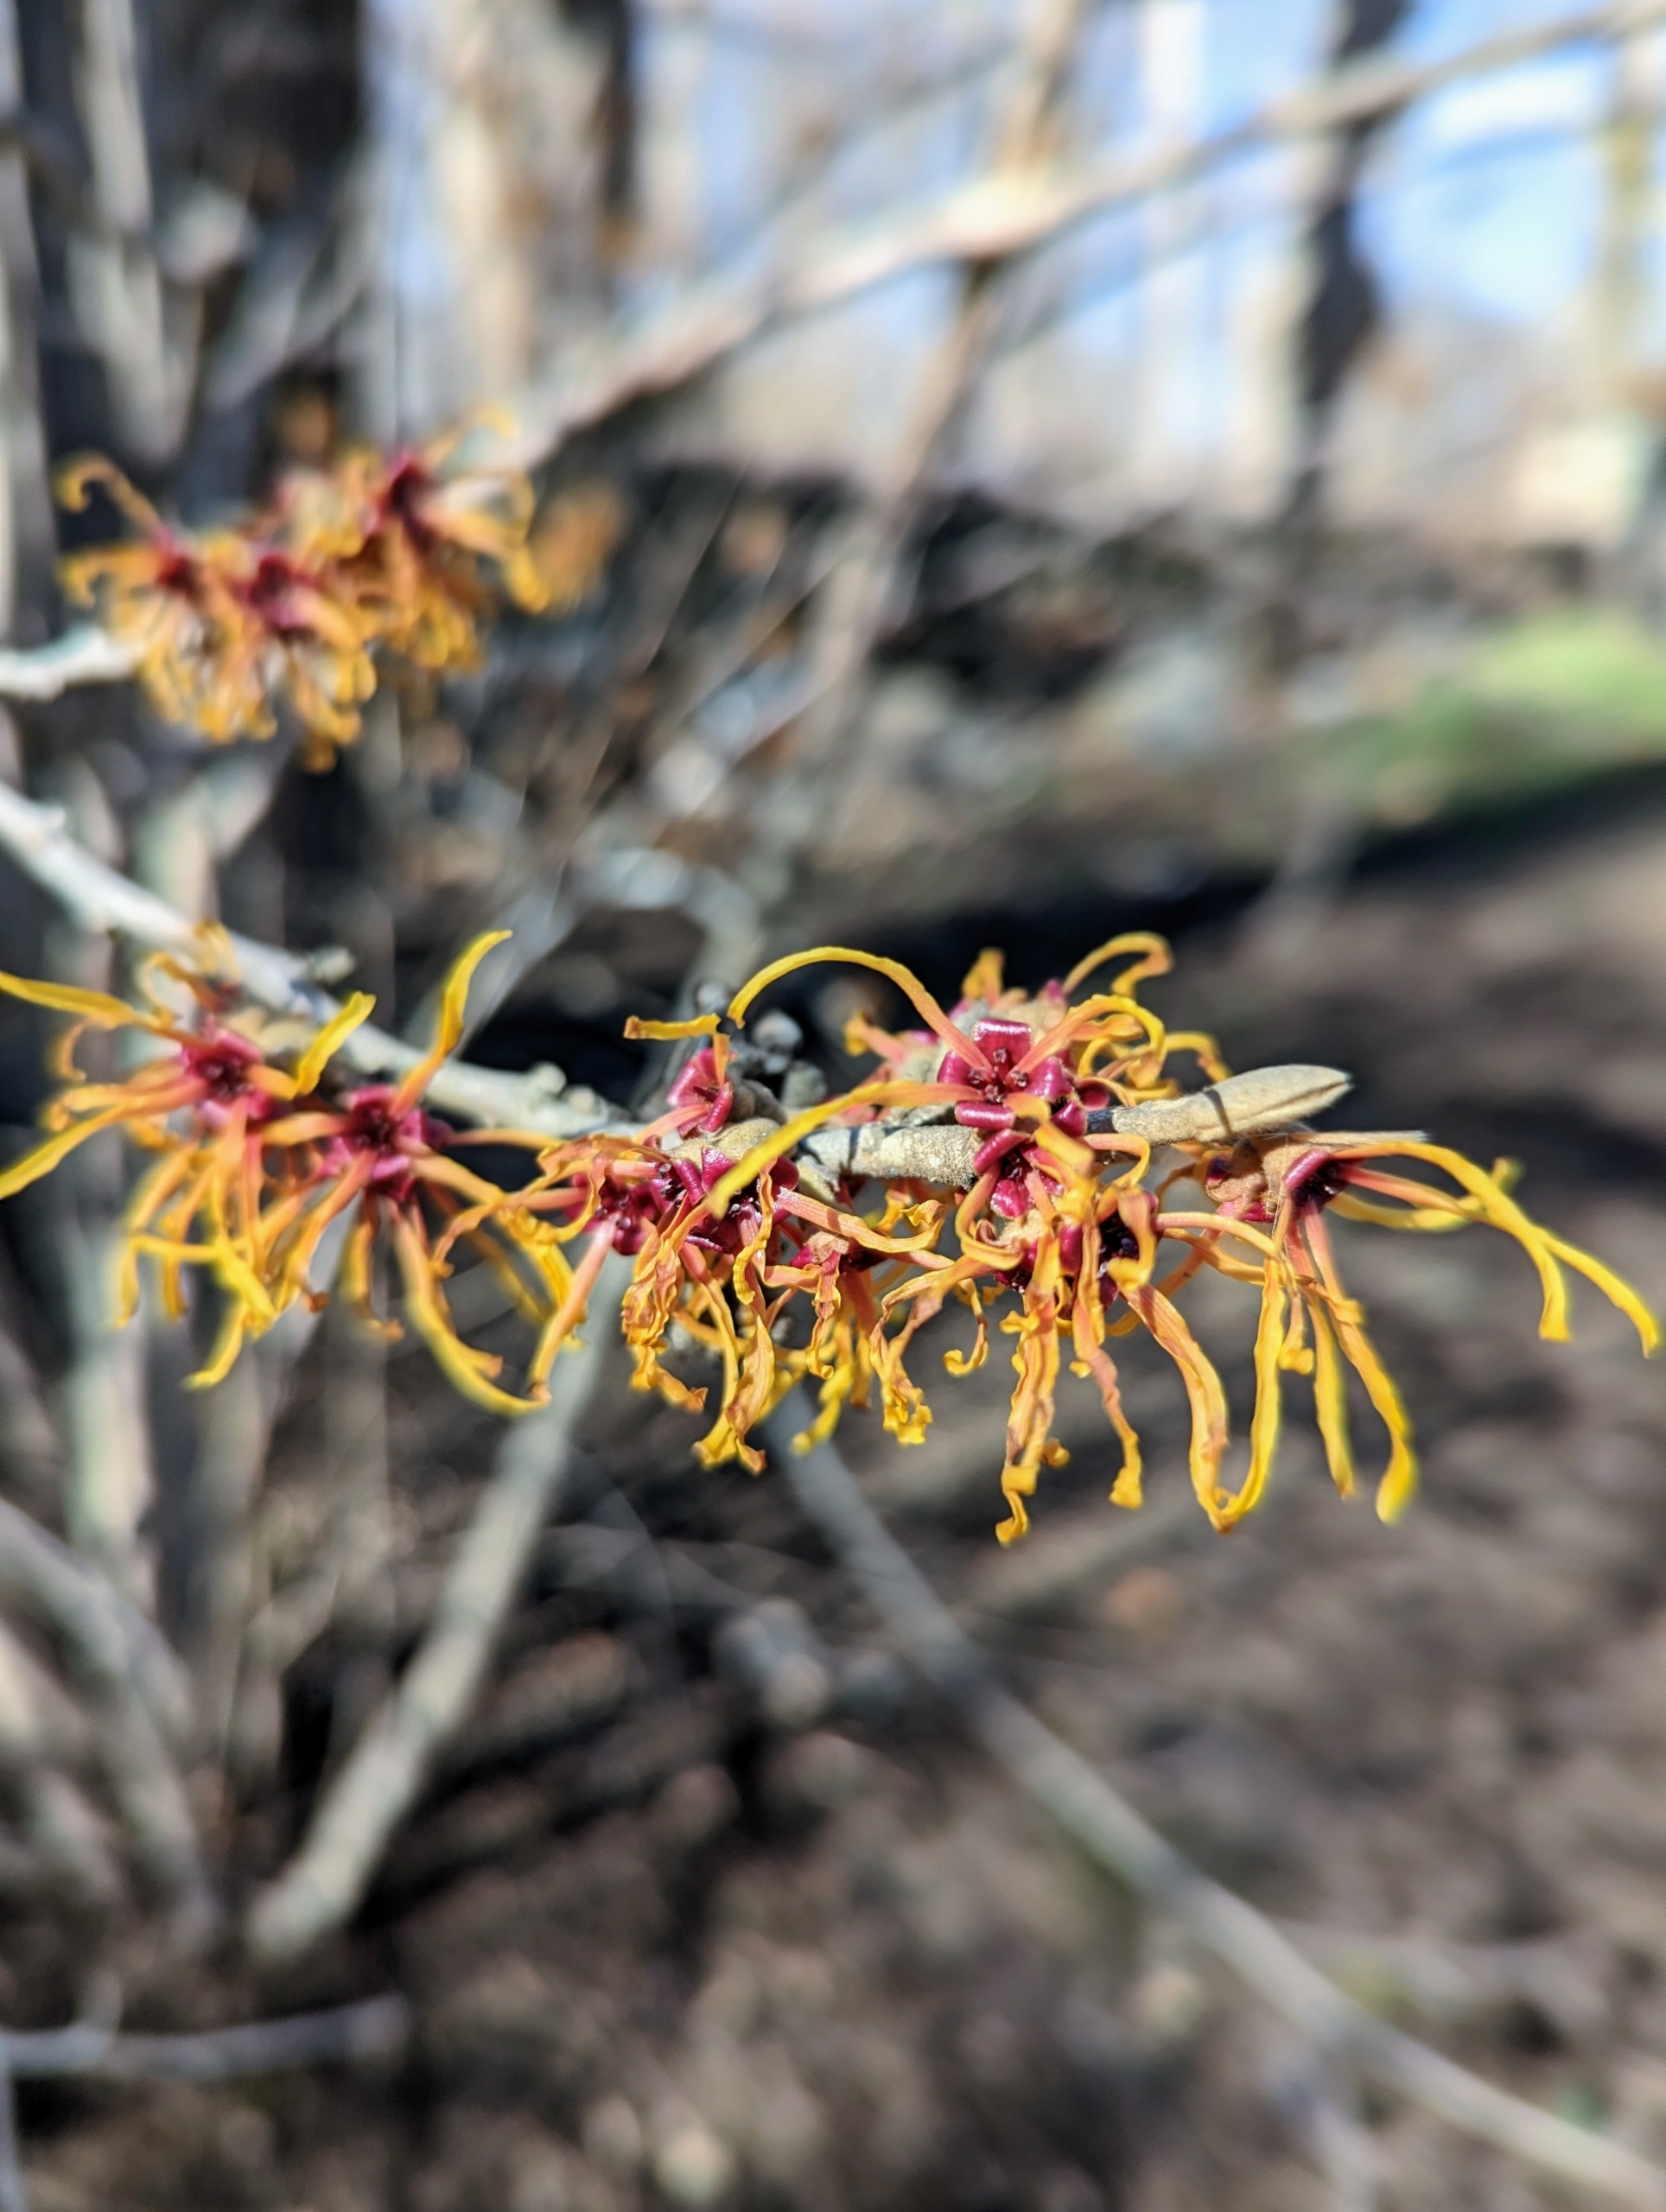
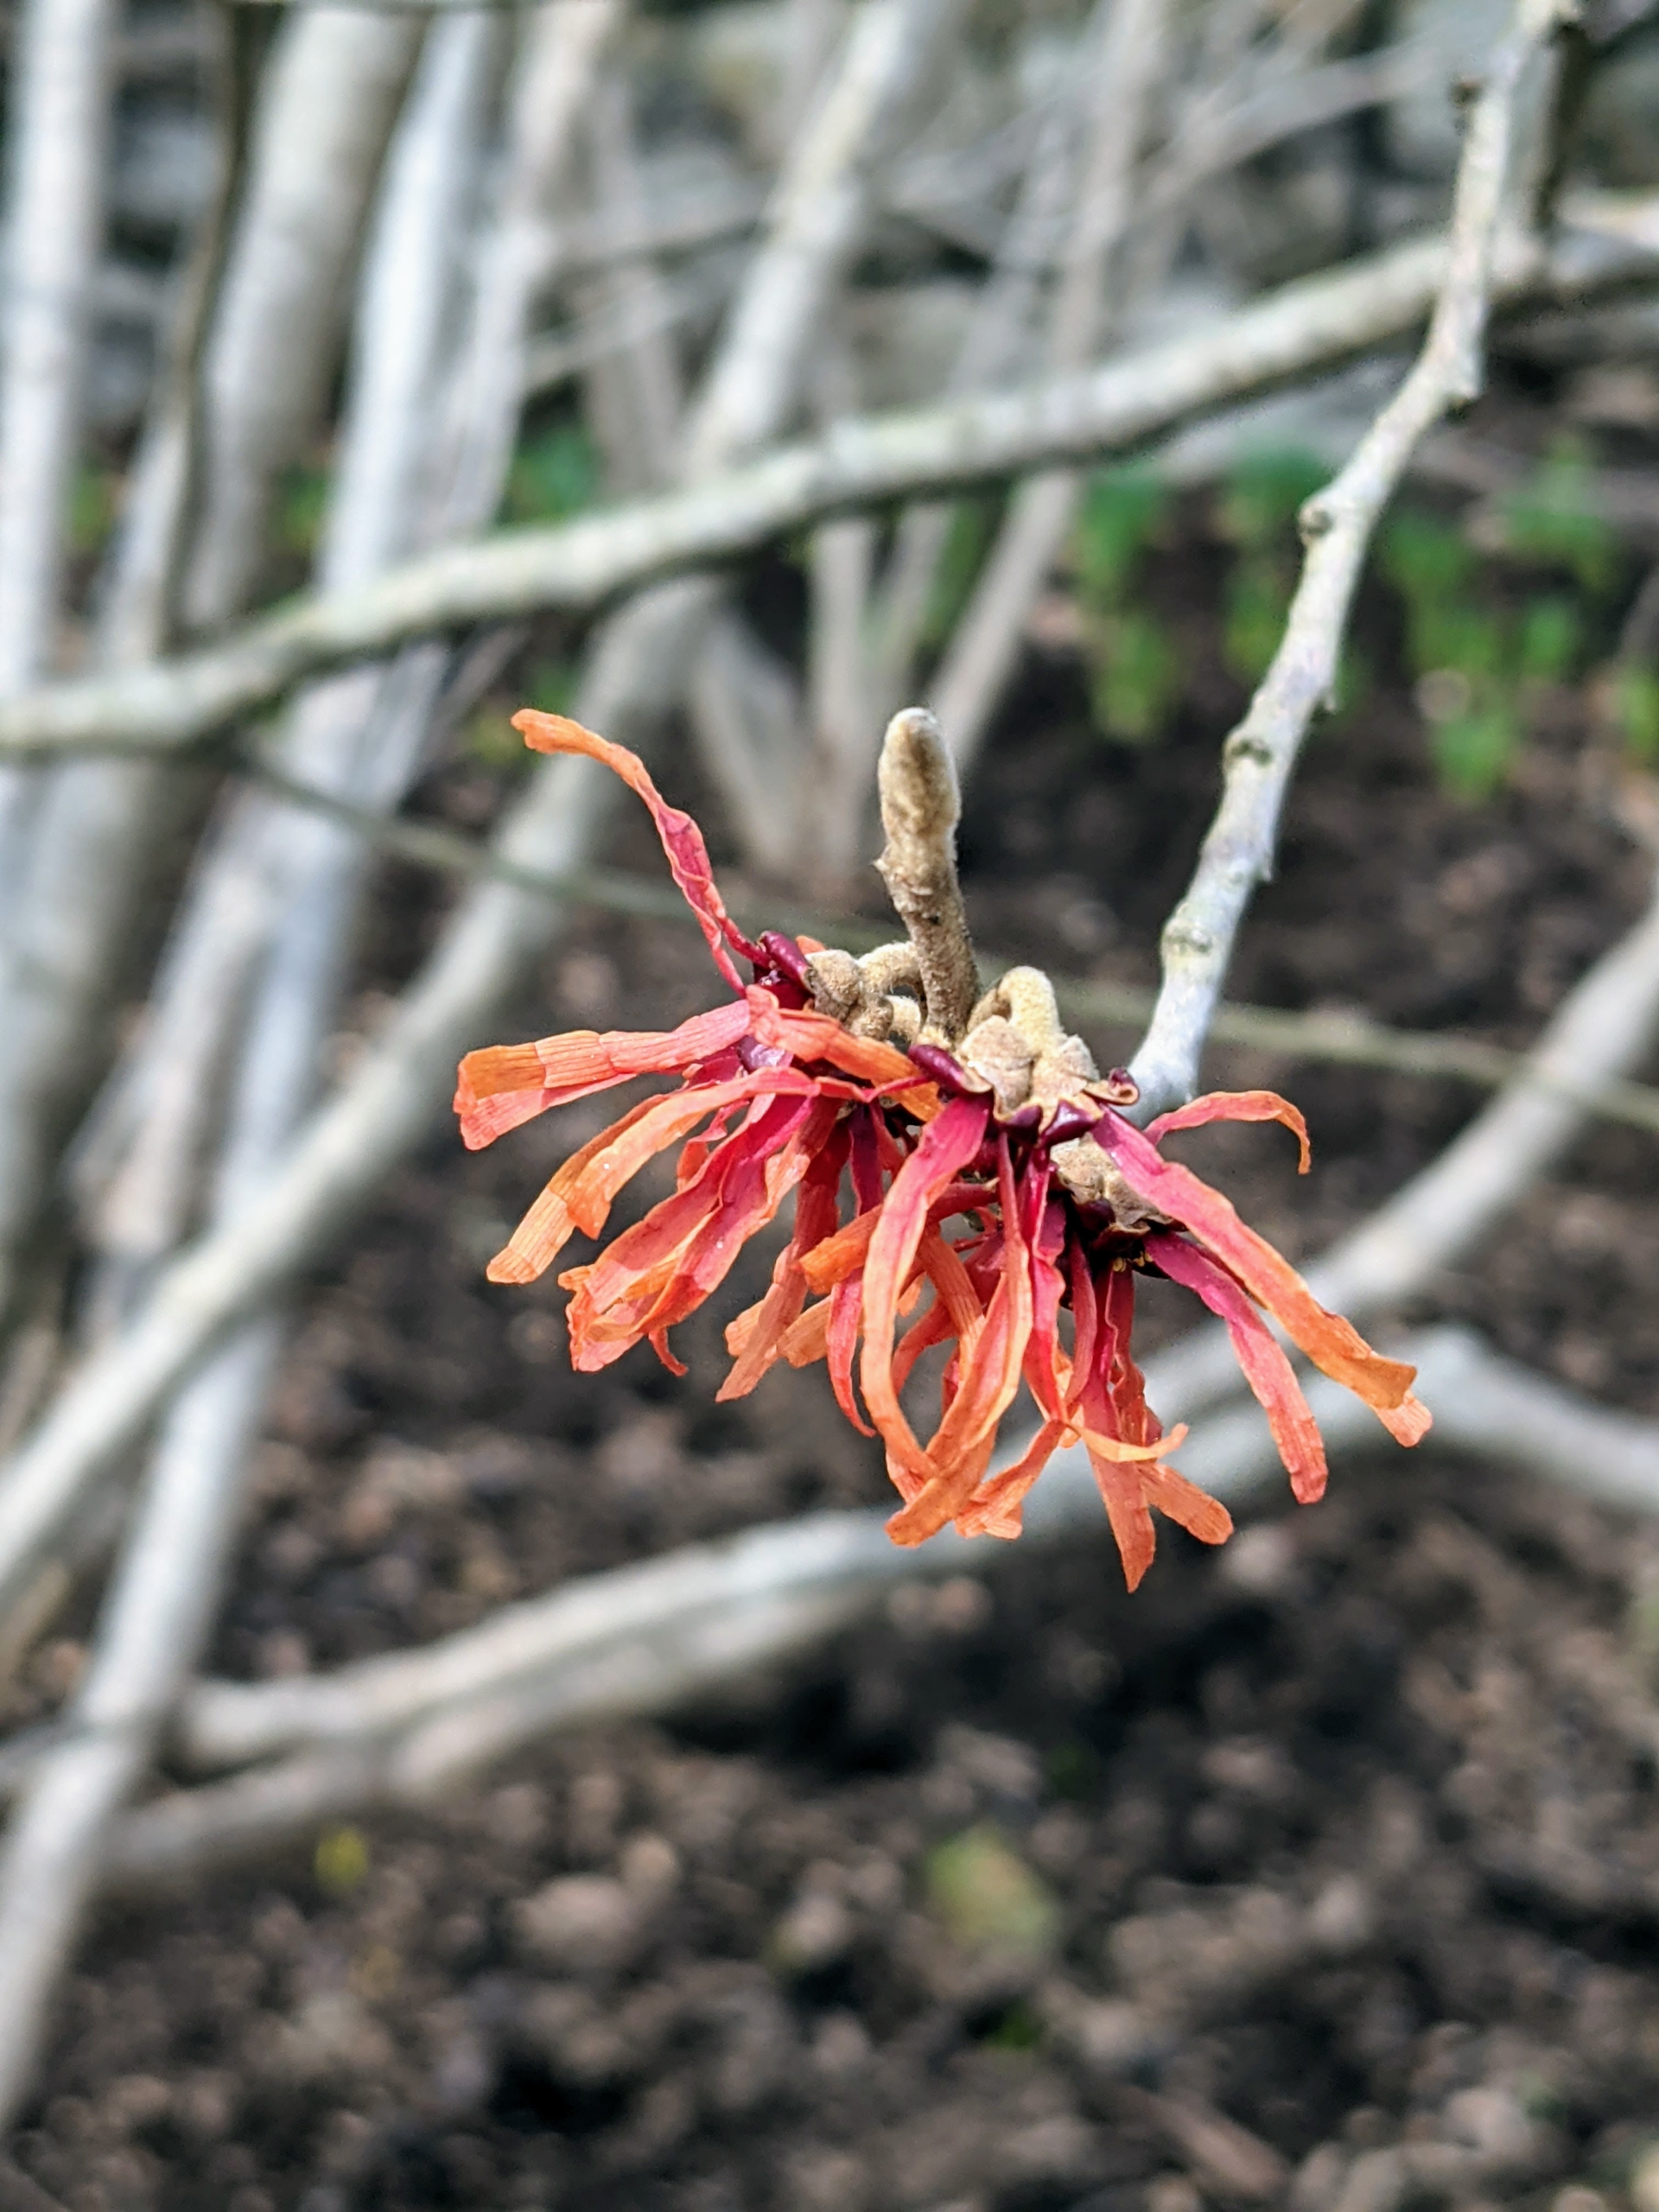
Witch hazel is a genus of flowering plants in the family Hamamelidaceae. Most species bloom from January to March and display beautiful spidery flowers that let off a slightly spicy fragrance.
Most are familiar with witch hazel as a medicinal plant. Its leaves, bark and twigs are used to make lotions and astringents for treating certain skin inflammations and other irritations.
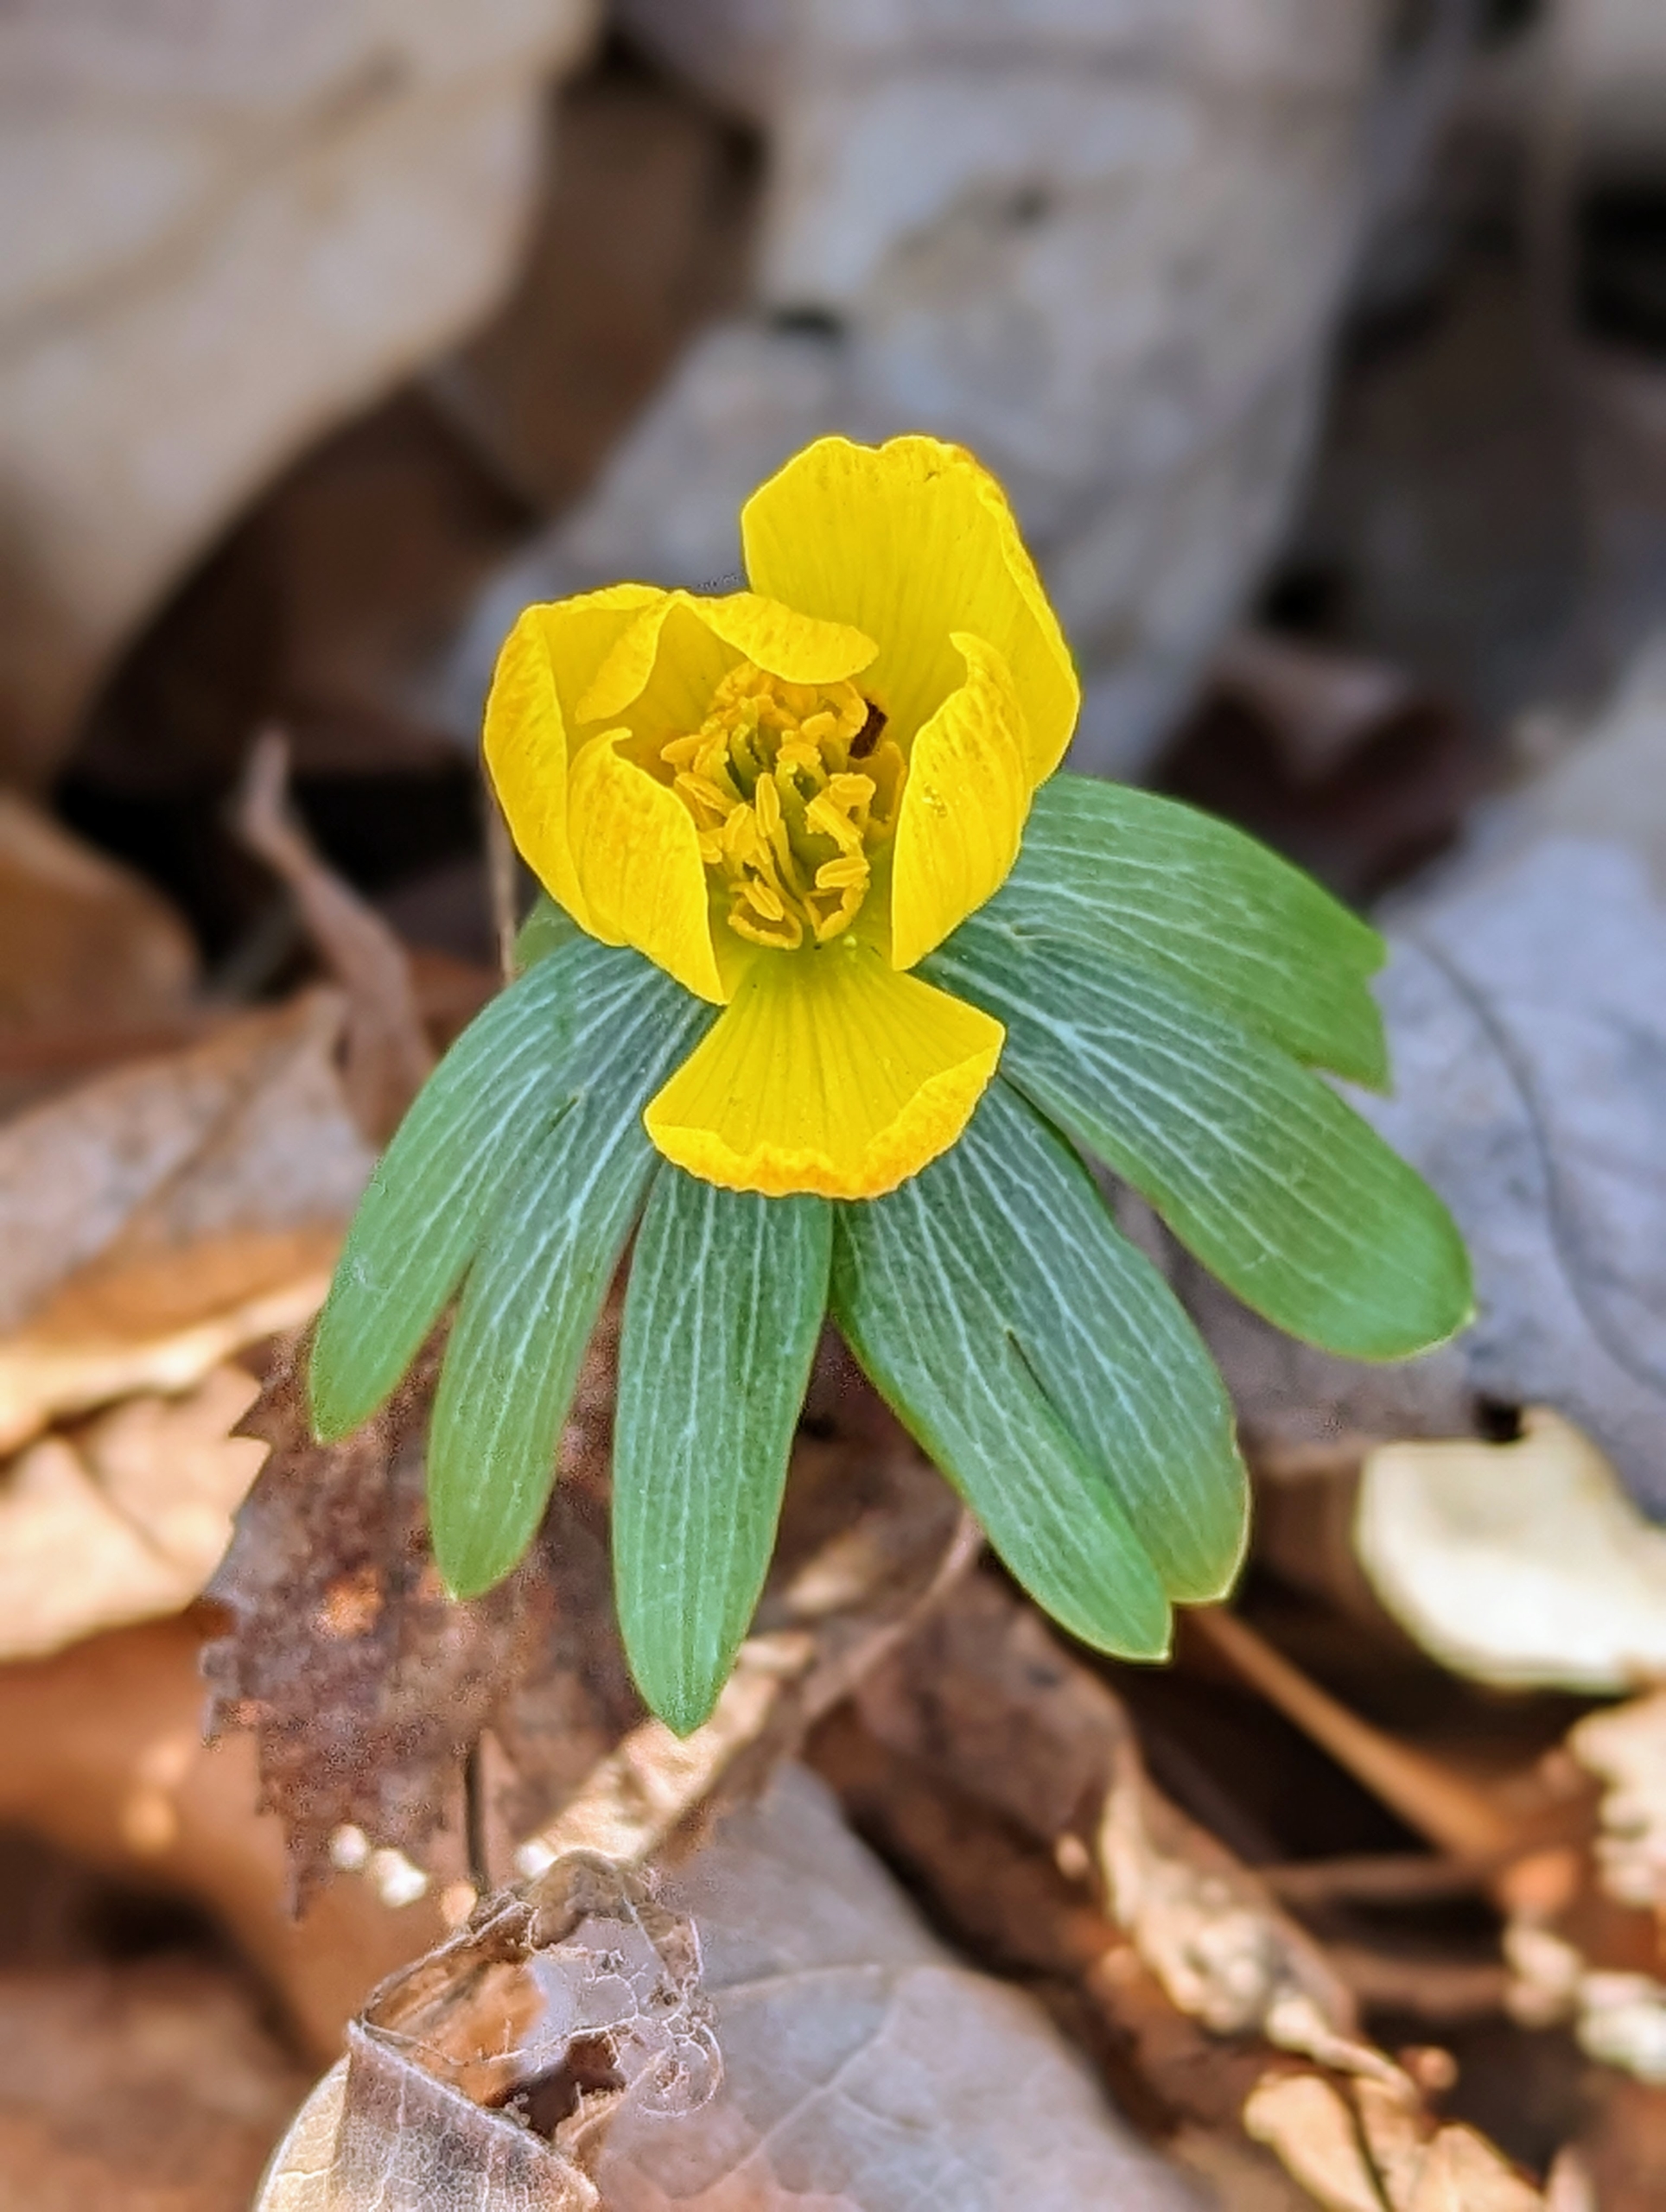
Eranthis, or winter aconite, is a genus of eight species of flowering plants in the family Ranunculaceae – the Buttercup family.
Winter aconite produces such cheerful yellow flowers that appear in late winter or earliest spring. And, they are deer resistant.
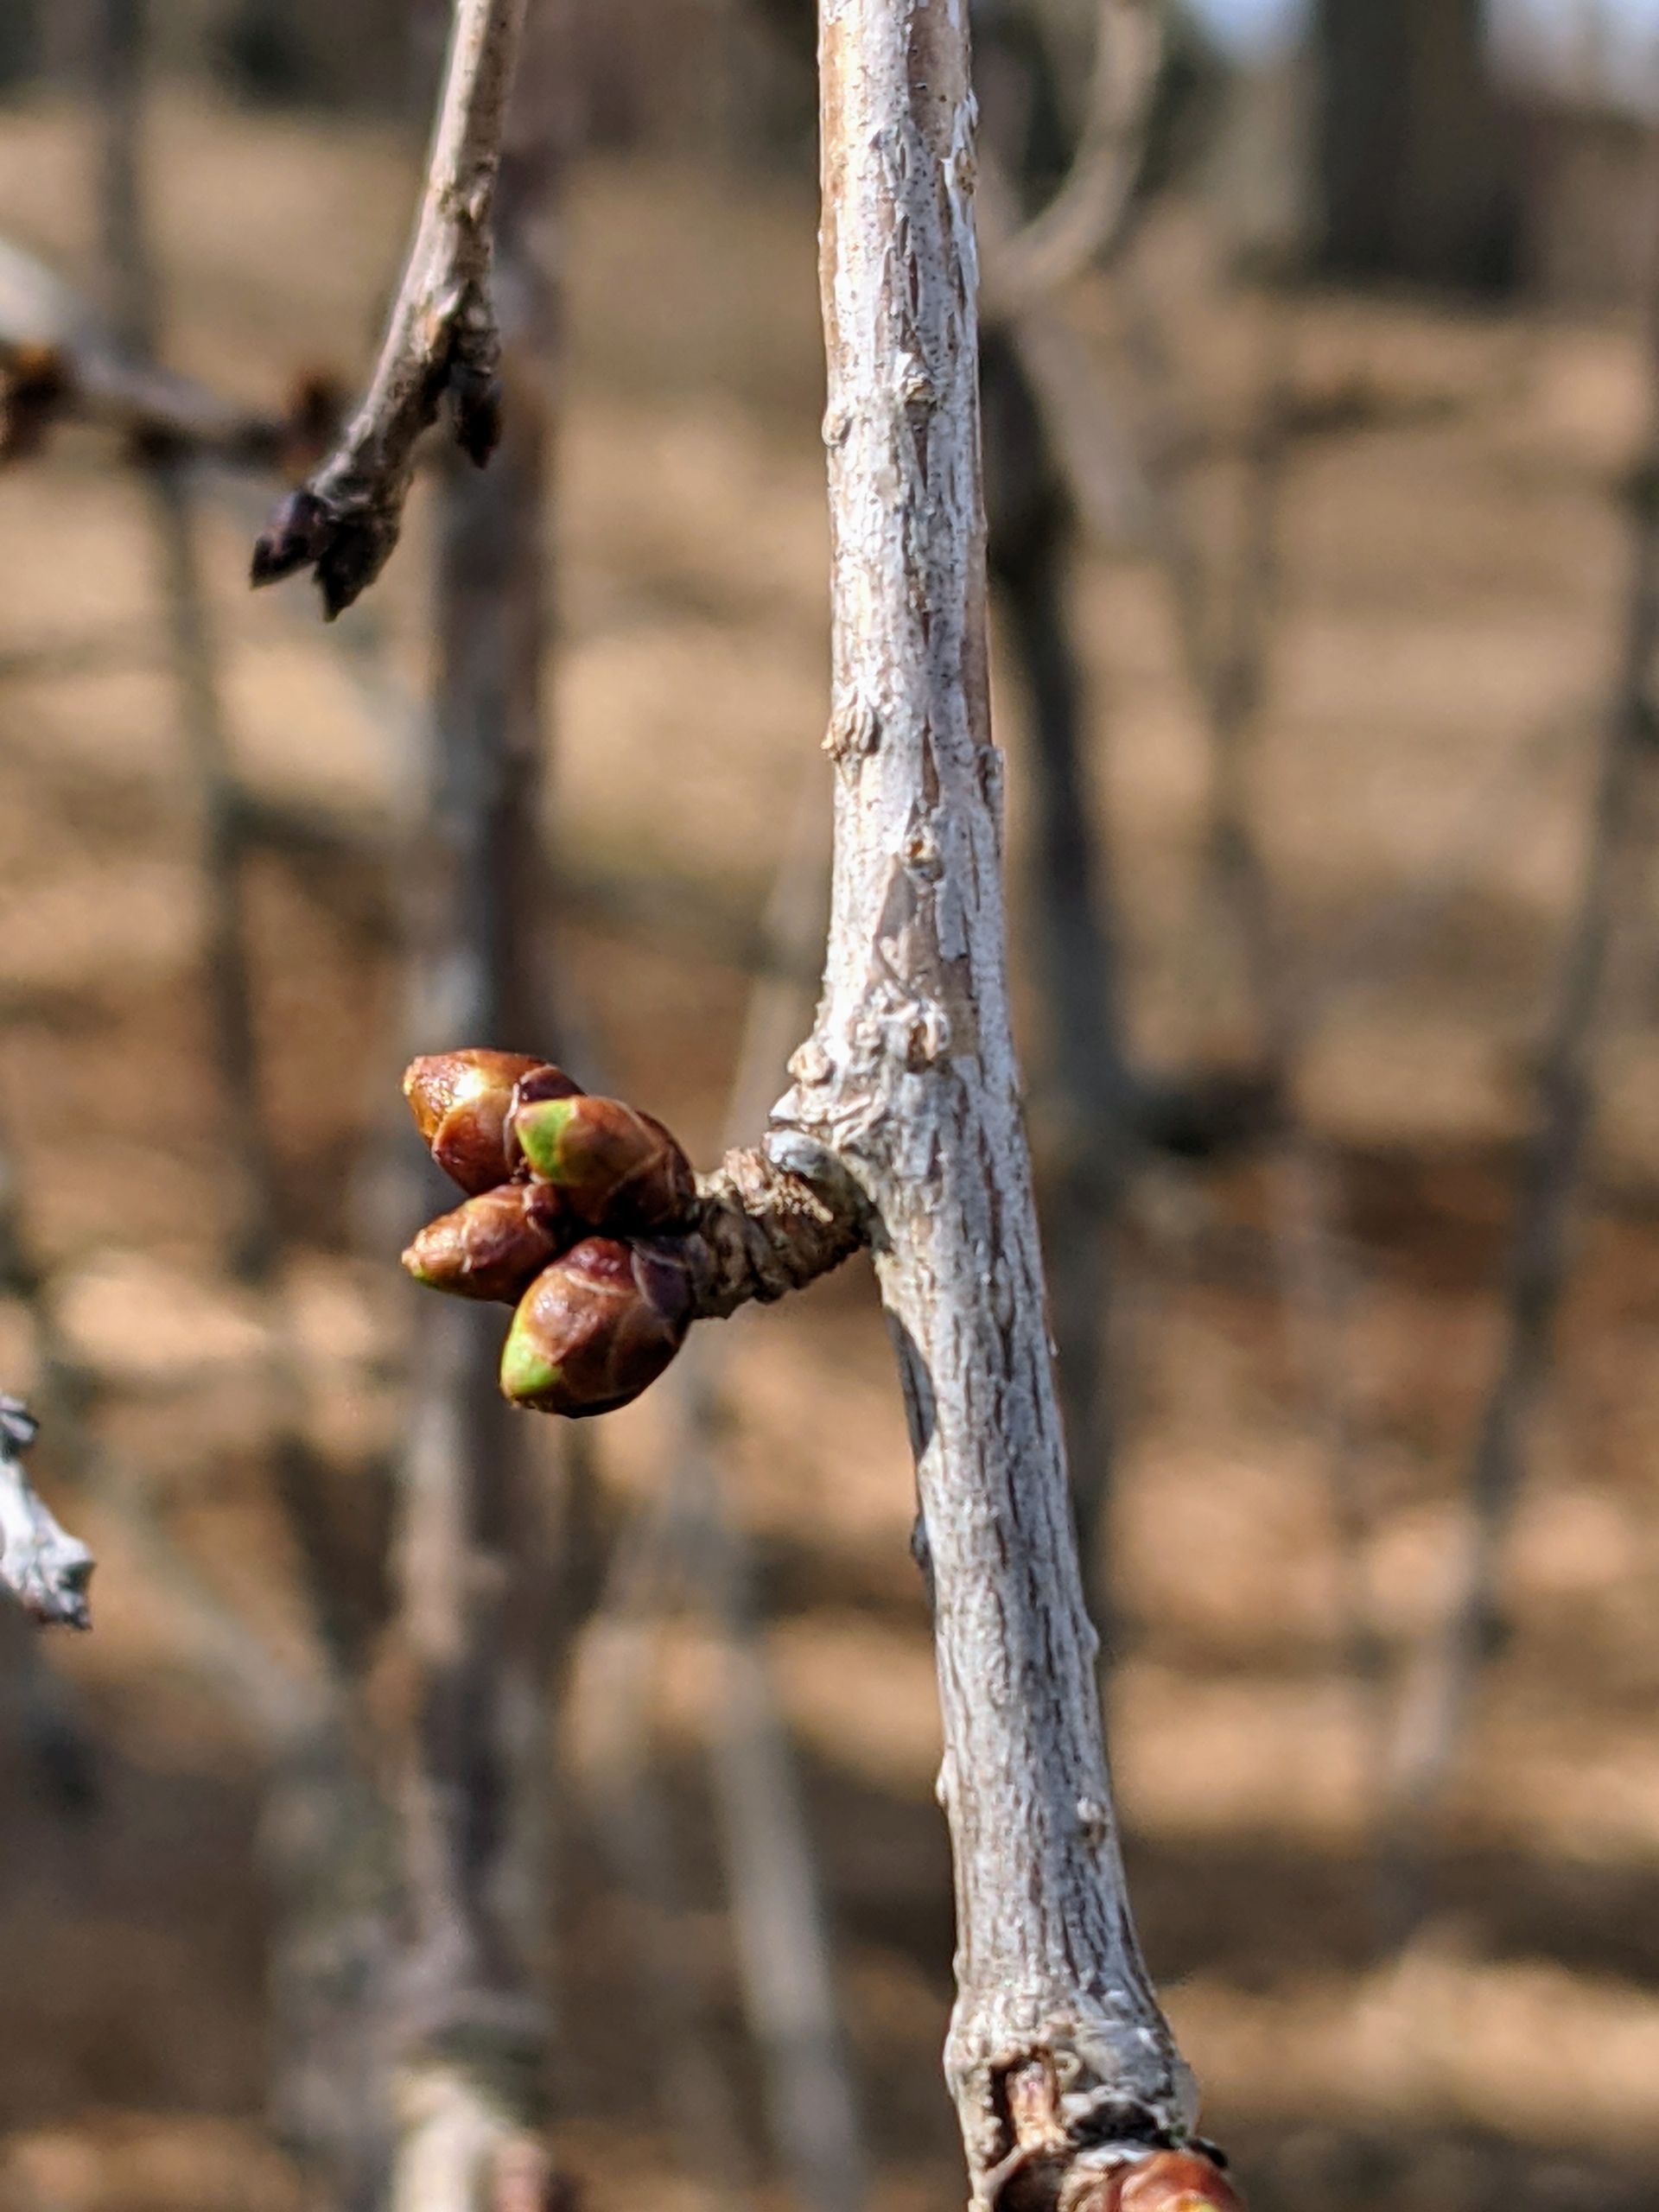
Looking closely, some of the trees are showing off their buds. These buds are on the cascading branches of the weeping cherry trees – I have two just behind my stable. When flowering, they are covered with white flowers – big eye-catchers when guests are lucky enough to see them in bloom.
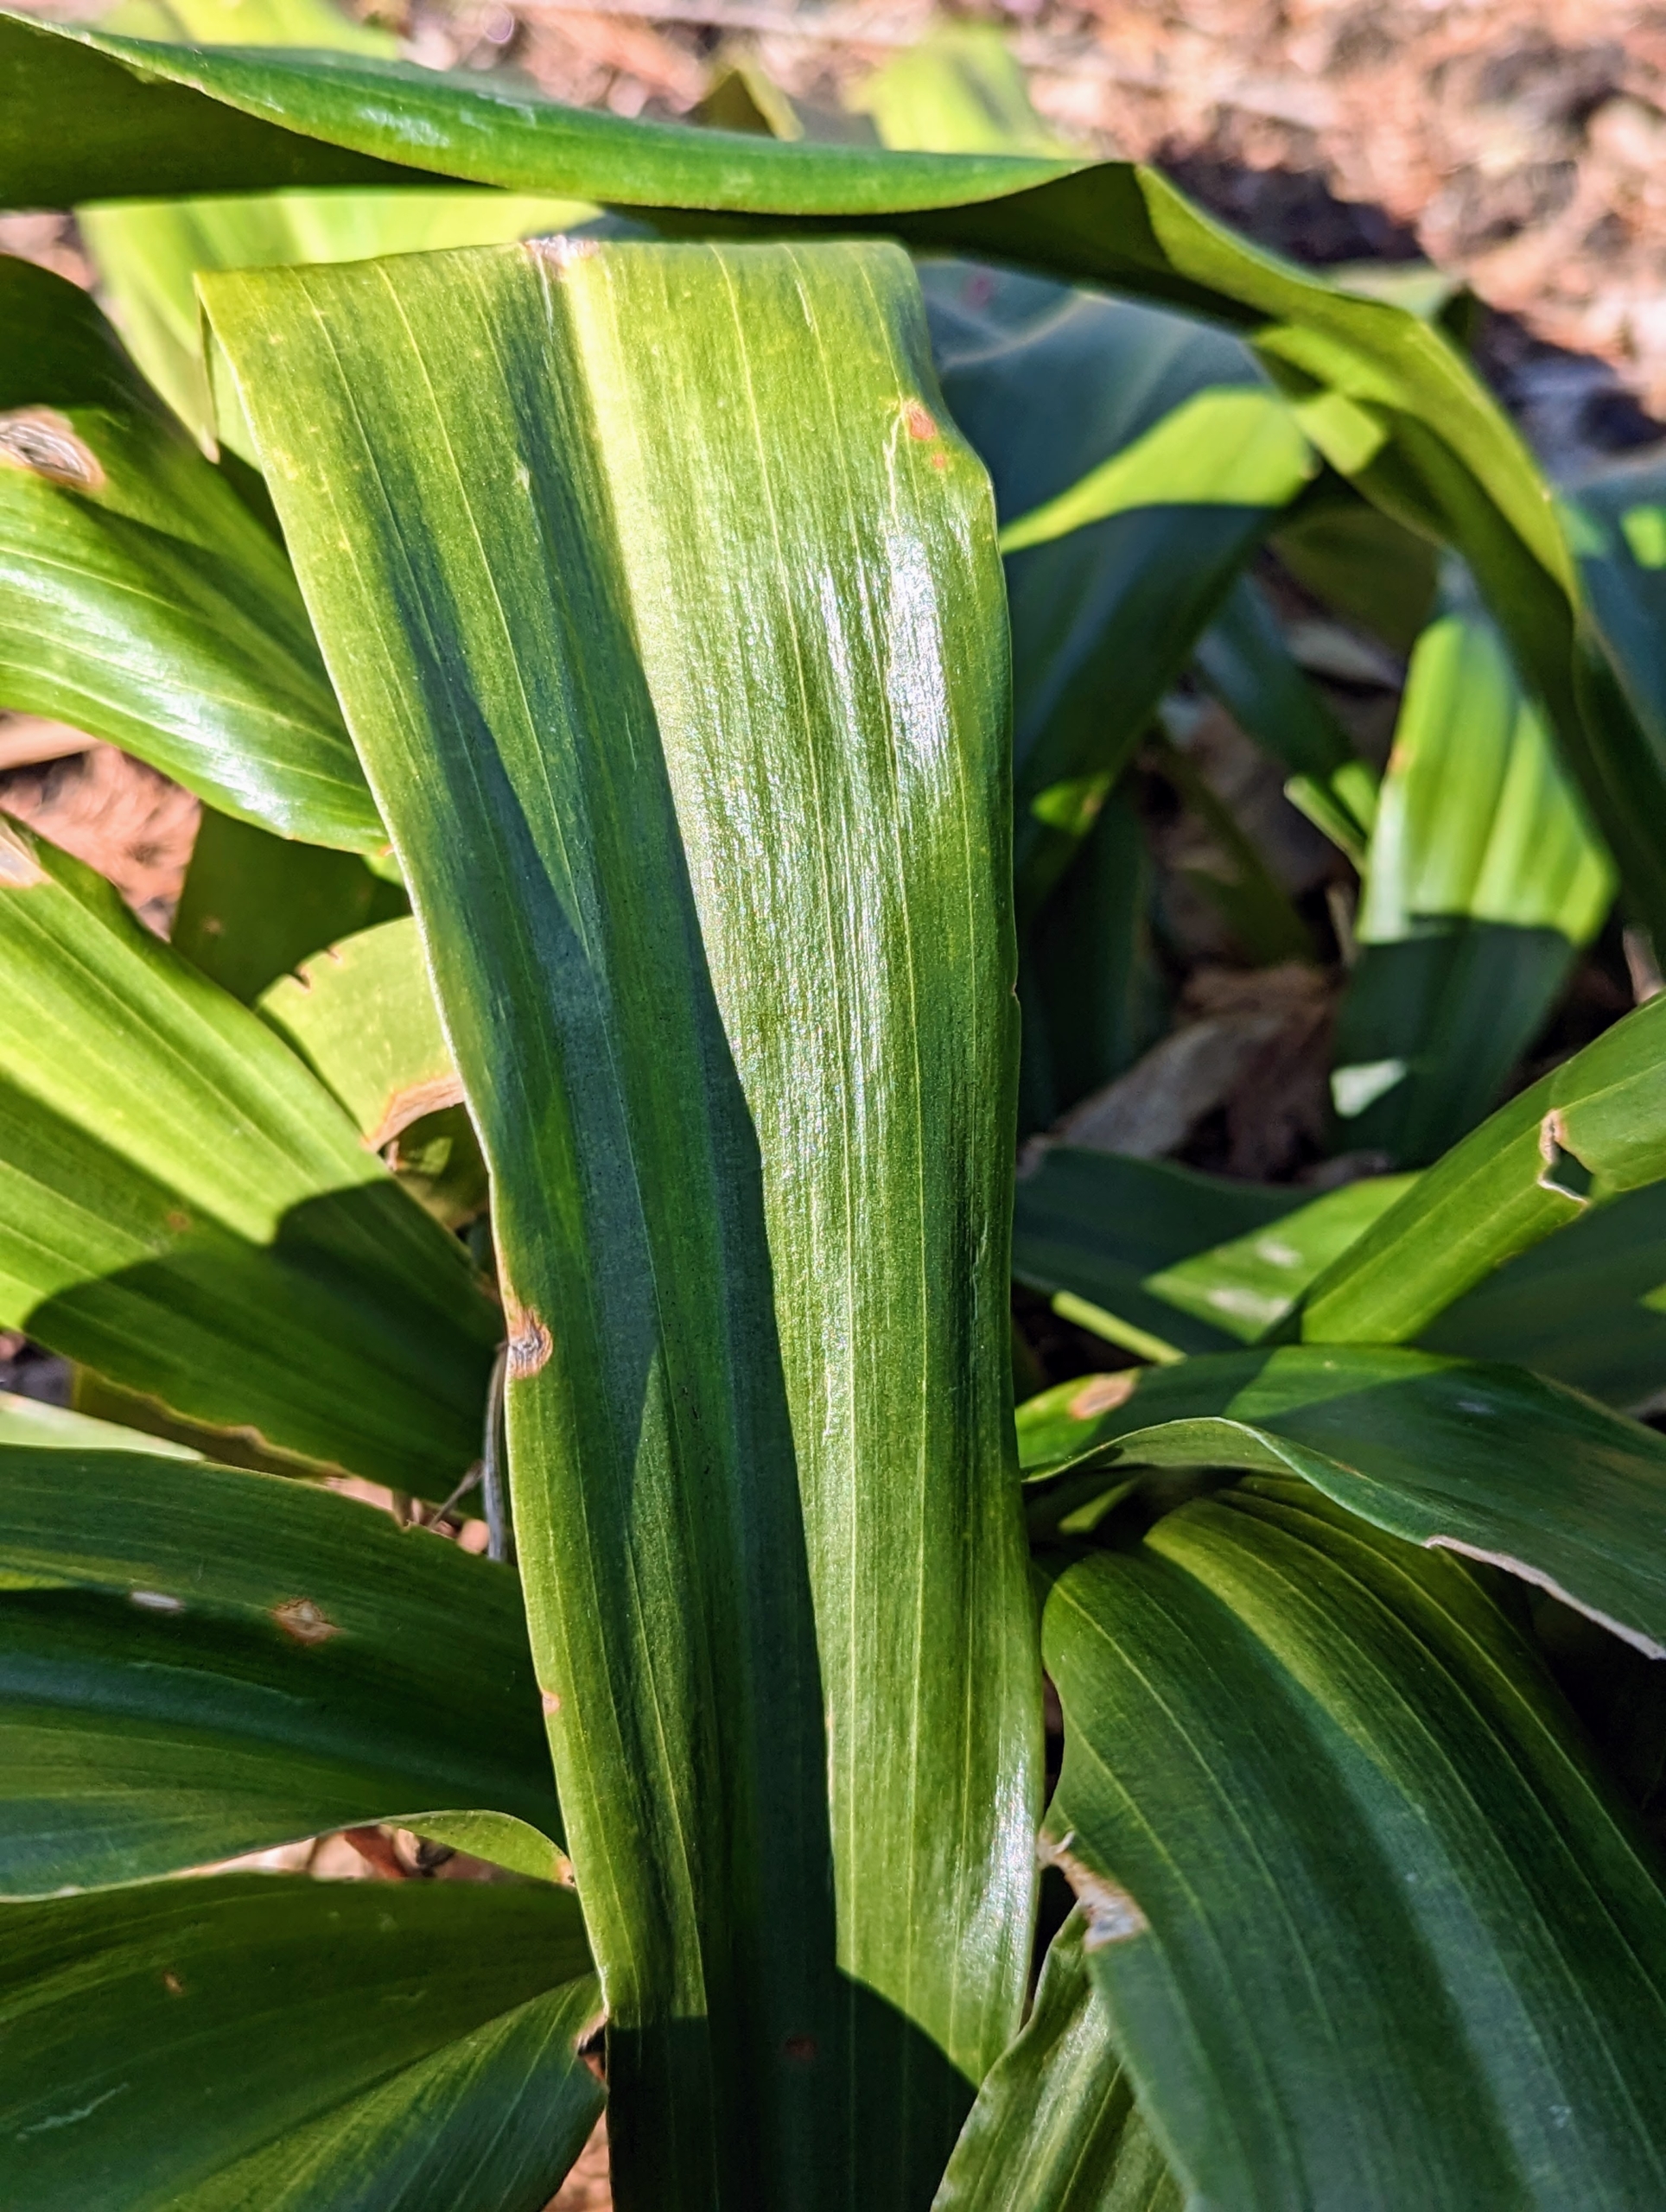
These are the bold green leaves of Rohdea japonica, also known as Japanese Sacred lily, or Nippon lily – a tropical-looking evergreen herbaceous perennial that has an upright, clumping, and vase-like form. Its leaves are thick, rubbery, and measure from about a foot long and two to three inches wide.
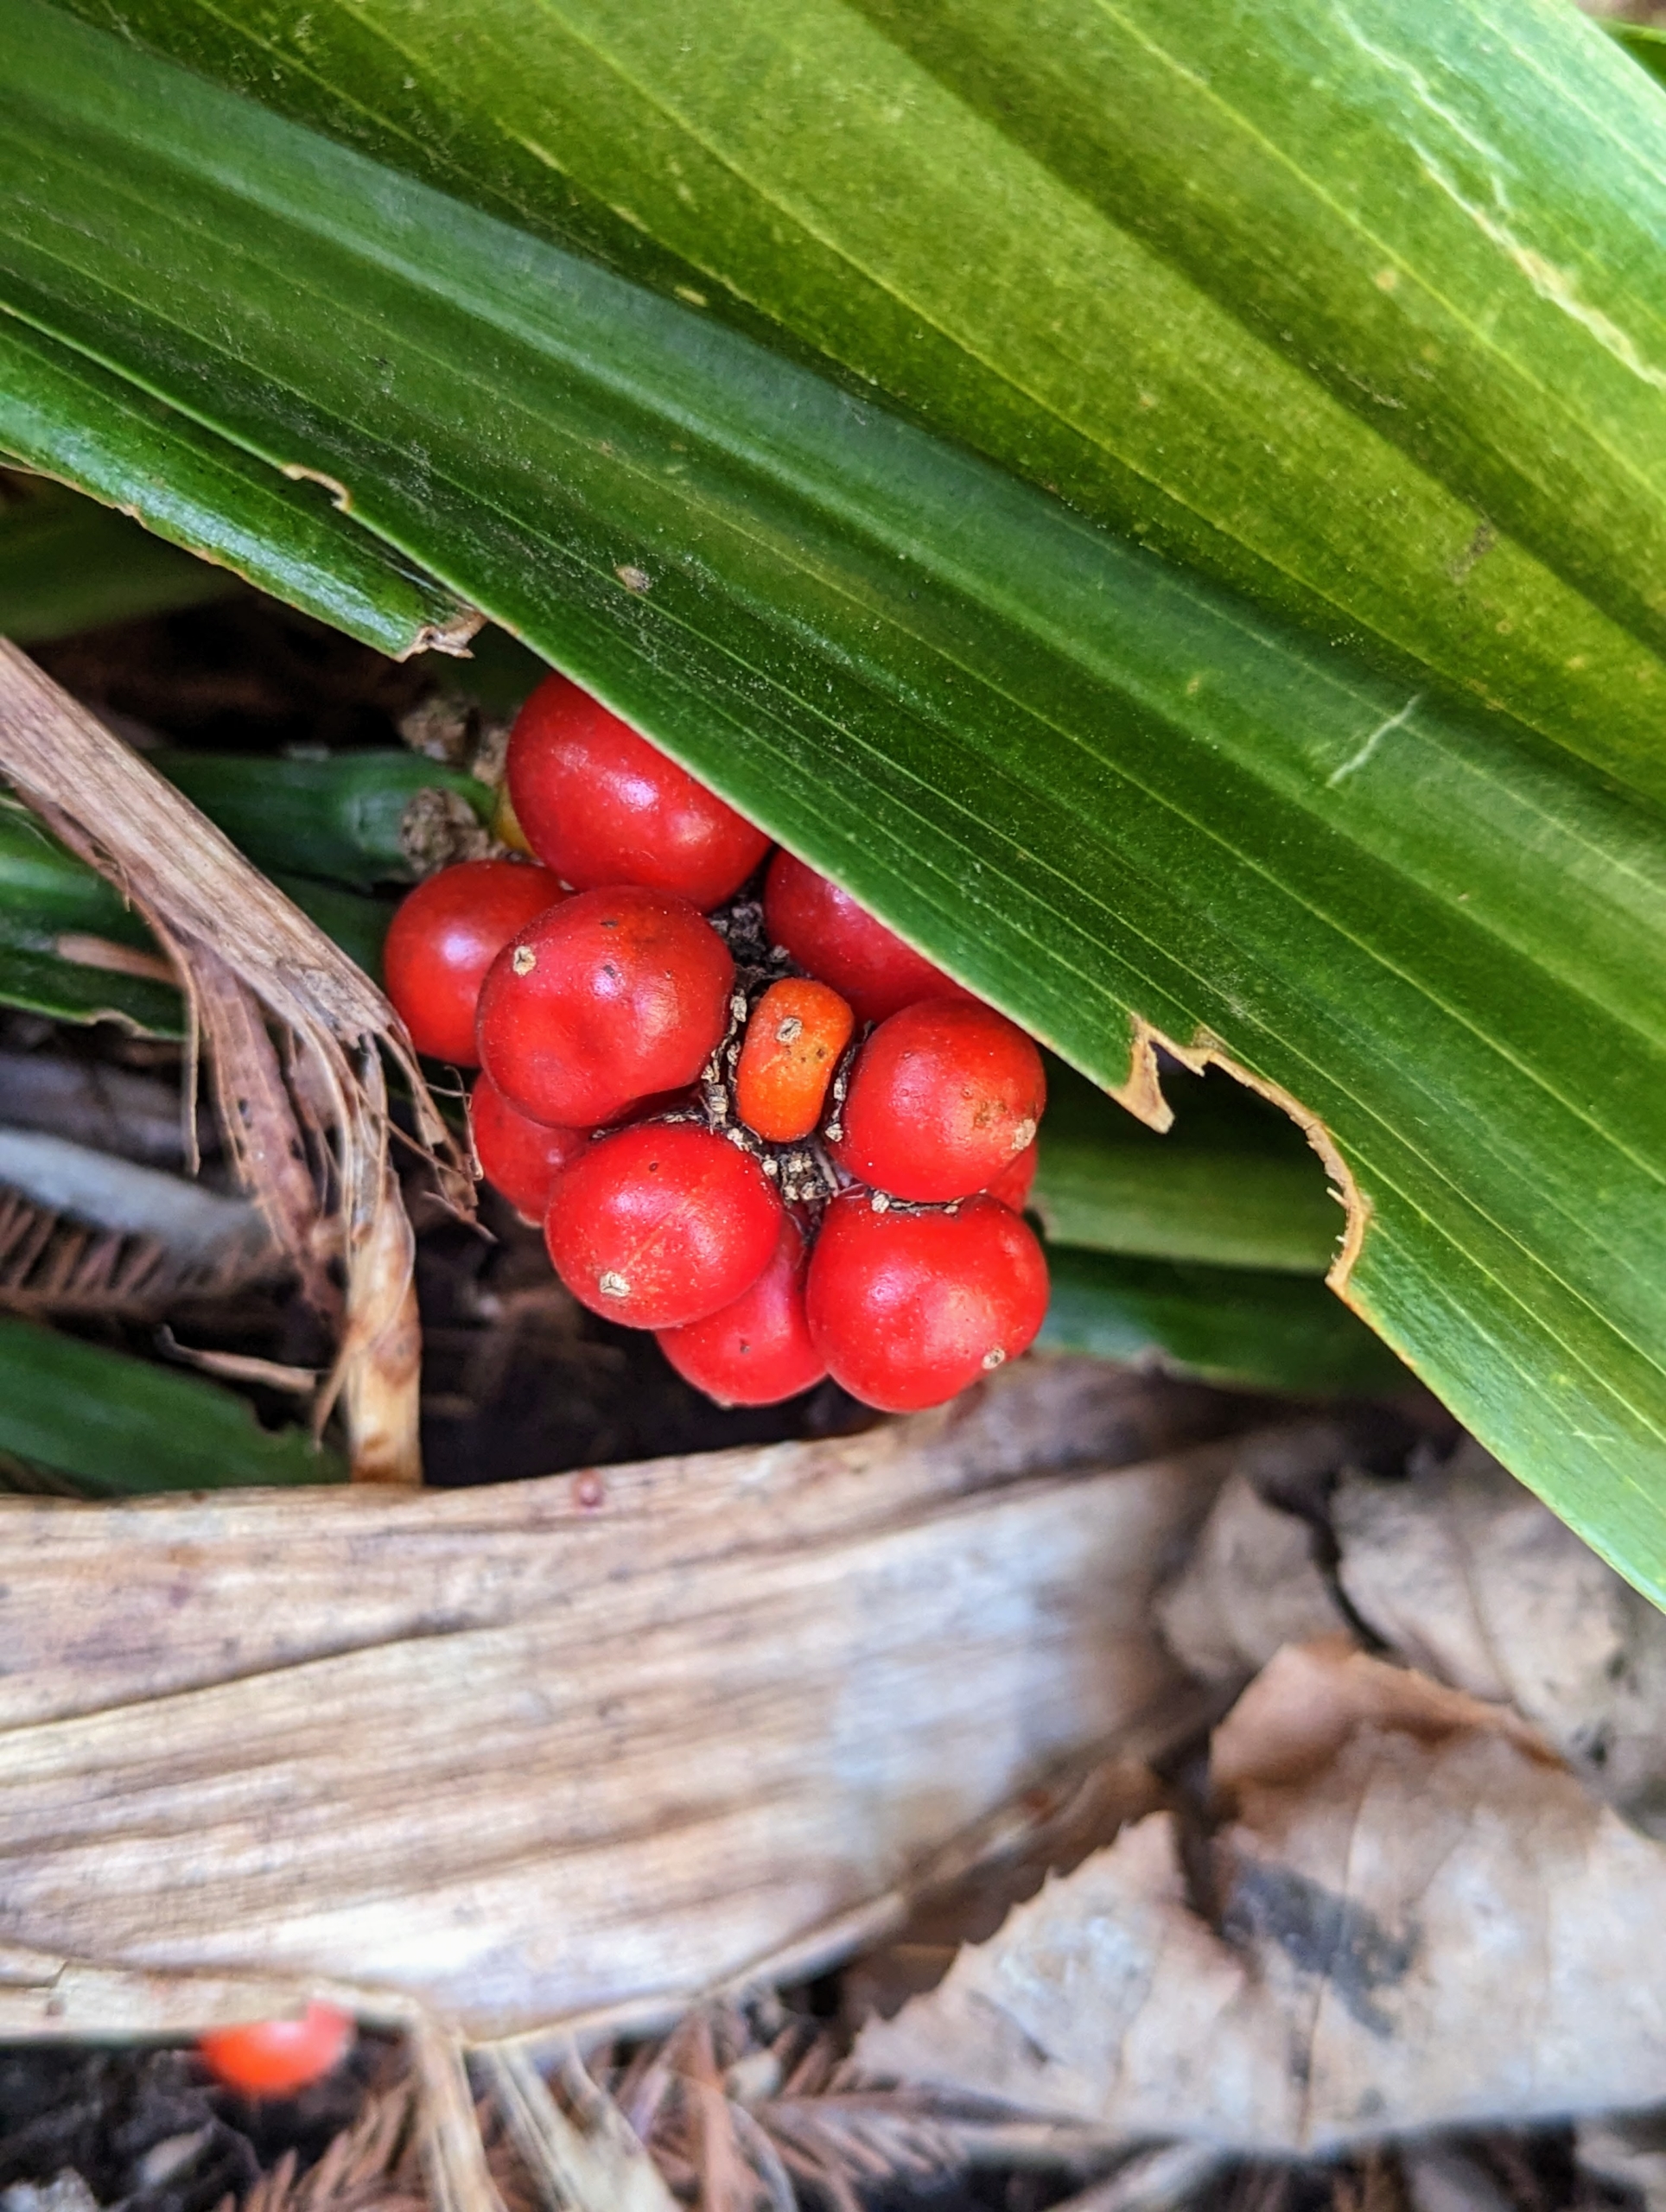
The Nippon lily produces bright red berries that persist into the winter. I have several of these outside my Tenant House.
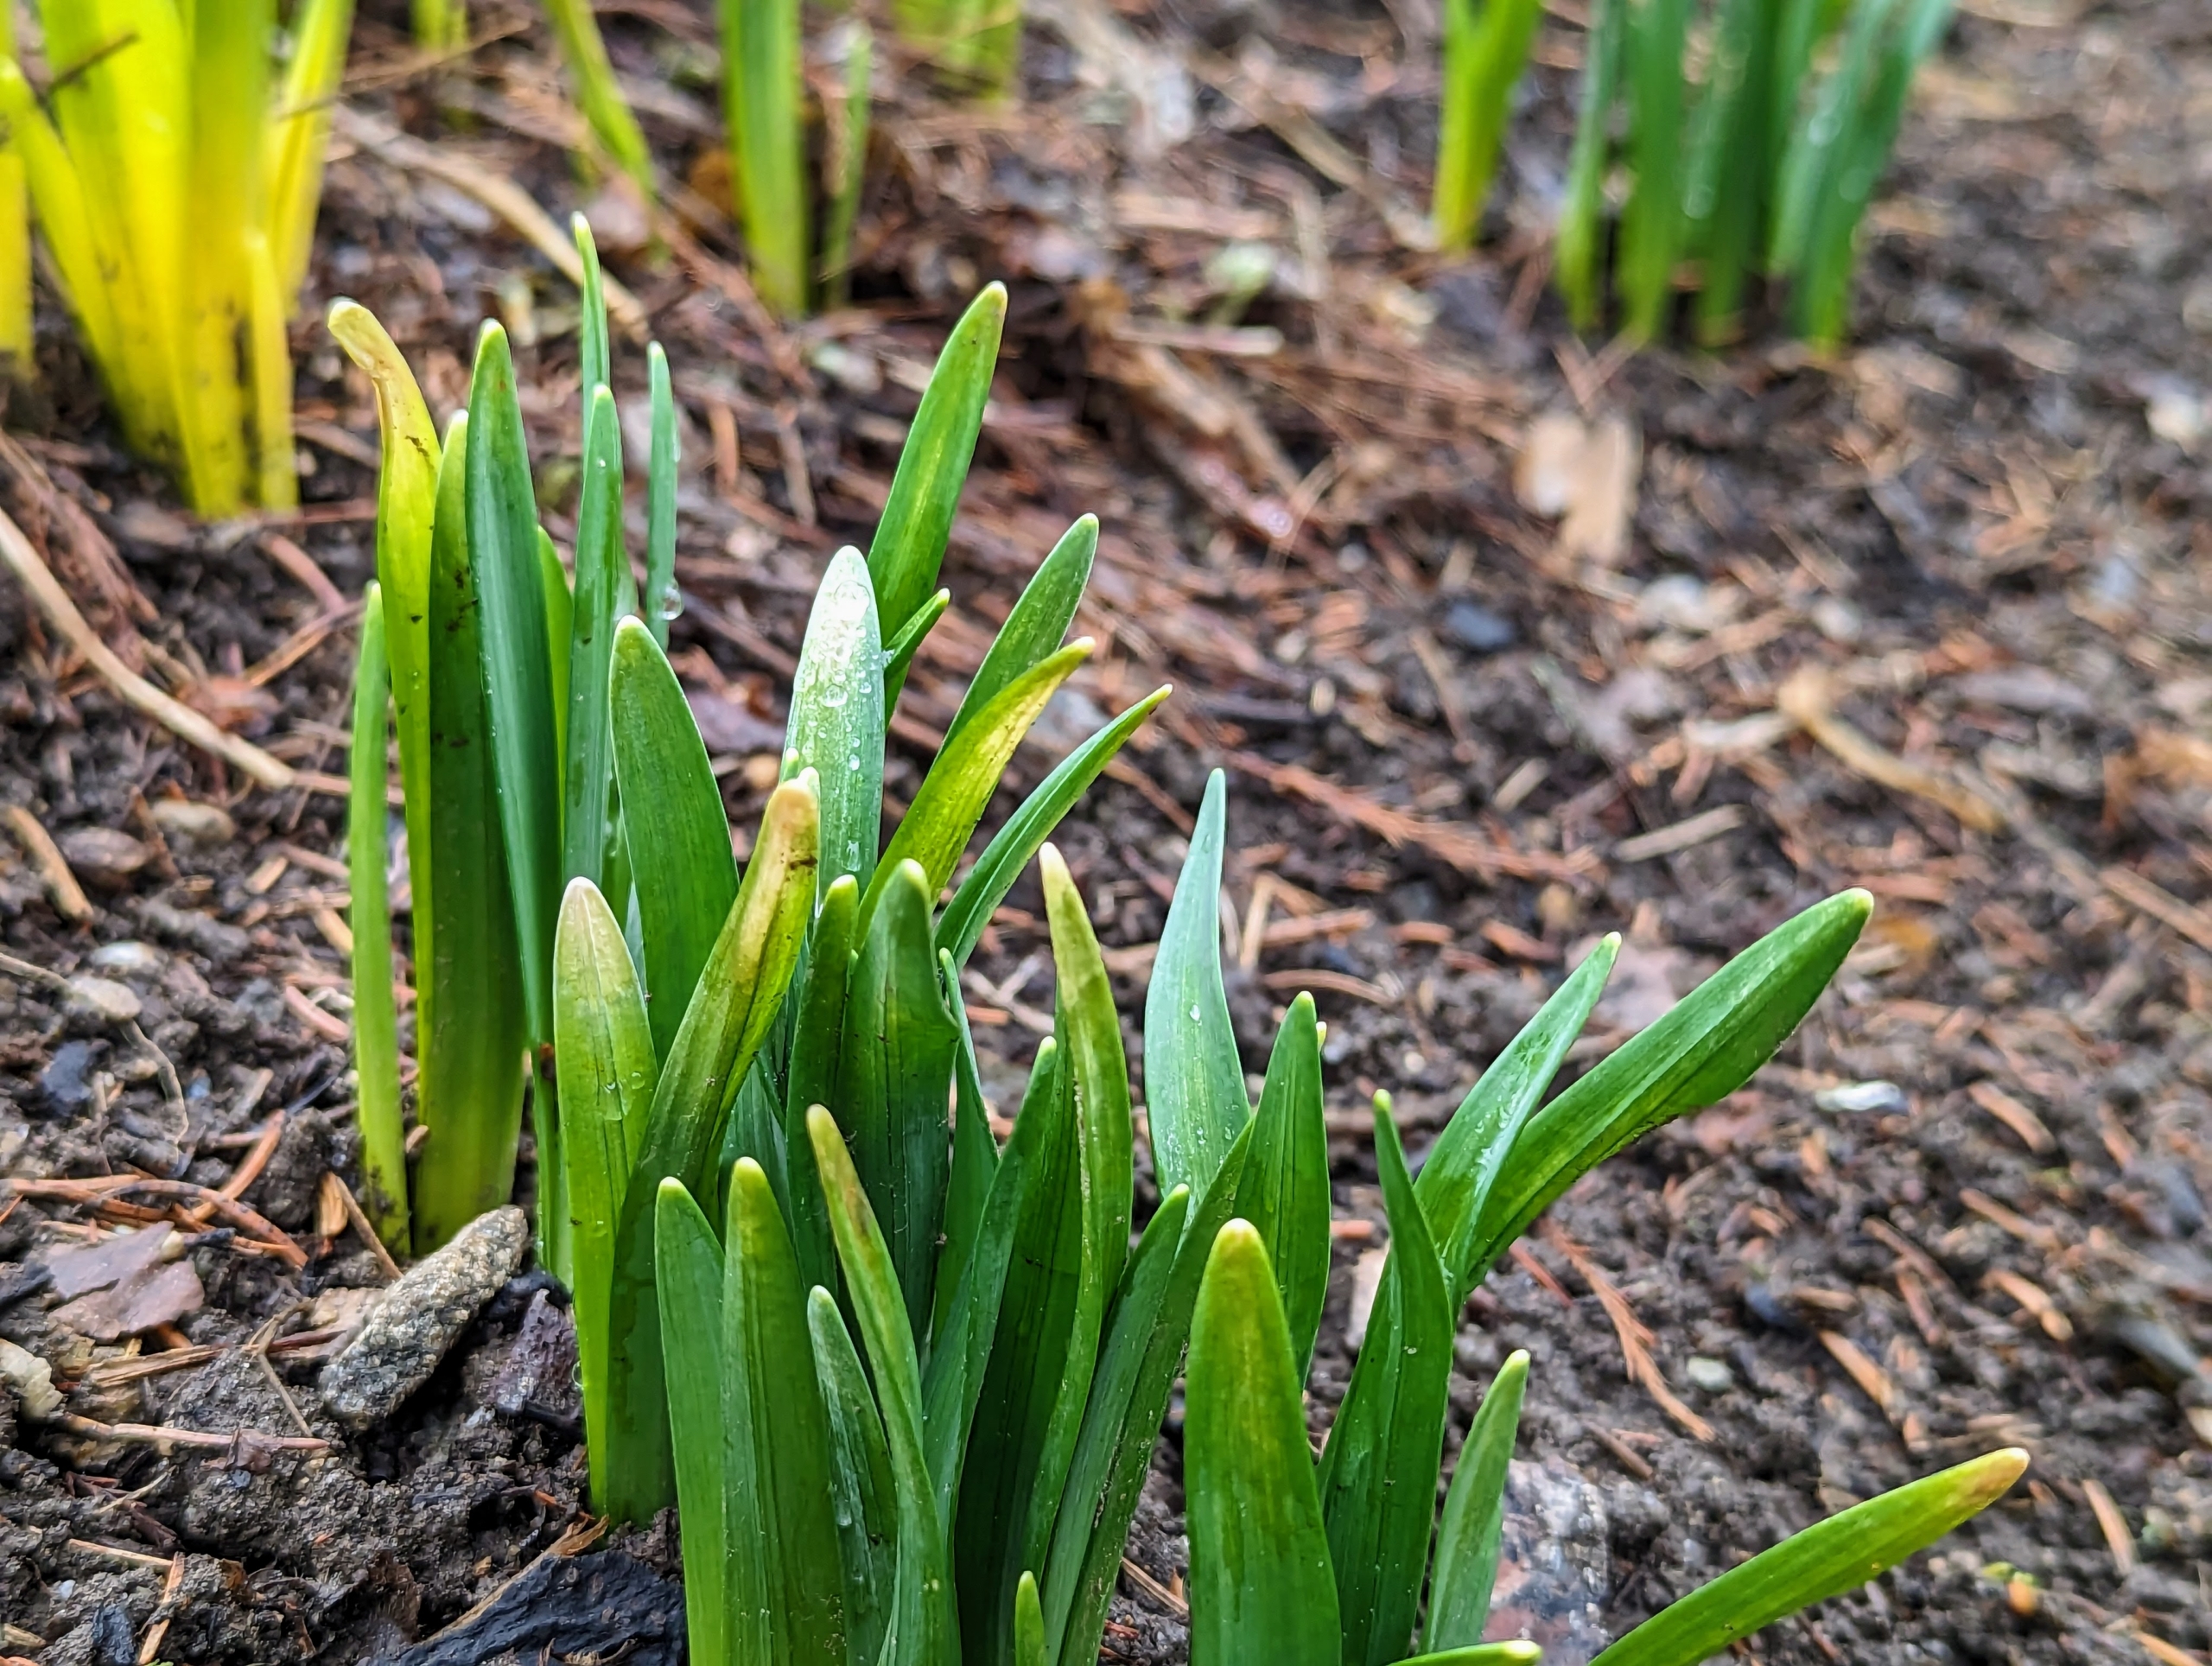
And of course, the daffodils never fail. Here, one can see how the daffodils pushed through the soil.
I have daffodils in many areas of the farm, but the original daffodil border was begun in 2003. It now stretches all the way down from my Summer House, past the stable, and ending at the Japanese maple grove.
The daffodils near my allée of linden trees are developing so nicely. There are several varieties planted here – all in large groupings, providing a stunning swath of color when in bloom. I can’t wait to see all the spring blooms covering the farm. It won’t be long…