Beautiful, colorful dahlias continue to bloom at my Bedford, New York farm.
Dahlias begin to bloom with great profusion just as many summer plants pass their prime, and they last right up until the first frost. My all-dahlia garden was planted in a large bed behind my vegetable greenhouse and we saw our first dahlias of the season already blooming in early June. As they grow it's important to provide tall dahlia stems with good support to help the plants weather any storms and strong winds. Yesterday, my gardener Brian O'Kelly, along with the help of Phurba Sherpa from my outdoor grounds crew, staked every plant using bamboo canes and jute twine.
Here are some photos, enjoy.
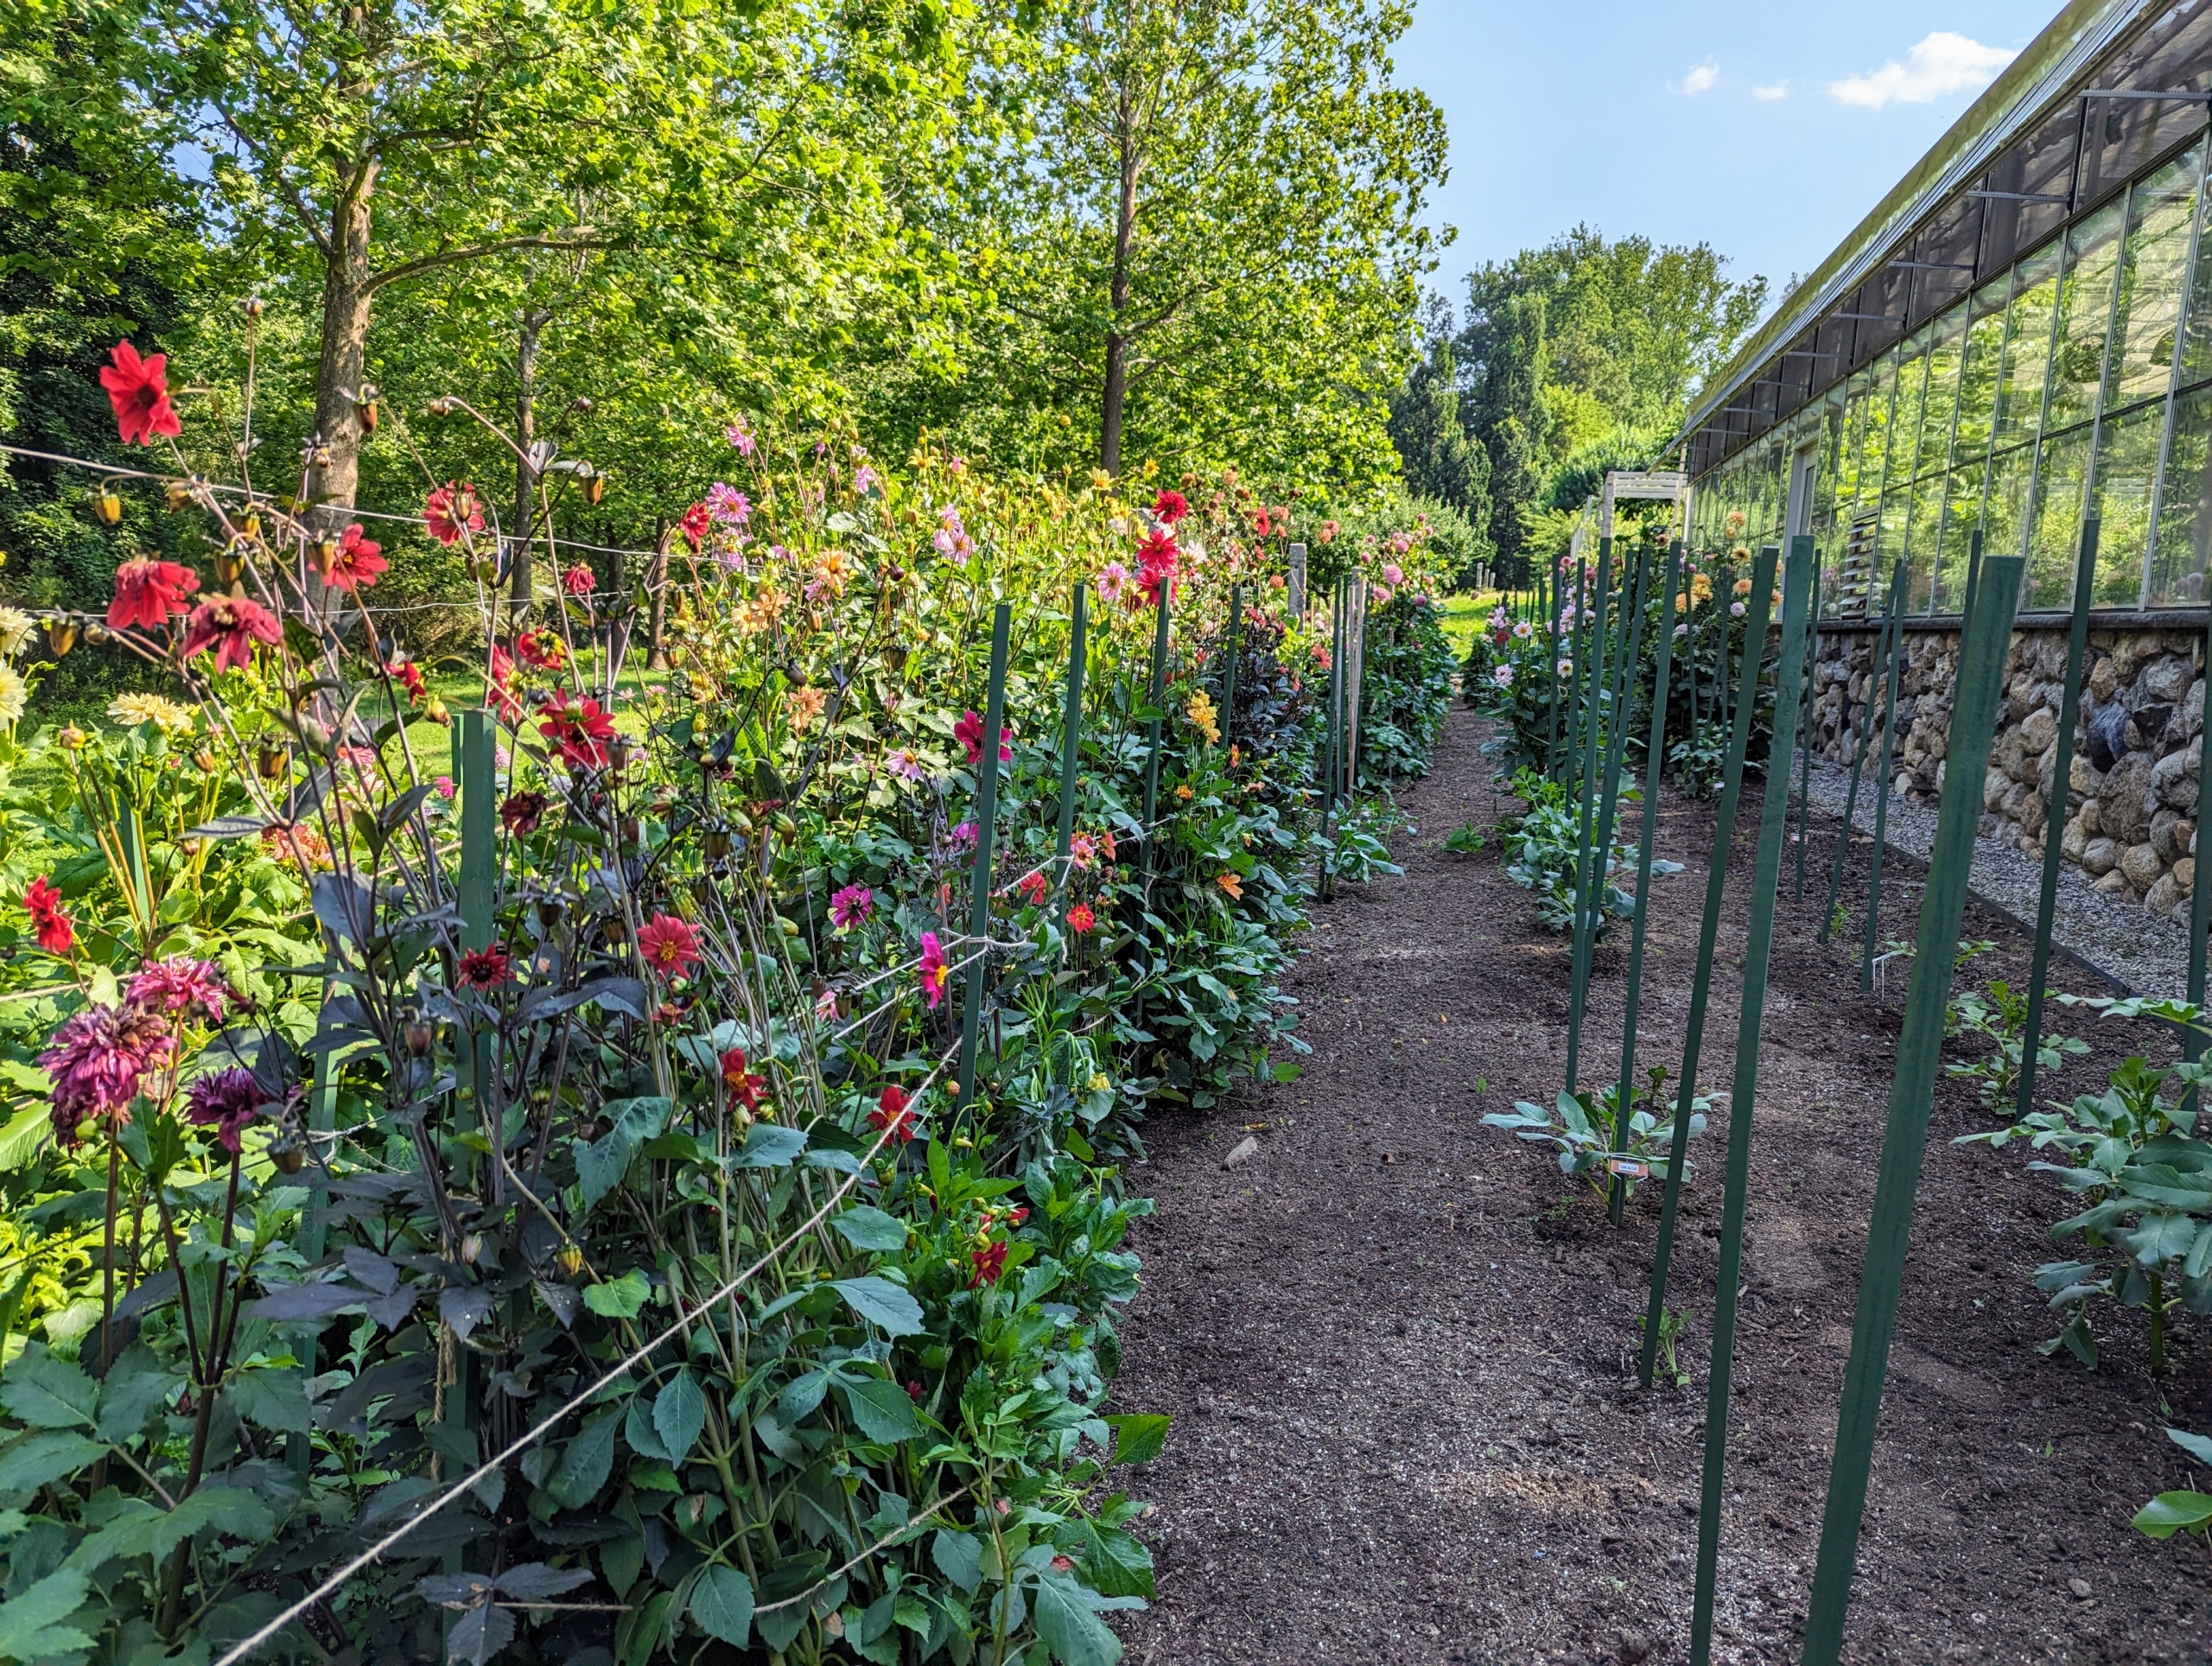
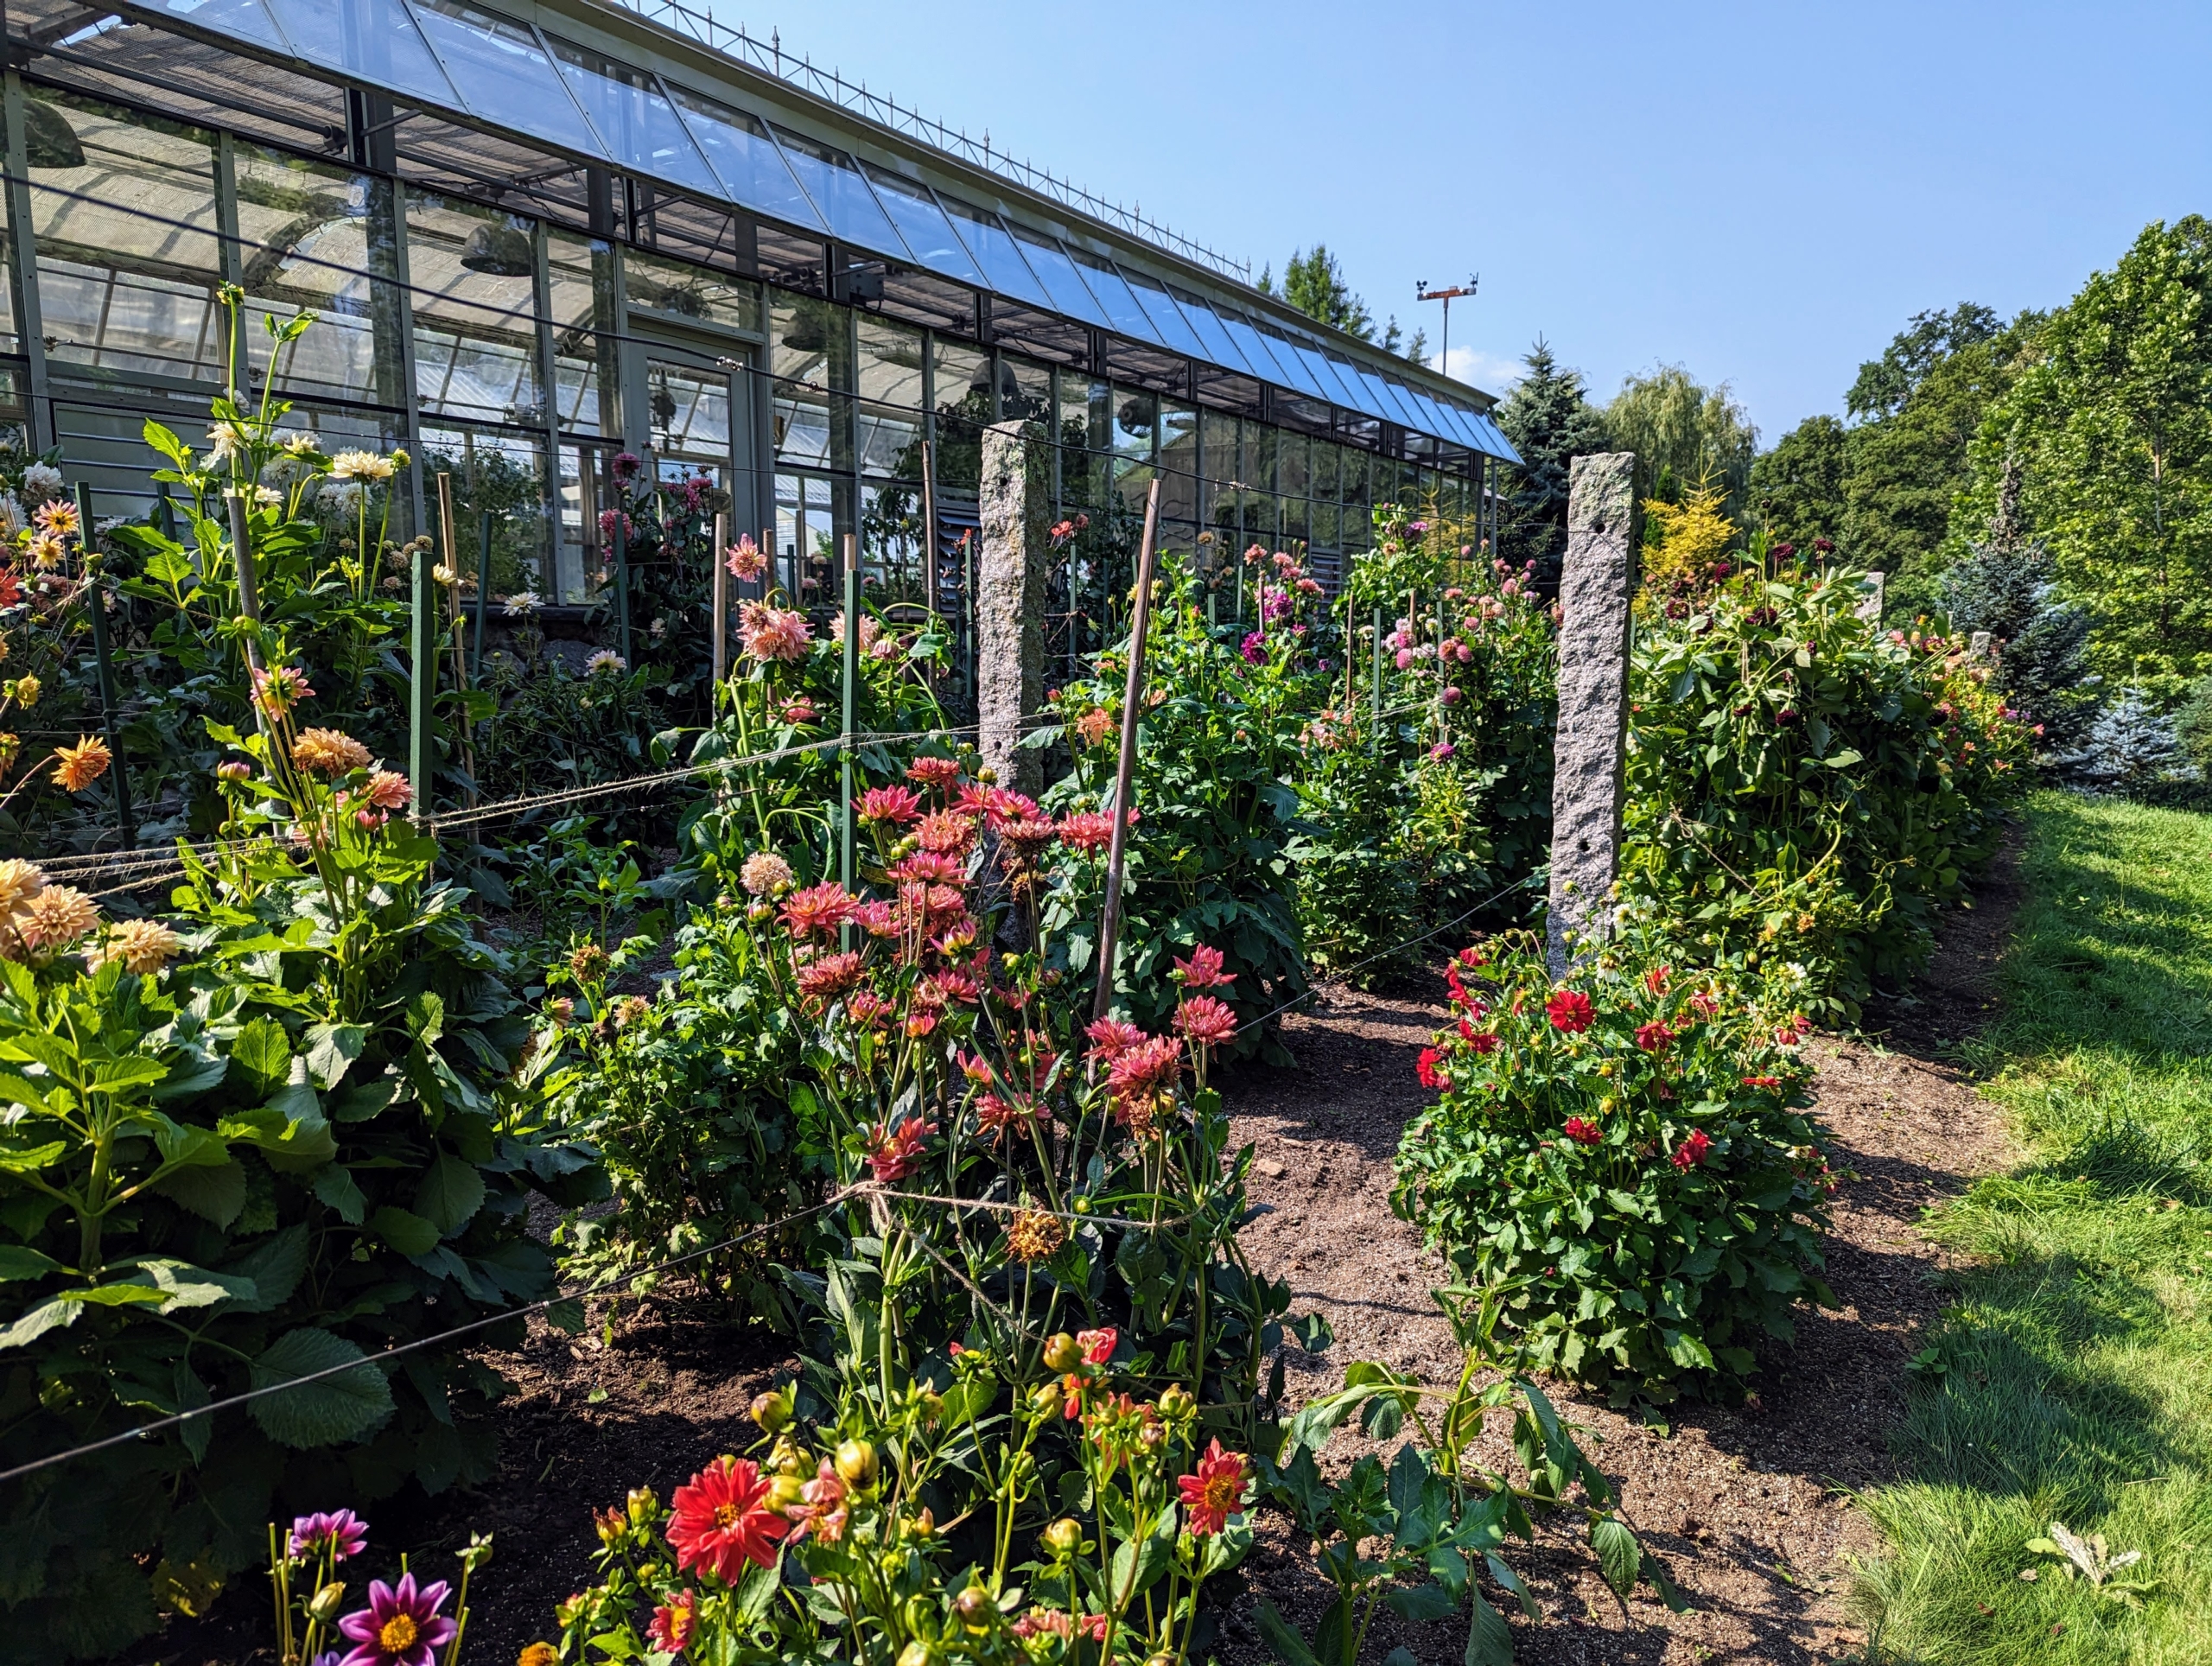
My dahlia garden is located behind my large glass vegetable greenhouse, so these plants are already somewhat protected from strong winds. These plants bloomed early this year – we saw the first flower on June 6th. Now it is time to provide the tall stems with more support, so they don’t break in the coming weeks.
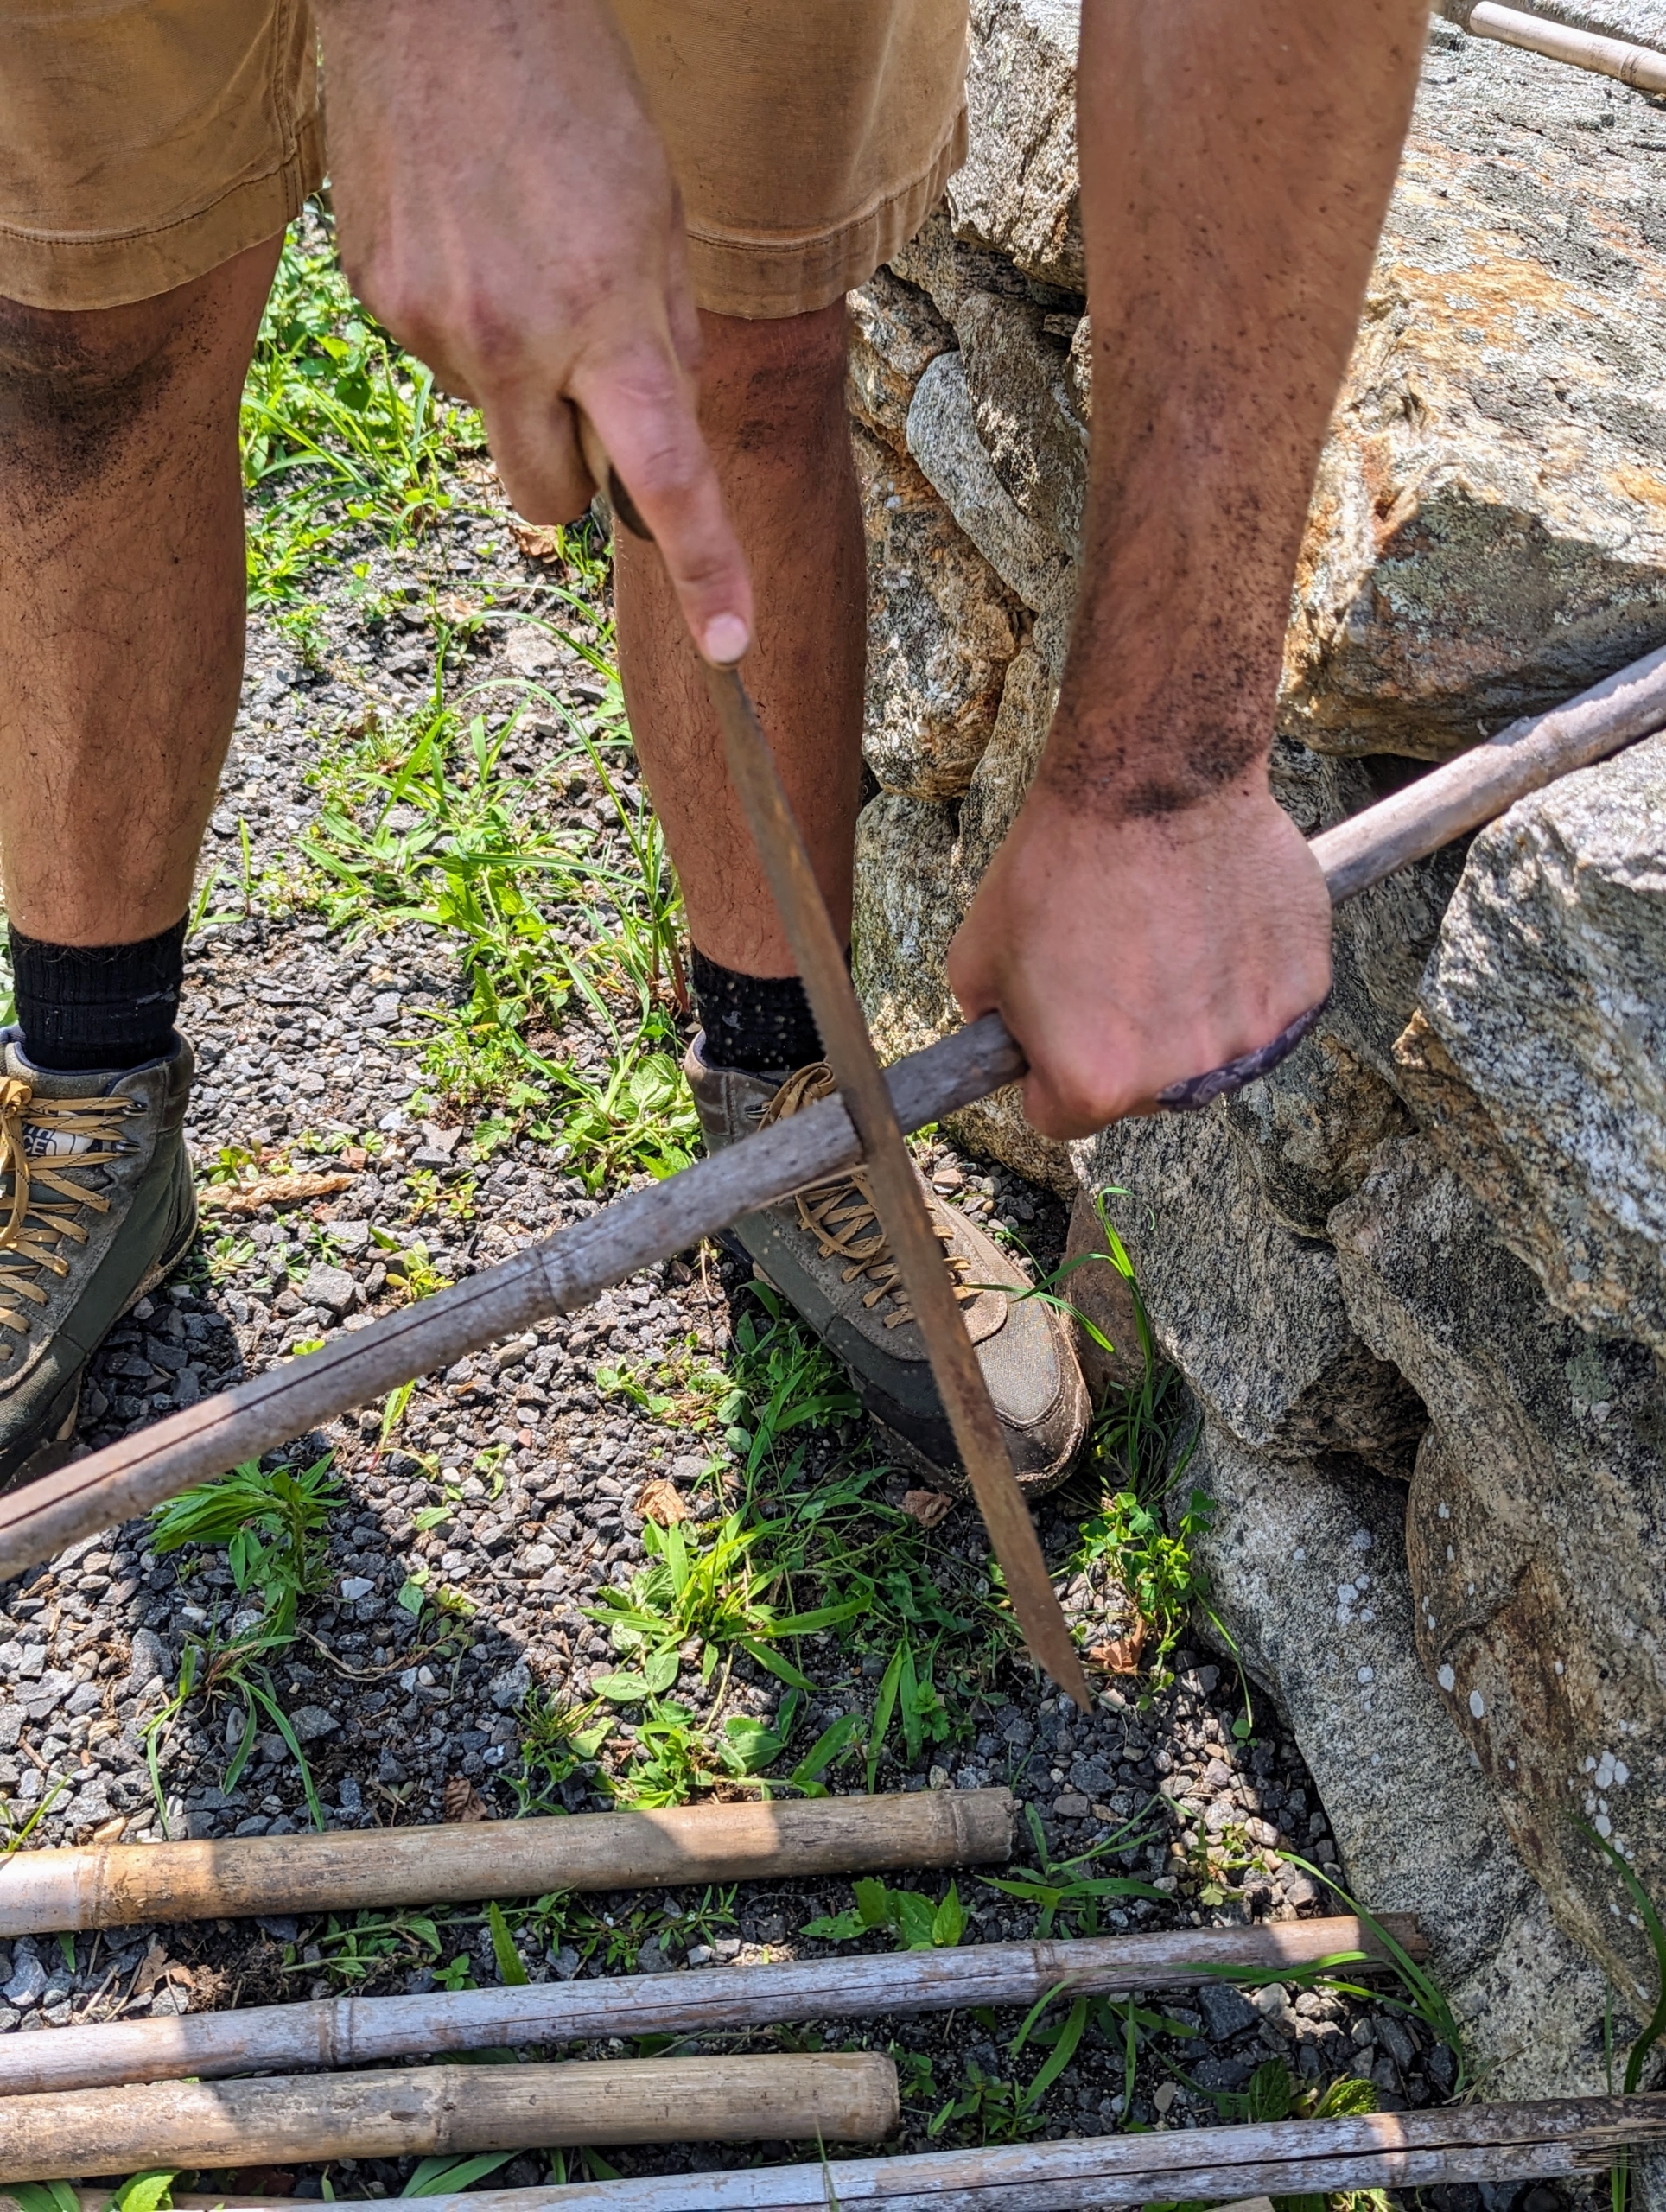
Brian cuts the stakes, so they are all about seven feet tall. We reuse bamboo whenever we can, saving and storing the canes from year to year.
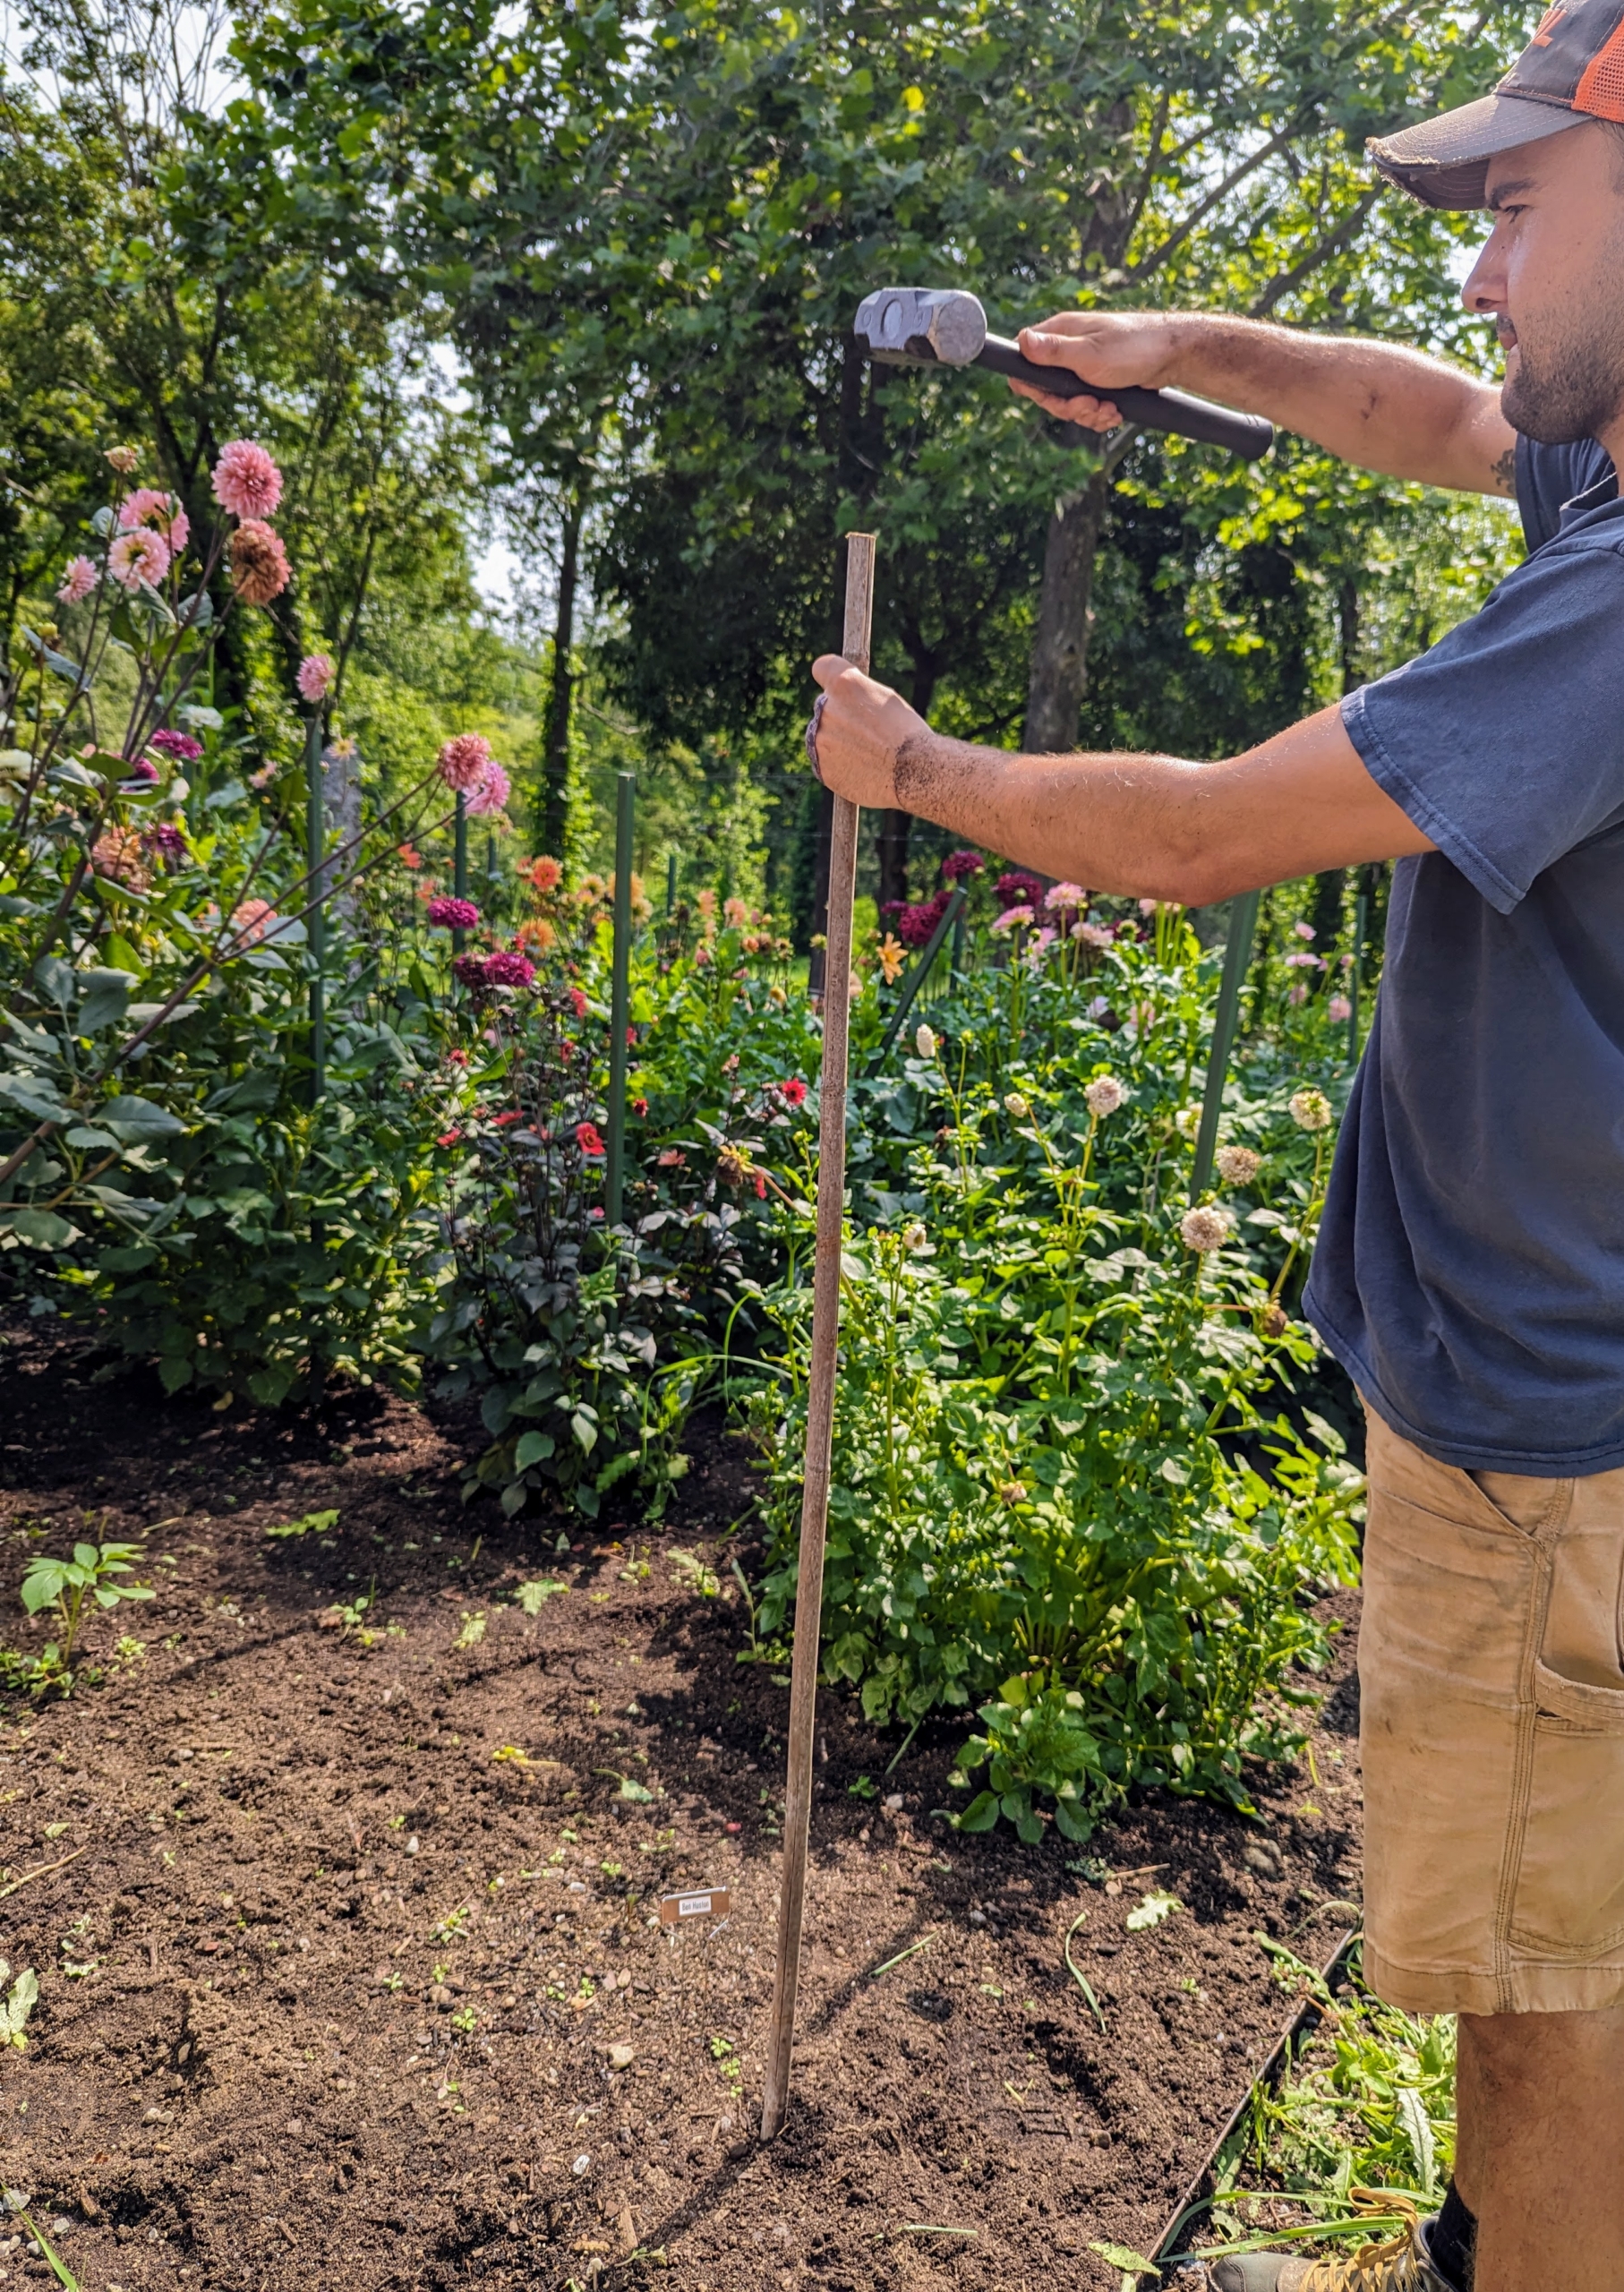
And then he pounds each of them down about a foot into the ground. Brian secures one stake every three plants.
Currently, there are about 42 species of dahlia, with hybrids commonly grown as garden plants. A member of the Asteraceae family of dicotyledonous plants, some of its relatives include the sunflower, daisy, chrysanthemum, and zinnia.
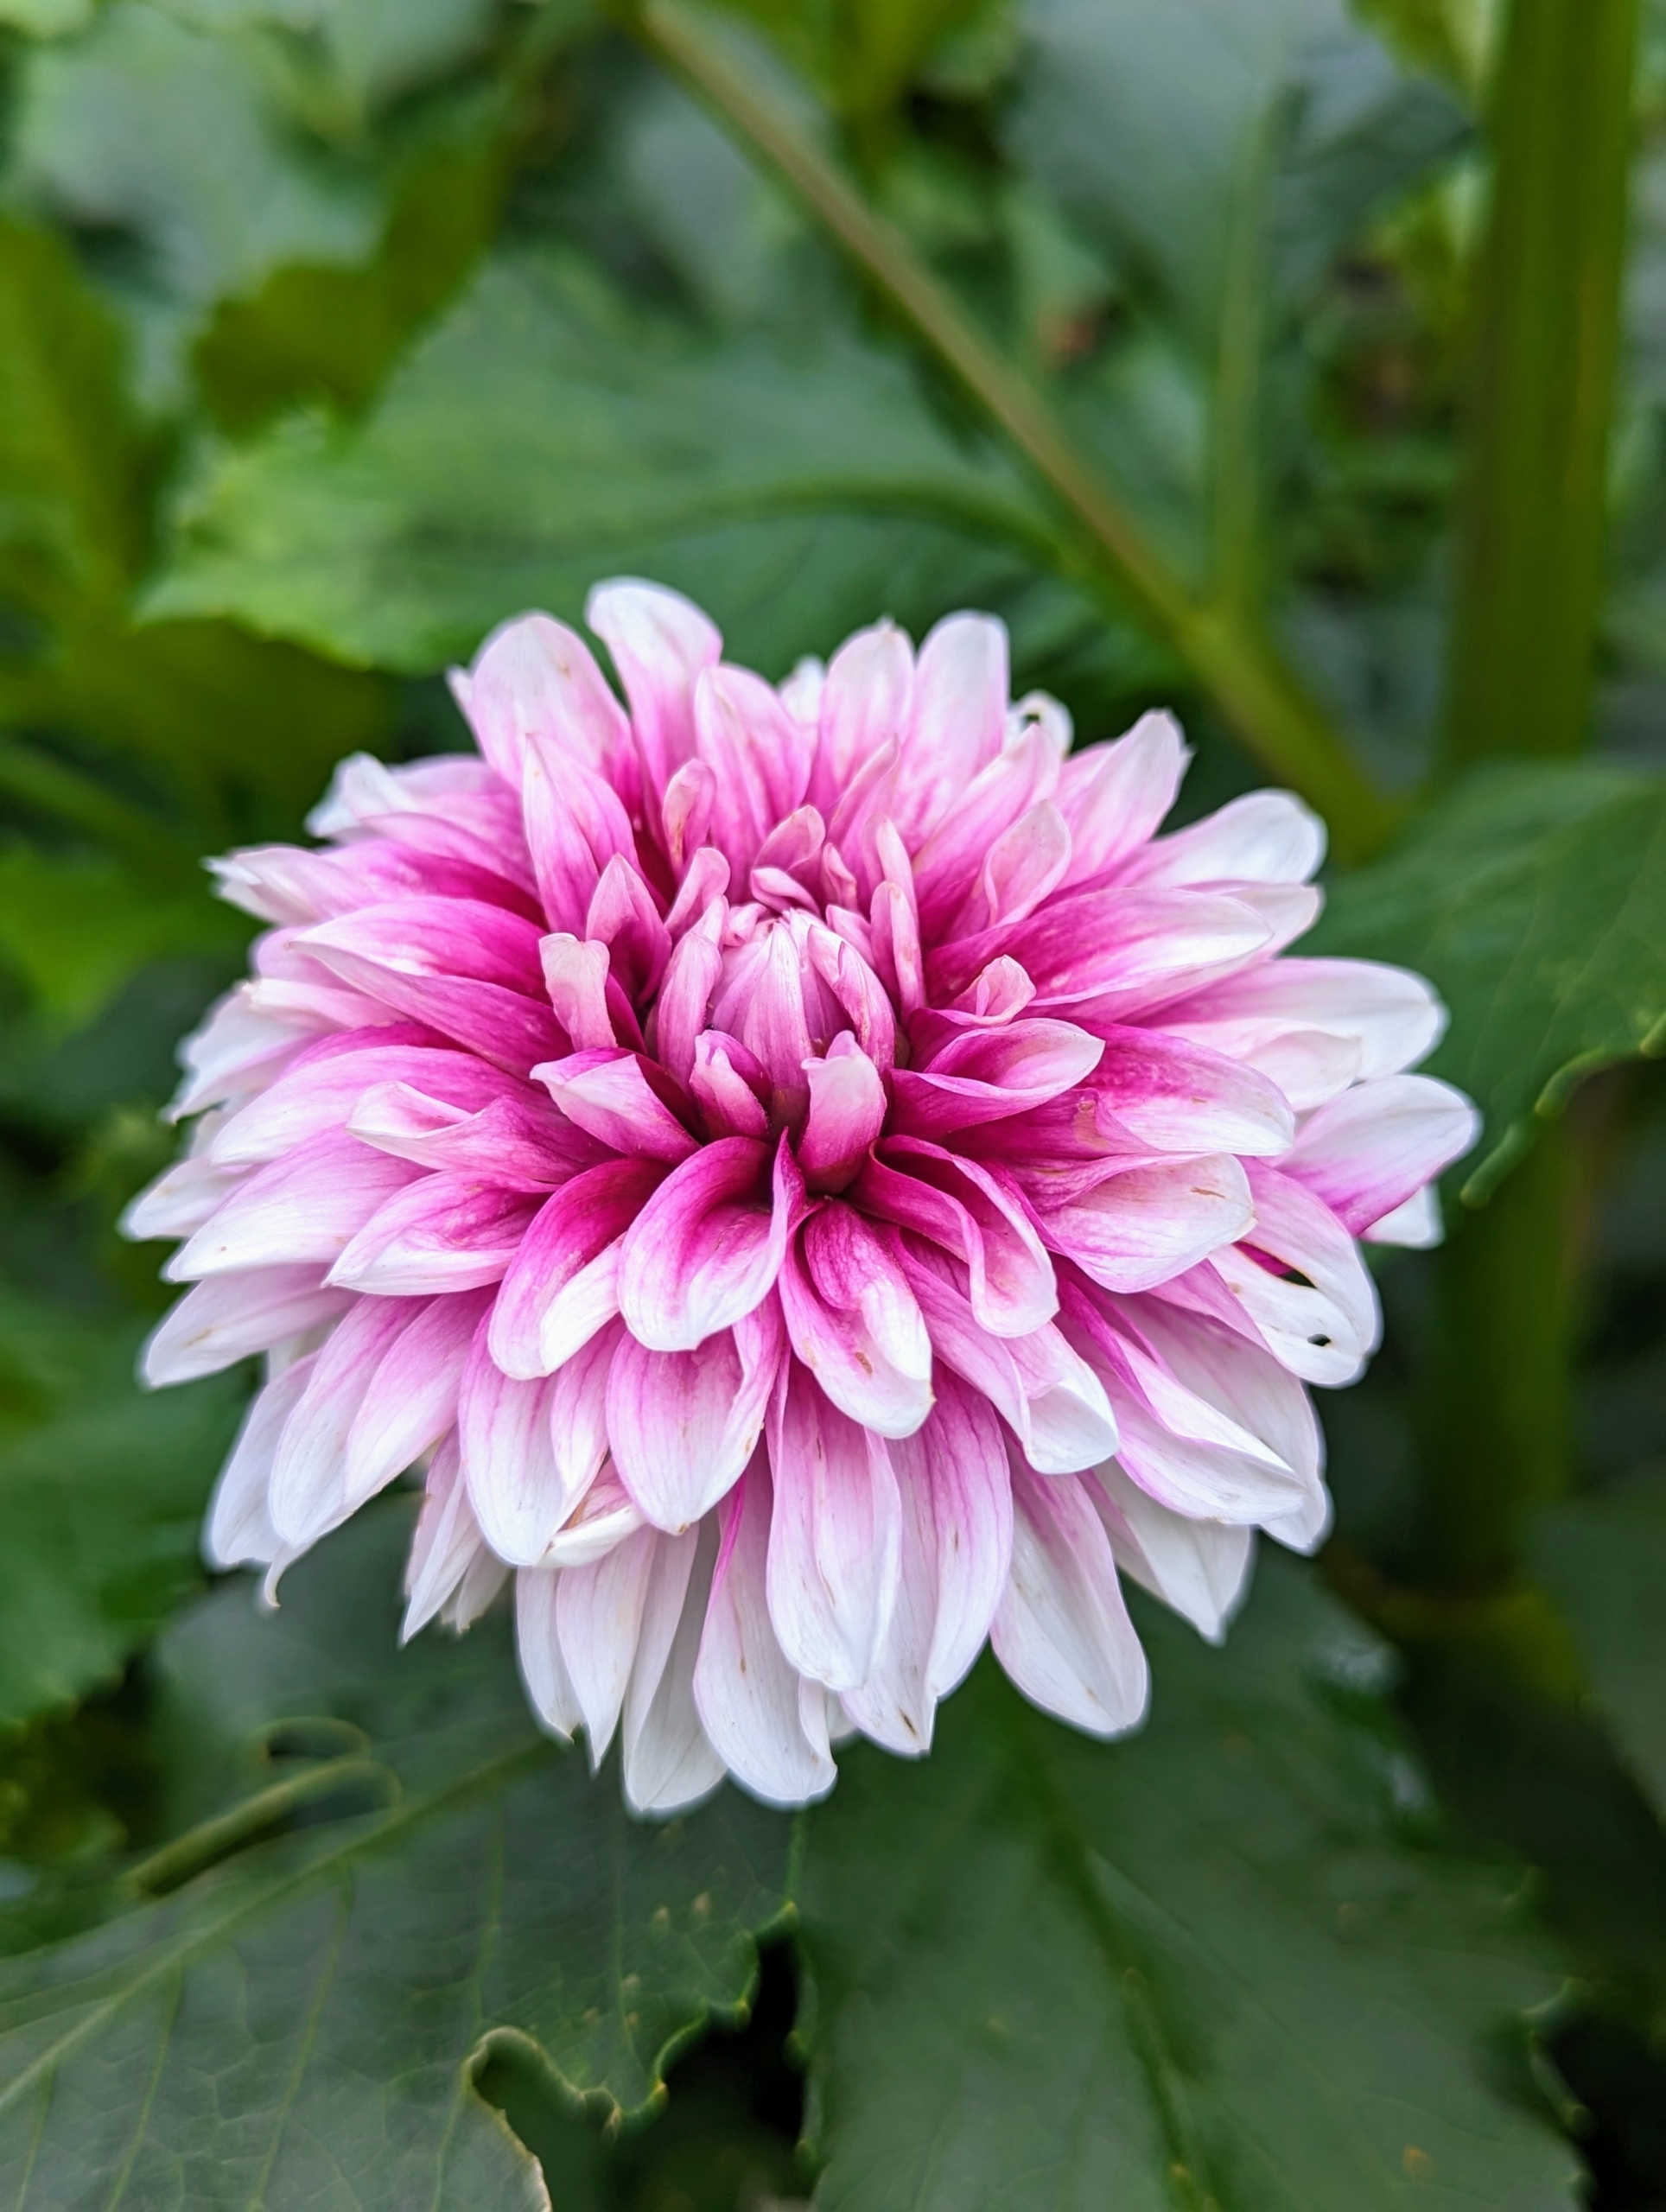
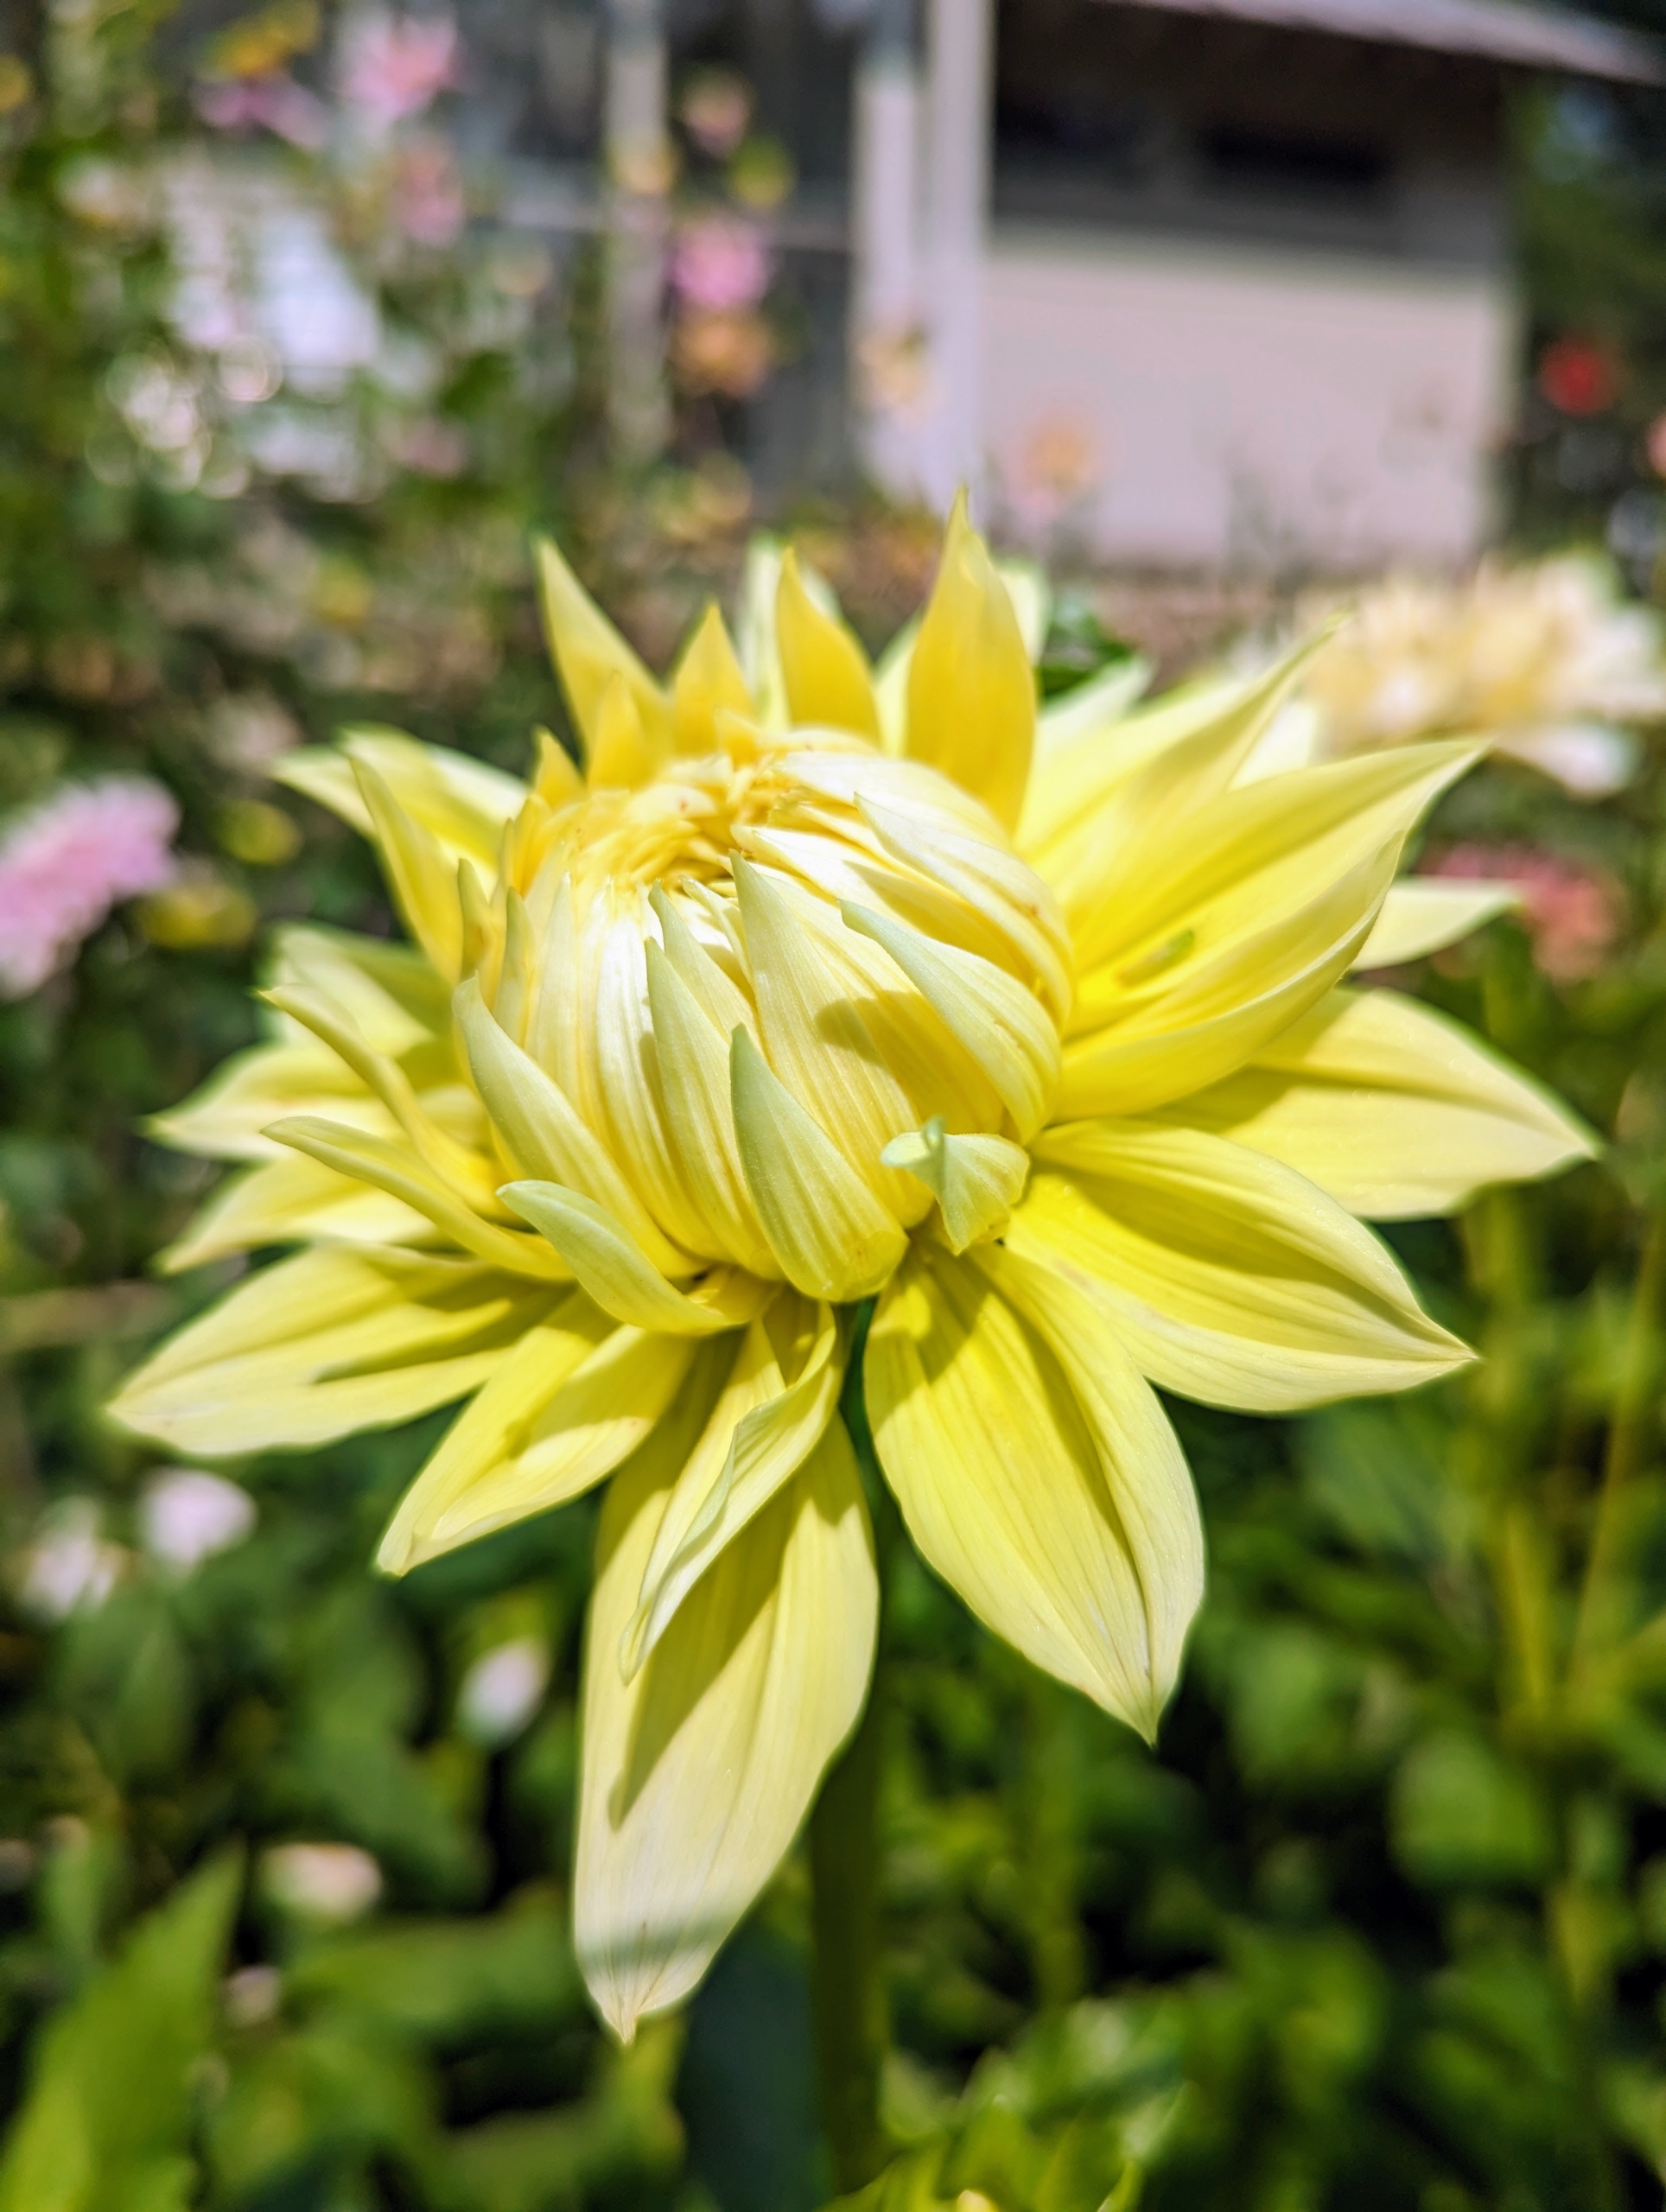
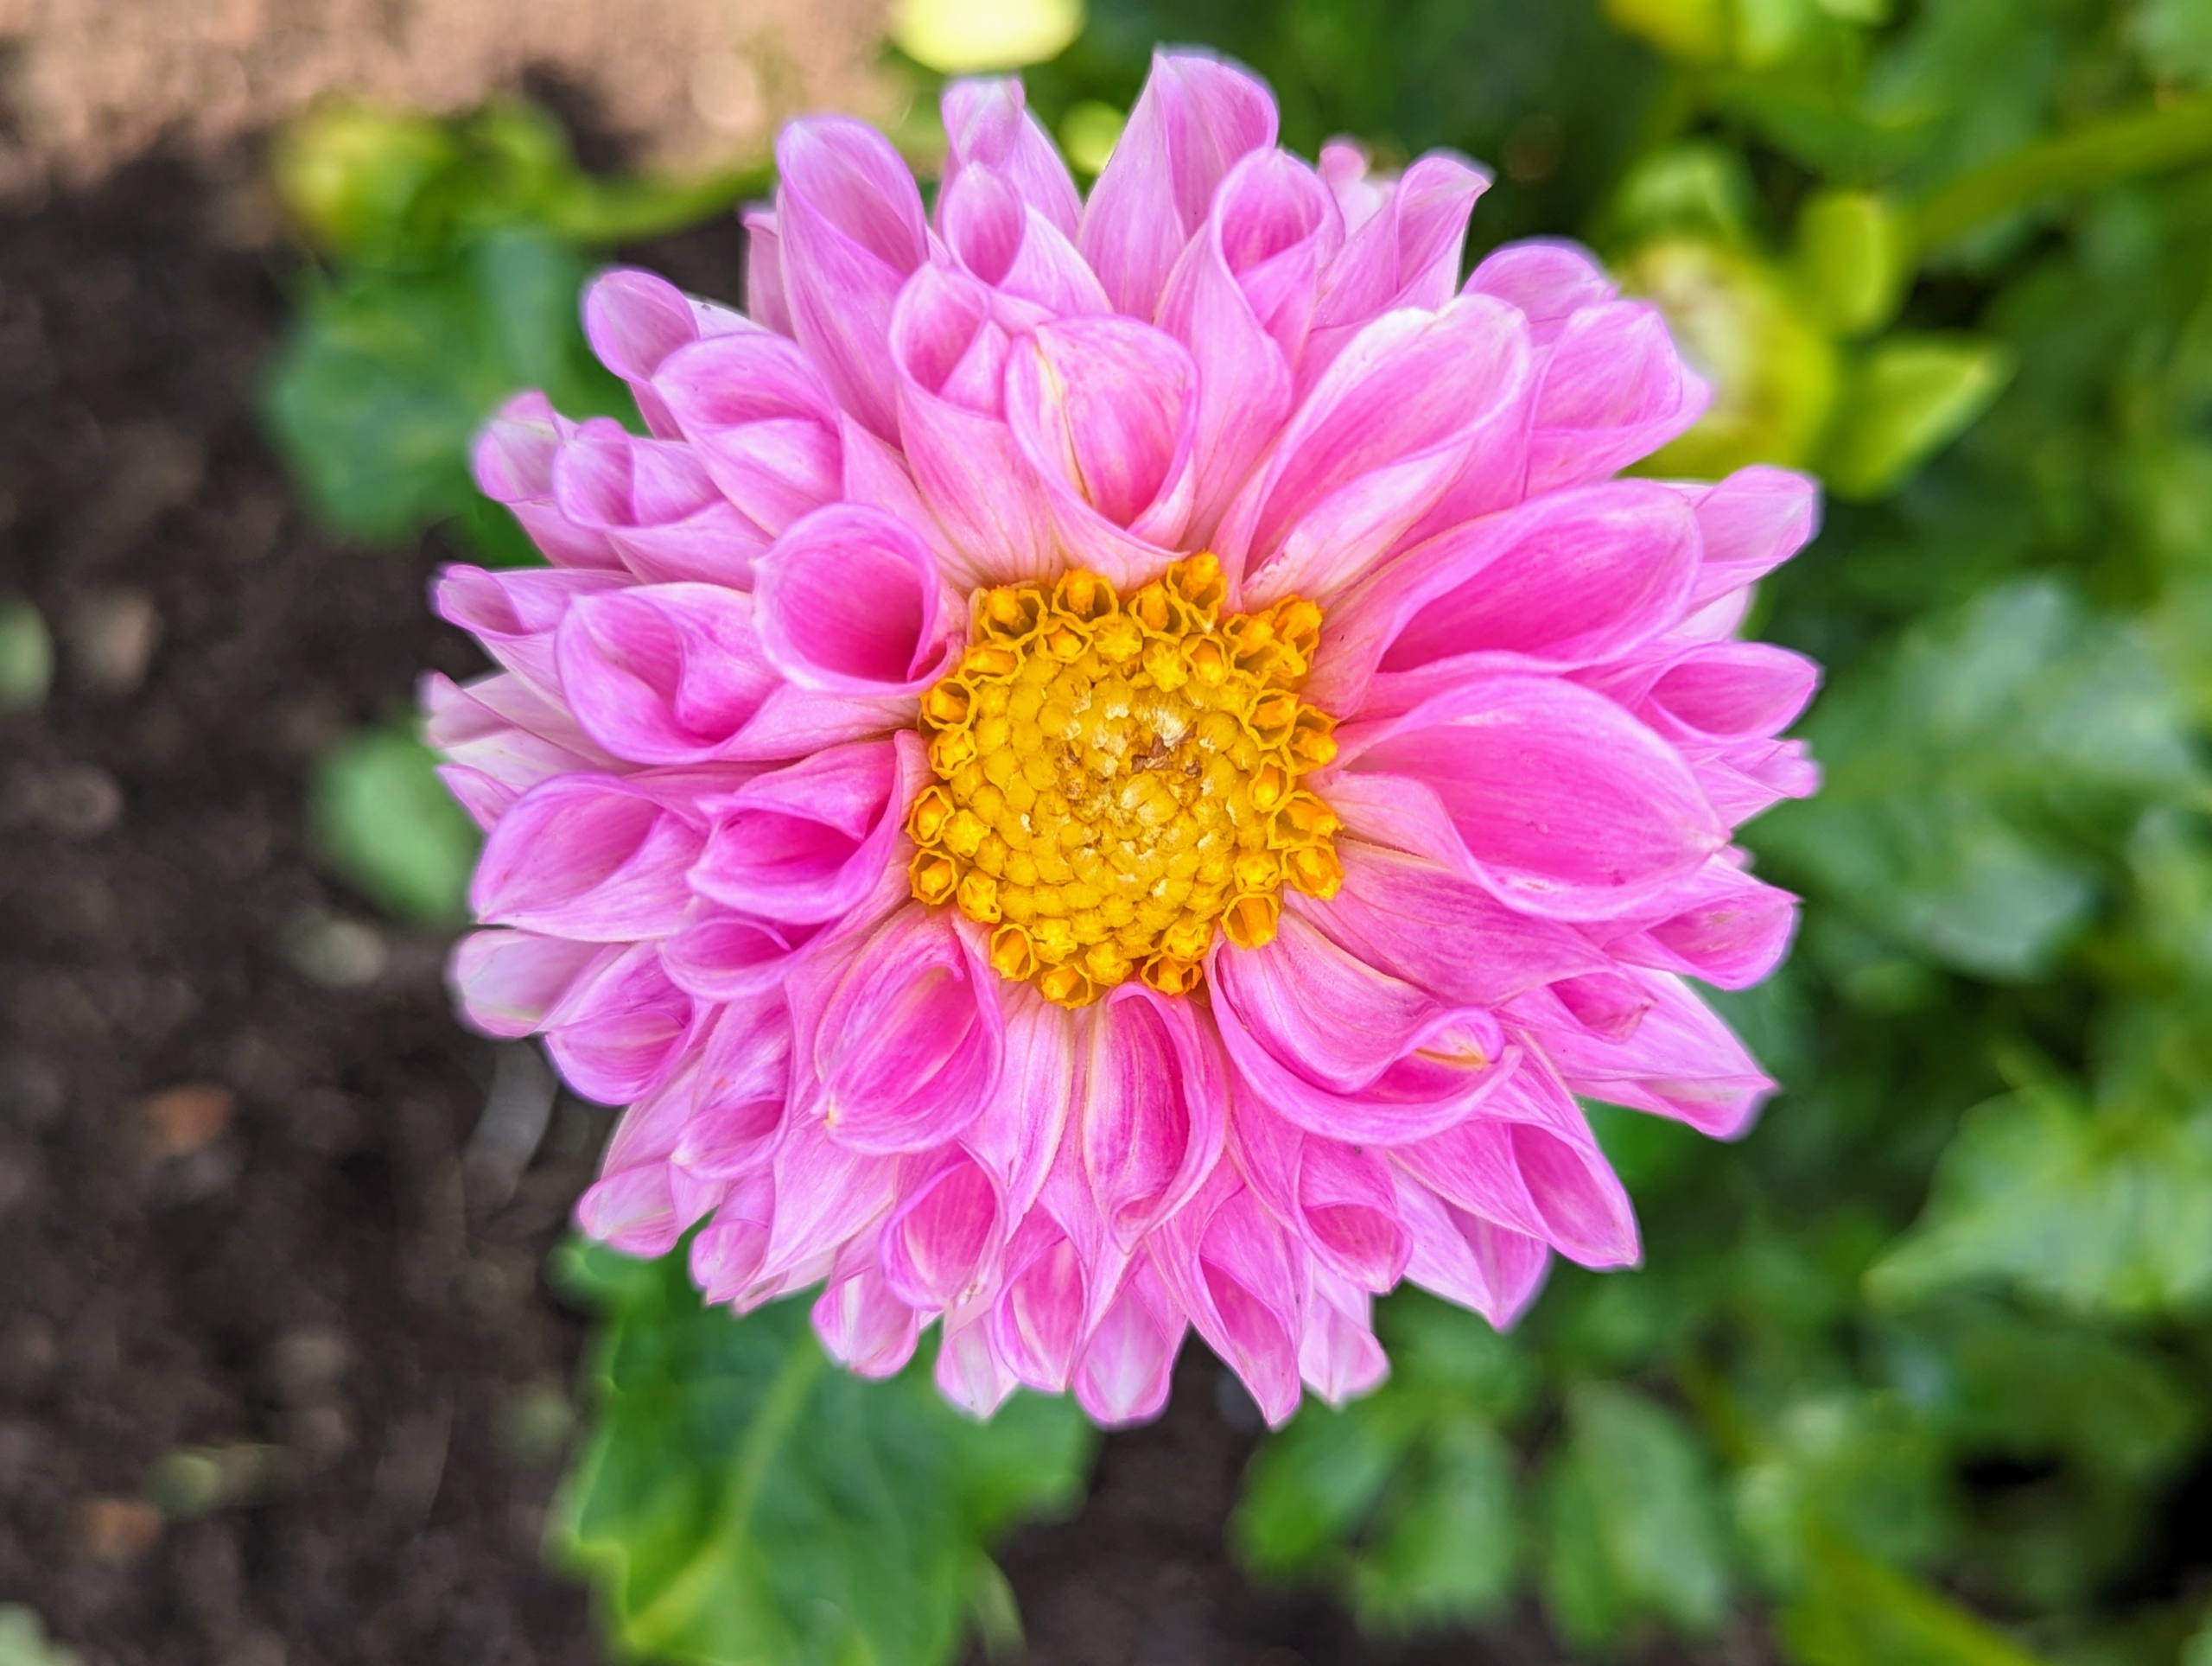
The array of flower colors, sizes, and shapes is astounding. Dahlias come in white, shades of pink, red, yellow, orange, shades of purple, and various combinations of these colors – every color but true blue.
This dark maroon dahlia always stands out in the garden. The genus Dahlia is native to the high plains of Mexico. Some species can be found in Guatemala, Honduras, Nicaragua, El Salvador & Costa Rica as well as parts of South America where it was introduced.
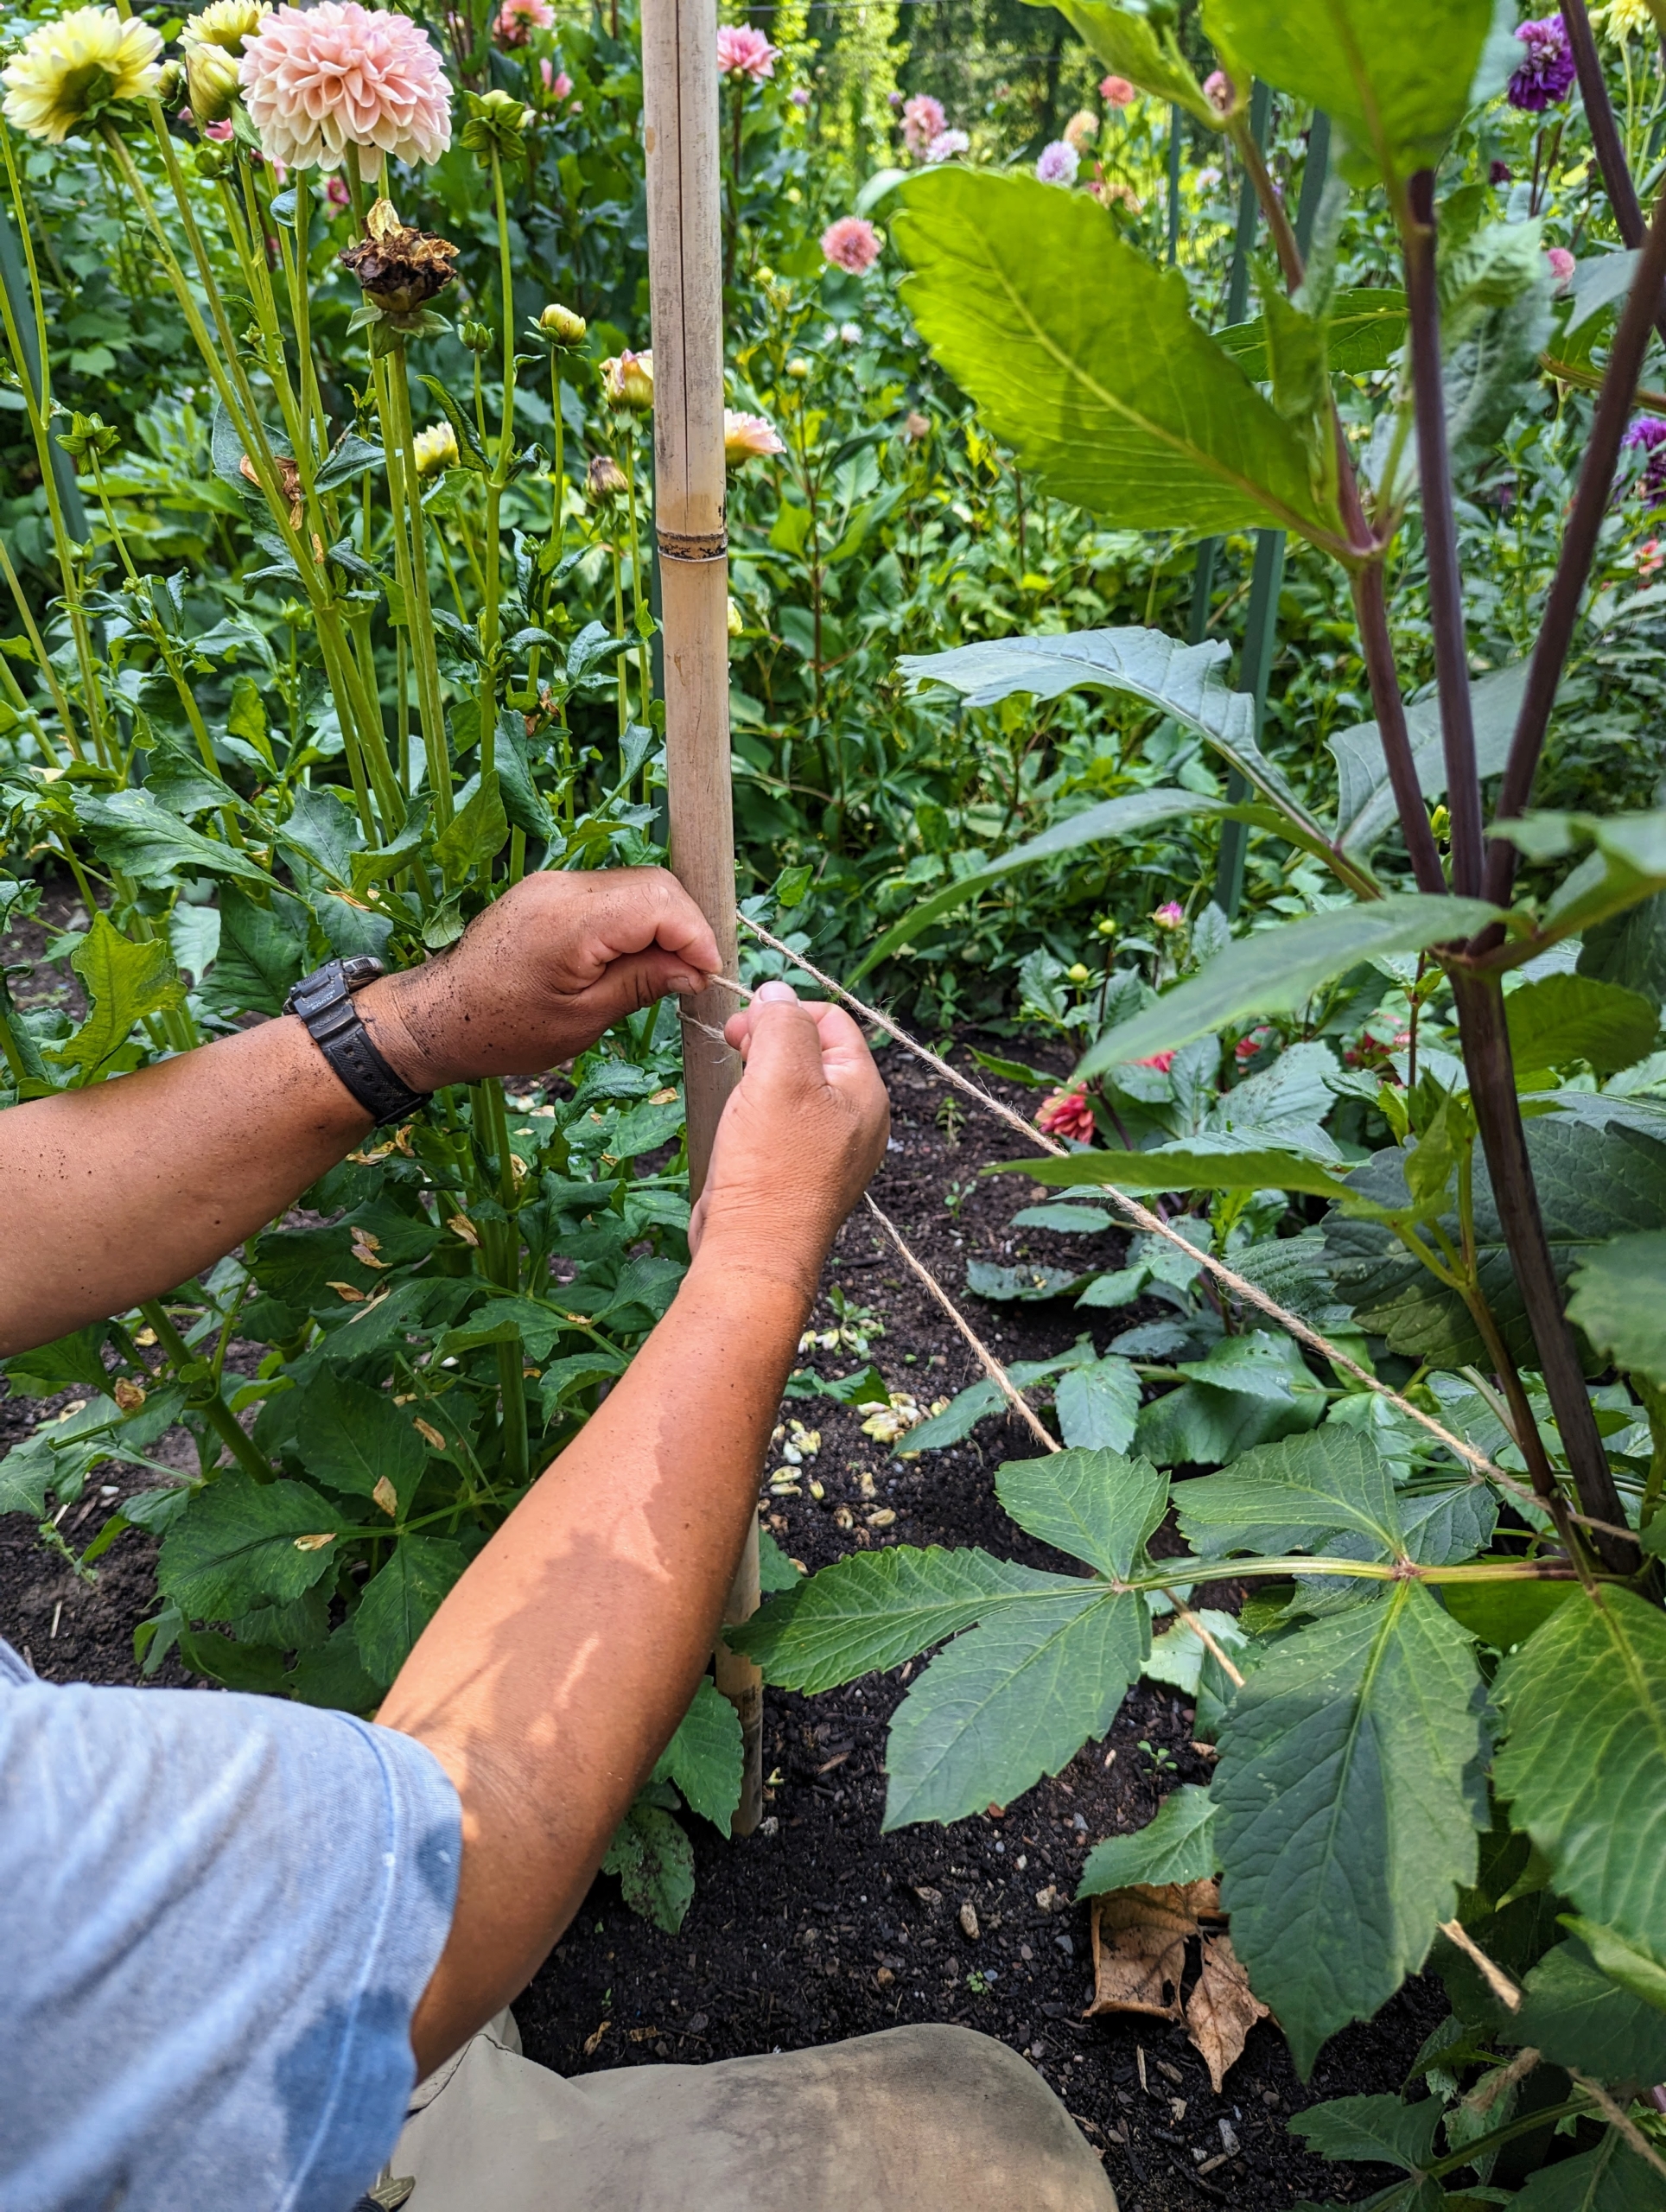
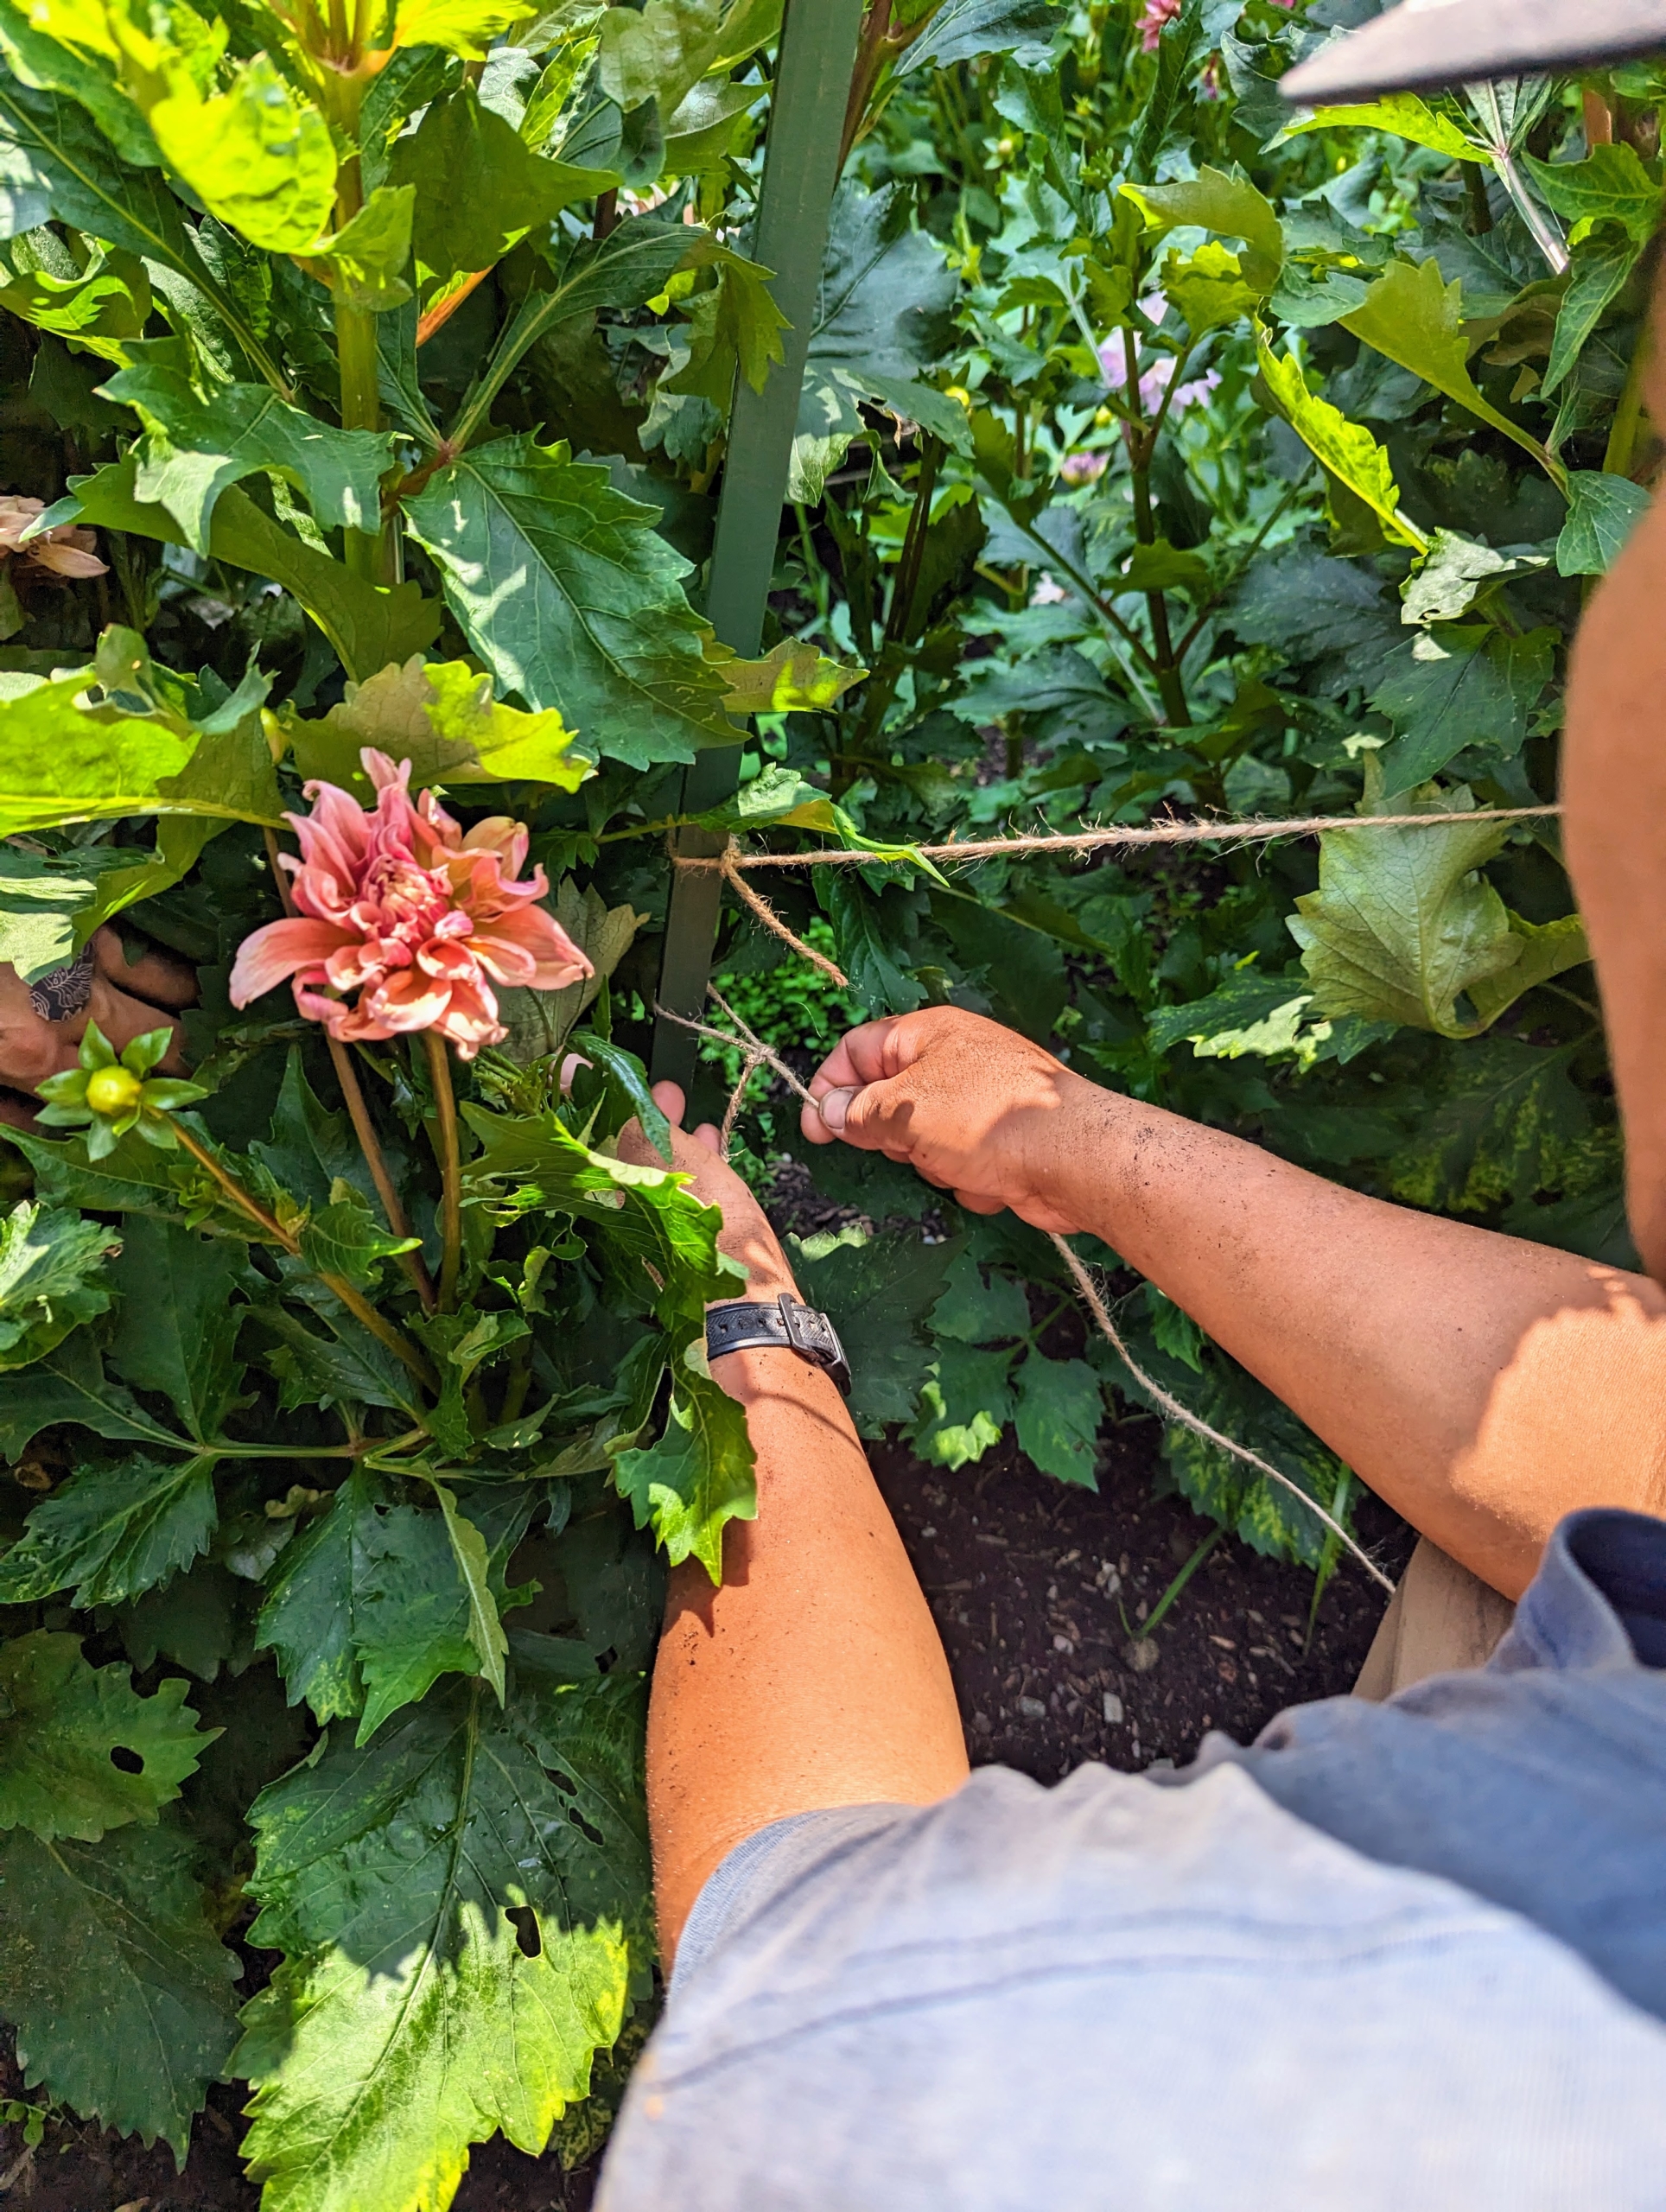
Phurba ties one end of the twine to a bamboo stake about two feet off the ground and then stretches it to the next stake a few feet away on one side. He does the same for the other side allowing the stems to sit in between the jute ties.
Then he does the same about eight inches up, so the support is at different heights. This is done three times.
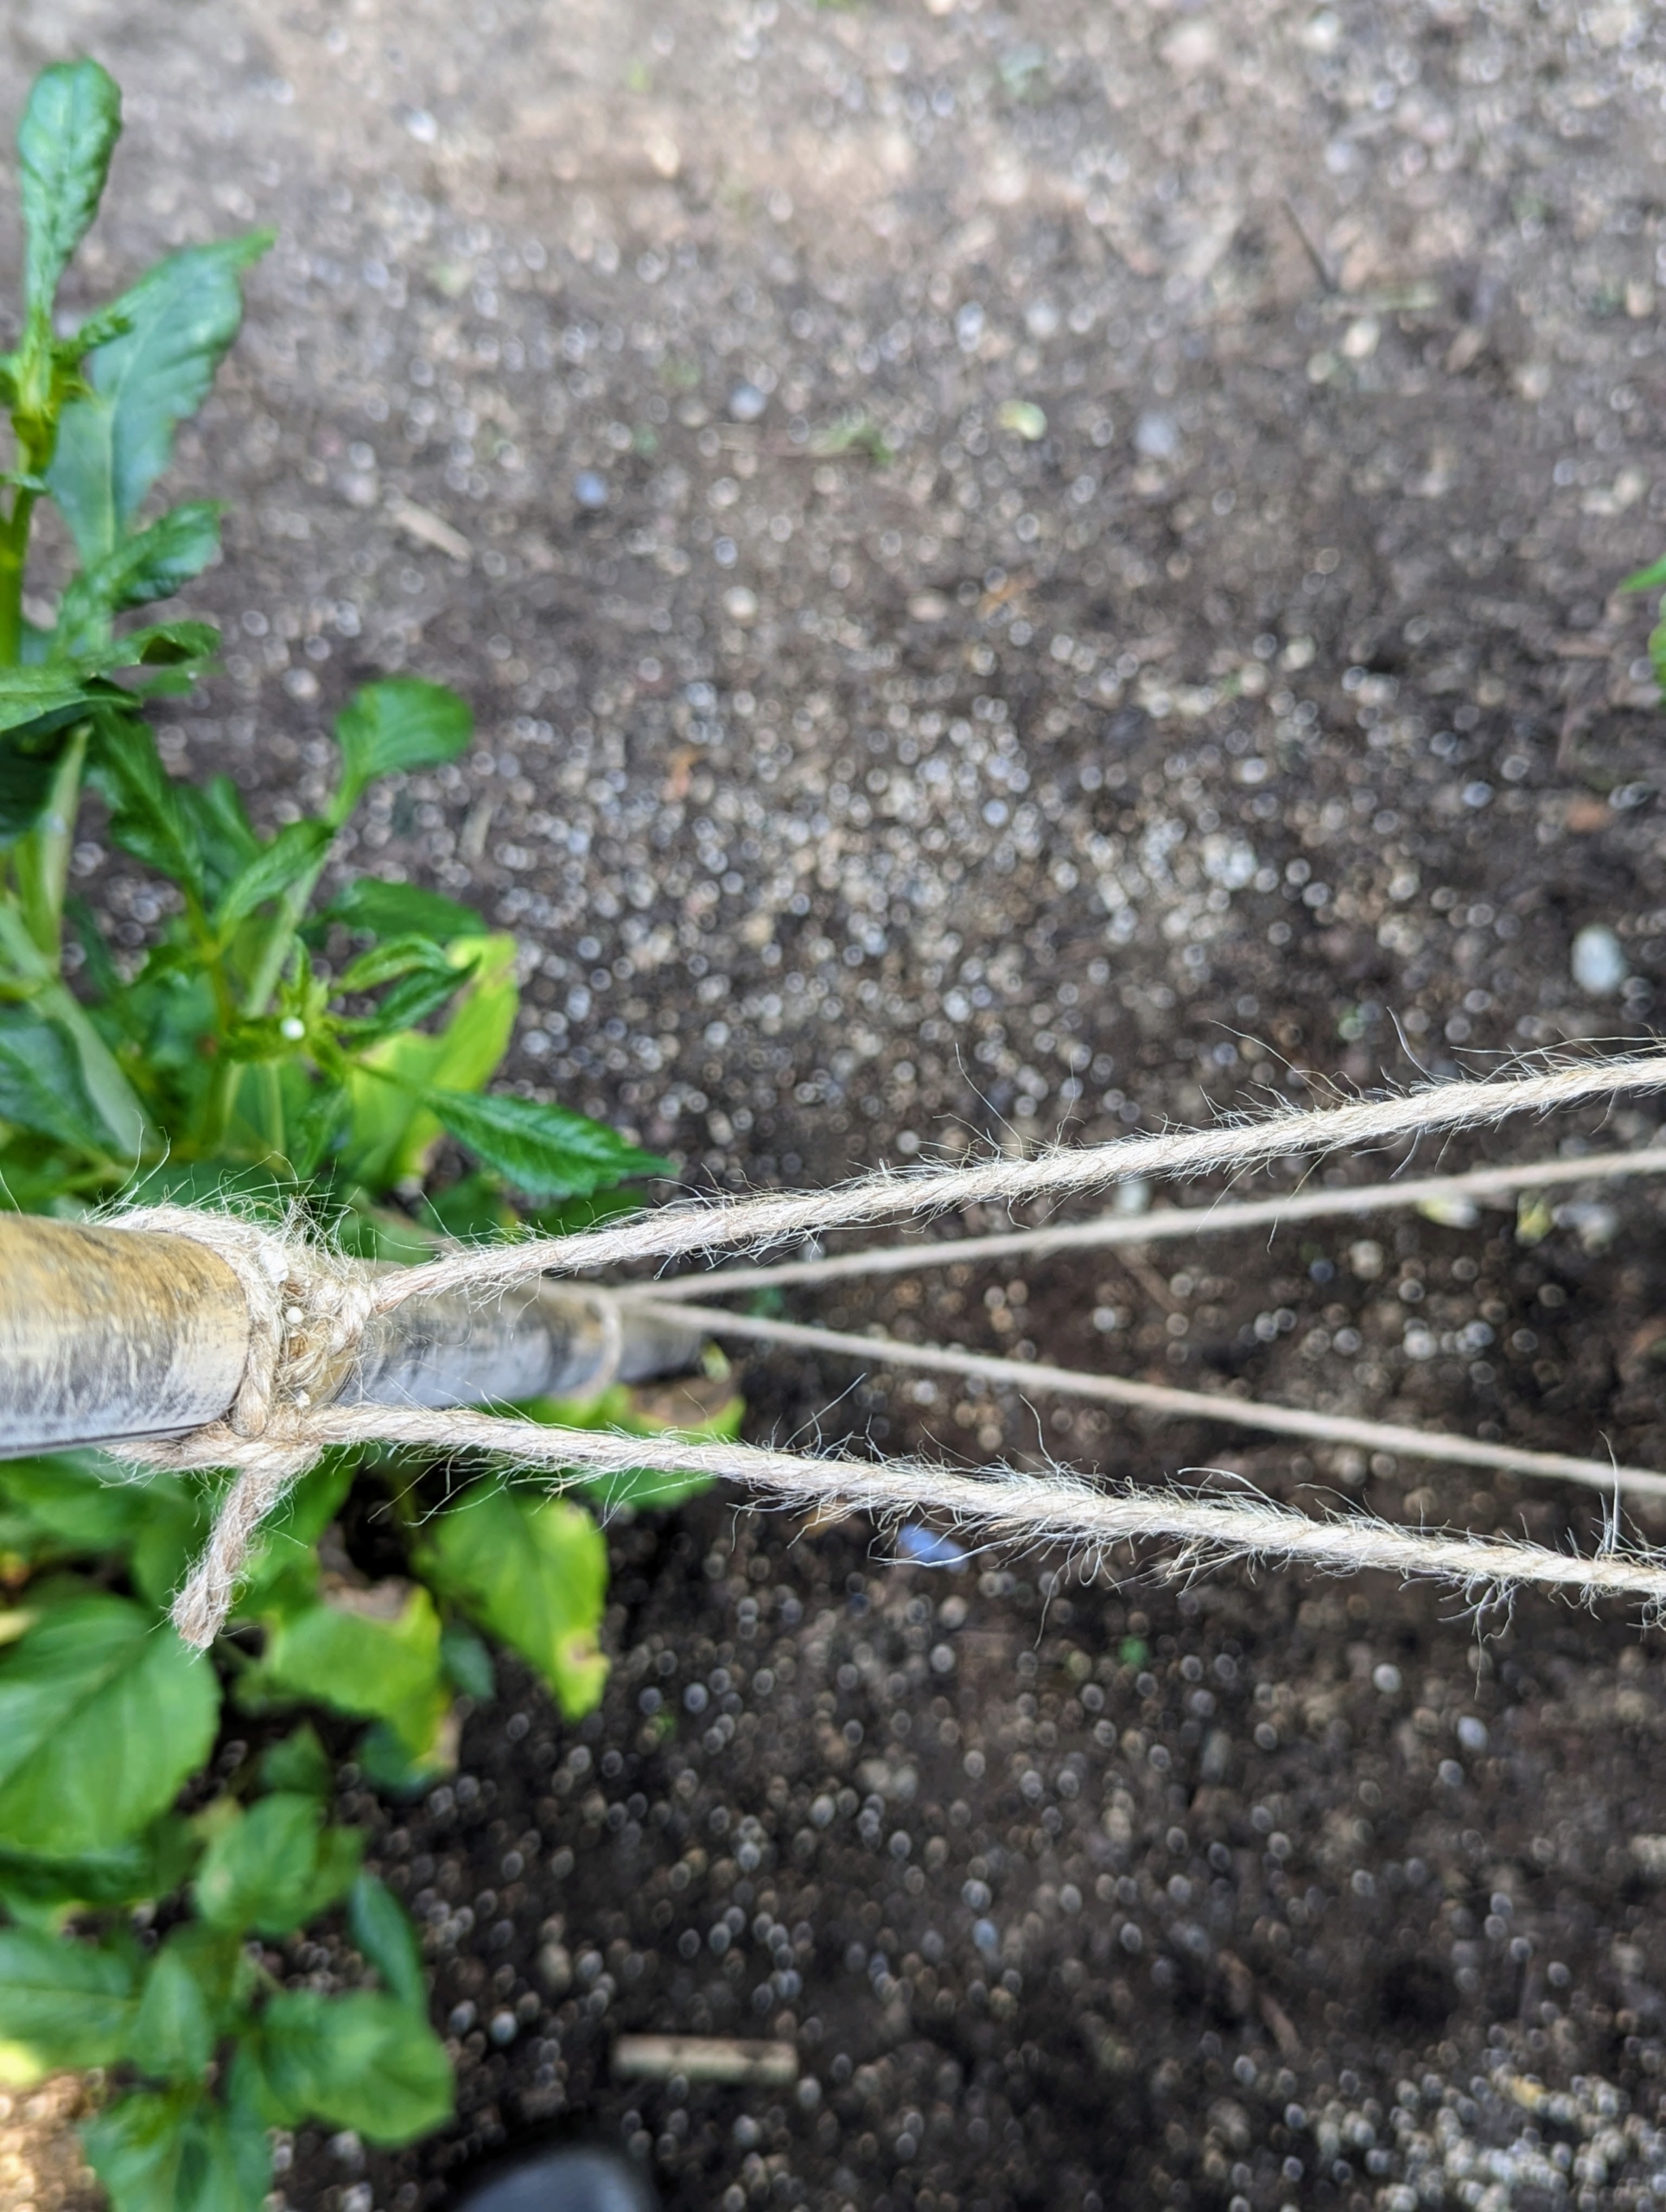
Here is a view from above. The twine opens in a “V” and goes around the plants.
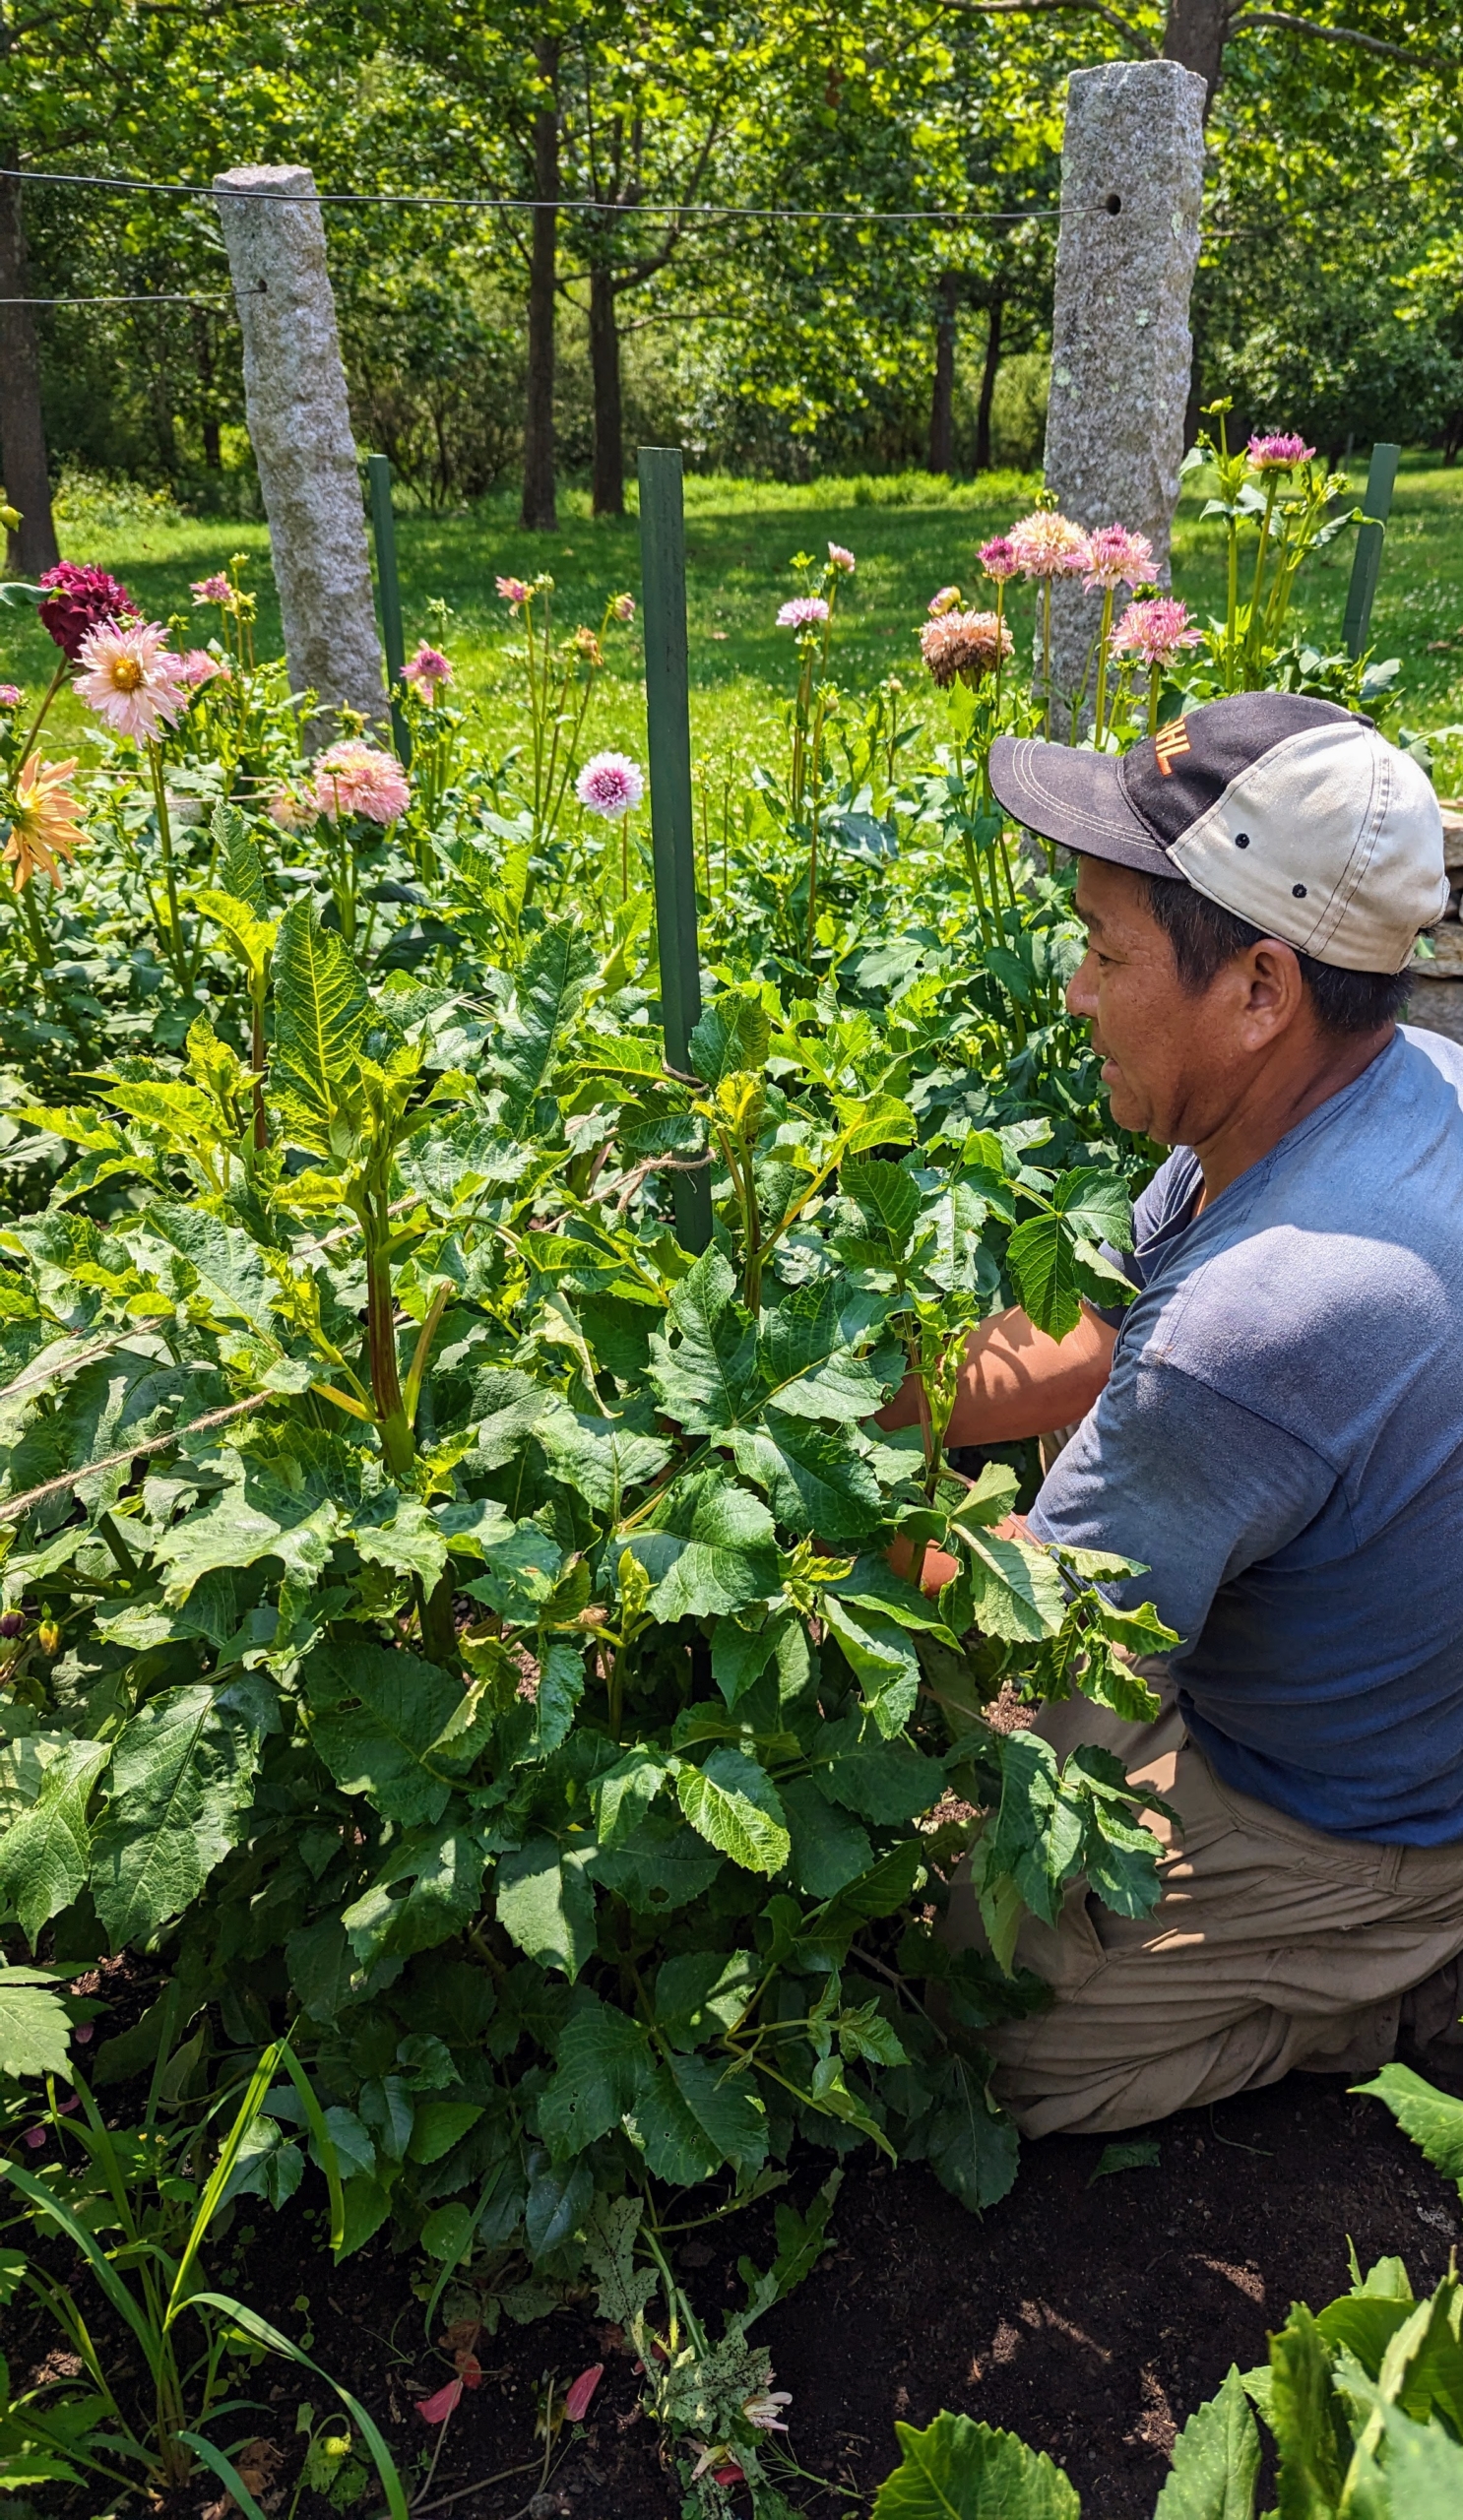
Here, Phurba carefully lifts any listing stems and places them inside the twine loop, so they are all together standing upright.
This process takes some time, but it is worth doing to prevent the stems from breaking.
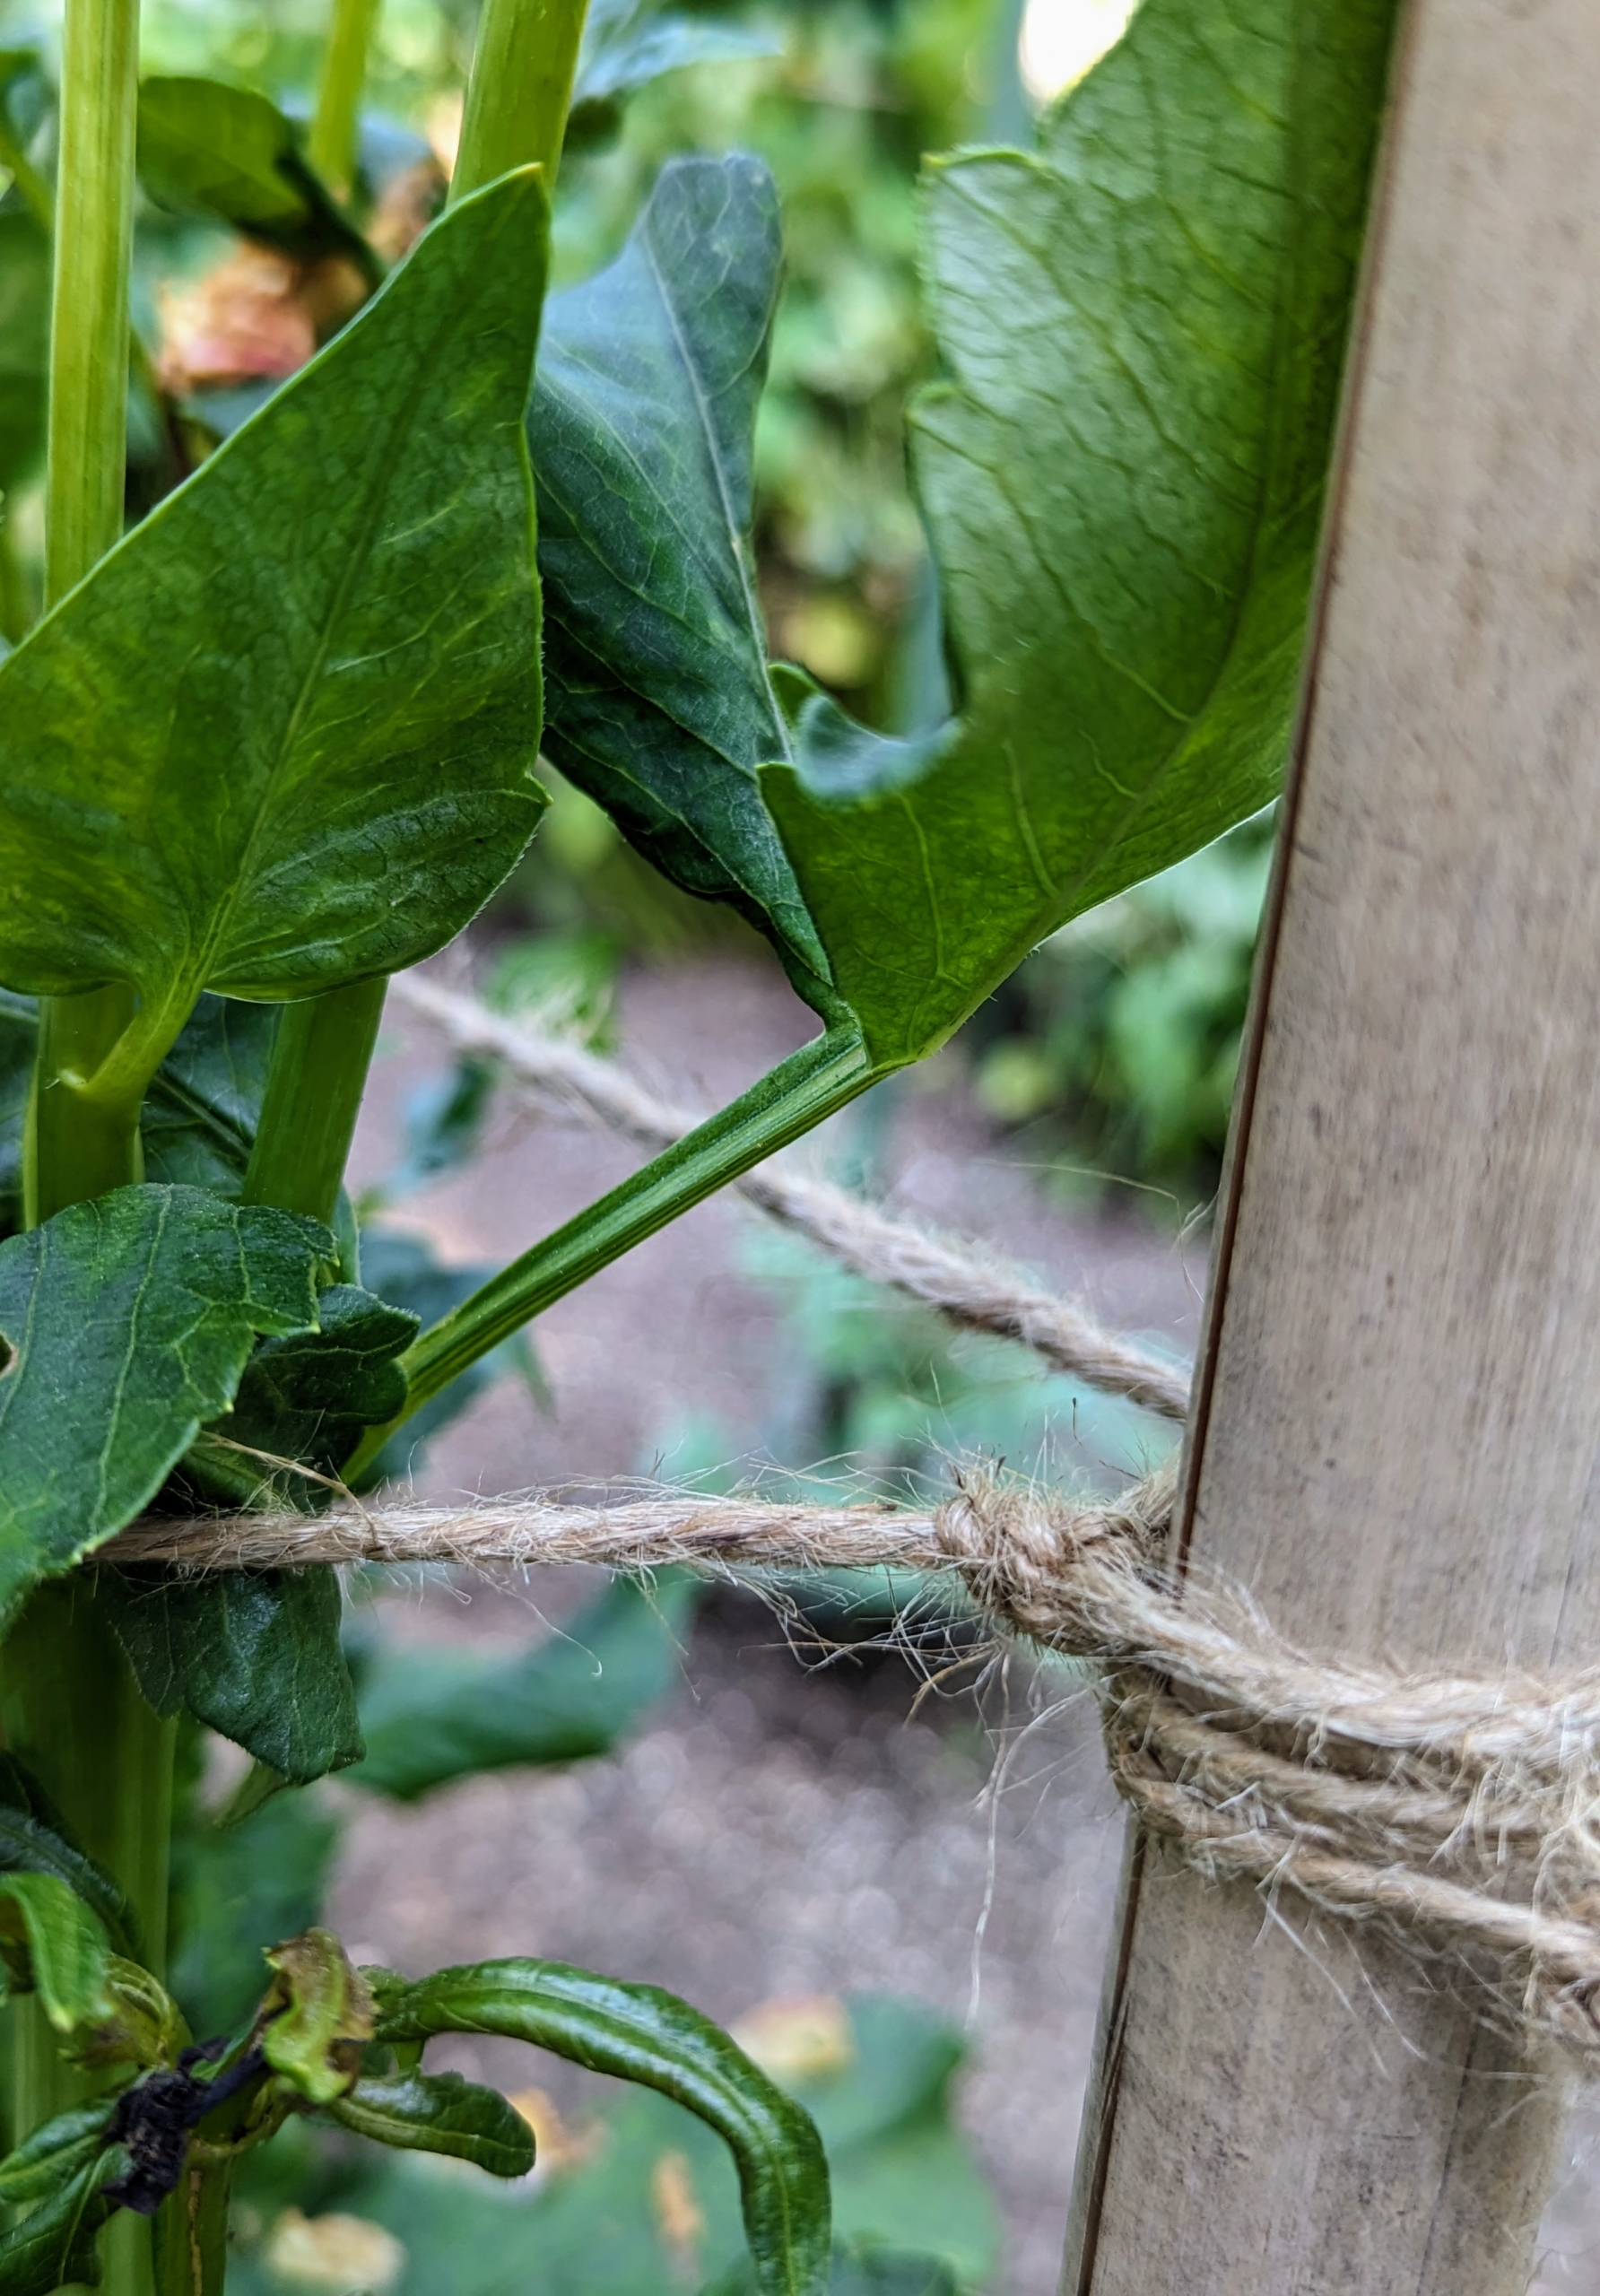
Jute twine is available in different thicknesses and its tensile strength can reach about 140-pounds, but because it is a natural material, it can degrade over time. Pulling the twine tightly will help it keep its form through the season.
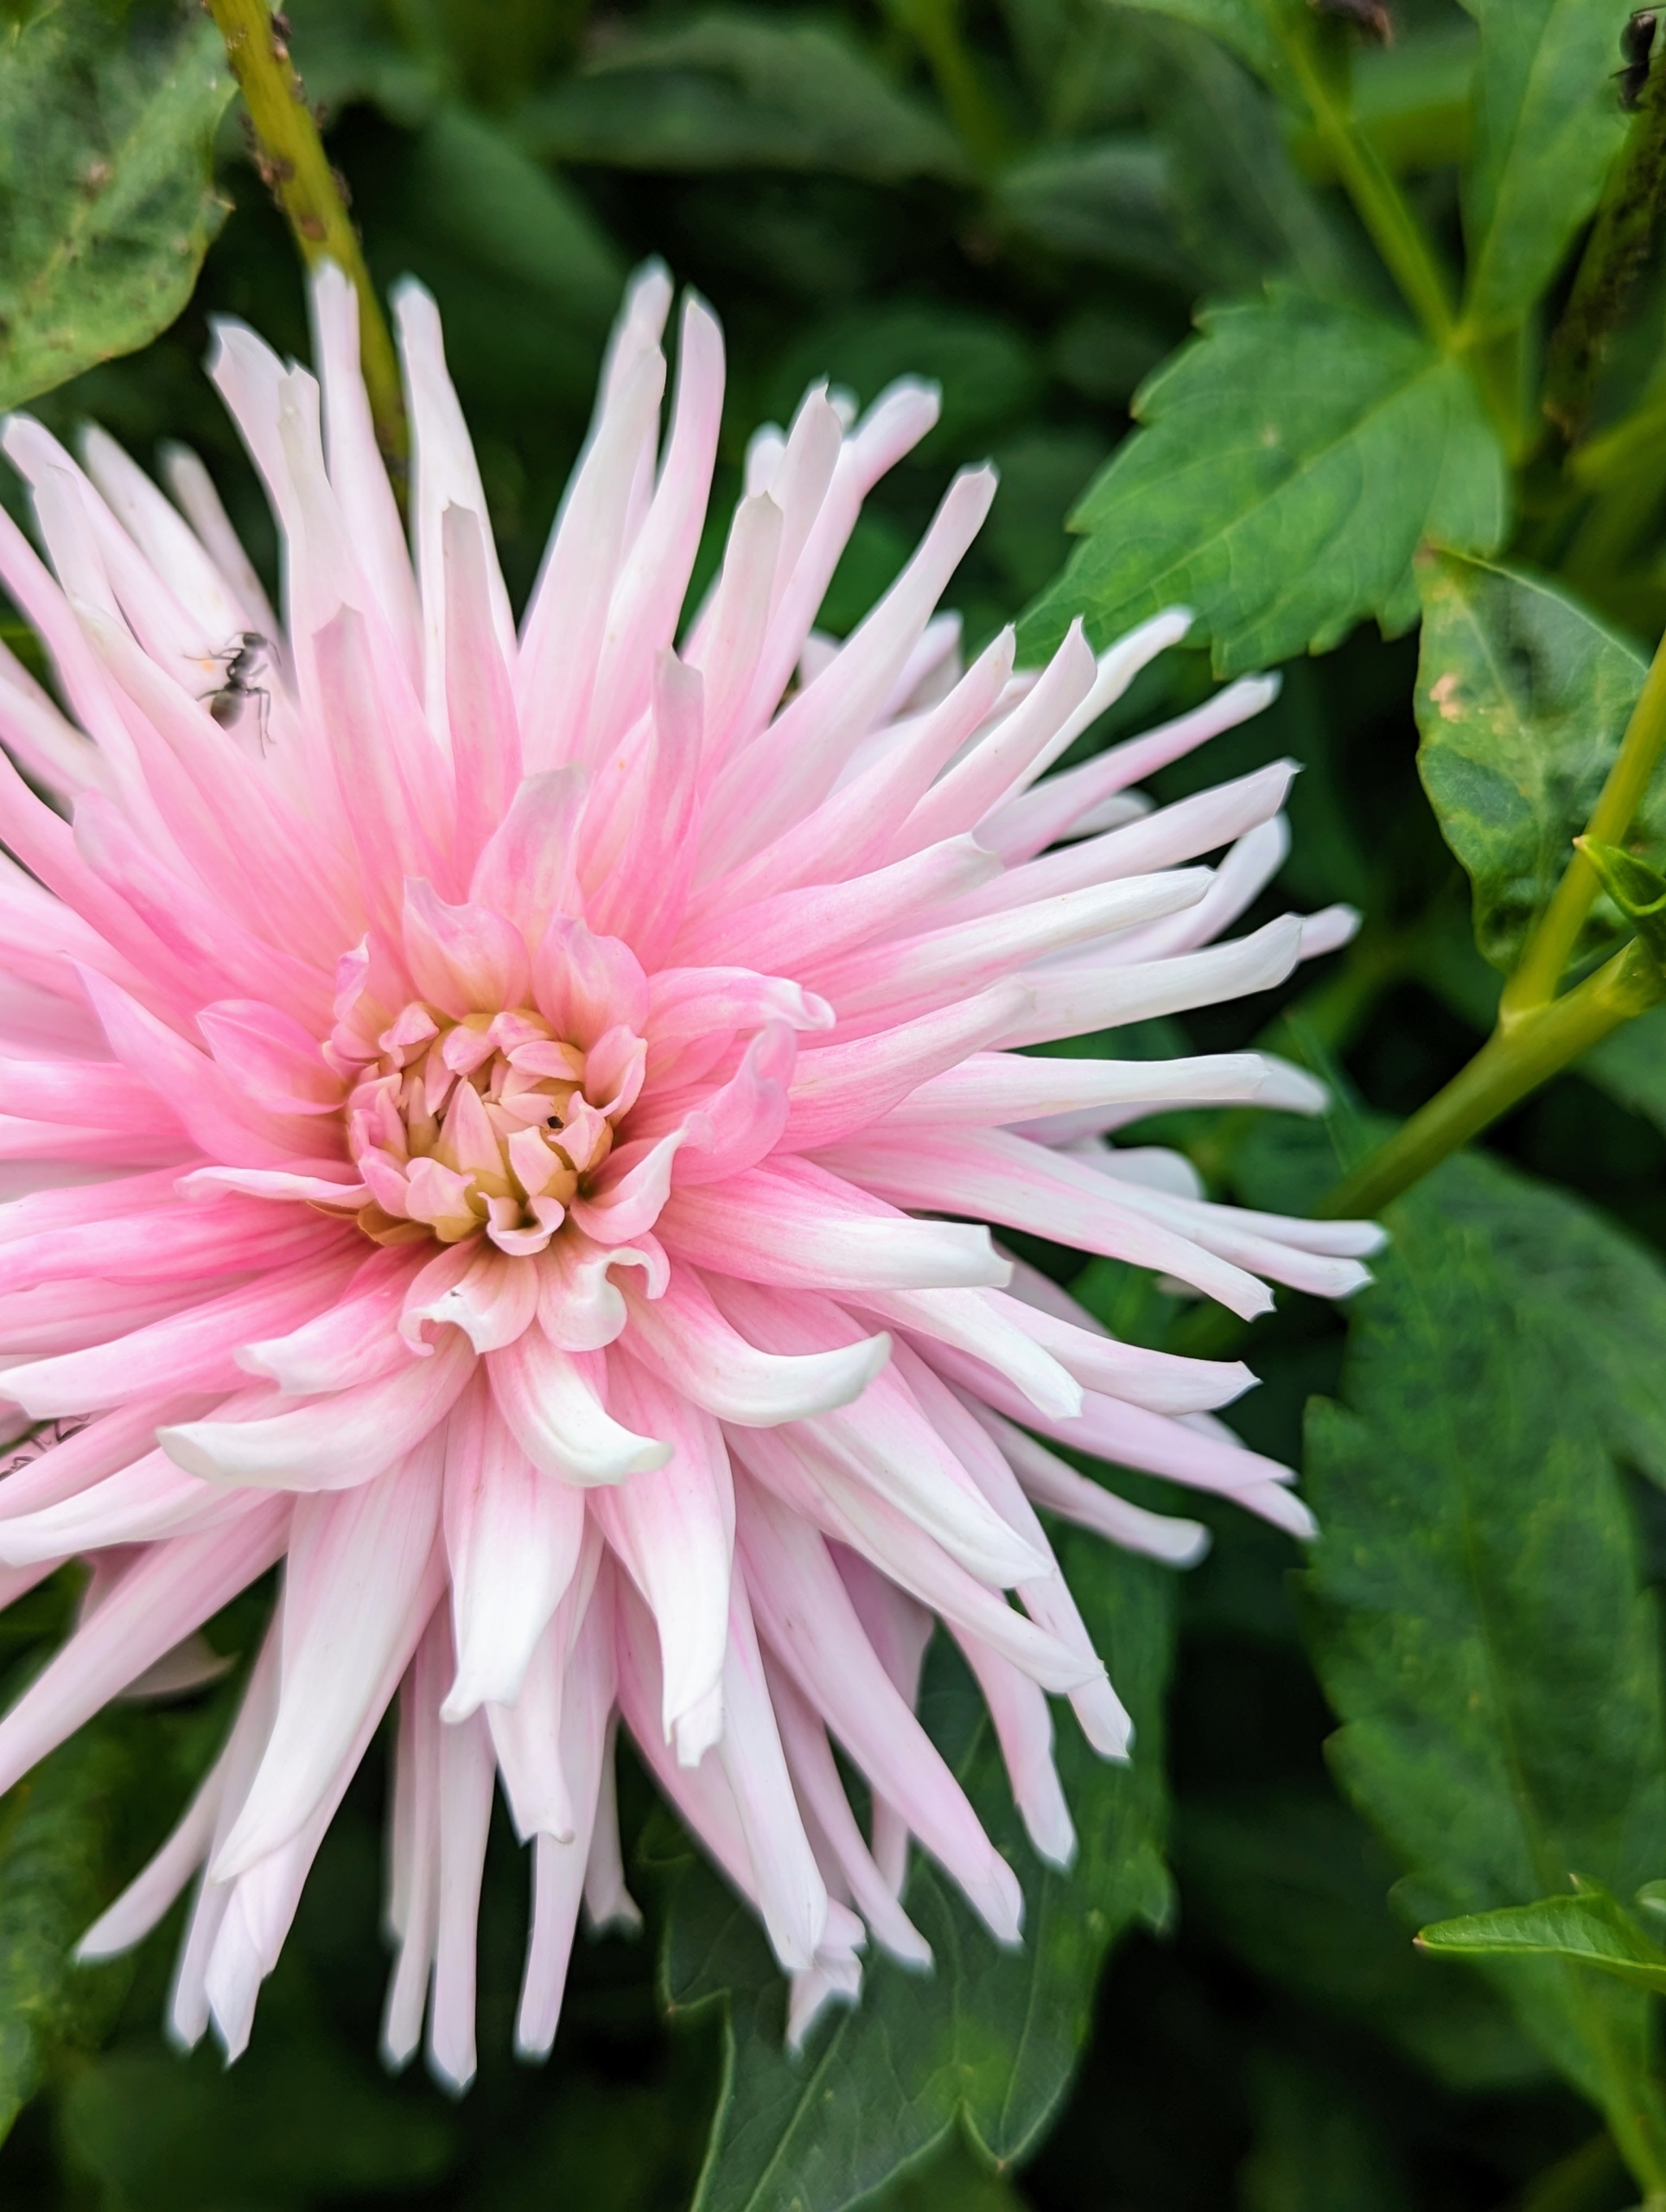
Dahlias are classified according to flower shape and petal arrangement. Flowers come one head per stem. The blooms can be as small as two-inches in diameter or up to one foot across. They are divided into 10 groups: single, anemone, collarette, waterlily, decorative, fall, pompon, cactus, semi-cactus, and miscellaneous.
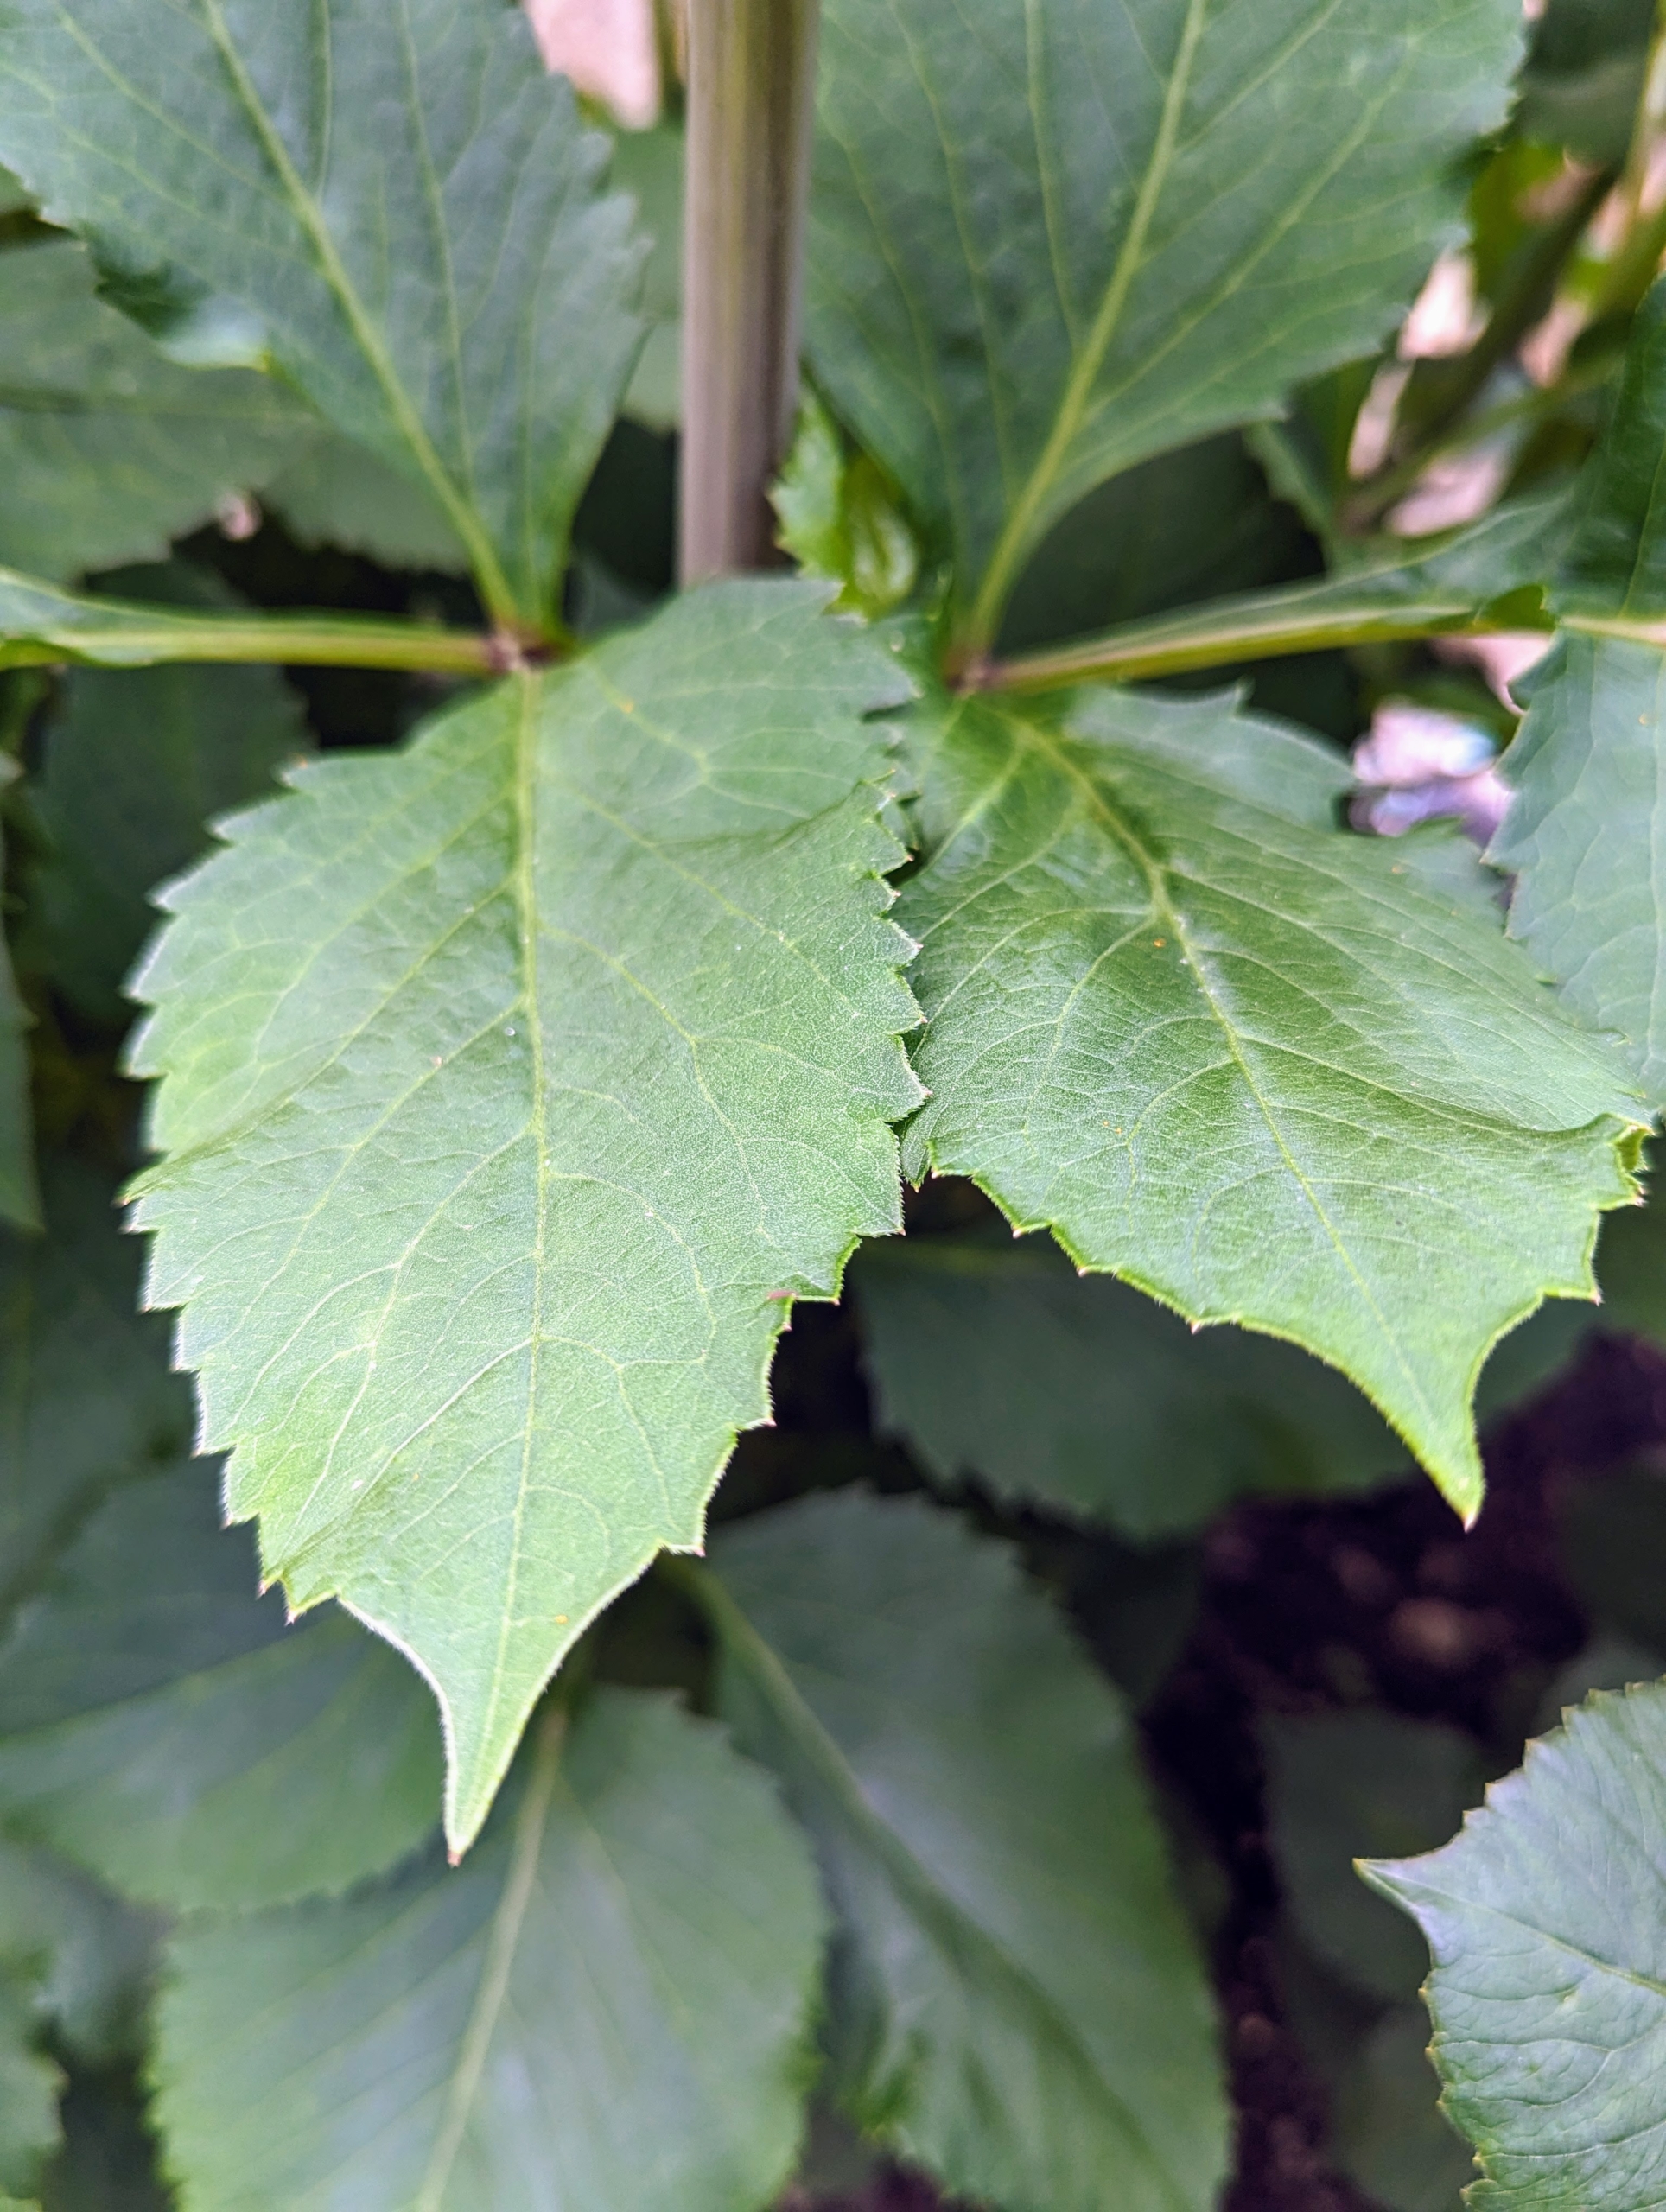
Dahlia plant leaves grow segments that are ovate to oblong to lanceolate in shape. The leaf margins may be lobed or dentate. Leaves may be green, reddish-purple, or purple-black depending on the variety.
Here is a large yellow dahlia still in the process of opening.
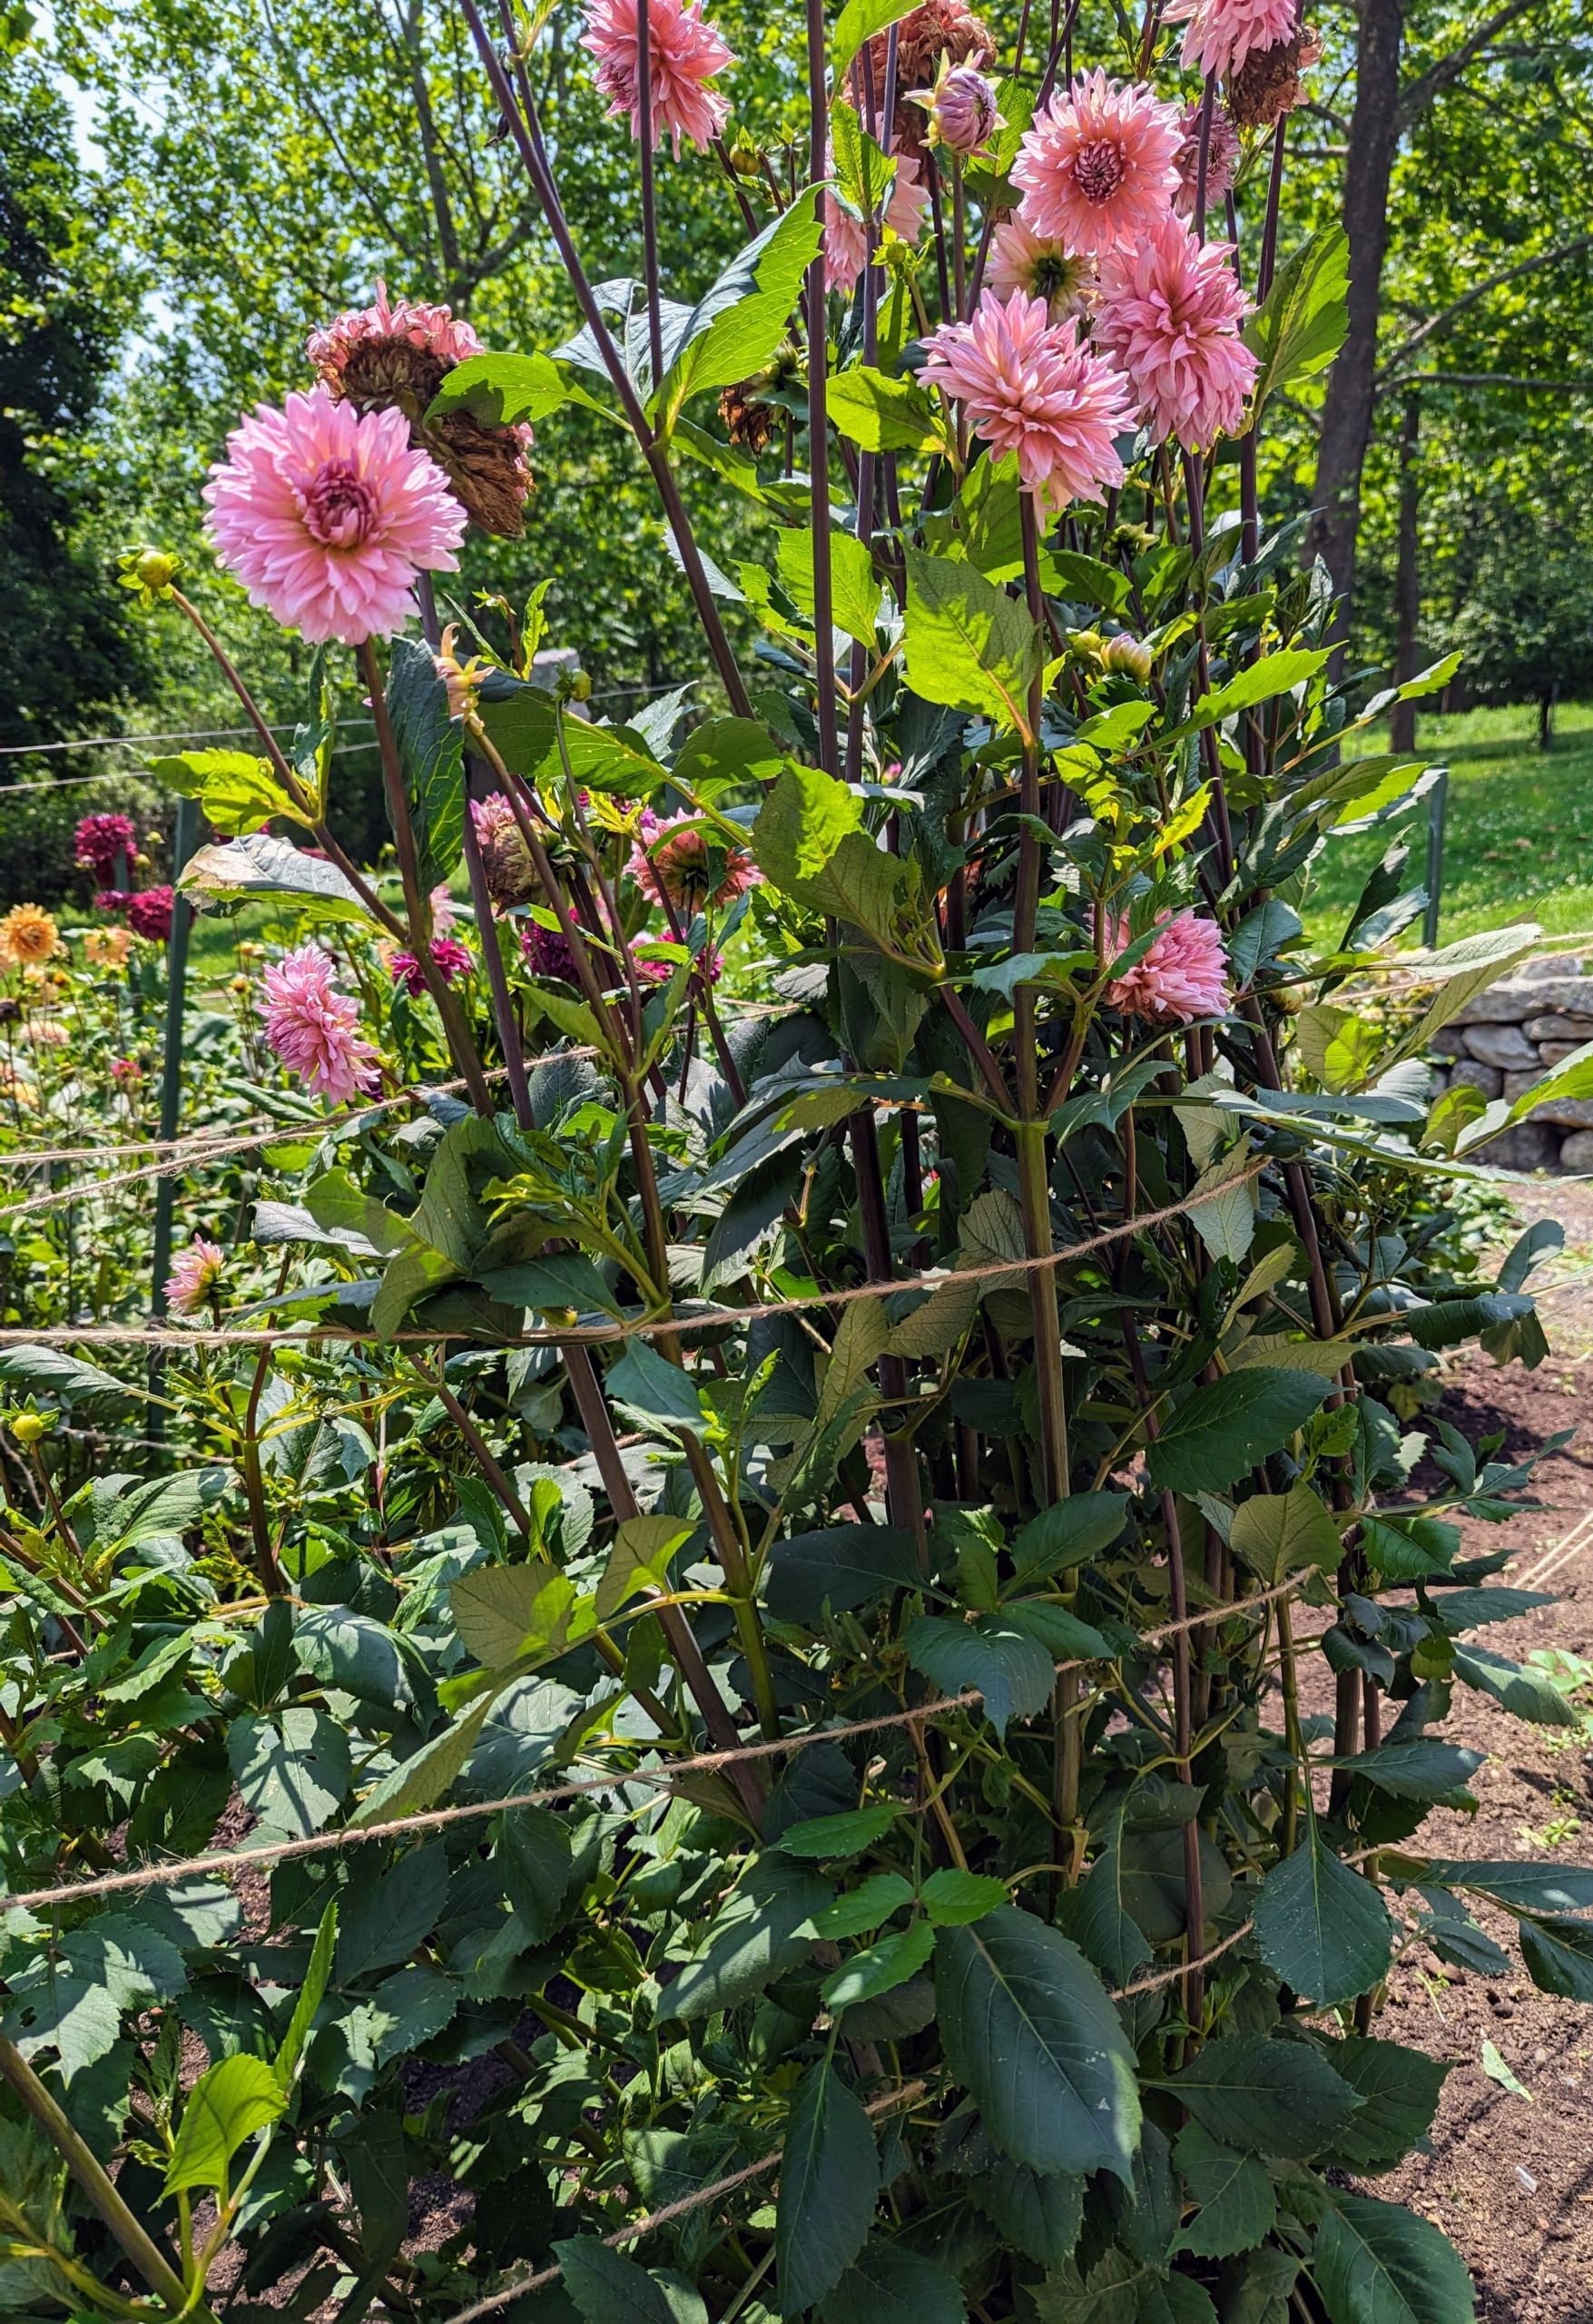
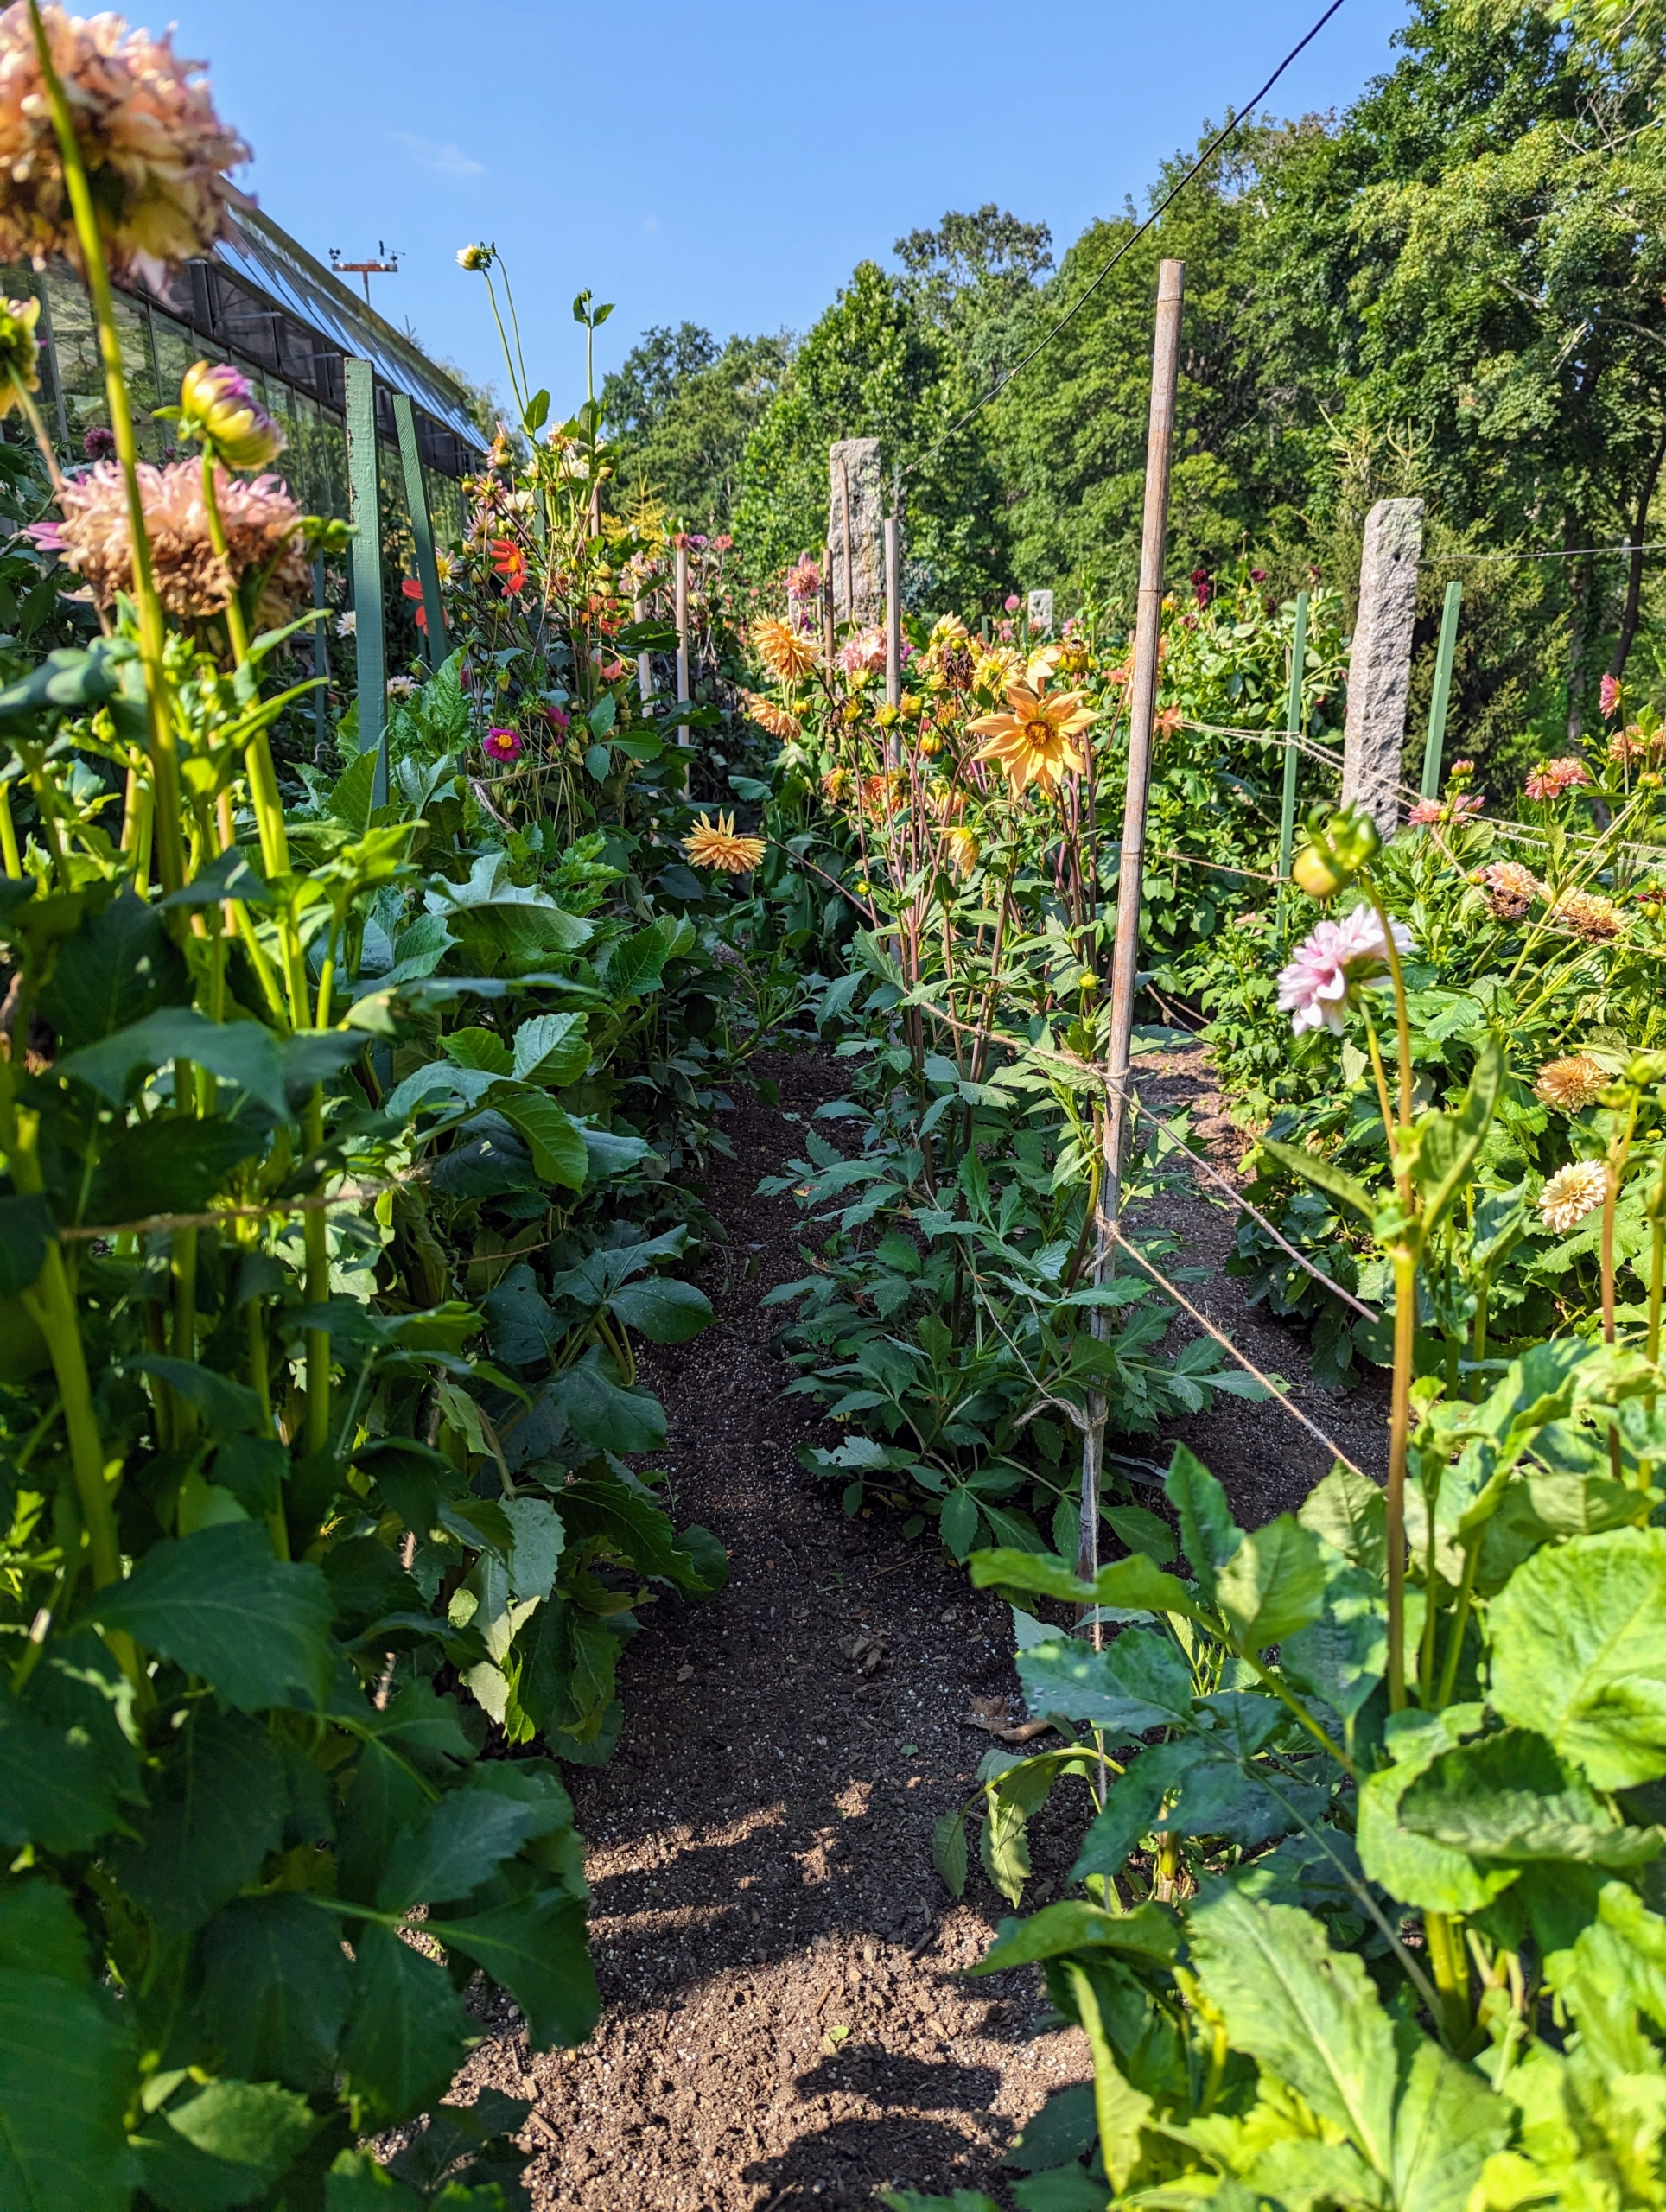
Here is one side completely supported.
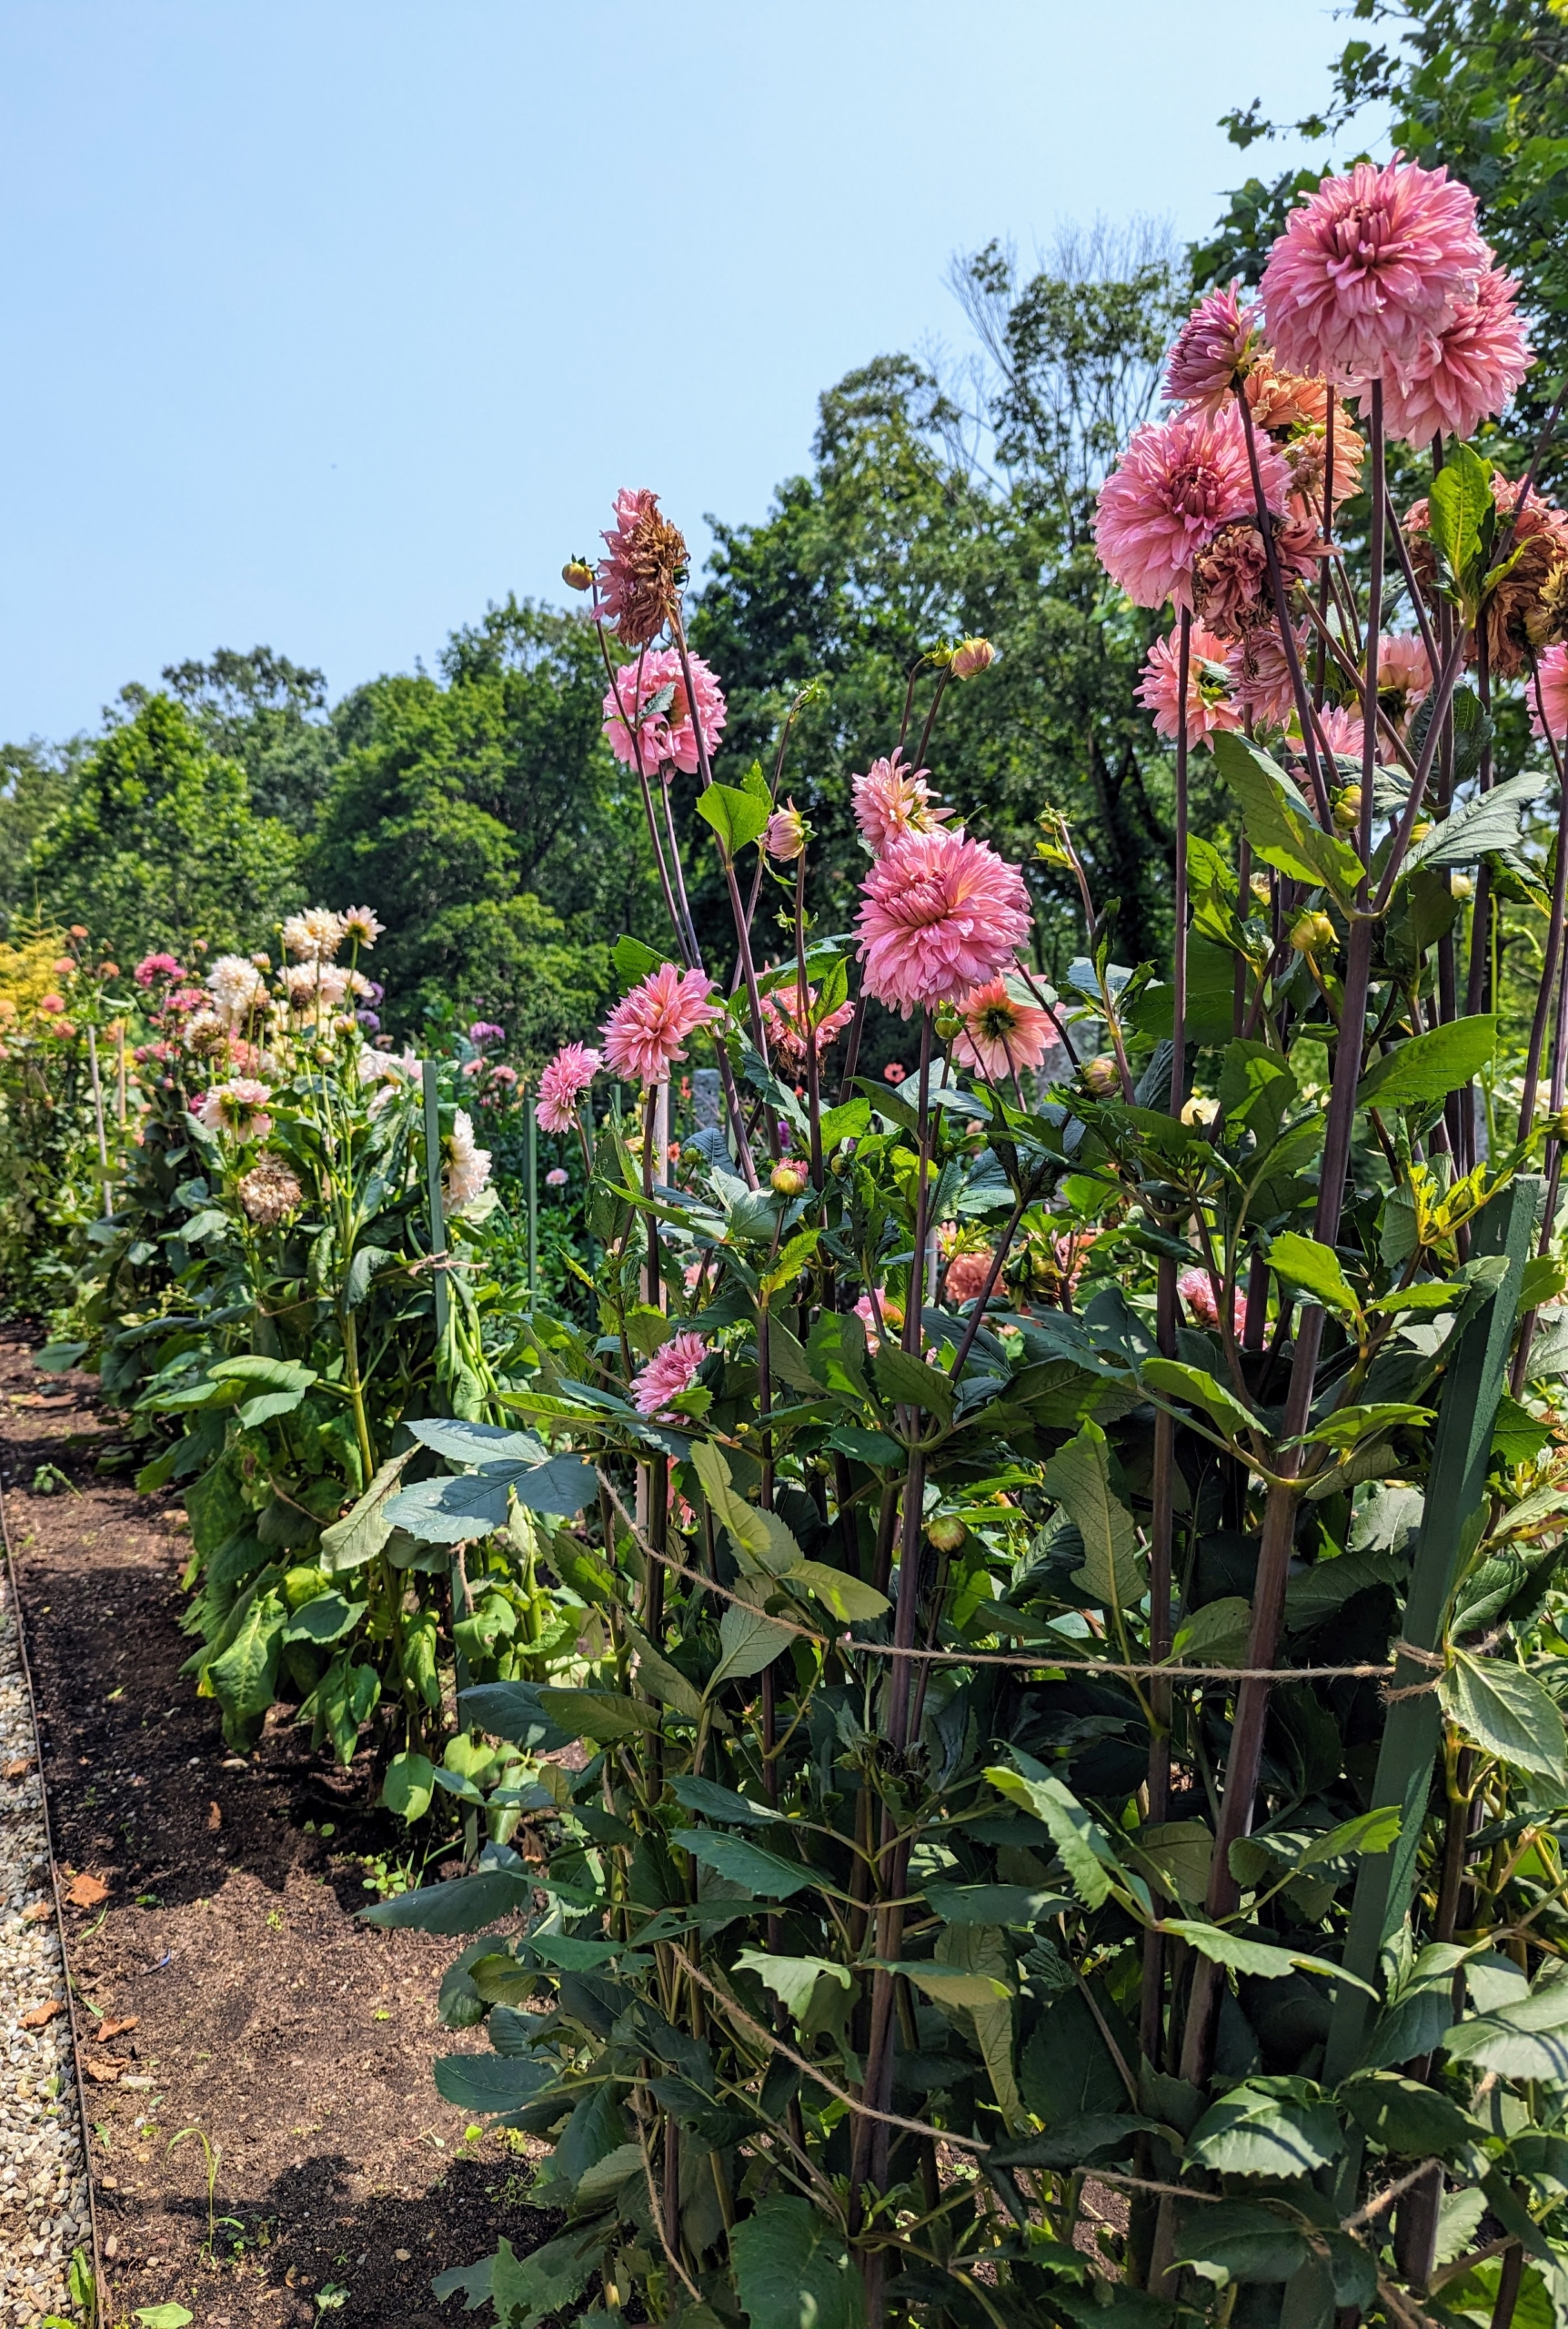
And here is a view down one of the rows. Staking keeps the sometimes heavy and large blooms from hitting the ground and rotting.
From this end, one can see how clear the rows are making it easy to reach and cut the flowers for arrangements. The plants on the right are younger and still growing. We just planted them this spring.
Dahlias were first recorded by Westerners in 1615, and were then called by their original Mexican name, acoctli. The first garden dahlias reached the United States in the early 1830s. Today, dahlias are grown all over the world.
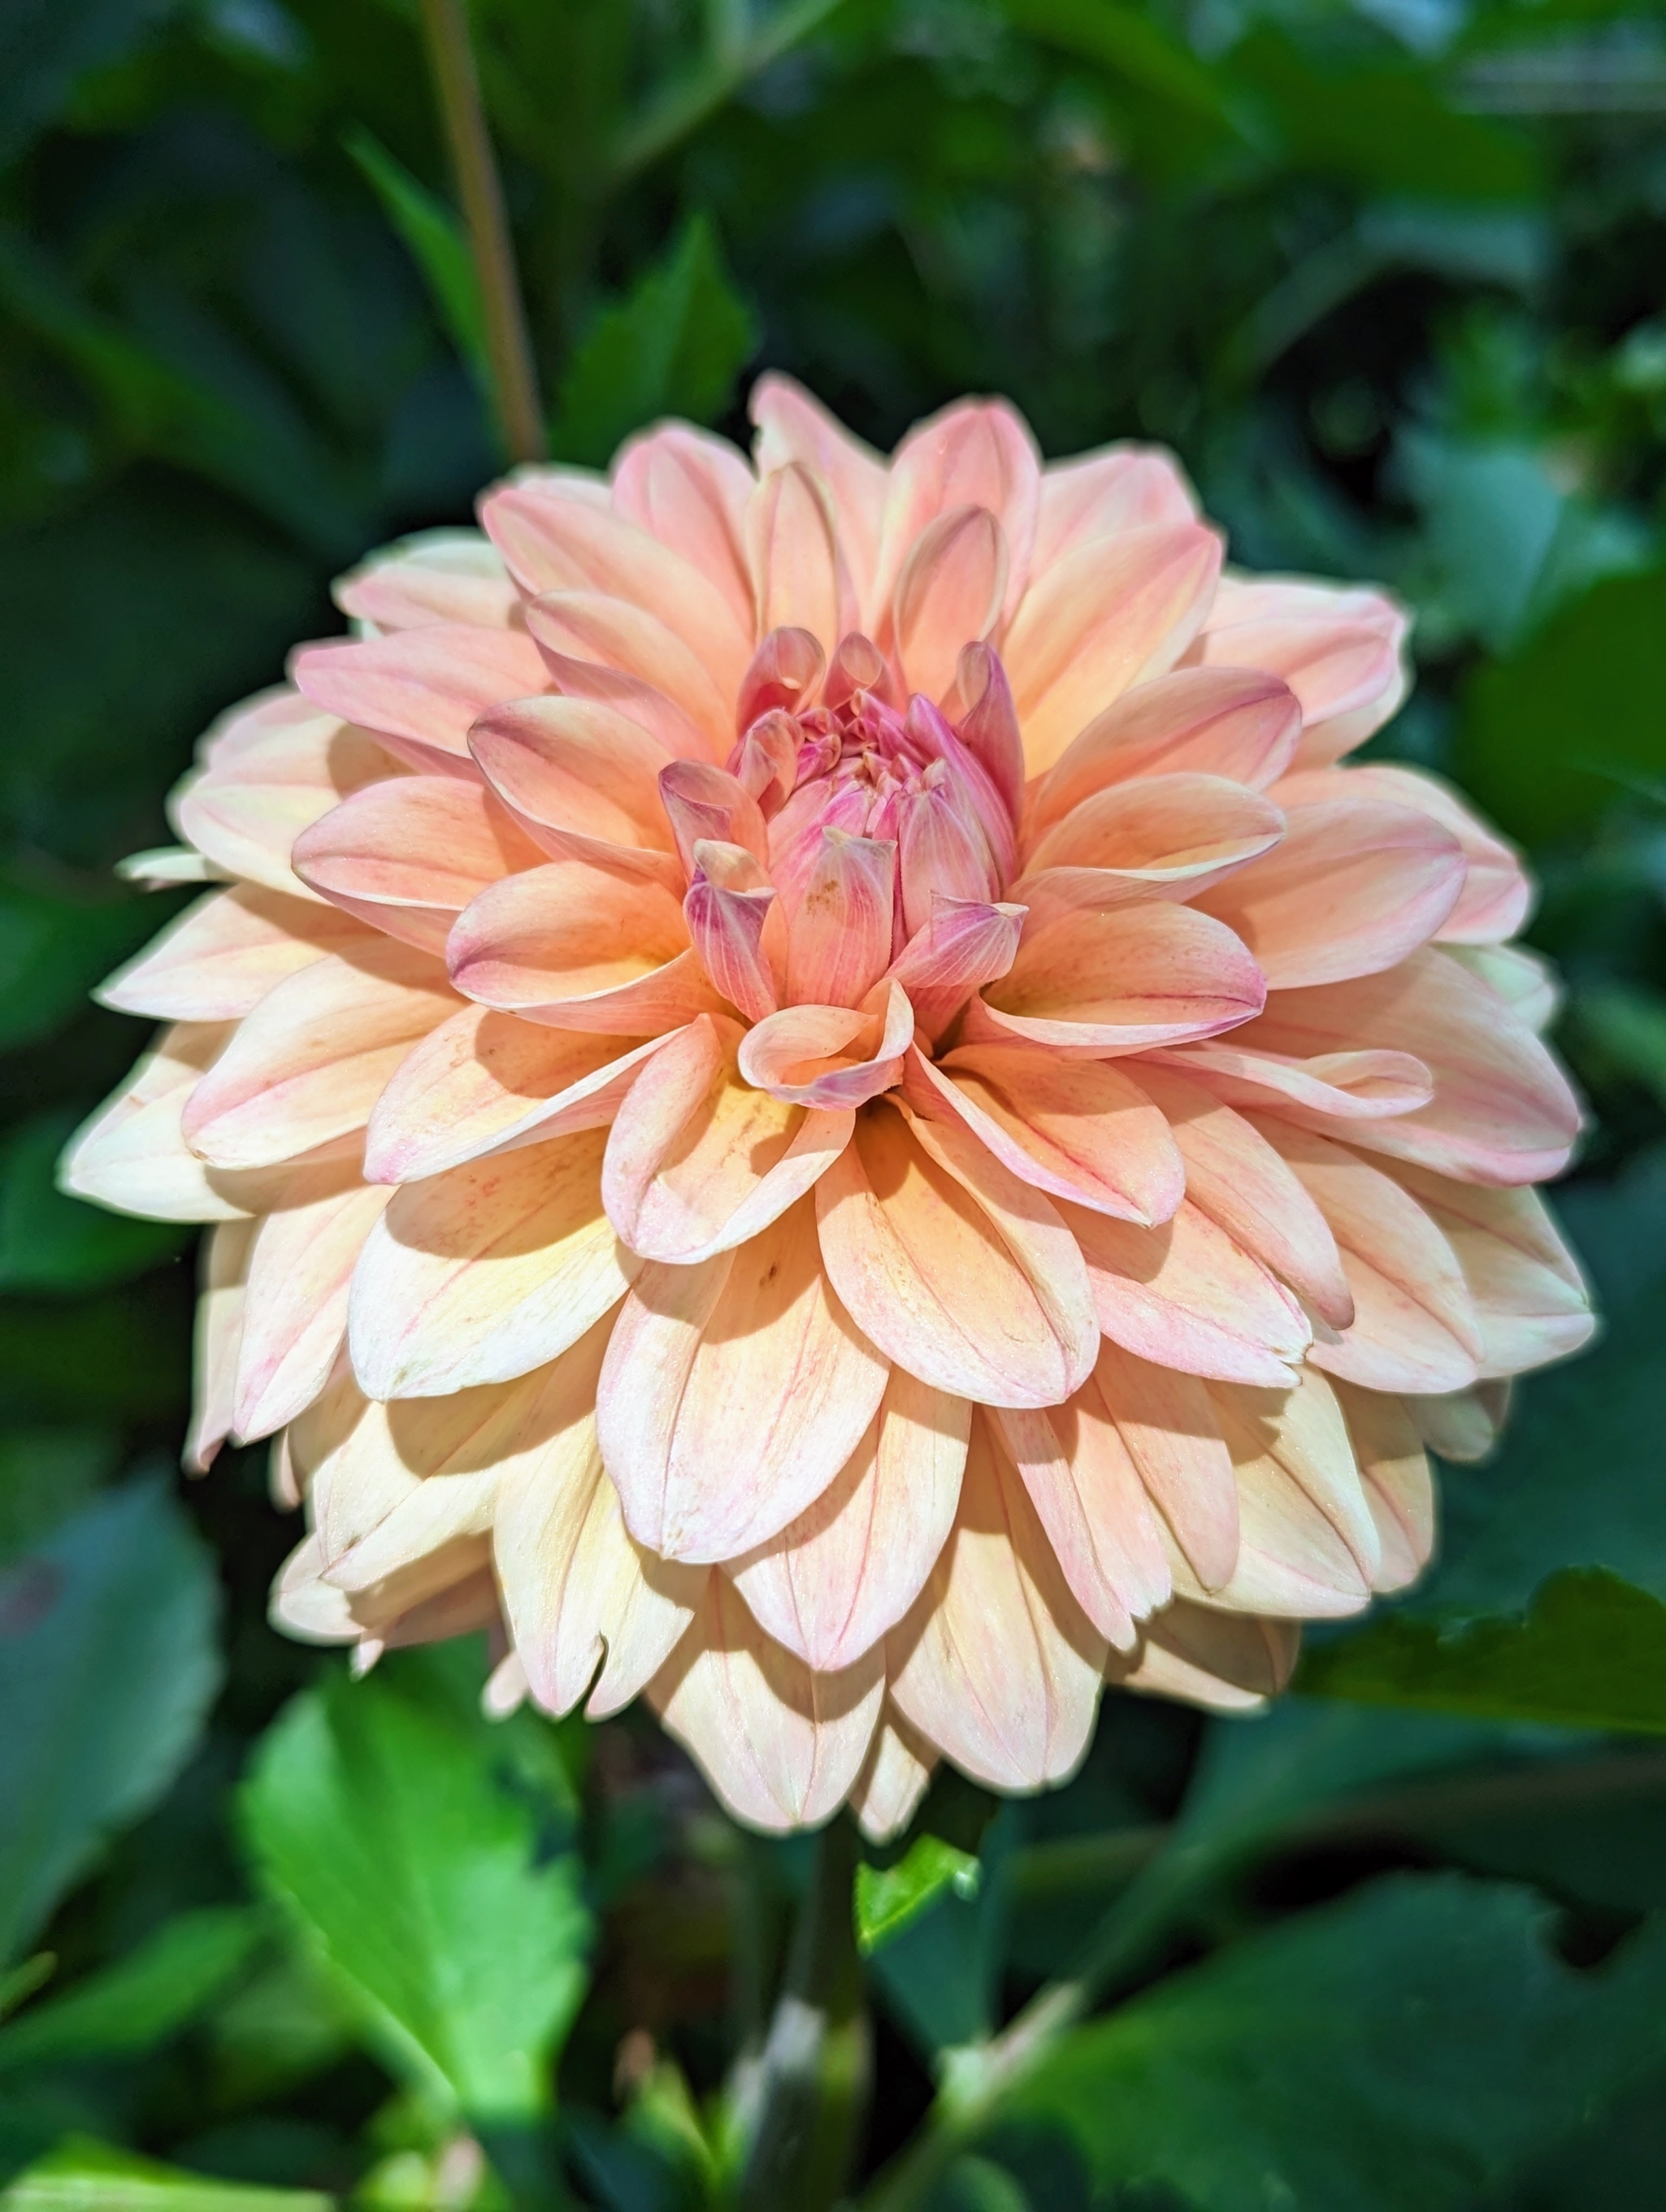
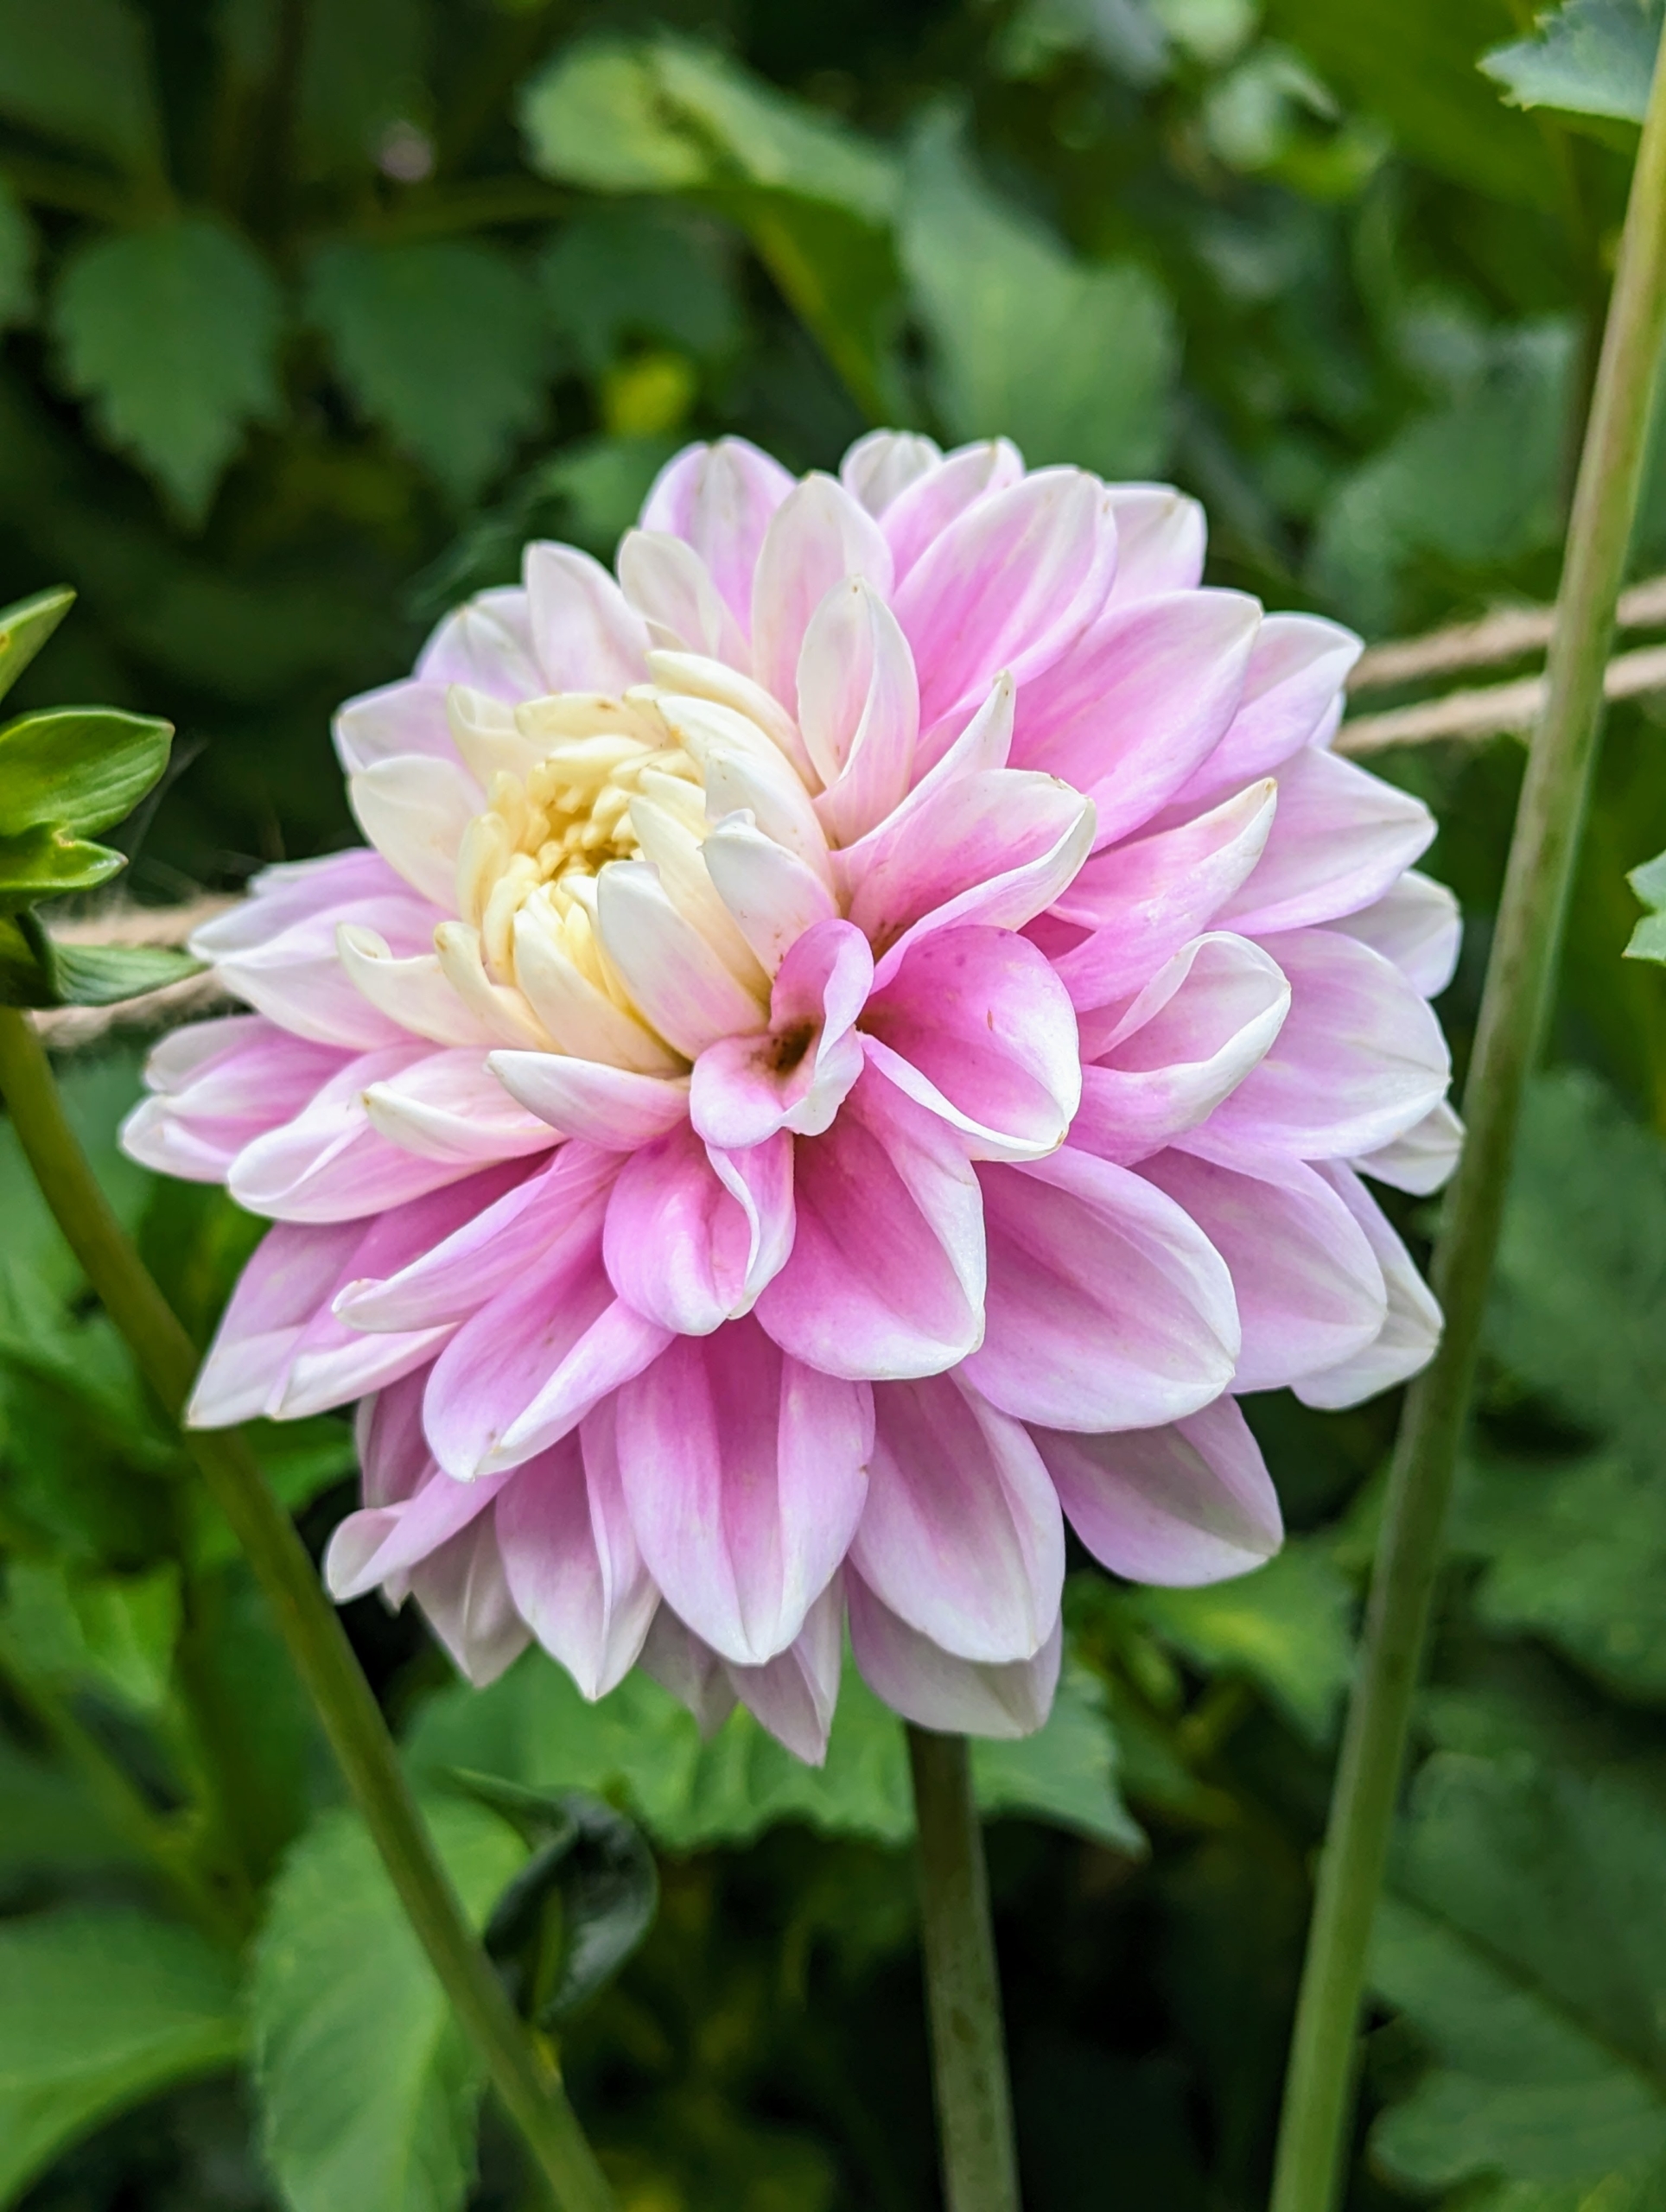
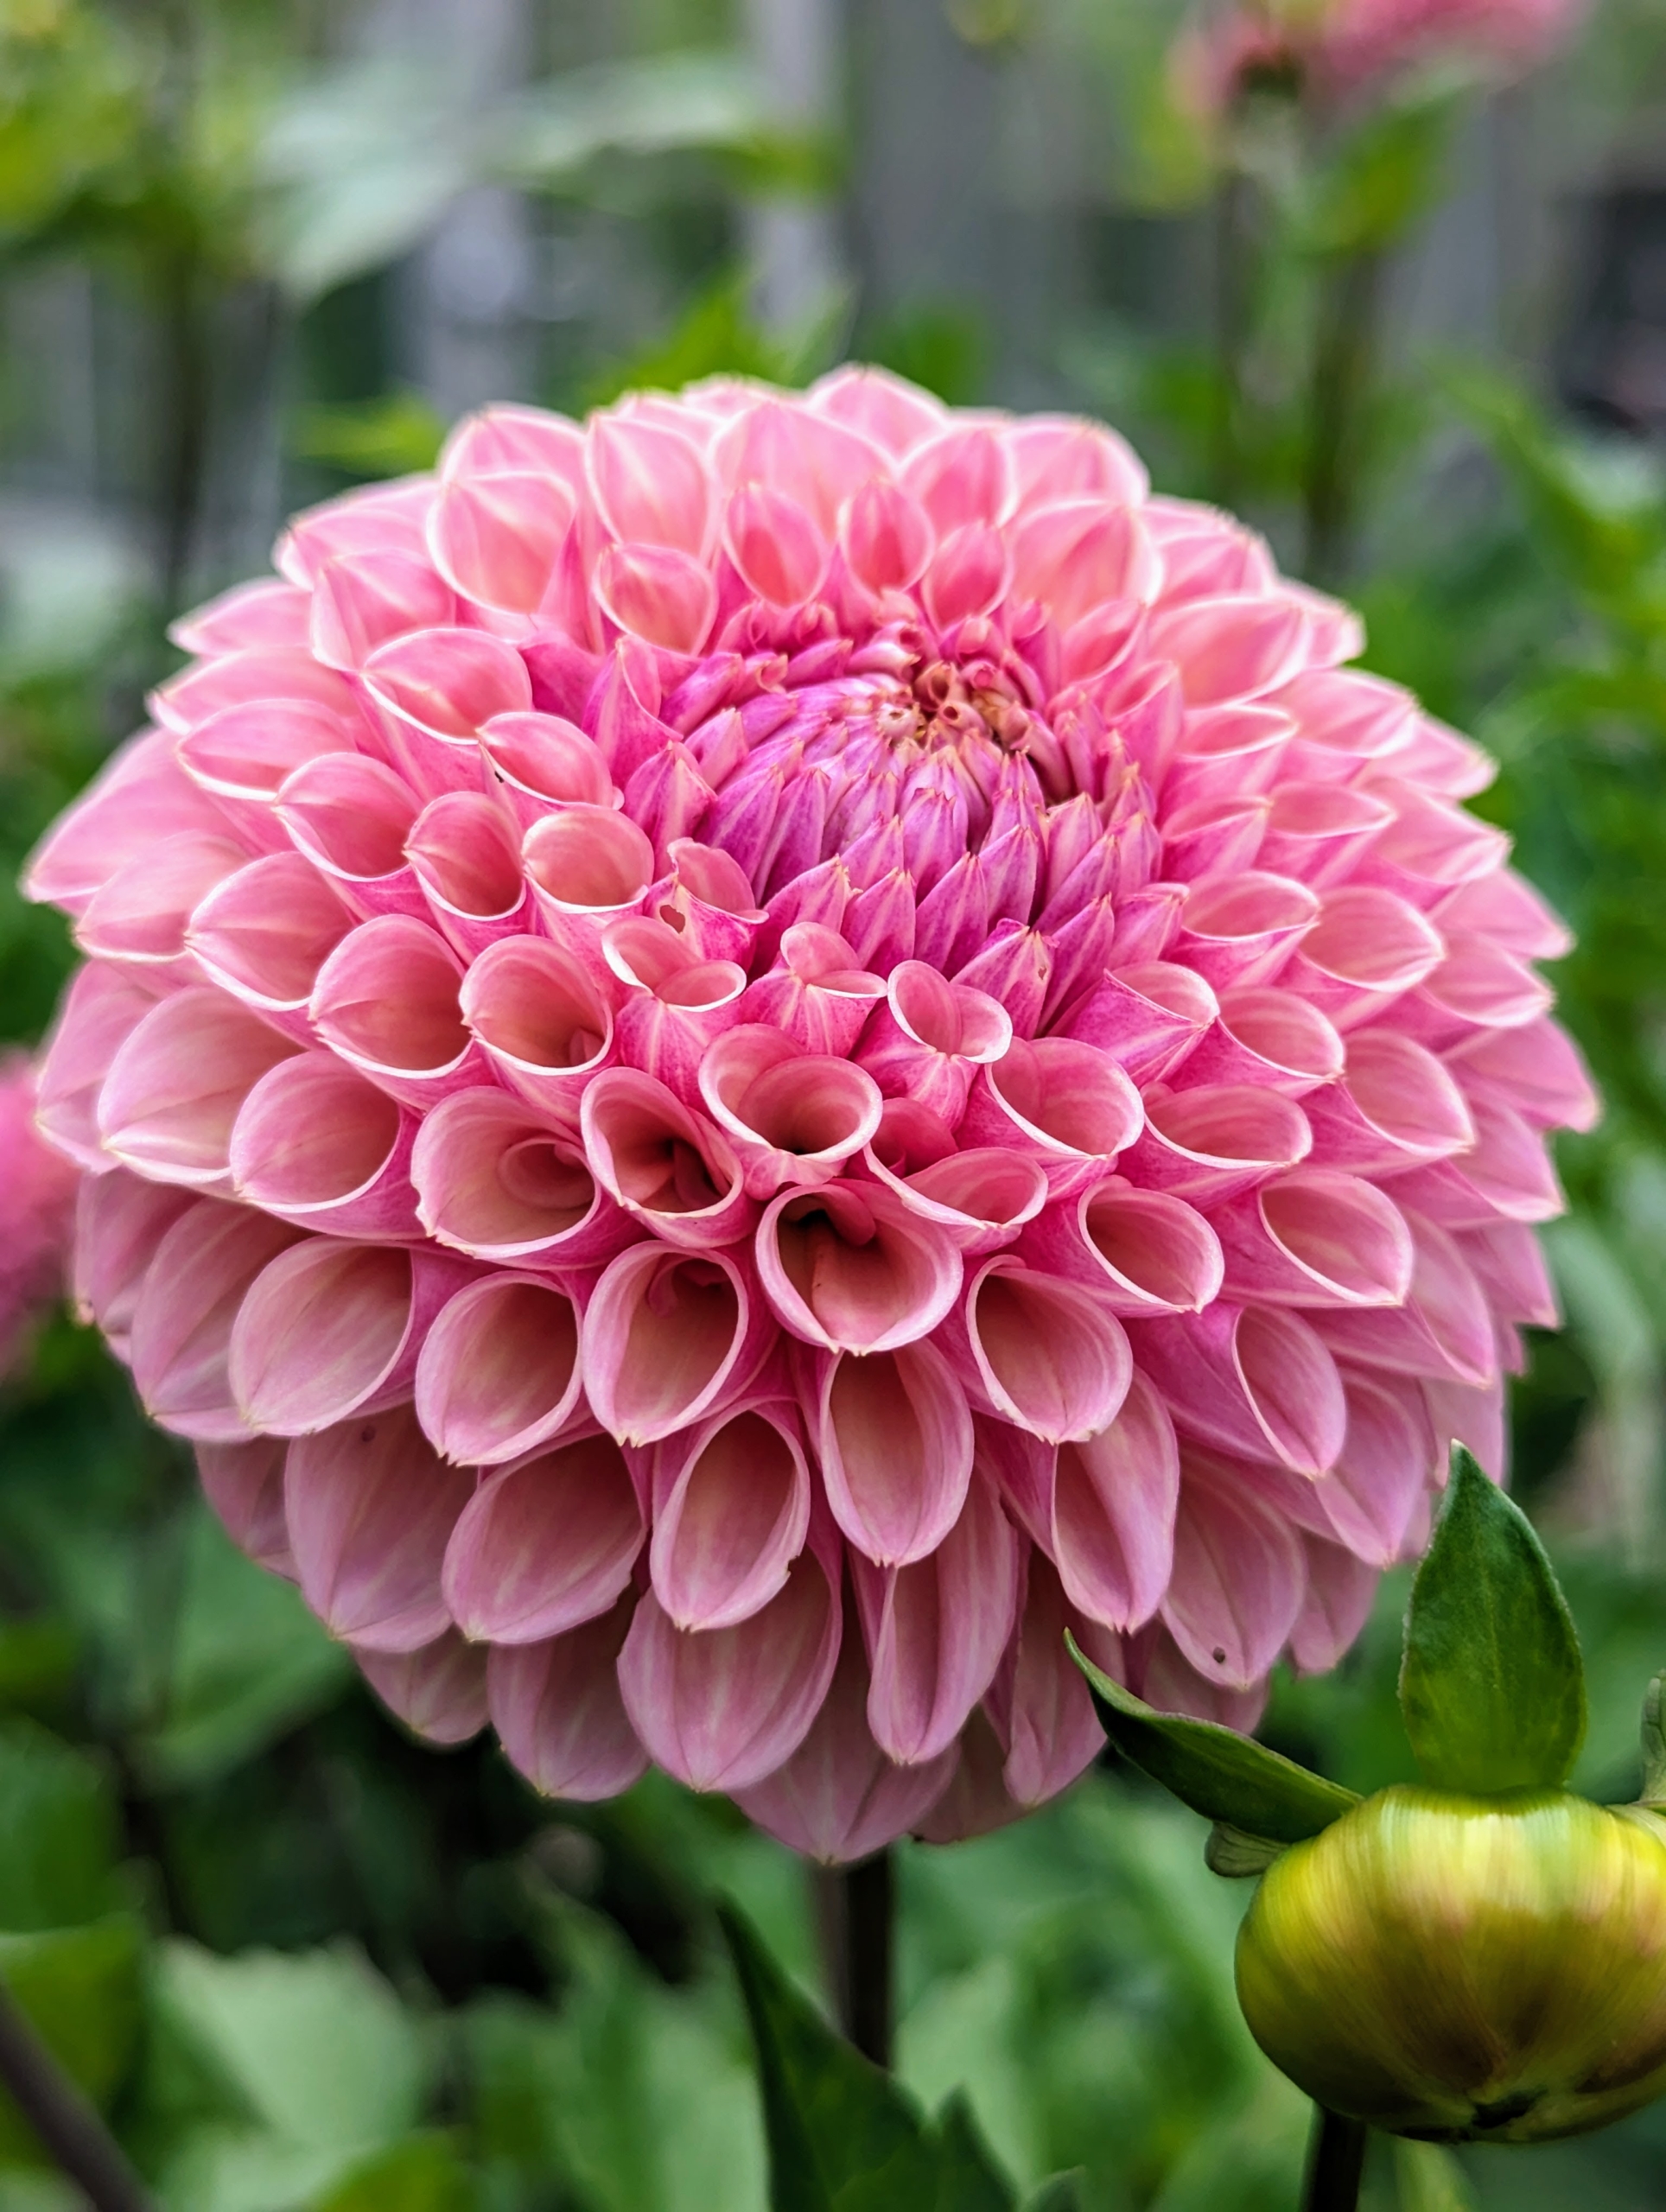
Pompon dahlias yield masses of intricate, fully double blooms measuring up to two-and-a-half inches across. This dahlia is a pretty pink to salmon color.
The majority of dahlia species do not produce scented flowers or cultivars, but they are brightly colored to attract pollinating insects.
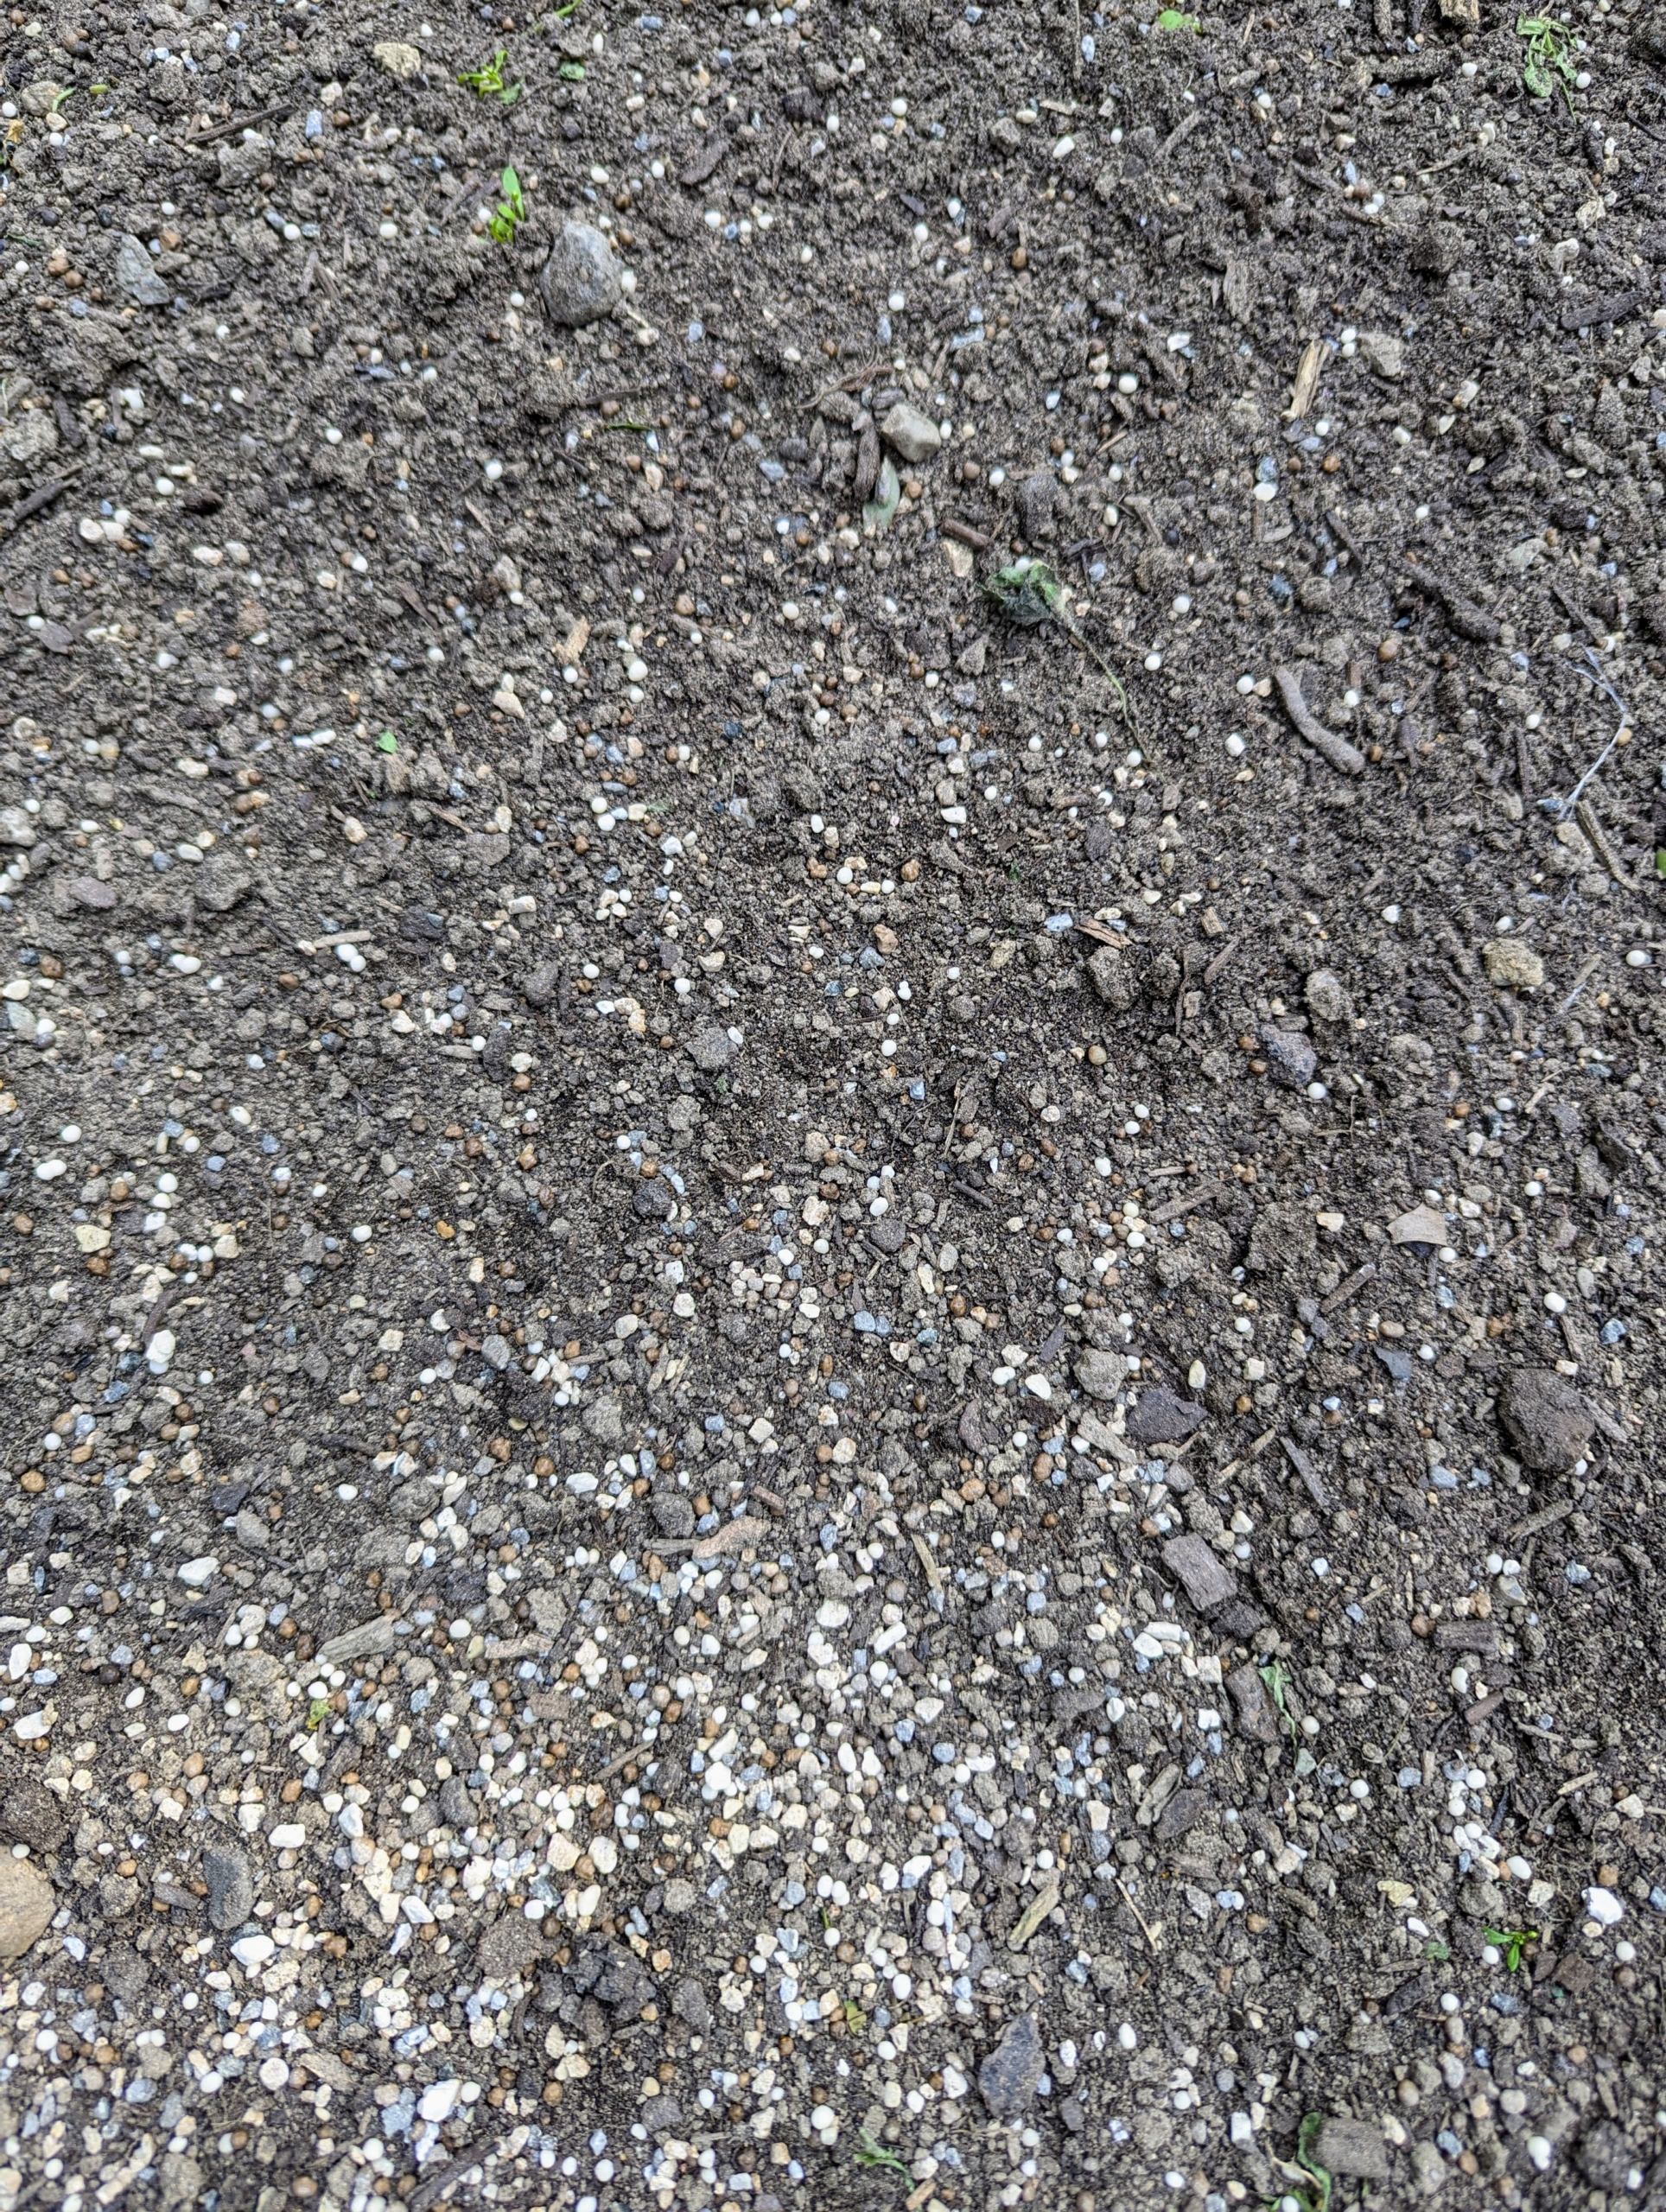
These dahlias are also fed. Dahlias require a low-nitrogen fertilizer, usually referred to as a bloom food and is available at garden stores.
This area was once used for growing grapes. I had placed granite posts years ago with heavy gauge copper wire laced through them for added plant support. I designed them, so the wire can be tightened or loosened depending on the need. We are still able to use the wire to support the taller dahlia stems.
These plants are developing so nicely. I am looking forward to seeing more and more of the gorgeous blooms later this season.
Dozens of pressed red clay bricks and stone pavers I had been storing from previous homes and projects have found new purpose here at my Bedford, New York farm.
Not long ago, I decided it was time to create some new footpaths around my Stewartia garden just outside my Tenant House. For the last few weeks Pete Sherpa and Fernando Ferrari from my outdoor grounds crew have been working hard clearing the designated areas, cutting the sod, laying down stone dust, bricks, and pavers, and finally spreading a layer of nutrient-rich mulch around the garden beds to give it all a beautiful and finished appearance.
Enjoy these photos.
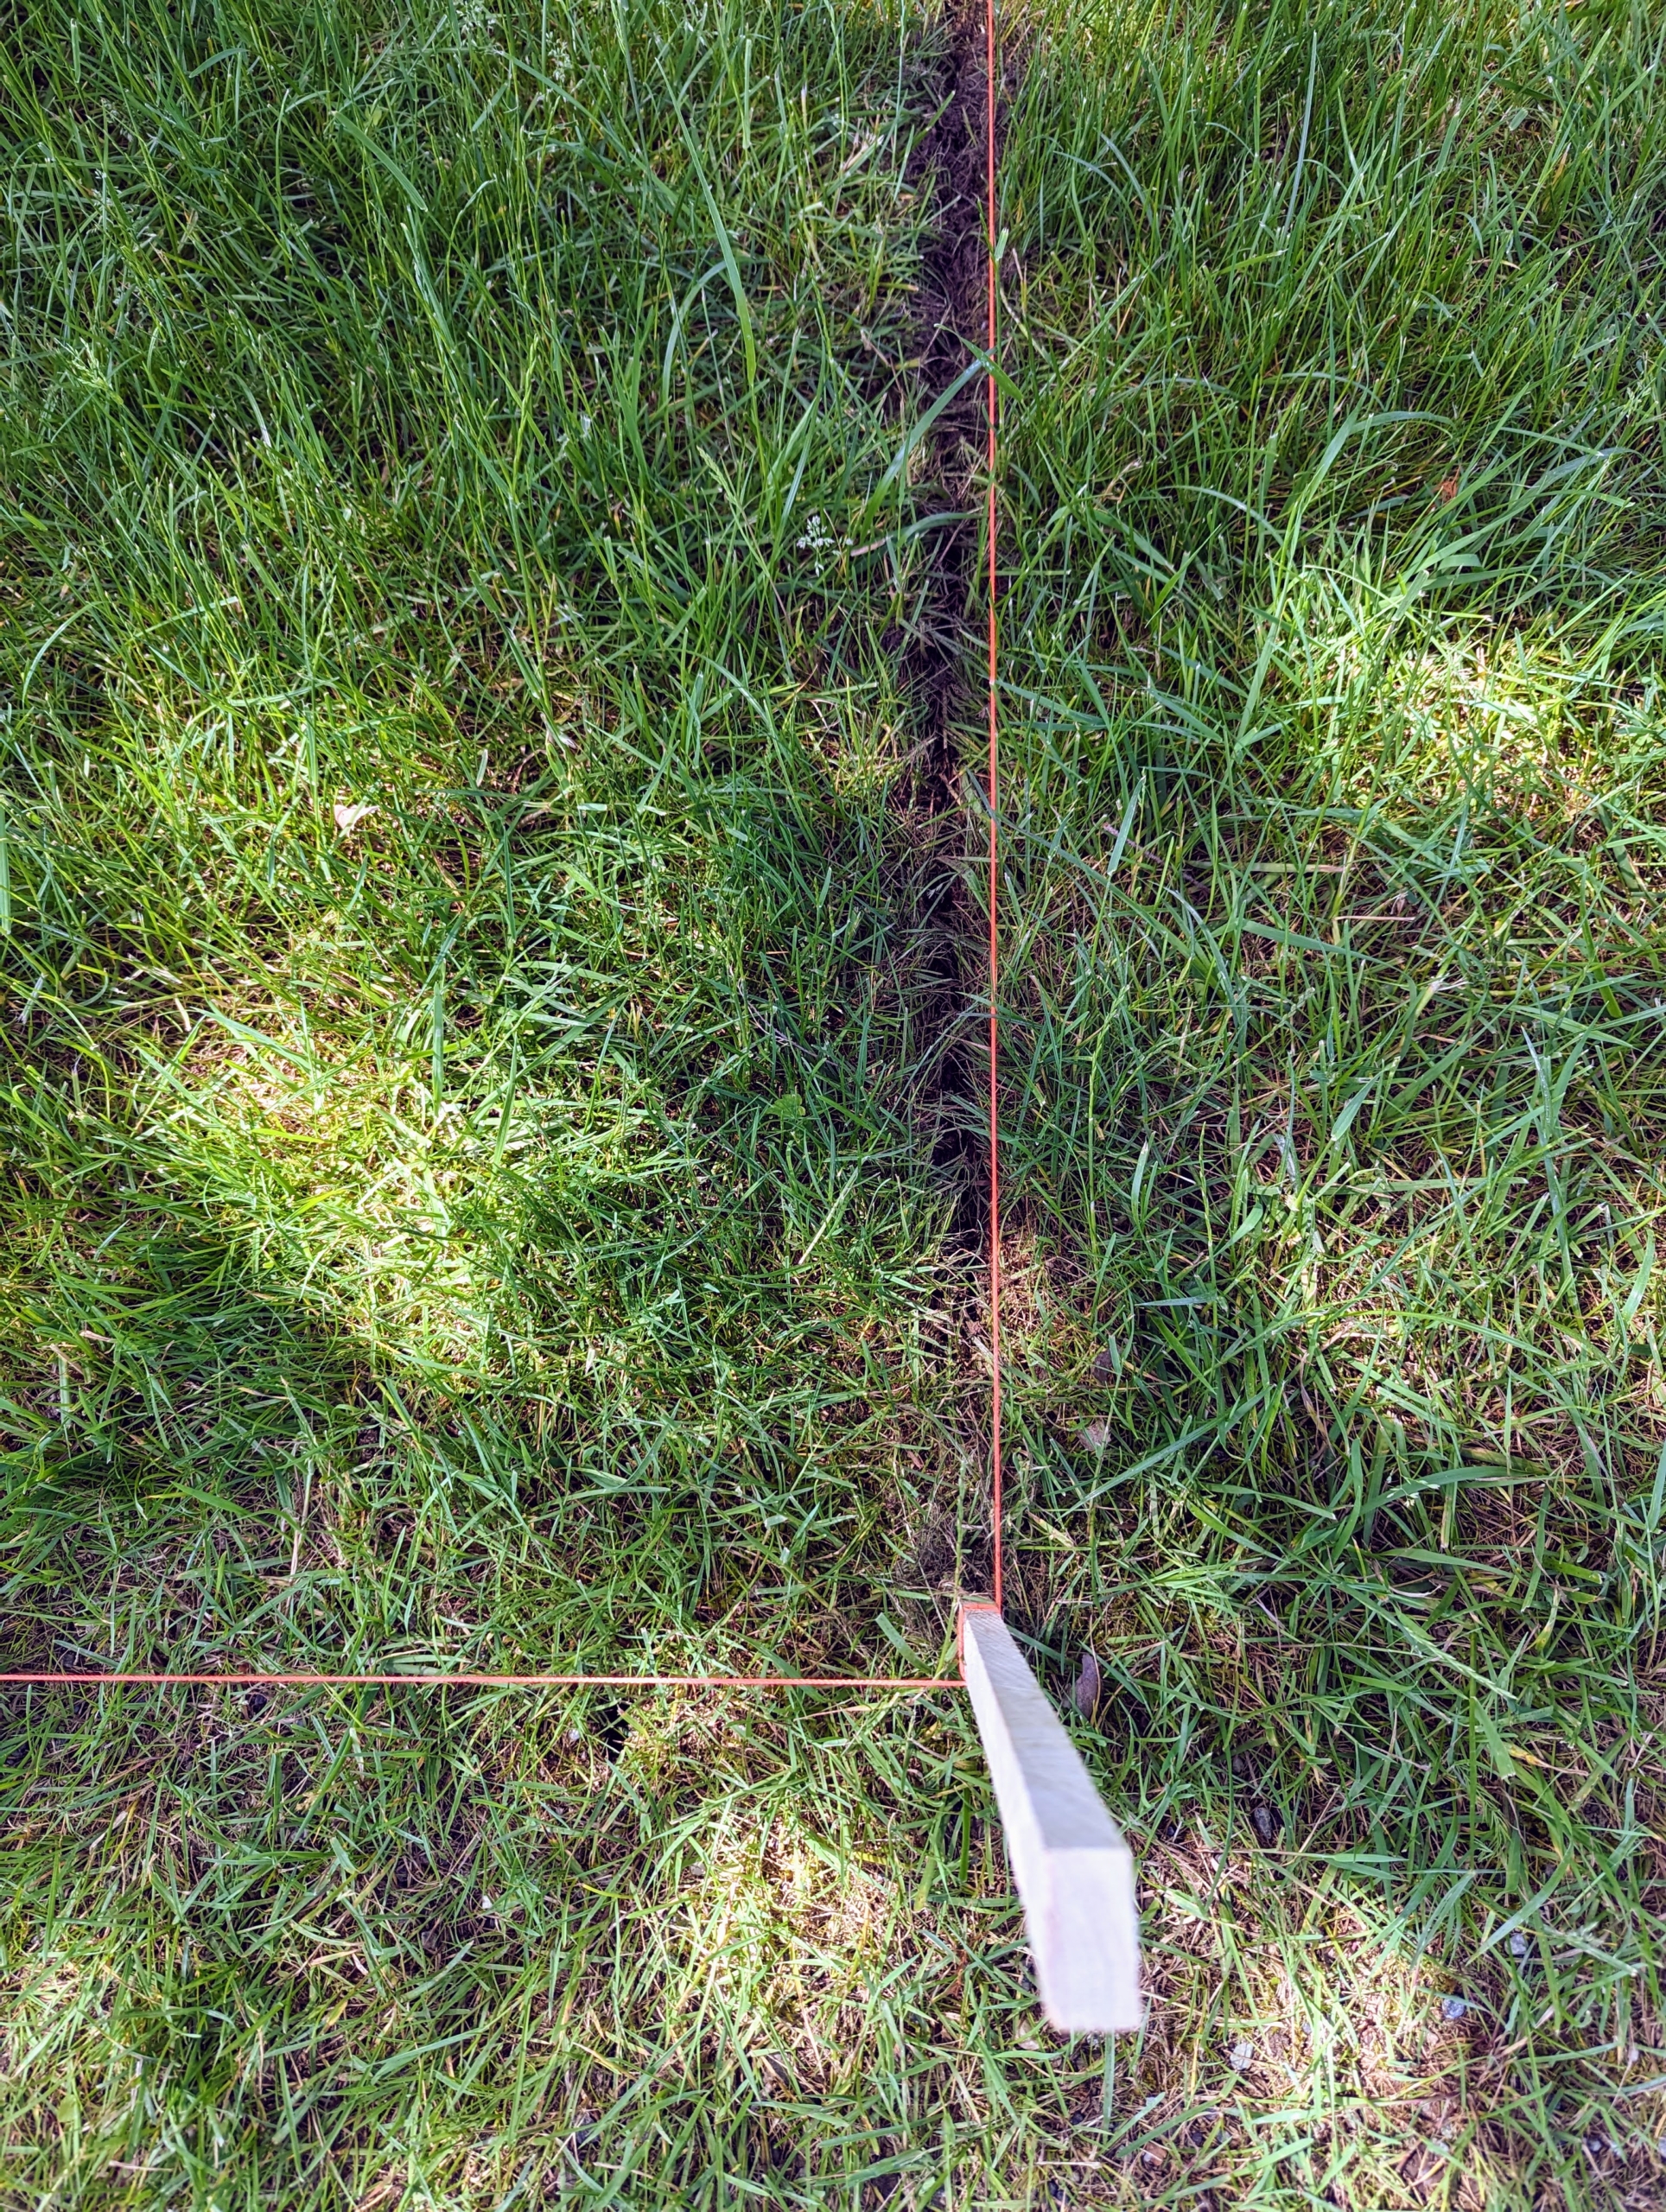
Many of our outdoor projects start with a small stake and some twine.
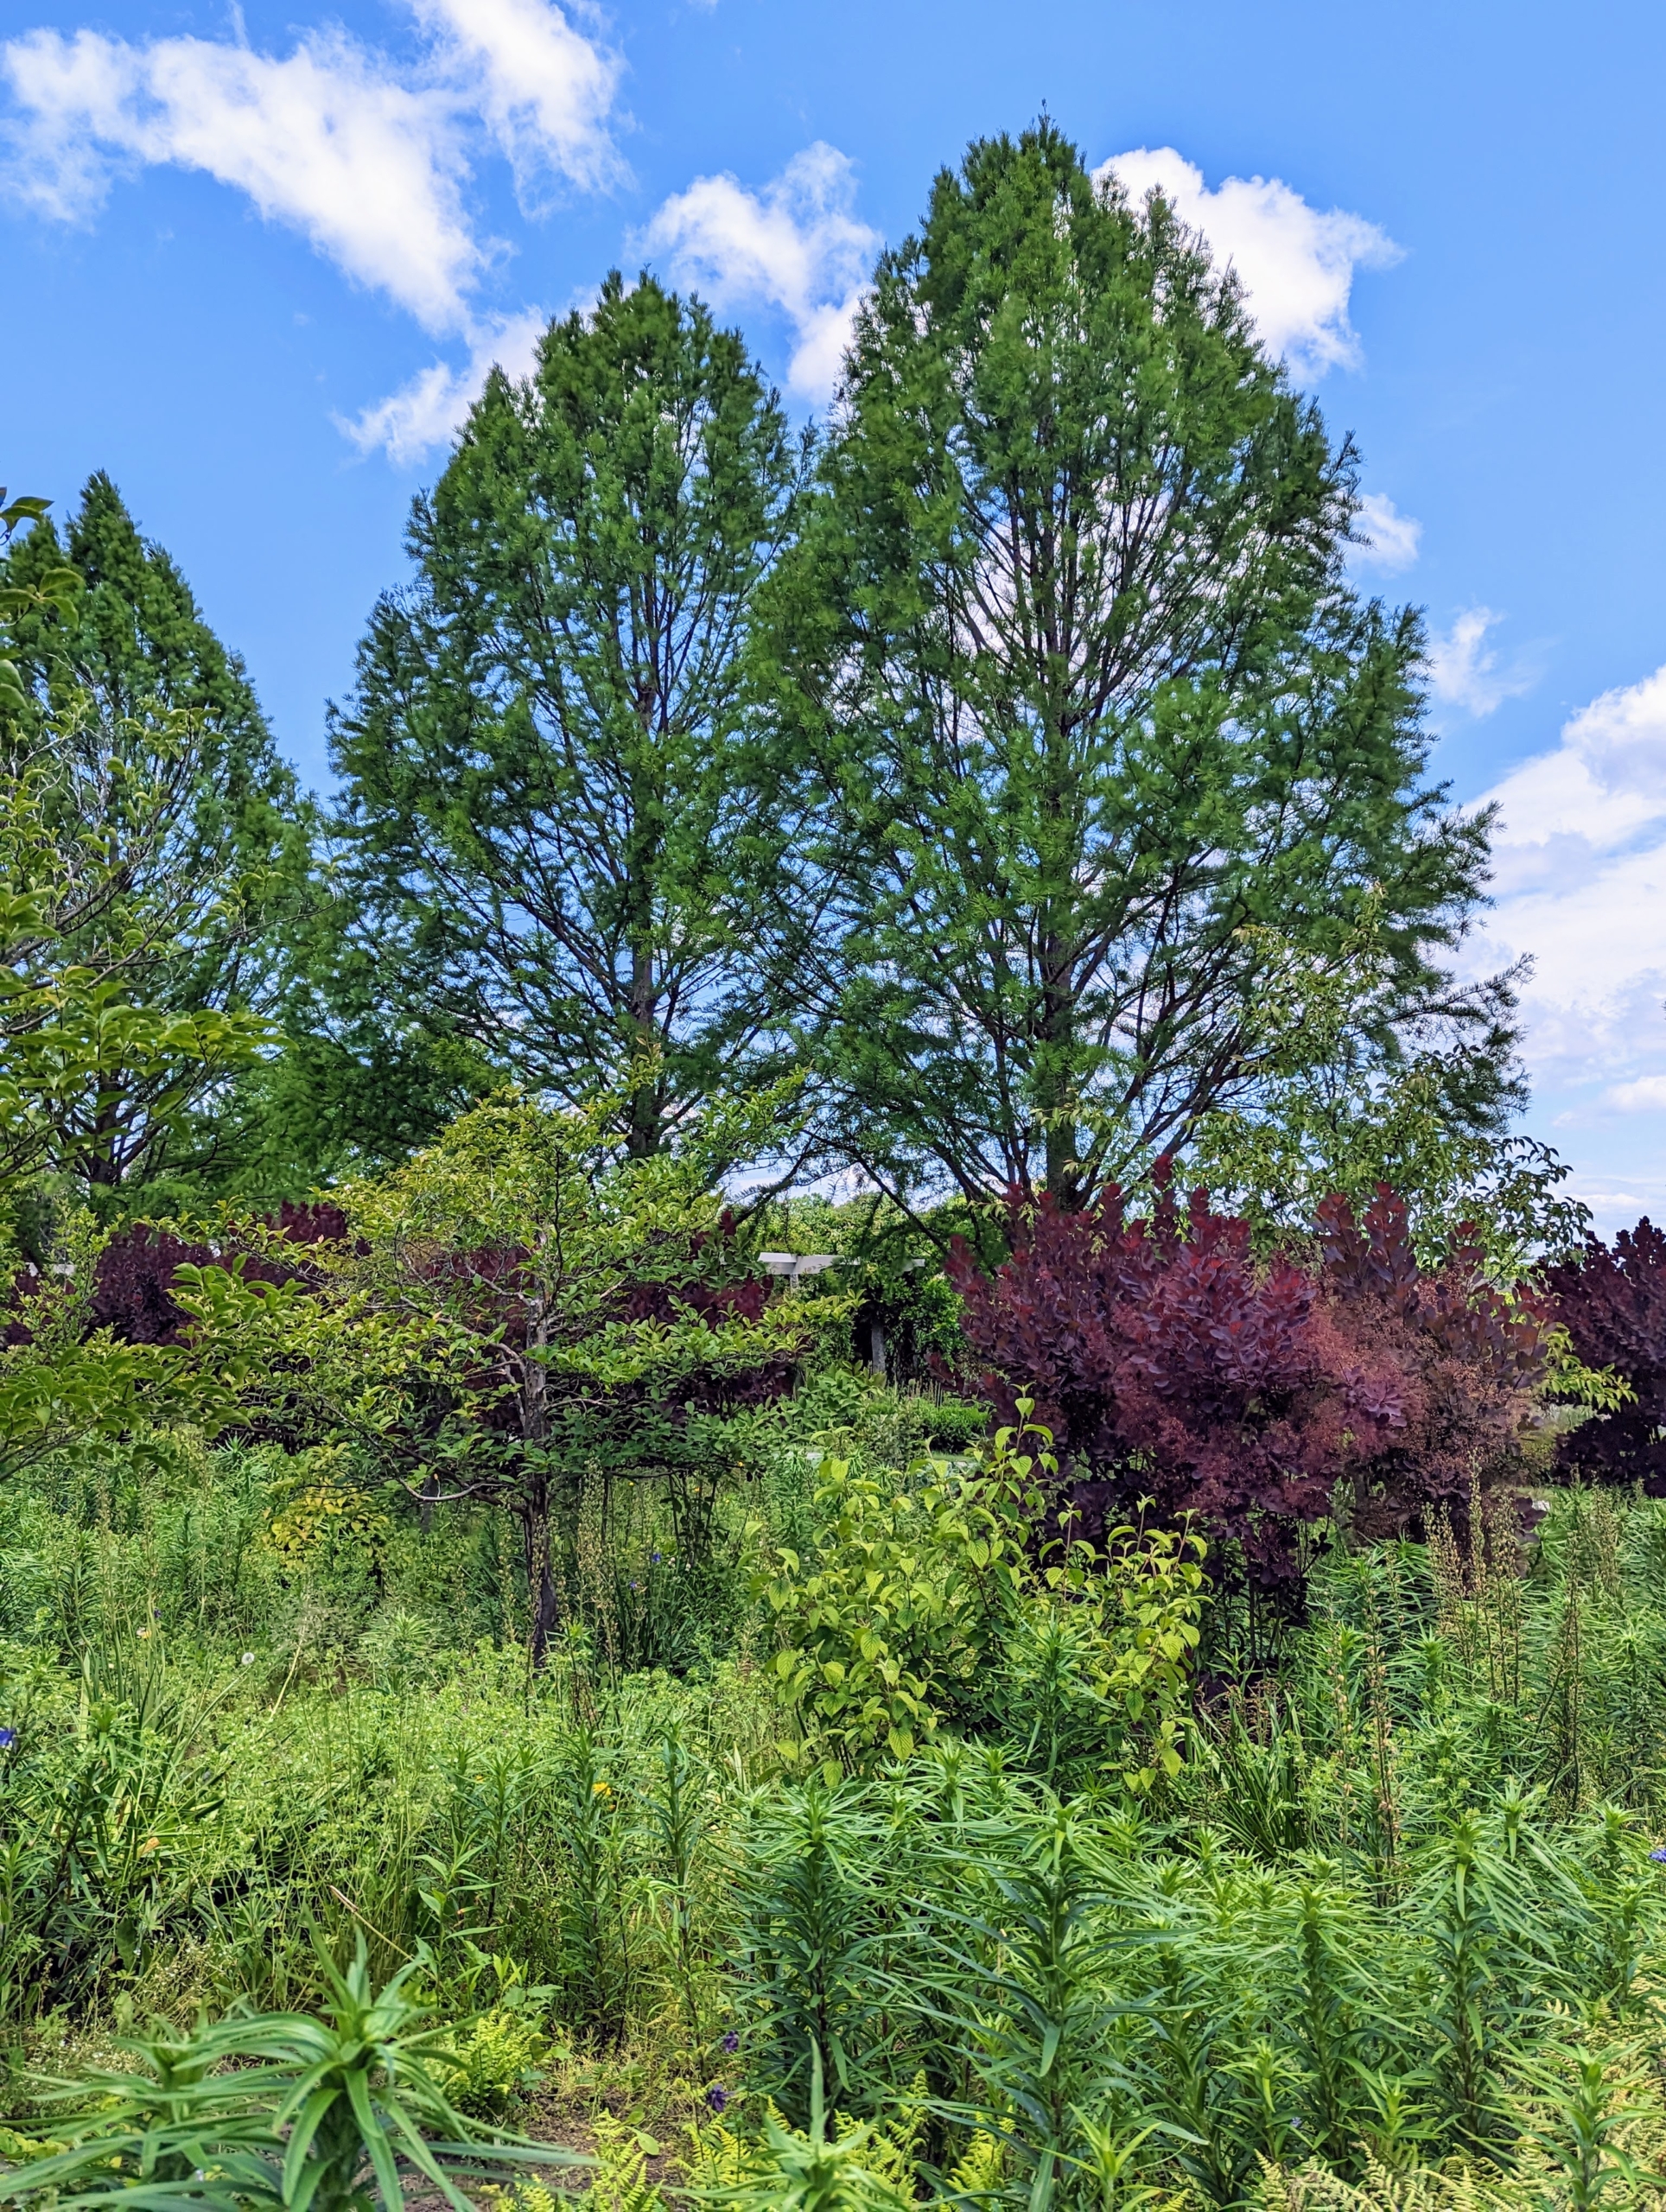
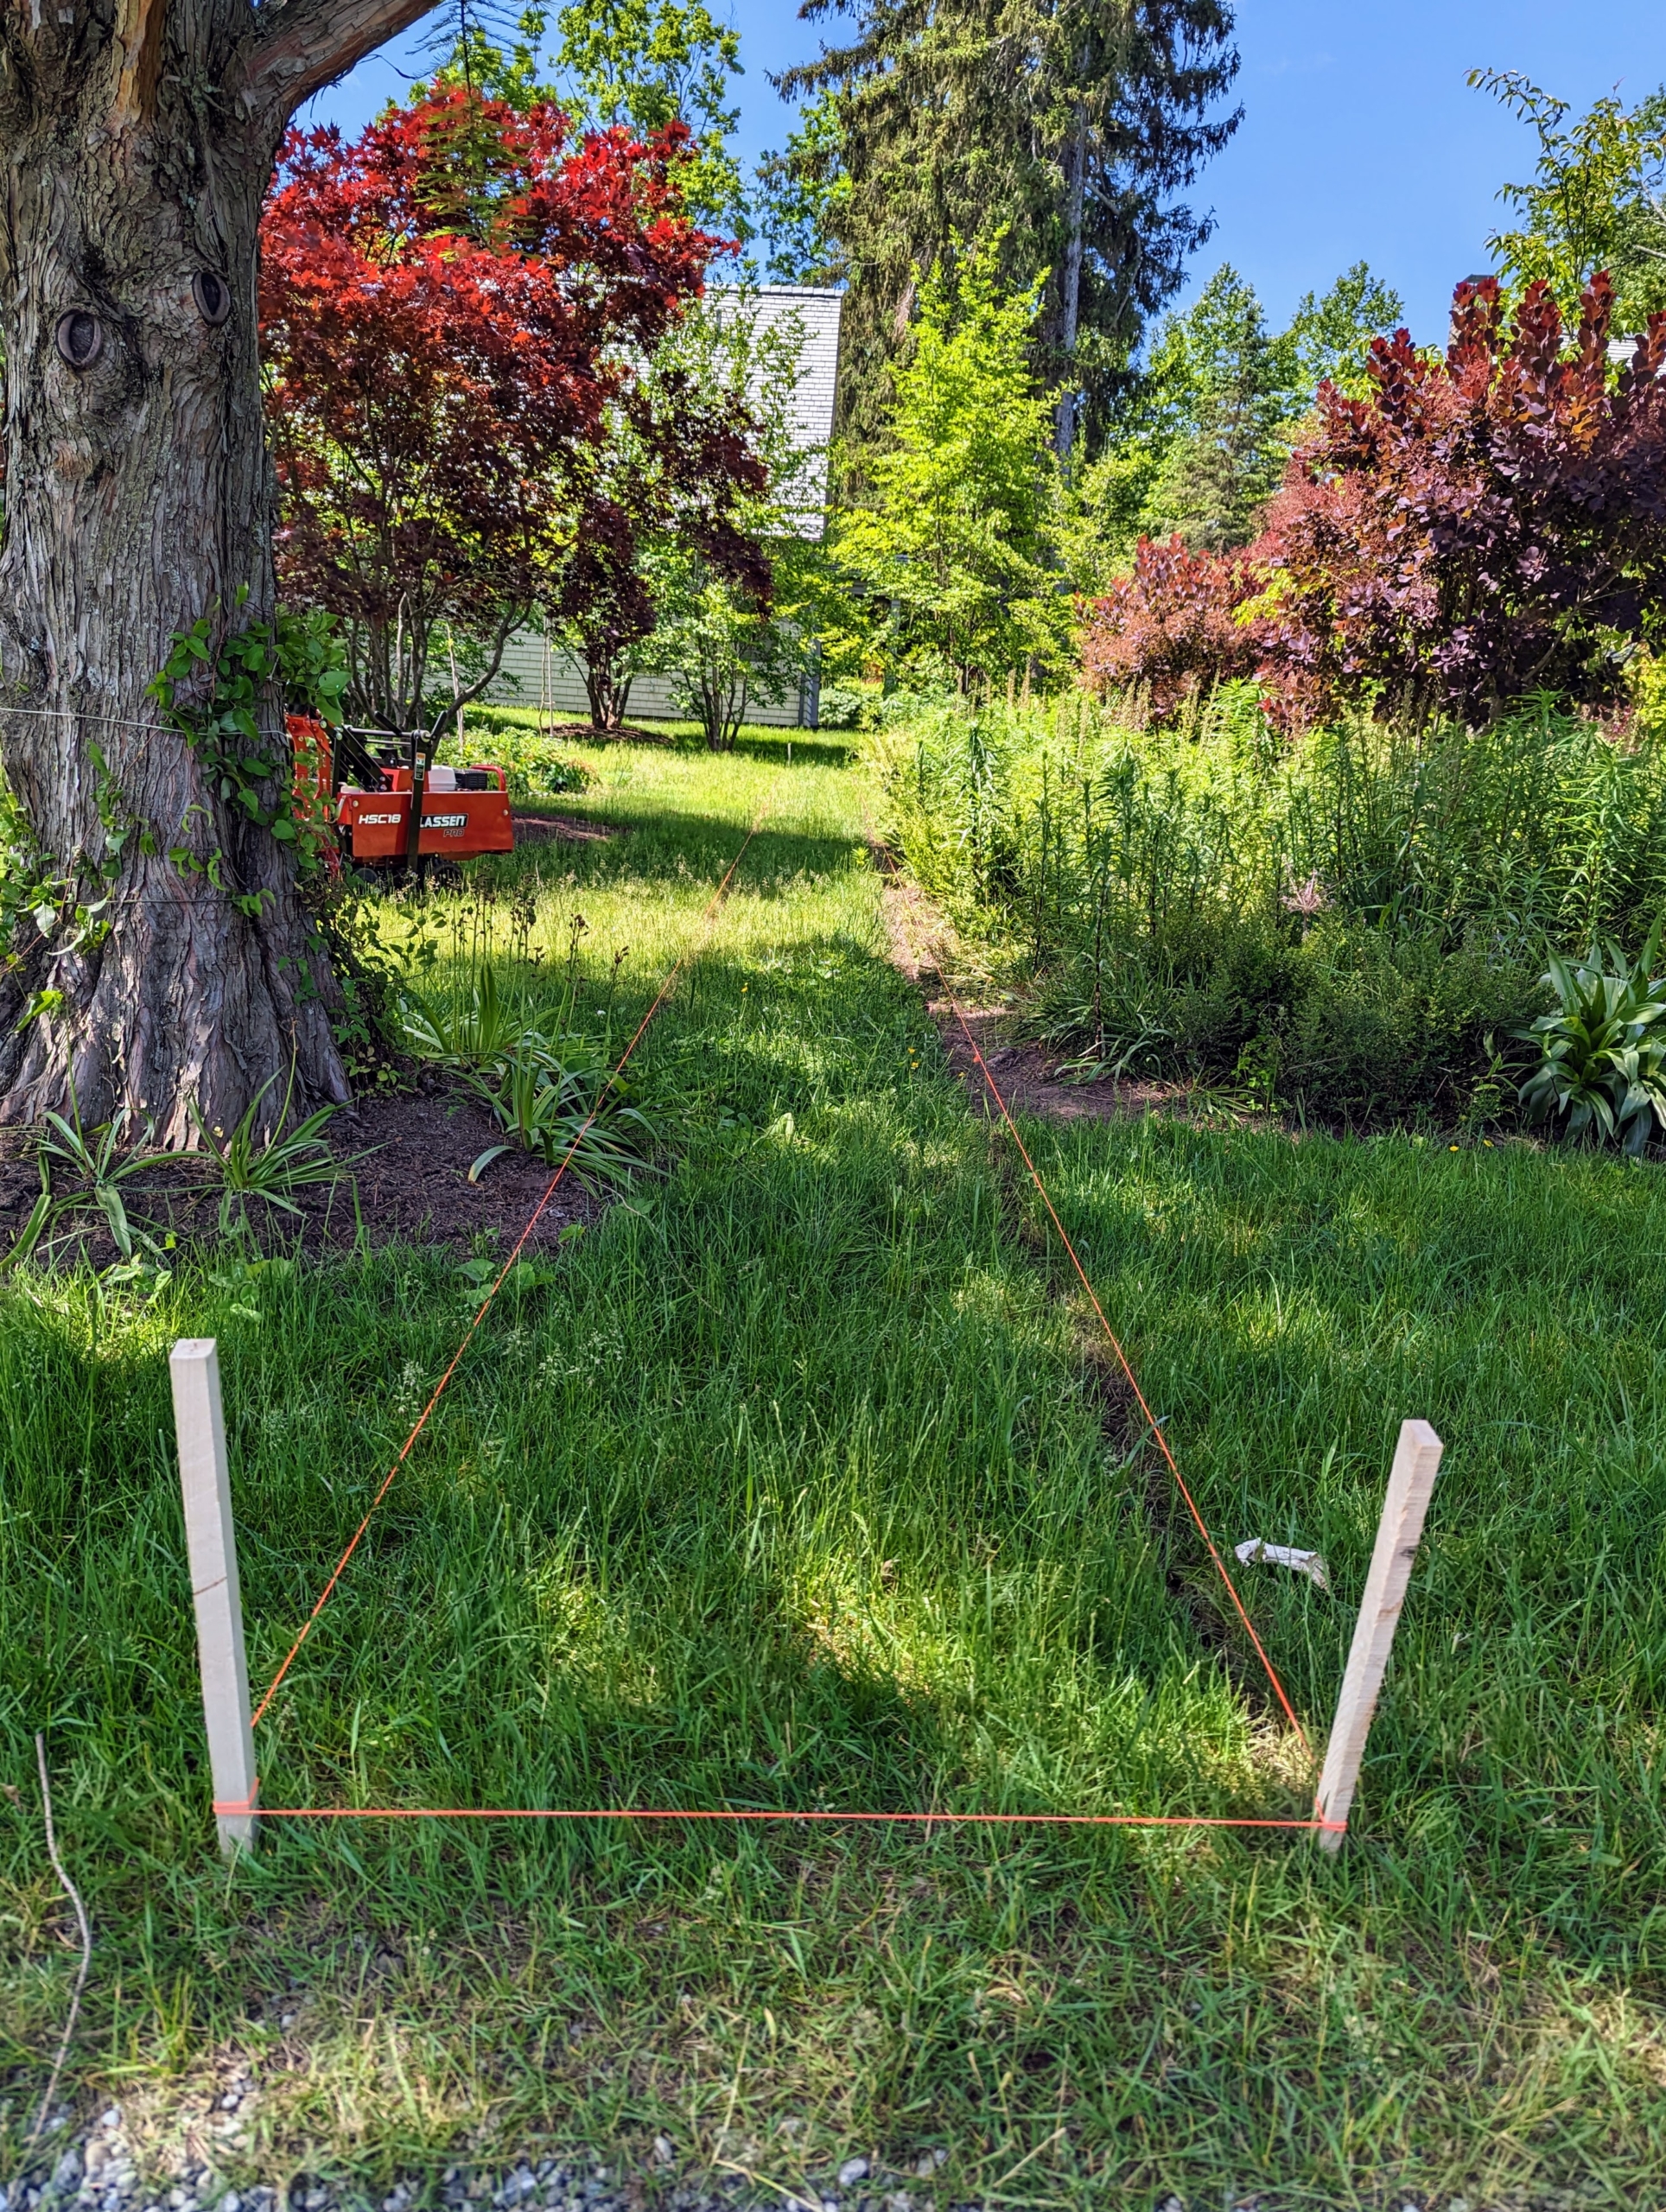
This most recent project involves making footpaths to go around this garden bordered on one side by the majestic stand of bald cypress and dotted with gorgeous perennial plantings, Cotinus, and of course Stewartias – after all, my name is Stewart.
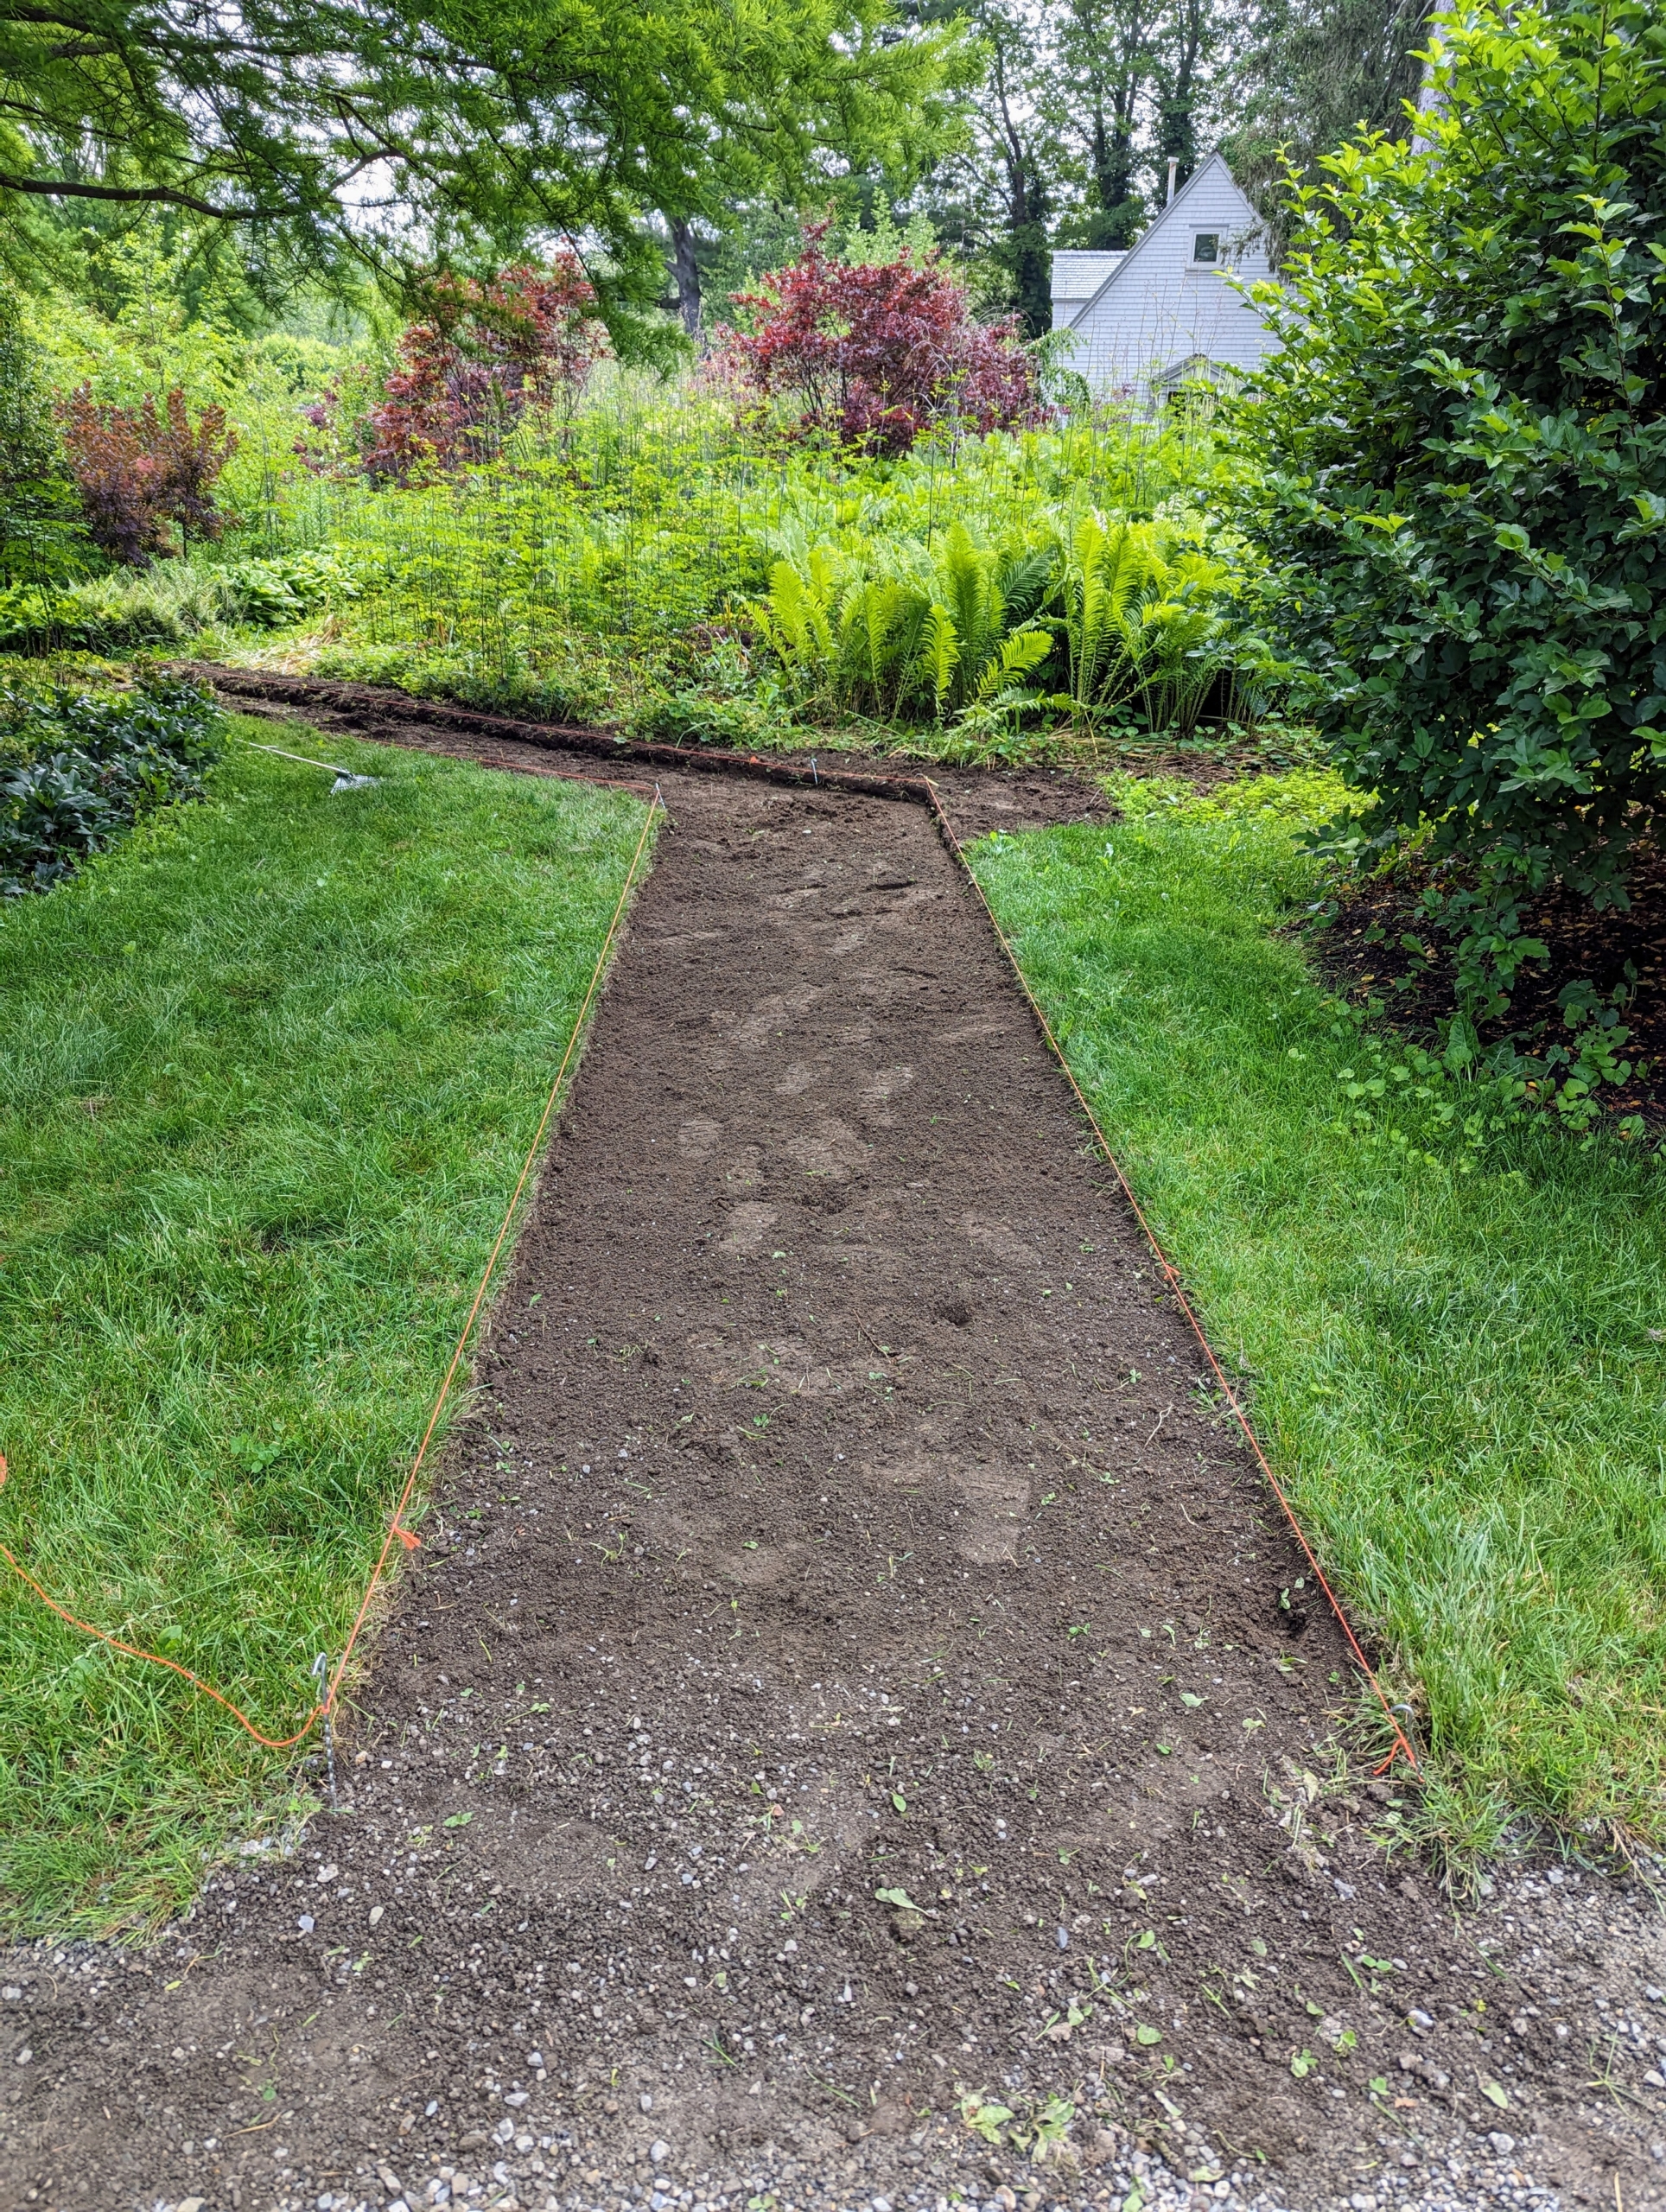
On the east side of the Stewartia garden, Pete secures lines from one end of the designated path to the other, to ensure the finished path is completely straight.
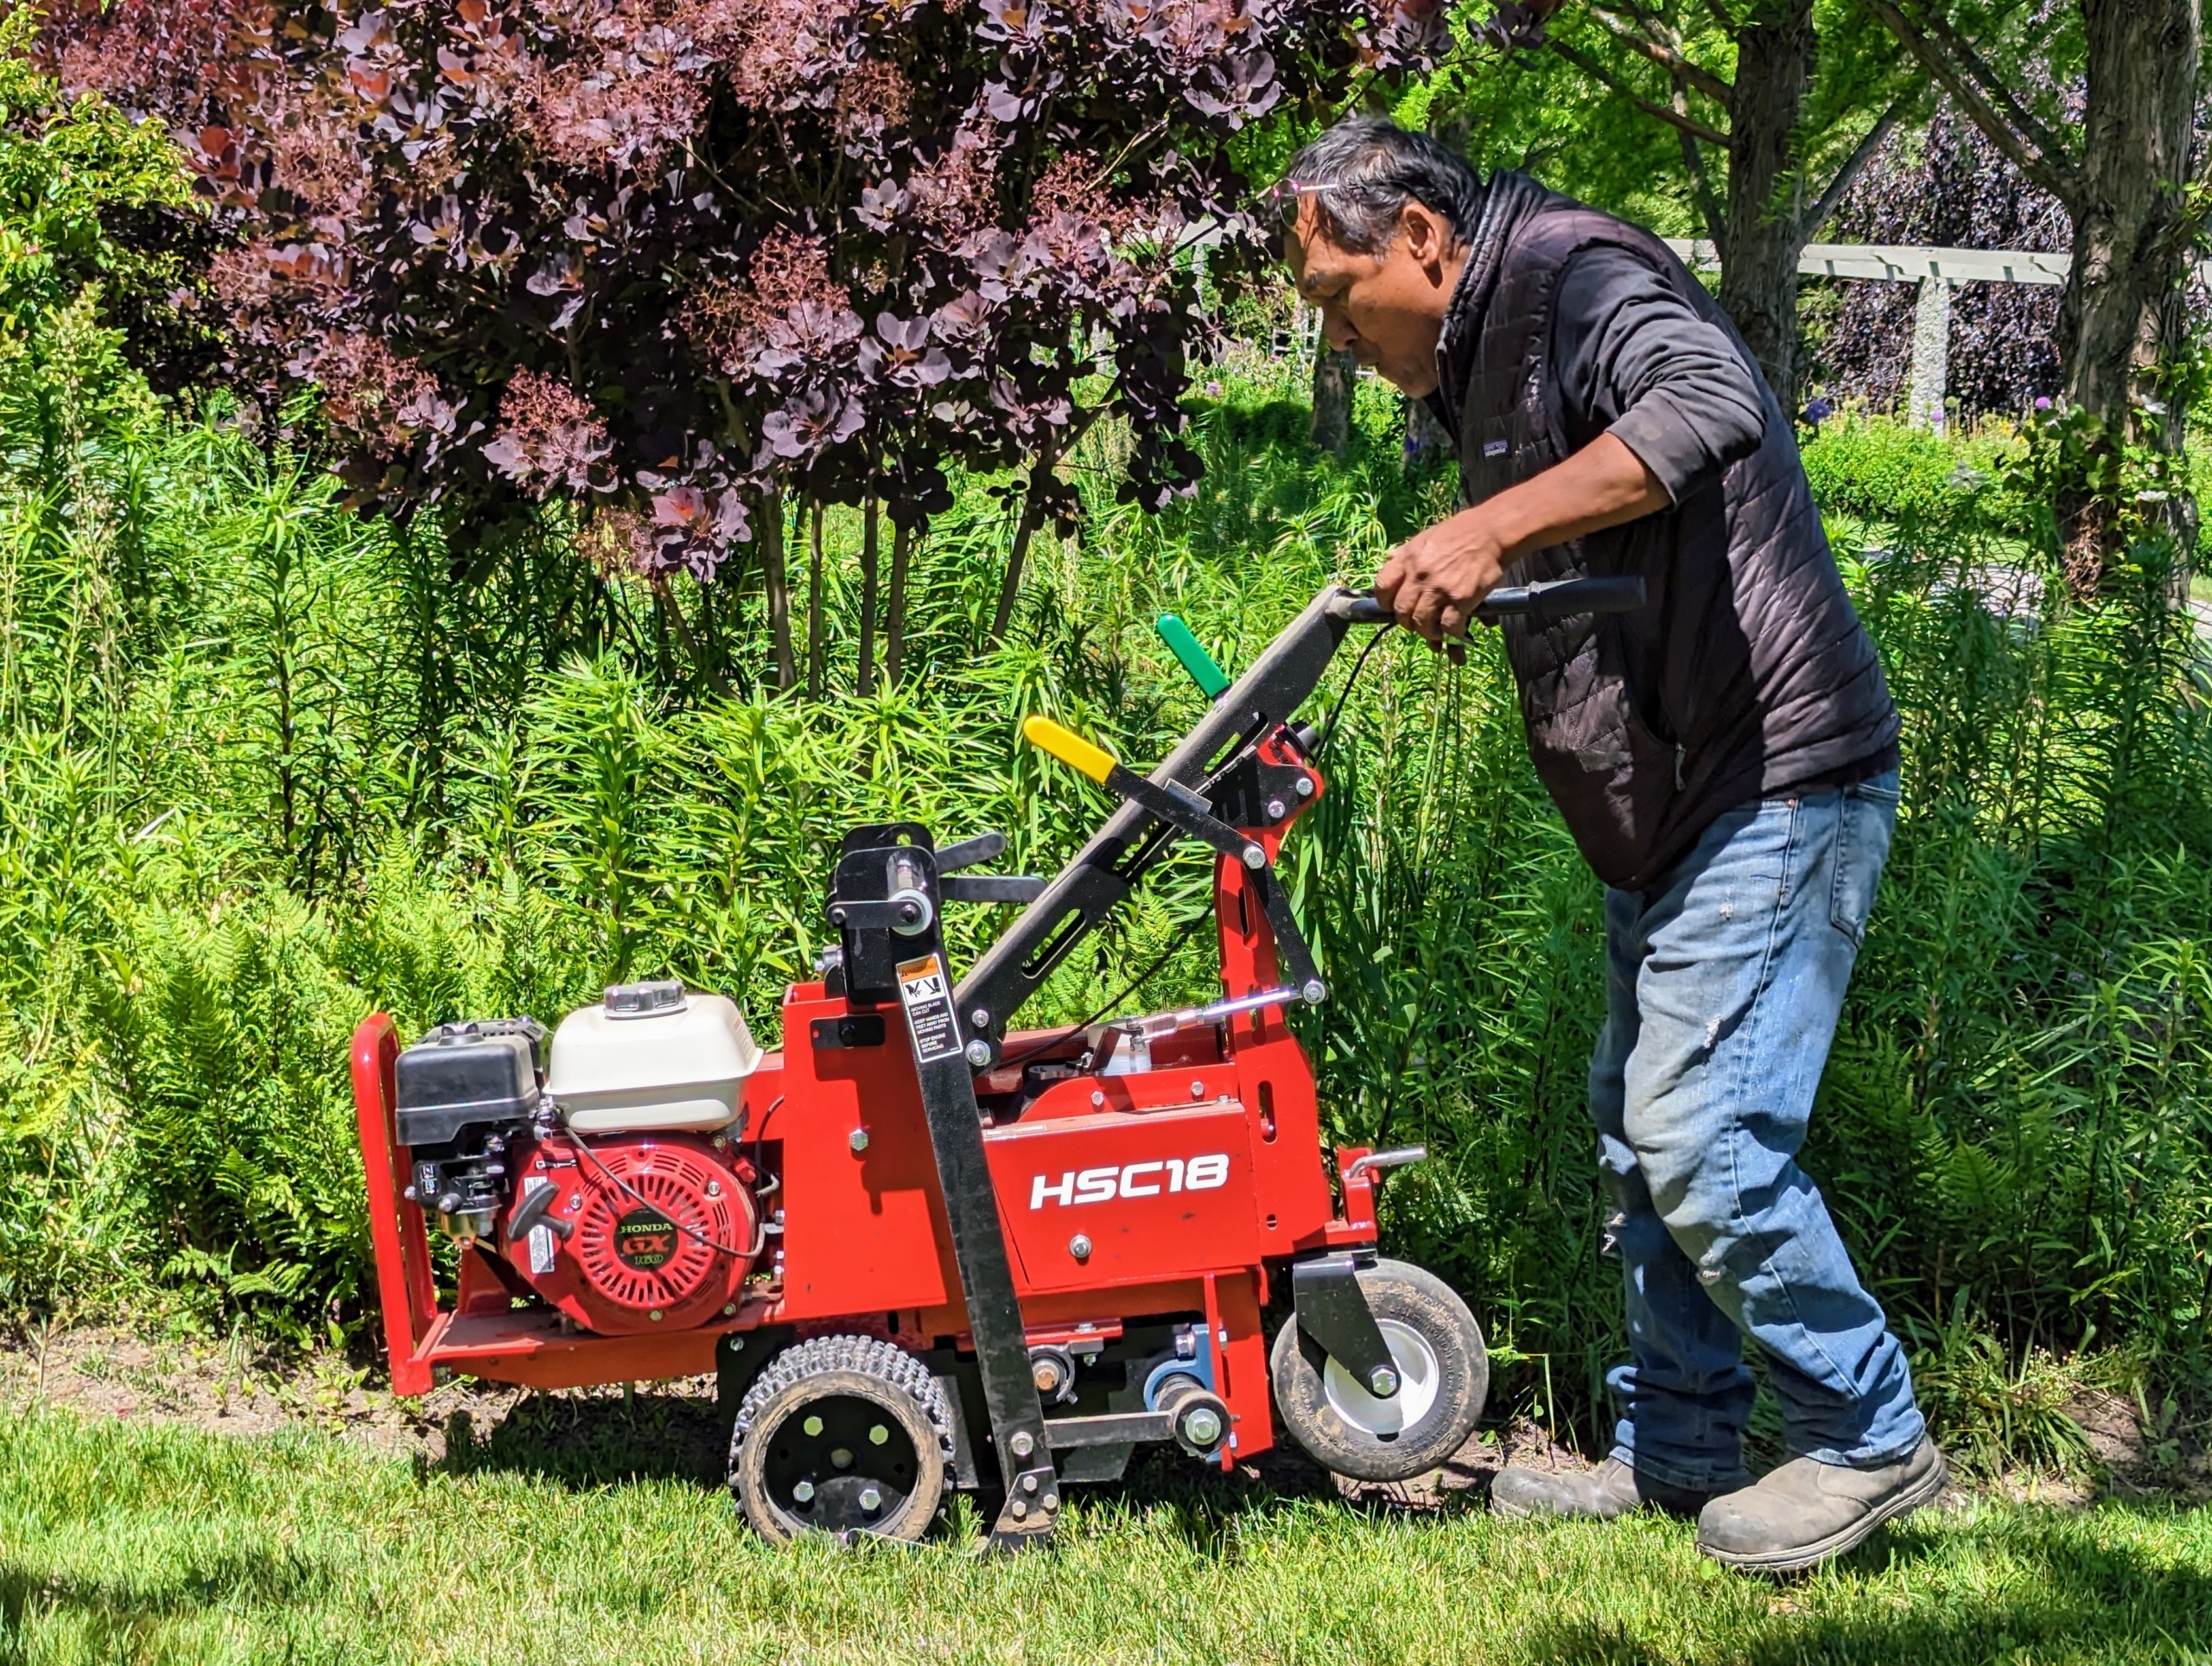
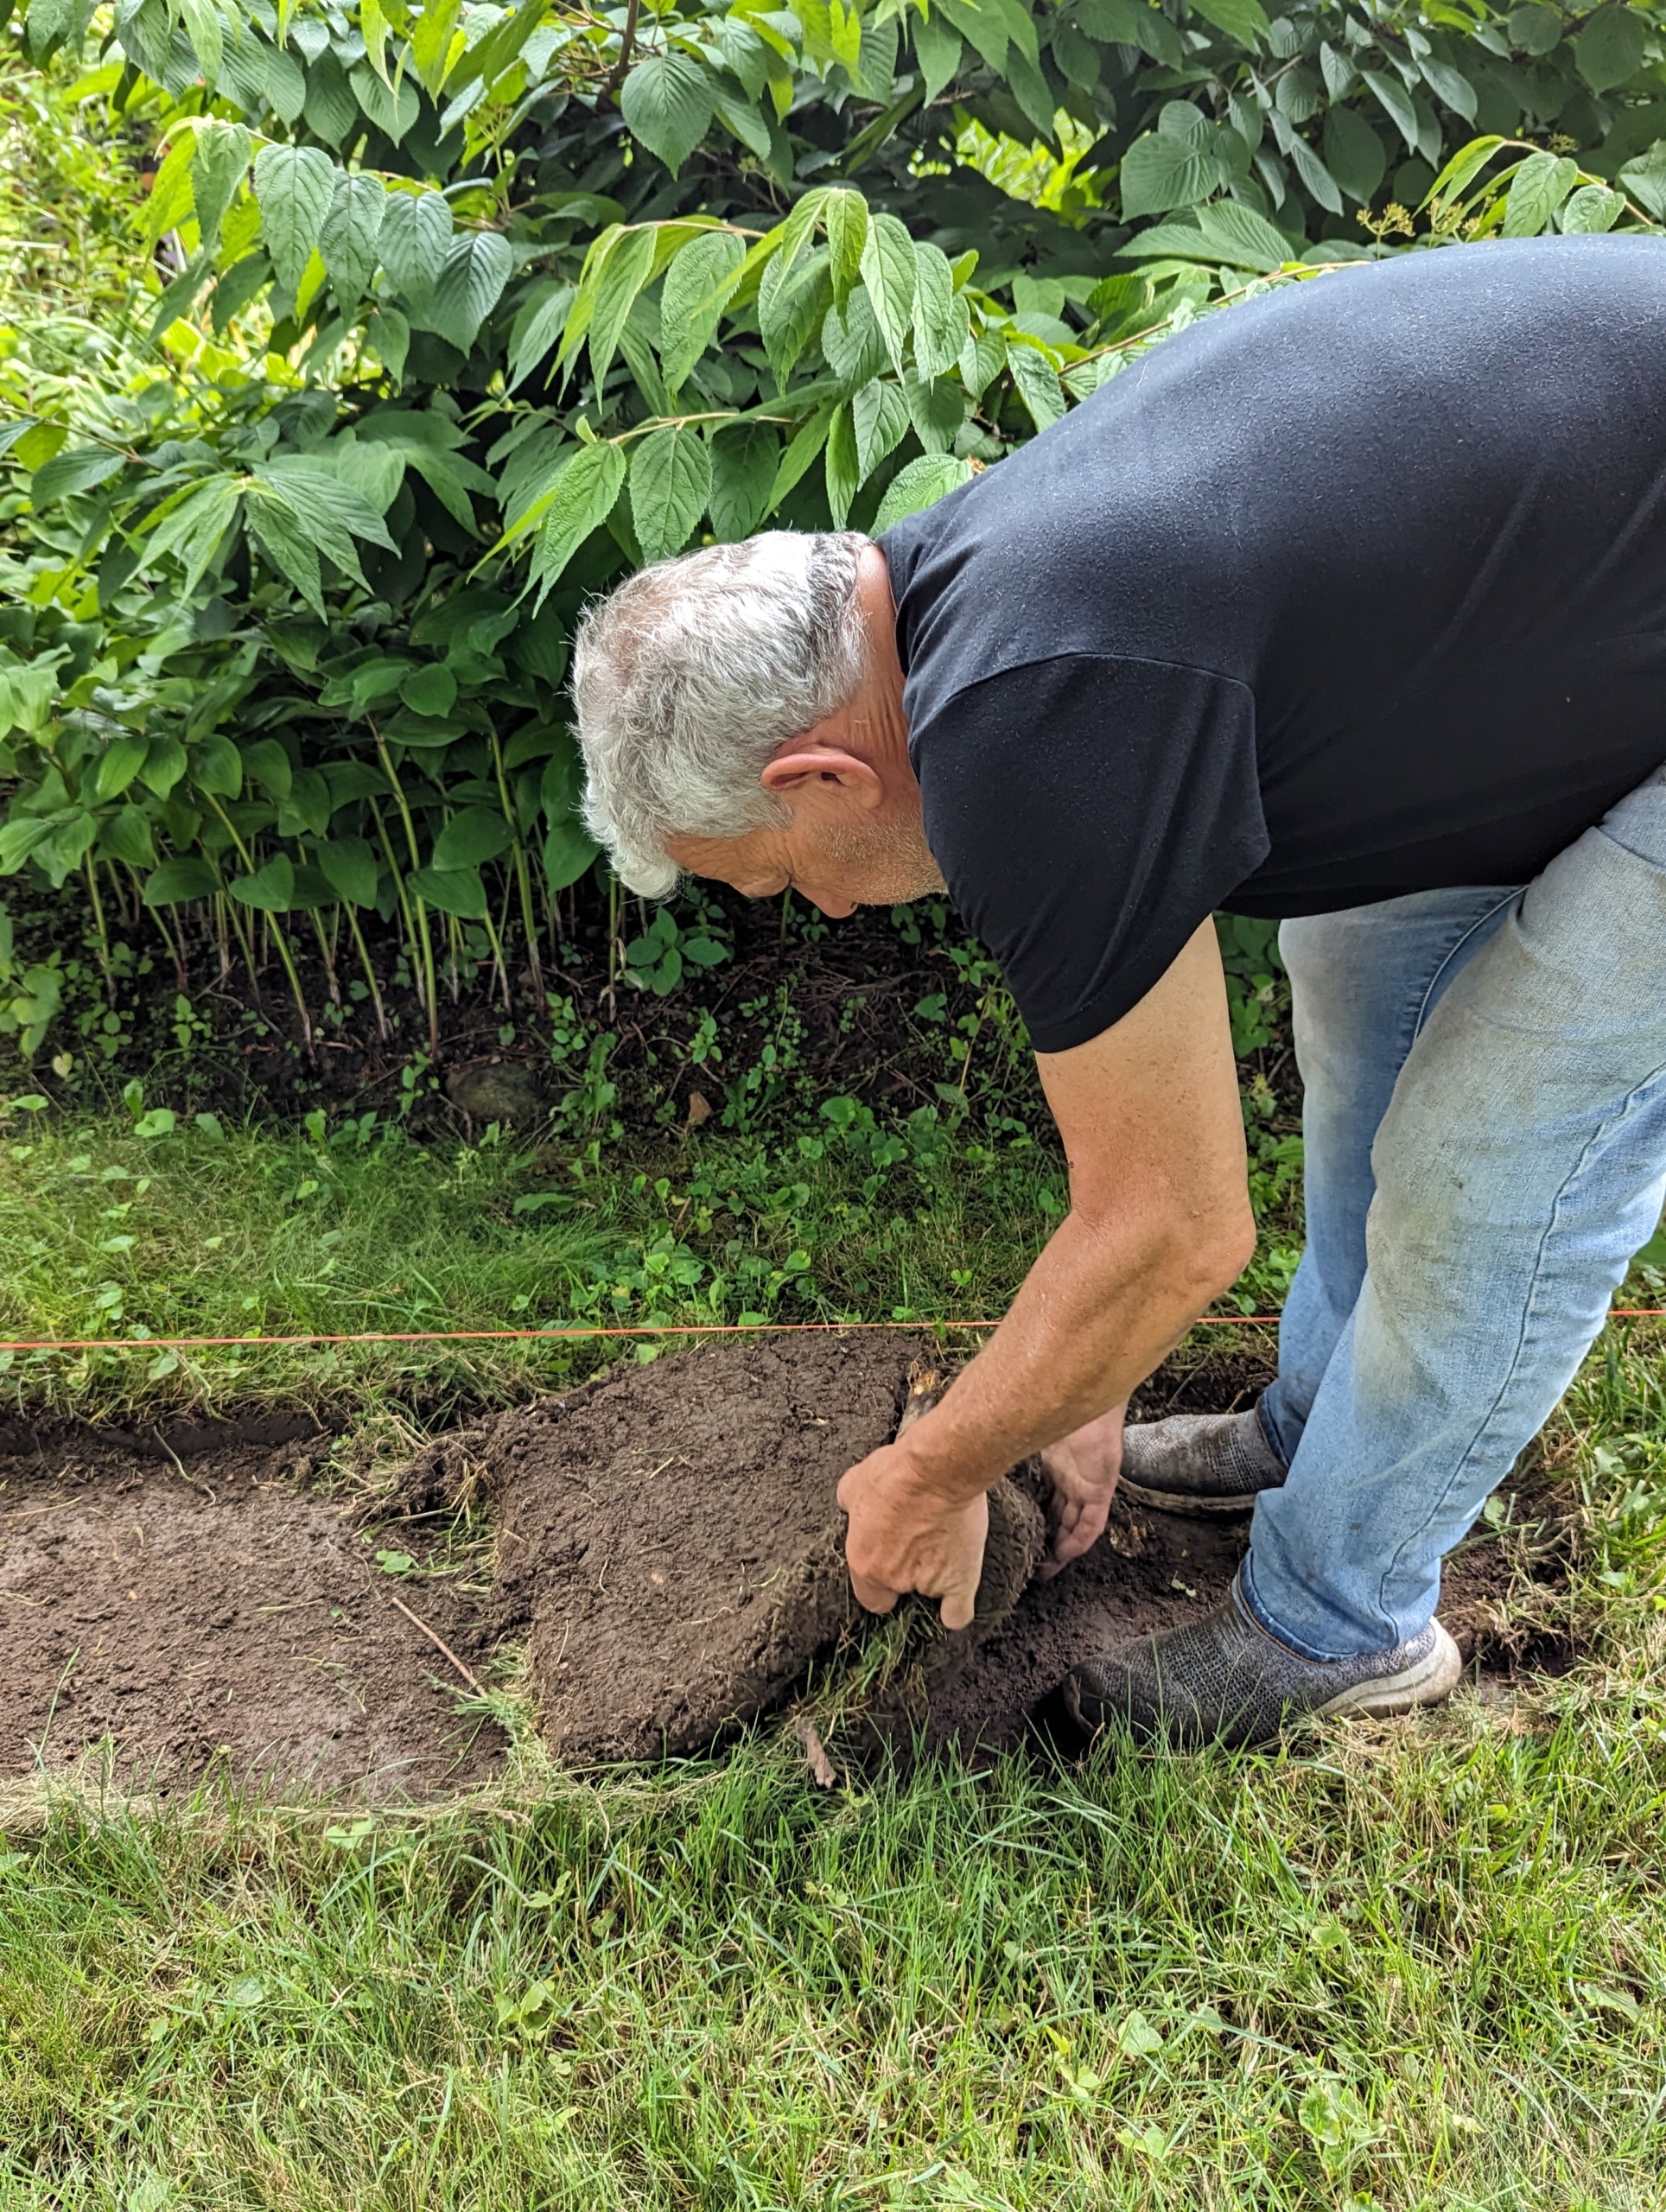
Then, using the twine as a guide, Pete starts to detach the sod from the marked area with our new Classen Pro HSC18 sod cutter.
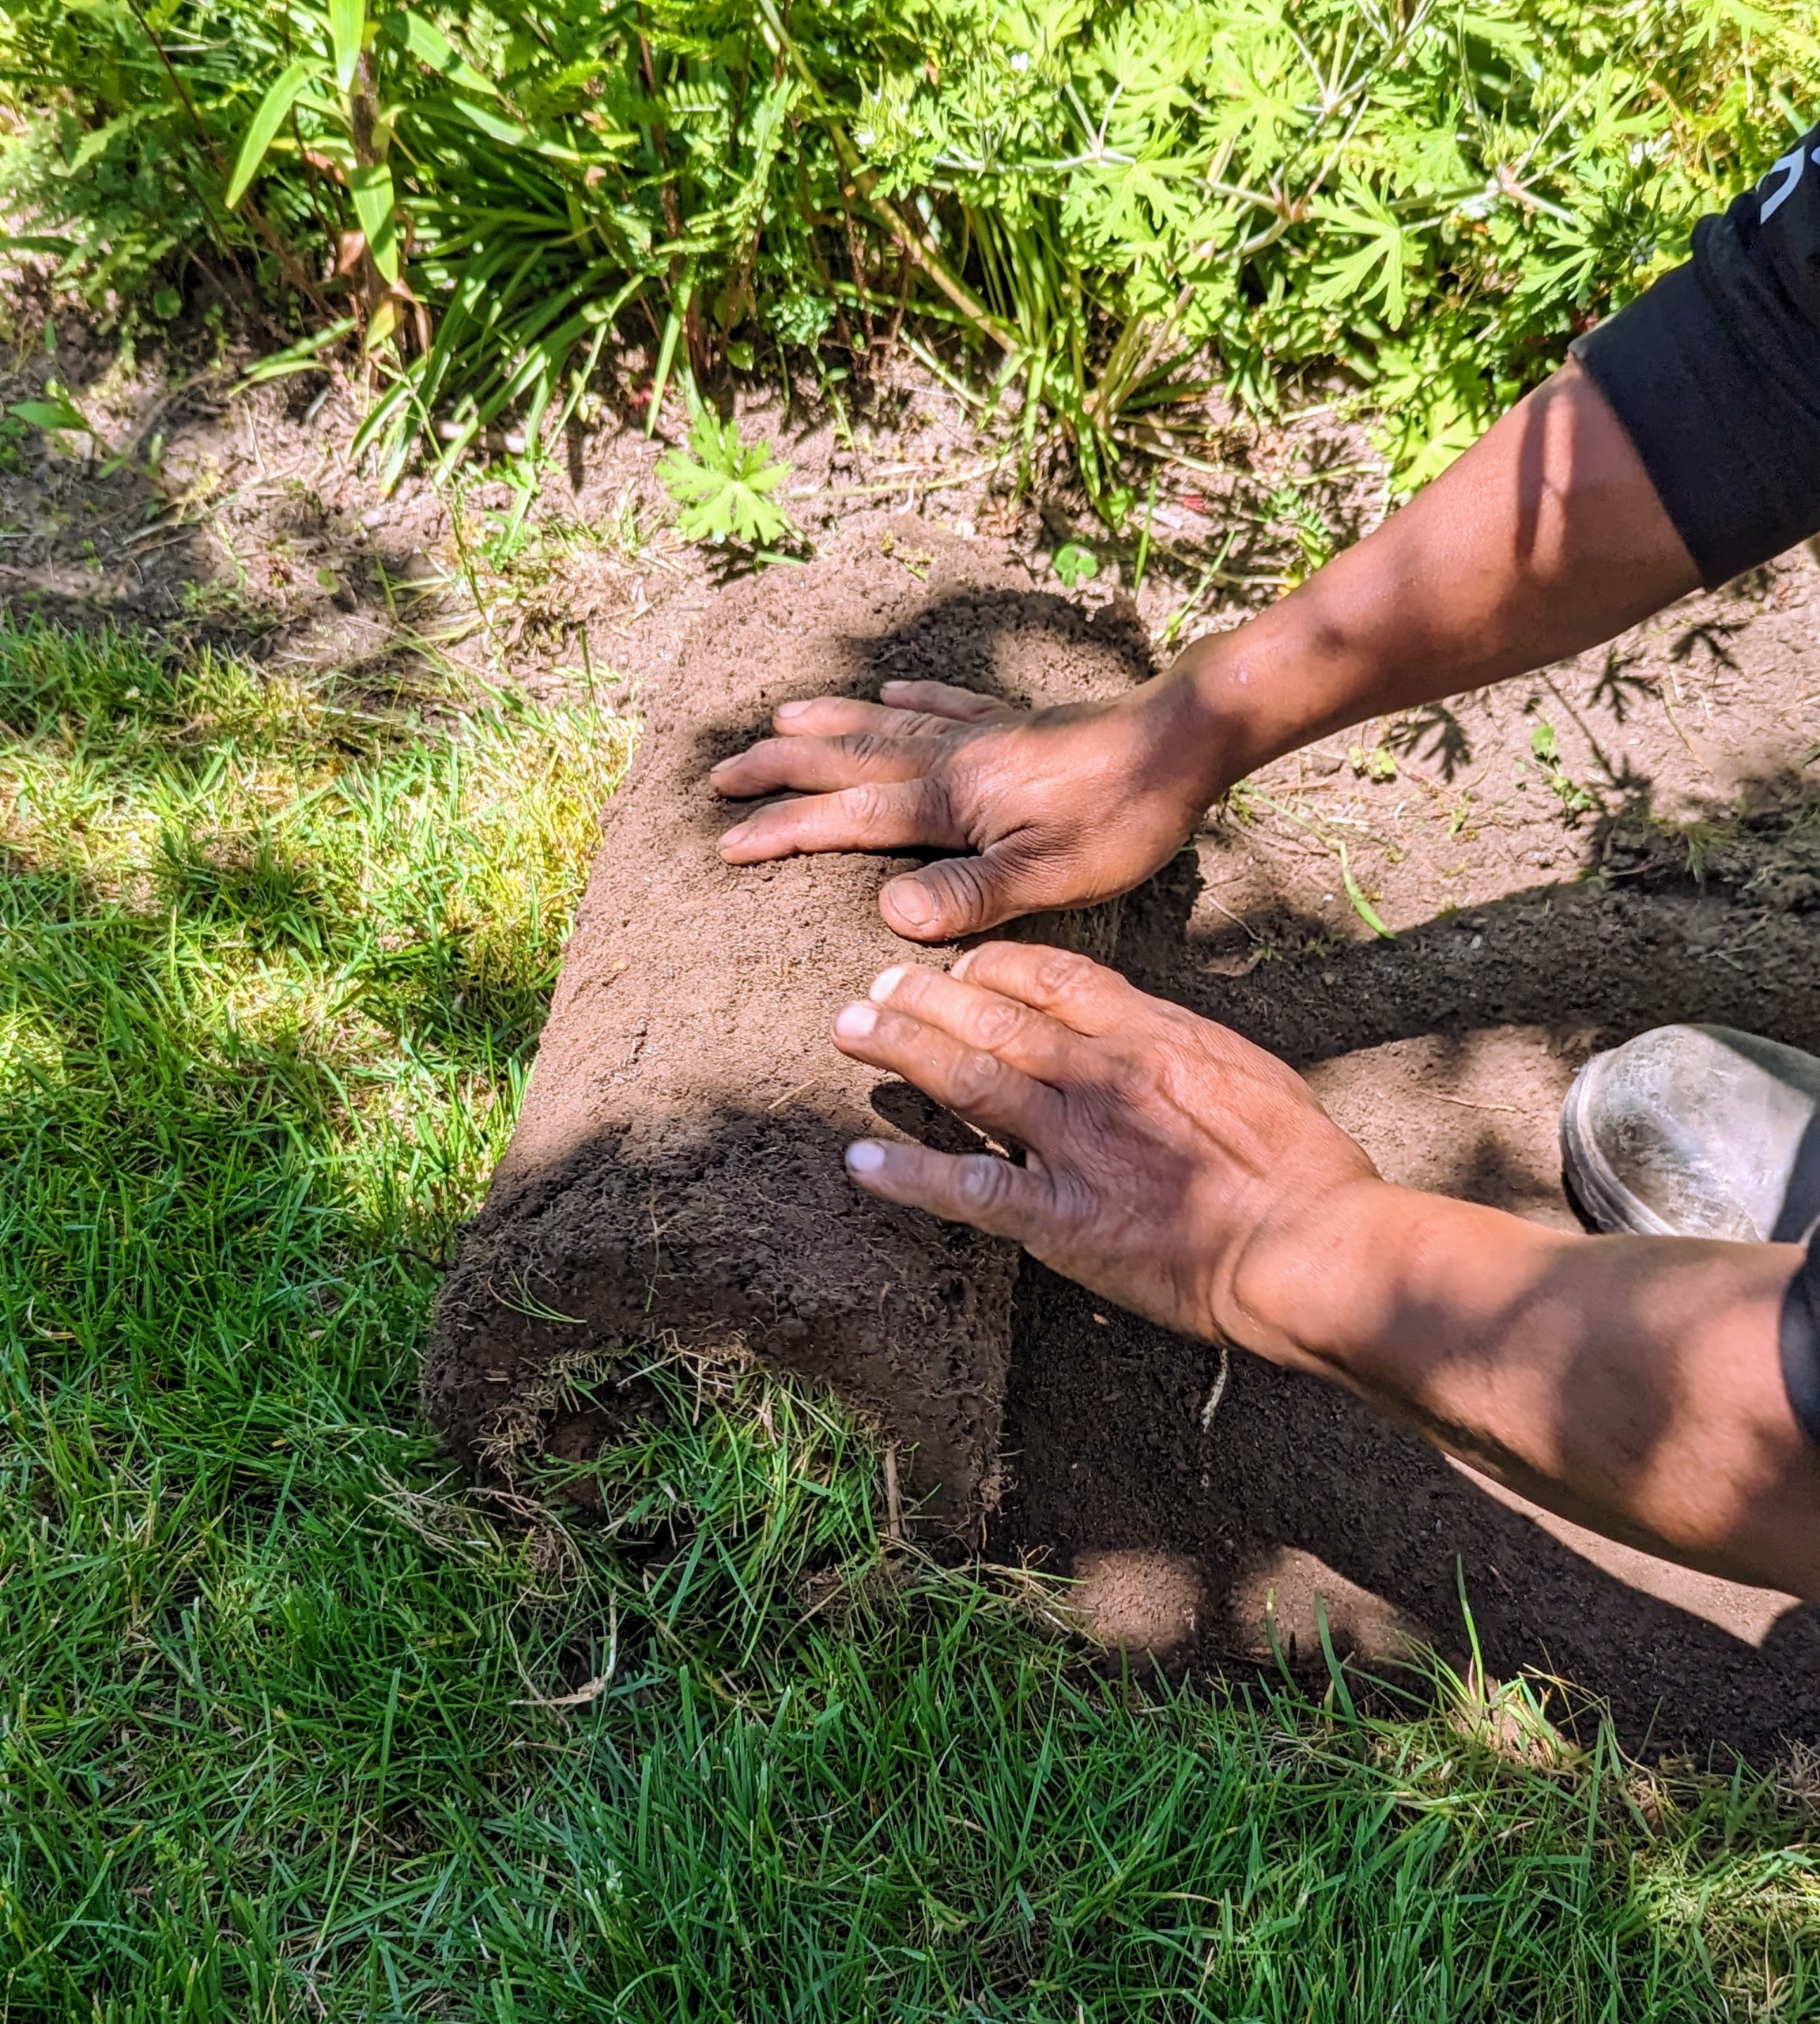
Pete rolls up the sod in sections, so it is not too heavy to transport.
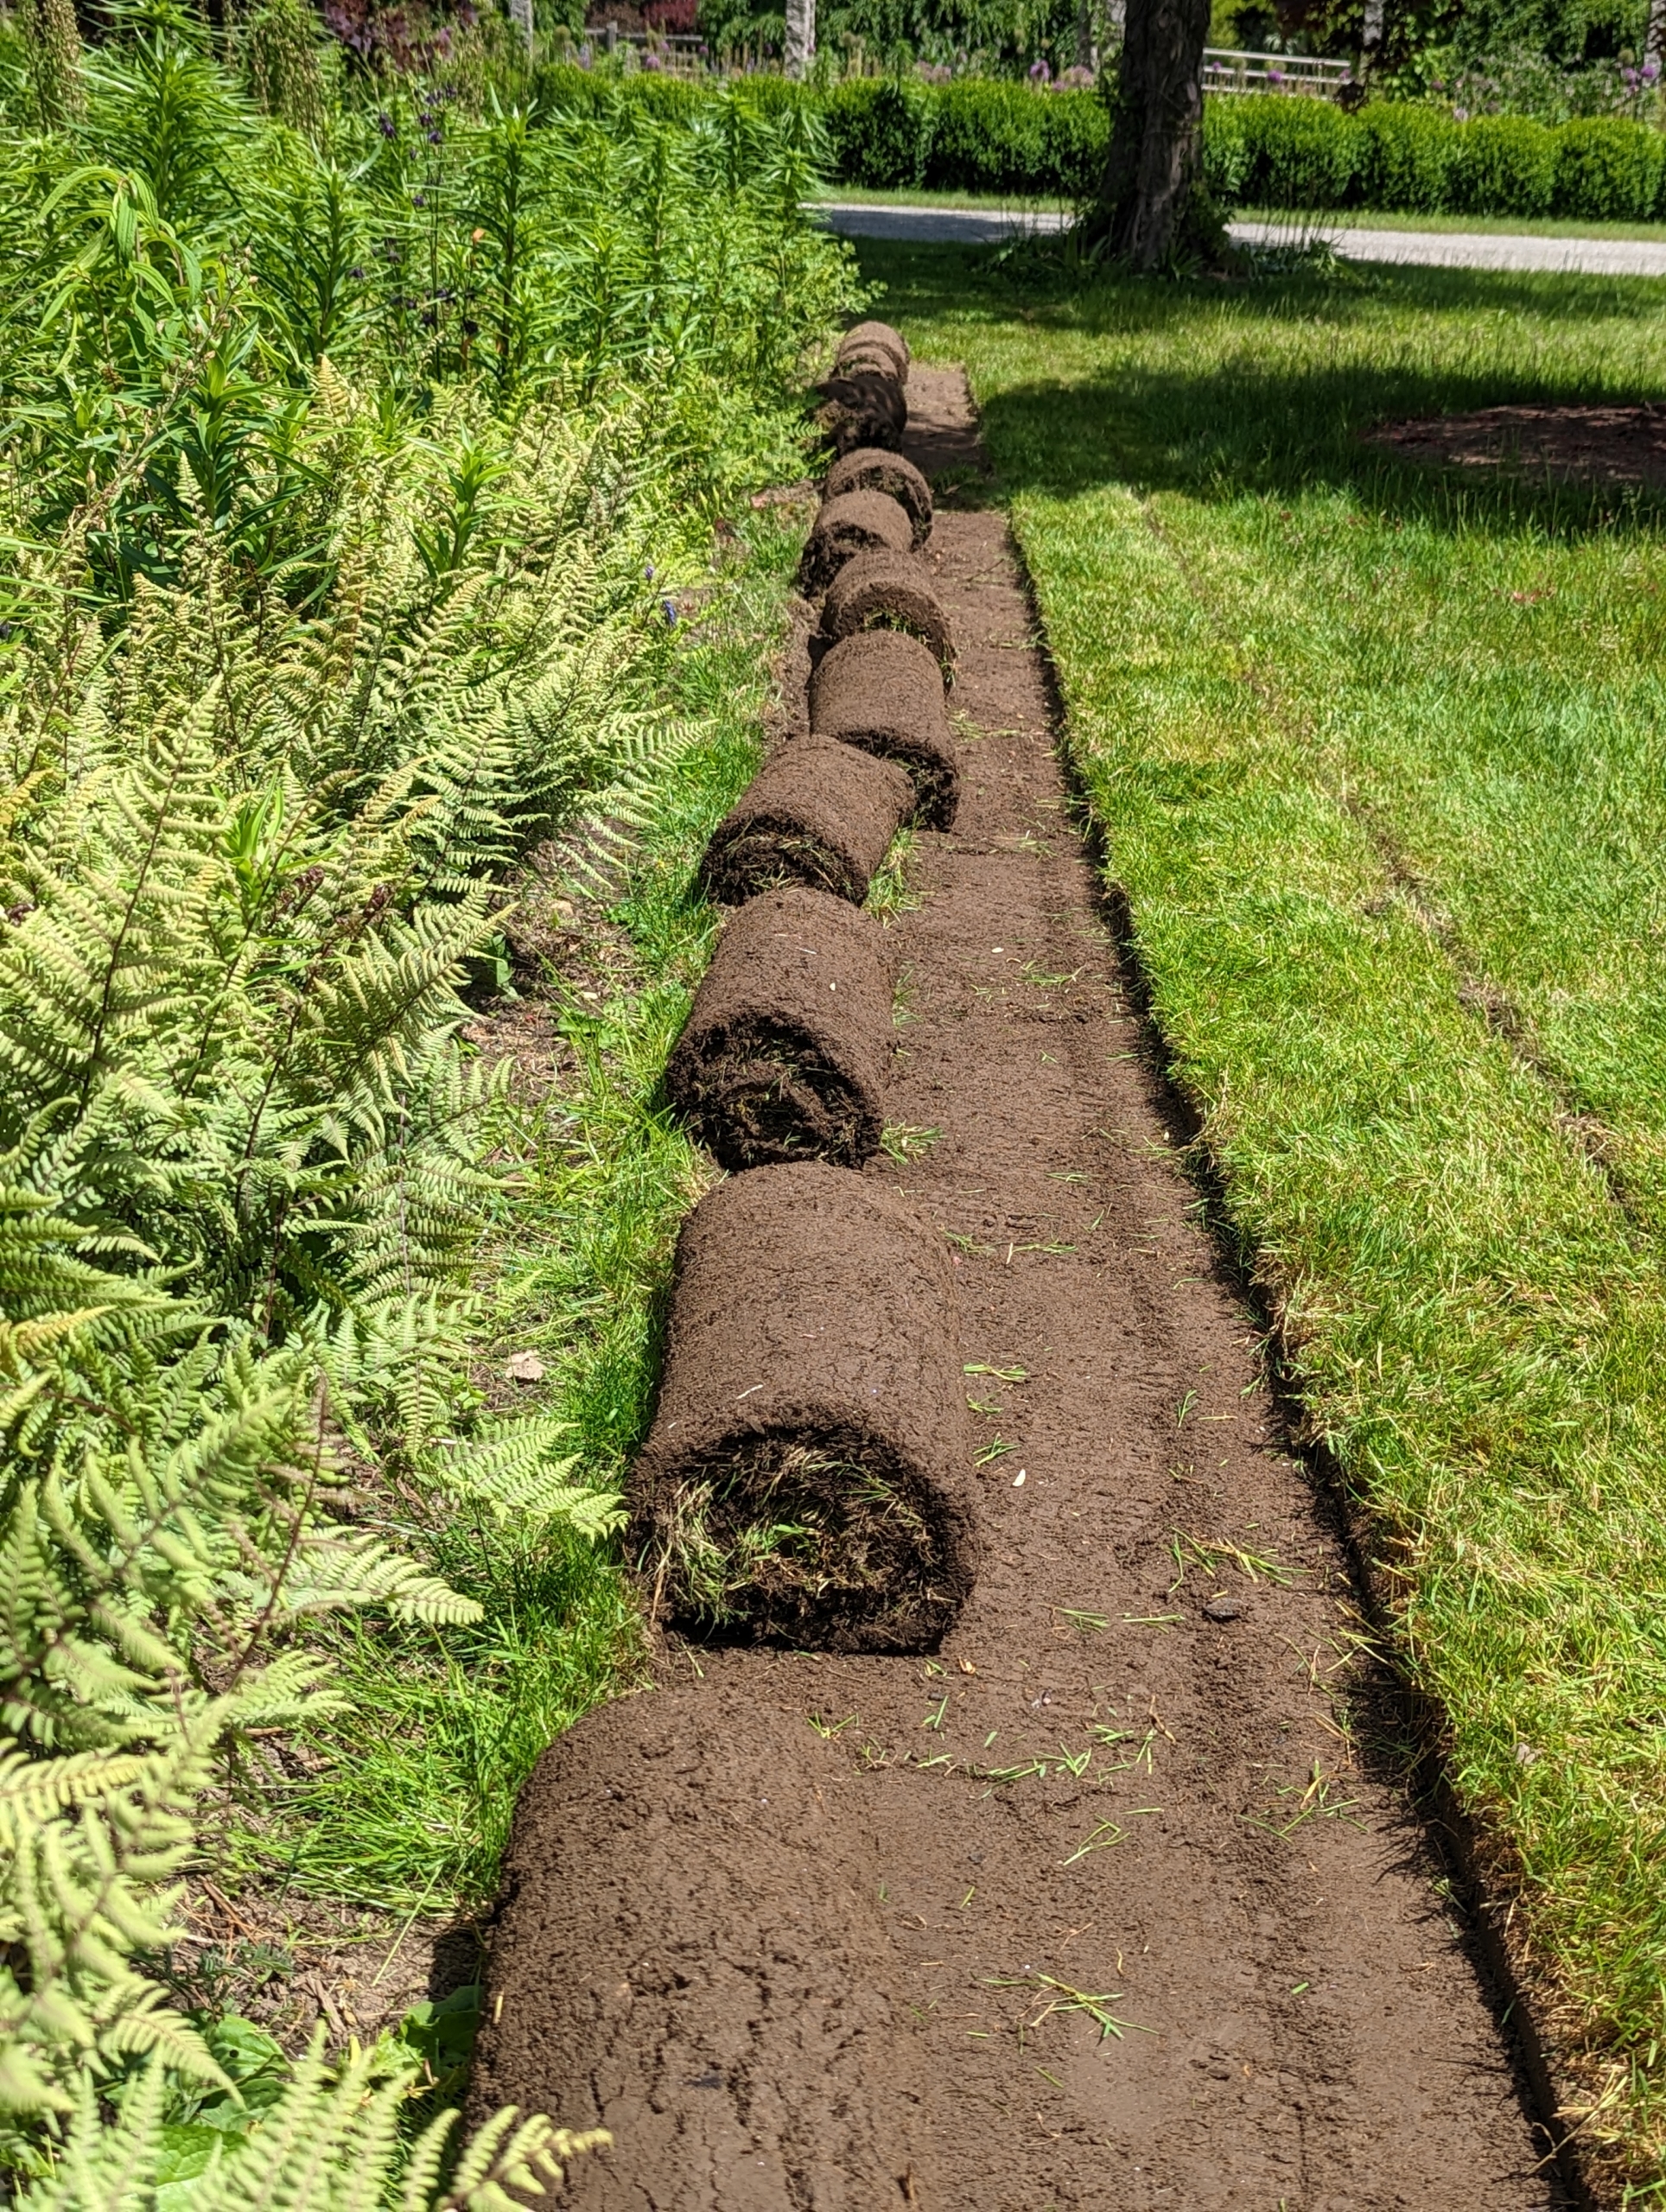
Here are several pieces of sod neatly rolled and placed in a row for moving. It will be used in another section of the farm. Good, healthy sod is always repurposed and transplanted.
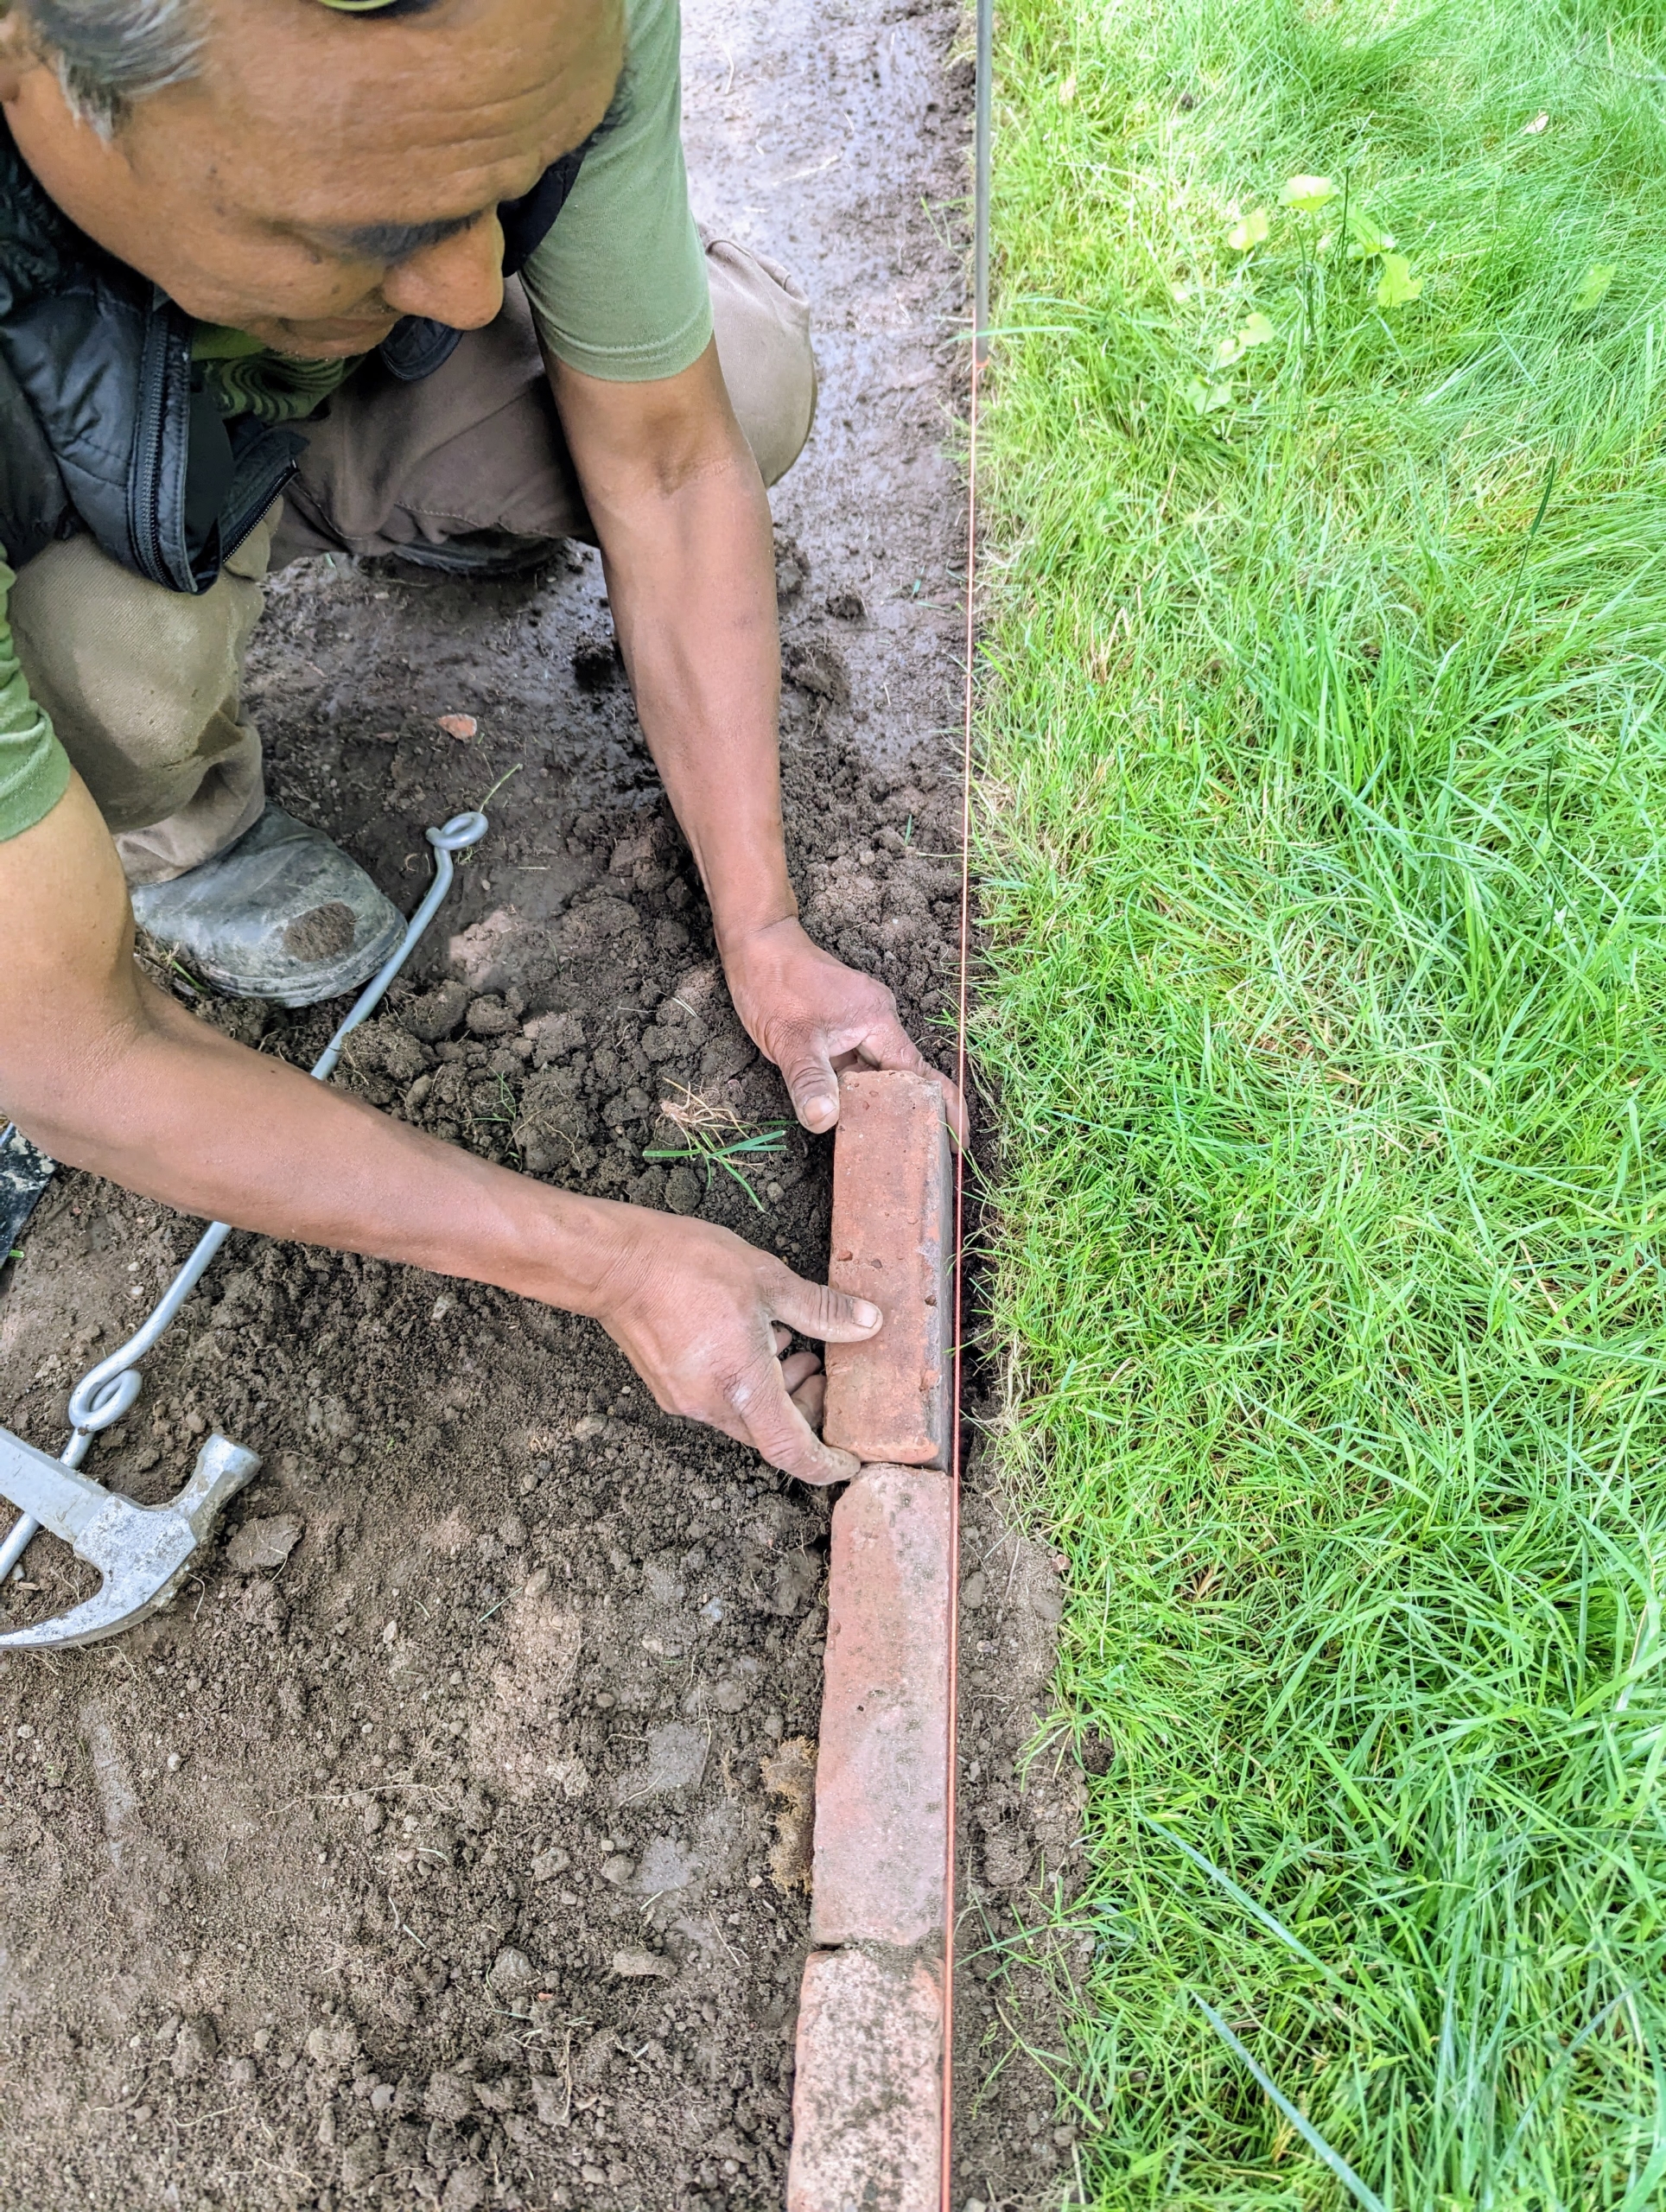
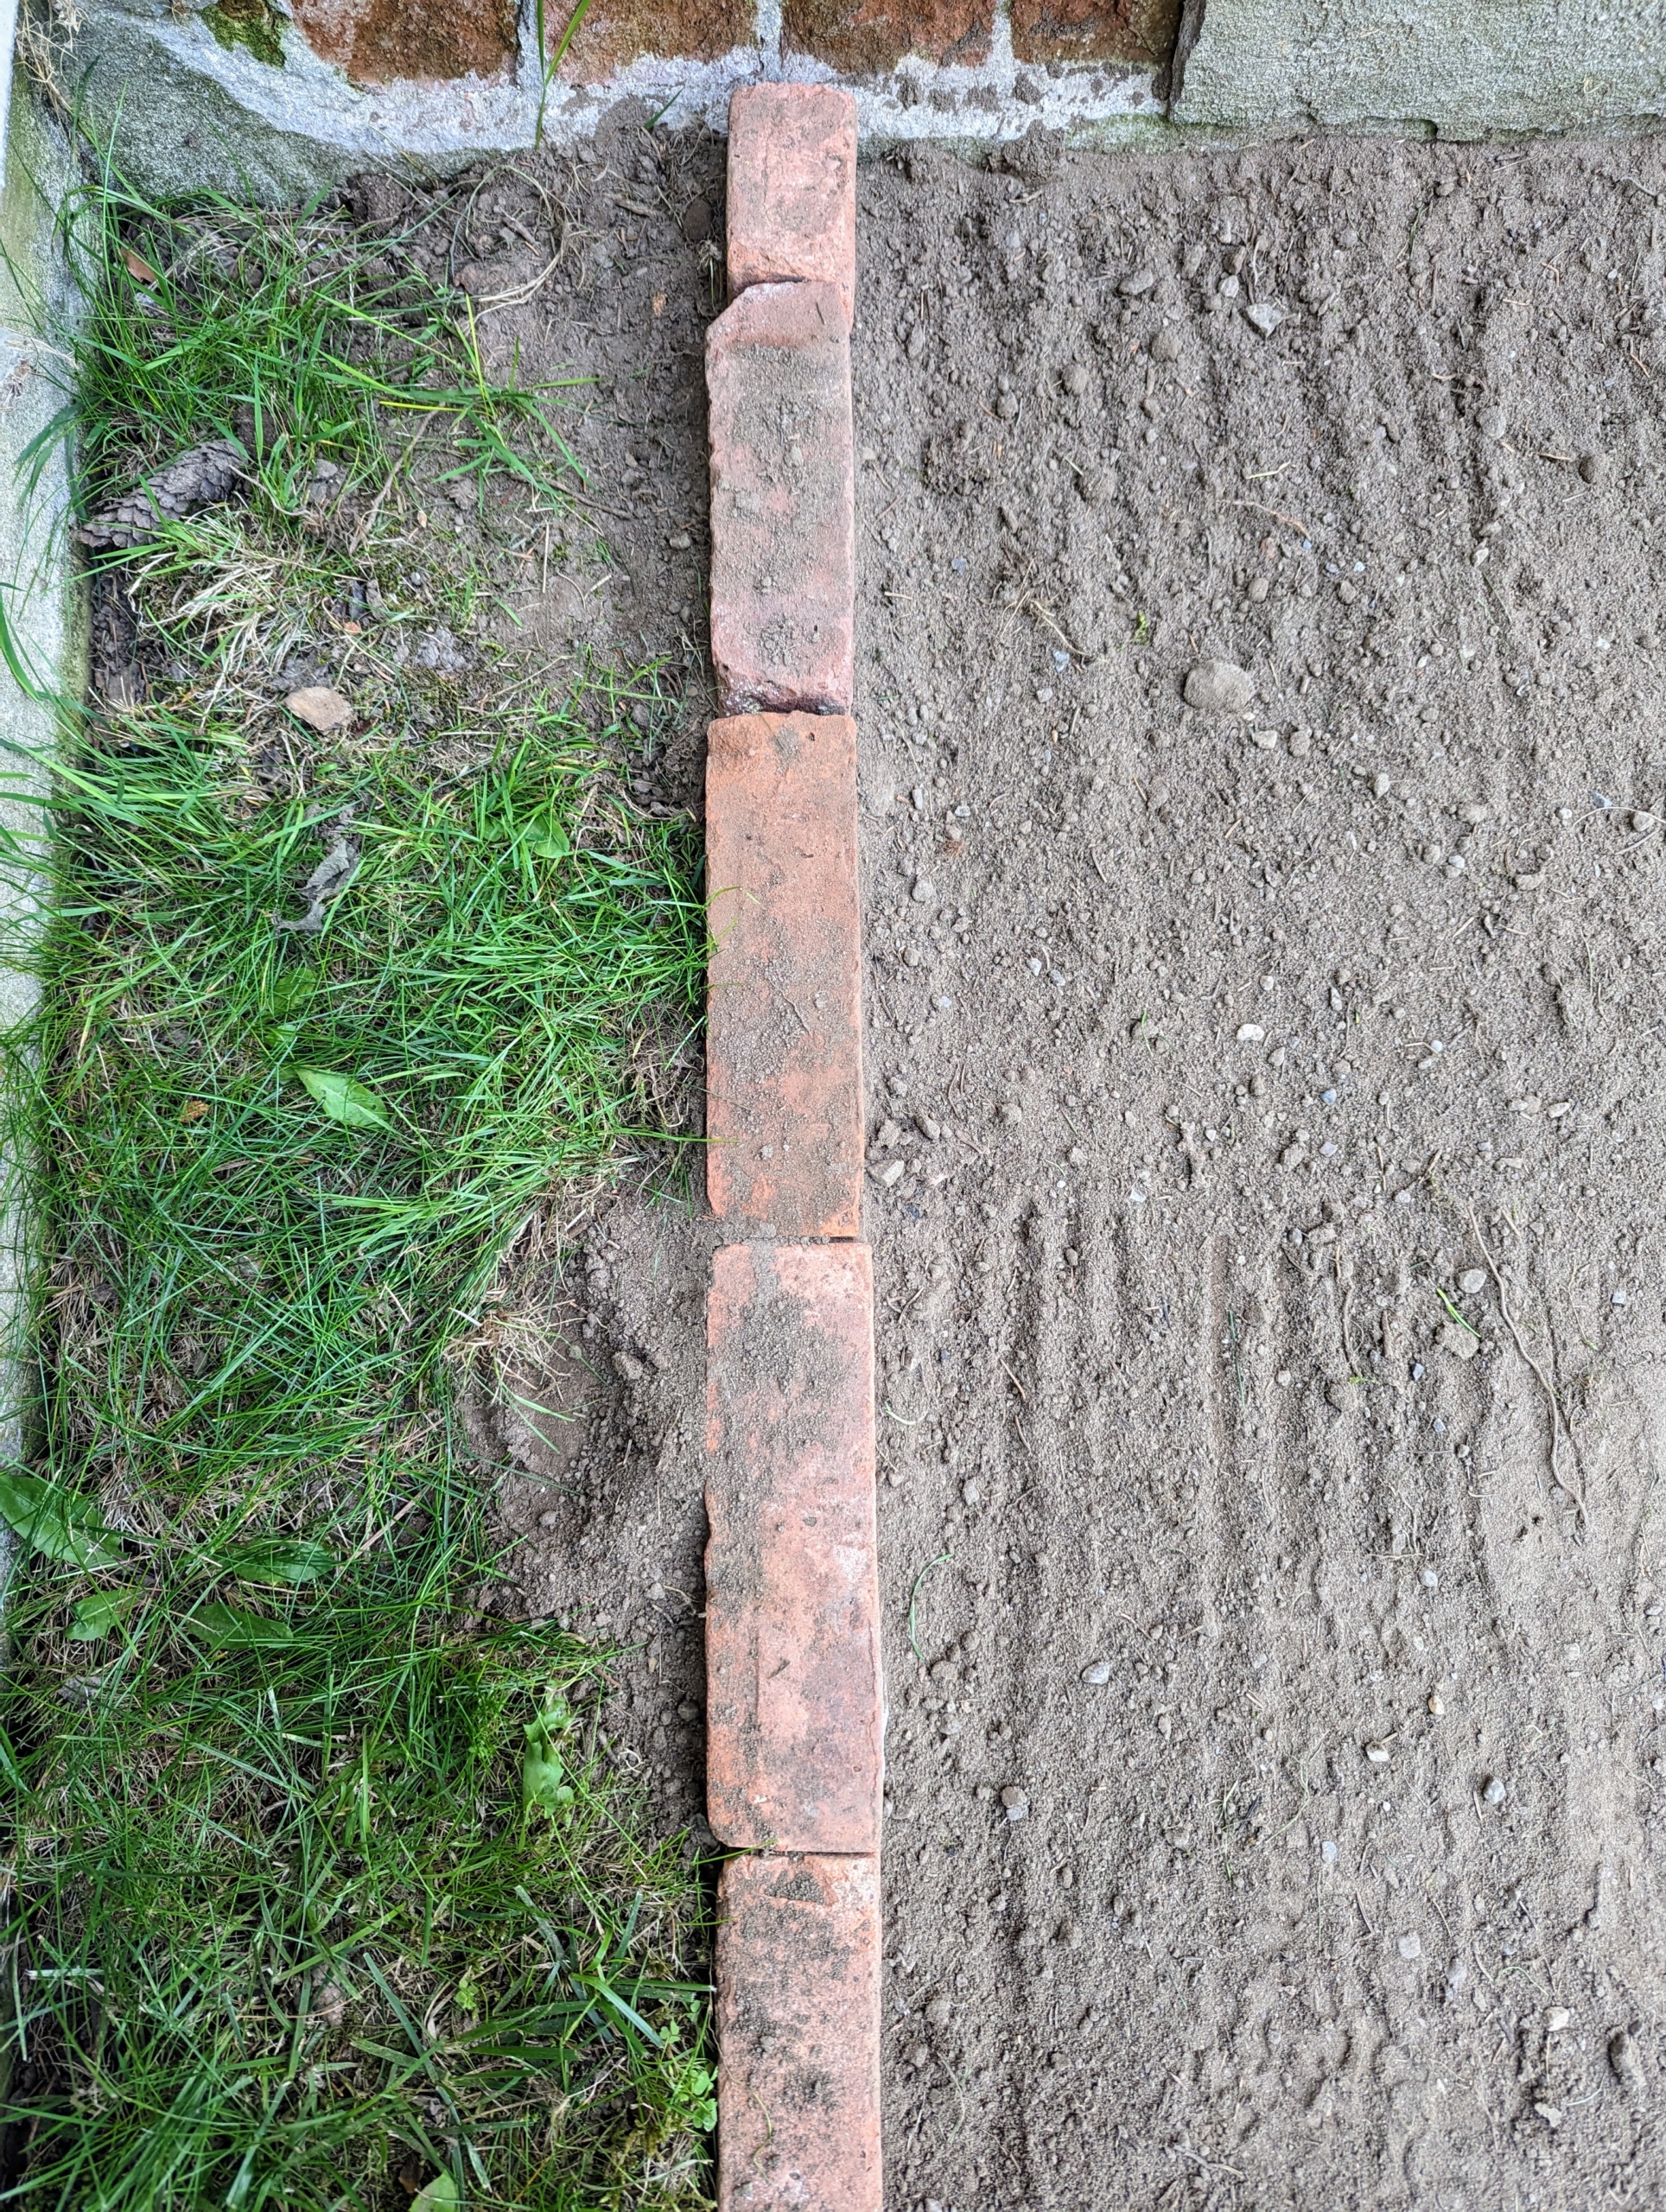
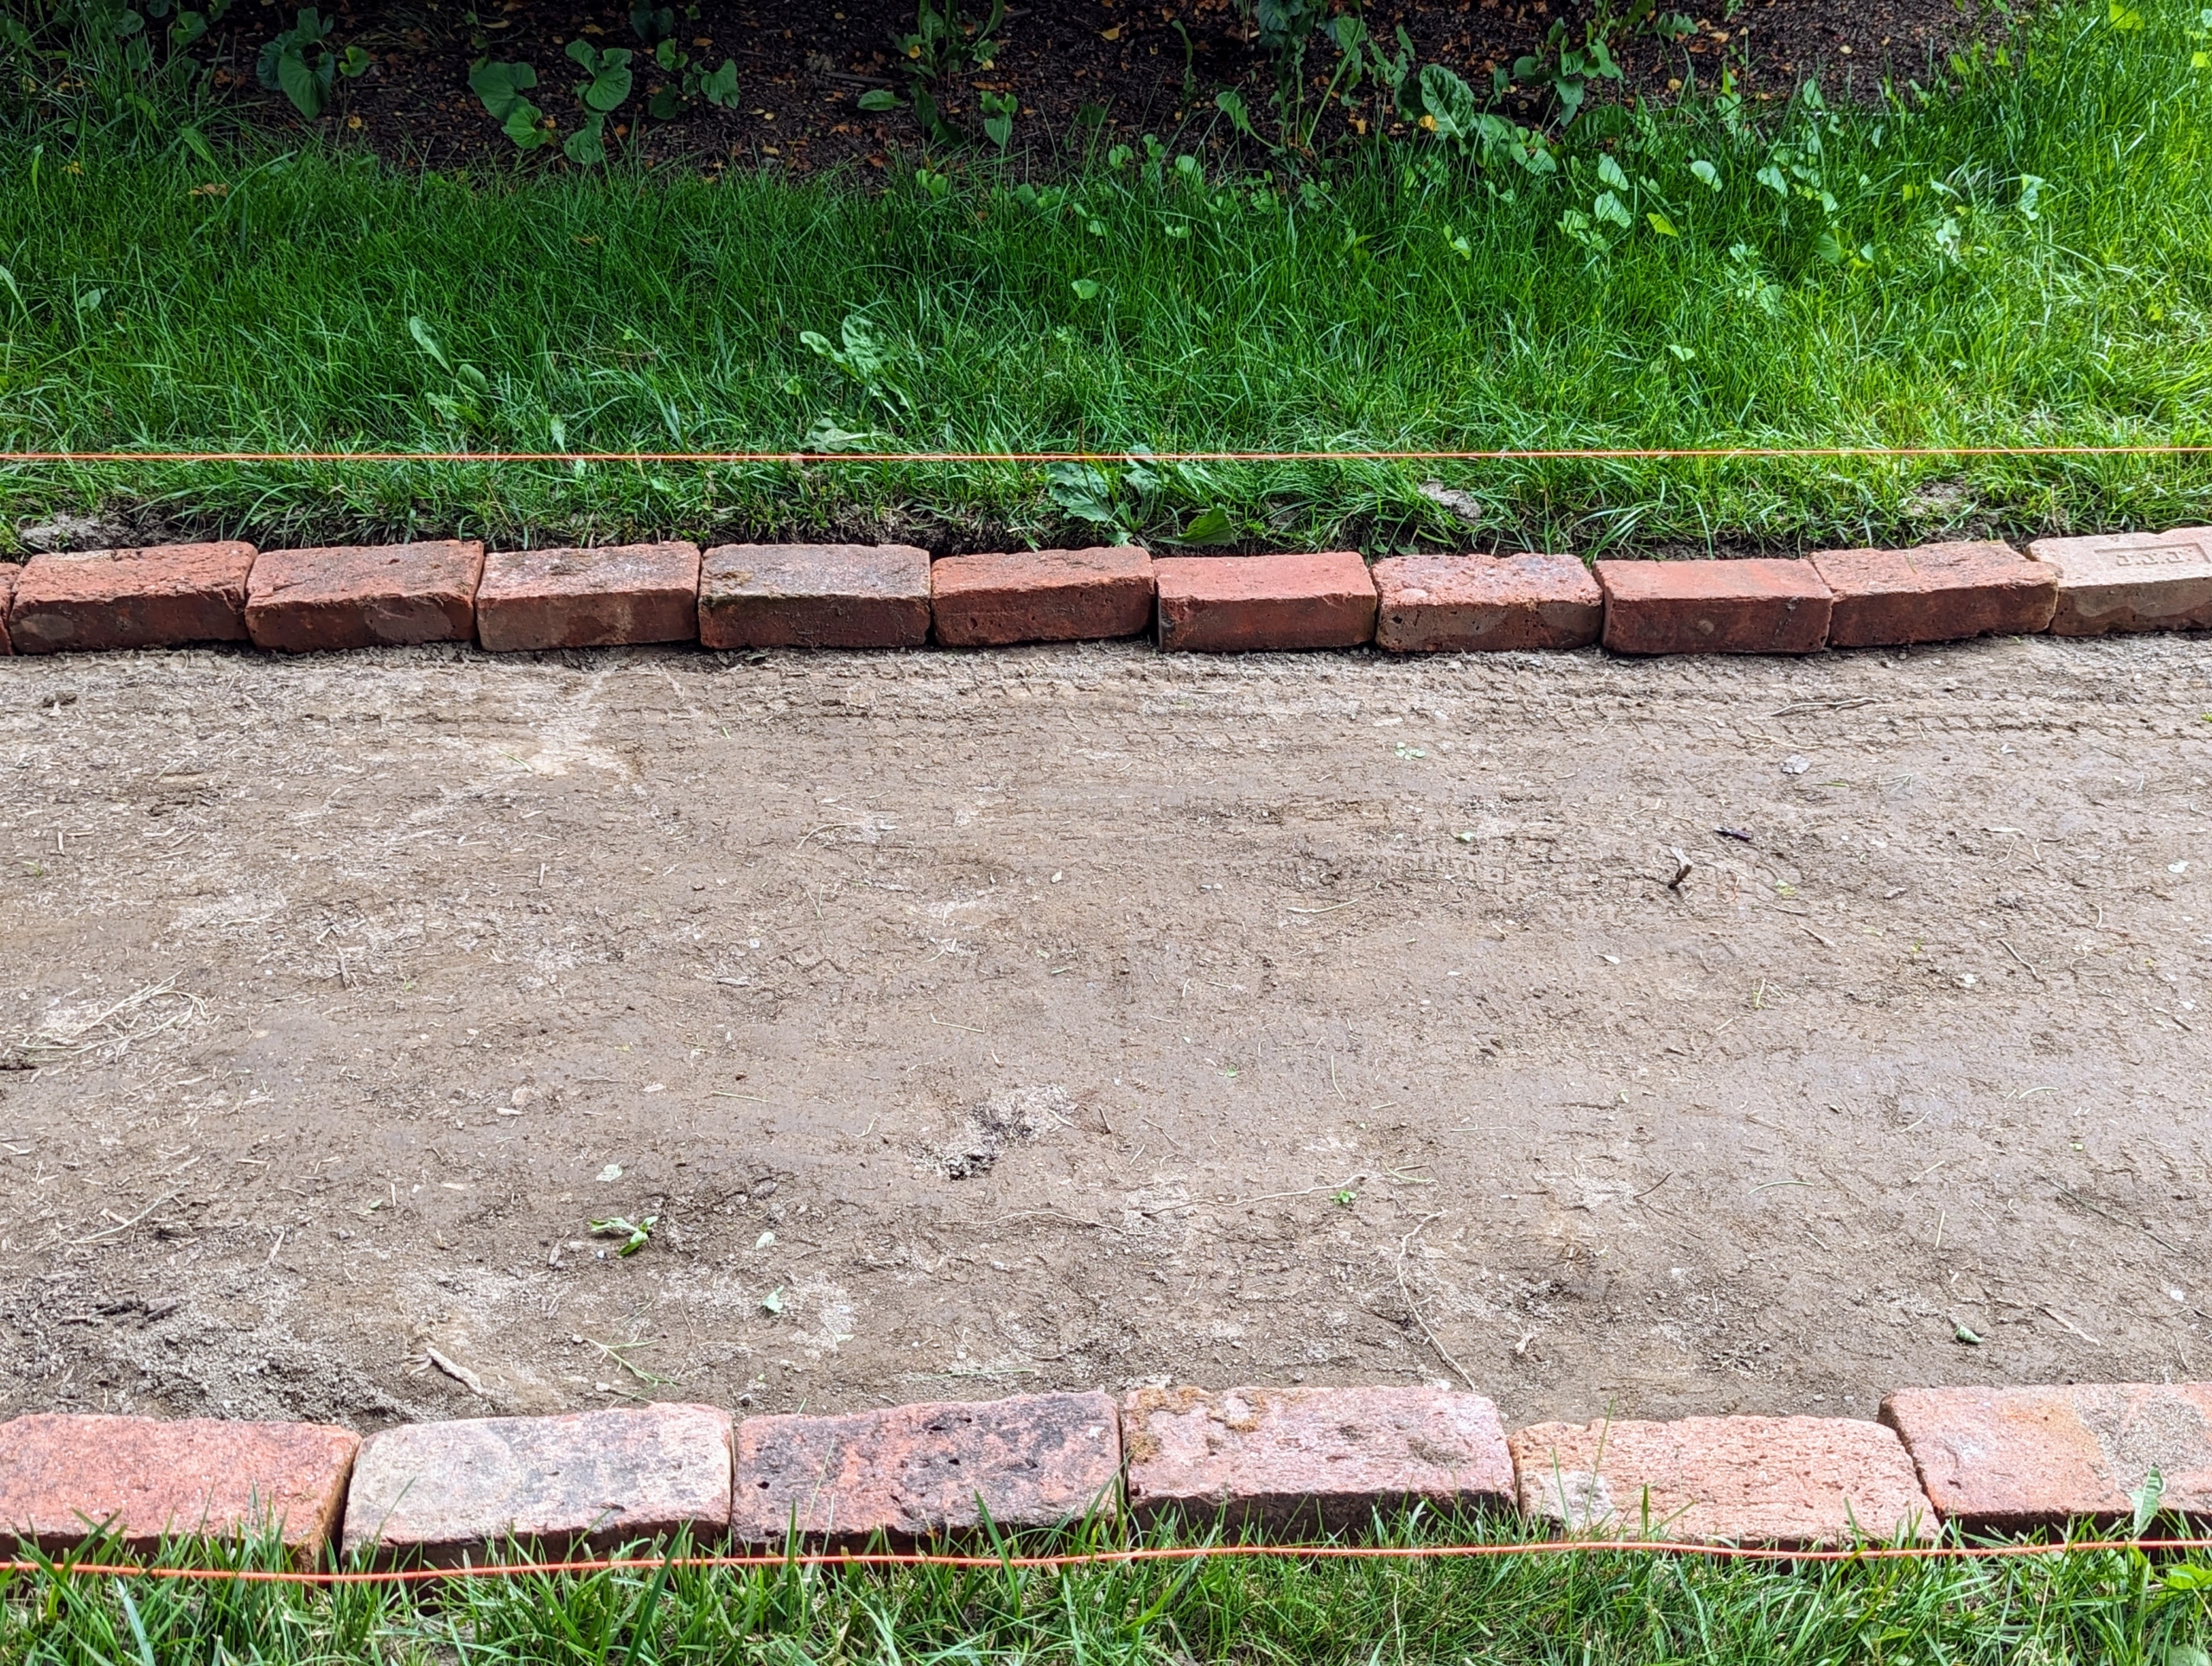
I have lots of these bricks left over from my previous home in East Hampton – they used to surround my swimming pool. “Pressed red” is the general term given to solid red bricks traditionally manufactured from clay, pressed into individual molds by hand, and then heated at very high temperatures. I decided we would line this path using these bricks – it’s always nice to use materials already here at the farm.
This is a view after a few bricks have been laid down. They will hold the path filler in nicely.
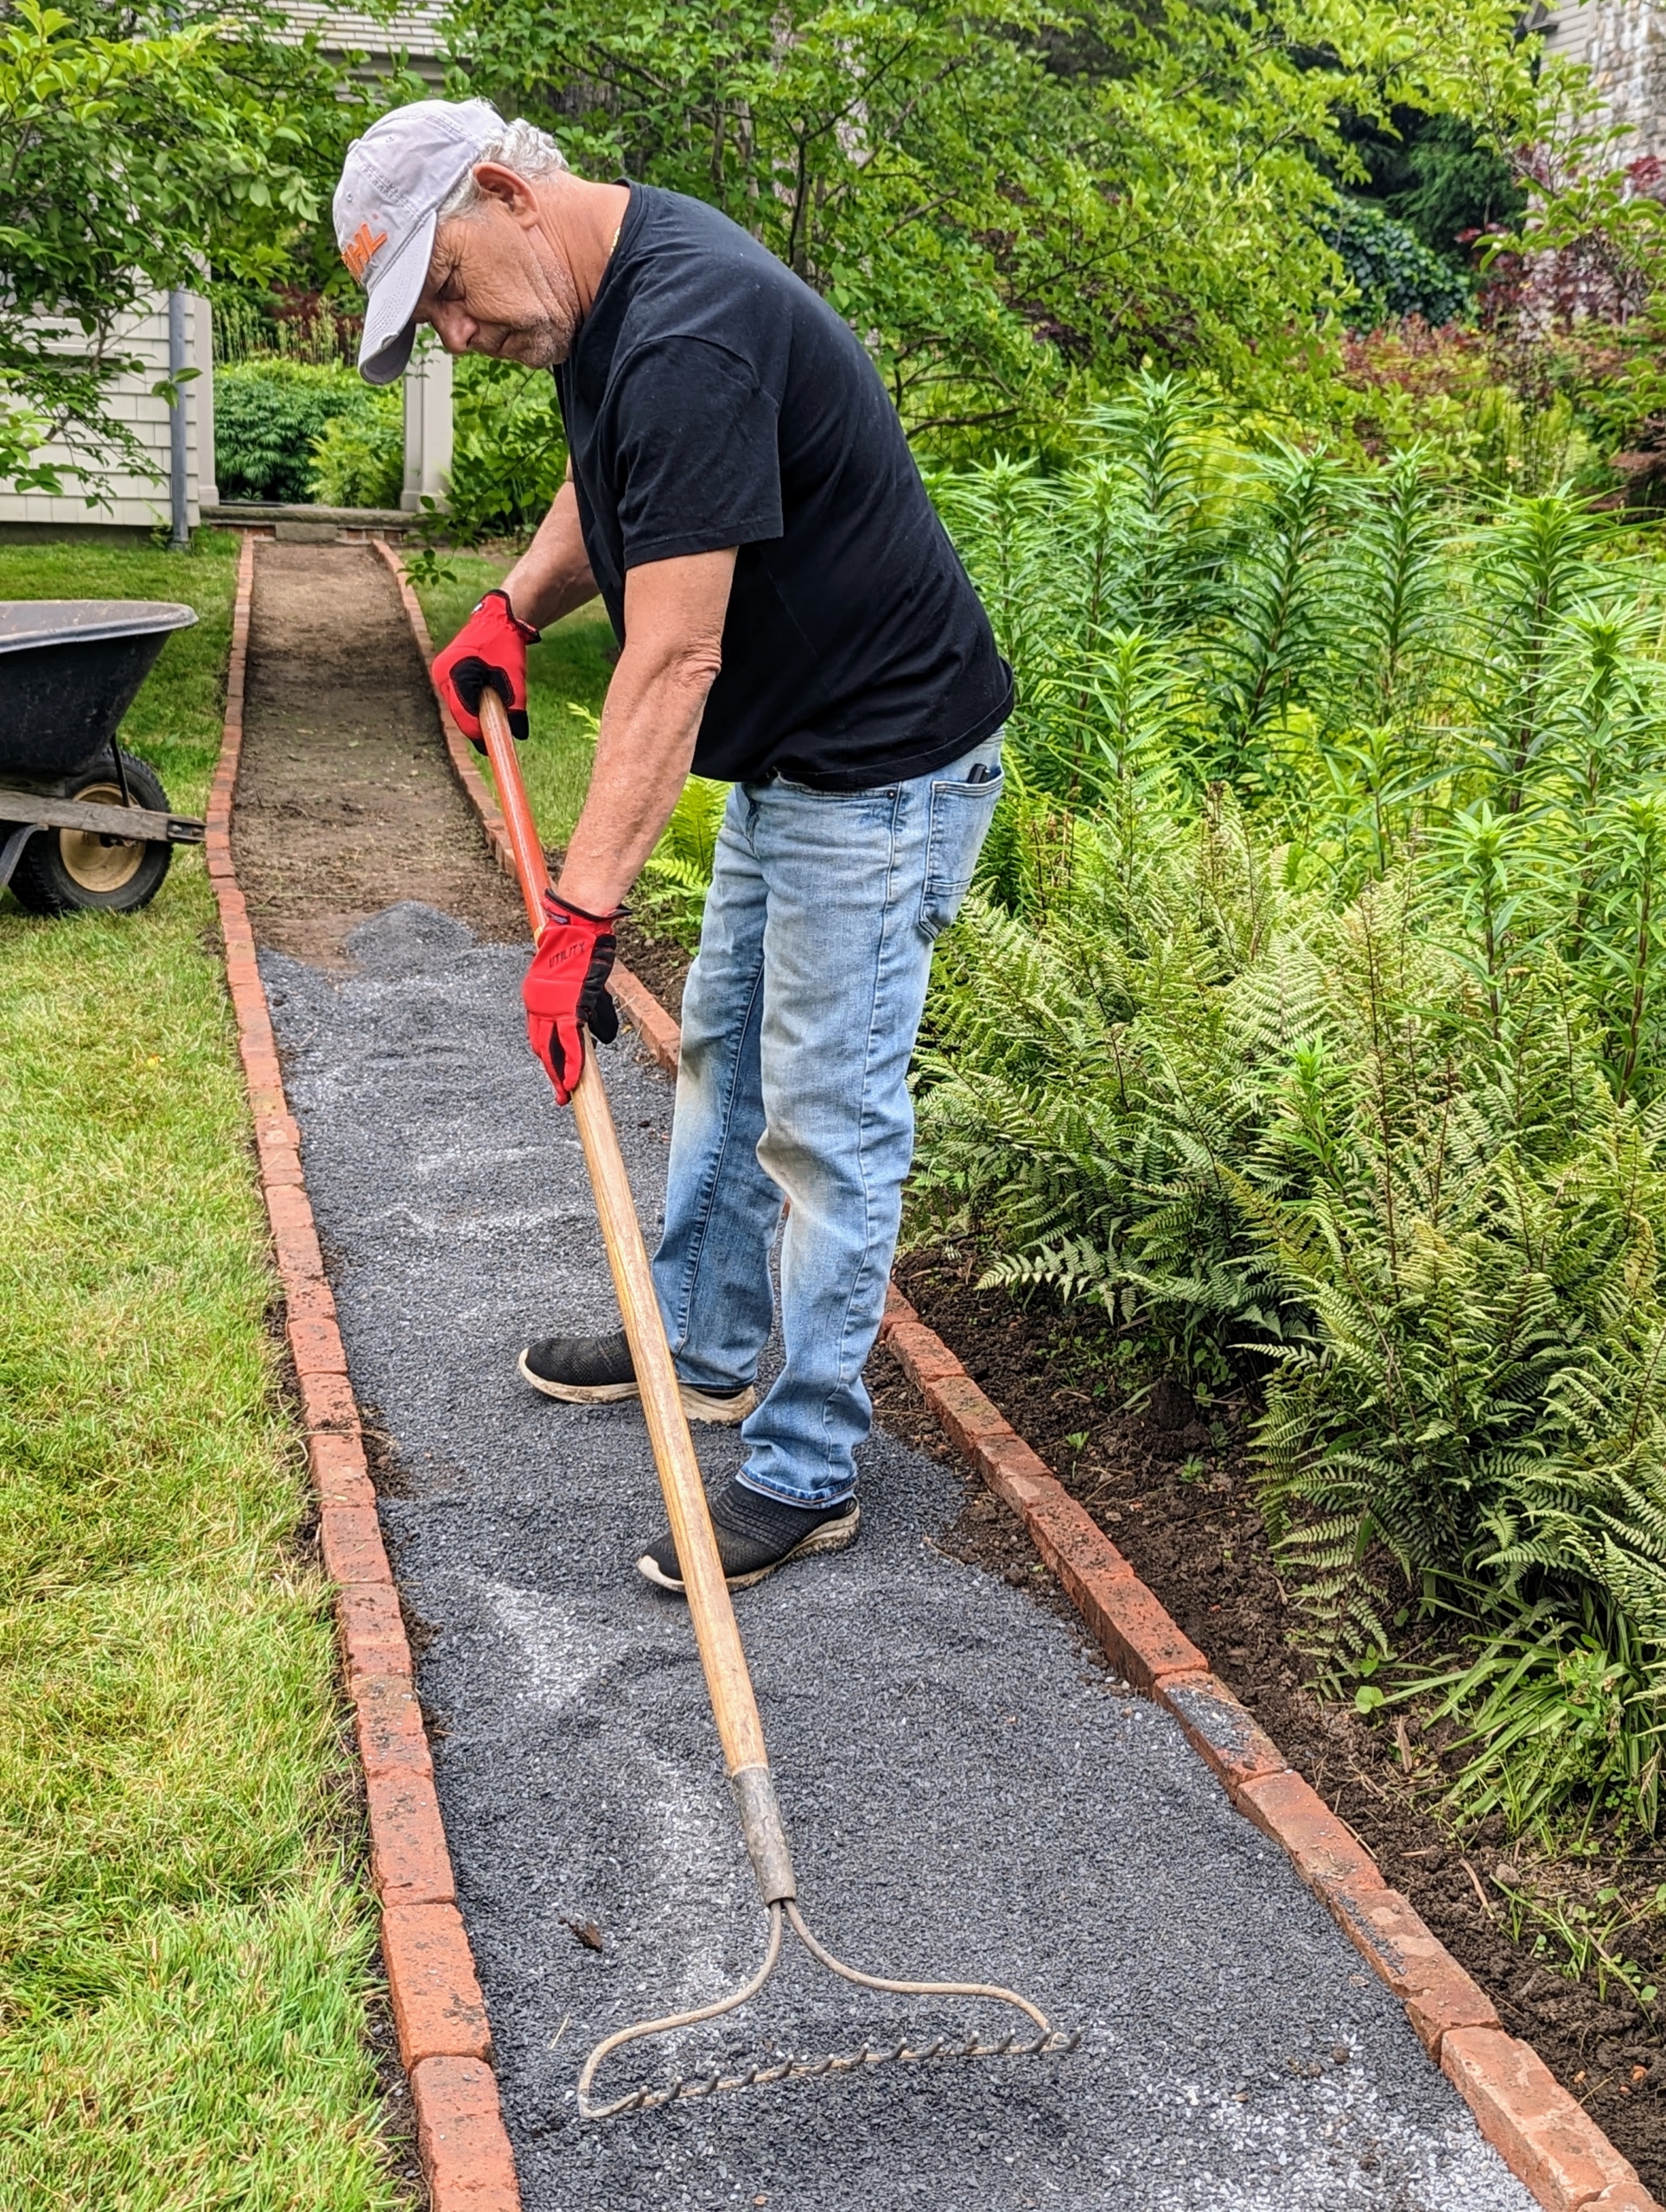
Once all the bricks are in place, Fernando levels a layer of stone dust in the path. Stone dust is a non-porous material, which is good to use under gravel. It will stop heavy rain water from seeping below and reduces the risk of shifting or damaging the bordering bricks.
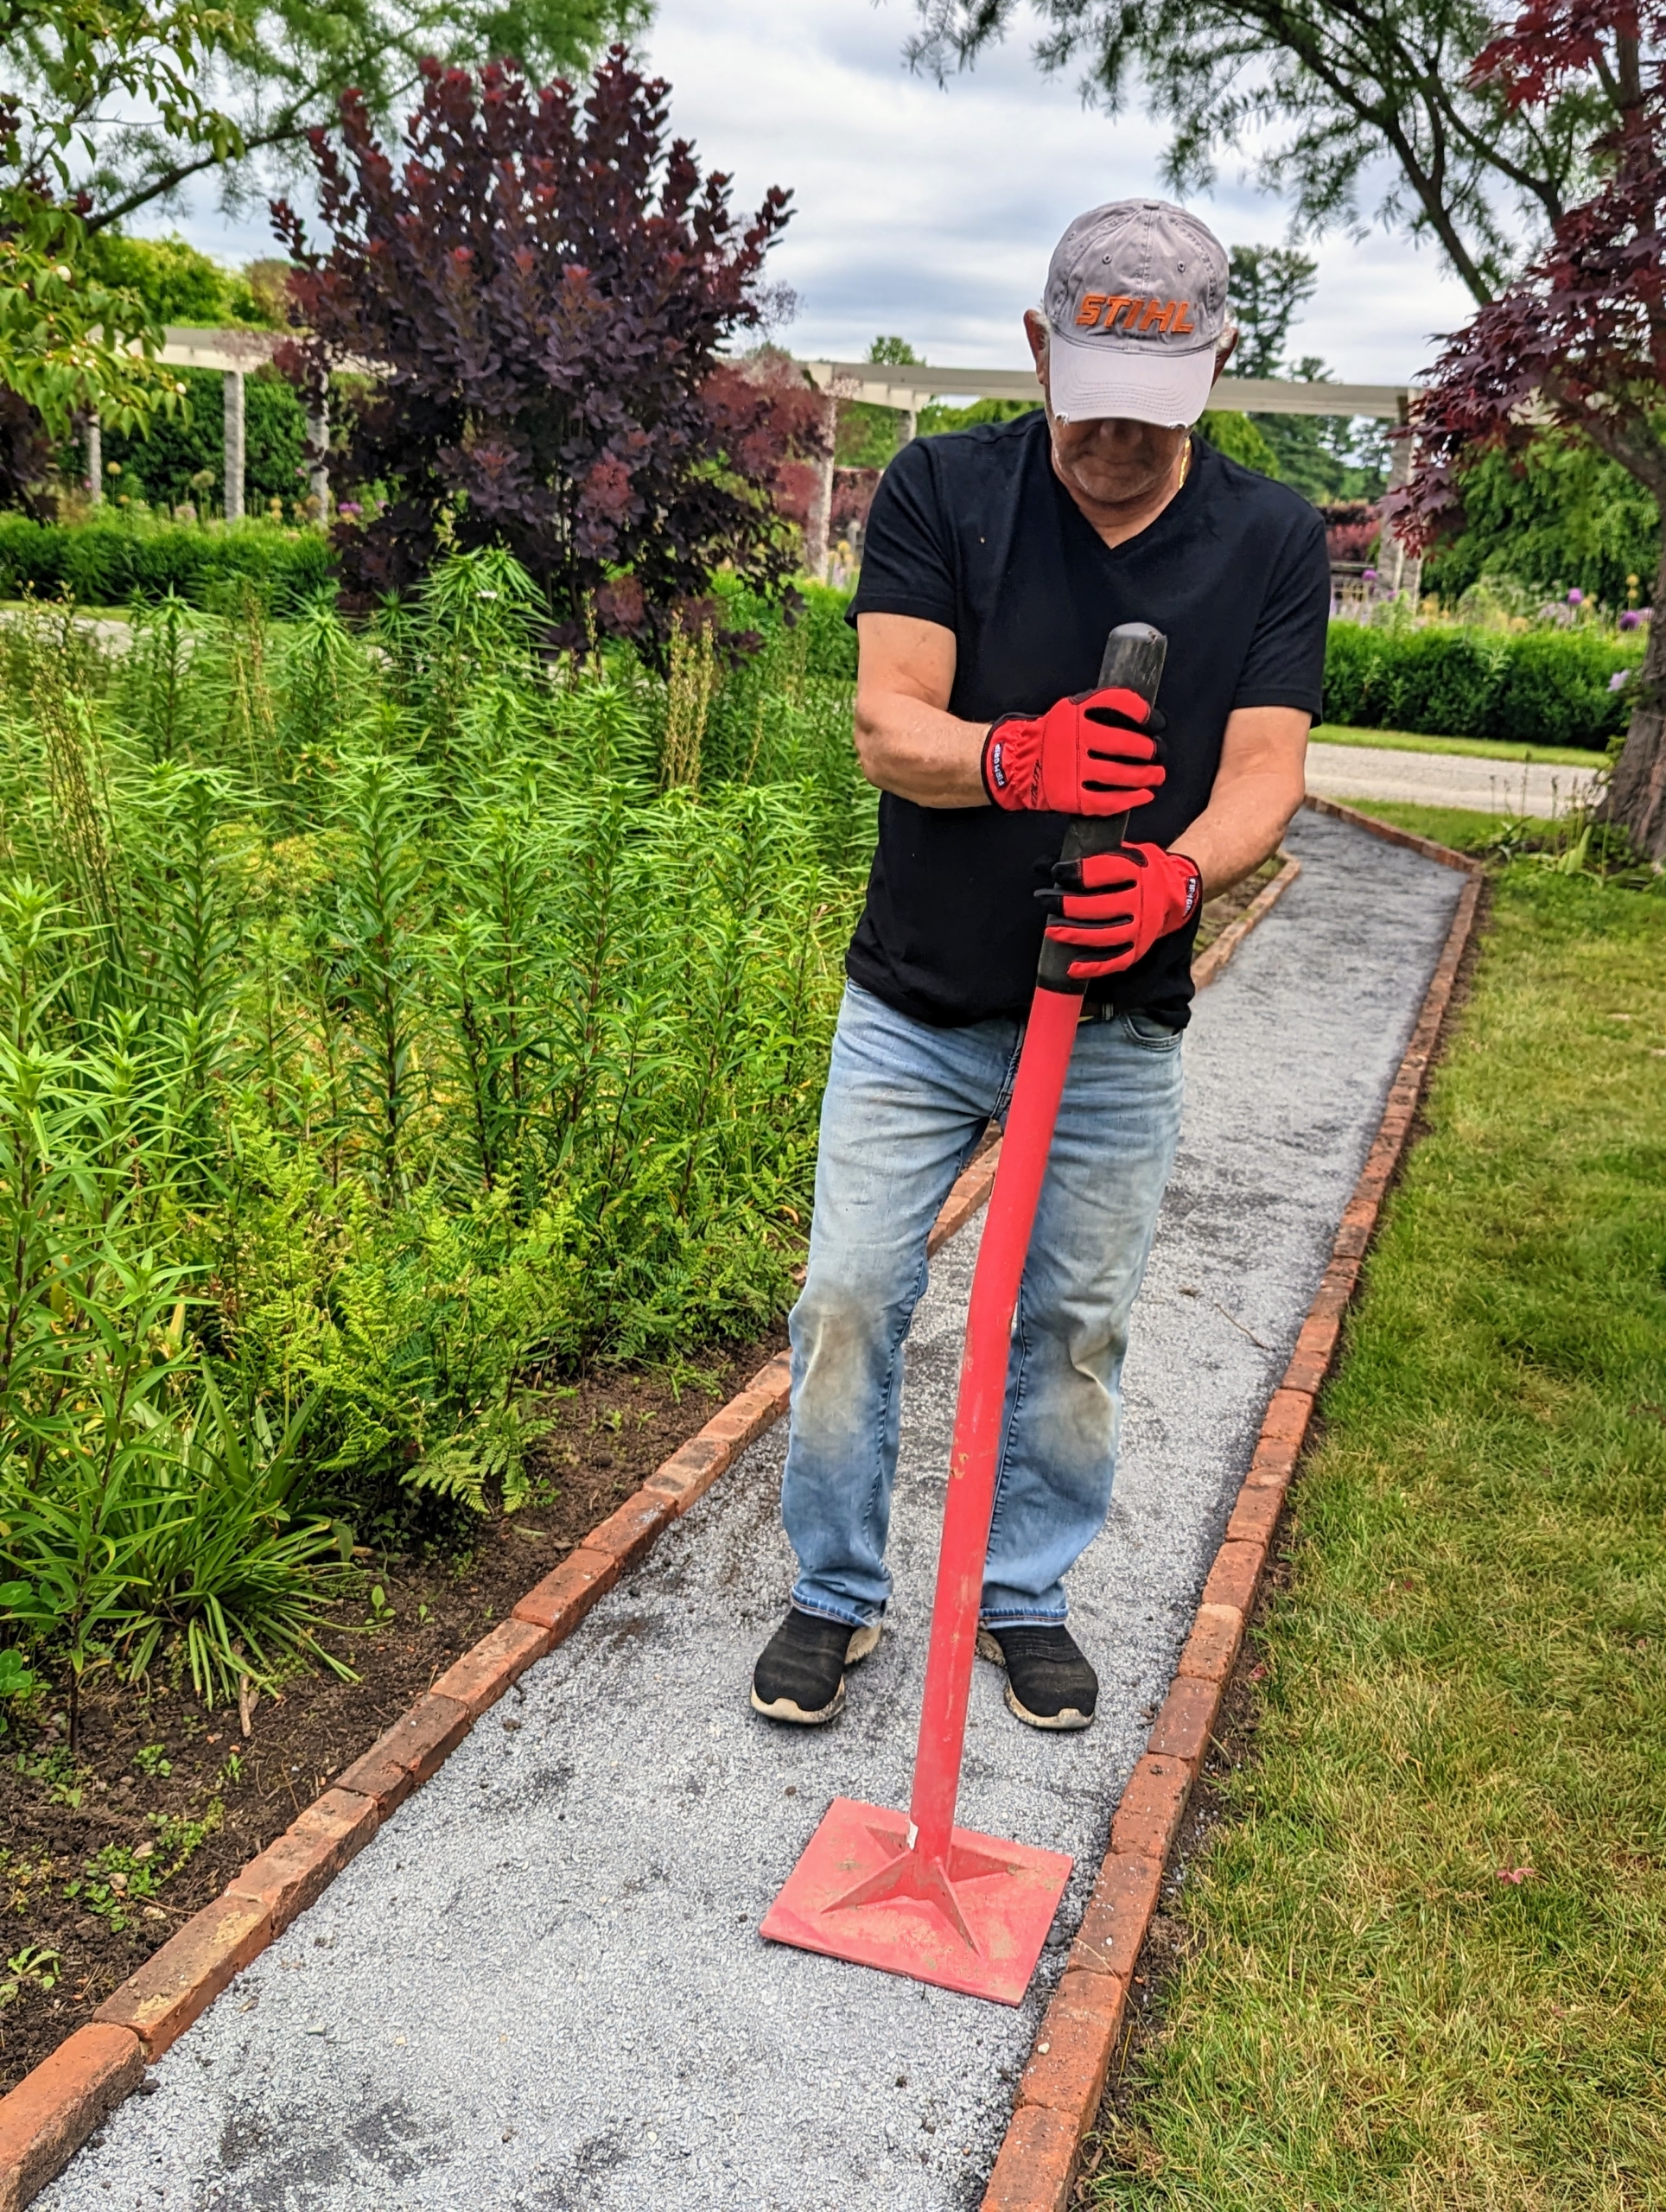
Afterward, Fernando goes over it with a gravel tamper. A tamper is a tool with a long handle and a heavy, square base used for leveling and firmly packing gravel, dirt, clay, sand, and other similar materials such as the stone dust.
On this side, Fernando removes the sod sections from another designated path.
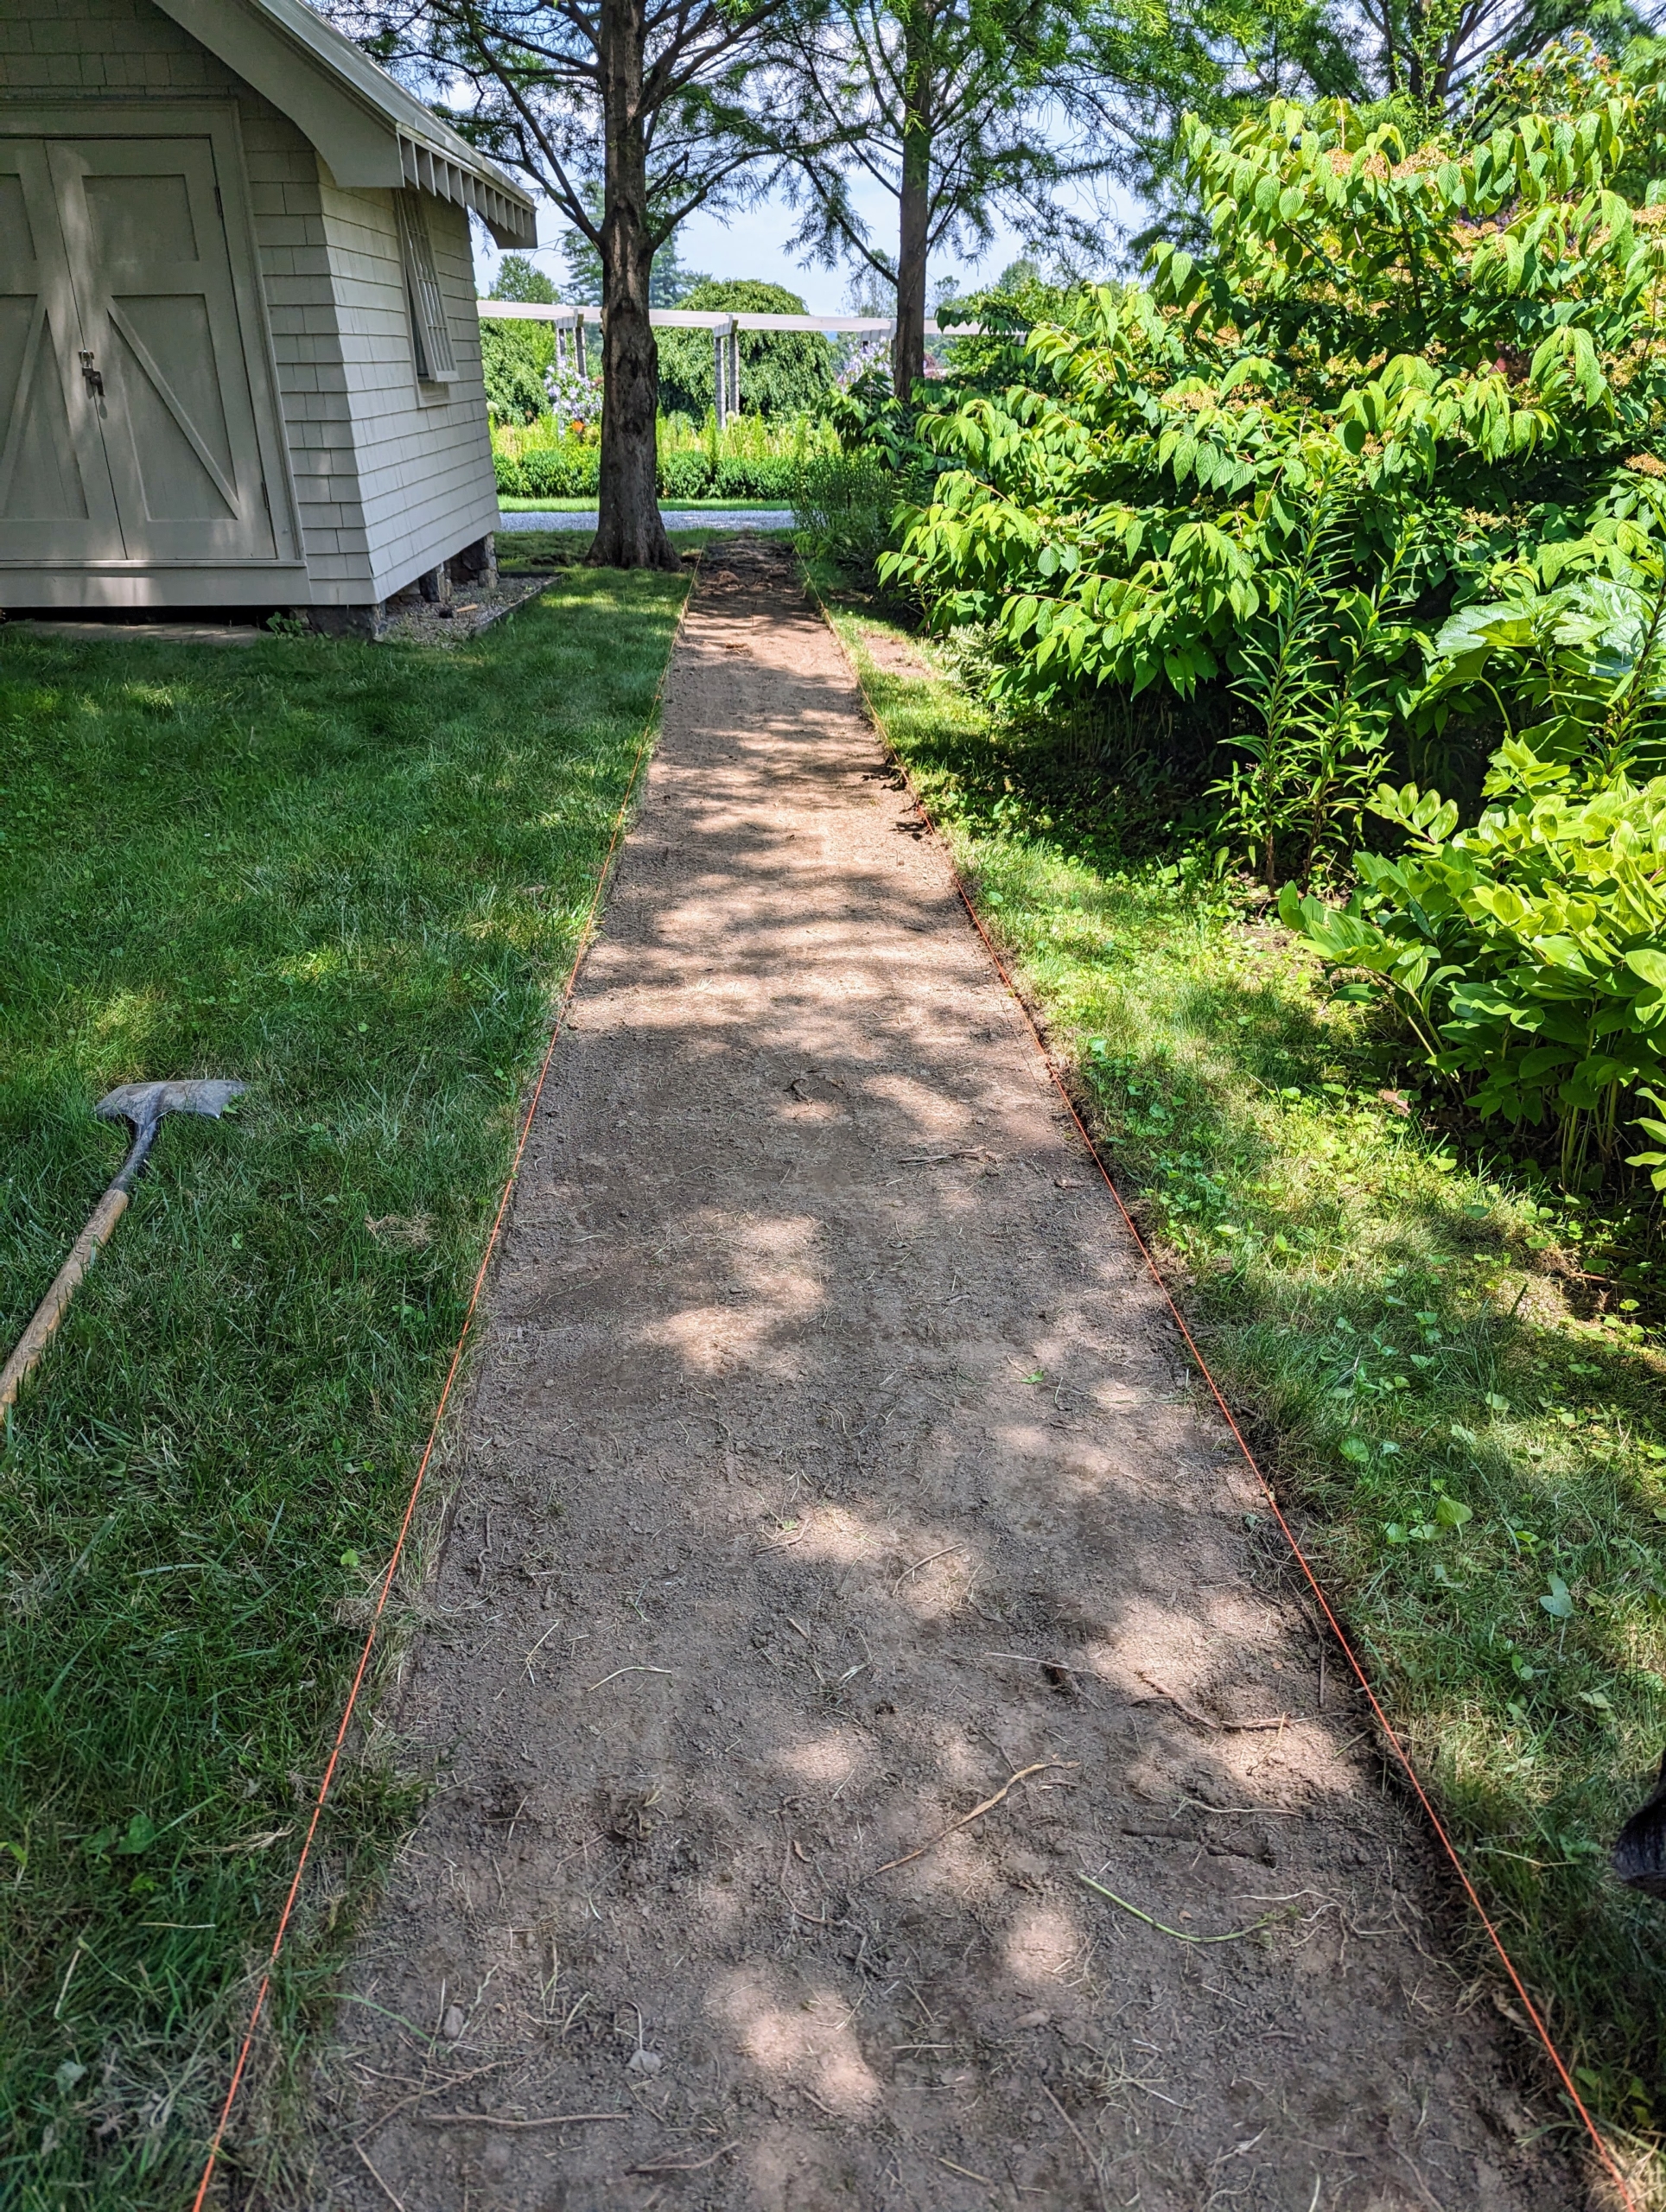
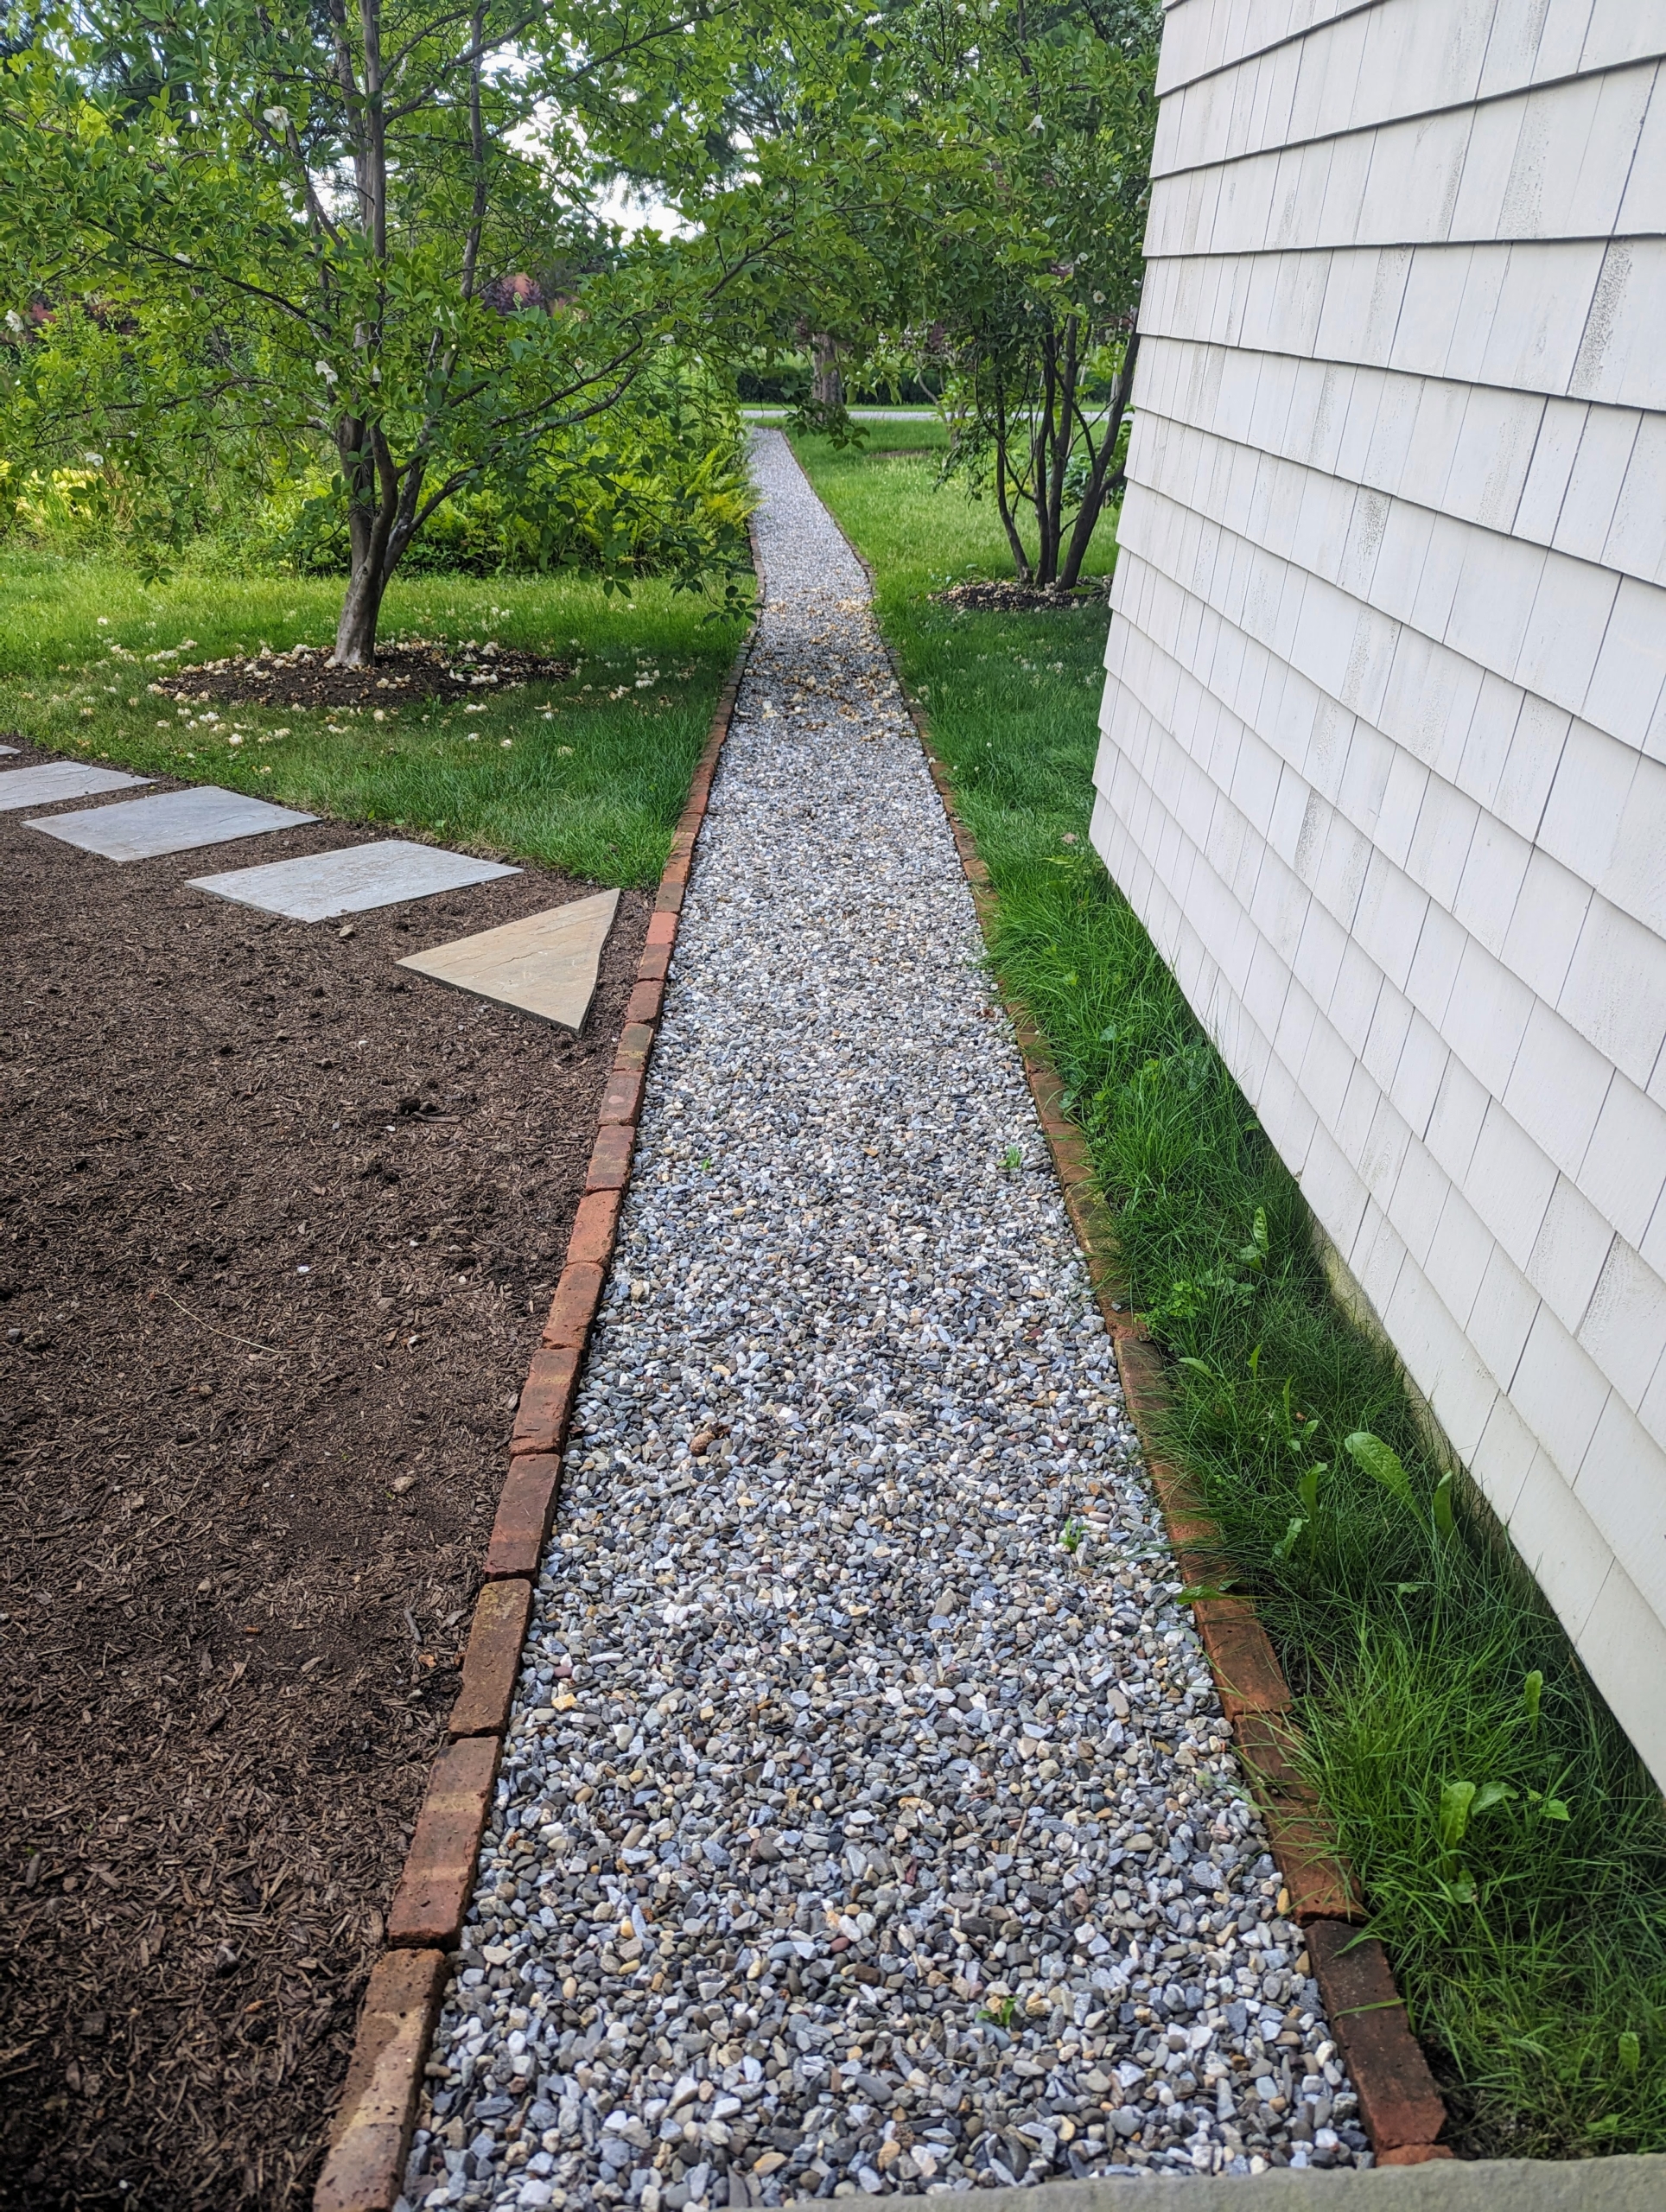
This path leads to the area next to my Basket House on the left. And on the right, a path behind my Stewartia garden.
Here is one side of the path all cleared. This too will be lined with red bricks and filled with the stone dust. It leads to the carriage road.
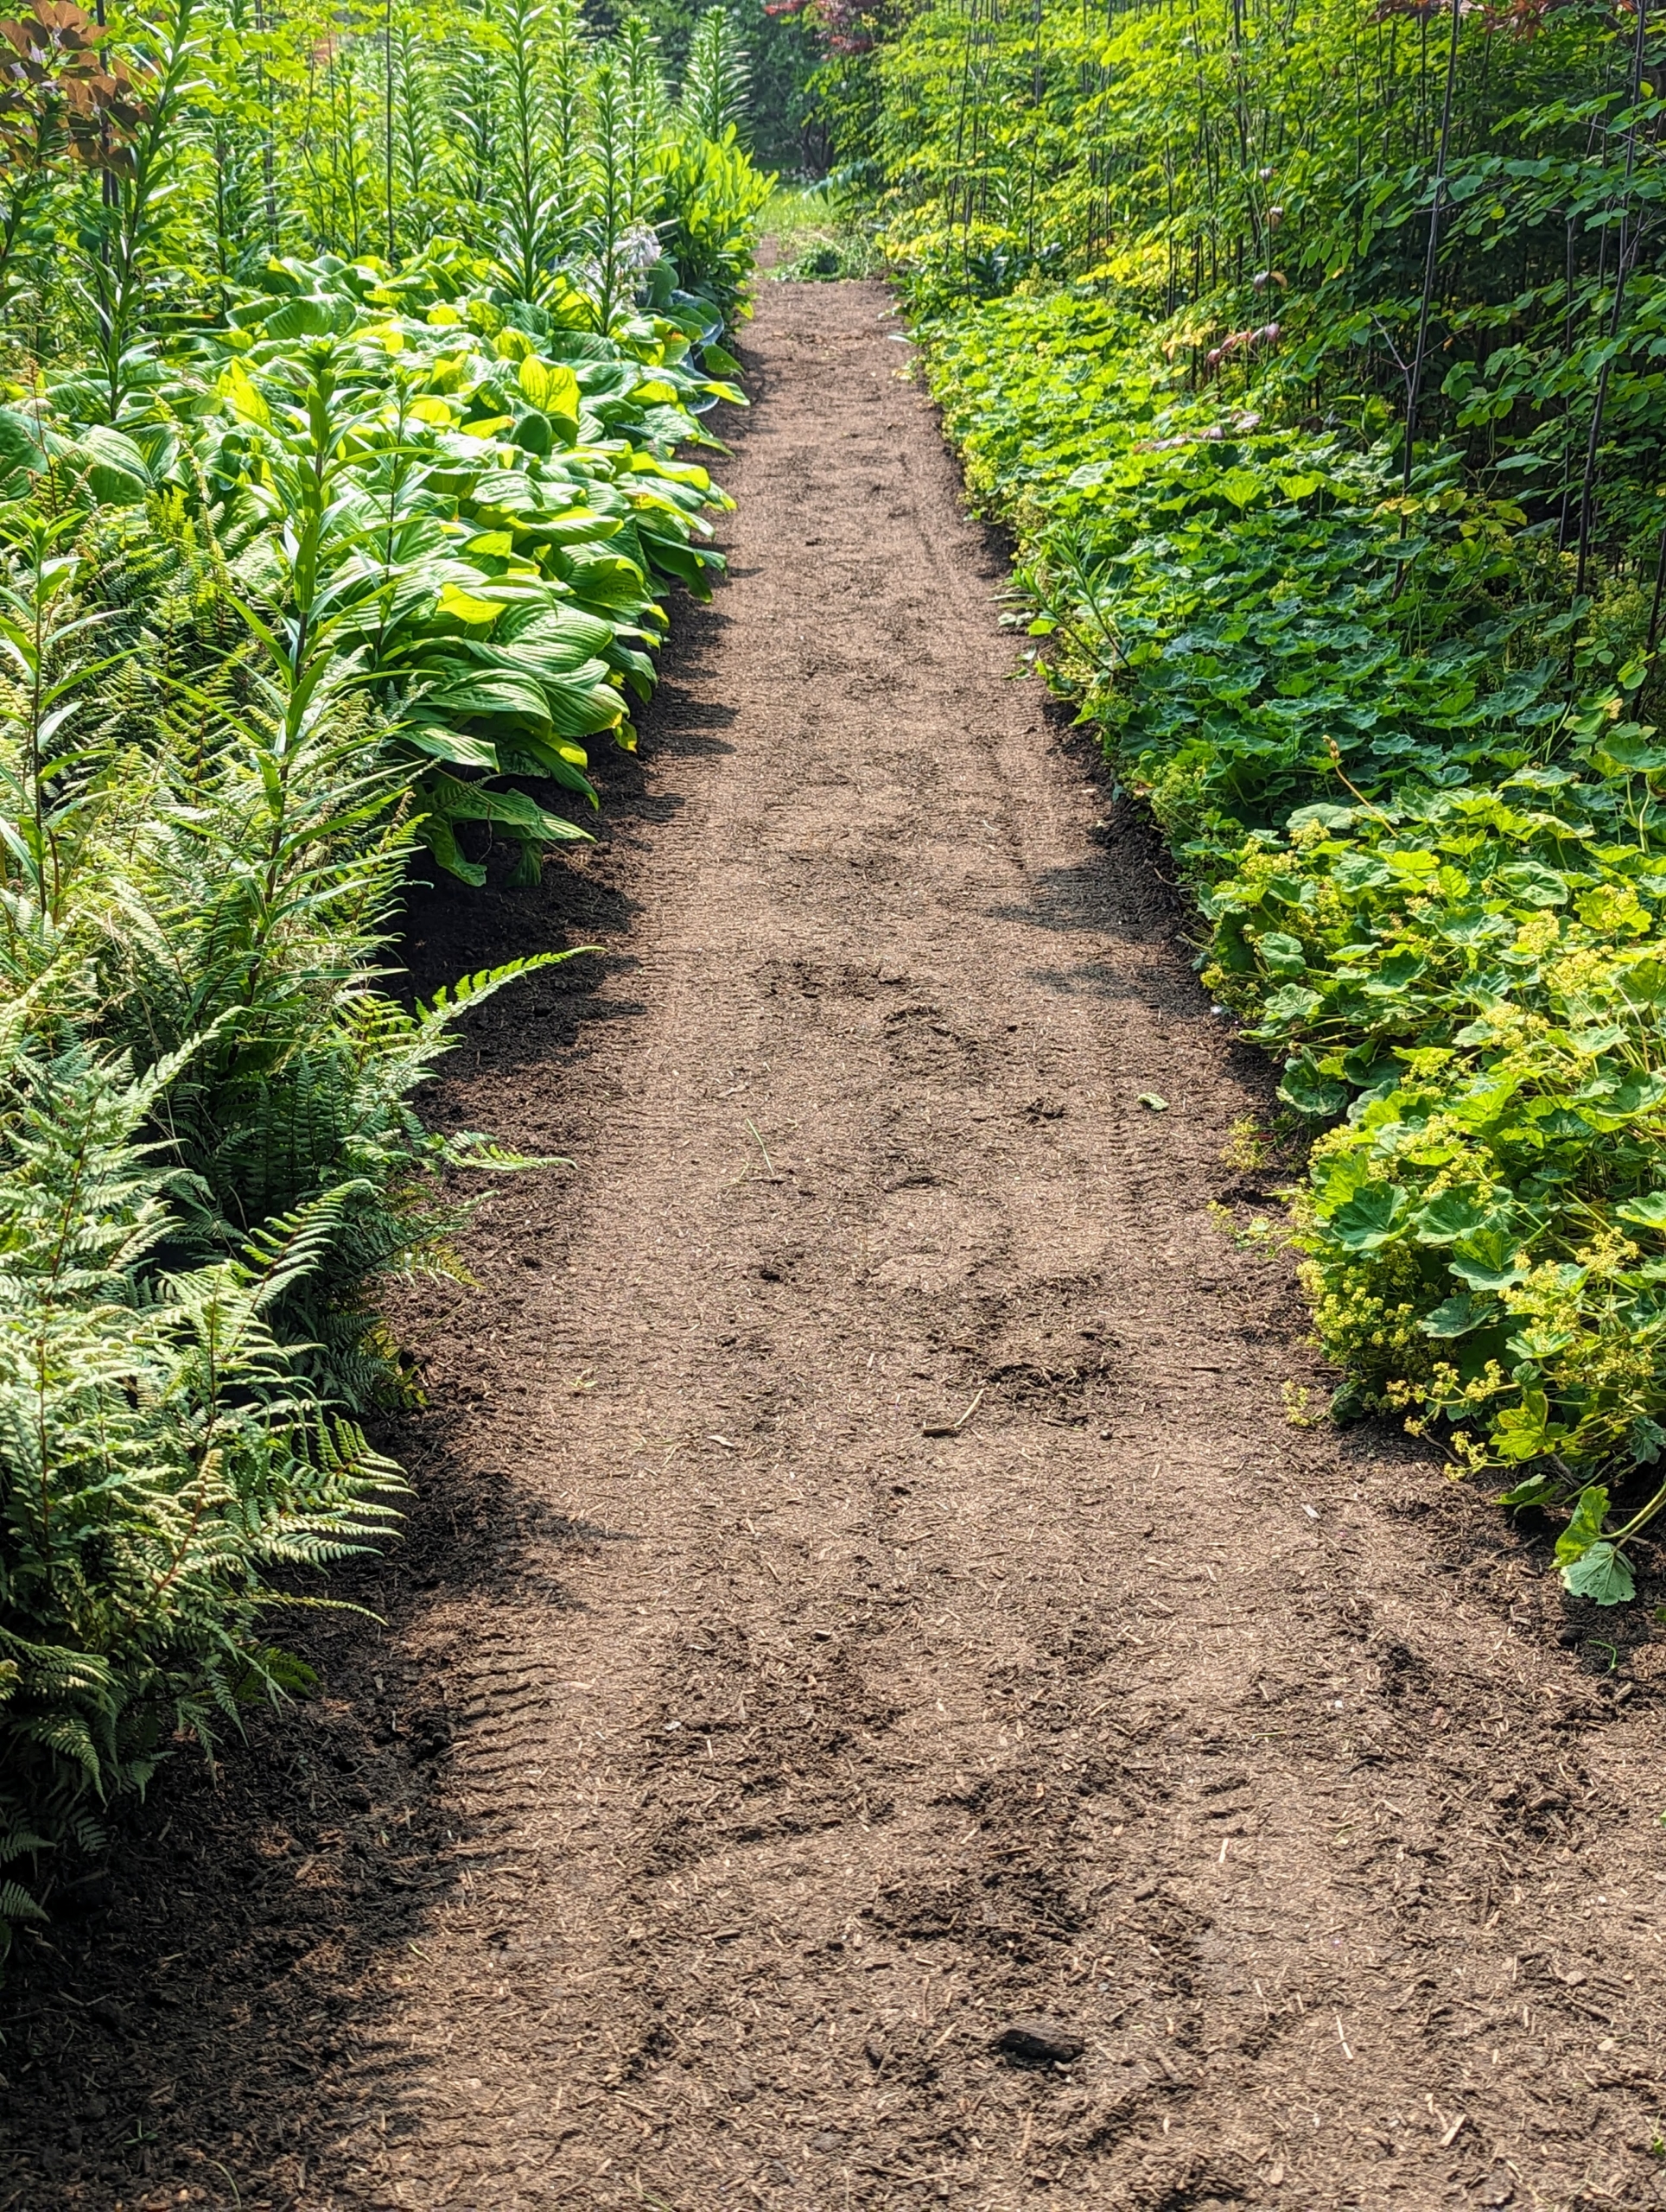
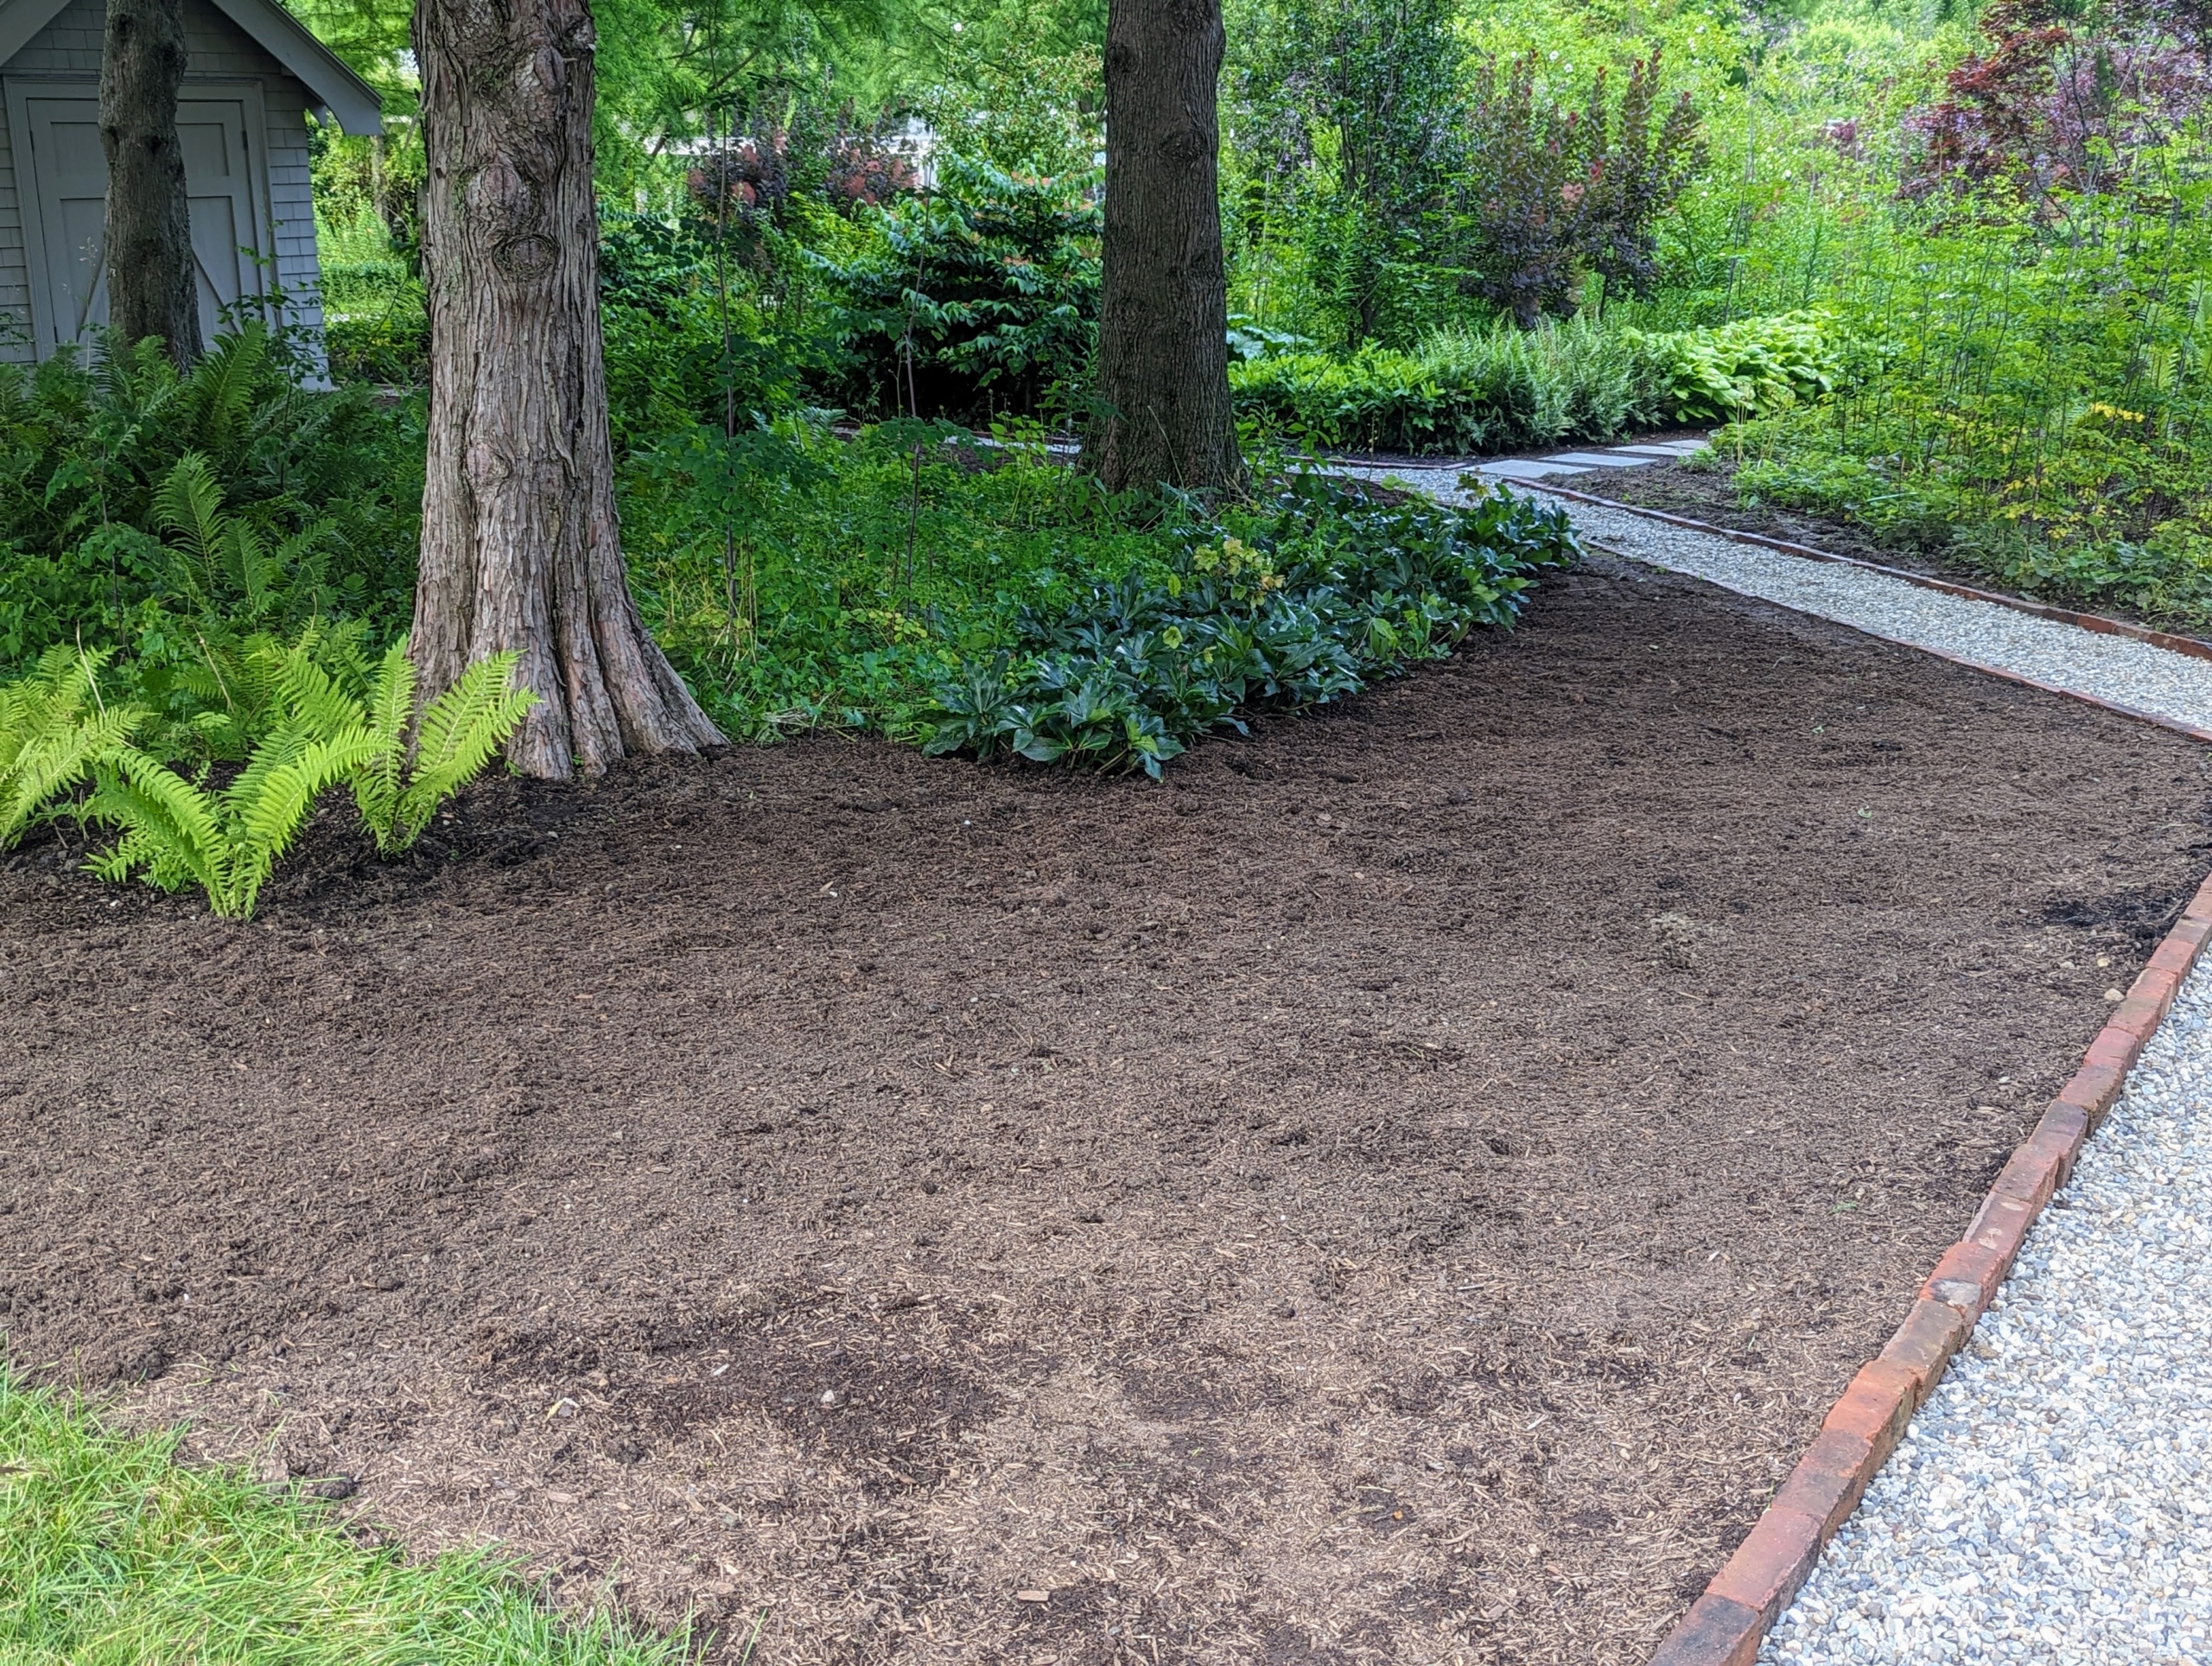
This is the cleared footpath in the back of my Stewartia Garden. Mature perennials are on both sides of this footpath. Among them, hostas, lady’s mantle, Thalictrum with its lacy bluish-green foliage and airy clusters of lavender-pink flowers set on tall sturdy purple stems, ferns, Syneilesis, Astilboides, and many others.
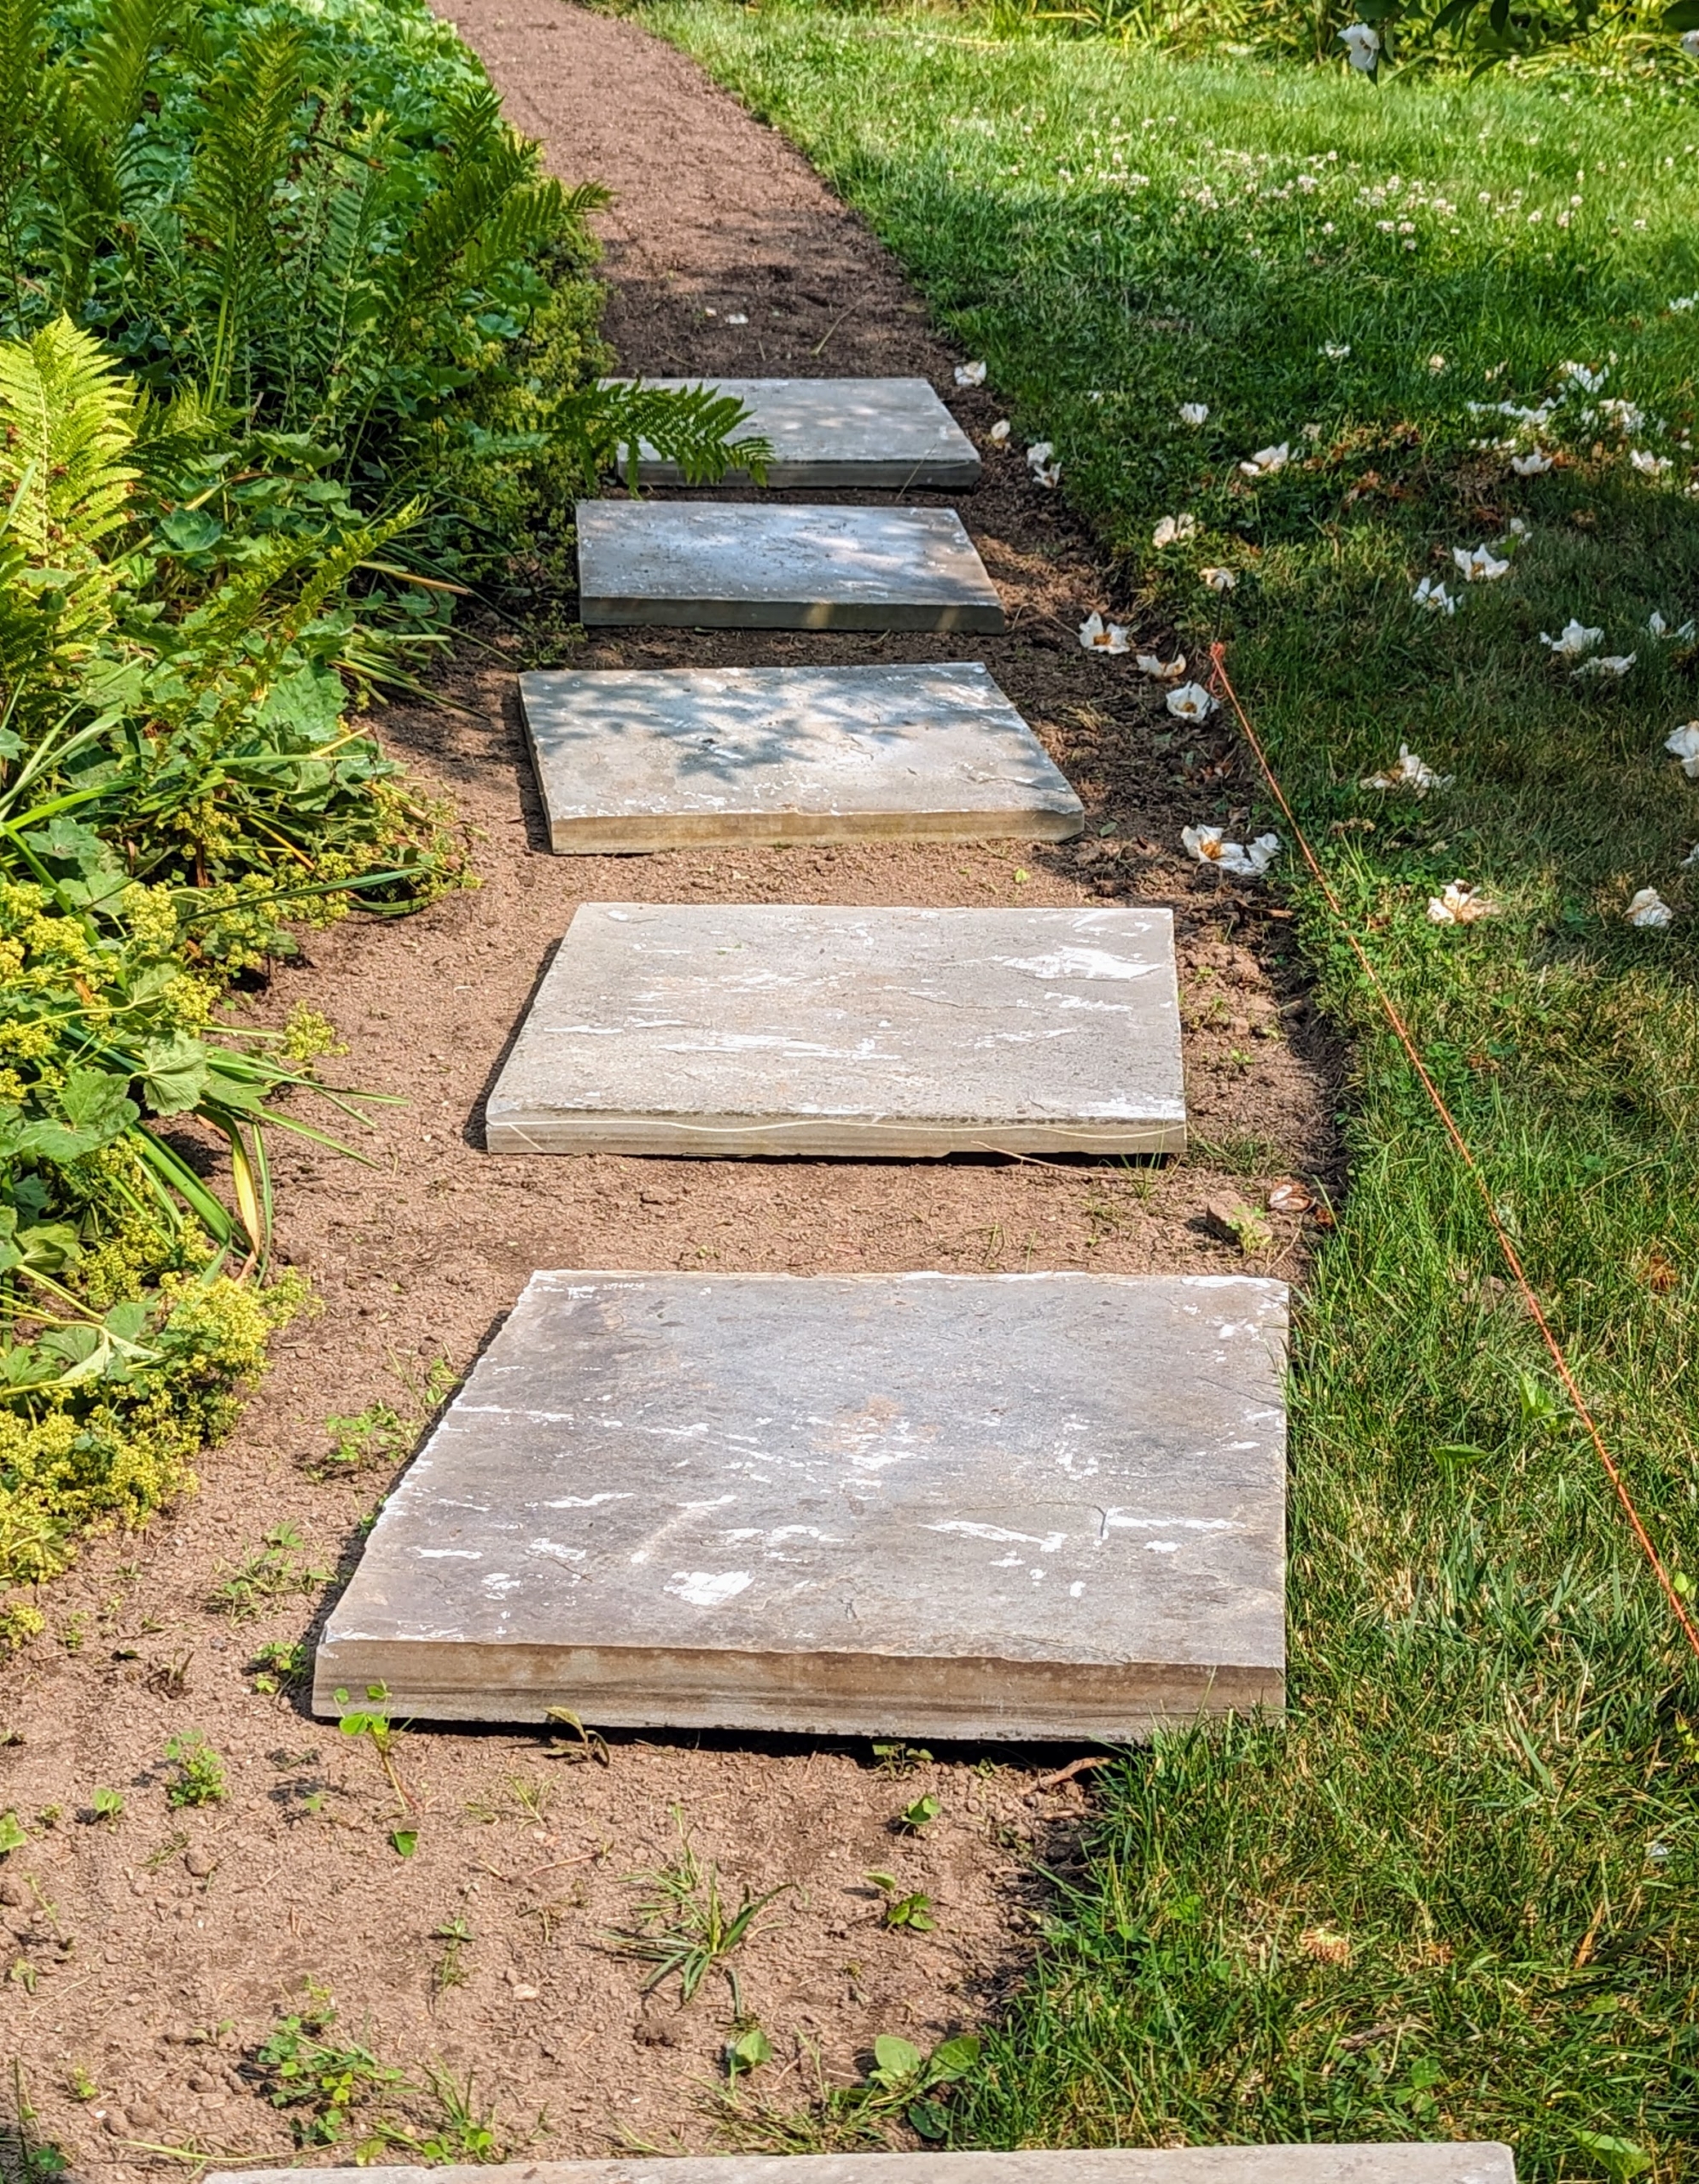
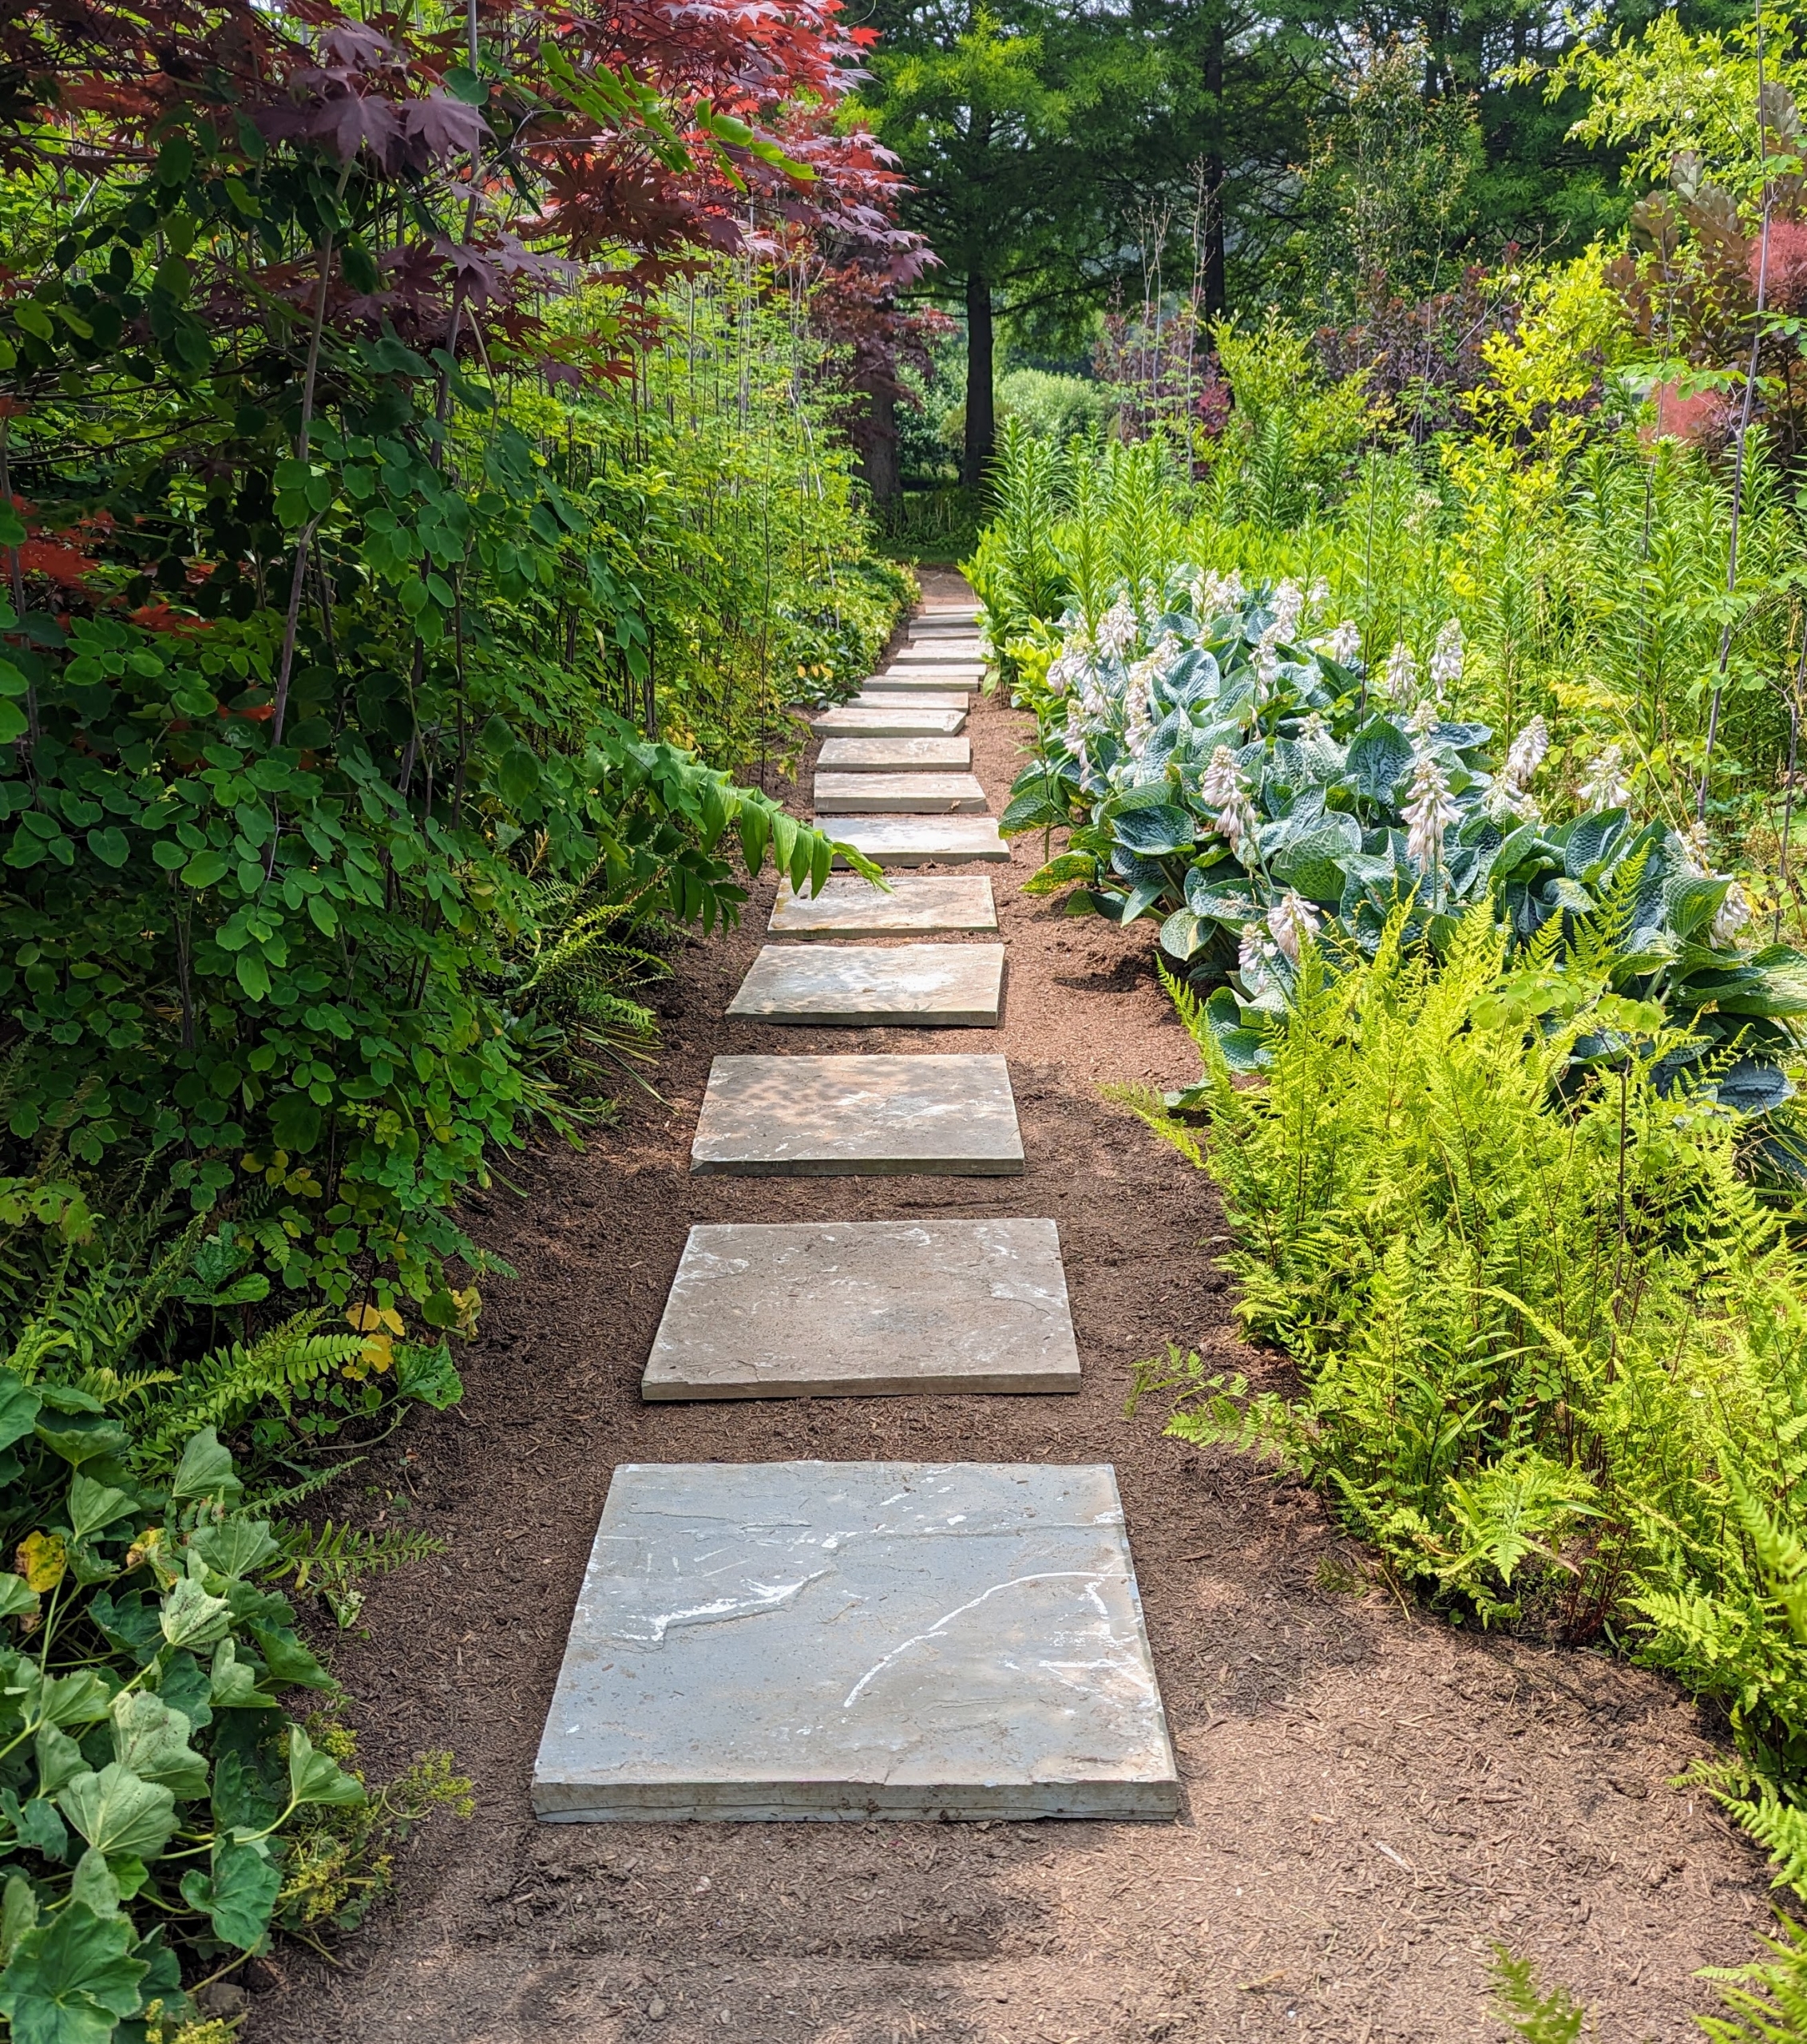
Here, I wanted the path made with large flagstone pavers placed several inches apart and surrounded with mulch. I have many stone materials already here at the farm and knew these would be perfect for this space.
Pete positioned all the pavers before securing them in the ground, so he knew he had the perfect amount for the space.
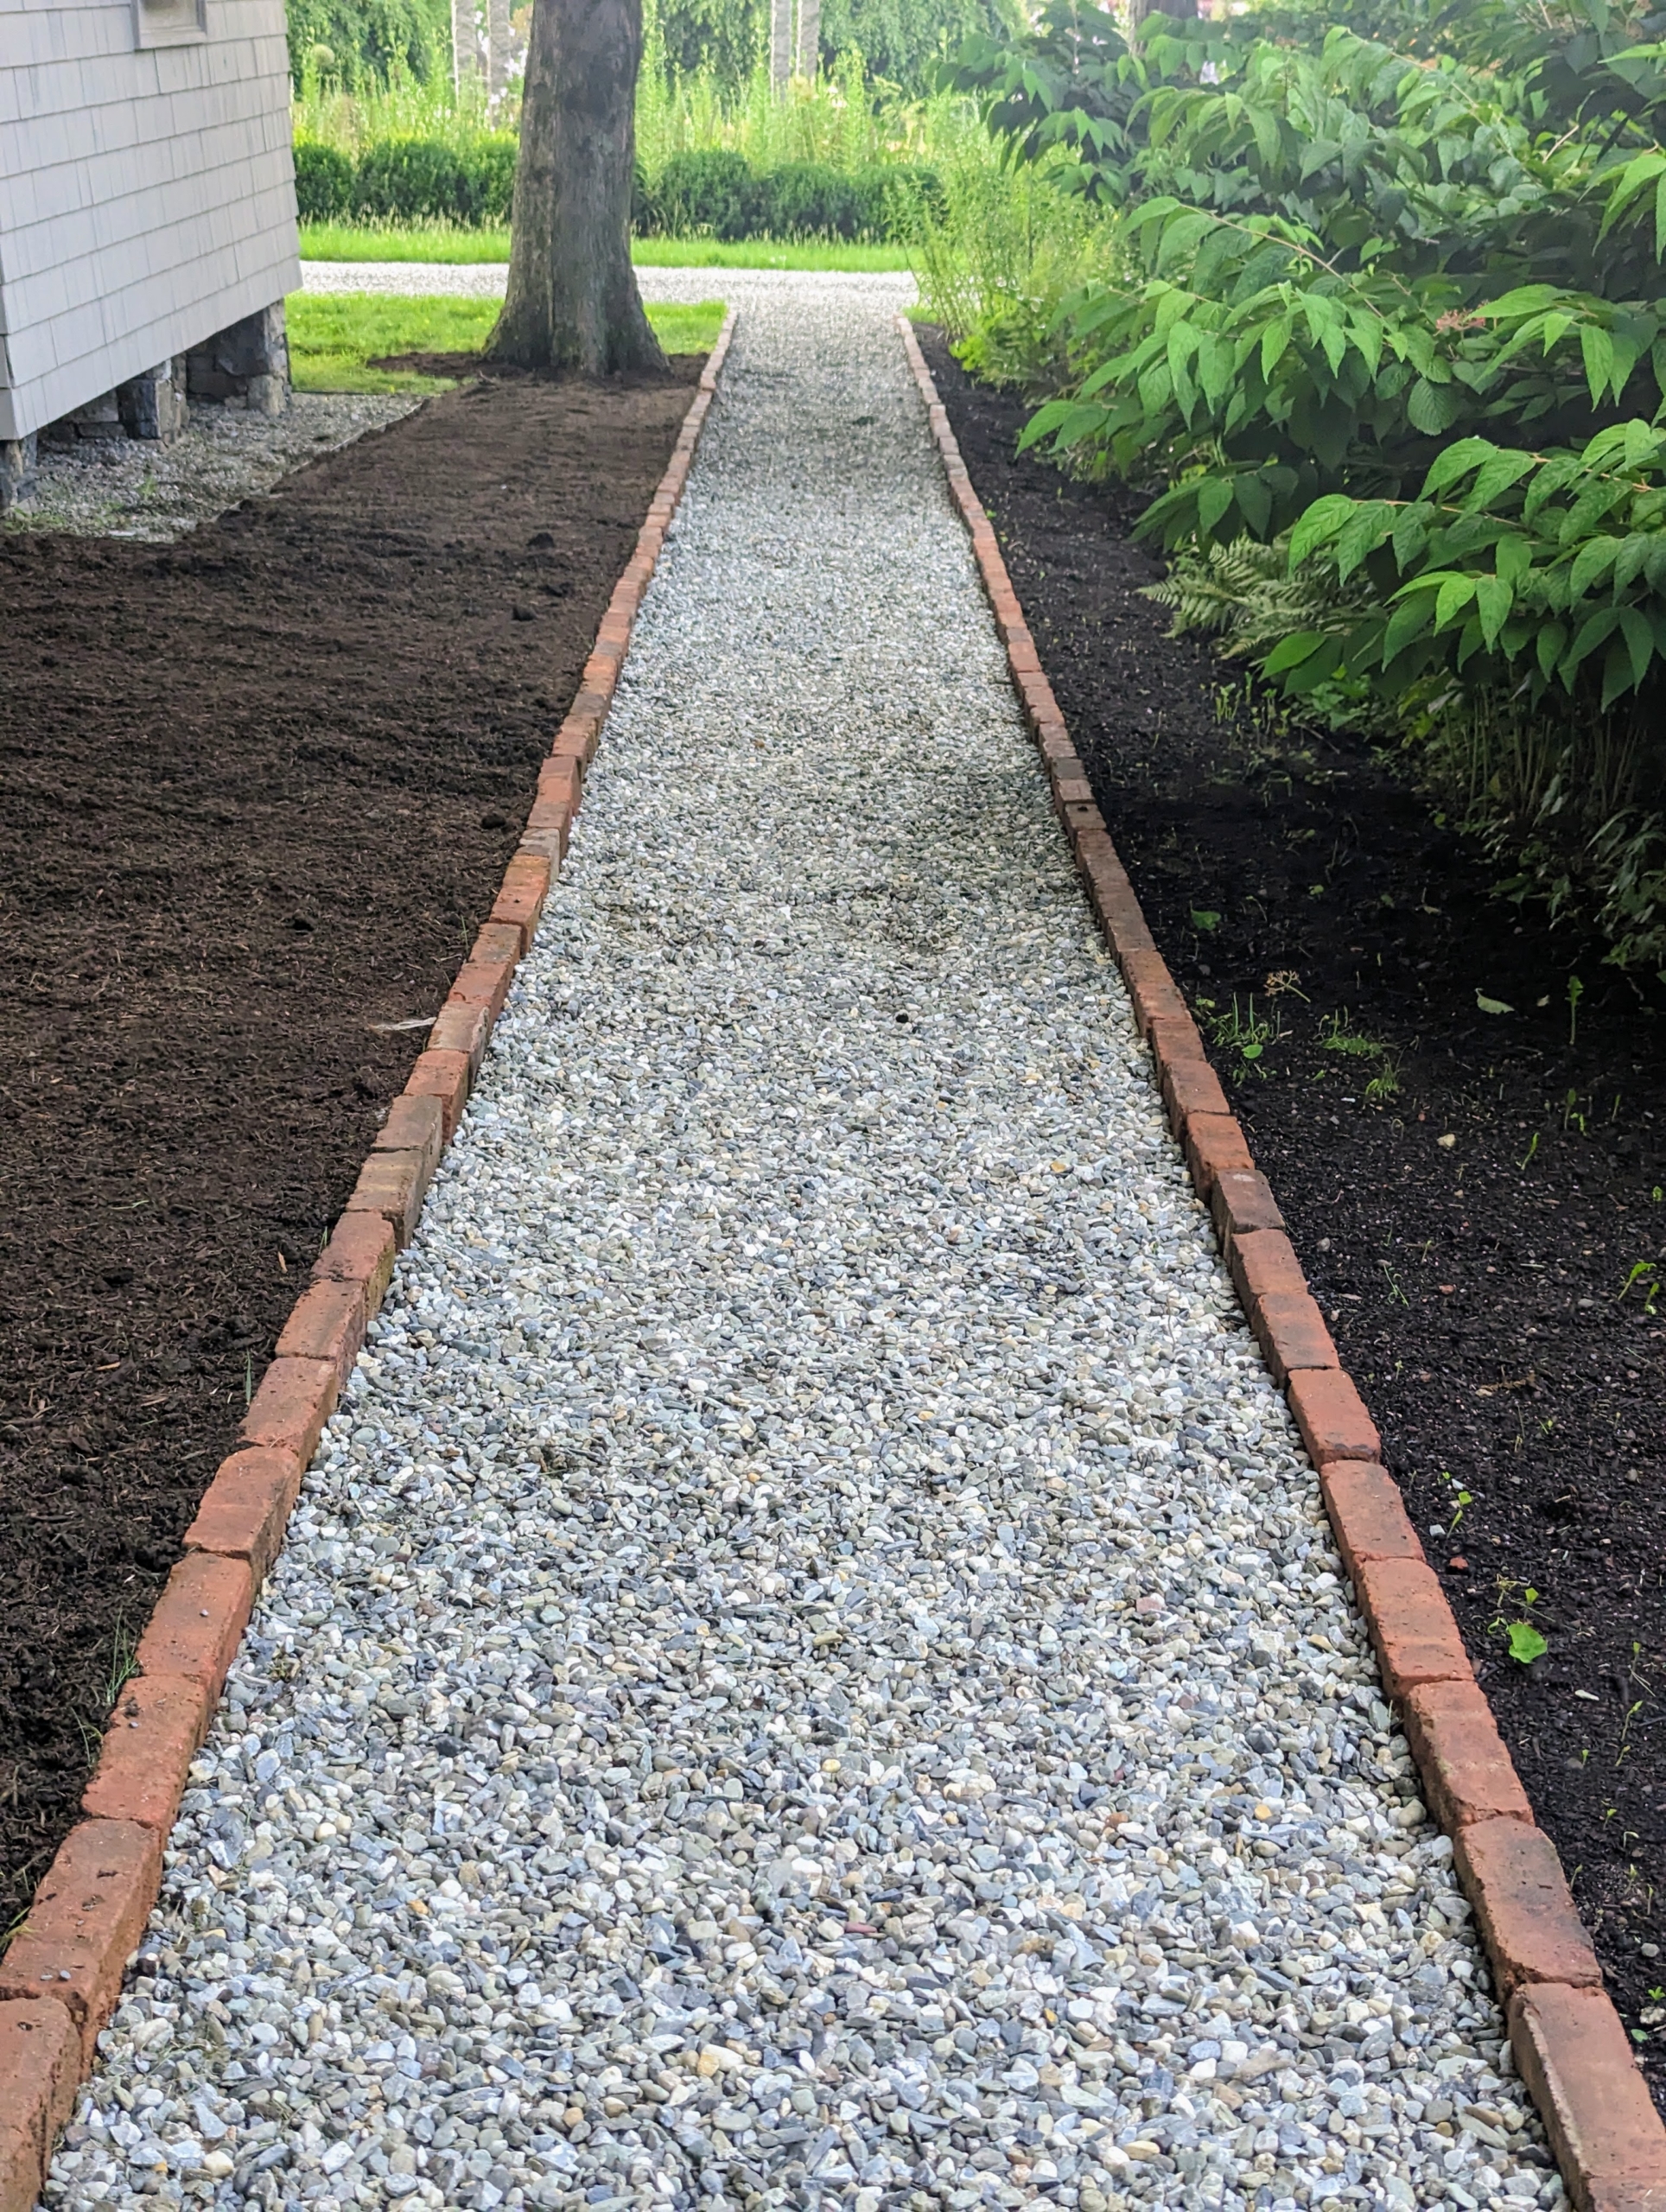
Meanwhile, here is the last section of path lined with bricks and ready for stone dust.
Here, one can see the thin layer of stone dust now along the path. It is just an inch or so thick.
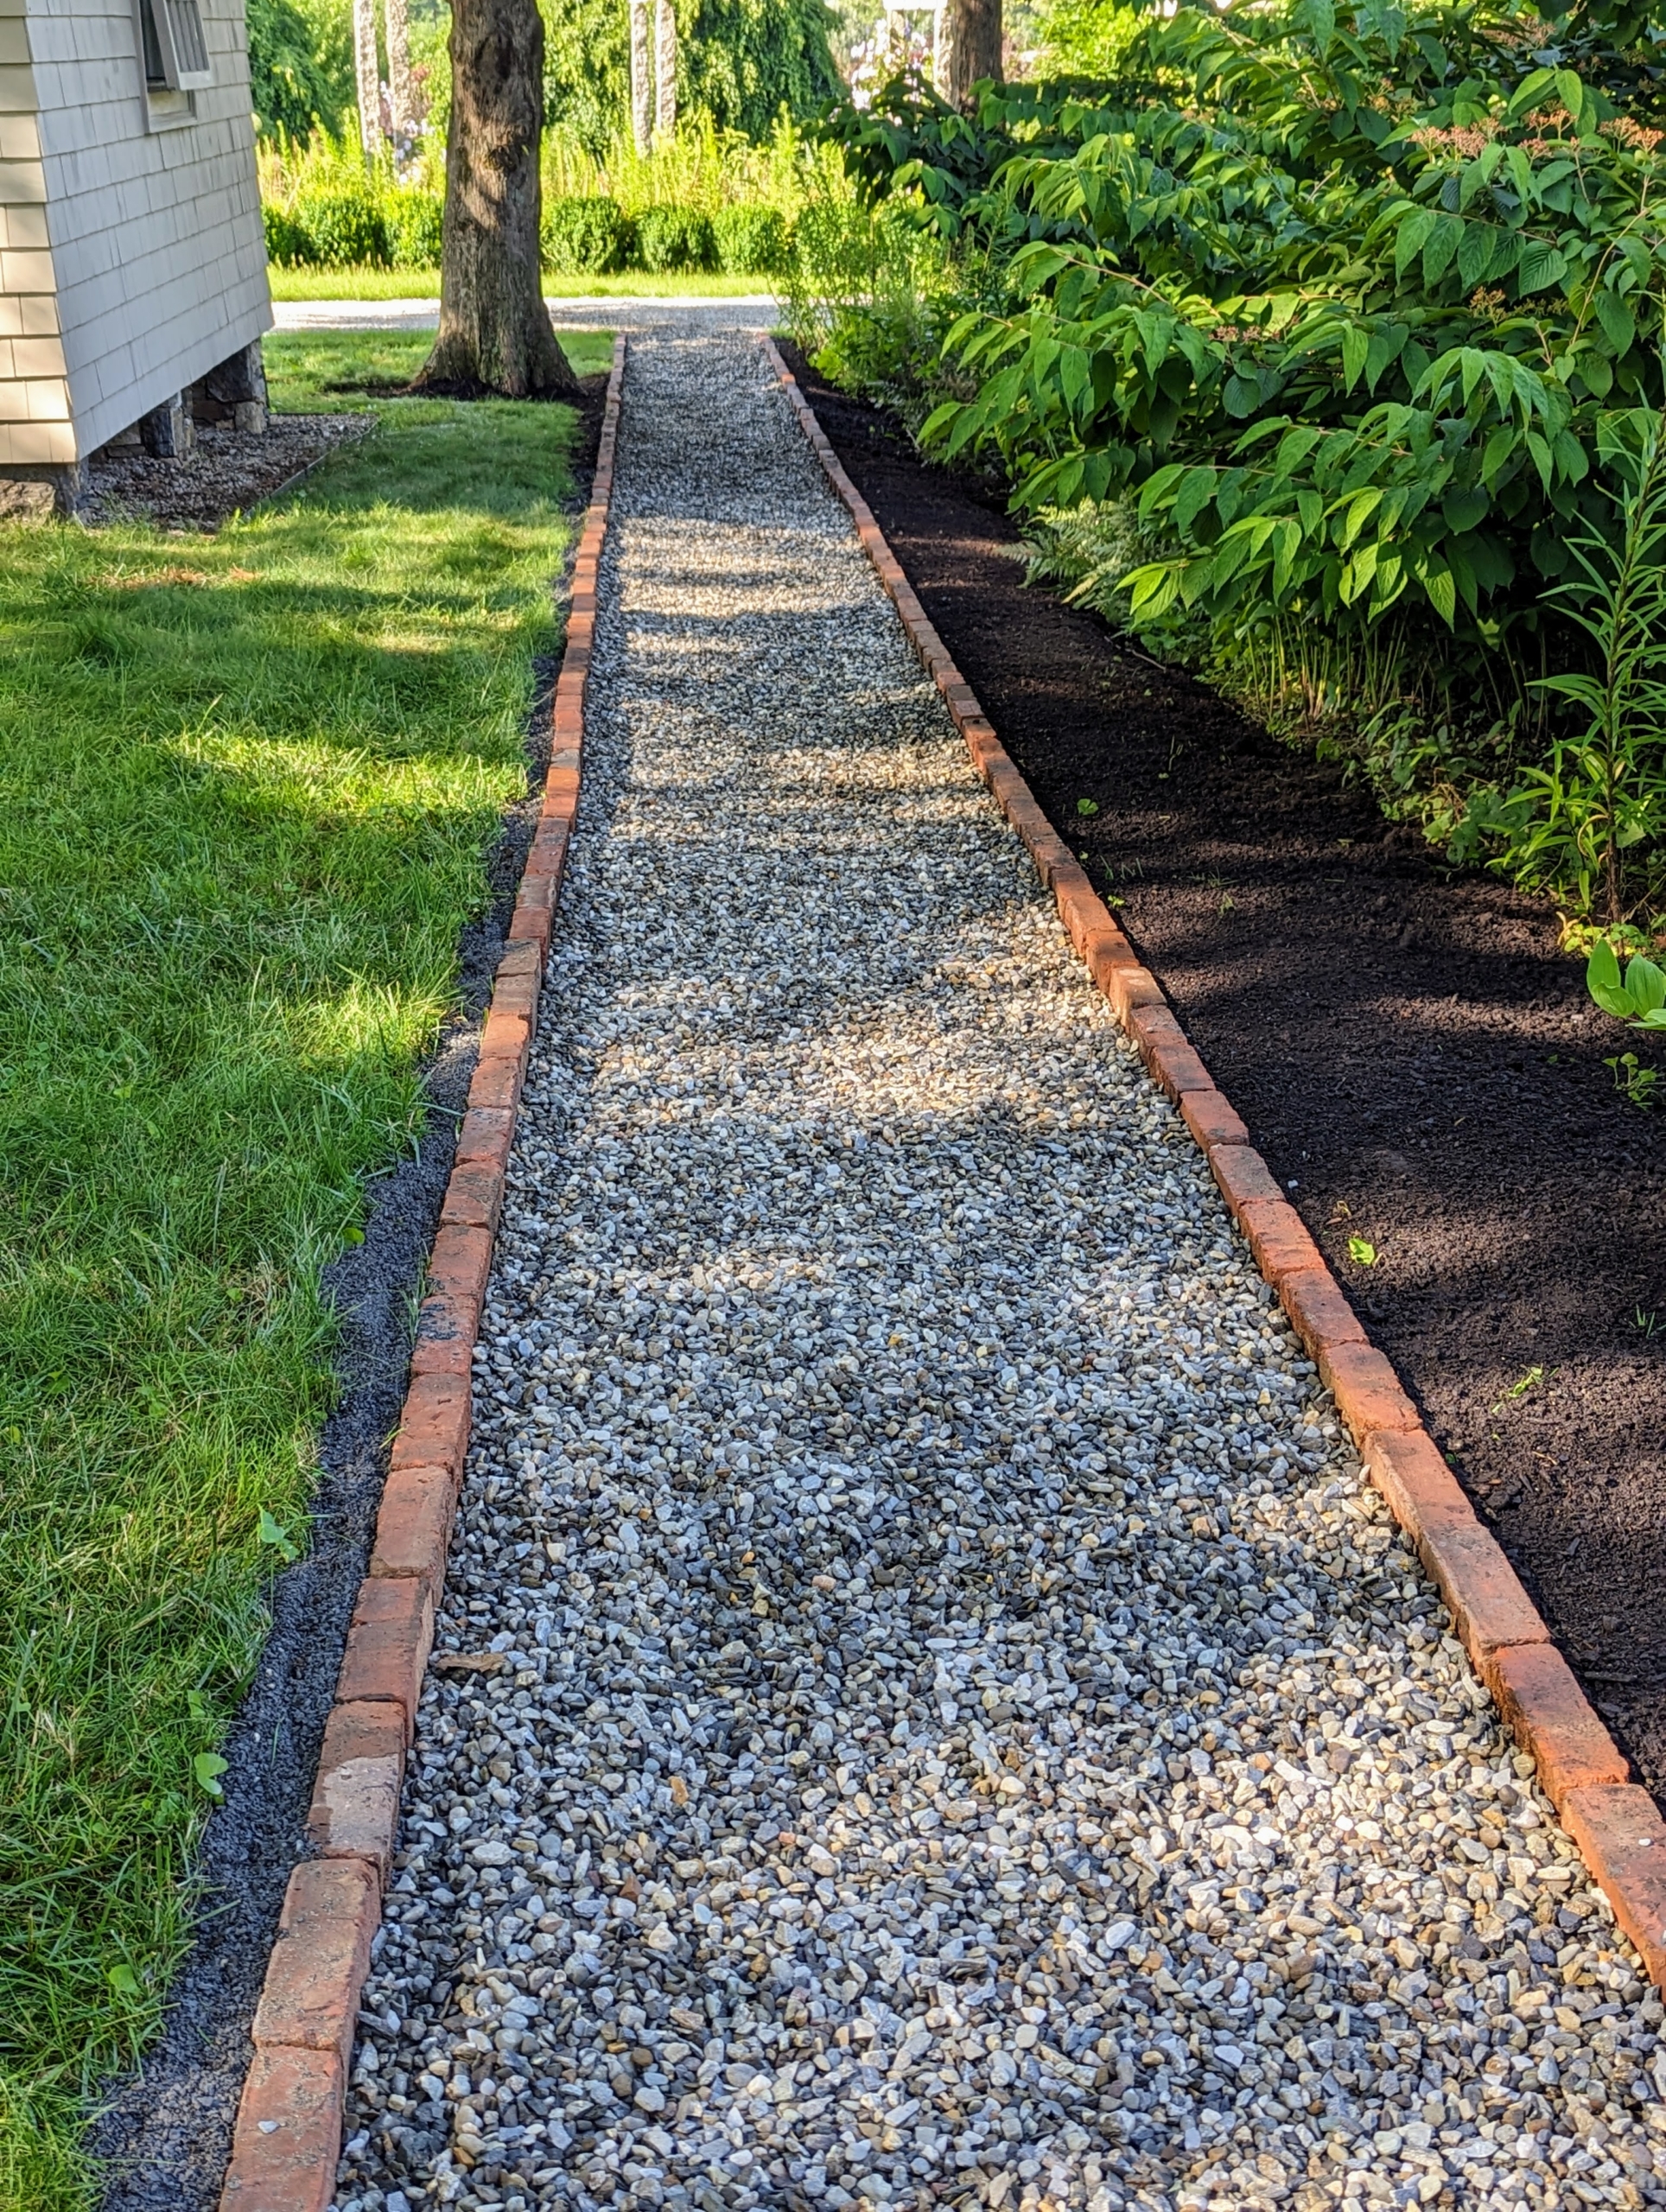
The two paths running north-south are filled in with 3/8-inch native washed stone – the same stone used on my carriage roads.
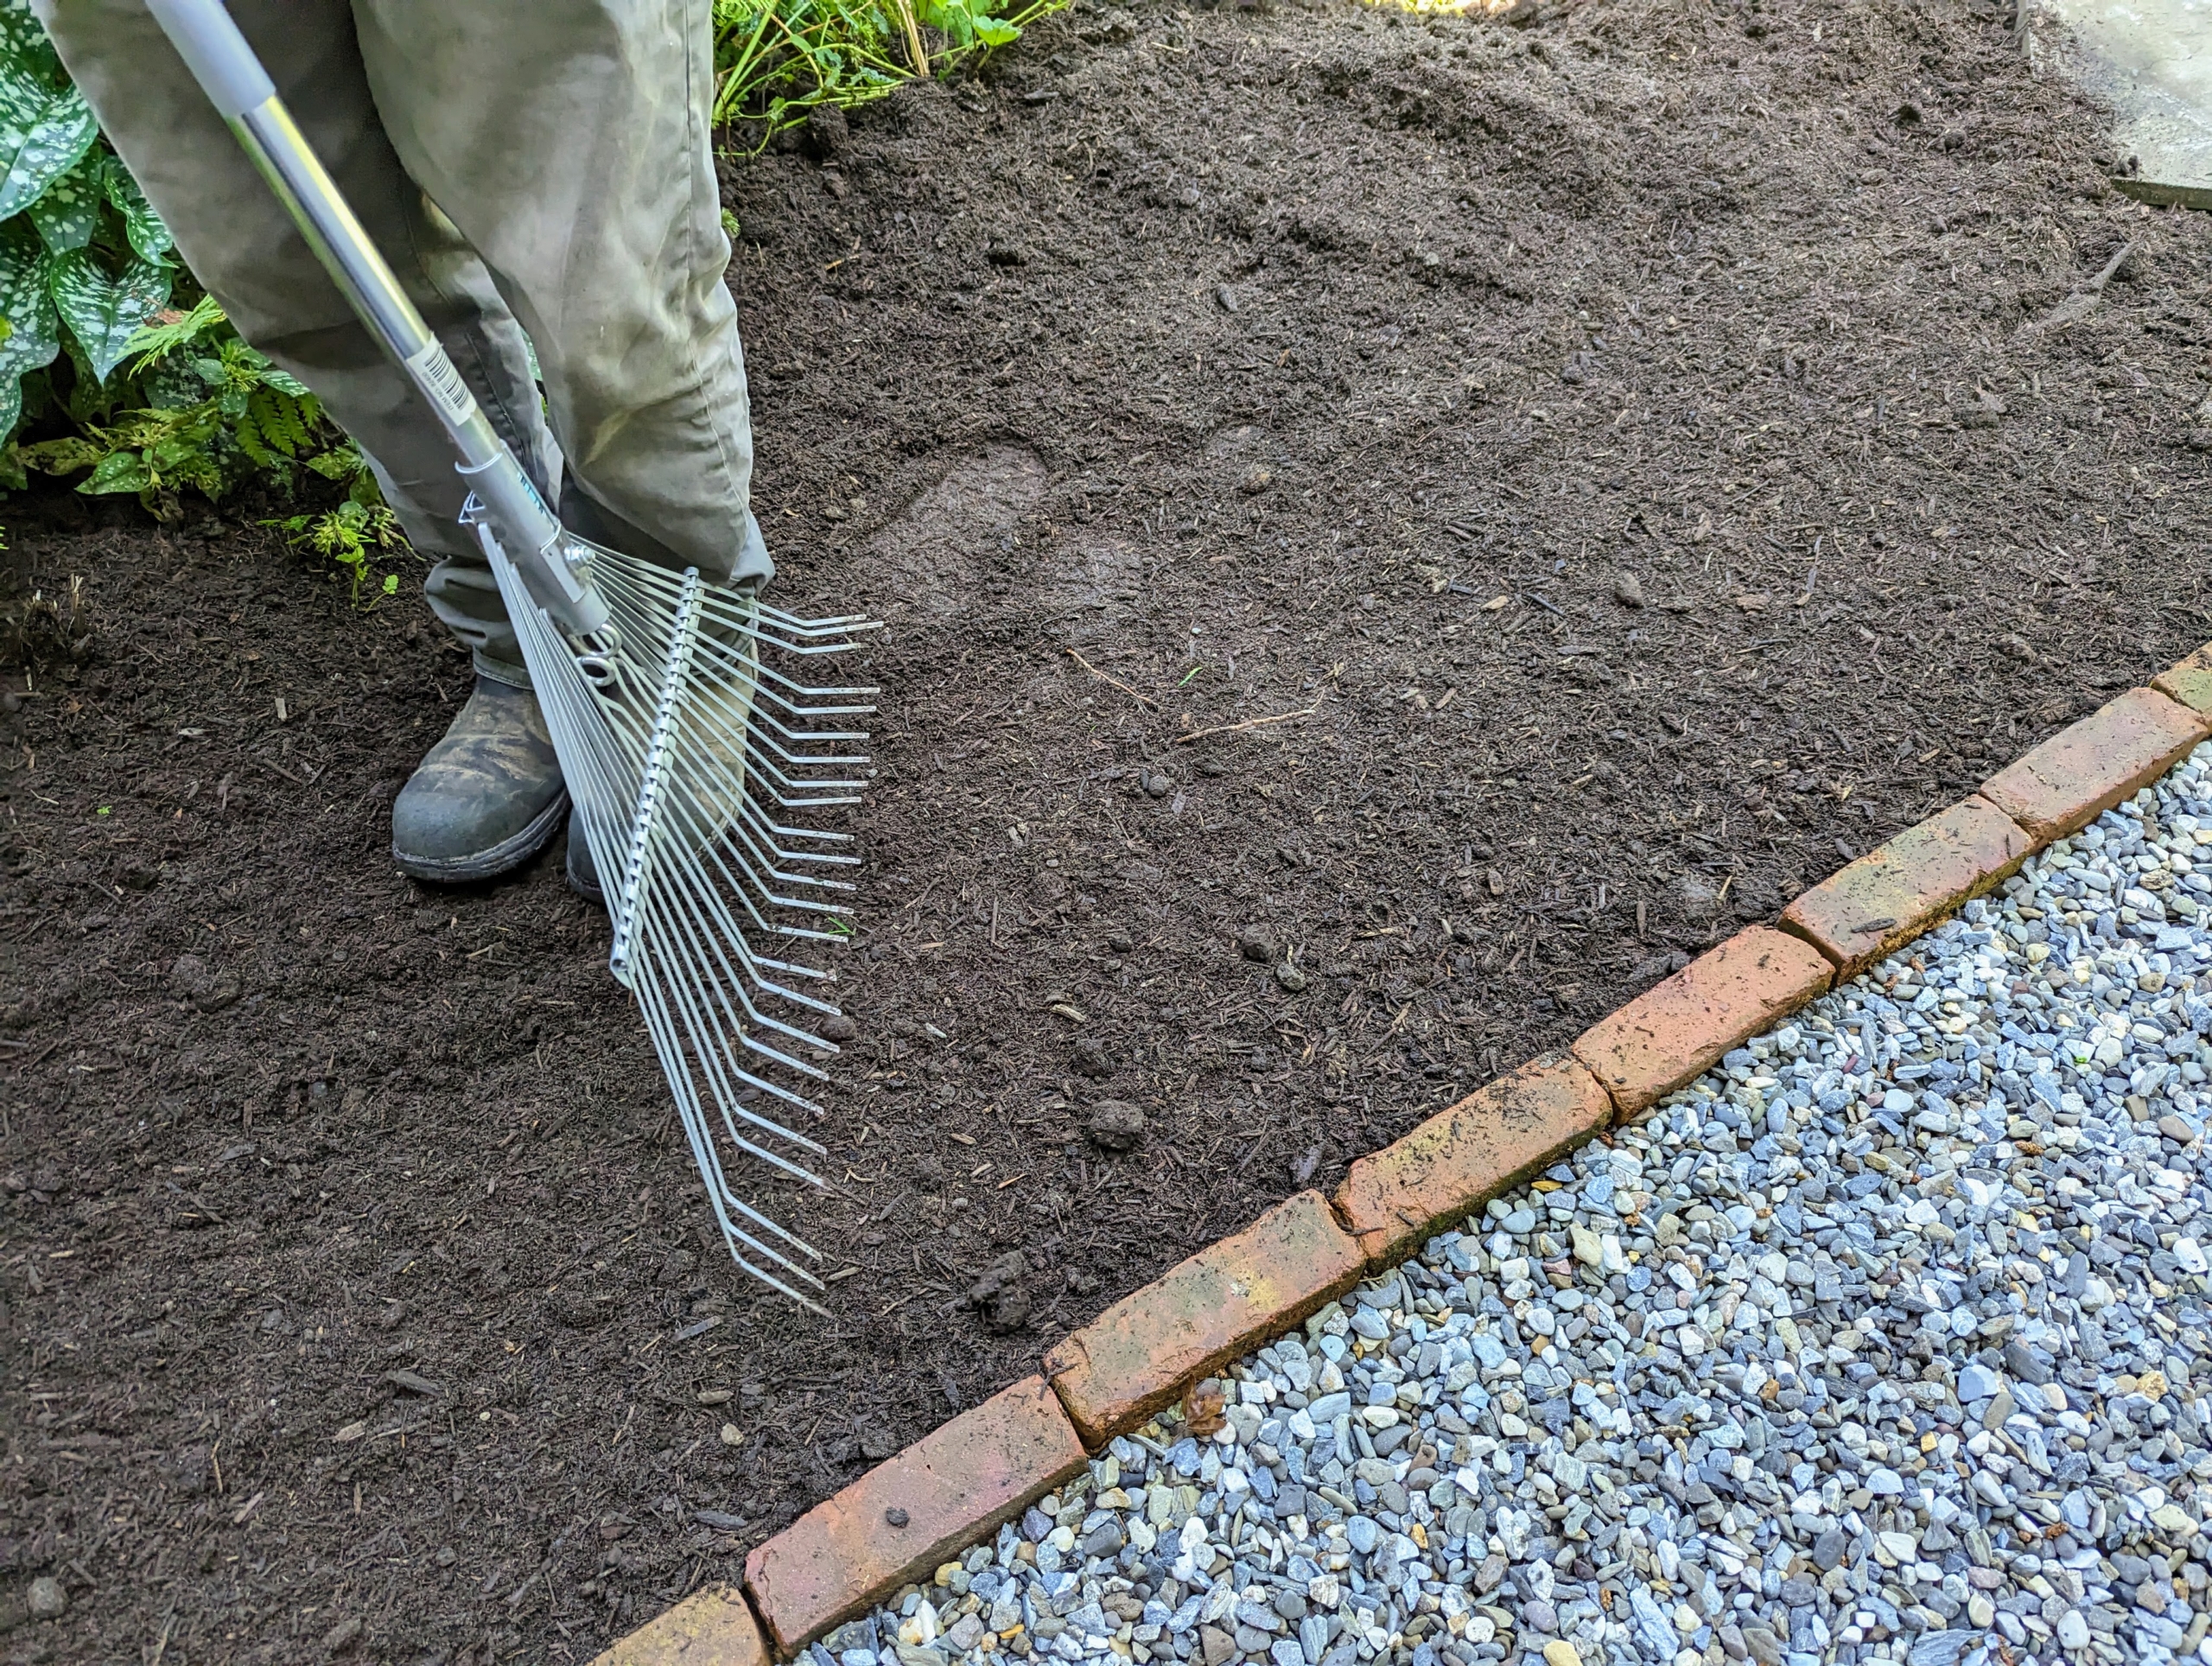
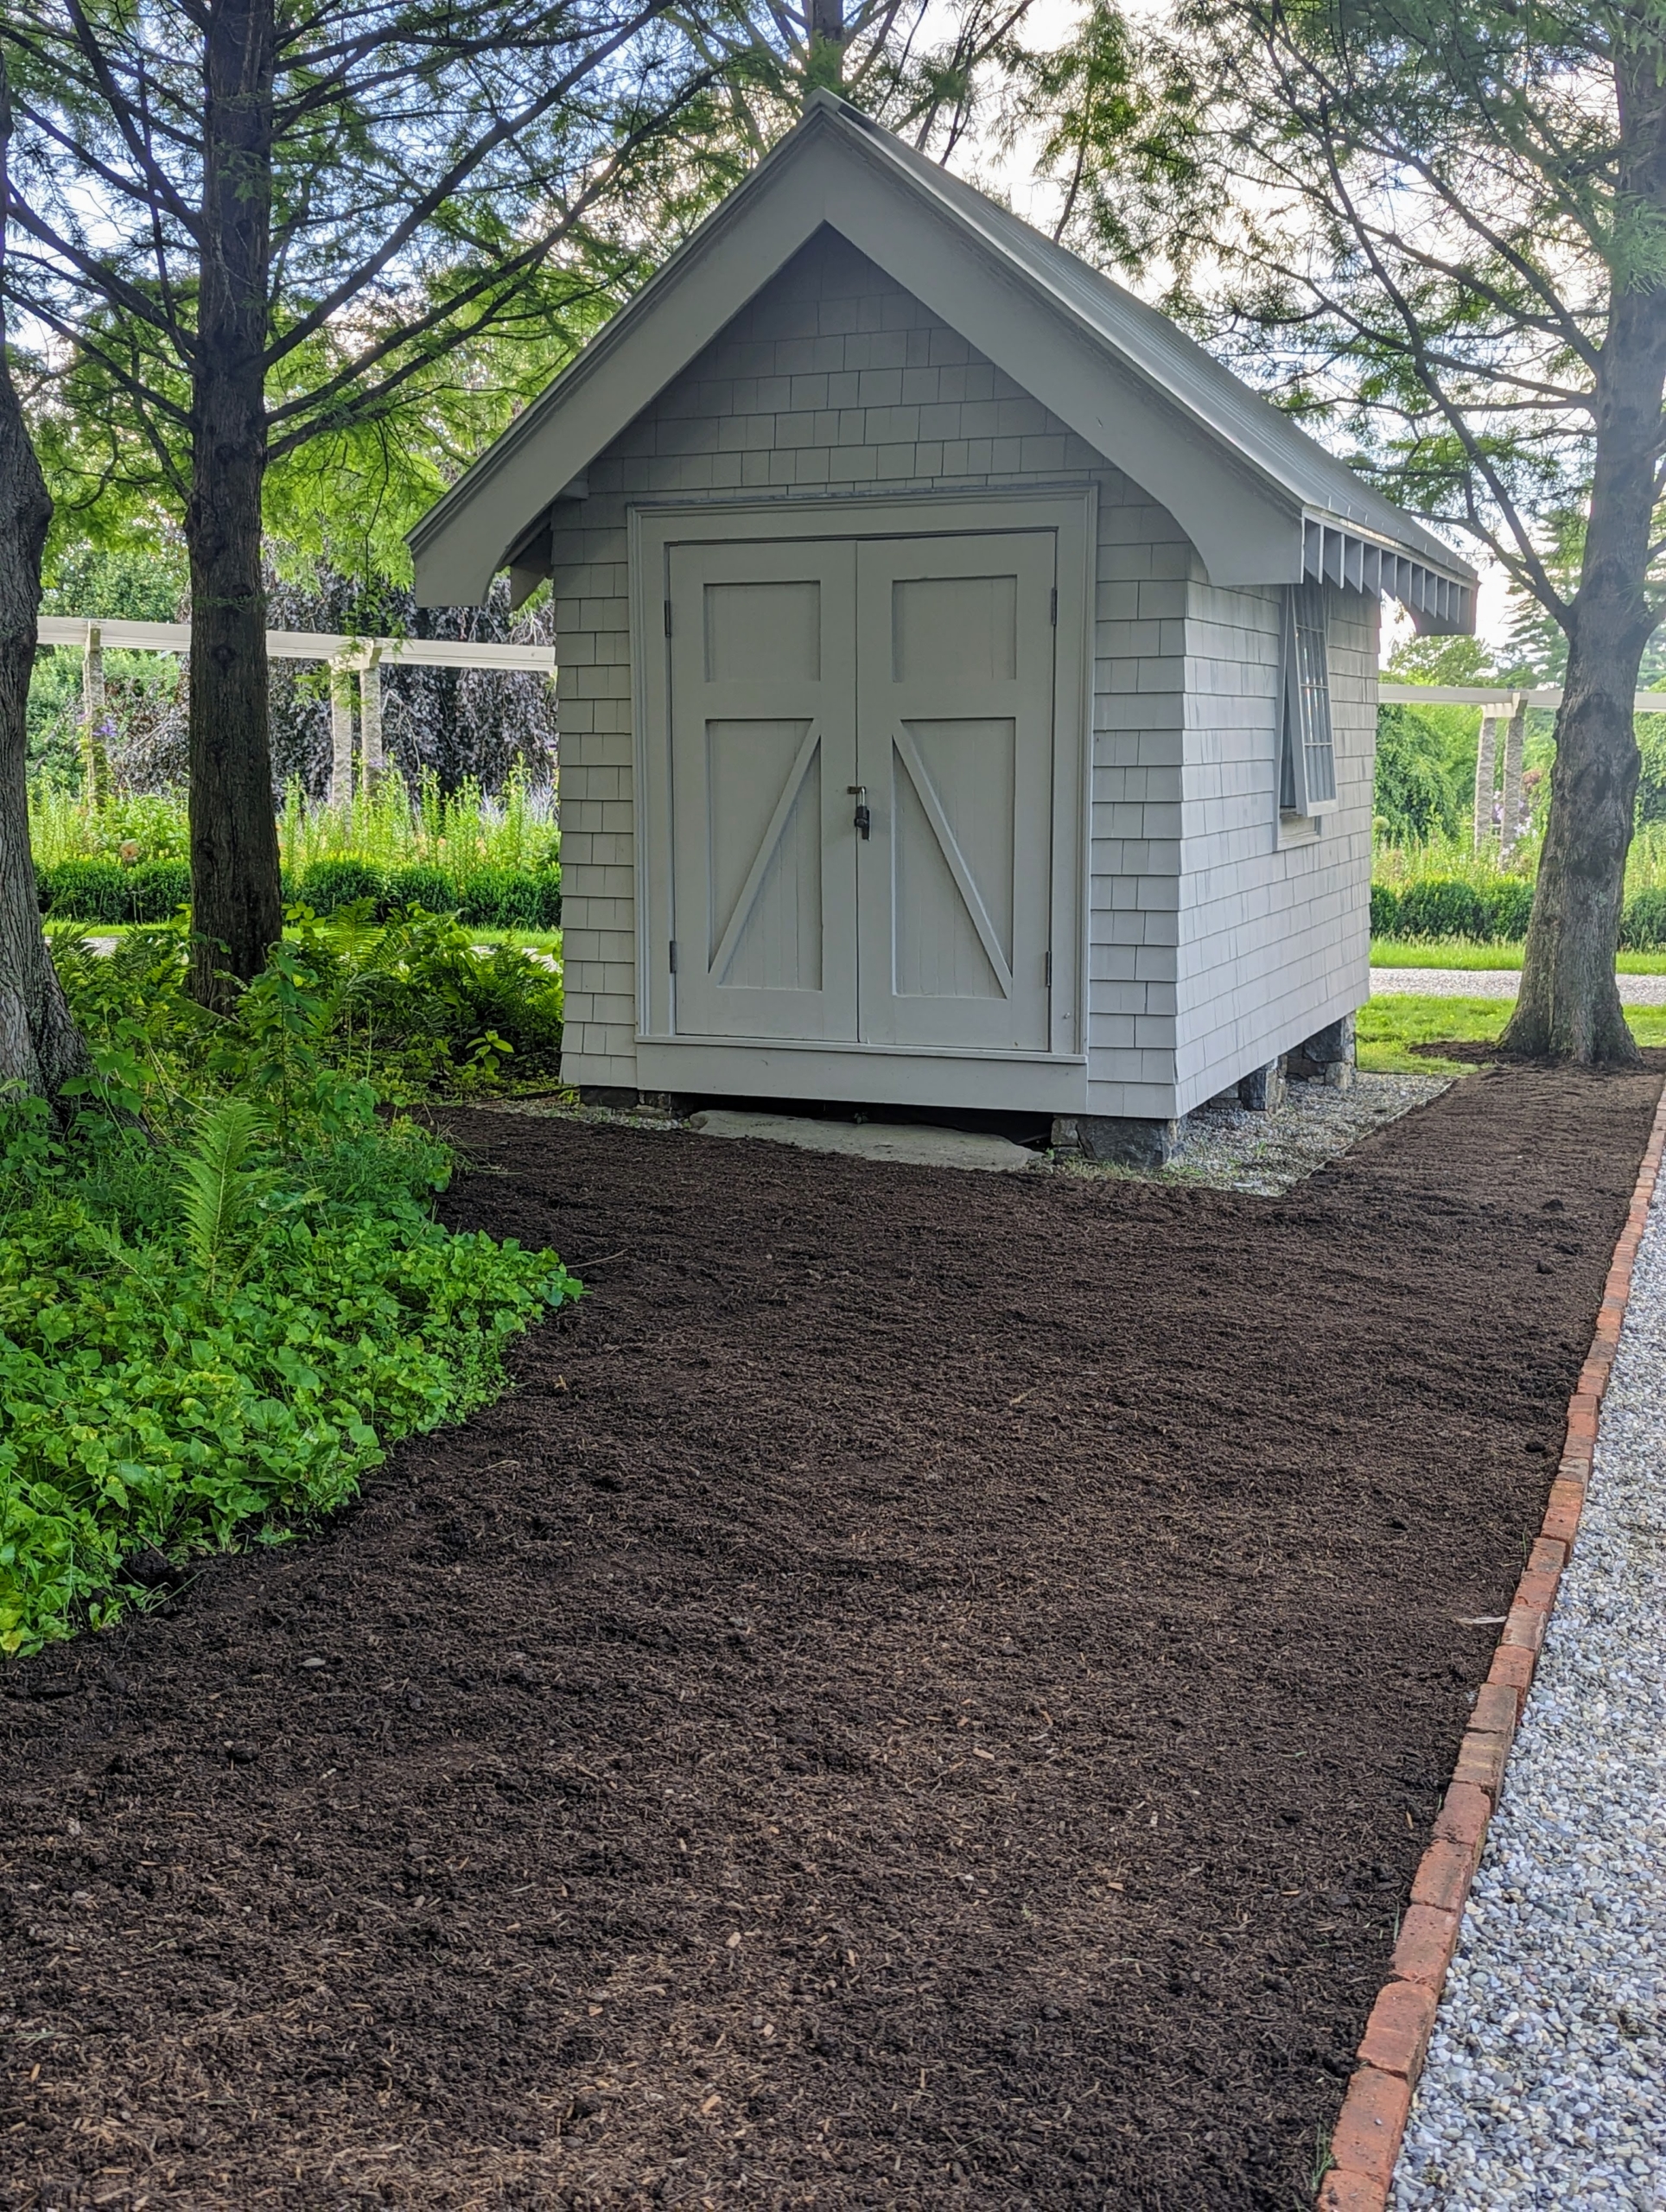
Next, Pete brings in lots of mulch to place around the paths as a finishing detail for the surrounding garden beds.
Pete removed some more grass from the sides and added mulch. My goal is to have less lawn to save on mowing. These areas will be filled in with plants.
Here is the area just in front of my Basket House. What shall I plant here?
And here is another area where I am looking forward to planting more shade-loving specimens and spring blooming bulbs.
This is where two of the paths meet just outside my gym building. These paths make the area look so much more manicured.
Everything looks so beautiful. It’s now a favorite area for guests to walk and see all the gorgeous perennials growing in the garden. I will share more photos of this garden in an upcoming blog.
It's that time of year again, when the fast growing hornbeam hedges around my farm need to be pruned and groomed.
Over the last couple of weeks, my outdoor grounds crew trimmed the tall hornbeam hedge in front of my main greenhouse. They also tackled the long hornbeam hedge that runs from my Summer House and along the road behind my Winter House as well as the nearby hornbeam shrubs. Botanically known as Carpinus betulus, the hornbeam is a fast-growing deciduous tree. In fact, it can grow about four to five feet per year. I keep a close eye on all the hornbeams - it’s crucial to prune them regularly, so they never look too overgrown and unruly.
Enjoy these photos.
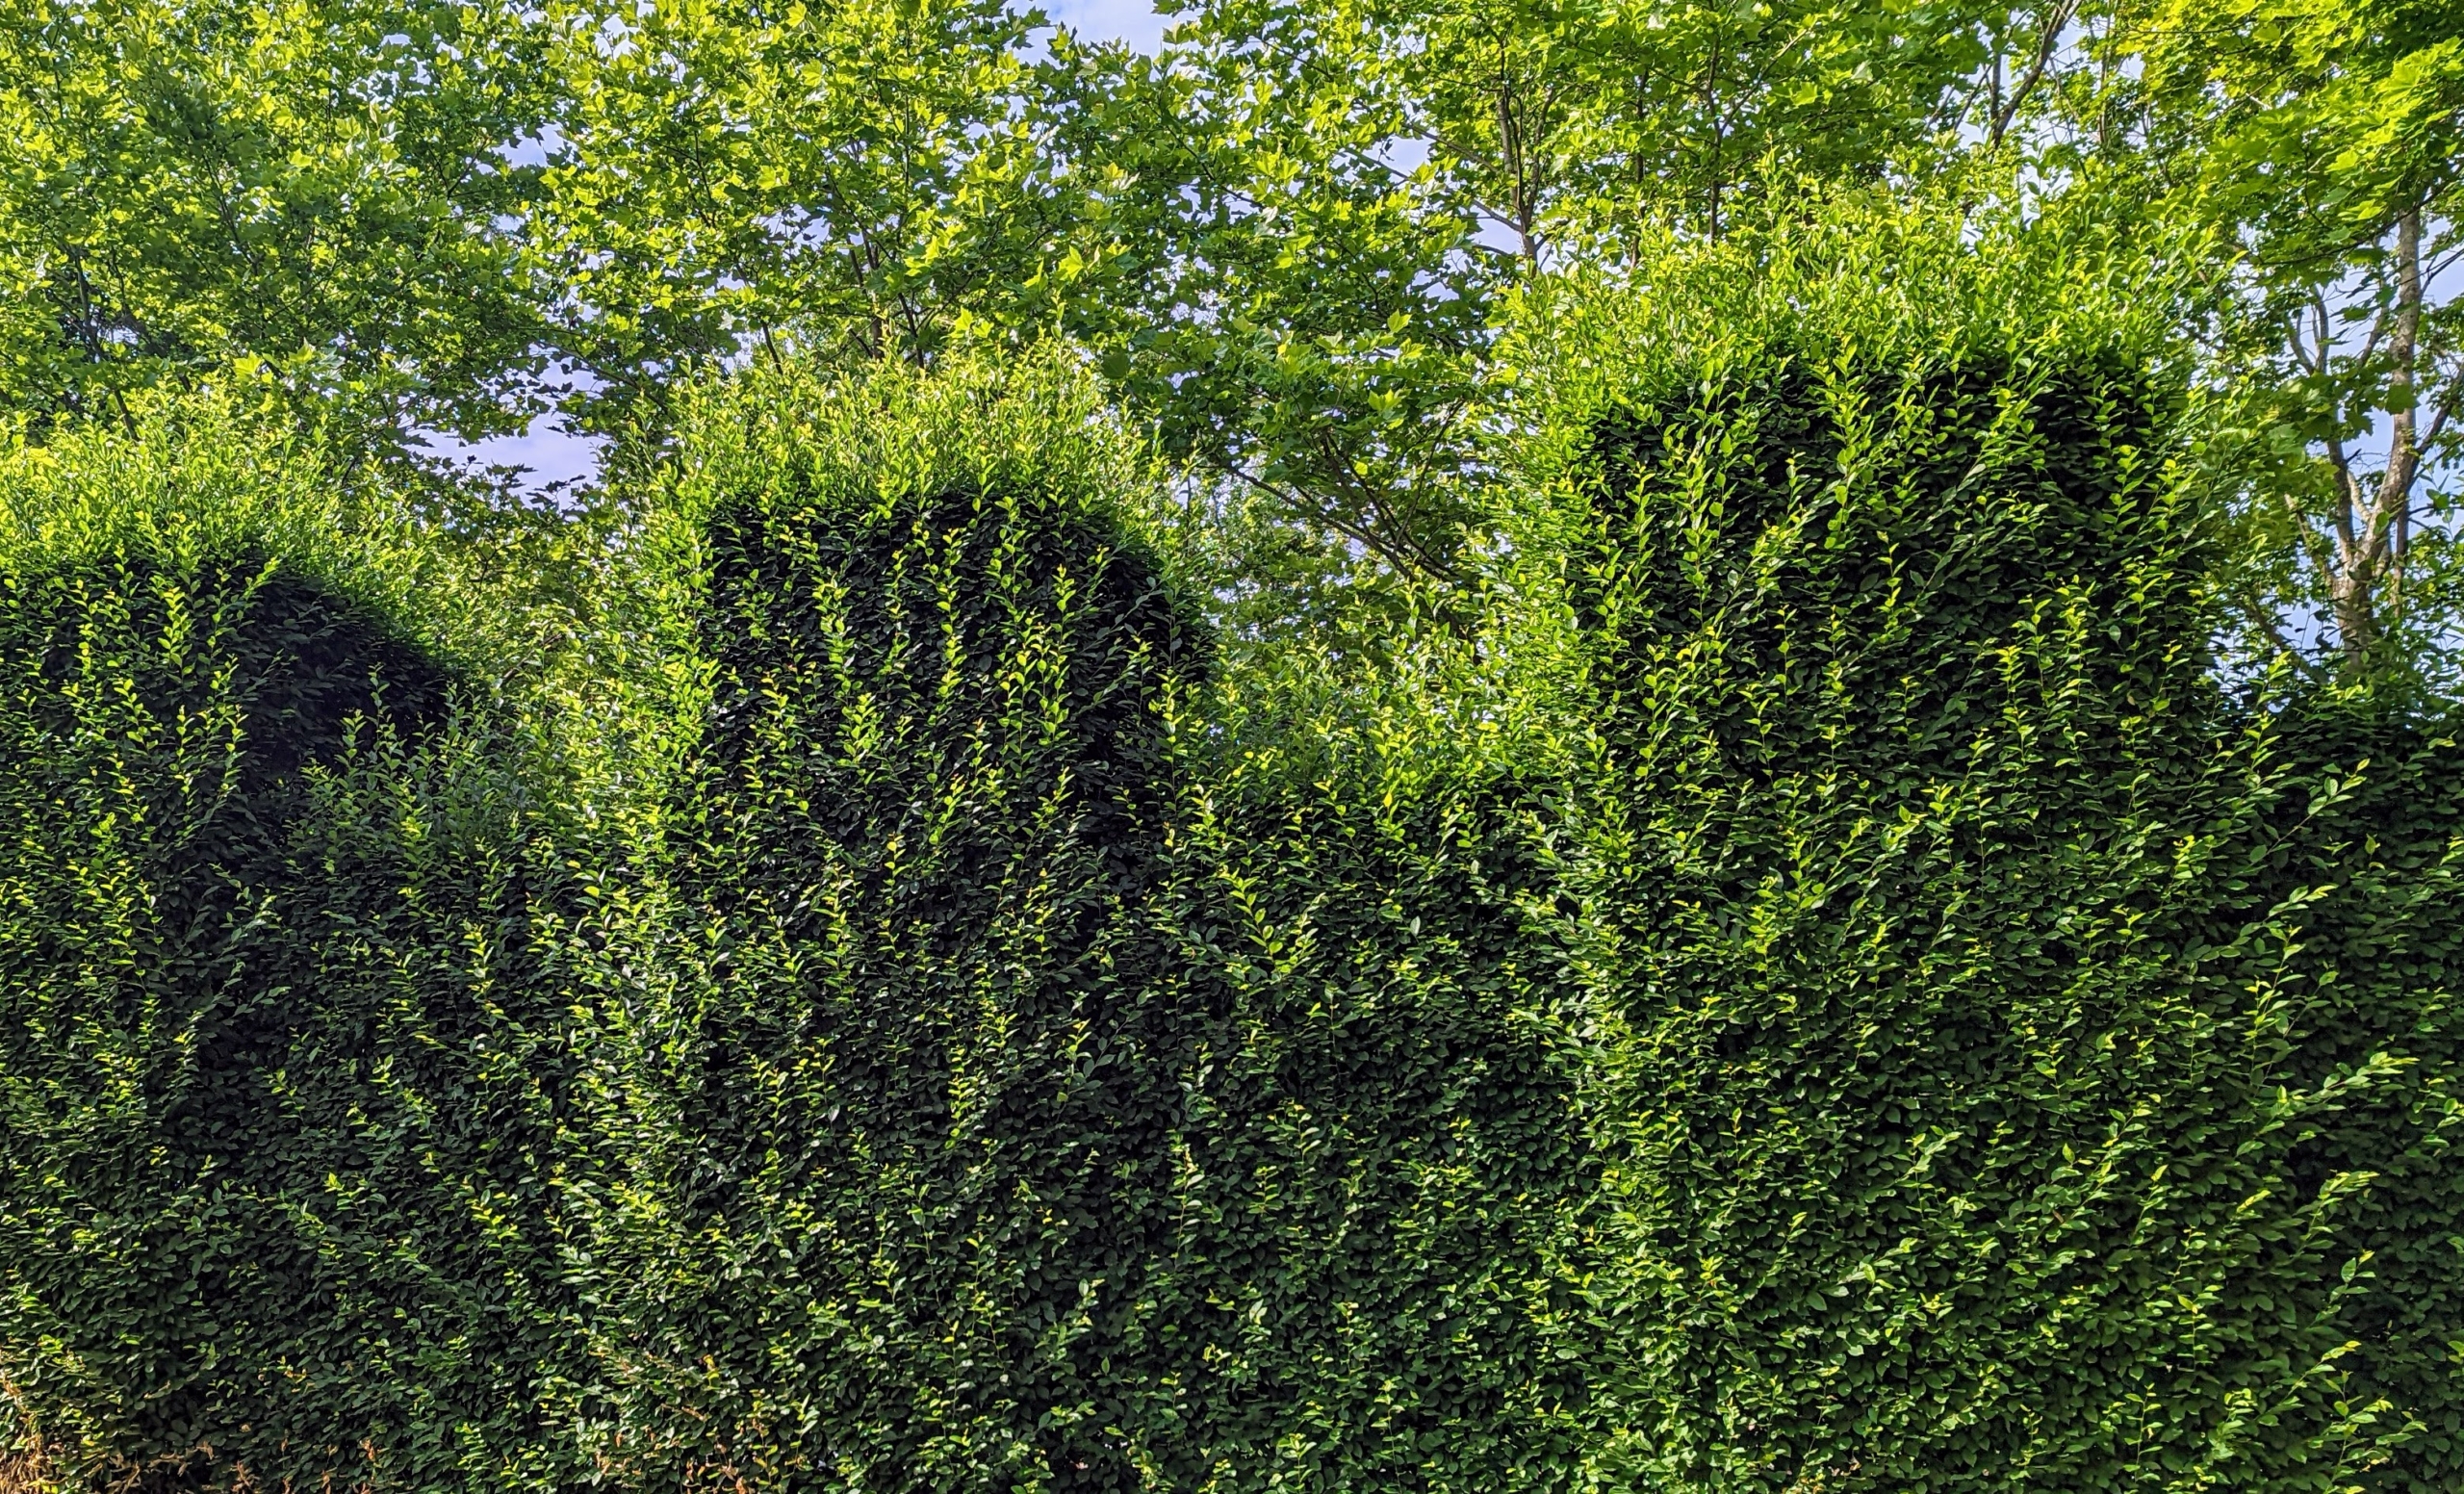
If you follow my blog, you may have seen this tall hornbeam hedge. It grows along one side of the parking lot directly in front of my main greenhouse. It is quite pretty here but serves primarily as a privacy and noise barrier from the road. Carpinus betulus is a hornbeam native to Western Asia and central, eastern and southern Europe, including southern England. Because of its dense foliage and tolerance to being cut back, this hornbeam is popularly used for hedges and topiaries.
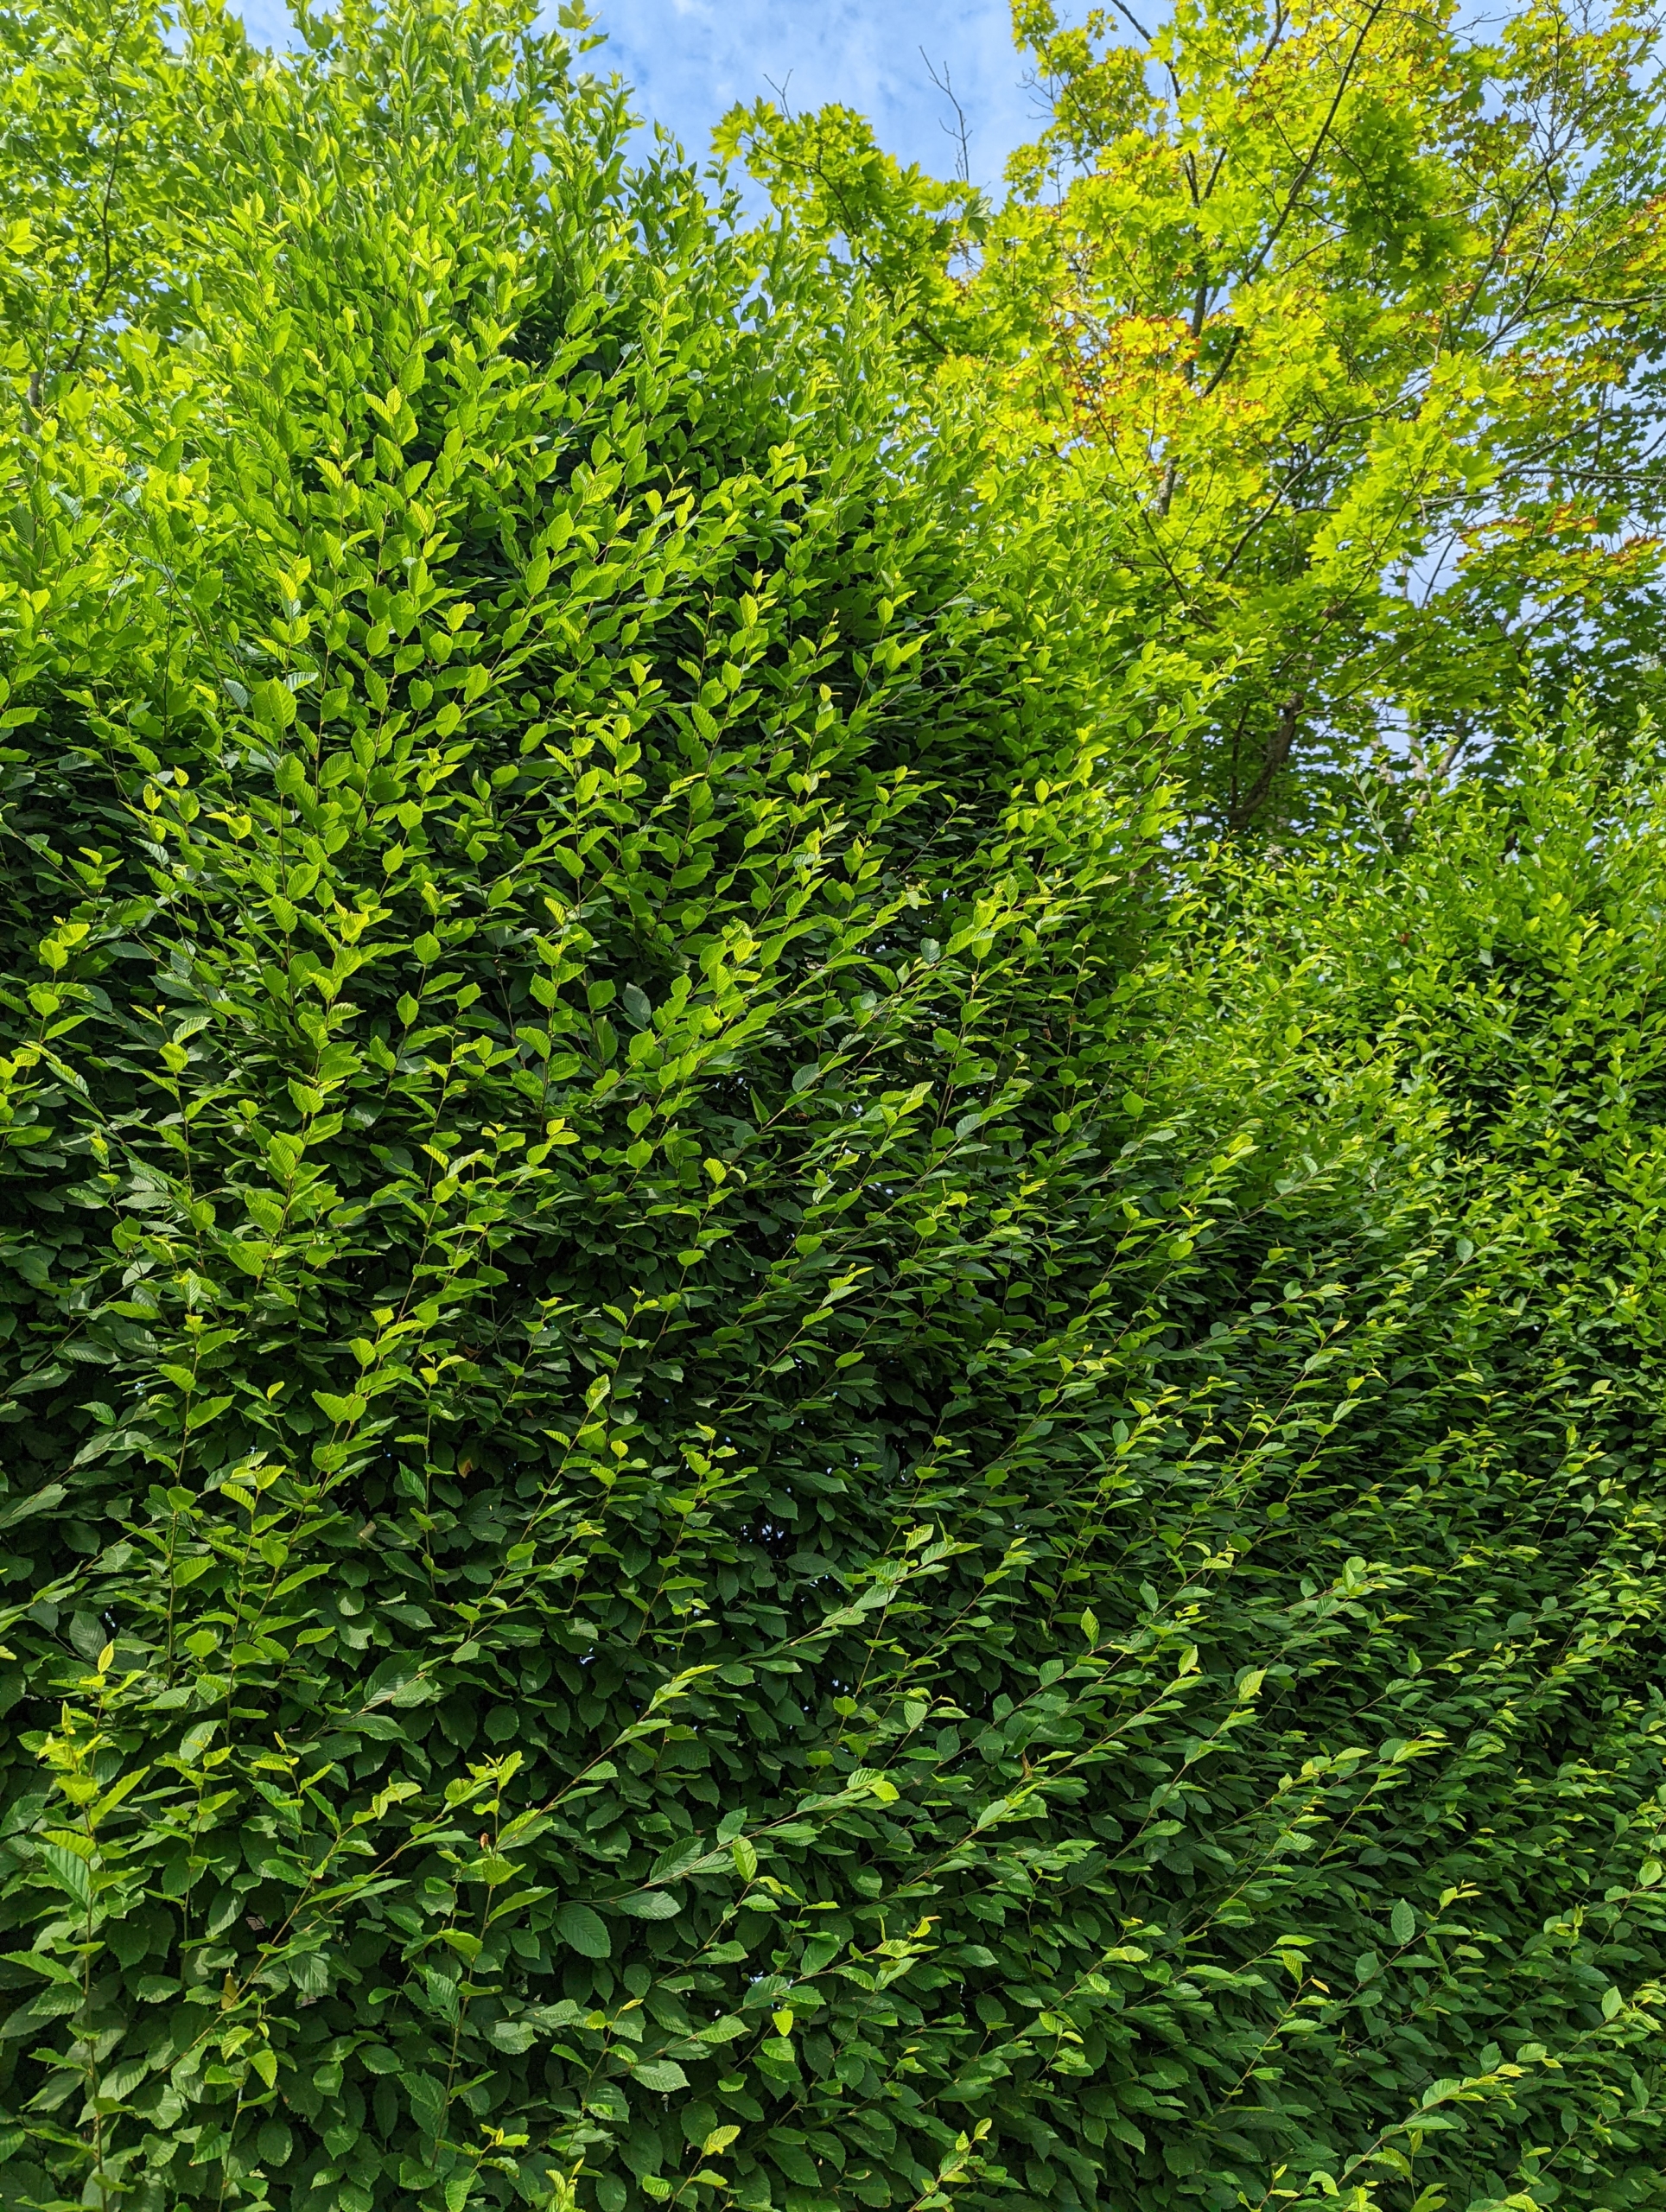
Hornbeams grow quickly, so it is important to trim and sculpt them regularly. We do this task every year around this time. Hornbeam is also very hardy and frost resistant, which is good in this region.
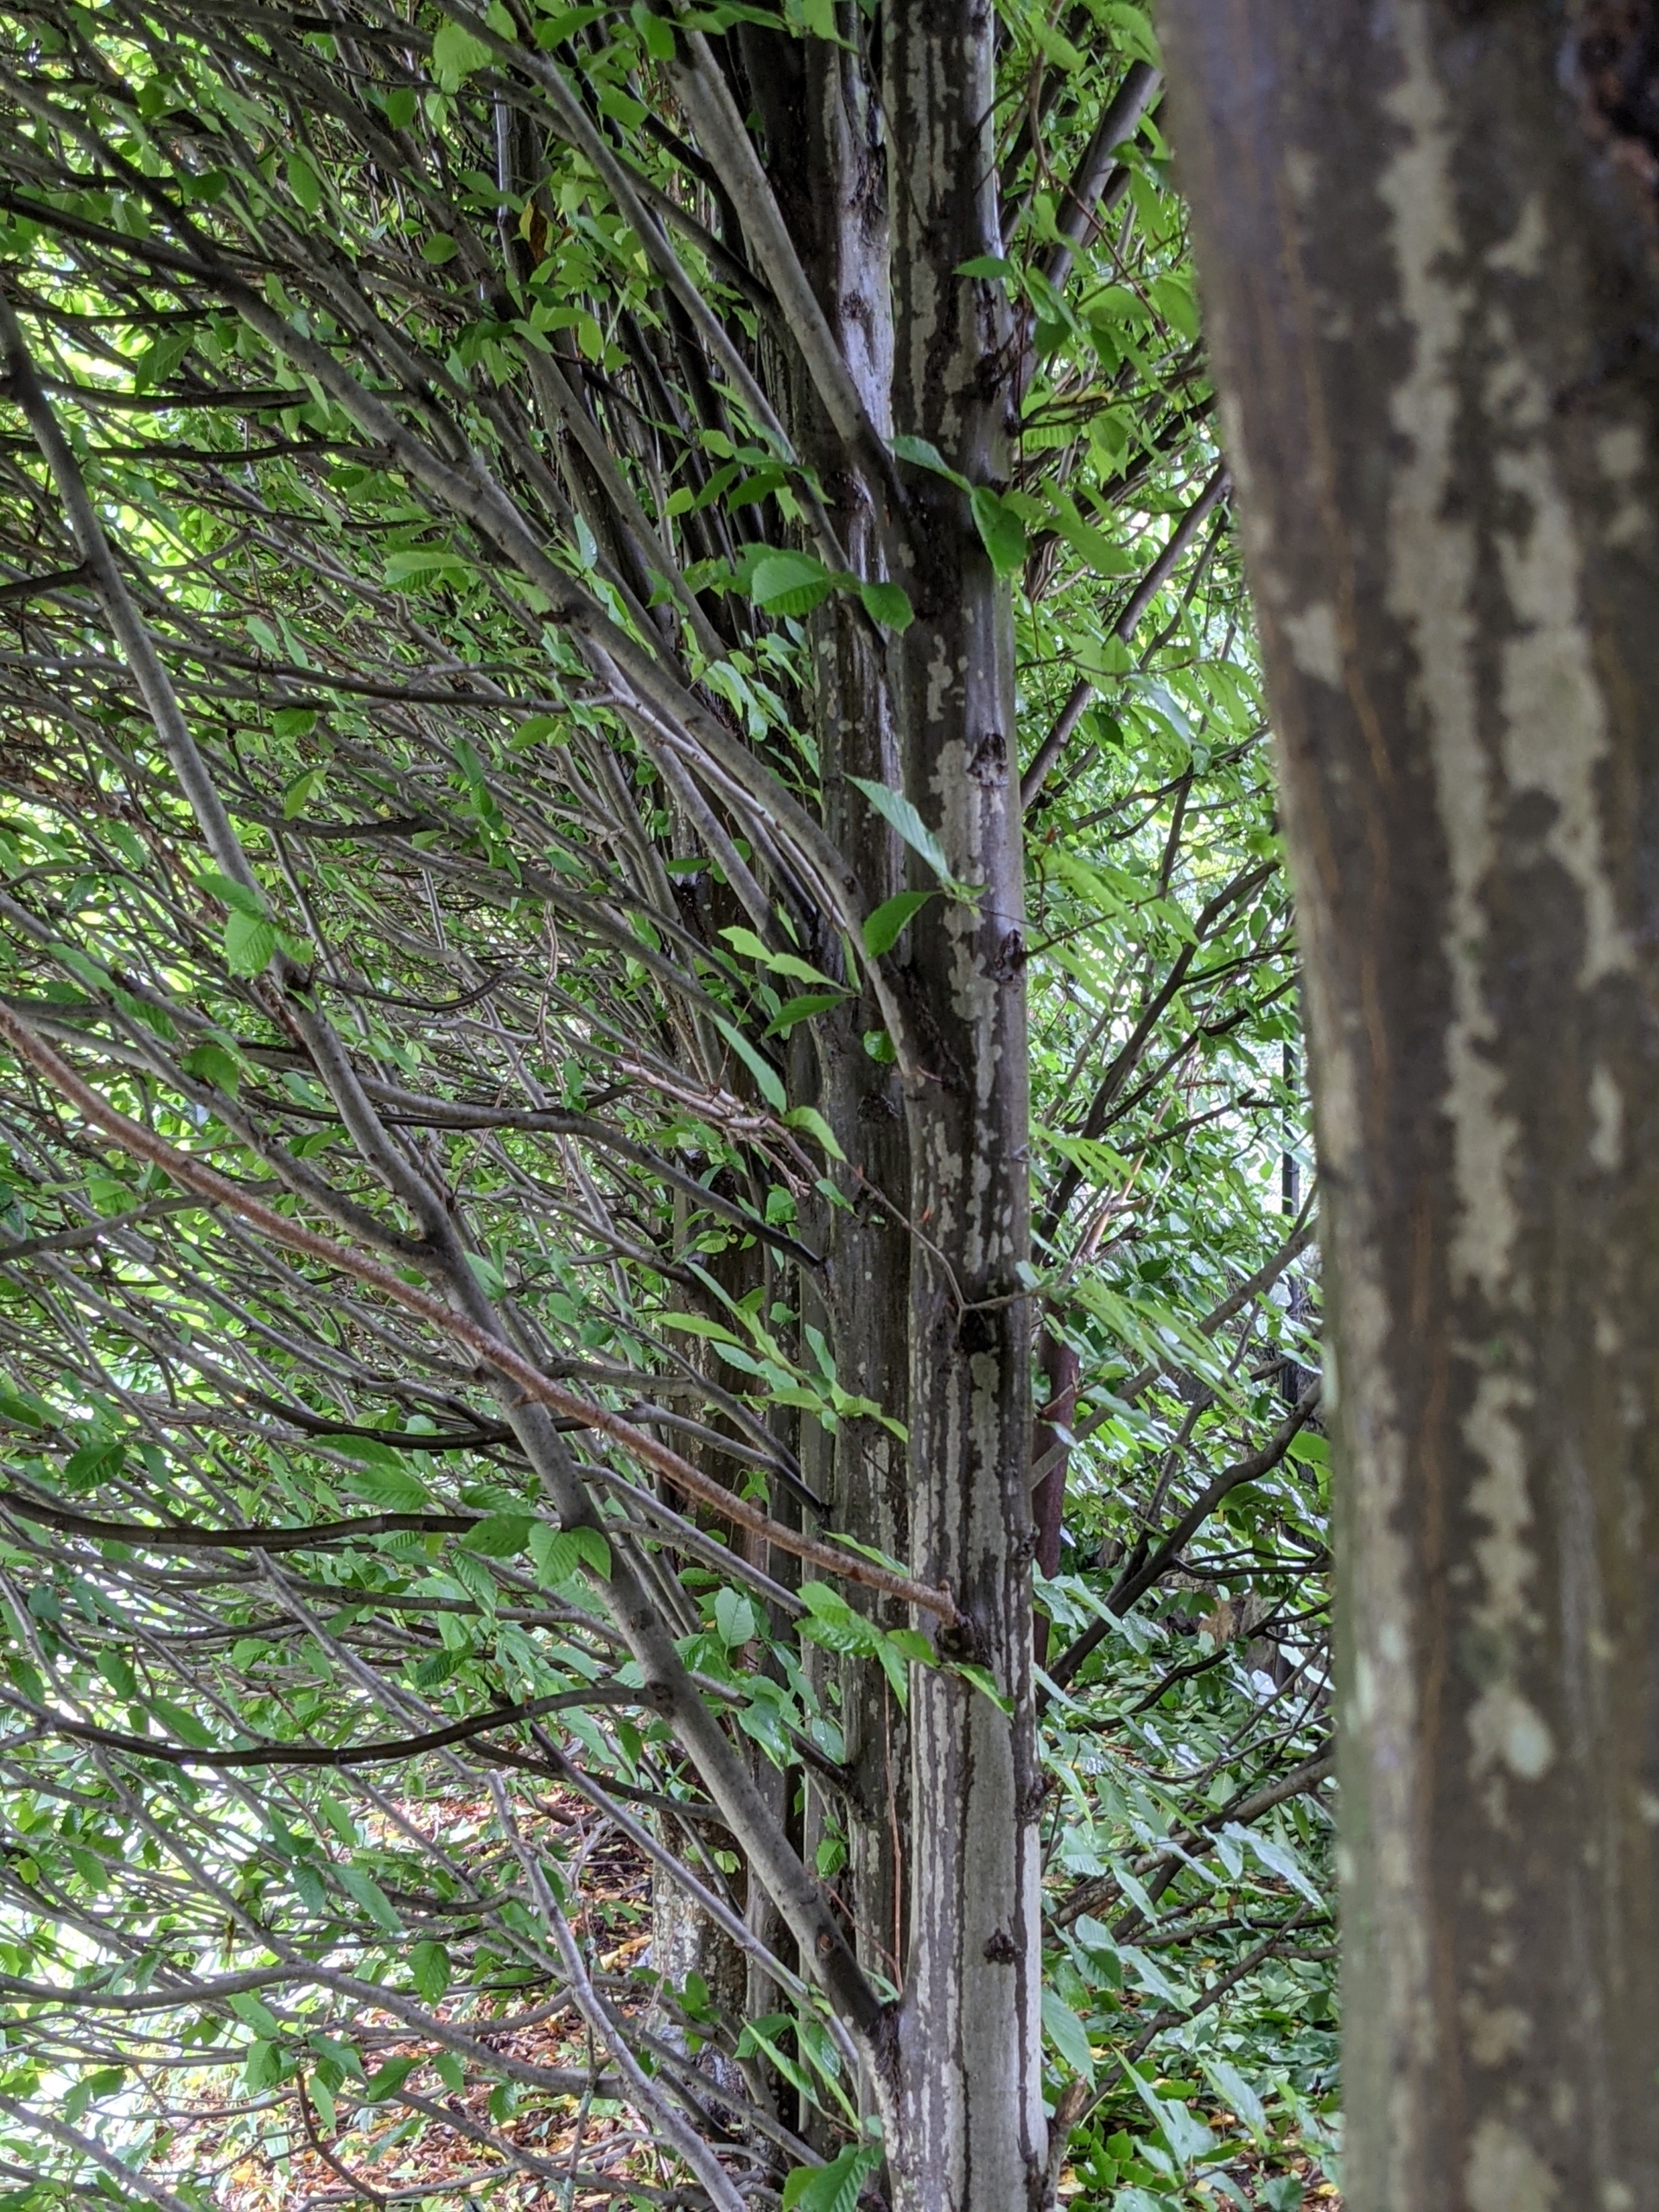
Looking inside the hedge, the hornbeam has pale grey bark with vertical markings. All of the hornbeams are planted in a very straight line just a couple feet apart. One can see the sturdy branches and how they grow outward and slightly upward.
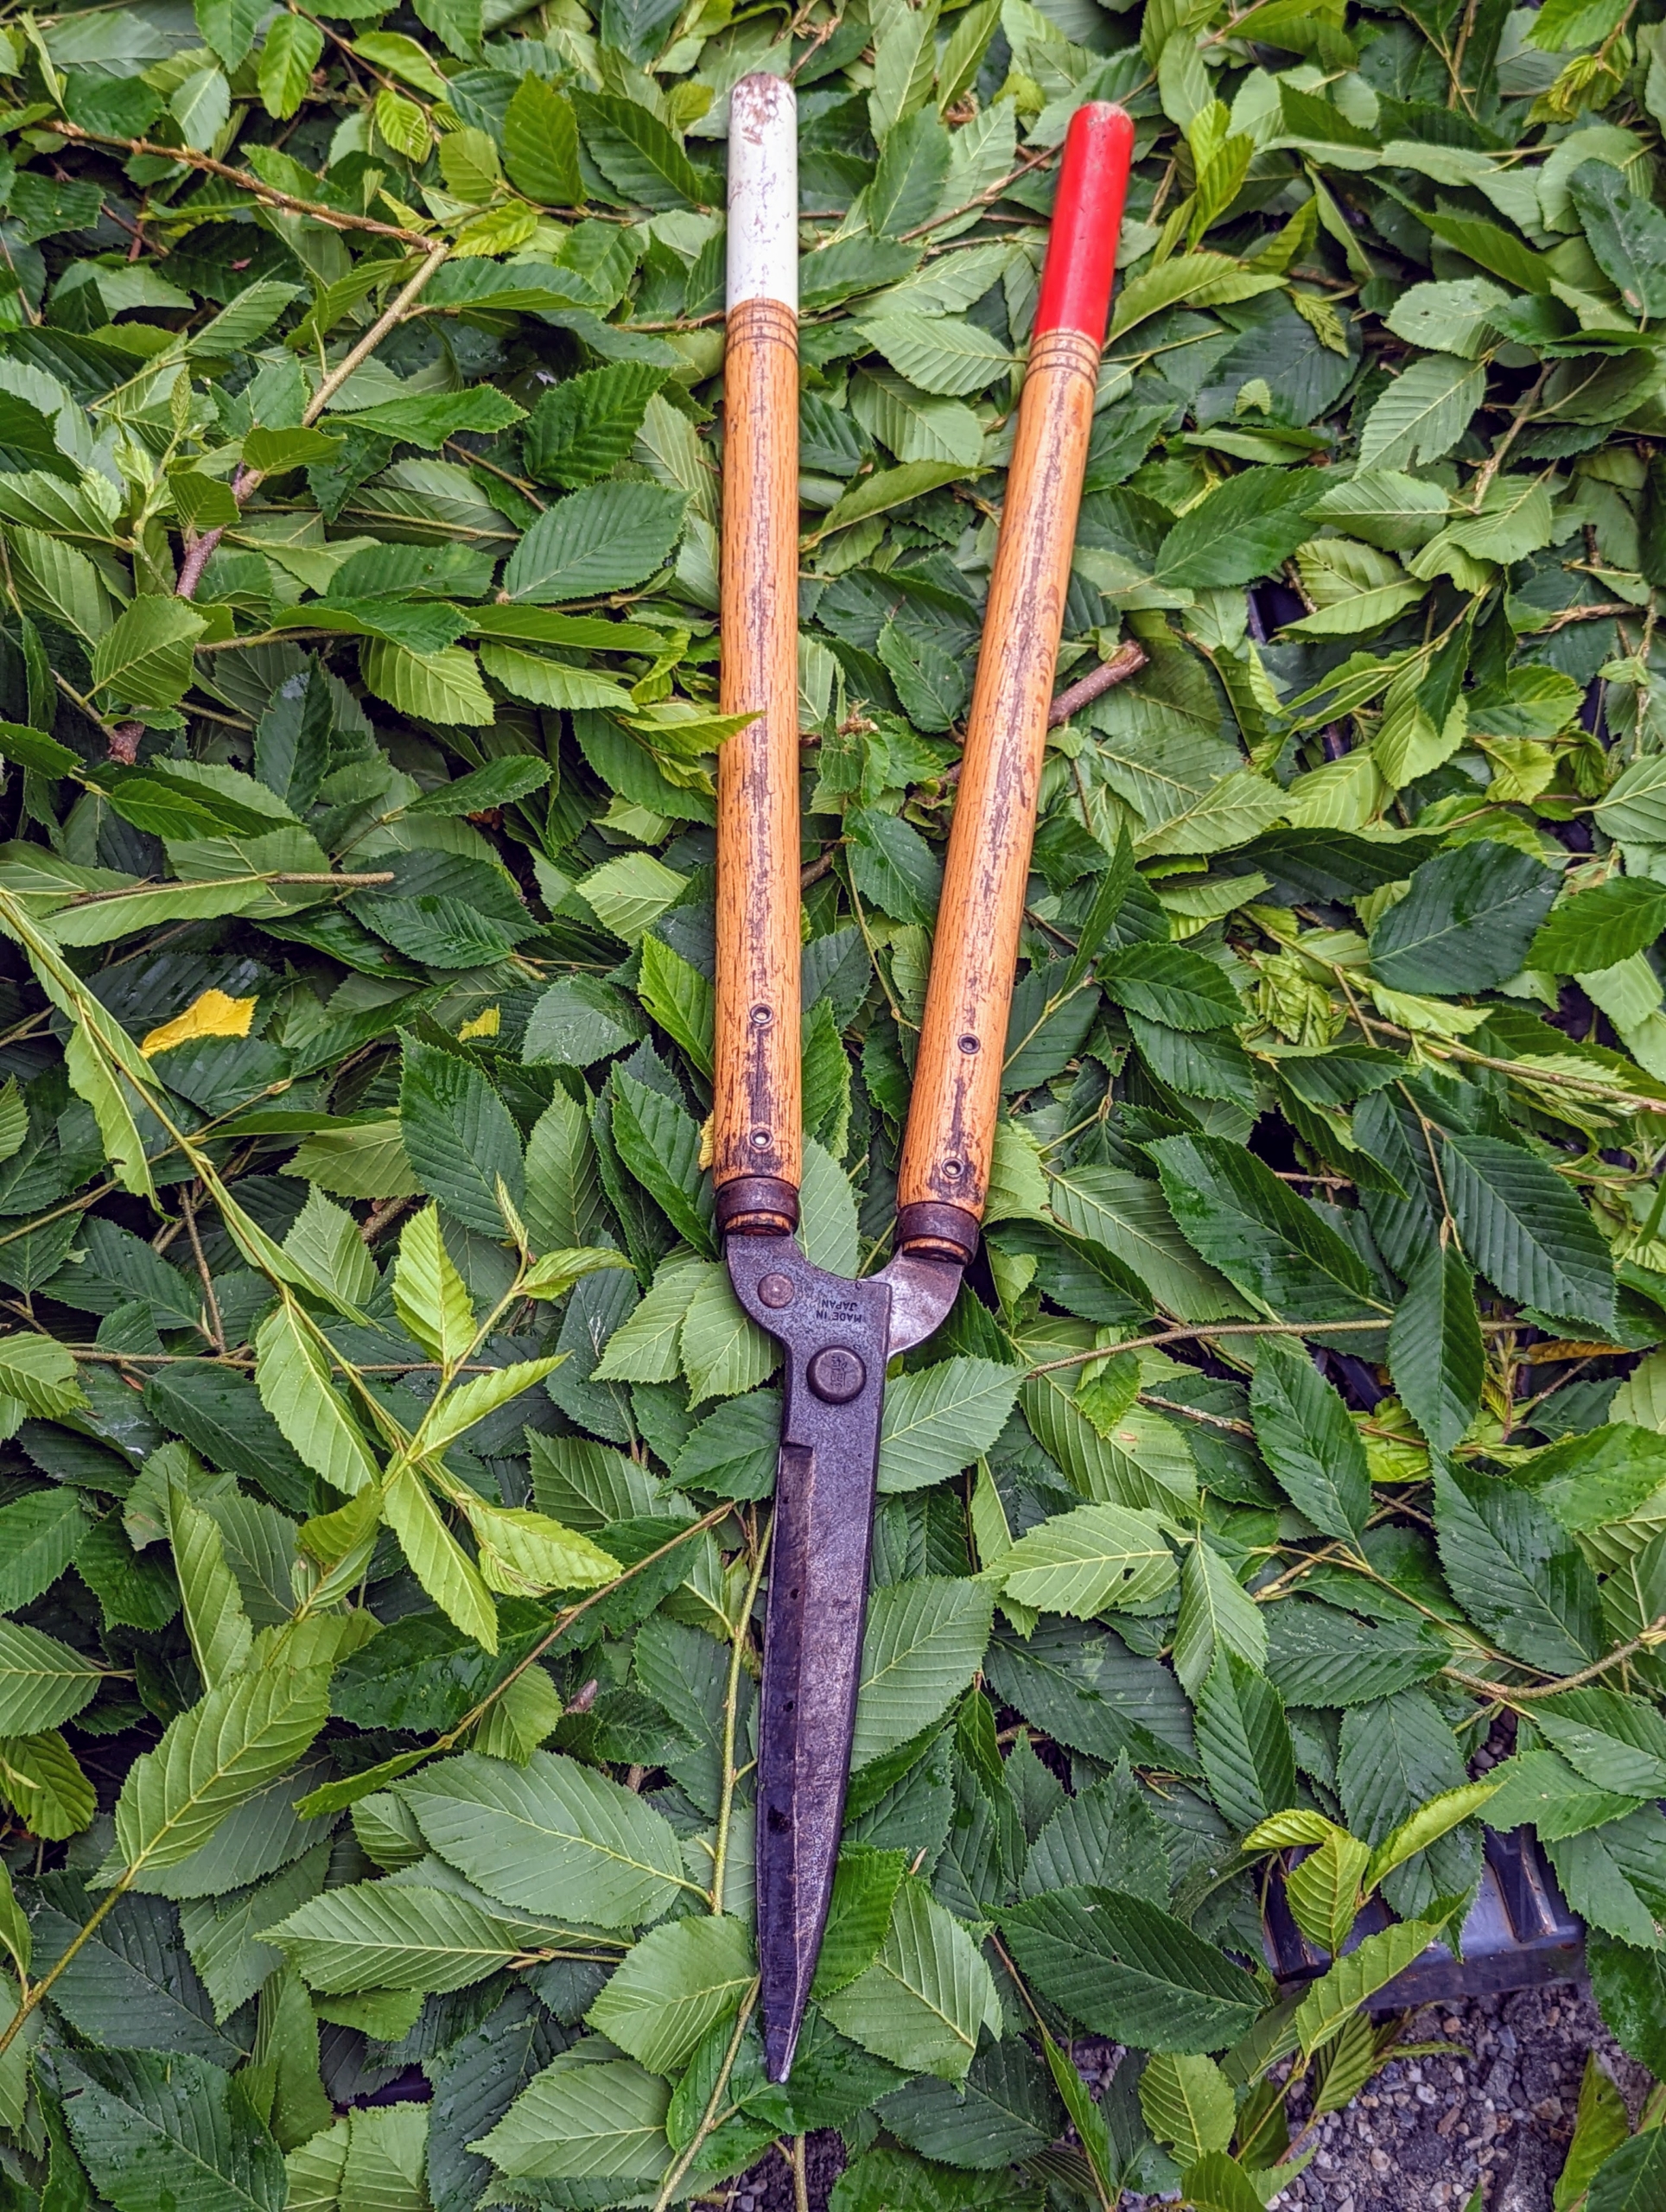
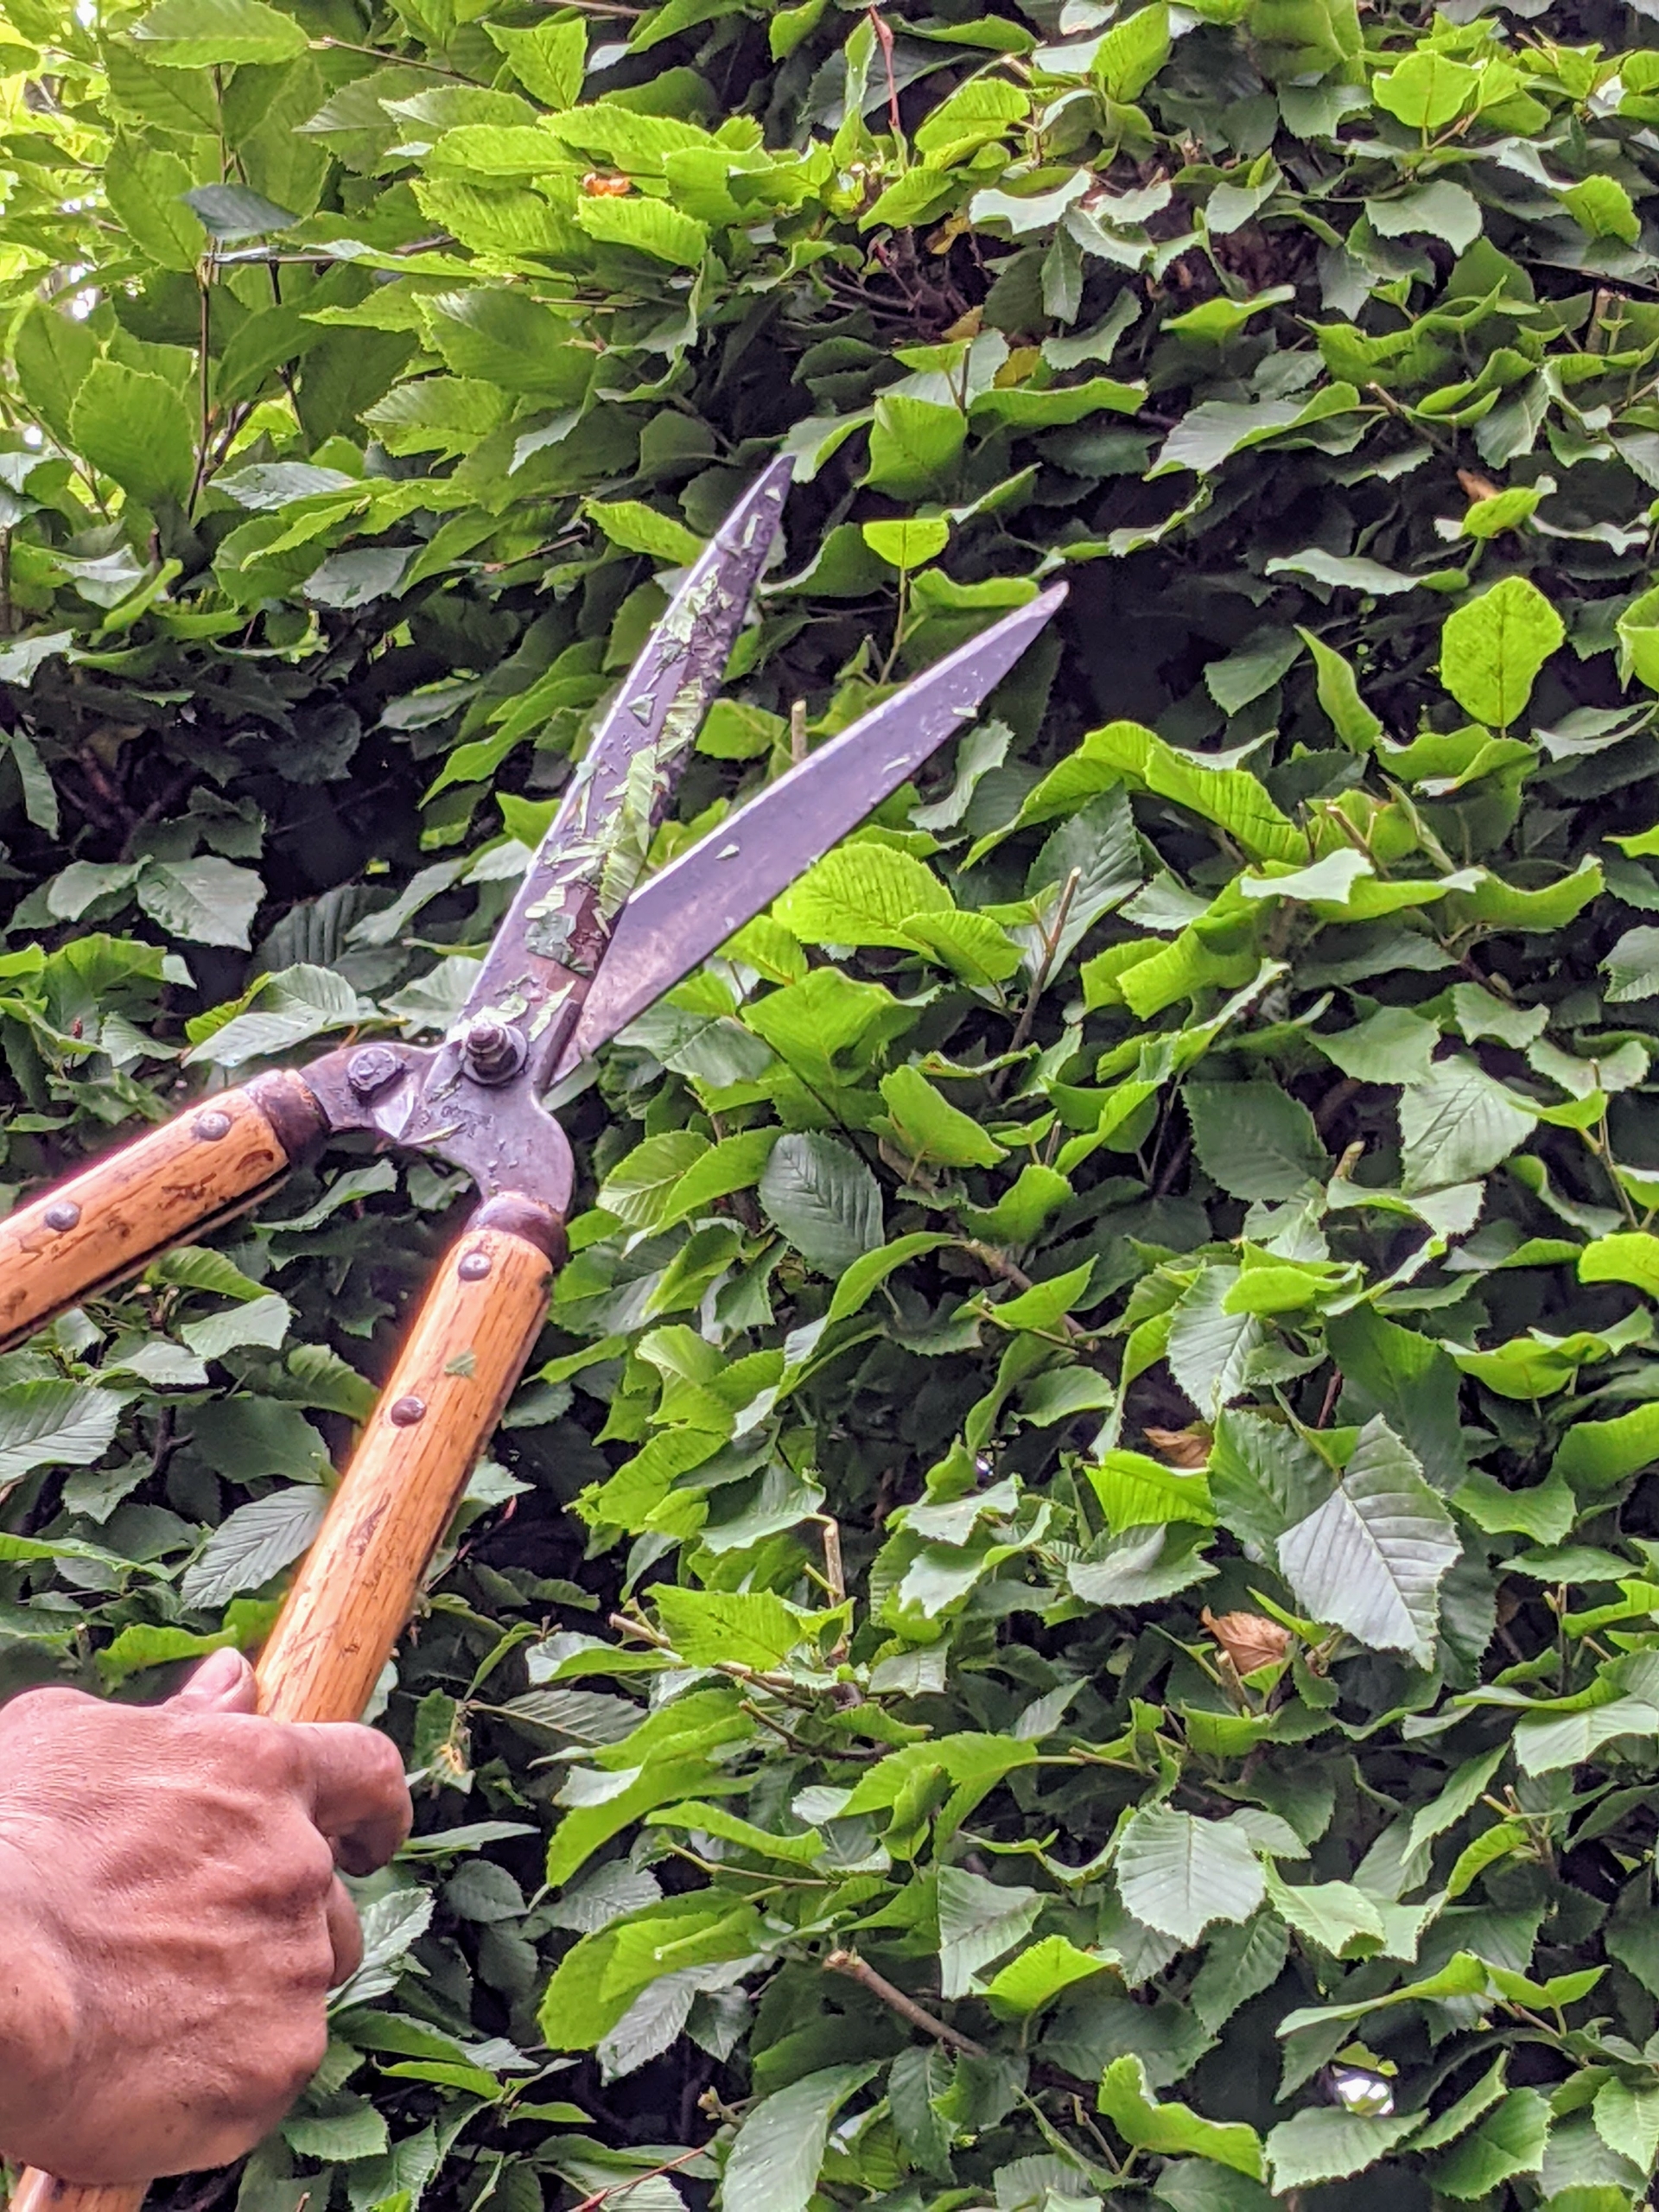
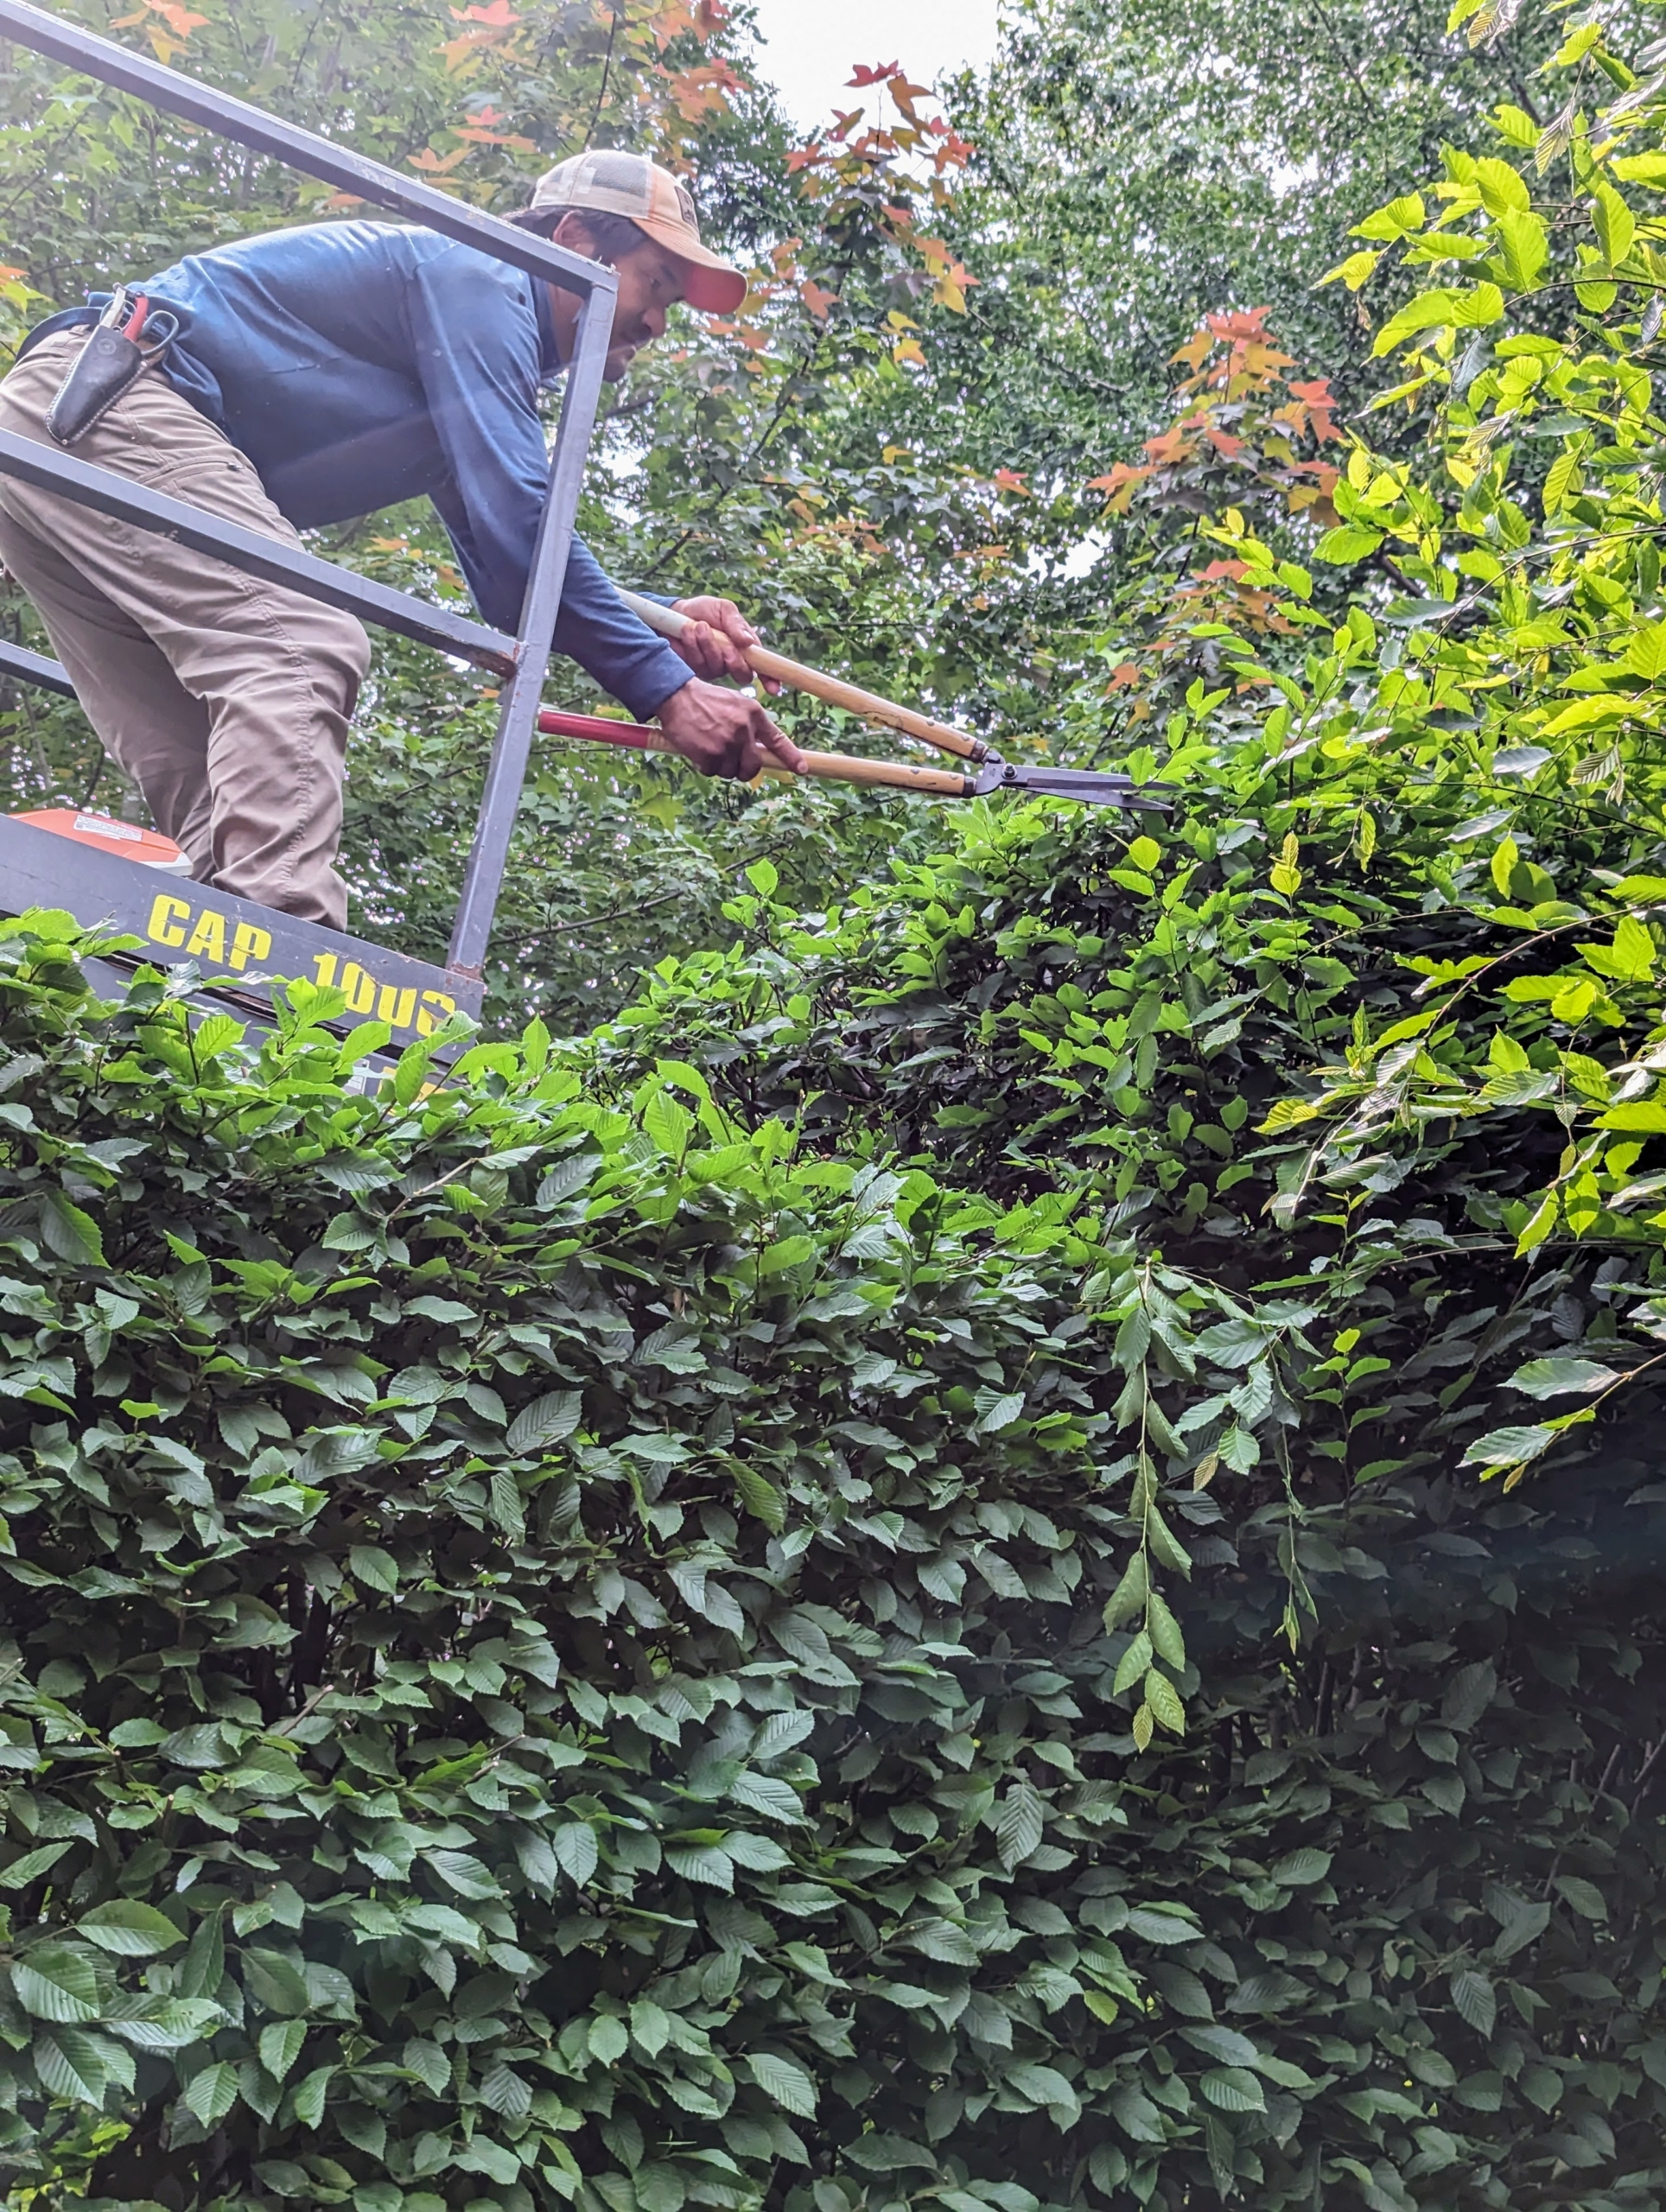
The crew does most of the hornbeam pruning by hand. Everyone uses Japanese Okatsune shears specially made for trimming hedges. These shears are user friendly, and come in a range of sizes.
Here’s Pasang working on the front sections. We use a traditional English style of pruning, which includes a lot of straight, clean edges. A well-manicured hedge can be stunning in any garden but left unchecked, it could look unruly.
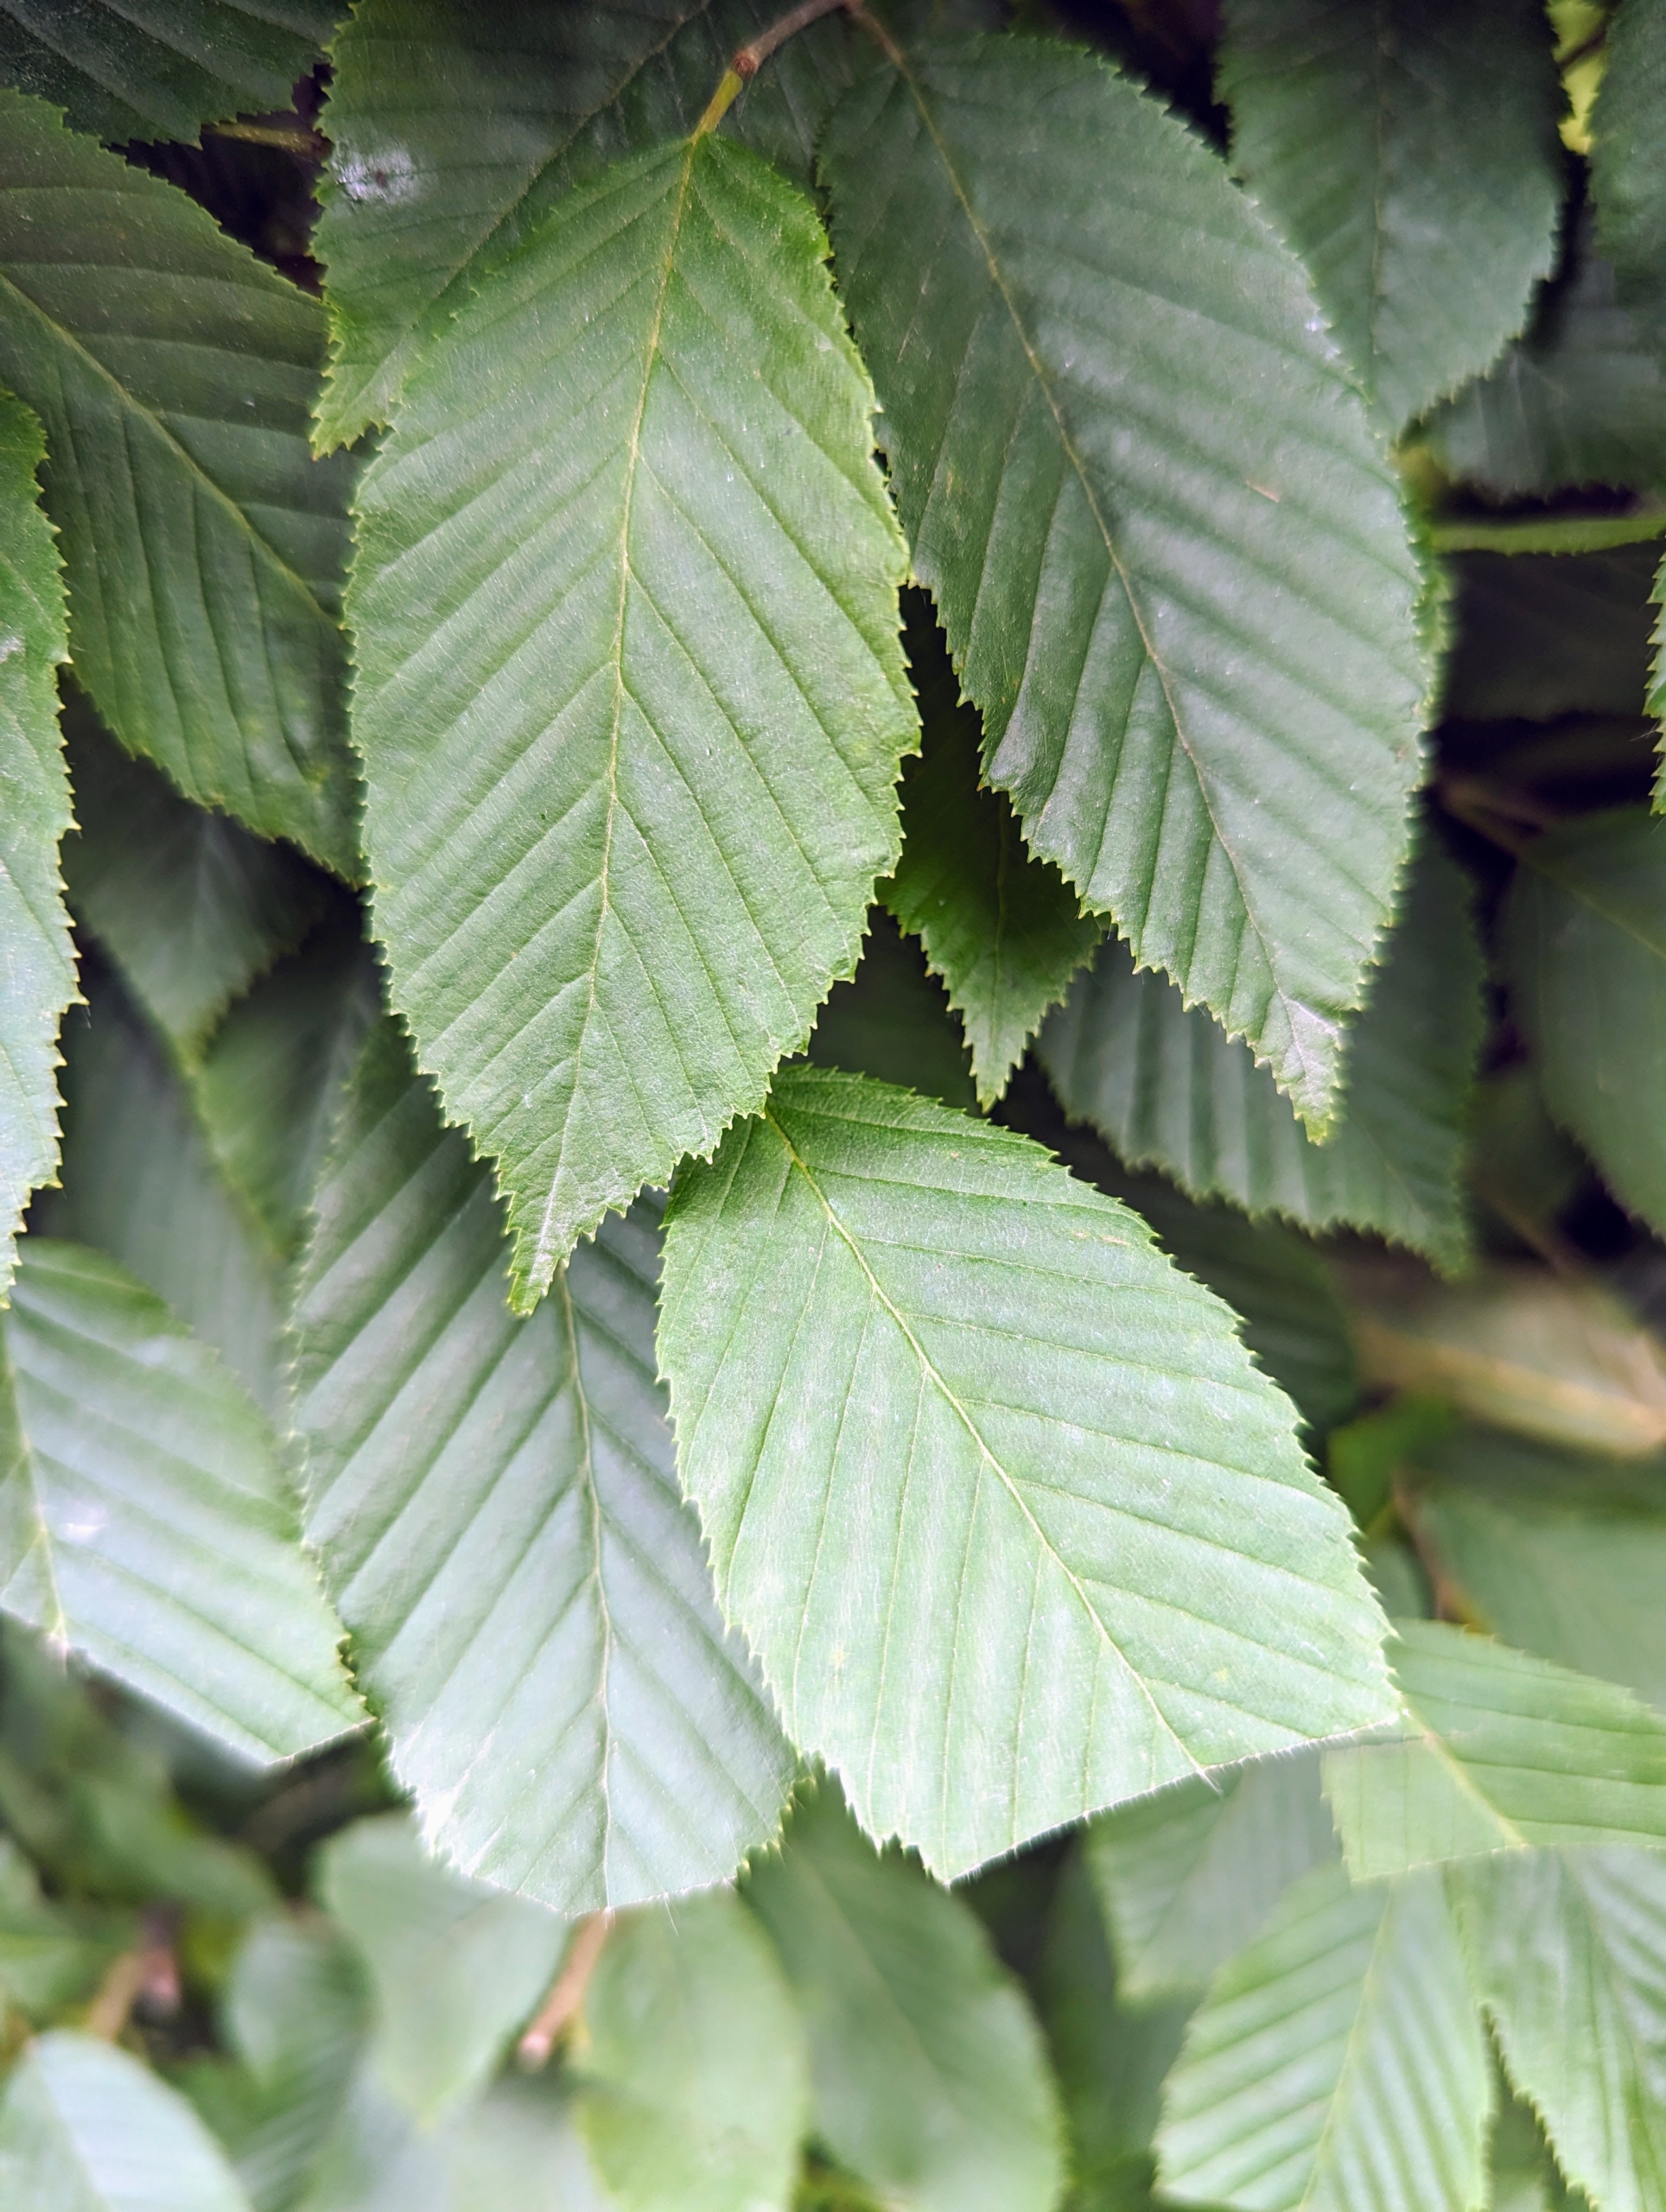
I prefer this method of trimming because the cuts are very clean and smooth when done by hand. The English hornbeam is related to the beech tree, with a similar leaf shape. On the hornbeam, the leaves are actually smaller and more deeply furrowed than beech leaves. They become golden yellow to orange before falling in autumn.
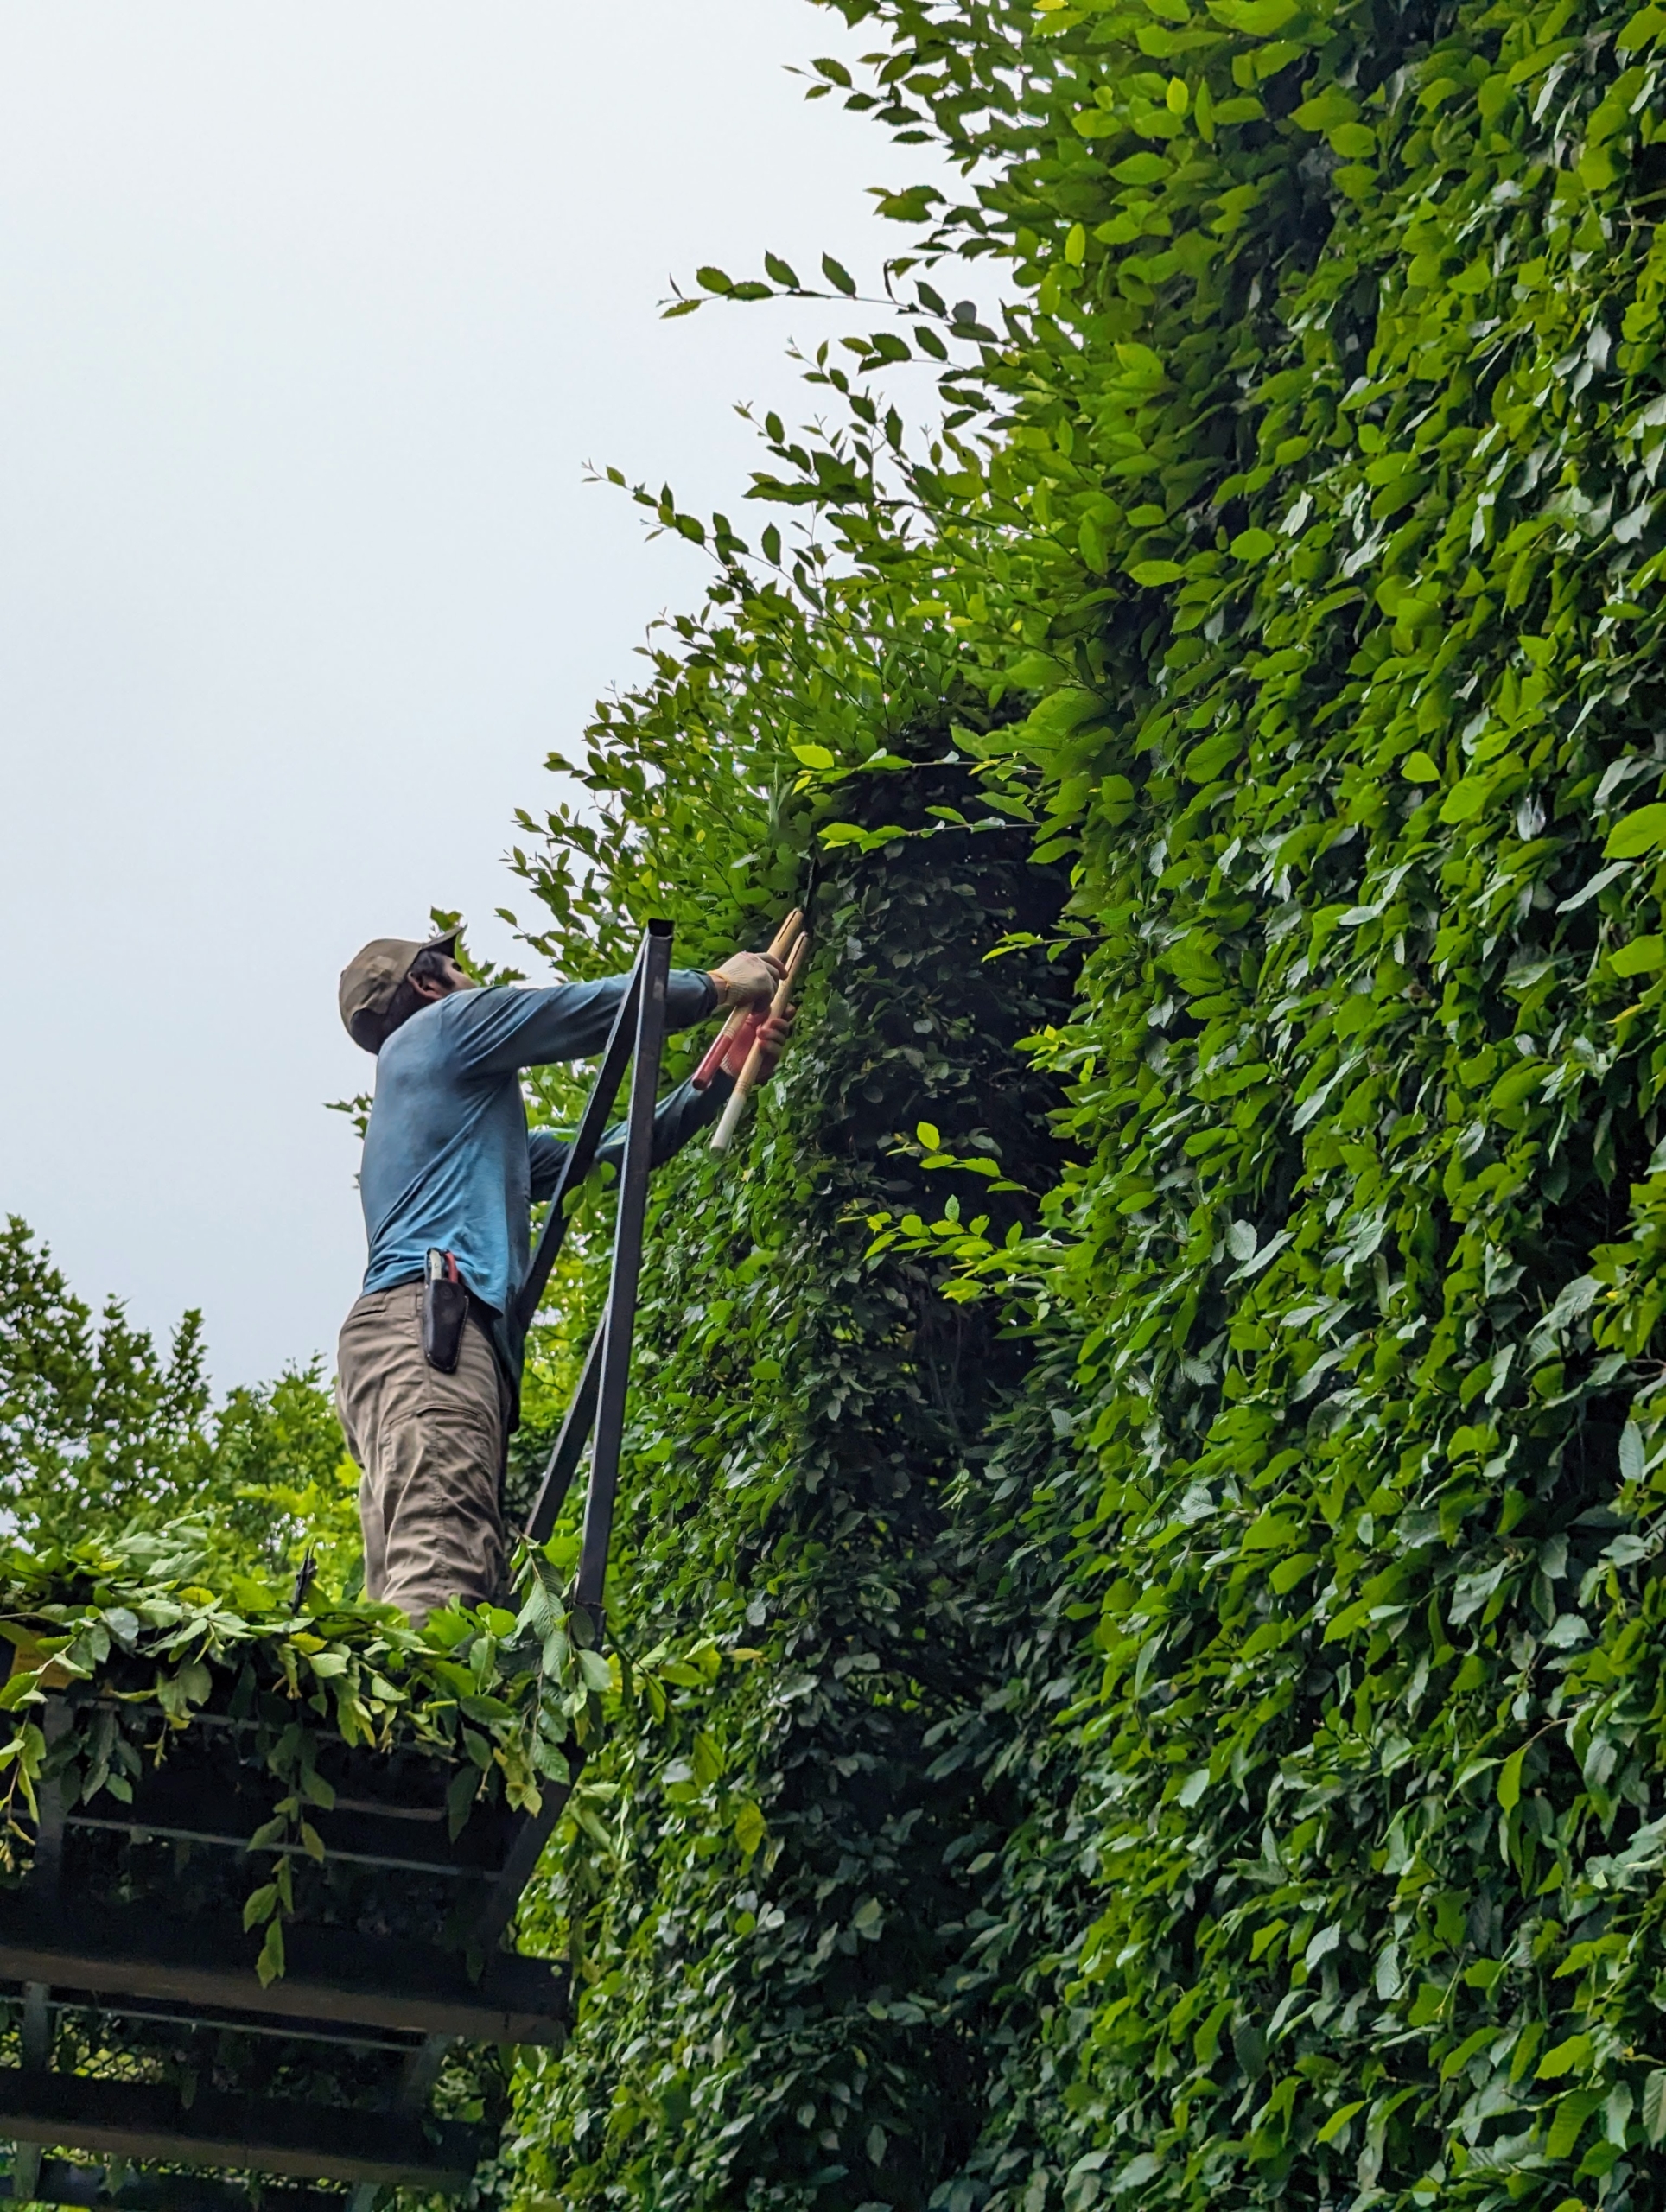
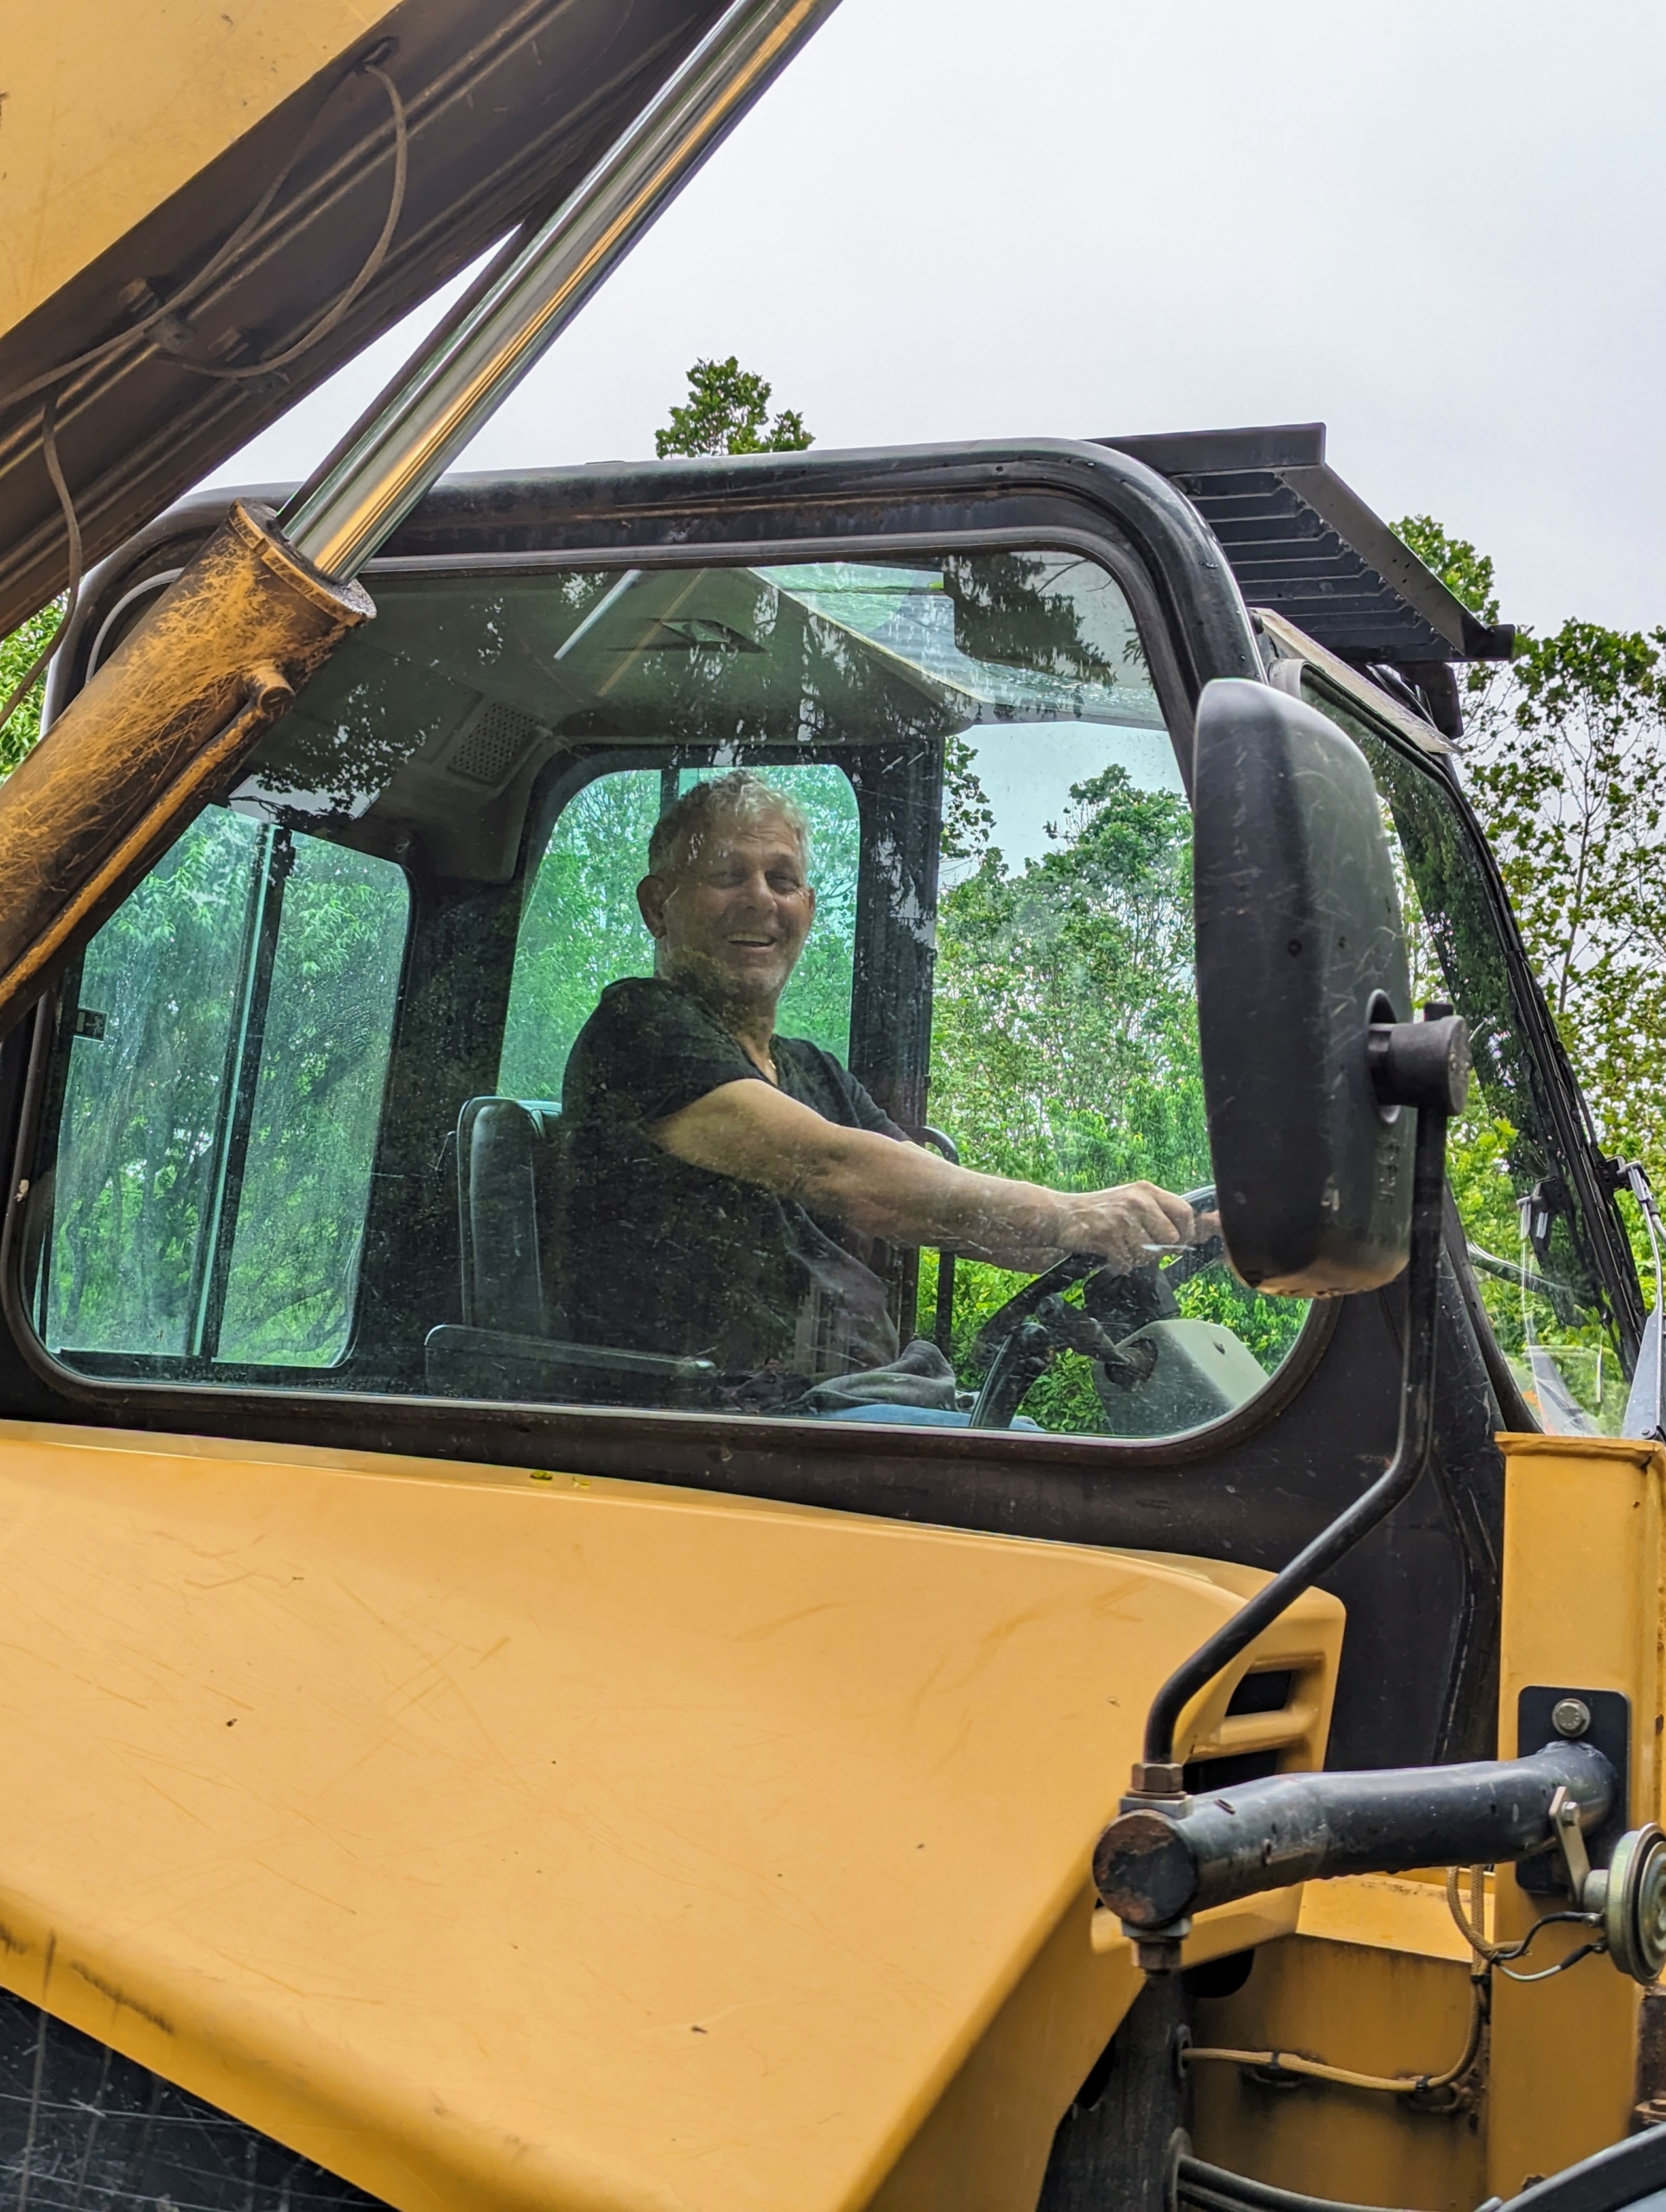
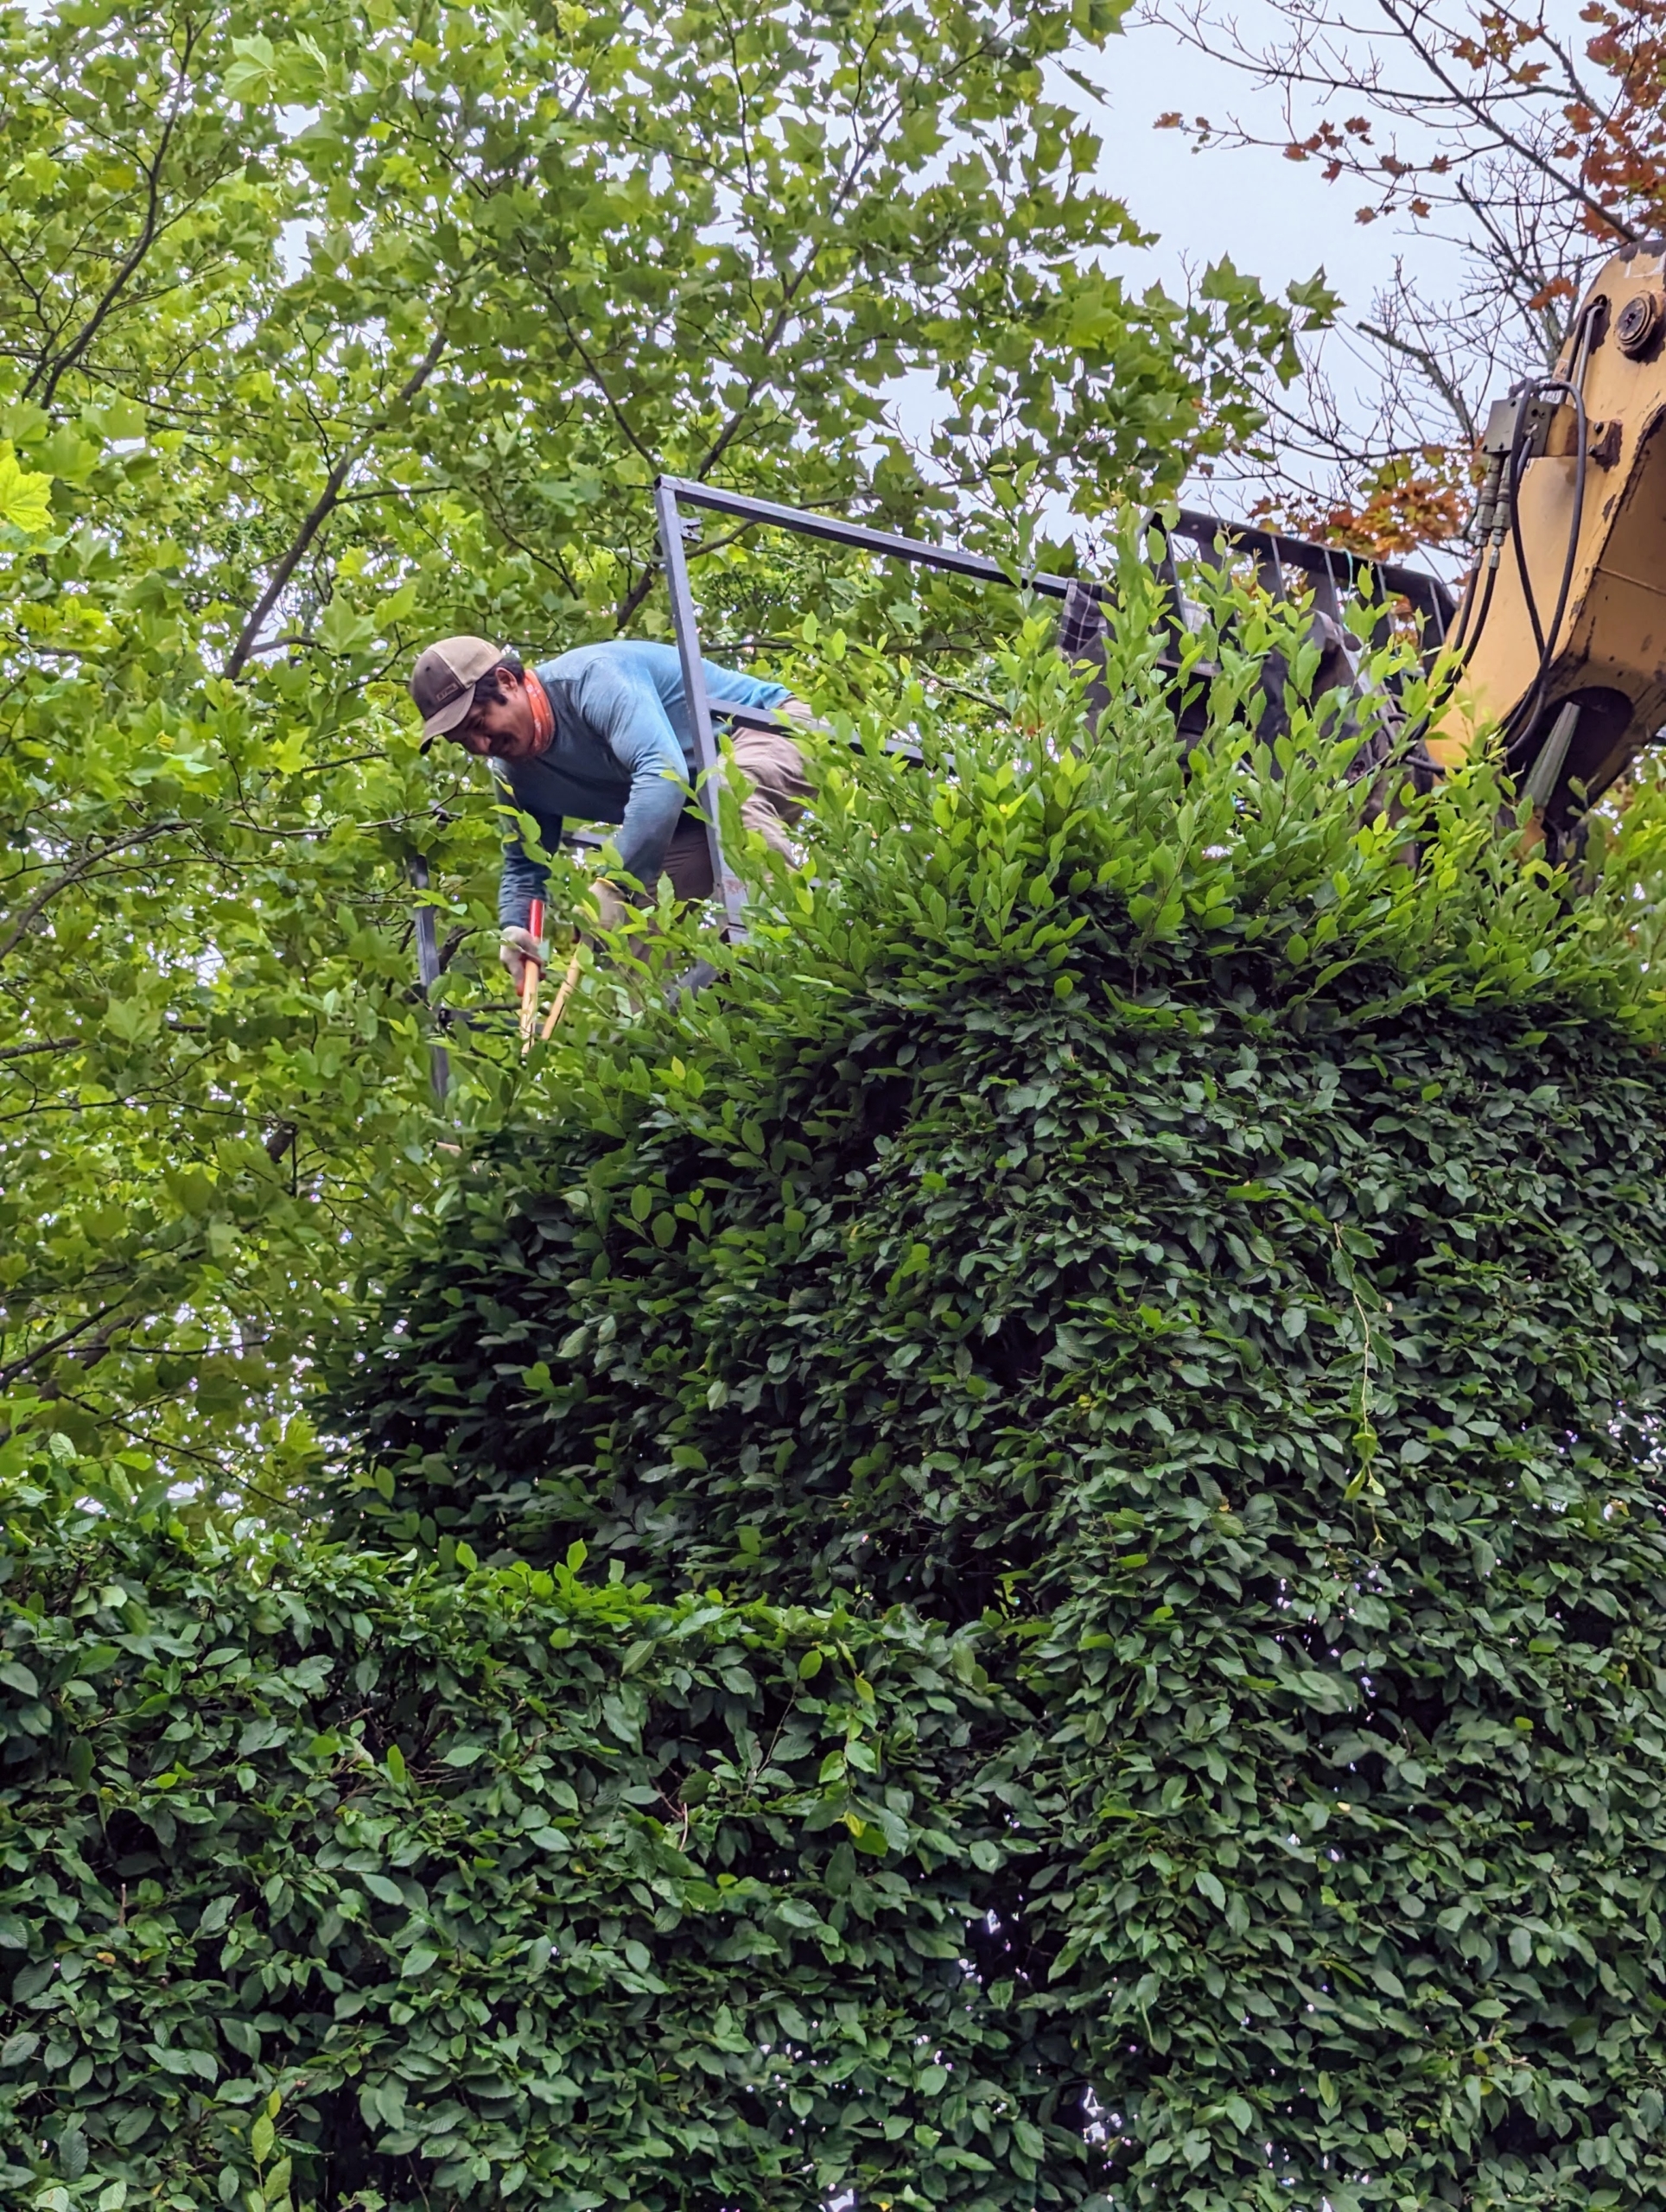
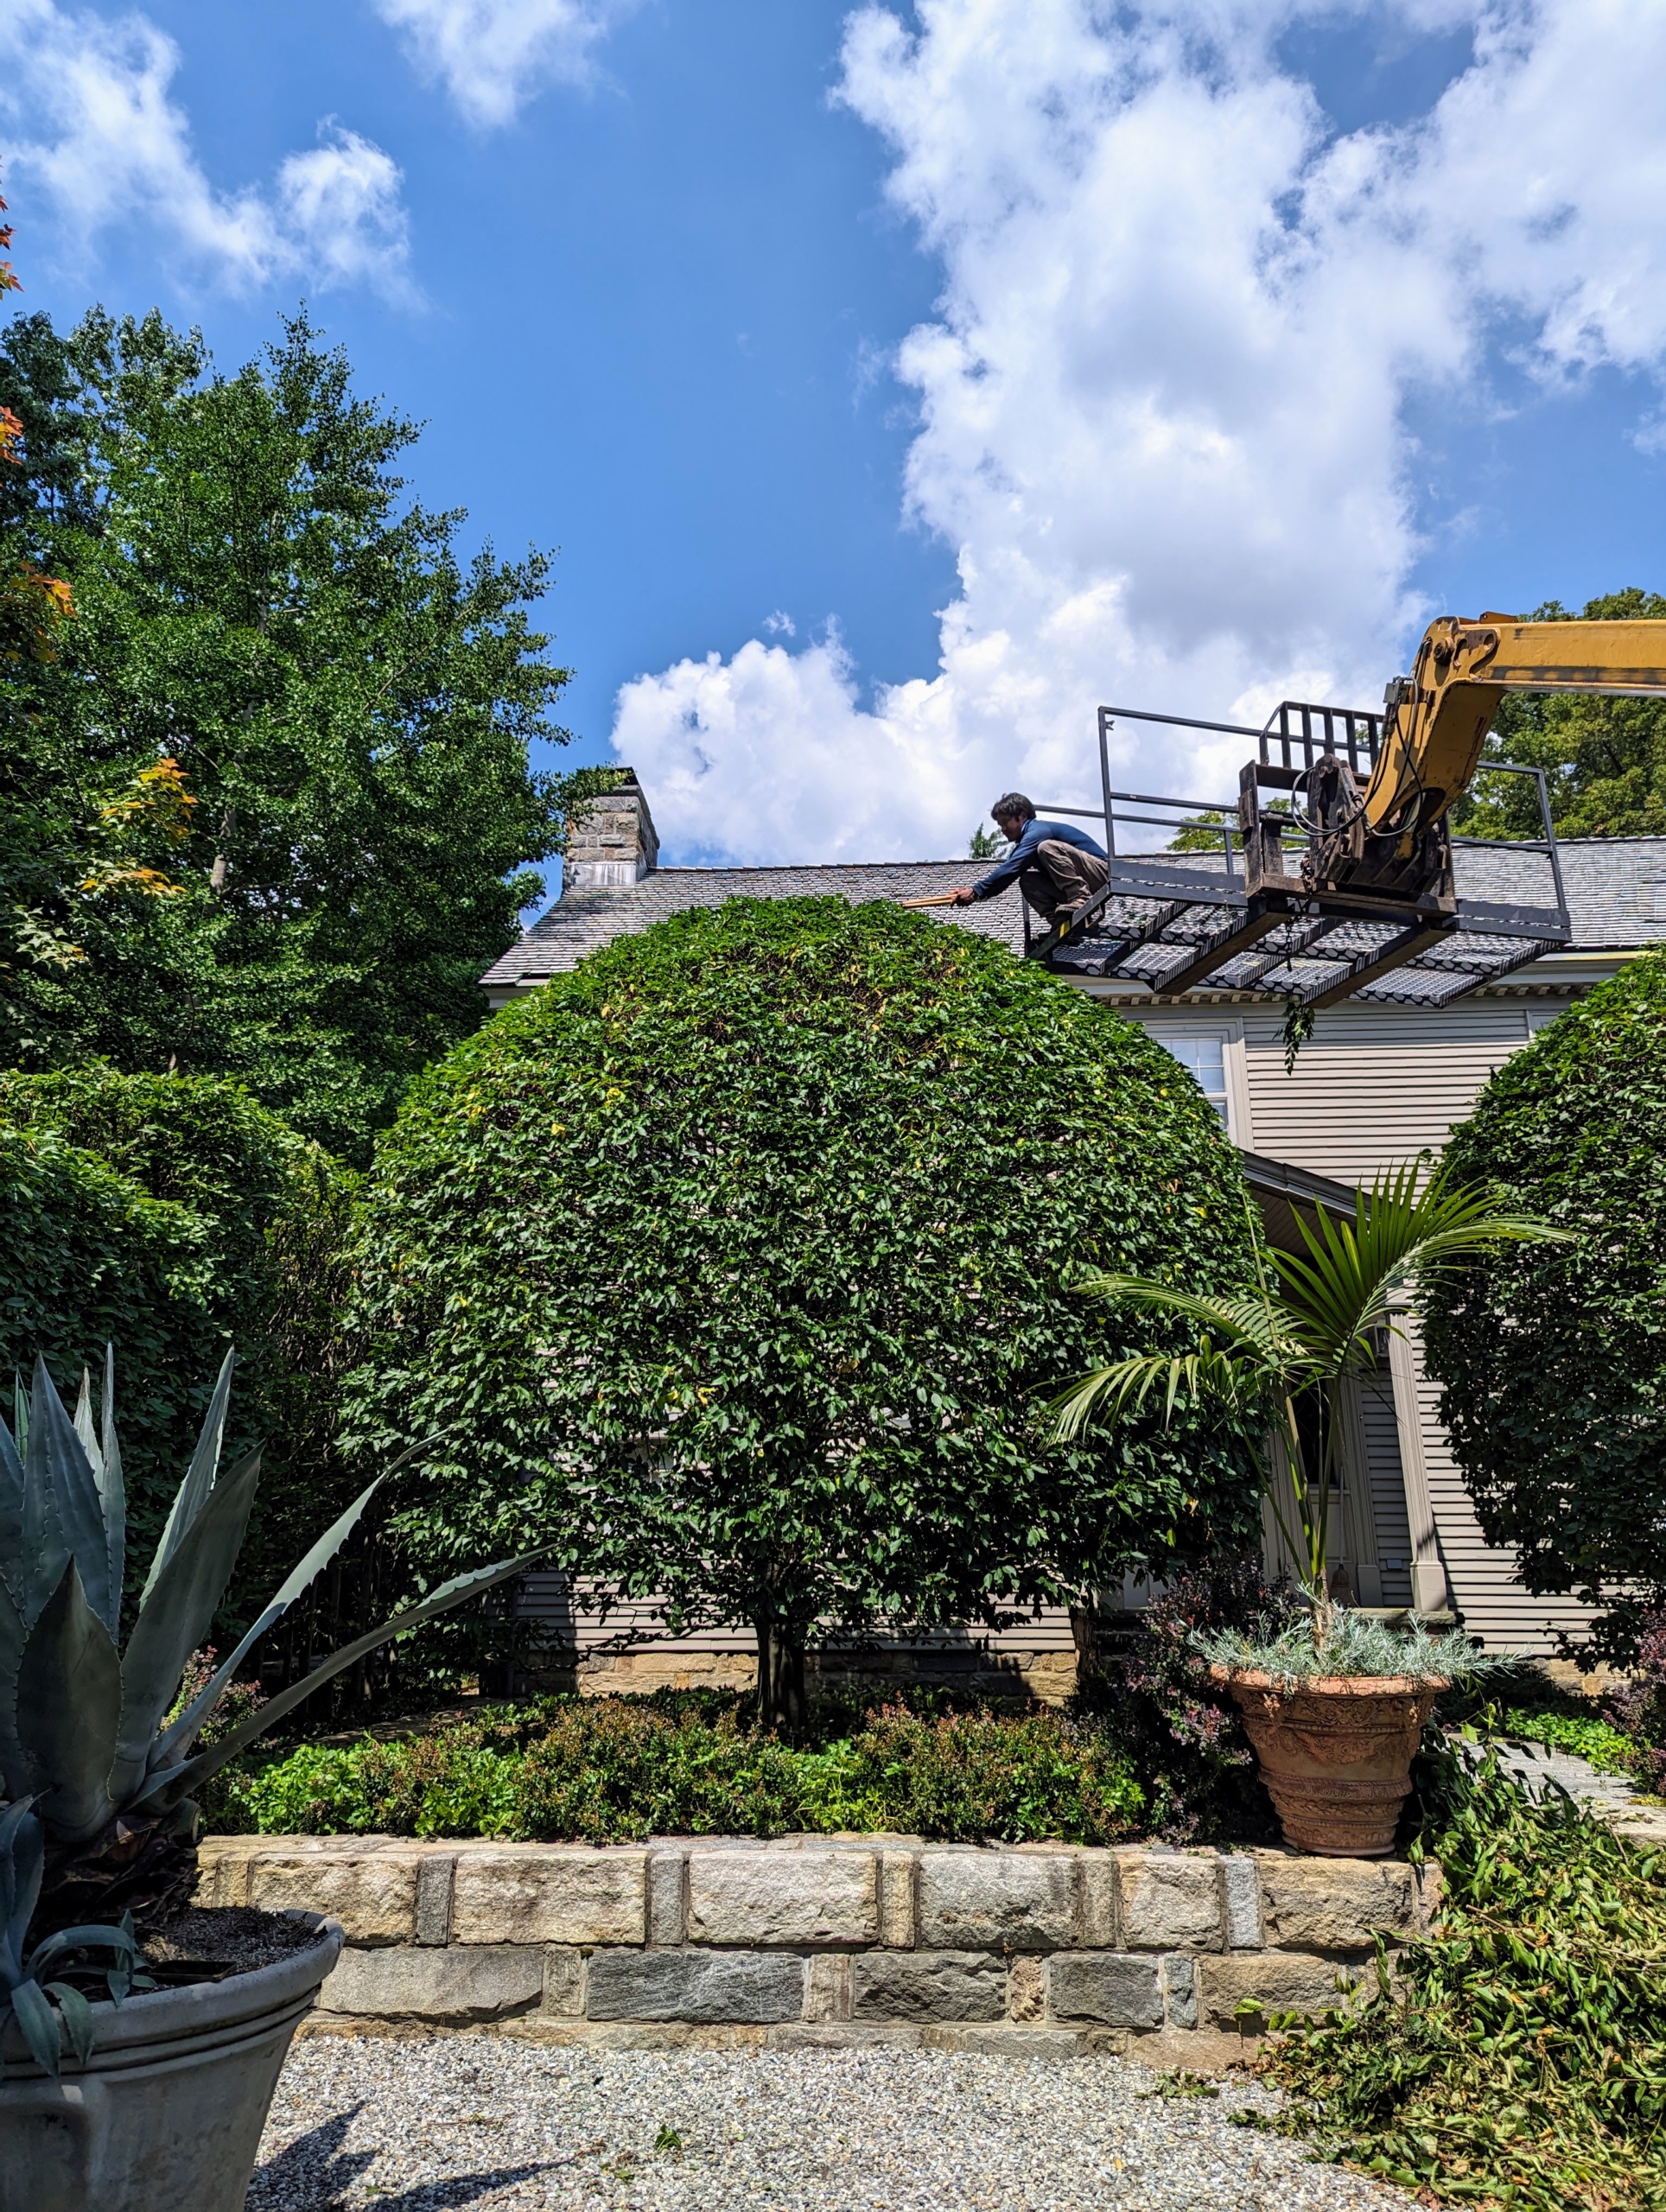
When pruning, Pasang keeps the shears close to shoulder level. This allows the best control. He also holds the shears closer to the base of the blades. Here he is working by hand on the upper sections from our trusted Hi-Lo. It is more time consuming to prune the hedge this way, but it is also more exact, and that’s important when sculpting formal hedges.
Pasang is carried from section to section very carefully. This is also a good time for him to assess his pruning from another angle, and to decide where adjustments are needed.
Down below, Fernando sits in the Hi-Lo ready to move Pasang safely from place to place. The Hi-Lo is very useful, and because the hedge is accessible from the parking lot, it always comes in handy for this task.
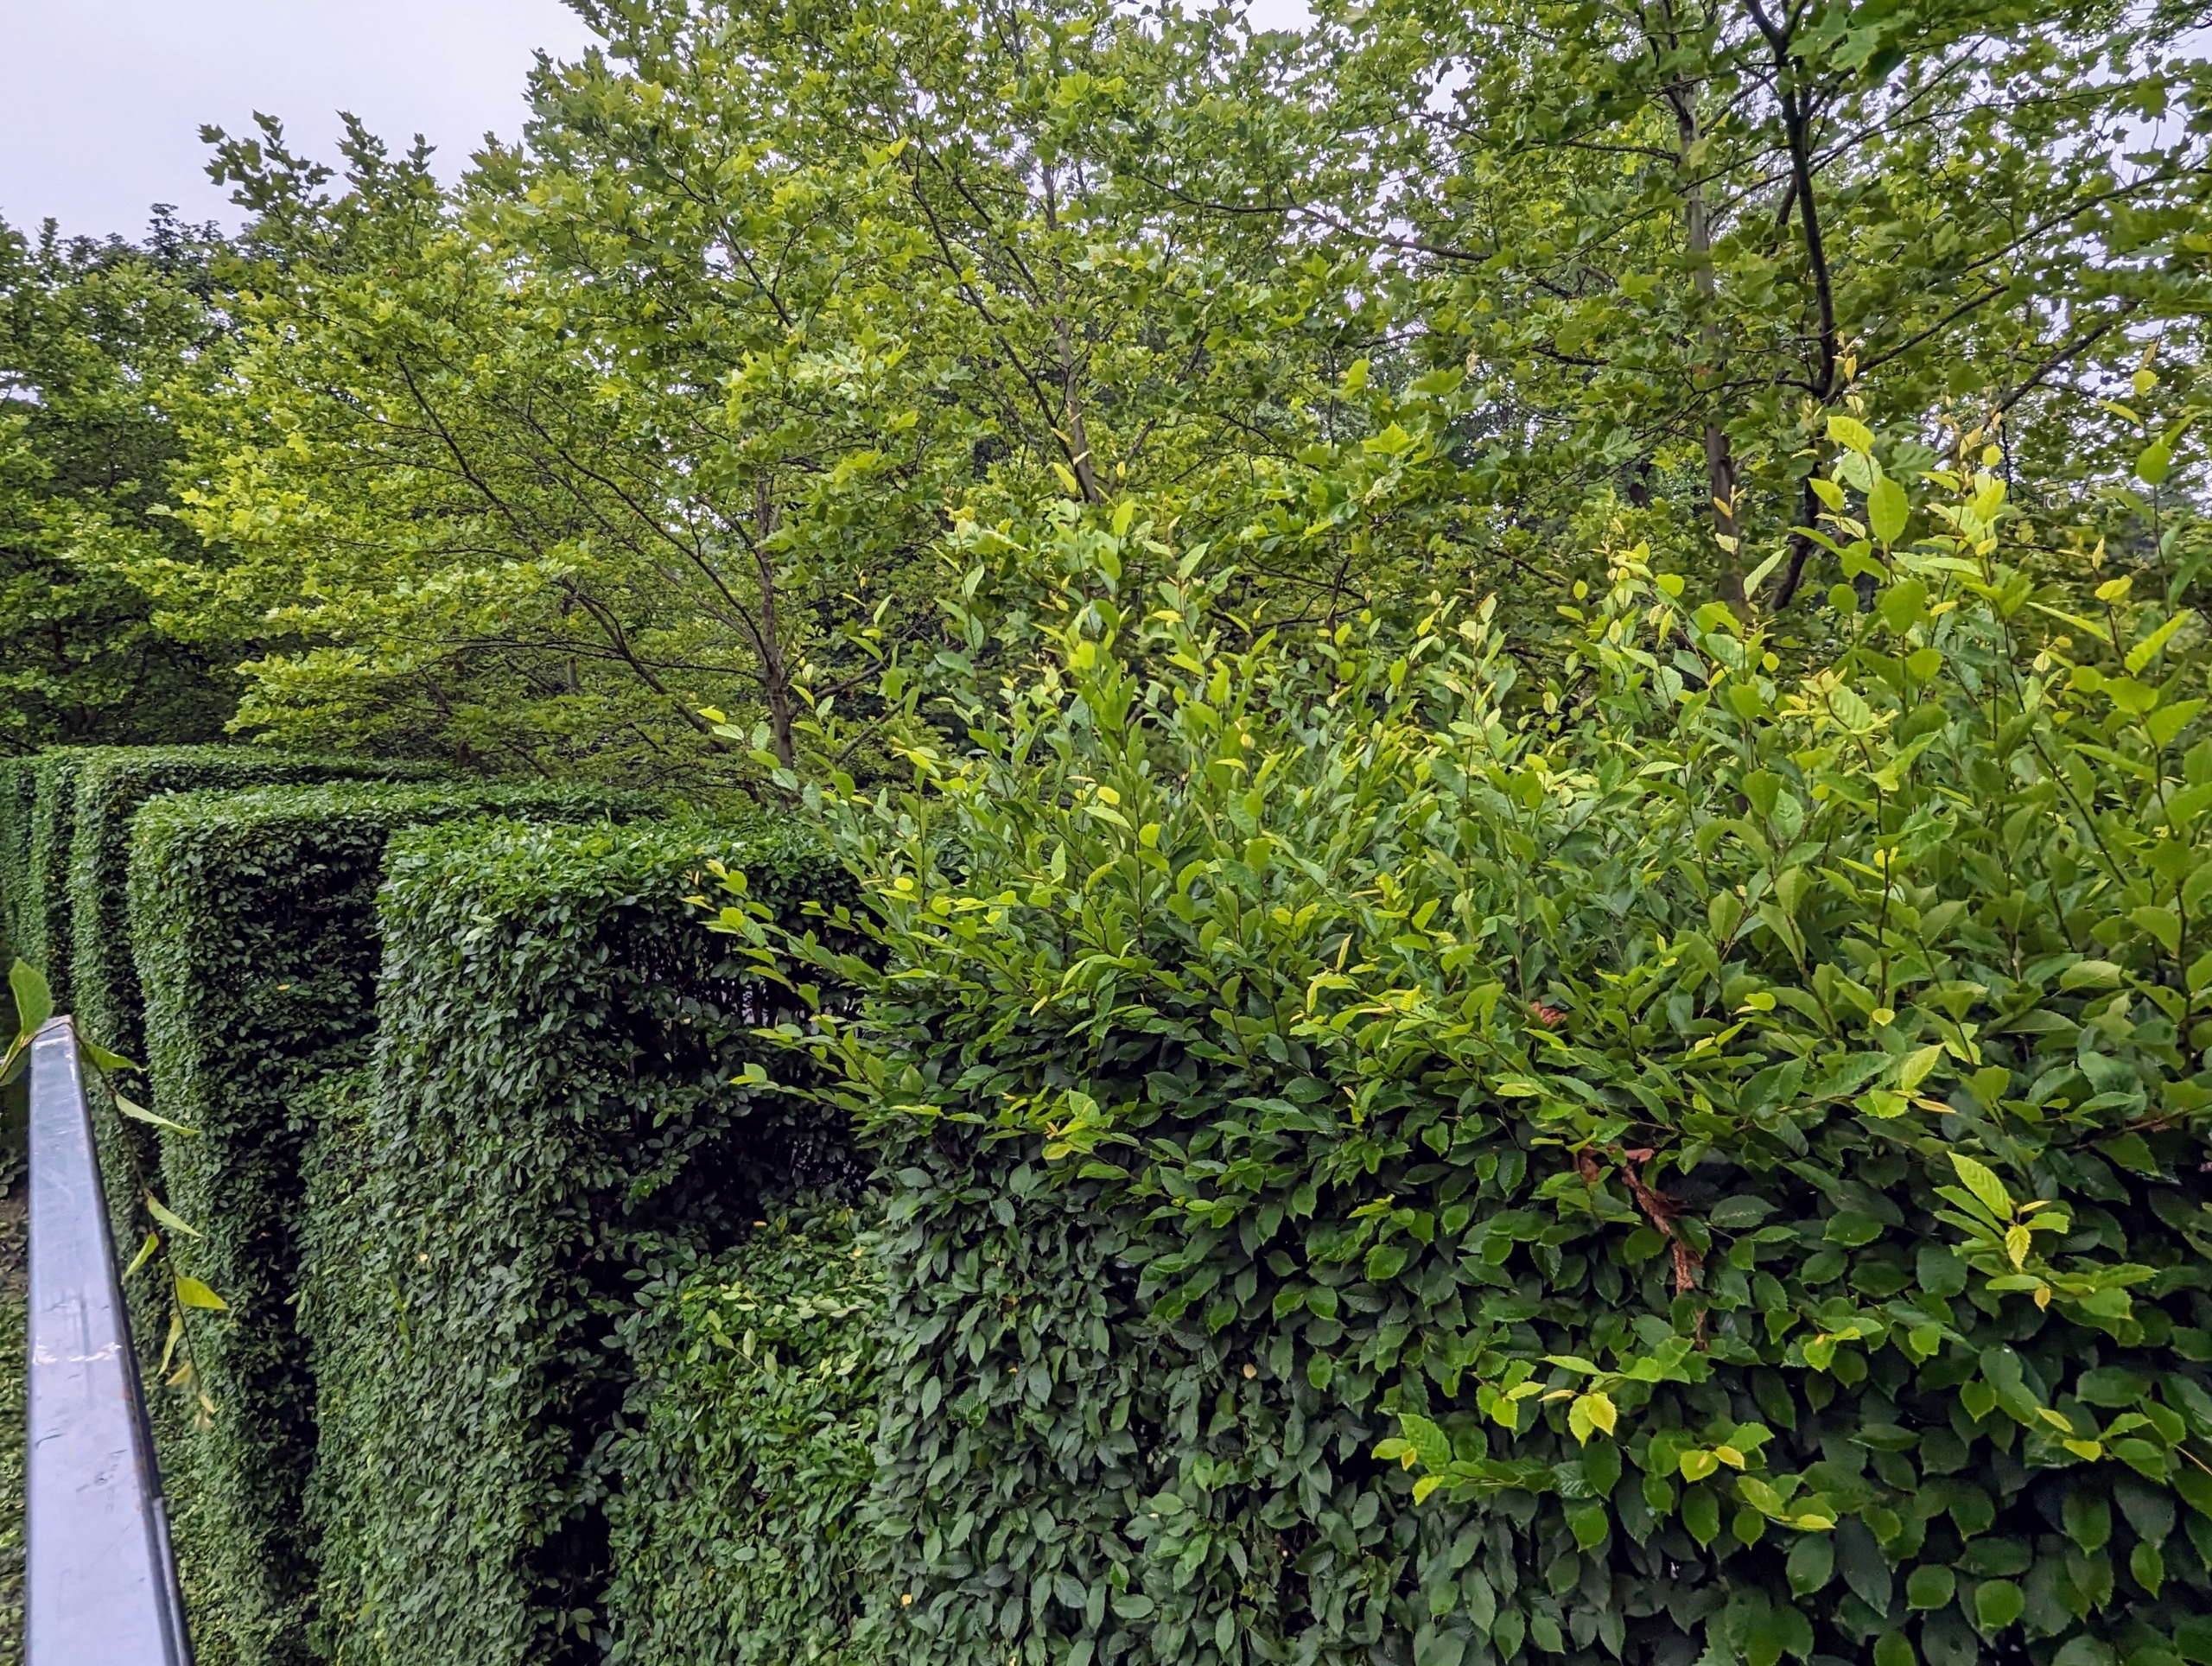
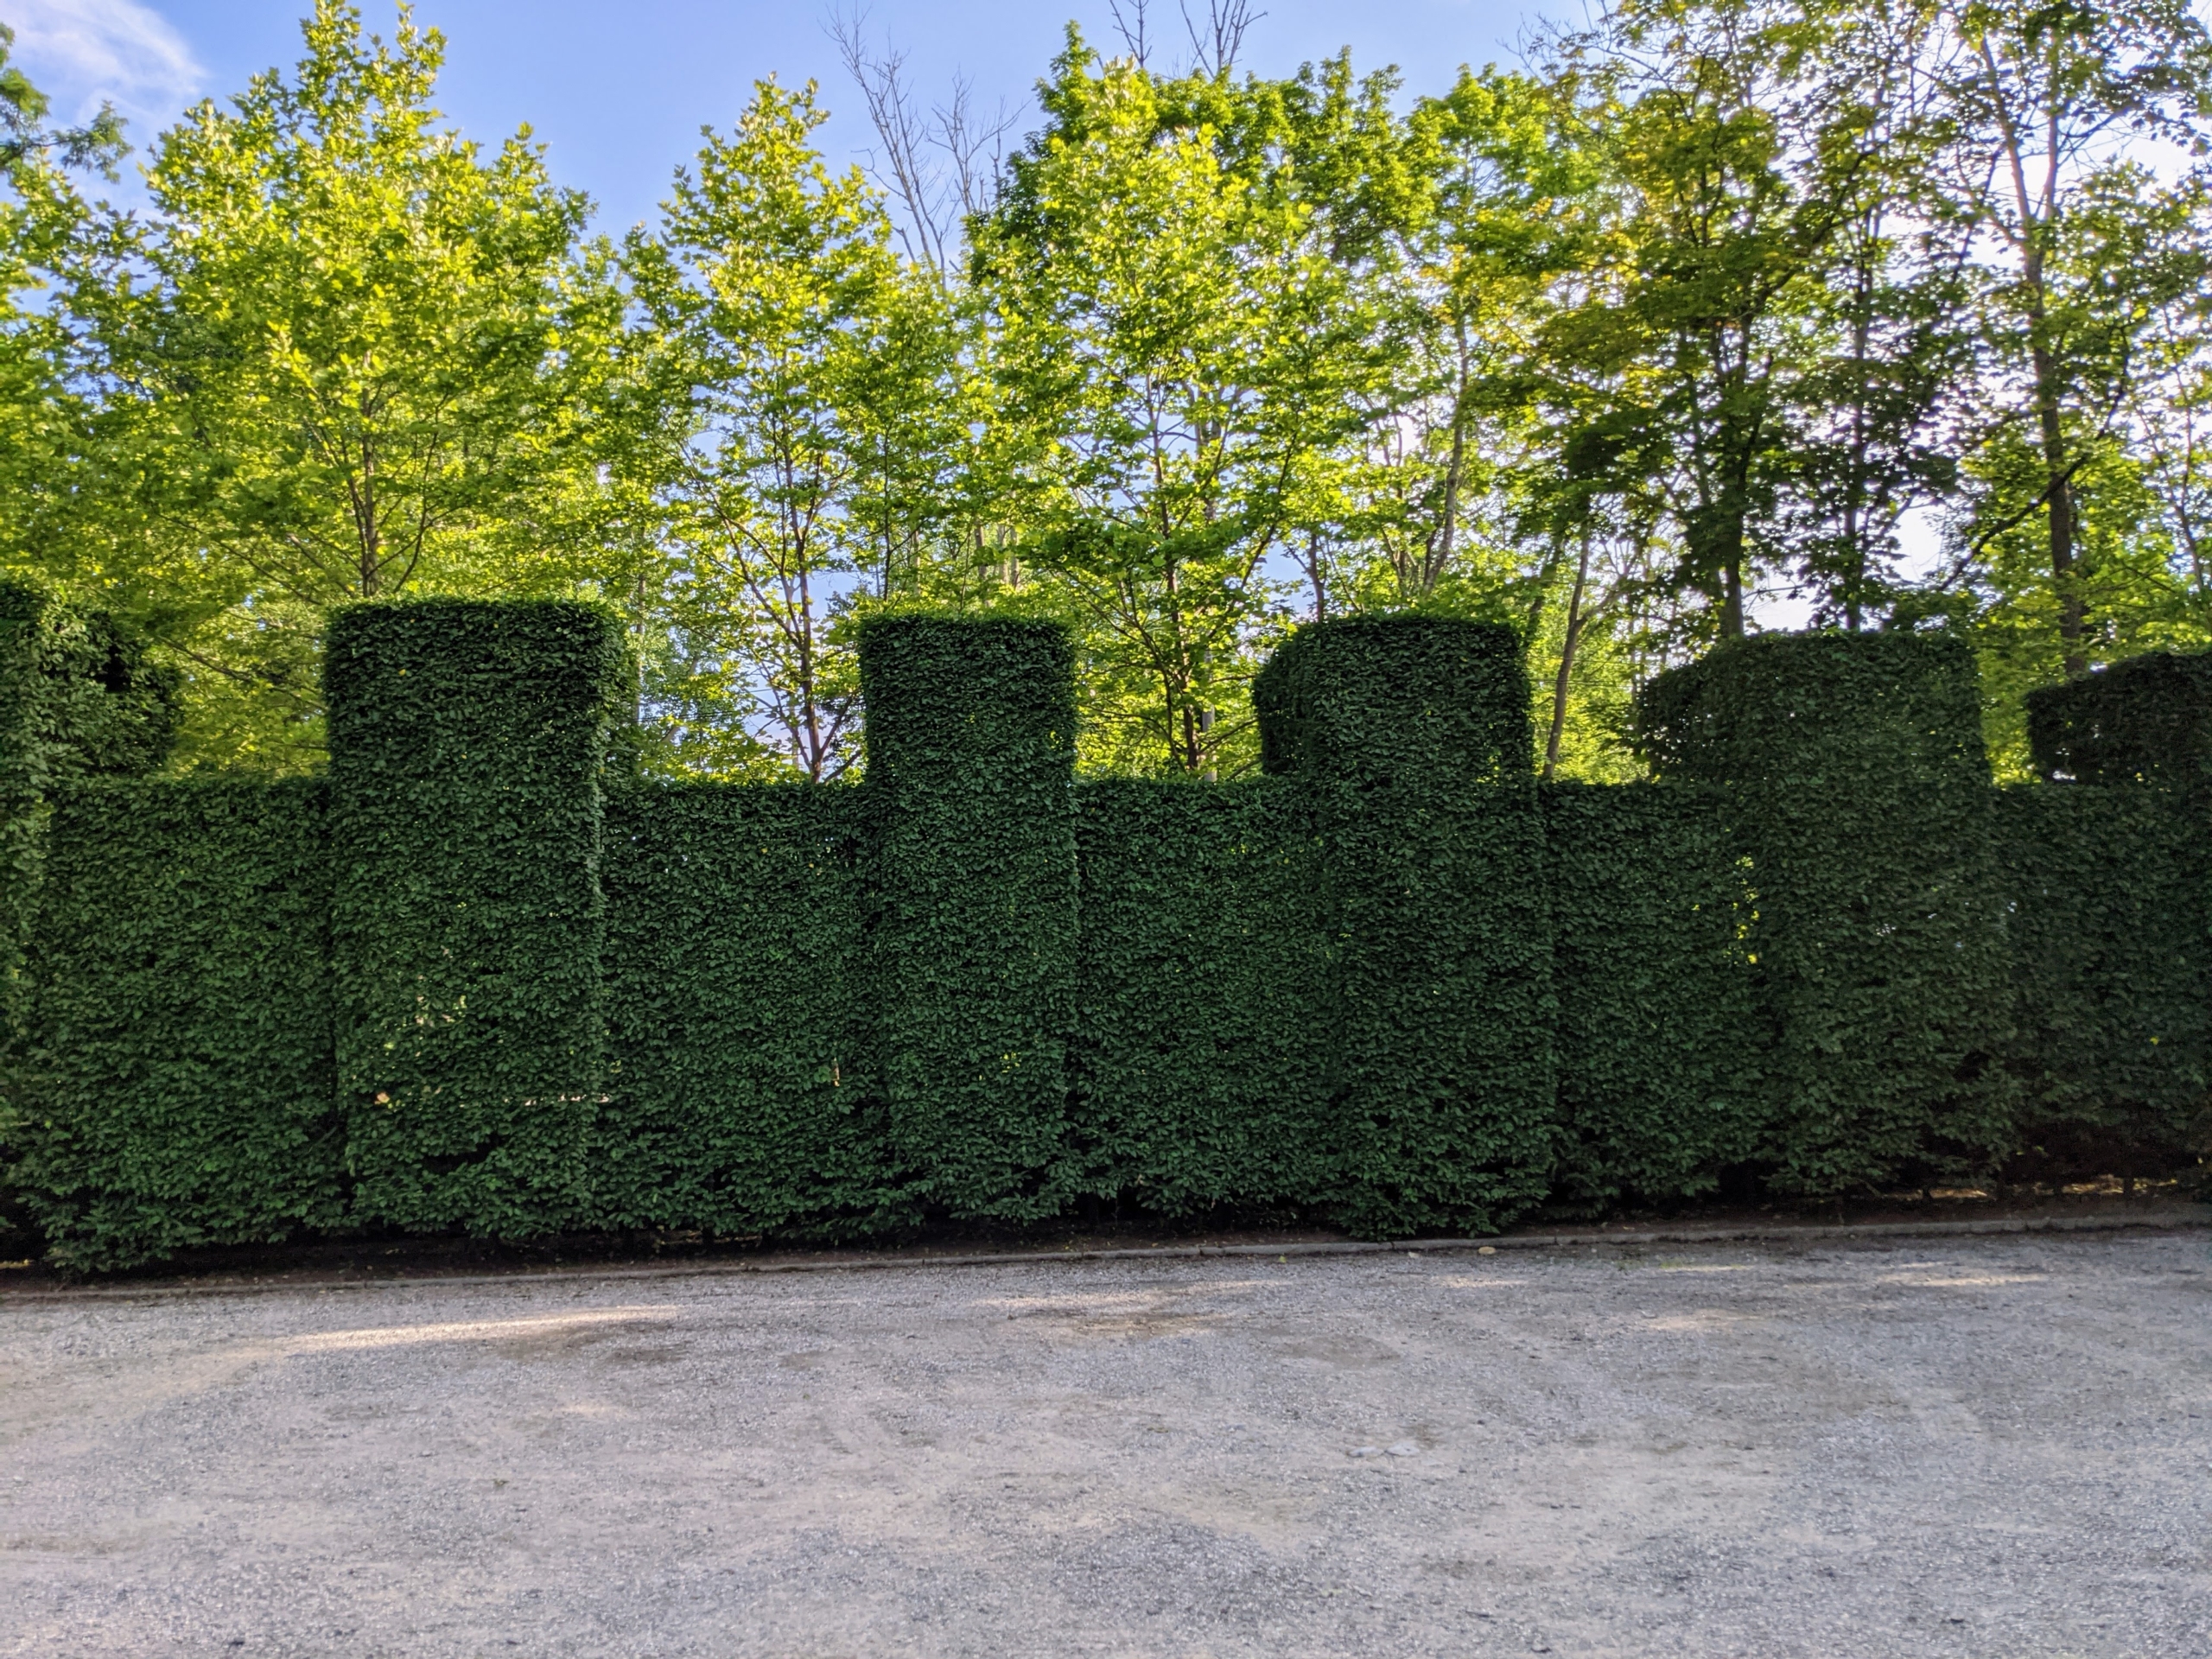
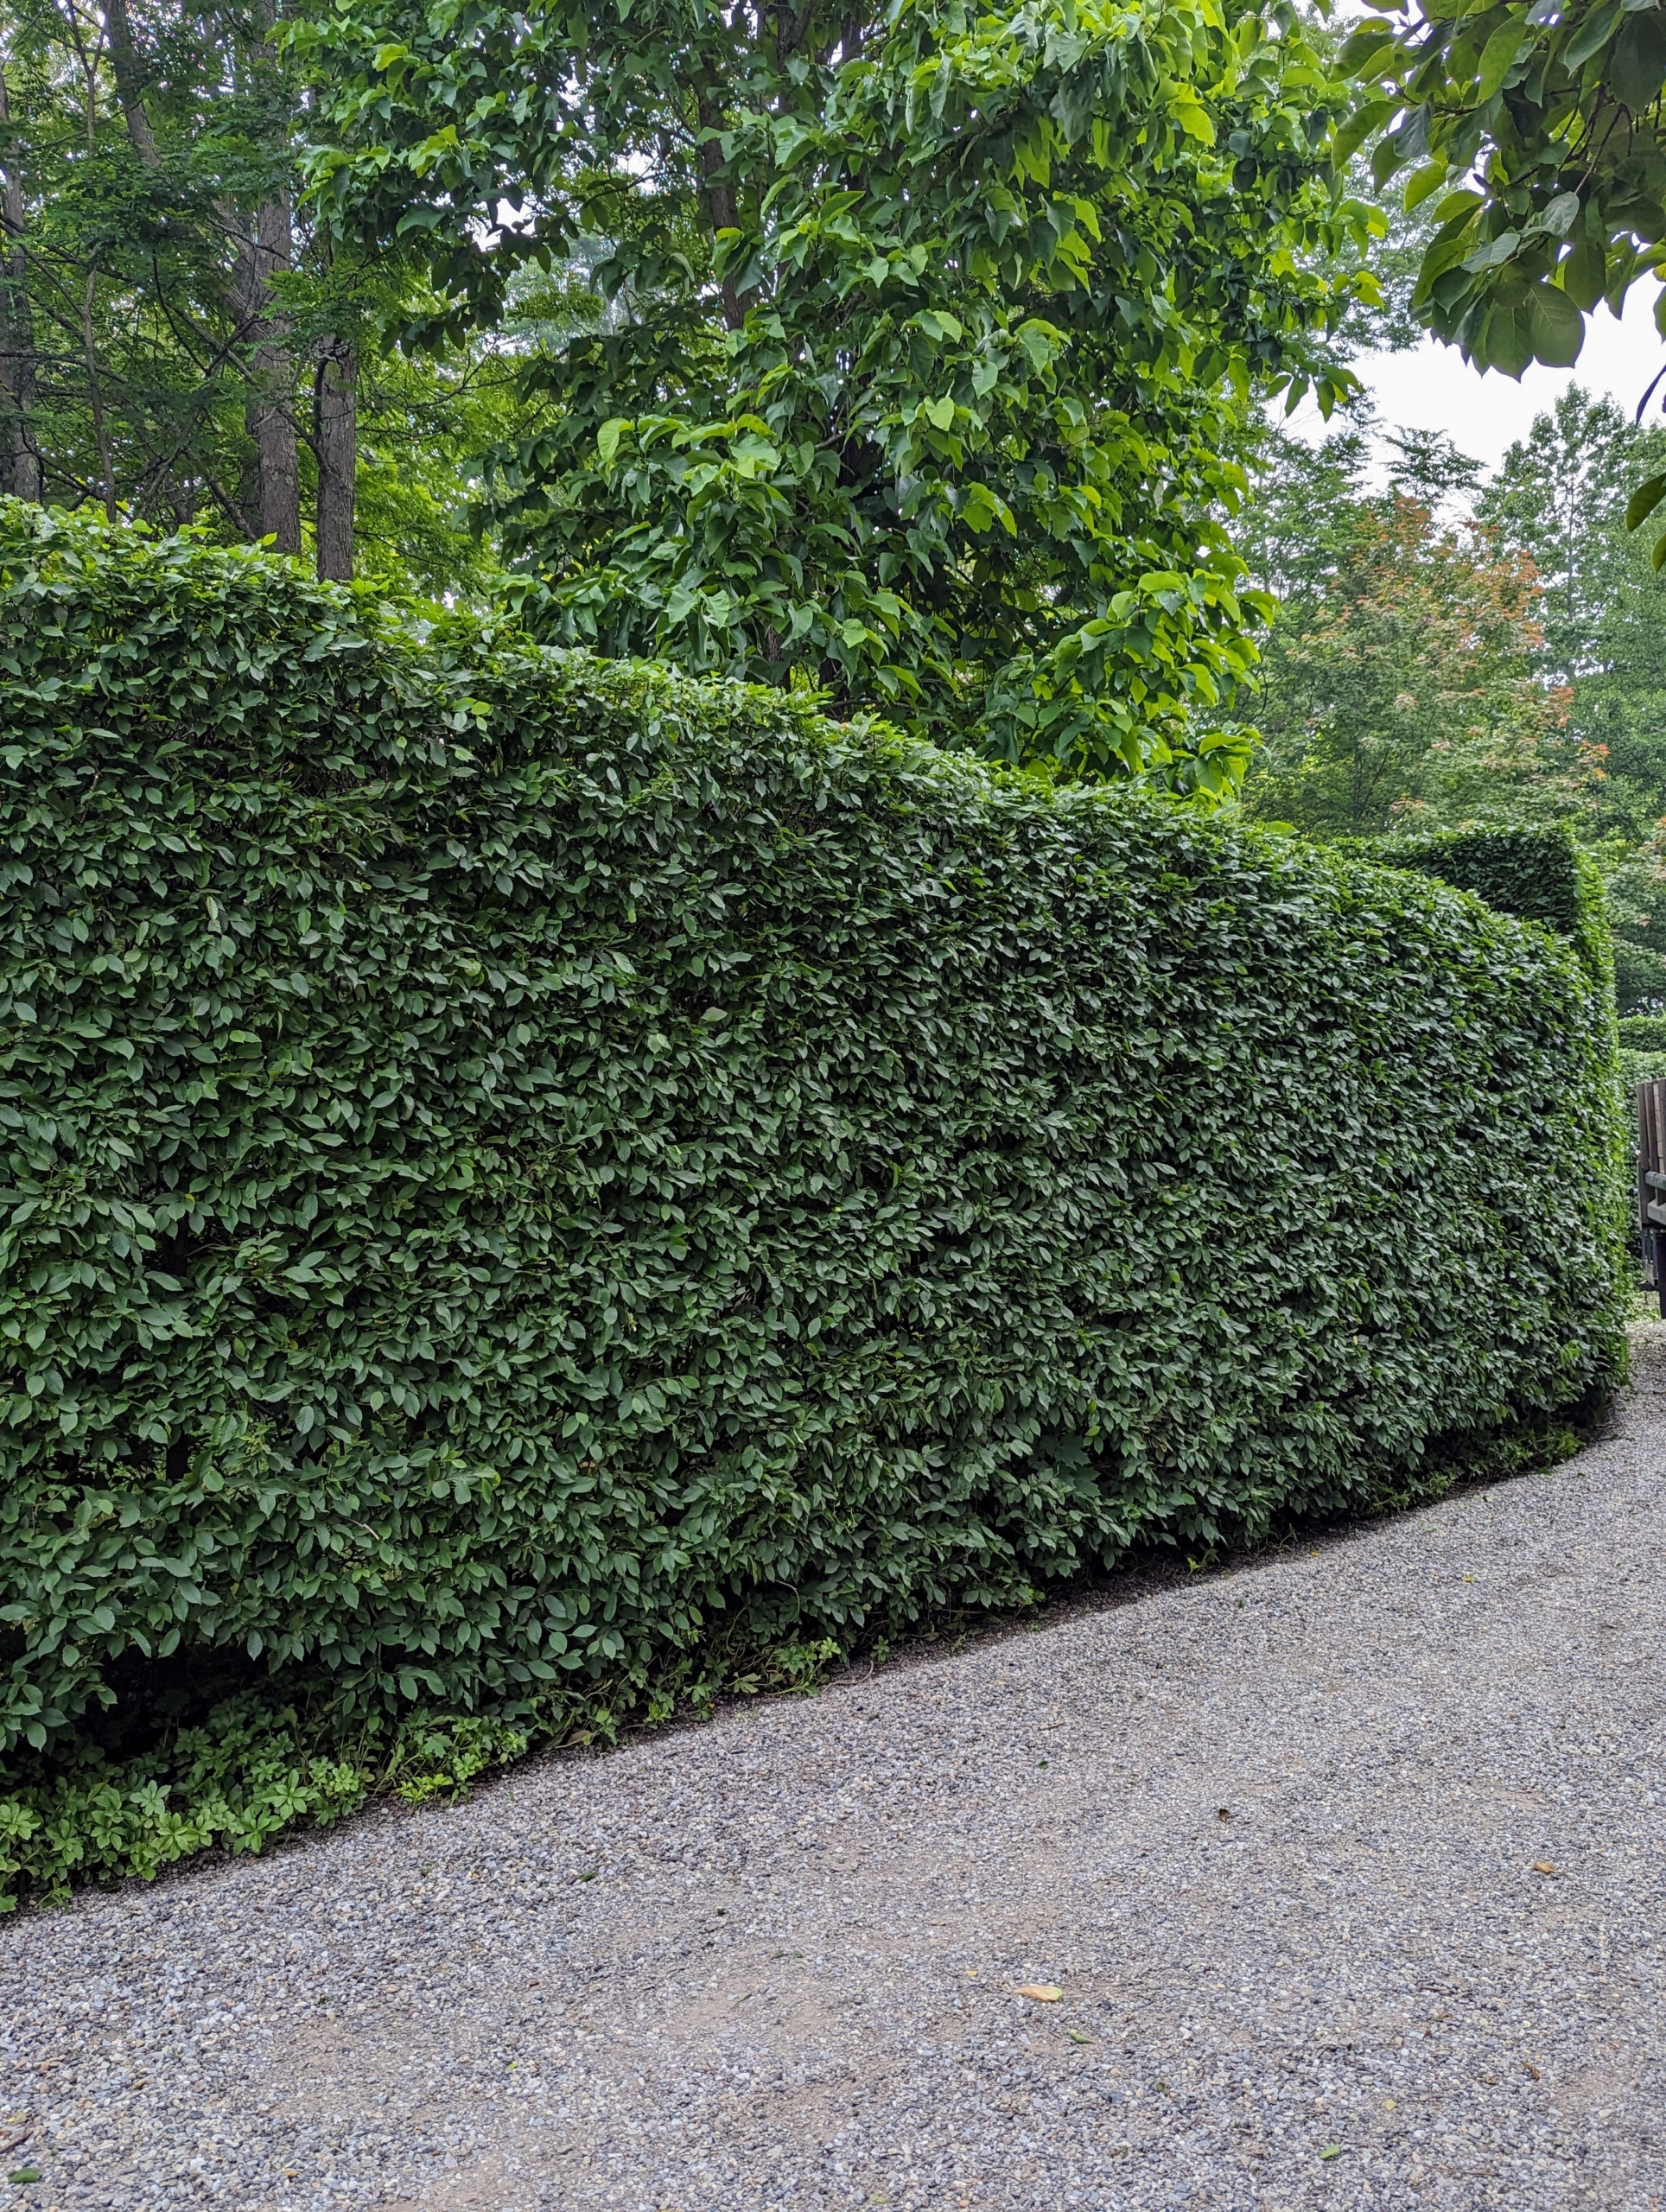
On the left is what Pasang has completed. On the right is what he still has left to do. It’s a big difference, but this shows the growth from the past year. These hornbeams are so healthy and lush.
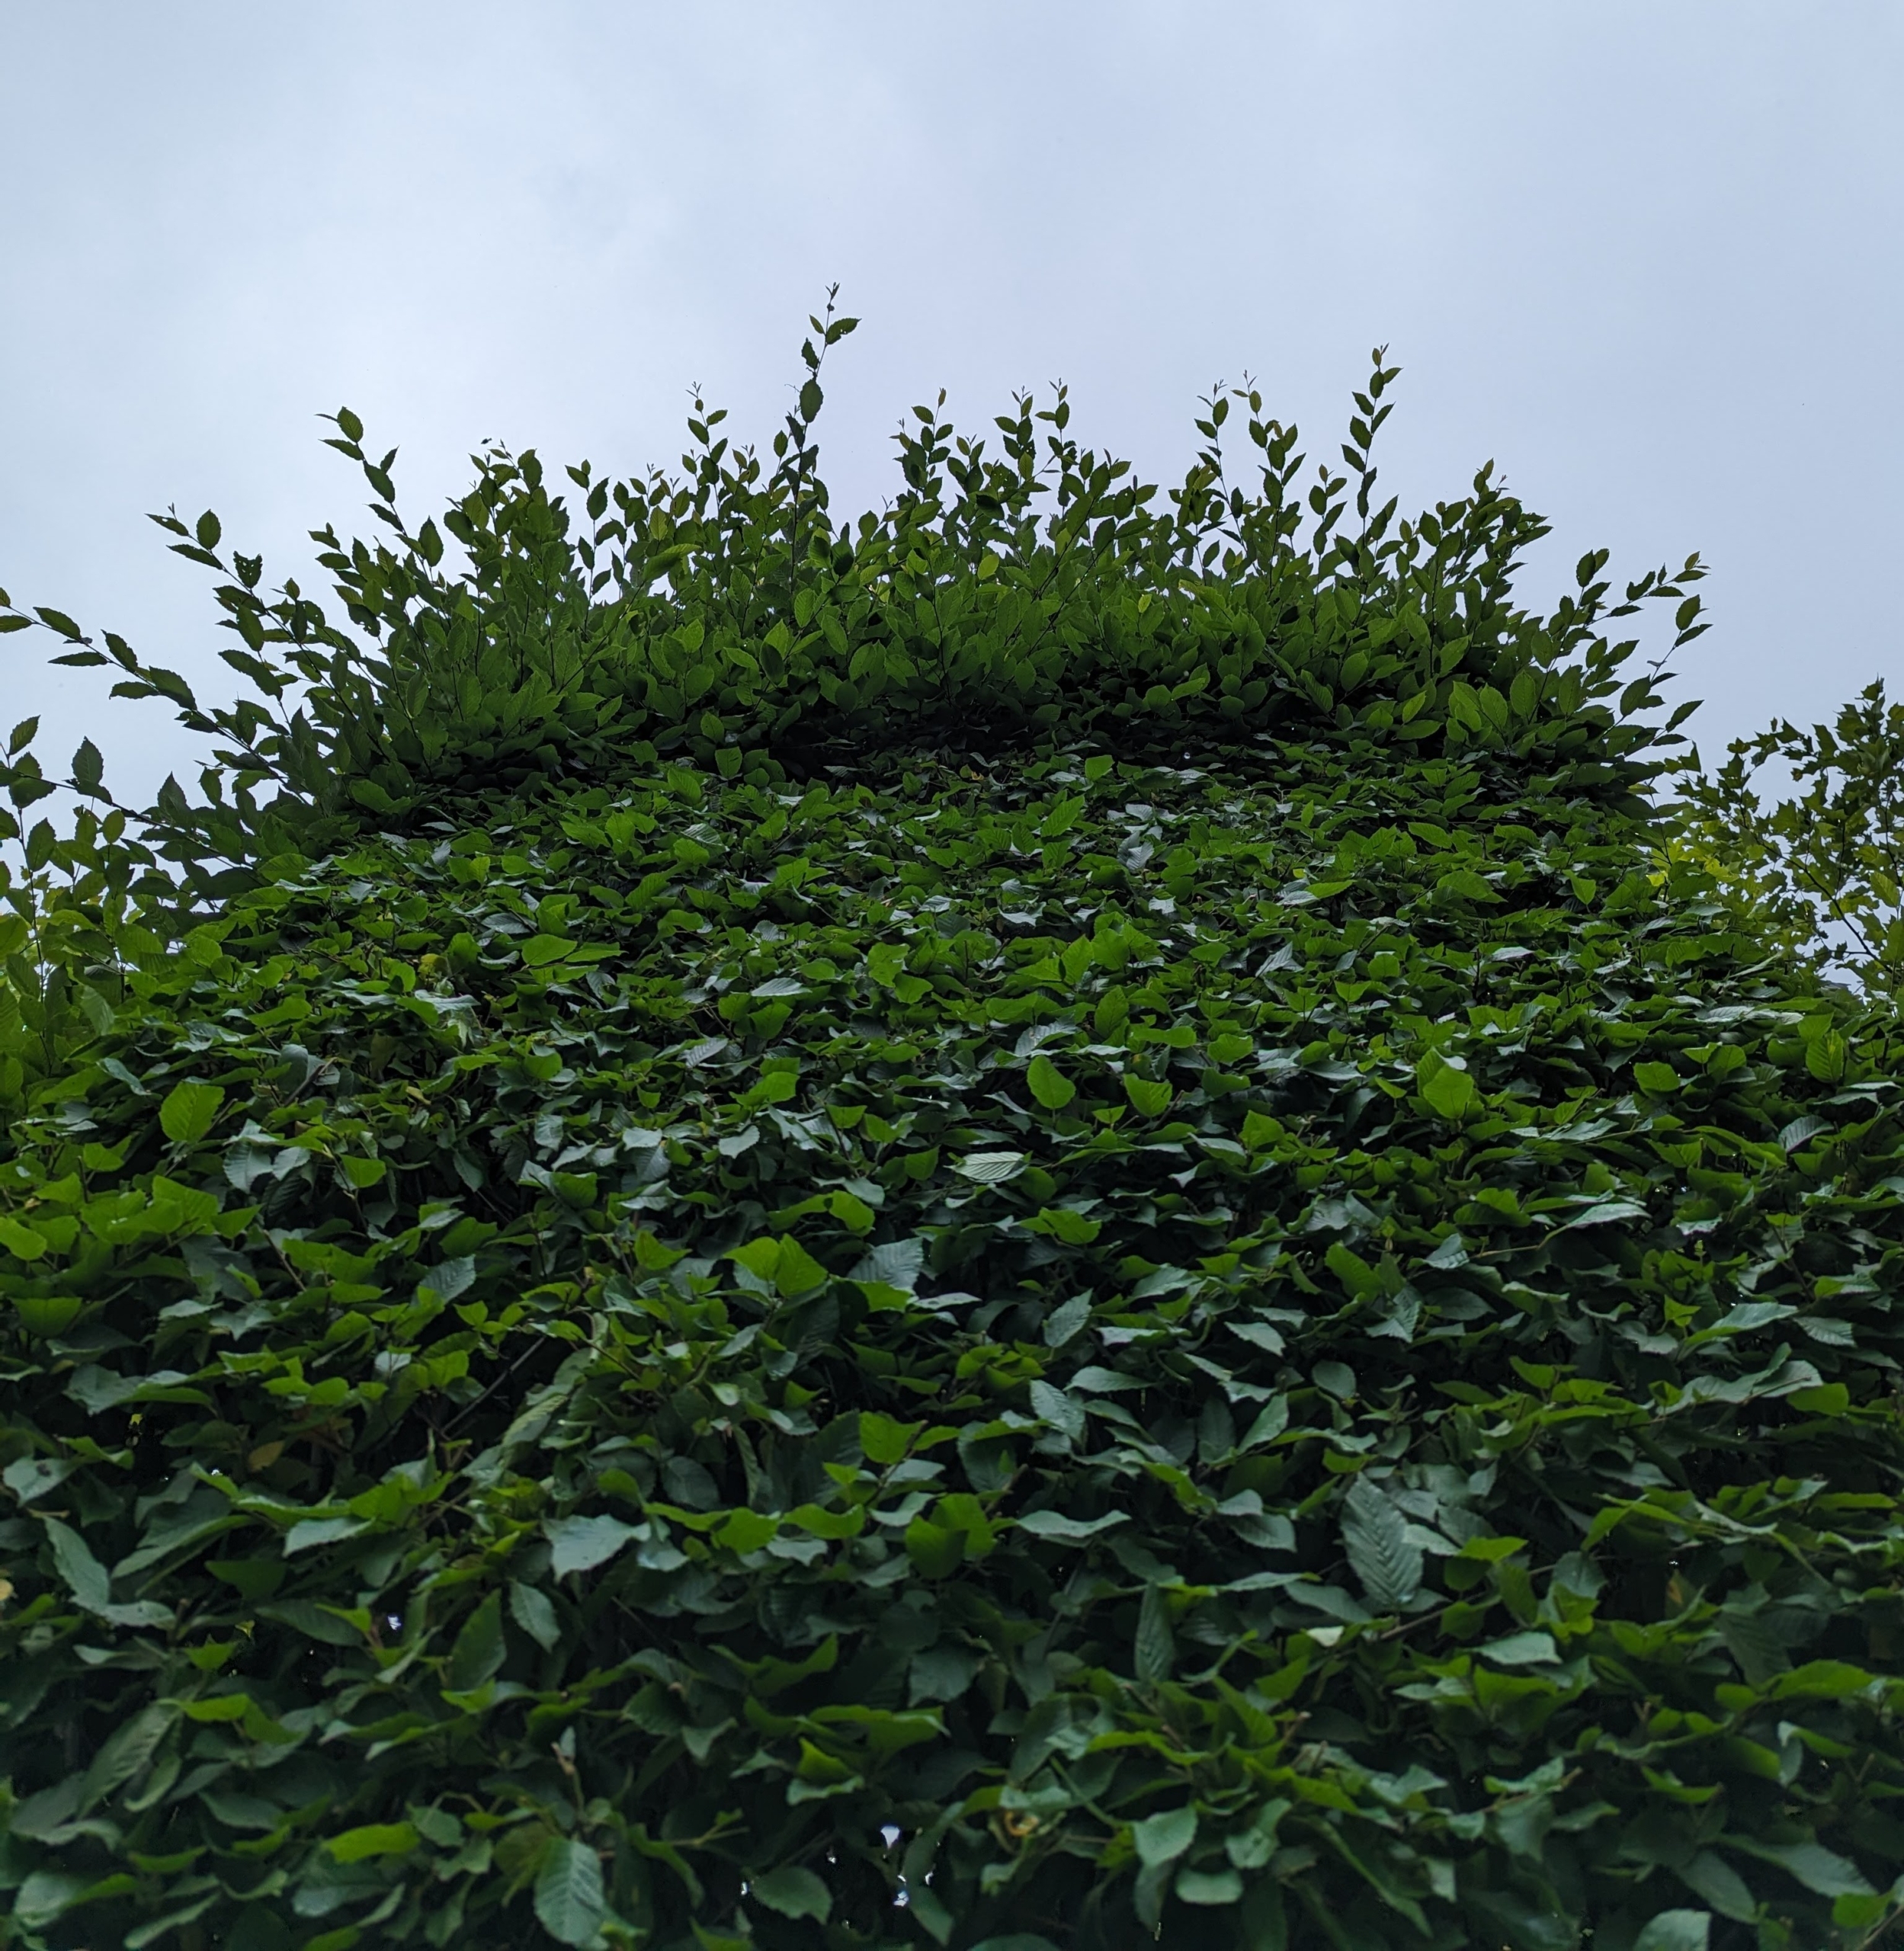
Looking up, the new growth can be seen growing wildly above the trimmed lower section.
Here he is trimming the sides from the safety of the Hi-Lo cage. He is also able to use the floor of the cage as a straight trimming guide.
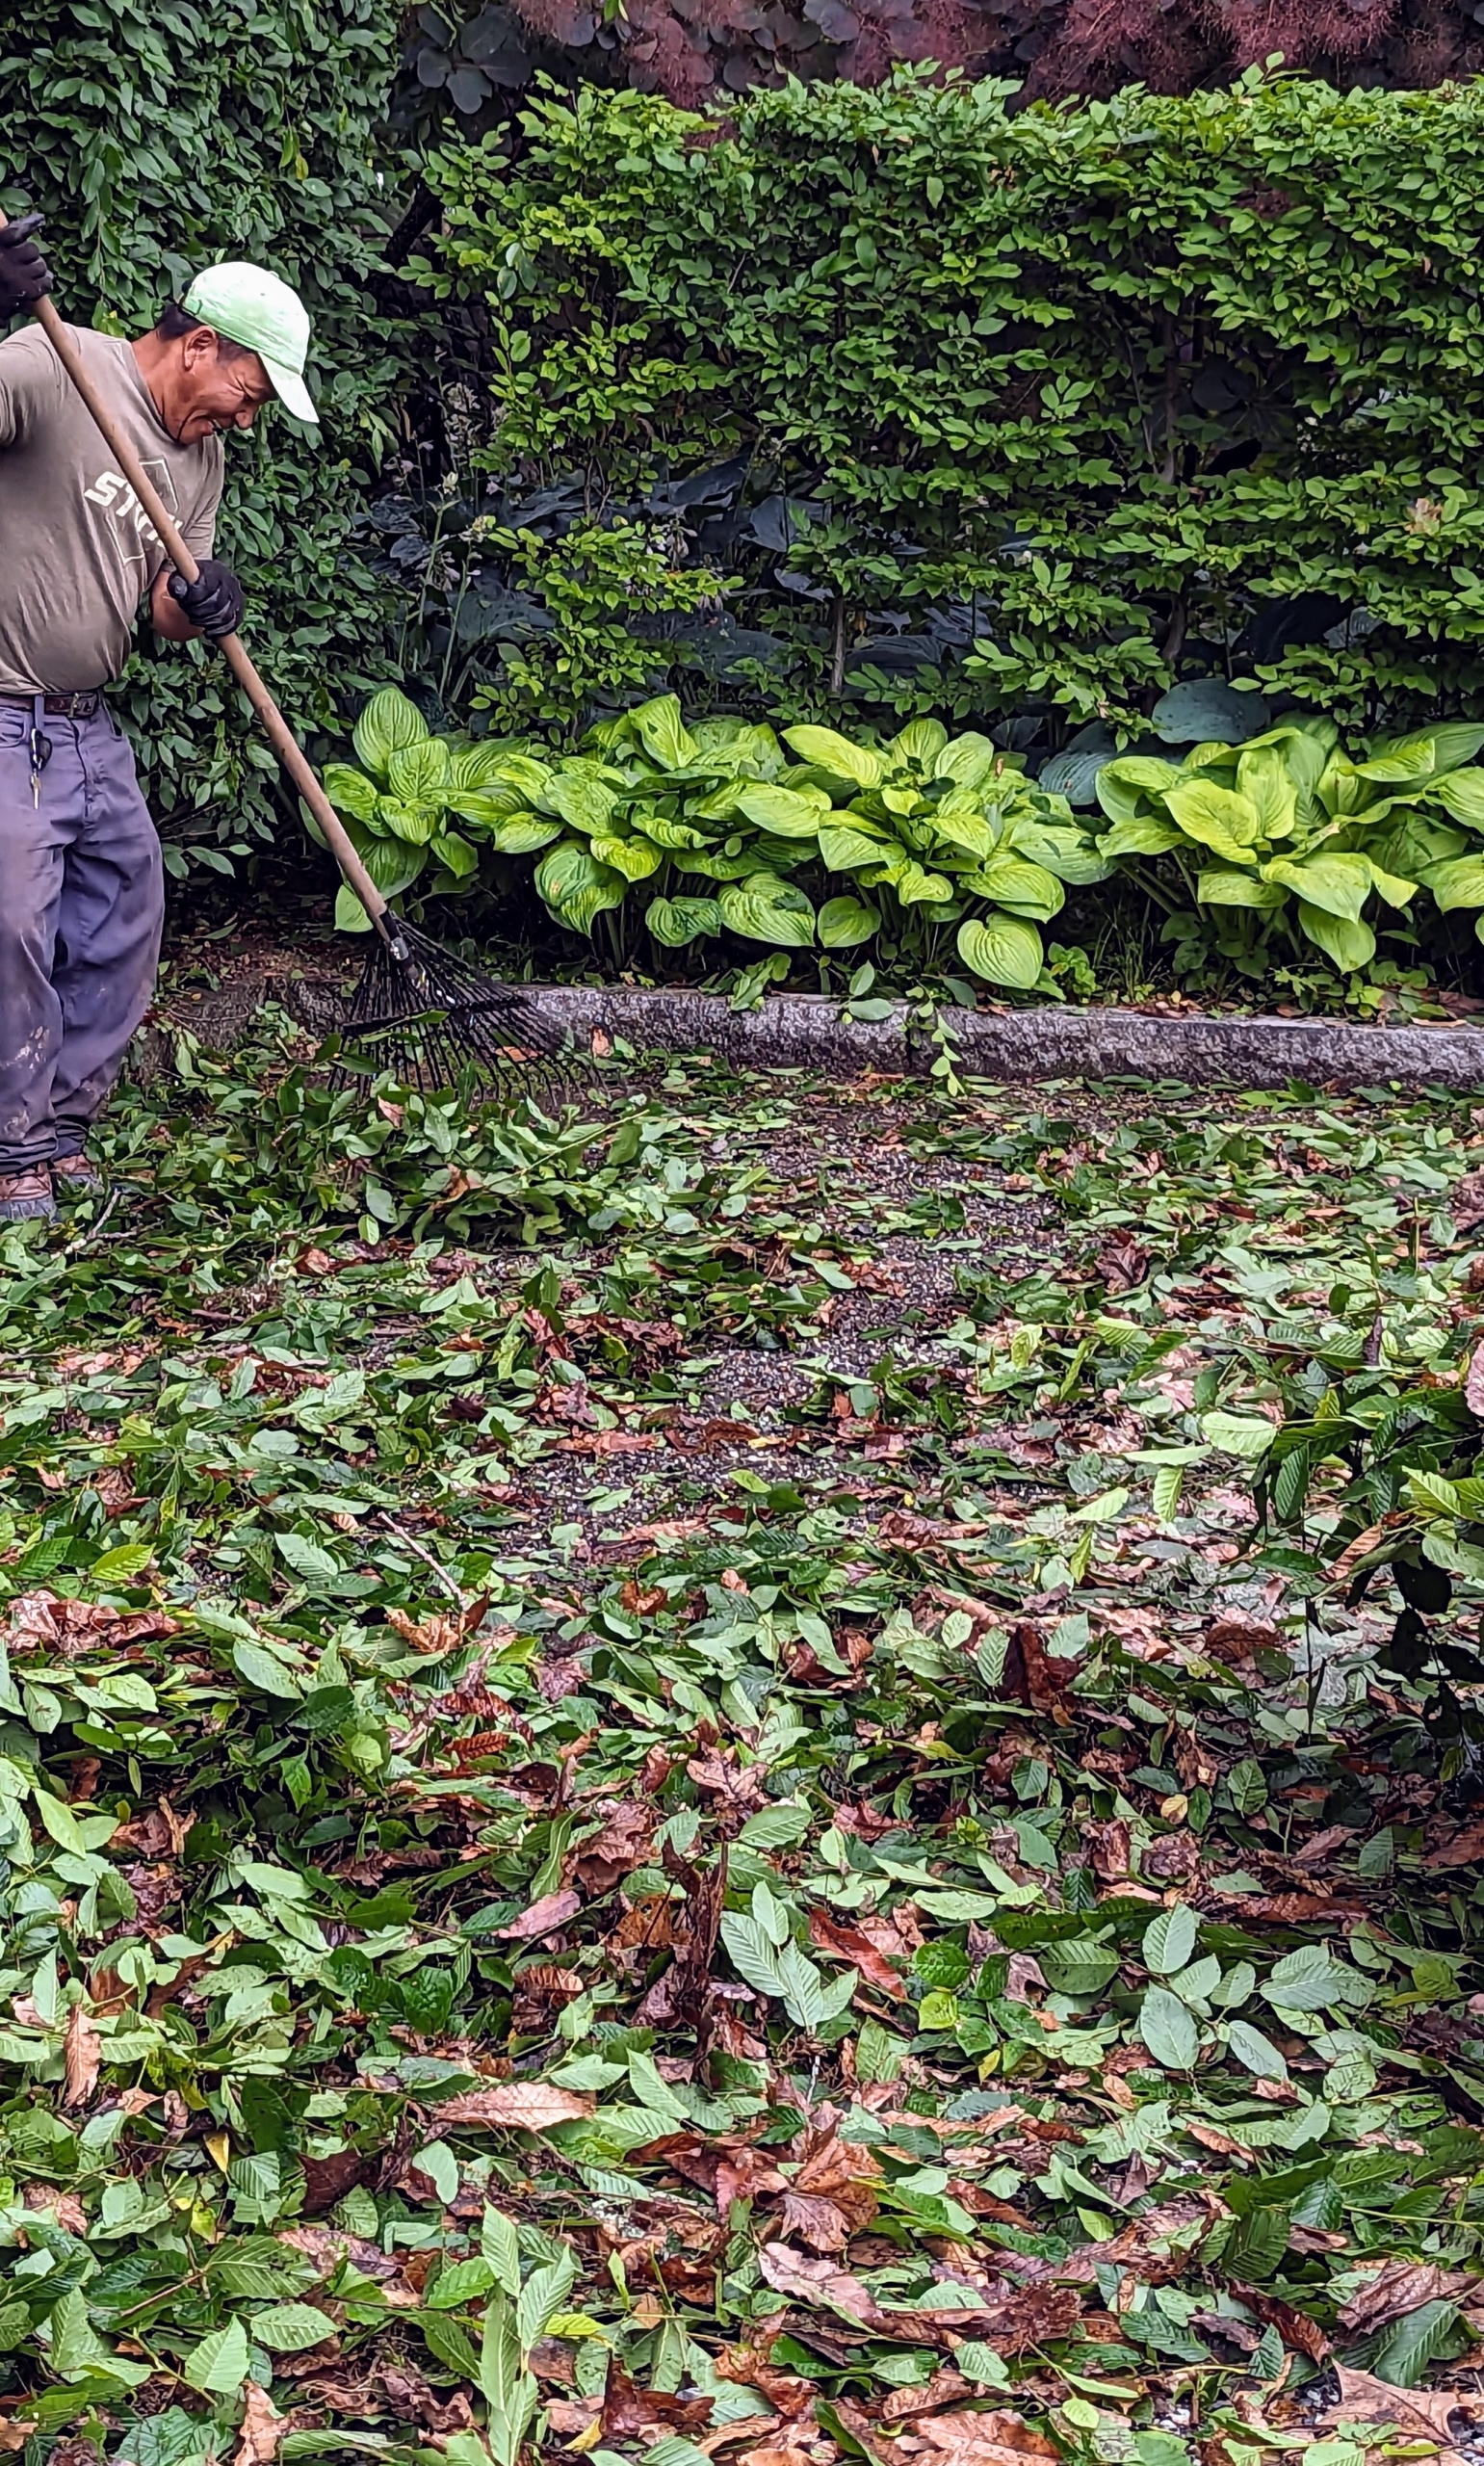
And look at all the cut leaves – this is just from the front of the sections. Phurba rakes them up as they go, so it is an easier cleanup at the end.
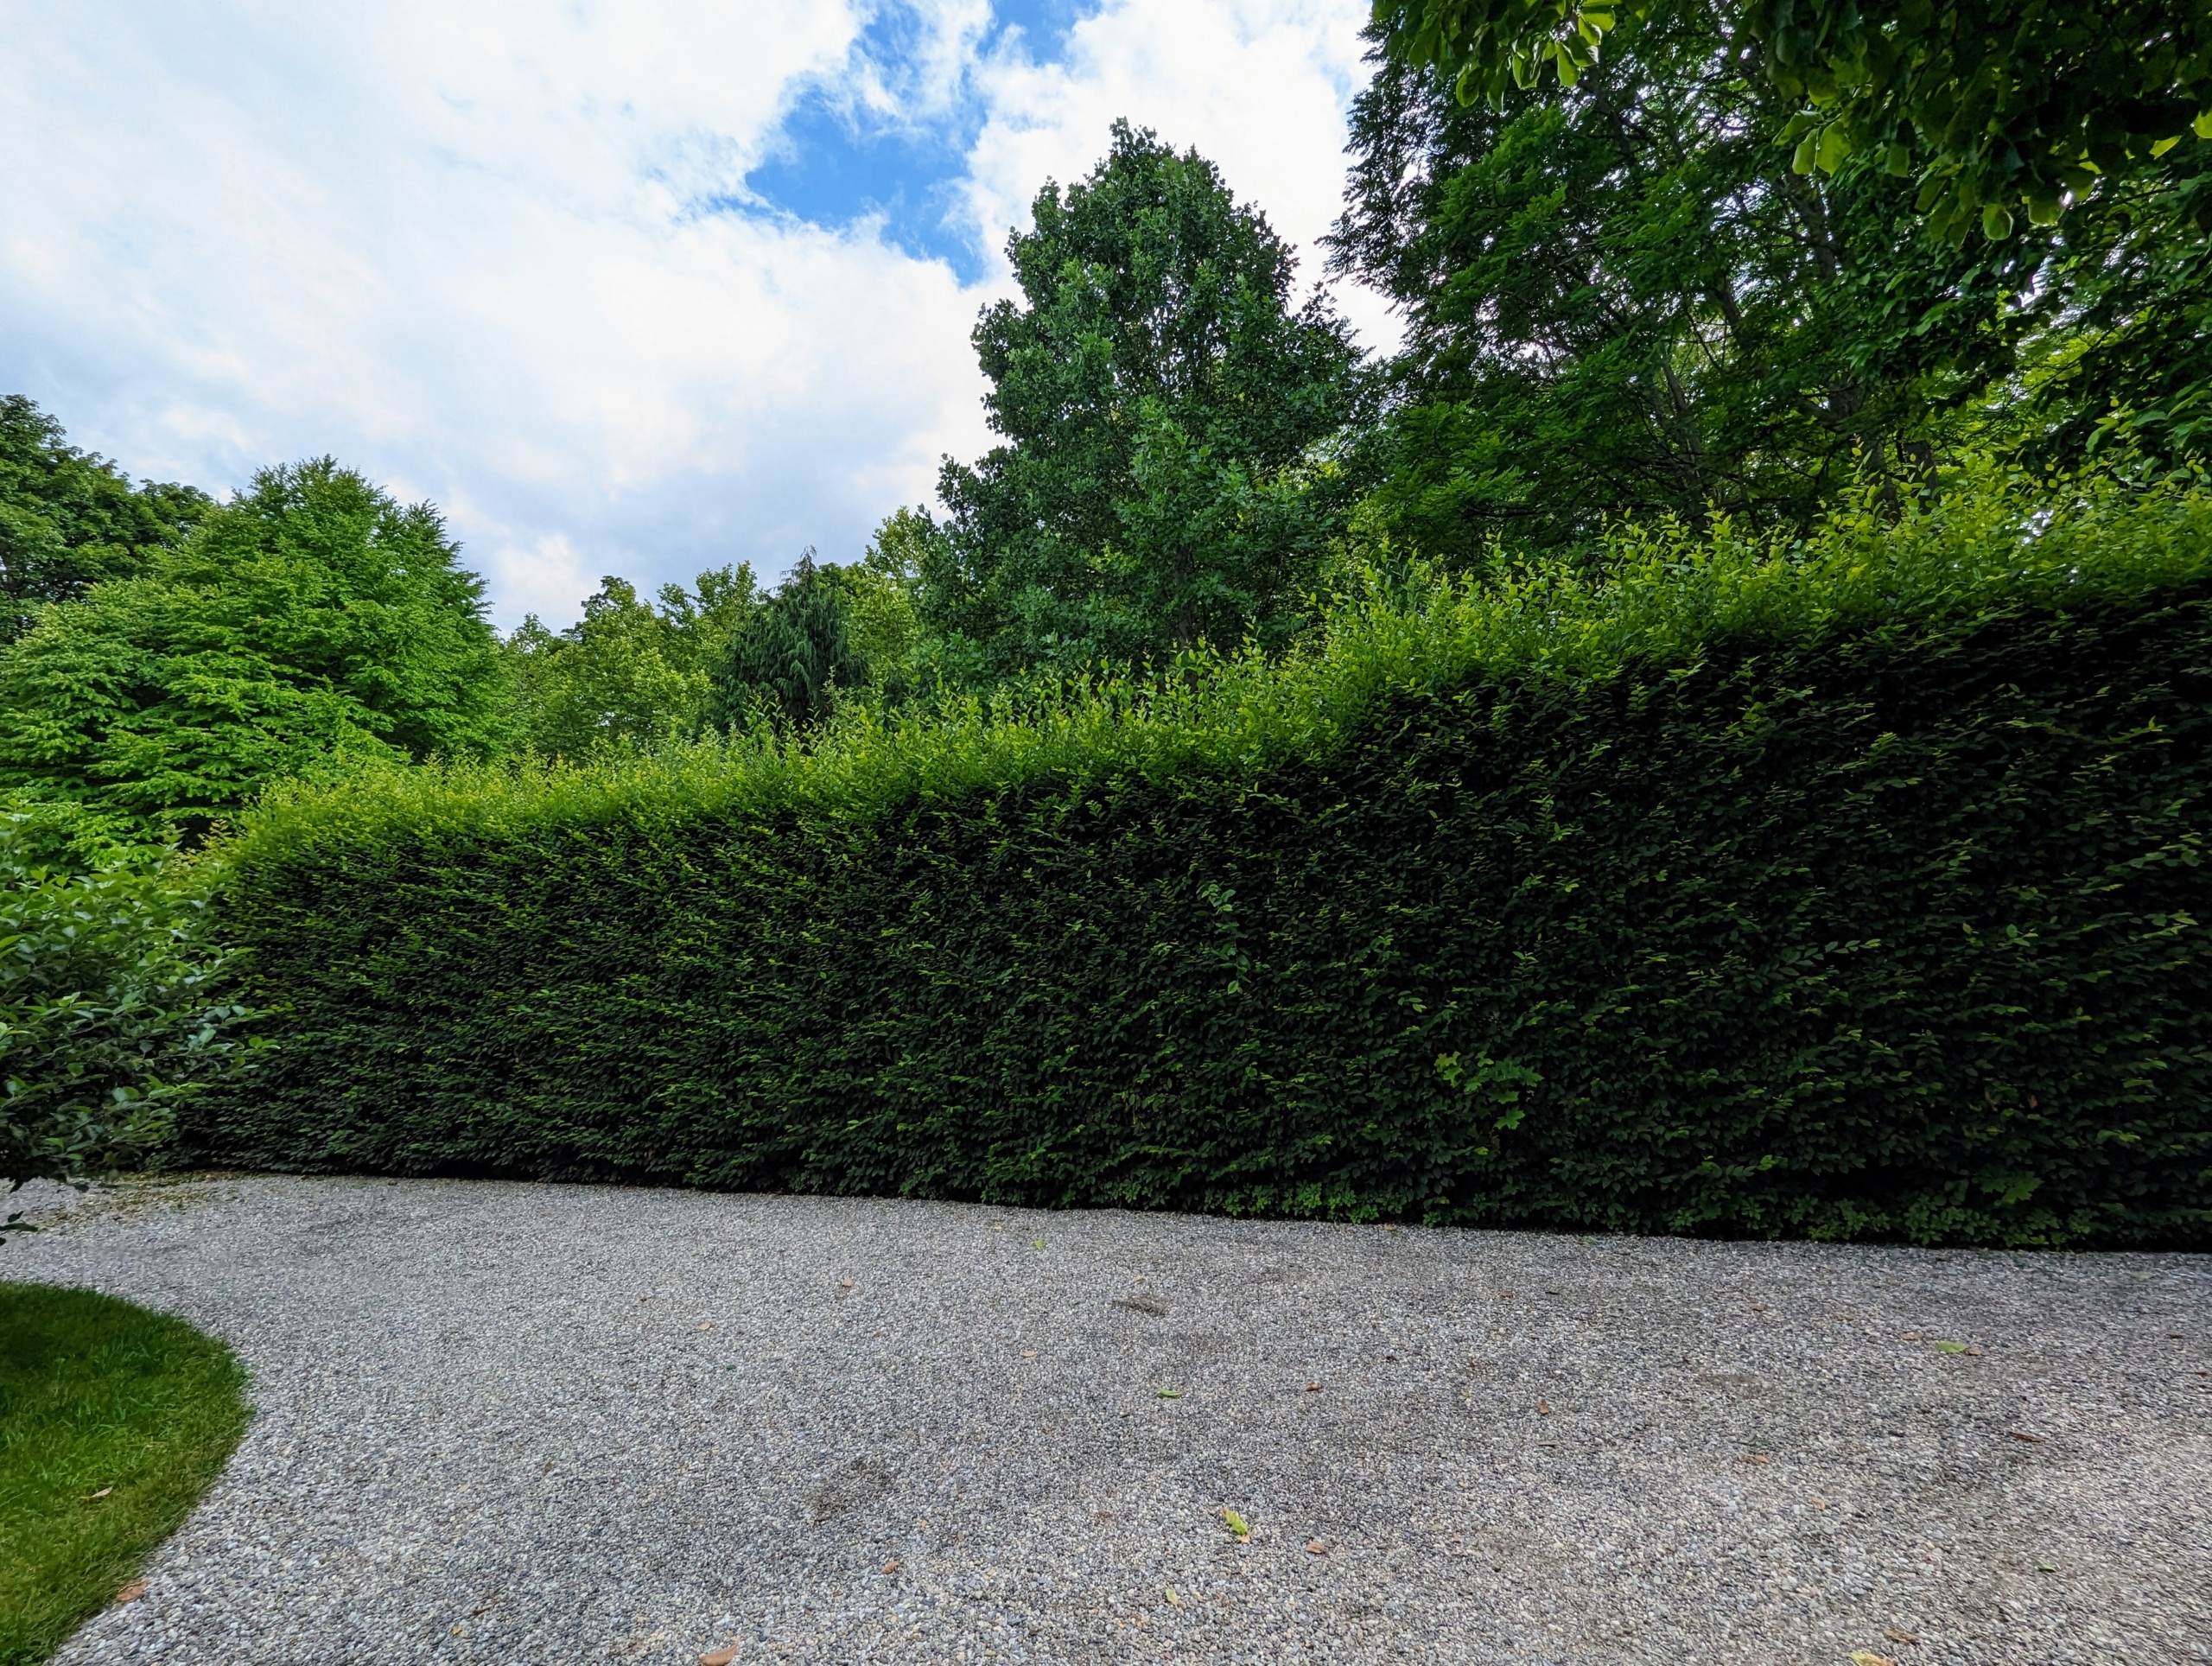
And here is the finished hedge – trimmed beautifully.
A younger hedge is also groomed across the parking lot right in front of my glass greenhouse. We planted this hedge in the spring of 2019 – it has grown quite a bit. An identical one is on the other side of the greenhouse entrance.
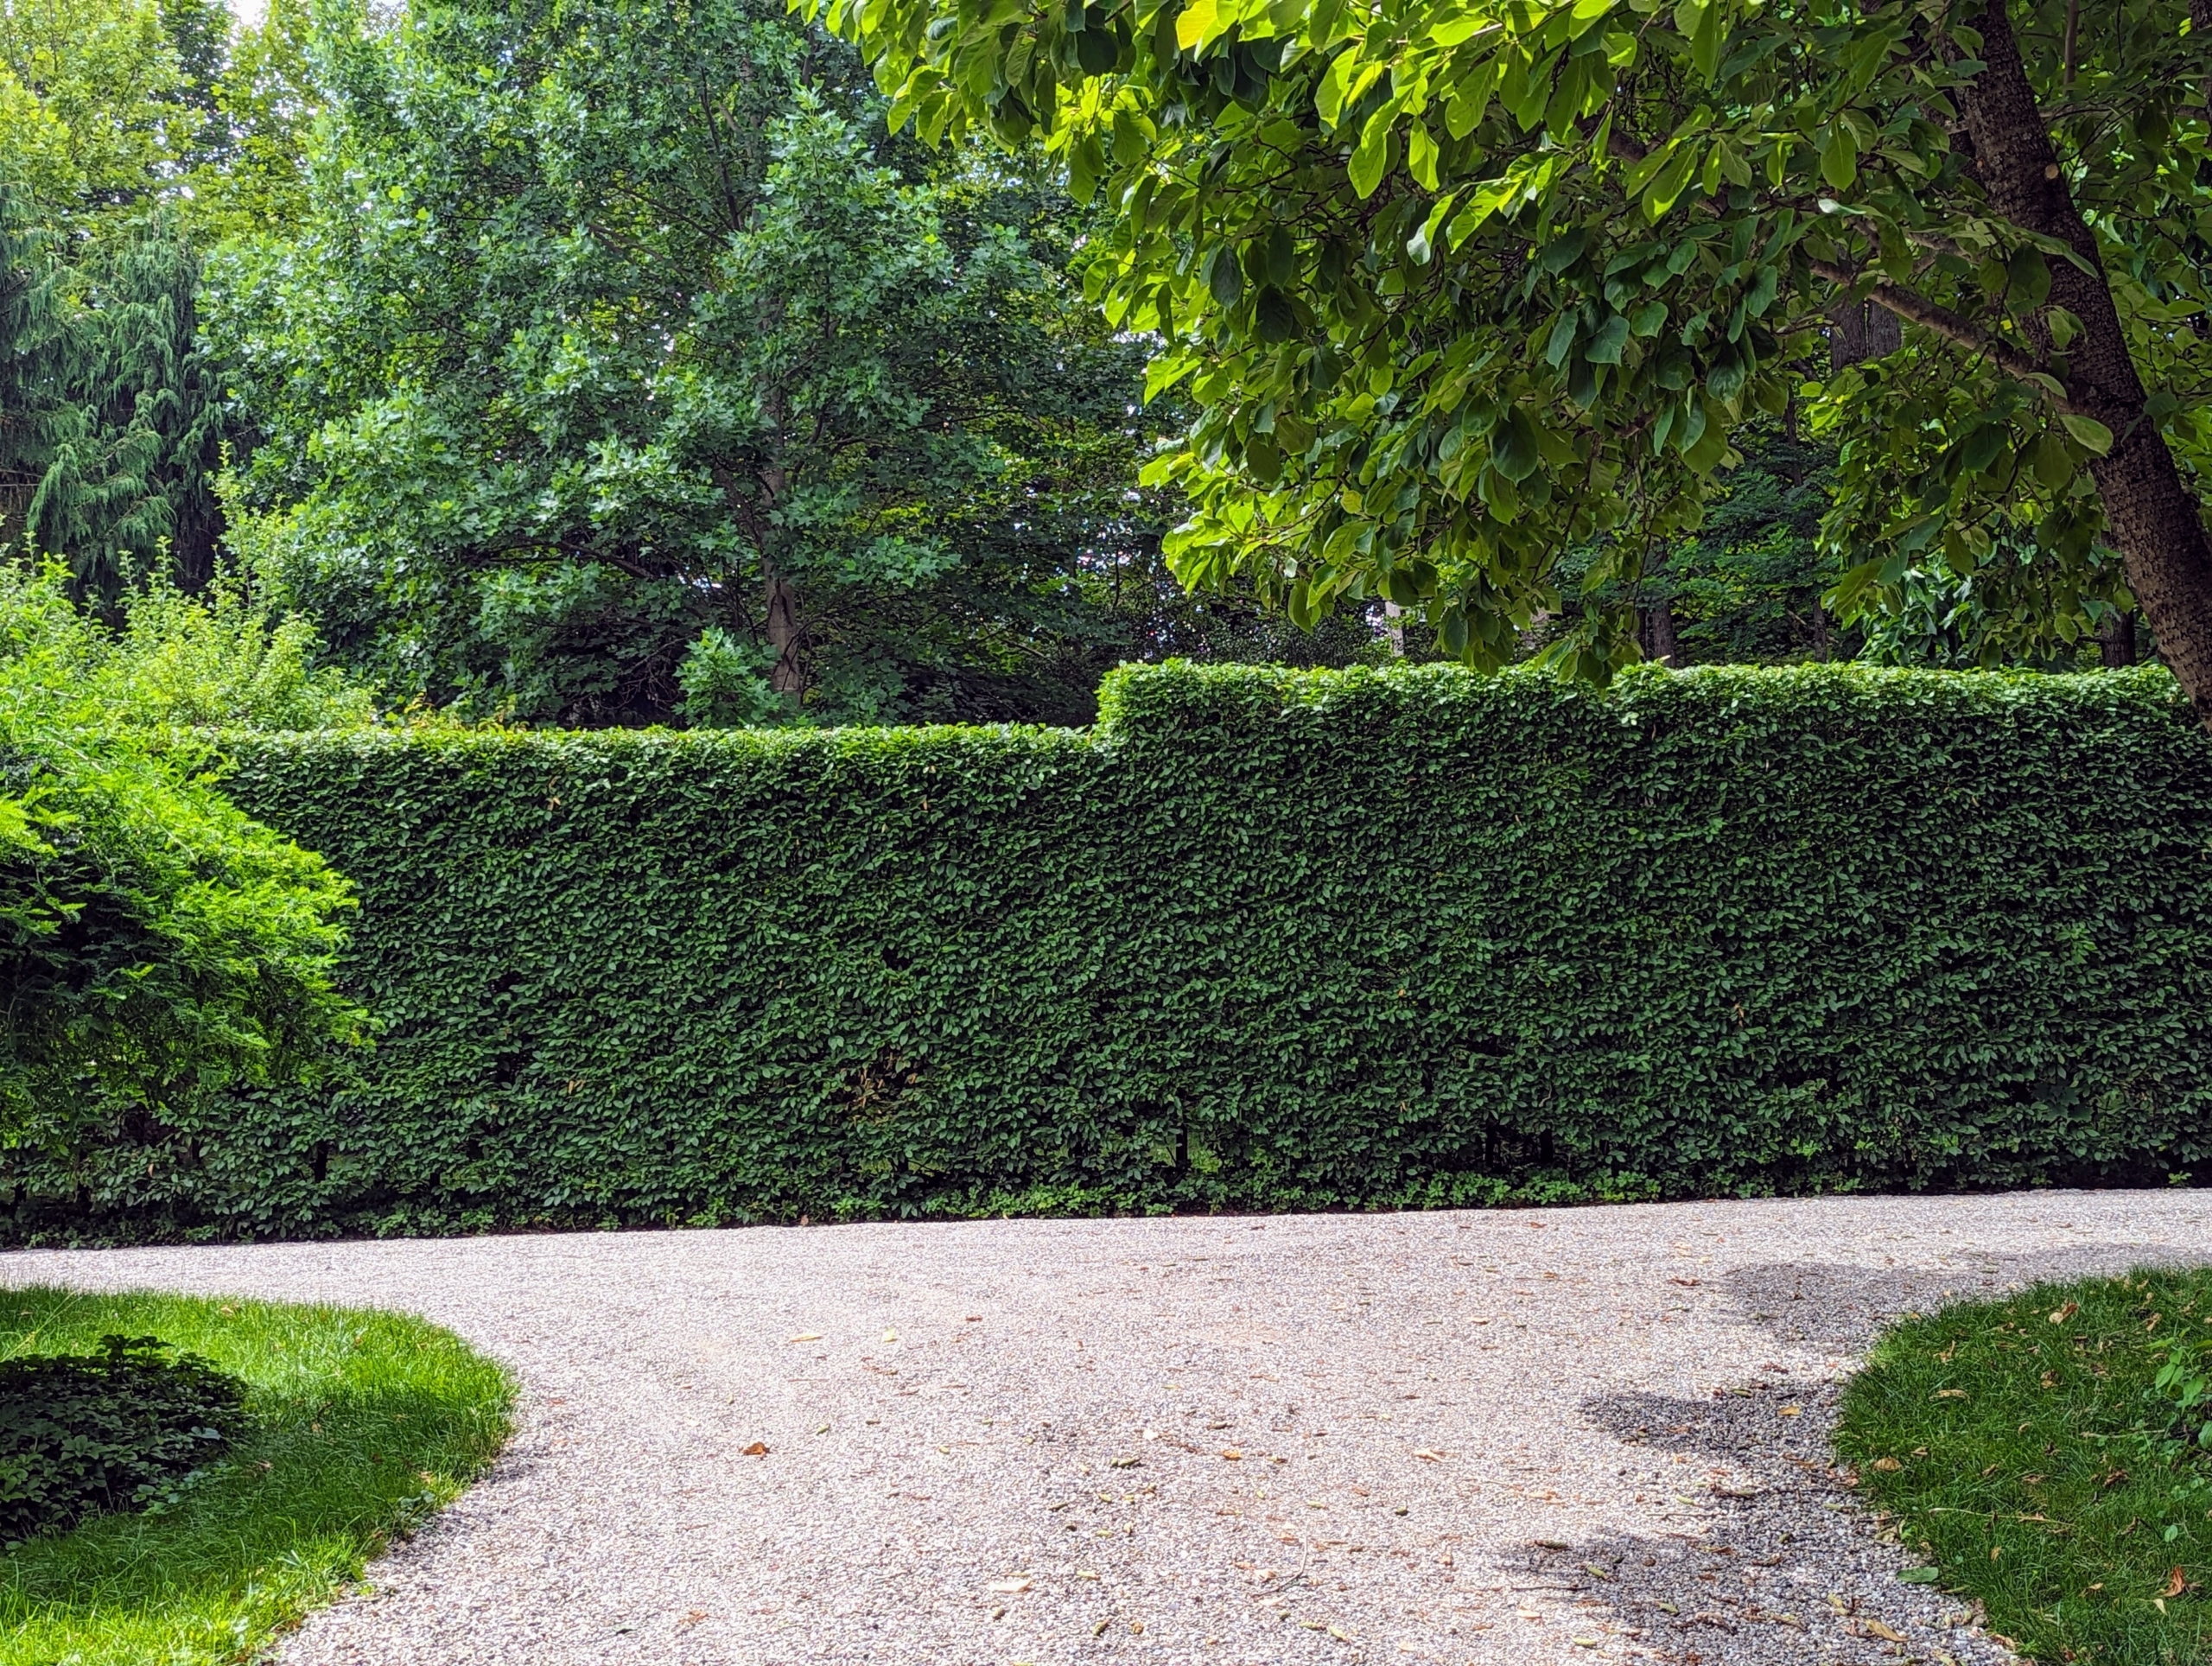
Next task – the European hornbeam hedge along the back of the Summer House and the Winter House. Because it is planted on a gradual slope, it needs to be pruned using a step method. The top and upper sides of a hedge are exposed to lots of light, so they grow more vigorously. Here is the hedge before it was done.
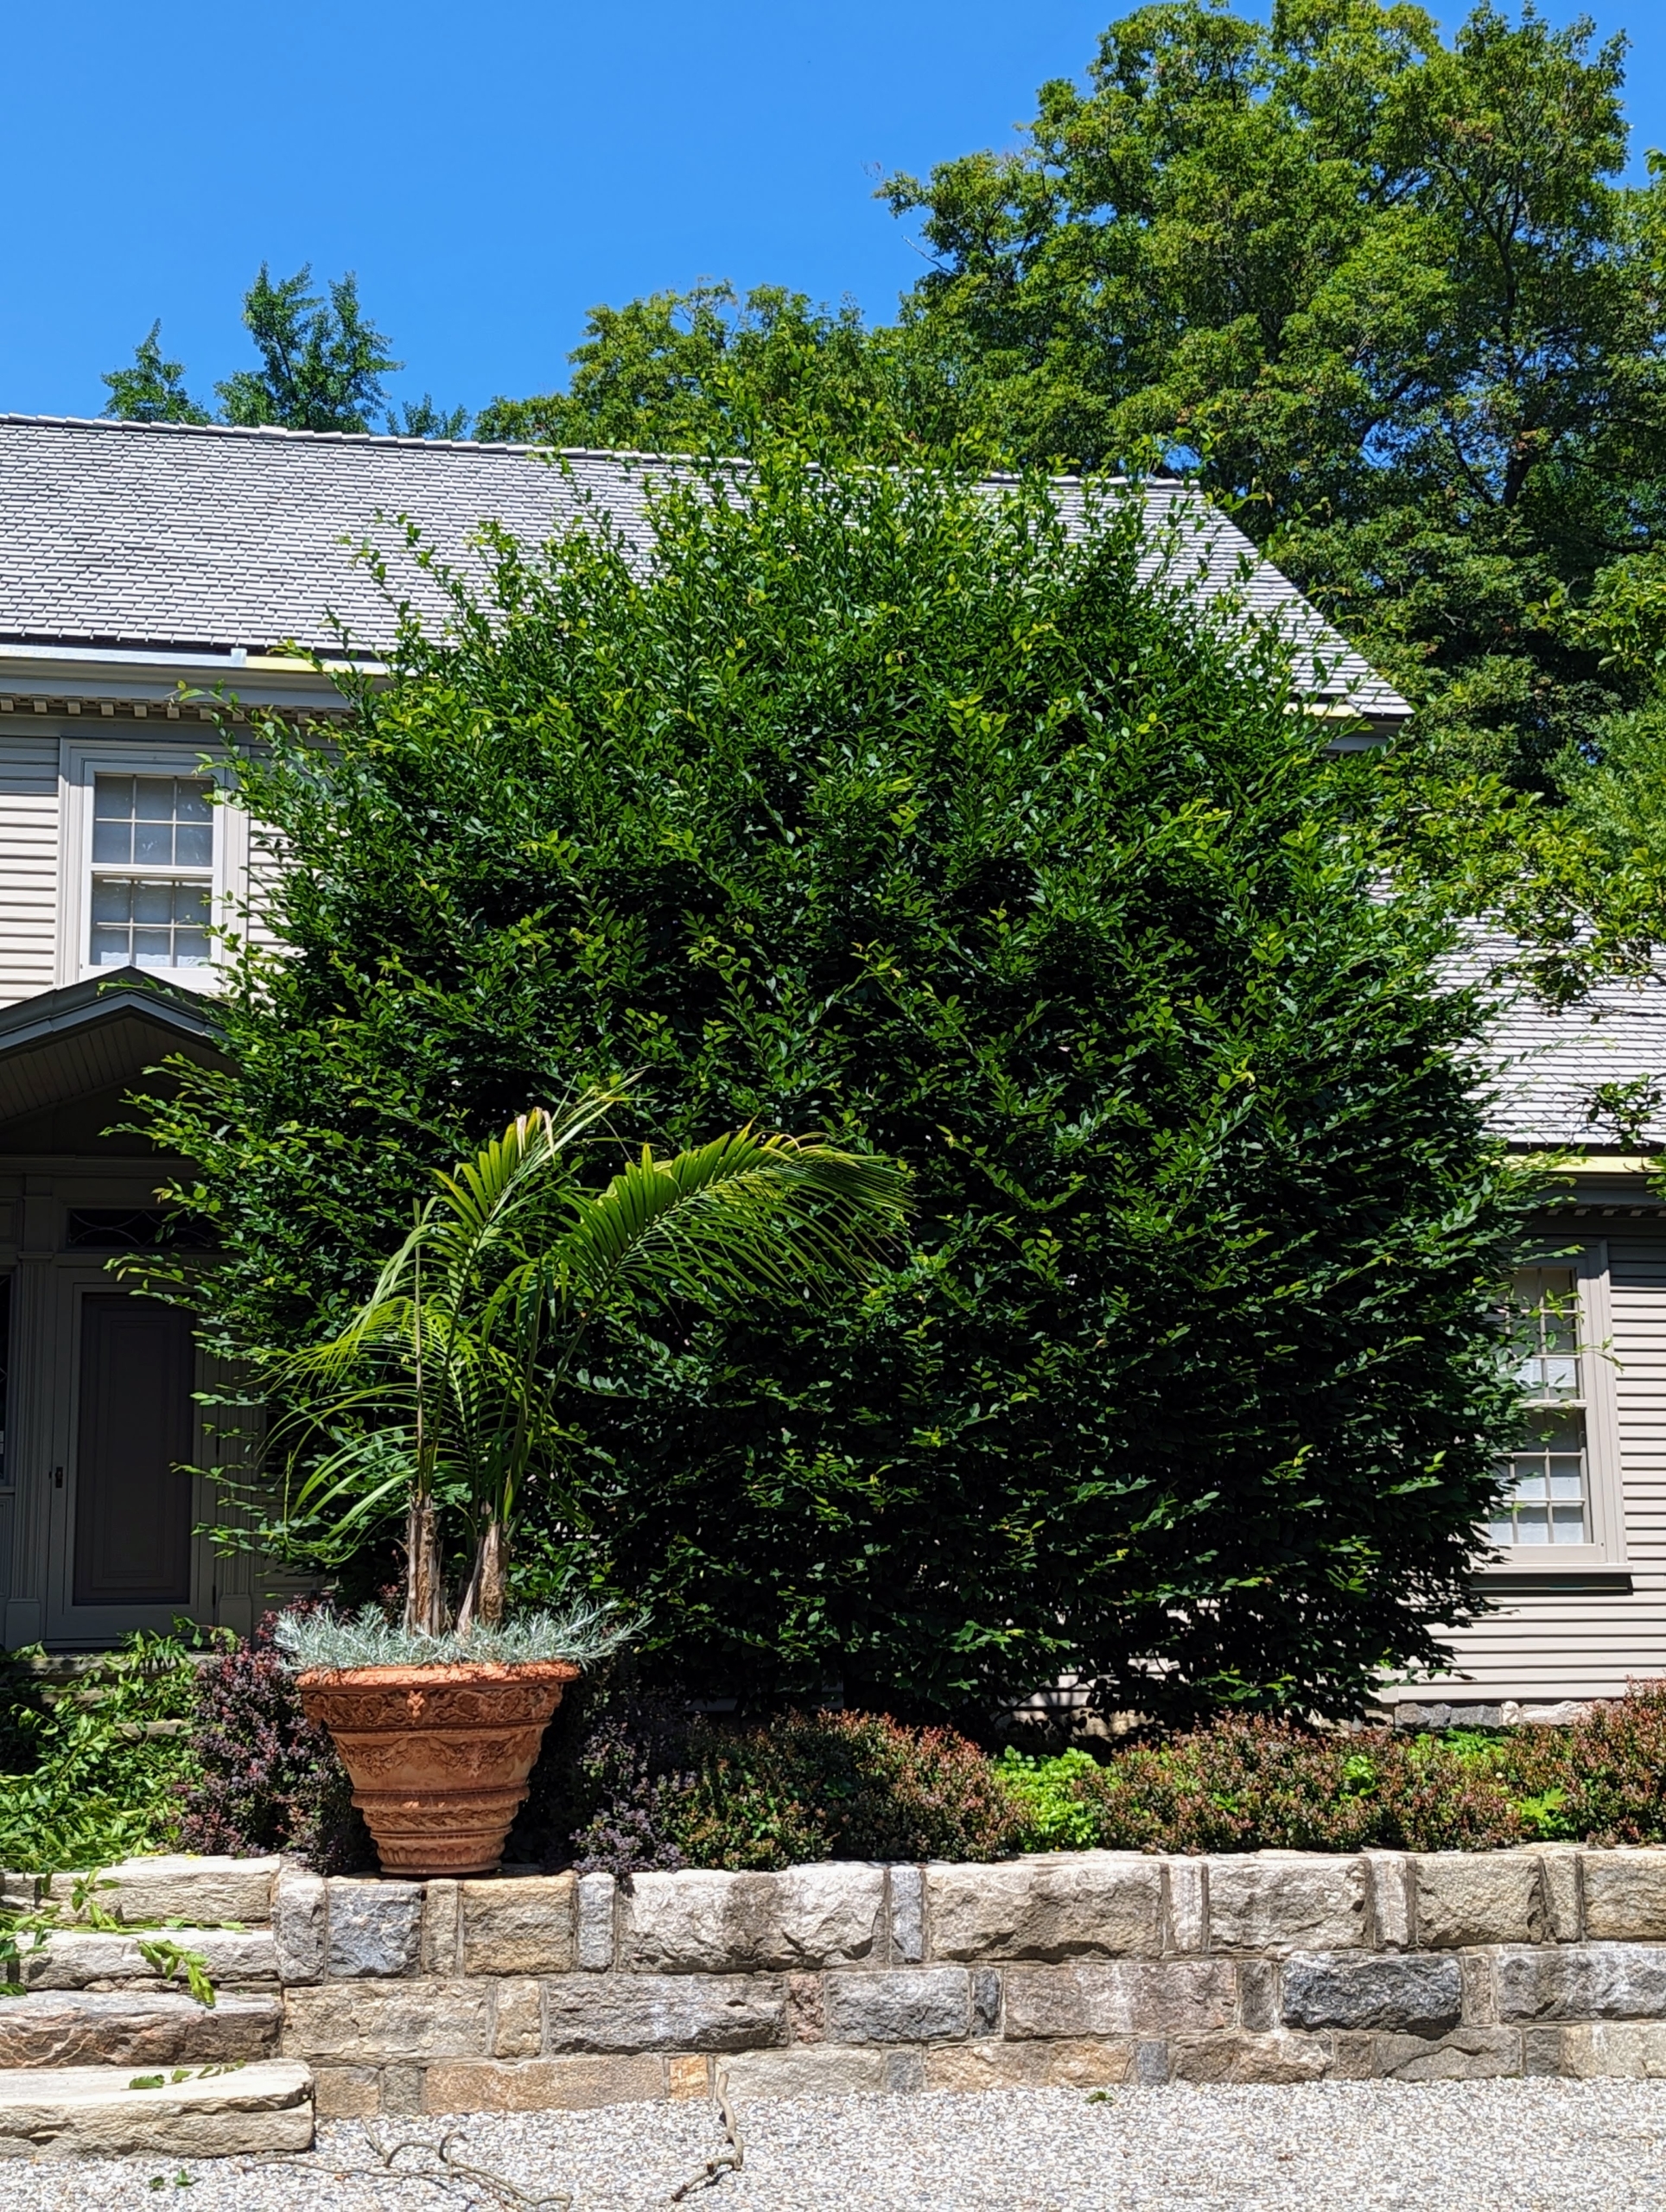
And here is one of two giant hornbeam shrubs opposite the long hedge which also needed pruning.
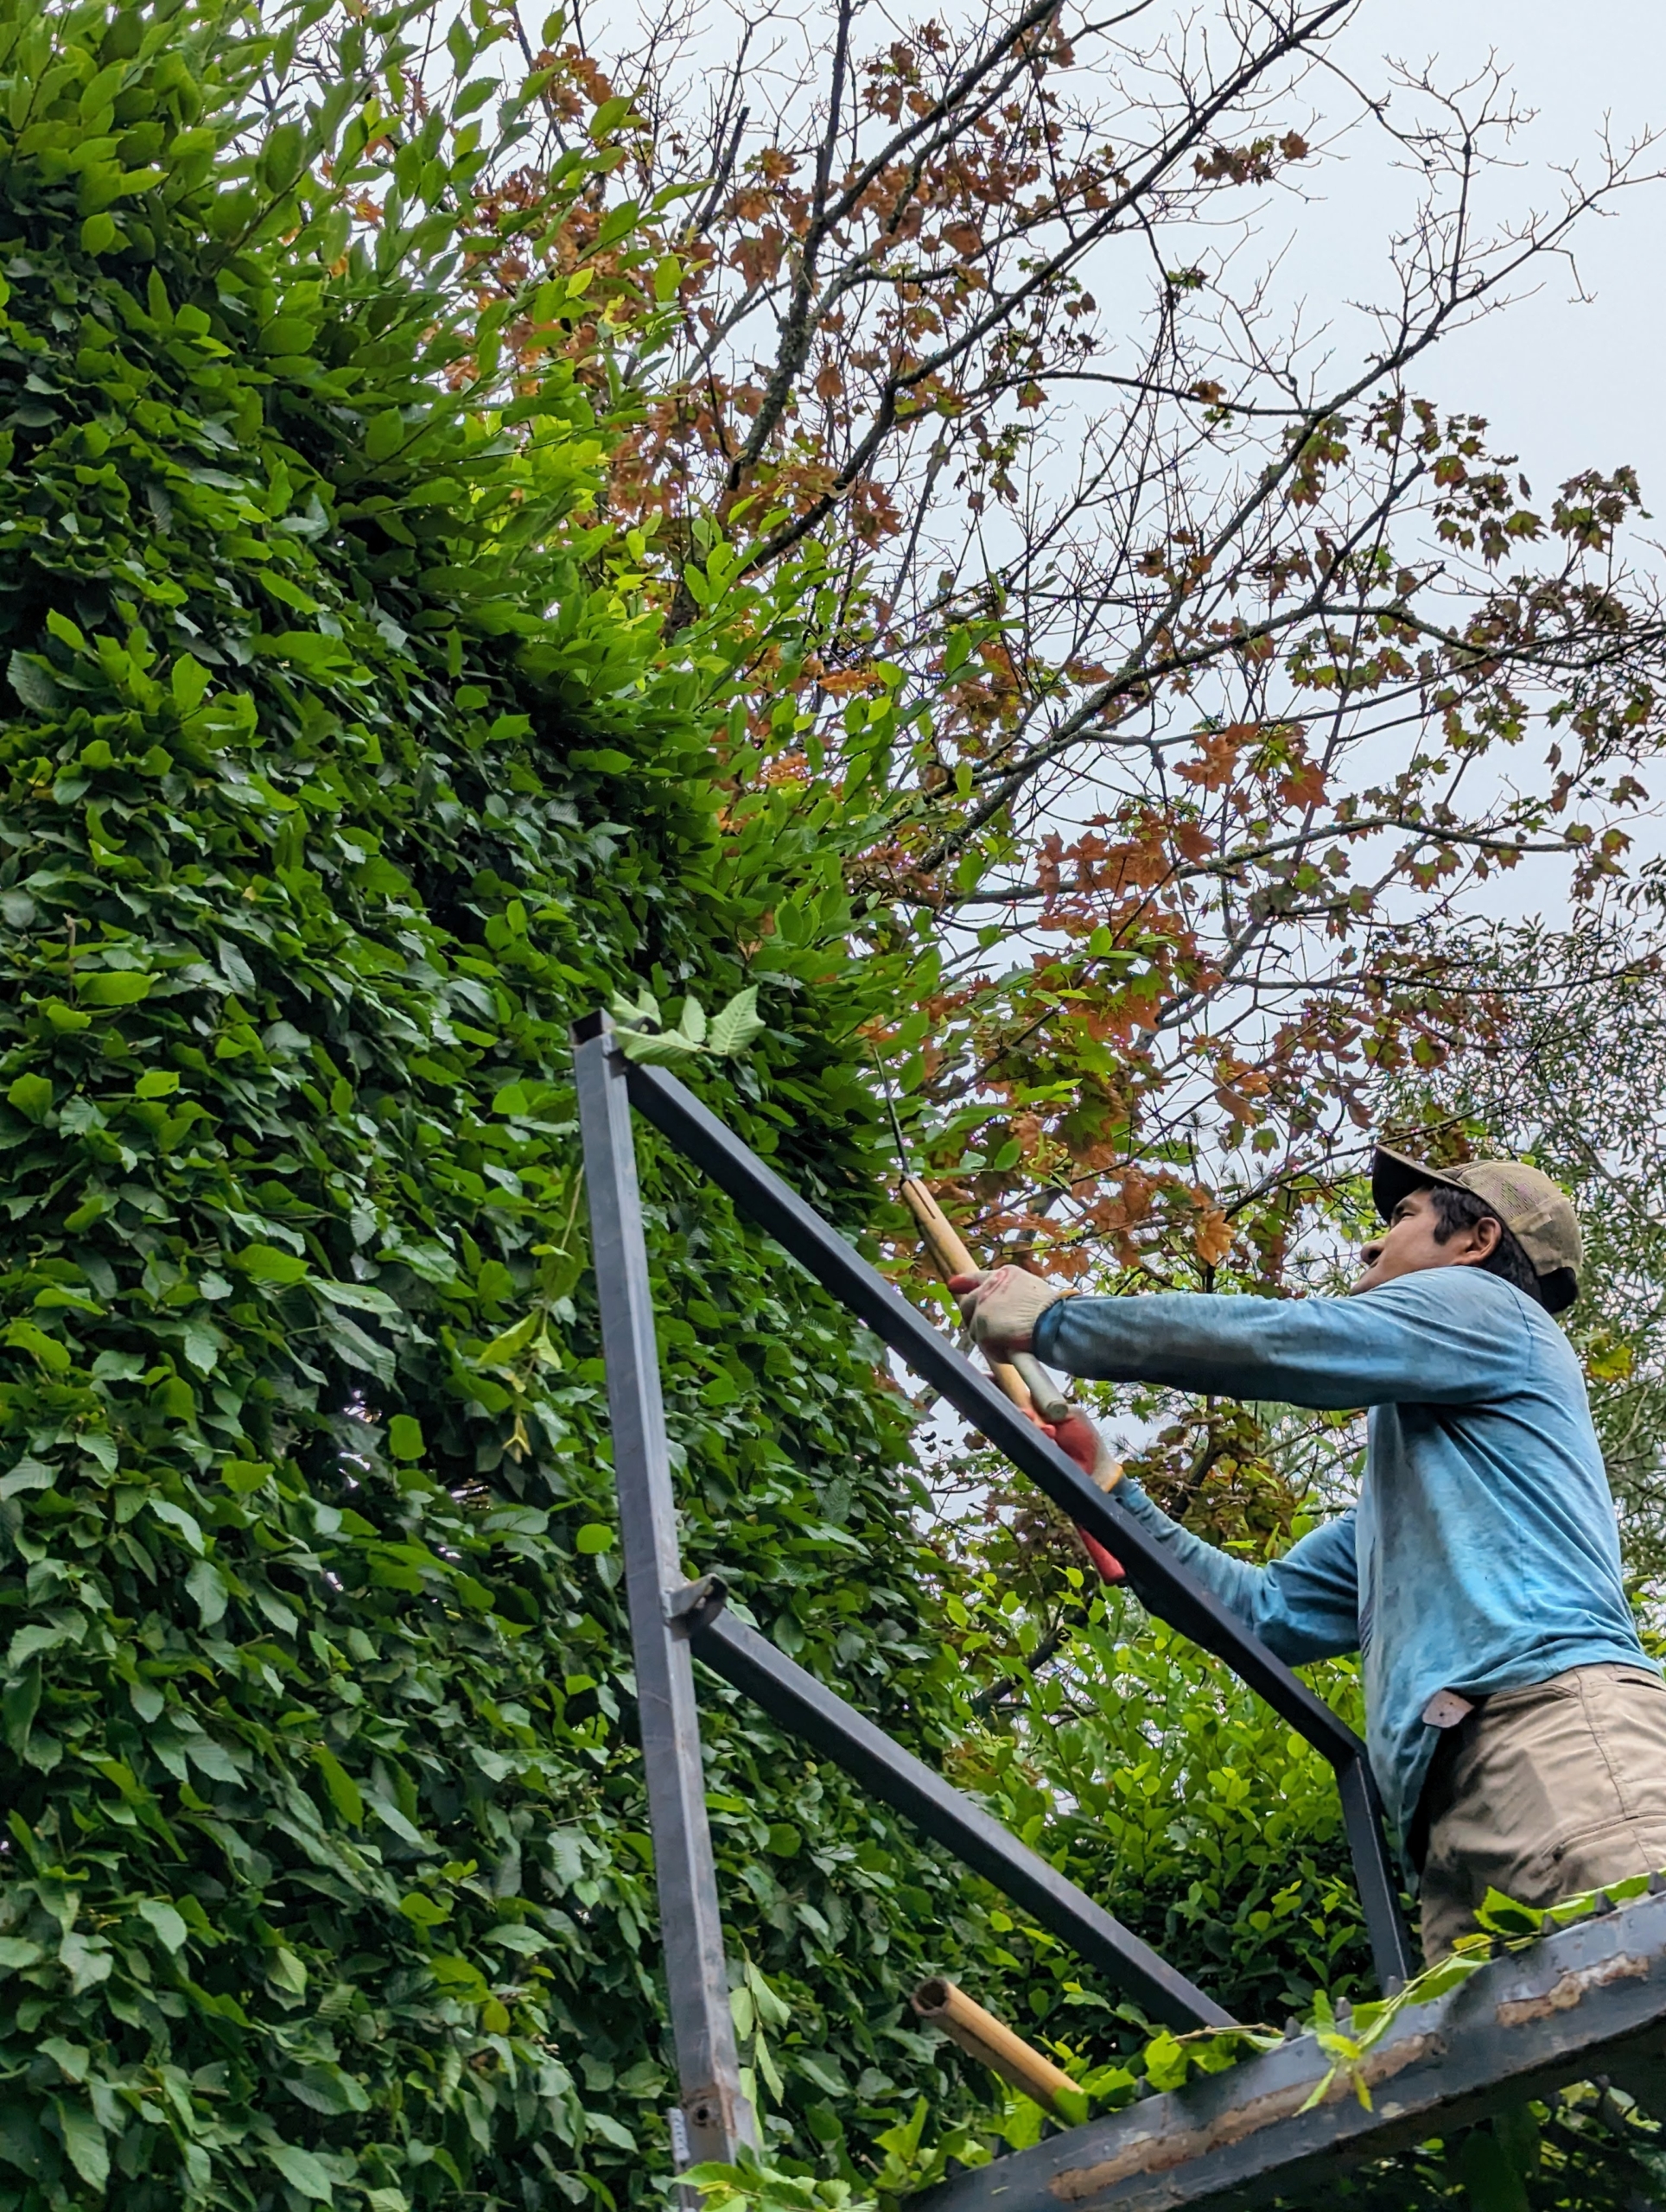
Pasang is back on our trusted Hi-Lo to reach the furthest parts of the hedge with his sheers.
Here he hs tackling the shrub. Pasang is very skilled at sculpting and shaping our trees.
And here is the hedge all complete. Deer do eat hornbeams, but since the entire property is completely fenced, it isn’t a problem here at the farm.
Look at how beautiful it is from a distance when finished.
Here’s Pasang after finishing the front two shrubs – they’ve never looked better!
By day’s end, there are a lot of trimmings to rake up.
Here’s another photo after everything is cleaned and taken away to the compost pile. Pruning and grooming the hornbeams is a big task – it takes about two and a half weeks to get all of them done around the farm, but once they’re finished they look so terrific – and all done by hand! Thanks to the hardworking crew!