My New Blueberry Pergola - From Start to Finish
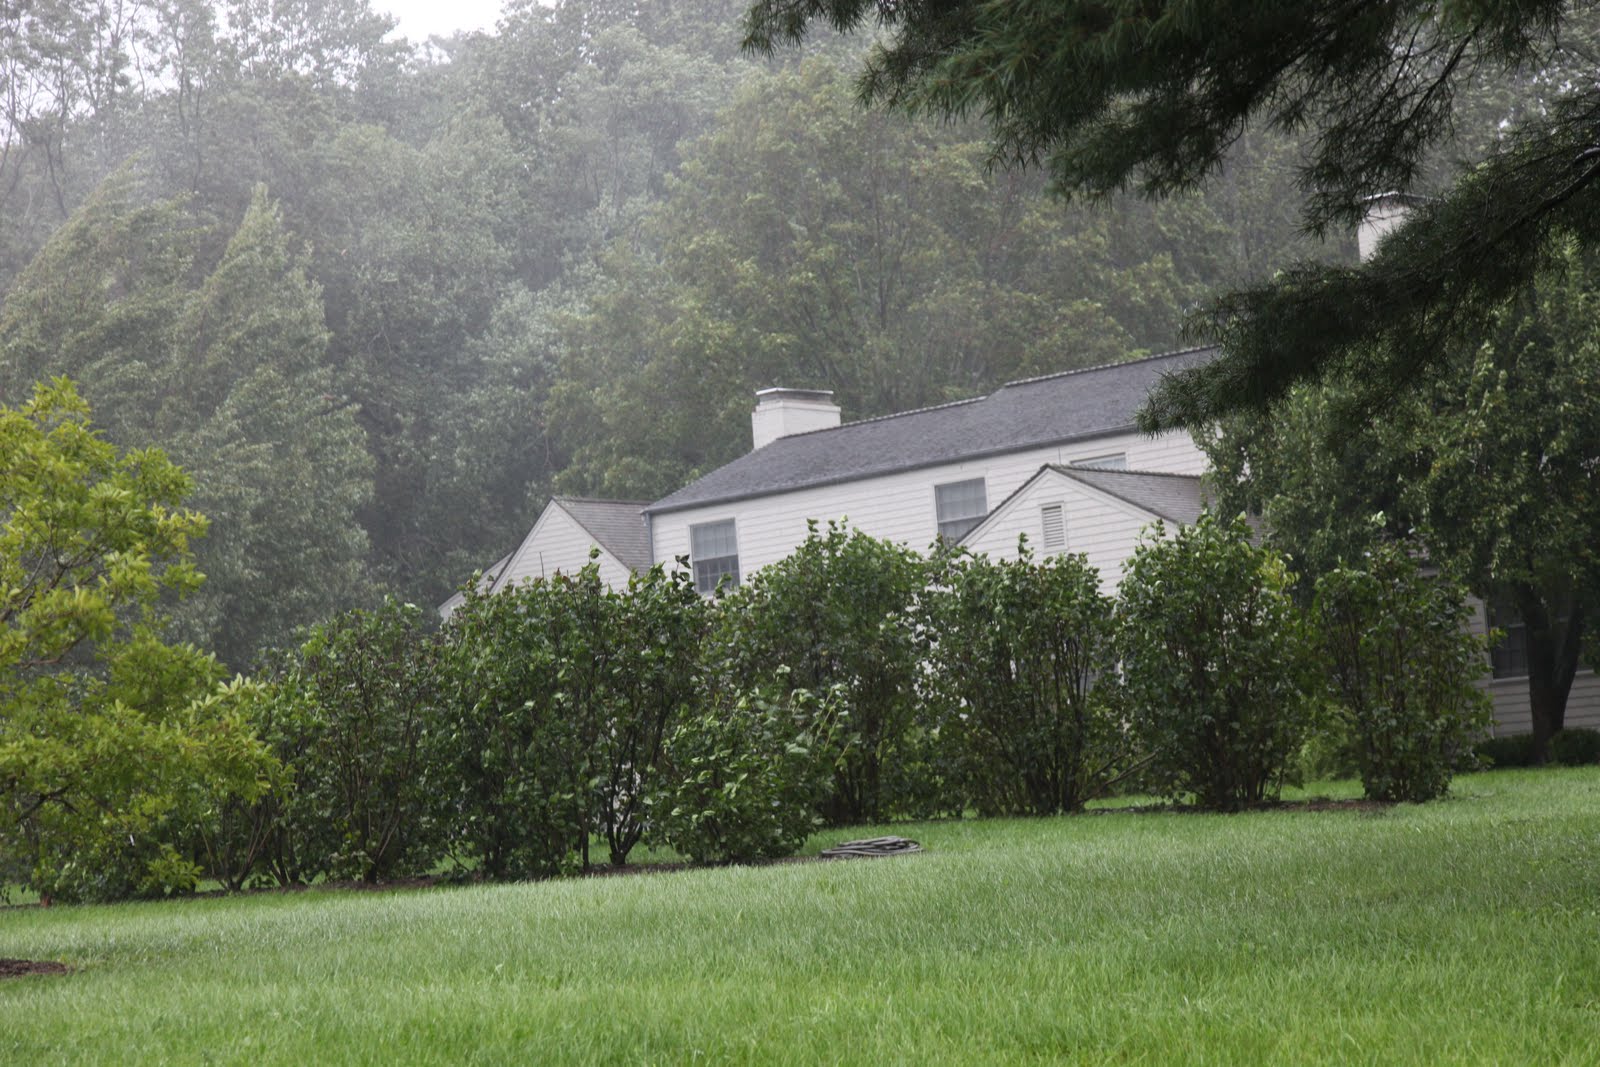
If you’ve ever grown berries for your enjoyment, then you know how much birds enjoy them, as well. If you’ve been following my blogs, you’ve most likely seen photos of the pergolas on my farm. They were constructed using 18th century Chinese granite upright posts and topped with simple, but elegant stained cross beams. This year, to keep the birds away from my blueberry crop, I decided to have another pergola made, upon which, bird netting would be hung – in essence, a netted ‘room’ surrounding the blueberry patch. Once again, I hired the very skillful Slavo Kormanik, of Kormanik Construction, Inc. Slavo is responsible for much of the building at the farm. The new pergola was a rather lengthy project that lasted for more than two weeks. Here are all of the steps involved.
-

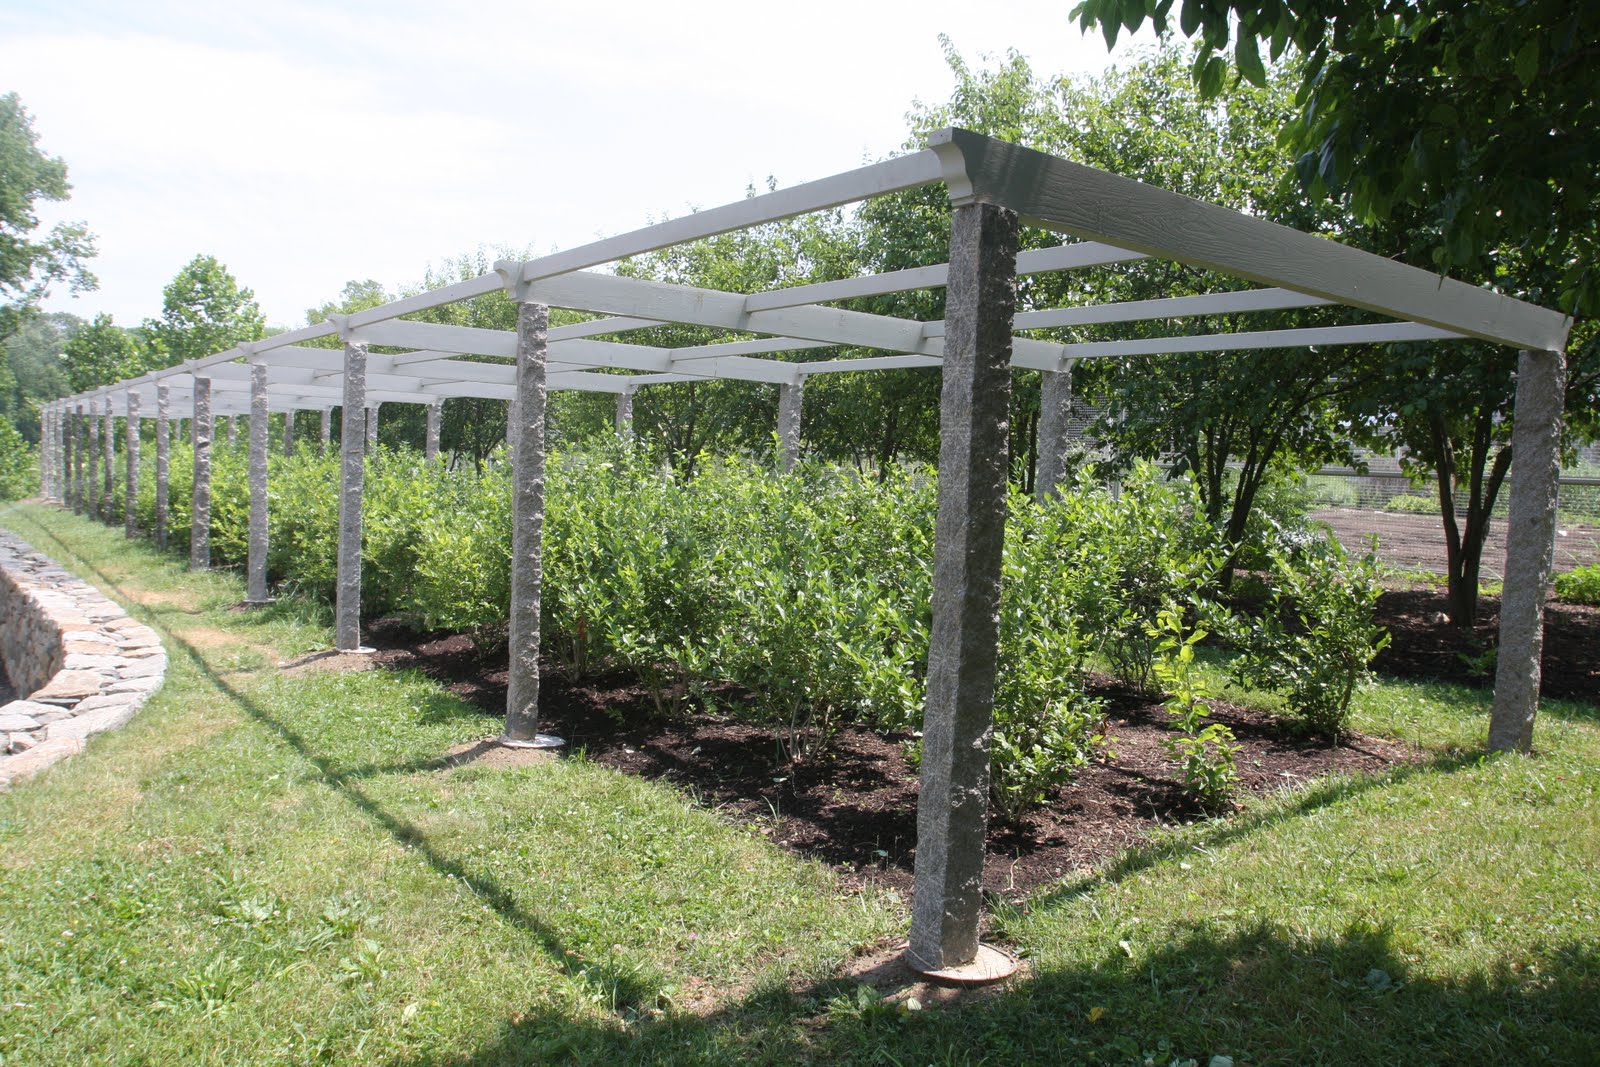
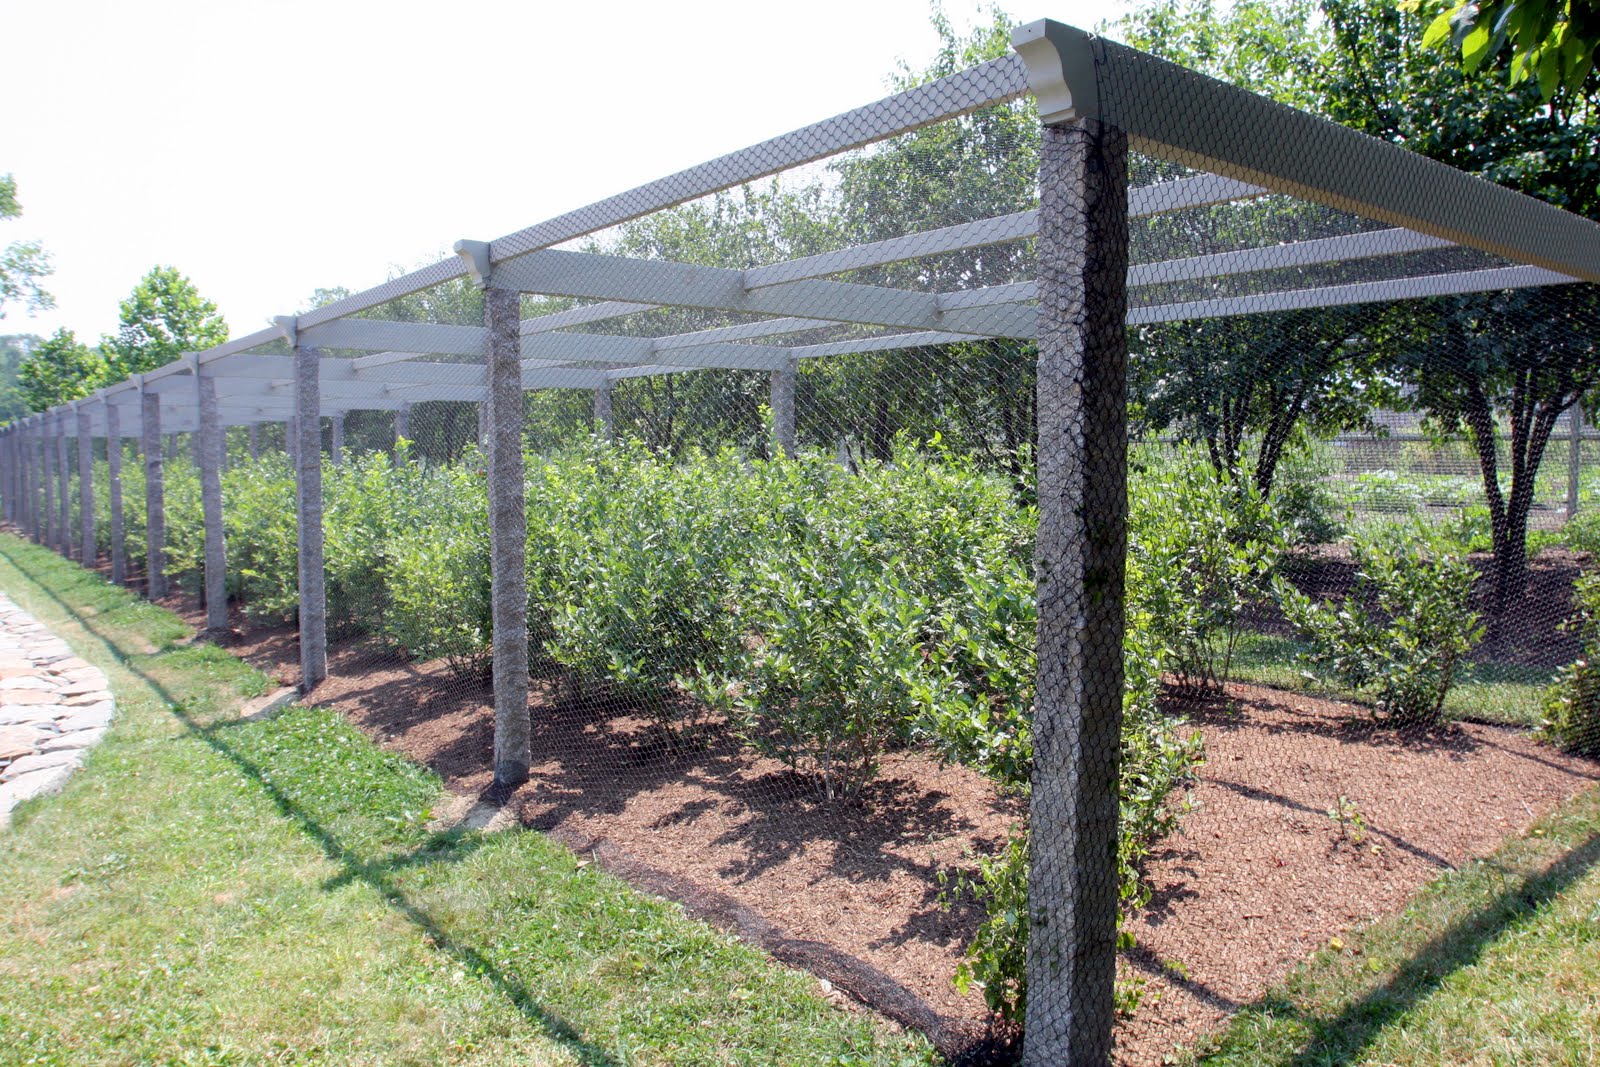
- The finished structure
-
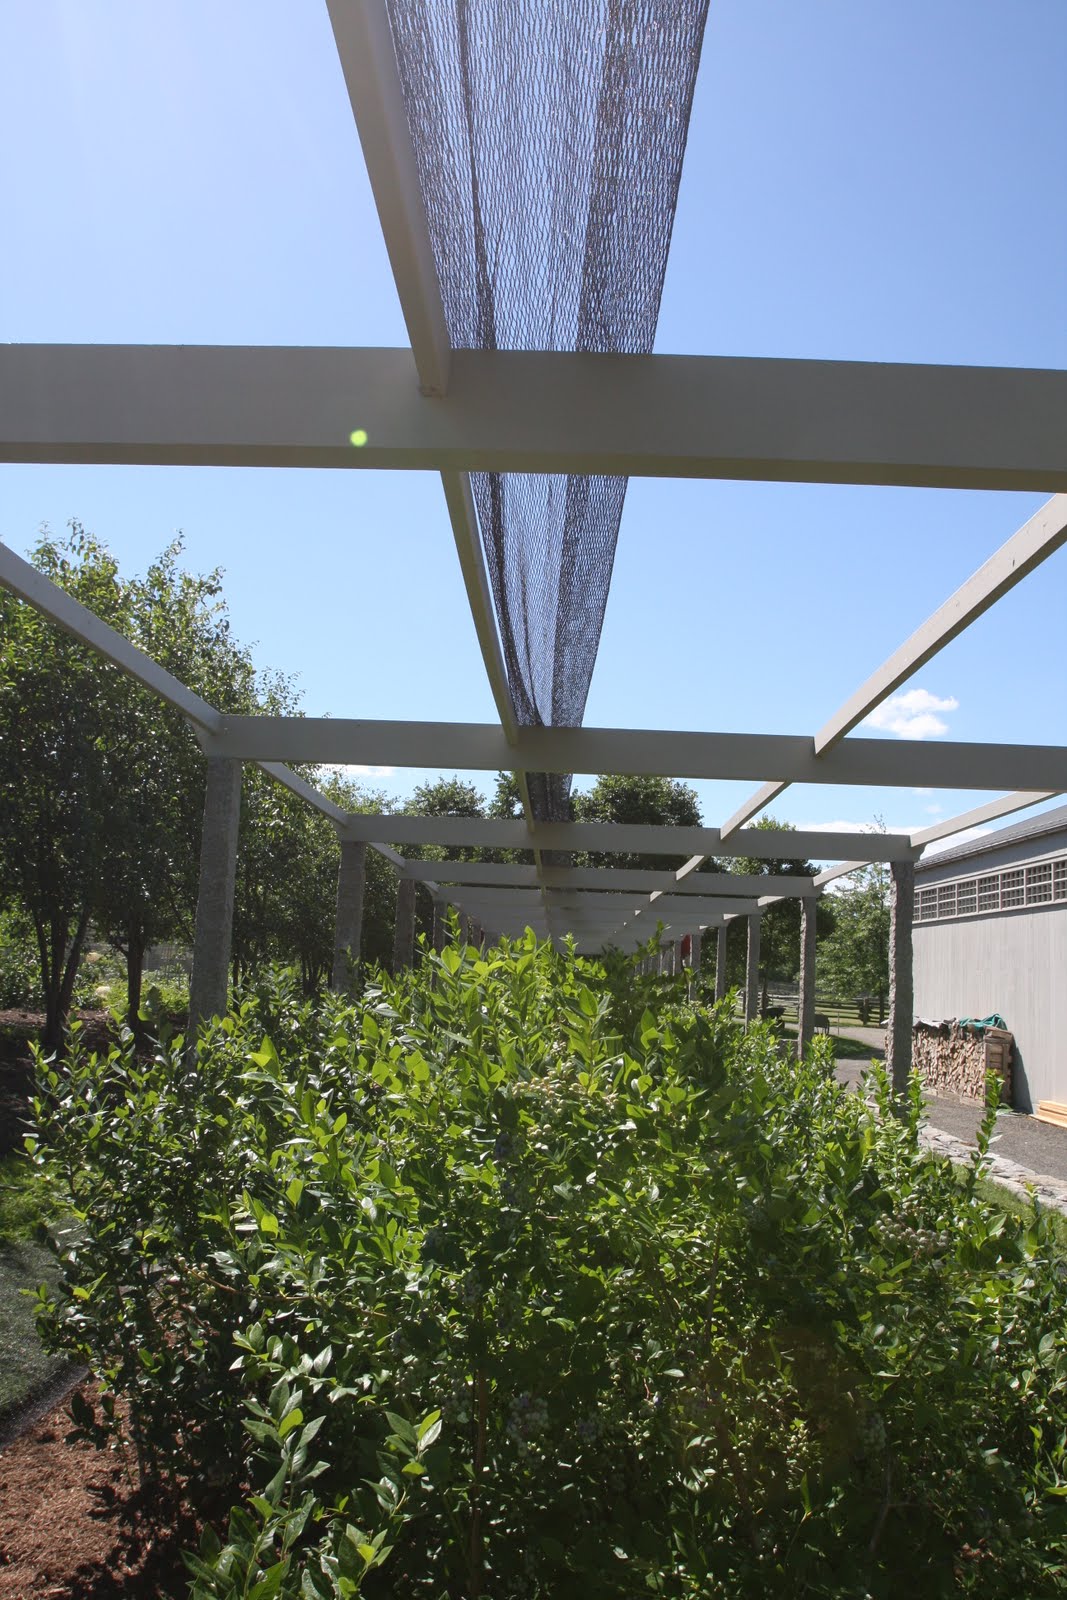
- The top and sides are completely covered with the netting.
-
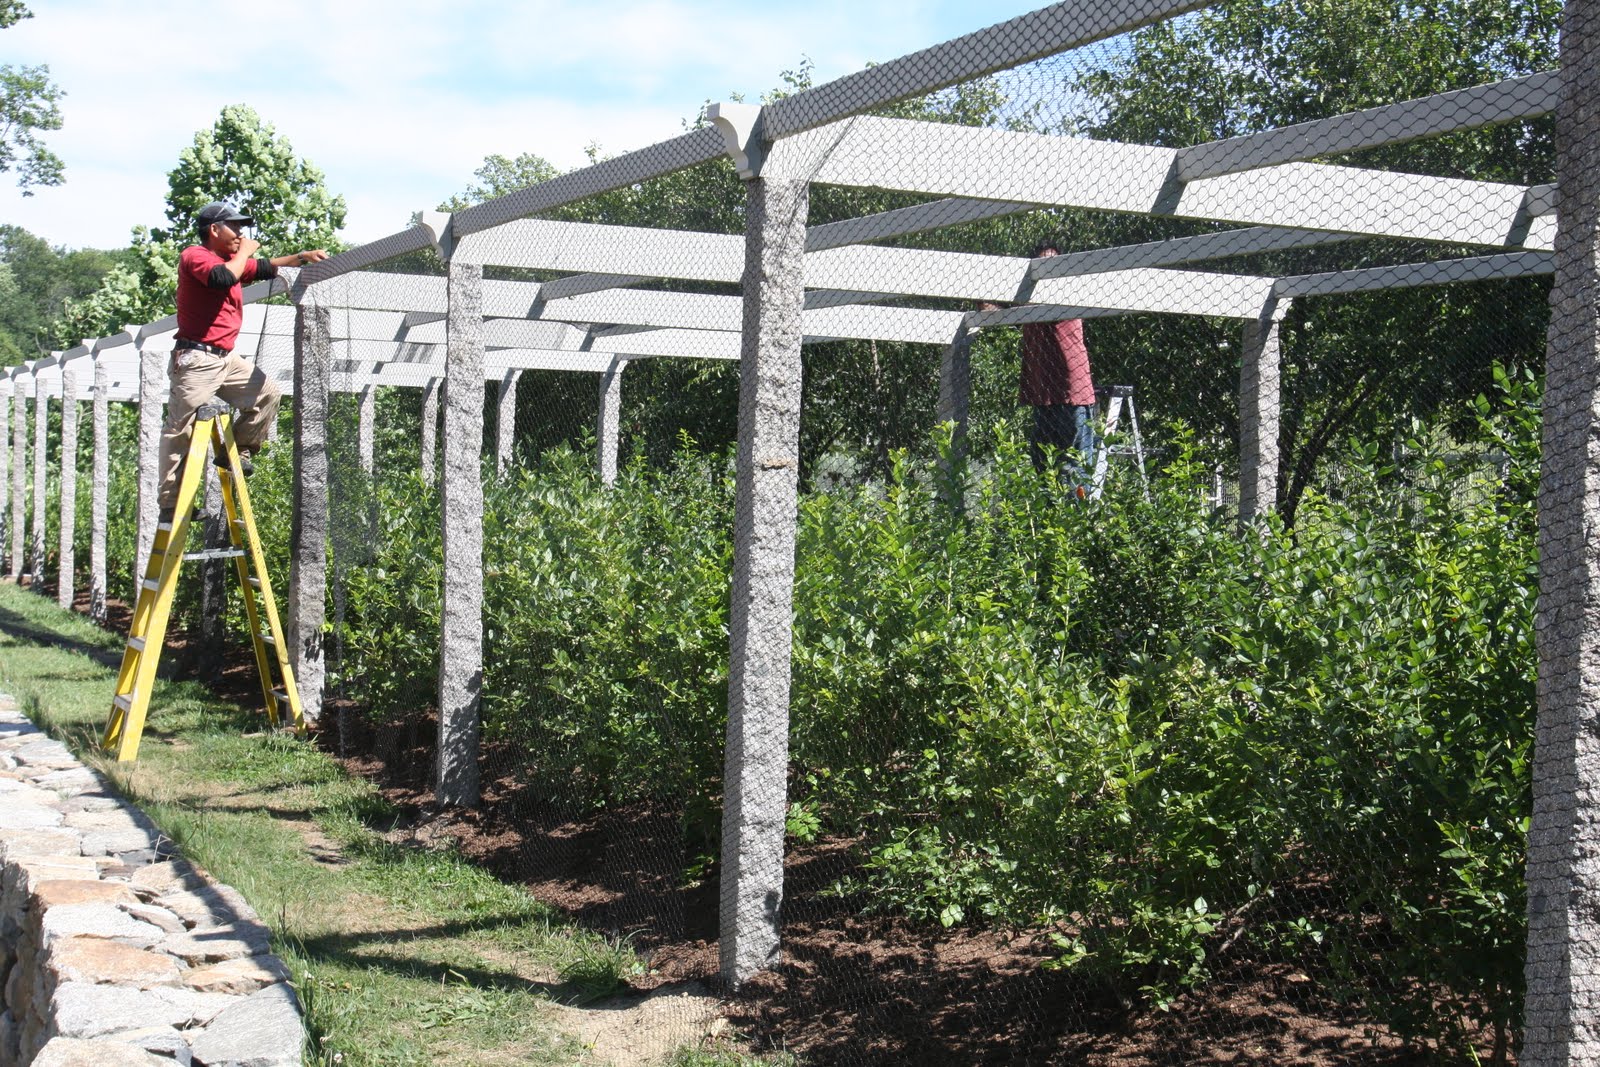
- The next step is to cover the pergola with bird netting.
-
- They are joined together with little plastic ties.

-
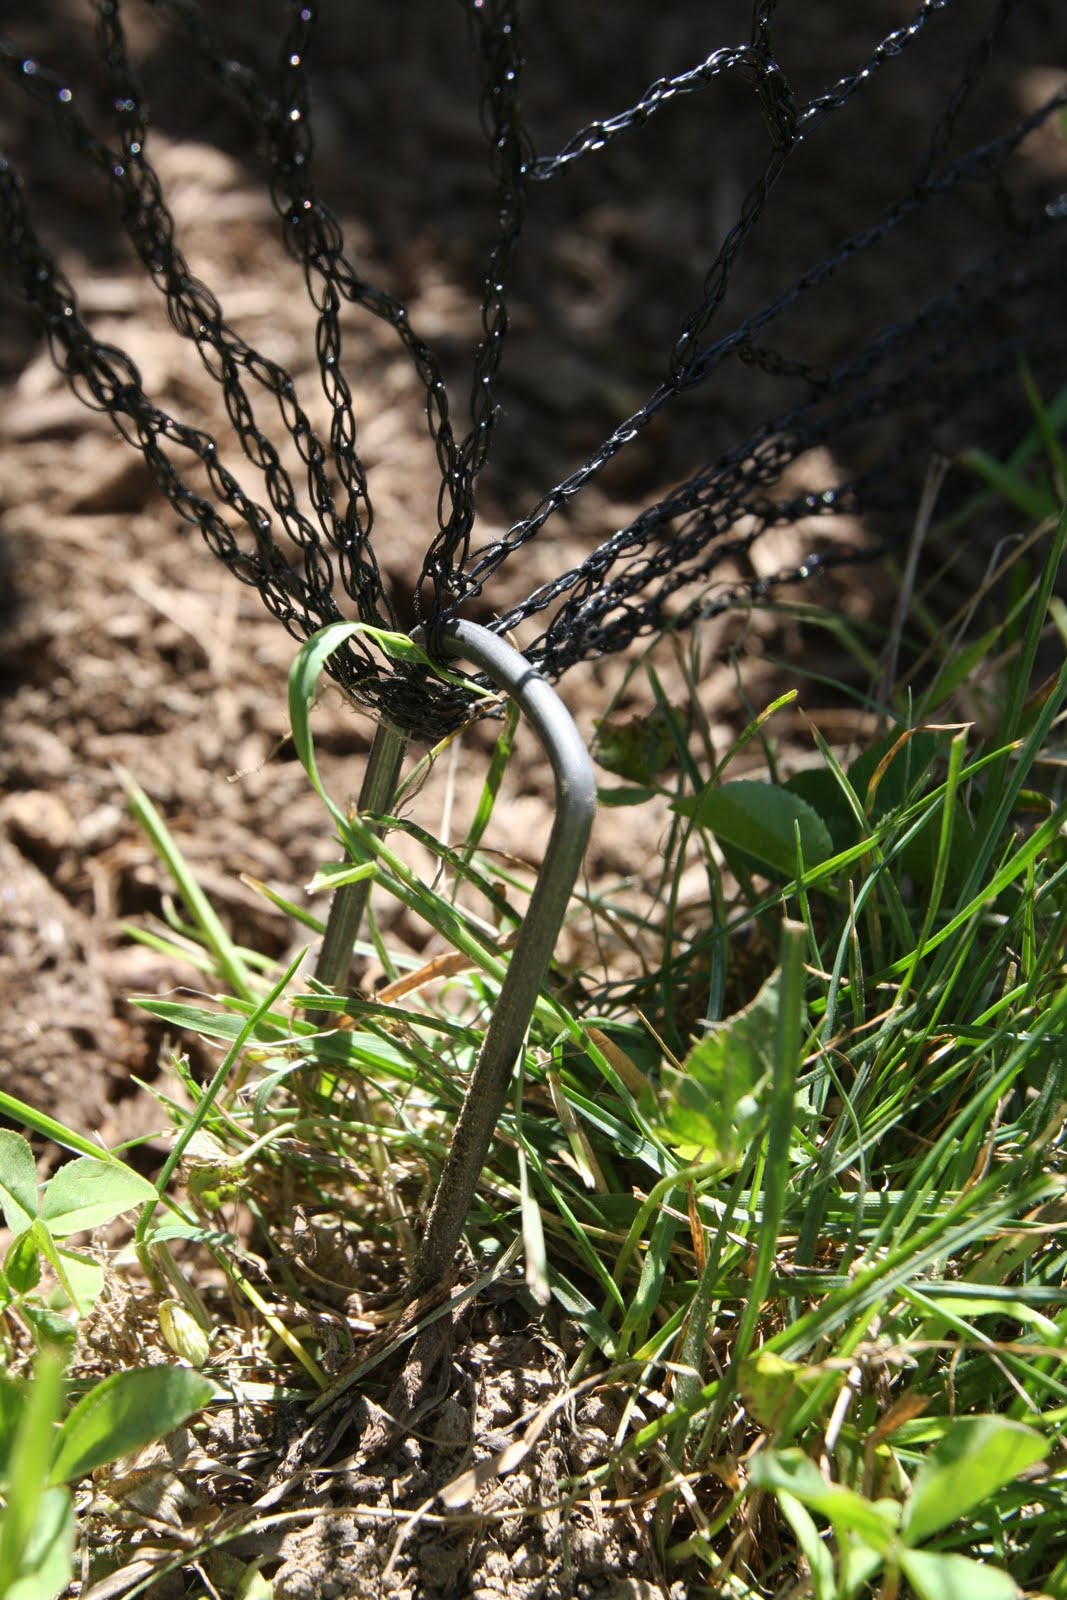
- They are pushed into the soil, stretching the netting tightly.
-
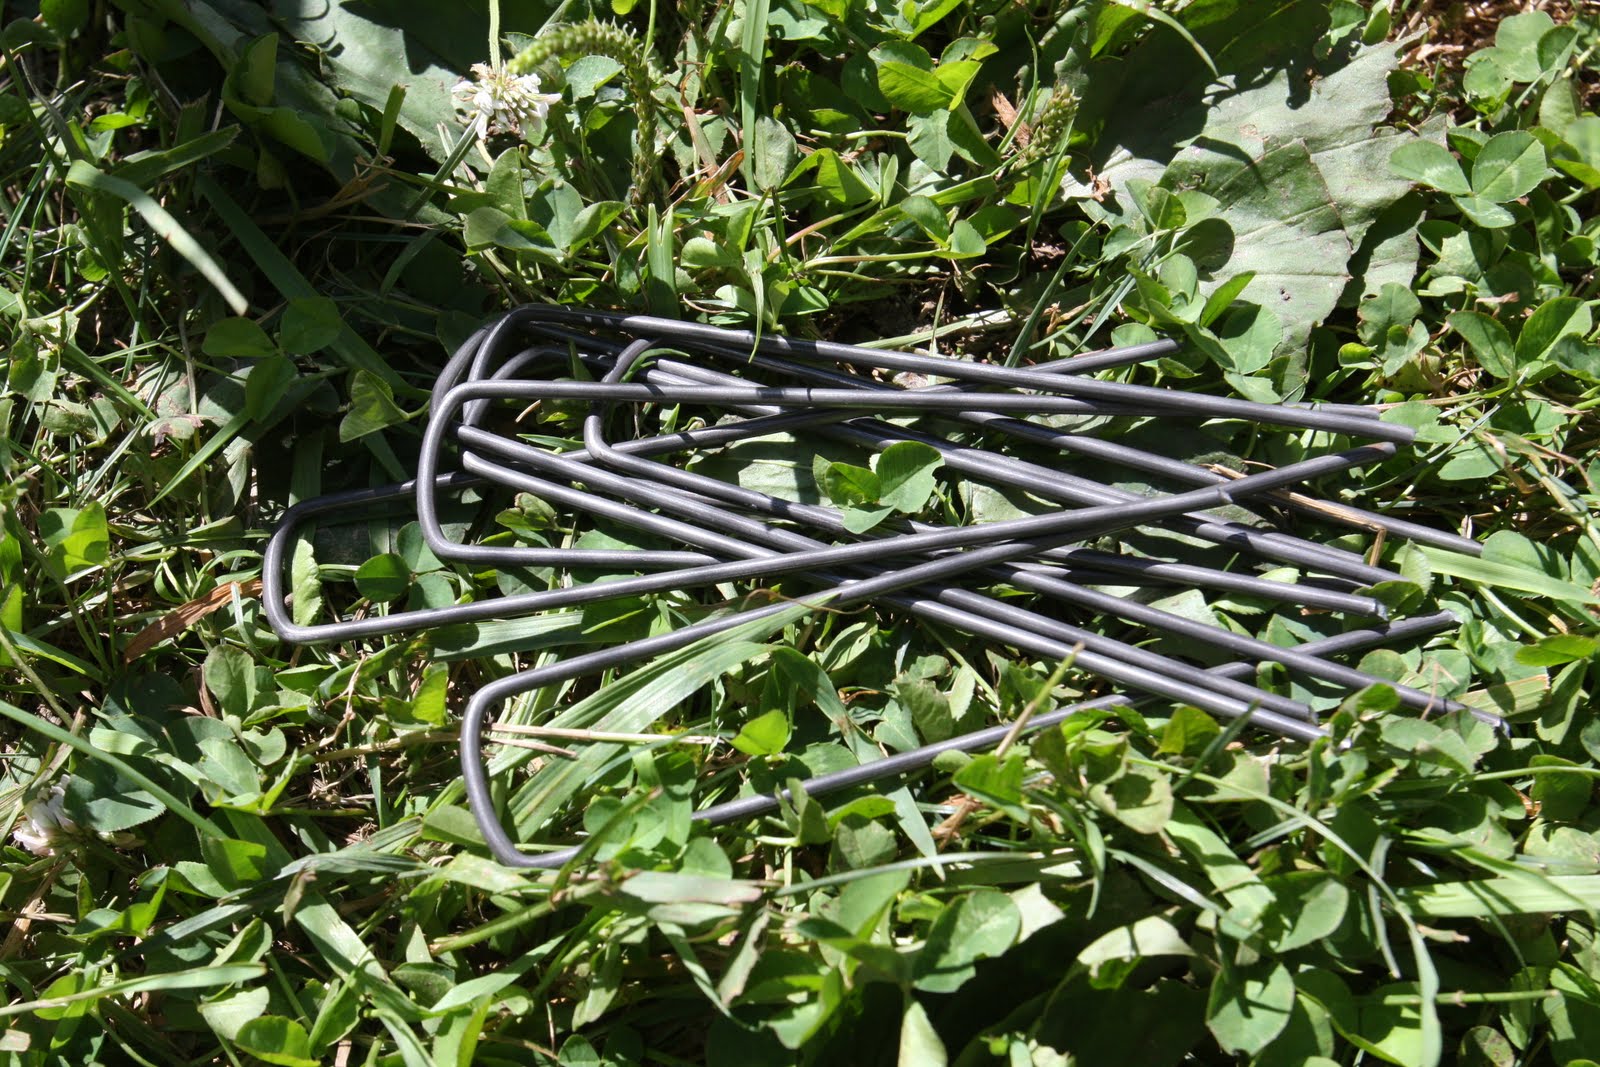
- Finally, the netting is secured to the ground with U-stakes.
-
- This is my new netted blueberry pergola. I’ll show you how it was constructed.
-
- Slavo begins this project by trimming each post to size.
-
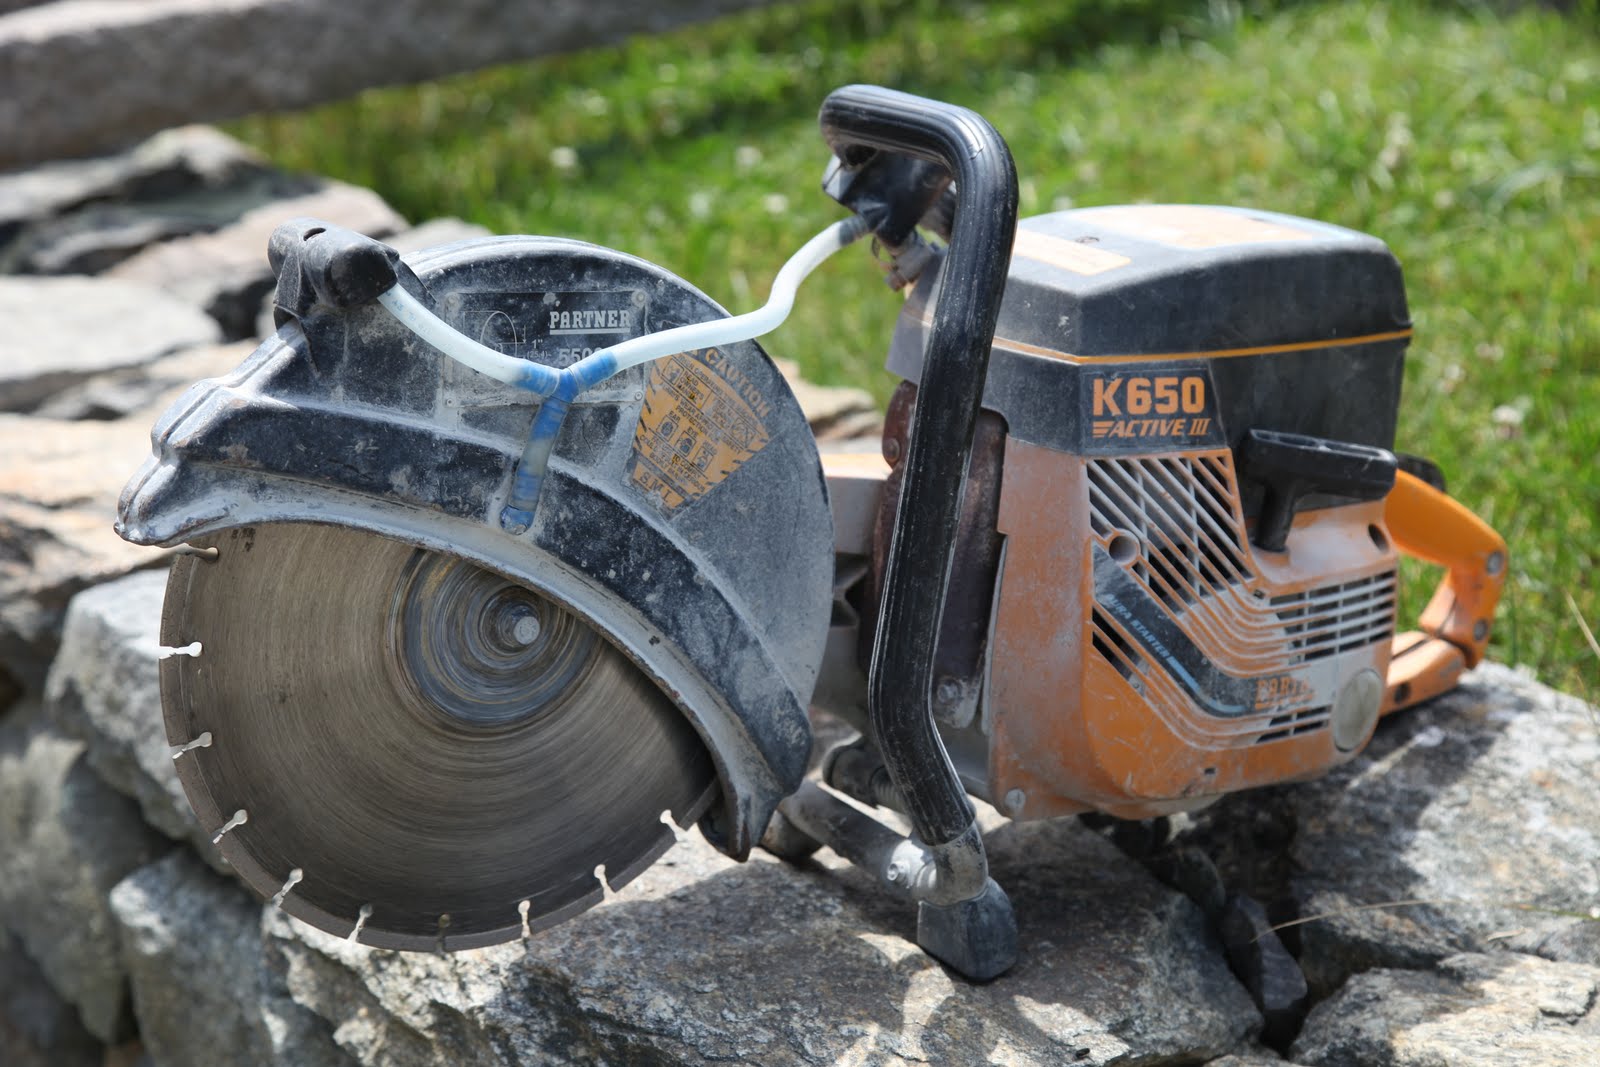
- This saw sprays water into the blade guard, catching most of the generated stone dust, dropping it to the ground.

-
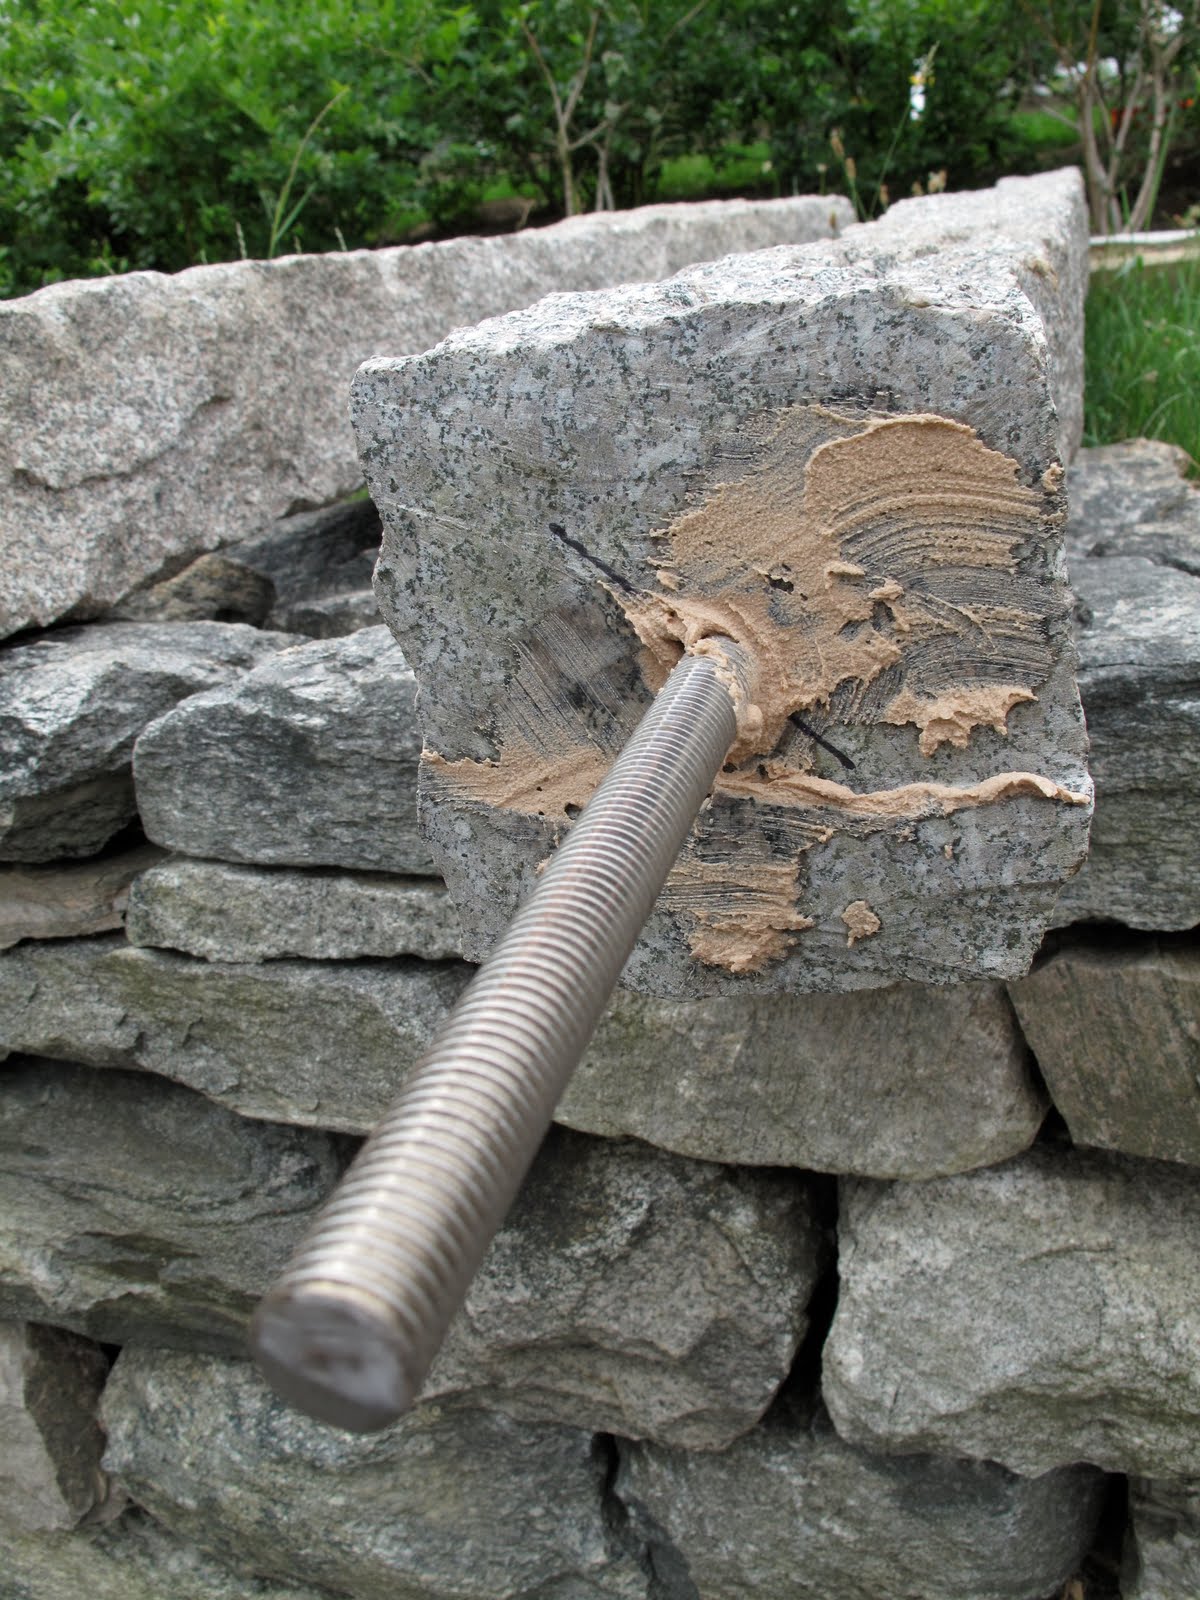
- The dowel is placed in the hole and is affixed with a stone adhesive.
-
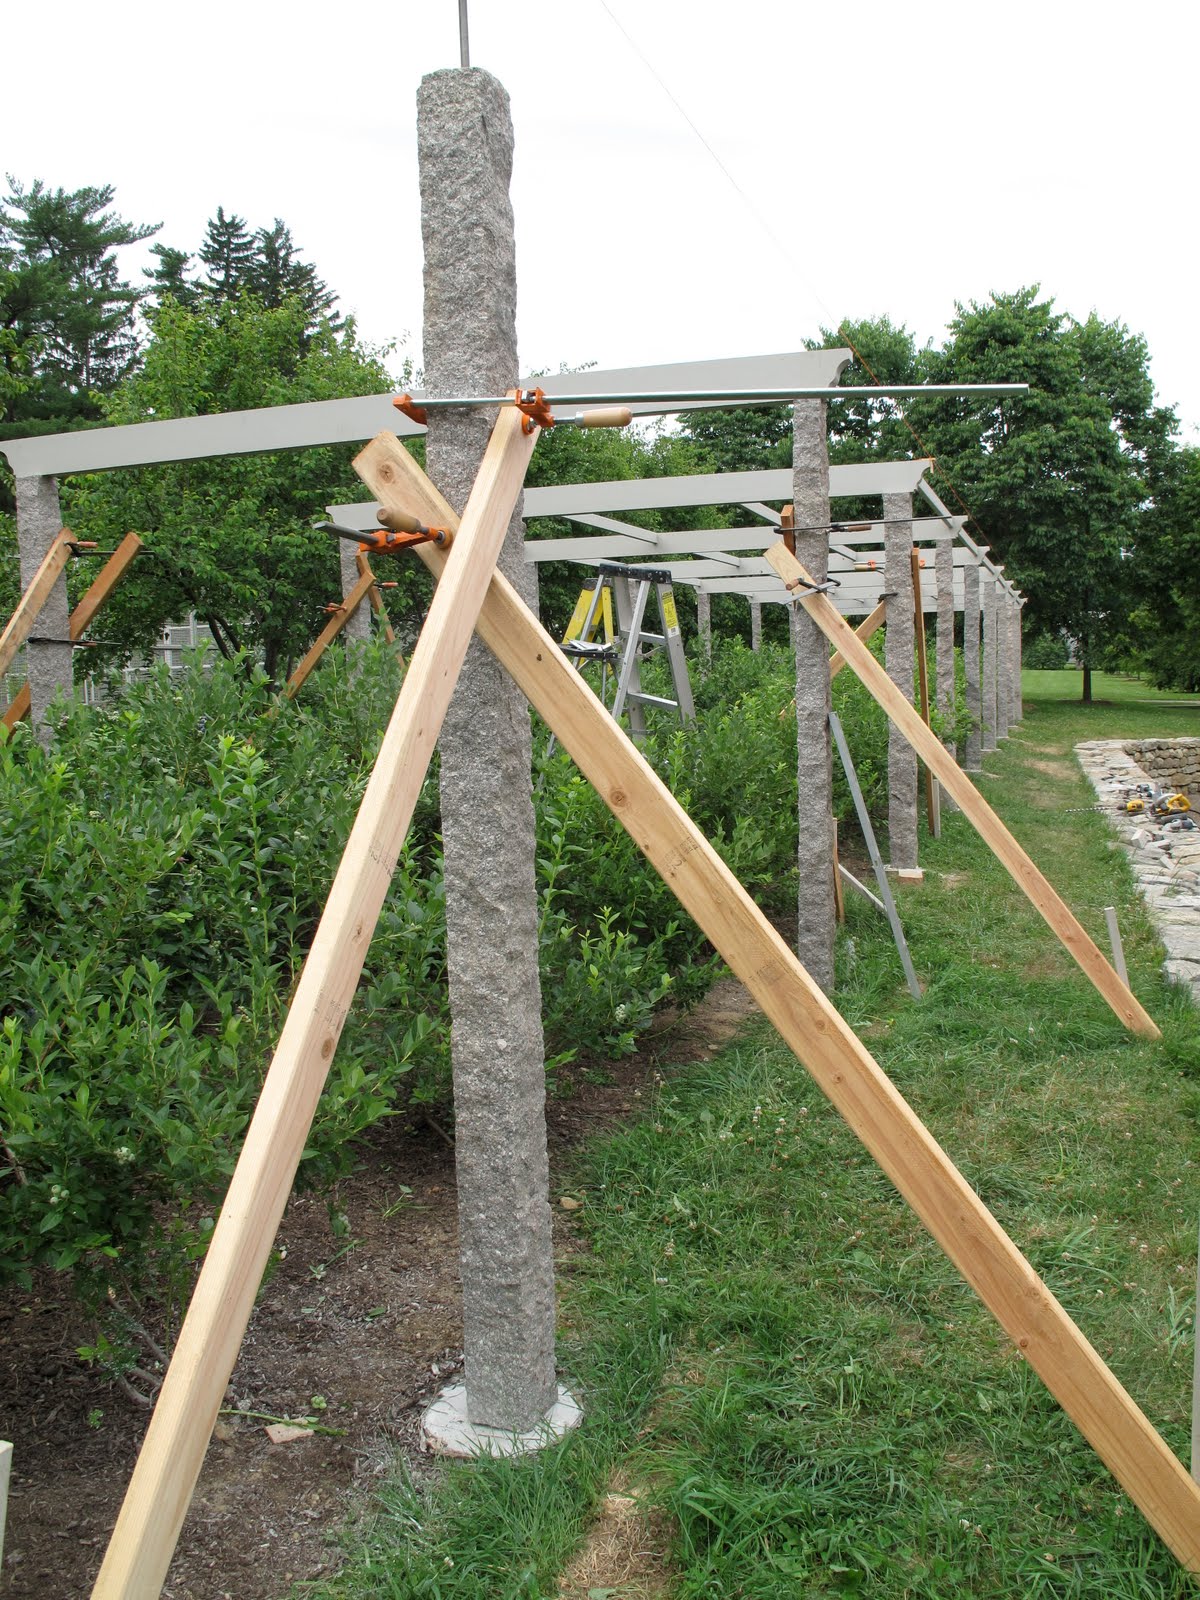
- When the granite posts are exactly level, they’re held in place with long 2x4s and clamps.
-
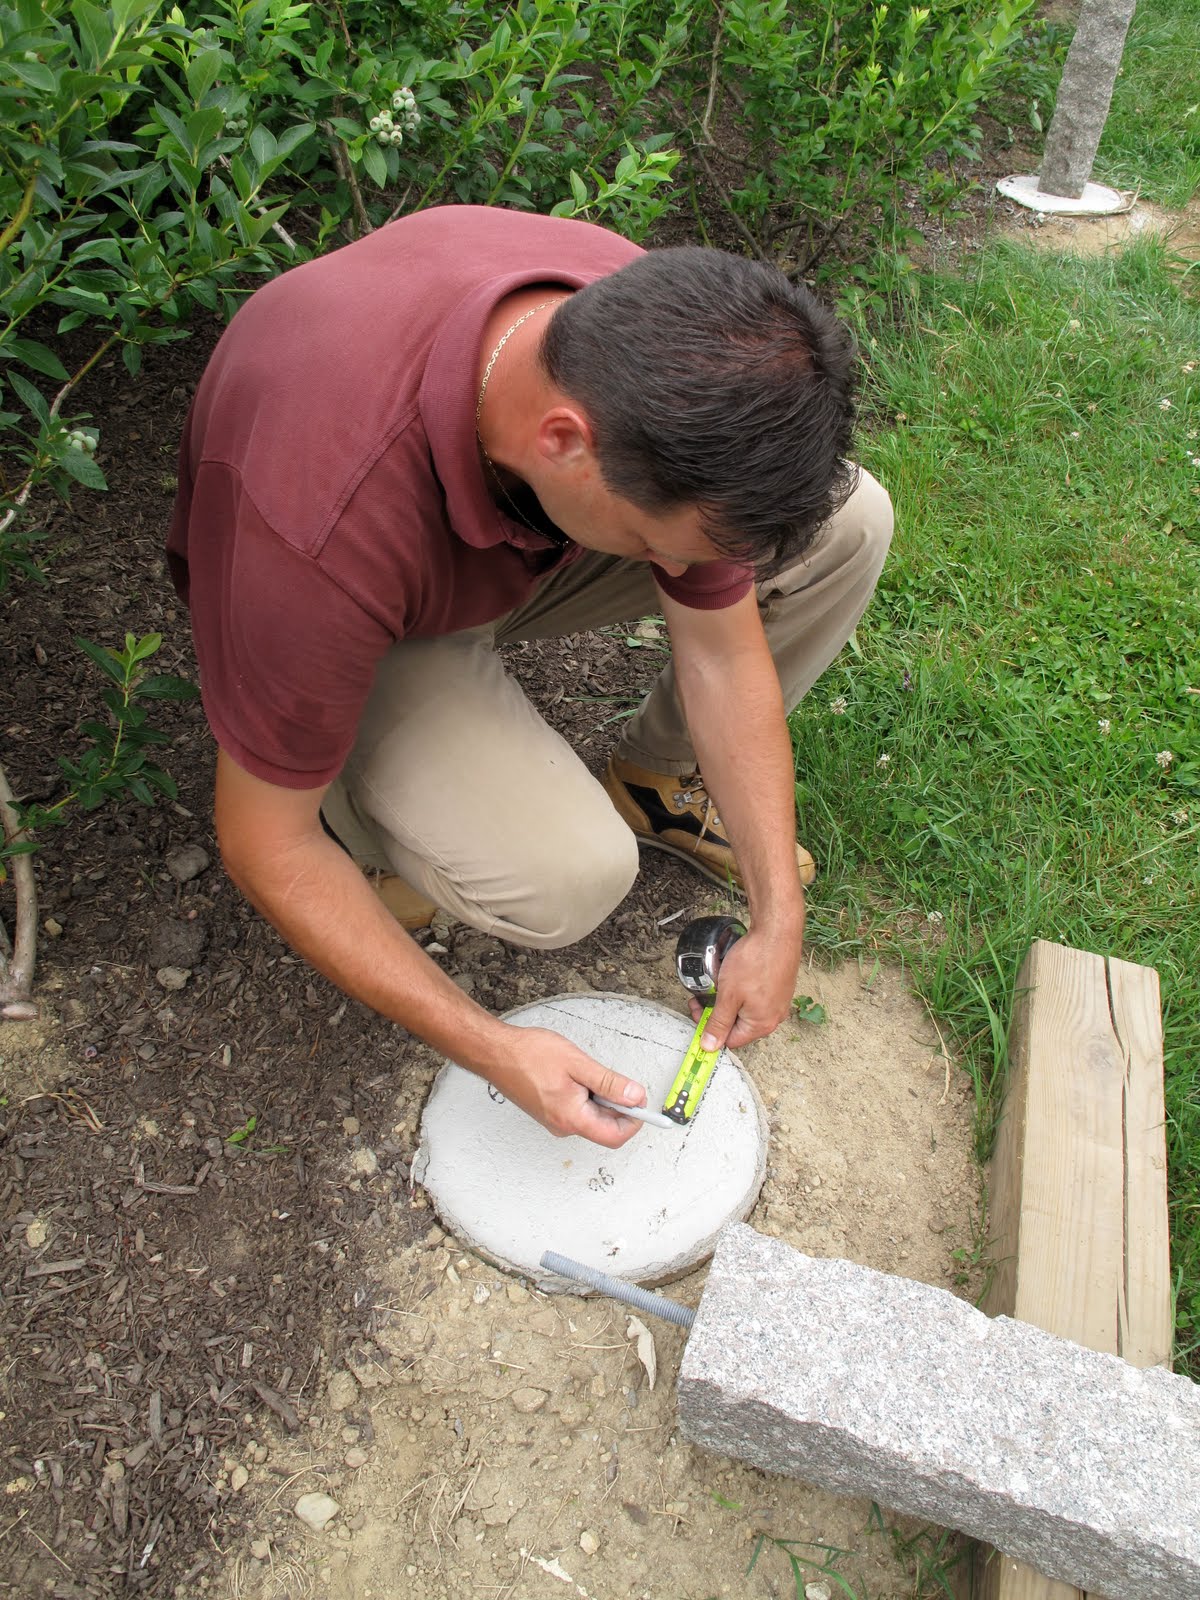
- Slavo carefully measures placement on the cement footings.
-
- He also measures the post – no two are exactly alike.
-
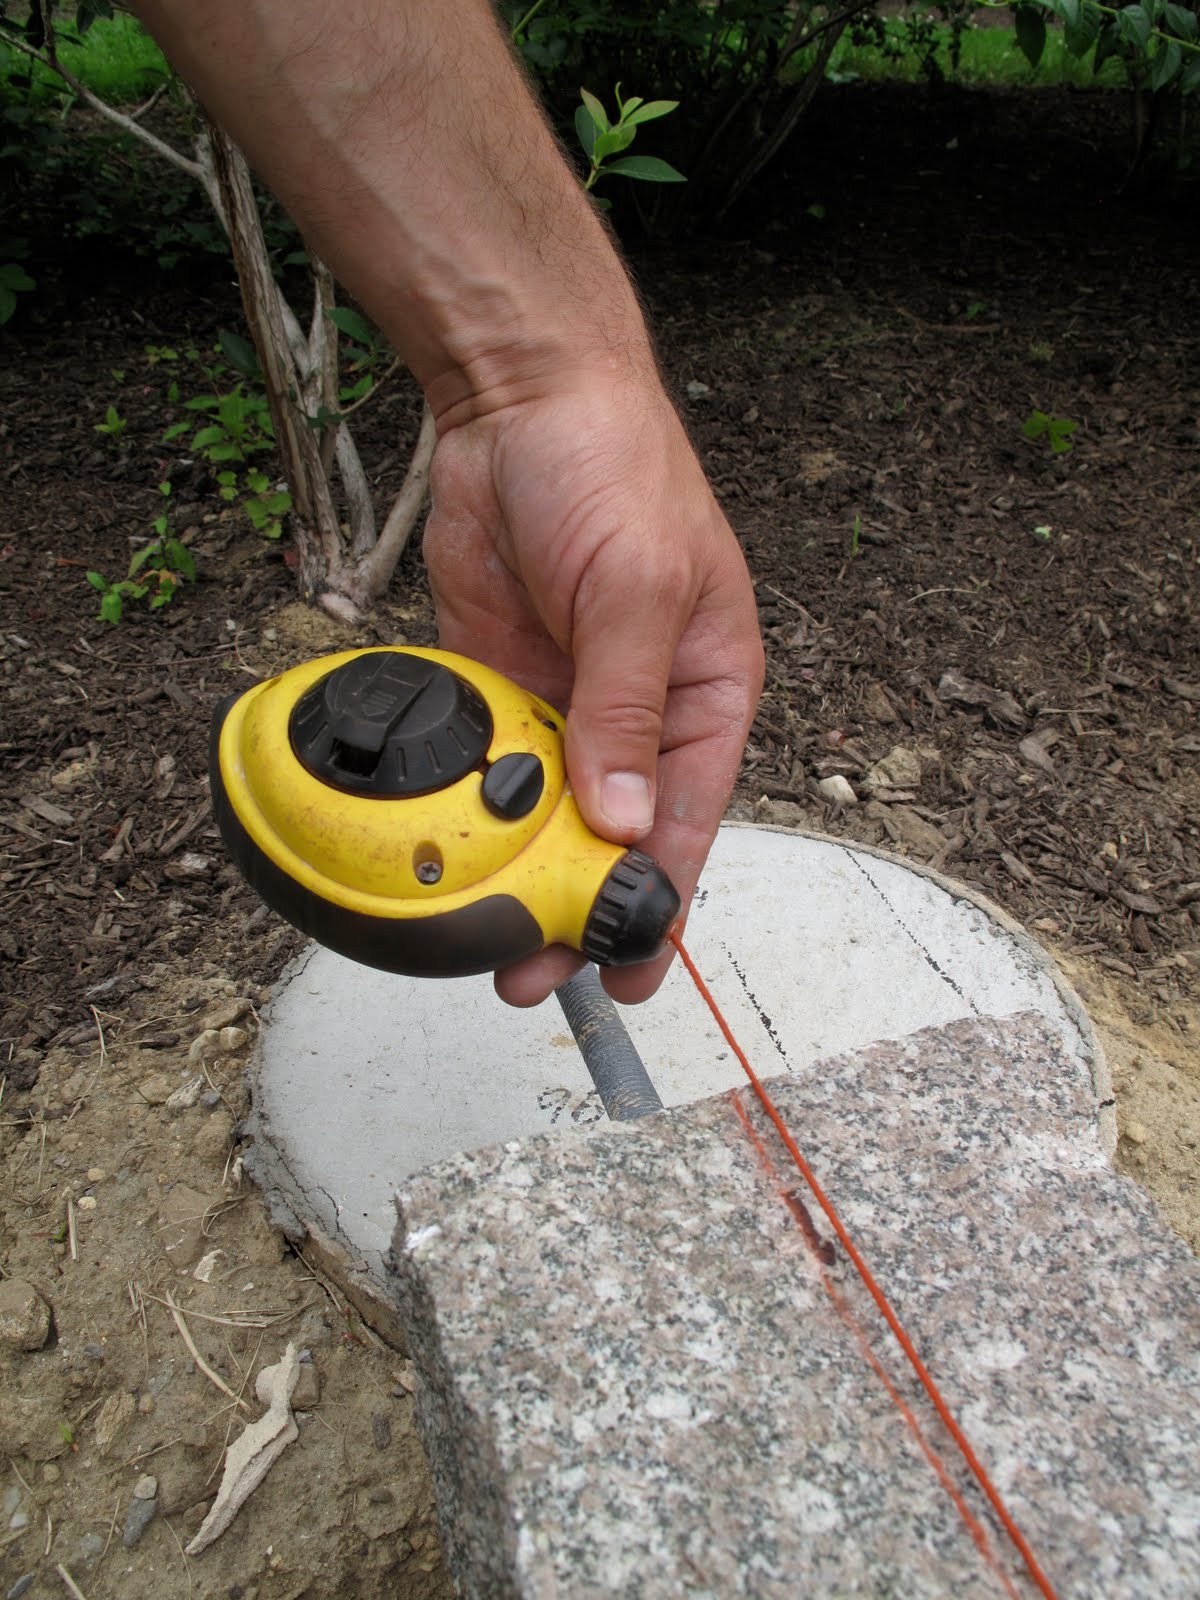
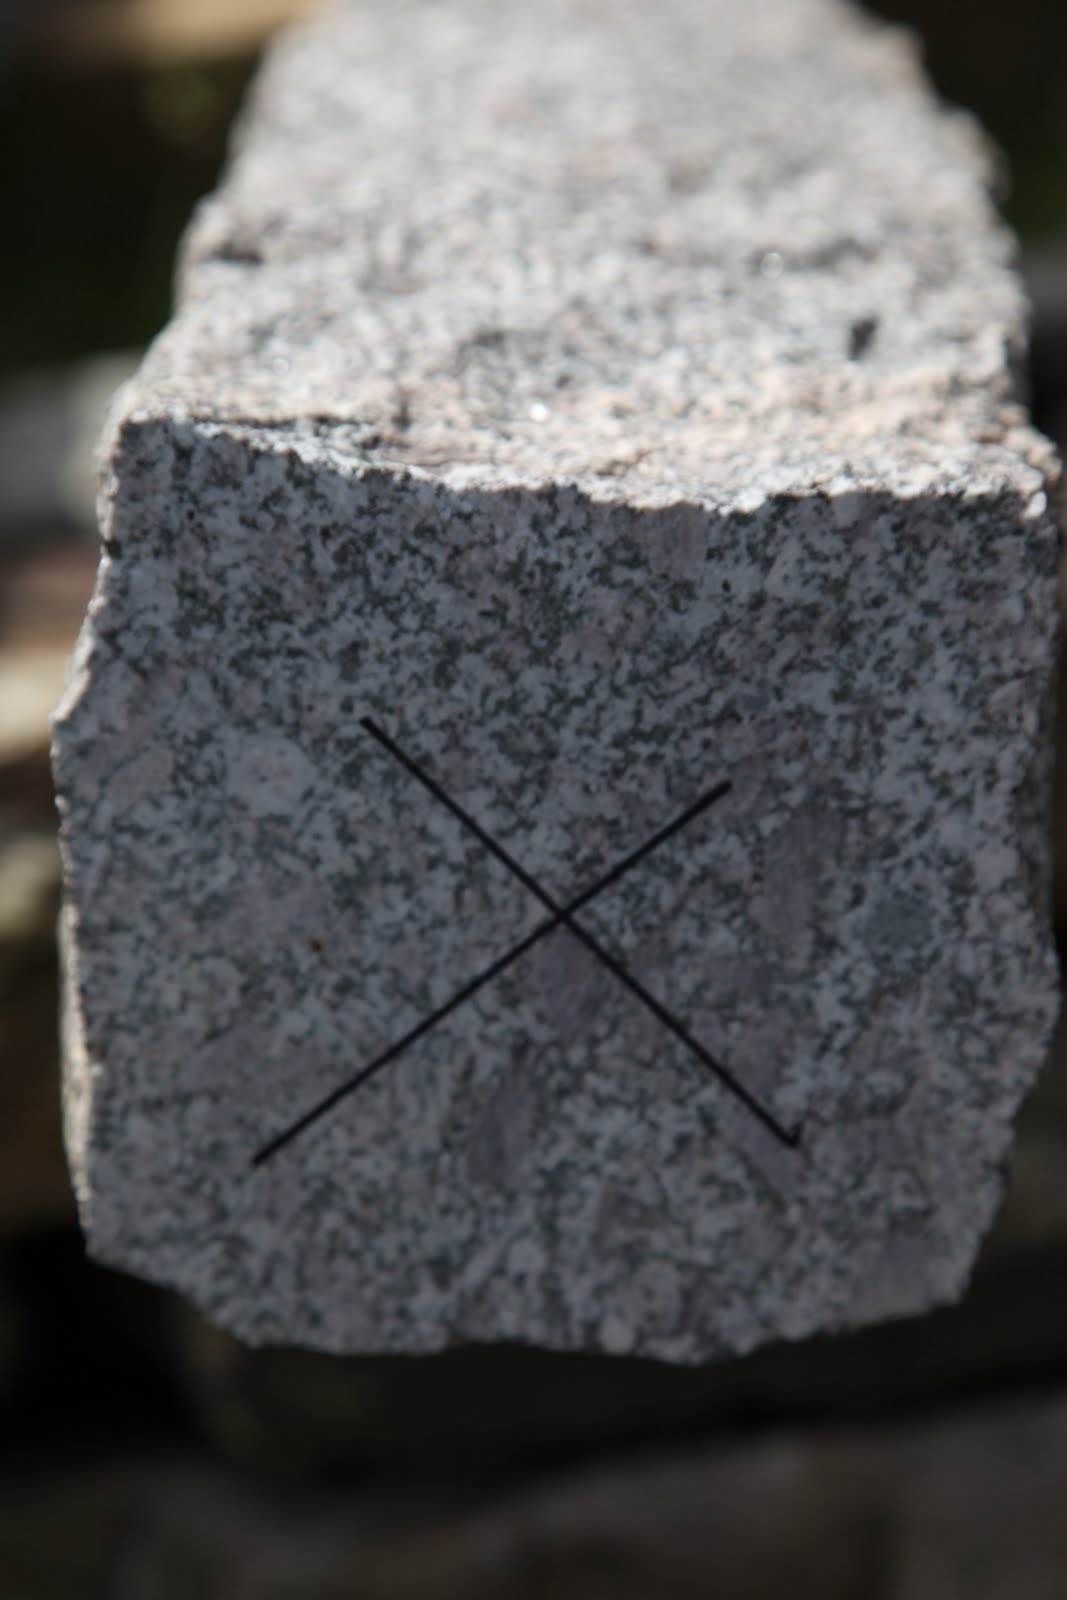
- Using a chalk line, he snaps the center.
-
- He then finds the center on the footing.

-
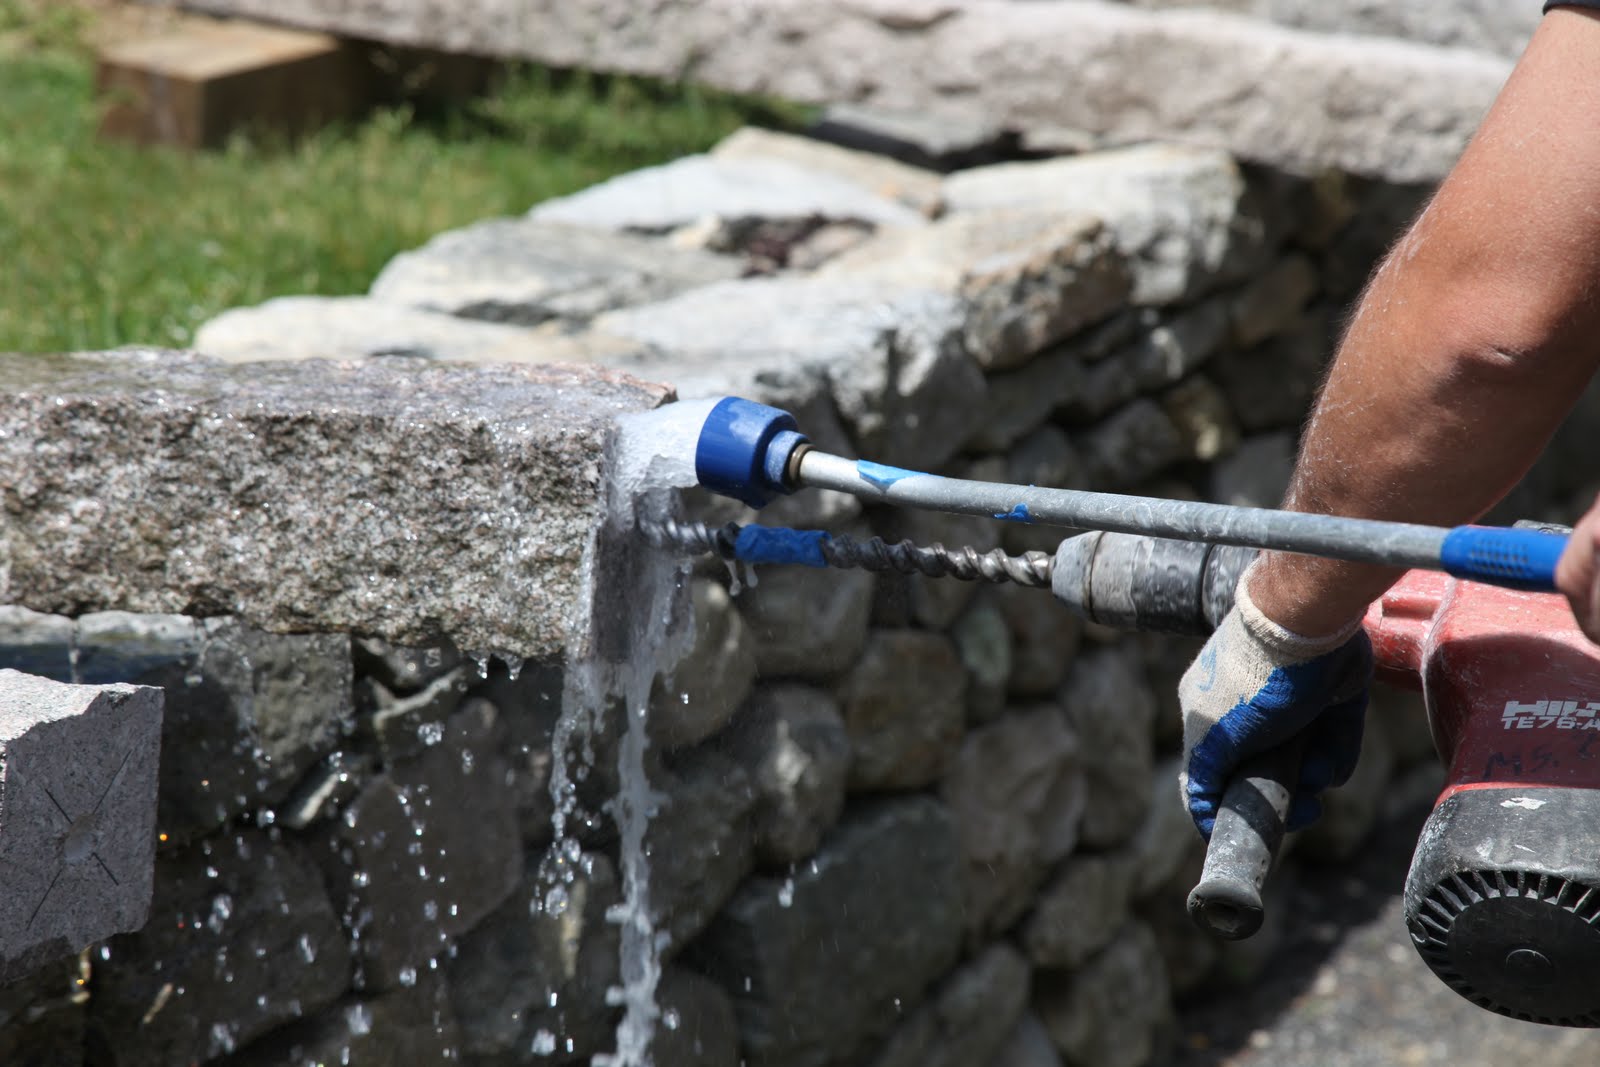
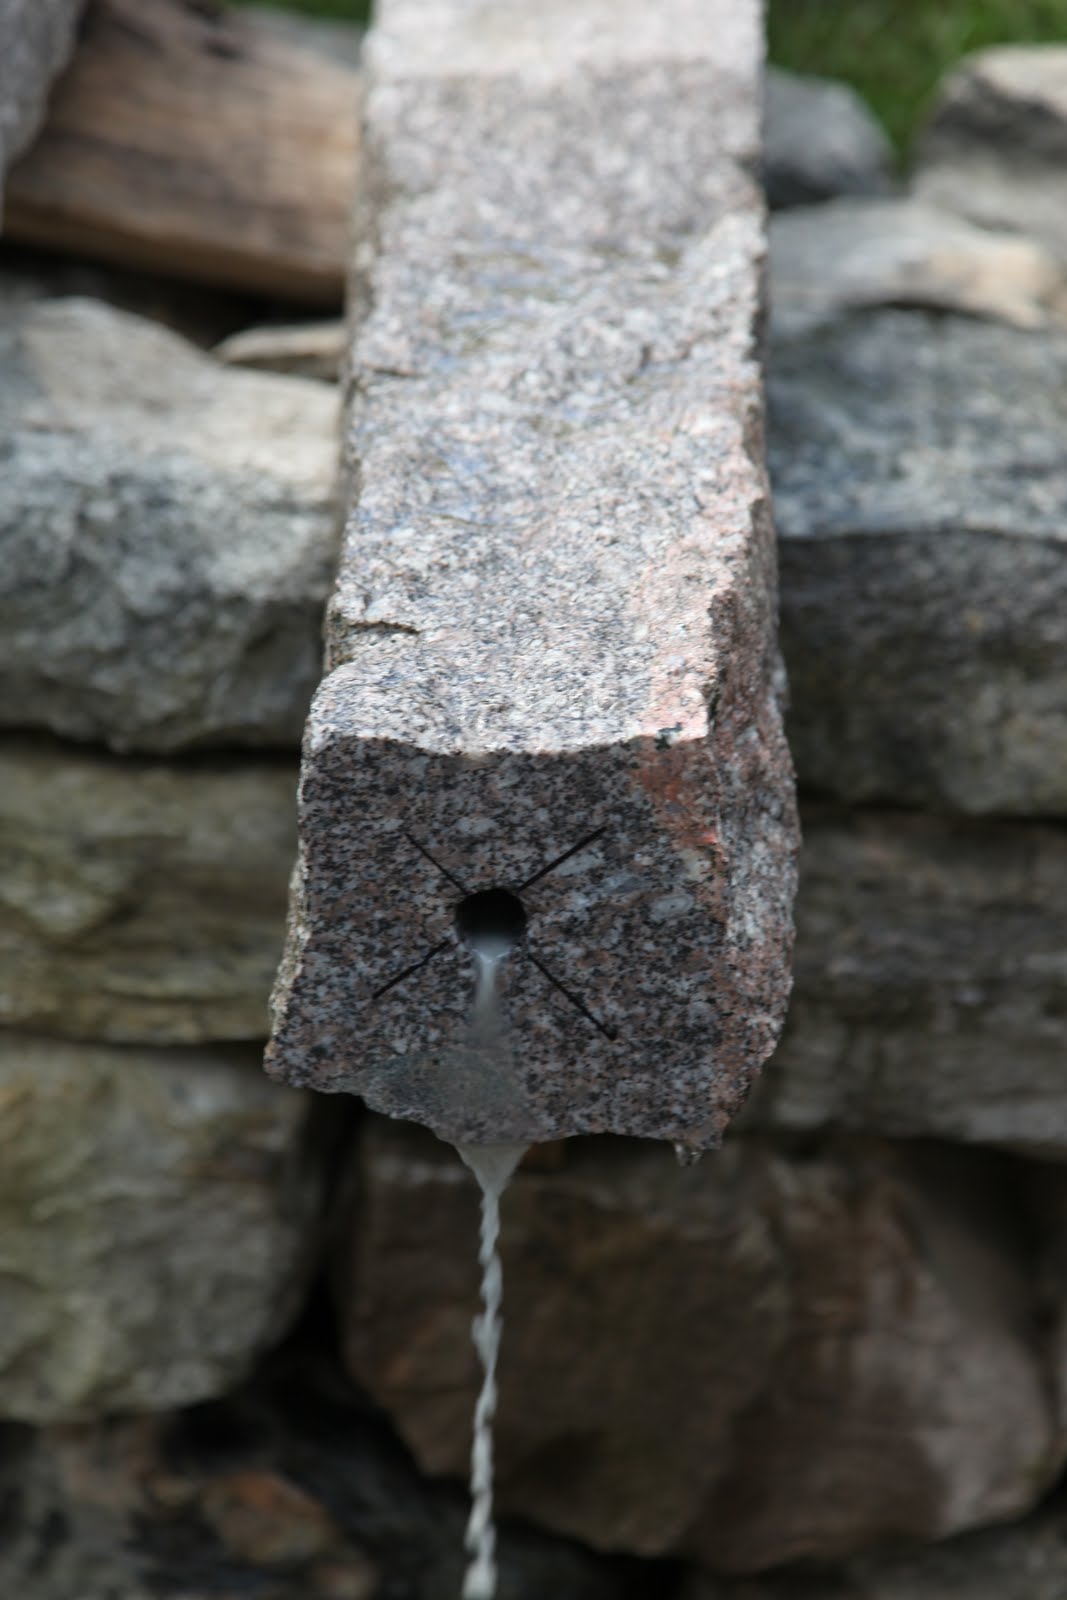
- Slavo drills a hole in the center.

-
- This time the drill uses a water kit.

-
- Notice the metal dowel at the top of the post?
-
- To stabilize the posts, any gaps beneath them are filled in with with a bonding adhesive.

-
- When the hole is finished, John blows it out using air.
-
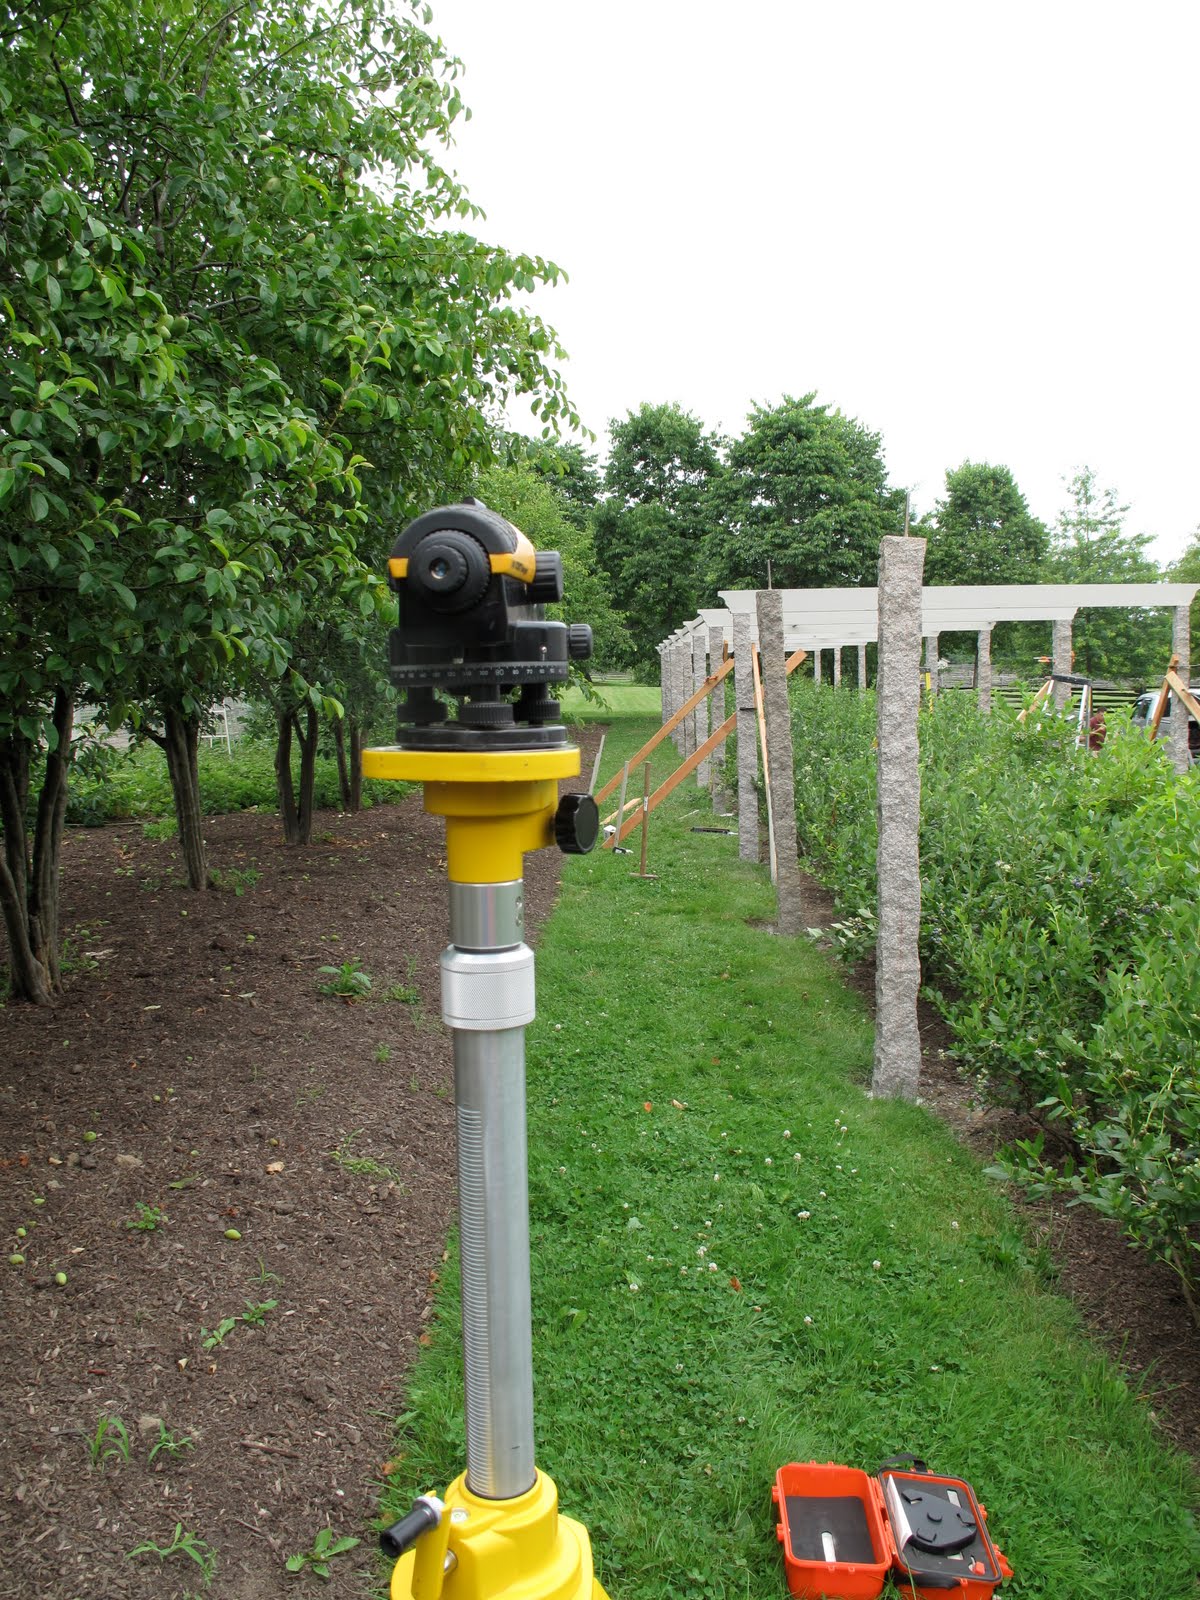
- Looking through the scope, you can see exactly how each post should be set down the line.
-
- To line up the granite posts perfectly, Slavo used this automatic leveling device.
-
- Don’t worry, there are plenty of other berries on the farm for the birds to enjoy.

-
- The blueberries are prolific this year.

-
- Beneath the netting it’s like being in a special blueberry ‘room.’

-
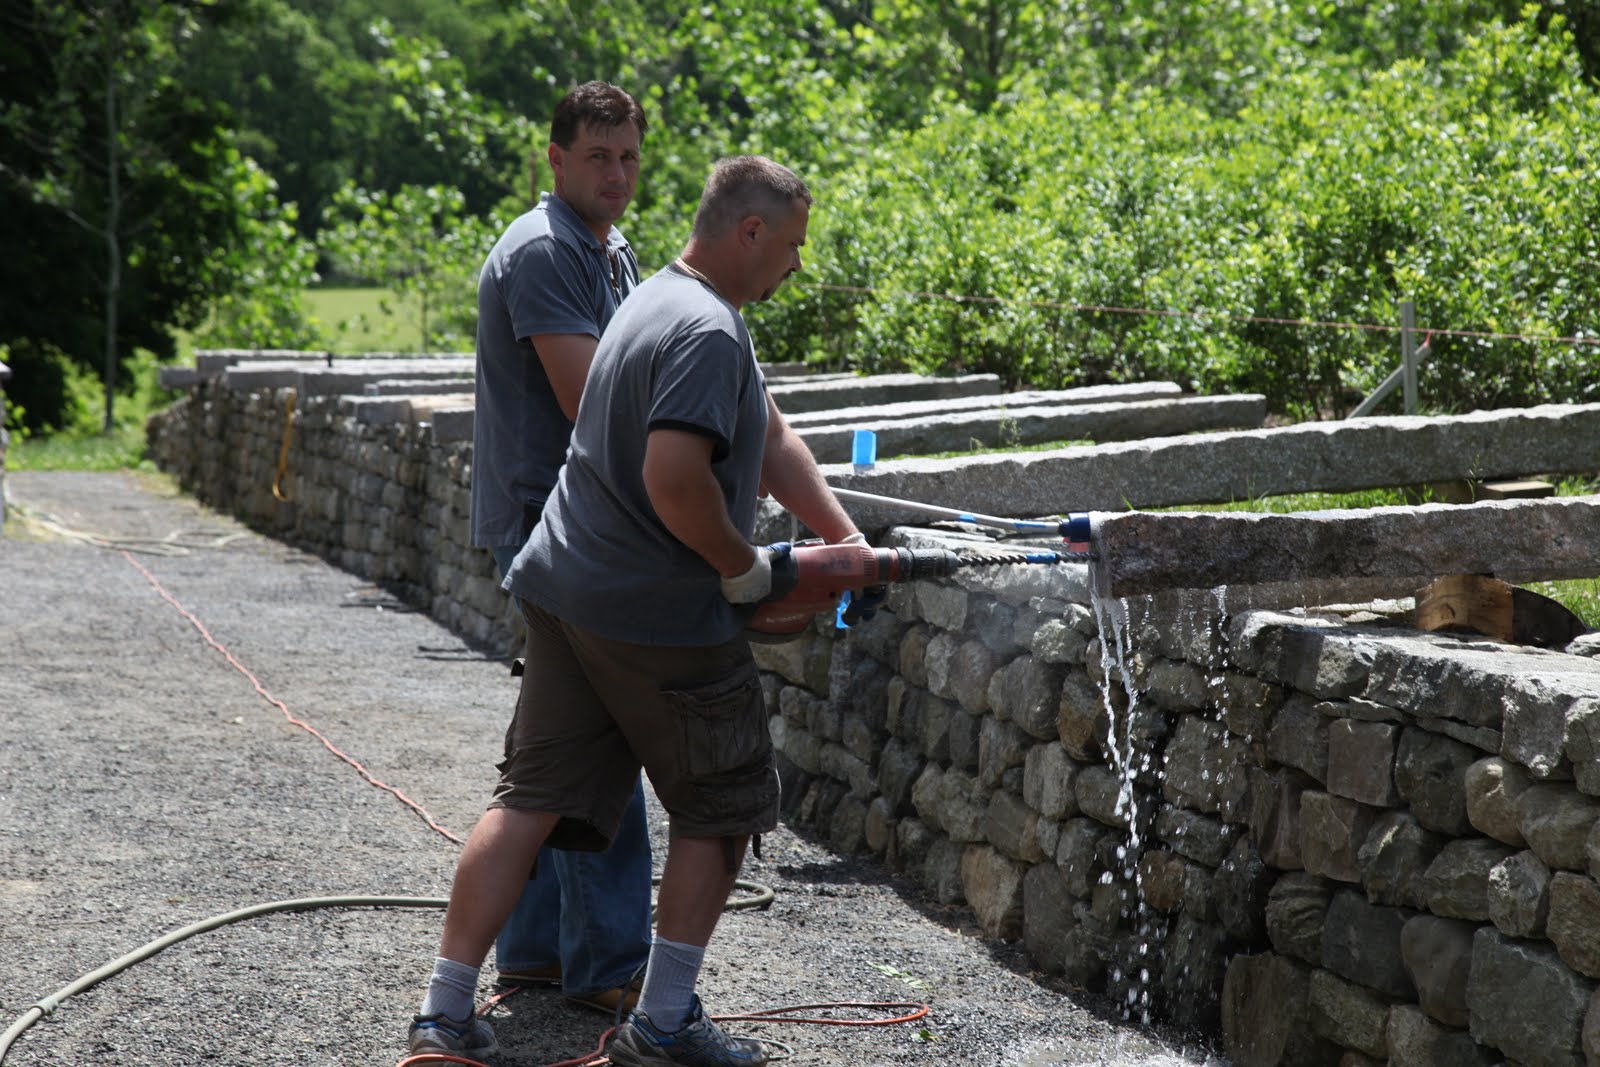
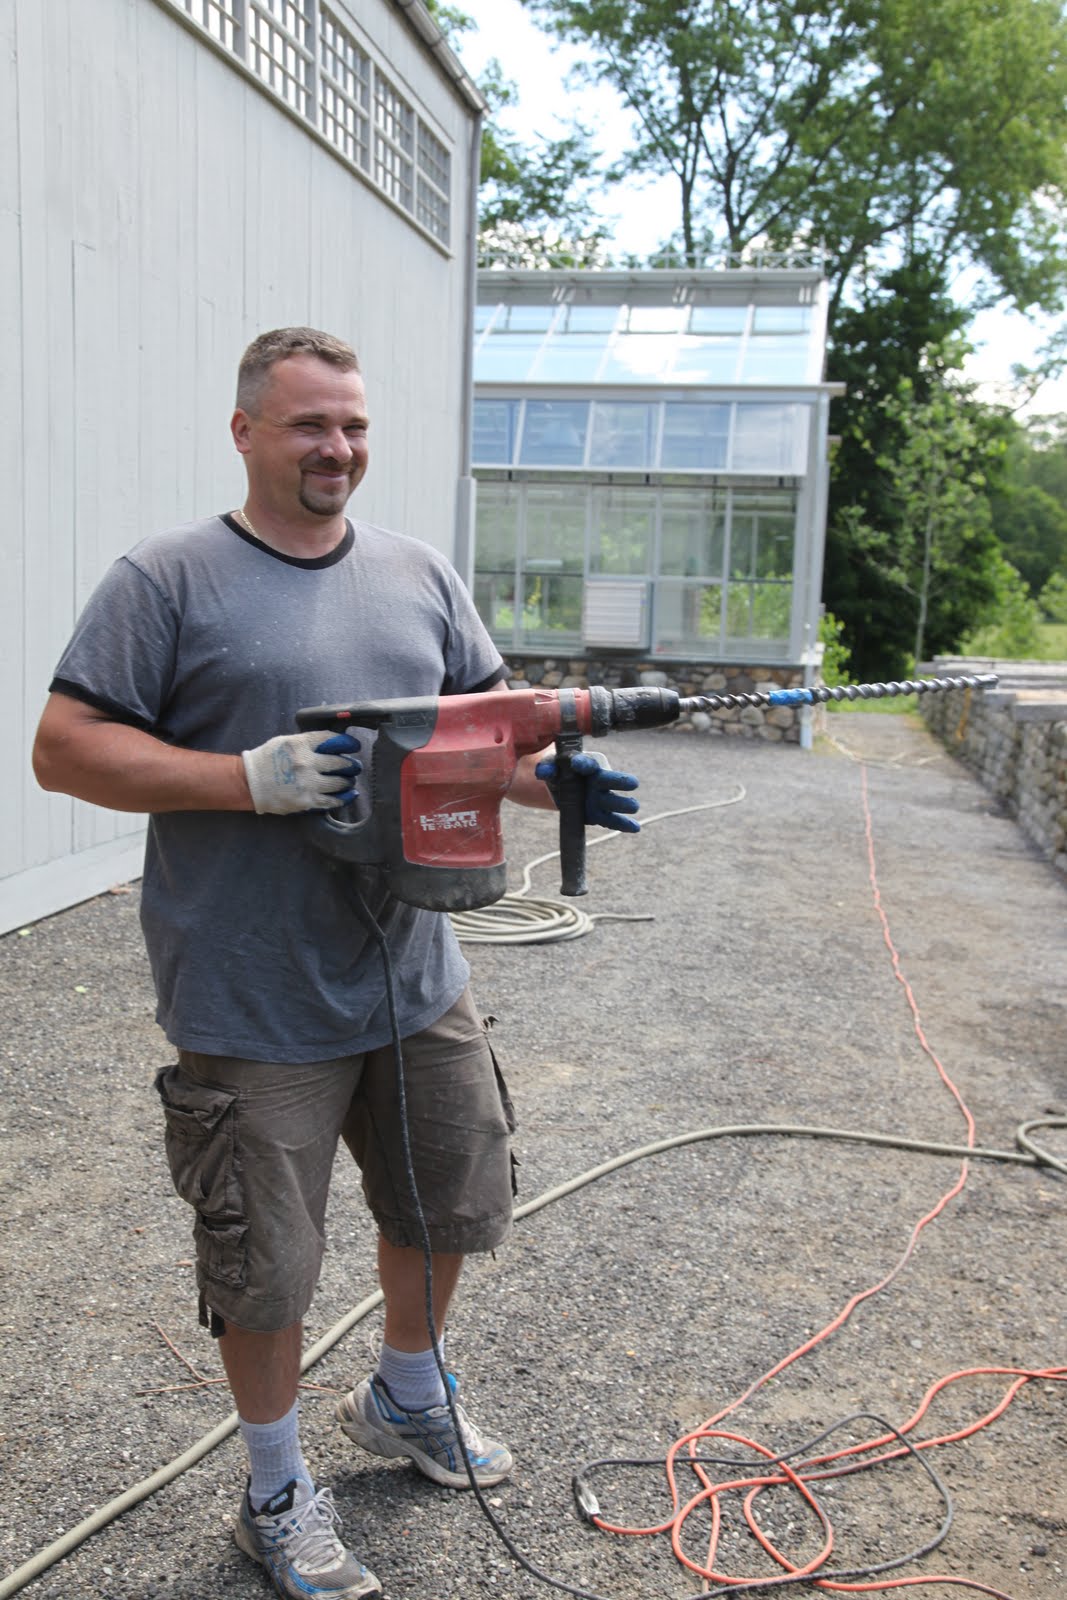
- John begins drilling while Slavo sprays with water to keep the dust from flying.
-
- John drills up to the blue mark on his drill bit.
-
- X marks the spot.
-
- John uses a masonry drill to make holes for the dowels.
-
- A completed hole
-
- A powerful masonry saw is used for this task.
-
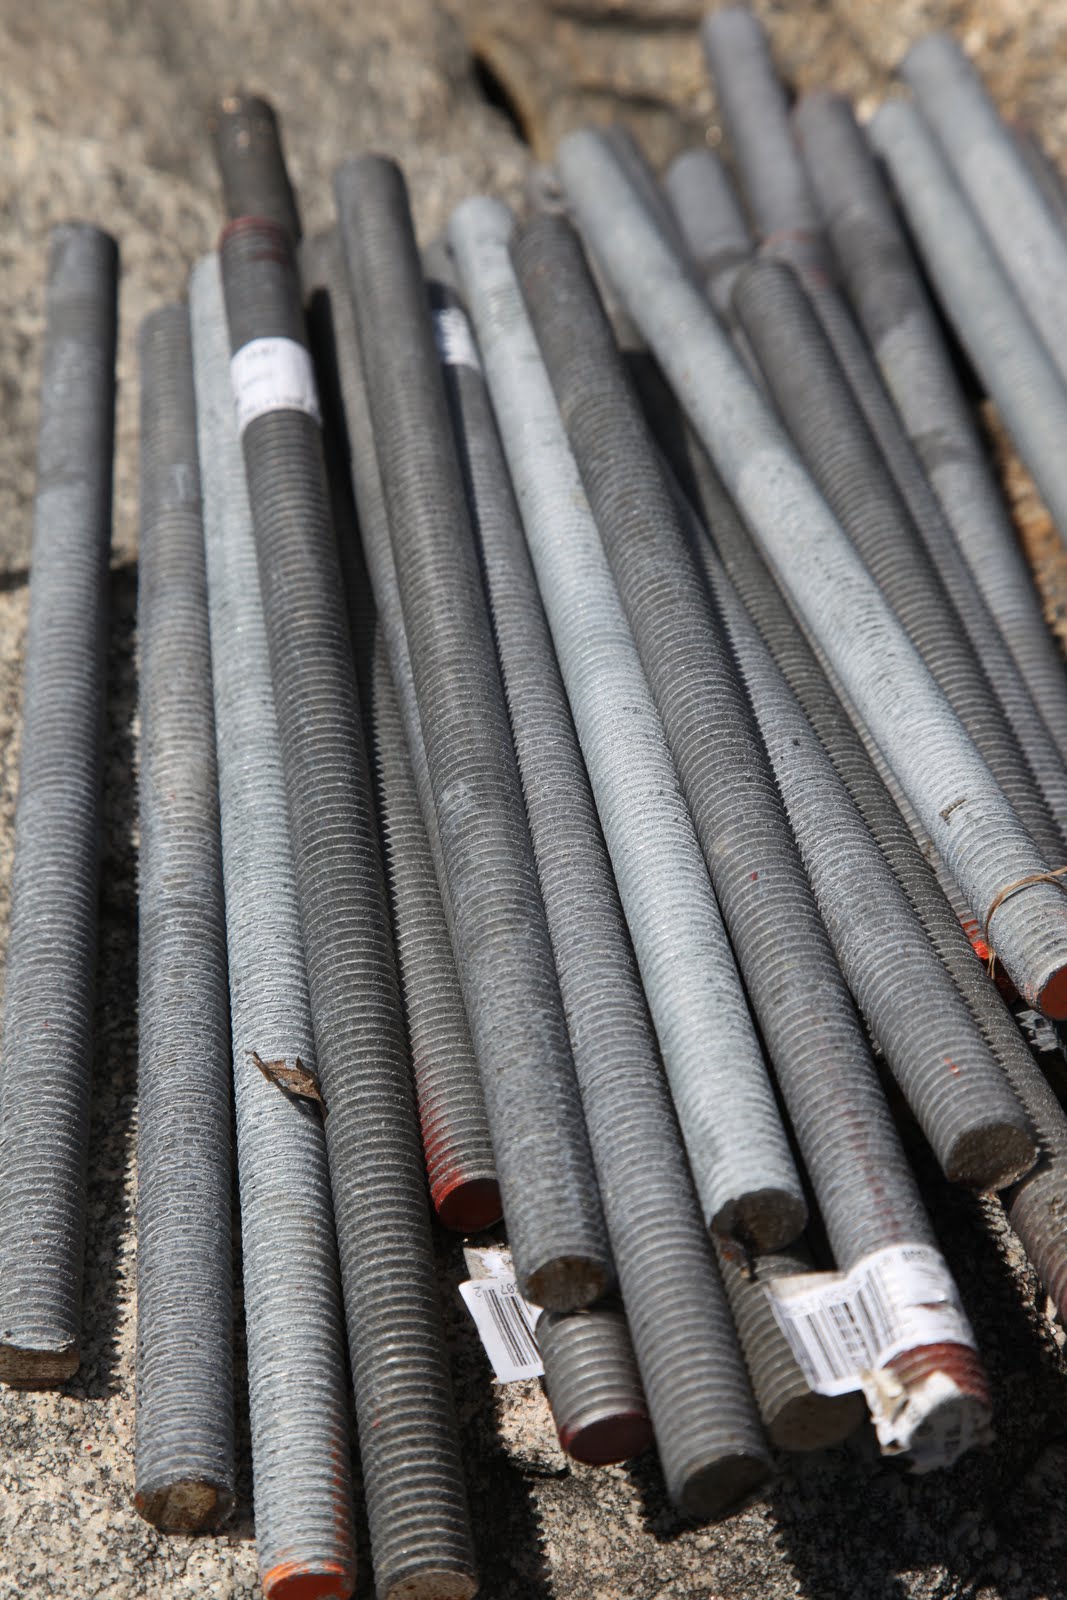
- These are long steel dowels used for joining purposes.
-
- These granite stakes were transported from my ‘stone yard’ at the farm and placed near the blueberry patch.

-
- Meanwhile, holes were dug for the cement post footings. Cardboard Handiforms were placed in each hole.
-
- A power auger was used as well as a post hole digger.
-
- Next, the Handiforms were filled with cement.
-
- That’s to secure the next section of wooden horizontal pieces.

-
- The pergola nearing completion.

-
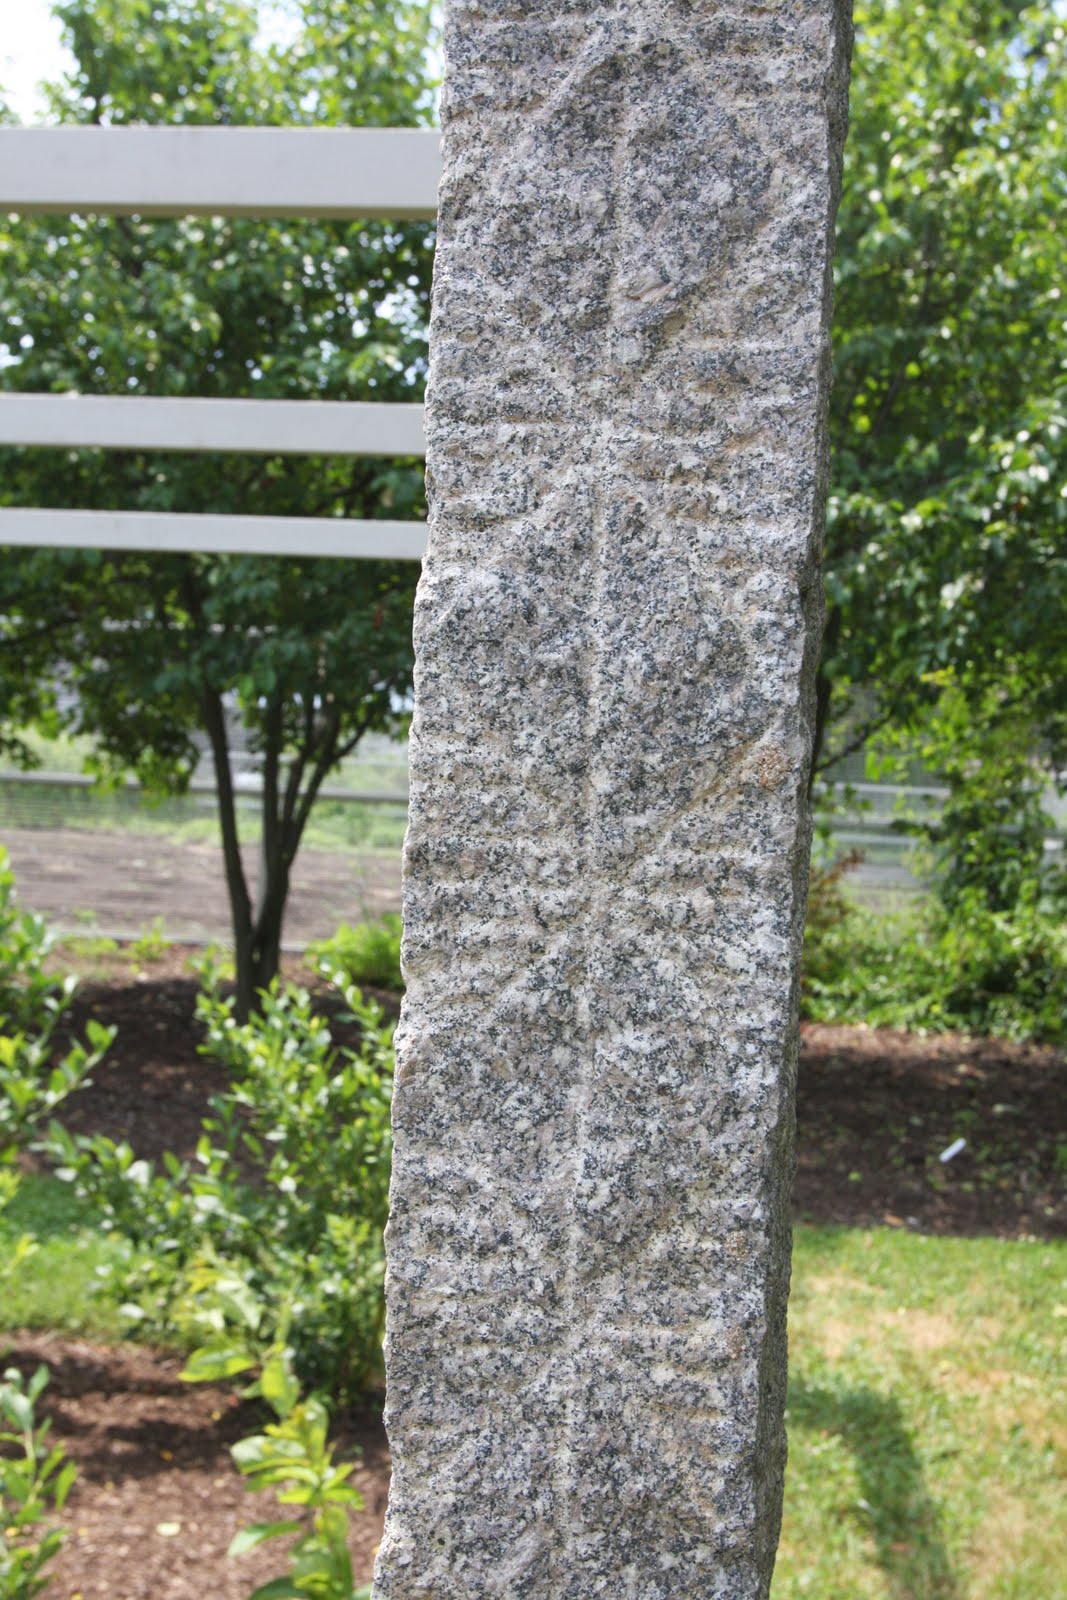
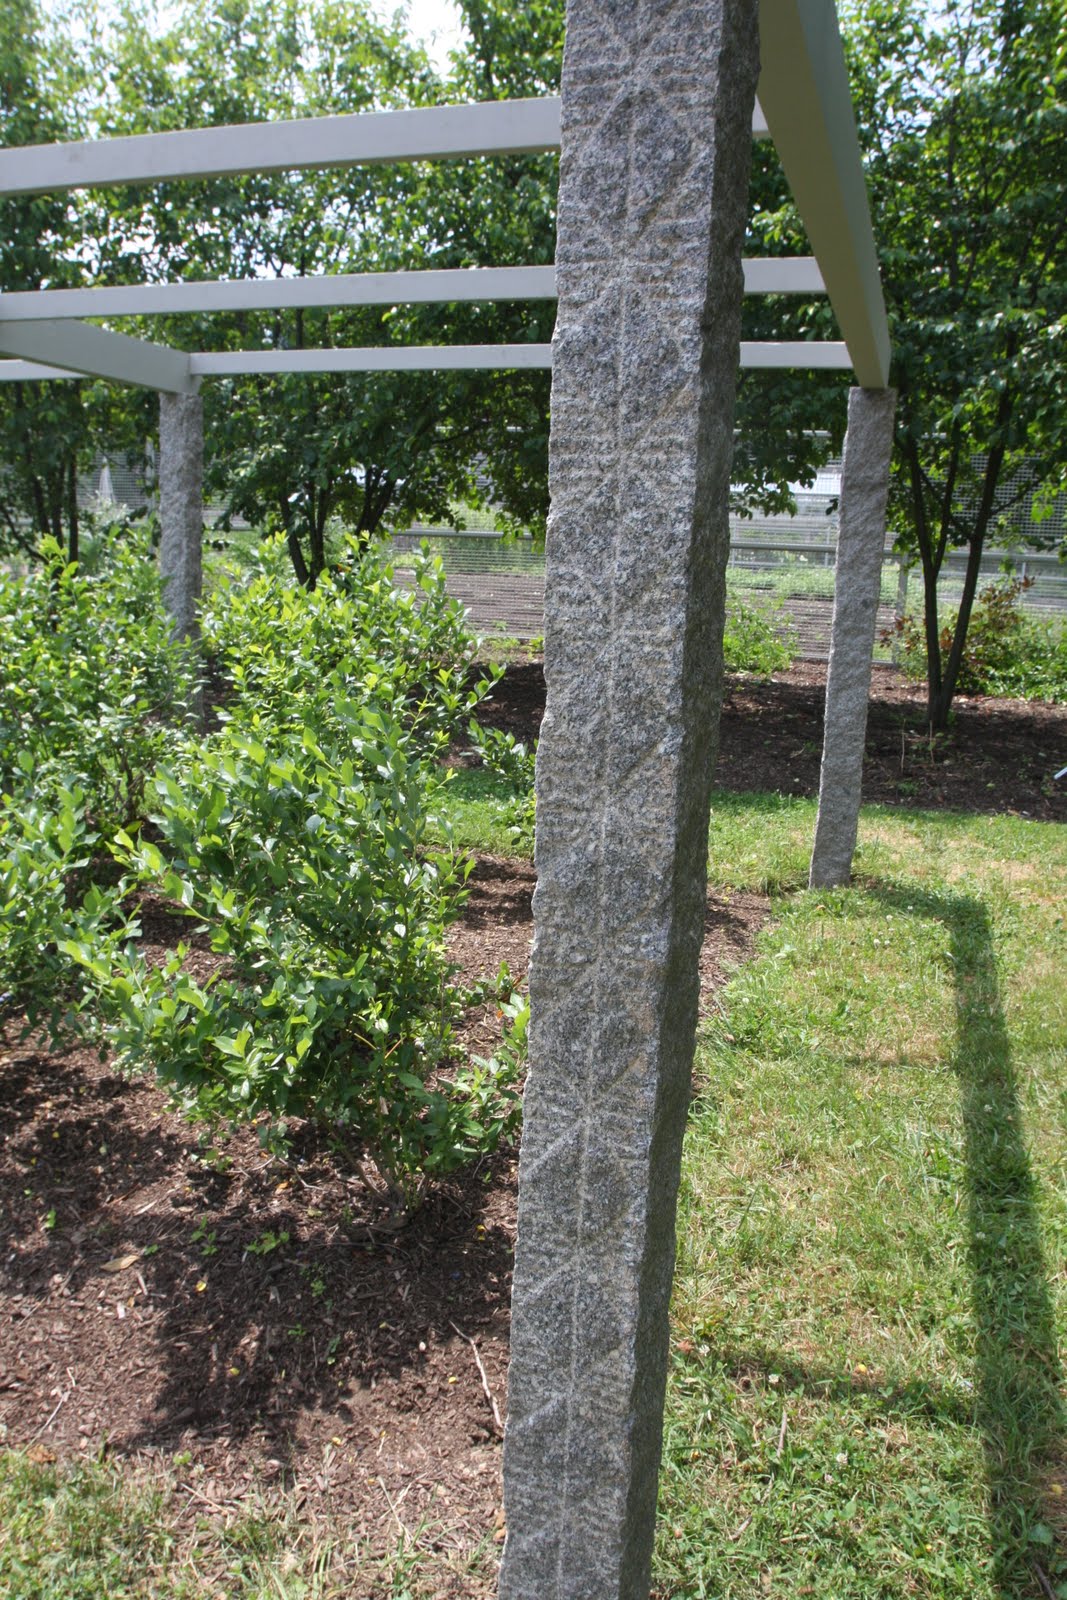
- The granite posts are 18th century Chinese – I just love the engraved design on this upright.
-
- Another look